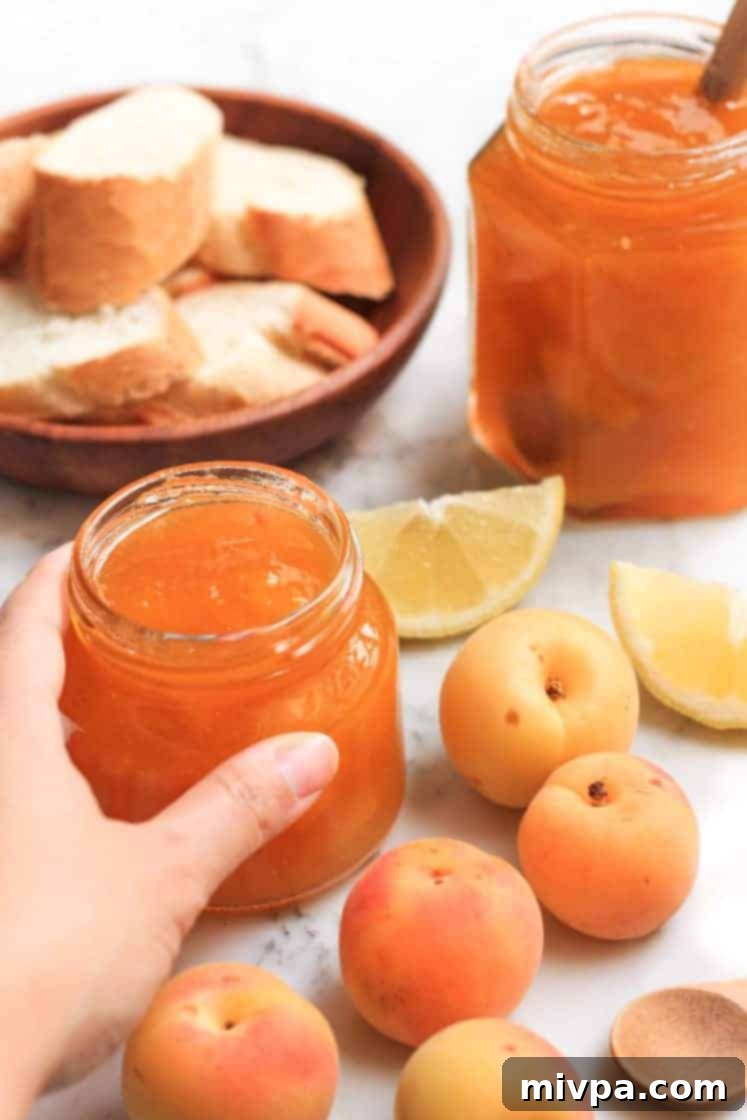
Easy Homemade Apricot Jam: A Pectin-Free, Gluten-Free, Vegan Delight
Welcome to the delightful world of homemade jams! This incredibly easy apricot jam recipe is crafted with just 3 simple, wholesome ingredients and comes together in under an hour, making it perfect for even novice jam makers. Imagine slathering this golden, fruity spread on a slice of warm homemade bread, a toasted English muffin for a scrumptious breakfast, or swirling it into creamy homemade yogurt or decadent ice cream. You might even find yourself enjoying it straight from the spoon! Best of all, this vibrant homemade apricot jam is naturally gluten-free, vegan, and completely pectin-free, relying on the fruit’s natural goodness and a touch of lemon to achieve its perfect set. Read on to learn how to make this irresistible apricot jam at home today and elevate your pantry with a taste of summer.
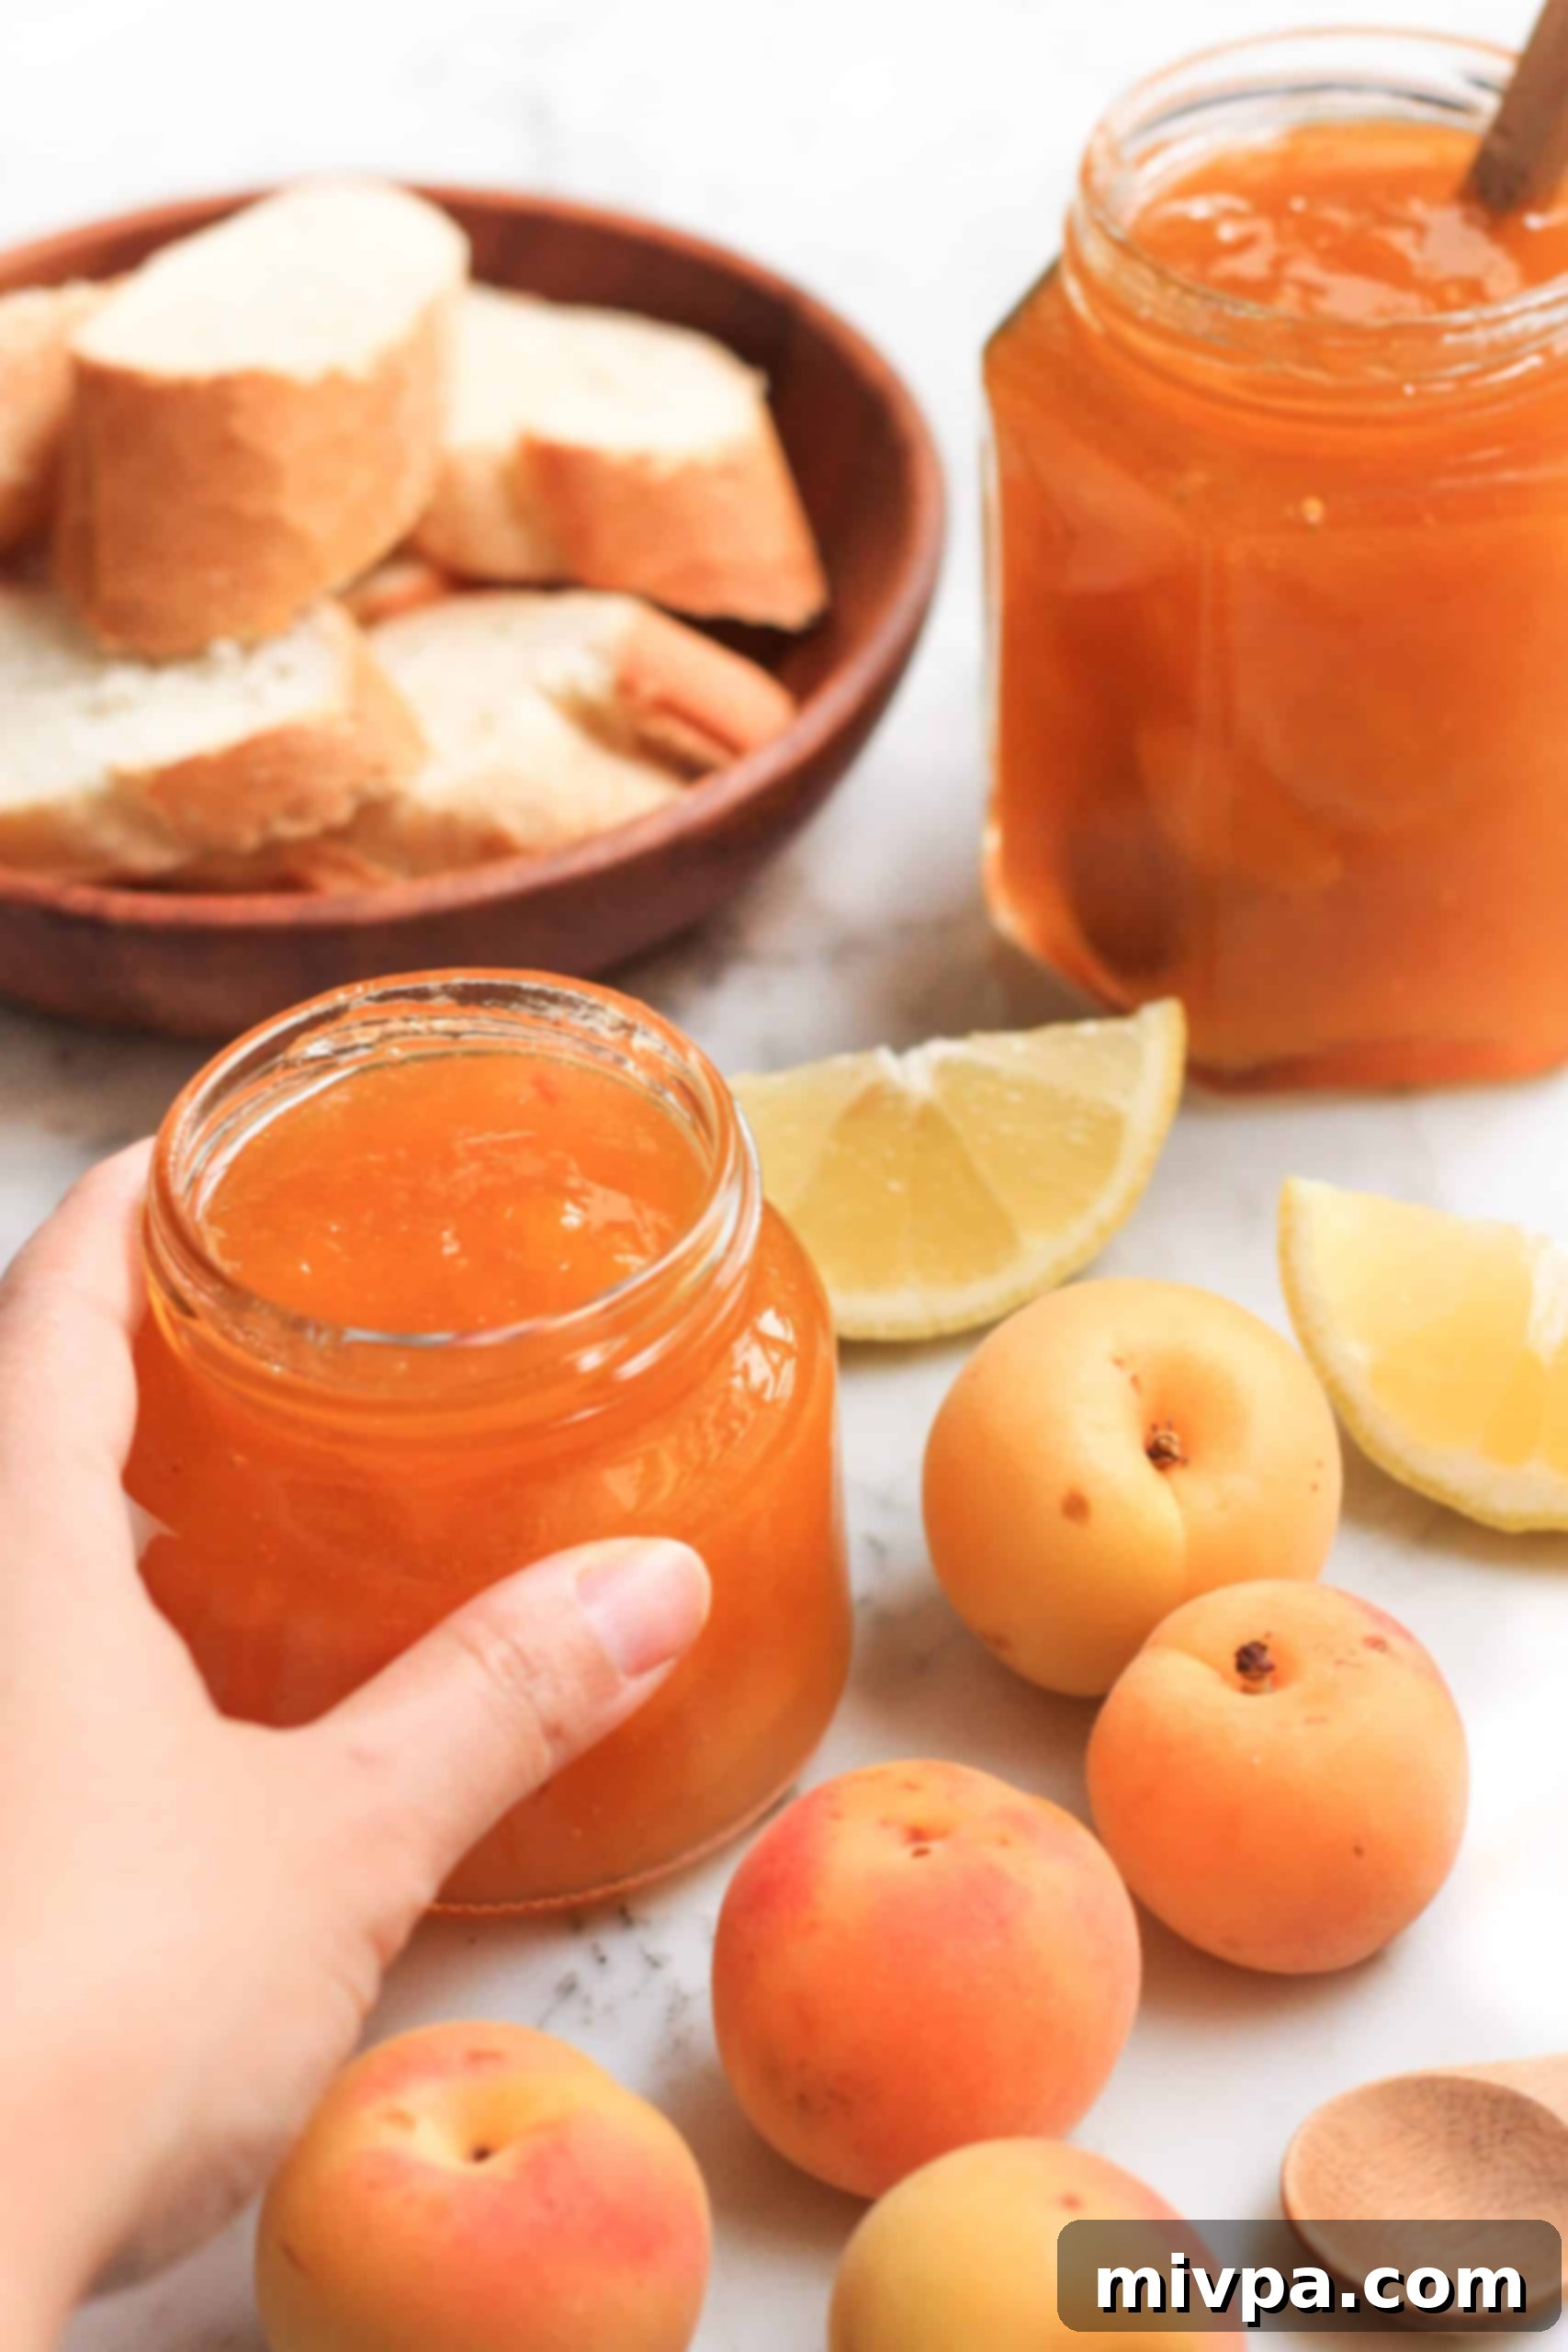
The Enduring Charm of Homemade Jams
My fascination with homemade preserves began many years ago, during a memorable family trip to New Zealand. I vividly recall waking up on a charming farm, greeted by the comforting aroma of a big pot of piping hot English breakfast tea. Alongside it, a spread of freshly baked bread and, to my delight, a jar of glistening homemade jam. That simple, heartwarming experience left an indelible mark on me, igniting a lifelong passion for all things homemade.
Since then, I’ve been utterly obsessed with the joy of creating things from scratch, particularly in the kitchen. From the satisfying process of baking homemade bread (a hobby I simply can’t stop pursuing!) to the art of crafting homemade jams and marmalades, there’s a unique satisfaction that comes with knowing exactly what goes into your food and tasting the pure, unadulterated flavors.
My pantry is often stocked with a variety of homemade preserves, each telling its own seasonal story. I’ve explored everything from the vibrant sweetness of easy plum jam to the classic appeal of strawberry jam. I’ve even dabbled in more unique creations like tart kumquat marmalade and rich fig jam. The process of transforming fresh fruit into these jars of concentrated flavor is not just a culinary task; it’s a therapeutic and rewarding experience that connects me to the seasons and simpler times. And today, we’re adding another star to this collection: a truly easy apricot jam.
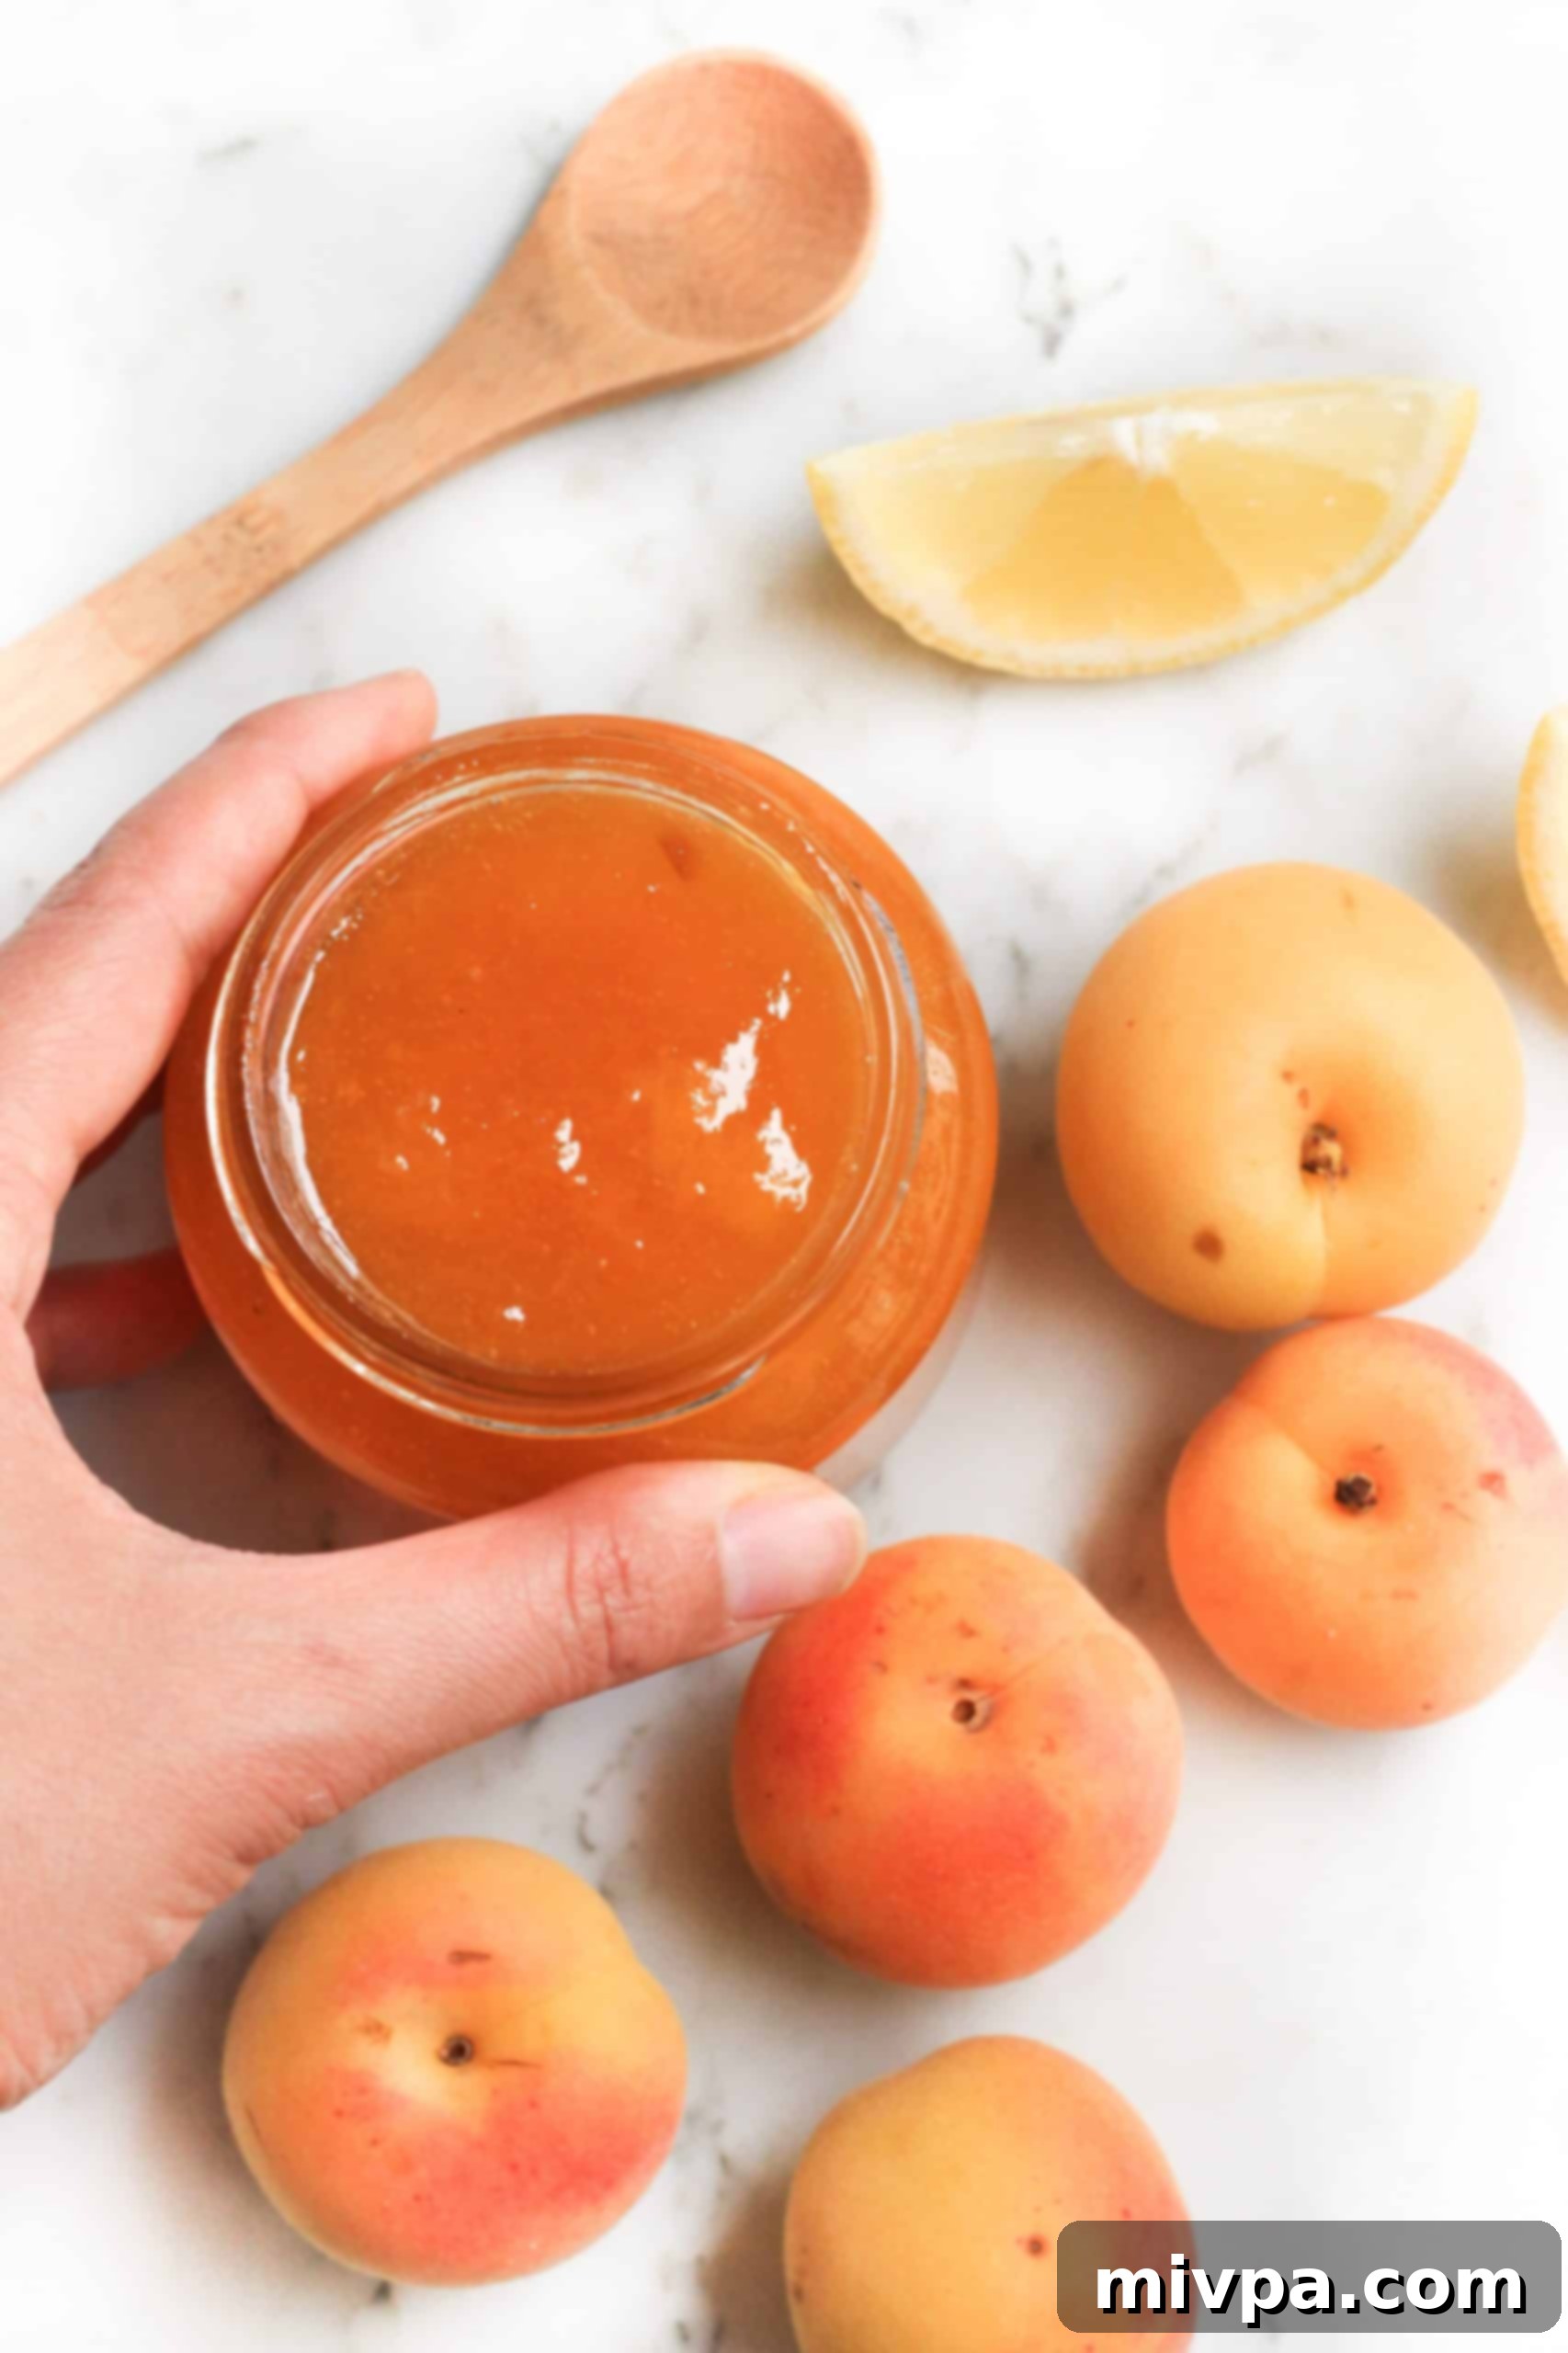
Embrace Summer: Stone Fruit Season Delights
With summer officially here, we’re entering the glorious stone fruit season, a time when markets and orchards are overflowing with nature’s candy. It’s a truly abundant period, offering a diverse array of succulent fruits that are perfect for fresh eating, baking, and of course, jam making!
Everywhere you look, you’ll find juicy peaches, ideal for whipping up a classic peach cobbler, vibrant plums, fantastic for eating straight off the tree or transforming into a luscious delicious plum jam, sweet nectarines, and a generous bounty of delicious, sun-ripened apricots. The sheer variety and quality of stone fruits during this season are unparalleled, making it the perfect time to capture their fleeting flavors in a jar.
Apricot Lovers, It’s Time to Rejoice!
As the warm days of summer roll around, my thoughts naturally turn to making fresh jams. And this year, with apricots at their peak, it’s the ideal moment to celebrate their unique flavor. We’re diving into an incredibly easy apricot jam recipe that promises to be bursting with the sweet, slightly tart, and utterly irresistible taste of apricots.
This recipe is designed to make the most of the season’s harvest, turning simple, fresh apricots into a golden, delicious preserve that you’ll want to enjoy all year long. Get ready to experience the pure essence of summer in every spoonful!
Why This Easy Apricot Jam Will Become Your New Favorite:
There are countless reasons to fall in love with this particular apricot jam recipe. It’s not just about the incredible flavor, but also the sheer simplicity and accessibility:
- Super Simple & Beginner-Friendly: Even if this is your very first foray into the wonderful world of homemade jam making, fear not! This easy homemade apricot jam recipe is truly as straightforward as it gets. You only need a mere three simple ingredients and less than an hour of active, hands-on time to create a batch of perfect preserves. No complicated techniques or special equipment required, making it ideal for absolute beginners and busy home cooks alike.
- Naturally Pectin-Free Perfection: One of the standout features of this apricot preserves recipe is that we don’t rely on added pectin to achieve that beloved gel-like consistency. Instead, we harness the natural pectin present in the apricots themselves, beautifully activated and supported by the acidity of fresh lemon juice. This means a more natural flavor profile and one less ingredient to worry about sourcing, keeping the recipe as pure and simple as possible.
- Inclusive & Deliciously Dietary-Friendly: Best of all, this recipe is naturally gluten-free, dairy-free, and vegan. This makes it a fantastic option for those with dietary restrictions or preferences, ensuring that everyone can enjoy a taste of this homemade goodness. Despite being free from common allergens, it’s so rich, flavorful, and wonderfully textured that absolutely no one would ever guess it’s catering to special diets!
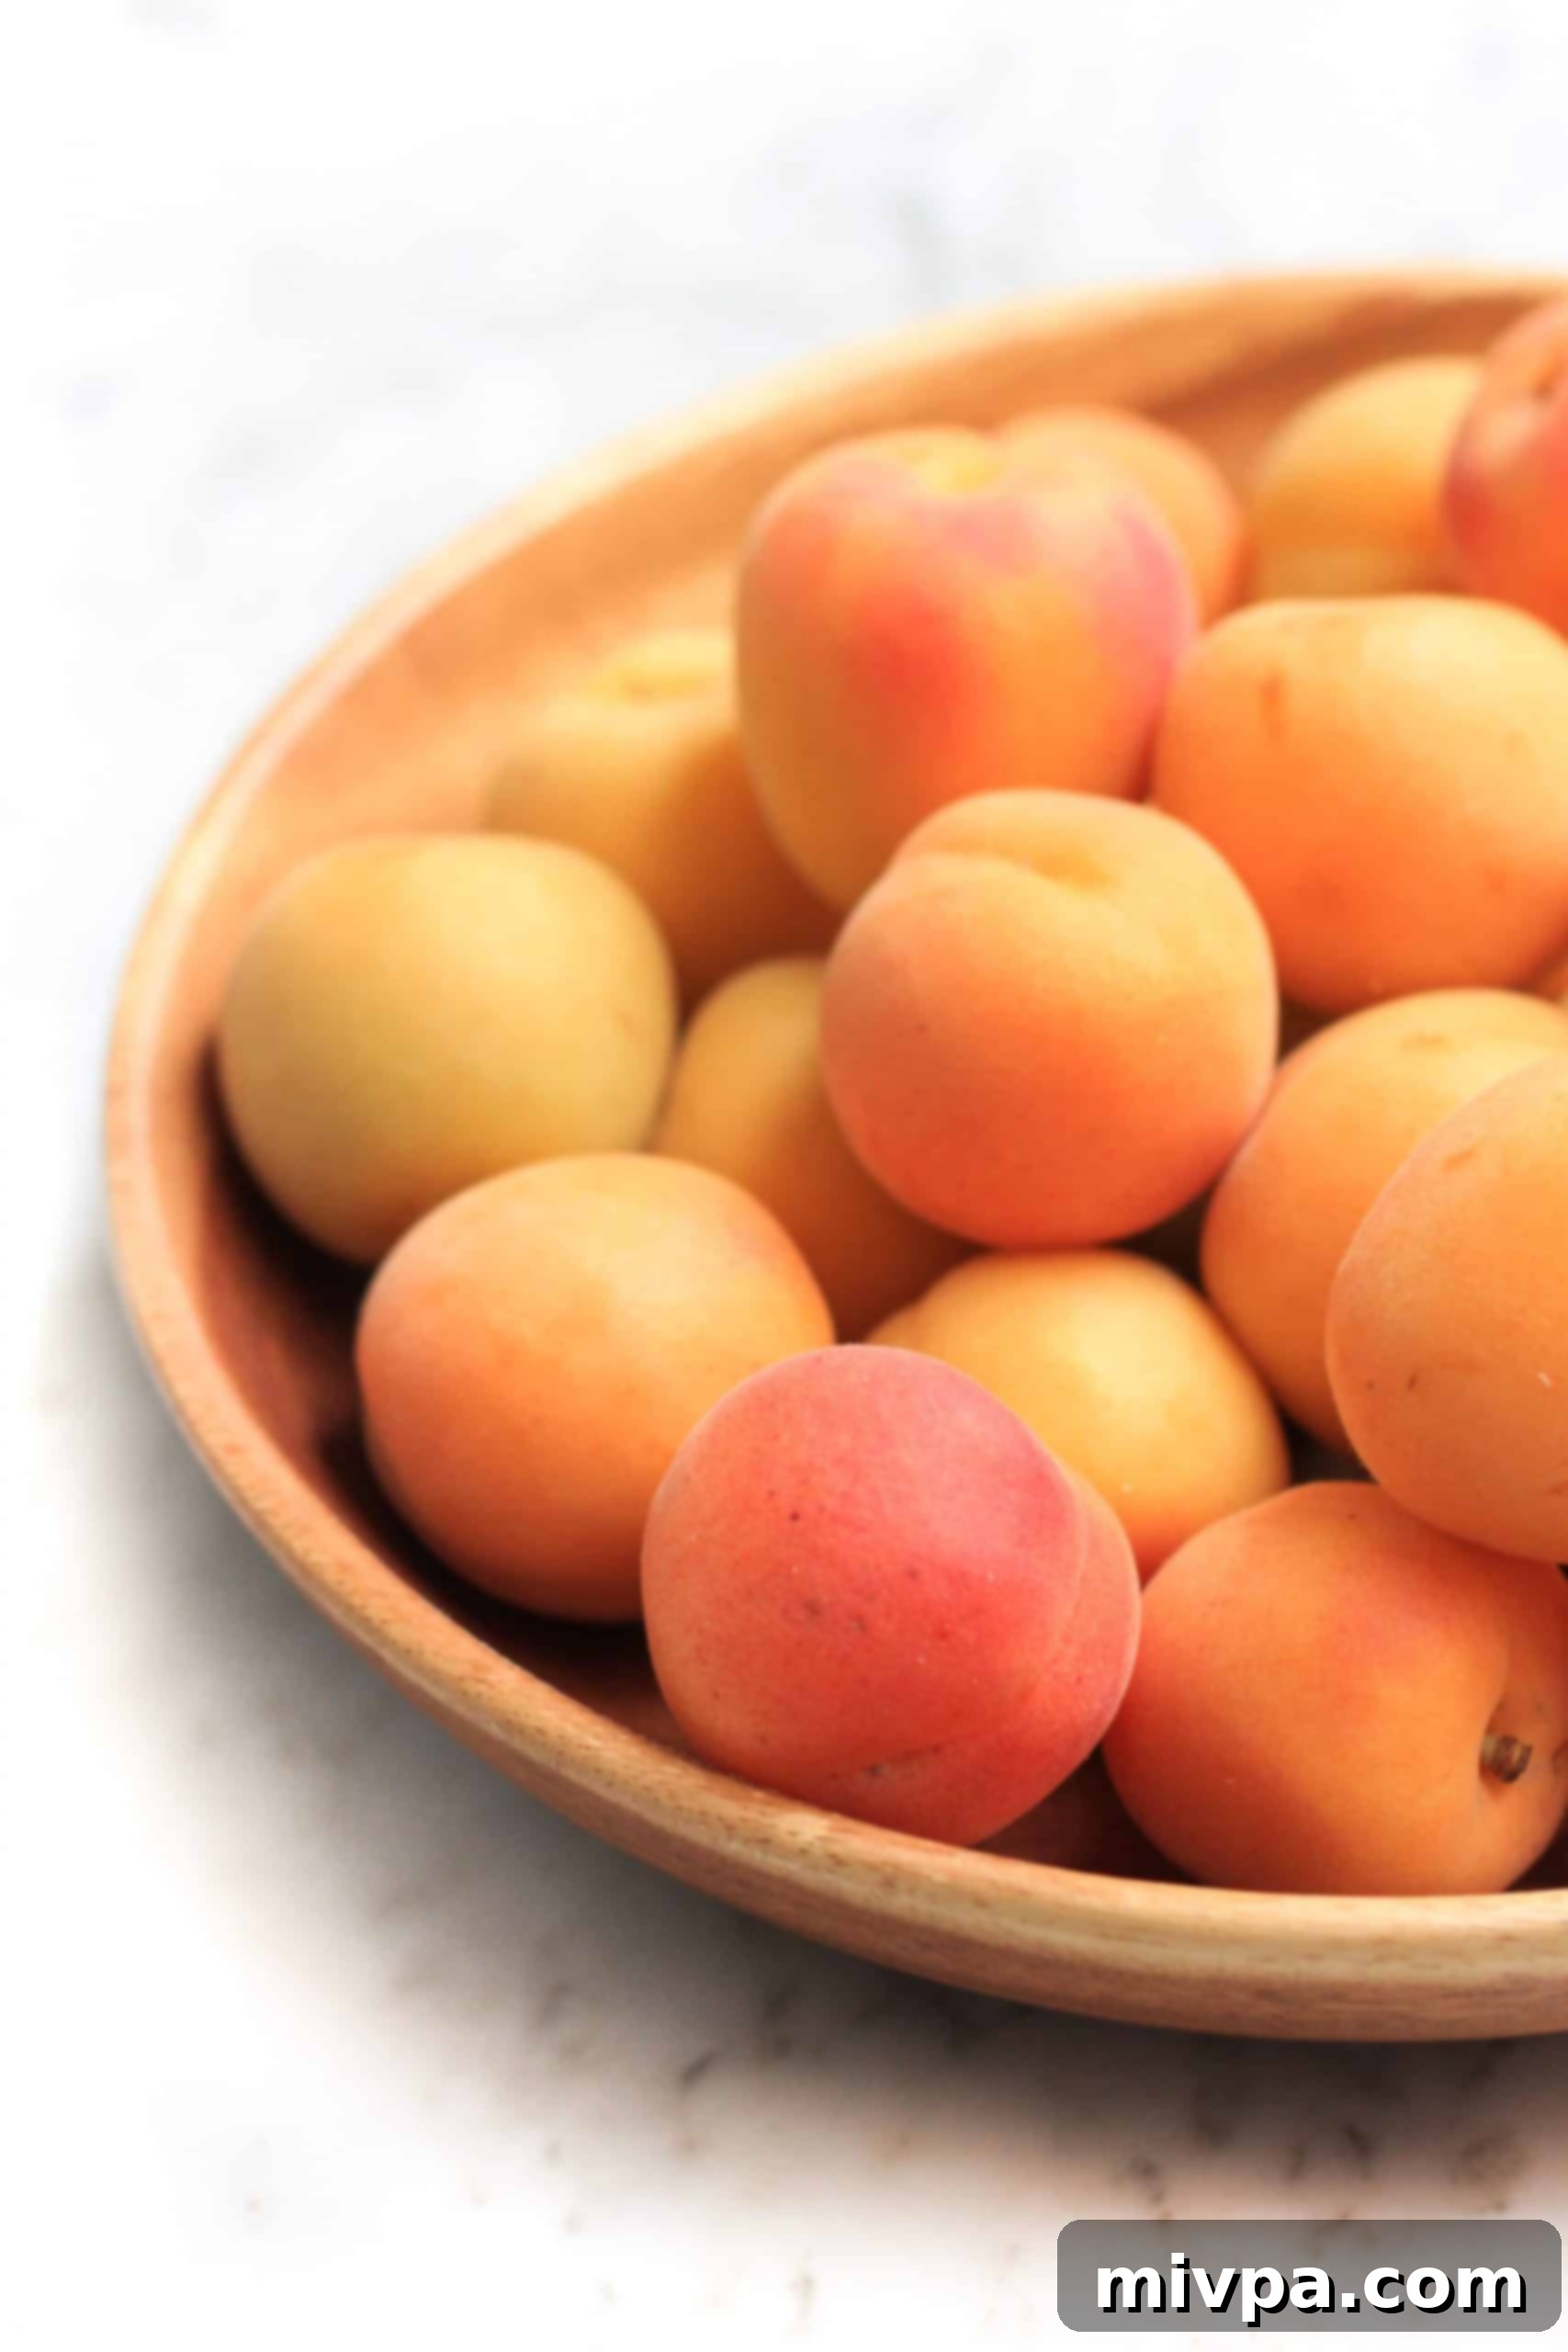
Essential Ingredients for Your Homemade Apricot Jam:
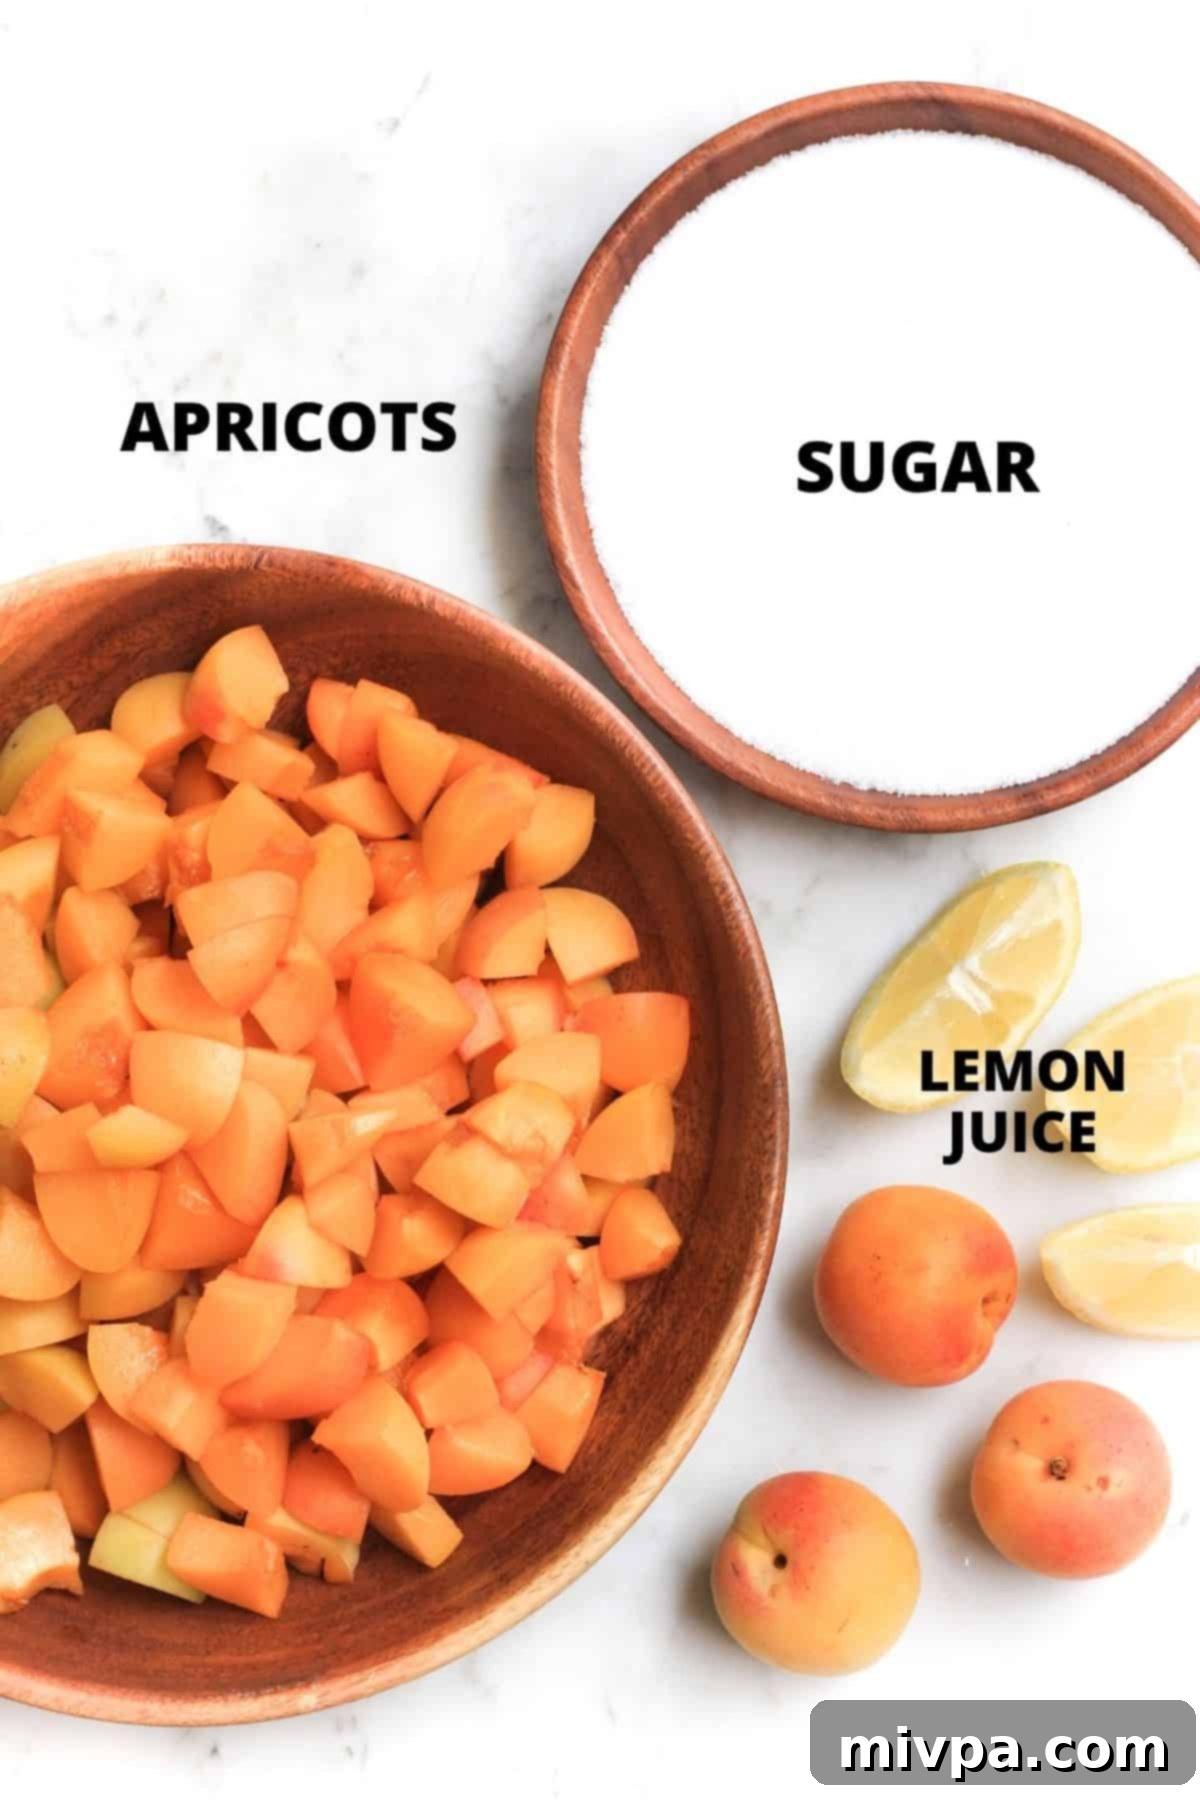
One of the beauties of this recipe is its minimal ingredient list, making it incredibly accessible. Here’s a quick visual overview of the few, high-quality ingredients you’ll need for this homemade apricot jam recipe. You might even have most of them in your pantry already!
(For exact quantities and detailed instructions, please scroll down to the comprehensive printable recipe card conveniently located at the bottom of this post. It contains all the precise measurements to ensure your jam turns out perfectly.)
Ingredient Notes and Potential Substitutions:
While this recipe is incredibly simple, understanding the role of each ingredient can help you achieve the best results and make informed substitutions if needed:
- Apricots: Naturally, apricots are the star of this jam recipe, providing its signature flavor and beautiful golden hue. For the best taste and texture, choose ripe, fragrant apricots that are slightly soft to the touch. The ripeness of your apricots will also affect their natural pectin content. If fresh apricots are not in season or hard to find, you can certainly experiment with other ripe stone fruits such as plums or peaches. Simply use them in equal quantities as you would apricots for a delightful alternative jam. Just be aware that the natural pectin content may vary slightly.
- Sugar: I’ve opted for granulated white sugar in this recipe for its clean sweetness that allows the apricot flavor to shine. However, if you prefer a deeper, caramel-like note, feel free to use light brown sugar. While it might be tempting to reduce the sugar for a less sweet jam, I strongly advise against omitting it completely or reducing it drastically. Sugar isn’t just a sweetener; it plays a crucial, multi-faceted role in jam making. It acts as a natural preservative, inhibiting mold growth and extending the jam’s shelf life. More importantly for the texture, sugar works synergistically with the fruit’s natural pectins and acids to create that desirable gel structure. Without sufficient sugar, your jam may struggle to set and remain runny.
- Lemon Juice: The importance of lemon juice in this pectin-free recipe cannot be overstated. I highly recommend using fresh lemon juice for the brightest, most vibrant flavor. However, if fresh lemons aren’t available, bottled lemon juice will also work effectively. For best results and a properly set jam, please do not skip adding lemon juice. Its acidity is essential; it reacts with the natural pectins in the apricots, helping the jam to set and preventing it from becoming a runny syrup. It also brightens the fruit’s flavor, balancing the sweetness of the sugar.
Crafting Your Apricot Jam: A Simple Step-by-Step Guide
Making homemade apricot jam is a straightforward and rewarding process. Follow these easy steps to create your own delicious preserves:
1. Prepare the Apricots
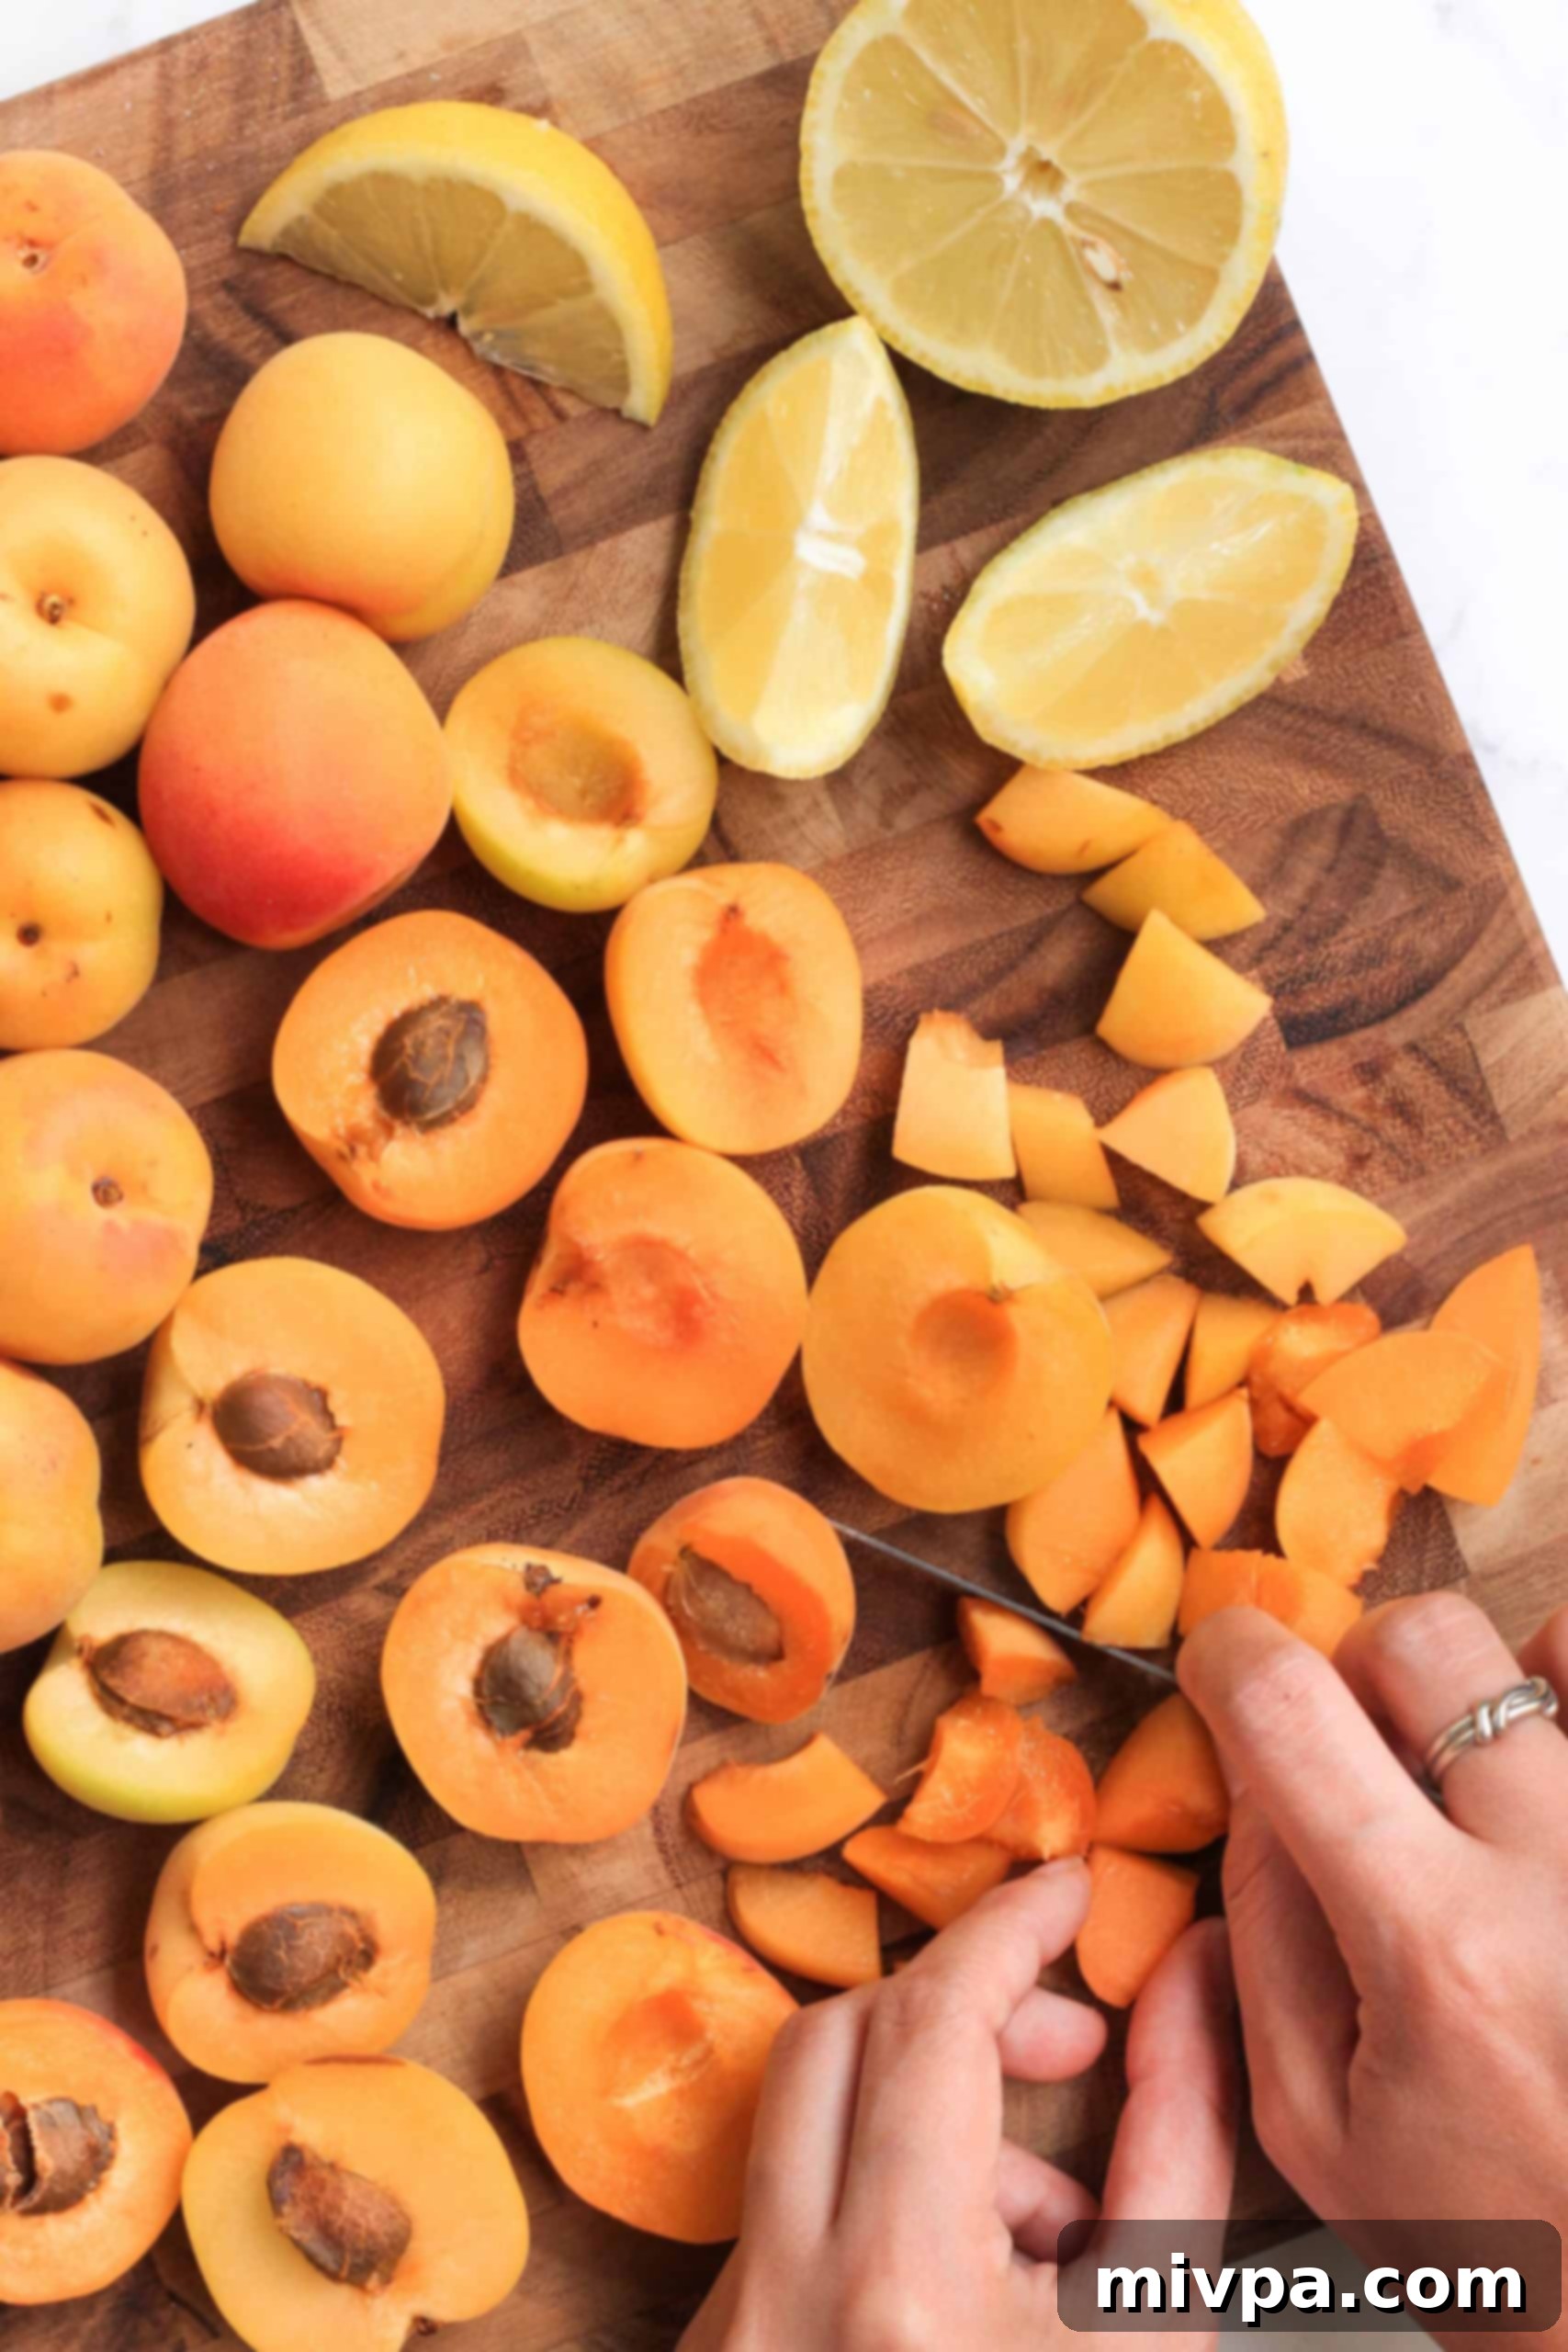
Begin by thoroughly washing your fresh apricots under cold running water to remove any dirt or residue. Gently dry them with a clean towel. Next, carefully slice each apricot in half and remove the hard stone (pit) from the center. Once pitted, cut the apricot halves into smaller, uniform pieces. The size of your pieces will determine the chunkiness of your finished jam – for a smoother jam, cut them smaller; for a chunkier texture, leave them slightly larger.
2. Combine and Boil
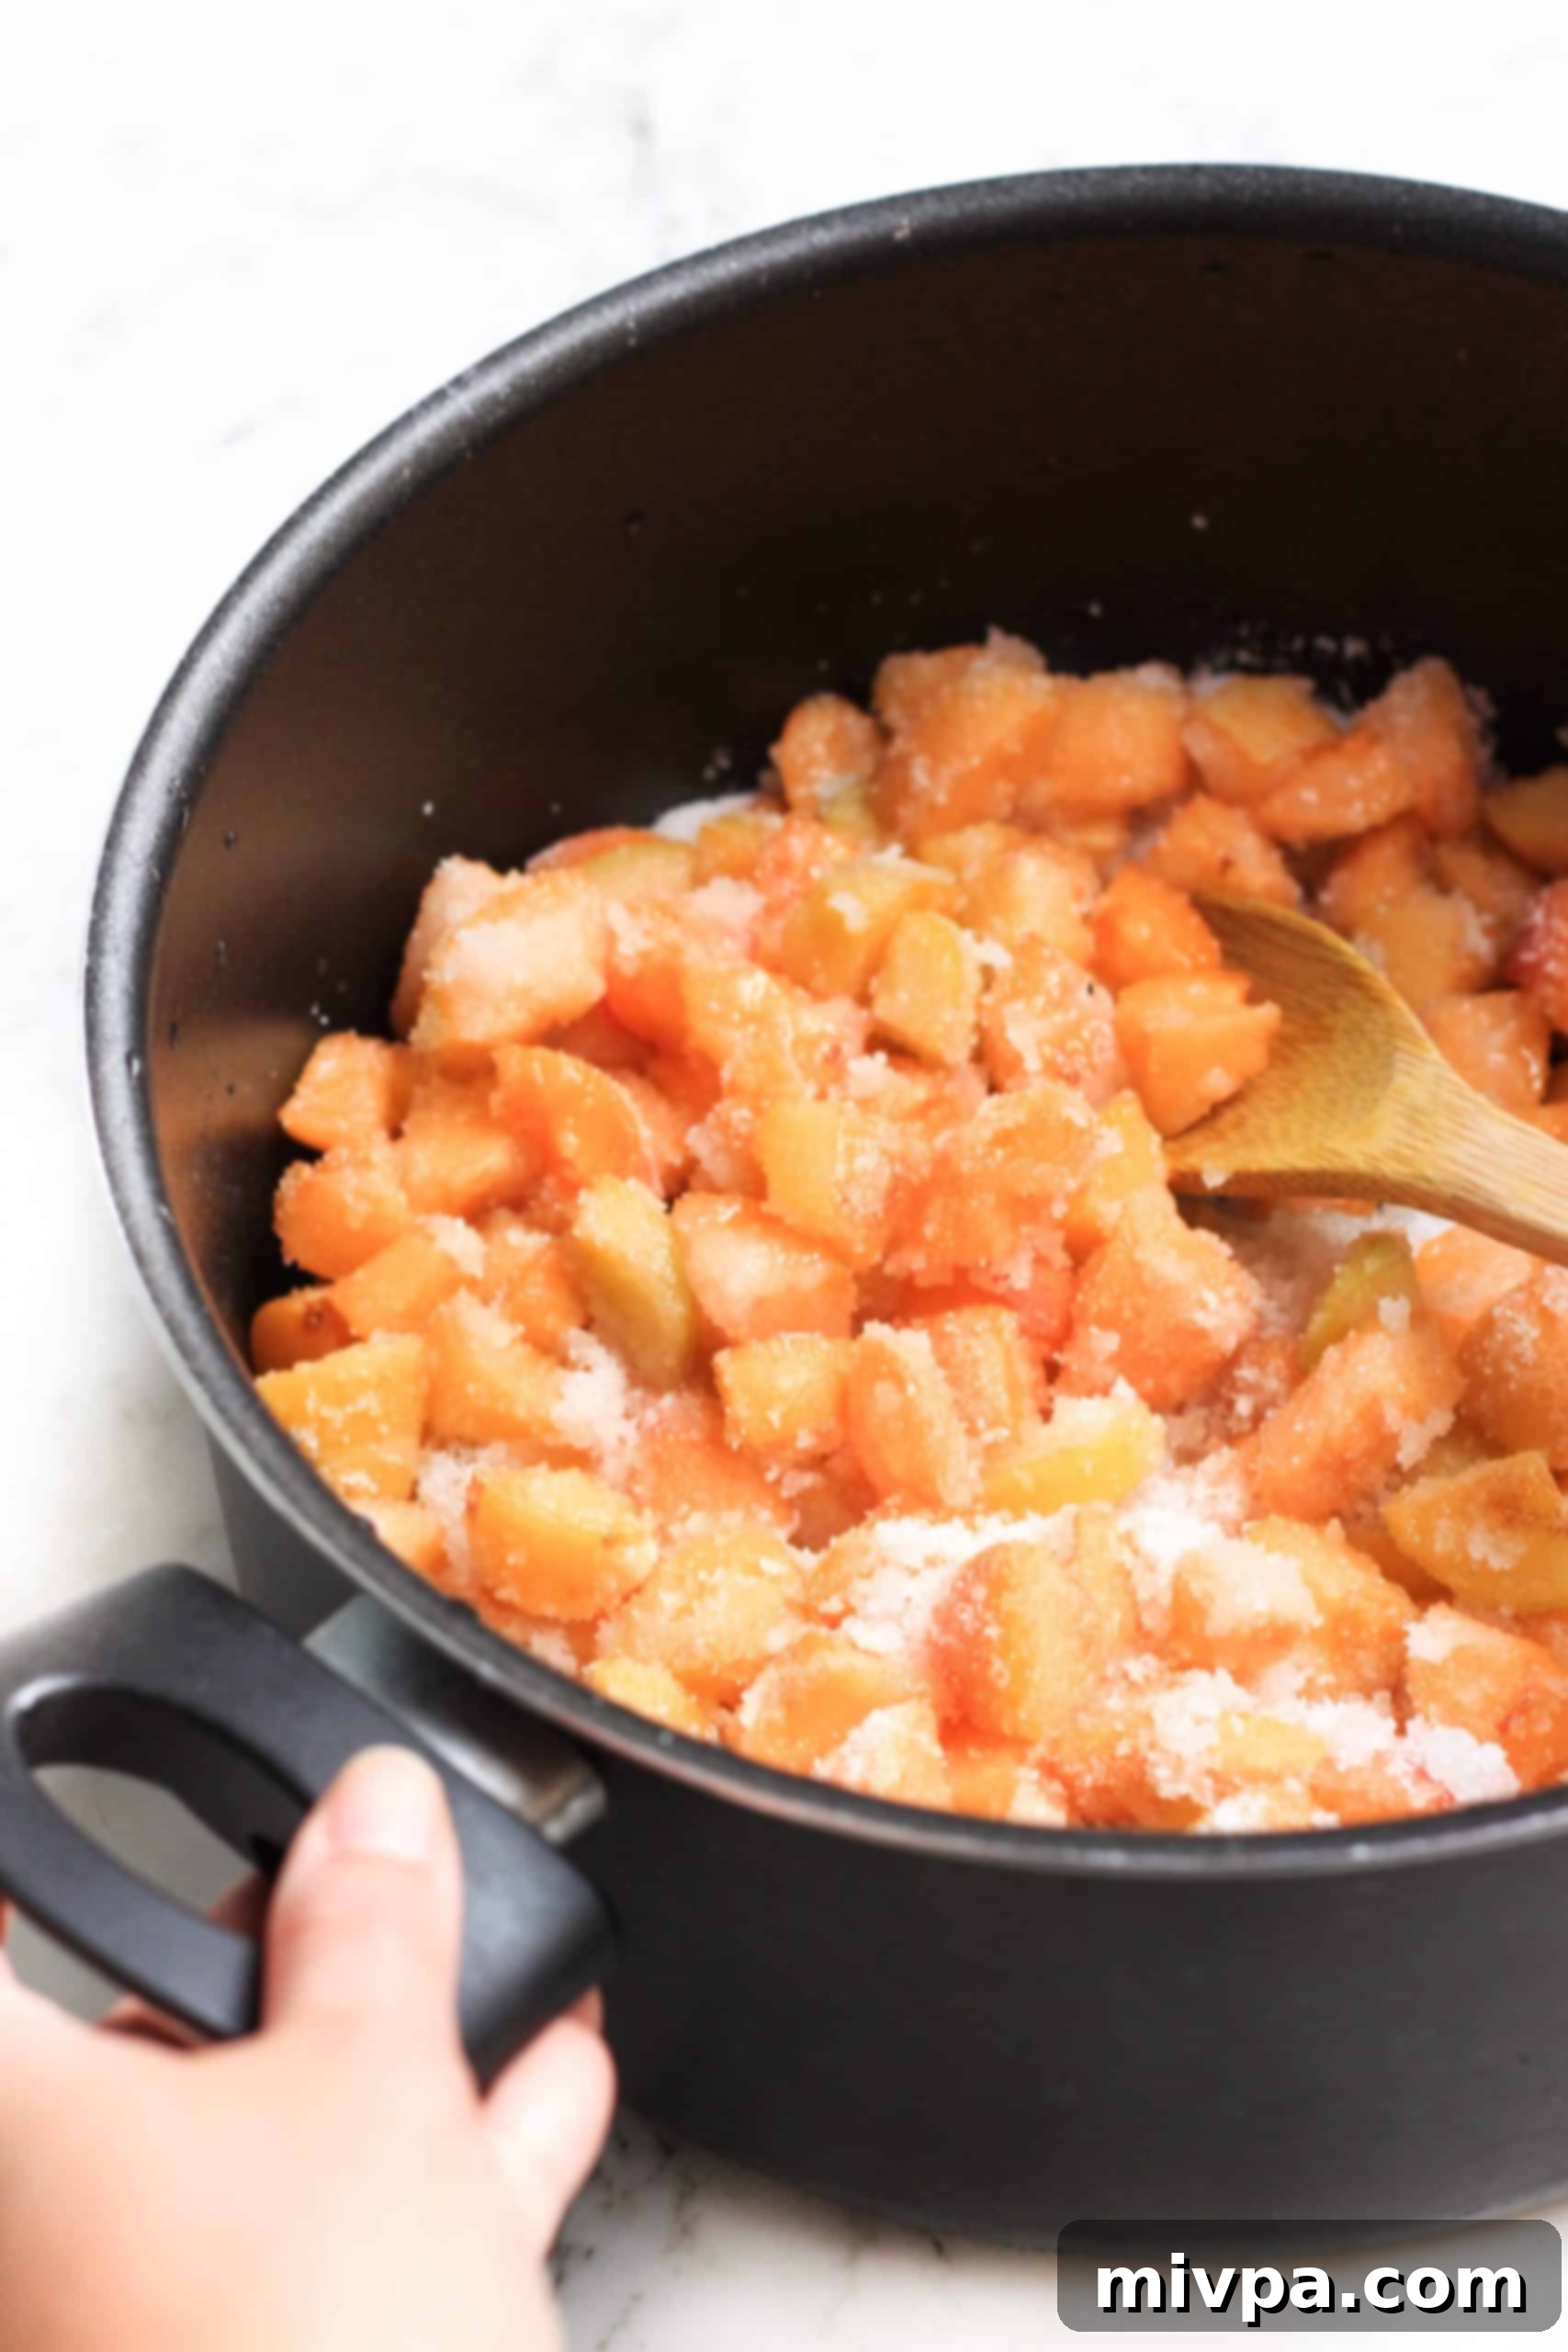
In a large, heavy-bottomed pot, Dutch oven, or large saucepan, combine the prepared apricot pieces, granulated sugar, and fresh lemon juice. Stir gently to ensure all ingredients are well mixed. Place the pot over medium-high heat and bring the mixture to a rolling boil. Stir frequently during this initial stage to prevent the sugar from sticking to the bottom of the pot and burning, ensuring it dissolves evenly into the fruit juices.
3. Simmer, Stir, and Mash to Perfection
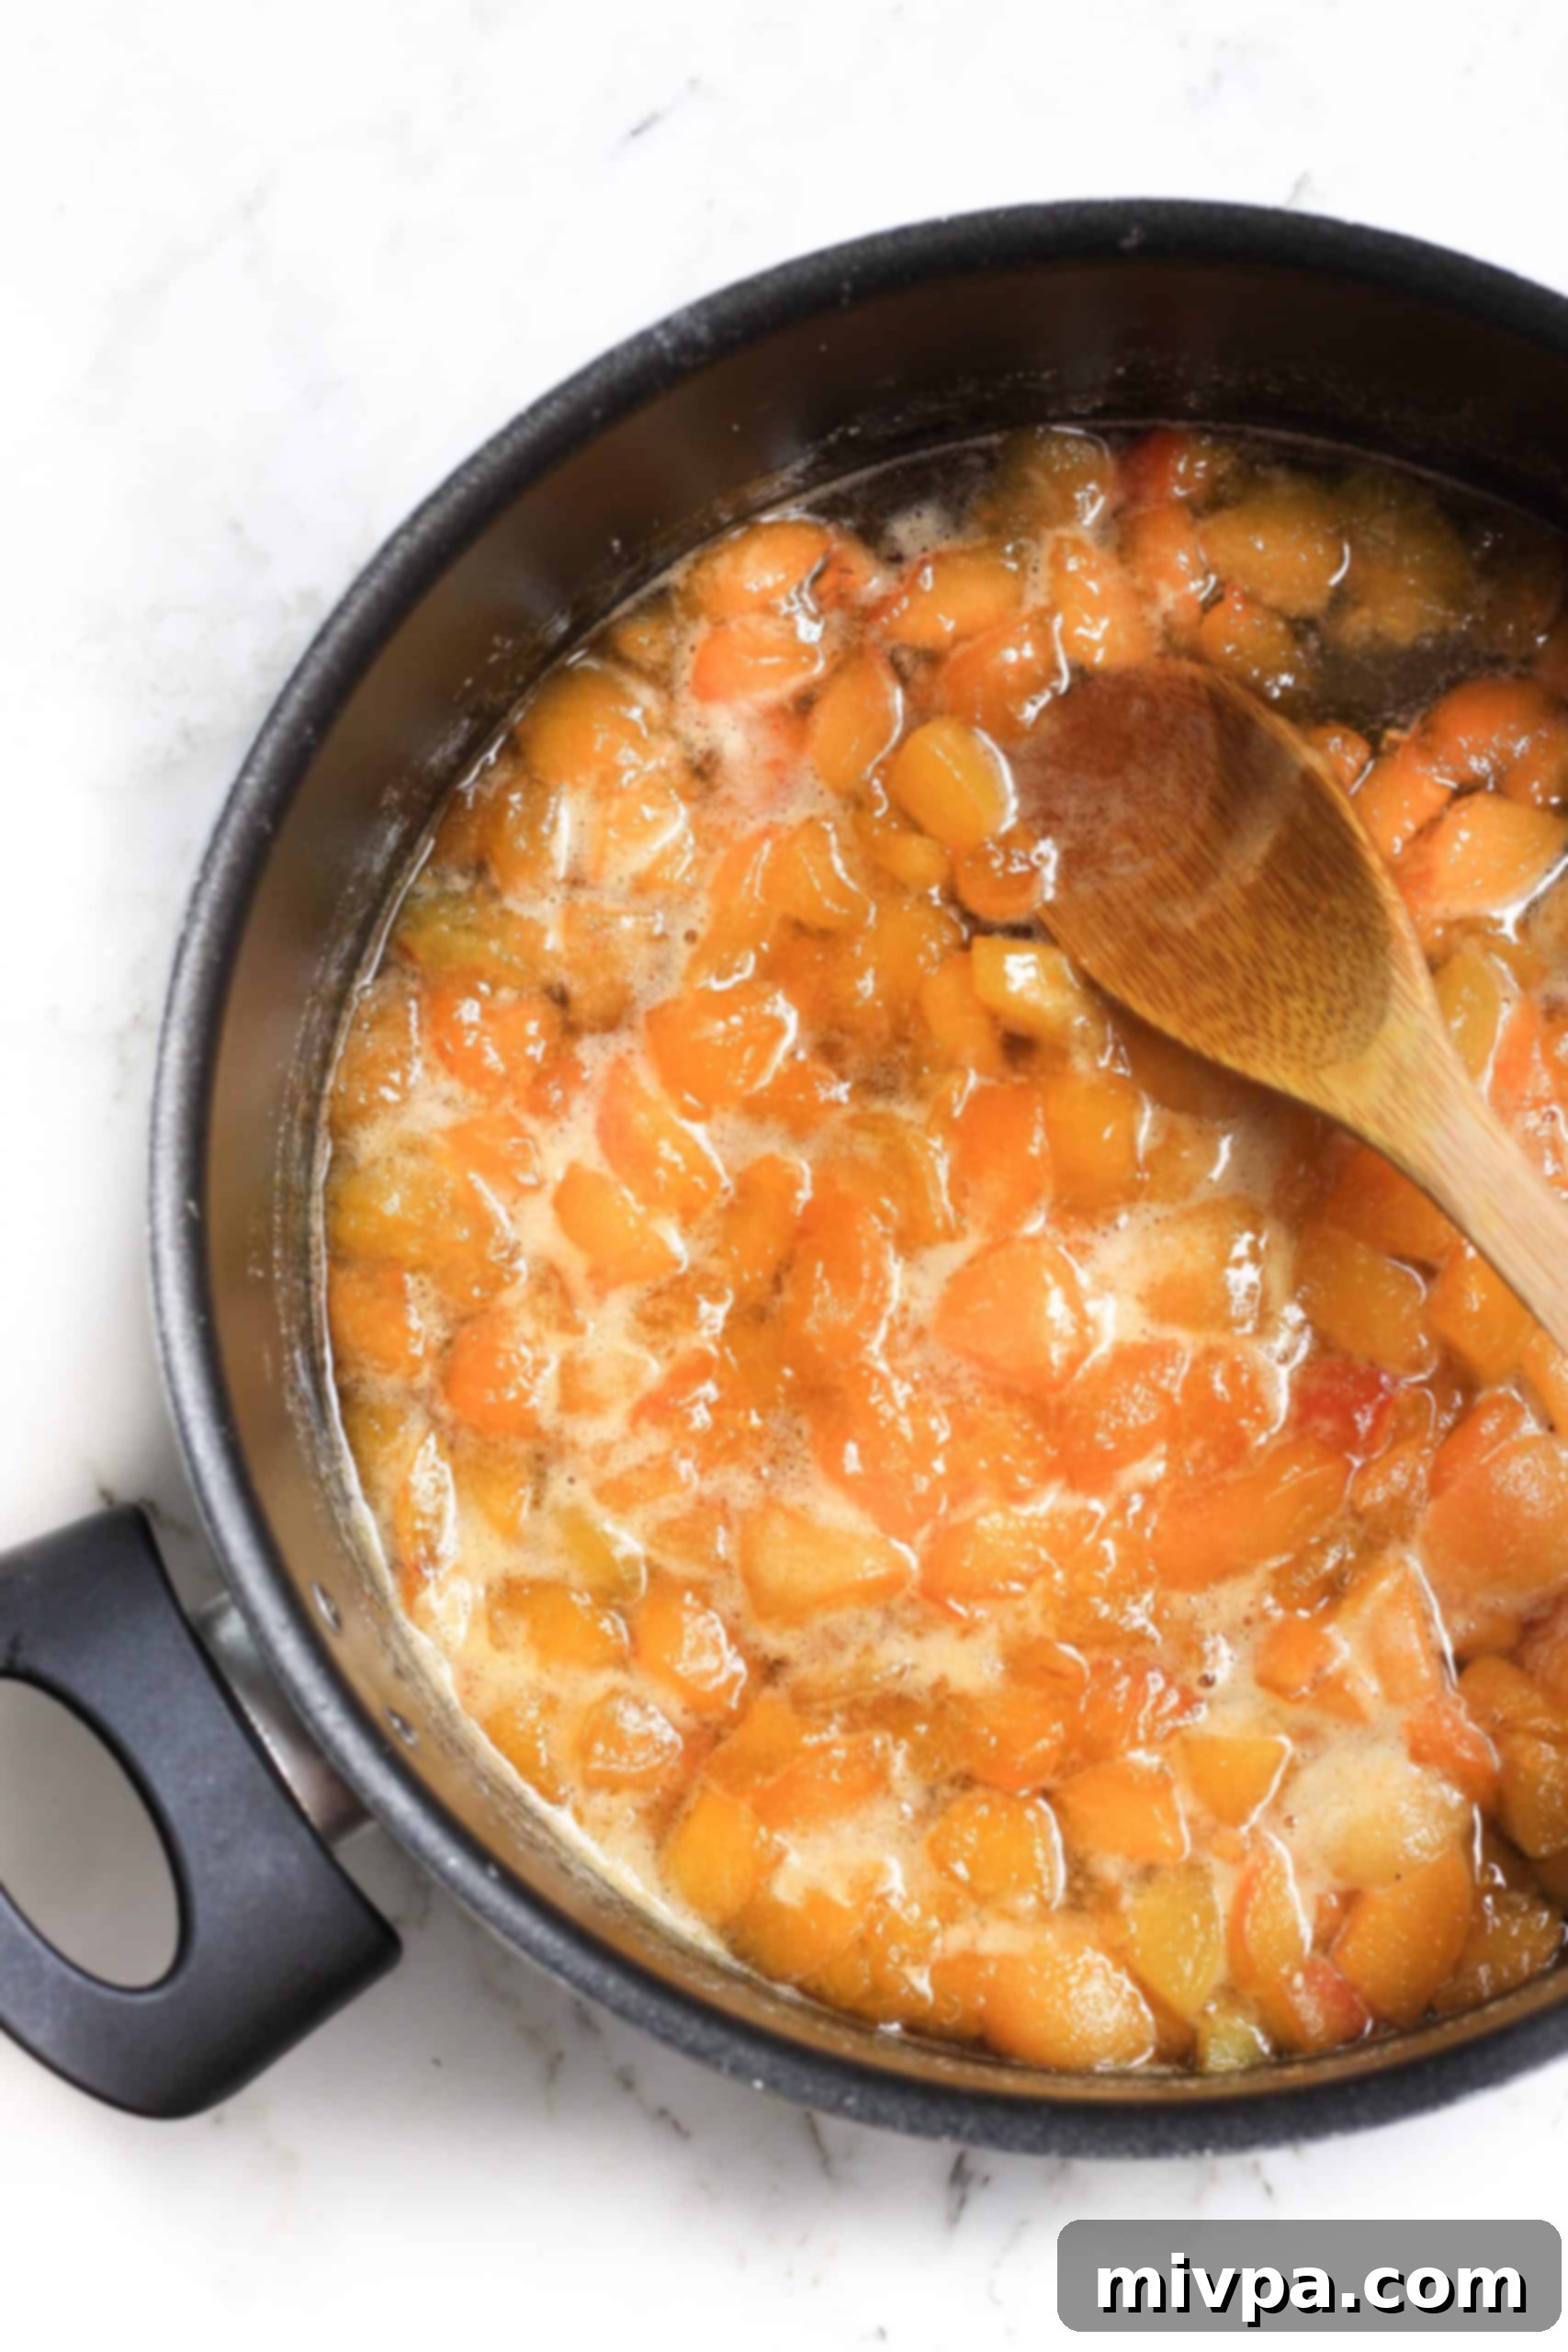
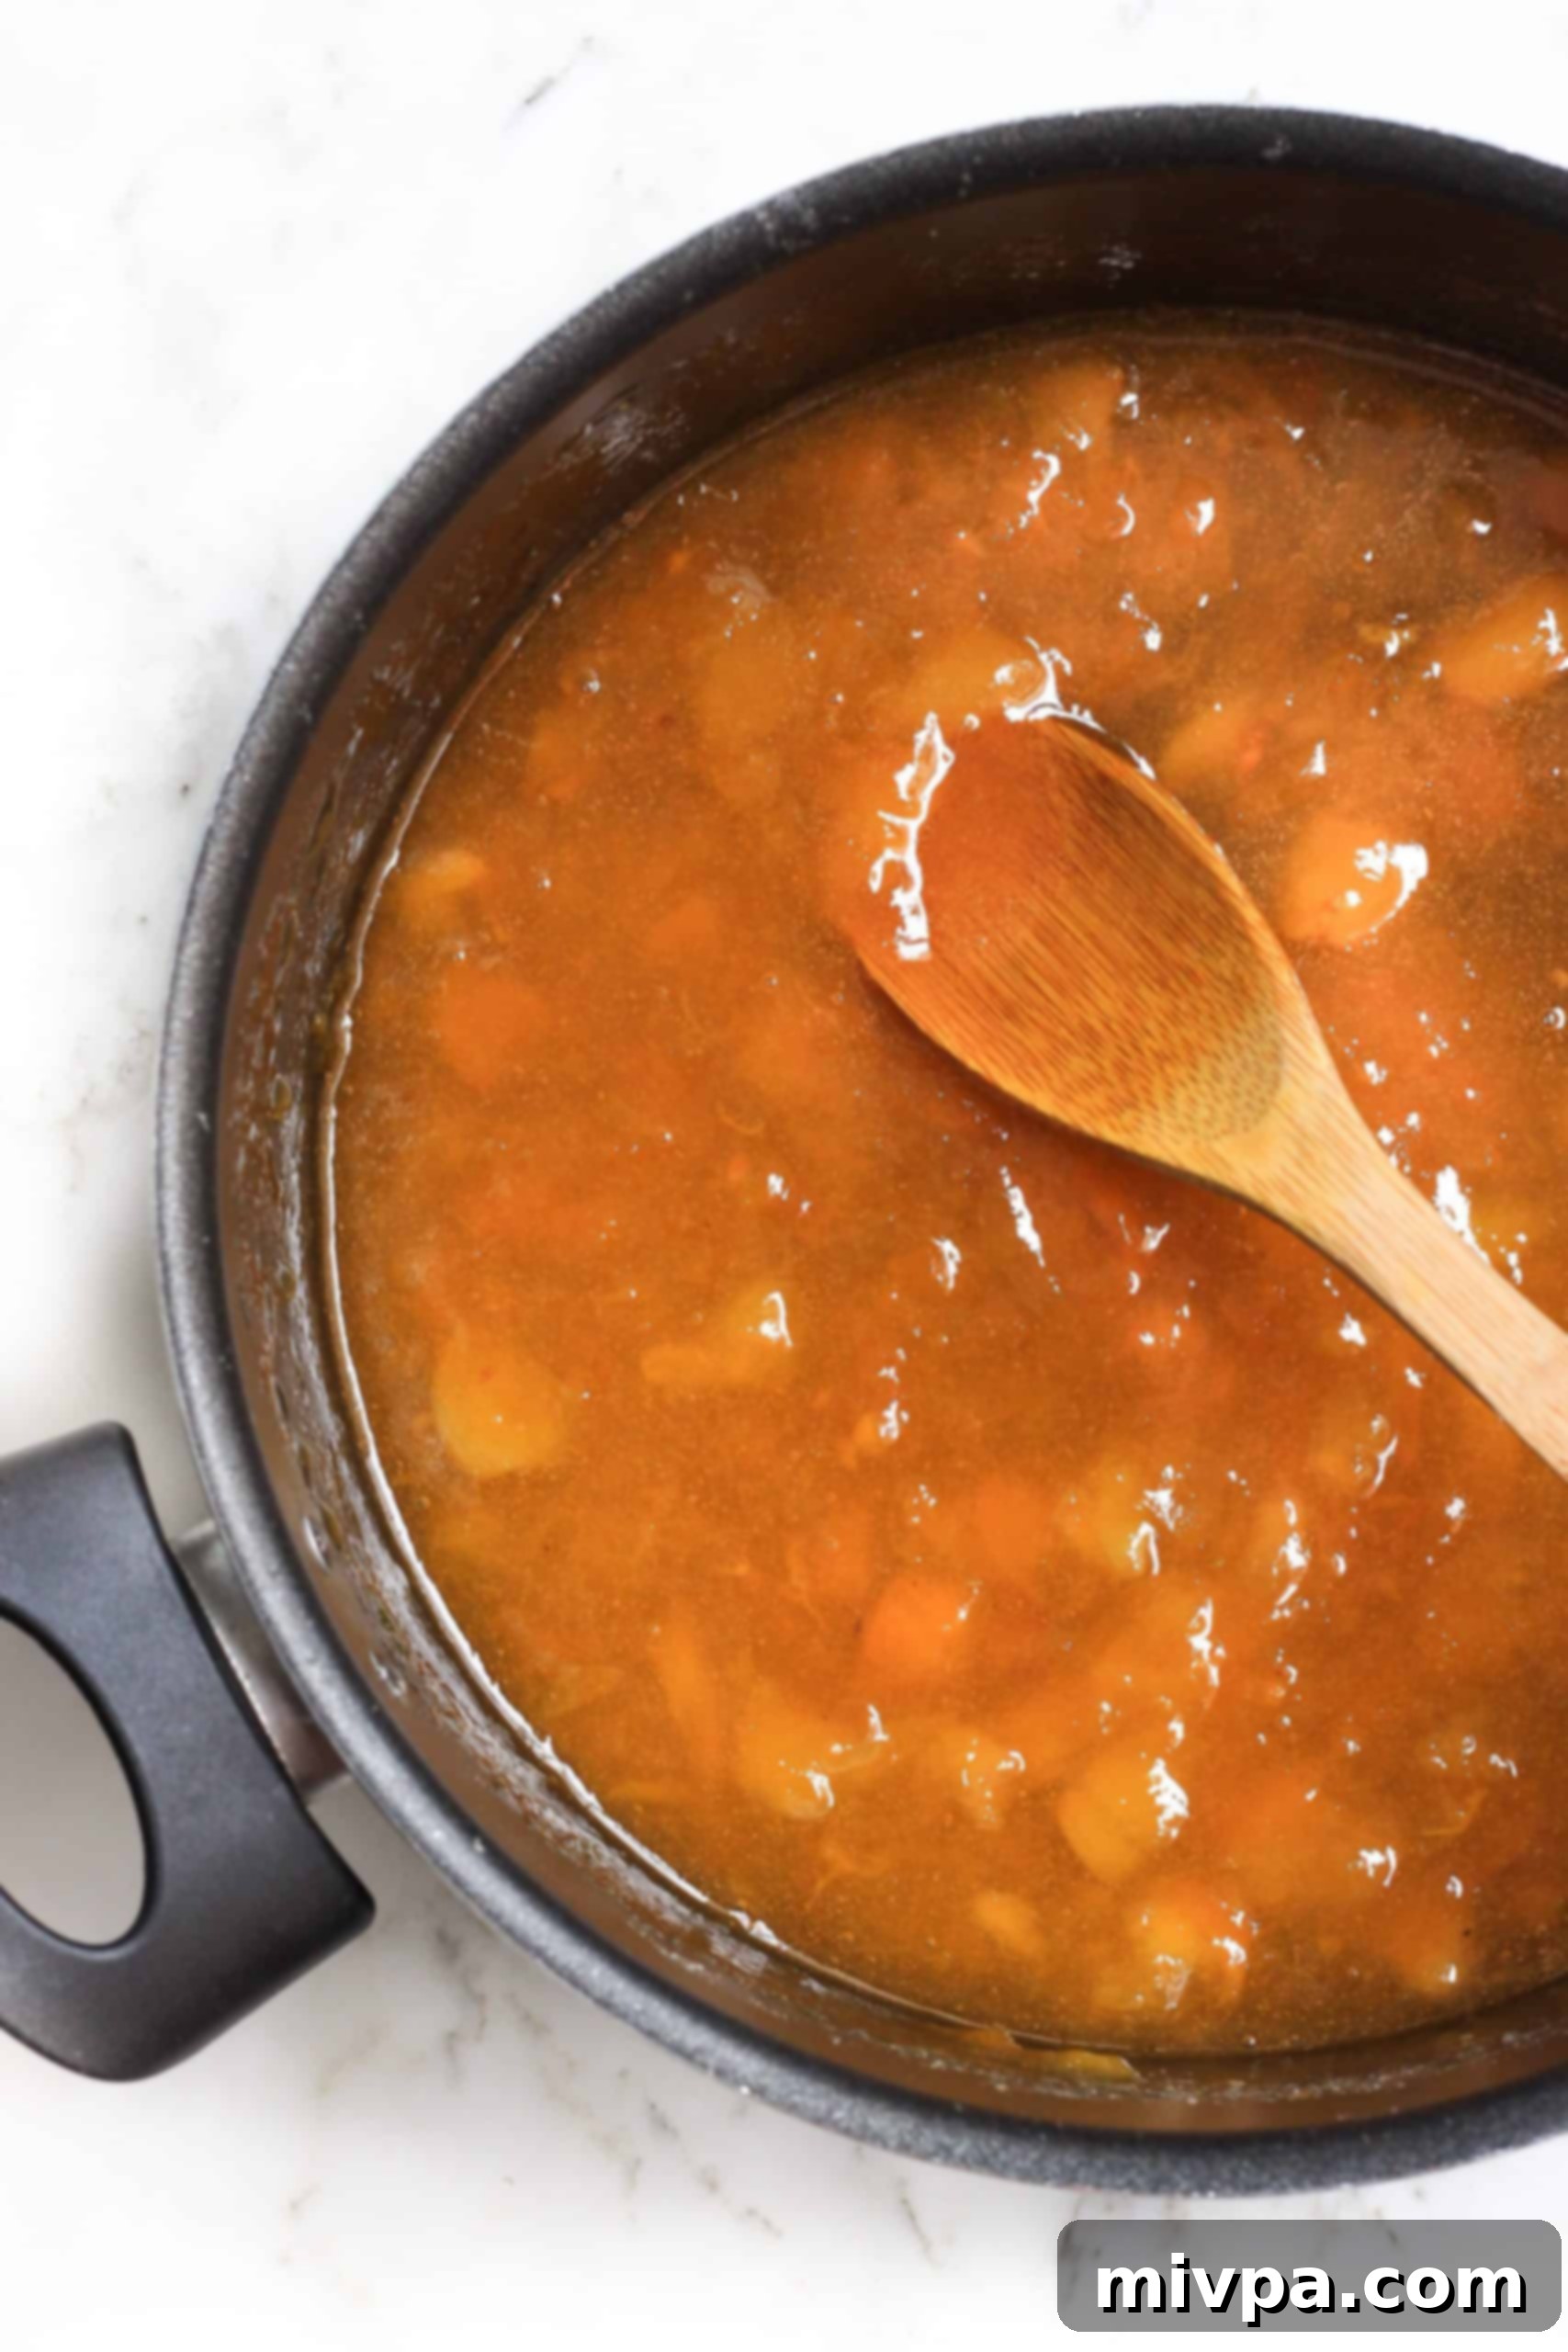
Once the jam mixture has reached a vigorous boil, reduce the heat to low. Allow the apricot mixture to gently simmer for approximately 30 minutes, or until it reaches a thick, jam-like consistency. Throughout this simmering process, stir occasionally to prevent sticking and ensure even cooking. As the fruit softens, use a potato masher or the back of a spoon to mash the apricots to your desired consistency. If you prefer a smoother jam, mash more thoroughly; for a chunky jam, mash less. The jam is ready when it coats the back of a spoon and wrinkles when tested on a cold plate (see tips below for the wrinkle test!).
4. Cool and Prepare for Storage
Once your apricot jam has reached the desired thick, gel-like consistency, switch off the heat. If you notice any foam forming on the surface of the hot jam, gently skim it off with a clean spoon; this ensures a clearer, more appealing finished product. Allow the apricot marmalade to stand in the pot for at least 10 minutes. This resting period allows the fruit to distribute evenly throughout the jam and helps it to set further as it cools slightly.
5. Jar Your Delicious Apricot Preserves
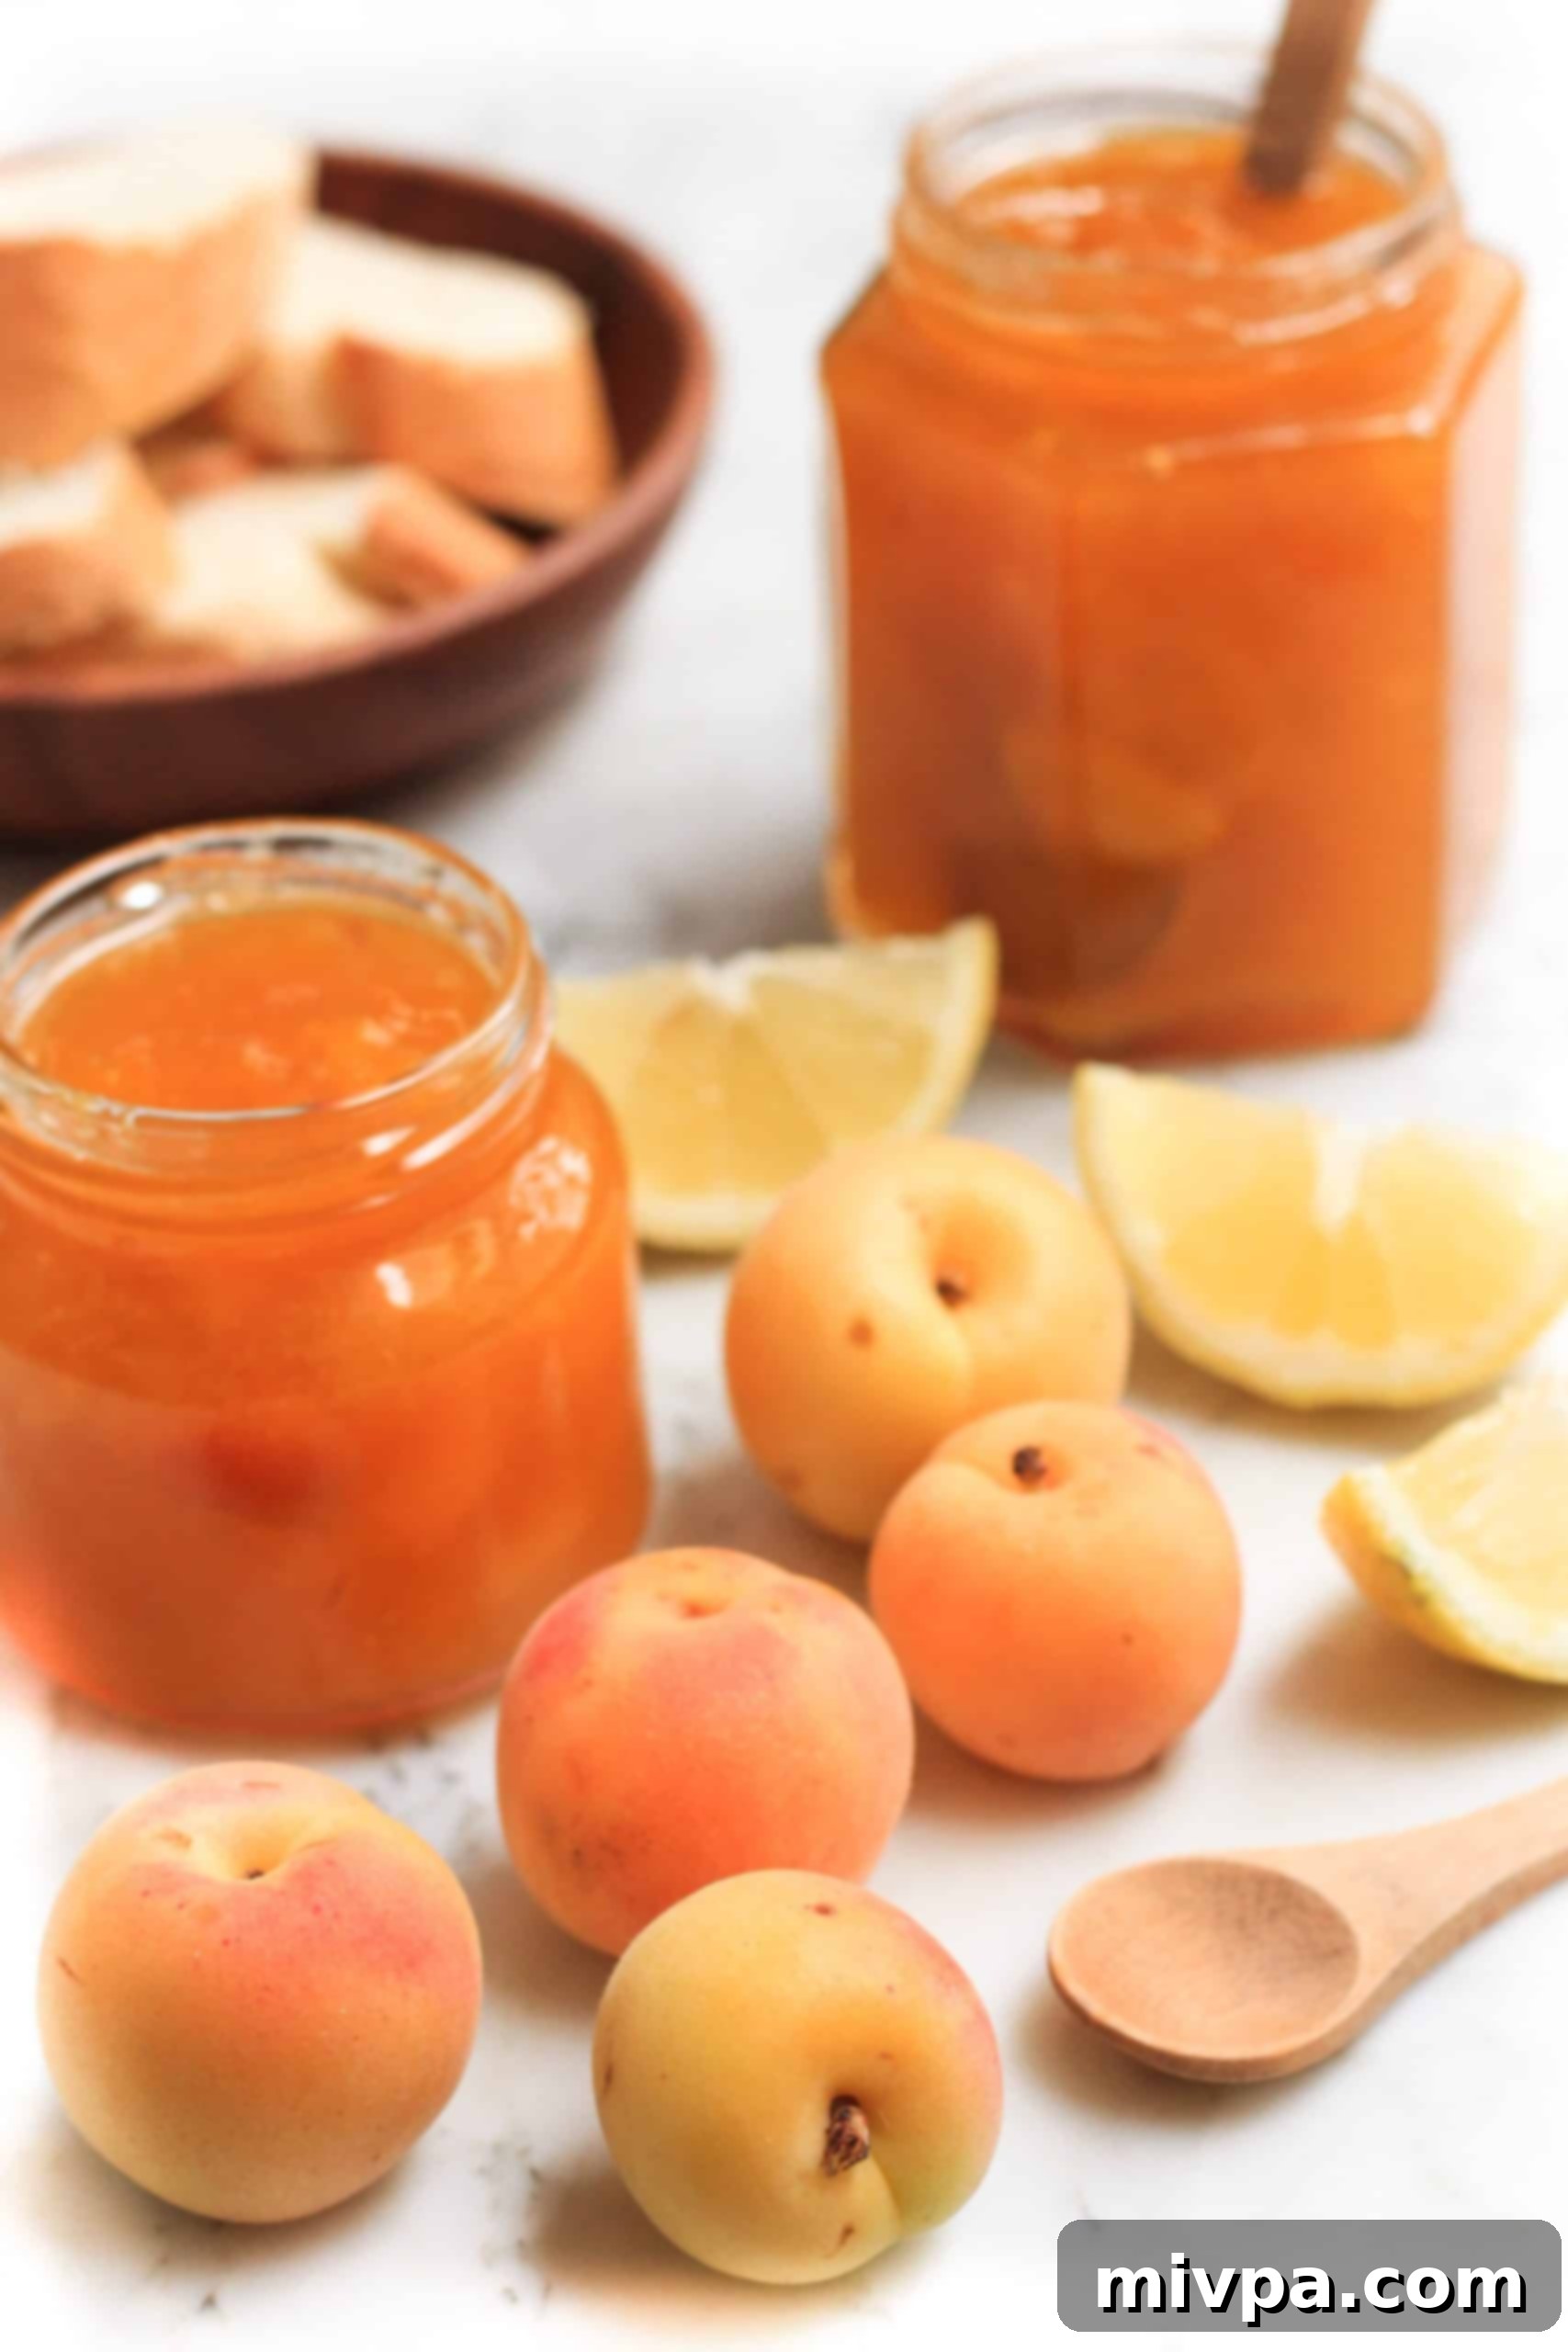
Once slightly cooled, carefully spoon the warm apricot preserves into thoroughly sterilized glass jars (half-pint jars are ideal). Fill the jars almost to the rim, leaving a small amount of headspace. Use a clean, damp cloth to wipe the rims of the jars clean, ensuring there’s no sticky residue that could prevent a proper seal. Screw on the lids and rings tightly. Allow the jars to stand at room temperature until they are fully cooled. As they cool, you should hear a “pop” as the lids seal, indicating proper preservation. Store in a cool, dark place for optimal shelf life.
Dish by Dish Tips & Expert Tricks for Perfect Jam:
Achieving a perfect homemade jam is easy with a few key considerations. Here are my top tips and tricks to ensure your apricot jam turns out beautifully every time:
- The Golden Rule: Never Skip the Lemon Juice! Since this recipe prides itself on being pectin-free, the lemon juice is an absolute non-negotiable ingredient. The acidity in the lemon juice is vital as it reacts with the fruit’s natural pectin to create the desired gel-like consistency we all love in a good jam. Without it, your jam is likely to remain runny and syrupy, rather than firm and spreadable.
- The Importance of Sterilized Glass Jars: To ensure the longevity and safety of your homemade apricot preserves, it is absolutely crucial to properly sterilize your glass jars before filling them. This step eliminates any bacteria or mold spores that could otherwise lead to spoilage. Sterilization can be done by boiling jars in water, running them through a hot dishwasher cycle, or heating them in the oven.
- How to Test for Set (The Wrinkle Test): To check if your jam has reached its perfect set, place a small plate in the freezer before you start cooking. When you think the jam is ready, spoon a small amount onto the cold plate. Let it sit for 30 seconds, then push it with your finger. If the surface wrinkles, your jam is ready! If not, continue cooking for a few more minutes and re-test.
- Choosing the Best Apricots: The quality of your jam starts with the quality of your fruit. Opt for ripe, firm, and fragrant apricots without any bruises. Riper apricots will have more natural pectin and a richer flavor, contributing to a better-set and more delicious jam.
- Don’t Overfill Jars: Leave a small headspace (about 1/4 inch) at the top of the jars. This allows for proper sealing and prevents issues during storage.
Common Questions About Apricot Jam (FAQs):
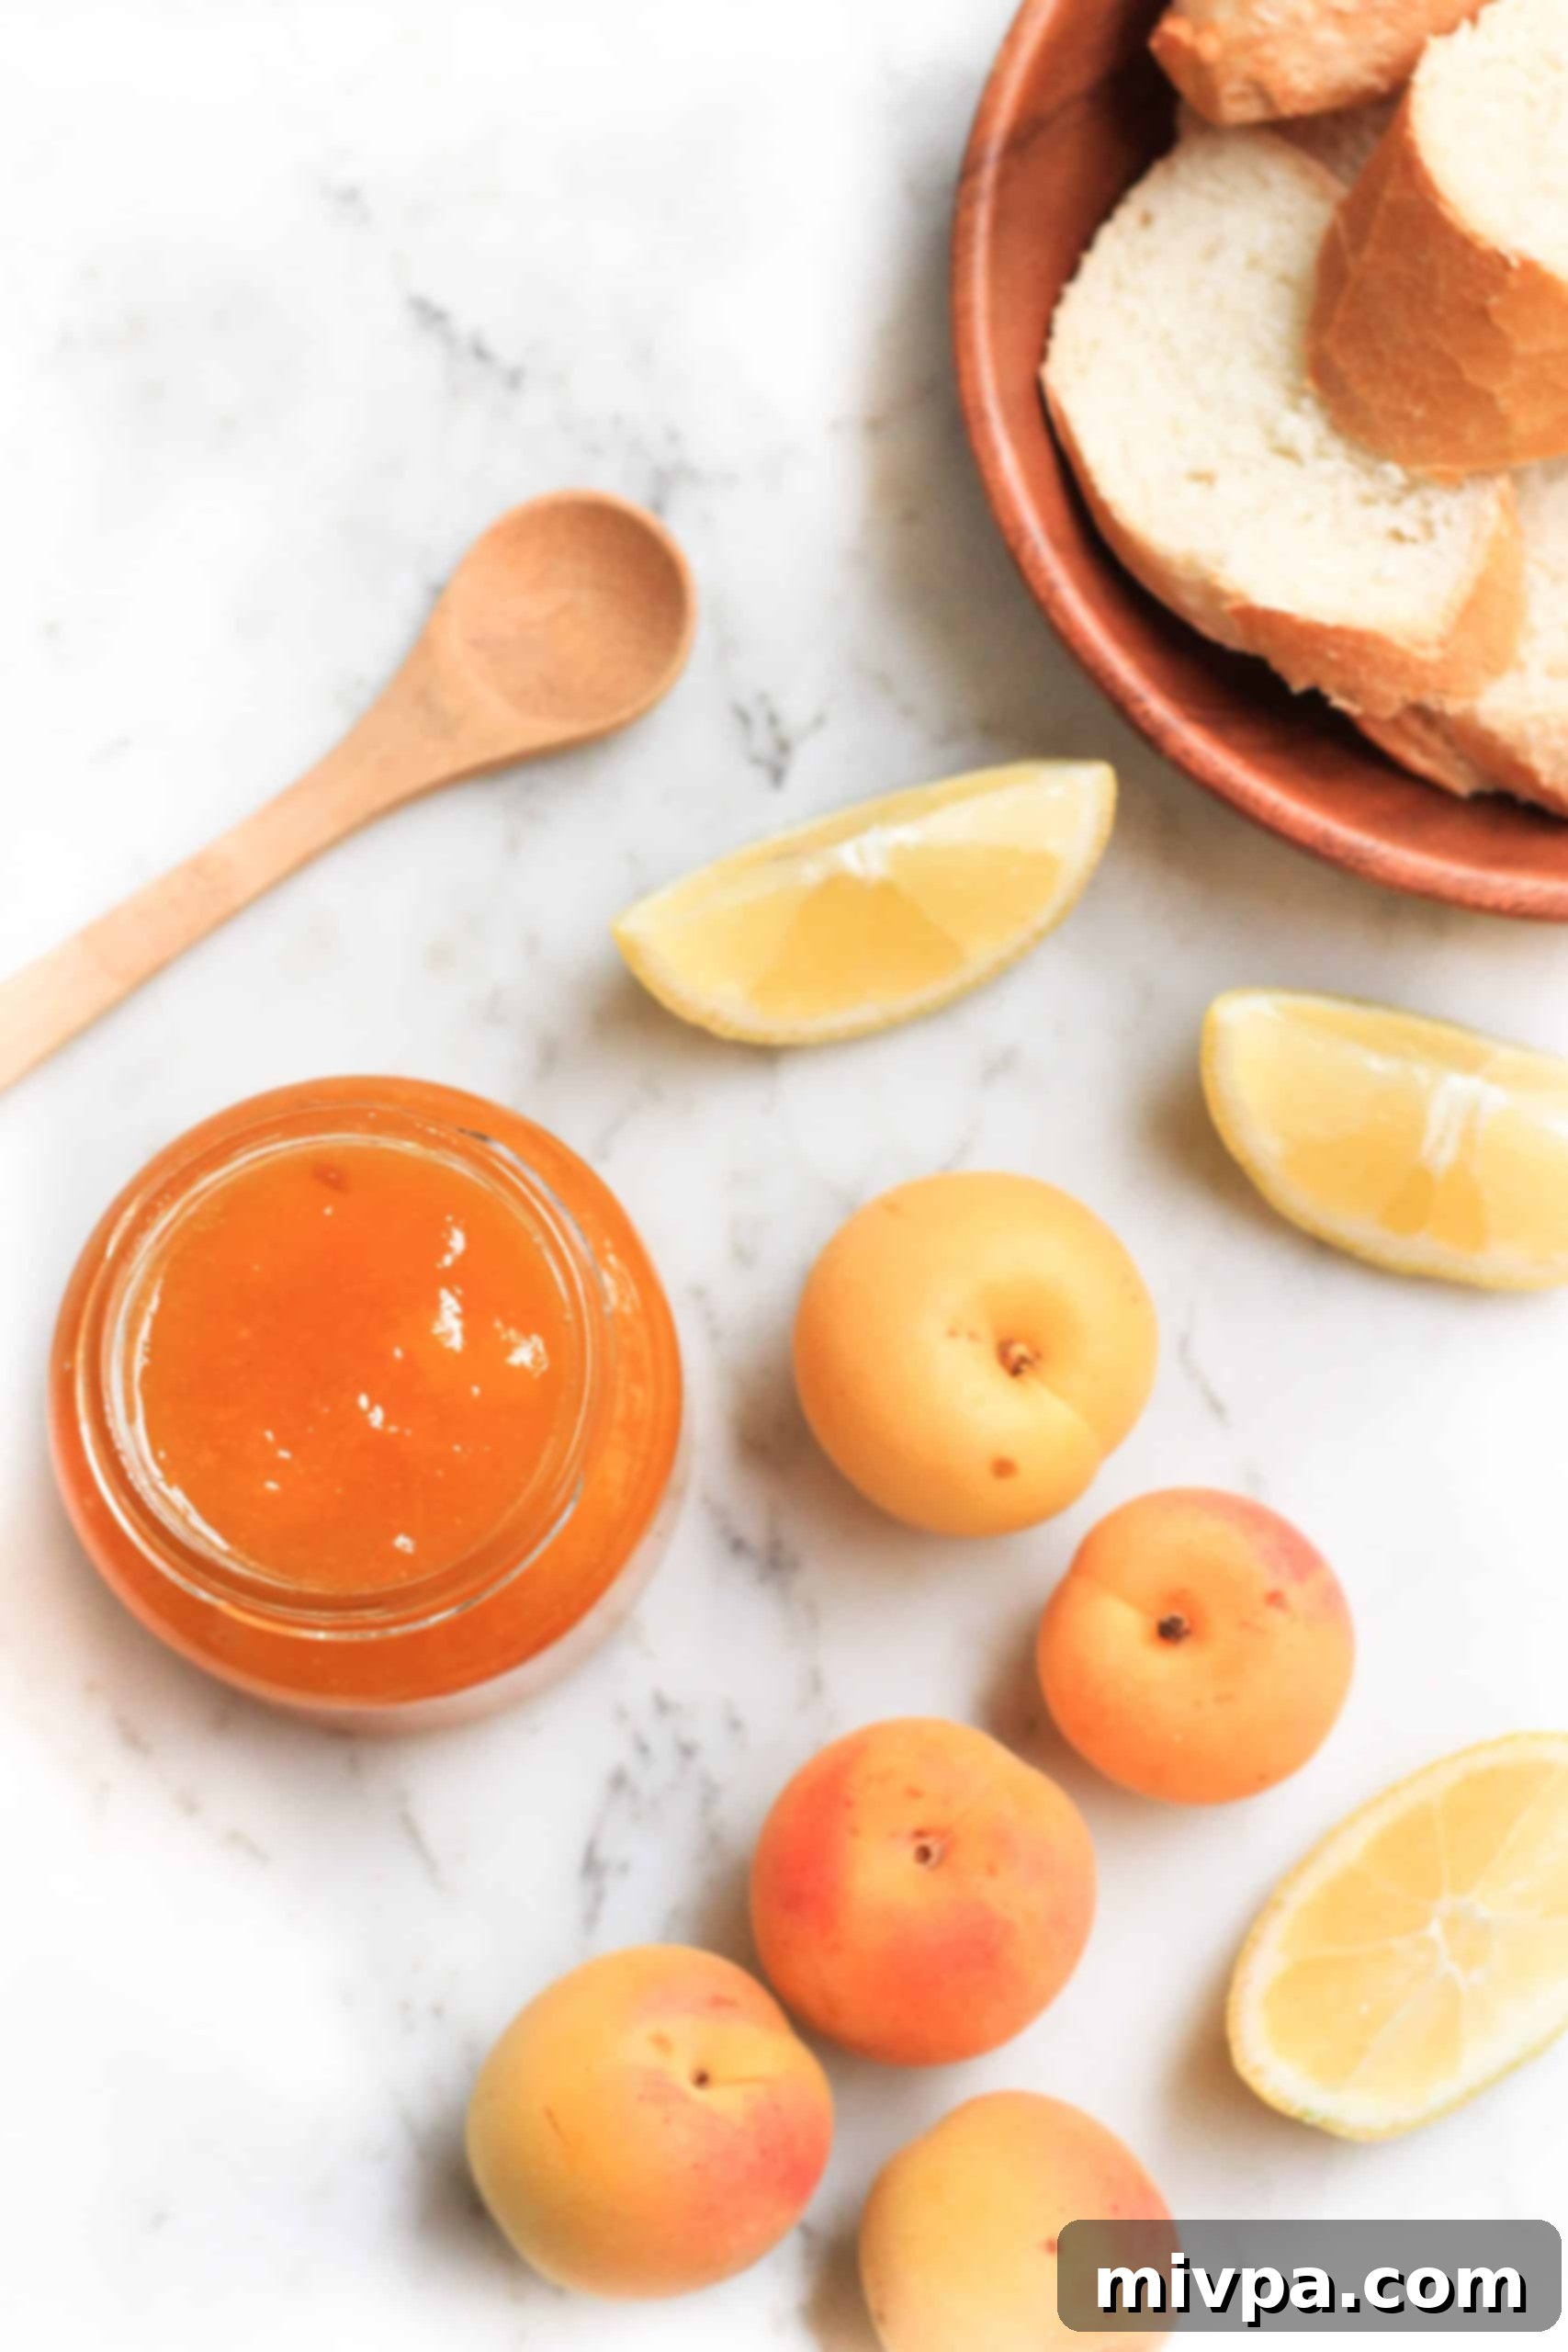
Properly canned and sealed apricot marmalade can be stored in a cool, dark place away from direct sunlight for up to a year. This makes it an excellent pantry staple! Once a jar has been opened, it’s crucial to store the jam in the refrigerator, where it will maintain its quality for up to 3 months. Always ensure the lid is tightly sealed to prevent spoilage.
While I personally prefer and highly recommend using fresh lemon juice for its superior bright flavor and aroma, which truly complements the apricots, bottled lemon juice will certainly work in this recipe. The key is the acidity, which is present in both. If fresh lemons are unavailable, feel confident using bottled lemon juice to achieve the necessary acidity for setting the jam. The important thing is not to skip it!
No, it is generally not necessary to peel apricots before making jam or canning them. The skins of apricots are quite thin and soften significantly during the cooking process, adding to the jam’s texture and contributing natural pectin. Simply make sure to wash them thoroughly clean before halving, coring, and cutting the apricots into small pieces.
If your jam isn’t setting, a few factors could be at play. The most common reasons are insufficient cooking time (it needs to reach the proper gelling point), too little lemon juice (which provides essential acidity for pectin activation), or using under-ripe fruit (which has less natural pectin). Ensure you’ve followed the cooking times, used the correct amount of lemon juice, and chosen ripe apricots. Continue simmering and re-test with the wrinkle test until the desired consistency is achieved.
While some jam recipes allow for sugar reduction, it’s generally not recommended to reduce it significantly in this pectin-free recipe. Sugar plays a vital role beyond just sweetness; it’s critical for the jam’s setting ability and acts as a natural preservative. Reducing sugar too much may result in a runny jam that is more prone to spoilage. If you prefer less sweet, ensure your apricots are very ripe and consider adding a little extra lemon juice to boost the natural pectin activation, but do so with caution.
Delicious Ways to Enjoy Your Homemade Apricot Jam:
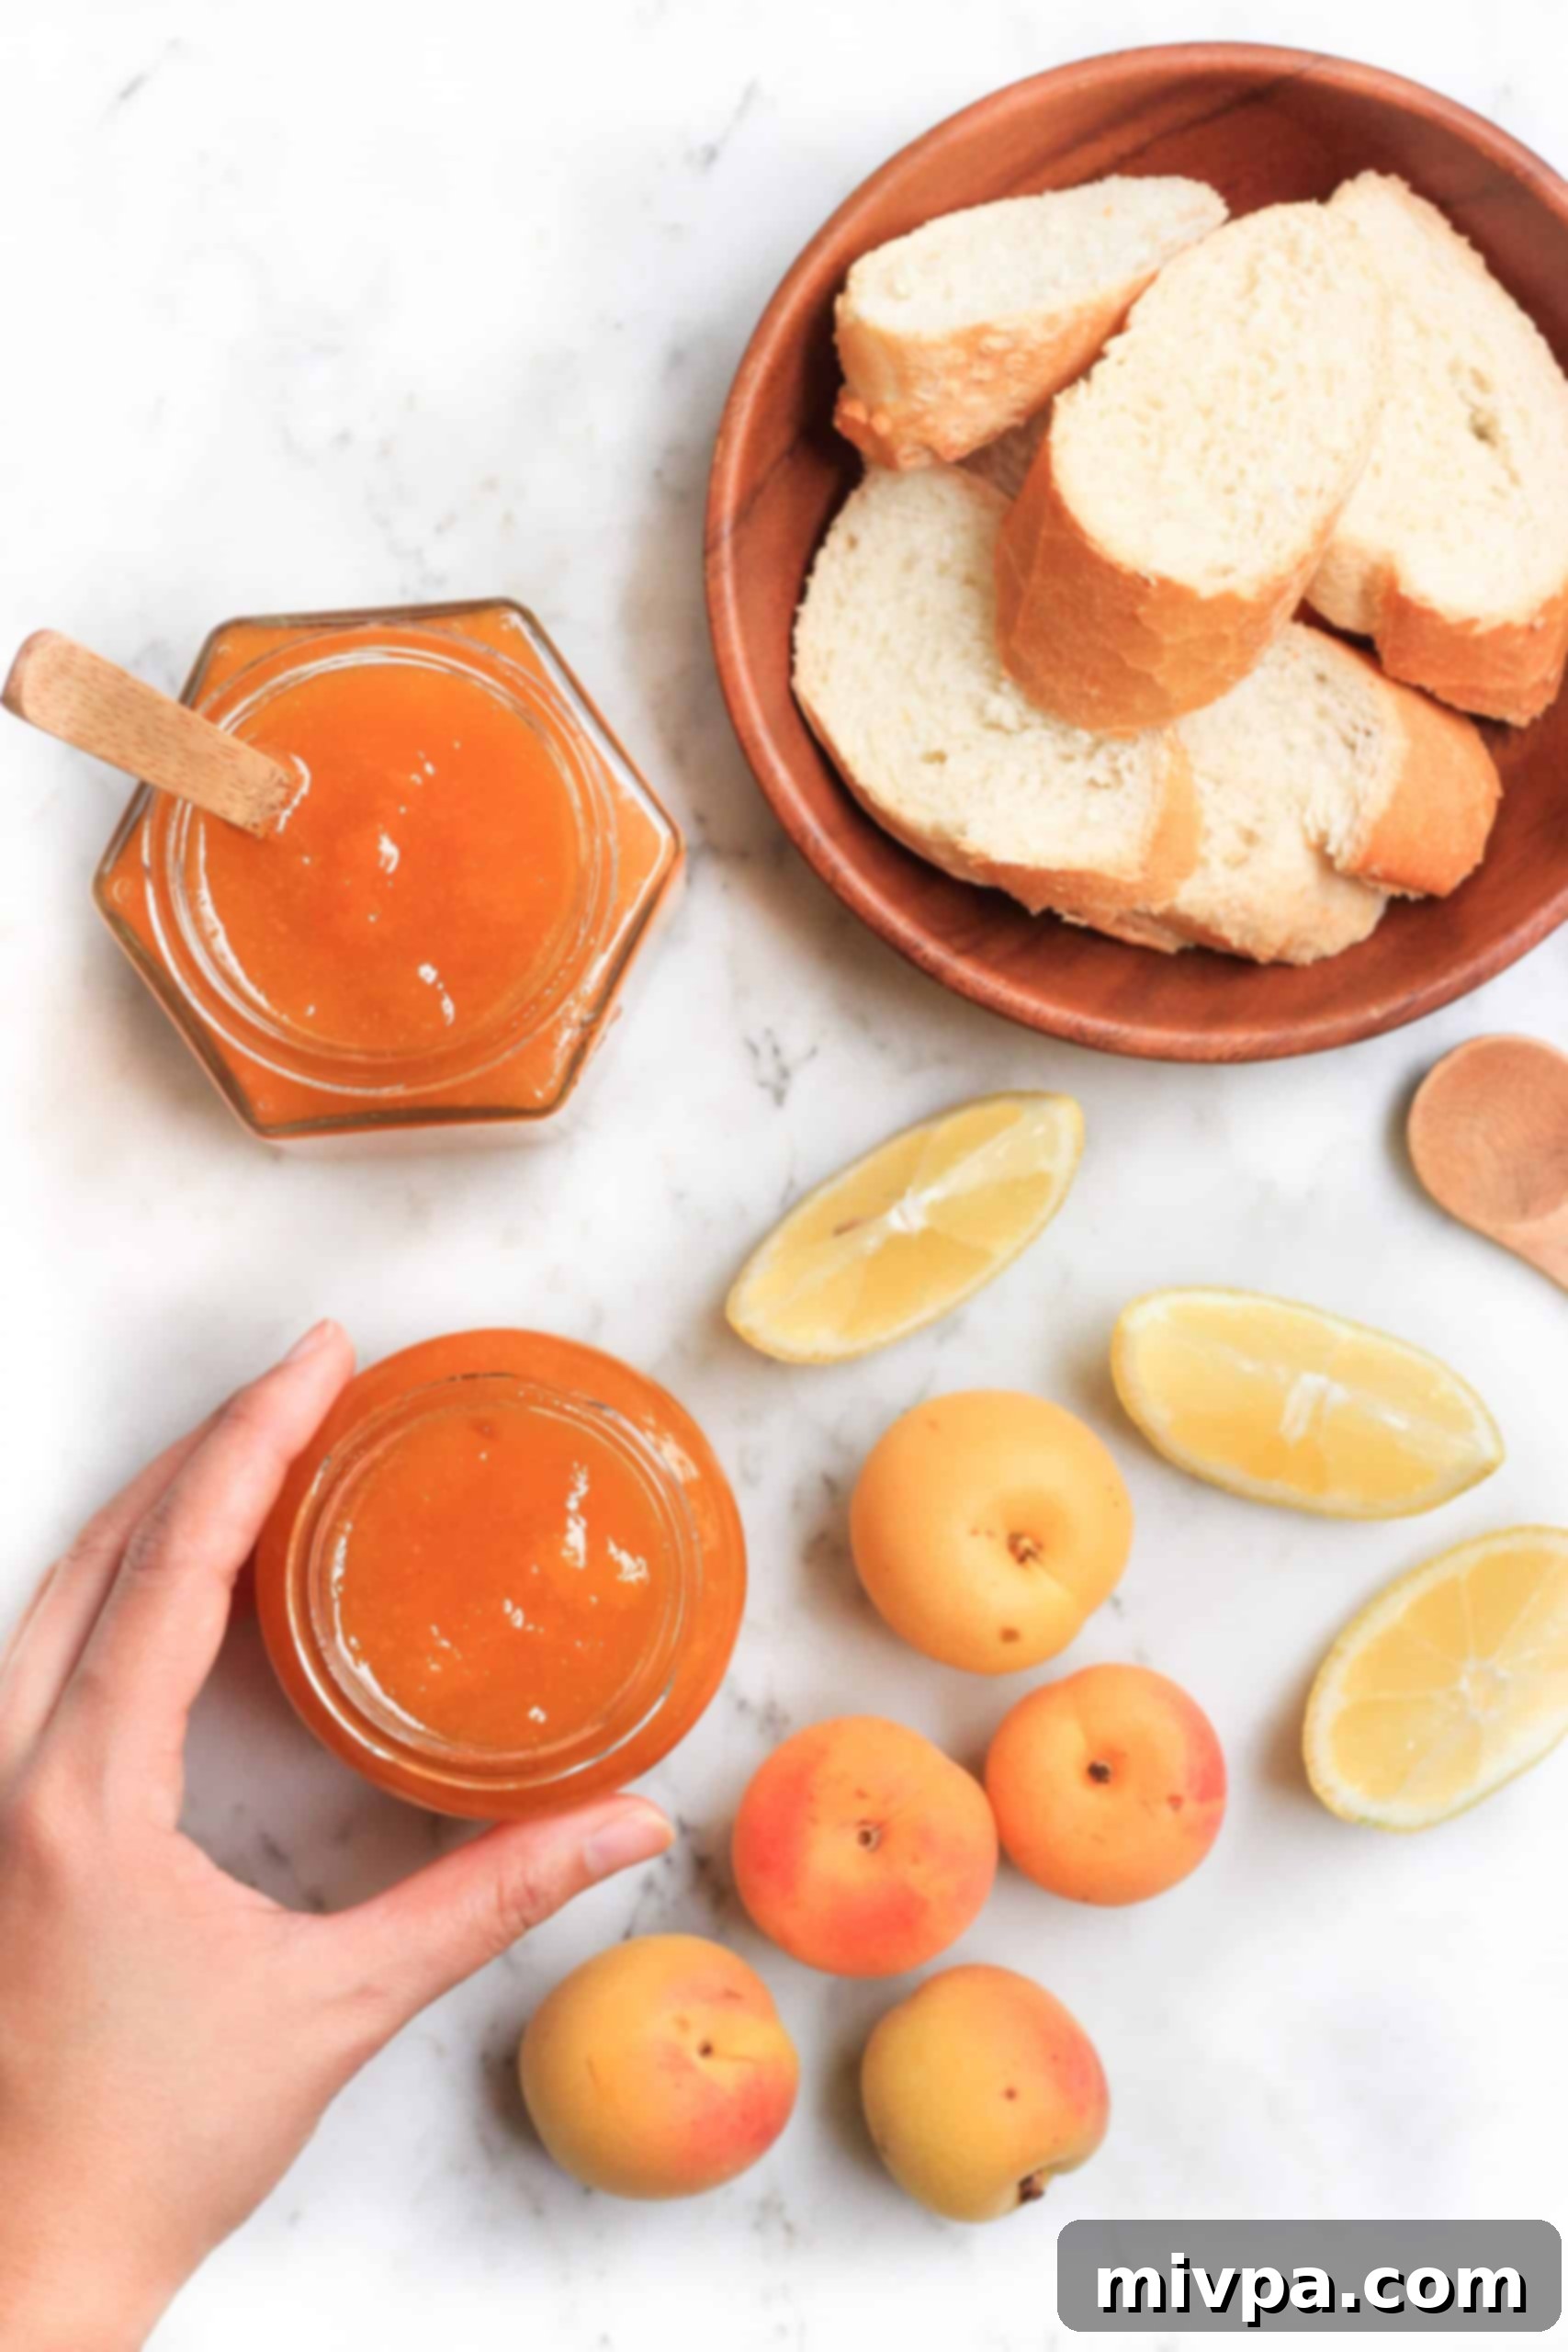
Now that you’ve mastered how to make this delightful apricot jam, the next exciting question is: what wonderful treats can you pair it with? The possibilities are truly endless!
Juan and I adore beginning our mornings with a simple yet satisfying breakfast of warm toast generously spread with jam, accompanied by a steaming cup of tea. So, I wholeheartedly recommend enjoying this luscious apricot jelly with any of our favorite homemade bread recipes for an unparalleled breakfast experience:
- Soft, Fluffy Gluten-Free White Bread (Dairy-Free)
- Soft Buckwheat Bread (Gluten-Free, Dairy-Free)
- Fluffy Brown Rice Bread (Gluten-Free, Dairy-Free)
- Tender Sorghum Bread (Gluten-Free, Dairy-Free)
- Easy Gluten-Free No Knead Bread (Dairy-Free)
- Fluffy Low-Carb Buns (Gluten-Free, Paleo, Keto)
- Low-Carb Almond Flour Bread (Gluten-Free, Paleo)
- Low-Carb Coconut Flour Bread (Gluten-Free, Paleo)
Beyond bread, consider these delightful pairings:
- Cheese Boards: Apricot jam pairs beautifully with soft cheeses like brie, goat cheese, or sharp aged cheddar.
- Pastries & Desserts: Use it as a filling for tarts, thumbprint cookies, croissants, or even as a glaze for cakes.
- Yogurt & Oatmeal: Stir a spoonful into your morning yogurt, overnight oats, or hot oatmeal for a burst of fruity flavor.
- Savory Dishes: Don’t limit it to sweet! A dollop of apricot jam can be a fantastic accompaniment to roasted chicken or pork, adding a sweet and tangy element.
- Pancakes & Waffles: Drizzle over a stack of fluffy pancakes or waffles instead of syrup.
Explore More Homemade Jam Recipes You’ll Love:
If you enjoyed making this apricot jam, you’ll surely love exploring other fruit-filled creations from my kitchen. Here are some more of my favorite homemade jam and marmalade recipes that are also gluten-free and vegan, perfect for any season:
- Easy Plum Jam (Gluten-Free, Vegan)
- Mixed Berry Jam (Gluten-free, Vegan)
- Strawberry Chia Seed Jam (Gluten-Free, Vegan)
- Easy Kumquat Marmalade (Gluten-Free, Vegan)
- Homemade Fig Jam (Gluten-Free, Vegan)
- Homemade Peach Jam (Gluten-Free, Vegan)
- Homemade Strawberry Jam (Gluten-Free, Vegan)
- Homemade Grapefruit Marmalade (Gluten-Free, Vegan)
More Refreshing Spring/Summer Recipes to Try:
Beyond jams, the warmer months inspire a wealth of fresh and vibrant dishes. Here are a few other delightful spring and summer recipes to brighten your table:
- Caprese Pesto Pasta Salad (Gluten-Free)
- Easy Peach Fruit Leather (Gluten-Free, Vegan)
- Easy Gluten’Free S’mores Bars (Dairy-Free Option)
- Orange Jicama Salad (Gluten-Free, Vegan)
P.S. If you try this incredible easy apricot jam recipe, I’d absolutely love for you to leave a star rating below and/or a thoughtful review in the comment section further down the page. Your feedback is always deeply appreciated and helps others discover these delicious recipes. Be sure to explore my entire Recipe Index for all the culinary delights on the blog. You can also follow me on Pinterest, Facebook or Instagram to stay connected! Don’t forget to sign up for my Email List to get fresh, inspiring recipes delivered straight to your inbox each week!
Print

Easy Apricot Jam Recipe (Gluten-free, Vegan, Pectin-Free)
5 Stars
4 Stars
3 Stars
2 Stars
1 Star
5 from 4 reviews
-
Author:
felicia | Dish by Dish -
Total Time:
50 minutes -
Yield:
2 16oz jars -
Diet:
Gluten Free
Description
This easy apricot jam recipe is made with just 3 simple ingredients and is ready in under an hour! Perfect for spreading on homemade bread or English muffins for breakfast, drizzling over homemade yogurt or ice cream, or even eating it by the spoonful, this homemade apricot jam is totally gluten-free, vegan, and pectin-free. Learn how to make apricot jam at home today!
Ingredients
Units
Scale
- 2 pounds fresh apricots
- 2 cups granulated sugar
- 1 1/2 tablespoons fresh lemon juice
Instructions
- Prepare the Apricots: Wash and thoroughly dry the apricots. Slice them into halves to remove the stones, then cut the fruit into smaller, uniform pieces.
- Combine Ingredients in Pot: In a large, heavy-bottomed pot or Dutch oven, combine the diced apricots, sugar, and lemon juice. Bring the mixture to a rolling boil over medium-high heat, stirring frequently.
- Simmer, Stir and Mash: Reduce the heat to low and let the mixture simmer gently for approximately 30 minutes, or until it reaches a thick, jam-like consistency. Stir occasionally and mash the fruit with a potato masher to your preferred texture as it cooks.
- Cool and Transfer to Jars: Once the jam achieves a thick consistency and passes the wrinkle test, switch off the heat. Skim off any foam. Let the apricot jam stand for at least 10 minutes in the pot before carefully spooning the warm jam into sterilized glass jars. Wipe the rims clean and seal tightly.
Notes
Apricots: While apricots are the star, feel free to use other stone fruits like plums or peaches in equal quantities if apricots are unavailable or if you wish to experiment with different flavors. Ensure fruits are ripe for best results.
Sugar: Granulated white sugar is recommended for a clean taste, but light brown sugar can be used for a deeper flavor. Do not omit or drastically reduce sugar, as it is crucial for both setting the jam (by interacting with pectins and acids) and acting as a natural preservative, preventing mold growth.
Lemon Juice: Fresh lemon juice offers the best flavor, but bottled works too. This ingredient is essential! Its acidity is vital for activating the fruit’s natural pectins, helping the jam to set properly and preventing it from becoming runny.
Use Sterilized Glass Jars: Always sterilize your glass jars thoroughly before filling them with jam. This critical step prevents the growth of bacteria or mold, ensuring your delicious homemade jam remains safe and extends its shelf life.
Storing: Unopened jars of jam can be stored in a cool, dark place away from direct sunlight for up to one year. Once a jar is opened, always keep it refrigerated and consume within 3 months for optimal freshness and safety.
This recipe was originally published in Nov 2016 but has since been republished to include clearer instructions, detailed ingredient notes, enhanced process shots, and additional tips for perfect homemade jam.
-
Prep Time:
10 mins -
Cook Time:
40 mins -
Category:
Jam -
Method:
Stovetop -
Cuisine:
American
