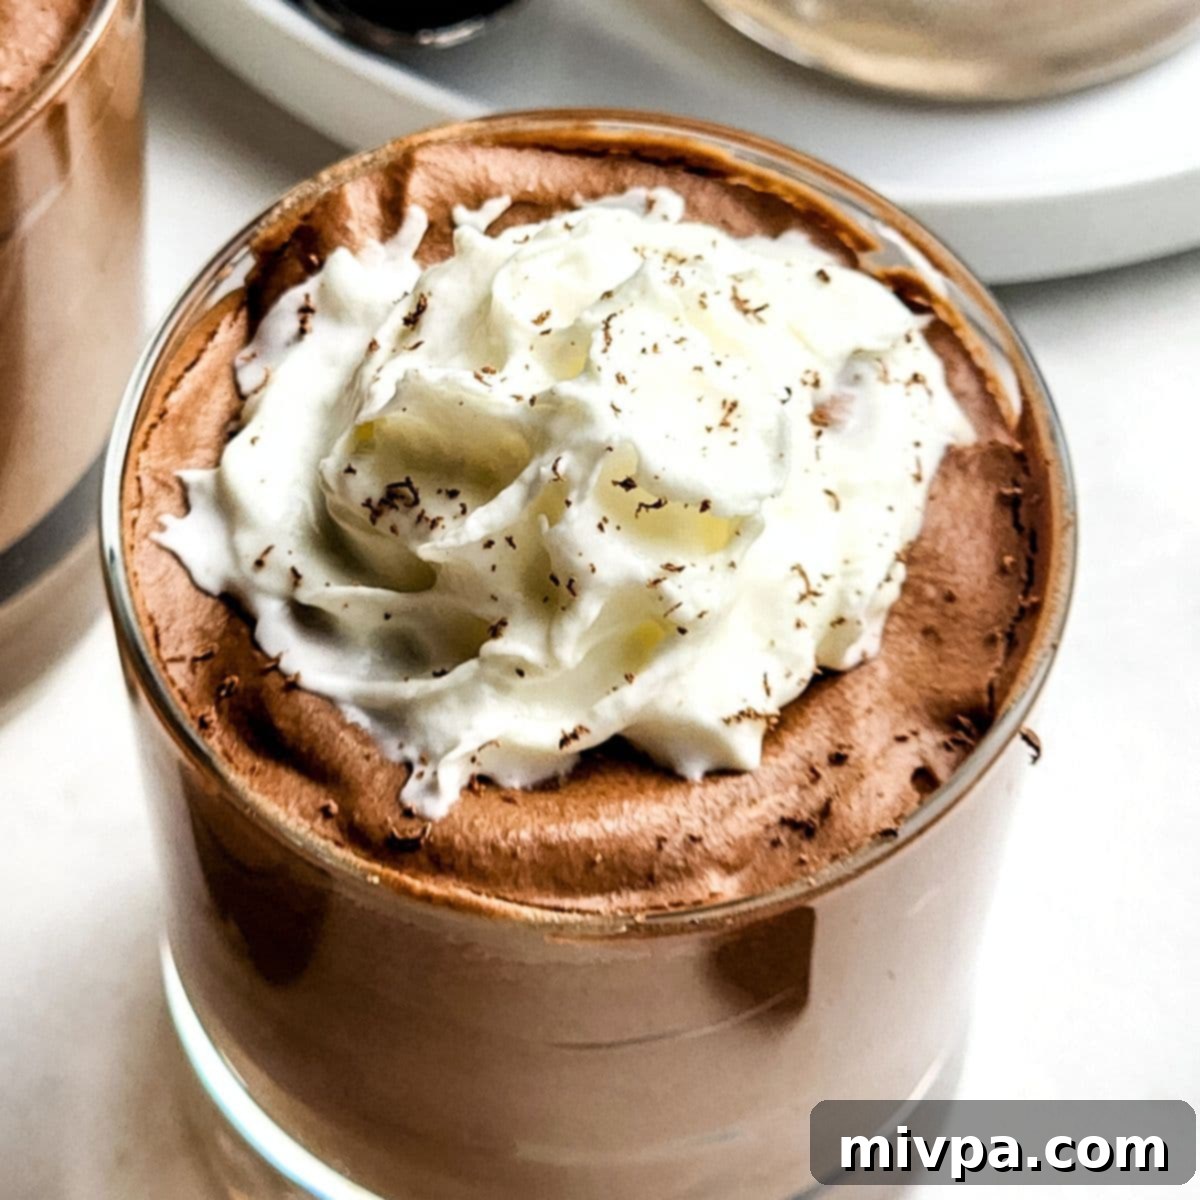
Decadent & Easy Gluten-Free Chocolate Mousse: The Ultimate 5-Ingredient Recipe for Chocolate Lovers
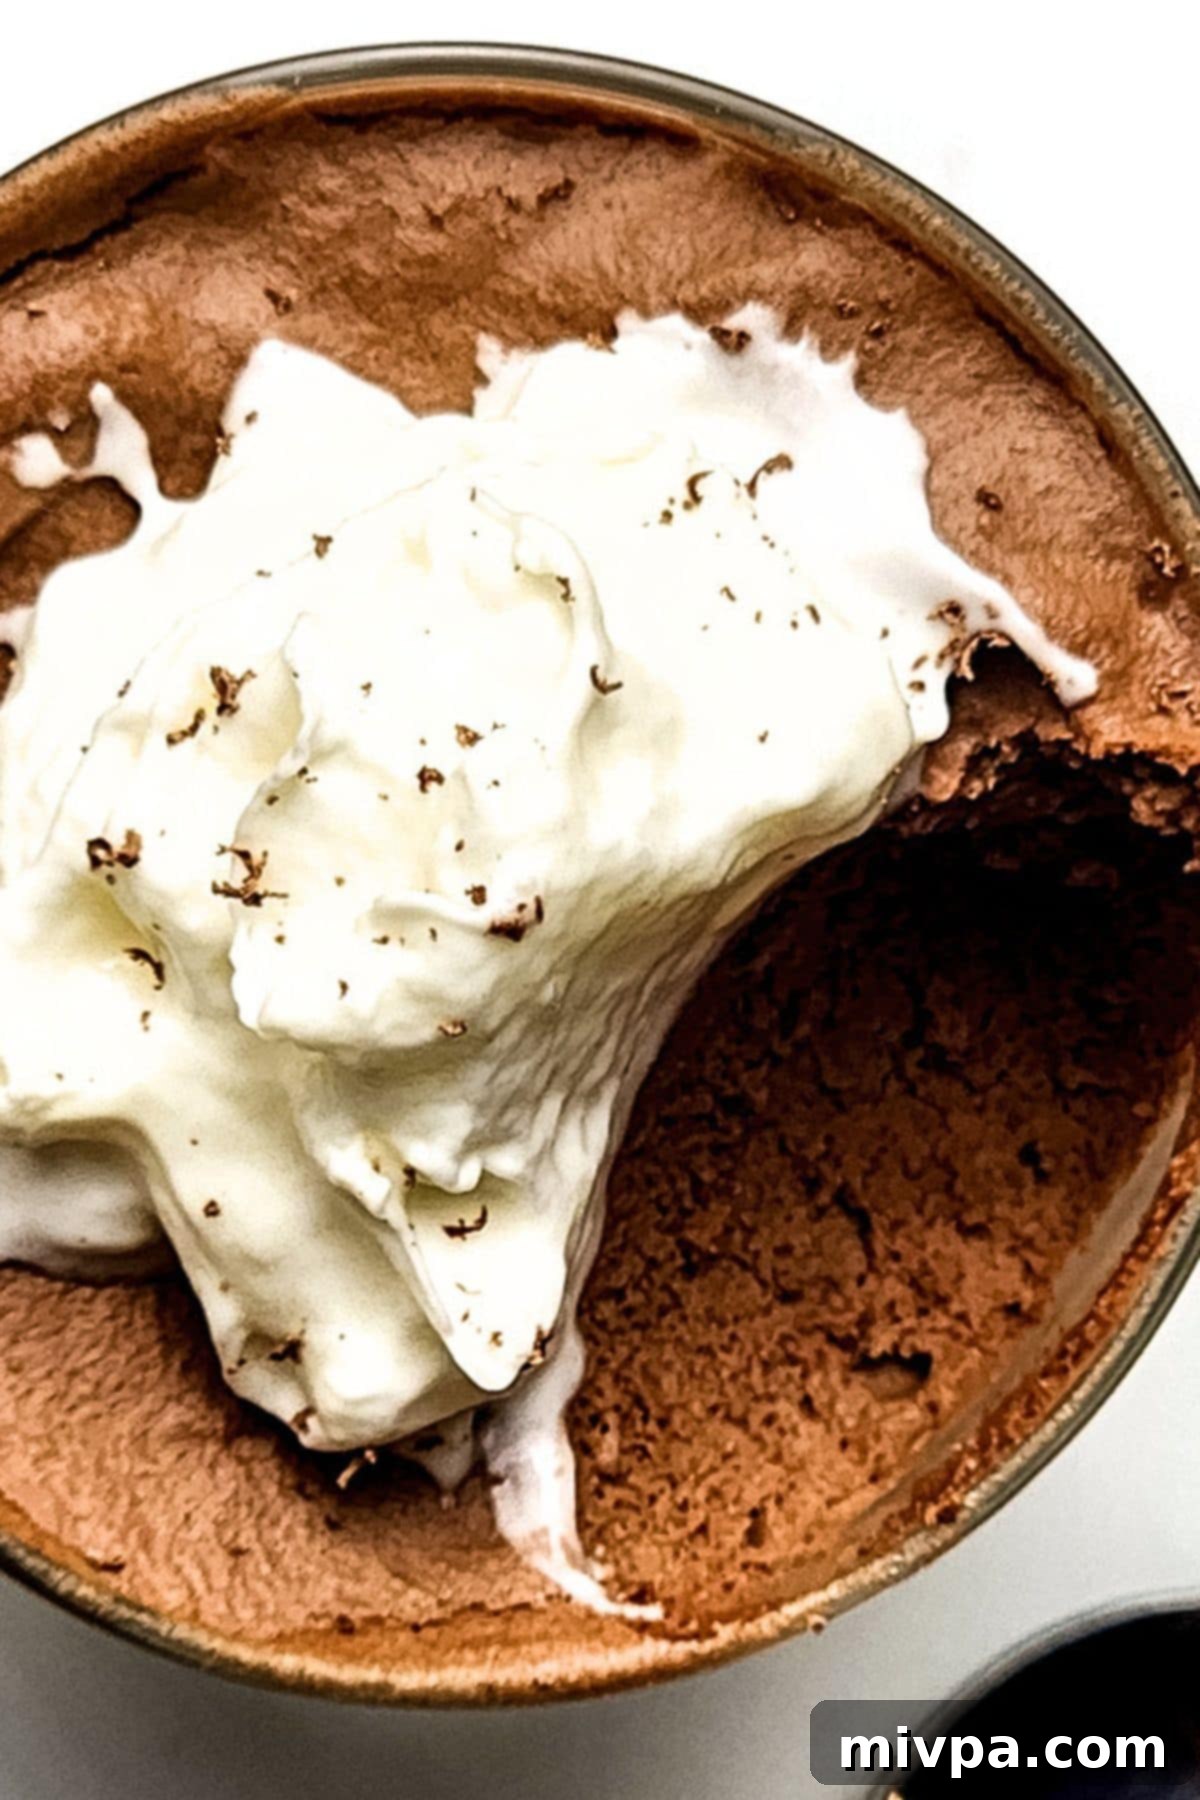
Prepare to indulge in the most exquisite gluten-free chocolate mousse you’ve ever tasted! This recipe transforms a handful of simple ingredients into a smooth, airy, and intensely flavorful dessert that’s perfect for any occasion. Whether you’re hosting a dinner party or simply craving a rich chocolate treat, this 5-ingredient wonder is surprisingly easy to make and guaranteed to impress. Top it with luscious whipped cream and delicate chocolate shavings for an extra touch of decadence.
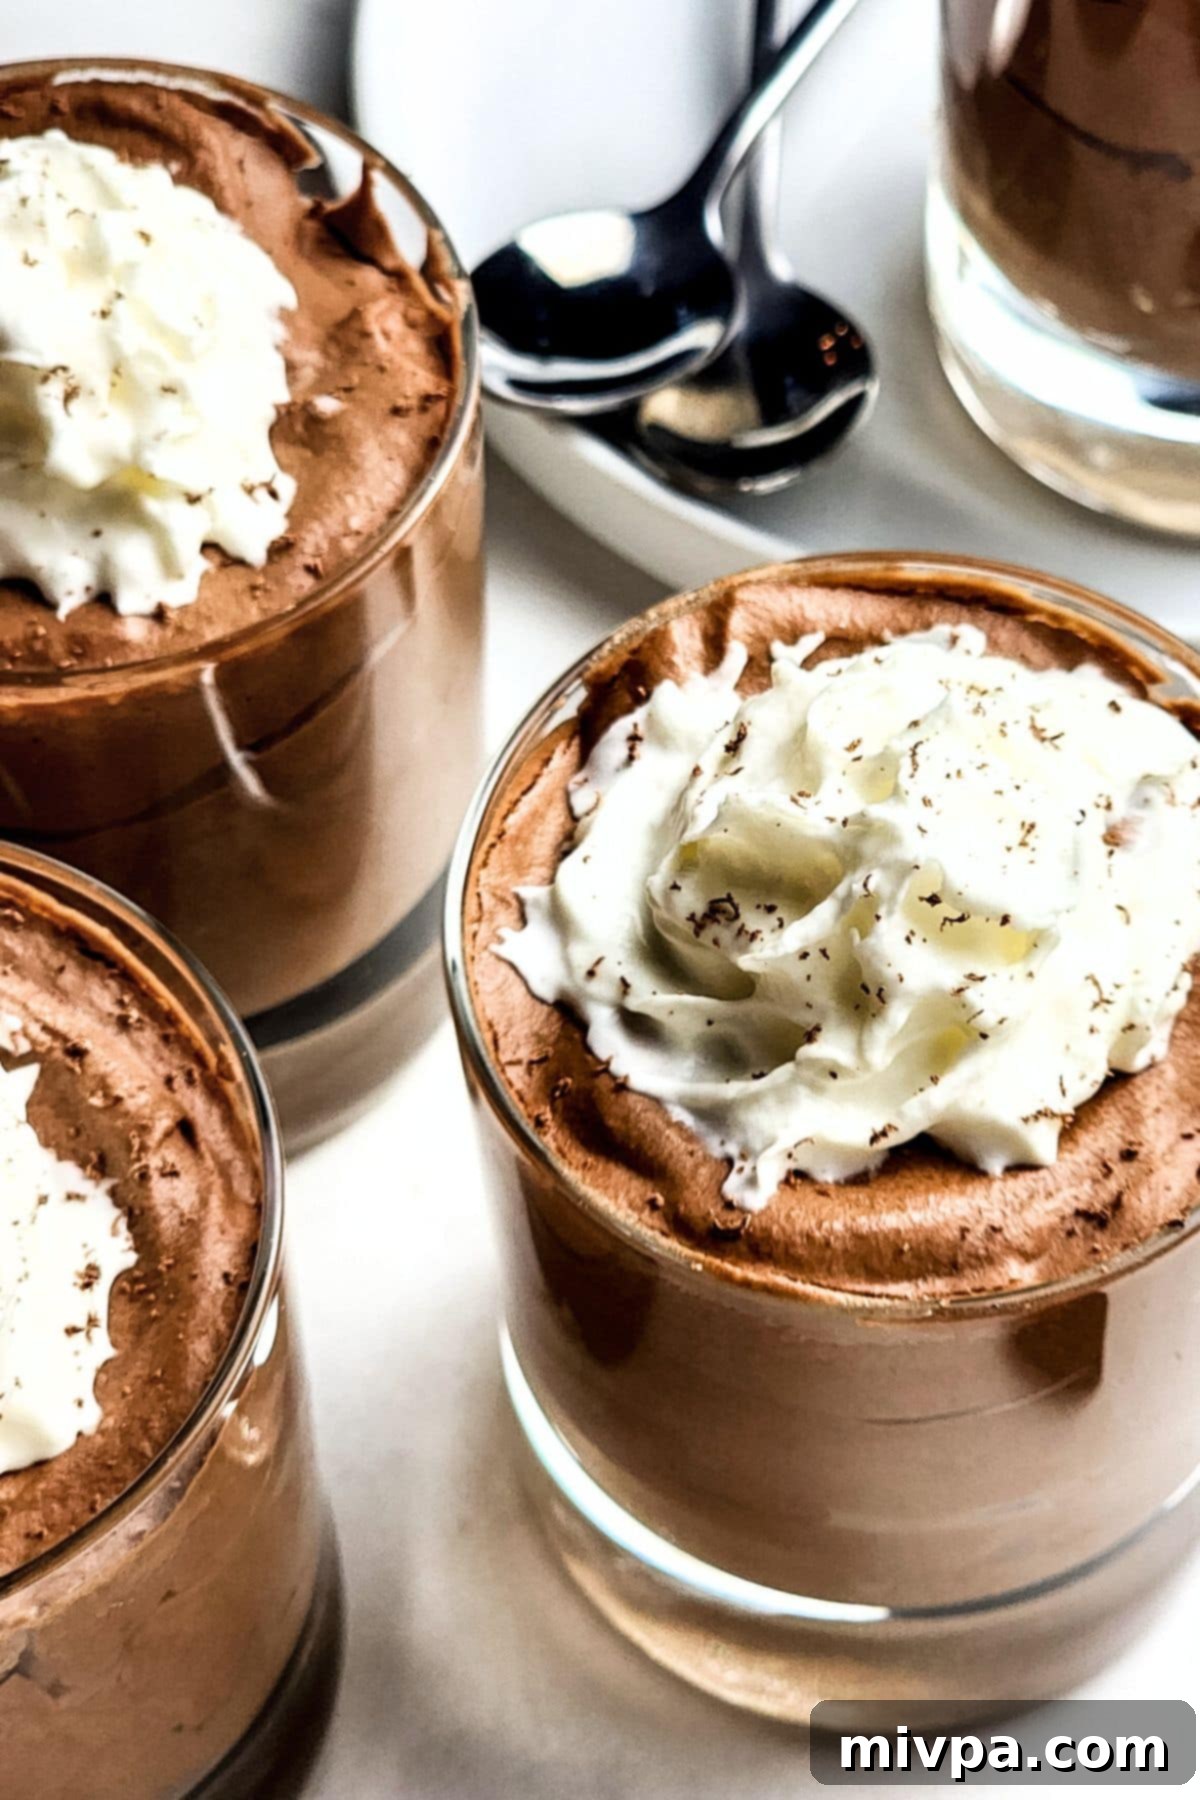
Chocolate Lovers, Your Dream Dessert Awaits!
For those of us with a profound love for all things chocolate, the craving for a truly satisfying dessert hits hard and often. While a generous slice of moist chocolate cake, a crunchy piece of chocolate almond bark, or a comforting bowl of creamy chocolate pudding can certainly hit the spot, there’s something uniquely luxurious about a perfectly crafted chocolate mousse.
If the thought of a soft, airy, and melt-in-your-mouth texture sends shivers of delight down your spine, then you are in for an unforgettable culinary experience with this rich chocolate mousse recipe. Get ready to fall head over heels for this intensely chocolatey dessert. This isn’t just a treat; it’s a showstopper. Keep this easy gluten-free chocolate mousse recipe close by, because it’s guaranteed to impress your guests at any dinner party, leaving them raving about its sophisticated simplicity.
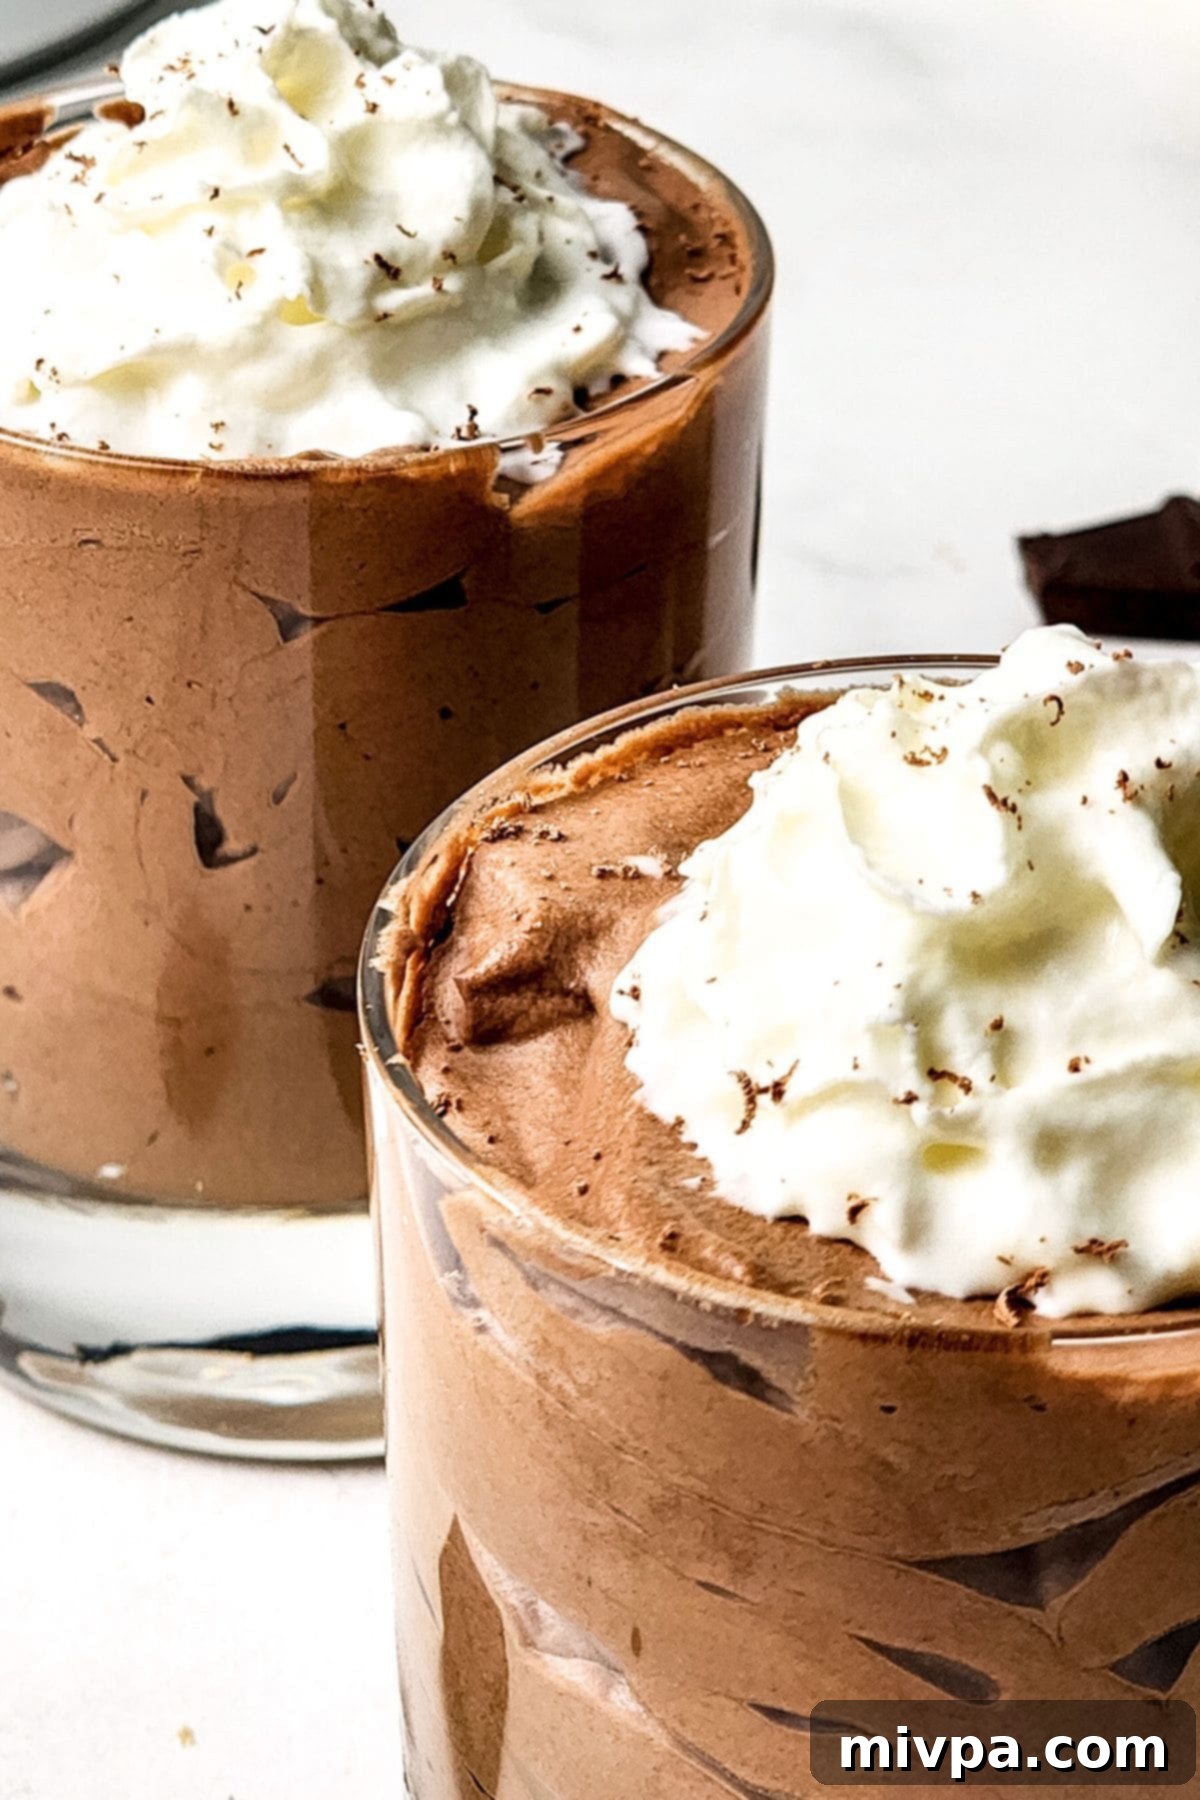
Why You’ll Adore This Easy Gluten-Free Chocolate Mousse Recipe
This creamy chocolate mousse isn’t just another dessert; it’s a game-changer, especially for those seeking delicious gluten-free options. Here’s why this recipe will become your new go-to:
- Only 5 Simple Ingredients: You read that right! This entire decadent dessert comes together with just five staple ingredients. Chances are, you already have most, if not all, of them in your pantry and fridge. This simplicity makes it a fantastic last-minute dessert option or a perfect choice for beginner bakers. You won’t need a trip to a specialty store for obscure ingredients, just pure, wholesome goodness.
- Effortlessly Easy to Make: Don’t let the elegant appearance fool you. Crafting this luxurious chocolate mousse requires minimal effort. With the trusty help of a hand-mixer, you’ll only spend about 15 minutes on hands-on preparation. The rest is just patient chilling time, allowing the mousse to set beautifully into its signature light and airy texture. It’s the perfect recipe for those who want a gourmet dessert without the fuss.
- Completely Gluten-Free (and Adaptable for Dairy-Free): This is truly the best part for many! Our easy mousse recipe is 100% gluten-free, ensuring that individuals with Celiac disease, gluten sensitivity, or even lactose intolerance (with a simple dairy-free substitution, detailed below) can fully enjoy this rich chocolate dessert without any concerns. Everyone deserves to indulge in a silky-smooth chocolate mousse, and this recipe makes it possible.
- Impressive & Elegant: Despite its ease, this chocolate mousse presents itself with an undeniable elegance. Served in delicate glasses or ramekins, it looks like it came straight from a gourmet patisserie. It’s the ultimate dessert for making a statement at dinner parties, holidays, or any special occasion.
- Rich, Velvety, and Light: The perfect chocolate mousse strikes a delicate balance between intense chocolate flavor and an ethereal, cloud-like texture. This recipe achieves exactly that – a deeply satisfying chocolate taste paired with a sublime lightness that melts wonderfully in your mouth.
Essential Ingredients for Your Creamy Gluten-Free Chocolate Mousse
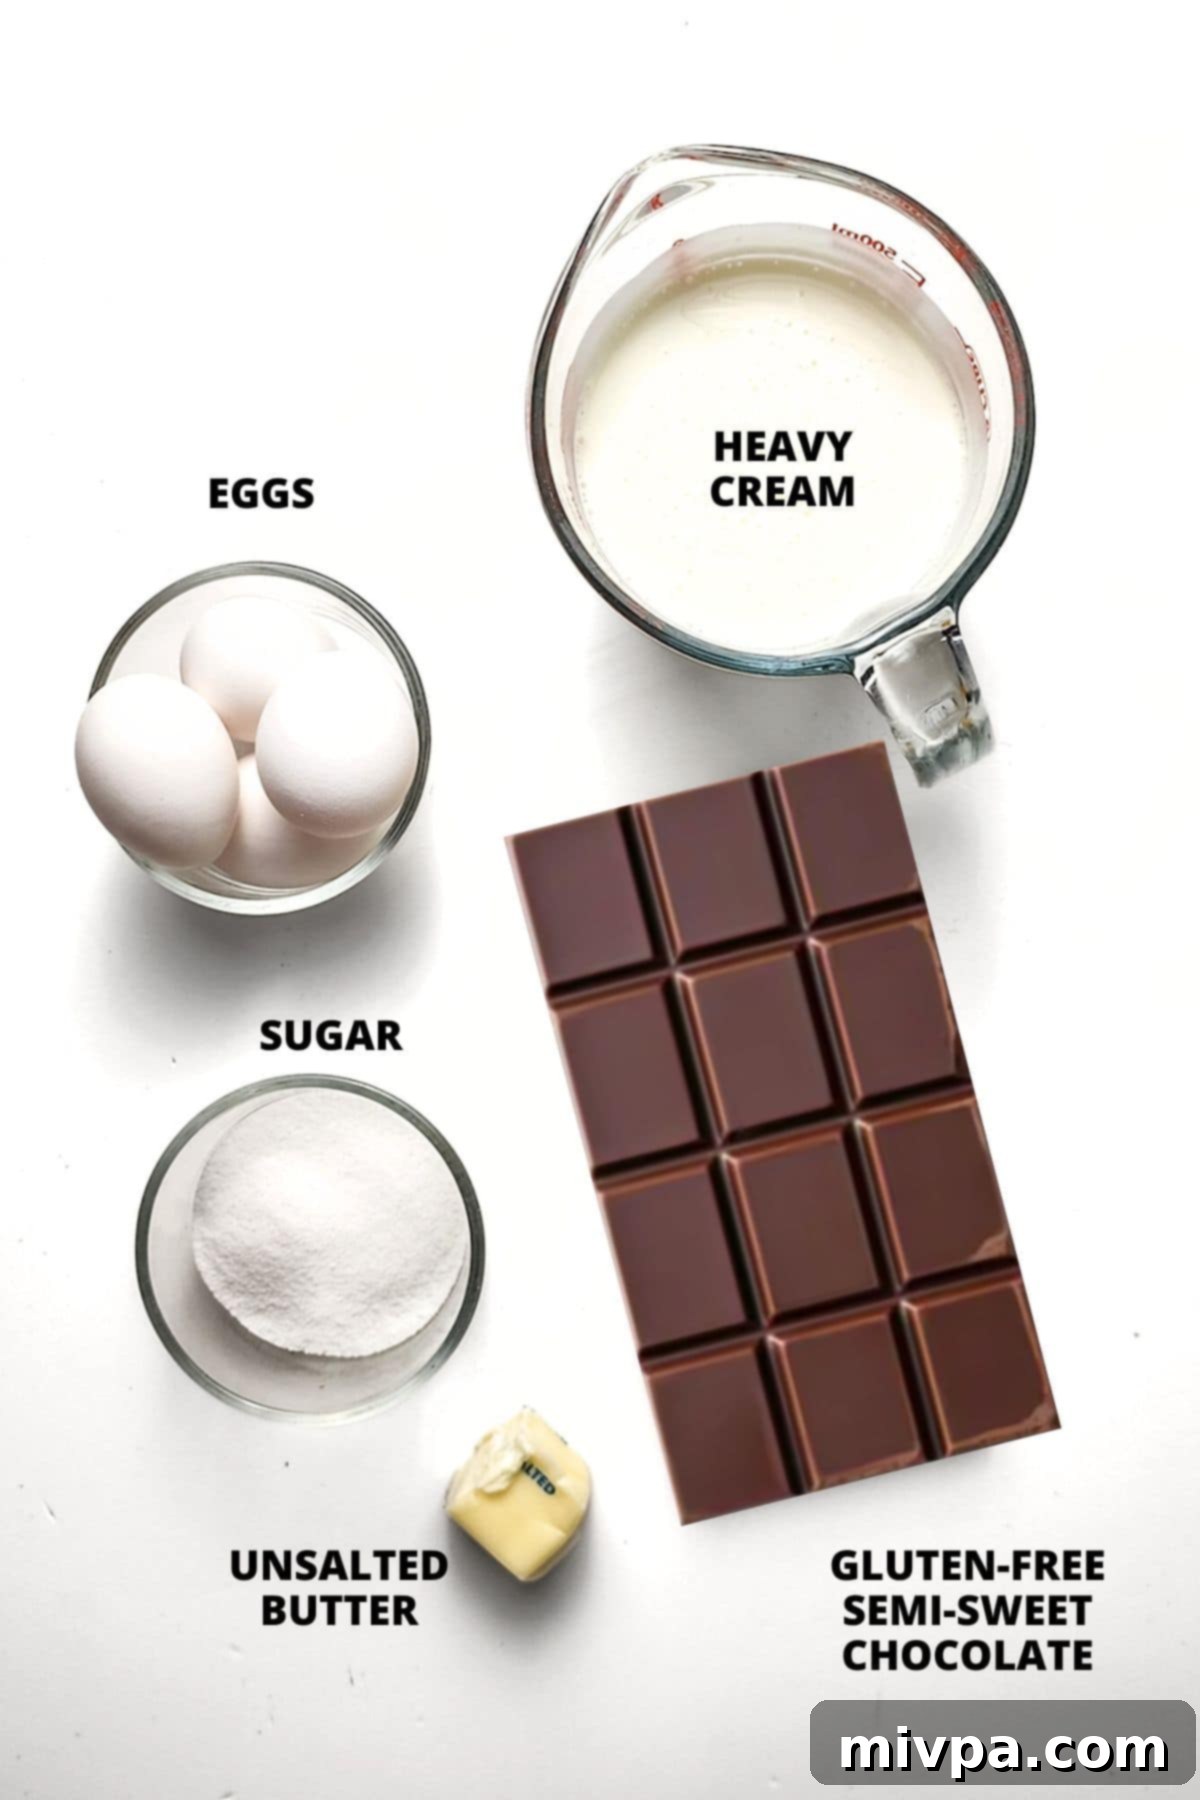
Creating this irresistible gluten-free chocolate mousse requires just a handful of high-quality ingredients. Here’s a quick visual overview to help you gather everything you need.
(For precise measurements and detailed instructions, please make sure to scroll down to the comprehensive printable recipe card located at the very bottom of this post.)
Understanding Your Key Ingredients:
- Heavy Whipping Cream: This is the backbone of the mousse’s creamy texture. When whipped, it creates the essential lightness and richness.
- Egg Yolks: Provide richness, flavor, and contribute to the creamy consistency of the base.
- Gluten-Free Semisweet Chocolate: The star of the show! High-quality chocolate is crucial for a deep, satisfying flavor. Semisweet offers a balanced sweetness, but you can adjust to your preference. Ensure it’s certified gluten-free if catering to strict dietary needs.
- Unsalted Butter: Adds a silky mouthfeel and helps the chocolate melt smoothly and evenly.
- Egg Whites: When whipped to stiff peaks, egg whites introduce air into the mousse, creating that signature light and airy texture.
- White Sugar: A touch of sugar stabilizes the egg whites and adds a subtle sweetness that balances the chocolate’s bitterness.
Recipe Notes & Expert Substitutions for Your Gluten-Free Chocolate Mousse
To ensure your gluten-free chocolate mousse turns out perfectly every time, and to help you adapt it to various dietary needs, here are some crucial notes and substitution tips:
- Cream Selection: It is absolutely essential to use heavy whipping cream (or heavy cream) for this recipe. Lighter creams will not whip to the desired consistency, resulting in a runny mousse. If you’re aiming for a dairy-free chocolate mousse, you can successfully substitute it with a high-quality dairy-free heavy whipping cream, such as full-fat coconut cream (chilled overnight, use only the thick cream part) or specific plant-based whipping creams available in stores.
- Eggs – The Foundation of Mousse:
- Careful Separation: Precision is key when separating the egg yolks and egg whites. Even a tiny trace of egg yolk in the whites can prevent them from whipping up to stiff peaks, compromising the mousse’s airy texture. It’s best to separate them one by one into a small bowl before adding to the main bowls.
- Room Temperature Eggs: While not strictly mentioned, eggs at room temperature tend to separate more easily and their whites whip to greater volume.
- Choosing Your Chocolate: The type of chocolate you select will significantly impact the final flavor profile of your mousse.
- I typically use semi-sweet chocolate for a balanced richness, but feel free to experiment. For a sweeter profile, opt for milk chocolate. For a more intense and sophisticated flavor, dark chocolate (70% cocoa or higher) works wonderfully.
- Gluten-Free Assurance: If you are baking for someone with Celiac disease or gluten intolerance, always double-check that your chosen chocolate is certified gluten-free. Many brands are naturally gluten-free, but some may have cross-contamination warnings.
- Dairy-Free Option: To make this a dairy-free chocolate mousse, simply use your preferred high-quality dairy-free chocolate. There are many excellent vegan chocolate brands available today.
- Butter Details: Always use unsalted butter. This allows you to control the overall saltiness of the dessert. If you only have salted butter, you can still use it, but be mindful of any additional salt in the recipe (though this one doesn’t call for much). For a dairy-free version, substitute with unsalted dairy-free butter (often made from coconut, almond, or soy oil).
- Sugar for Stability: The white sugar added to the egg whites isn’t just for sweetness; it helps stabilize the meringue, ensuring those stiff peaks hold their structure and contribute to a robust, airy mousse.
How to Craft the Perfect Gluten-Free Chocolate Mousse (Step-by-Step Guide)
Follow these detailed steps to create a show-stopping, light, and creamy gluten-free chocolate mousse that tastes incredibly rich and looks effortlessly elegant.
Step 1: Whip the Heavy Cream
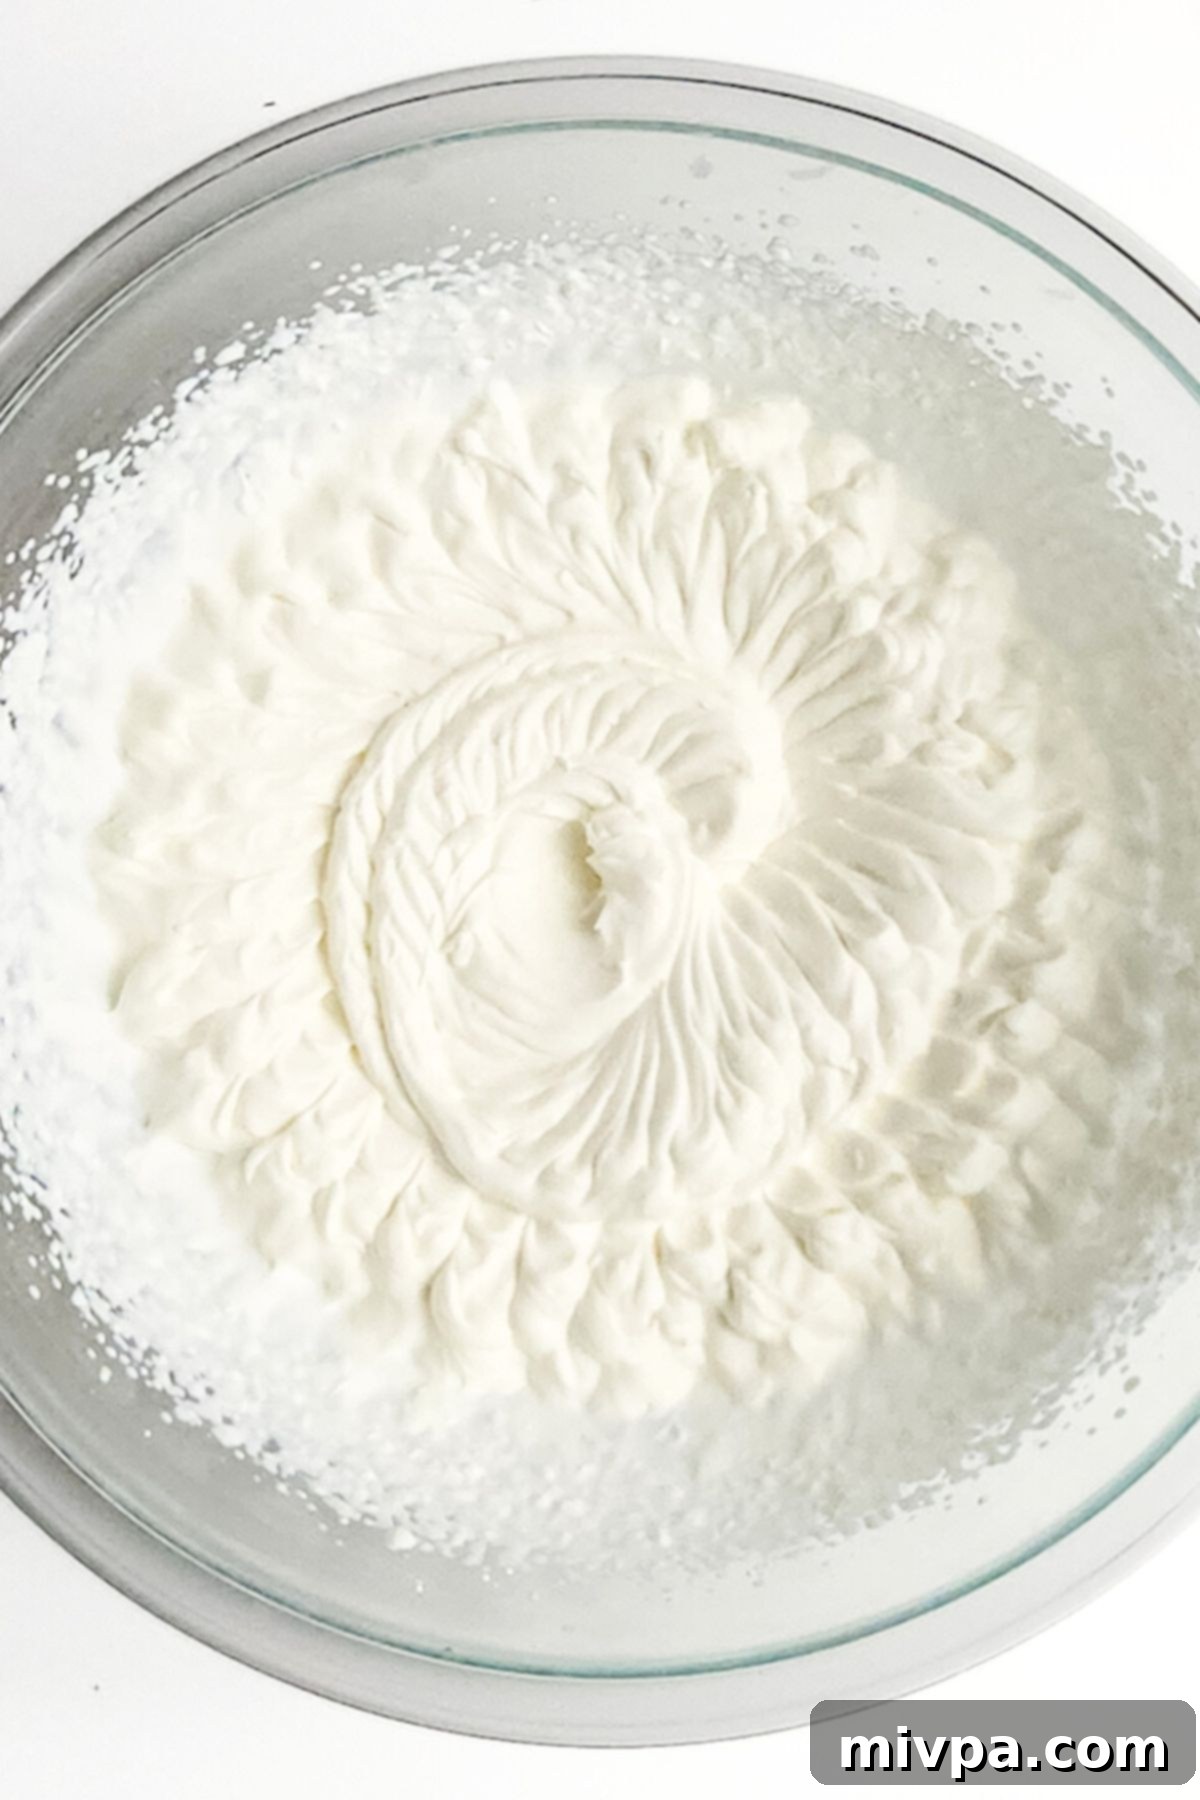
In a large, chilled bowl, pour the cold heavy whipping cream. Using a hand mixer (or a stand mixer with a whisk attachment), whip the cream on medium-high speed until it reaches soft peaks. The cream should be airy and hold its shape, but still appear somewhat soft and billowy. Be careful not to over-whip, which can turn it into butter.
Step 2: Fold Egg Yolks into Whipped Cream
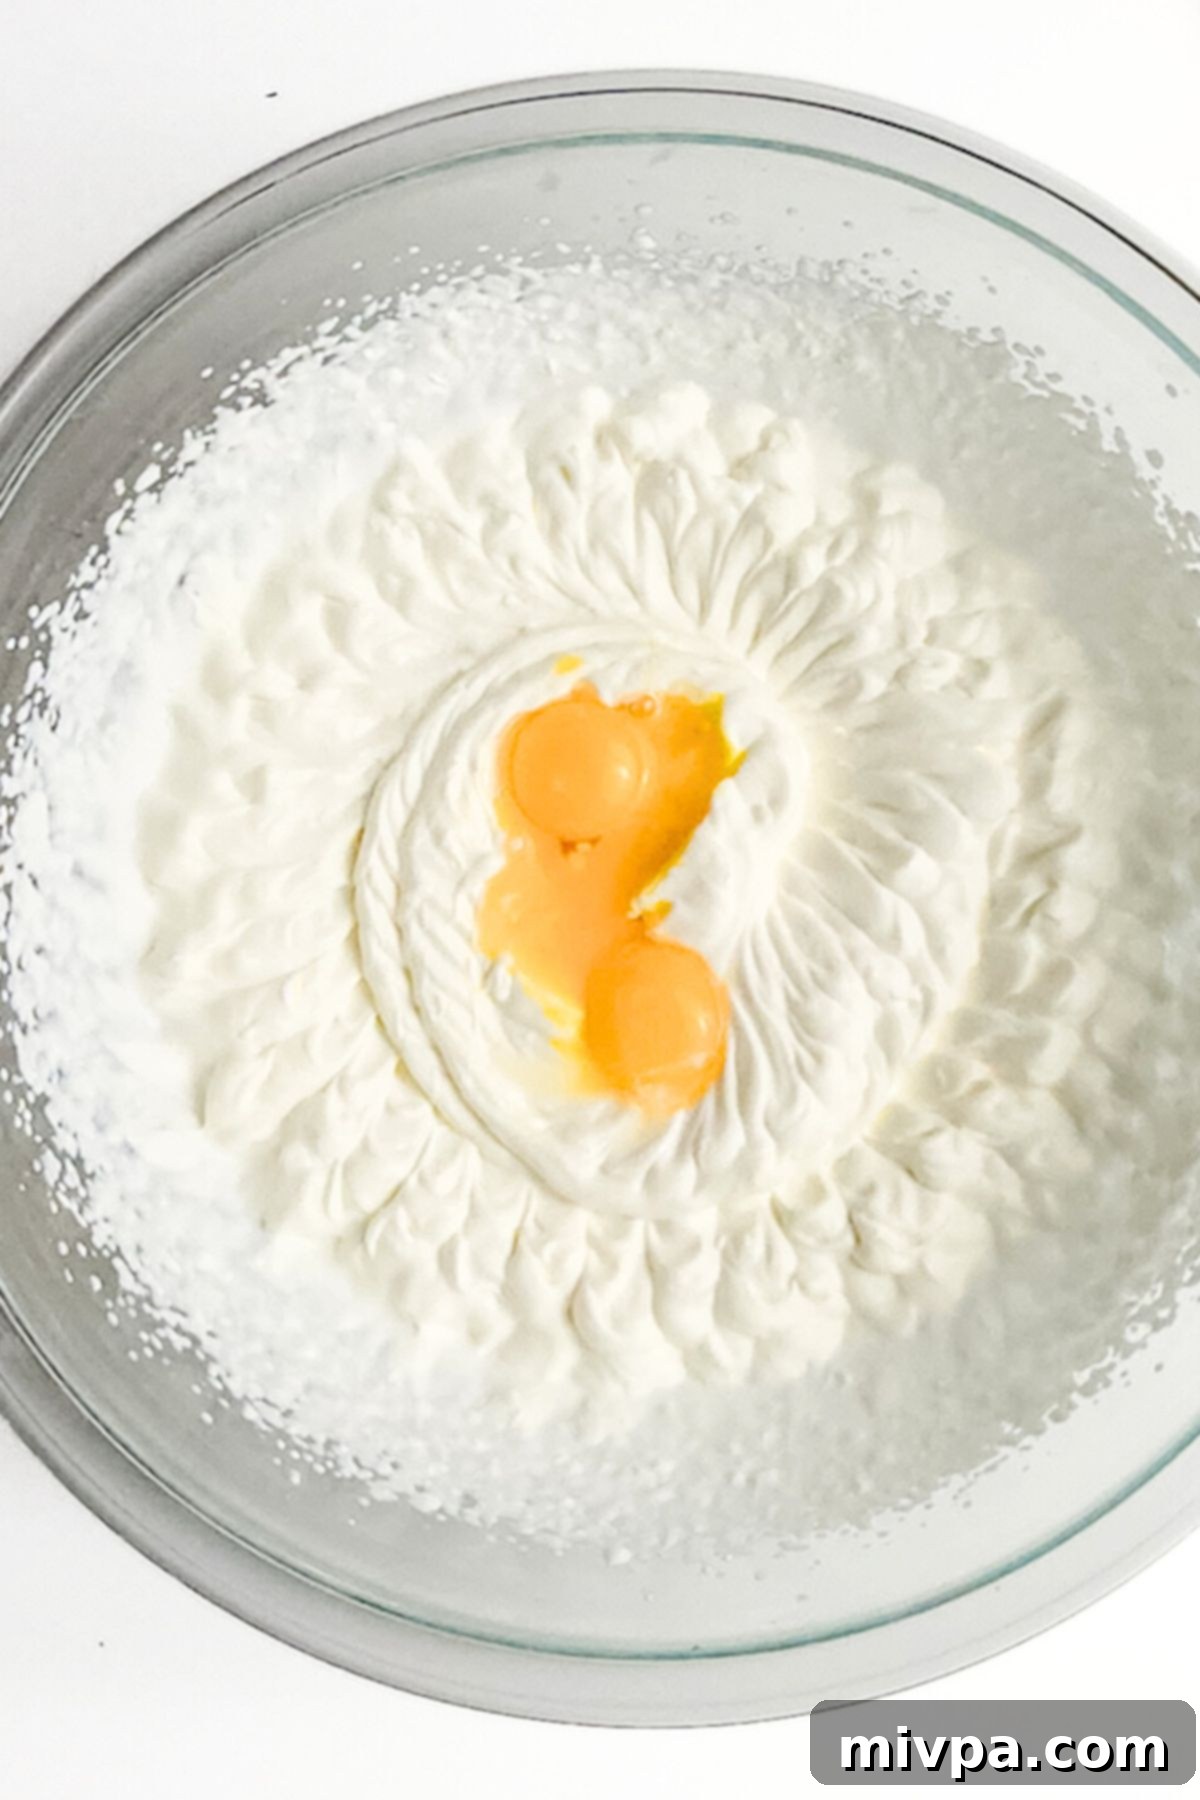
Gently incorporate the separated egg yolks into the whipped cream. Use a rubber spatula to carefully fold them in until the mixture is completely combined and no streaks of egg yolk are visible. This ensures a smooth, uniform base for your mousse. Set this mixture aside.
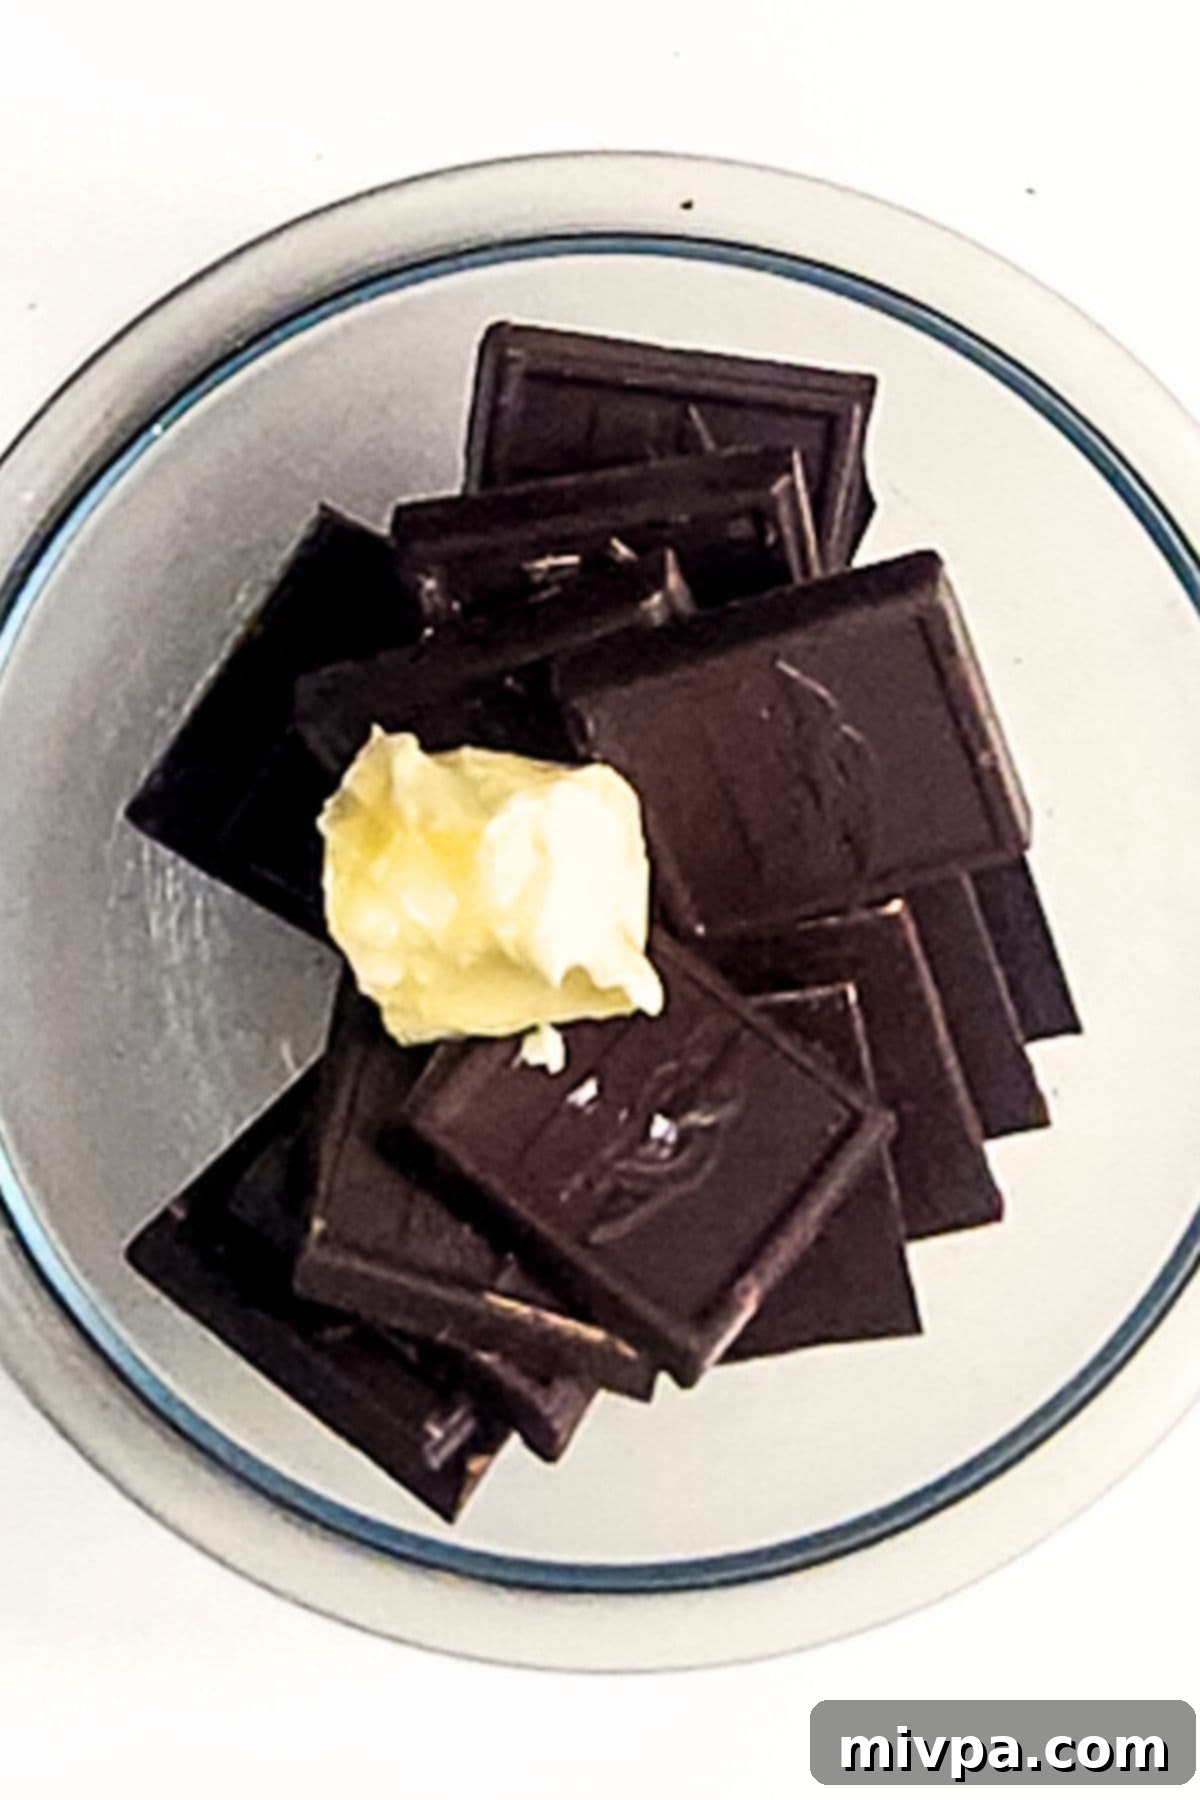
Step 3: Melt Chocolate and Butter
There are two primary methods for this:
Double Boiler Method: Place the chopped gluten-free semisweet chocolate and unsalted butter in a heatproof bowl. Set this bowl over a small pot of simmering water, ensuring the bottom of the bowl does not touch the water. Stir continuously until the chocolate and butter are completely melted and smooth. Remove from heat immediately.
Microwave Method: Alternatively, combine the chocolate and butter in a microwave-safe bowl. Heat in the microwave at 30-second intervals, stirring thoroughly after each interval, until the mixture is fully melted and smooth. Be careful not to overheat the chocolate.
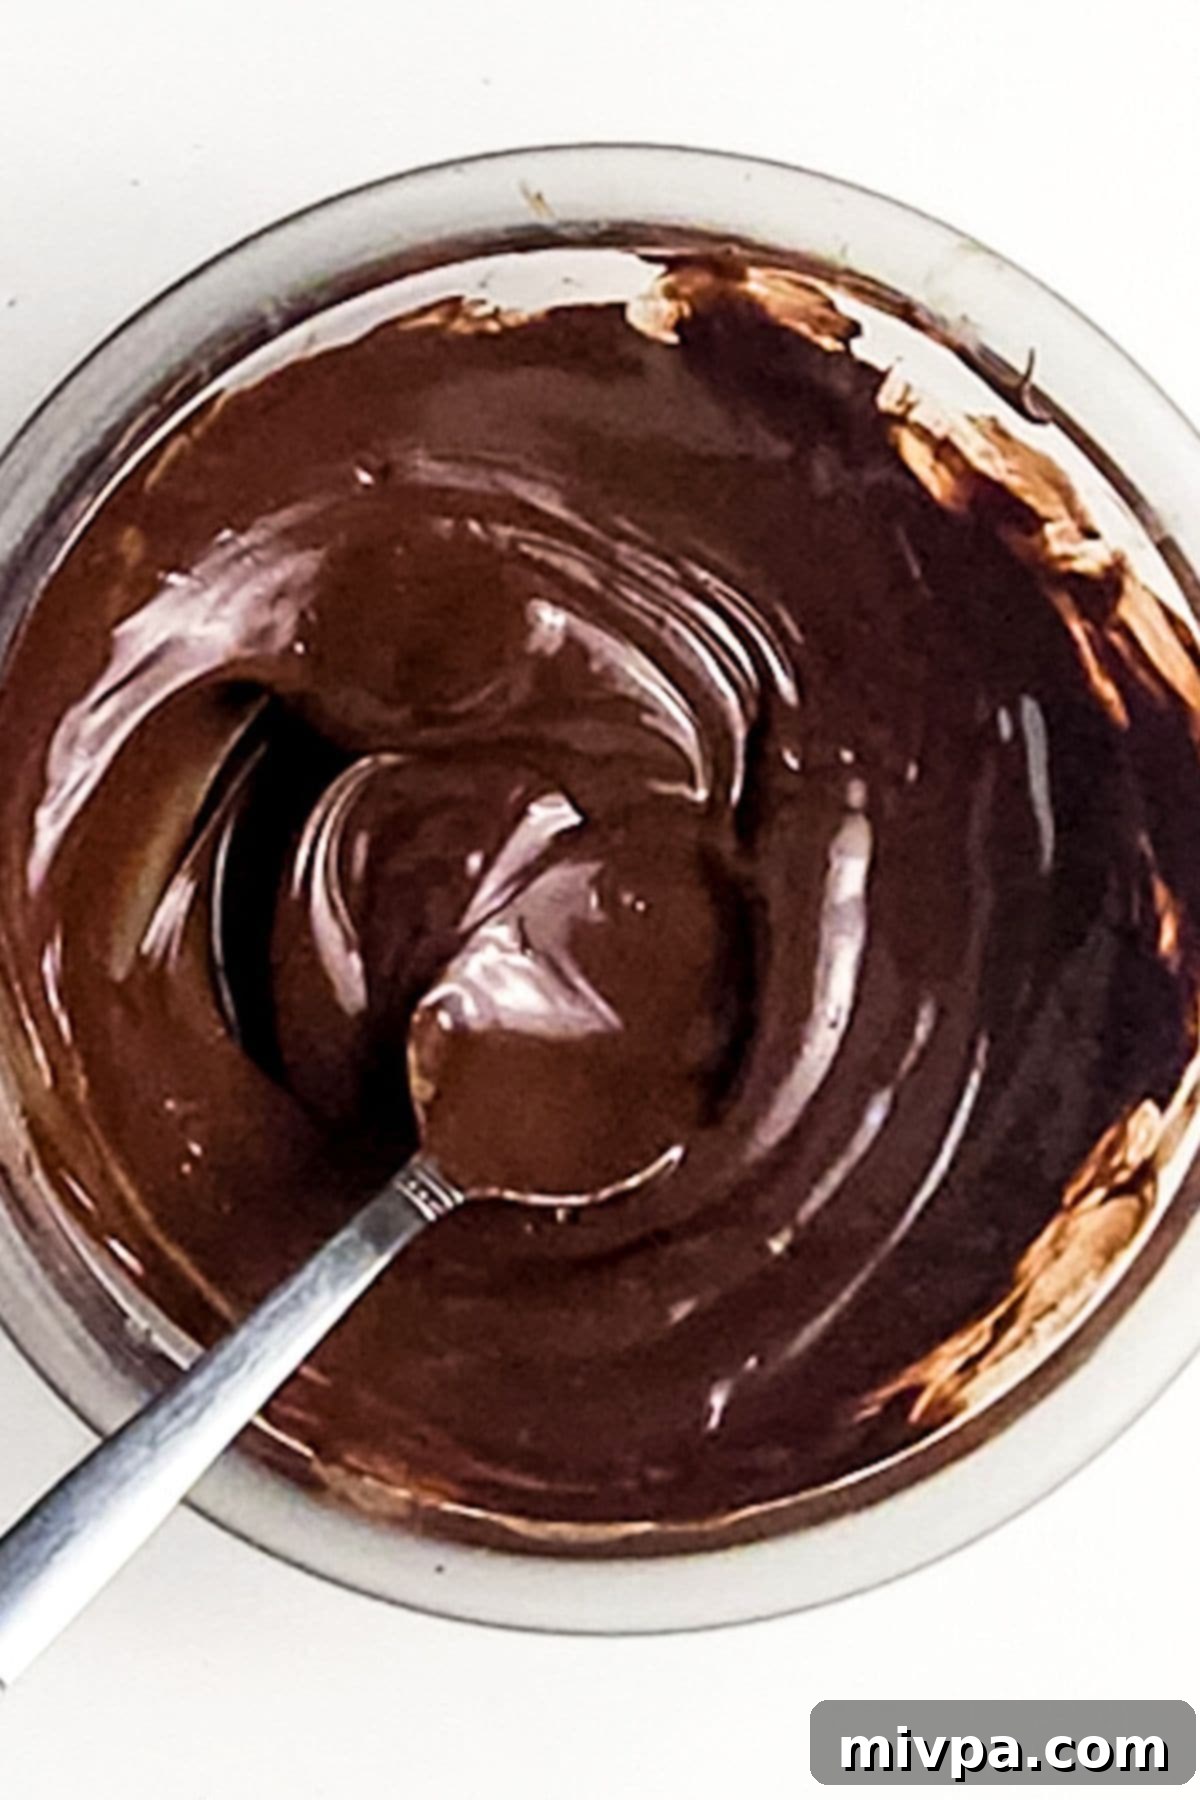
Step 4: Combine Whipped Cream Mixture with Chocolate
Allow the melted chocolate mixture to cool slightly (it should still be warm but not hot). Then, gently fold the whipped cream and egg yolk mixture into the chocolate mixture. Do this in two additions, carefully folding until just combined. Overmixing at this stage can deflate the whipped cream, so be gentle. Set this glorious chocolate base aside.
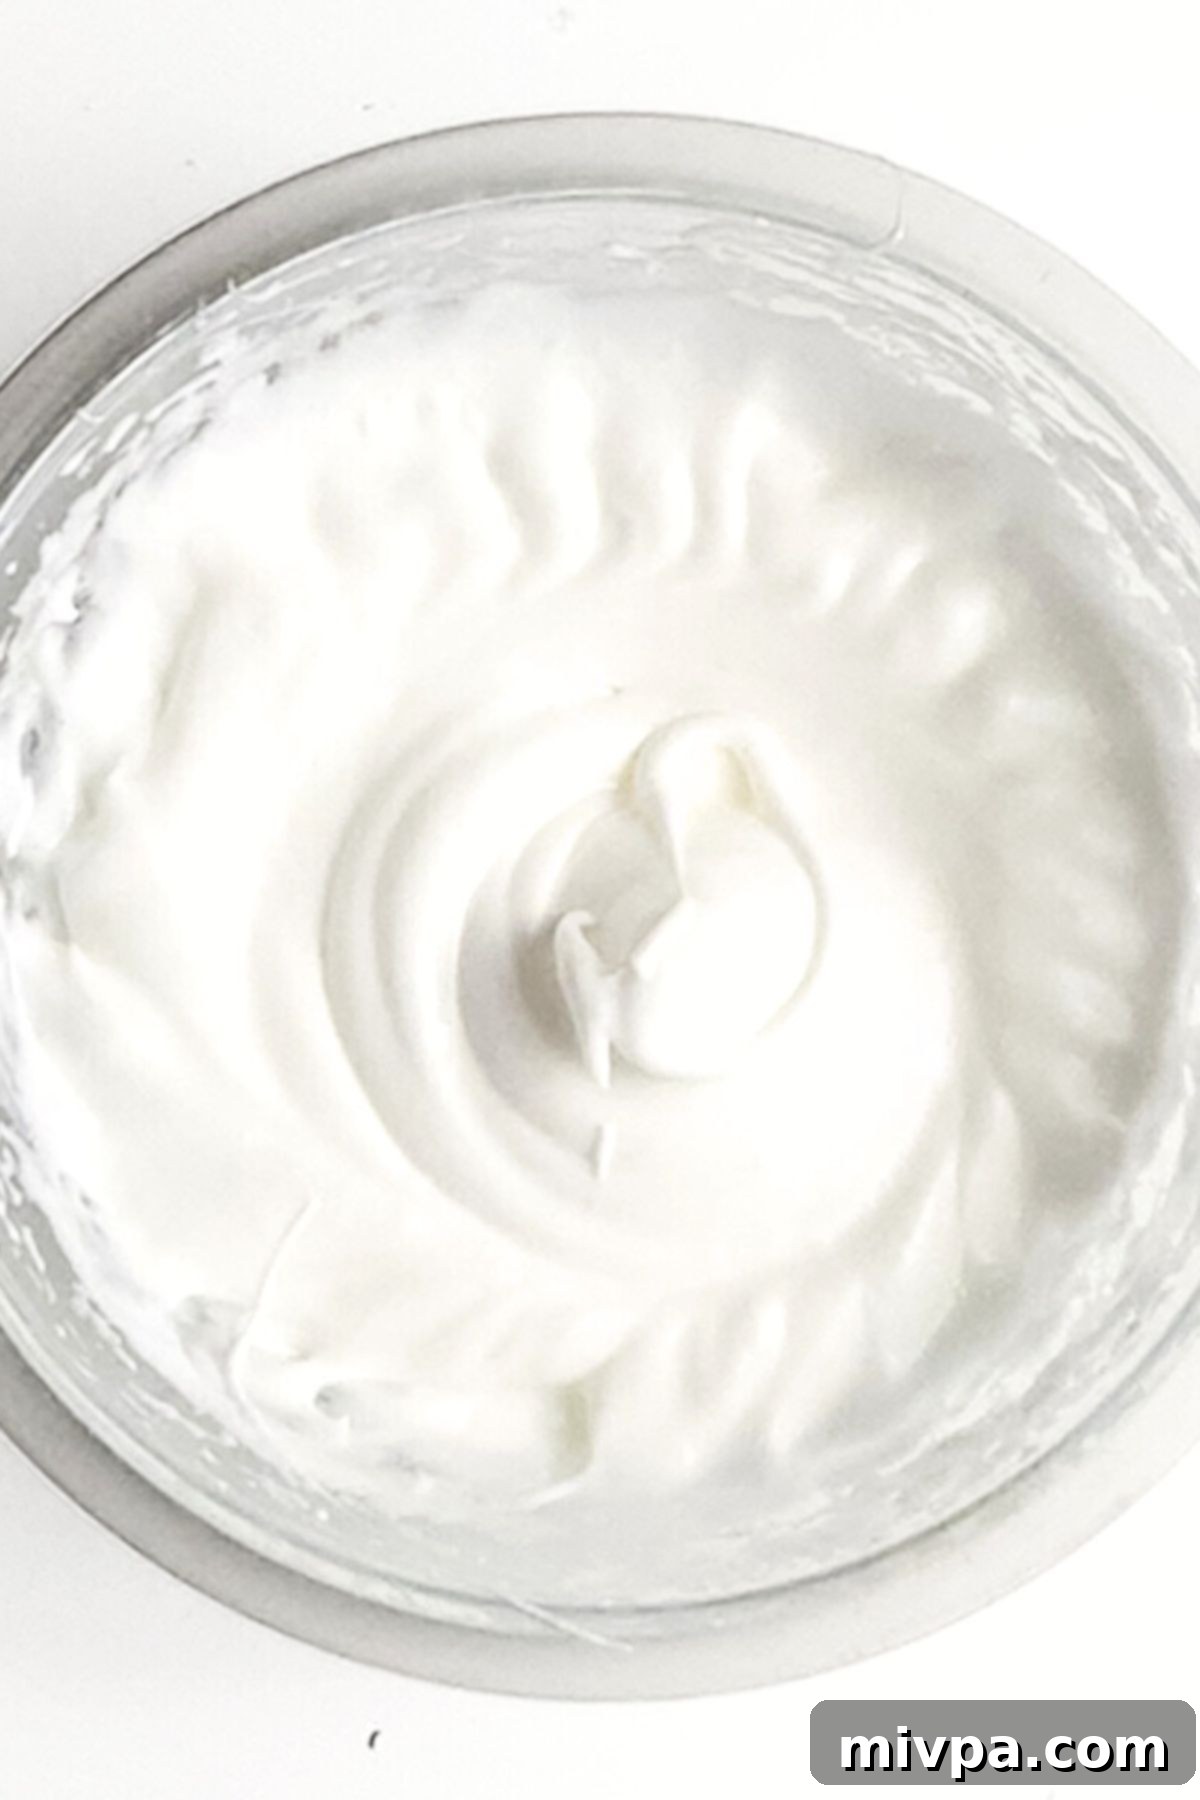
Step 5: Beat Egg Whites to Stiff Peaks
Using a clean hand mixer and a clean, dry bowl (ensure no grease or yolk residue), begin beating the egg whites on medium speed until they become foamy. Gradually add the white sugar, a tablespoon at a time, while continuing to beat. Increase the speed to high and beat until stiff, glossy peaks form. When you lift the beaters, the peaks should stand upright firmly. This meringue is crucial for the mousse’s light texture.
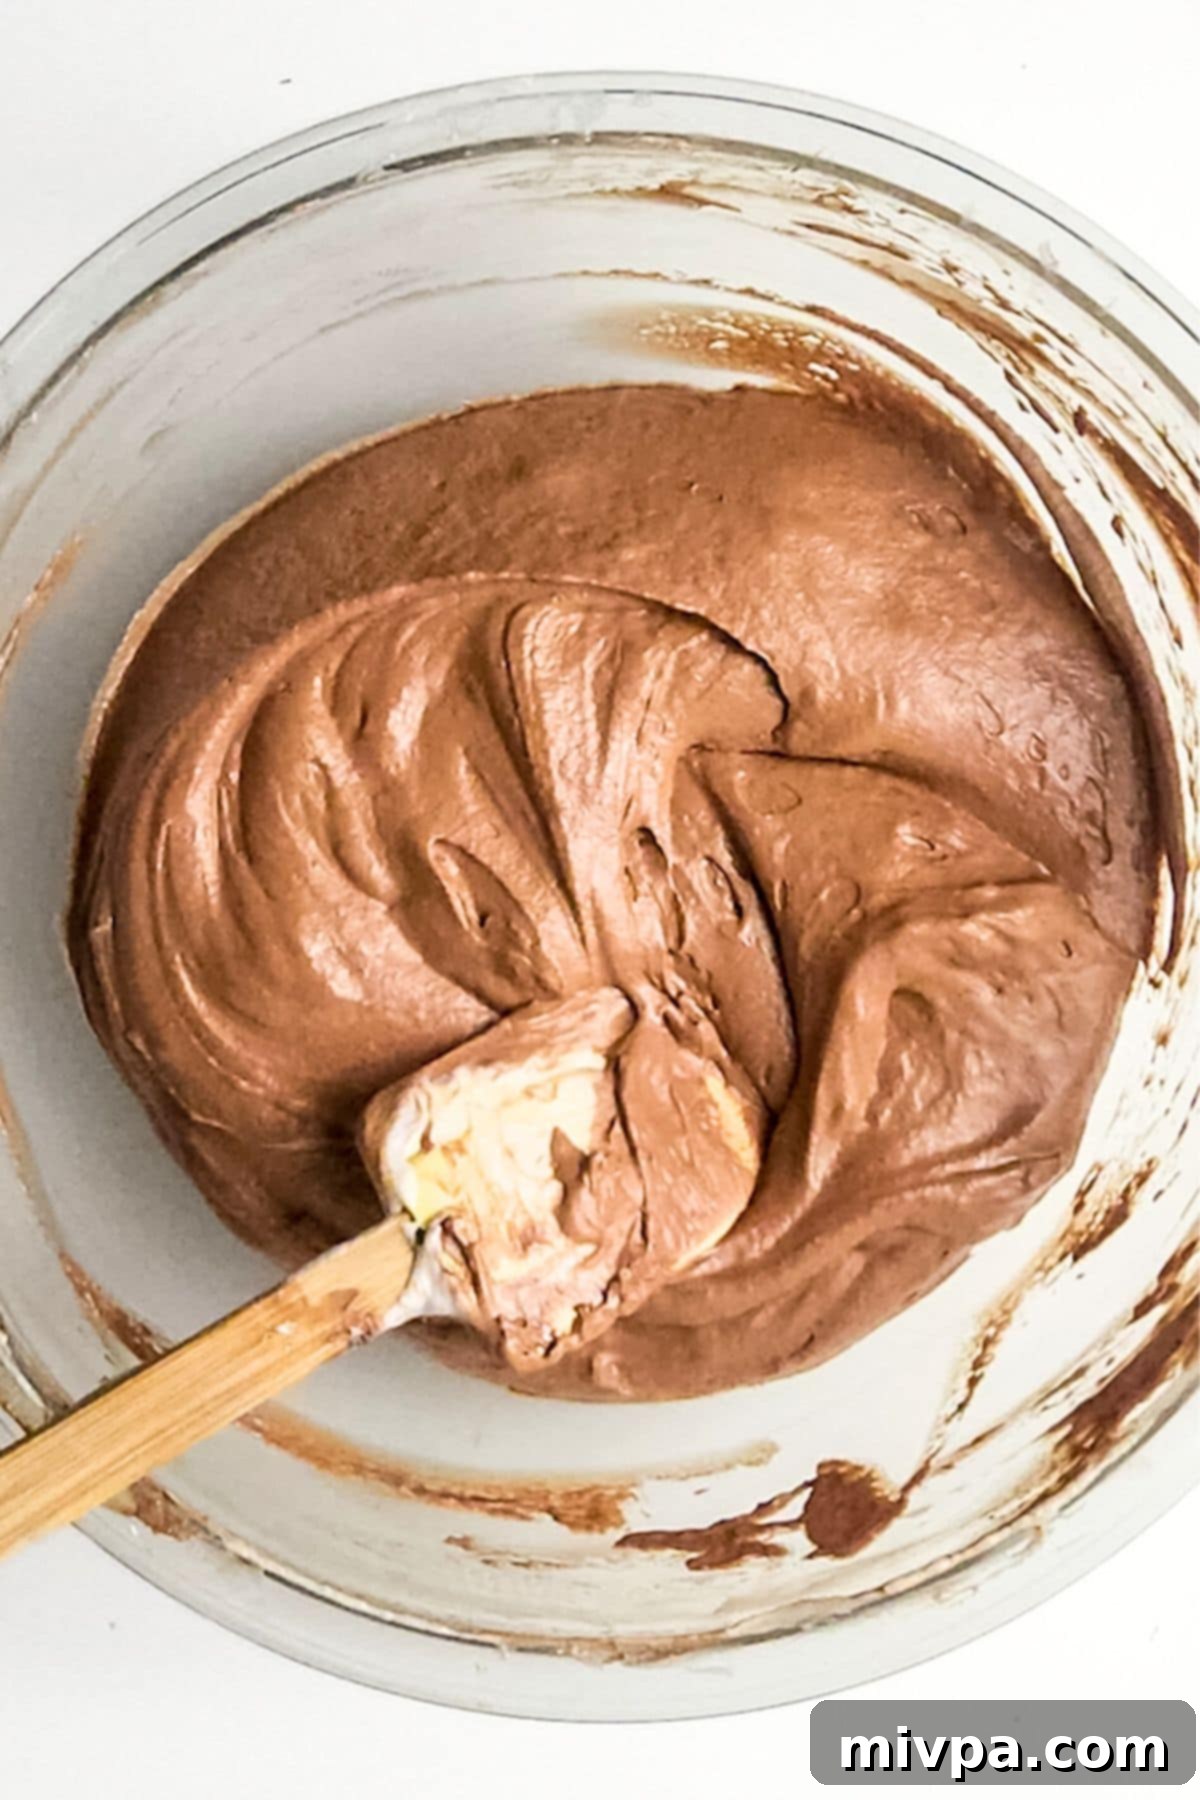
Step 6: Gently Fold Egg Whites into Chocolate Mixture
This is a delicate but crucial step. Using a rubber spatula, carefully fold the beaten egg whites into the chocolate mixture in two or three additions. Use a gentle “cut and fold” motion, working from the bottom up, to incorporate the whites without deflating them. The goal is to maintain as much air as possible, ensuring the mousse remains light, airy, and fluffy. Continue until no white streaks remain.
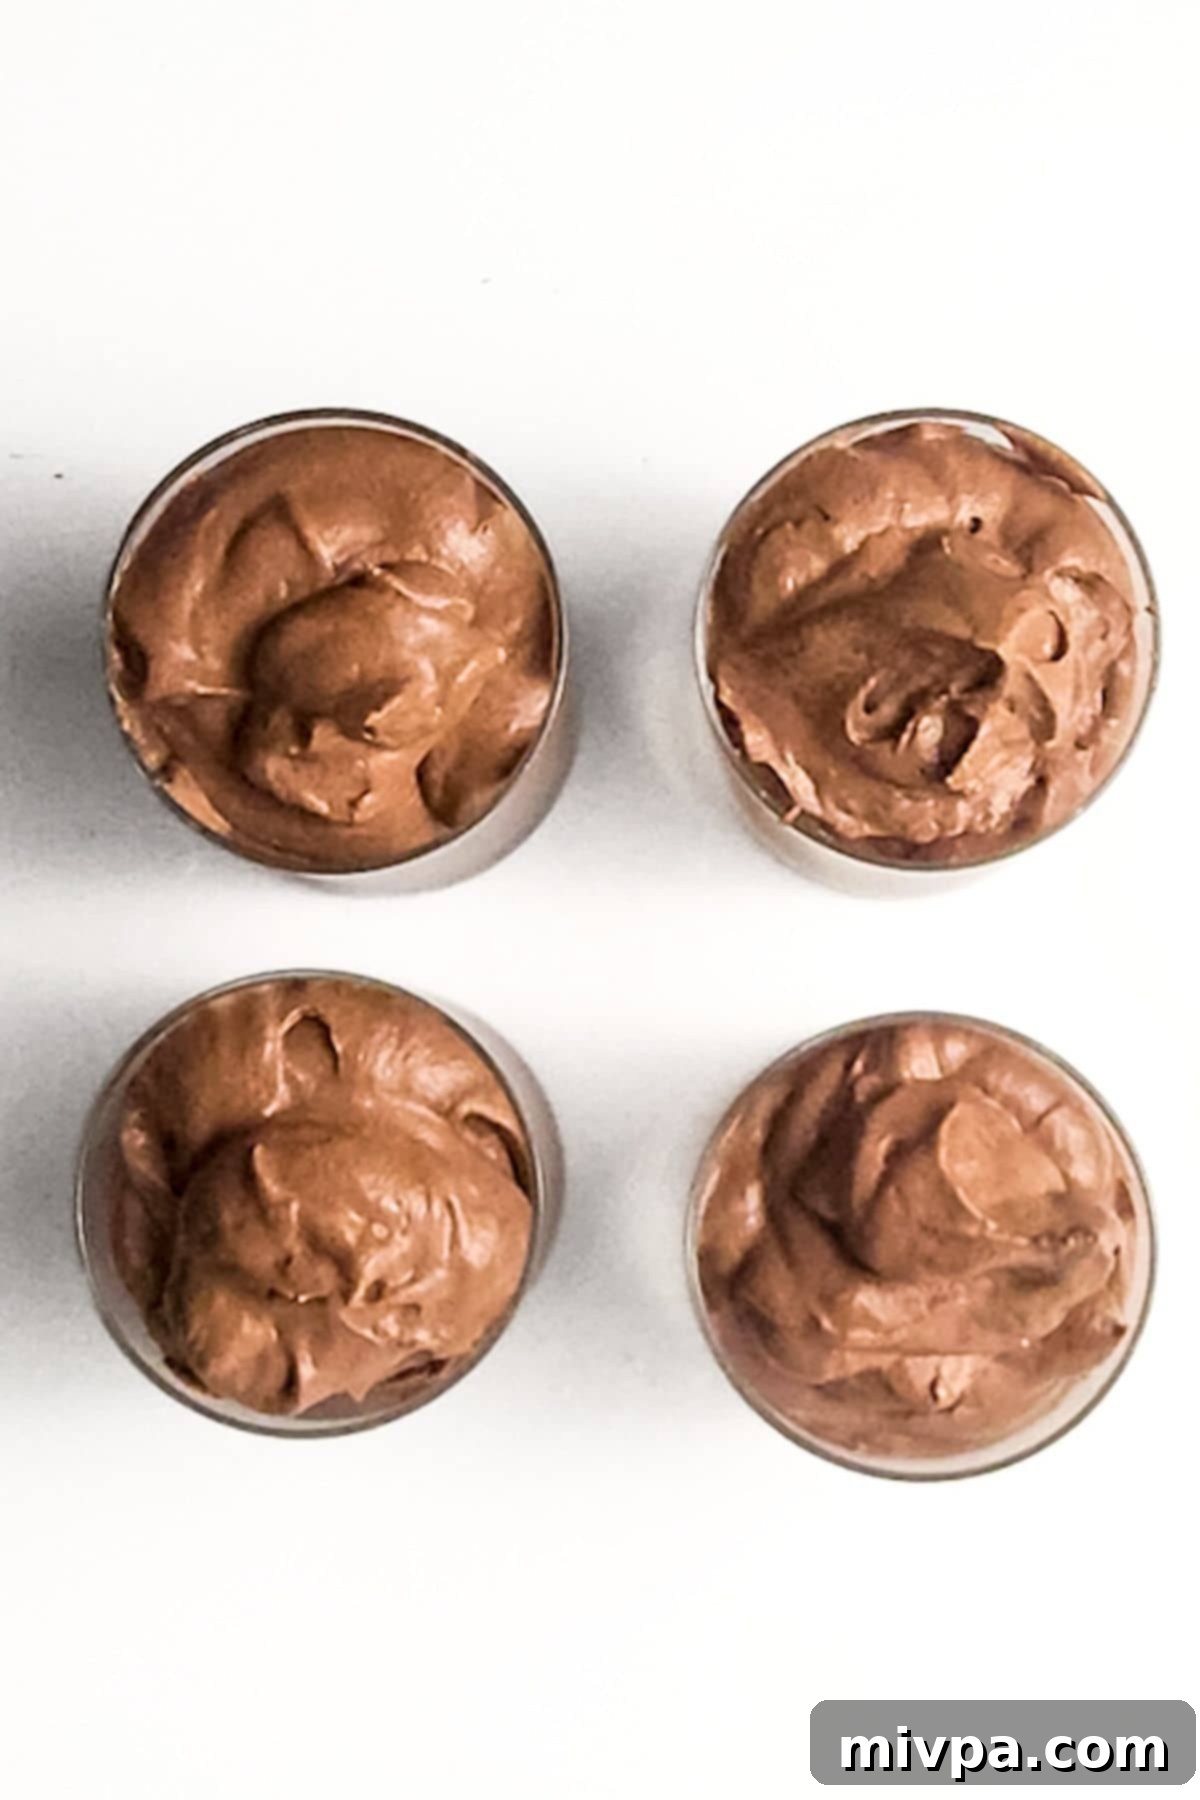
Step 7: Portion and Chill Your Mousse
Carefully spoon or pipe the prepared chocolate mousse evenly into your chosen serving dishes – be it elegant glasses, ramekins, or small bowls. Once portioned, cover each dish (e.g., with plastic wrap) and transfer them to the refrigerator. Allow the mousse to chill for at least 6 hours, or preferably overnight, to allow it to fully set and for the flavors to meld beautifully. Proper chilling is essential for the perfect texture.
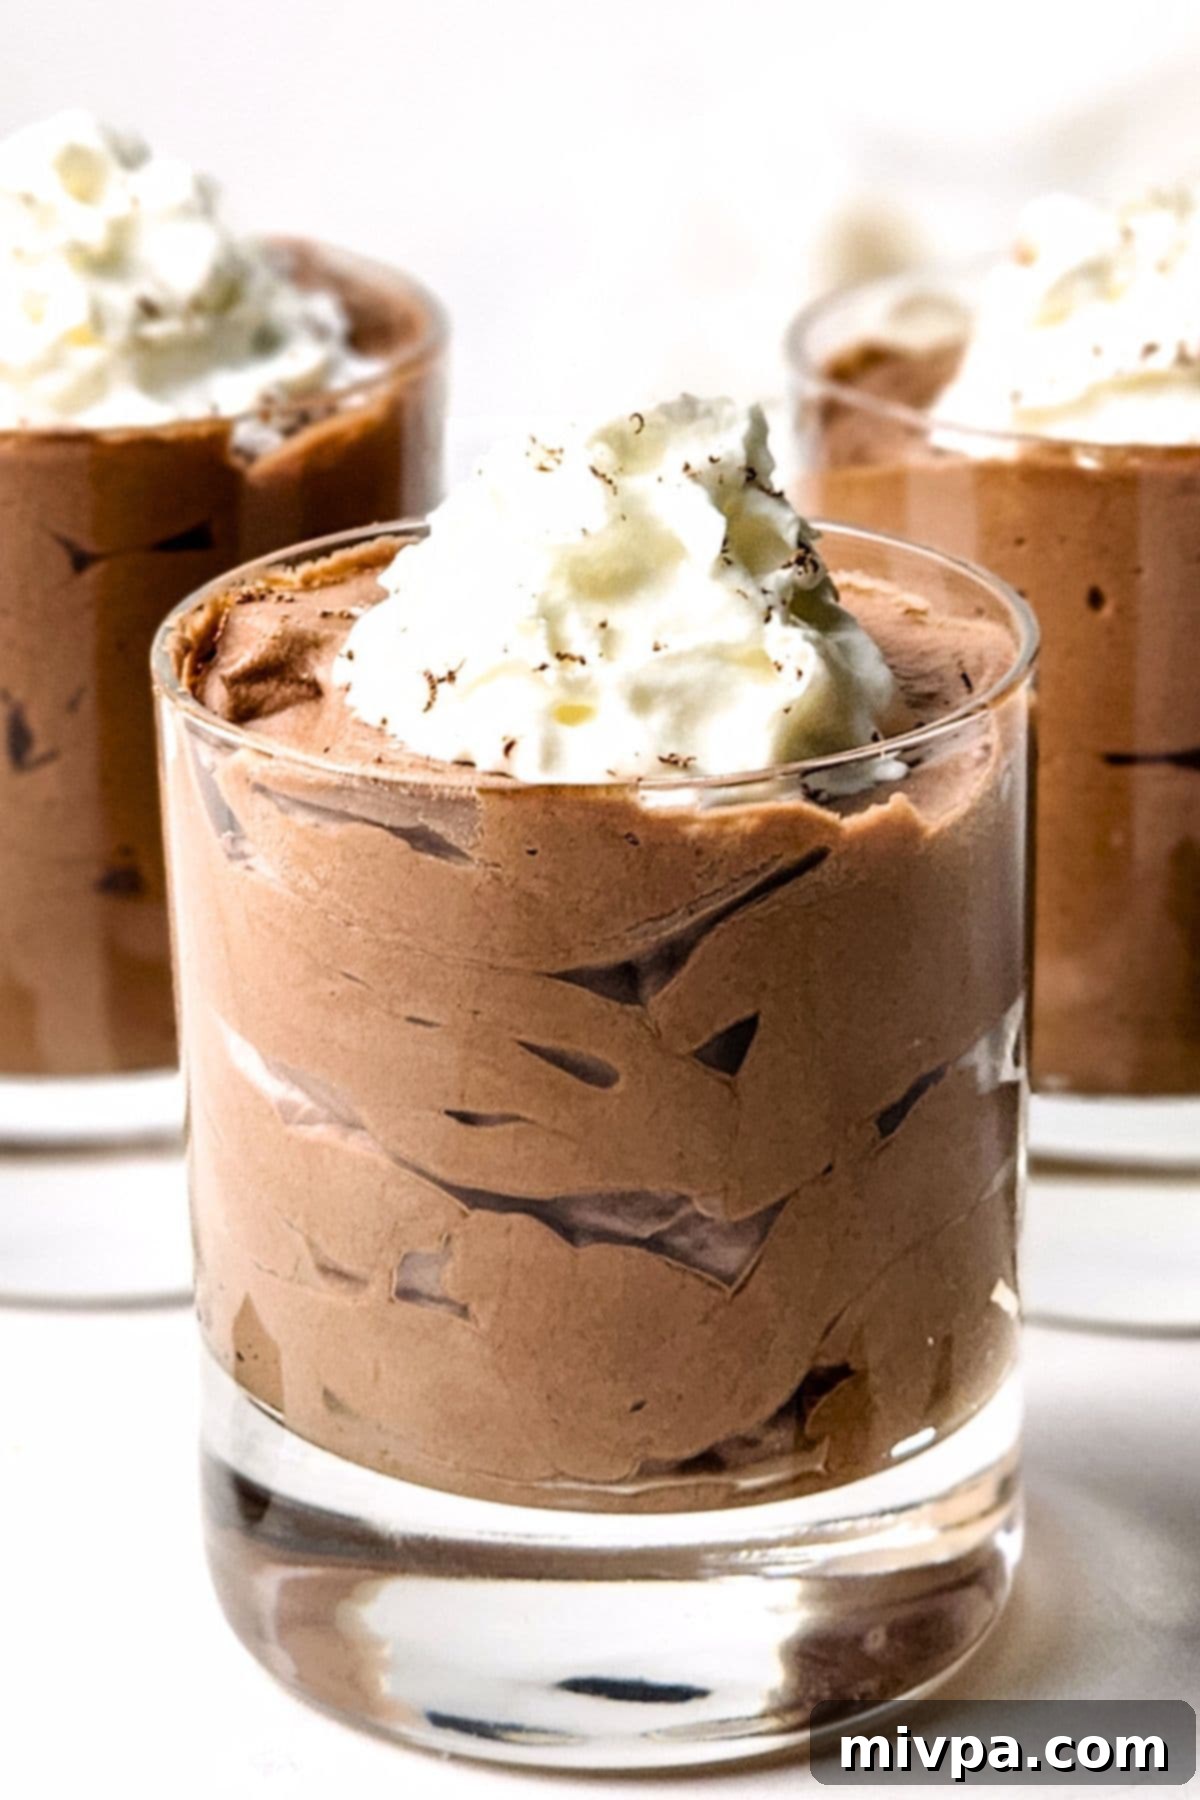
Step 8: Garnish and Serve Your Decadent Treat
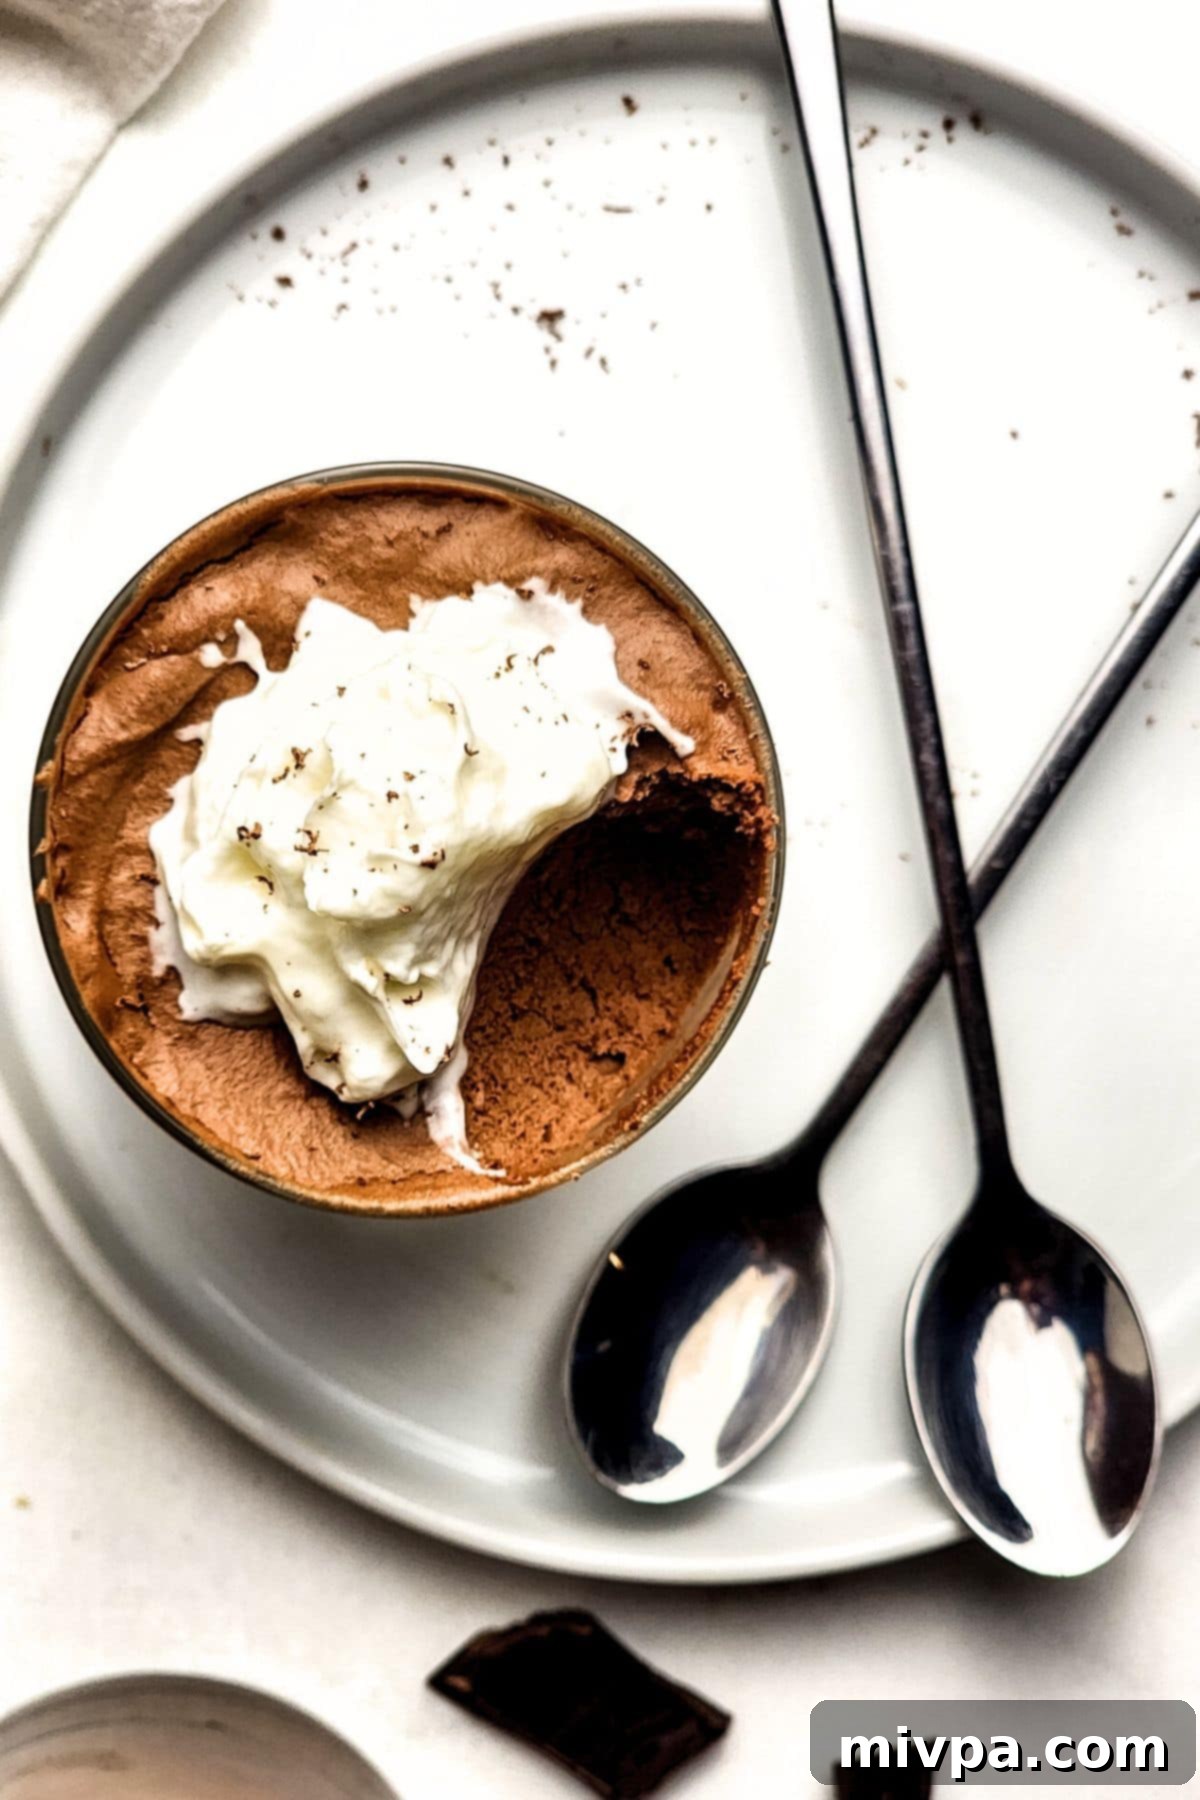
Once thoroughly chilled and set, your gluten-free chocolate mousse is ready to be served! For an extra touch of elegance and flavor, optionally garnish each serving. Popular garnishes include a dollop of freshly whipped cream, delicate chocolate shavings, a dusting of cocoa powder, or a vibrant medley of fresh berries like raspberries or strawberries. Enjoy this decadent, creamy chocolate dessert!
Dish by Dish Expert Tips & Tricks for the Best Chocolate Mousse
Elevate your gluten-free chocolate mousse from great to absolutely exceptional with these tried-and-true tips:
- Optimal Melting Methods for Chocolate and Butter: As noted in the instructions, you have flexibility here. Both a double boiler and the microwave work well for melting chocolate and butter. The key is to melt them gently and completely, stirring until smooth. Avoid high heat, which can scorch the chocolate and make it seize. If using the microwave, use short bursts and stir frequently.
- The Importance of Chilling: For the ideal light, airy, and set texture, proper chilling is non-negotiable. Make sure to refrigerate your mousse for at least 6 hours. Overnight chilling is even better, allowing the flavors to deepen and the mousse to firm up beautifully. Patience here will be greatly rewarded!
- Serving Size Flexibility: This recipe is designed to yield 4 generous, regular servings, perfect for a luxurious individual dessert. However, if you’re serving a crowd or want to offer a lighter bite, you can easily divide the mousse into smaller shot glasses or mini ramekins to create 8 smaller, elegant servings.
- Beyond a Standalone Dessert: While this creamy chocolate mousse is absolutely divine on its own, its versatility is a hidden gem.
- Luxurious Topping: Use it as a rich topping for a simple vanilla cake, a warm brownie, or even pancakes.
- Decadent Filling: Transform it into a spectacular filling for a chocolate mousse pie, a layer cake, or even choux pastry.
- Parfait Layers: Layer it with fresh fruit, granola, or crumbled gluten-free cookies for a delightful parfait.
- Temperature Matters: Ensure your heavy cream is very cold before whipping for best results. Also, allow the melted chocolate mixture to cool slightly before folding in the whipped cream and egg yolks – too hot, and it will melt your carefully whipped cream.
- Cleanliness for Egg Whites: When whipping egg whites, ensure your bowl and beaters are impeccably clean and completely free of any grease or water. Even a tiny bit can prevent the whites from achieving stiff peaks.
- Gentle Folding: Always use a gentle folding technique when combining the airy components (whipped cream, egg whites) with the heavier chocolate base. This preserves the air that gives mousse its characteristic lightness. Use a rubber spatula and a ‘cut and fold’ motion, not stirring.
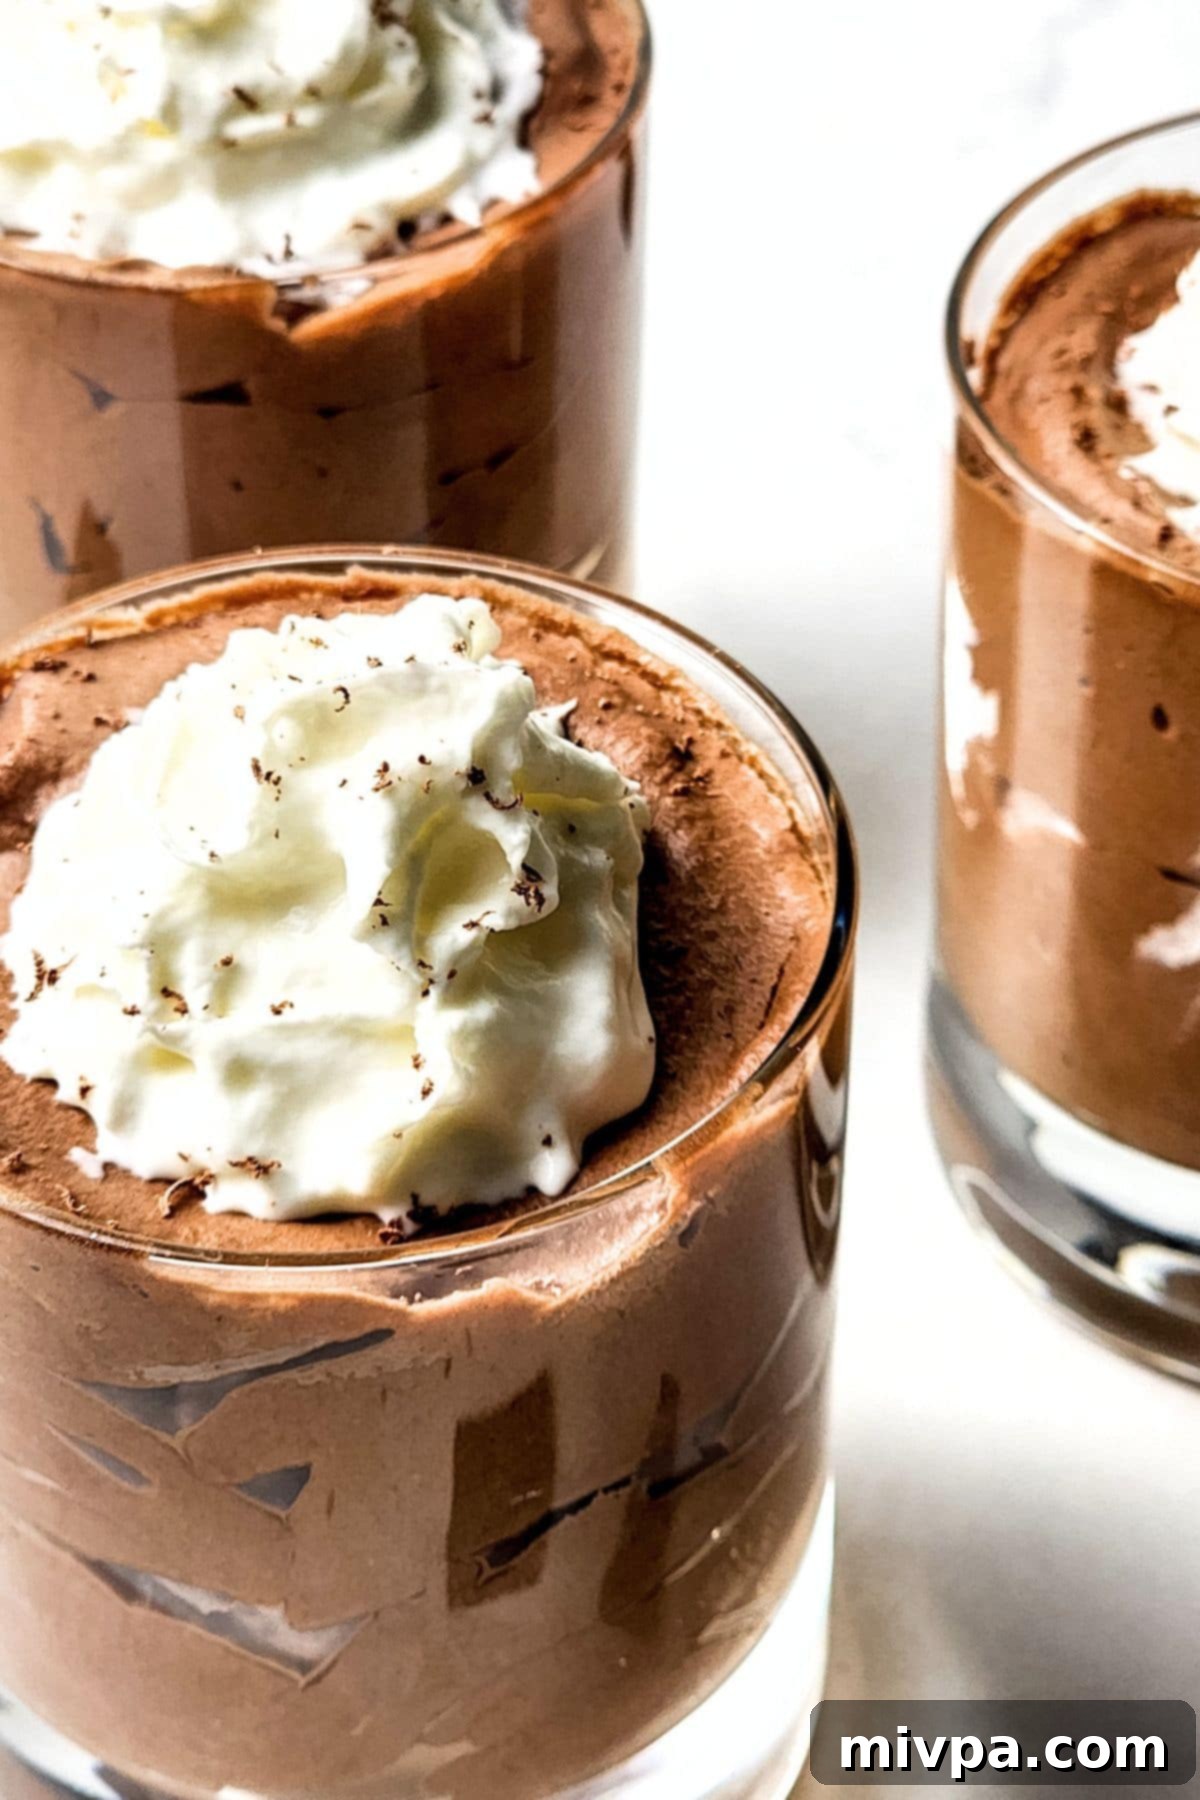
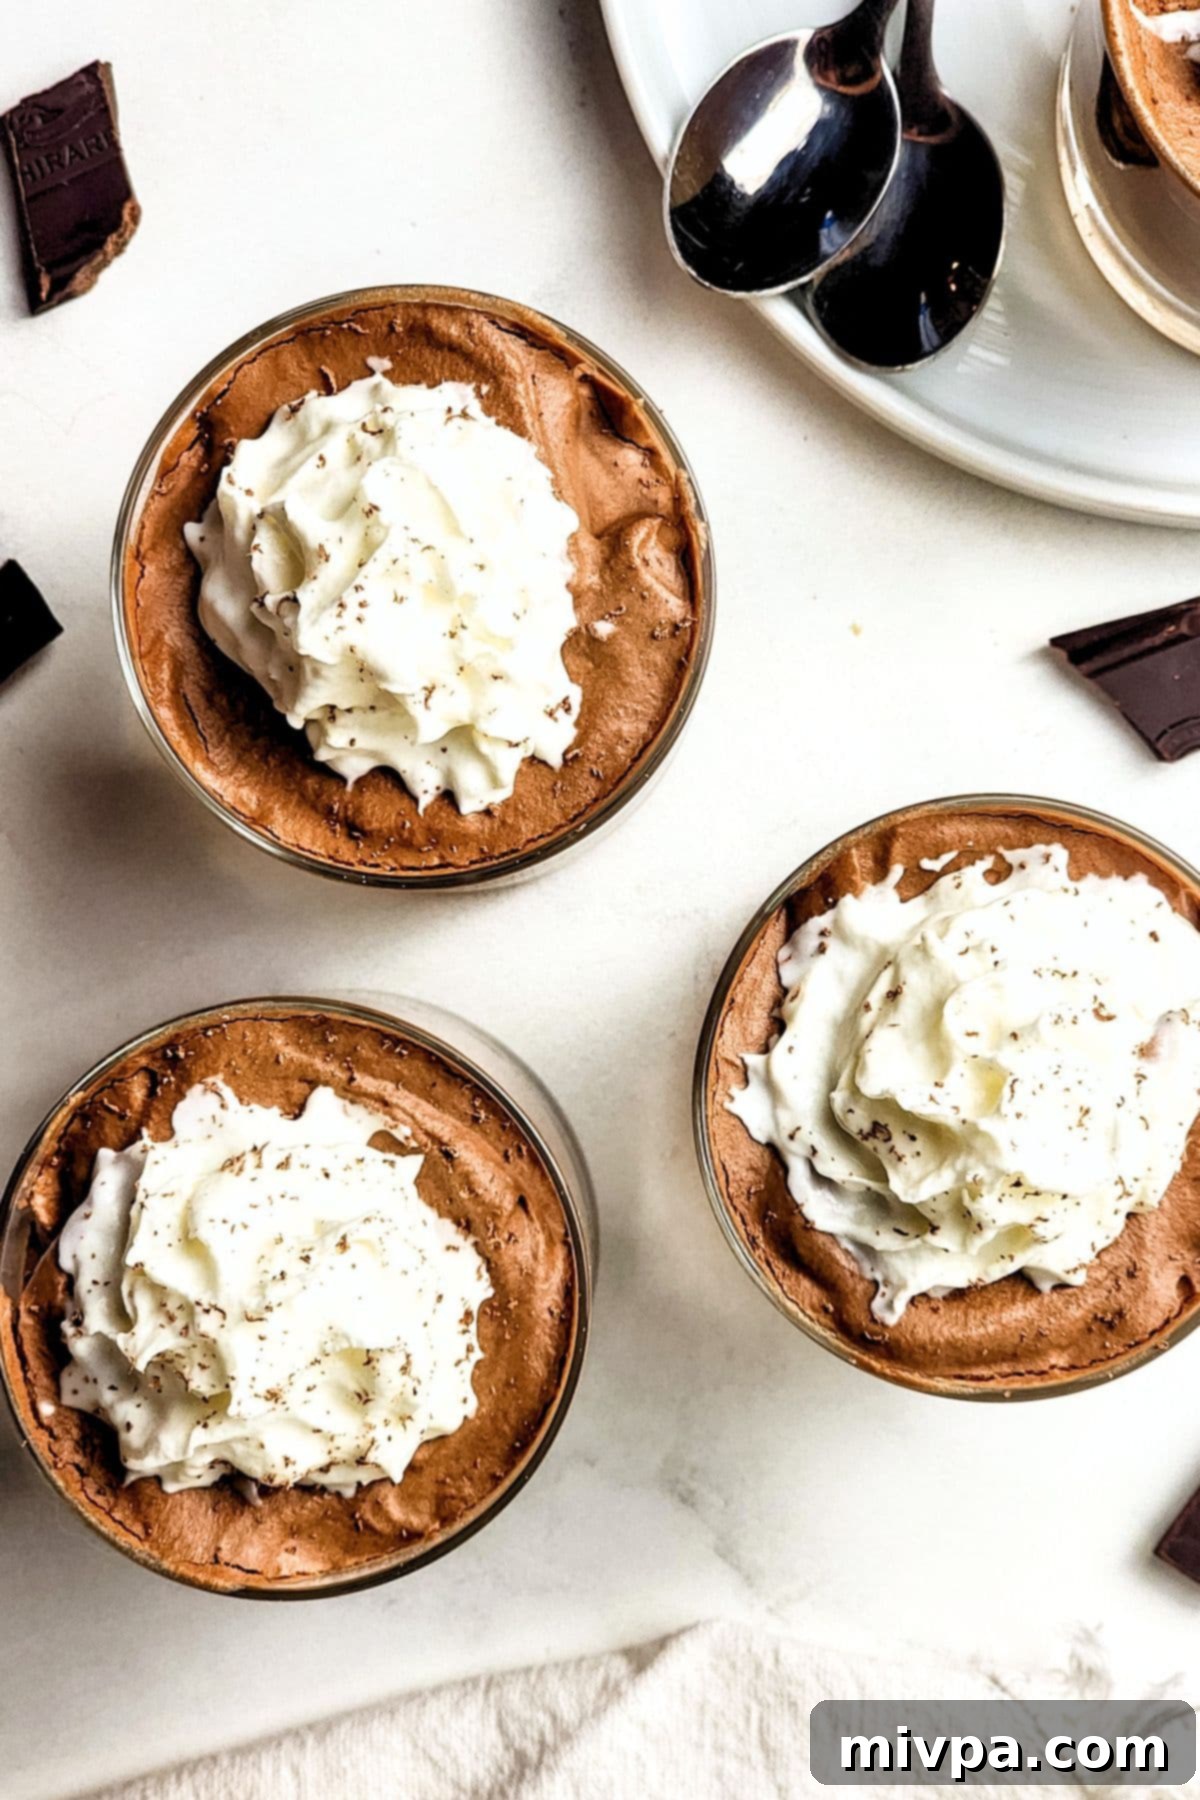
Troubleshooting Common Chocolate Mousse Issues
Even with simple recipes, sometimes things don’t go exactly as planned. Here are solutions to common mousse mishaps:
- Mousse is Too Runny:
- Insufficient Chilling: The most common culprit. Ensure it chills for the full 6 hours, or even overnight.
- Over-folded Egg Whites/Whipped Cream: If the air was beaten out, the mousse won’t set. Be gentler next time.
- Warm Chocolate Mixture: If the chocolate was too hot when combined, it could have melted the whipped cream.
- Egg Whites Won’t Form Stiff Peaks:
- Contamination: Even a tiny speck of egg yolk or grease in the bowl or on the beaters will prevent whites from whipping. Ensure everything is sparkling clean and dry.
- Old Eggs: Fresher eggs tend to whip better.
- Not Enough Beating: Keep going! Sometimes it just needs a little more time.
- Grainy Texture: This can happen if the chocolate was overheated or if the melted chocolate seized during the process. Ensure gentle melting and smooth stirring.
Frequently Asked Questions (FAQs) About Gluten-Free Chocolate Mousse
- Can I make this chocolate mousse ahead of time? Absolutely! In fact, it’s recommended. The mousse needs at least 6 hours to set, but it can be prepared up to 2-3 days in advance and stored in the refrigerator. This makes it a perfect make-ahead dessert for entertaining.
- How long does chocolate mousse last in the fridge? This homemade chocolate mousse will stay fresh and delicious in an airtight container or covered in individual serving dishes in the refrigerator for up to 3 days.
- Can I freeze chocolate mousse? Yes, you can! While the texture might change slightly, it freezes well. Transfer the set mousse into freezer-safe containers and freeze for up to 1 month. Thaw in the refrigerator overnight before serving.
- What kind of chocolate is best for mousse? High-quality chocolate is key. Semisweet chocolate is a great all-rounder, offering a balanced flavor. For a richer, less sweet mousse, use dark chocolate (60-75% cocoa). Always ensure it’s gluten-free if catering to dietary restrictions.
- Do I need to use raw eggs? Is it safe? This recipe uses raw egg yolks and whites. While the risk of salmonella is low in many countries due to rigorous safety standards, if you are concerned, you can use pasteurized eggs available in some stores. Alternatively, some recipes involve cooking the yolks over a double boiler to temper them, but this adds a step and is not typically necessary with fresh, high-quality eggs. Pregnant women, young children, the elderly, and those with weakened immune systems should exercise caution with raw egg consumption.
- What if I don’t have a hand mixer? While a hand mixer (or stand mixer) makes the process much quicker and easier, you can technically whip the cream and egg whites by hand with a whisk. Be prepared for a significant arm workout and a longer preparation time!
Other Gluten-Free Chocolate Desserts You’ll Adore
If you’re a chocolate lover seeking more gluten-free delights, here are some other fantastic recipes from Dish by Dish that you’re sure to enjoy:
- 5-Minute Chocolate Pudding (Gluten-Free, Vegan): A quick and easy fix for any chocolate craving.
- Easy Chocolate Almond Bark (Gluten-Free, Vegan): Perfect for gifting or a simple snack.
- Moist Chocolate Bundt Cake (Gluten-Free, Dairy-Free): A stunning and delicious cake for any celebration.
- Double Chocolate Muffins (Gluten-Free, Dairy-Free Option): The ultimate breakfast or snack for chocolate enthusiasts.
More Irresistible Gluten-Free Desserts to Indulge In
Beyond chocolate, the world of gluten-free desserts is vast and exciting! Explore these other delightful options to satisfy your sweet tooth:
- Gluten-Free Pumpkin Banana Muffins (Dairy-Free)
- 126 Gluten-Free Desserts and Sweet Treats for Labor Day
- Mini Pumpkin Cheesecakes (Gluten-Free, Dairy-Free Option)
- Gluten-Free Pecan Pie Bars (Dairy-Free)
P.S. If you try this incredible gluten-free chocolate mousse recipe, I’d absolutely love for you to leave a star rating below, and/or share your feedback in the comment section further down the page. Your insights are always deeply appreciated and help other readers! Be sure to check out my entire Recipe Index for a treasure trove of delicious recipes on the blog. You can also follow me on Pinterest, Facebook or Instagram for daily inspiration and updates! And don’t forget to sign up for my Email List to get fresh, new recipes delivered straight to your inbox each week!
Print Recipe Card
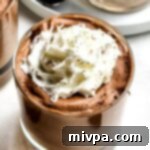
Creamy Gluten-Free Chocolate Mousse
5 Stars 4 Stars 3 Stars 2 Stars 1 Star
No reviews
Author: Felicia Lim
Total Time: 6 hours 15 minutes
Yield: 4 servings
Diet: Gluten Free
Description
This creamy gluten-free chocolate mousse is the perfect dessert for chocolate lovers. Smooth and airy with a rich chocolate flavor, this 5-ingredient chocolate dessert looks impressive but is actually easy to make! Top it with whipped cream and chocolate shavings to make it more decadent.
Ingredients
Units
Scale
- 1 1/4 cup cold heavy cream
- 4 large egg yolks
- 6 ounces gluten-free semisweet chocolate, finely chopped (approximately 1 cup chopped)
- 2 tablespoons unsalted butter
- 4 large egg whites
- 1/4 cup white sugar
Instructions
- Whip Cream: In a large, chilled bowl, whip the heavy cream with a hand mixer until soft peaks form. Do not over-whip.
- Fold Yolks into Whipped Cream: Gently fold the egg yolks into the whipped cream using a rubber spatula until the mixture is completely combined with no yolk streaks left behind. Set aside.
- Melt Chocolate and Butter:
Double Boiler Method: Melt the semisweet chocolate and unsalted butter together in a heatproof bowl over a pot of simmering water, stirring until smooth. Remove from heat.
Microwave Method: Or heat the chocolate and butter in a microwave-safe bowl in the microwave at 30-second intervals, stirring thoroughly between each, until smooth. Allow to cool slightly. - Fold Whipped Cream Mixture into Chocolate Mixture: Gently fold the reserved whipped cream and egg yolk mixture into the slightly cooled chocolate mixture in two additions, until just combined. Set aside.
- Beat Egg Whites Till Stiff Peaks Form: Using a clean hand mixer and a clean, dry bowl, beat the egg whites until foamy. Gradually add the white sugar, continuing to beat until stiff, glossy peaks form.
- Fold Egg White Mixture into Chocolate Mixture: Using a rubber spatula, carefully fold the beaten egg whites into the chocolate mixture. Incorporate them gently to maintain the mousse’s light and airy texture, ensuring no white streaks remain.
- Divide Mousse Between Glasses and Chill: Divide the mousse evenly among your chosen serving dishes. Refrigerate for at least 6 hours, or preferably overnight, until thoroughly set.
- Garnish and Serve: Serve this decadent dessert chilled. Optionally garnish with freshly whipped cream, chocolate shavings, or fresh berries for an elegant finish.
Notes
Cream: Make sure to use cold heavy whipping cream for best results. For a dairy-free option, substitute with a high-quality dairy-free heavy whipping cream or the thick part of chilled full-fat coconut cream.
Eggs: Carefully separate the egg yolks and whites. Ensure there is absolutely no trace of egg yolk in the egg whites, as this will prevent them from whipping properly. Using room temperature eggs can make separation easier and increase the volume of whipped whites.
Chocolate: While semi-sweet chocolate is recommended for a balanced flavor, you can use milk chocolate for a sweeter mousse or dark chocolate (70%+ cocoa) for a more intense, less sweet profile. Always ensure your chocolate is certified gluten-free if catering to specific dietary needs. For a dairy-free mousse, use dairy-free chocolate.
Butter: Use unsalted butter to control the seasoning. If making it dairy-free, use an unsalted dairy-free butter alternative.
Melting Chocolate and Butter: Both double boiler and microwave methods are effective. The key is to melt gently and stir until completely smooth, avoiding overheating which can make the chocolate seize.
Chill Before Serving: This step is crucial! For the perfect light, airy texture and to allow the mousse to set, chill for a minimum of 6 hours. Overnight chilling yields the best results.
Serving Size: This recipe makes 4 generous servings. For smaller portions, divide the mousse into 8 shot glasses or mini ramekins.
Versatility: Enjoy this mousse on its own, or use it as a luxurious topping for cakes, brownies, or as a decadent filling for tarts and pies.
- Prep Time: 15 mins
- Chilling Time: 6 hours
- Category: Desserts
- Cuisine: Western
