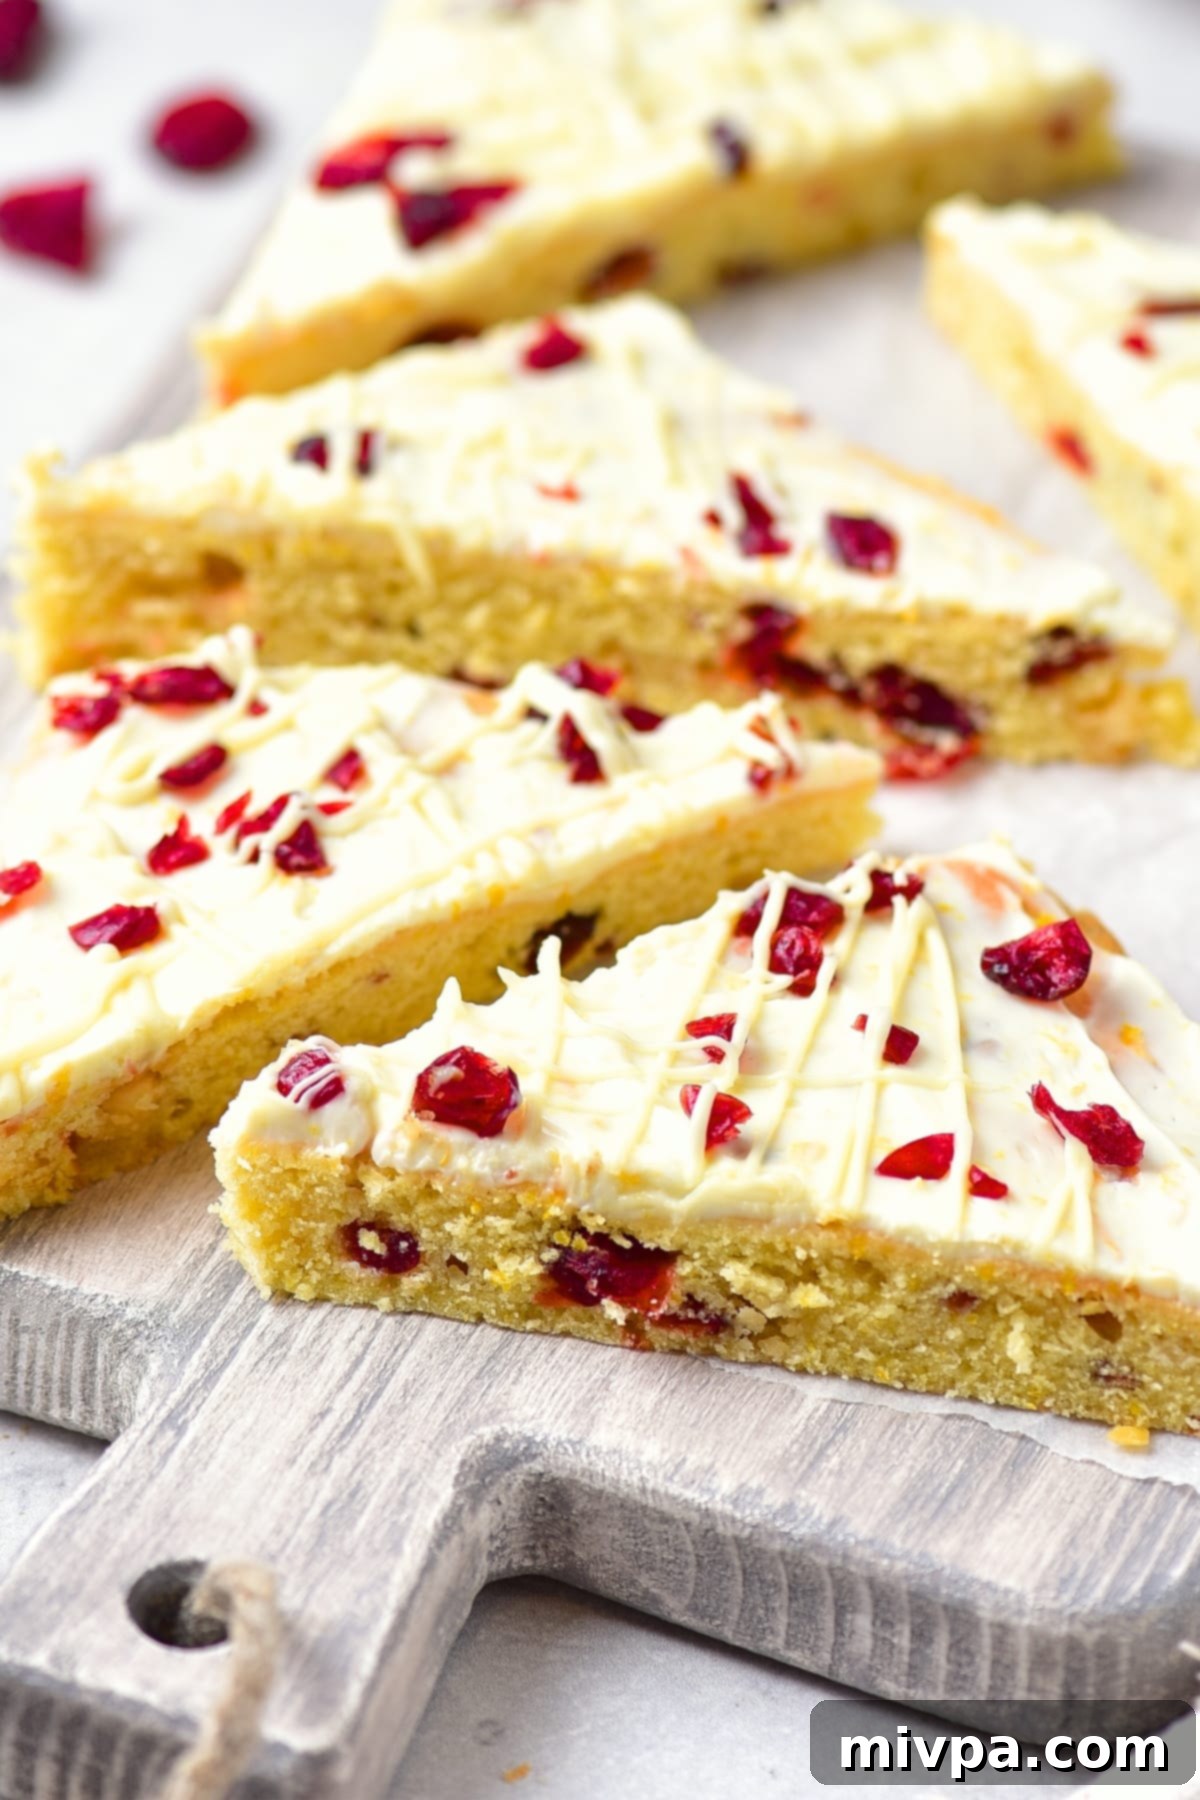
The Ultimate Gluten-Free & Dairy-Free Cranberry Bliss Bars for the Holidays
Get ready to infuse your home with the delightful aromas of the festive season! These incredible gluten-free cranberry bliss bars are an absolute must-try for any holiday gathering or simply as a comforting treat. Inspired by the famous Starbucks original, this recipe brings you all the joy and flavor without the gluten or dairy. Topped with a luscious, tangy cream cheese frosting and bursting with the sweet-tart goodness of dried cranberries and zesty orange, these bars are the epitome of holiday baking perfection. Whether you’re looking for a delightful sweet snack or a show-stopping dessert, these dairy-free delights are guaranteed to be a crowd-plepleaser. Let’s bake a batch today and spread some bliss!
Our Favorite Cranberry Recipes for Festive Baking
Nothing says “holiday season” quite like the vibrant, cheerful pop of red from cranberries. These versatile berries are perfect for adding both color and a wonderfully tart flavor to a variety of festive dishes. If you love cranberries as much as we do, you’ll adore these other favorite recipes that celebrate this beautiful berry:
- This moist gluten-free cranberry orange bread is a tender, fragrant loaf perfect for breakfast or a holiday brunch.
- Whip up a batch of these easy gluten-free cranberry orange scones, ideal for a cozy afternoon tea.
- Don’t miss our 20-minute homemade cranberry sauce, a quick and essential side for your holiday roast.
- Indulge in this comforting gluten-free cranberry bread pudding, a warm dessert perfect for chilly evenings.
- For a refreshing drink, try this simple homemade cranberry juice, free from added sugars and preservatives.
What Exactly are Cranberry Bliss Bars?
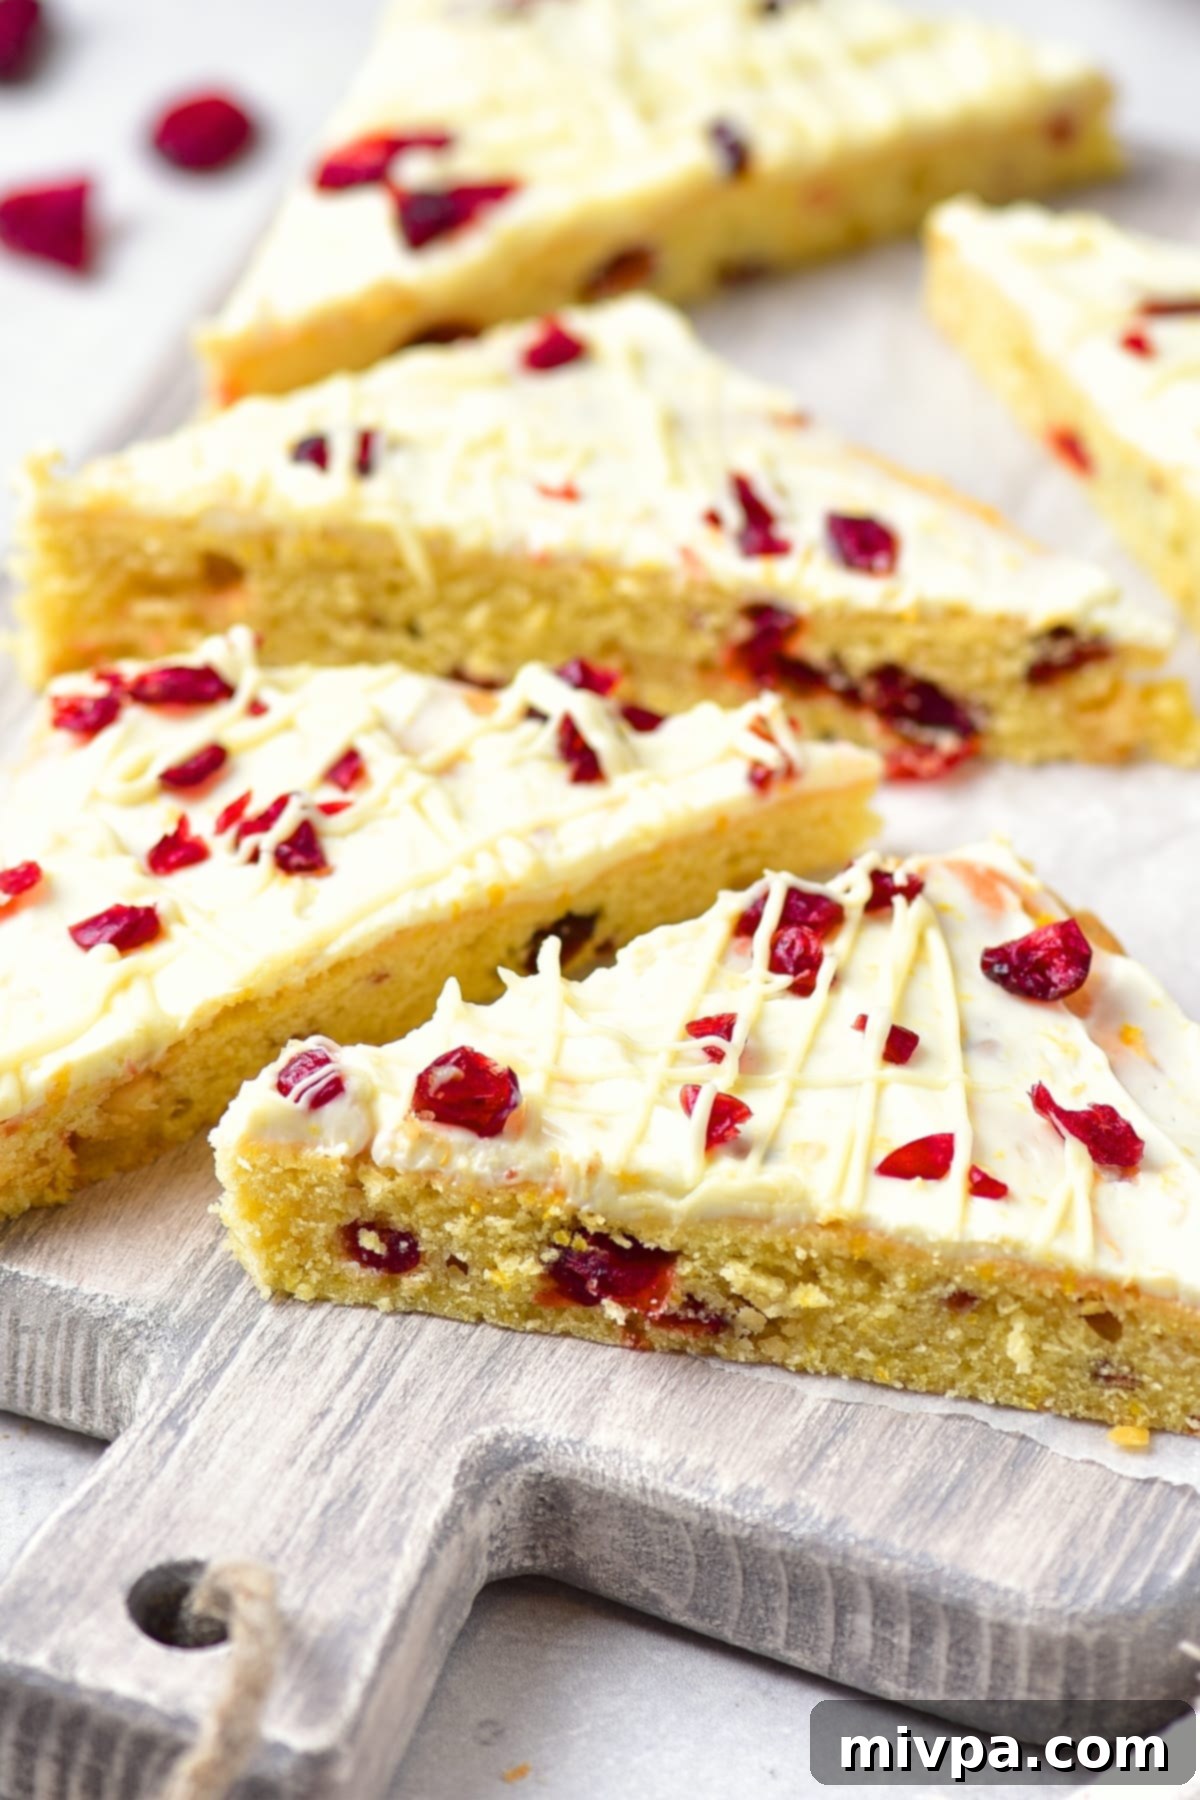
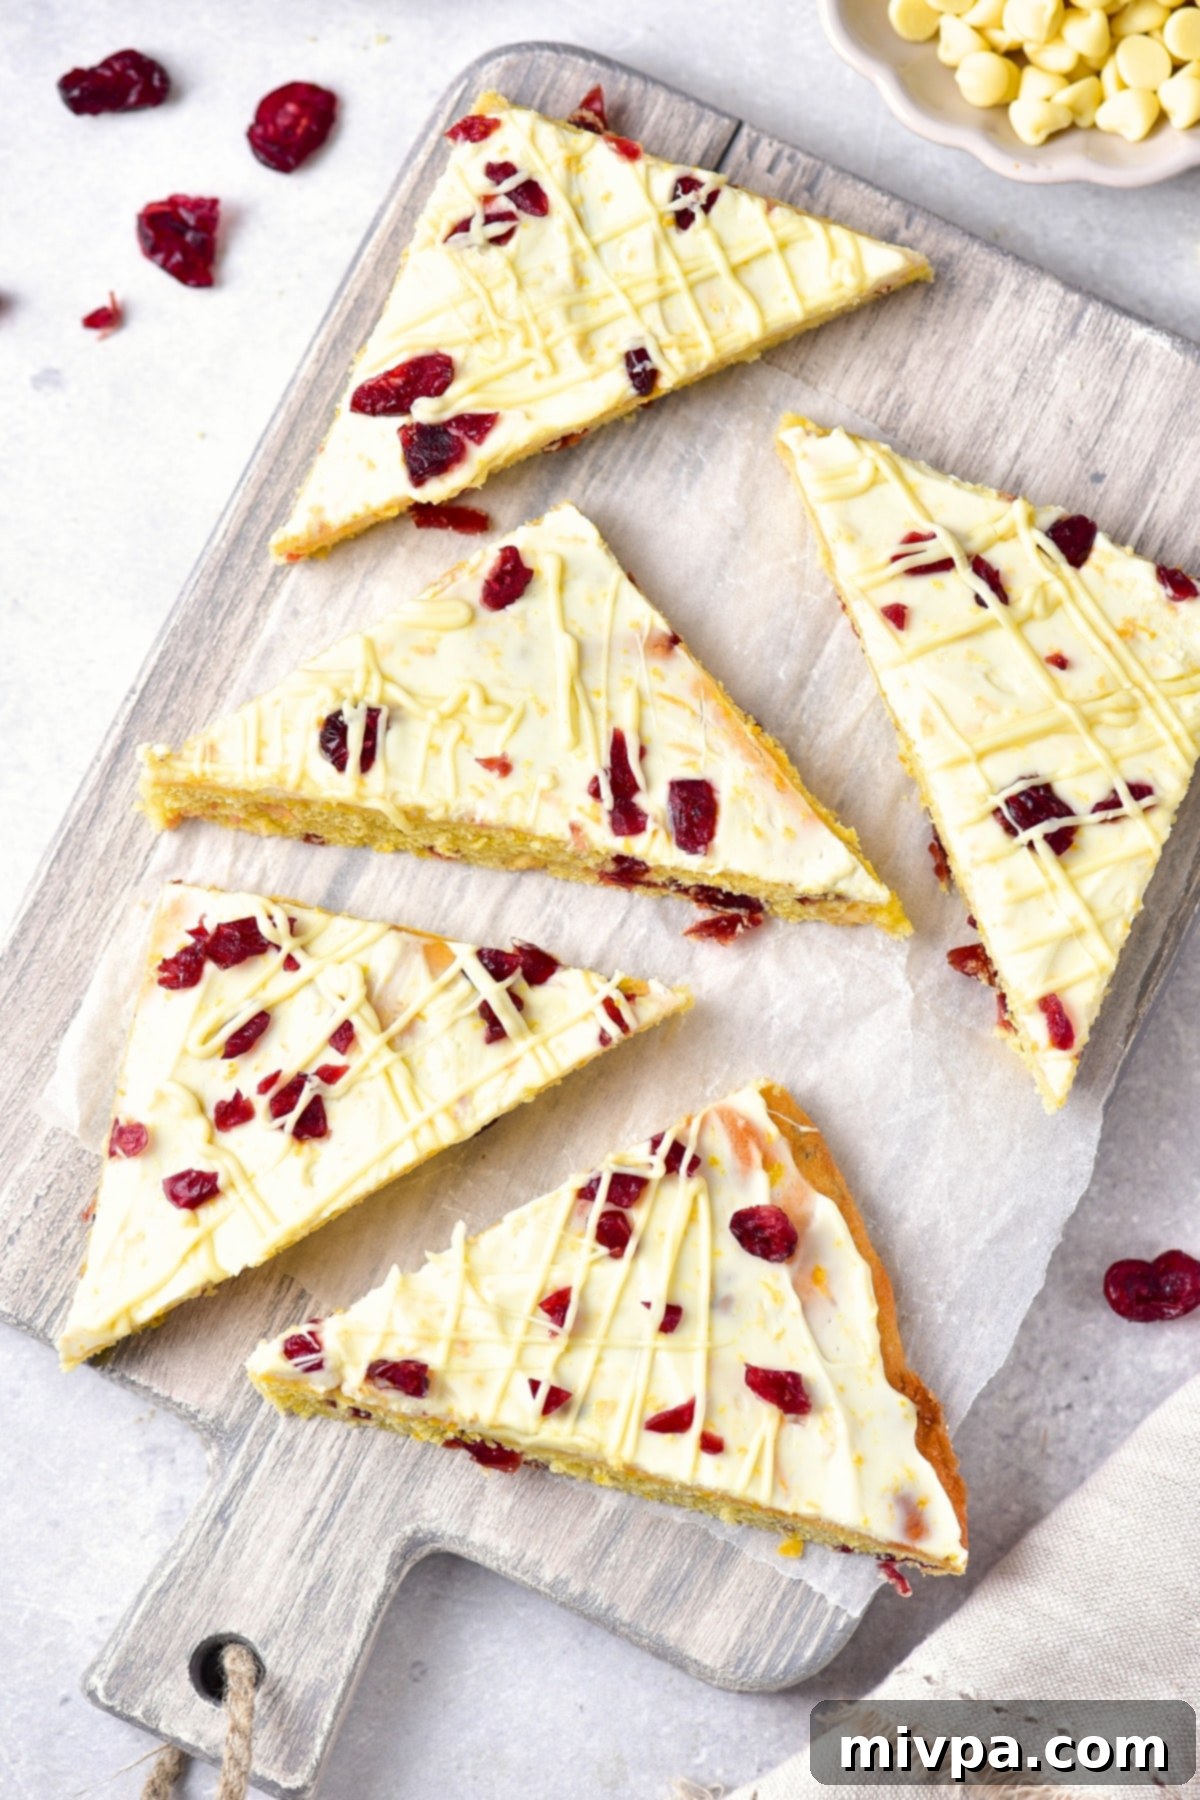
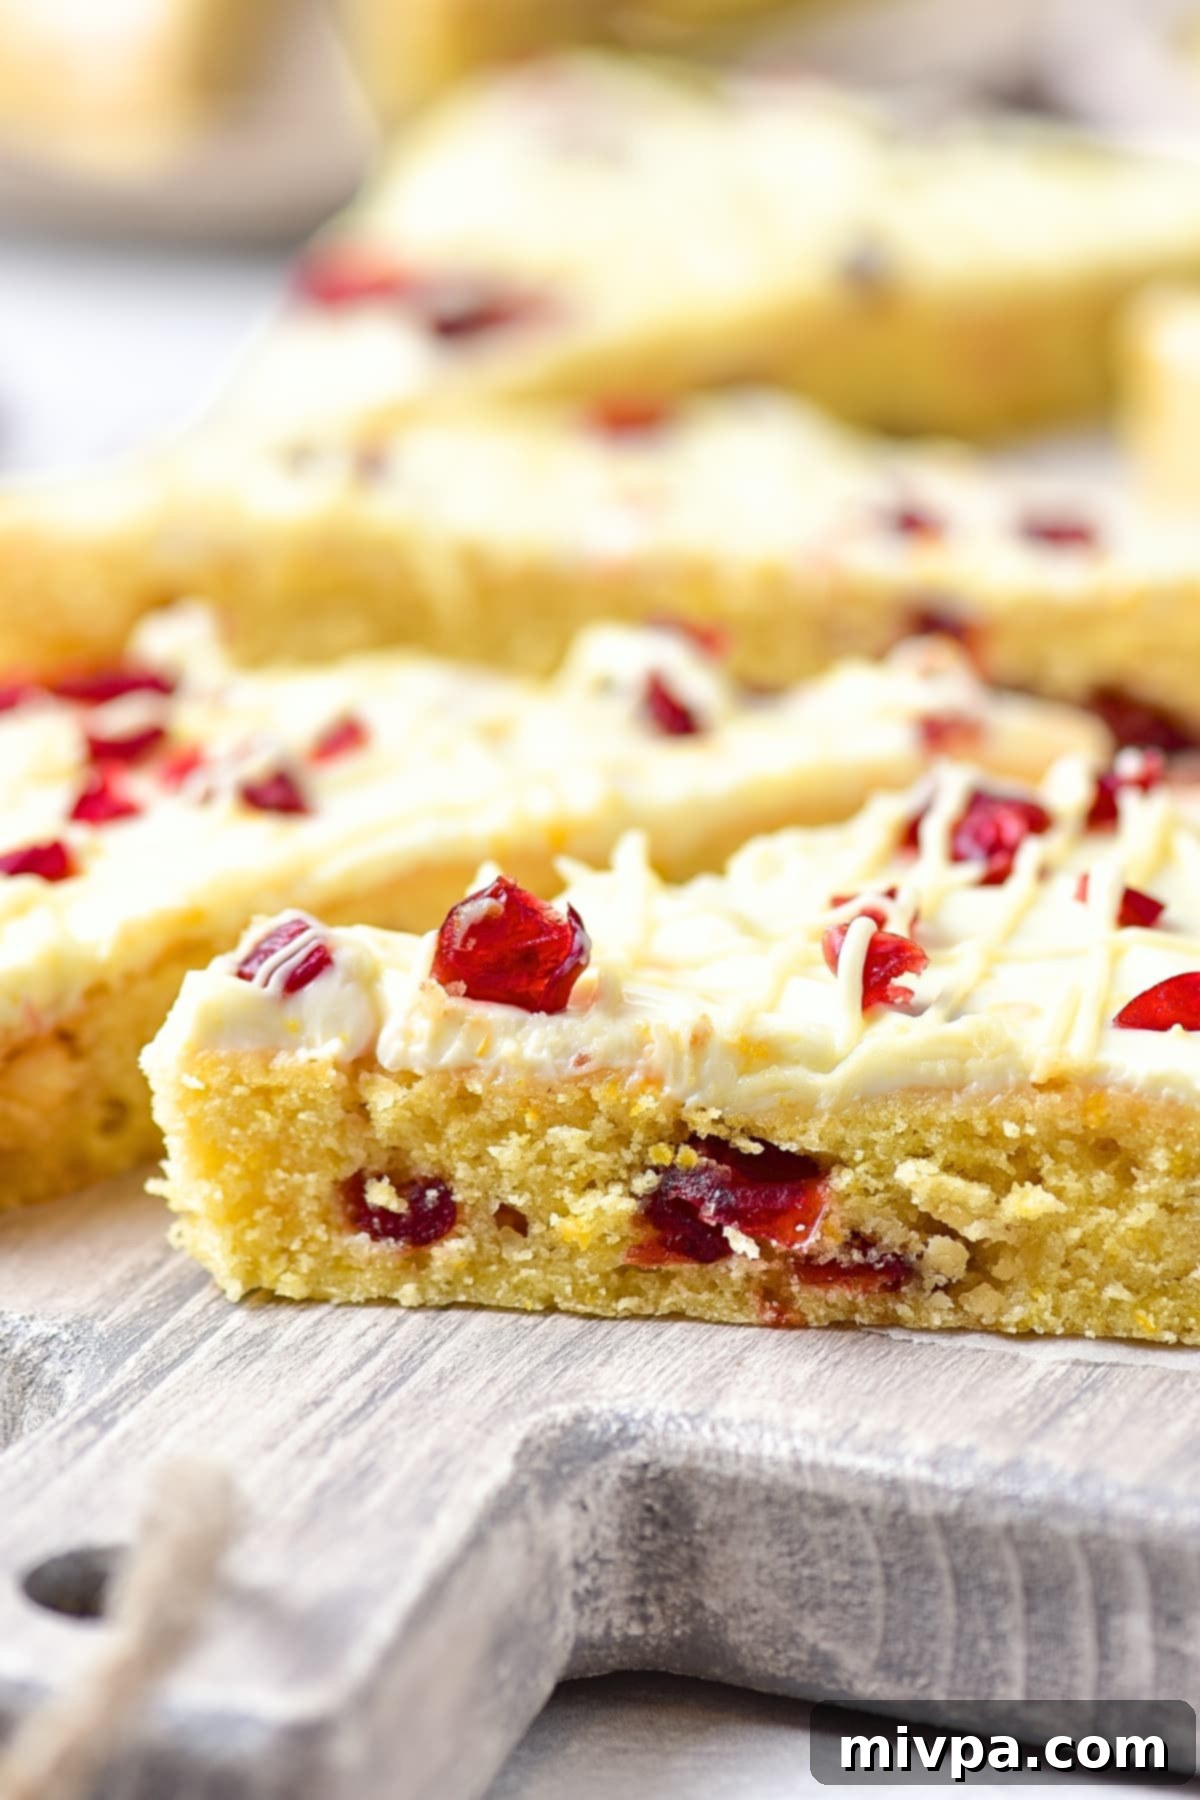
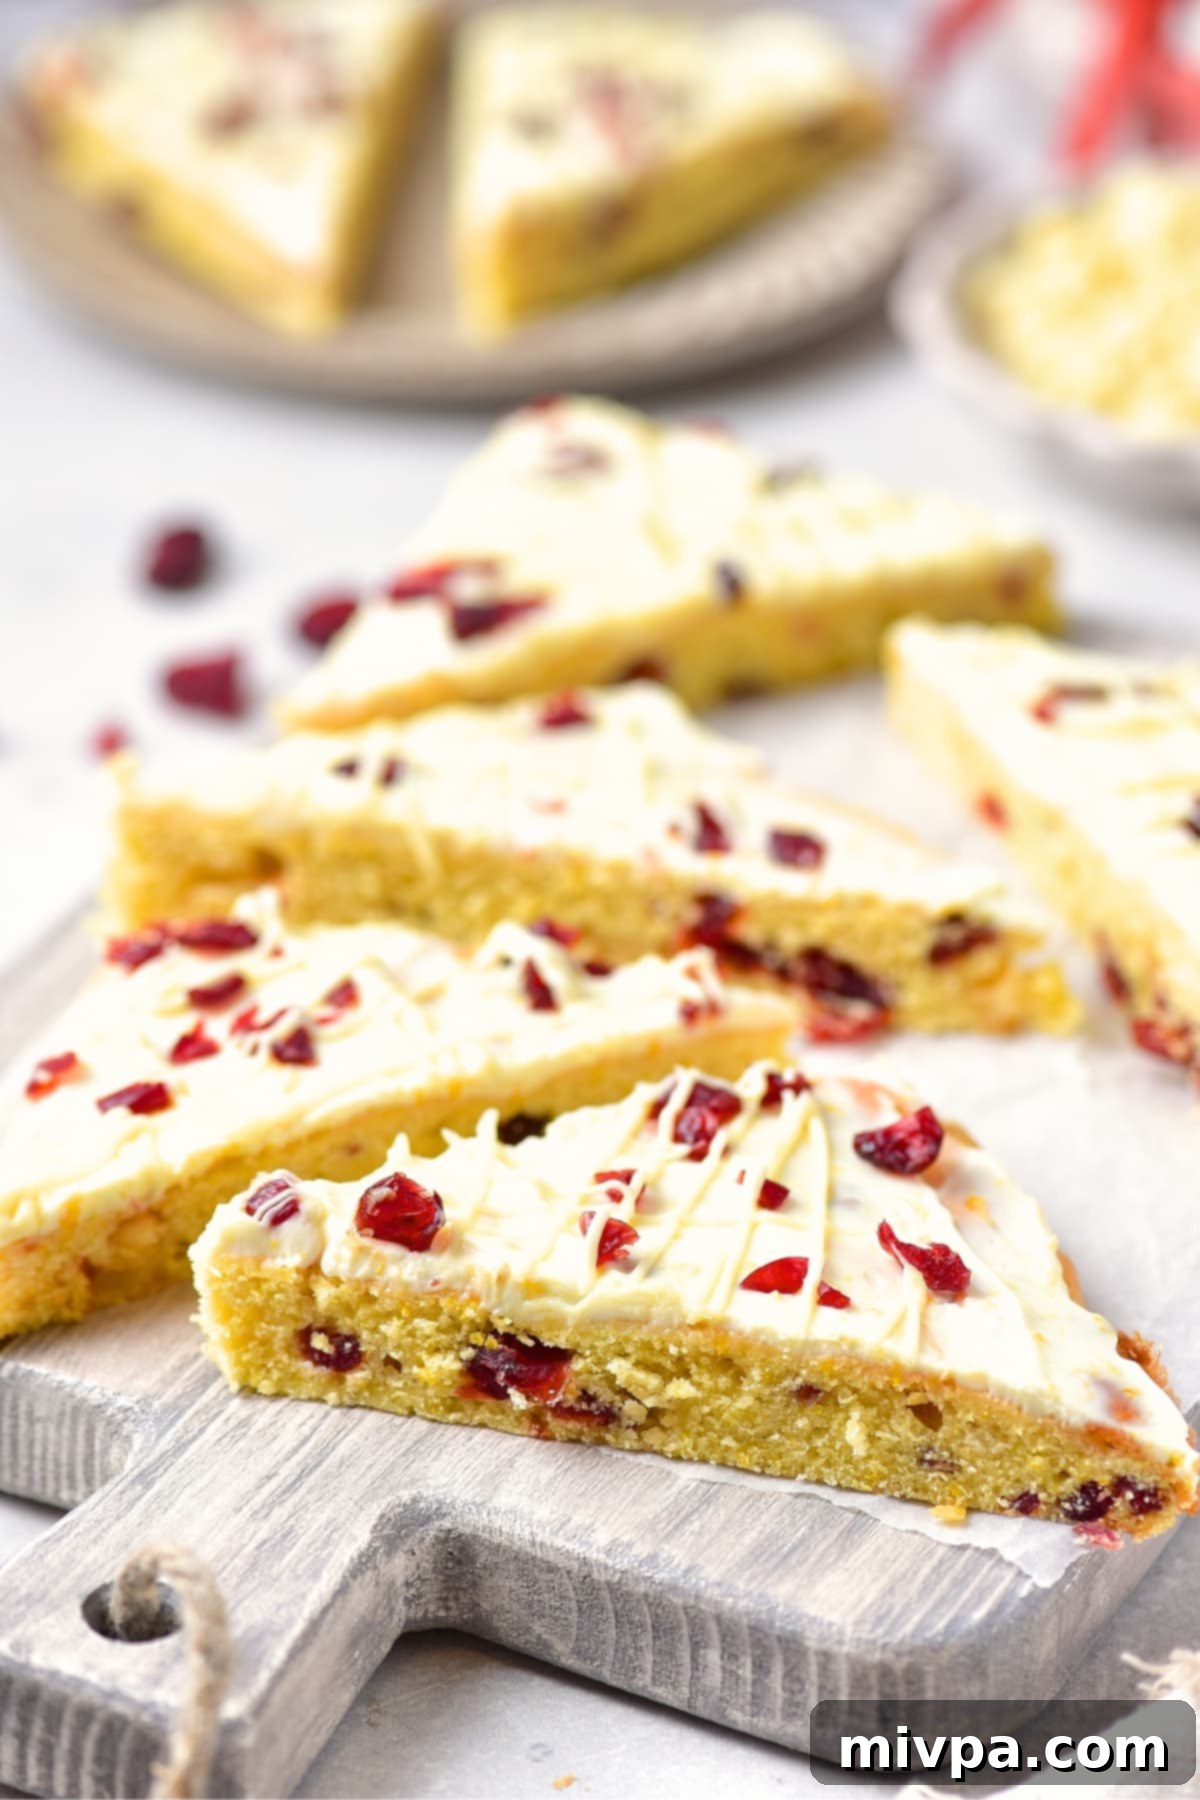
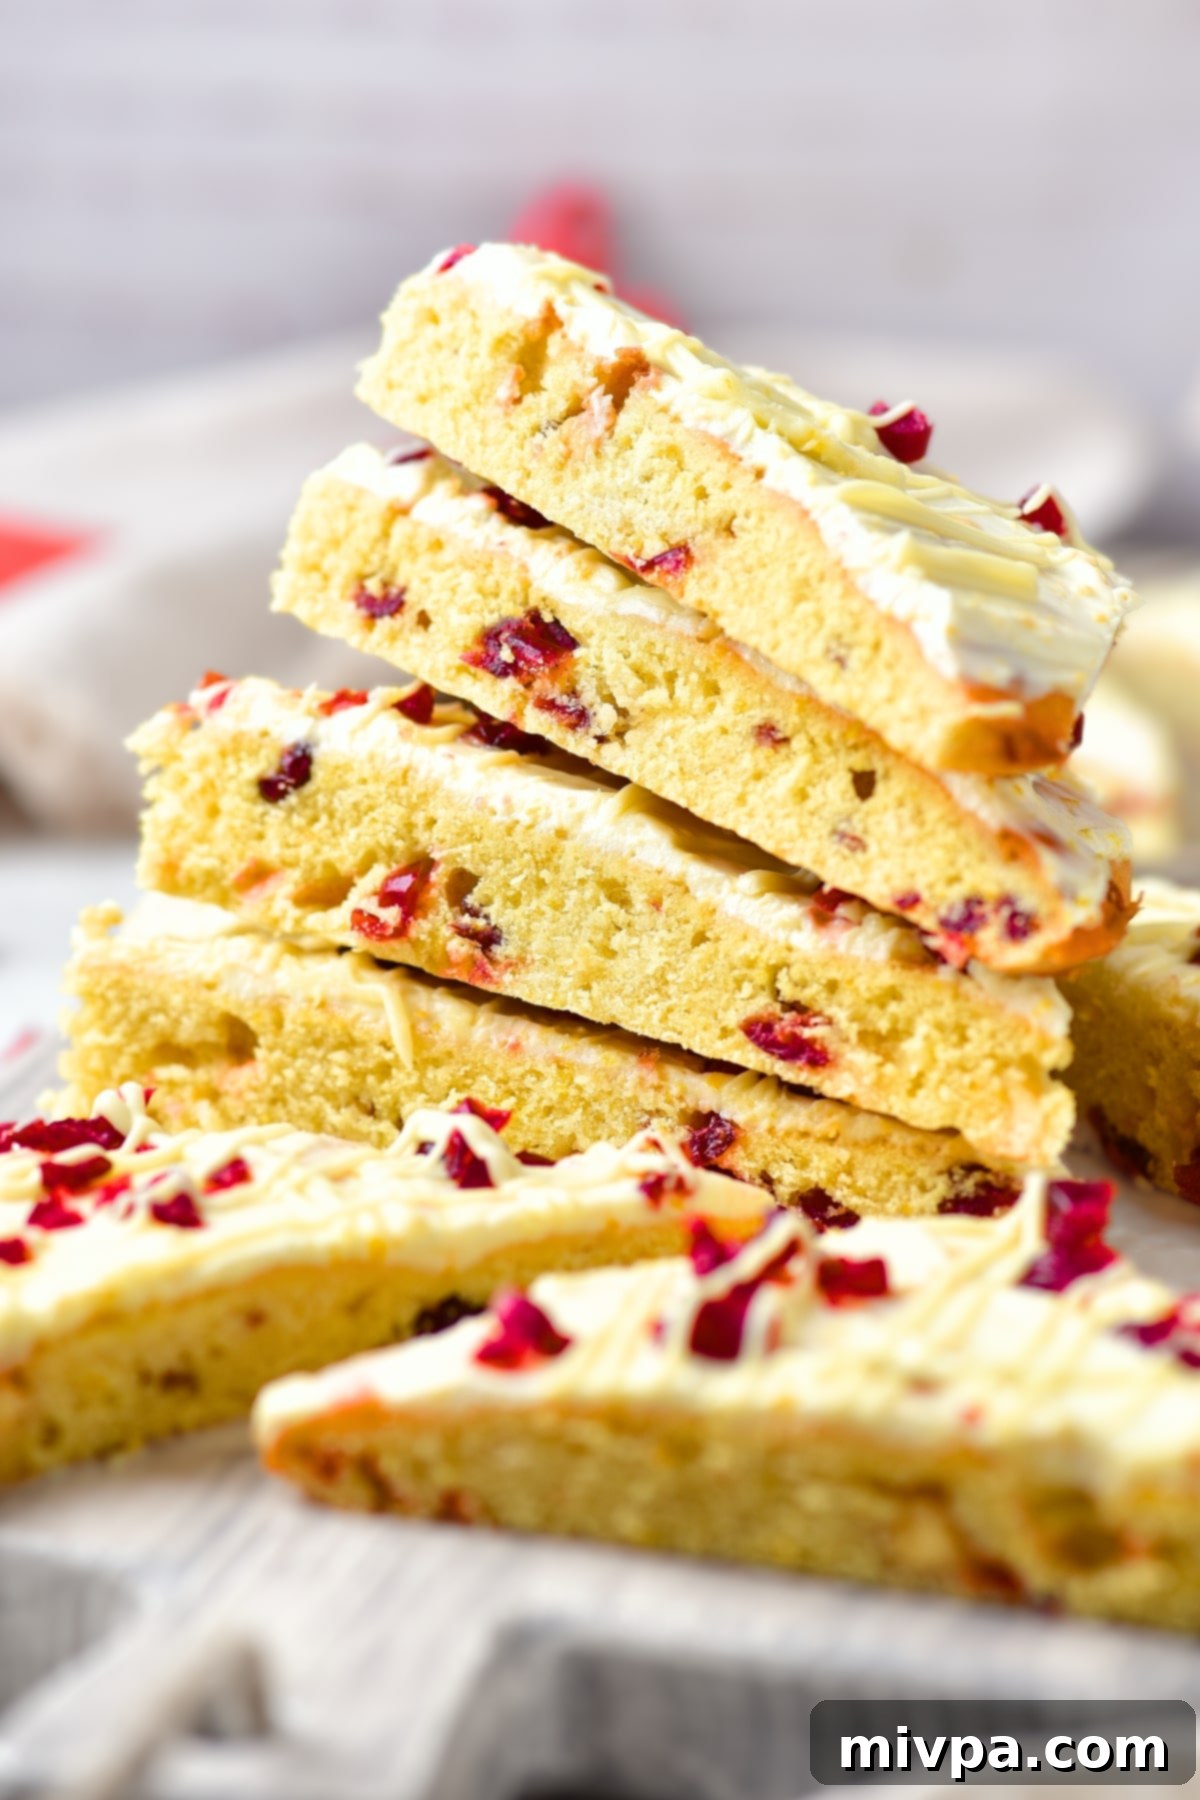
The iconic cranberry bliss bars first gained popularity as a seasonal treat at Starbucks, quickly becoming a holiday staple for many. At their heart, they are a rich, chewy blondie base, elevated with a delightful mix of dried cranberries and bright orange zest. This base is then generously slathered with a sweet and tangy cream cheese frosting, creating a perfect balance of flavors and textures. The finishing touch? A delicate drizzle of white chocolate, adding an extra layer of sweetness and visual appeal. They’re known for their festive look, their irresistible combination of sweet and tart, and their satisfyingly soft chewiness, making them a true holiday indulgence.
Are Traditional Cranberry Bliss Bars Gluten-Free?
Unfortunately, the original Starbucks cranberry bliss bars are made with conventional wheat flour, meaning they contain gluten. This makes them unsuitable for individuals with Celiac disease, gluten sensitivity, or those simply choosing a gluten-free lifestyle. For many, finding delicious gluten-free versions of their favorite treats can be a challenge, especially during the holidays when temptations are everywhere.
That’s precisely why we’re so excited to share this recipe! Our version is a faithful Starbucks copycat, meticulously crafted to be completely gluten-free and dairy-free. This means everyone can enjoy the festive joy of these famous bars without any dietary concerns. We’ve ensured that this recipe maintains the same incredible taste, texture, and holiday spirit as the original, allowing you to indulge freely and safely. So, get ready to dive into a world of deliciousness!
Why You’ll Love This Gluten-Free Cranberry Bliss Bar Recipe
This recipe isn’t just about making delicious bars; it’s about making them accessible and enjoyable for everyone. Here’s why this particular gluten-free and dairy-free cranberry bliss bar recipe stands out:
- Simple, Accessible Ingredients: You won’t need to hunt for obscure ingredients. All the items required for these bliss bars are readily available at your local grocery store. We’ve focused on using common pantry staples to ensure this recipe is as convenient as it is delicious, proving that gluten-free and dairy-free baking can be incredibly straightforward.
- Remarkably Easy to Make: Don’t be intimidated by homemade treats! Preparing these copycat cranberry bliss bars is a breeze. The process involves simple steps: mixing your dry and wet ingredients to form the blondie batter, baking it to golden perfection, and then spreading it with a rich, creamy frosting. It’s a rewarding baking project that even novice bakers can tackle with confidence.
- Completely Gluten-Free & Dairy-Free: This is arguably the biggest selling point! Our cranberry bar recipe is 100% gluten-free and dairy-free. This means that individuals with Celiac disease, gluten sensitivities, or lactose intolerances can enjoy every single bite without any worries or discomfort. You get all the flavor, all the texture, and all the bliss, without any of the common allergens, making it perfect for inclusive holiday celebrations.
- Perfect for Holiday Gifting: These bars are not only a treat for your family but also make wonderful edible gifts. Their festive appearance and delightful flavor make them a cherished present for friends, neighbors, and teachers during the holiday season.
- Irresistible Flavor Profile: The combination of sweet blondie, tangy cranberries, bright orange zest, and creamy frosting creates a complex yet harmonious flavor that is truly addictive. The subtle warmth from a hint of ginger adds an extra layer of depth, making these bars unforgettable.
Essential Ingredients for Your Cranberry Bliss Bars
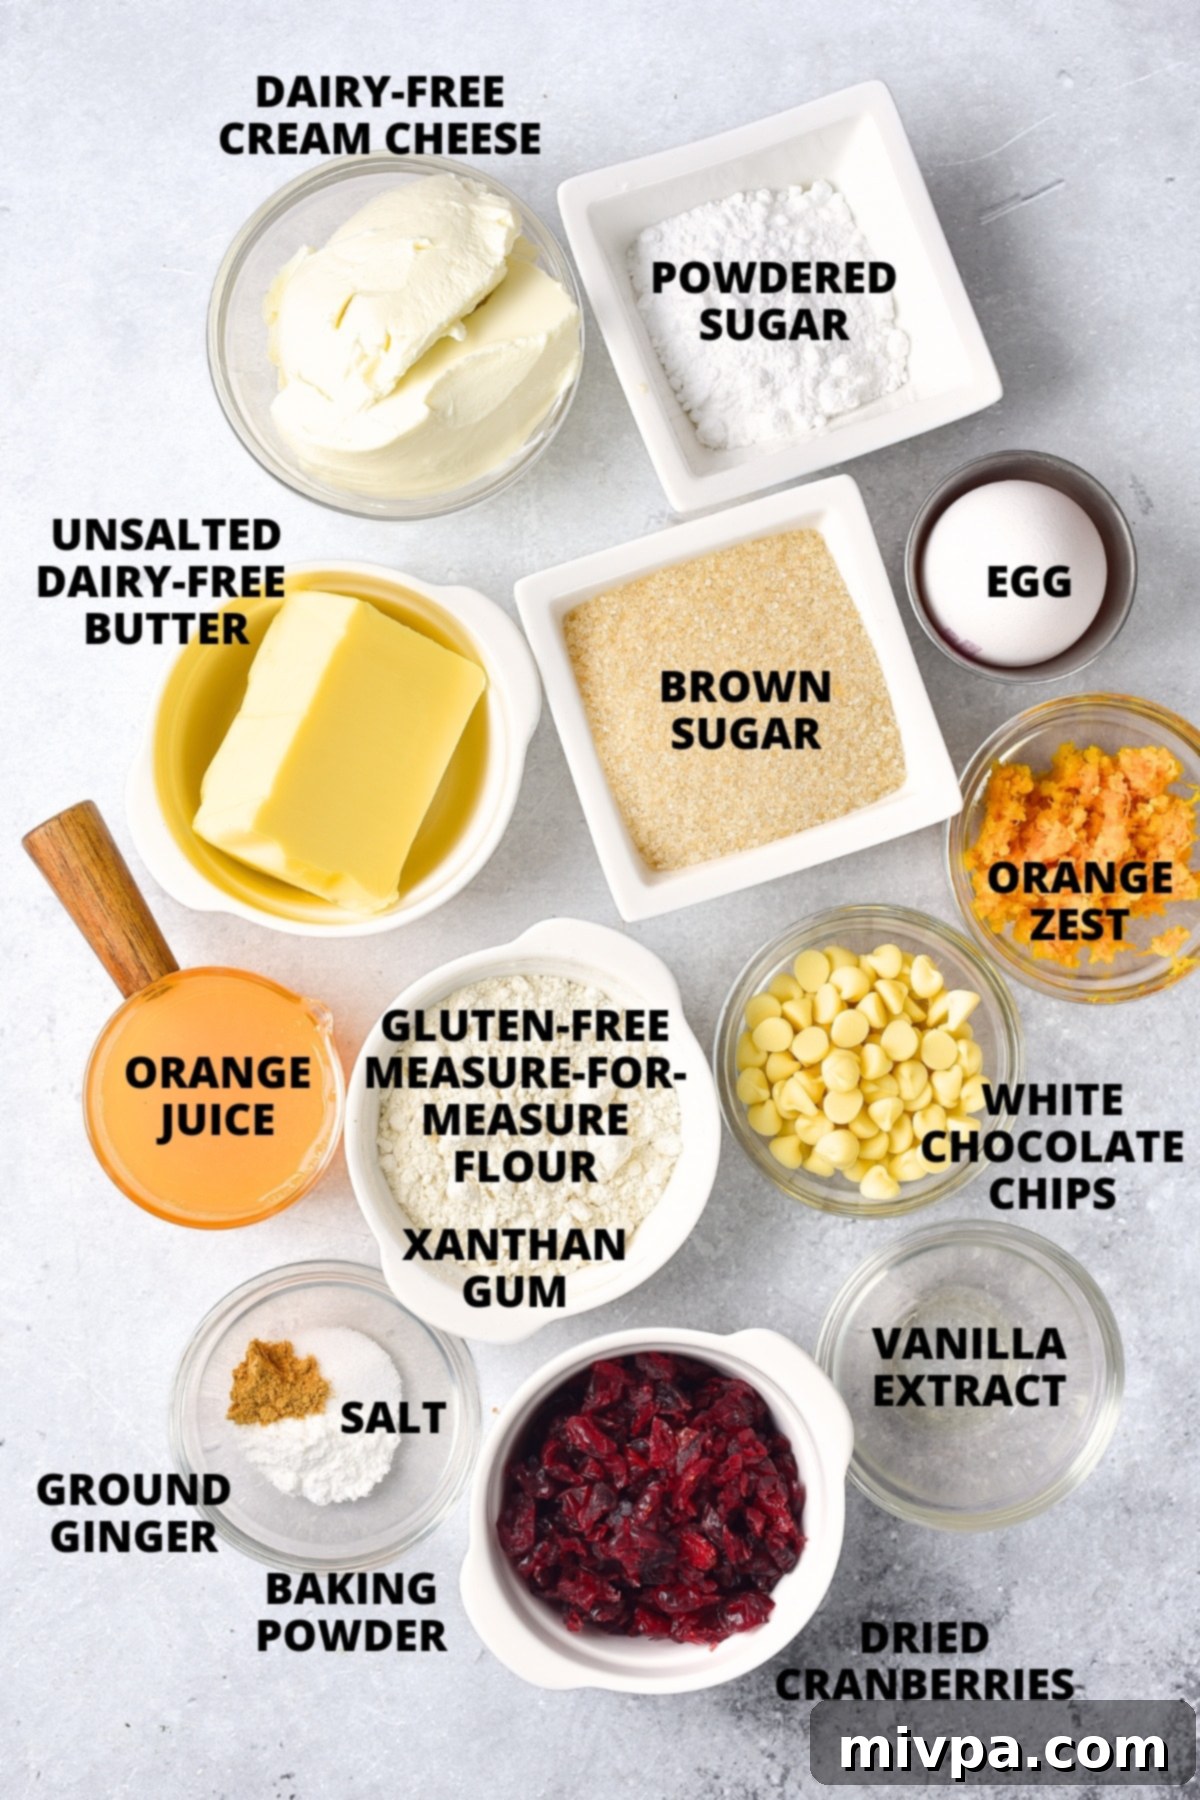
Gathering your ingredients is the first exciting step to creating these delectable treats. We’ve carefully selected components that ensure both the gluten-free and dairy-free aspects are perfectly covered, without compromising on flavor or texture. Here’s a visual overview of the key ingredients you’ll need for this gluten-free cranberry bliss bars recipe, along with some tips to choose the best quality for the most delicious results.
(For exact measurements and a detailed list, please scroll down to the printable recipe card at the bottom of this post.)
Recipe Notes & Helpful Substitutions for Perfect Bars
Understanding your ingredients and knowing when and how to make substitutions can greatly enhance your baking experience. Here are some detailed notes and alternative options for the components of these cranberry bliss bars:
- Dairy-Free Butter: I’ve opted for unsalted dairy-free butter (often labeled as vegan butter) to keep these bars entirely dairy-free. This ensures a rich, buttery flavor and texture. If you prefer, you can also use coconut oil. For a more neutral flavor that won’t overpower the cranberry and orange, I highly recommend refined coconut oil. Avoid extra virgin coconut oil if you’re not a fan of its distinct coconut aroma and taste in your baked goods.
- Sugar: I used light brown sugar for its subtle caramel notes and moist texture contribution. However, you have several options: cane sugar, white granulated sugar, dark brown sugar, or even coconut sugar can be used. Keep in mind that darker sugars will result in a slightly darker-colored batter and a richer, molasses-like flavor. For those managing blood sugar, I highly recommend granulated monk fruit sweetener, which is a 1:1 sugar substitute with a zero glycemic index.
- Orange Zest: For the most vibrant and aromatic orange flavor, always grate the orange zest just before you’re ready to incorporate it into the batter and frosting. The essential oils are most potent when freshly zested.
- Ground Ginger: A tiny pinch of ground ginger adds a wonderful warming spice that complements the cranberries and orange beautifully, giving these bars an extra festive touch. If ginger isn’t to your taste, you can certainly omit it without compromising the overall deliciousness.
- Eggs: Eggs are crucial in this recipe as a binding agent, helping to hold the blondie batter together and contributing to its tender texture. They also add richness. If you have an egg allergy or prefer an egg-free recipe, you can experiment with acquafaba (the liquid from canned chickpeas) or a commercial egg replacer. Follow the product’s instructions for equivalence.
- Orange Juice: Freshly squeezed orange juice will always provide the best, brightest orange flavor. However, if fresh oranges aren’t available, a good quality bottled orange juice will work just fine for both the batter and the frosting.
- Vanilla Extract: A good quality vanilla extract enhances all the other flavors in the bars, adding a sweet, aromatic depth. Don’t skip this!
- Gluten-Free Flour Blend: The type of gluten-free flour blend you use can significantly impact the final texture. I highly recommend using a high-quality gluten-free measure-for-measure flour blend that is designed as a 1:1 substitute for regular all-purpose flour. Look for blends primarily composed of lighter flours and starches like rice flour, tapioca starch, corn starch, or potato starch. Avoid blends that have a strong presence of heavier, denser flours such as garbanzo bean (chickpea) flour, which can result in a gritty texture and an undesirable flavor.
- Xanthan Gum: This is an essential ingredient in gluten-free baking. Xanthan gum acts as a replacement for gluten, providing elasticity and helping to bind the ingredients together, preventing your baked goods from crumbling. If your chosen gluten-free flour blend explicitly states it already contains xanthan gum, you can omit adding it separately. Otherwise, it’s crucial for the structure of these bars.
- Baking Powder: Baking powder is the sole leavening agent in this recipe, responsible for giving the blondies a light lift. Ensure it’s fresh for the best results. If you are Celiac or highly gluten-sensitive, always use a certified gluten-free baking powder to avoid cross-contamination.
- White Chocolate Chips: To keep these bars strictly dairy-free, I used dairy-free vegan white chocolate chips. These are widely available and melt beautifully. If dairy is not an issue for you, feel free to use regular white chocolate chips.
- Dried Cranberries: It’s important to use dried cranberries, not fresh ones, for this recipe. Dried cranberries are sweeter and have a chewier texture that perfectly complements the blondie. Fresh cranberries would be too tart and release too much moisture. For a twist, you could also use dried blueberries or raisins if you prefer, for a different but equally delicious flavor profile.
- Cream Cheese: For a dairy-free frosting, dairy-free cream cheese is the star ingredient. It provides that classic tangy, rich flavor and creamy texture. If you don’t have dairy restrictions, regular cream cheese works perfectly here. Just ensure it’s full-fat for the best frosting consistency.
- Powdered Sugar: Also known as confectioner’s sugar, powdered sugar dissolves easily, creating a silky-smooth frosting. For diabetics or those mindful of sugar intake, powdered monk fruit sweetener is an excellent 1:1 substitute. It has a zero glycemic index and won’t spike blood sugar levels.
How to Make Gluten-Free Cranberry Bliss Bars (Step-by-Step Guide)
Ready to create some holiday magic? Follow these detailed steps to bake your very own batch of gluten-free and dairy-free cranberry bliss bars. The process is straightforward and fun, yielding delicious results every time!
1. Preheat Oven and Prepare Baking Pan
Start by preheating your oven to 350°F (175°C). While the oven heats up, prepare a medium baking dish or baking pan, approximately 15”x10” (38cm x 25cm). Line the pan completely with parchment paper or use a silpat baking mat. This step is crucial for easy removal of the baked bars and ensures a clean finish.
2. Cream Butter and Sugar Until Smooth
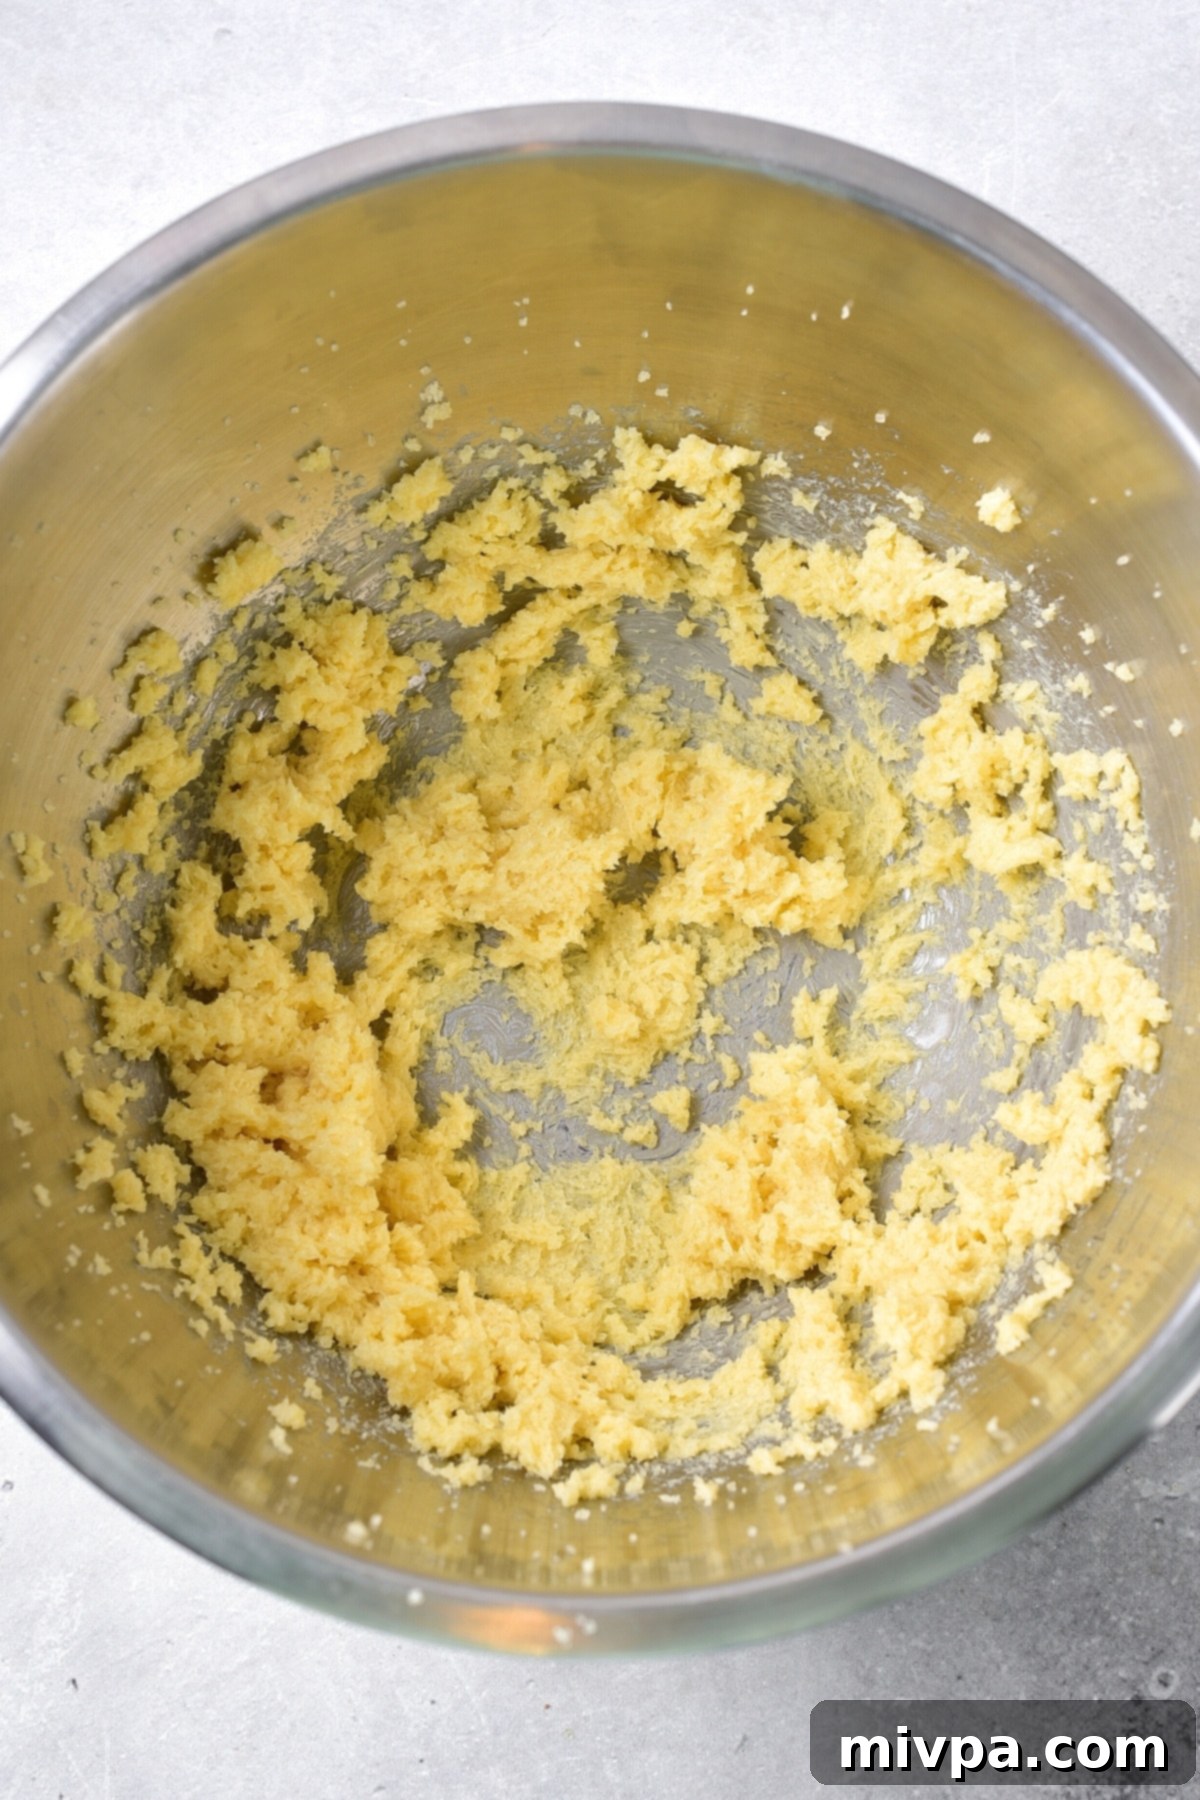
In a large mixing bowl, combine the softened unsalted dairy-free butter and the light brown sugar. Using an electric hand mixer or a stand mixer with the paddle attachment, beat these two ingredients together until the mixture is light, fluffy, and smooth. This typically takes 2-3 minutes, ensuring the sugar is well incorporated and the butter is aerated.
3. Incorporate Vanilla and Eggs
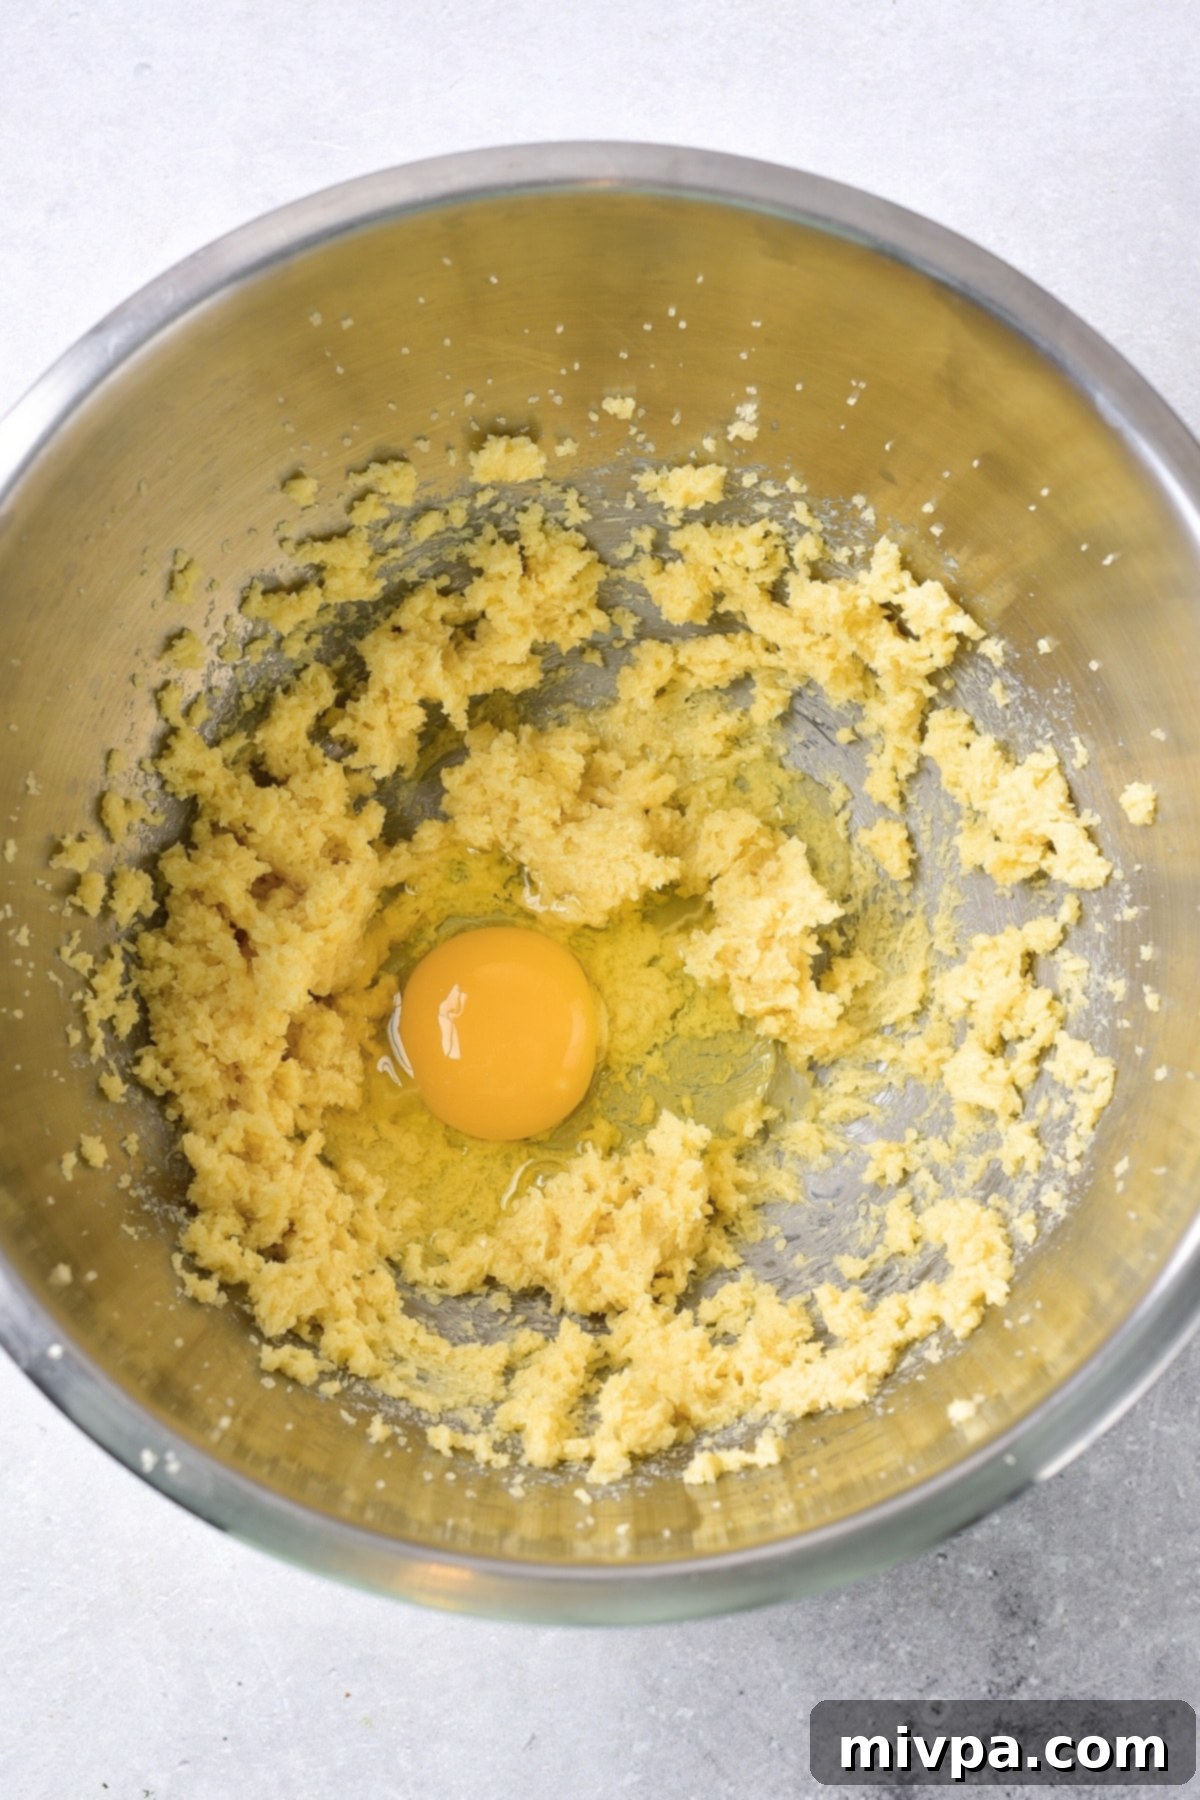
Add the vanilla extract to the butter-sugar mixture. Then, crack in the eggs, adding them one at a time. Beat for an additional minute or two after each egg, scraping down the sides of the bowl as needed, until the mixture is completely smooth and well combined. This ensures a consistent batter.
4. Combine Dry Ingredients and Add to Wet Mixture
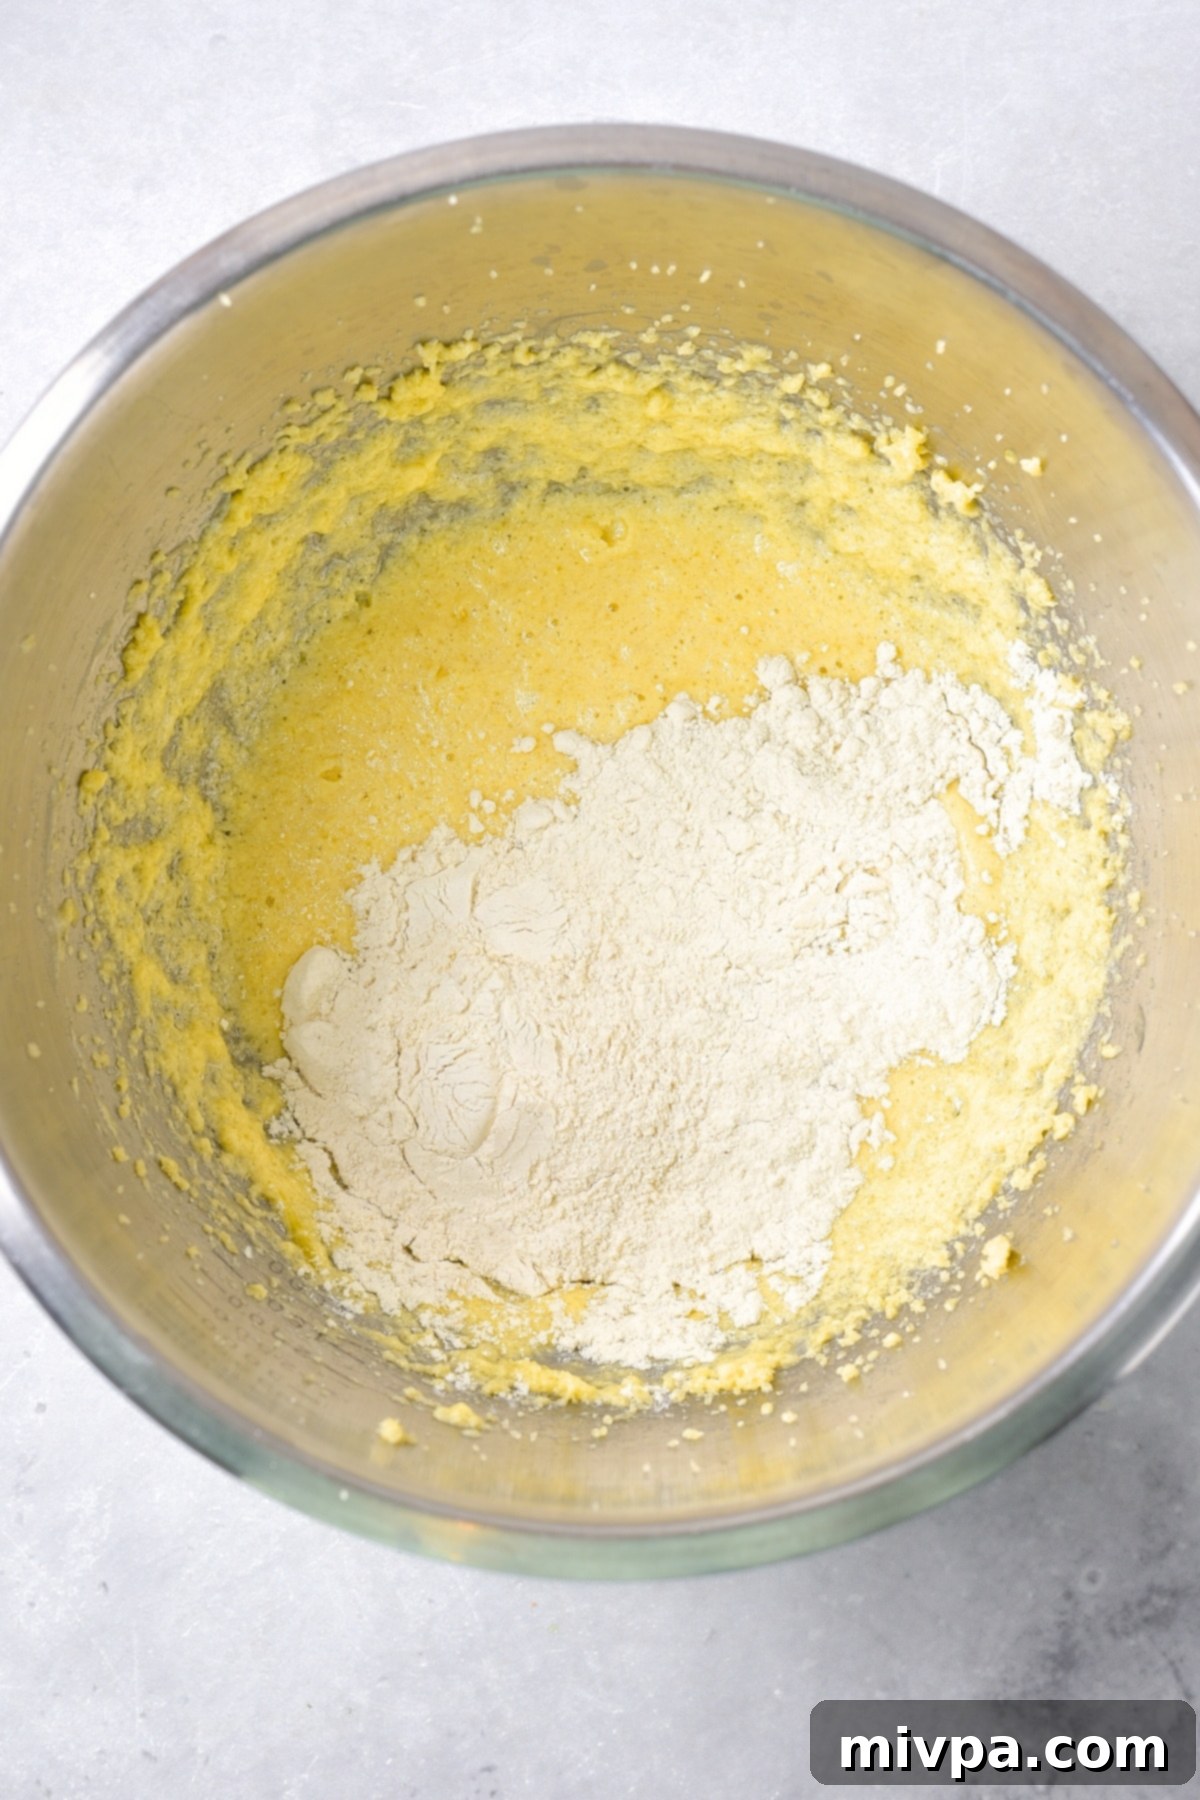
In a separate medium bowl, whisk together the gluten-free measure-for-measure flour, xanthan gum (if your flour blend doesn’t already contain it), salt, ground ginger, and baking powder. This ensures all dry ingredients are evenly distributed. Gradually add this dry mixture to the bowl containing your wet ingredients, mixing slowly at first to avoid a flour cloud.
5. Mix to Form Blondie Batter
Using a hand-mixer or a sturdy spatula, mix all the ingredients together until just combined. Be careful not to overmix, as this can lead to tough blondies. Mix until no streaks of dry flour remain, and you have a consistent, pale yellow batter. The batter will be quite thick and sticky, which is exactly the right consistency for delicious blondies.
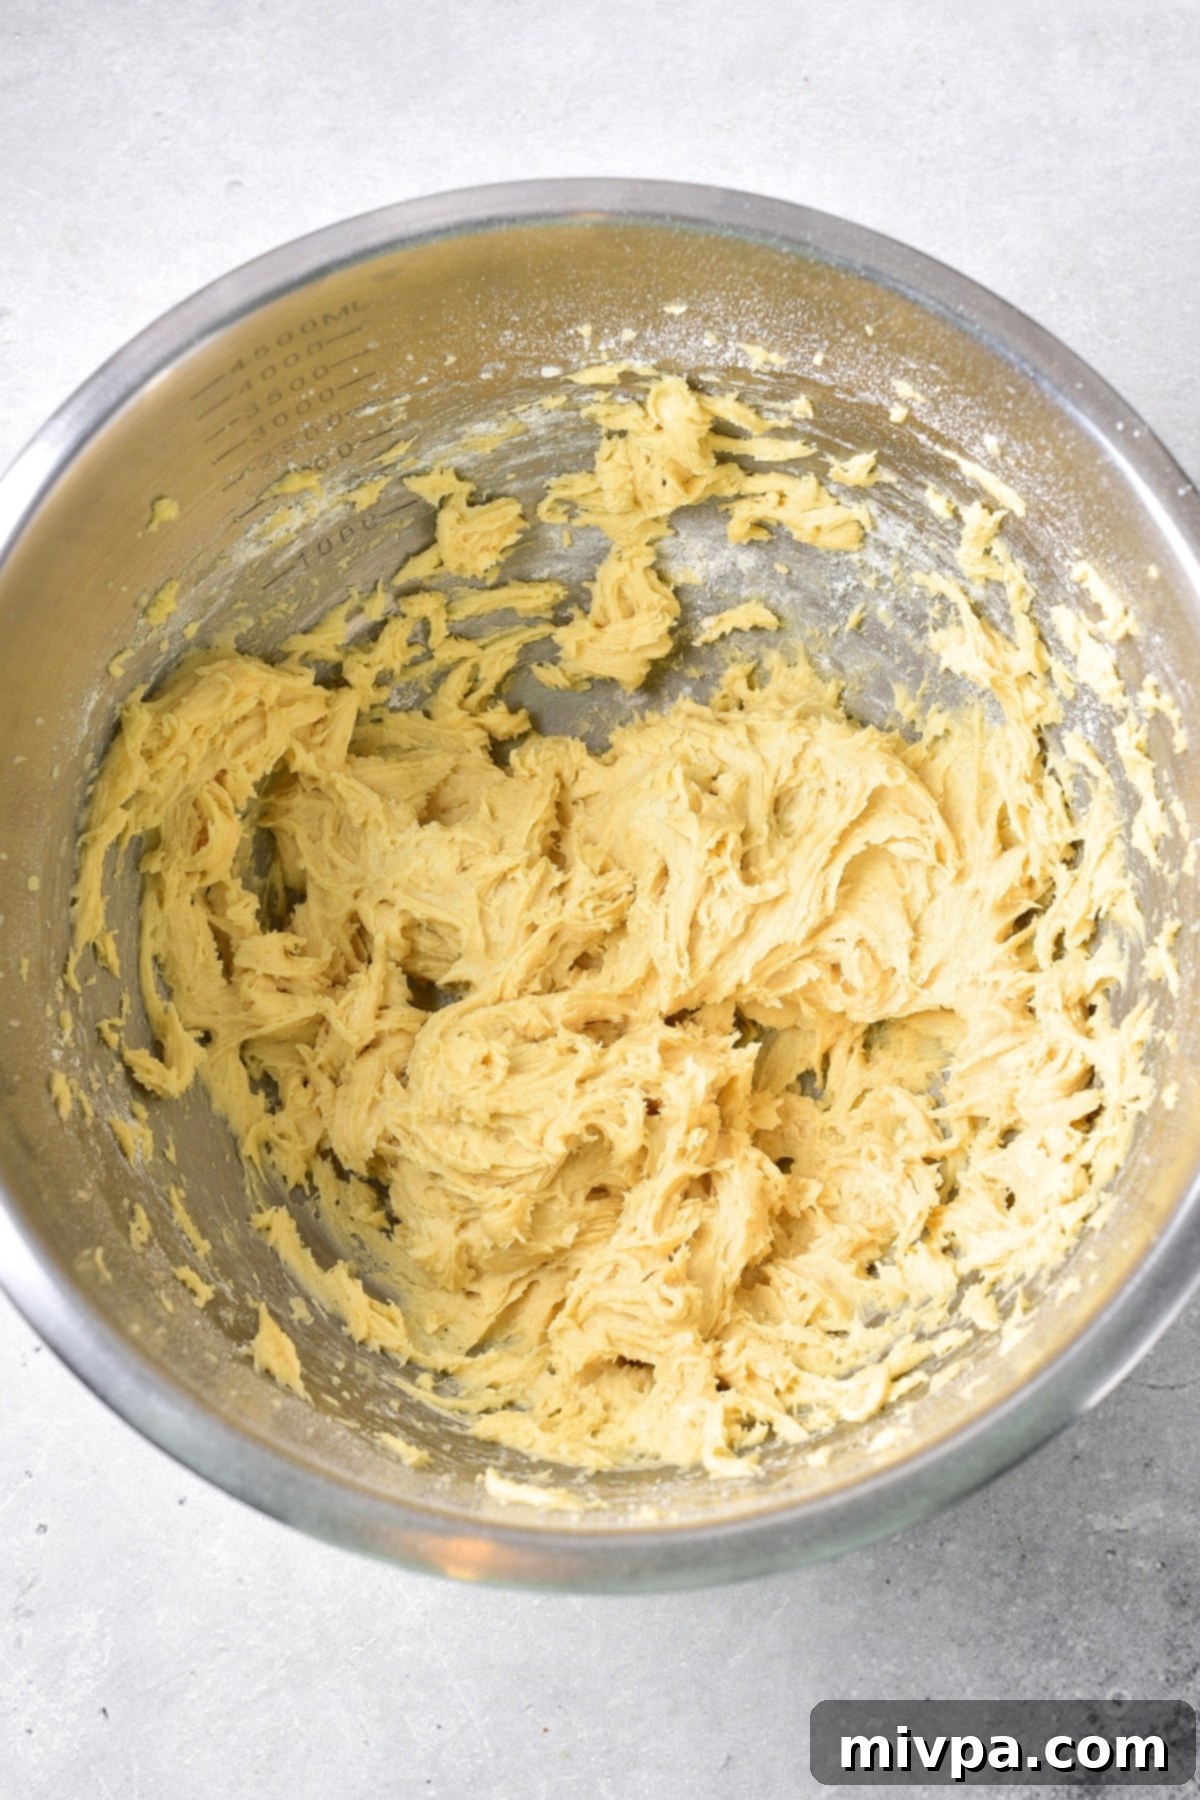
6. Fold in Flavorful Add-ins
Now it’s time to add the signature flavors! Gently fold in the orange juice, chopped dried cranberries, freshly grated orange zest, and dairy-free white chocolate chips into the blondie batter. Mix until these additions are evenly distributed throughout the thick batter. A spatula works best here to avoid overmixing.
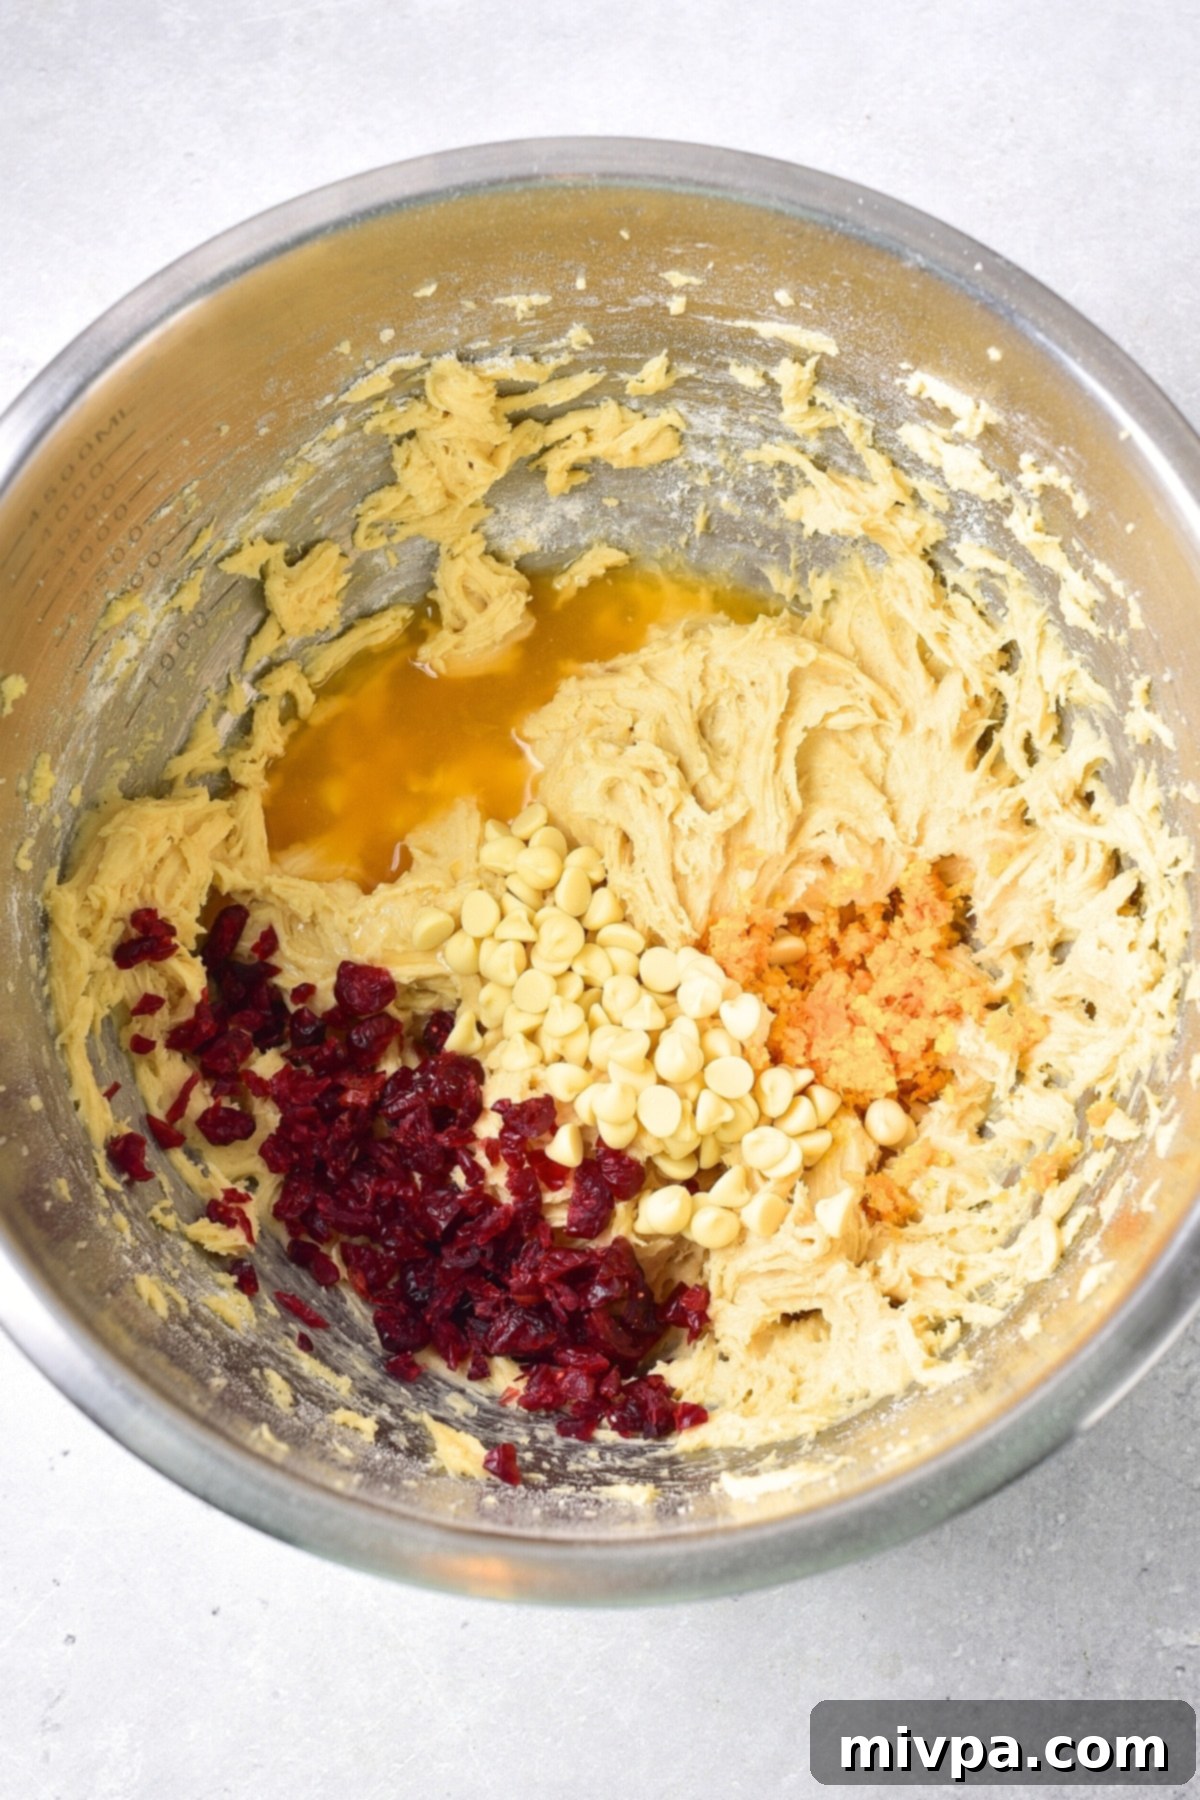
7. Final Batter Consistency Check
Give everything a final gentle mix to ensure all ingredients are thoroughly combined. The resulting blondie batter should be quite thick, delightfully sticky, and soft. This texture is key to the chewy, moist bars we’re aiming for. Do not worry if it looks a bit dense; it will bake up perfectly!
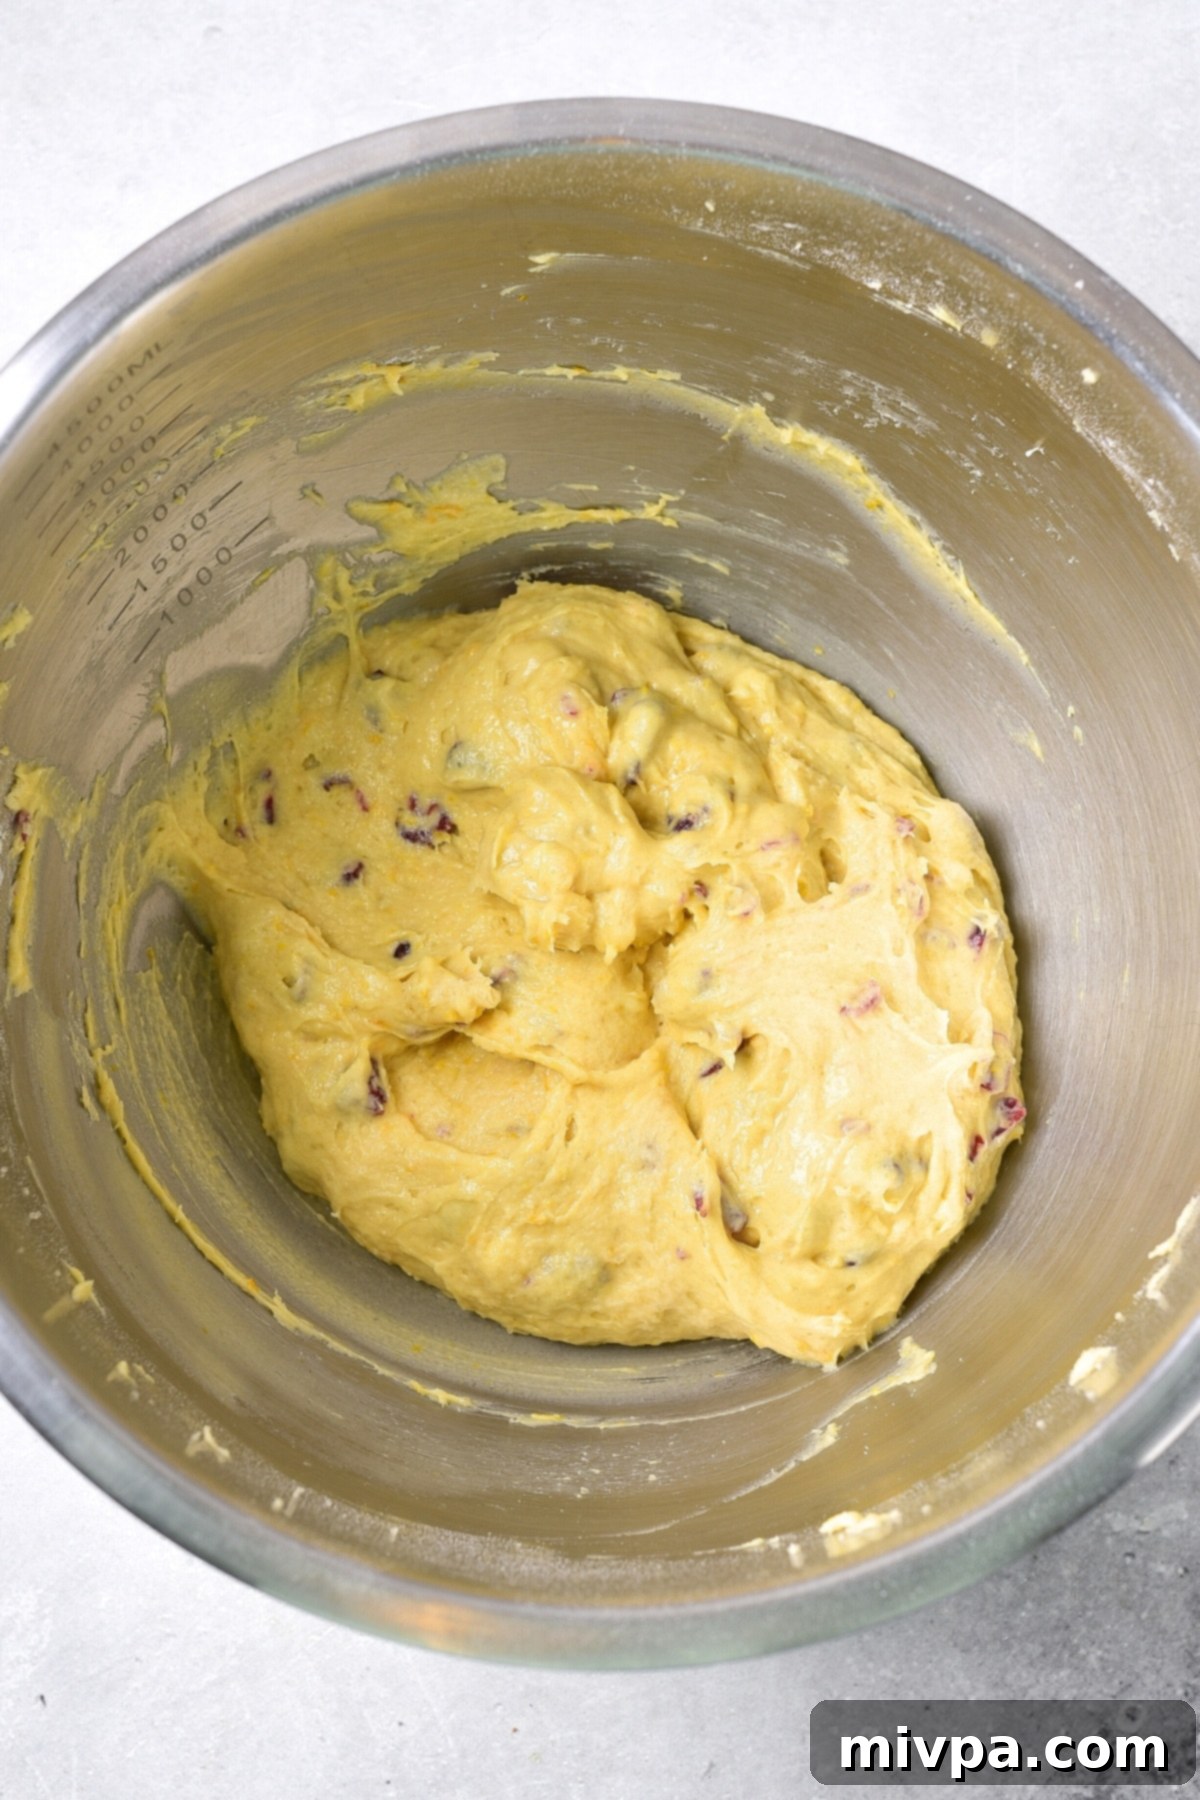
8. Spread Batter Evenly in Pan
Transfer the thick blondie batter to your prepared parchment-lined baking sheet. Using an offset spatula, the back of a spoon, or even your damp fingers, gently spread the batter out into a thin, even layer. Aim for approximately 1/2 inch (1.25 cm) thickness across the entire pan. Ensure it’s spread from edge to edge for consistent baking.
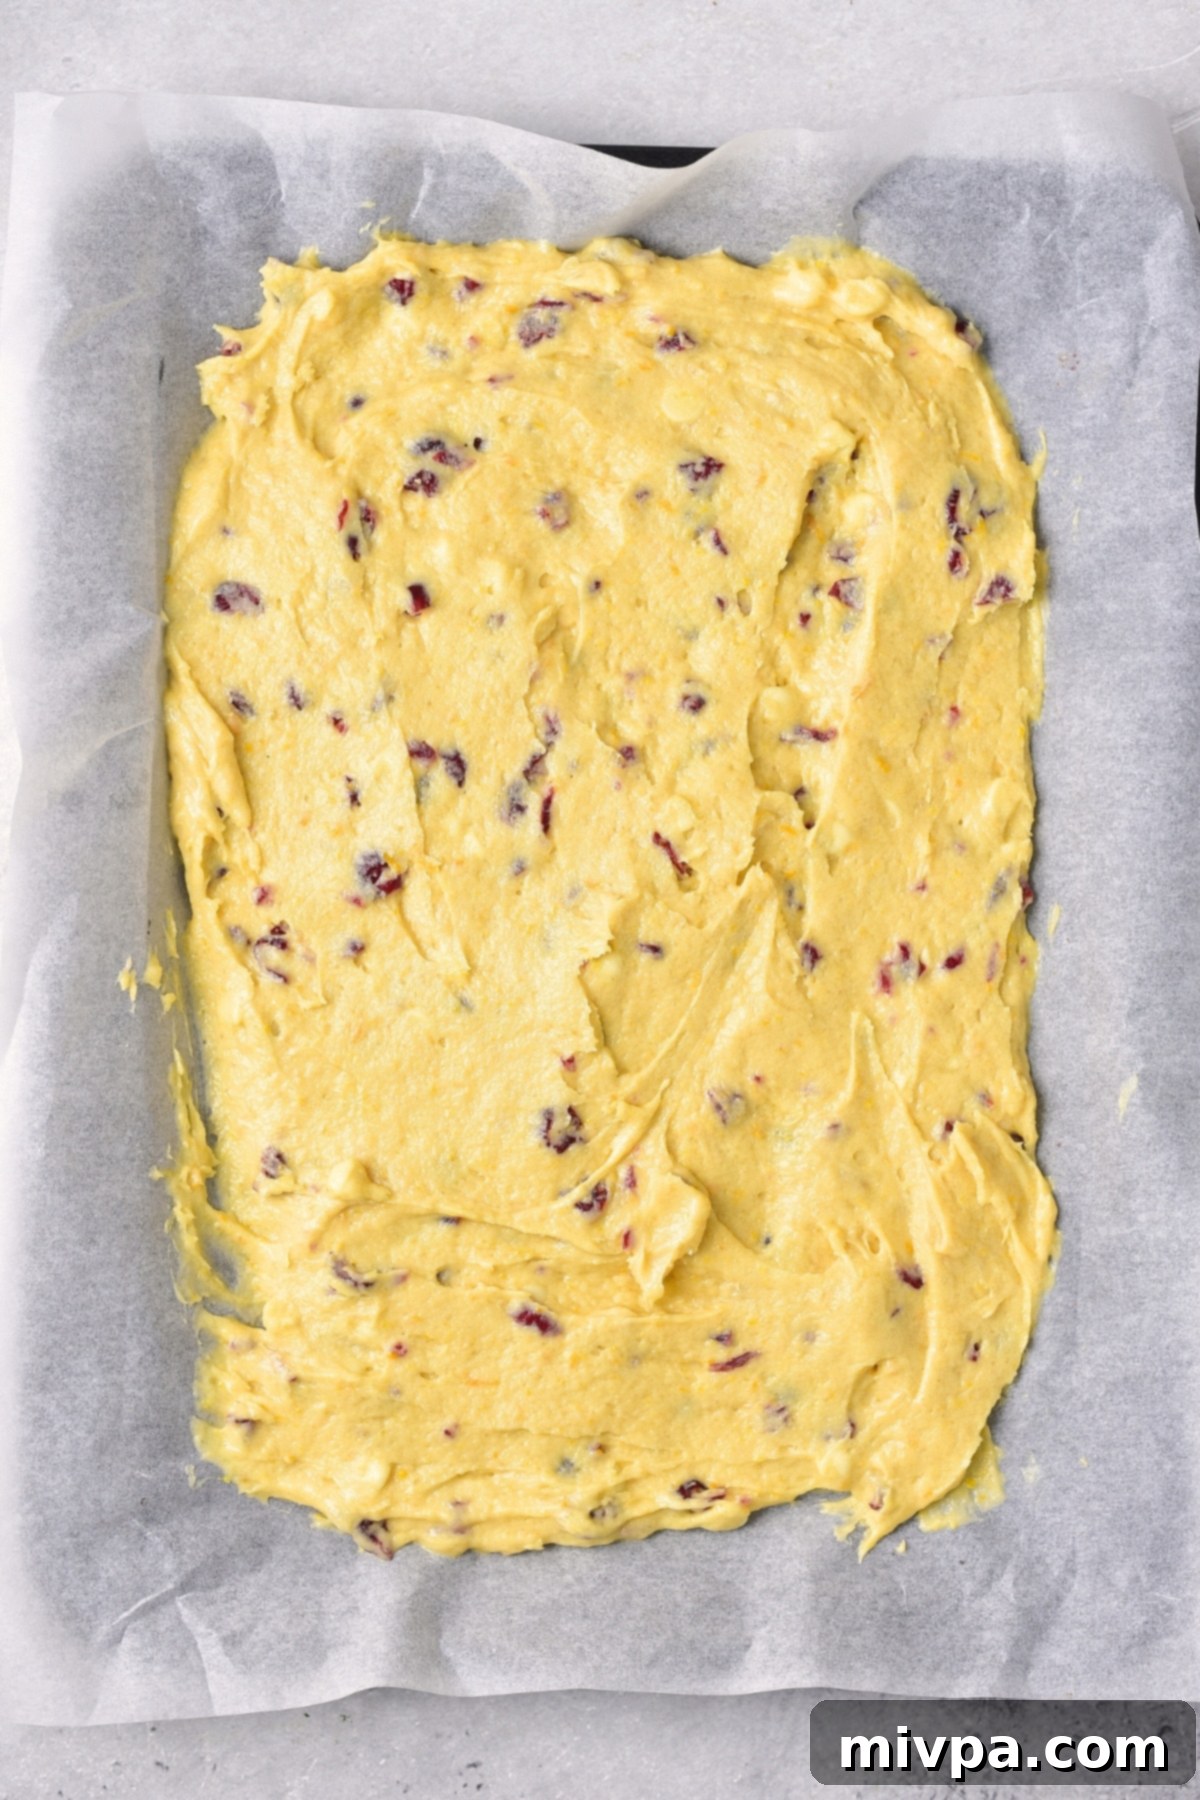
9. Bake to Golden Perfection
Place the baking sheet in the preheated oven and bake for approximately 20 minutes. The blondie is ready when the edges are lightly golden brown and a toothpick inserted into the center comes out with moist crumbs, but not wet batter. Avoid overbaking, as this can dry out the bars and make them less chewy.
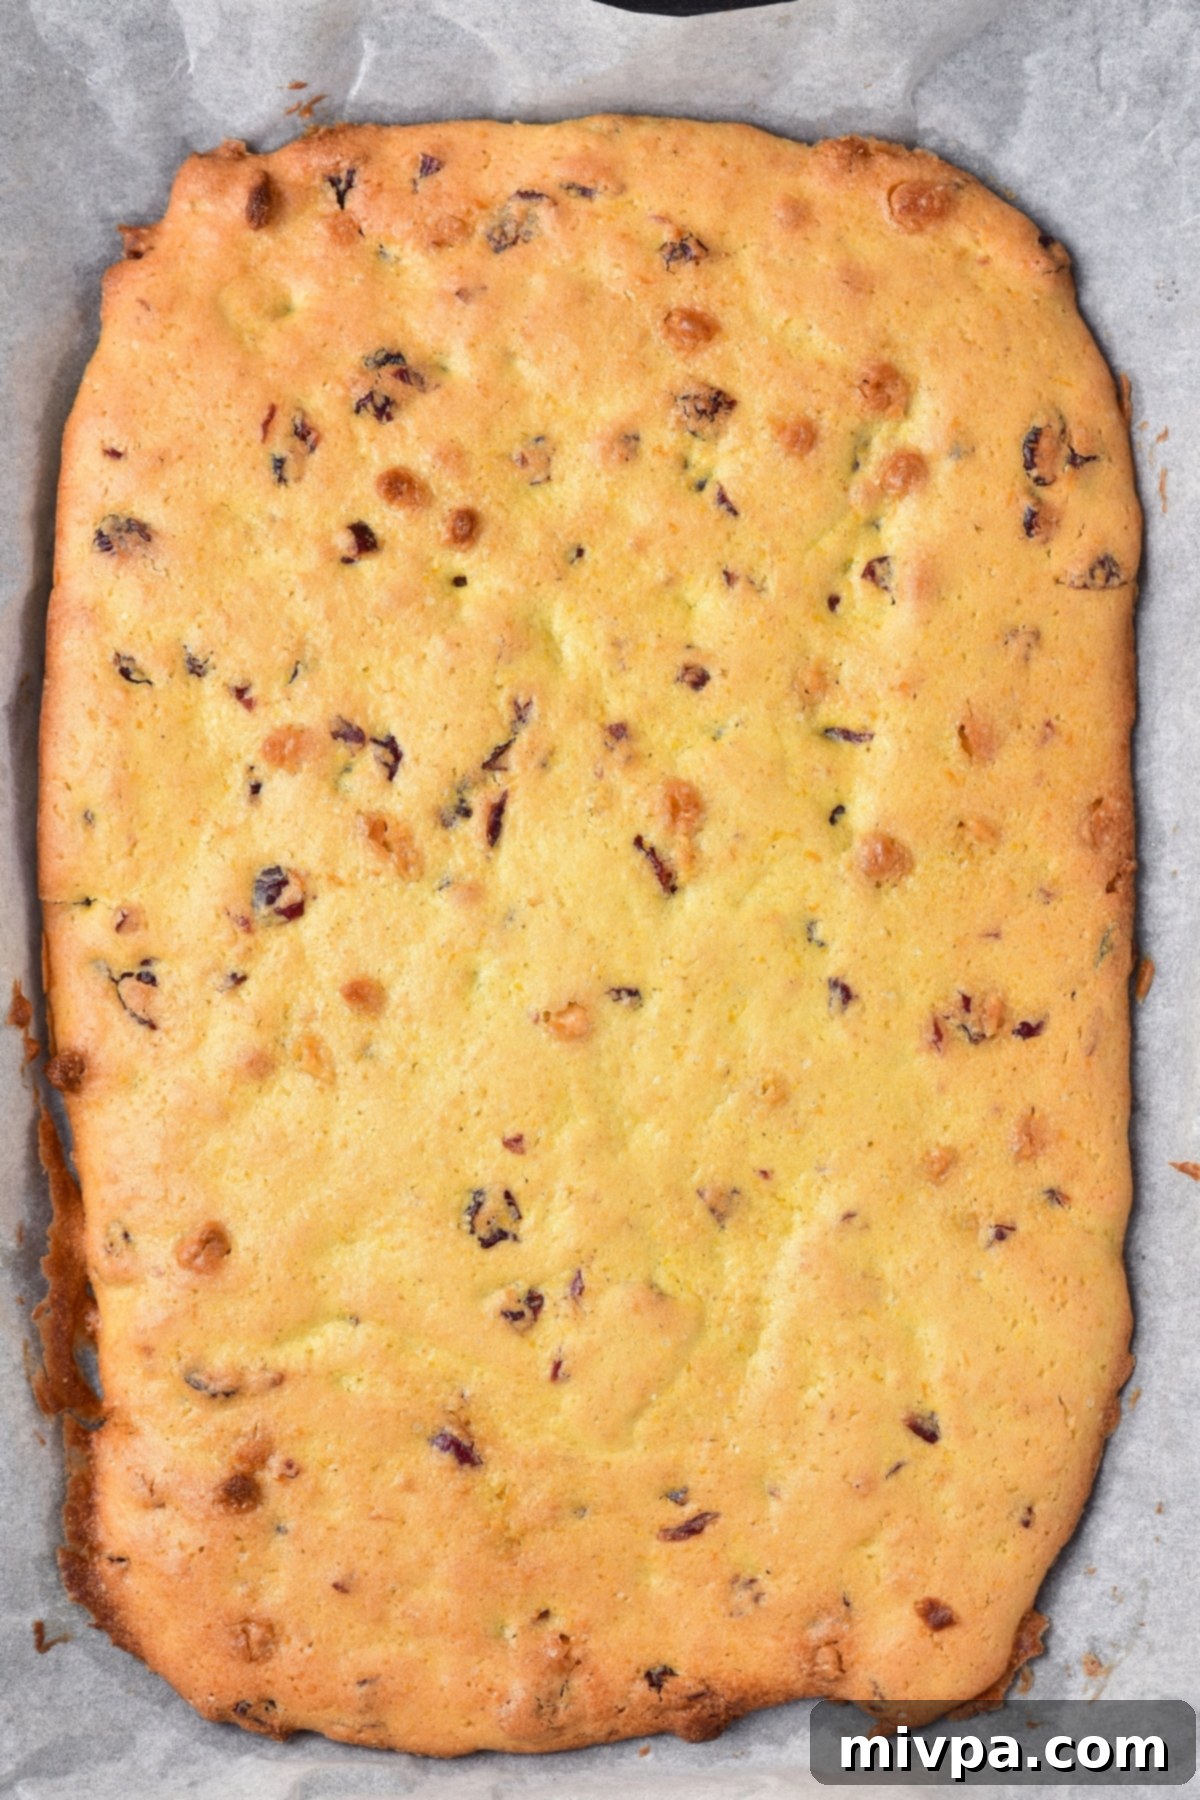
10. Cool the Blondie Base
Once baked, remove the blondie cake from the oven. Let it cool slightly in the baking pan for about 15 minutes before carefully transferring it, along with the parchment paper, to a wire rack to cool completely. Allowing it to cool fully is essential before frosting to prevent the frosting from melting.
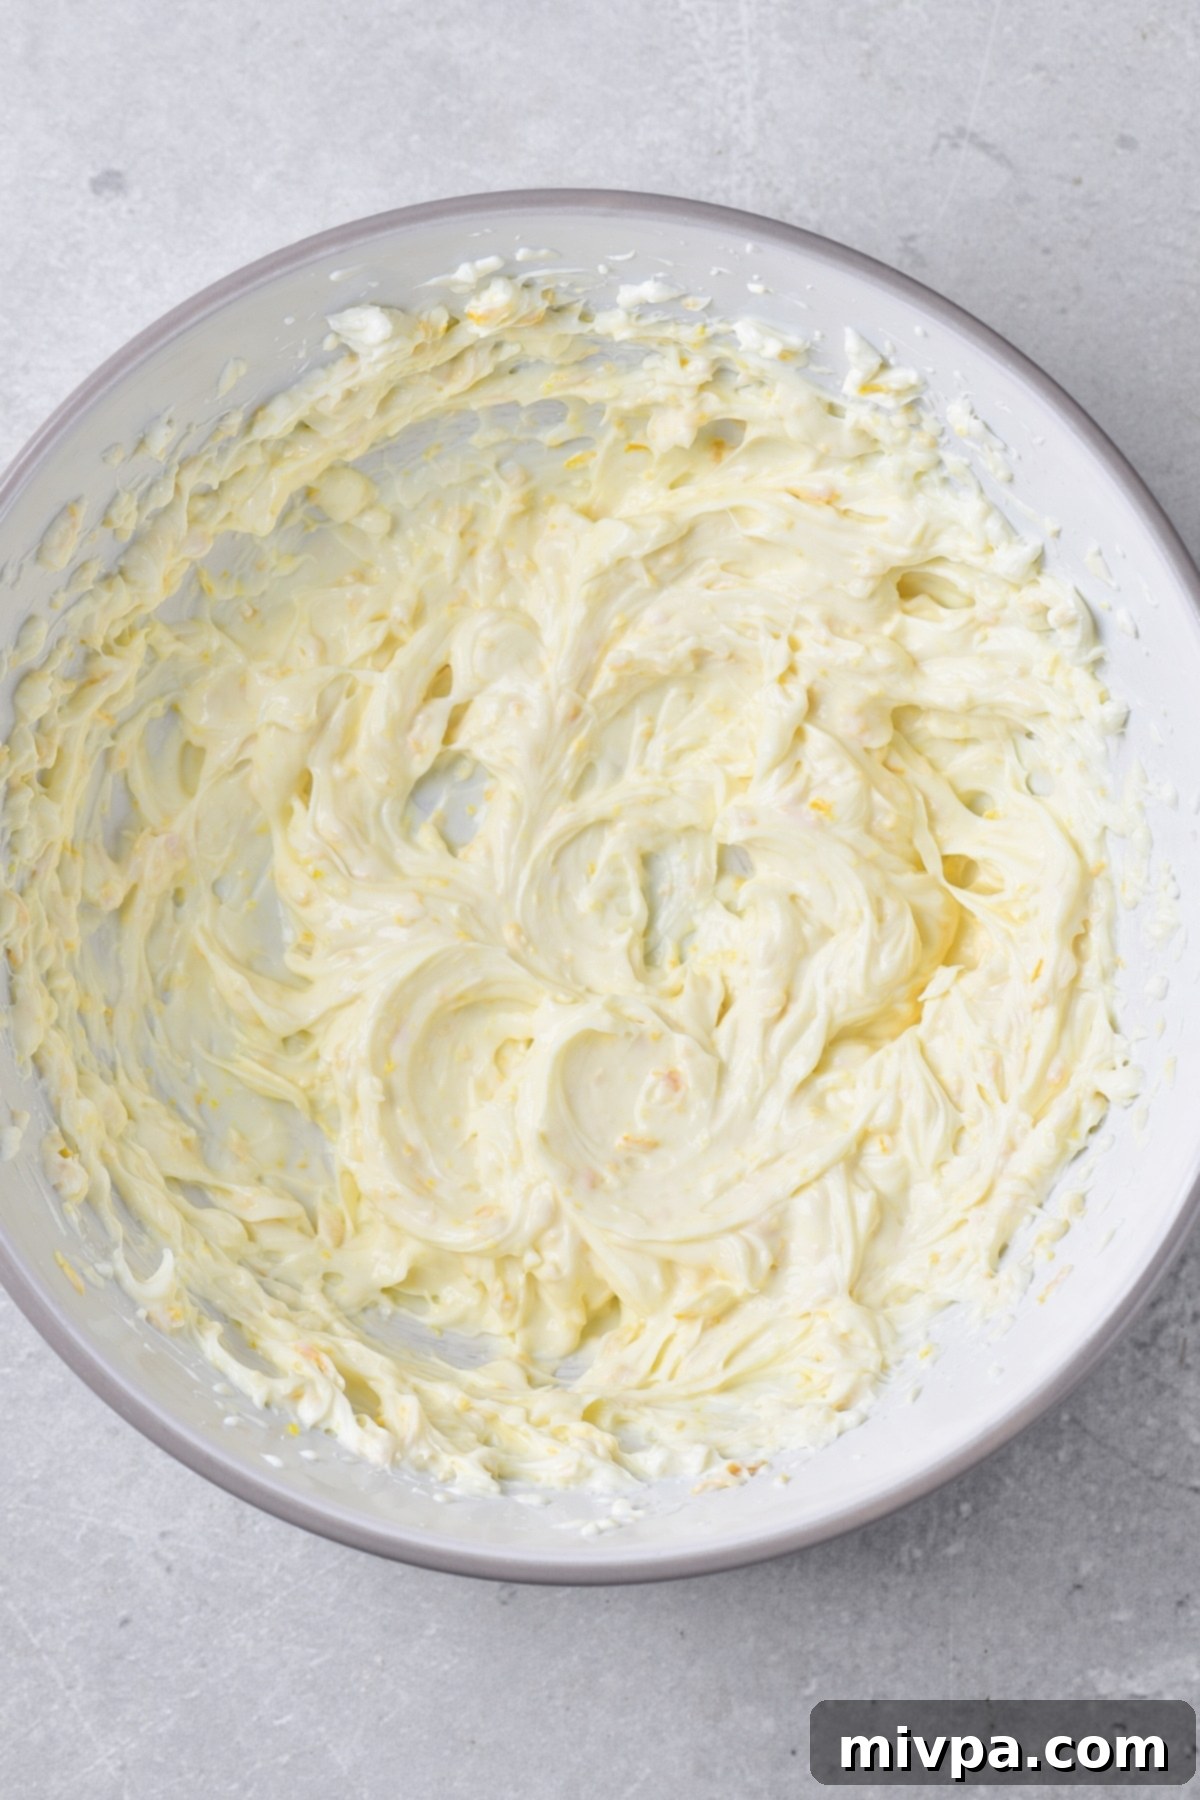
11. Prepare the Cream Cheese Frosting
While the blondie cools, prepare your delightful cream cheese frosting. In a medium bowl, combine the softened dairy-free cream cheese, fresh orange zest, a touch of lemon juice (for extra tang), vanilla extract, and powdered sugar. Beat these ingredients together with an electric mixer on low speed for no more than 1 minute, or until just combined and smooth. Over-beating can make the frosting too thin. The goal is a thick, spreadable consistency.
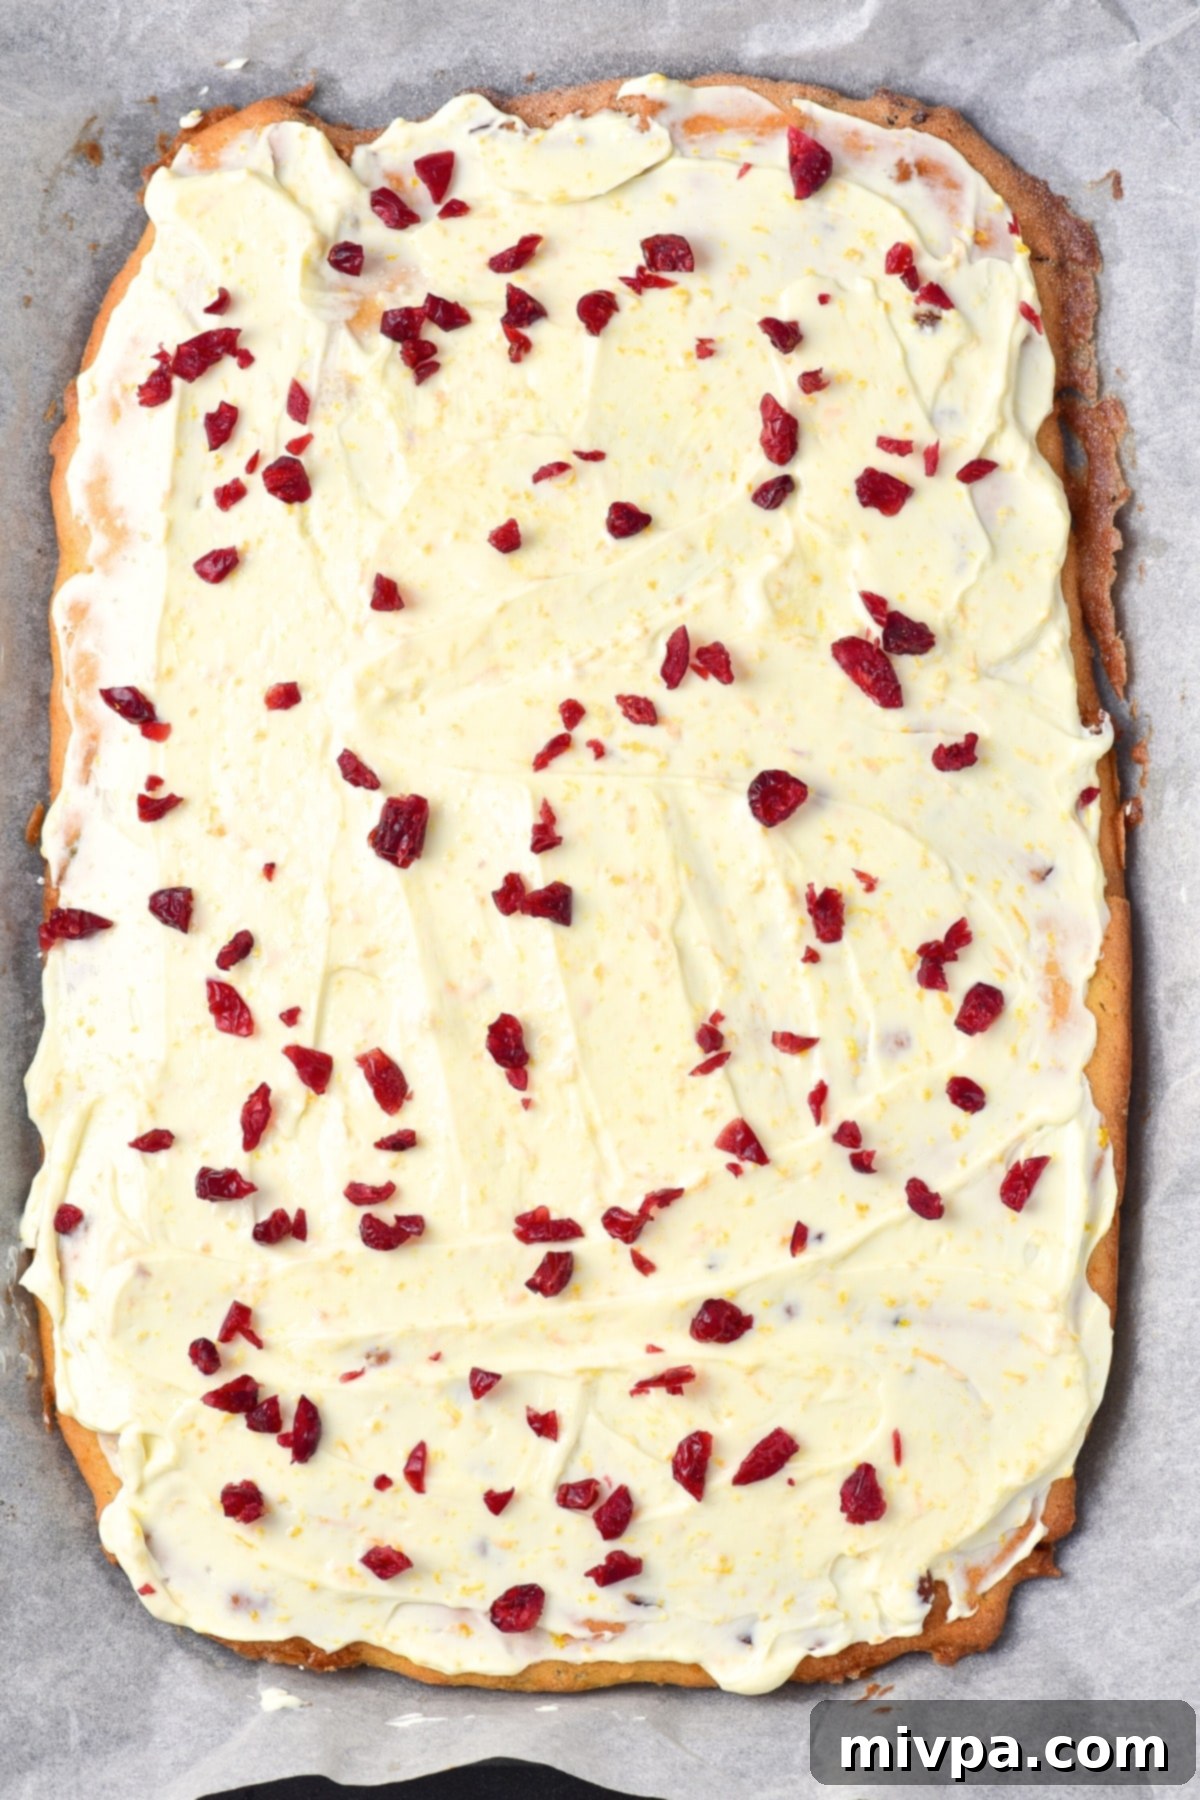
12. Frost and Garnish the Bars
Once the blondie is completely cool, spread an even layer of the prepared cream cheese frosting over the top using an offset spatula. Ensure it reaches all edges. Then, generously sprinkle a portion of your chopped dried cranberries evenly over the frosting. This adds a beautiful burst of color and extra chewiness.
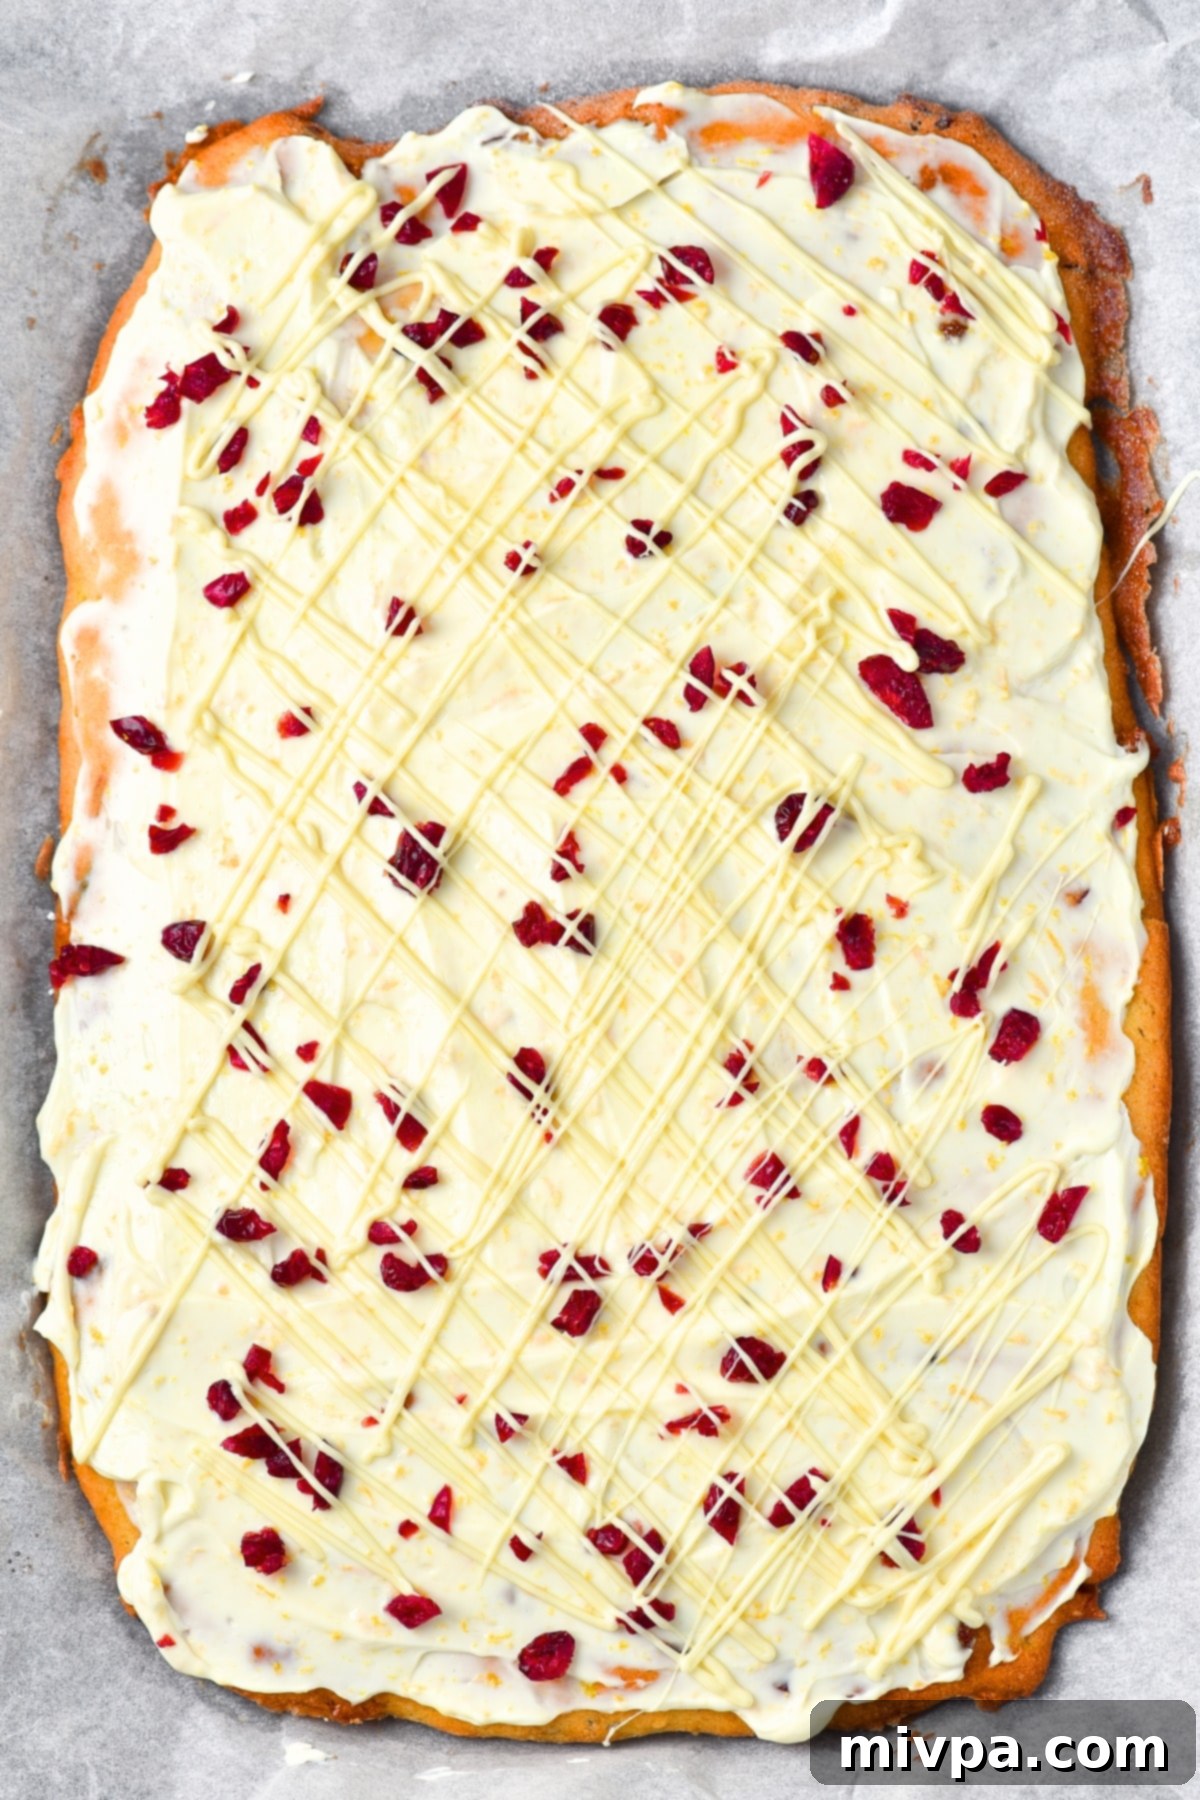
13. Drizzle with Melted White Chocolate
Melt the remaining white chocolate chips. The easiest way to do this is in a microwave-safe bowl, heating in 30-second bursts and stirring after each burst, until smooth and fully melted (this typically takes 3-4 bursts). Once melted, drizzle the white chocolate decoratively over the cranberry-sprinkled frosting. Allow the chocolate to set at room temperature for about 10-15 minutes, or briefly chill in the refrigerator to speed up the process.
14. Slice and Serve Your Bliss Bars
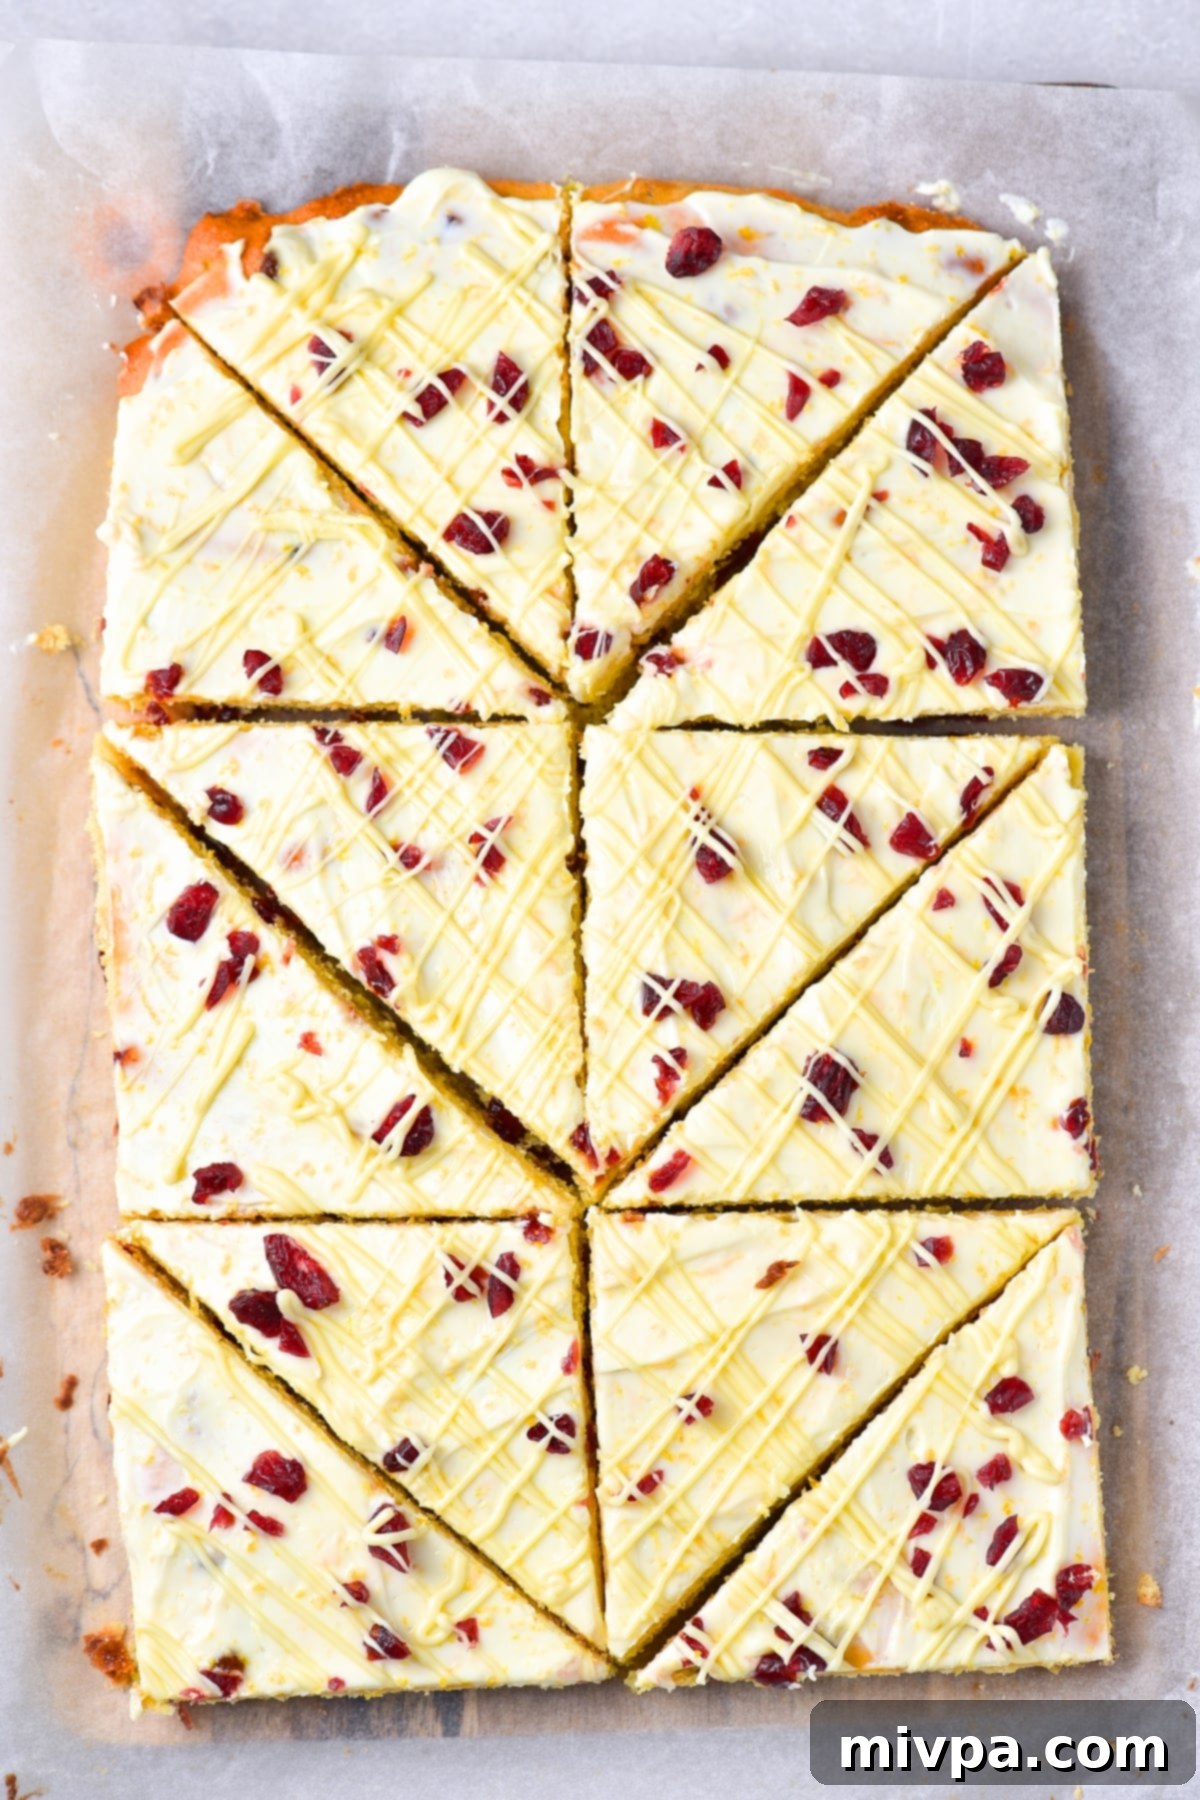
Once the white chocolate drizzle has set, it’s time to cut your beautiful creation. Use a sharp knife to cut the large cake into 3- to 4-inch squares. For the classic “bliss bar” shape, cut each square diagonally to create two perfect triangles. Wipe your knife clean between cuts for the cleanest edges. Arrange them on a platter and enjoy your homemade, gluten-free, dairy-free cranberry bliss bars!
Dish by Dish Tips & Baking Tricks
- Substitutes for Dried Cranberries: While dried cranberries are traditional and highly recommended for their texture and tartness, you can certainly get creative! Alternatively, you may also use dried blueberries for a slightly different flavor profile, or classic raisins if you prefer. Just ensure they are chopped to a similar size for even distribution.
- Achieving Clean Cuts: For perfectly clean slices, especially after the frosting has set, place your chilled bars in the refrigerator for about 30 minutes before cutting. Use a large, sharp knife, warming it slightly with hot water and wiping it clean between each cut.
- Don’t Overmix the Batter: Overmixing can develop the gluten structure in regular flour, but even in gluten-free baking, it can lead to a tougher, less tender blondie. Mix until just combined.
- Room Temperature Ingredients: Ensure your dairy-free butter and cream cheese are at room temperature. This is crucial for achieving a smooth, lump-free batter and frosting. Cold ingredients won’t cream properly.
- Even Spreading: When spreading the batter in the pan, a slightly damp offset spatula or the back of a spoon can help prevent the sticky batter from clinging too much, allowing for a more even layer.
Common Questions About Cranberry Bliss Bars
To maintain their freshness and delicious taste, these cranberry bliss bars should be stored in the refrigerator. Wrap them tightly in plastic wrap or place them in an airtight container. They will stay fresh and delightful for up to 4 days. Always bring them to room temperature for about 15-20 minutes before serving for the best flavor and texture.
Absolutely! These gluten-free cranberry bars freeze wonderfully, making them perfect for meal prepping holiday treats or enjoying them much later. To freeze, wrap individual bars securely in plastic wrap, then place them in a freezer-safe bag or airtight container. They can be stored in the freezer for up to 2 months. When you’re ready to enjoy, simply transfer them to the refrigerator and let them thaw completely overnight before serving.
Yes, these bars are an excellent make-ahead dessert! You can bake the blondie base a day in advance, let it cool completely, and store it tightly wrapped at room temperature. Prepare the frosting and assemble the bars on the day you plan to serve them, or up to 2 days beforehand, storing the finished bars in the refrigerator. The flavors often meld and deepen beautifully overnight.
They’re called “Bliss Bars” because of the sheer delight and happiness they bring with every bite! The perfect blend of textures – chewy blondie, creamy frosting, and bits of fruit – combined with the sweet and tangy flavors of cranberry and orange, creates a truly blissful eating experience that captures the joy of the holiday season.
More Delicious Cranberry Recipes to Explore
If you’re now a cranberry convert, or simply looking for more ways to enjoy these festive berries, check out these other fantastic recipes from our collection:
- Cranberry Orange Bread (Gluten-Free, Dairy-Free): A wonderfully moist and fragrant quick bread, perfect with a cup of coffee.
- Cranberry Orange Scones (Gluten-Free, Dairy-Free): Light and flaky scones with bursts of cranberry and citrus, ideal for breakfast or afternoon tea.
- Cranberry Bread Pudding (Gluten-Free, Dairy-Free): A comforting and rich dessert, combining soft bread with sweet cranberries and a warm sauce.
- Homemade Cranberry Juice (Gluten-Free, Vegan): A naturally refreshing and healthy drink, perfect for any time of year.
- 20-Minute Cranberry Sauce (Gluten-Free, Vegan): The quickest and freshest cranberry sauce you’ll ever make, far superior to canned versions.
More Gluten-Free Dessert Recipes You’ll Absolutely Love
Our commitment to delicious, inclusive baking doesn’t stop at cranberry bliss bars. Explore more of our favorite gluten-free desserts that prove you never have to sacrifice flavor for dietary needs:
- Gluten-Free Pumpkin Banana Muffins (Dairy-Free)
- 126 Gluten-Free Desserts and Sweet Treats for Labor Day
- Mini Pumpkin Cheesecakes (Gluten-Free, Dairy-Free Option)
- Gluten-Free Pecan Pie Bars (Dairy-Free)
P.S. If you try this recipe, I’d love for you to leave a star rating below, and/or a review in the comment section further down the page. I always appreciate your feedback. Be sure to check out my entire Recipe Index for all the recipes on the blog. You can also follow me on Pinterest, Facebook or Instagram! Sign up for my Email List to get fresh recipes in your inbox each week!
Print Recipe

Gluten-Free Cranberry Bliss Bars (Dairy-Free)
5 Stars 4 Stars 3 Stars 2 Stars 1 Star
5 from 1 review
Author: Felicia Lim
Total Time: 1 hour 5 minutes
Yield: 12 bars
Diet: Gluten Free
Description
These gluten-free cranberry bliss bars are a fantastic festive holiday treat. Topped with a rich cream cheese frosting and filled with dried cranberries and bright orange zest, they’re the perfect sweet snack or dessert for the holiday season! This recipe is also completely dairy-free, making it an inclusive delight. Go bake a batch today!
Ingredients
Units
Scale
- 1/2 cup dairy-free unsalted butter, softened
- 2/3 cup light brown sugar
- 1 tablespoon orange zest, freshly grated
- 1/3 teaspoon ground ginger (optional)
- 2 large eggs, at room temperature
- 3 tablespoon orange juice, fresh preferred
- 1 teaspoon vanilla extract
- 2 cups gluten-free measure-for-measure flour blend
- 1/2 teaspoon xanthan gum (omit if your GF flour blend already contains it)
- 1 teaspoon baking powder (certified gluten-free)
- 1/4 teaspoon salt
- 1/2 cup dairy-free white chocolate chips
- 1/2 cup chopped dried cranberries
For the Frosting:
- 1 cup dairy-free cream cheese, softened
- 1/3 cup powdered sugar (or powdered monk fruit sweetener)
- 1 teaspoon vanilla extract
- 4 tablespoon orange juice, fresh preferred
- 1 tablespoon orange zest, freshly grated
For the Drizzle/Topping:
- 1/3 cup white chocolate chips (dairy-free if needed)
- 2 tablespoons chopped dried cranberries
Instructions
- Preheat and Line: Preheat the oven to 350F (175C). Line a medium baking tray (about 15”x10” or 38cm x 25cm) with parchment paper or a silpat baking mat, ensuring it overhangs slightly for easy removal.
- Beat Butter and Sugar: In a large mixing bowl, beat the softened dairy-free butter and brown sugar together with an electric mixer until smooth, light, and fluffy (2-3 minutes).
- Add Vanilla and Eggs: Add vanilla extract, then crack in the eggs one at a time, beating for another minute or two after each addition until the mixture is smooth and well combined. Scrape down the sides of the bowl as needed.
- Add Dry Ingredients: In a separate bowl, whisk together the gluten-free measure-for-measure flour, xanthan gum (if using), salt, ground ginger, and baking powder. Gradually add these dry ingredients to the wet mixture, mixing on low speed until just combined.
- Mix Well: Continue mixing until no streaks of dry flour remain and you have a thick, sticky blondie batter. Do not overmix.
- Add Orange Juice, Zest, Cranberries & Chocolate Chips: Gently fold in the orange juice, chopped dried cranberries, orange zest, and dairy-free white chocolate chips until evenly distributed throughout the batter.
- Combine to Get Batter: Ensure all ingredients are thoroughly combined. The batter will be quite thick, very sticky, and soft – this is normal!
- Spread Batter Out: Transfer the batter to the parchment-lined baking sheet. Using an offset spatula or the back of a damp spoon, spread it out evenly in a thin layer (about 1/2 inch-thick or 1.25 cm).
- Bake Until Golden: Bake the batter in the preheated oven for 20 minutes, or until the top is golden brown and a toothpick inserted into the center comes out with moist crumbs. Do not overbake.
- Let Cool: When the blondie cake is ready, remove it from the oven and let it cool slightly in the pan for approximately 15 minutes. Then, carefully transfer it to a wire rack to cool completely before frosting.
- Prepare Cream Cheese Frosting: In a medium bowl, beat the softened dairy-free cream cheese with the orange zest, lemon juice, vanilla extract, and powdered sugar. Beat for no more than 1 minute, or until the ingredients are just combined and smooth. Avoid over-beating.
- Assemble: Once the blondie is completely cool, spread an even layer of cream cheese frosting over the top. Generously sprinkle with the reserved chopped cranberries.
- Drizzle Melted Chocolate: Melt the remaining white chocolate chips in a microwave-safe bowl (in 30-second bursts, stirring between each). Drizzle the melted chocolate decoratively over the frosted cake. Let the chocolate set at room temperature for 10-15 minutes, or chill briefly to speed up setting.
- Slice into Bars: Using a sharp knife, cut the cake into 3- to 4-inch squares. For the classic bliss bar shape, cut each square diagonally to create two triangles. Serve and enjoy!
Notes
Dairy-Free Butter: I used unsalted dairy-free butter (vegan butter) to keep this recipe dairy-free. You may also use coconut oil if you prefer (if so, I recommend using refined coconut oil which has a more neutral flavor, as opposed to extra virgin coconut oil which has a more pronounced coconut smell and taste).
Sugar: I used light brown sugar, but you can also use cane sugar or white sugar. For a healthier alternative, or if you are diabetic or insulin-resistant, I highly recommend using granulated monkfruit sweetener (a 1:1 sugar substitute that is zero glycemic index and will not raise your blood sugar). The darker the sugar, the darker the batter will be.
Orange Zest: For the most intense orange flavor, always grate the orange zest just before using it in the recipe.
Ground Ginger: A pinch of ground ginger adds a lovely warming spice, particularly fitting for the holidays. Feel free to omit it if you’re not a fan of ginger’s flavor.
Eggs: Eggs are essential here as a binding agent to give the blondies their structure and moisture. If you have an egg allergy or prefer an egg-free recipe, you may use acquafaba or an egg-replacer according to package directions.
Orange Juice: Fresh orange juice provides the best, brightest orange flavor. However, if fresh juice isn’t available, bottled orange juice will work adequately.
Vanilla Extract: Don’t skip the vanilla extract! It significantly enhances the overall flavor profile of these bars.
Gluten-Free Flour Blend: For optimal results, use a good-quality gluten-free measure-for-measure flour blend that functions as a 1:1 substitute for regular flour. Look for blends with lighter flours/starches such as rice flour, tapioca starch, corn starch, or potato starch. Avoid blends heavy in garbanzo bean flour, which can impart a strong taste and gritty texture.
Xanthan Gum: Xanthan gum is crucial for gluten-free baking as it replaces gluten’s binding properties. If your chosen gluten-free flour blend already lists xanthan gum as an ingredient, you can omit adding it separately.
Baking Powder: As the primary leavening agent, baking powder ensures a proper rise. If you are Celiac or gluten-intolerant, ensure you use certified gluten-free baking powder to prevent cross-contamination.
White Chocolate Chips: To keep this recipe completely dairy-free, use dairy-free vegan white chocolate chips. If dairy is not a concern, regular white chocolate chips can be used.
Dried Cranberries: Use dried cranberries for their sweetness and chewy texture. Fresh cranberries are too tart and watery for this recipe. You can also substitute with dried blueberries or raisins for a variation.
Cream Cheese: For dairy-free frosting, dairy-free cream cheese is used. If you consume dairy, regular full-fat cream cheese will work beautifully.
Powdered Sugar: Powdered sugar (confectioner’s sugar) is ideal for smooth frosting. For a sugar-free alternative, consider powdered monkfruit sweetener, a 1:1 substitute with zero glycemic index.
Storing & Freezing: To store, wrap bars in plastic wrap or place in an airtight container in the refrigerator for up to 4 days. To freeze, wrap individually in plastic wrap and freeze for up to 2 months. Thaw overnight in the refrigerator before serving.
- Prep Time: 15 mins
- Chilling Time: 30 mins
- Cook Time: 20 mins
- Category: Desserts
- Method: Baking
- Cuisine: American
