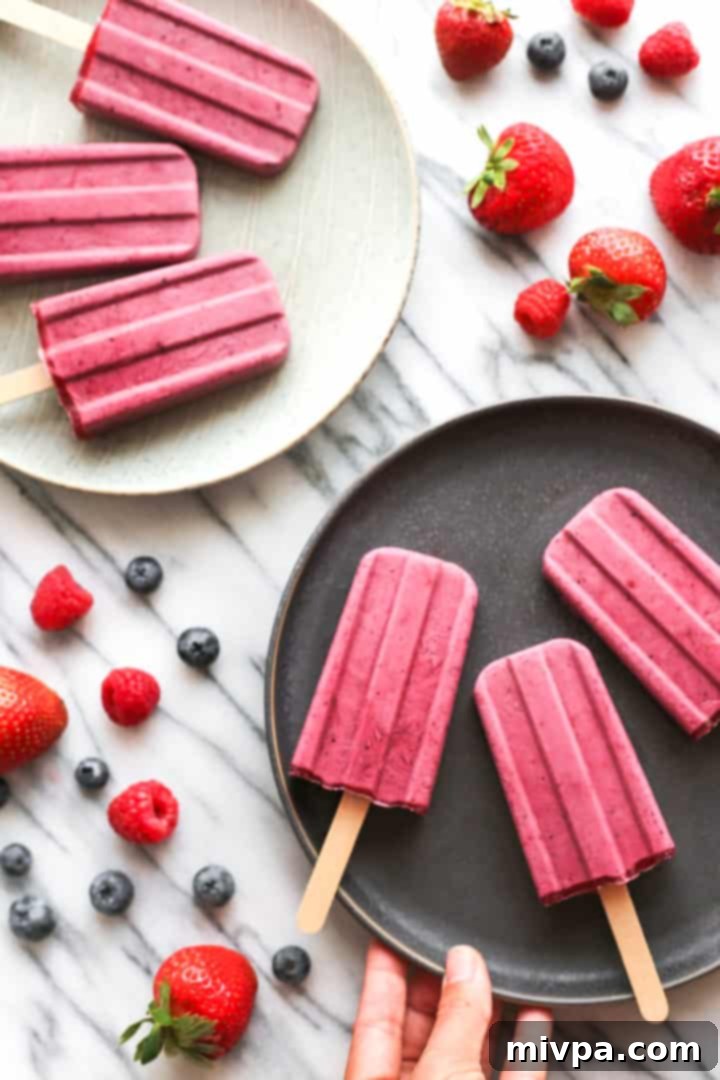
Delicious & Healthy Mixed Berry Yogurt Popsicles: A Dairy-Free, Gluten-Free & Vegan Summer Treat
Indulge in the ultimate summer refreshment with these incredibly simple, naturally sweetened 3-ingredient berry yogurt popsicles. Crafted from a vibrant medley of fresh berries, pure maple syrup, and creamy coconut yogurt, these frosty treats are more than just a dessert – they’re a celebration of sunny days and a delightful way to beat the heat. Perfect as a healthy dessert or a cooling afternoon snack, these creamy yogurt popsicles are designed for everyone to enjoy. They are naturally gluten-free, dairy-free, and vegan, making them a worry-free indulgence for various dietary needs.
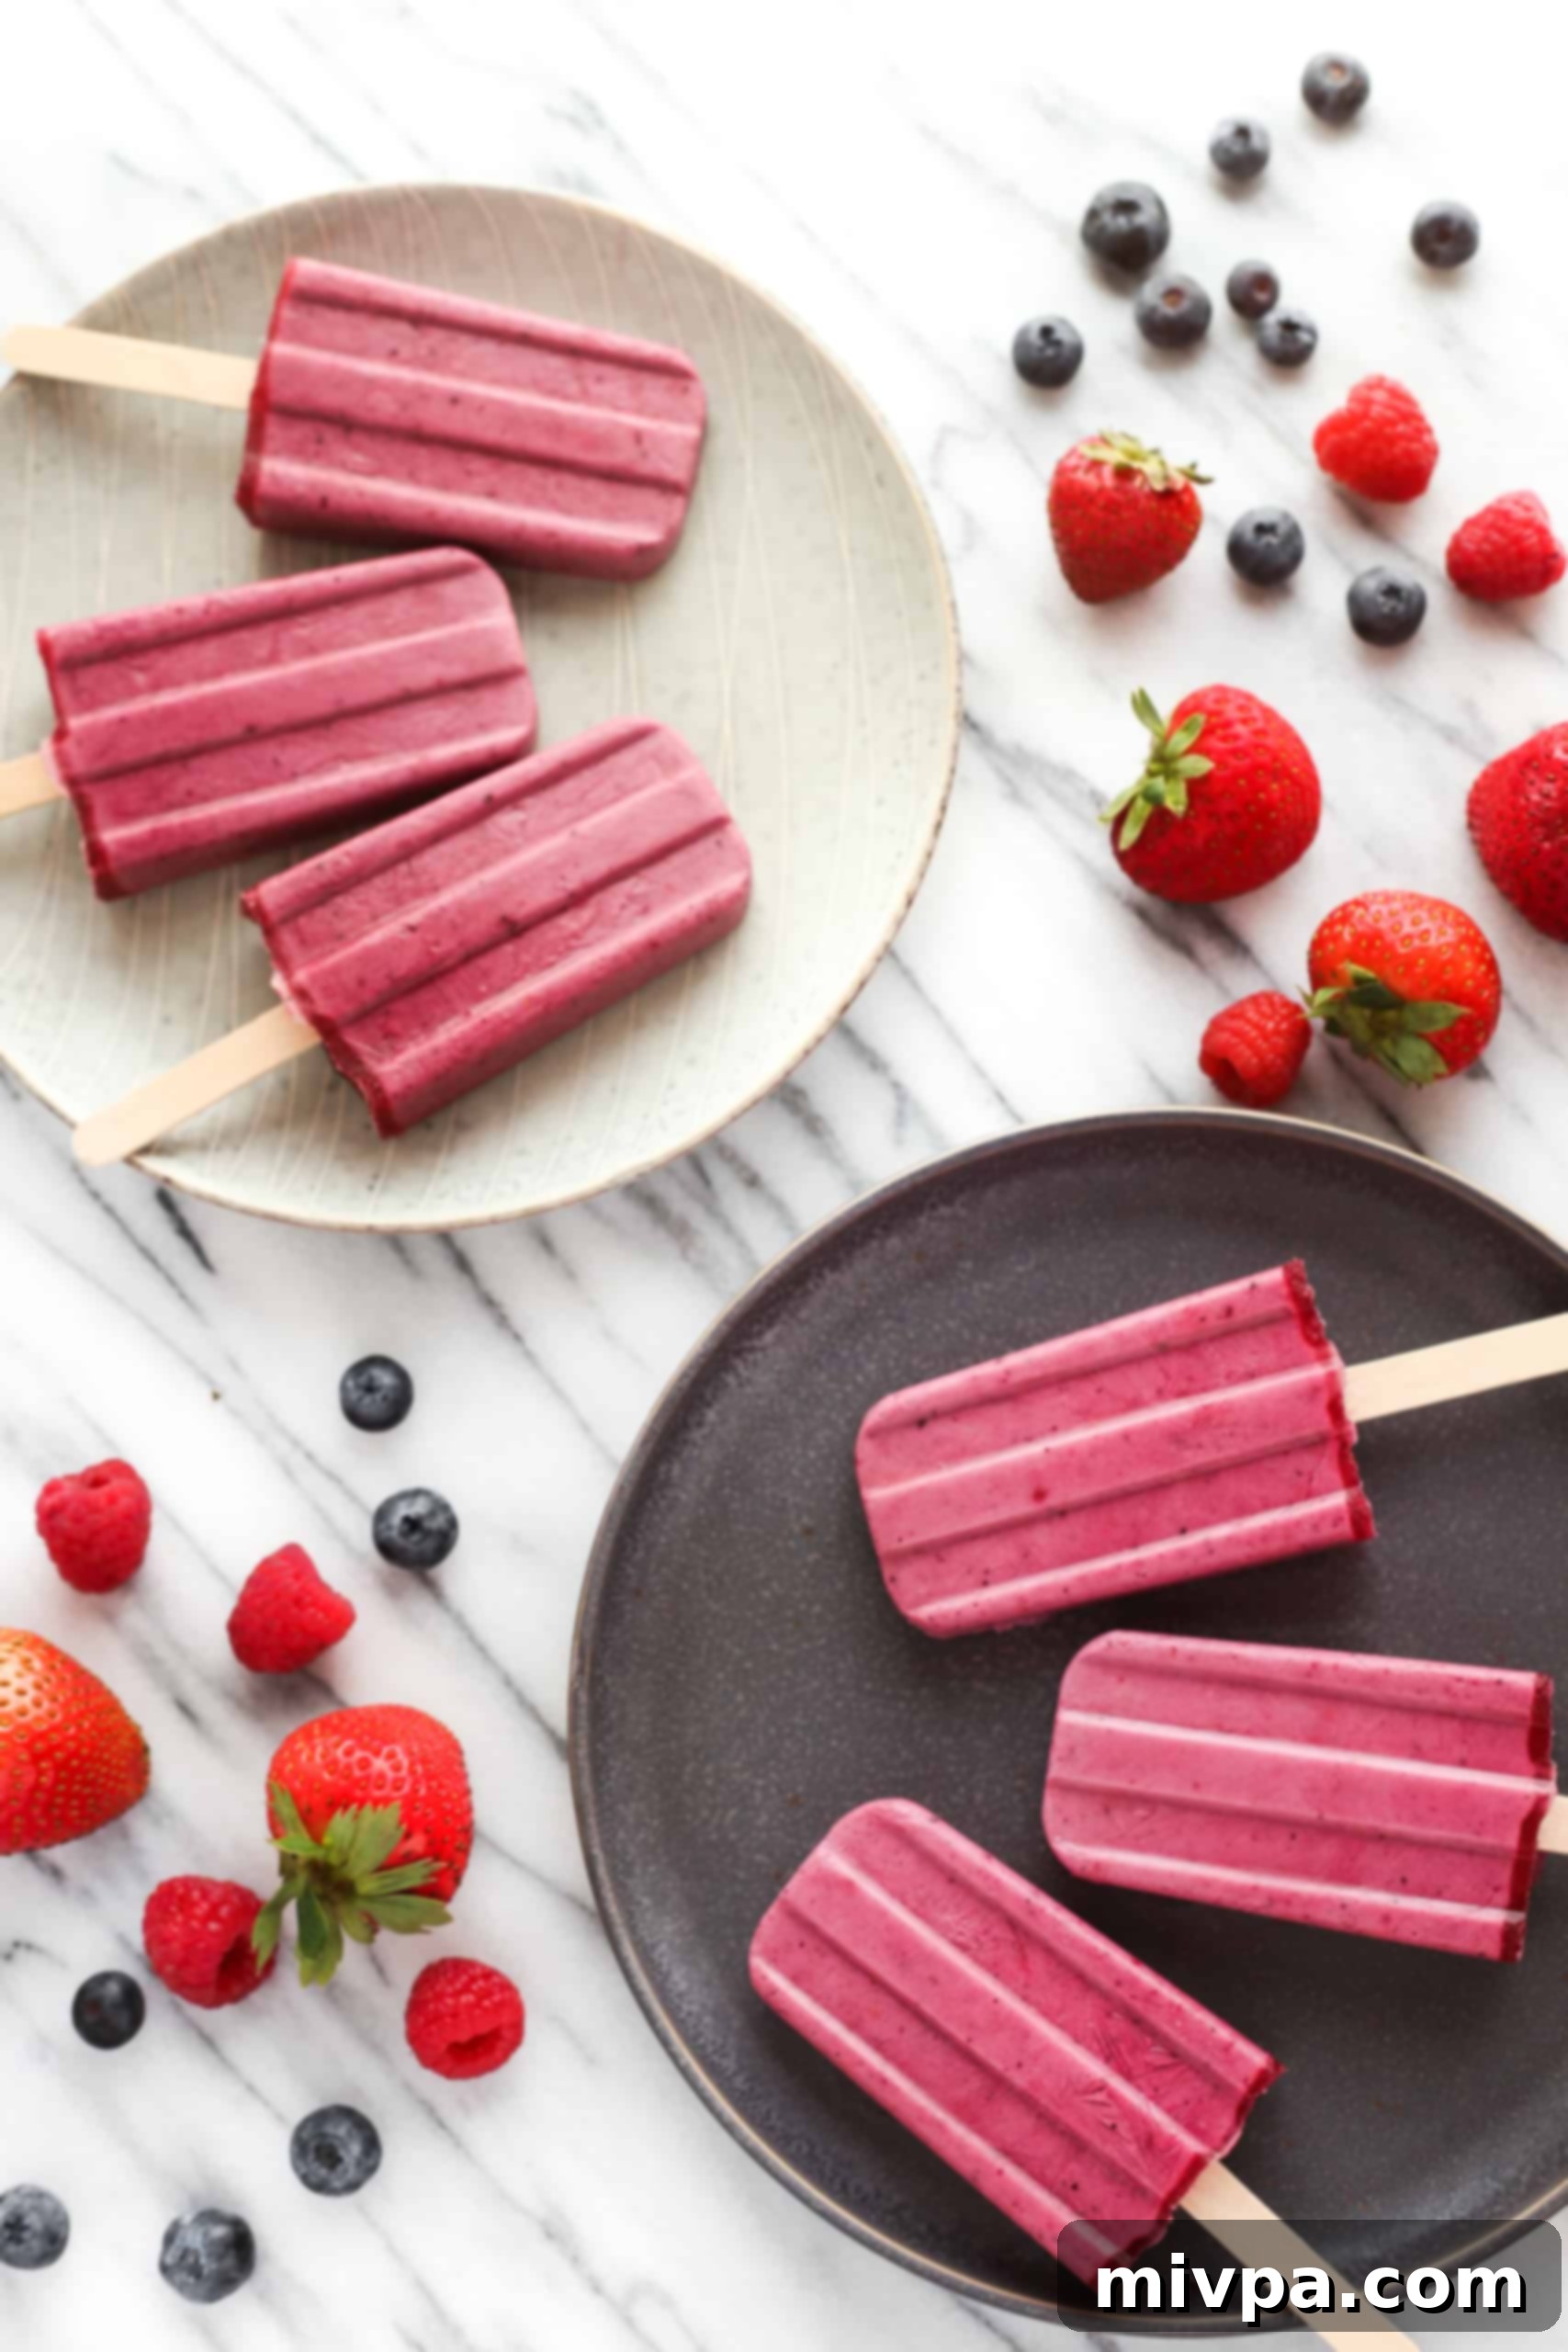
Summertime: The Glorious Season of Berries
When summer arrives, it brings with it long, bright days, abundant sunshine, and often, sweltering temperatures that have us craving something cool and refreshing. But perhaps the most exciting part of this season, especially for food lovers, is the arrival of berry season! Farmers’ markets burst with an incredible array of fresh, ripe berries – from sweet strawberries to juicy blueberries, tangy raspberries, and rich blackberries. It’s a time when we simply can’t get enough of these colorful, nutrient-packed fruits in every form imaginable.
Berries aren’t just delicious; they’re nutritional powerhouses, packed with antioxidants, vitamins, and fiber. They’re naturally low in calories and high in flavor, making them ideal for light and healthy summer recipes. Whether enjoyed fresh, baked into a crisp, or blended into a smoothie, berries truly capture the essence of summer. And what better way to harness their vibrant flavors than in a delightful frozen treat?
More Delicious Berry Recipes to Enjoy:
- Mixed Berry Chia Seed Jam (Gluten-Free, Vegan)
- Mixed Berry Crisp (Gluten-Free, Vegan)
- Easy Mixed Berry Crumble (Gluten-Free, Vegan)
- Strawberry Crumble Bars (Gluten-Free, Dairy-Free)
- Strawberry Muffins (Gluten-Free, Dairy-Free)
- Blueberry Muffins (Gluten-Free, Dairy-Free)
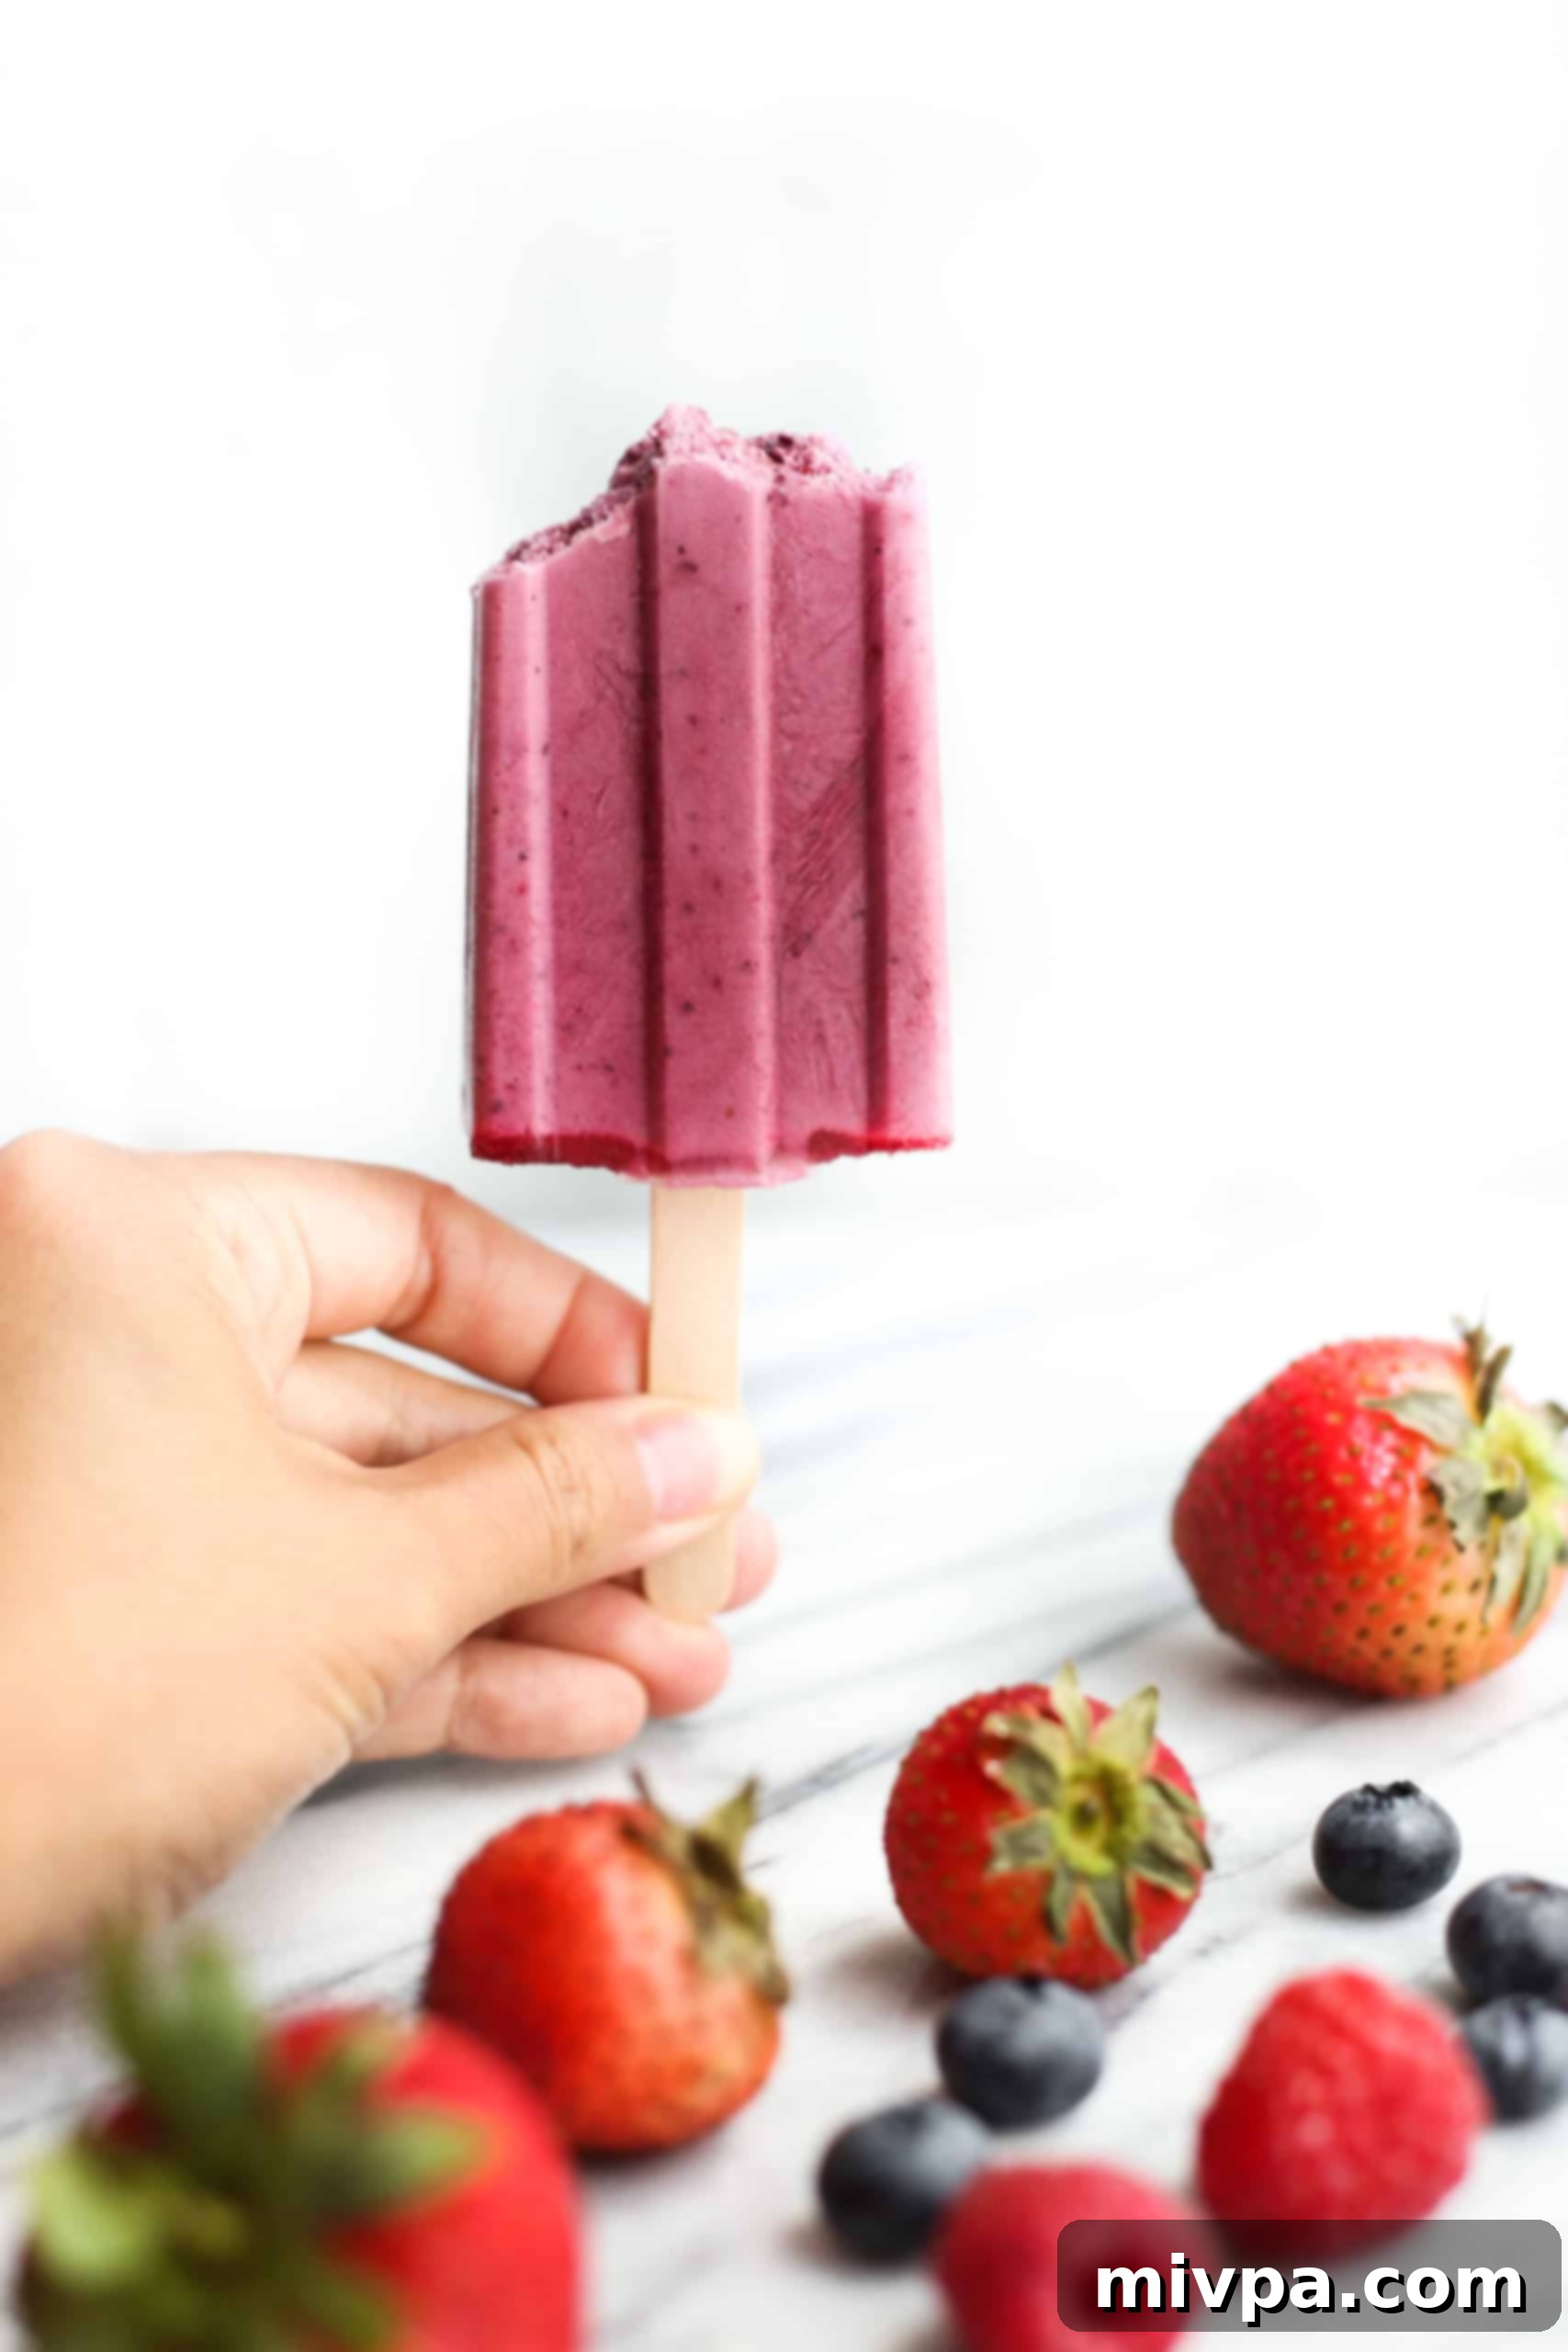
Beat the Summer Heat with Homemade Popsicles
There’s something uniquely nostalgic and satisfying about popsicles, especially on a scorching hot day. For years, making my own homemade popsicles was an item lingering on my culinary bucket list. It wasn’t until this past summer that I finally invested in a good quality popsicle mold, and I can confidently say it was one of the best decisions! The right mold makes all the difference – ensuring a beautiful shape, preventing spills with a stable upright design, and most importantly, allowing the popsicles to release effortlessly.
When the mercury rises, these easy berry yogurt popsicles become your go-to solution for cooling down. They offer a delightful and wholesome alternative to store-bought varieties, allowing you to control every ingredient. The next time a sweet craving strikes amidst the heat, simply reach for one of these creamy, fruity delights. They are truly the perfect antidote to summer’s warmth!
Why These Mixed Berry Yogurt Popsicles Are a Must-Try:
- Remarkably Simple Ingredients: You genuinely only need three core ingredients to whip up these incredible homemade berry popsicles. Forget complicated lists or obscure items; this recipe embodies simplicity, making it perfect for even the busiest summer days. This straightforward approach means less time shopping and more time enjoying!
- Incredibly Easy to Make: With just about 10 minutes of active preparation time, this mixed berry yogurt popsicle recipe is unbelievably easy. All you’ll need is a high-speed blender and your trusty popsicle mold. Blend, pour, freeze – it’s that simple! This recipe is ideal for beginner cooks, busy parents, or anyone looking for a quick, delicious treat without the fuss.
- Naturally Sweetened Perfection: Say goodbye to artificial flavors and refined sugars. This healthy recipe uses a natural sweetener, maple syrup, to perfectly balance the inherent tartness of the mixed berries. It provides a wholesome sweetness that enhances the fruit’s natural flavor without any guilt, making it a truly clean sweet treat.
- Completely Gluten-Free, Dairy-Free, and Vegan: One of the absolute best aspects of these fruit popsicles is their inclusive nature. They are 100% gluten-free, dairy-free, and vegan. This means that individuals with Celiac disease, gluten sensitivities, lactose intolerance, or those following a vegan lifestyle can indulge in these creamy, delicious treats without a single worry. It’s a treat for everyone!
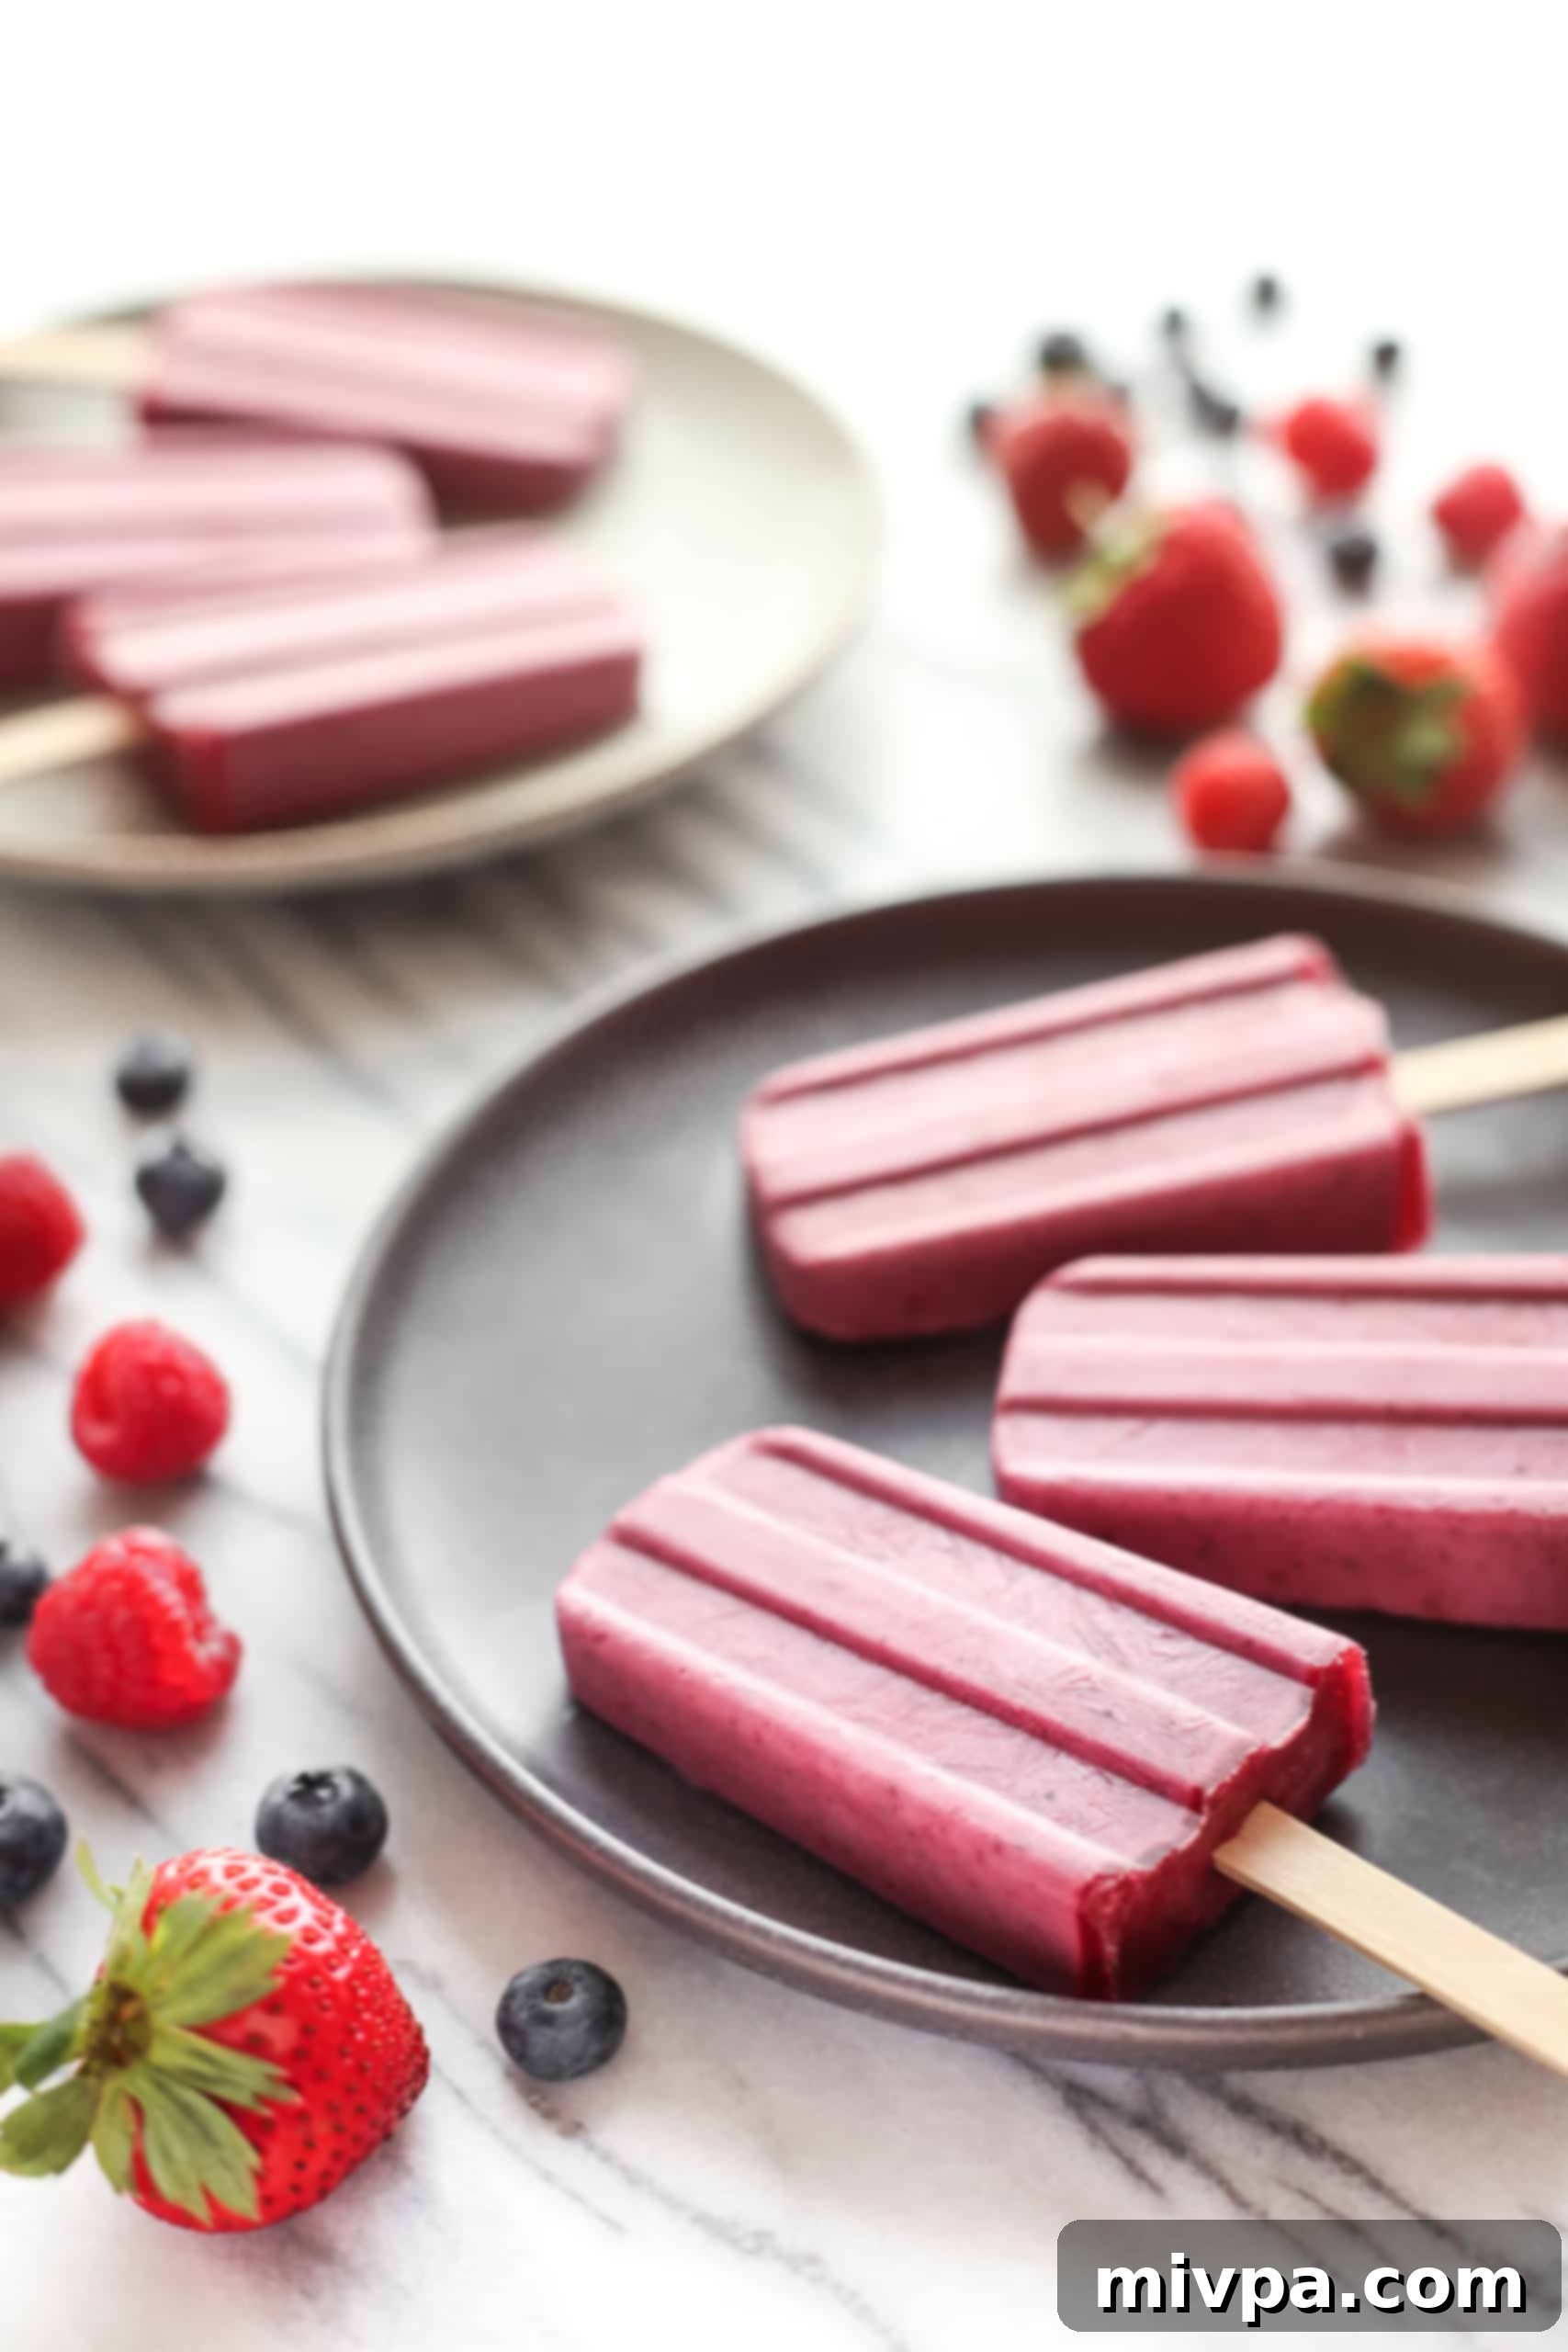
The Perfect Yogurt Popsicles For Summer (and Beyond!)
These mixed berry yogurt popsicles are truly the epitome of summer. Made with the season’s bounty of fresh berries, complemented by the rich creaminess of coconut yogurt, and naturally sweetened with maple syrup, they offer a refreshing escape on any warm day. While they are a perfect ode to the beautiful summer season, the flexibility of using frozen berries means you can whip up a batch of these delightful treats any time of the year, bringing a taste of sunshine even in colder months. Their vibrant color and smooth texture make them an instant favorite for kids and adults alike.
Essential Ingredients for Your Berry Yogurt Popsicles:
Here’s a visual overview of the simple, yet powerful ingredients required for this mixed berry yogurt popsicles recipe. You’ll be surprised how much flavor you can achieve with so few components!
(For exact measurements and quantities, please scroll down to the detailed recipe card at the bottom of this post.)
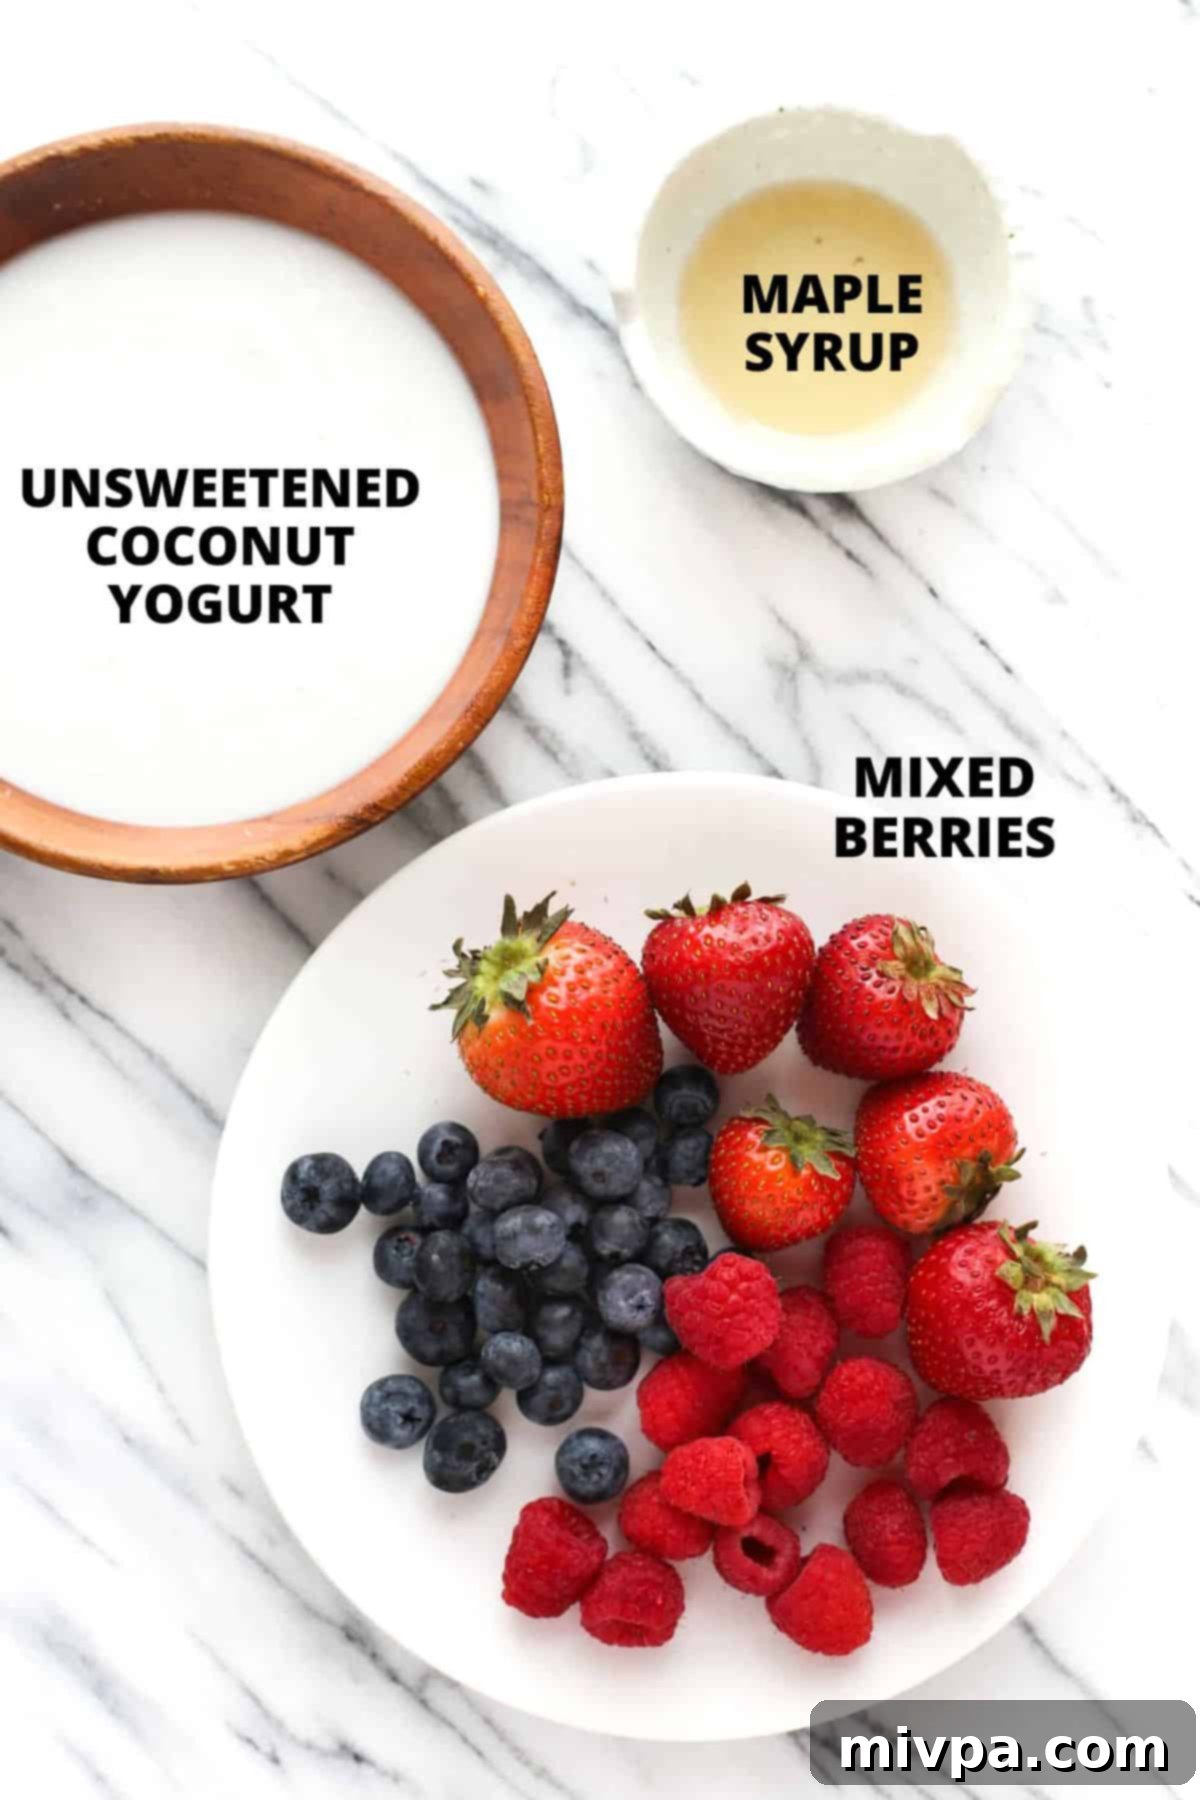
Recipe Notes, Substitutions & Flavor Variations:
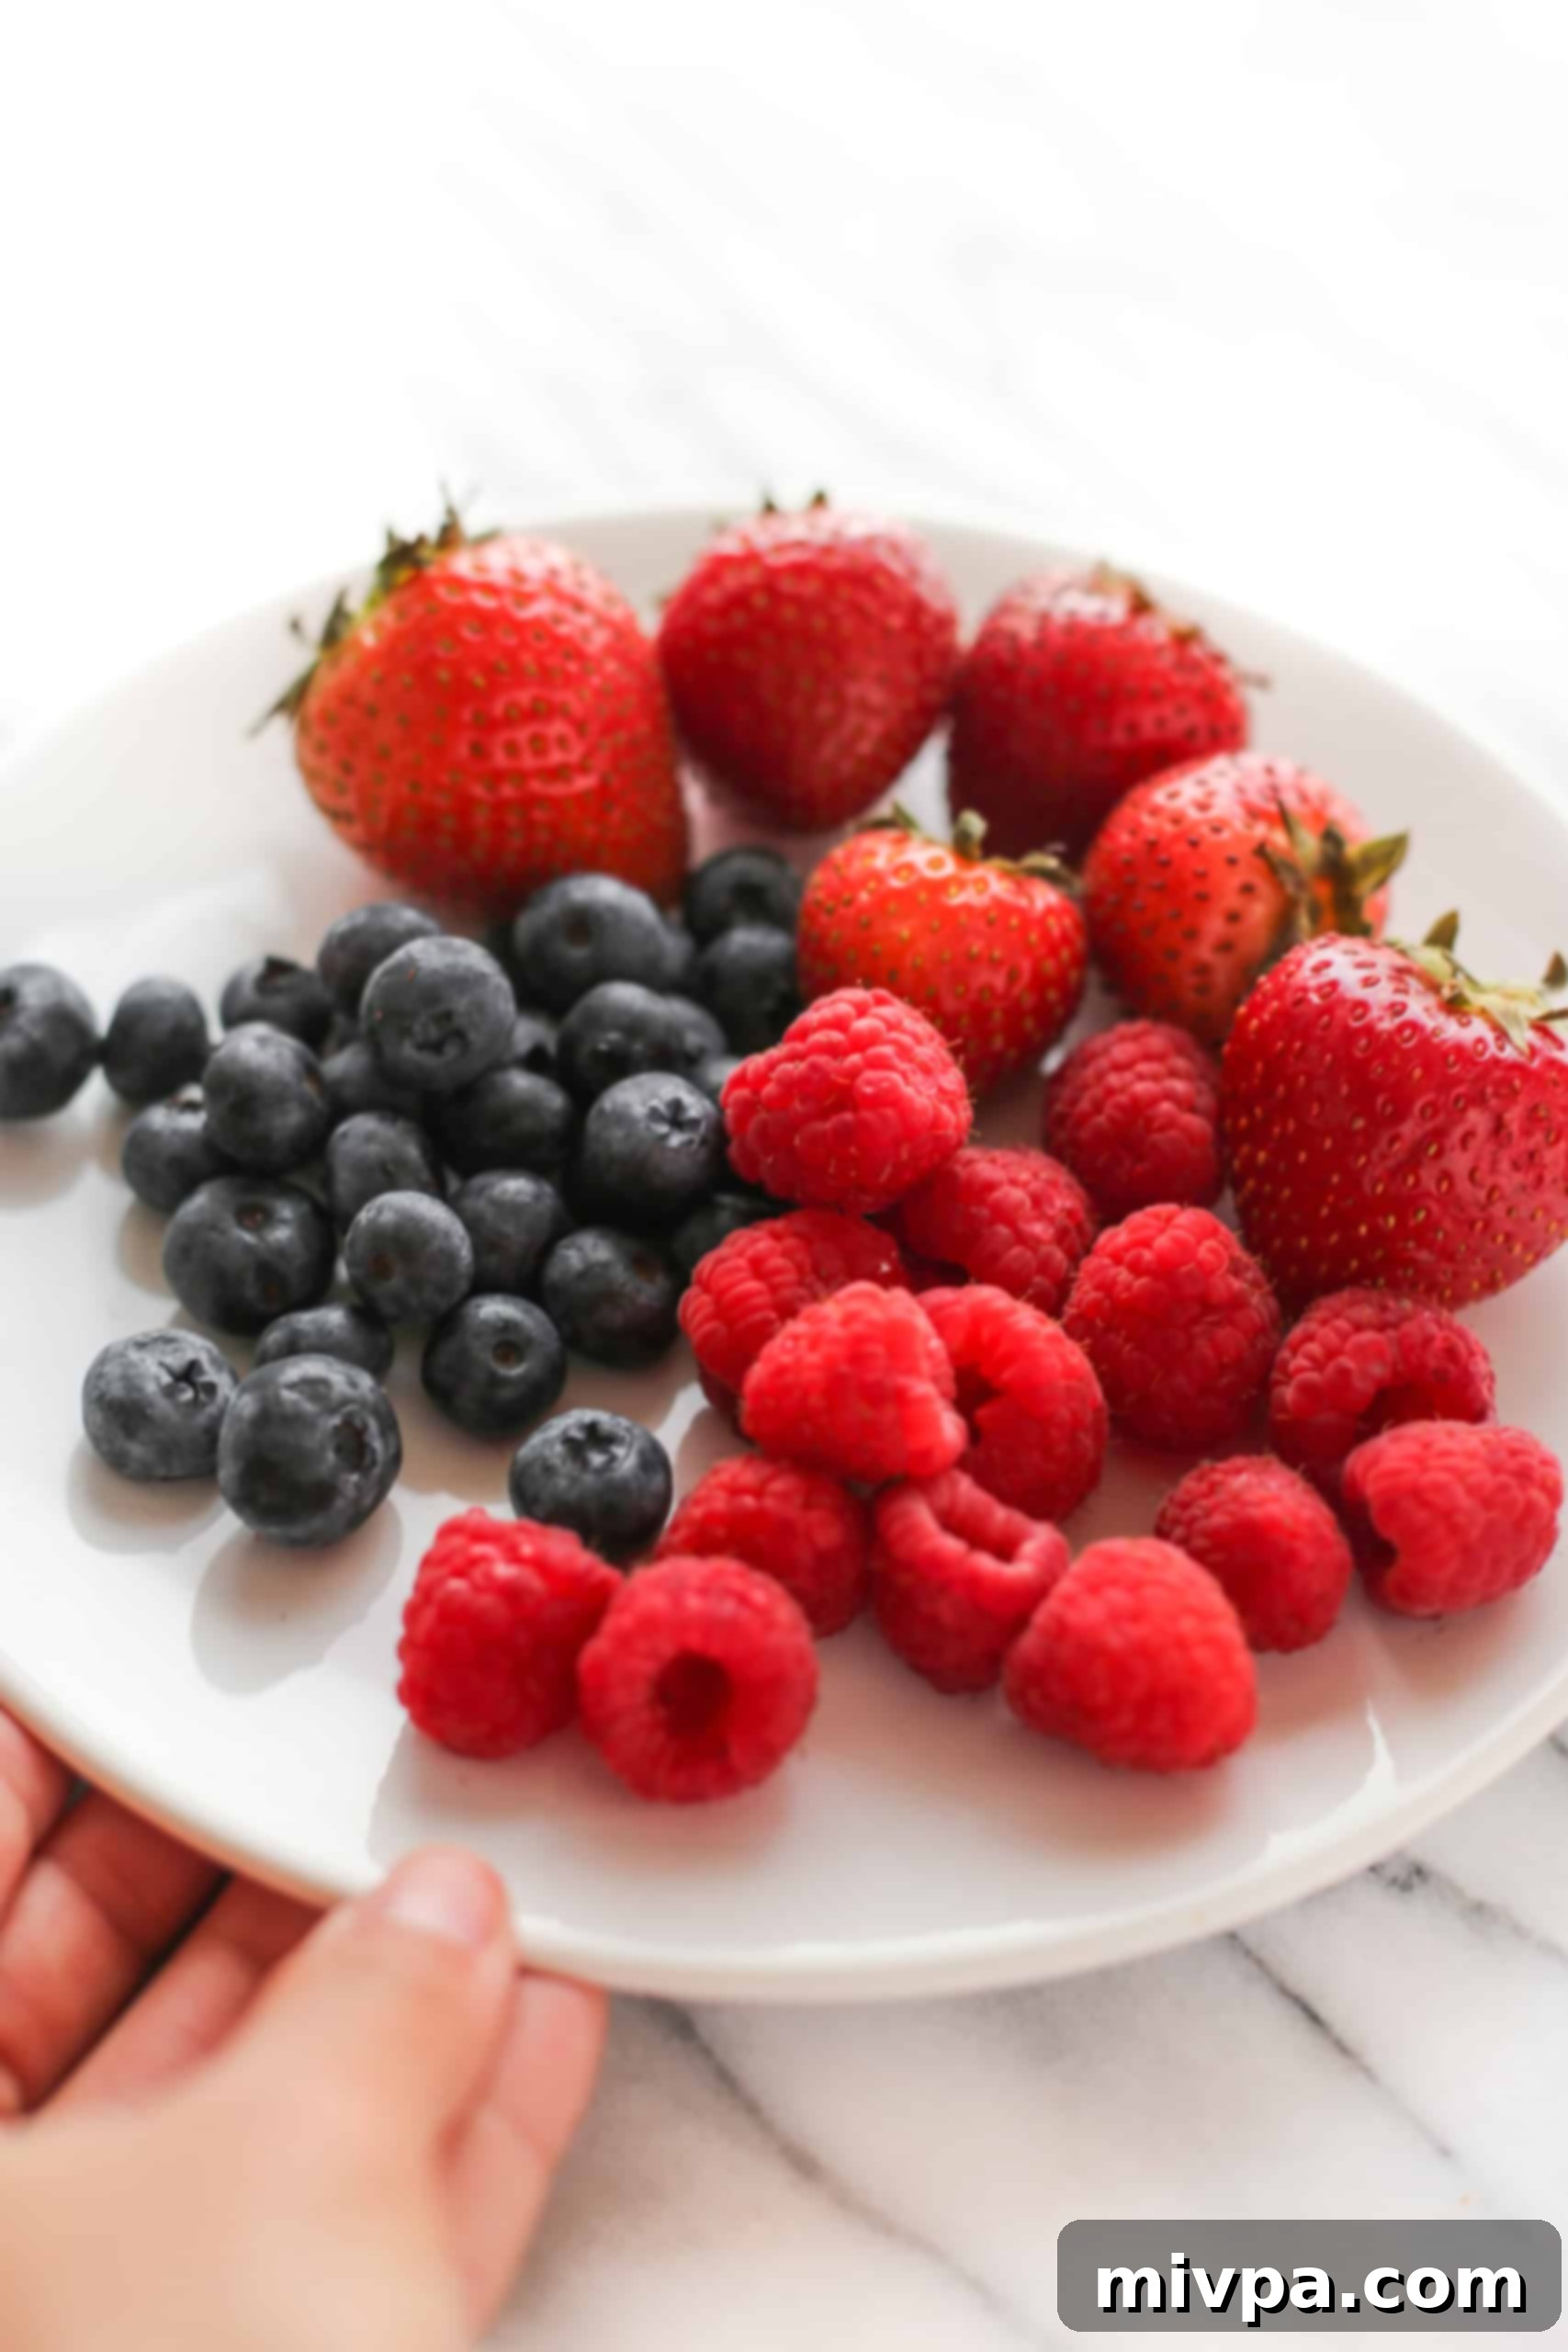
- Mixed Berries: For this delightful popsicle recipe, I’ve used an equal blend of fresh strawberries, blueberries, and raspberries. However, feel free to customize the proportions or even use a single type of berry based on your preference or what’s readily available. While fresh berries are wonderful during peak season, high-quality frozen berries work just as well, making this a year-round treat! If using frozen, there’s no need to thaw them first; simply blend them directly. Just ensure your berries are washed and any strawberries are hulled before blending.
- Coconut Yogurt: I highly recommend using unsweetened coconut yogurt. This gives you full control over the sweetness level with the maple syrup. The coconut yogurt contributes a lovely creamy texture and a subtle tropical note that pairs beautifully with the berries. If you don’t have coconut yogurt or prefer other options, unsweetened almond or soy yogurt can also be used for a dairy-free alternative. For those without lactose intolerance, plain dairy yogurt, vanilla yogurt, or even Greek yogurt (which will yield a thicker, tangier popsicle) are excellent substitutes.
- Maple Syrup: My preferred natural sweetener is pure maple syrup. Its rich, nuanced sweetness perfectly complements the tartness of the berries. If you prefer, agave nectar is another great vegan, natural sweetener option. For those who are not vegan or lactose-intolerant, honey makes a fantastic alternative. You can adjust the amount of sweetener to your taste – start with the recommended amount and add more if you prefer a sweeter popsicle.
- Beyond Berries: Don’t limit yourself to just berries! This recipe is incredibly versatile. You can experiment with other fruits like peaches, mangoes, kiwi, or even a blend of tropical fruits. For an extra flavor boost, consider adding a splash of vanilla extract or a pinch of cinnamon or cardamom, especially with stone fruits.
- Chunky vs. Smooth: For a smoother popsicle, blend all ingredients until completely pureed. If you enjoy a little texture, blend most of the mixture, then stir in a handful of finely chopped berries before pouring into molds.
How to Make Mixed Berry Yogurt Popsicles (Step-by-Step Guide):
Creating these delicious and healthy popsicles is incredibly simple. Follow these easy steps for perfect frozen treats every time:
1. Combine Ingredients and Blend
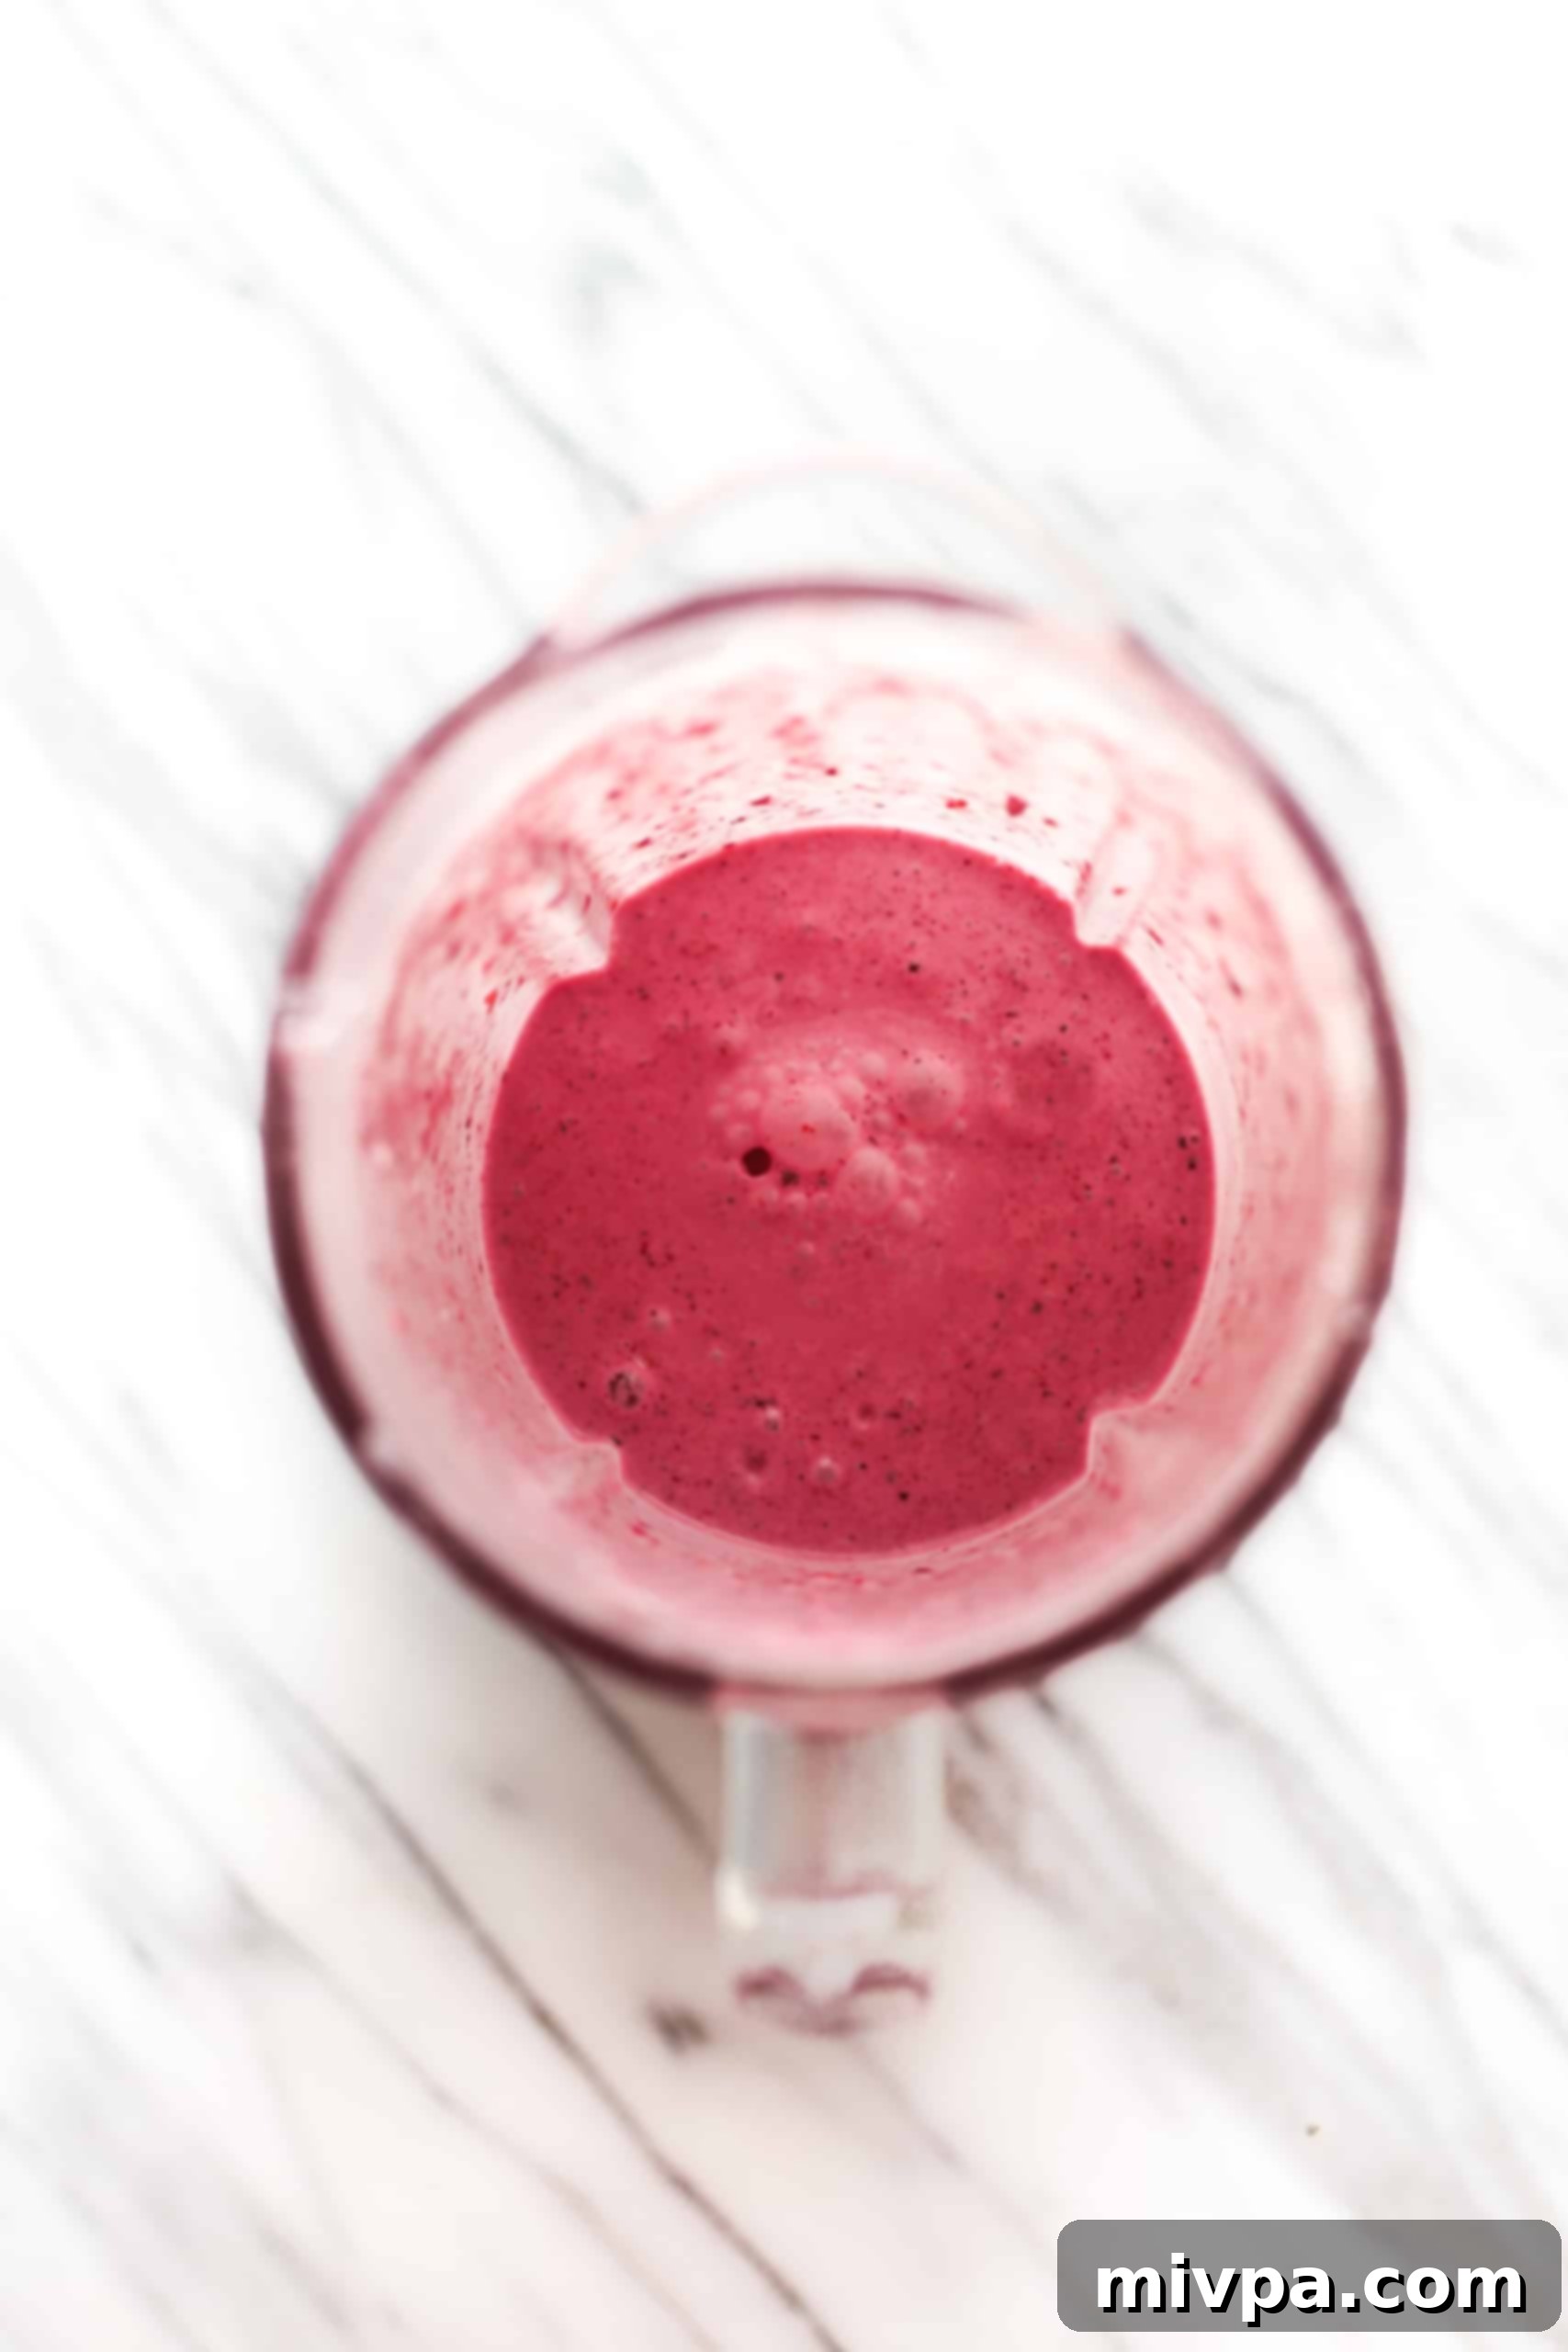
Begin by combining all your fresh ingredients – strawberries, blueberries, raspberries, unsweetened coconut yogurt, and maple syrup – in the bowl of a high-speed blender. Secure the lid and blend until you achieve a thick, smooth, and homogeneous mixture. The color should be a vibrant, appealing pink. Ensure there are no large chunks of fruit remaining for a perfectly creamy popsicle texture.
2. Pour Mixture Into Popsicle Molds
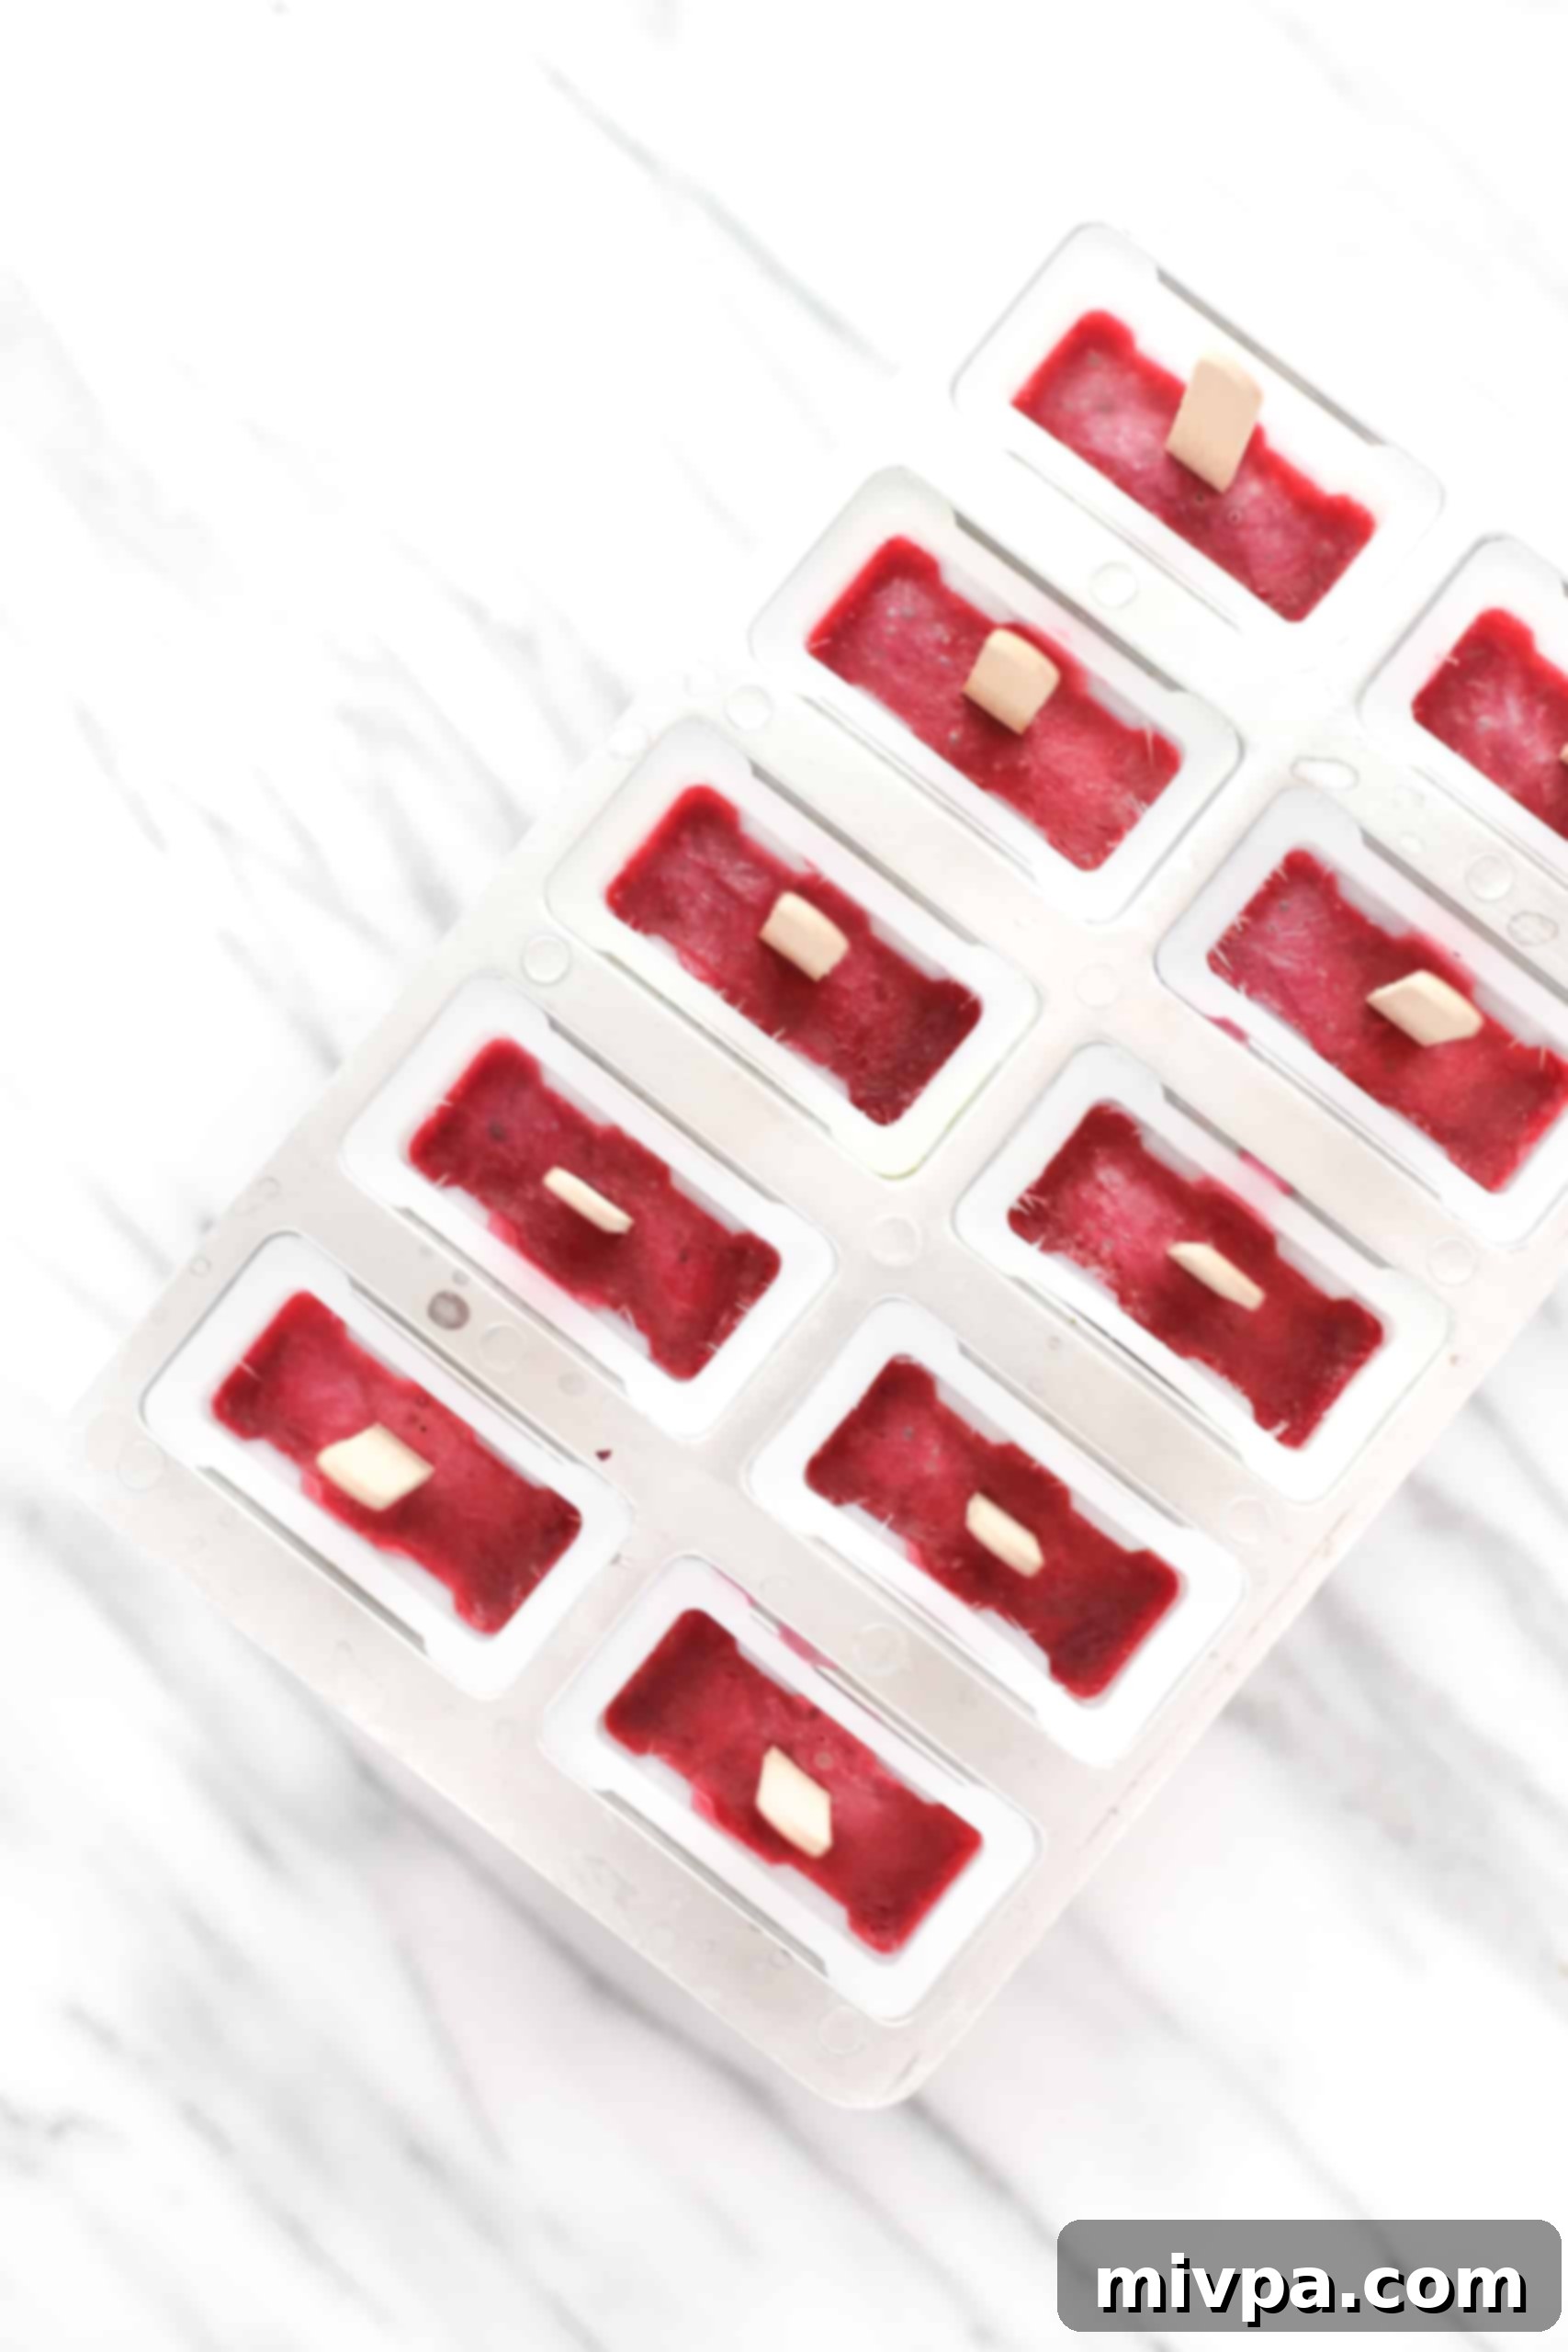
Carefully pour the blended mixed berry yogurt mixture into your popsicle mold. Be sure not to overfill the molds, as the mixture will expand slightly when frozen. Allow the mixture to freeze for approximately 1 hour. This initial freeze will make the mixture firm enough to hold the ice cream sticks upright. After an hour, gently insert a stick into the center of each popsicle, leaving about 2 inches of the stick free for easy handling.
3. Freeze Until Solid
Once the sticks are in place, return the popsicle mold to the freezer. Allow the yogurt popsicles to freeze for a minimum of 8 hours, or preferably overnight, to ensure they are completely solid. This extended freezing time is crucial for preventing them from melting too quickly when removed from the mold.
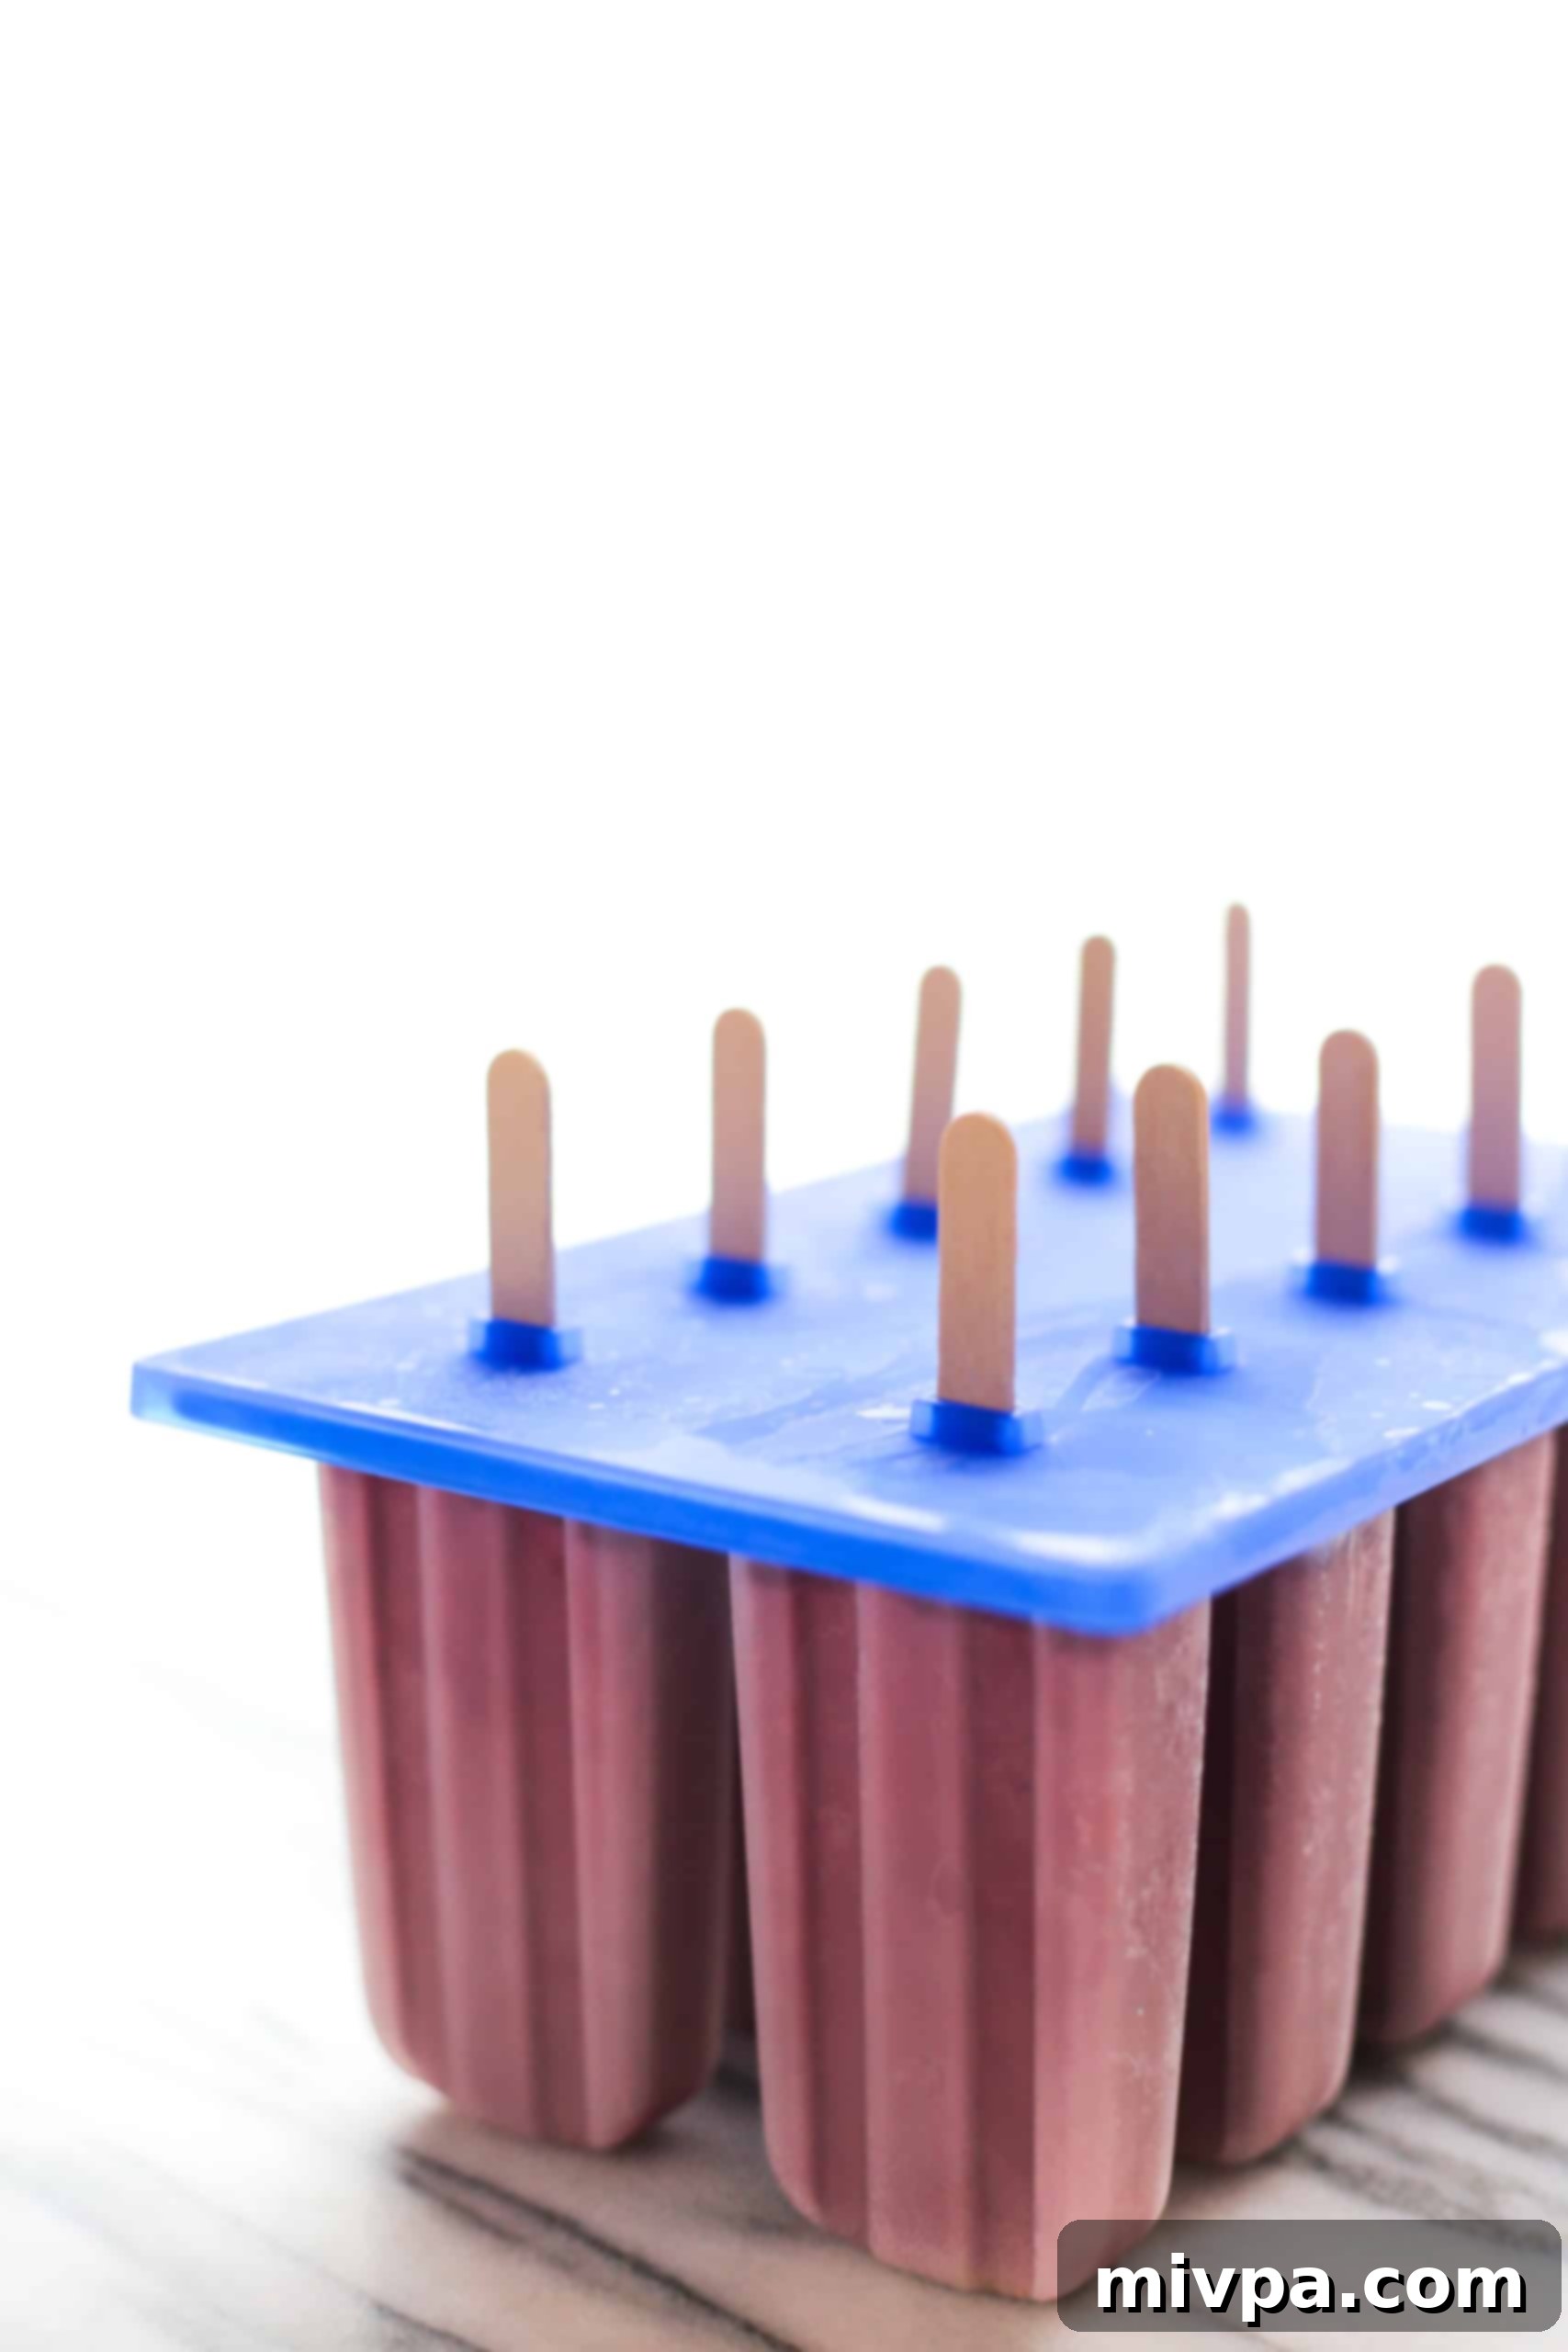
4. Remove Popsicles From Mold
To easily remove the mixed berry yogurt popsicles from their mold without breakage, submerge the bottom half of the popsicle mold in a large pot or sink filled with room temperature water for about 20 seconds. This brief warm bath helps to loosen the popsicles. After 20 seconds, gently pull each popsicle stick to release them. If a popsicle doesn’t come out easily, submerge the mold for another 10 seconds before trying again.
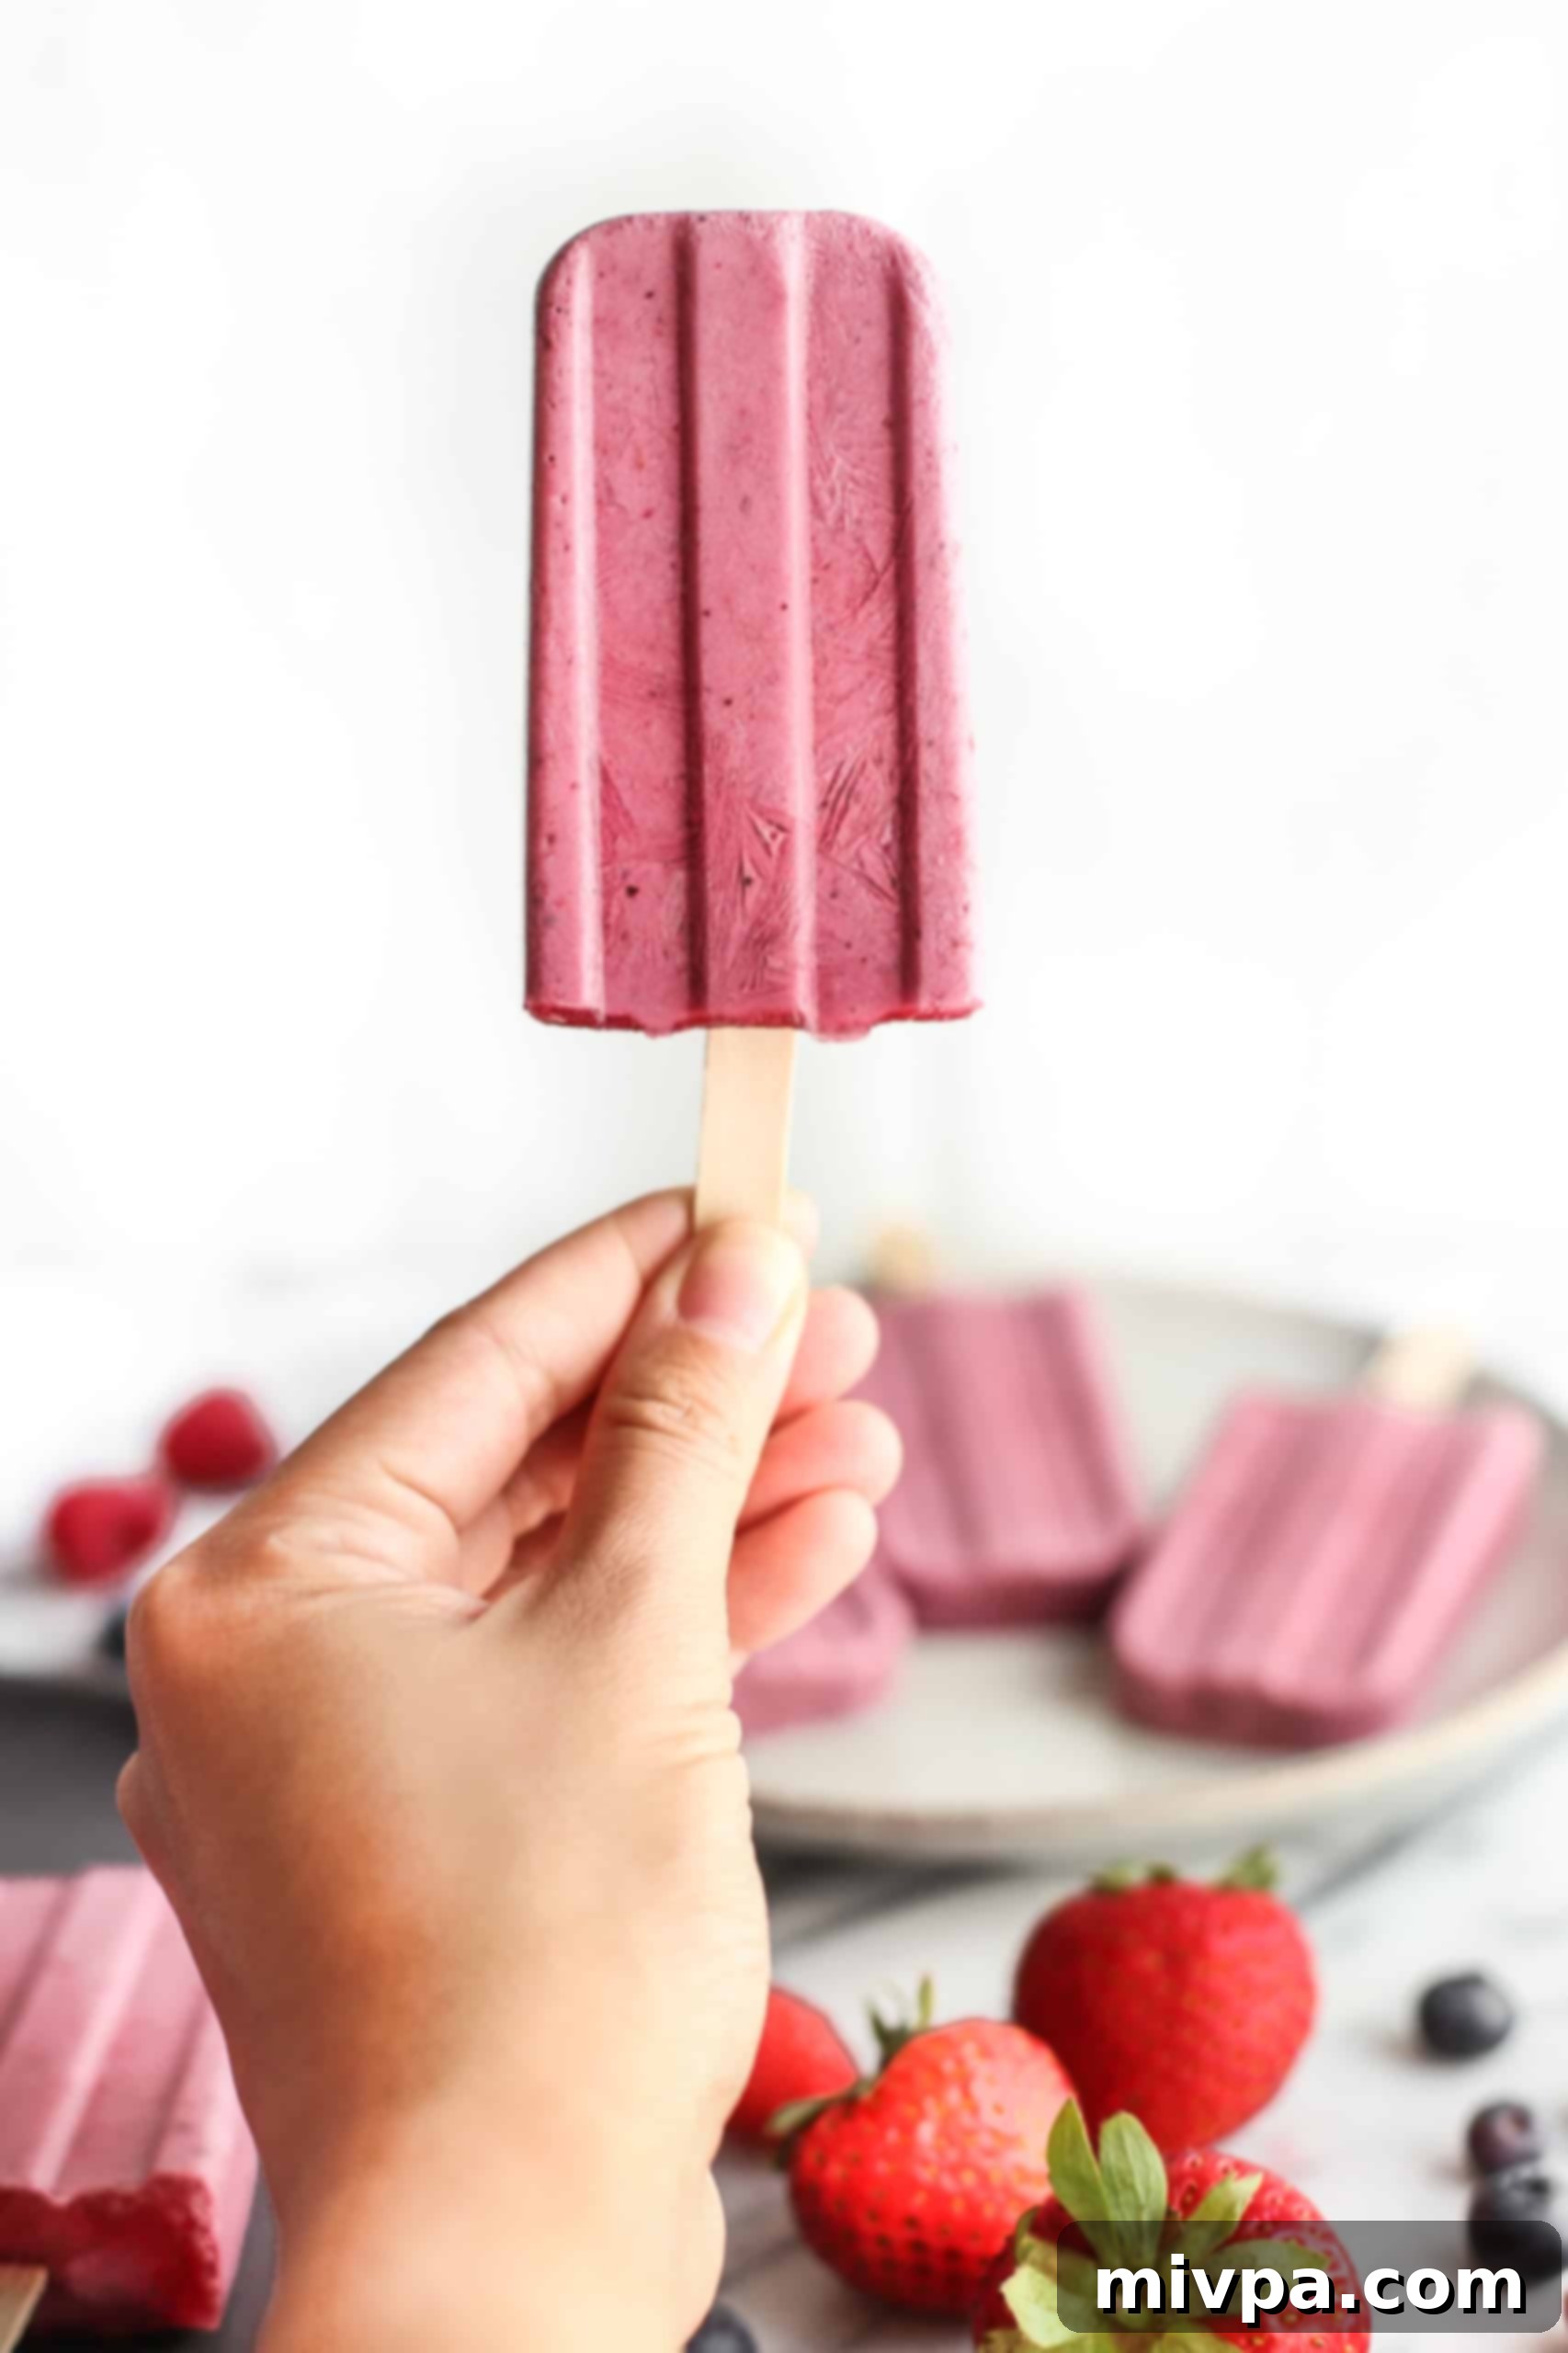
5. Eat and Enjoy!
Now, it’s time to enjoy the fruits of your labor! Cool off and beat the heat on those hot summer days with these delightful homemade fruit popsicles. They are the perfect refreshing treat for any occasion.
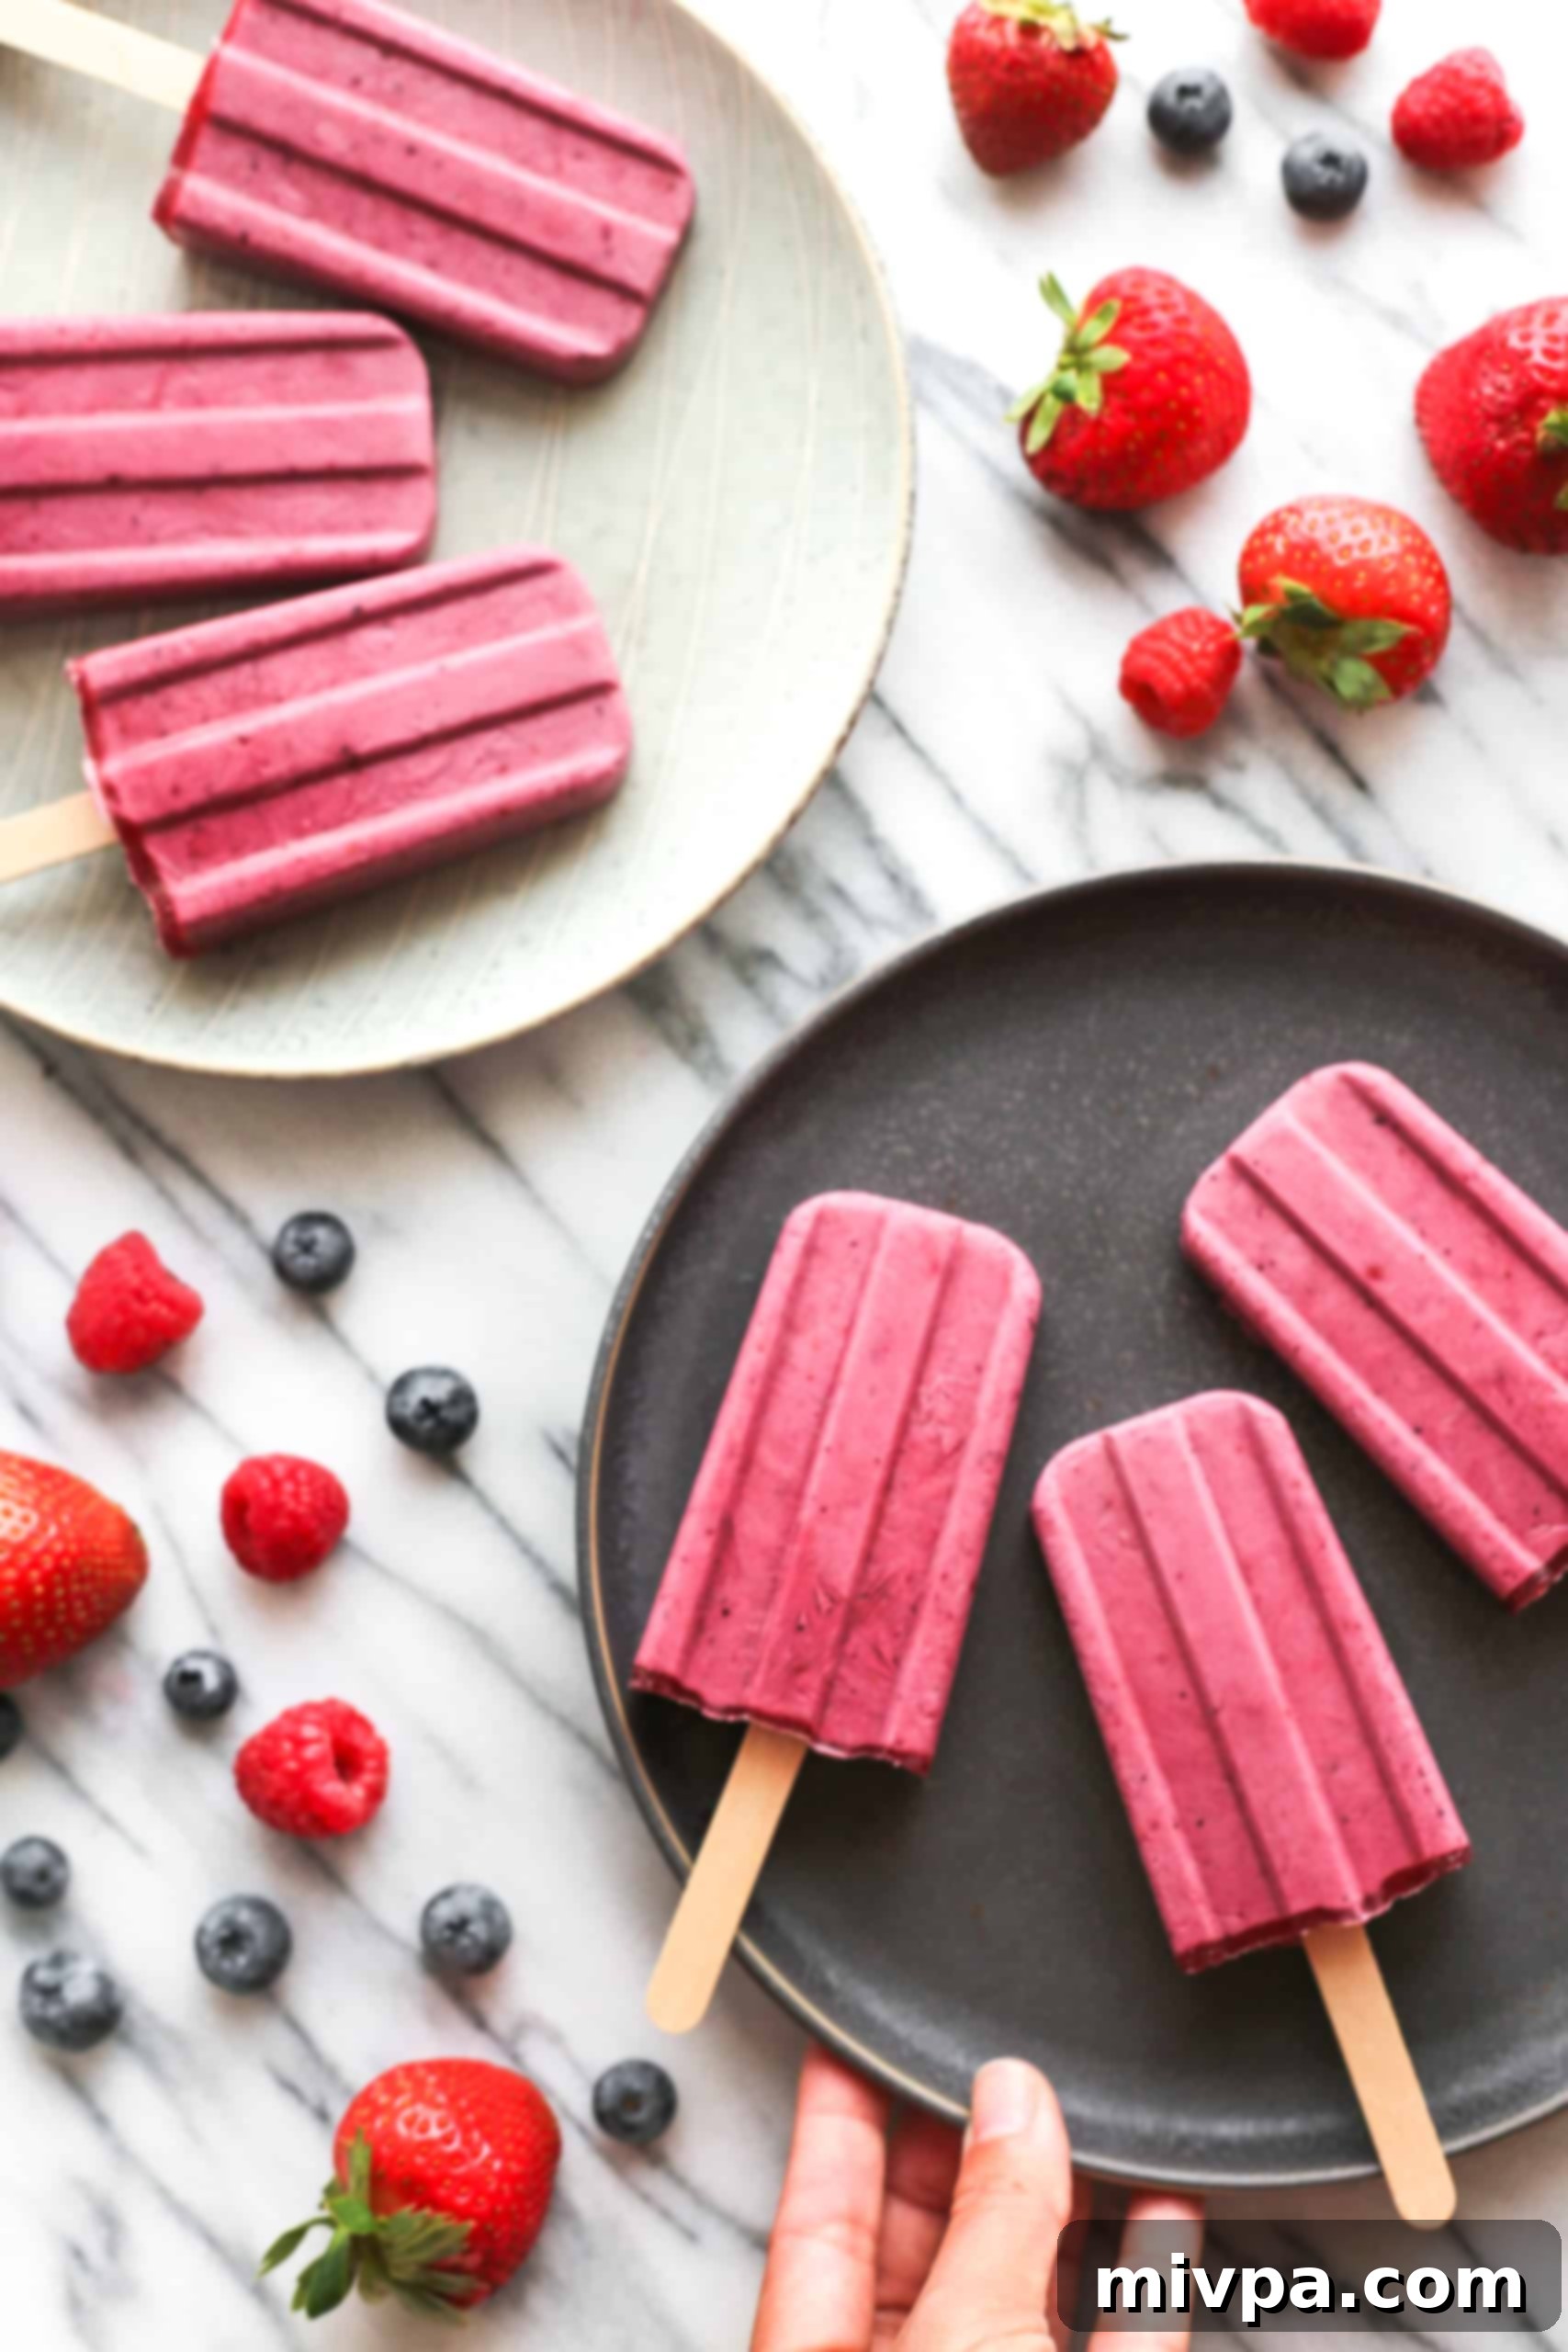
Dish by Dish Tips & Tricks for Perfect Popsicles:
- Experiment with Different Fruits: While berries are a classic choice, don’t hesitate to get creative! You can use a variety of other fruits such as ripe peaches, nectarines, juicy mangoes, tropical kiwis, or even a mix. The options are truly endless, so feel free to use your favorite fruits or whatever is in season.
- Fresh or Frozen Fruit Works Wonders: You don’t have to wait for summer to make these! If fresh fruit isn’t available or is out of season, equal amounts of frozen fruit will yield equally delicious results. Simply blend them directly from frozen.
- The Secret to Easy Unmolding: The key to effortlessly removing your popsicles from the mold while maintaining their perfect shape is a quick water bath. Submerge the entire popsicle mold (bottom half) in a large pot or sink filled with room temperature water for at least 20 seconds. This gentle warmth allows the frozen treats to loosen. Then, gently pull a popsicle stick. If it doesn’t slide out easily, submerge the mold for another 10 seconds and try again. Serve the popsicles immediately for the best texture, or if you plan to enjoy them later, wrap each individual popsicle in parchment paper or place them in ziplock bags in the freezer. This will help them hold their shape and prevent freezer burn until you’re ready to eat them!
- Achieving Creamier Pops: For an even creamier consistency, especially if your yogurt is on the thinner side, consider adding 1-2 tablespoons of full-fat canned coconut milk (the thick cream part) to the blend. This adds richness without compromising the dairy-free aspect.
Recipe FAQs:
If you’re not planning to eat the popsicles immediately, you have a couple of storage options. You can either leave them in their popsicle mold, covered, or carefully remove them and place them individually in ziplock bags or an airtight container in the freezer. Properly stored, they will maintain their best quality for up to 2 weeks in the freezer.
No dedicated popsicle mold? No problem at all! You can easily get creative. A simple solution is to pour the berry yogurt mixture into standard ice cube trays to make delightful, bite-sized yogurt cubes – perfect for snacking or adding to drinks. Alternatively, small paper cups (like Dixie cups) work wonderfully. Just fill them, let them freeze for an hour, then insert a popsicle stick into each, and continue freezing until solid. You can then tear off the paper cup to enjoy your homemade treat.
Yes, absolutely! While maple syrup is a natural sweetener, you can easily adapt this recipe to be sugar-free. Simply substitute the maple syrup with a liquid sugar-free sweetener like stevia drops or erythritol syrup, adjusting the amount to your desired level of sweetness. Taste the mixture before freezing and adjust as needed.
Certainly! Feel free to customize your popsicles. You could add a tablespoon of chia seeds for extra fiber, a spoonful of plant-based protein powder for a boost, or even a dash of vanilla extract for added depth of flavor. A tiny pinch of lemon zest can also brighten the berry flavors beautifully.
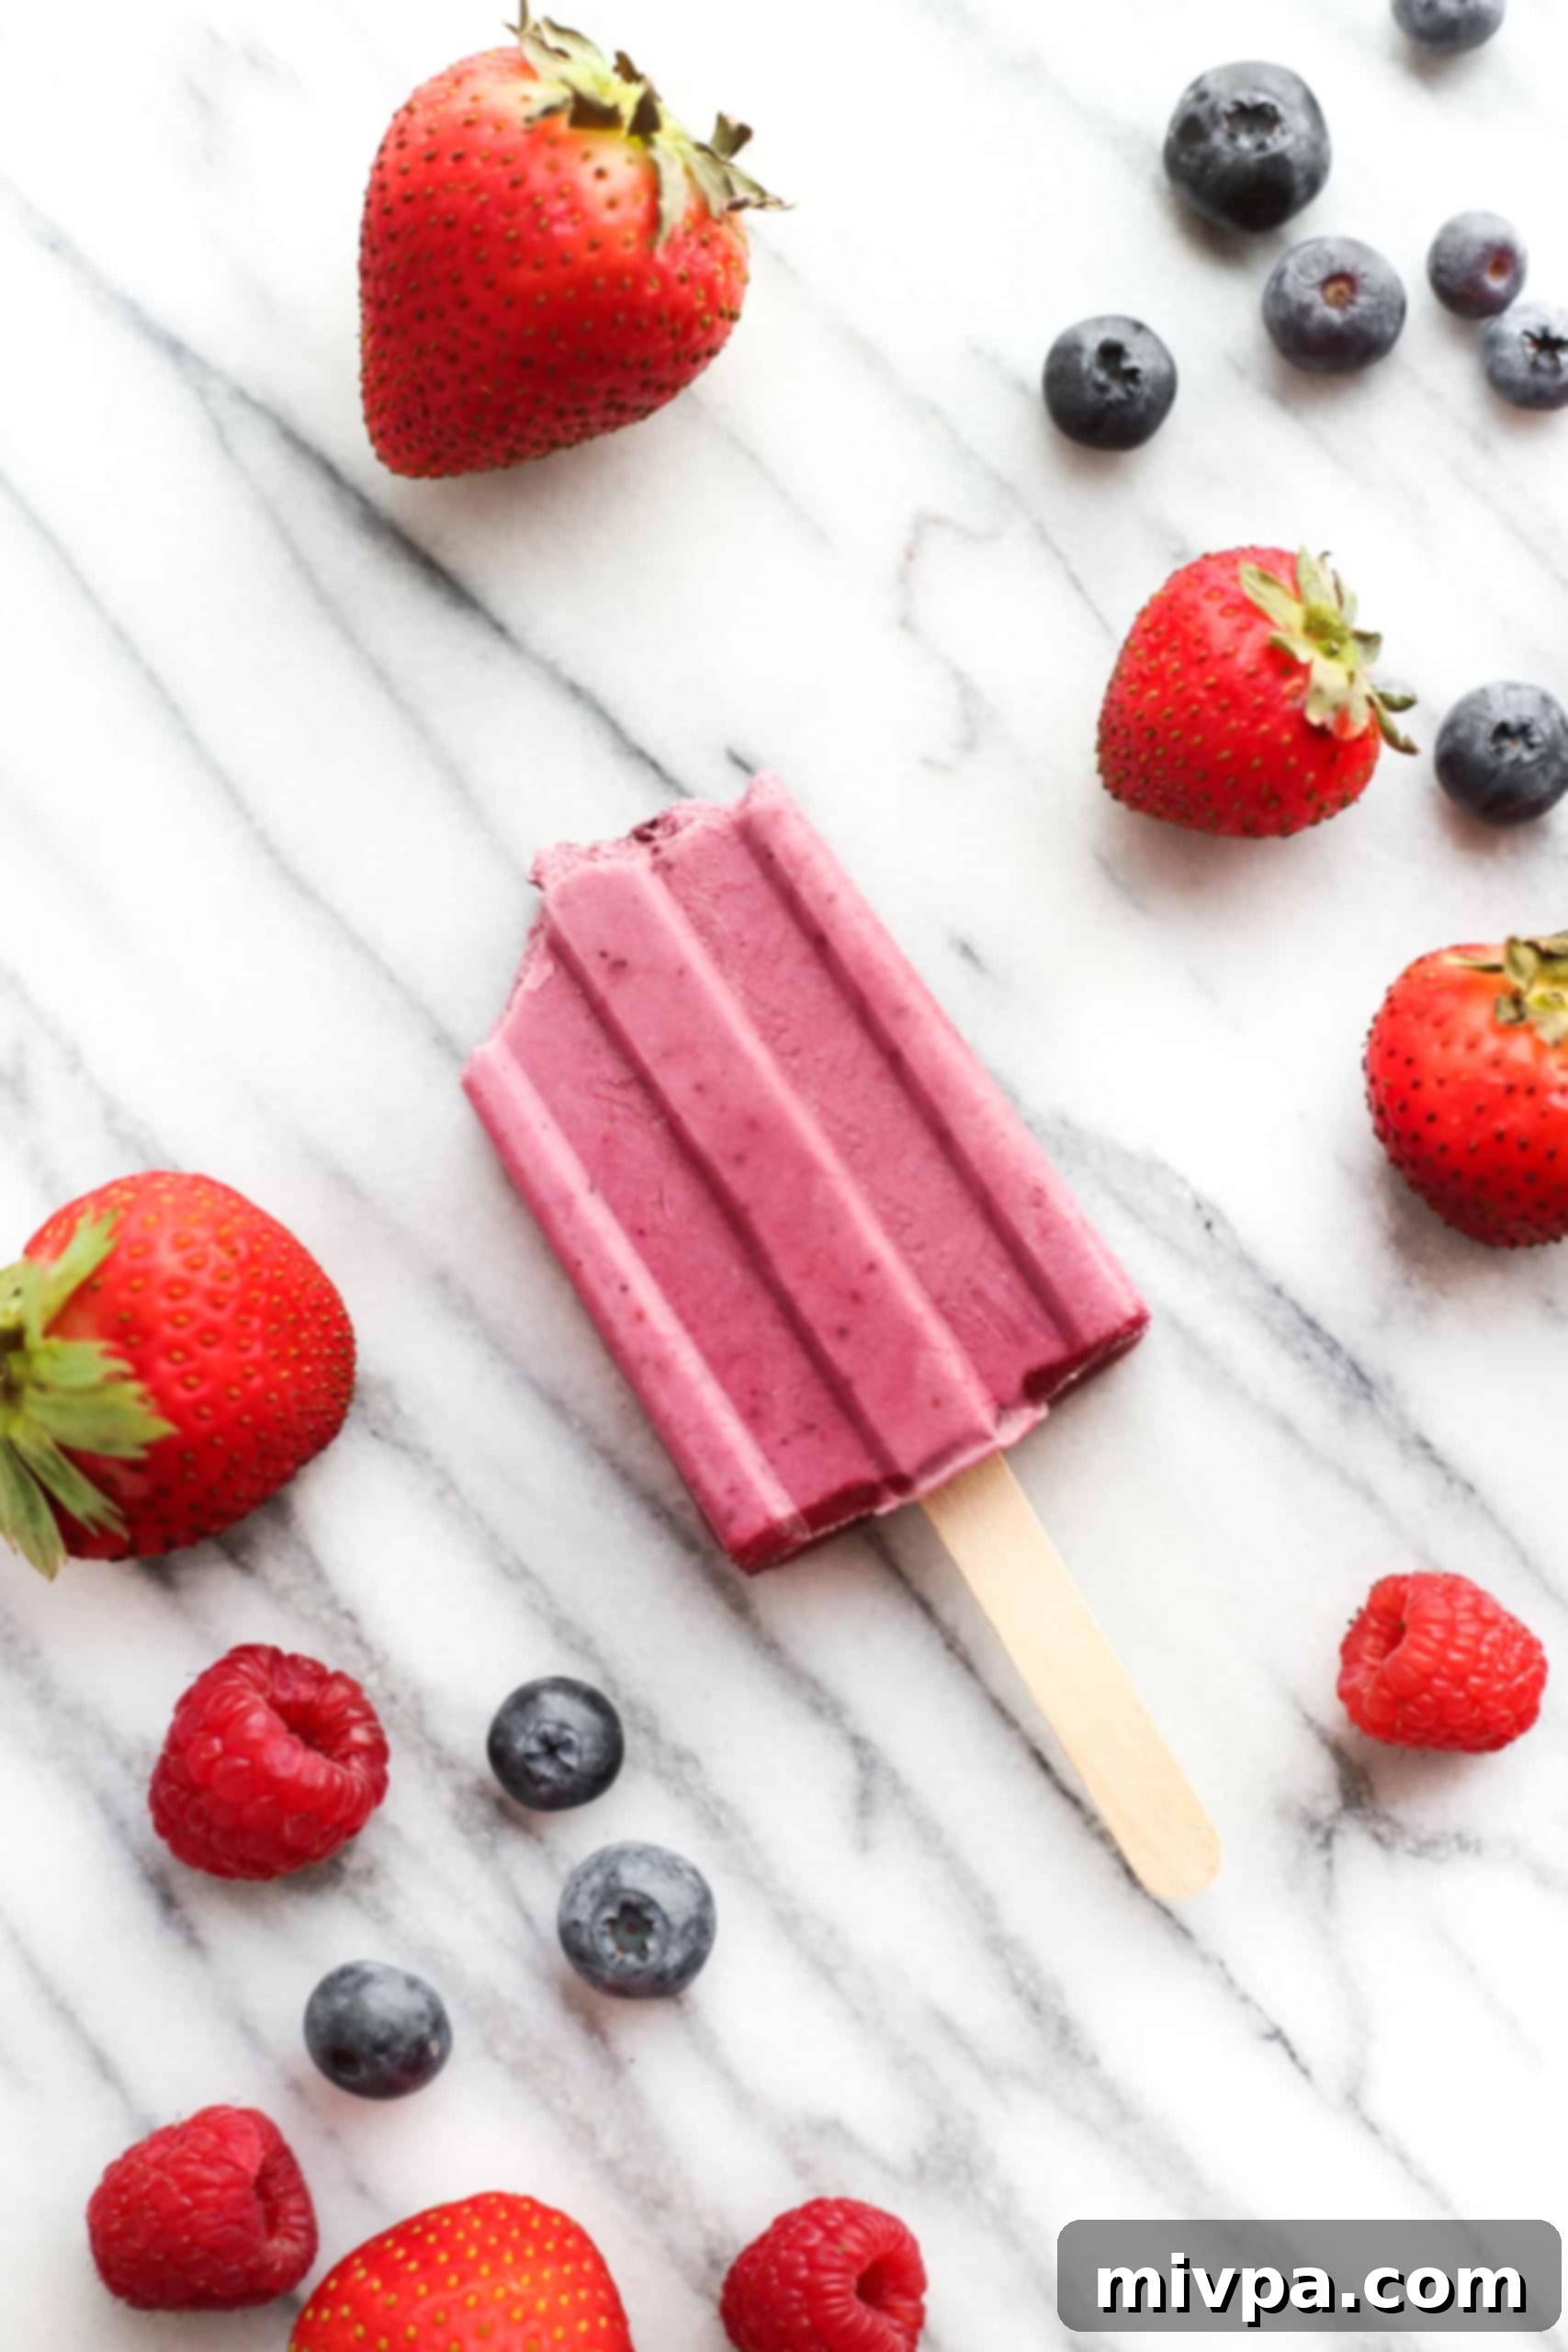
Other Delicious Mixed Berry Recipes to Enjoy:
- Mixed Berry Chia Seed Jam (Gluten-Free, Vegan)
- Mixed Berry Crisp (Gluten-Free, Vegan)
- Easy Mixed Berry Crumble (Gluten-Free, Vegan)
Other Delightful Yogurt Recipes to Indulge In:
- Gluten-Free Lemon Yogurt Cake
- Peach Walnut Yogurt Parfait
- Easy Homemade Yogurt
More Gluten-Free Desserts I Know You’ll Love:
- Gluten-Free Pumpkin Banana Muffins (Dairy-Free)
- 126 Gluten-Free Desserts and Sweet Treats for Labor Day
- Mini Pumpkin Cheesecakes (Gluten-Free, Dairy-Free Option)
- Gluten-Free Pecan Pie Bars (Dairy-Free)
P.S. If you try this refreshing recipe, I’d absolutely love for you to leave a star rating below and/or a review in the comment section further down the page. Your feedback is always appreciated and helps others discover these delicious treats. Be sure to explore my entire Recipe Index for all the wonderful recipes on the blog. You can also follow me on Pinterest, Facebook or Instagram! And don’t forget to sign up for my Email List to get fresh, inspiring recipes delivered straight to your inbox each week!
Print Recipe
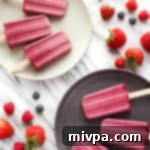
Mixed Berry Yogurt Popsicles (Gluten-Free, Vegan)
5 Stars
4 Stars
3 Stars
2 Stars
1 Star
5 from 1 review
- Author: felicia | Dish by Dish
- Total Time: 8 hours 10 mins
- Yield: 10 popsicles
- Diet: Vegan
Description
Refreshing, naturally sweetened 3-ingredient berry yogurt popsicles that are made with a medley of fresh berries, maple syrup, and coconut yogurt. This makes a healthy dessert or afternoon snack is perfect for beating the heat and celebrating the glorious days of summer. Satisfy your sweet tooth with these creamy yogurt popsicles which are naturally gluten-free, dairy-free and vegan too.
Ingredients
Units
Scale
- 1 cup chopped fresh strawberries
- 1 cup fresh blueberries
- 1 cup fresh raspberries
- 1 cup unsweetened coconut yogurt
- 2 tablespoons maple syrup
Instructions
- Combine Ingredients and Blend: Combine the fresh strawberries, blueberries, raspberries, coconut yogurt, and honey together in the bowl of a high-speed blender. Blend the ingredients together until you get a thick bright pink-colored mixture.
- Pour Mixture into Mold: Pour the blended mixed berry yogurt mixture into a popsicle mold and let the mixture freeze for 1 hour before placing the ice cream sticks in, leaving approximately 2 inches of sticks free.
- Freeze Until Solid: Freeze the yogurt popsicles for at least 8 hours or overnight until solid.
- Remove Popsicles From Mold: To remove popsicles from the mold, submerge the mold in a large pot of room temperature water for 20 seconds before gently pulling the popsicles out.
- Eat and Enjoy! Enjoy these delicious mixed berry yogurt popsicles!
Notes
Mixed Berries: I used equal quantities of strawberries, blueberries and raspberries, but if can use any proportion of mixed berries as you prefer. During the summer, I enjoy using fresh berries, but frozen berries in equal quantities will work just as well.
Coconut Yogurt: I used unsweetened coconut yogurt because we will be using maple syrup as a natural sweetener. If you don’t have coconut yogurt on hand, and are not lactose intolerant, you can substitute the coconut yogurt for the same amount of normal dairy yogurt.
Maple Syrup: I like using maple syrup as a natural sweetener, but you may also use agave nectar if you prefer. Alternatively, if you are not vegan or lactose-intolerant, feel free to use honey instead.
Freezing: If not eating the popsicles immediately, place them in ziplock bags in the freezer until ready to be eaten.
- Prep Time: 8 hours 10 mins
- Category: Dessert
- Method: Blender
- Cuisine: American
