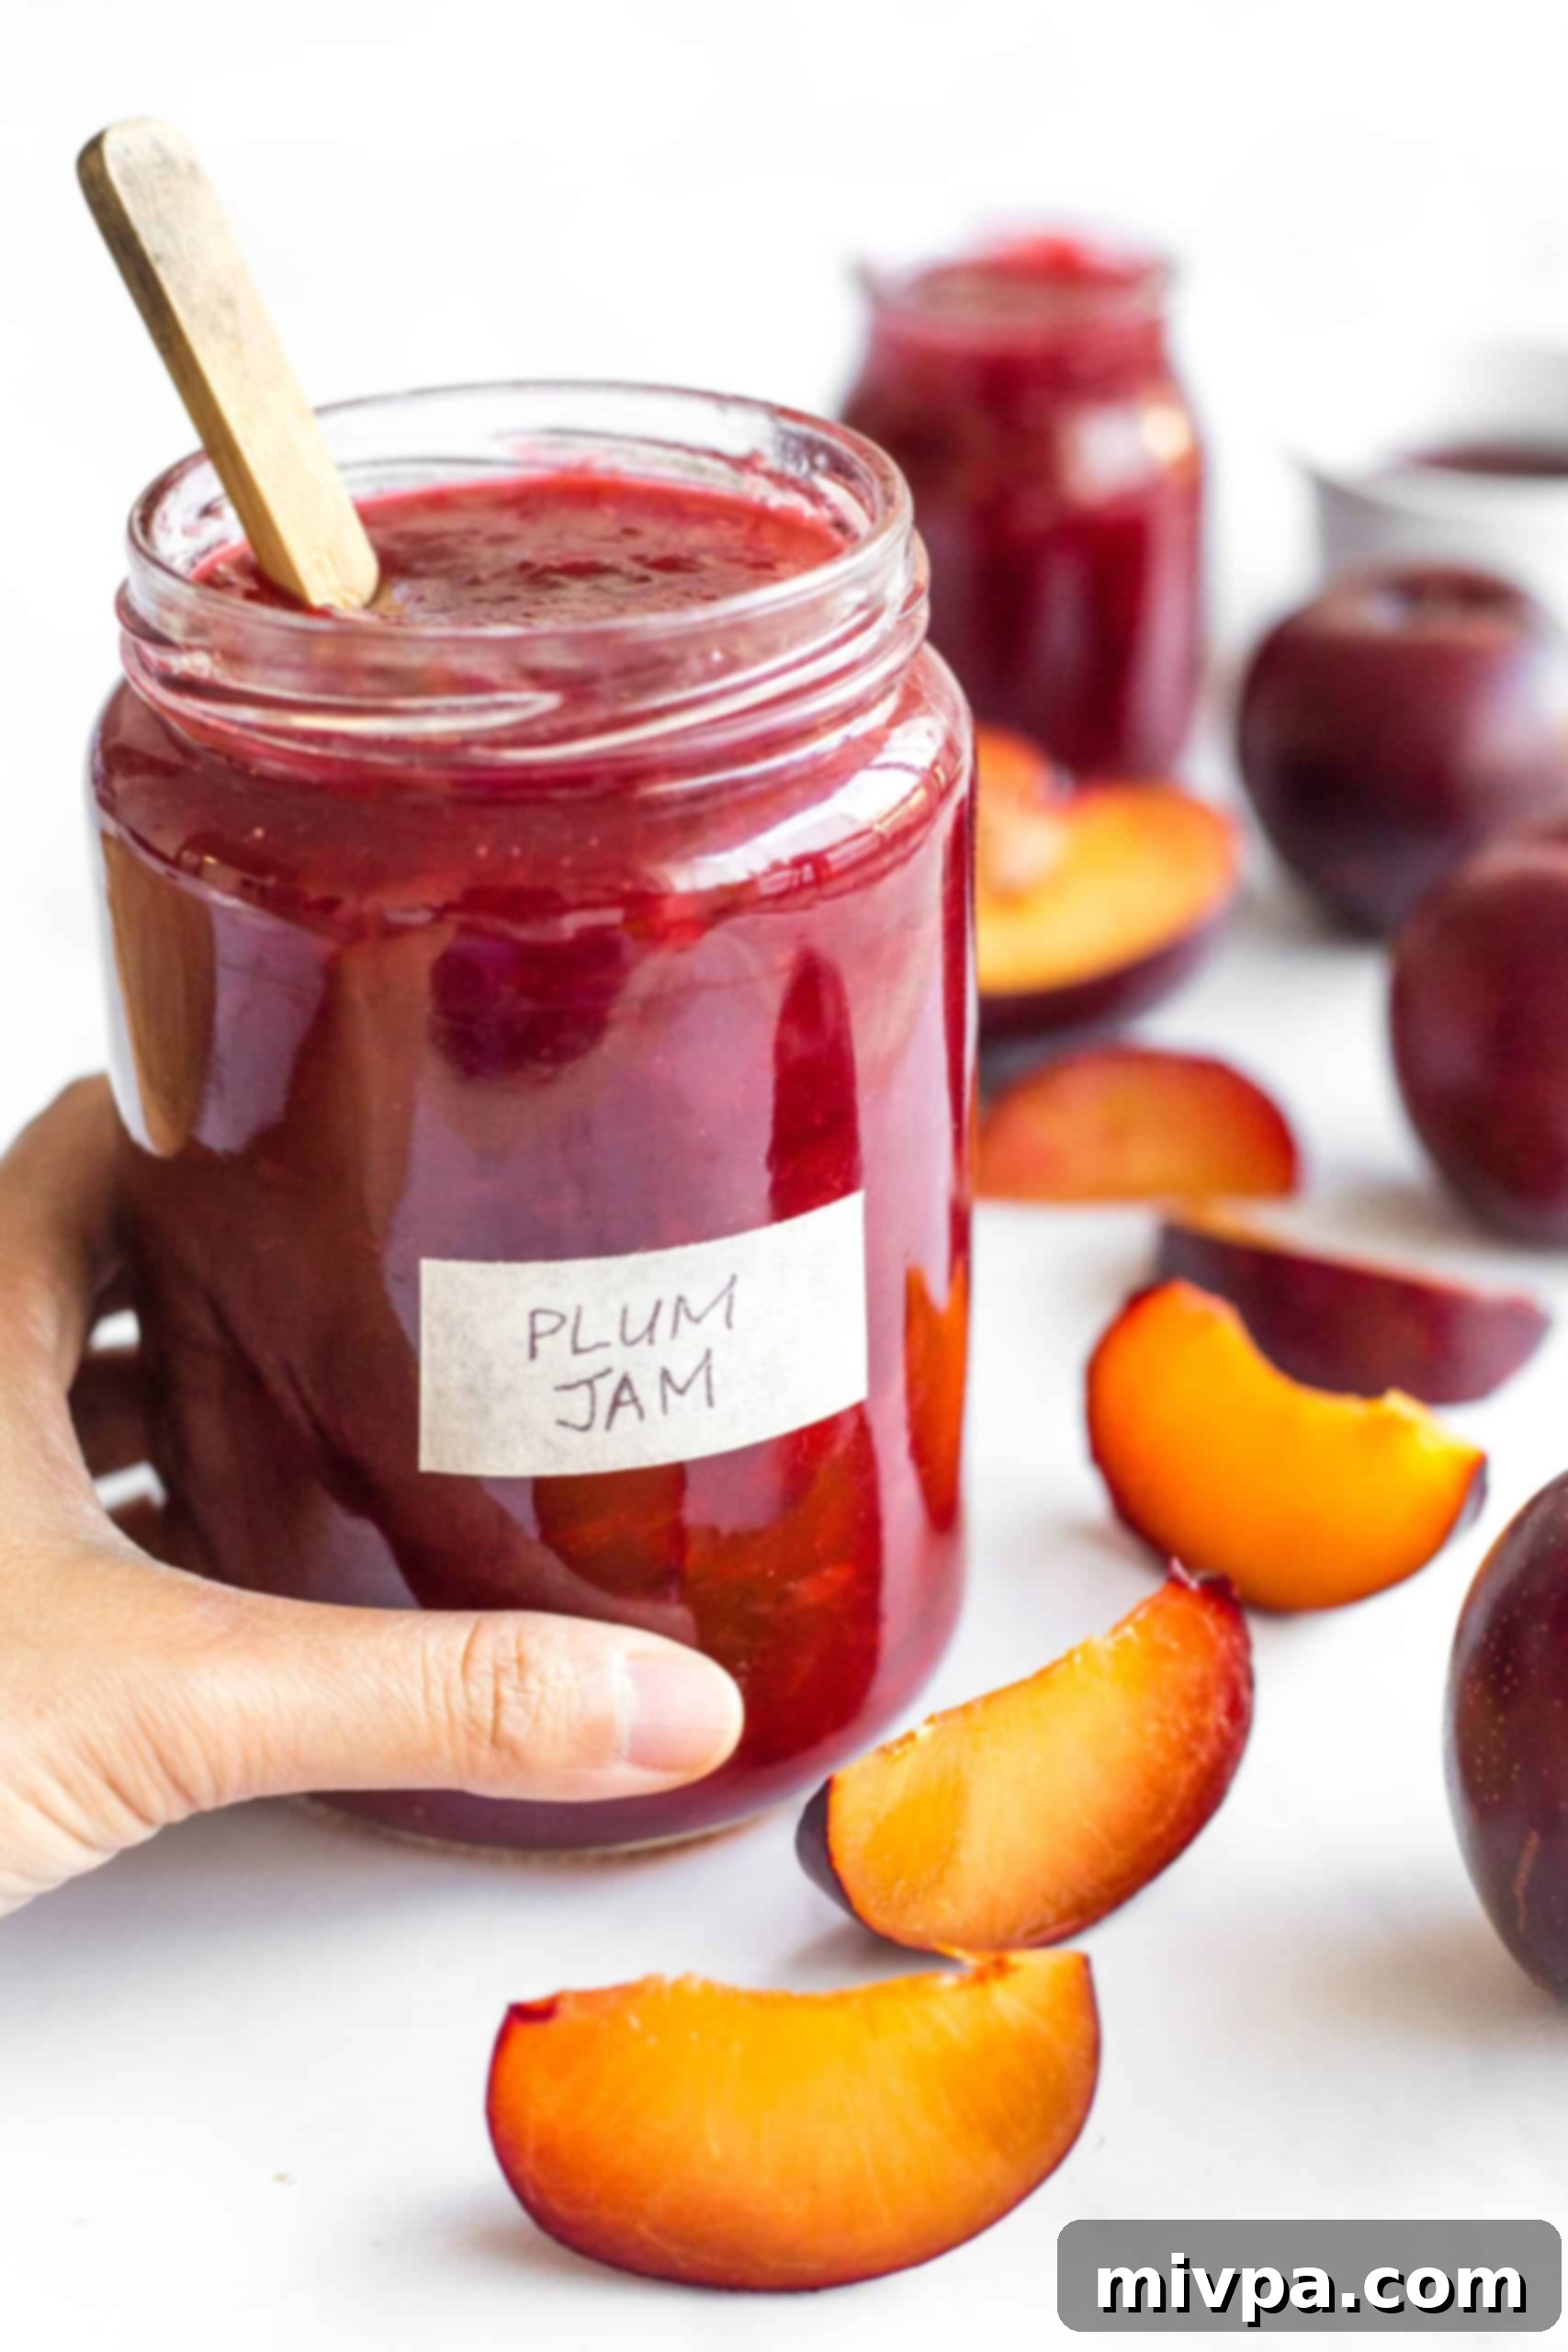
Easy Homemade Plum Jam Recipe: No Pectin, Gluten-Free & Vegan Perfection
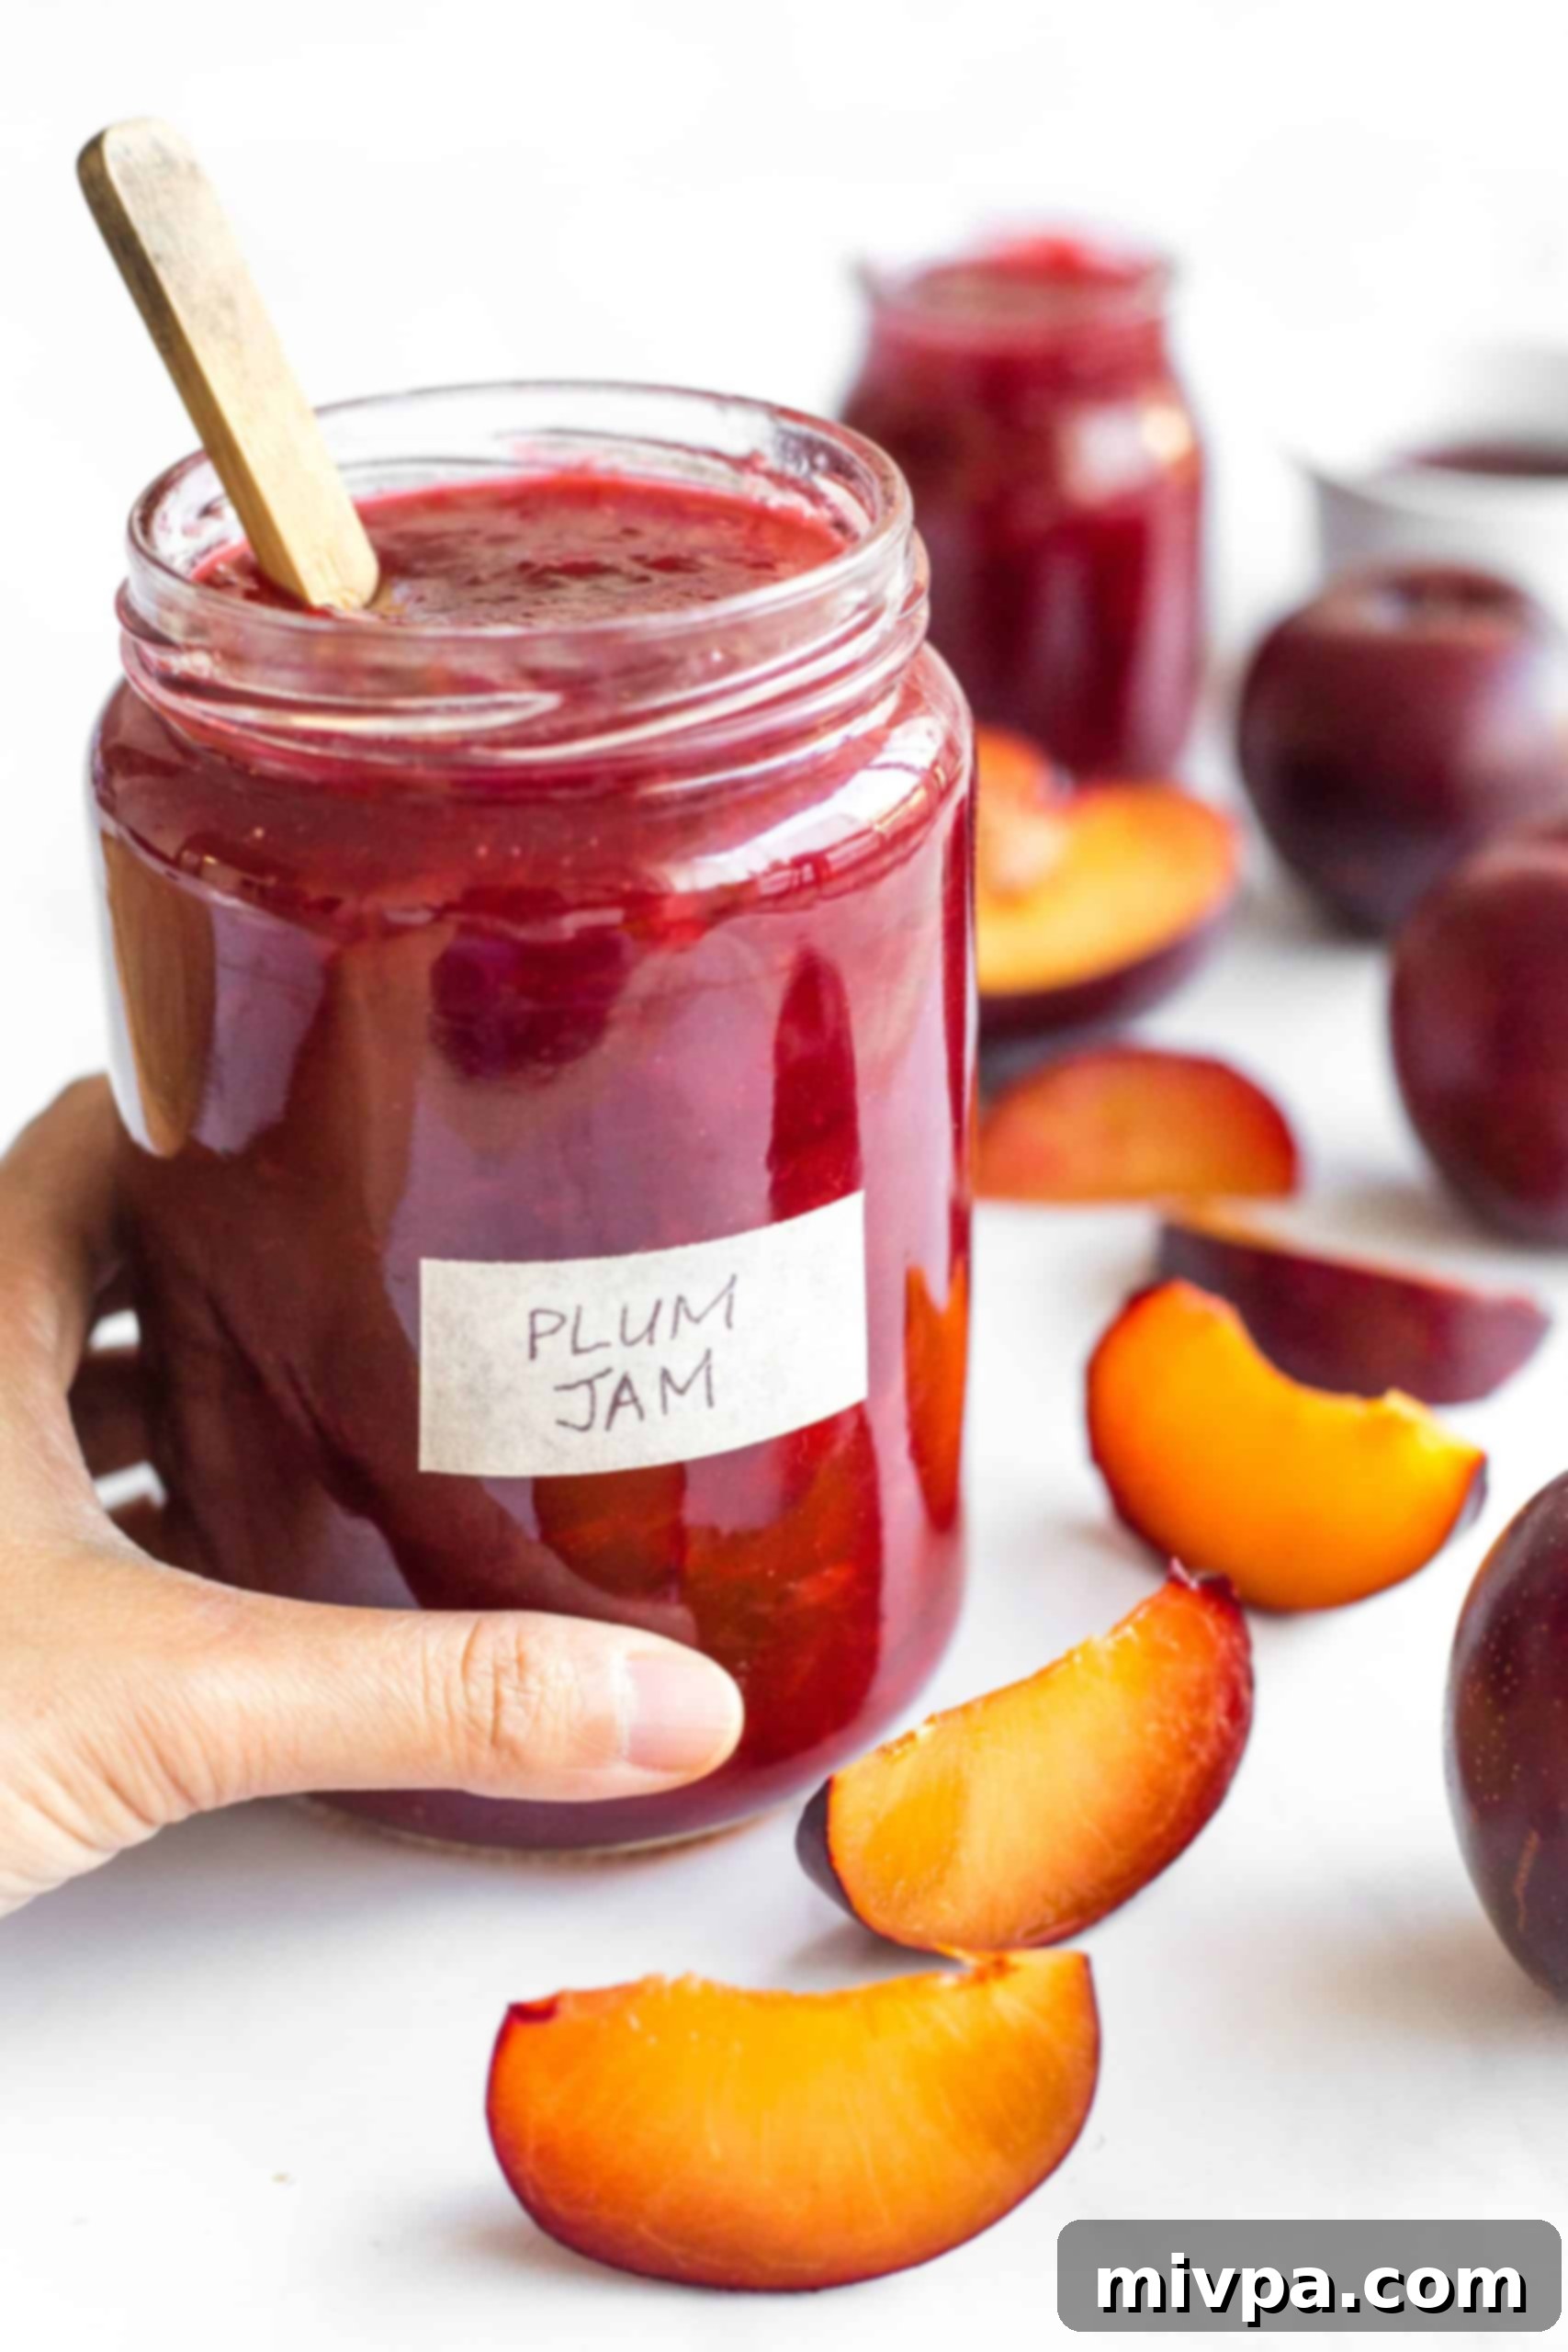
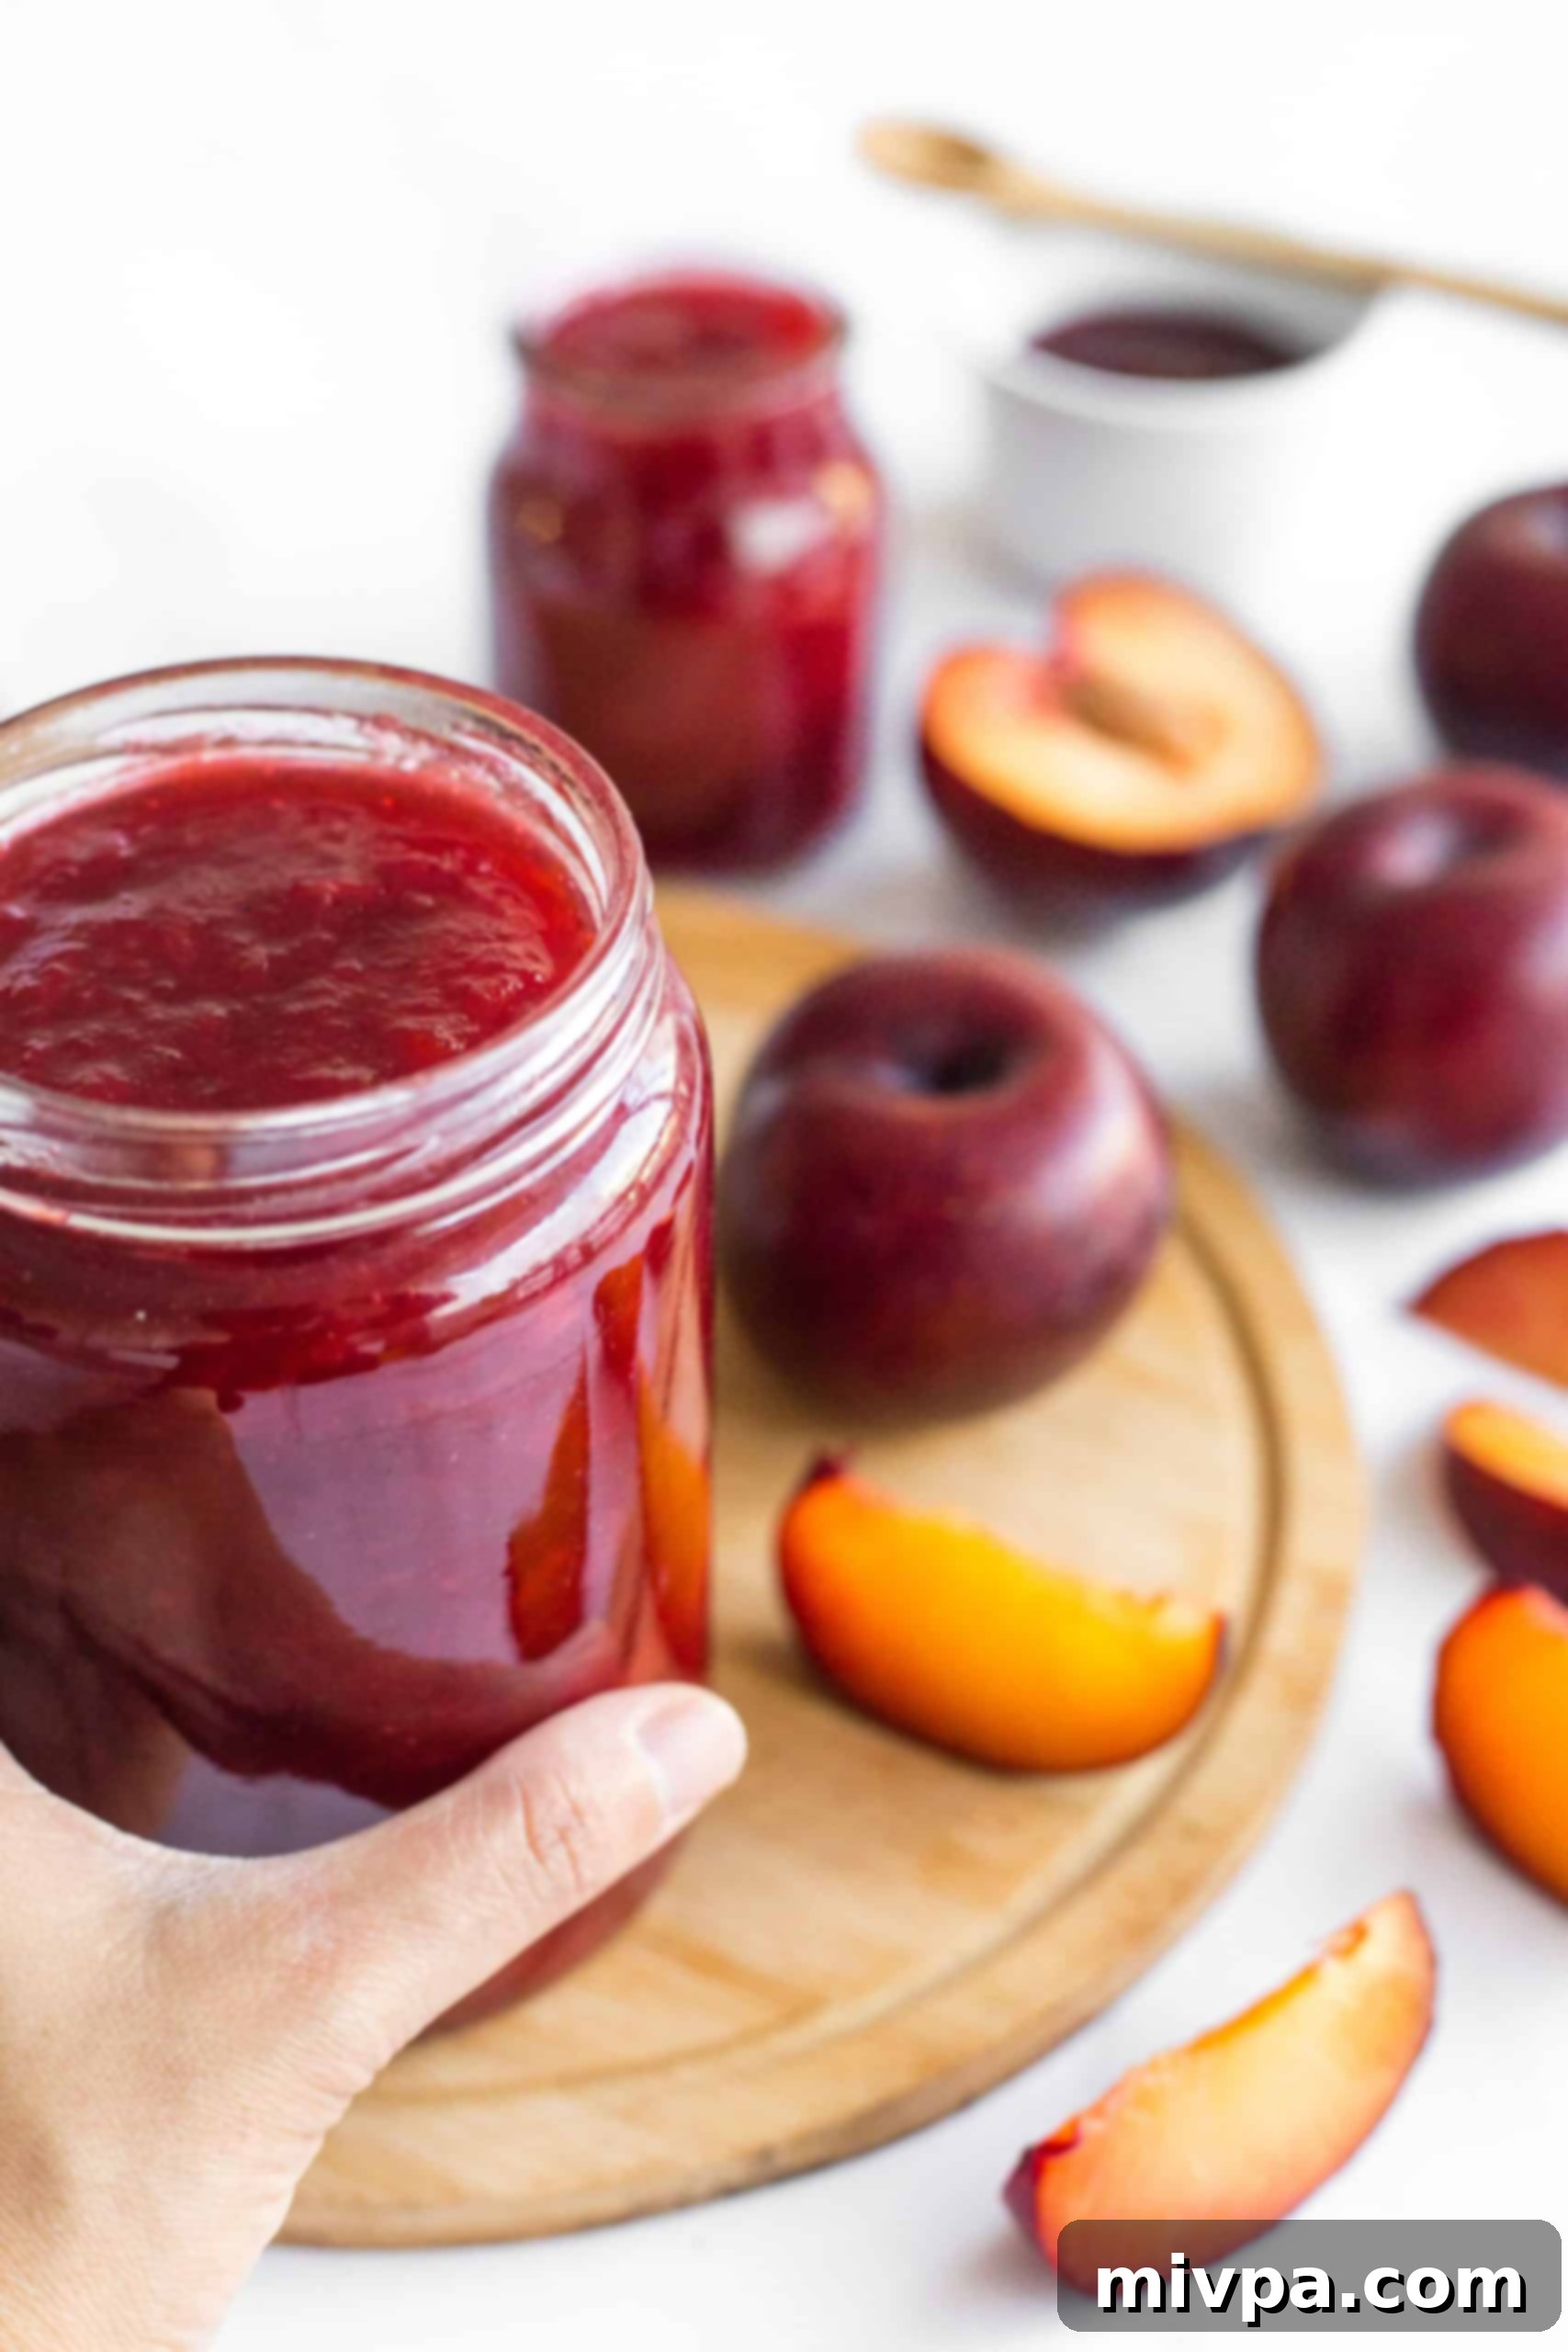
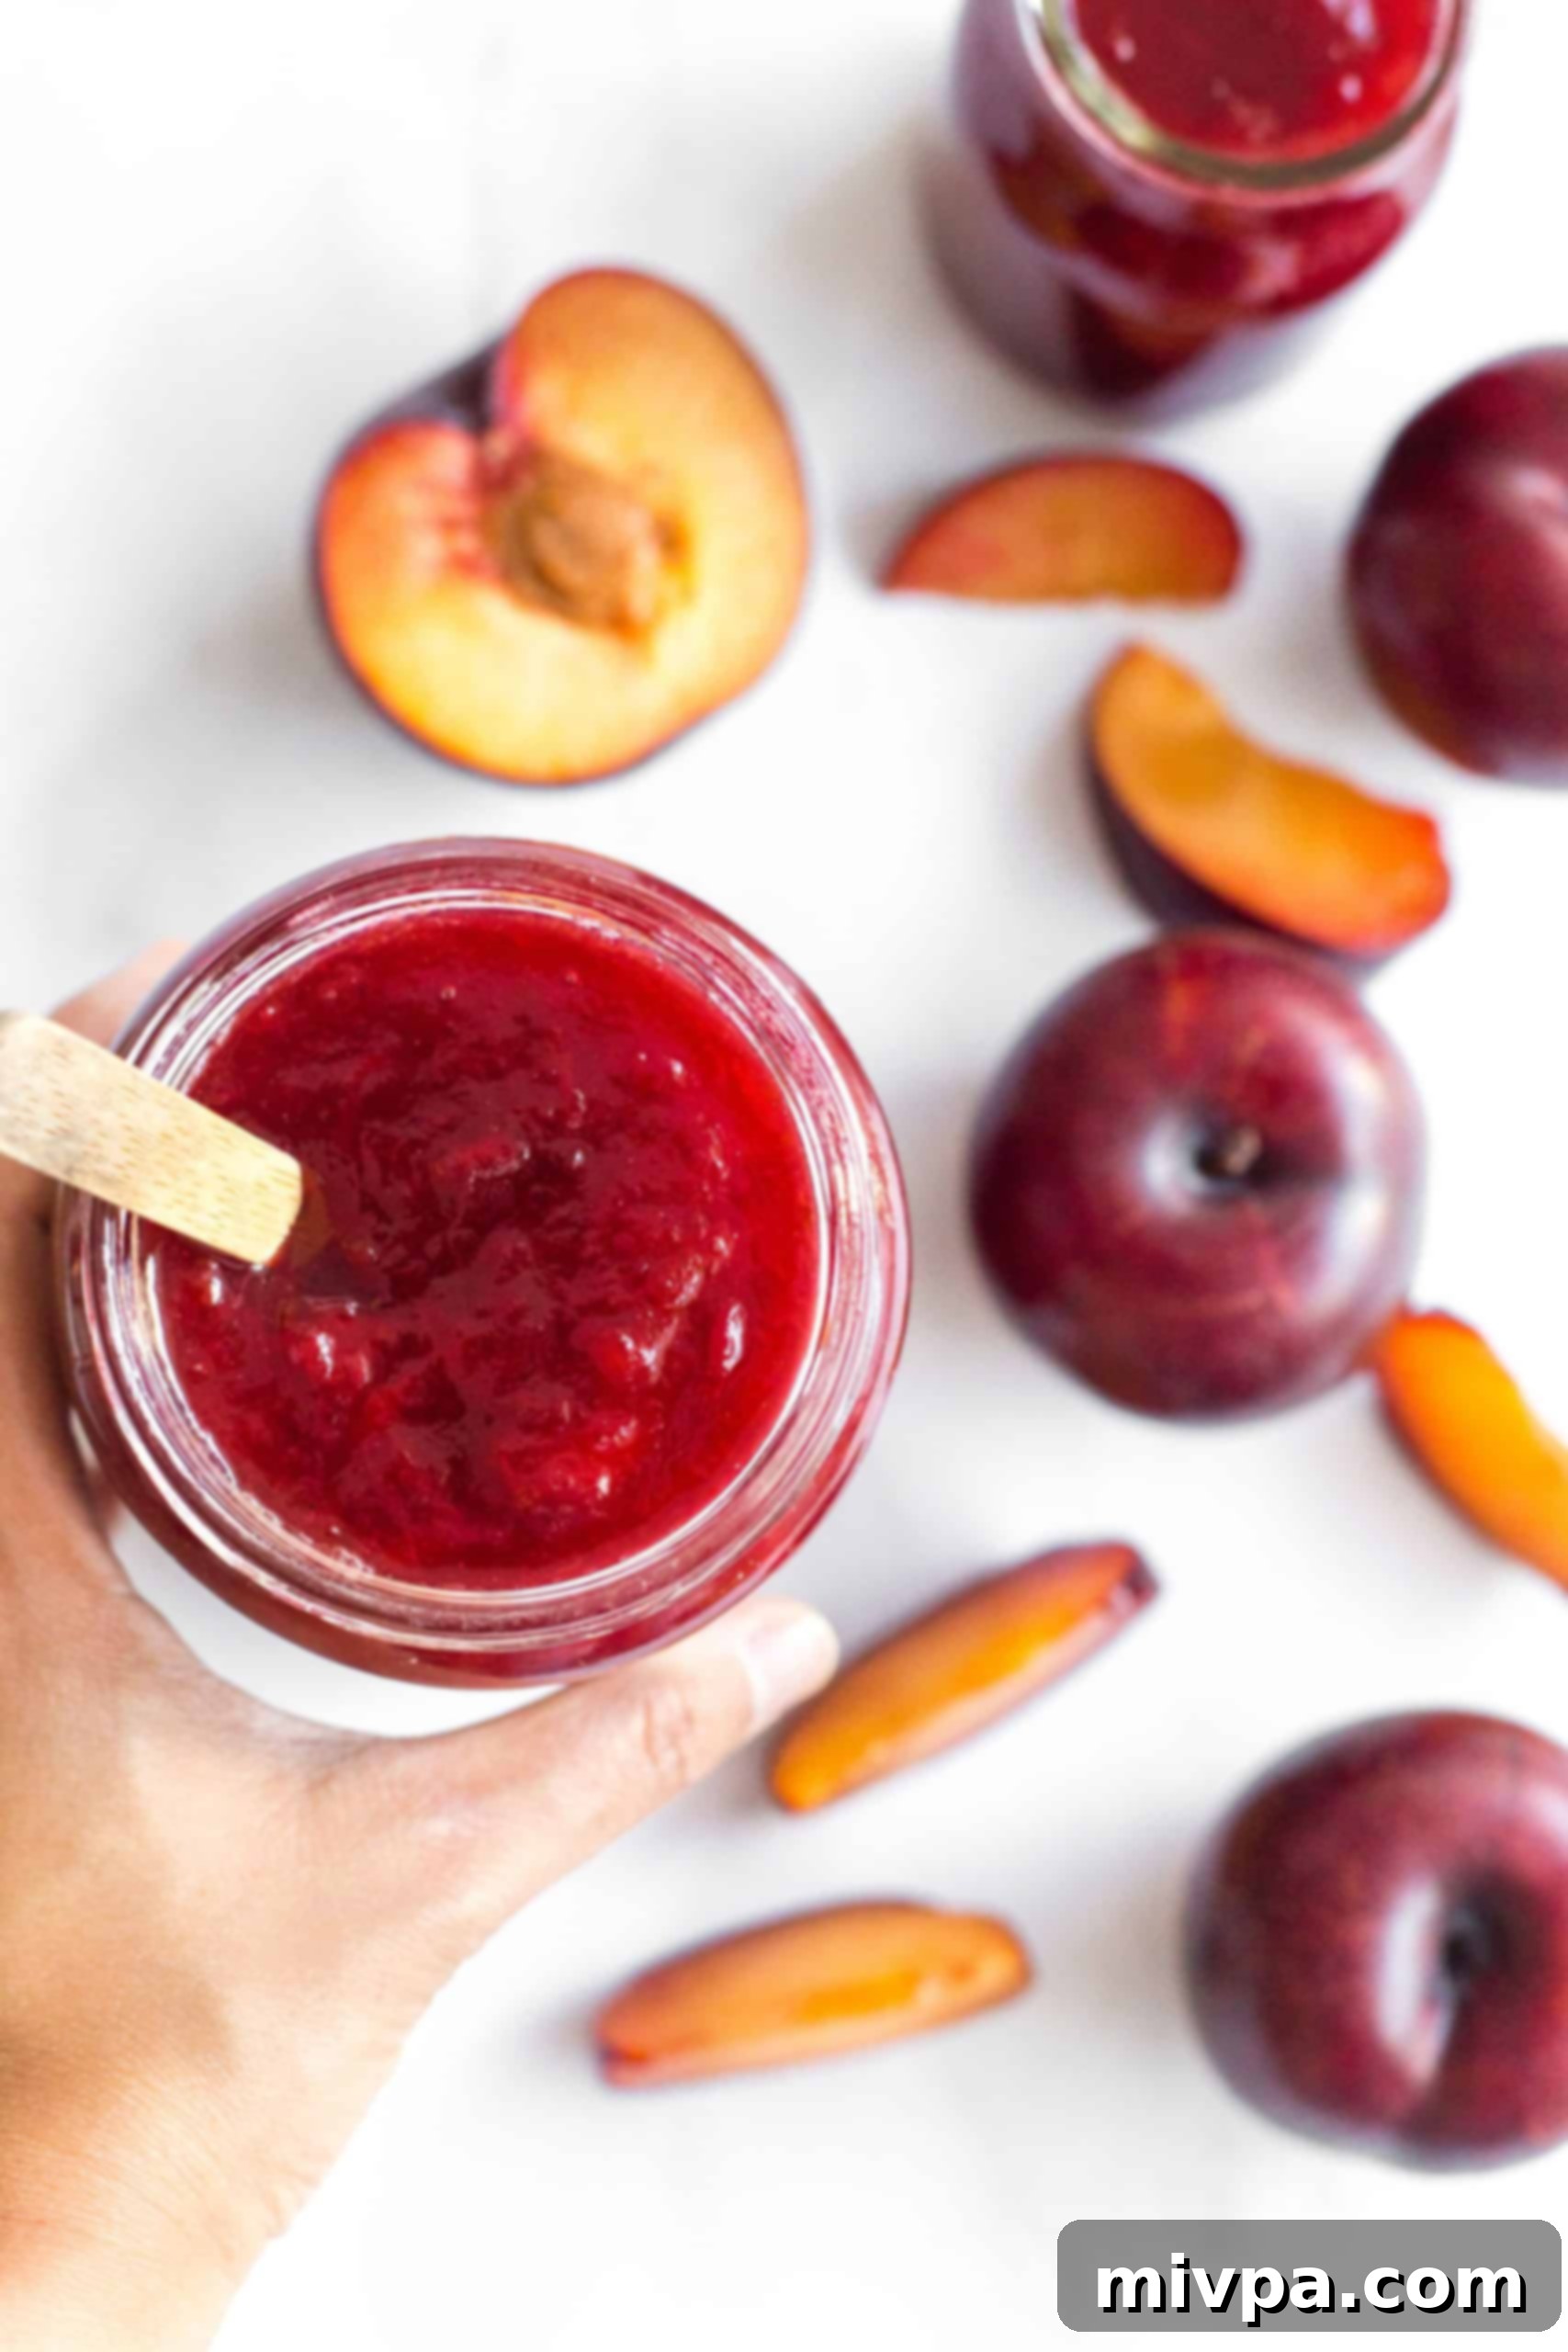
Discover how to make the most delicious, vibrant plum jam with this incredibly easy recipe. Requiring only 4 simple ingredients and ready in about an hour, this homemade plum jam is bursting with the natural sweetness of ripe plums. It’s perfectly spreadable on toasts, delightful spooned over homemade yogurt, a fantastic filling for your favorite pie crust, or simply irresistible by the spoonful! Best of all, this recipe is naturally gluten-free, dairy-free, vegan, and completely pectin-free, yet its rich flavor and perfect consistency will impress everyone.
[feast_advanced_jump_to]
Embracing Summer: The Joy of Stone Fruit Season
For many, summer evokes images of long, golden days, warm breezes, and outdoor adventures. But for food lovers, summer truly shines as stone fruit season. This magical time of year brings an abundance of nature’s candy, from fuzzy peaches and smooth nectarines to delicate apricots and, of course, succulent plums. I eagerly anticipate this season, often stocking up on pounds of these delightful fruits to ensure our pantry is never bare.
In my home, stone fruit is celebrated in every possible way. We enjoy them fresh, straight from the basket, or transform them into comforting desserts like a warm peach cobbler or a flaky pie. However, one of the most rewarding ways to preserve the intense flavor of summer stone fruit is by crafting homemade jams. This not only allows us to enjoy the taste of summer long after the season ends but also makes the most of perfectly ripe produce.
A Passion for Homemade Jams & Marmalades
My culinary journey truly began with the art of preserving. Among the first skills I mastered in the kitchen, alongside baking homemade bread, was the delightful process of making jams and marmalades. There’s something incredibly therapeutic about transforming fresh fruit into jars of sweet, glistening preserves. It’s a meditative act that fills the kitchen with wonderful aromas and the promise of future enjoyment.
Over the years, I’ve experimented with a variety of fruits, creating an array of delicious spreads. I’ve made vibrant strawberry jam, zesty kumquat marmalade, wholesome mixed berry chia seed jam, comforting fig jam, and even a simple yet exquisite apricot jam. Each batch tells a story of the season and the joy of creating something from scratch.
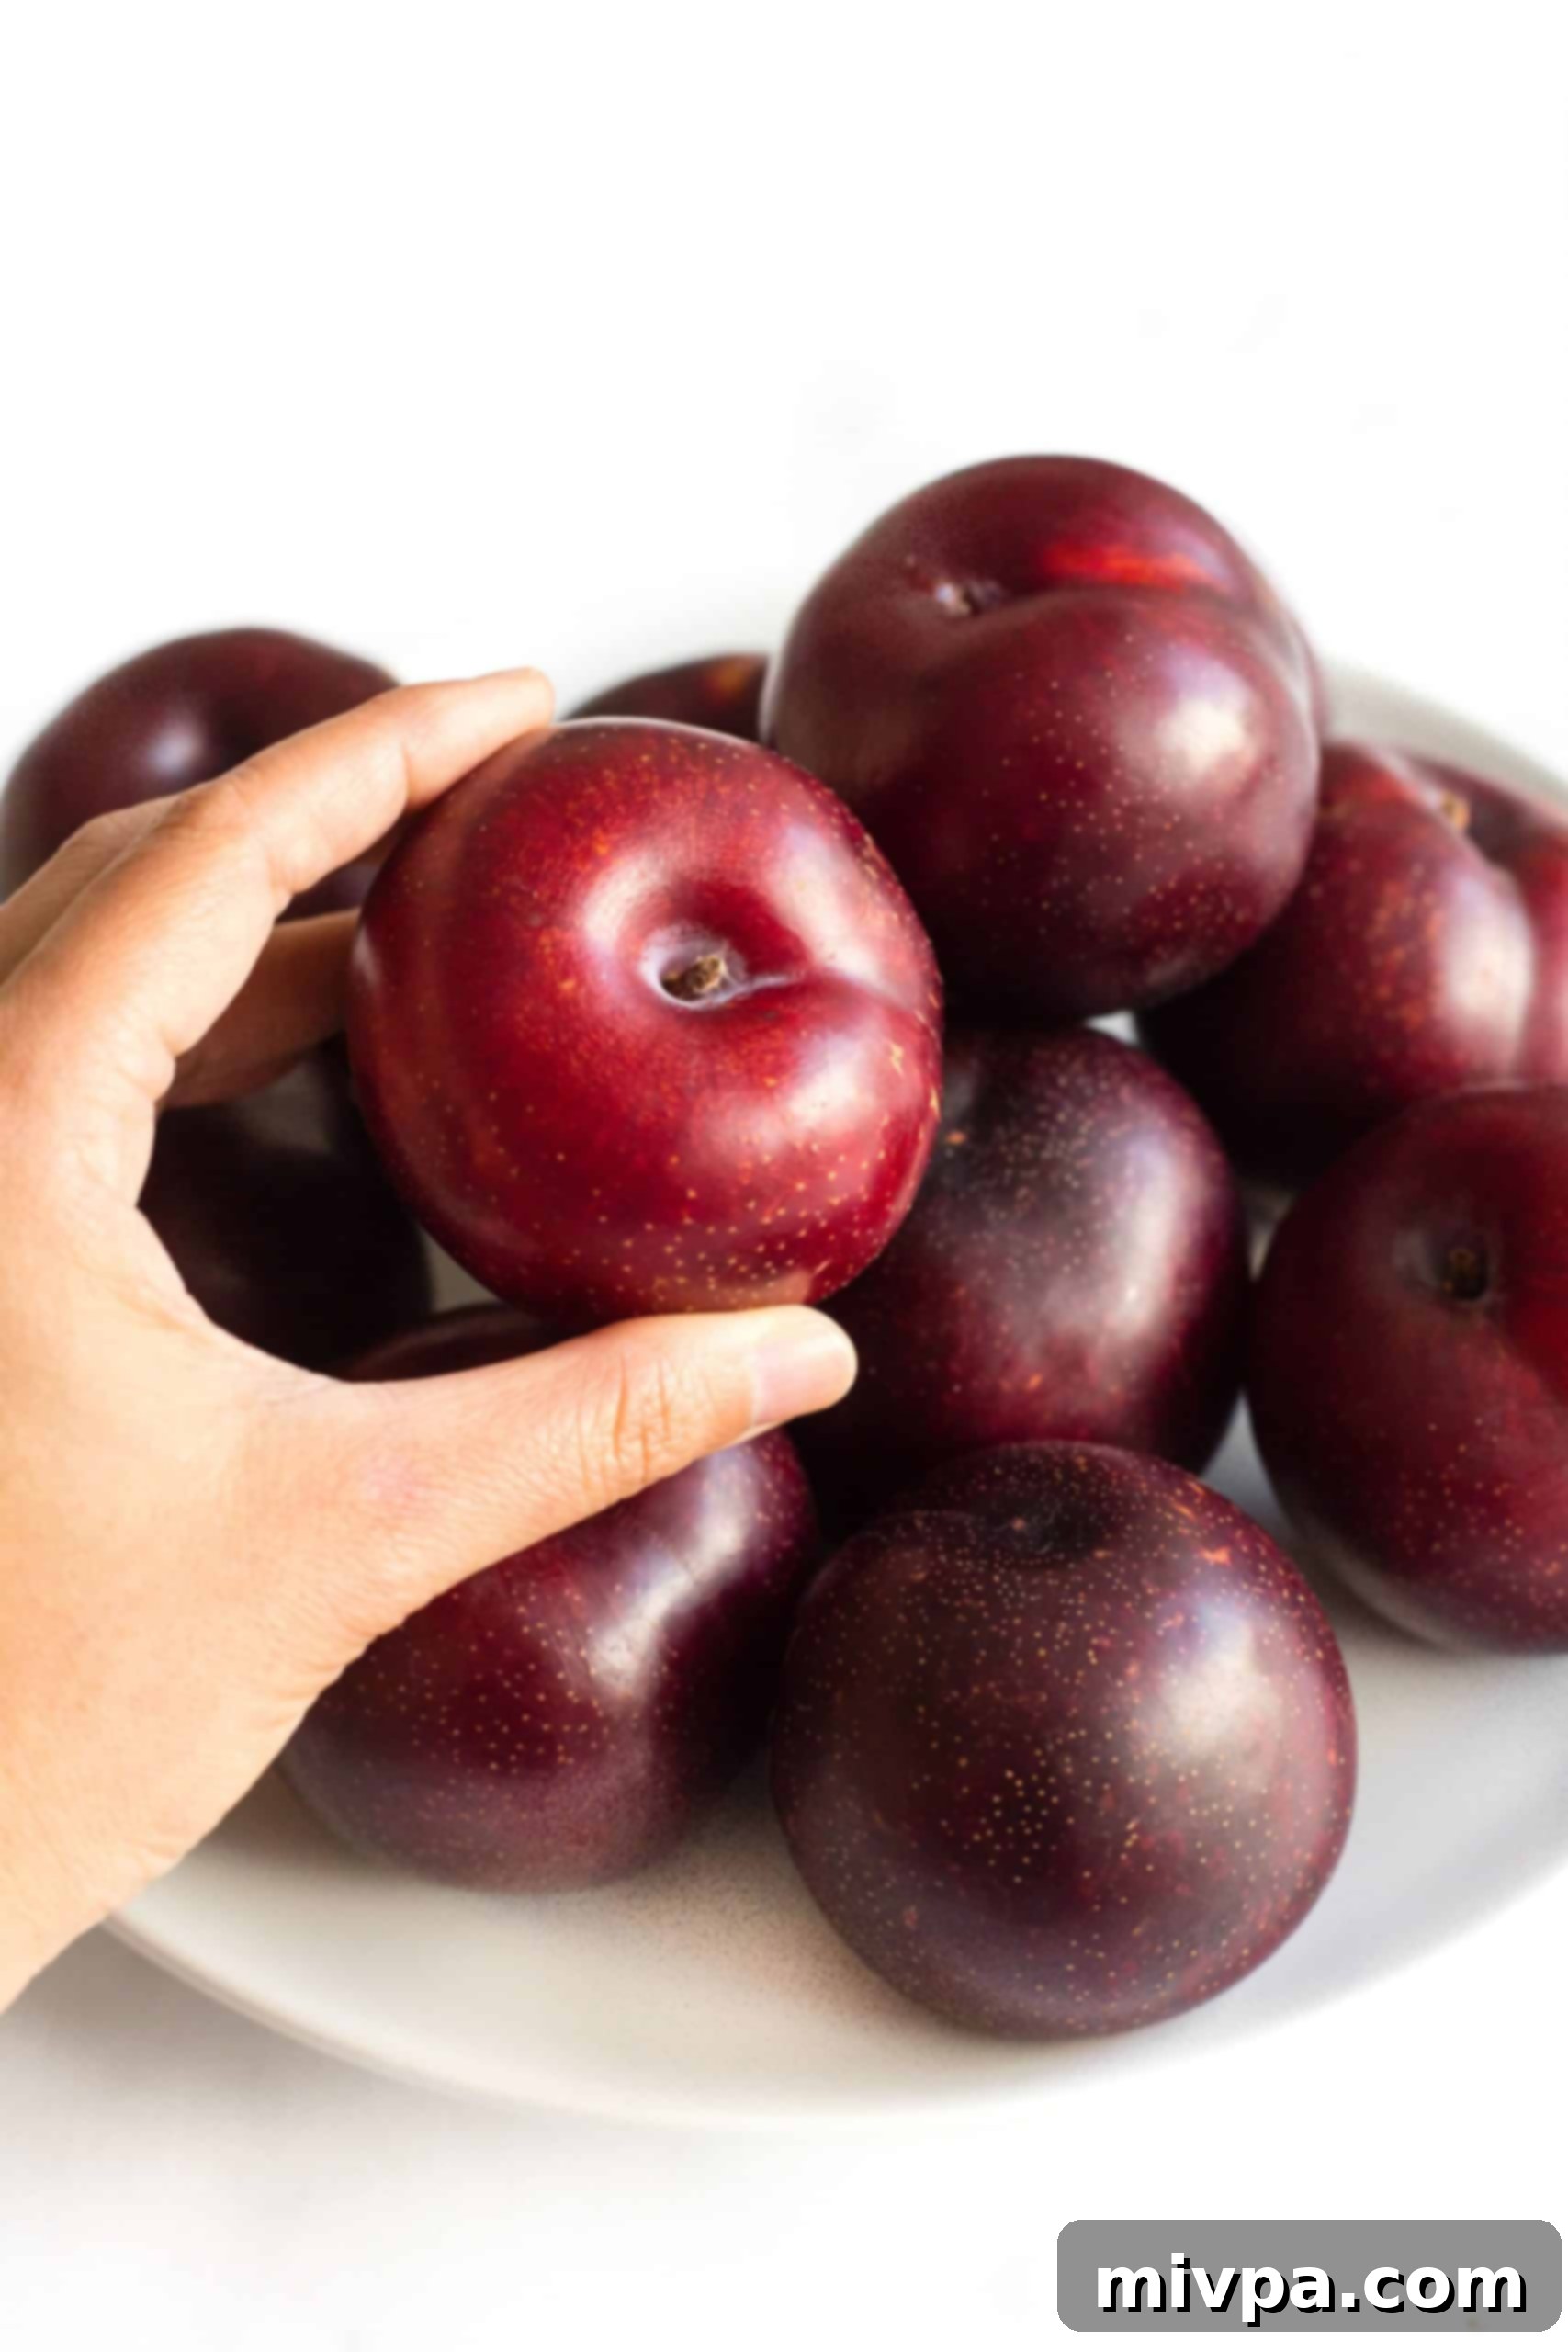
This summer, a magnificent haul of ripe, juicy red plums graced our kitchen counter. After a few days, their intoxicating aroma filled the air, signaling that it was the perfect moment. It was high time to turn these beauties into a luscious plum jam, capturing their sweet essence in a jar.
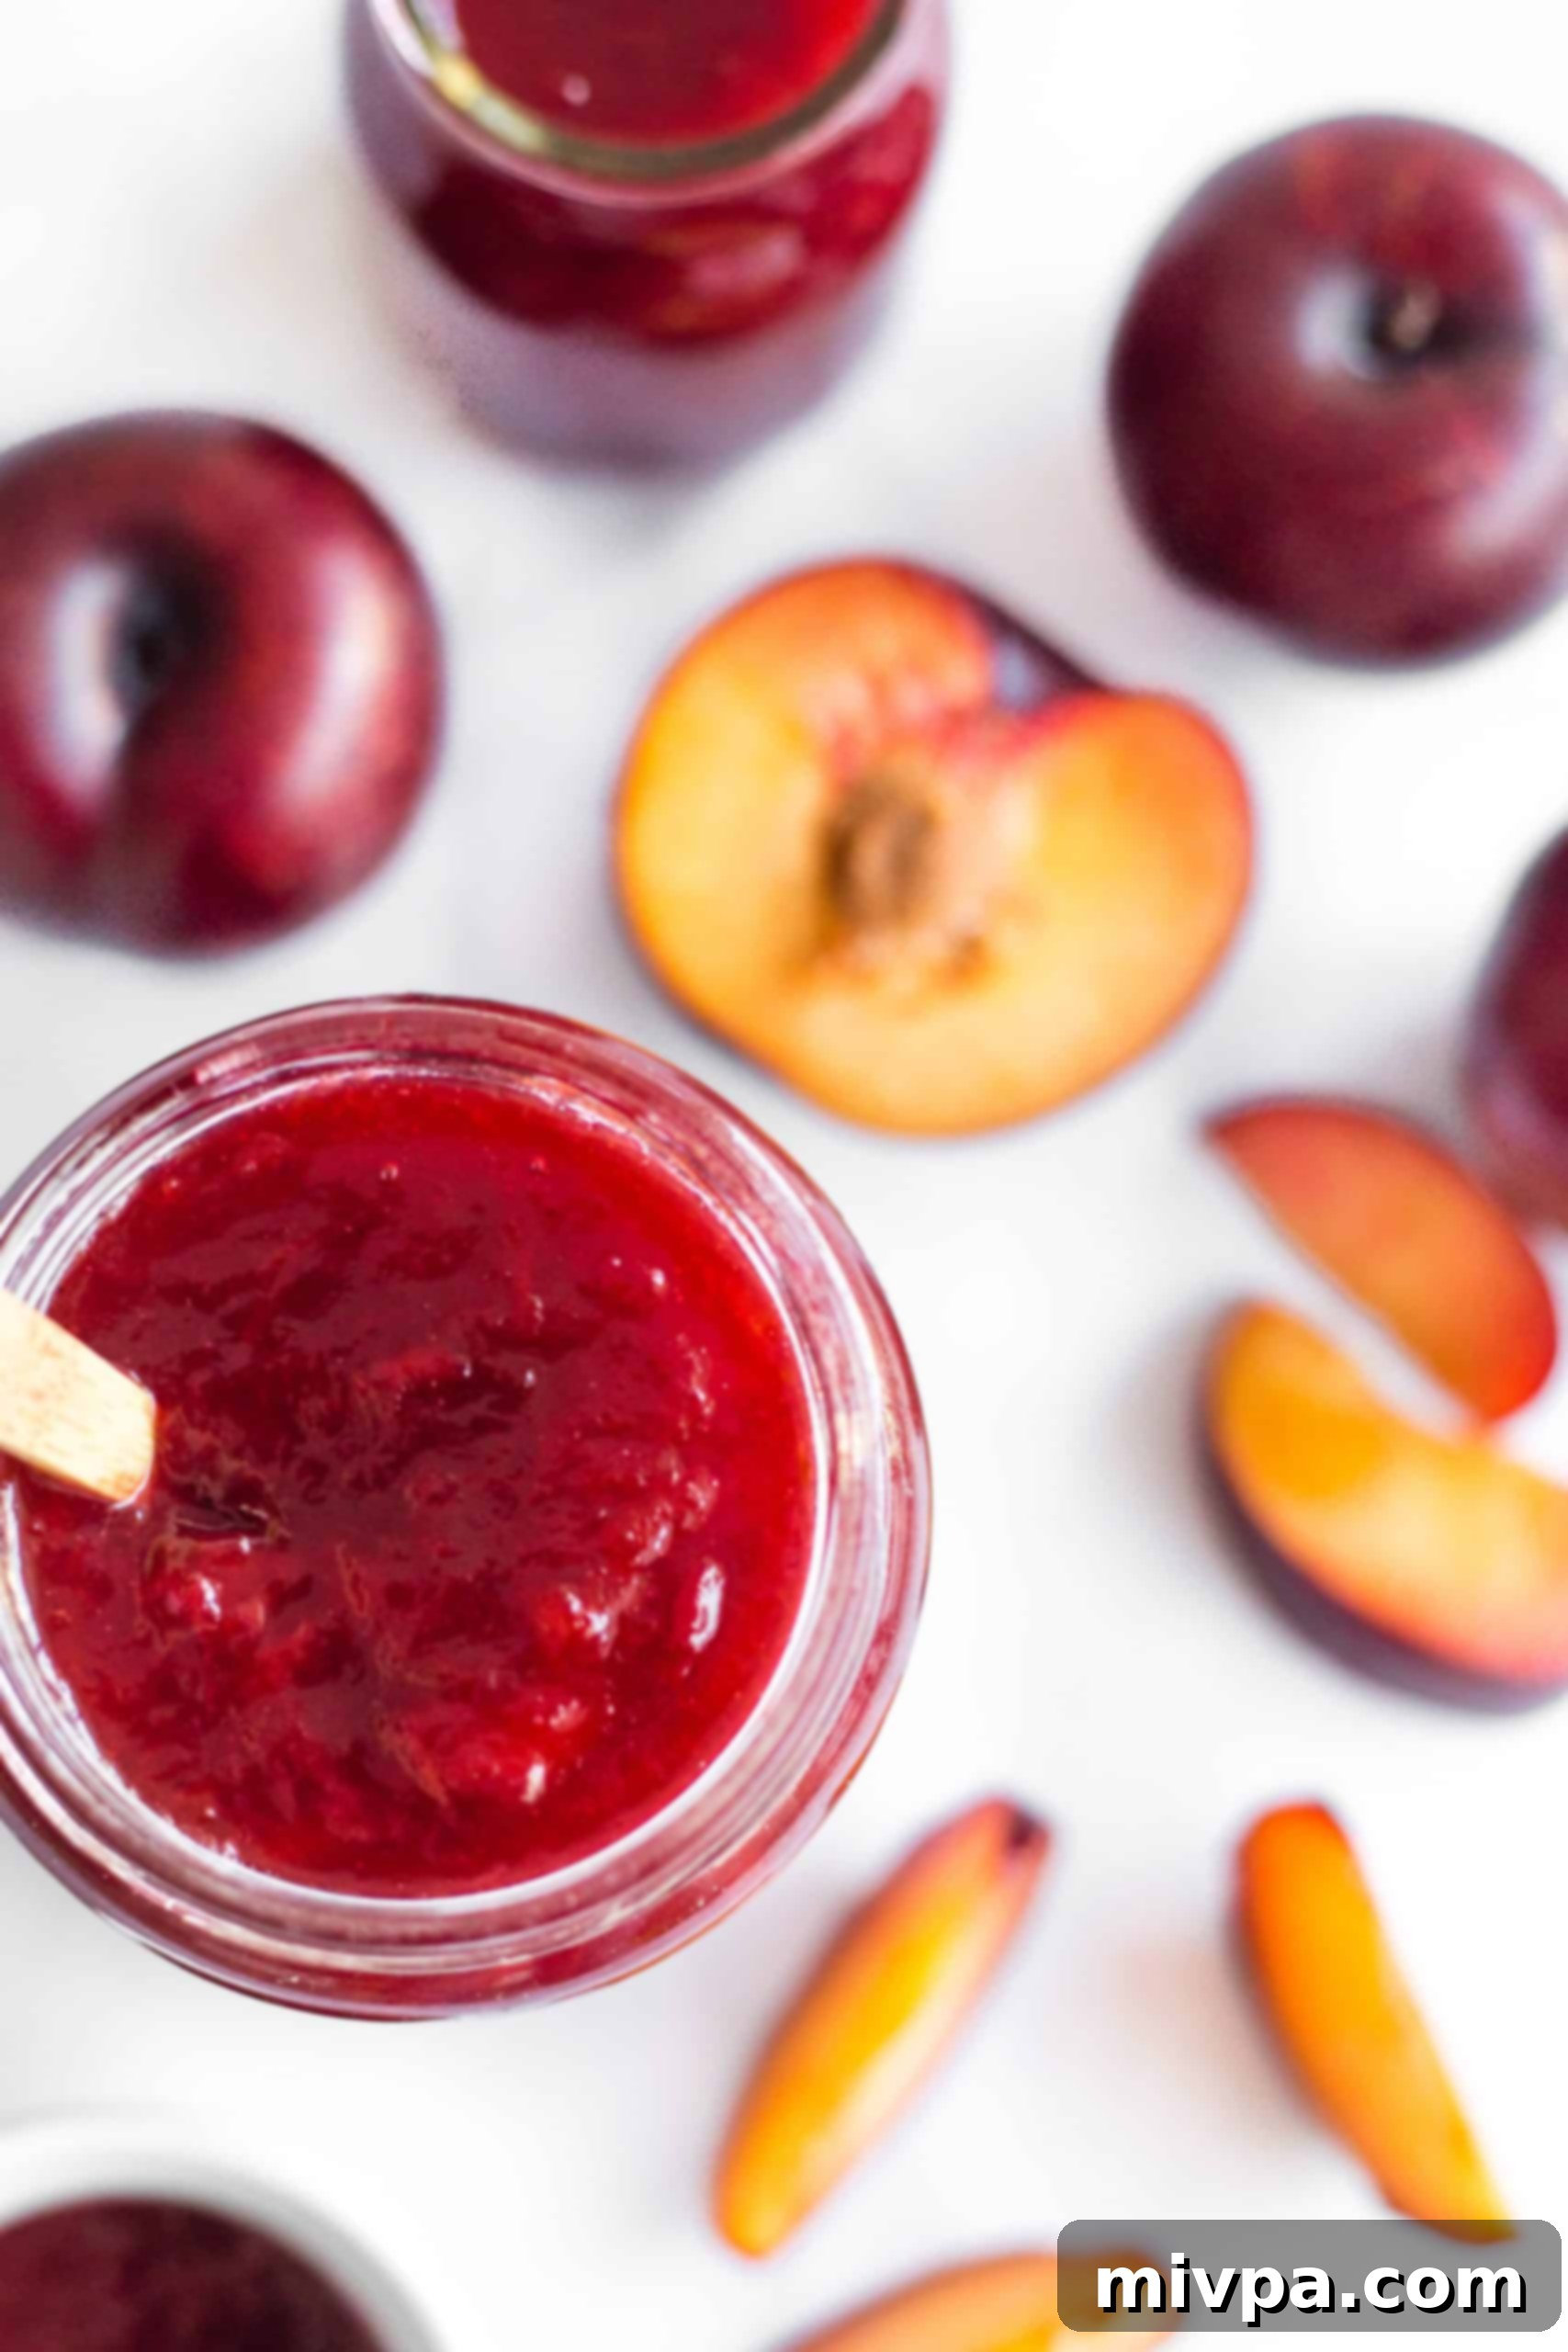
Why This Easy Plum Jam Recipe is a Must-Try:
- Unbelievably Simple Ingredients: You’ll be amazed at how easily you can make this delicious plum jam with just 4 basic ingredients. These staples are readily available at any local grocery store – no need for fancy, hard-to-find items. We focus on natural goodness to let the plums truly shine!
- Effortlessly Easy to Make: Whether you’re a seasoned jam-maker or trying your hand at homemade preserves for the very first time, this recipe is designed for success. It’s a foolproof method that guides you through each step, ensuring you’ll be enjoying a batch of glorious, homemade plum jam in less than an hour, with minimal fuss.
- No Pectin Required – Naturally Set: Many traditional jam recipes rely on added pectin to achieve that perfect gel-like consistency. However, this plum jam recipe leverages the natural pectin present in plums, especially when combined with our secret ingredient: lemon juice. The acidity from the lemon juice works wonders, activating the fruit’s natural gelling properties to create a beautifully set jam without any artificial additives or extra steps. This means a more natural, authentic fruit flavor.
- Perfect for All Diets: Gluten-Free, Dairy-Free & Vegan: This recipe is thoughtfully crafted to be inclusive and delicious for everyone. It is entirely gluten-free, making it safe for those with Celiac disease or gluten sensitivities. It’s also completely dairy-free and vegan, ensuring that plant-based eaters and those with lactose intolerances can indulge without a second thought. This means a rich, fruity jam that truly anyone can enjoy!
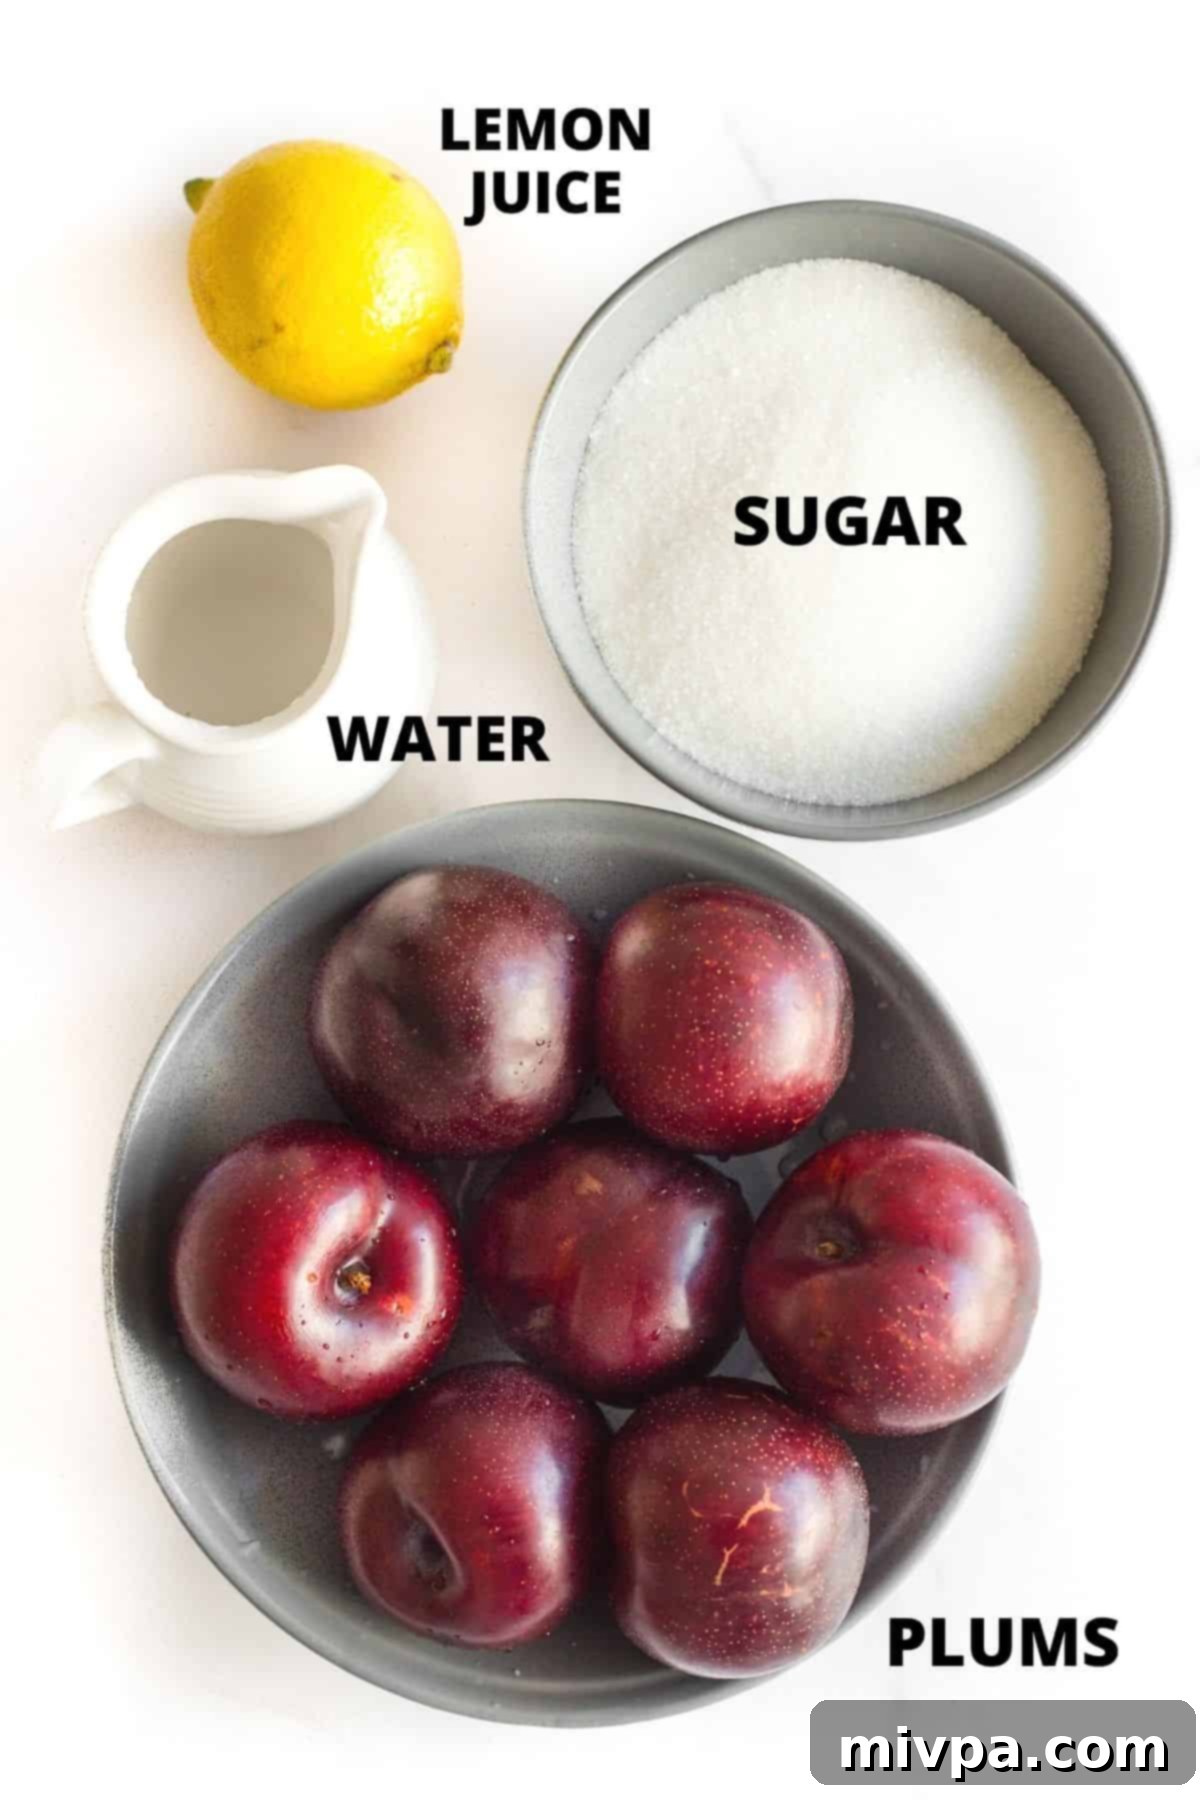
Essential Ingredients for Your Homemade Plum Jam:
Here’s a helpful visual overview of the few, simple ingredients required for this delectable homemade plum jam recipe without pectin. You’ll be surprised at how much flavor can come from so little!
(For the precise measurements and a convenient printable version, please scroll down to the detailed recipe card at the very bottom of this post.)
Ingredient Notes and Helpful Substitutions:
- Plums: The beauty of this recipe is its versatility! You can use various types of plums – whether they are vibrant red plums, deep purple black plums, or sunny yellow plums. Each variety will impart its own unique flavor profile and color to the jam, so feel free to experiment. I personally prefer to cut the plums into smaller pieces before cooking. This encourages the fruit to break down more completely during the simmering process, resulting in a smoother jam consistency without large chunks of fruit. However, if you enjoy a more rustic jam with distinct pieces of fruit, simply cut them into larger chunks. There’s no need to remove the plum skins; they soften beautifully and add a lovely color and additional natural pectin to the jam.
- Sugar: I typically use granulated white sugar, which provides a clean sweetness that allows the plum flavor to truly shine. However, you can certainly experiment with other sugars. Light brown sugar will lend a subtle caramel note, while dark brown sugar will give the jam a deeper, richer molasses-like flavor. Sugar is not just for sweetness; it also acts as a natural preservative and contributes to the jam’s texture. If you’re managing blood sugar levels or prefer a less sweet jam, I highly recommend using a 1:1 sugar substitute like Lakanto Monkfruit Sweetener. This zero-glycemic index alternative won’t raise your blood sugar, and you can adjust the amount to your desired sweetness level.
- Lemon Juice: Do NOT skip the lemon juice! It is a crucial ingredient in this pectin-free jam recipe. While fresh lemon juice offers the brightest and most vibrant flavor, bottled lemon juice will also work in a pinch. The acidity of the lemon juice plays two vital roles: first, it brightens the flavor of the plums, and second, and most importantly, it acts as a natural setting agent. The acid reacts with the fruit’s natural pectin, helping the jam to thicken and achieve that desirable gel-like consistency, preventing it from becoming runny.
Crafting Your Homemade Plum Jam: A Step-by-Step Guide
1. Prepare Your Plums: Wash, Dry, and Cut
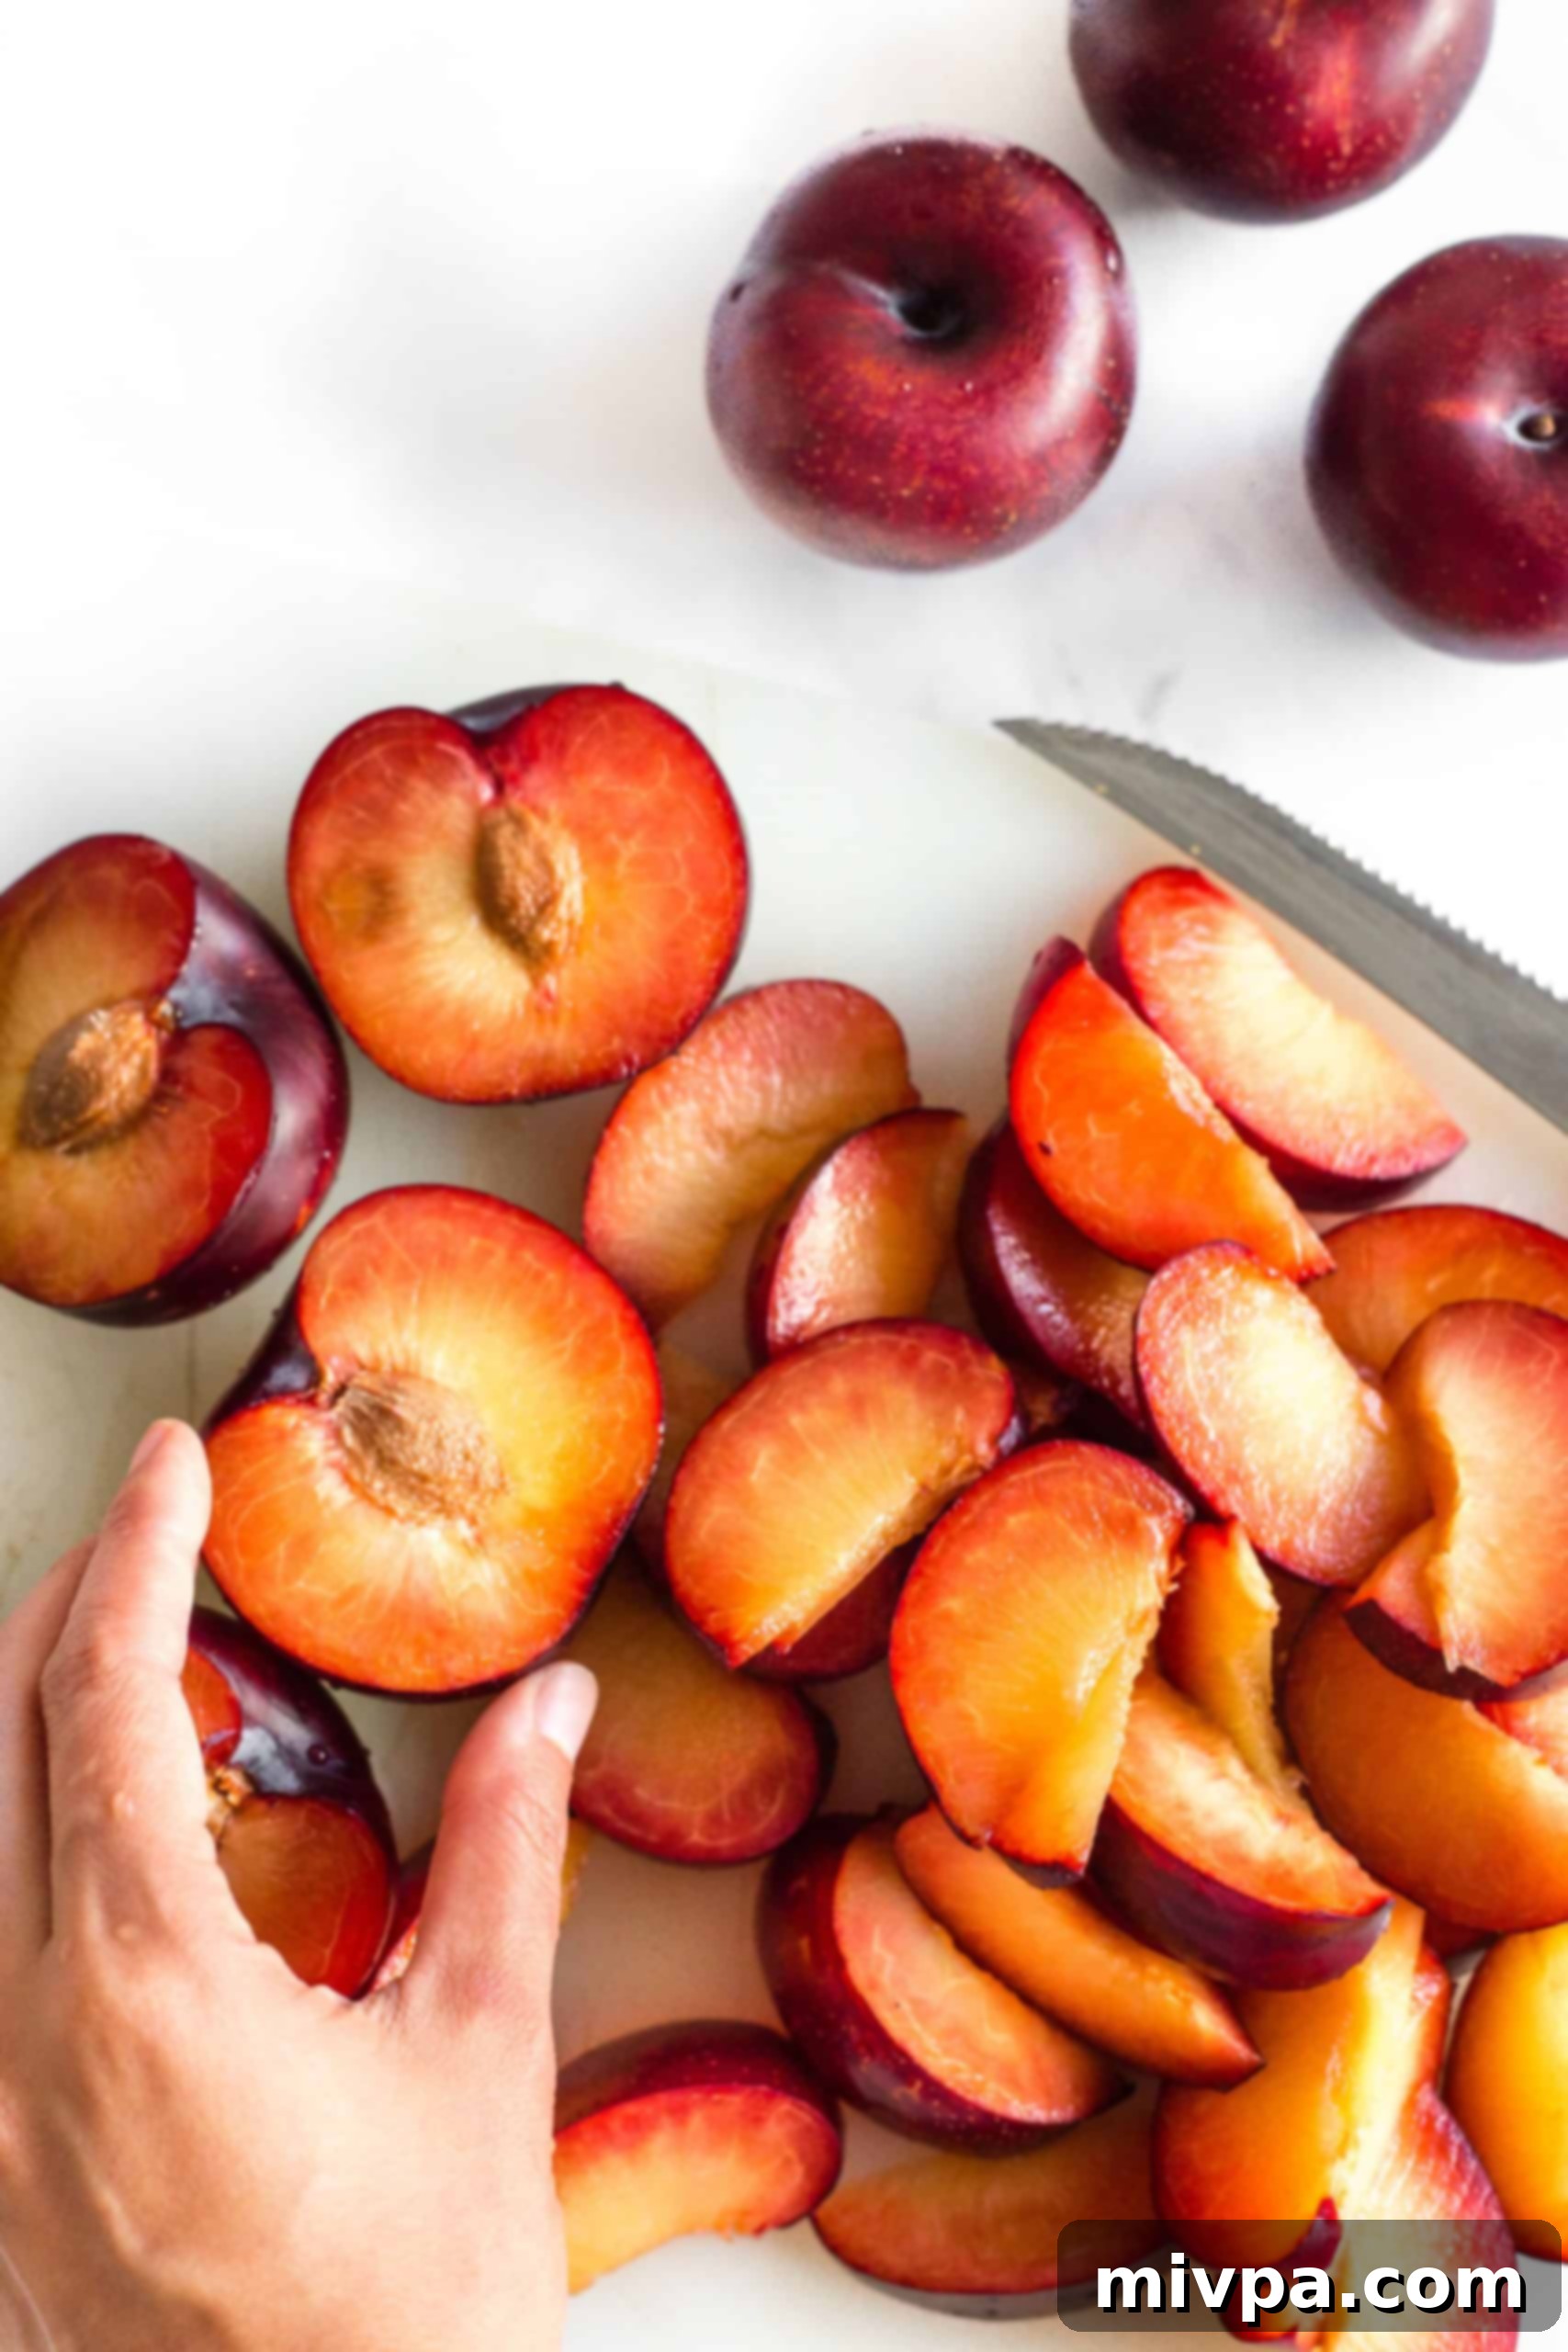
Begin by thoroughly washing your fresh plums under cool running water and then gently drying them. There’s no need to laboriously remove the plum skins; they contribute beautiful color and natural pectin to your jam, so leave them on! Next, carefully slice each plum in half to easily remove the pits. Once pitted, cut the plum flesh into smaller, uniform pieces. Smaller pieces will break down more readily, contributing to a smoother jam texture, but larger pieces are fine if you prefer a chunkier preserve.
2. Combine Plums and Water
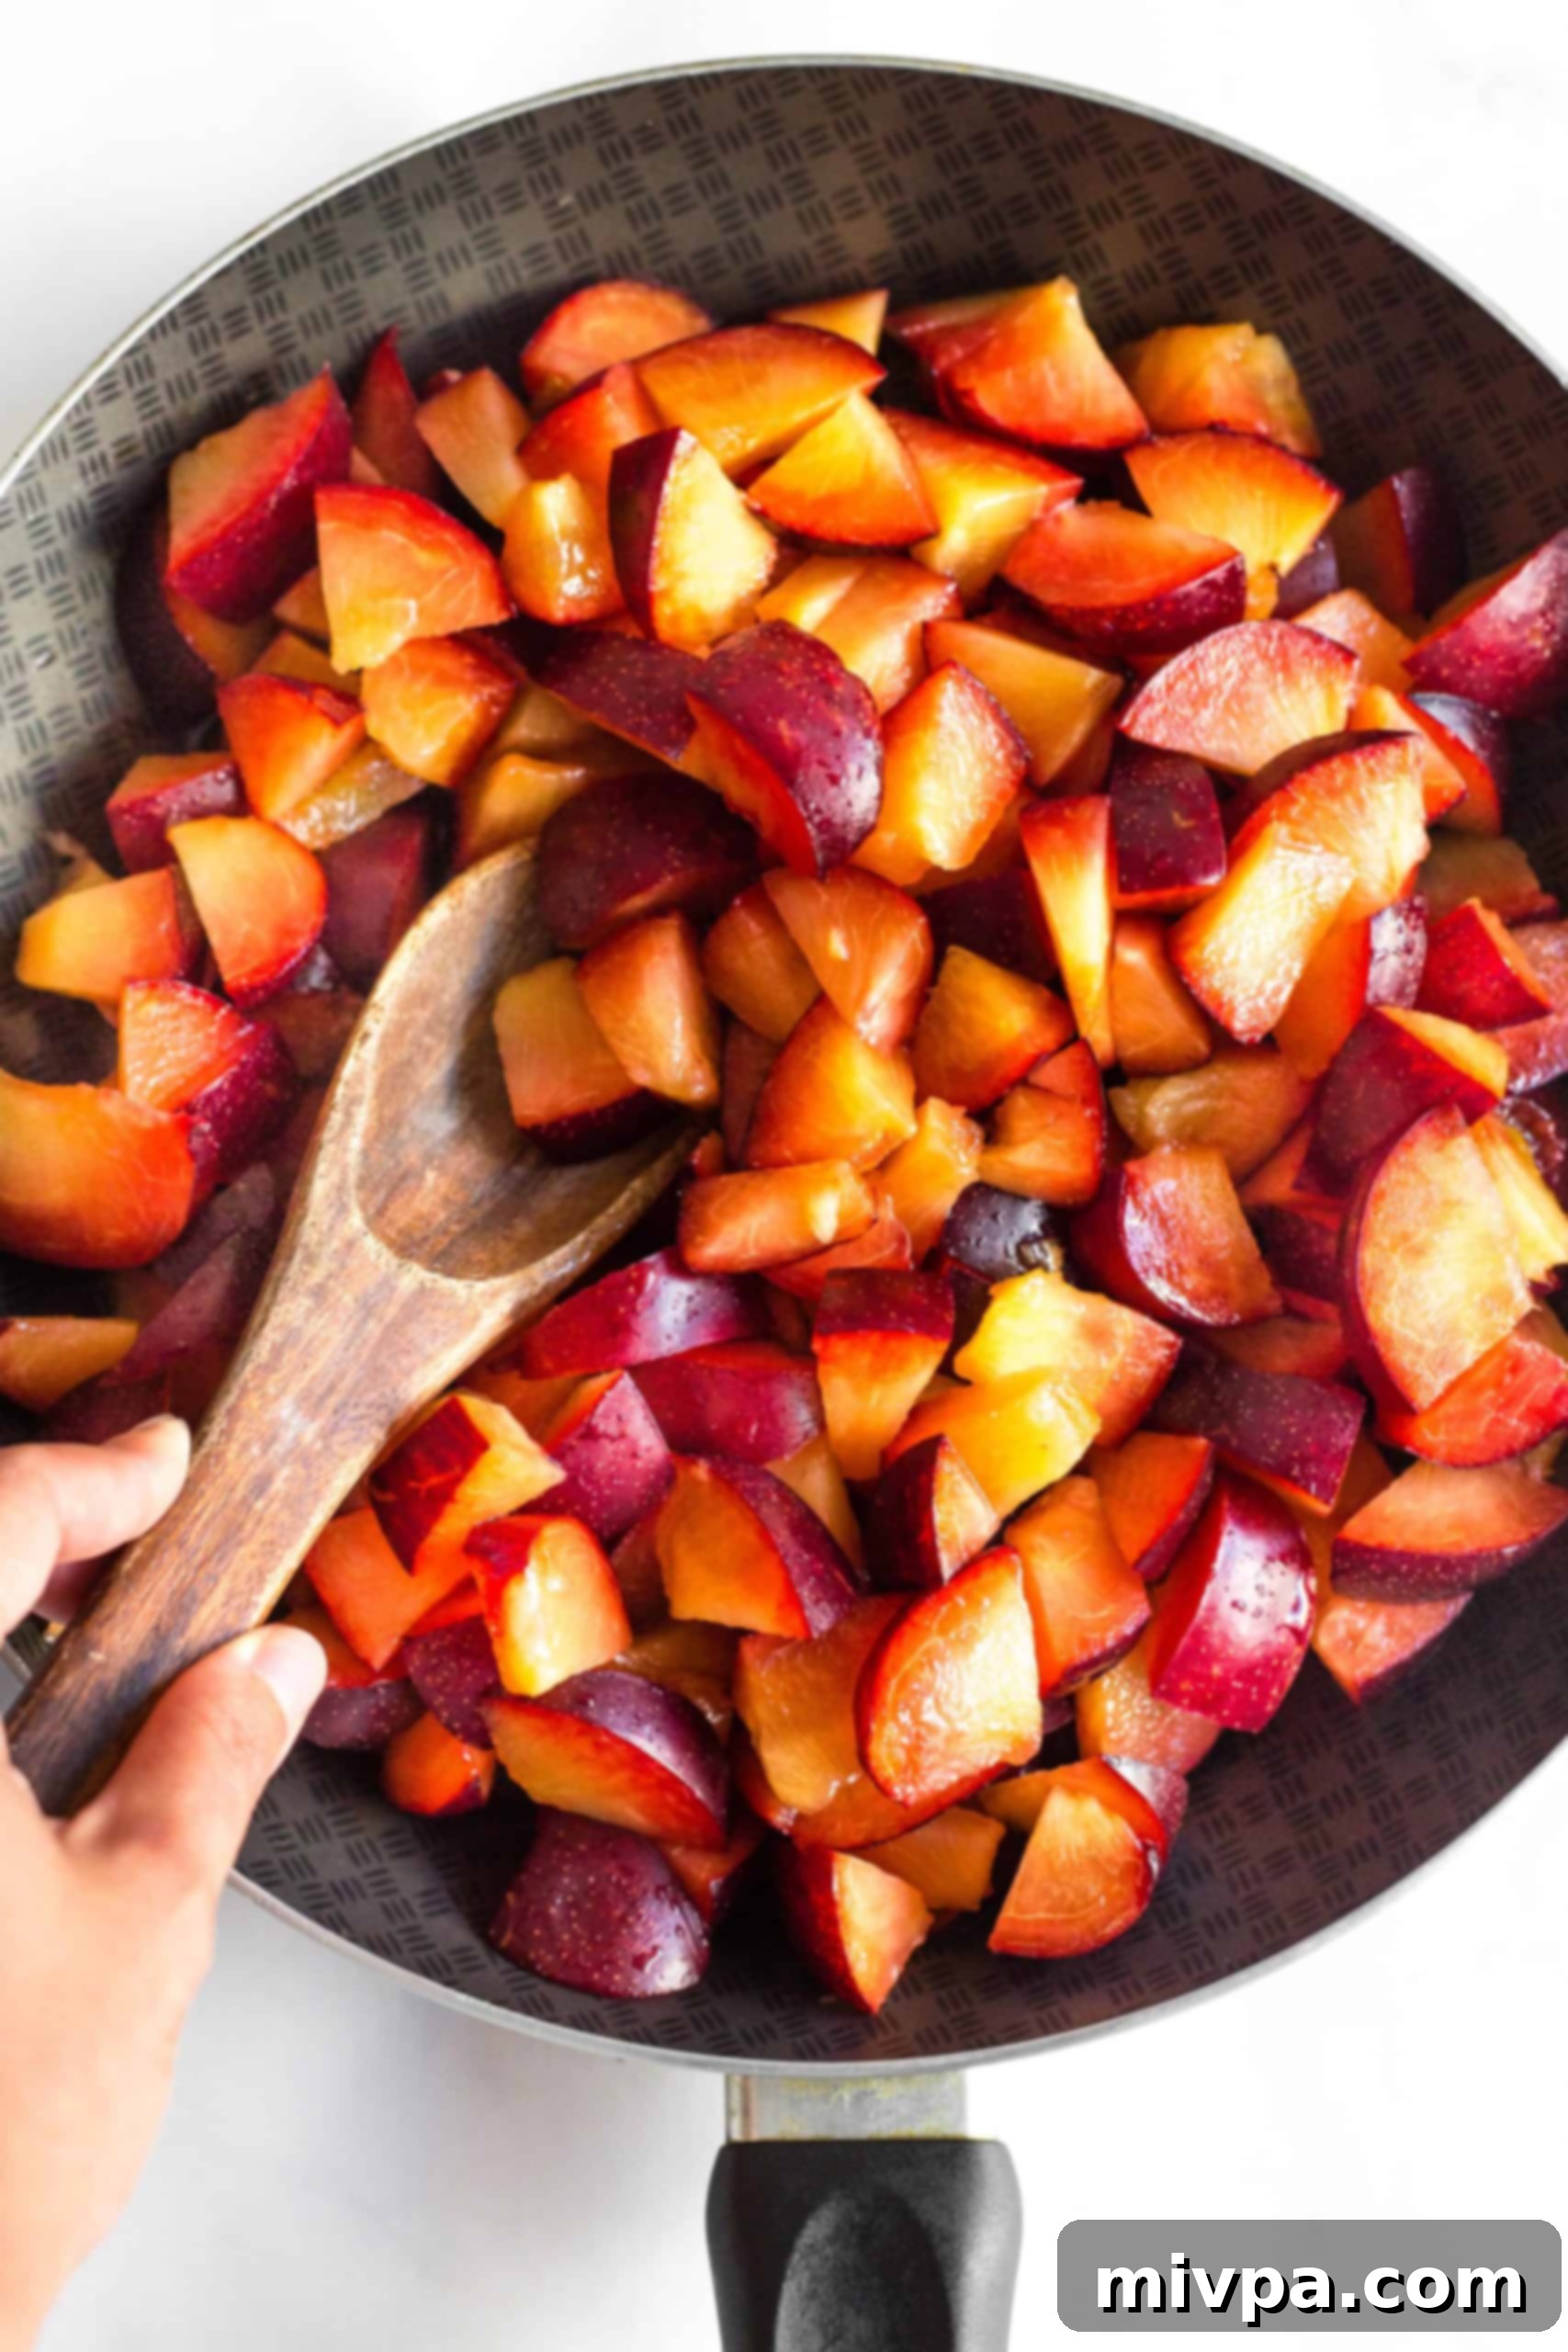
Transfer your prepared plum pieces and the measured water into a suitable cooking vessel. A large non-stick skillet, a spacious large saucepan, or a large pot will work perfectly. Ensure you have enough room for the fruit to cook down and for you to stir comfortably without overflowing.
3. Gently Simmer the Plums
Place your chosen pot over medium-high heat and bring the plum and water mixture to a full, rolling boil. Once boiling, reduce the heat to a steady simmer. It’s important to stir the plum mixture occasionally during this phase to prevent sticking and ensure even cooking. Continue simmering until the plum pieces become noticeably soft and begin to naturally disintegrate. This process typically takes approximately 15 to 20 minutes, allowing the fruit to release its juices and soften beautifully.
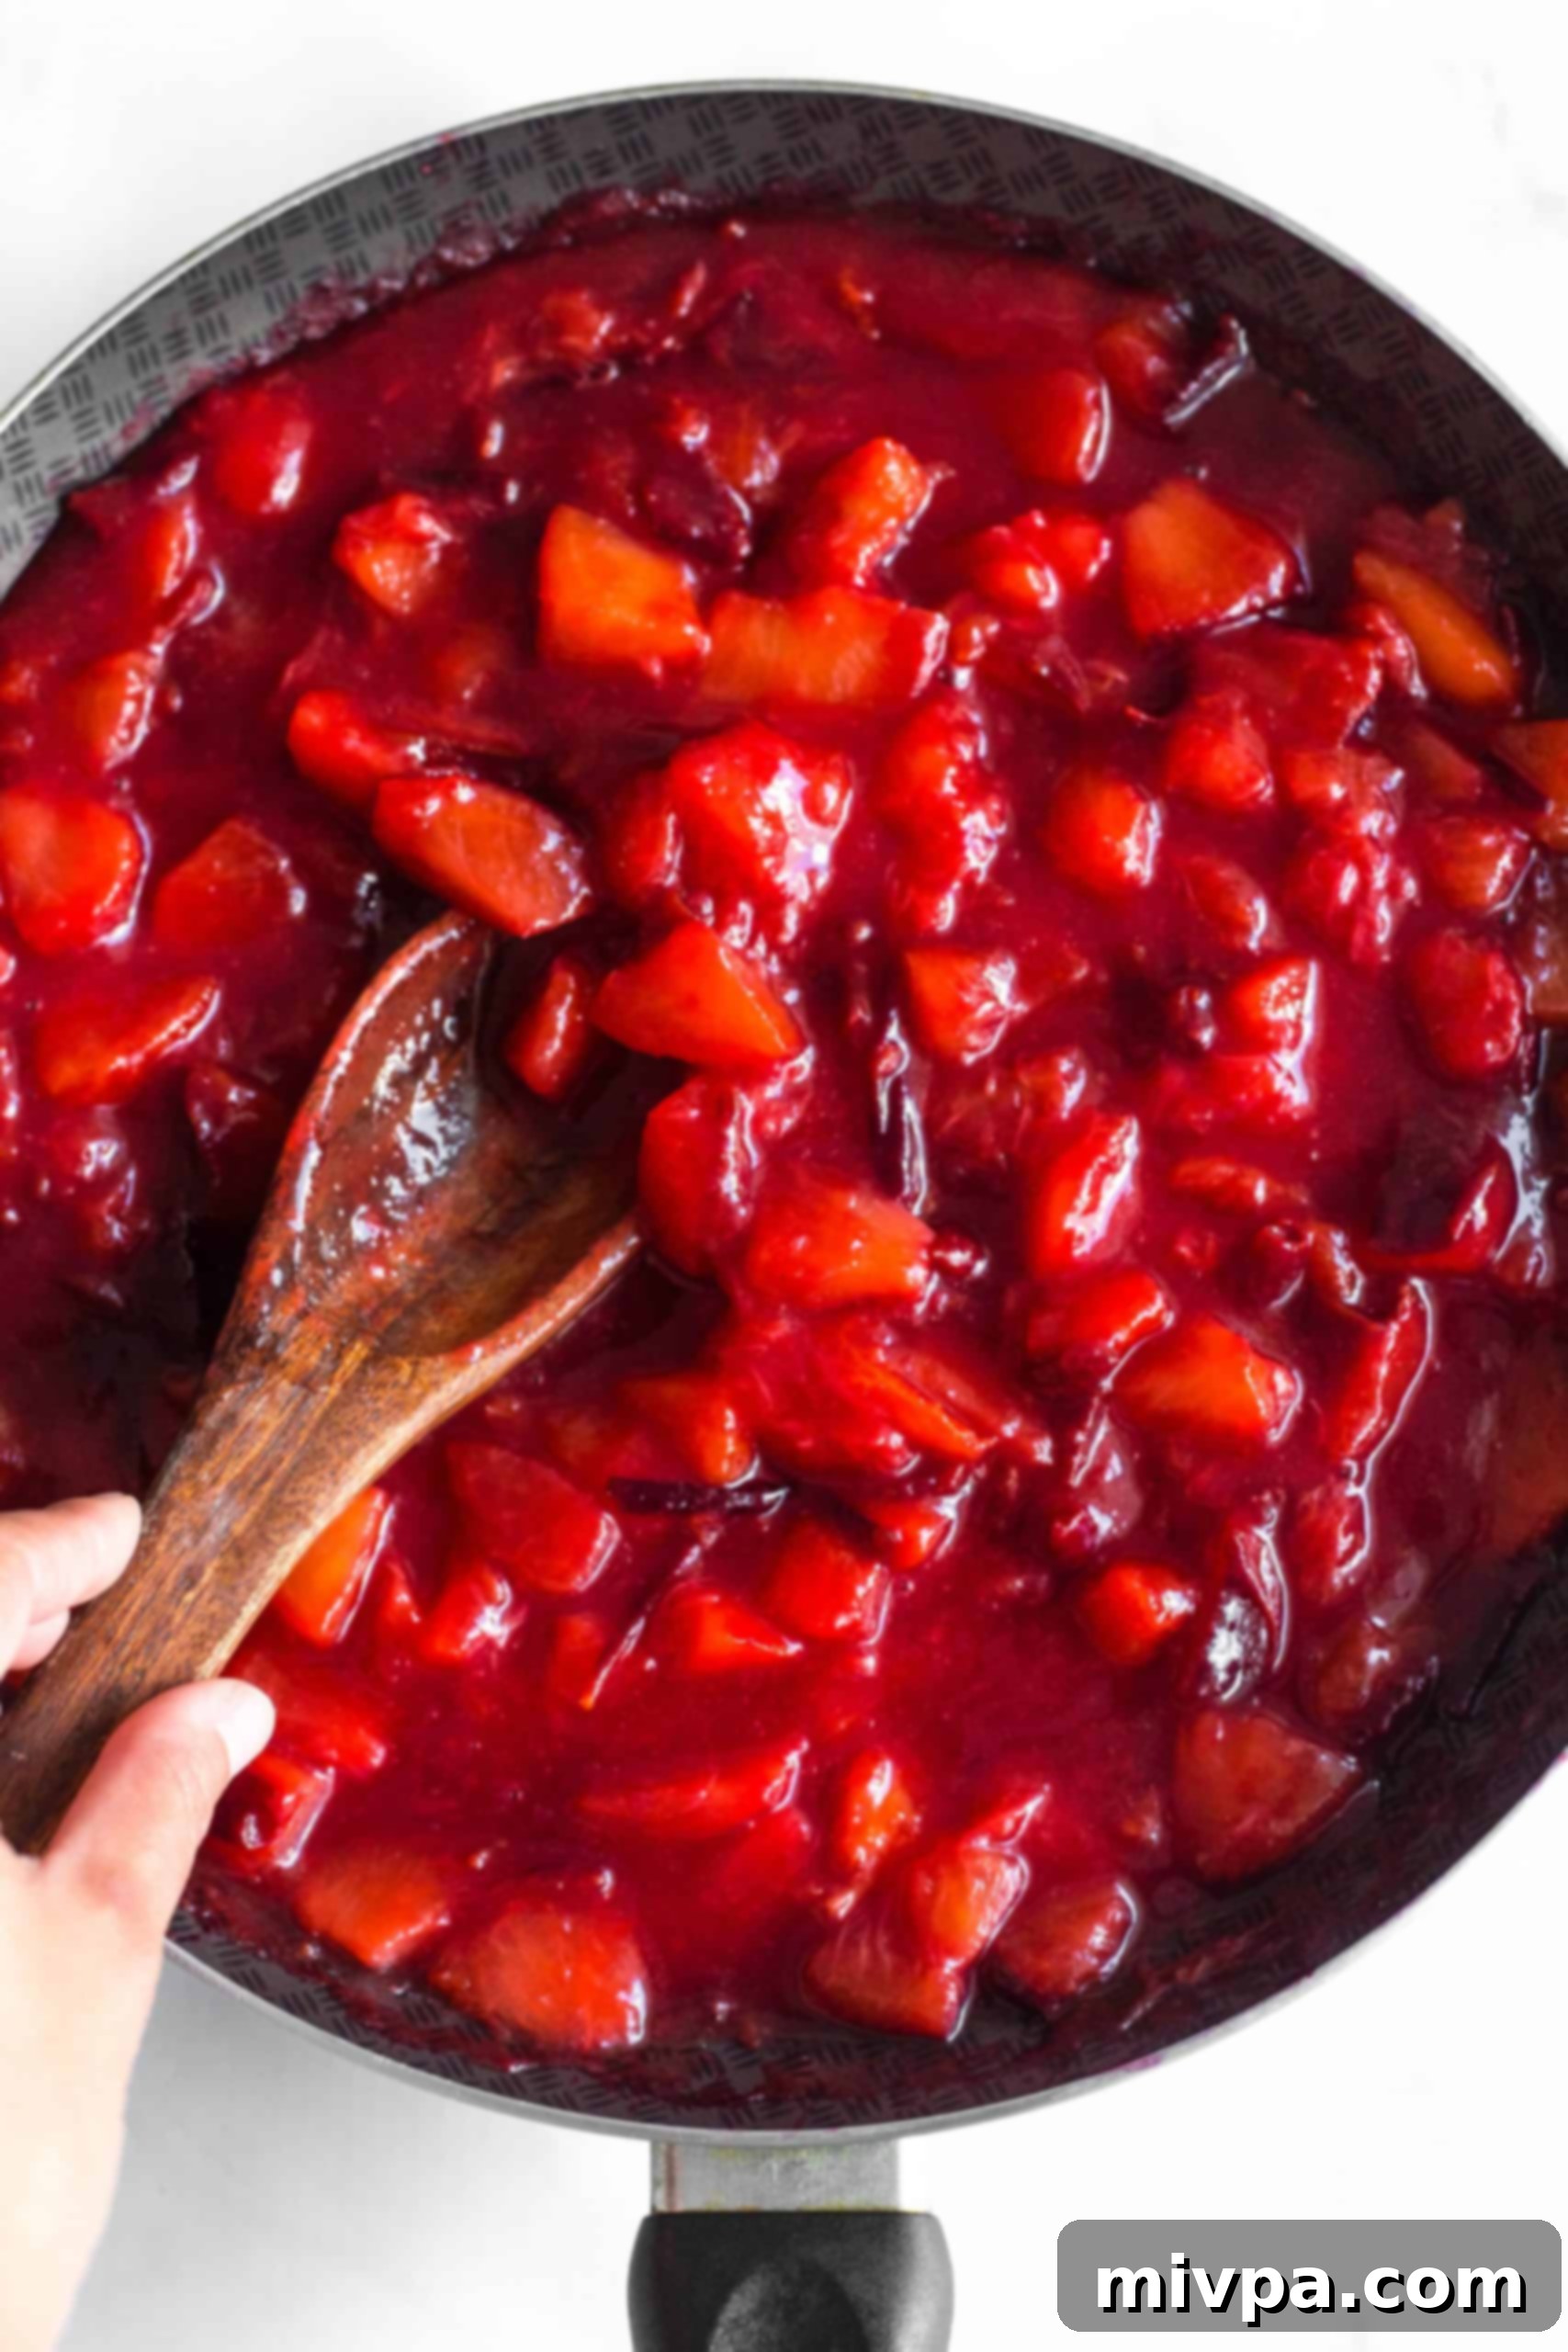
4. Incorporate Lemon Juice and Sugar
Once the plums have softened, it’s time to add the fresh lemon juice and granulated sugar. Stir the mixture continuously and thoroughly. This ensures that the sugar dissolves completely into the warm fruit mixture, preventing it from sticking to the bottom of the pot. The lemon juice, as mentioned, is crucial here for both flavor balance and to activate the fruit’s natural pectin for setting.
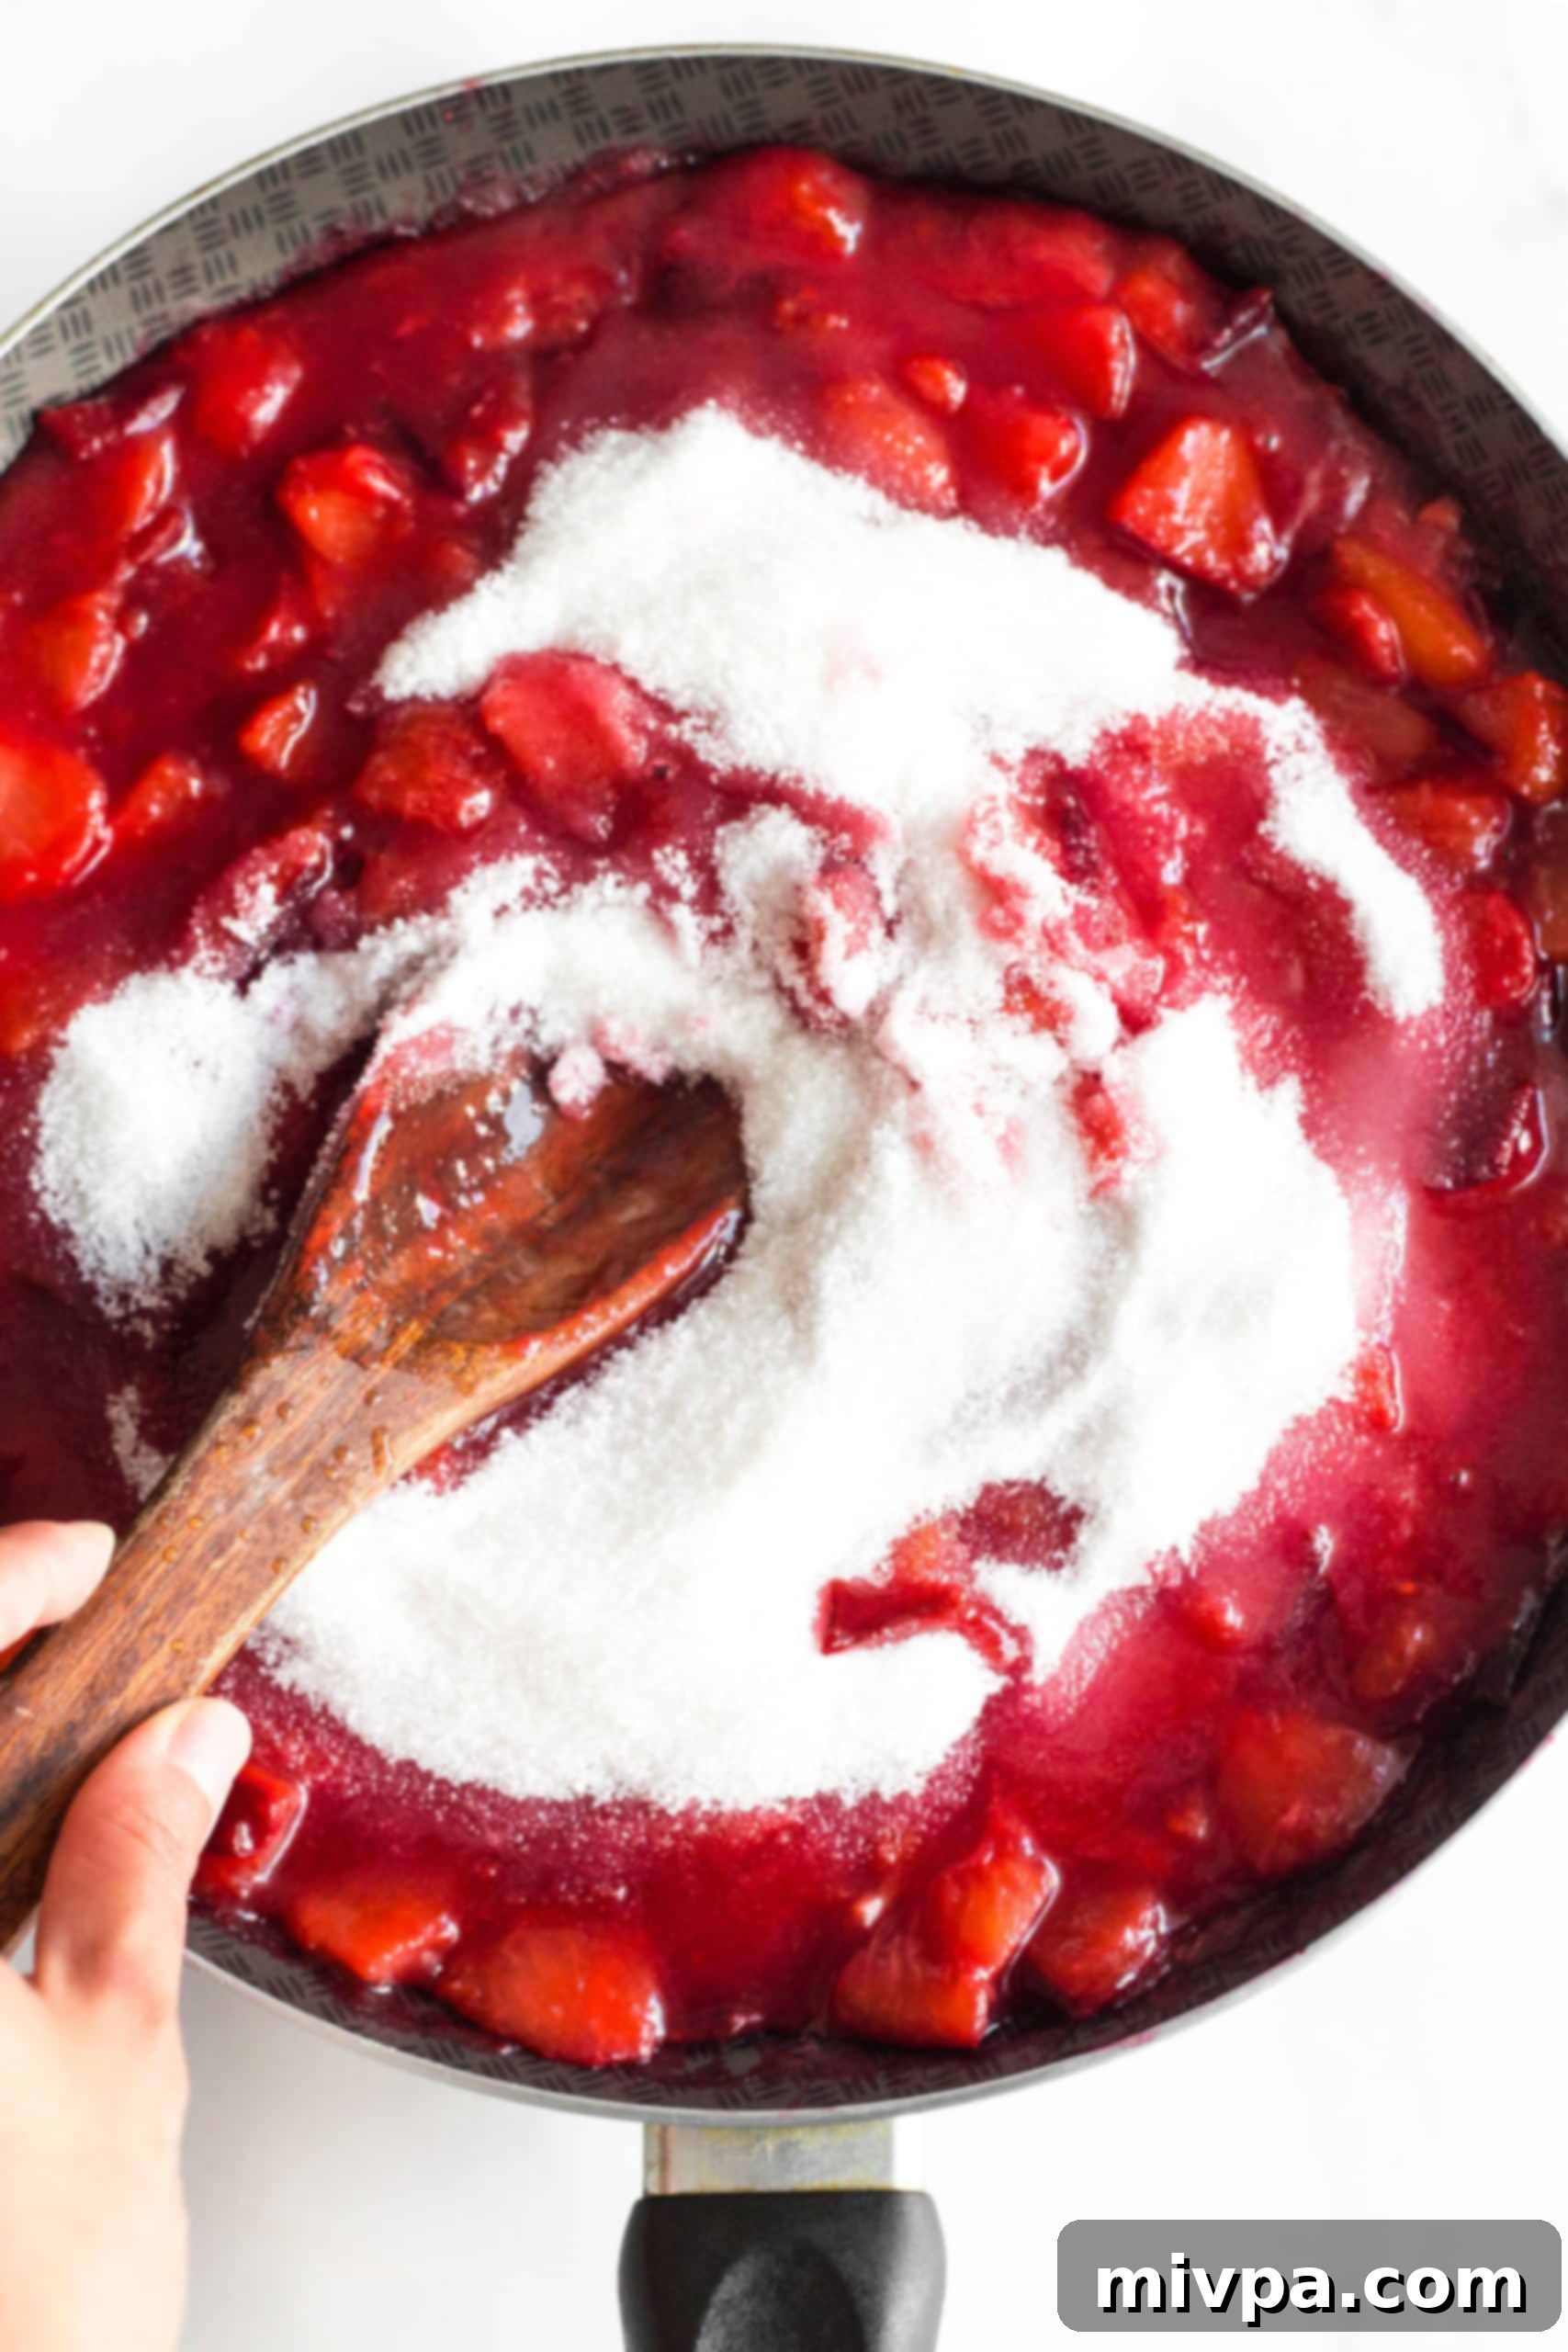
5. Cook to a Perfect Low Boil and Set
Increase the heat once more, bringing the entire mixture to a steady, low boil. Maintain this gentle boil for approximately 20 to 30 minutes. During this stage, frequent stirring is essential to prevent the jam from scorching at the bottom of your skillet or pot. As the jam cooks, use a spatula, the back of a slotted spoon, or even a potato masher to break down any larger pieces of fruit, achieving your desired consistency. The jam is approaching its jelling point when it thickens considerably. You can test for readiness by observing if the jam coats the back of a spoon. Alternatively, a candy thermometer can be used to confirm the jam has reached 220°F (104°C). If any foam forms on the surface of the jam, gently skim it off with a spoon for a clearer finish.
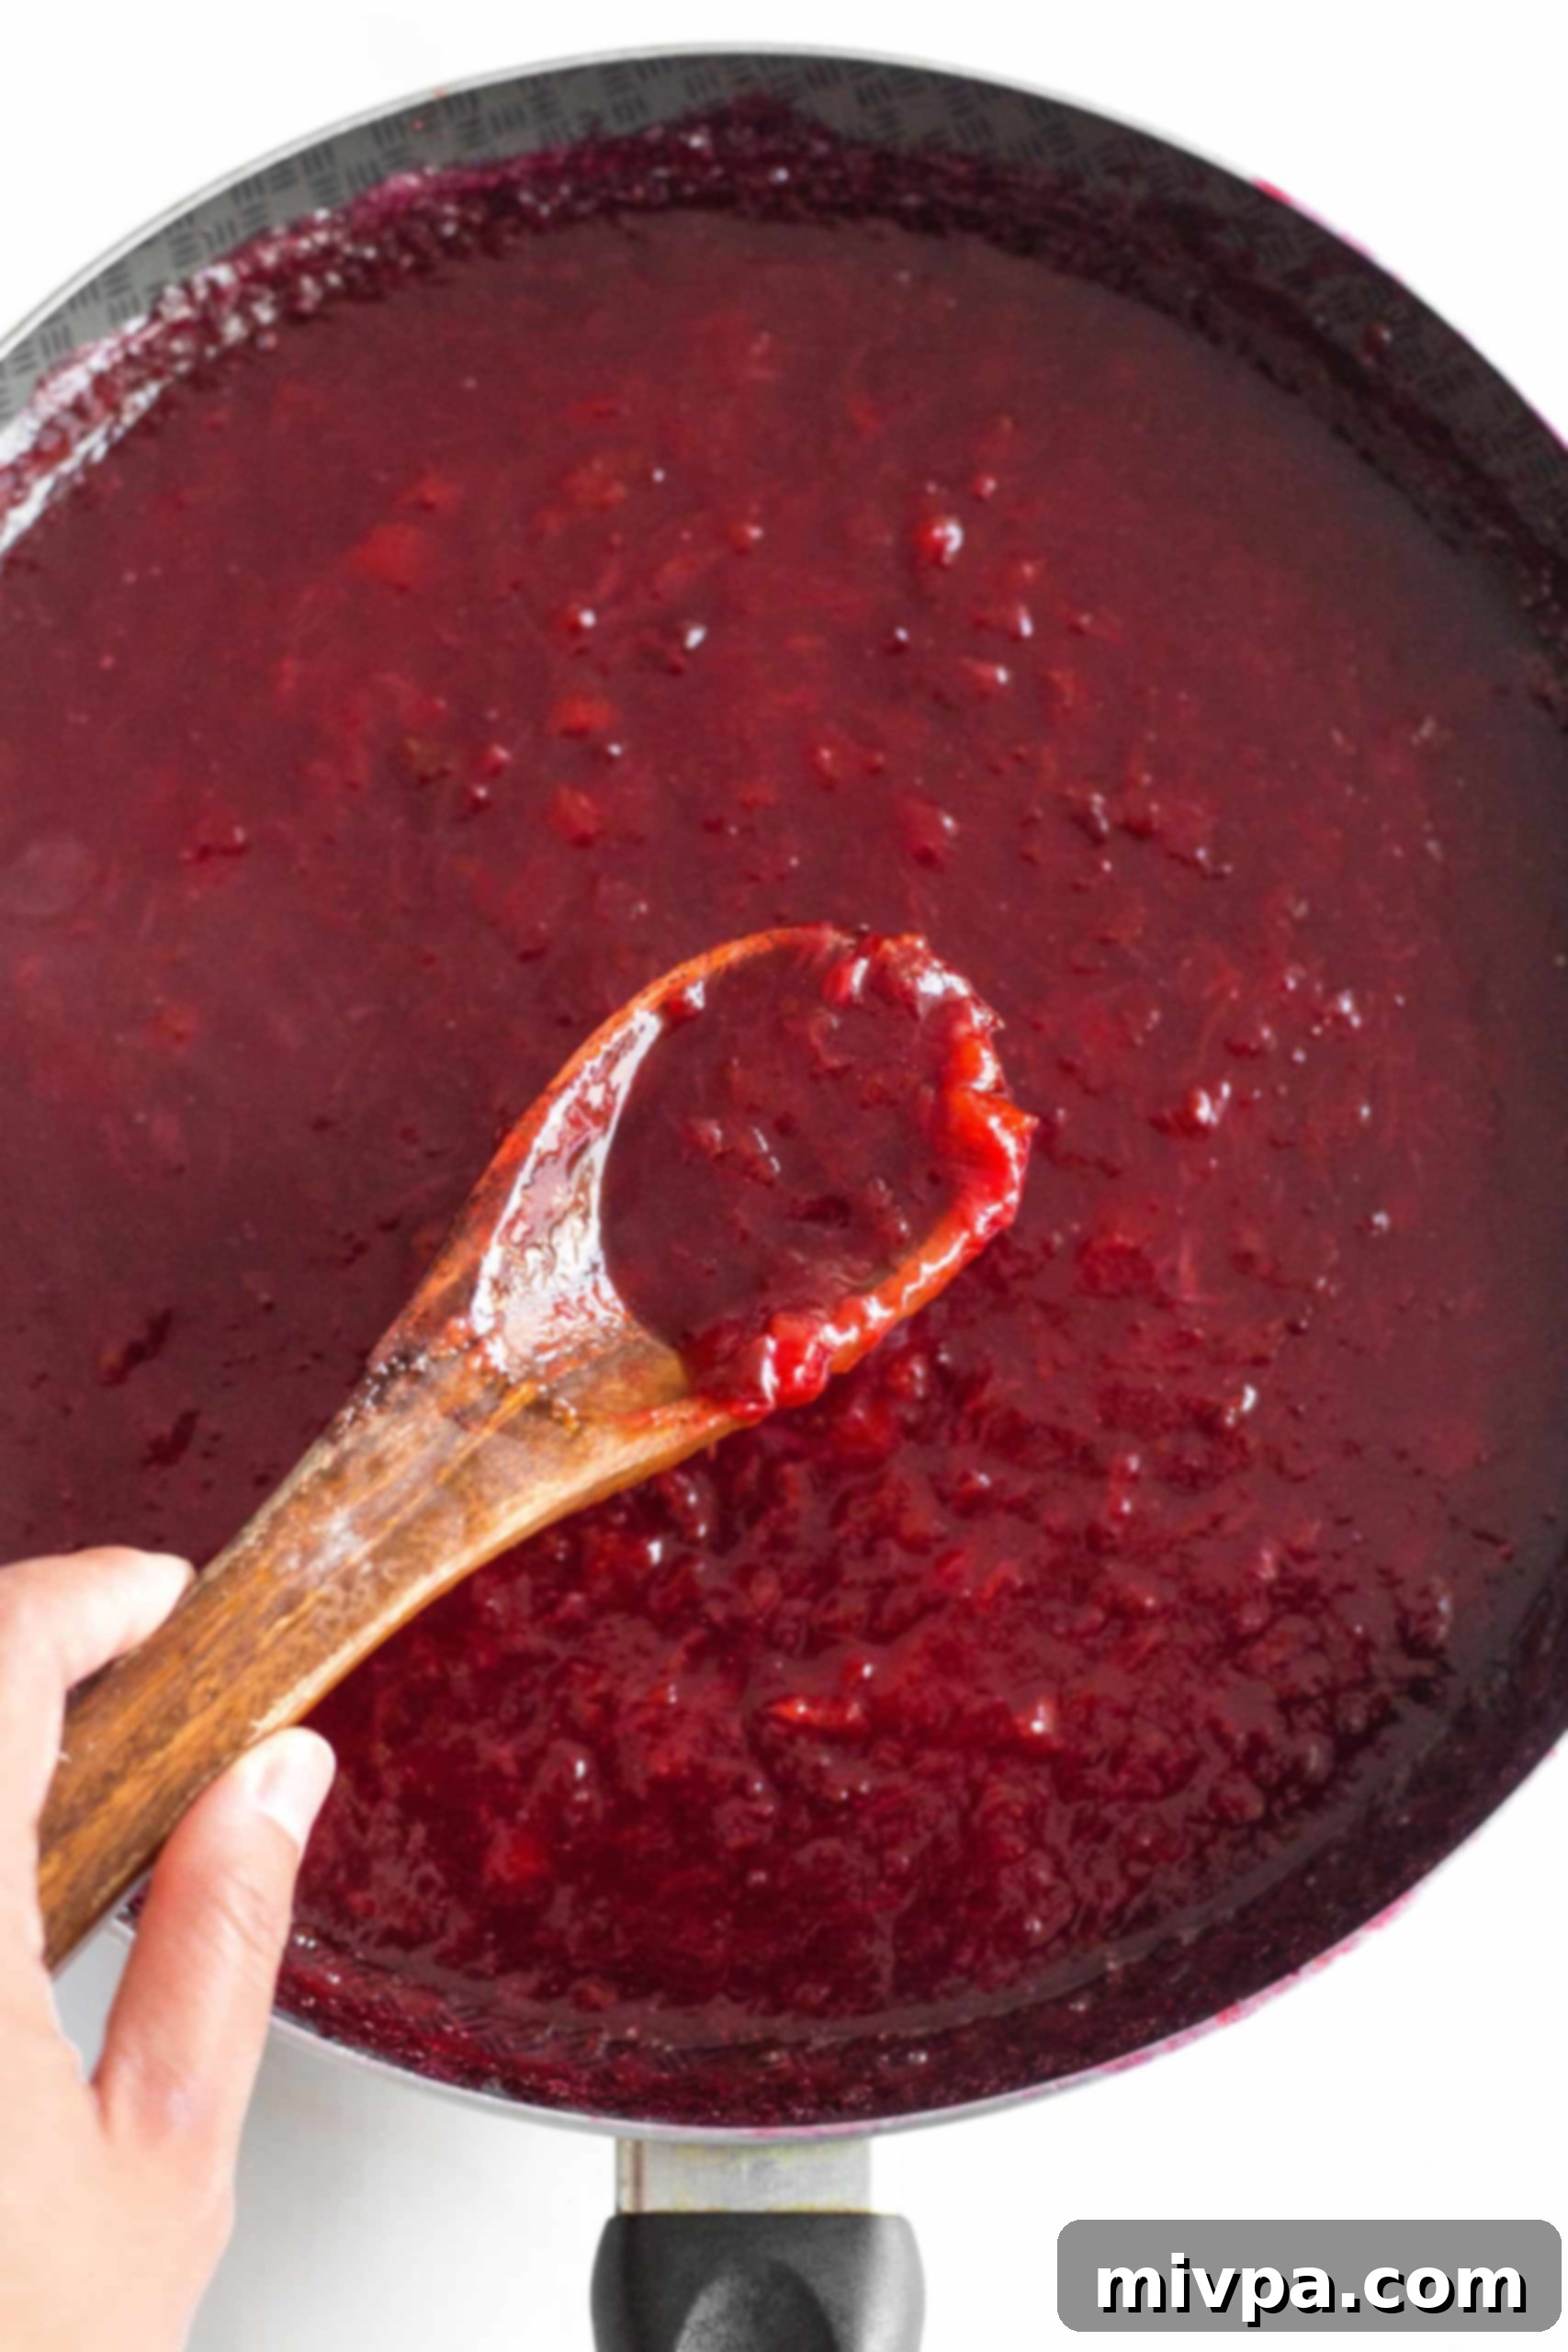
6. Cool and Preserve in Sterilized Jars
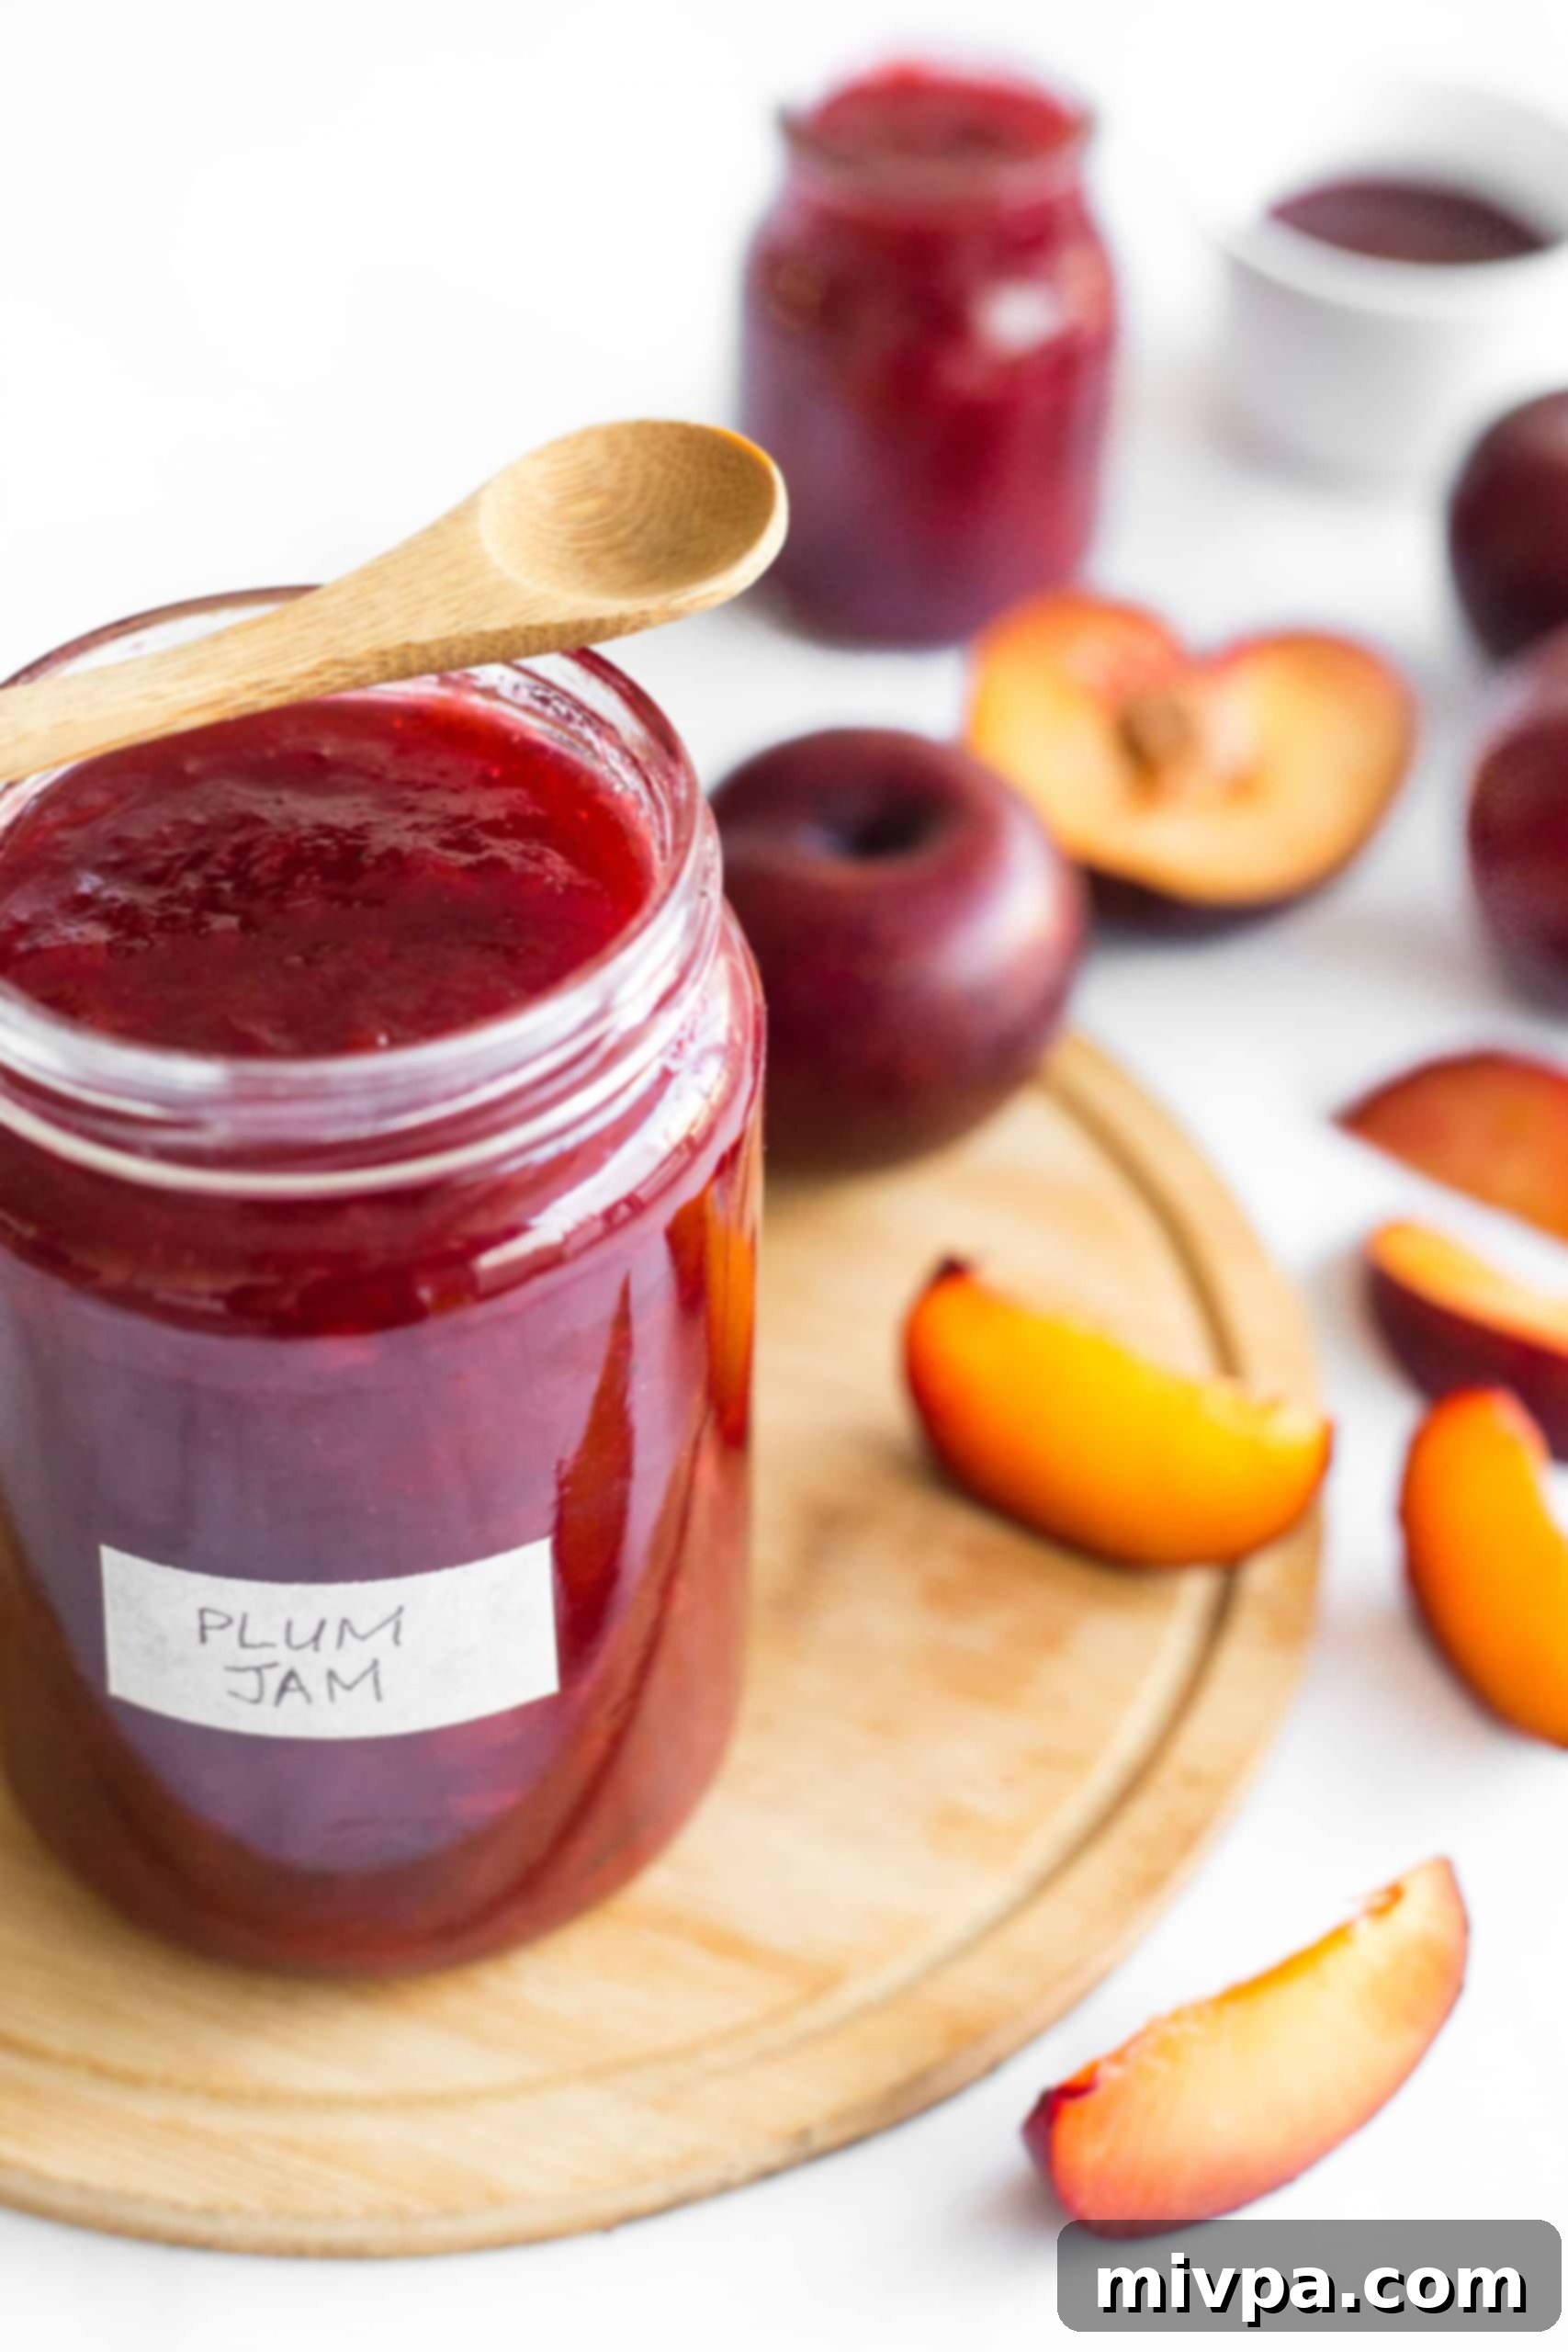
Once your jam has reached the perfect consistency, remove it from the heat. Allow the hot jam to rest and cool in the skillet for at least 10 minutes, or until it has reached room temperature. This brief cooling period helps the jam set further and prevents fruit from floating to the top of the jars. Before transferring, ensure your glass jars are thoroughly sterilized. Carefully ladle the warm, red plum jam into the clean, sterilized jars. Make sure to wipe the rims of the jars clean with a damp cloth before securely sealing them with lids. Proper sterilization and sealing are key for long-term storage and freshness.
Dish by Dish Tips & Expert Tricks for Perfect Plum Jam:
- The Unskippable Lemon Juice: As this plum jam recipe does not use added pectin, the lemon juice is an absolute must-have. Its acidity is essential for reacting with the natural pectin in the plums, helping the jam to set beautifully and achieve that delightful gel-like consistency we all love. Without it, your jam might be too runny.
- Infuse Extra Flavor: Elevate your plum jam with additional aromatic notes. For a warm, spiced undertone, try adding a few cinnamon sticks or a star anise pod to the skillet while the jam cooks. You can also experiment with a hint of fresh ginger or a splash of vanilla extract for different flavor profiles. Just remember to remove whole spices before jarring!
- Achieve an Extra Smooth Jam: If you prefer a jam with a silky-smooth texture, free from any fruit chunks, there are a couple of ways to achieve this. Once the jam is cooked, you can use an immersion blender directly in the pot to blend it to your desired consistency. Alternatively, for an even finer result, pass the cooked jam through a fine-mesh sieve or a food mill before jarring.
- Always Use Sterilized Glass Jars: This is a crucial step for food safety and extending the shelf life of your homemade jam. Make sure to properly sterilize your glass jars and lids before filling them. This prevents the growth of any unwanted bacteria or mold, which could cause your delicious jam to spoil prematurely. Common sterilization methods include boiling jars in water, baking them in the oven, or running them through a hot cycle in the dishwasher.
- Creative Fruit Swaps for Seasonal Jams: Don’t have fresh plums on hand, or simply want to try a different seasonal variation? This versatile recipe base can be adapted! Simply use the same amount of other stone fruits like apricots, peaches, or nectarines. Each fruit will bring its unique flavor. Or, for a truly delightful blend, combine a mix of various stone fruits that are in season – the possibilities are endless!
Common Questions About Homemade Plum Jam (FAQs):
For unopened jars, store your homemade plum jam in a cool, dark place away from direct light for up to one year. Once you’ve opened a jar, it should be kept in the refrigerator and consumed within 3 months to maintain its freshness and quality.
While I highly recommend using fresh lemon juice for its superior vibrant flavor, bottled lemon juice will certainly work if that’s what you have on hand. The critical role of the lemon juice is its acidity, which is present in both fresh and bottled varieties.
There are a few reliable ways to check if your jam has reached its setting point. The easiest is the spoon test: once the jam visibly coats the back of a cold metal spoon, it’s generally ready. For precision, use a candy thermometer to ensure the jam reaches 220°F (104°C). Alternatively, try the cold plate test: place a small plate in the freezer at the start of your cooking process. Once the jam appears thickened, spoon a tiny amount onto the chilled plate. After a minute, tilt the plate – if the jam runs slowly and wrinkles when pushed with your finger, it’s set! If it’s too watery, cook a little longer and re-test.
No, there’s absolutely no need to remove the plum skins for this recipe! The skins soften beautifully during cooking, add a gorgeous deep color to your jam, and even contribute natural pectin, which helps with the setting process. Simply wash, pit, and cut the plums into small pieces, leaving the skins on before you start cooking.
Our Favorite Breads to Pair with This Irresistible Plum Jam:
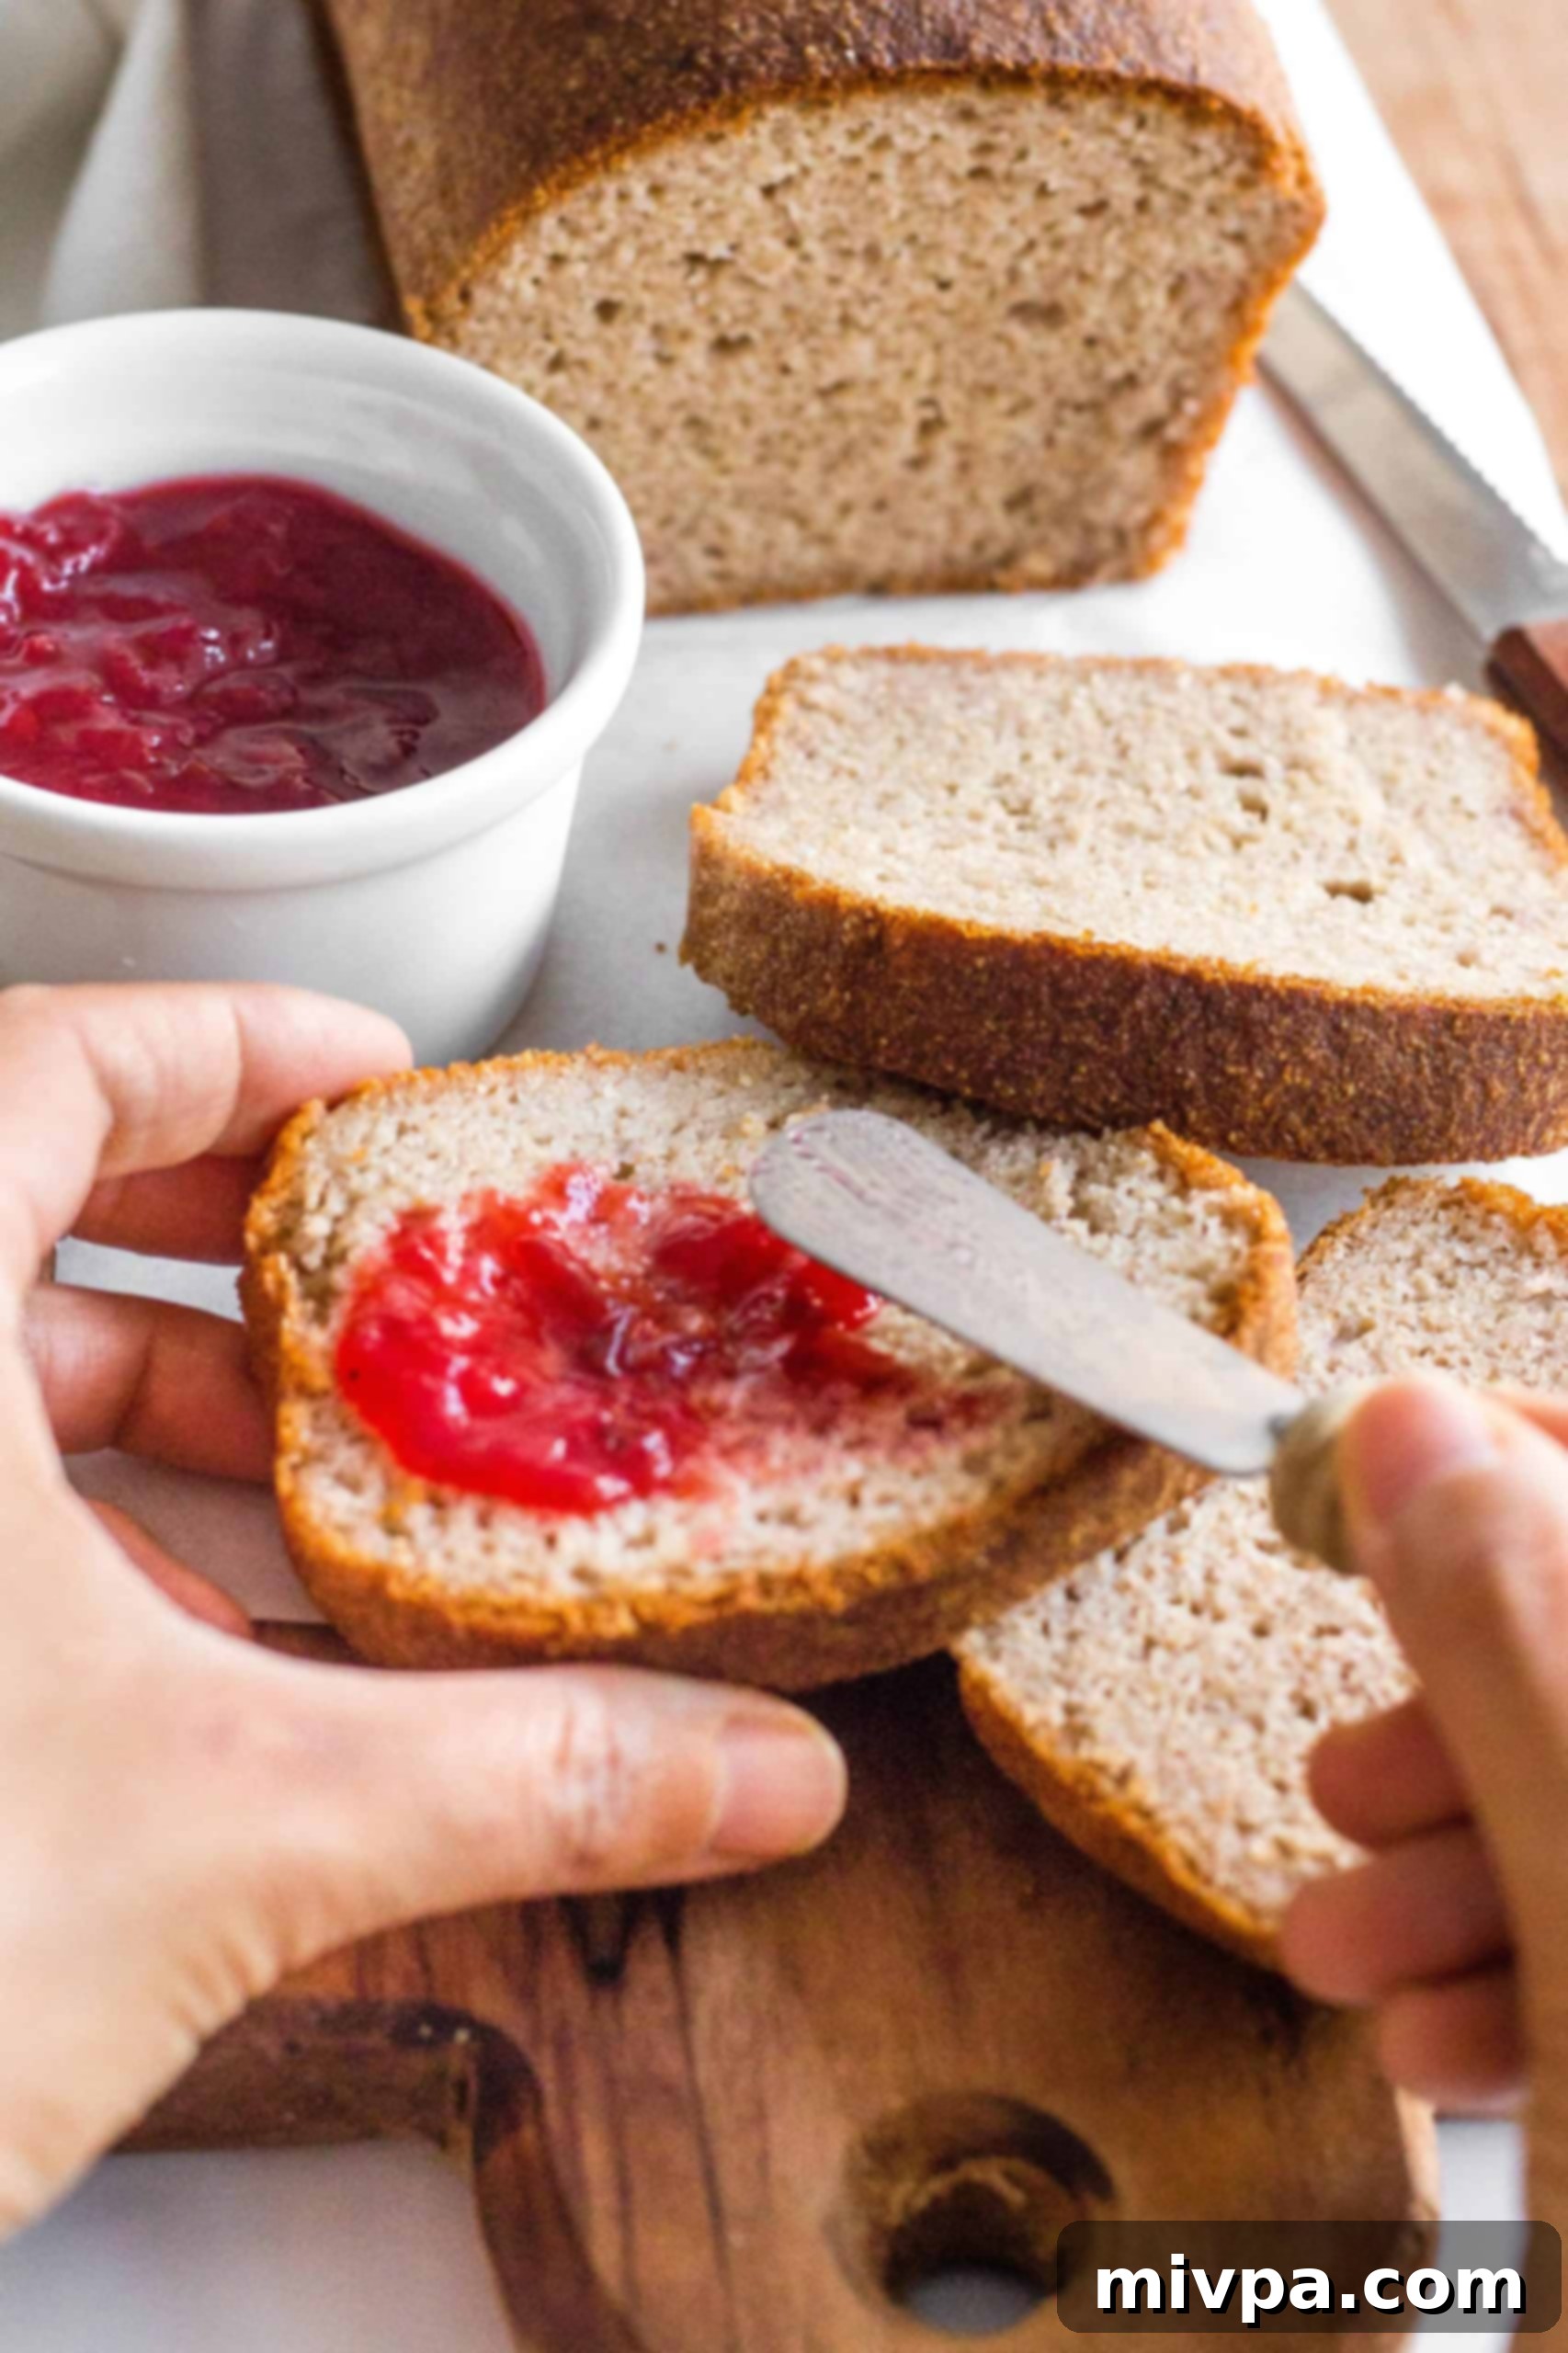
There’s nothing quite like starting the day with a comforting hot cup of tea and a perfectly crunchy piece of toast or a hearty cracker, generously slathered with this vibrant homemade plum jam. Its sweet and slightly tart flavor is a perfect complement to a variety of breads.
Here are some of our cherished homemade bread recipes that you’ll undoubtedly enjoy with your freshly made plum jam:
- Soft Fluffy Gluten-Free Bread (Dairy-Free)
- Fluffy Buckwheat Bread (Gluten-Free, Dairy-Free)
- Soft Brown Rice Bread (Gluten-Free, Dairy-Free)
- Sorghum Bread (Gluten-Free, Dairy-Free)
- Teff Bread (Gluten-Free, Dairy-Free)
- Quinoa Bread (Gluten-Free, Dairy-Free)
- Low Carb Coconut Flour Bread (Gluten-Free, Paleo, Keto)
- Low Carb Almond Flour Bread (Gluten-Free, Paleo, Keto)
- Easy Honey Oat Bread (Gluten-Free, Dairy-Free Option)
Other Delicious Homemade Jam Recipes You’ll Adore:
If you’ve fallen in love with the art of jam making, here are a few more fantastic recipes to explore, each capturing the essence of different fruits:
- Easy Apricot Jam (Gluten-Free, Vegan)
- Mixed Berry Chia Seed Jam (Gluten-Free, Vegan)
- Easy Kumquat Marmalade (Gluten-Free, Vegan)
- Strawberry Chia Seed Jam (Gluten-Free, Vegan)
- Homemade Fig Jam (Gluten-Free, Vegan)
More Irresistible Spring & Summer Recipes to Enjoy:
Beyond jams, explore these other delightful recipes perfect for the warmer months:
- Caprese Pesto Pasta Salad (Gluten-Free)
- Easy Peach Fruit Leather (Gluten-Free, Vegan)
- Easy Gluten’Free S’mores Bars (Dairy-Free Option)
- Orange Jicama Salad (Gluten-Free, Vegan)
P.S. If you try this simple and delicious plum jam recipe, I would absolutely love for you to leave a star rating below and/or share your feedback in the comment section further down the page. Your input is always greatly appreciated and helps others discover these recipes. Don’t forget to explore my entire Recipe Index for a treasure trove of culinary inspiration. You can also connect with me on Pinterest, Facebook or Instagram for daily updates and kitchen tips! Make sure to sign up for my Email List to receive fresh recipes directly in your inbox each week!
Print
Easy Plum Jam Recipe (No Pectin)
5 Stars 4 Stars 3 Stars 2 Stars 1 Star
4.8 from 10 reviews
Author: Felicia Lim
Total Time: 1 hour
Yield: 2 16oz jars
Diet: Gluten Free
Description
This easy plum jam recipe requires just 4 simple ingredients and comes together in about an hour, delivering a burst of sweet, ripe plum flavor. It’s perfect for spreading on toast, spooning over creamy homemade yogurt, filling your favorite pie crust, or simply enjoying straight from the spoon! This recipe is completely gluten-free, dairy-free, vegan, and made without added pectin, proving that simple ingredients can create truly exceptional results.
Ingredients
Units
Scale
- 2 pounds fresh plums
- 1/4 cup water
- 2 cups granulated sugar
- 1 1/2 tablespoons fresh lemon juice
Instructions
- Wash, Dry and Cut the Plums: Wash the plums well and dry them. Slice them in half to remove the stones before cutting the flesh into smaller pieces. Remember, no need to remove the skins!
- Combine Plums and Water: Place the cut plums and water in a large non-stick skillet, large saucepan or large pot. Ensure ample space for stirring.
- Simmer: Bring the ingredients to a full boil, then reduce to a gentle simmer over medium heat. Stir occasionally until the plums are soft and begin to disintegrate, which usually takes about 15 to 20 minutes.
- Add Juice and Sugar: Add the fresh lemon juice and sugar to the softened plums. Stir continuously until the sugar has completely dissolved, ensuring it doesn’t stick to the bottom.
- Bring to a Low Boil: Increase the heat and bring the mixture to a low boil for approximately 20 to 30 minutes. Stir often to prevent burning. Use a spatula or the back of a slotted spoon to mash any large pieces of fruit. The jam is ready when it coats the back of a spoon, or a candy thermometer reads 220°F (104°C). Skim any foam from the surface.
- Let Cool and Transfer to Jars: Allow the plum jam to stand in the skillet for at least 10 minutes to cool slightly before carefully transferring it to thoroughly sterilized glass jars. Wipe the jar rims clean and seal tightly.
Notes
Plums: For a smoother jam, cut plums into small pieces to help them disintegrate better. If you prefer a chunkier jam with noticeable fruit pieces, larger cuts are perfectly fine. Don’t worry about removing the skins – they soften during cooking and add to the jam’s lovely color and texture.
Sugar: While granulated white sugar is my go-to, feel free to use light brown sugar or dark brown sugar for different flavor nuances. For diabetic or insulin-resistant individuals, Lakanto monkfruit sweetener is an excellent 1:1 sugar substitute that won’t impact blood sugar levels.
Lemon Juice: Always use lemon juice! Fresh is best for flavor, but bottled works too. Its acidity is crucial for activating the natural pectin in the plums, ensuring the jam sets properly and isn’t too runny. This is key for a pectin-free recipe!
Use Sterilized Glass Jars: Prior to filling, always sterilize your glass jars. This vital step prevents bacterial growth and mold, safeguarding your delicious homemade jam from spoilage and ensuring it lasts longer.
Storing: Store unopened jars of jam in a cool, dark place for up to one year. Once a jar is opened, keep it refrigerated and consume within 3 months for optimal taste and freshness. If you notice any signs of mold or an off-smell, discard immediately.
- Prep Time: 10 mins
- Cook Time: 50 mins
- Category: Jams
- Method: Stovetop
- Cuisine: American
