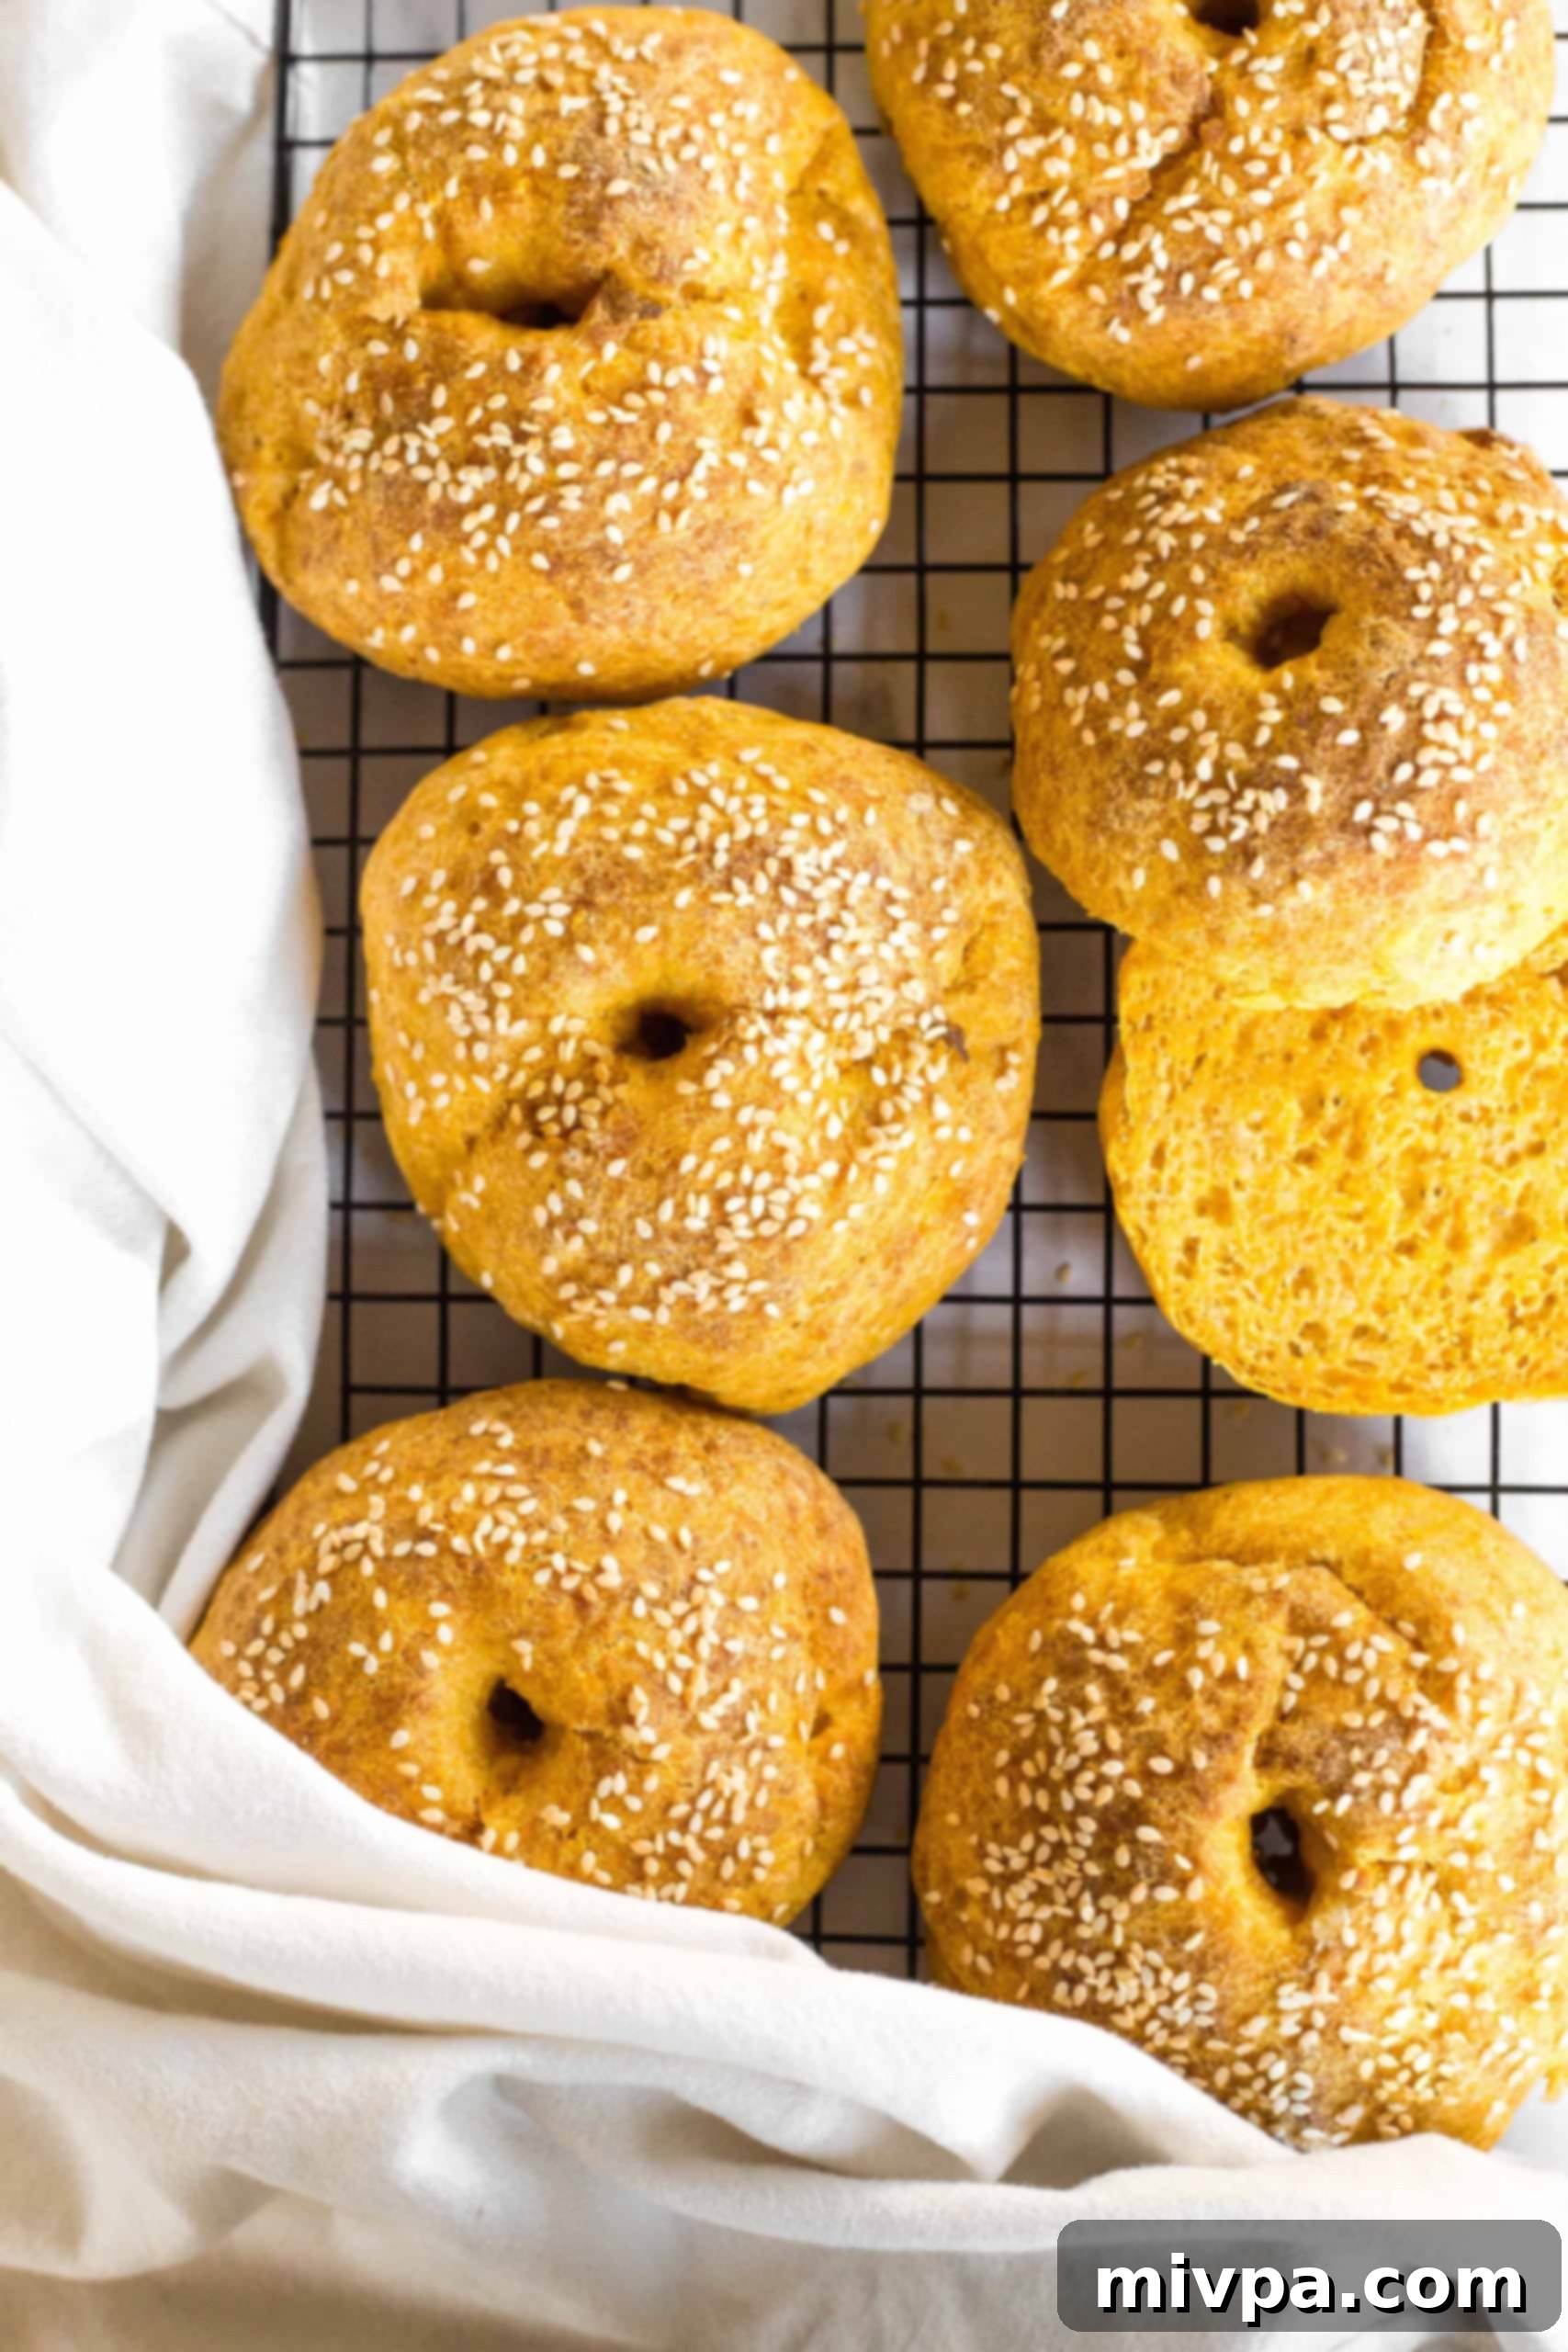
Easy No-Boil Gluten-Free Pumpkin Bagels: Your Perfect Dairy-Free Fall Treat
Welcome to pumpkin season! Get ready to embrace the cozy flavors of autumn with these incredibly easy-to-make **gluten-free pumpkin bagels**. Forget the hassle of boiling; this recipe simplifies the bagel-making process without sacrificing flavor or texture. These bagels are wonderfully moist, tender, and delightfully fluffy – perfect for slicing in half and generously spreading with a luscious pumpkin cream cheese, or toasting them to create a satisfying bagel sandwich. Whether you enjoy them for breakfast, a leisurely brunch, or as an anytime snack, these bagels are sure to become a seasonal favorite. Best of all, they’re completely dairy-free, making them accessible to even more dietary needs, though honestly, no one would ever guess!
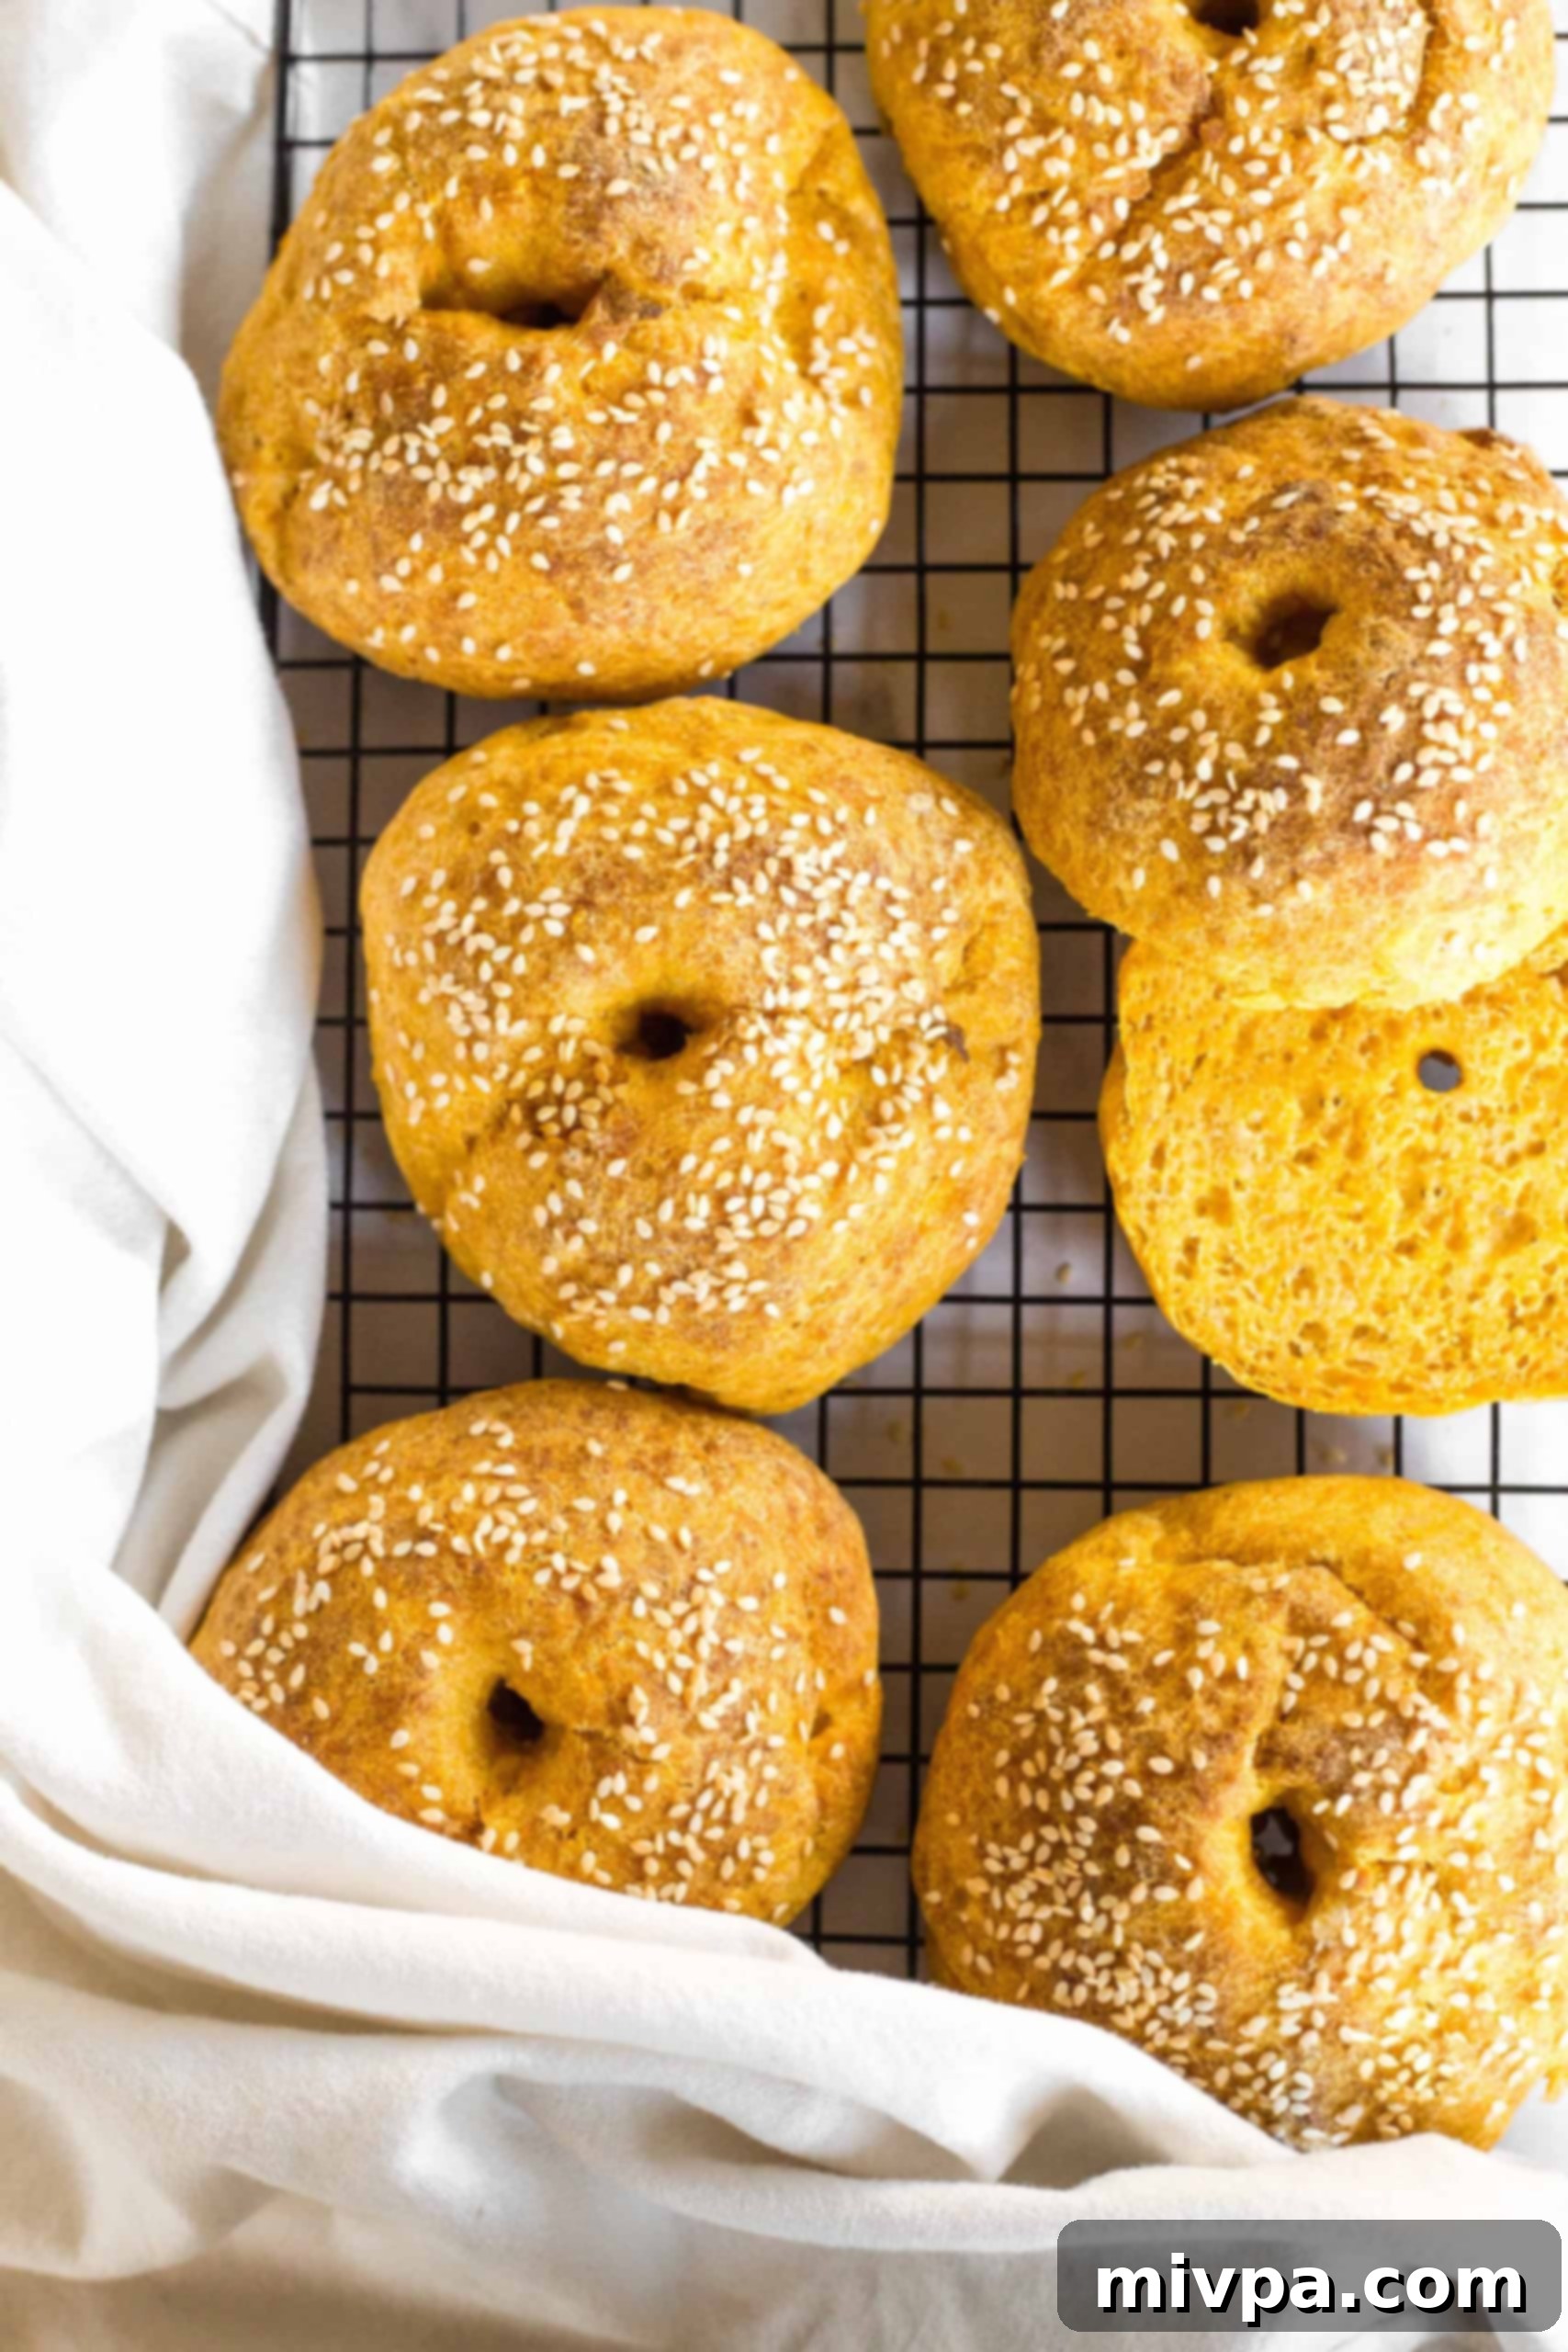
The Joy of Homemade Bagels: A Perfect Start to Your Day
There’s something truly special about starting the day with a homemade bagel. Especially on those relaxed weekends or slower mornings, the simple act of toasting a freshly baked bagel and slathering it with your favorite spread feels like a luxurious treat. For me, bagels evoke a sense of warmth and comfort, often bringing back fond memories of my time in New York City, where my husband Juan and I lived for nearly a year. That iconic chewiness, the perfect crust – it’s an experience that transcends a simple meal. And when you can make that experience accessible to everyone, regardless of dietary restrictions, it becomes even more rewarding.
Embracing Autumn with Flavorful Pumpkin Bagels
Ever since successfully creating a recipe for soft and fluffy gluten-free bagels that became incredibly popular, I’ve been eagerly anticipating the arrival of pumpkin season. My goal was clear: to craft a pumpkin-infused version that captures all the comforting essence of fall. Now that autumn is officially here and the delightful aroma of pumpkin spice lattes fills the air, I’m thrilled to share these incredible **gluten-free pumpkin bagels** with you! They are truly perfect for this time of year, offering a taste of the season in every bite.
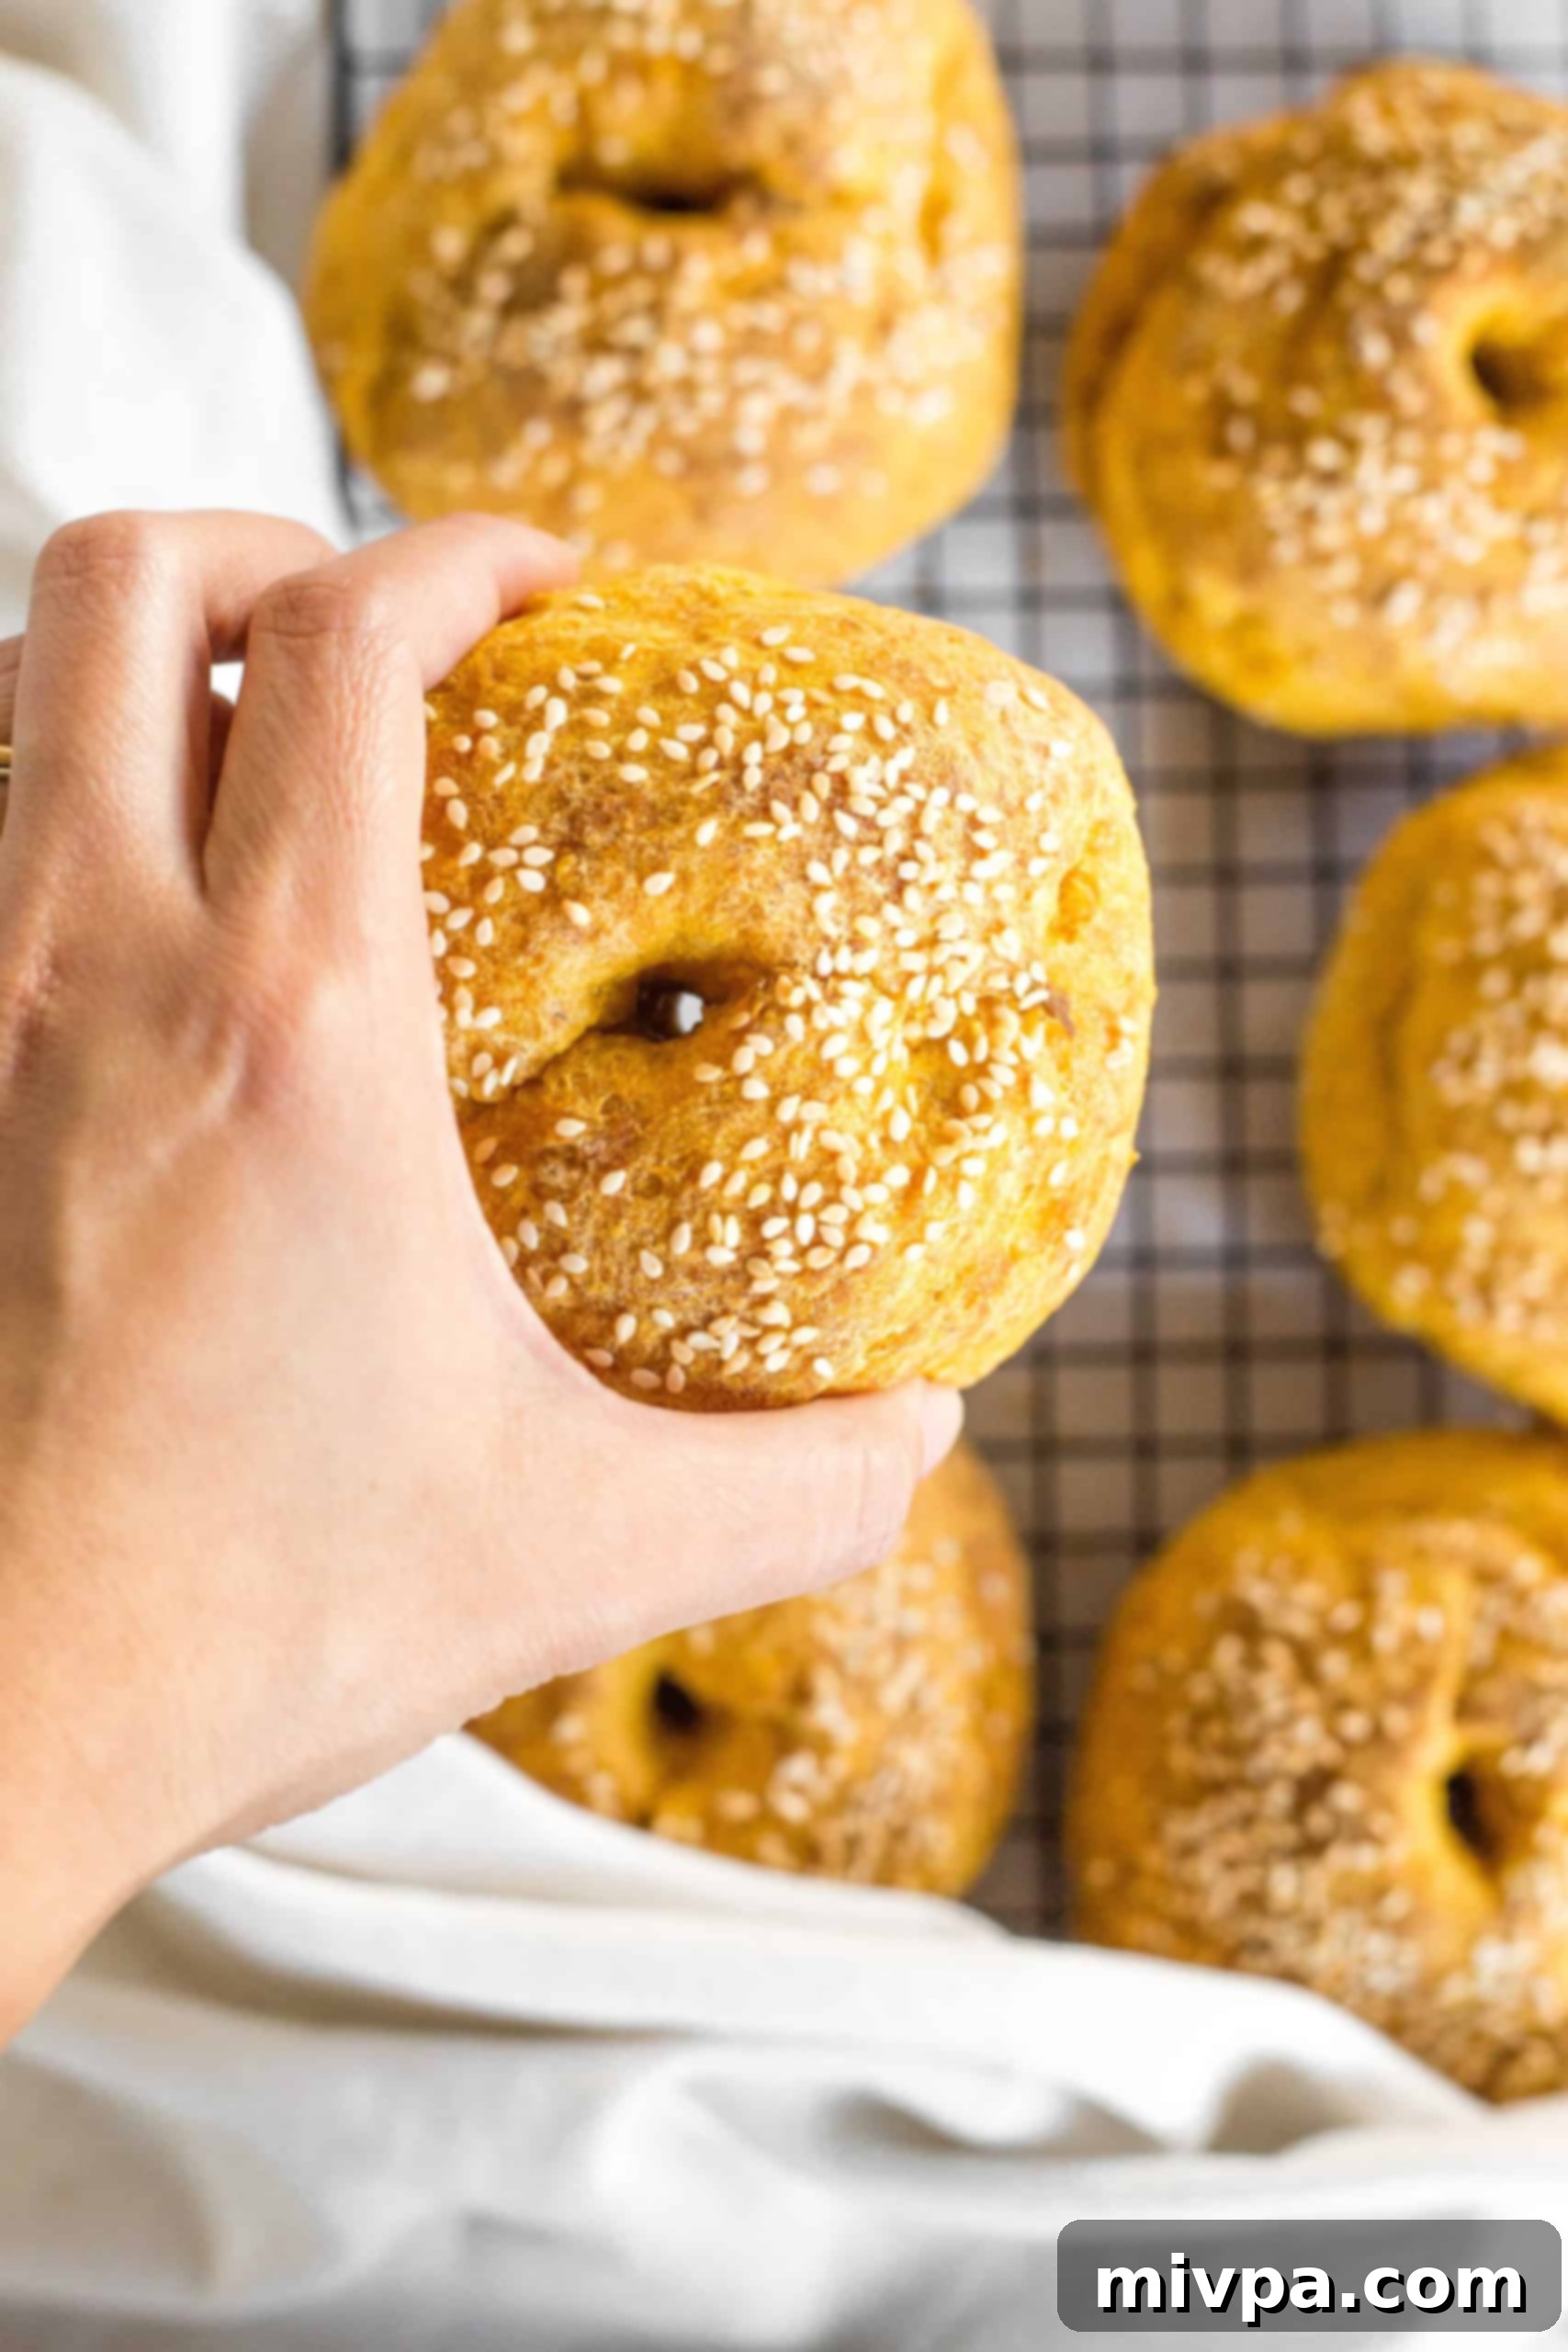
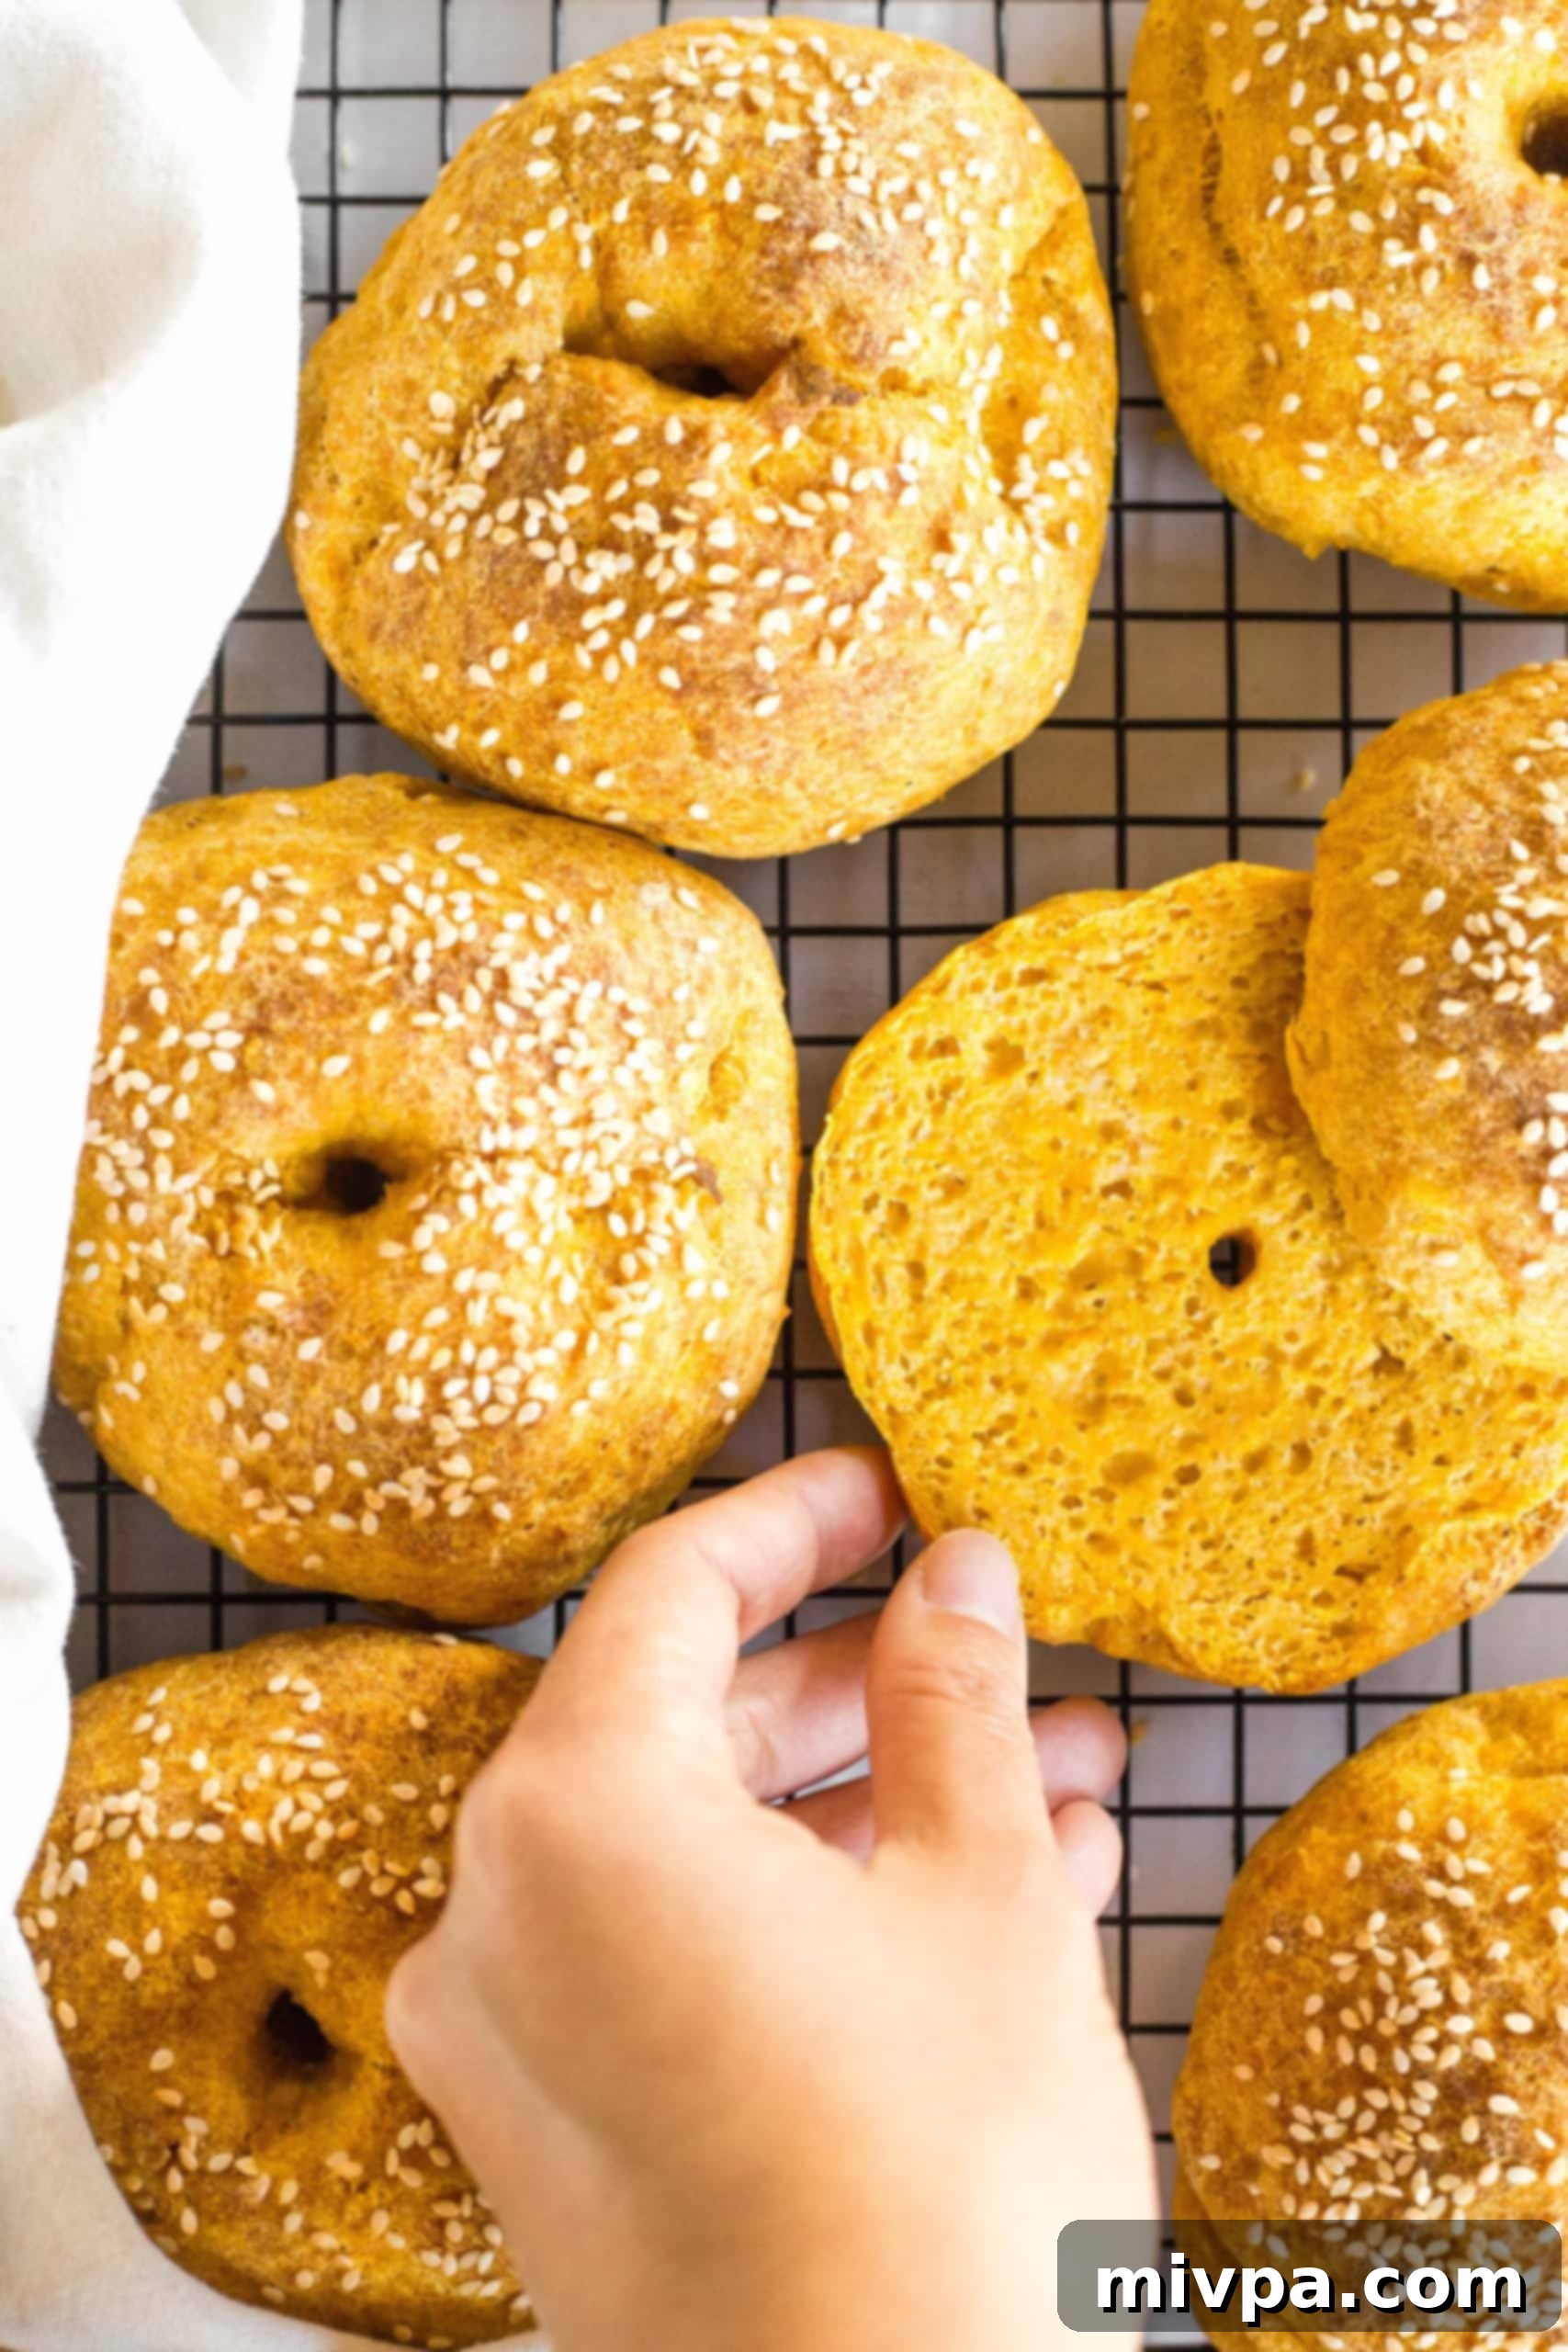
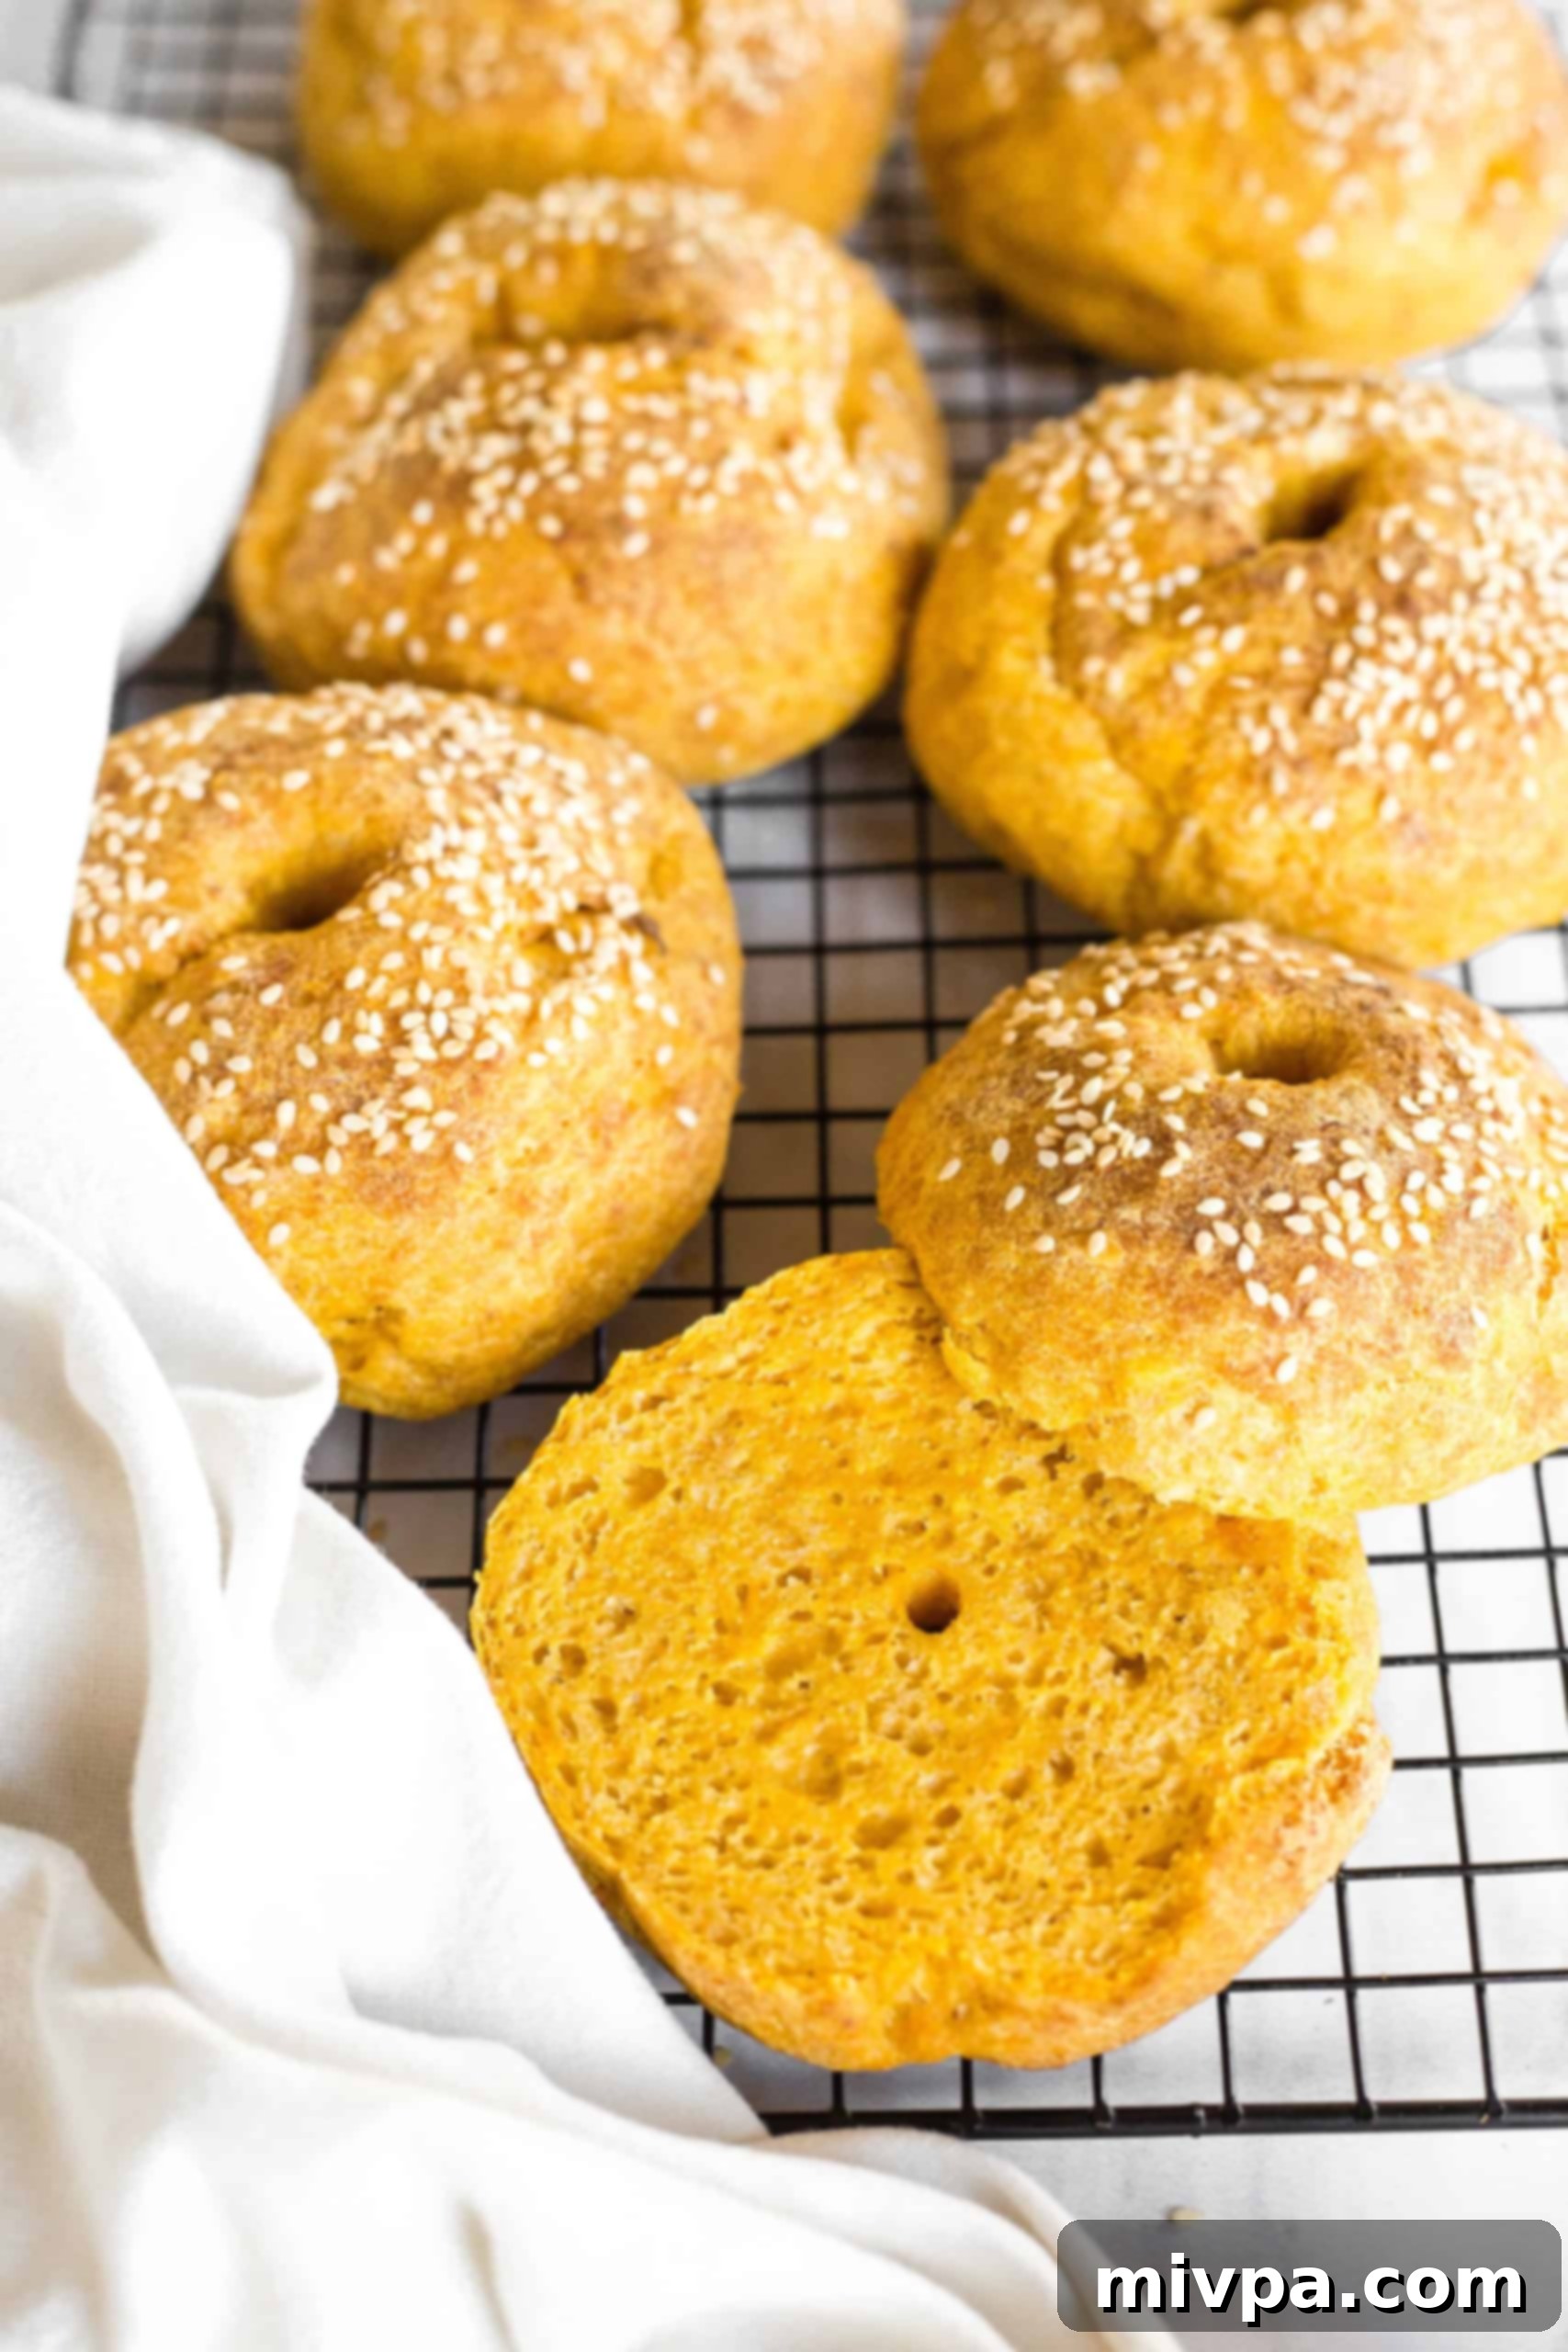
Infused with vibrant, fresh pumpkin puree, these bagels boast a beautiful orange hue and a rich, earthy flavor that speaks of fall. Topped with a sprinkle of sesame seeds, they offer a delightful textural contrast to their incredibly moist and tender interior. Each bagel is a celebration of autumn, designed to bring warmth and happiness to your kitchen and your table.
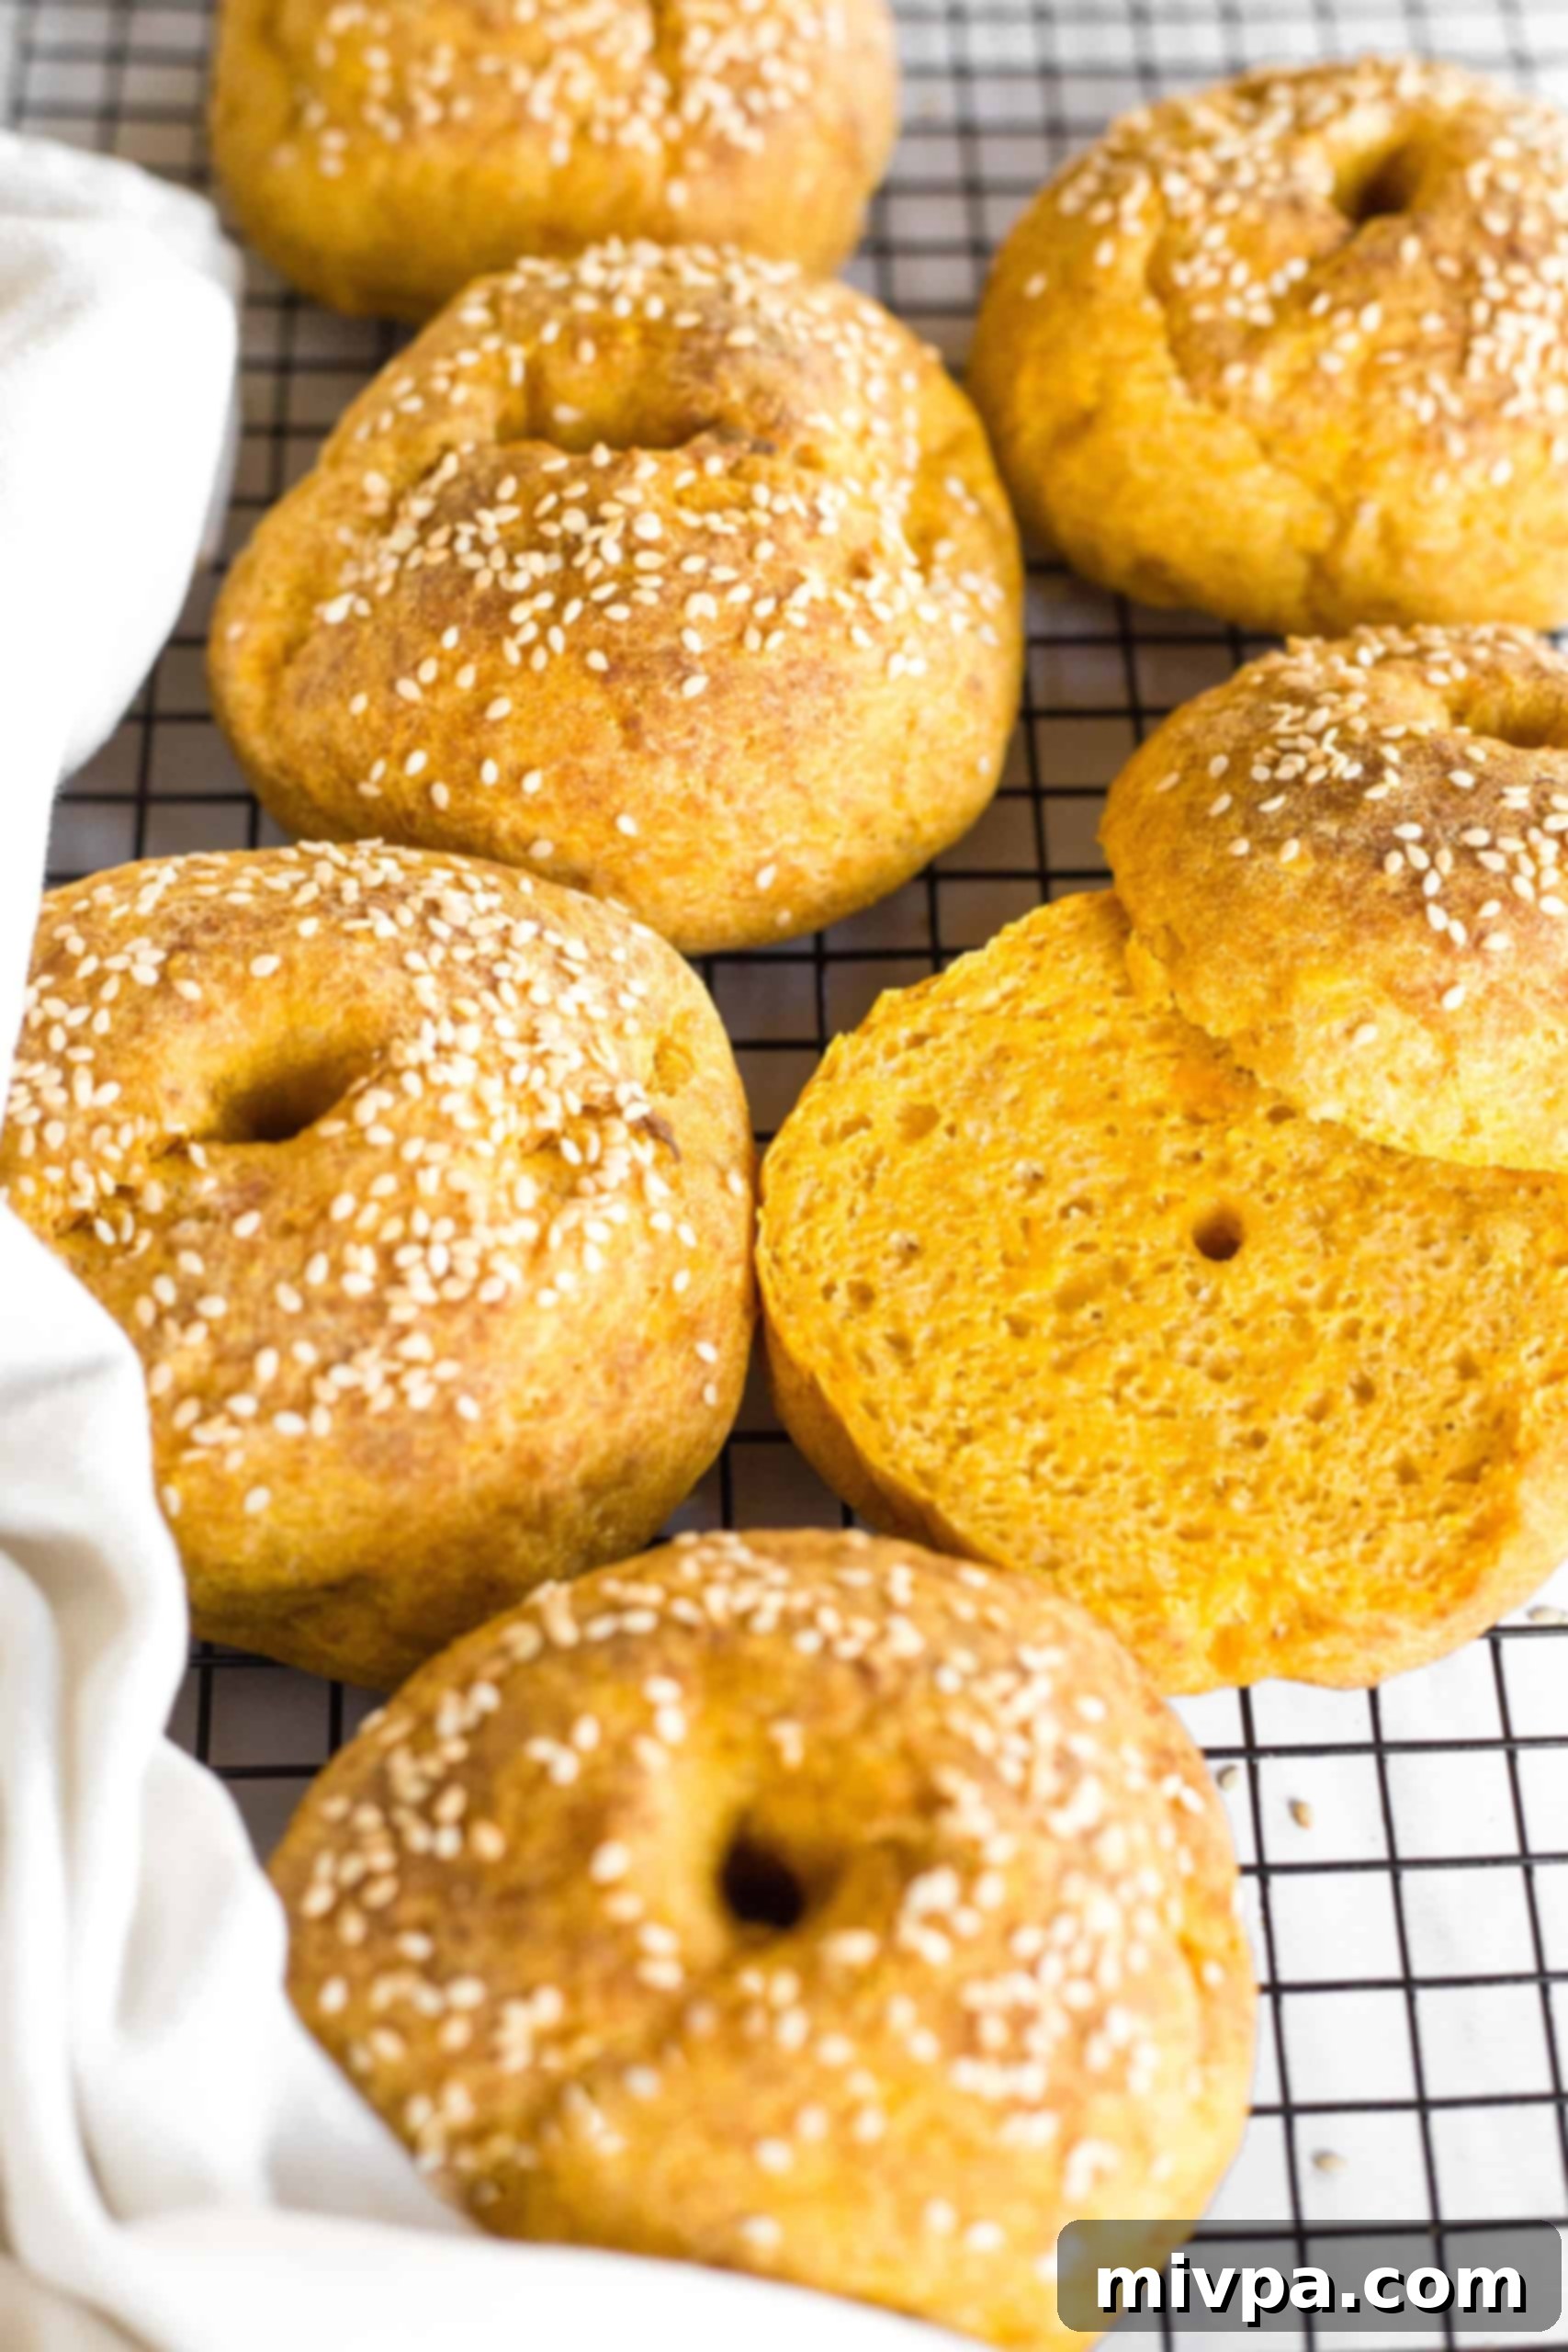
Why This Easy Gluten-Free Pumpkin Bagel Recipe Works:
- Simple, Accessible Ingredients: You’ll be delighted to find that all the ingredients required for these **gluten-free pumpkin bagels** are easily found at your local grocery store. There are no fancy, hard-to-find components; in fact, you likely have most of them in your pantry right now! This simplicity ensures that anyone can whip up a batch without stress.
- Effortless No-Boil Method: One of the biggest advantages of this recipe is its incredible ease of preparation. The dough comes together by simply mixing wet and dry ingredients – no tedious kneading required! After shaping the dough into perfect bagel forms and poking the signature holes, they just need to rise before baking. This revolutionary **no-boil bagel** method saves significant time and effort, making homemade bagels achievable even for novice bakers.
- Irresistibly Fluffy and Tender Texture: Prepare for a truly delicious experience. These pumpkin bagels boast a perfectly moist, tender, and light texture that stands out. Whether you prefer them lightly toasted, warmed in the microwave, or enjoyed fresh out of the oven, their delightful consistency makes them ideal for any occasion. They are truly versatile, perfect for breakfast, brunch, or a satisfying snack. Absolutely delicious!
- Completely Gluten-Free and Dairy-Free: We’ve taken care to make these bagels suitable for a wide range of dietary needs. Unlike traditional bagel recipes that often rely on wheat flour, milk, or butter, our homemade pumpkin bagels utilize a high-quality **gluten-free flour blend** and a non-dairy oil. This means they are 100% gluten-free and dairy-free. Individuals with Celiac disease, gluten sensitivities, or lactose intolerance can now indulge in these wonderfully flavorful bagels without any concerns or compromises on taste.
Essential Ingredients You’ll Need:
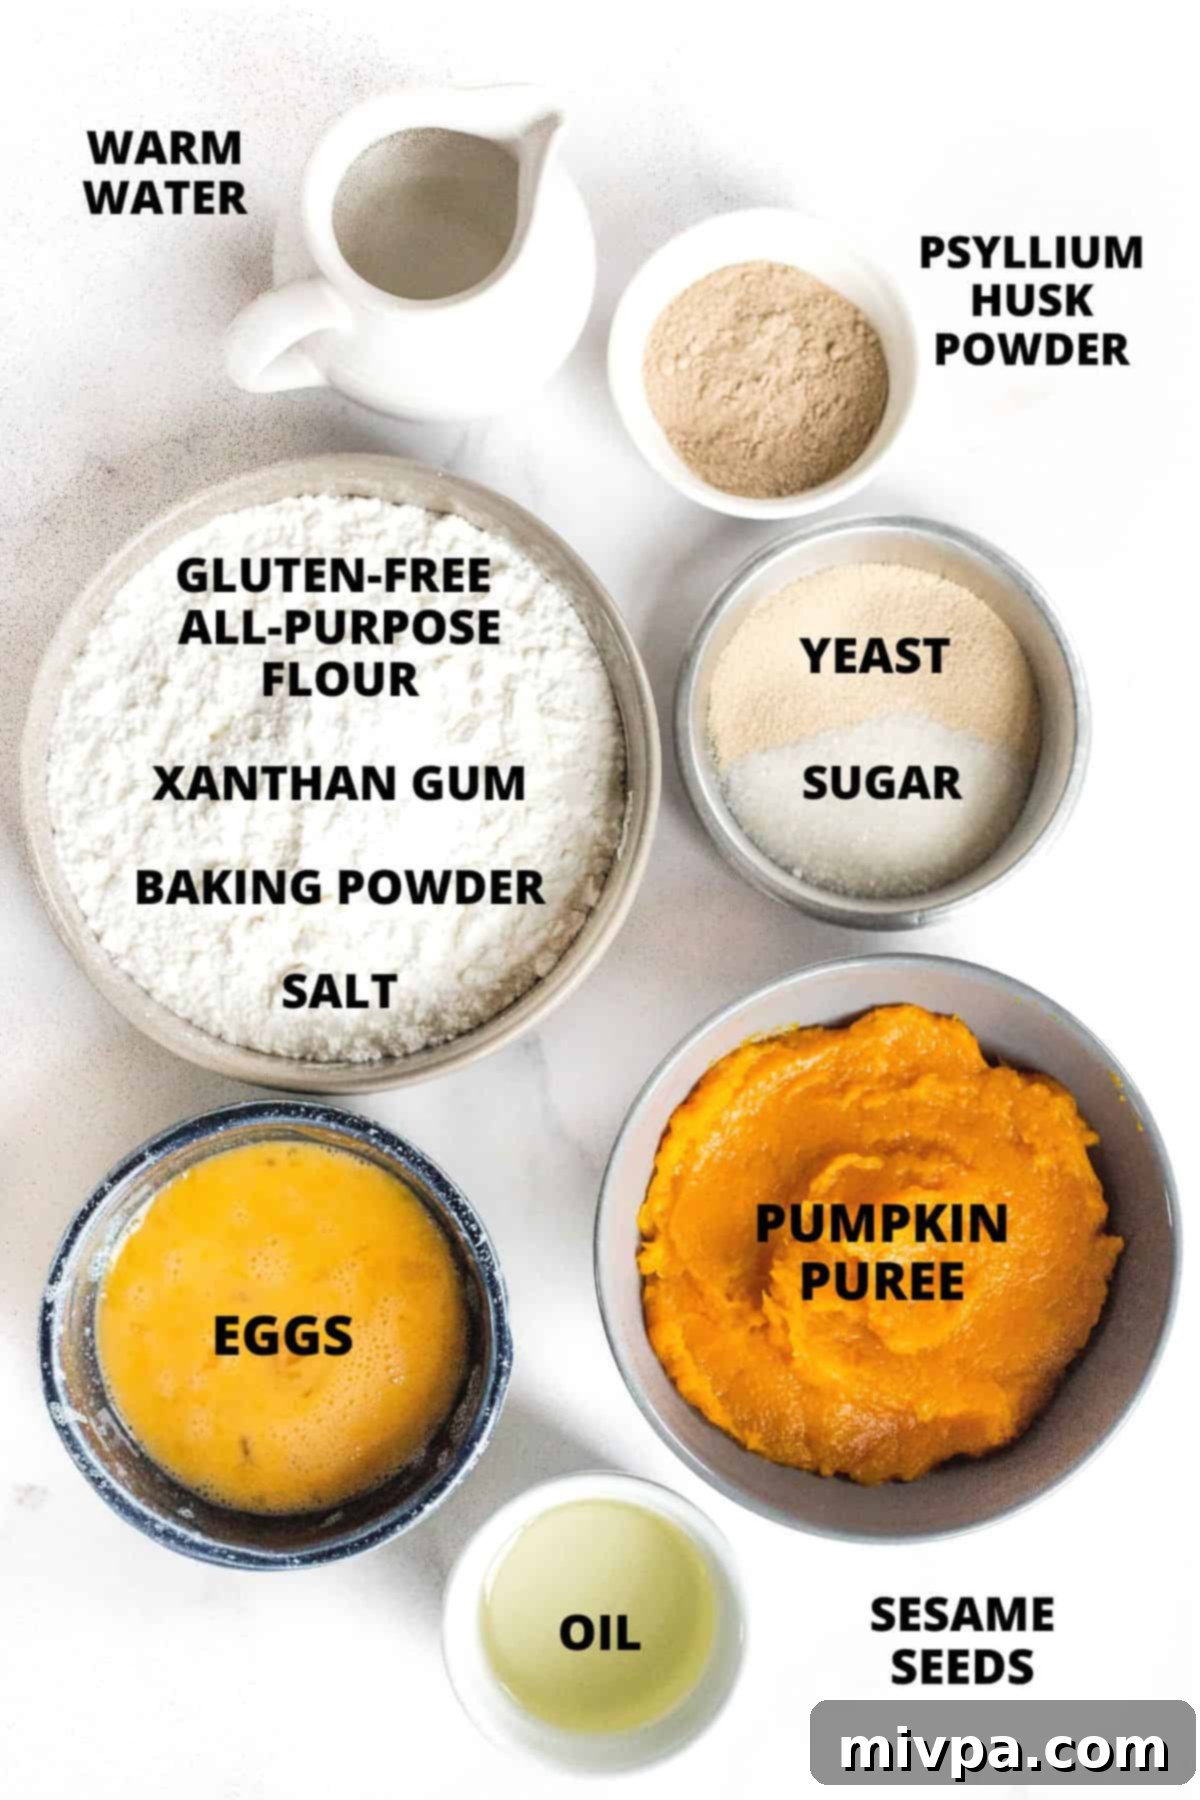
Here’s a helpful visual guide to the ingredients that will transform into your delicious batch of **gluten-free pumpkin bagels**. You’ll find these items are quite common, making your baking experience smooth and simple.
(For precise measurements and quantities, please refer to the detailed recipe card conveniently located at the very bottom of this post.)
Crafting Your Own Homemade Pumpkin Puree:
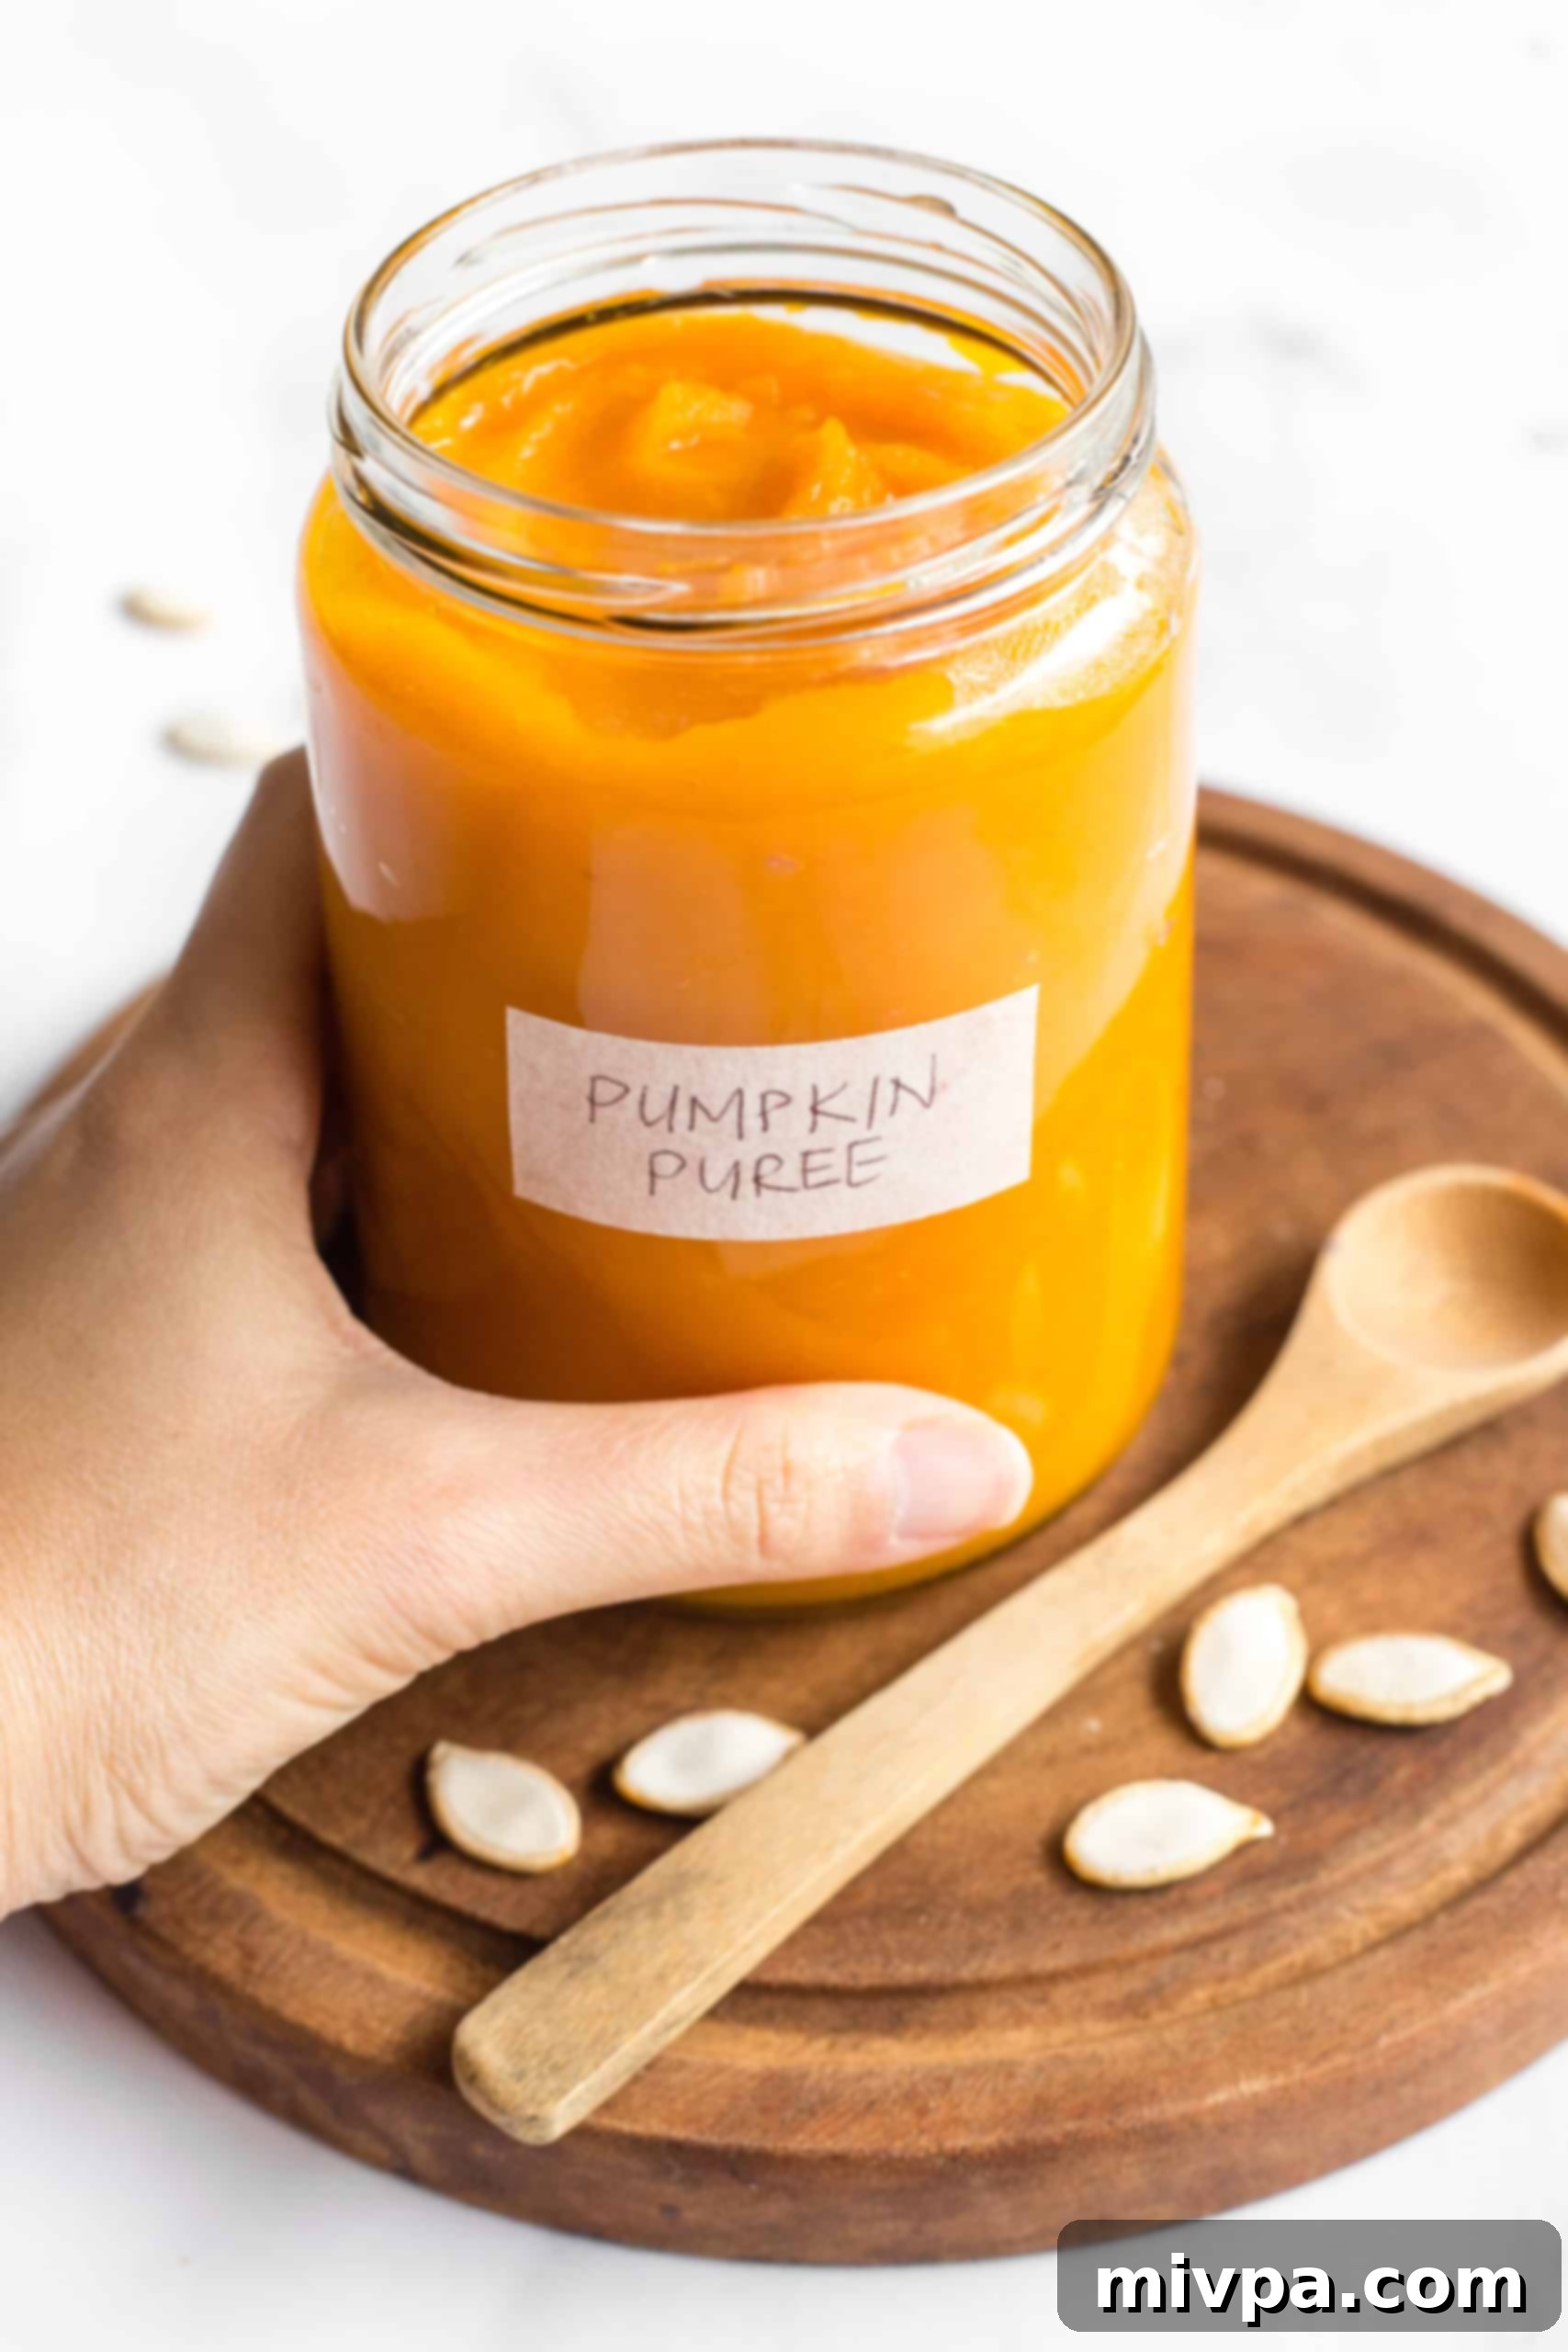
While canned pumpkin puree is readily available and works perfectly fine for this recipe, I highly recommend making your own homemade pumpkin puree, especially during the peak of fall. When pumpkins are abundant, a single large pumpkin can yield several jars of fresh, vibrant puree. There’s a noticeable difference in flavor and texture with homemade puree that truly elevates your baked goods. Once you experience baking with real, fresh pumpkin, you might find yourself never going back to the store-bought version! It’s incredibly easy to make, and you can follow my detailed tutorial on how to make your own pumpkin puree to guide you through the process.
Recipe Notes + Helpful Substitutions for Your Gluten-Free Bagels:
- Gluten-Free All-Purpose Flour Blend: The type of gluten-free flour you use significantly impacts the final texture of your bagels. For the best results – a lighter and fluffier outcome – I strongly recommend using a high-quality gluten-free all-purpose flour blend. Look for blends that primarily feature lighter flours and starches, such as rice flour, tapioca starch, corn starch, or potato starch. Conversely, avoid blends that contain heavier flours like garbanzo bean flour, as these can result in a denser, less desirable texture in your bagels.
- Xanthan Gum: This ingredient is crucial in gluten-free baking. Xanthan gum acts as a replacement for gluten, providing elasticity and helping the ingredients bind together, which is essential for the structure of bagels. Always check your chosen gluten-free flour blend; if it doesn’t already include xanthan gum, ensure you add it separately as specified in the recipe.
- Psyllium Husk Powder: In my experience, psyllium husk powder is a game-changer for gluten-free baked goods, particularly in this bagel recipe. It significantly improves the dough’s binding power and provides vital structure, allowing the bagels to rise effectively and maintain their classic shape during and after baking. Make sure you use the powdered form for consistent results. If you only have whole psyllium husks, you can easily grind them into a fine powder using a coffee grinder or a high-speed blender.
- Instant Yeast: I prefer using instant yeast for its convenience, as it doesn’t require a separate activation period. You can simply mix it directly with the other dry ingredients. If you only have active dry yeast, you’ll need to activate it first: combine the yeast with the warm water and a pinch of sugar, then let it sit in a warm spot for about 5 minutes until it becomes foamy. This indicates the yeast is alive and active.
- Sugar: Sugar plays a vital role beyond just sweetness; it serves as “food” for the yeast, activating it and enabling it to produce the carbon dioxide gases necessary for the dough to rise. While white sugar works perfectly, feel free to experiment with other granulated sugars such as light brown sugar, dark brown sugar, or coconut sugar to add subtle variations in flavor.
- Baking Powder: Working in conjunction with the yeast, the addition of baking powder provides an extra lift to the dough, contributing to the bagels’ fluffy texture. For those with Celiac disease or gluten intolerance, always ensure you use certified gluten-free baking powder to maintain the integrity of the recipe.
- Pumpkin Puree: The heart of these delicious pumpkin bagels! During fall, I love using fresh homemade pumpkin puree for its superior flavor and freshness. However, high-quality canned pumpkin puree (ensure it’s 100% pumpkin, not pie filling) is a convenient and excellent alternative. For a different flavor profile, you can also substitute the pumpkin puree with equal amounts of butternut squash puree or sweet potato puree.
- Eggs: Eggs are essential for binding the ingredients together, providing structure and richness to the dough. I highly recommend including them. If you have an egg allergy, you can try using aquafaba (the liquid from a can of chickpeas) or a commercial egg-replacer. (Please note: I haven’t personally tested this recipe without eggs, so if you do try an egg-free version, I’d be very grateful if you could share your results in the comments below!)
- Warm Water: The temperature of your water is critical for yeast activation. It should be comfortably warm to the touch, ideally between 105°F and 115°F (40°C to 46°C). Water that’s too cold won’t activate the yeast, while water that’s too hot will kill it, preventing the dough from rising. You can also use warm unsweetened non-dairy milk (such as almond milk, cashew milk, rice milk, soy milk, or oat milk) for a richer flavor. If you don’t have lactose intolerance, regular cow’s milk can also be used.
- Sunflower Oil: I typically use sunflower oil as it’s a staple in my kitchen. However, feel free to substitute with other neutral-flavored vegetable oils like light olive oil, avocado oil, or melted coconut oil (ensure it’s melted before adding). If dairy is not an issue for you, melted butter or ghee can also be used for a rich, buttery flavor.
- Sesame Seeds: I love the visual appeal and subtle crunch that white sesame seeds add to these bagels, offering a beautiful contrast in both color and texture. But don’t limit yourself! Feel free to customize your bagels with other favorite toppings such as black sesame seeds, poppy seeds, or even chopped pumpkin seeds for an extra autumnal touch.
How to Make Gluten-Free Pumpkin Bagels (Step by Step Guide)
1. Prepare Your Baking Sheet
Begin by lining a large baking sheet with either parchment paper or a silpat. This crucial step prevents your delicious bagels from sticking and ensures easy removal after baking.
2. Whisk Dry Ingredients Together
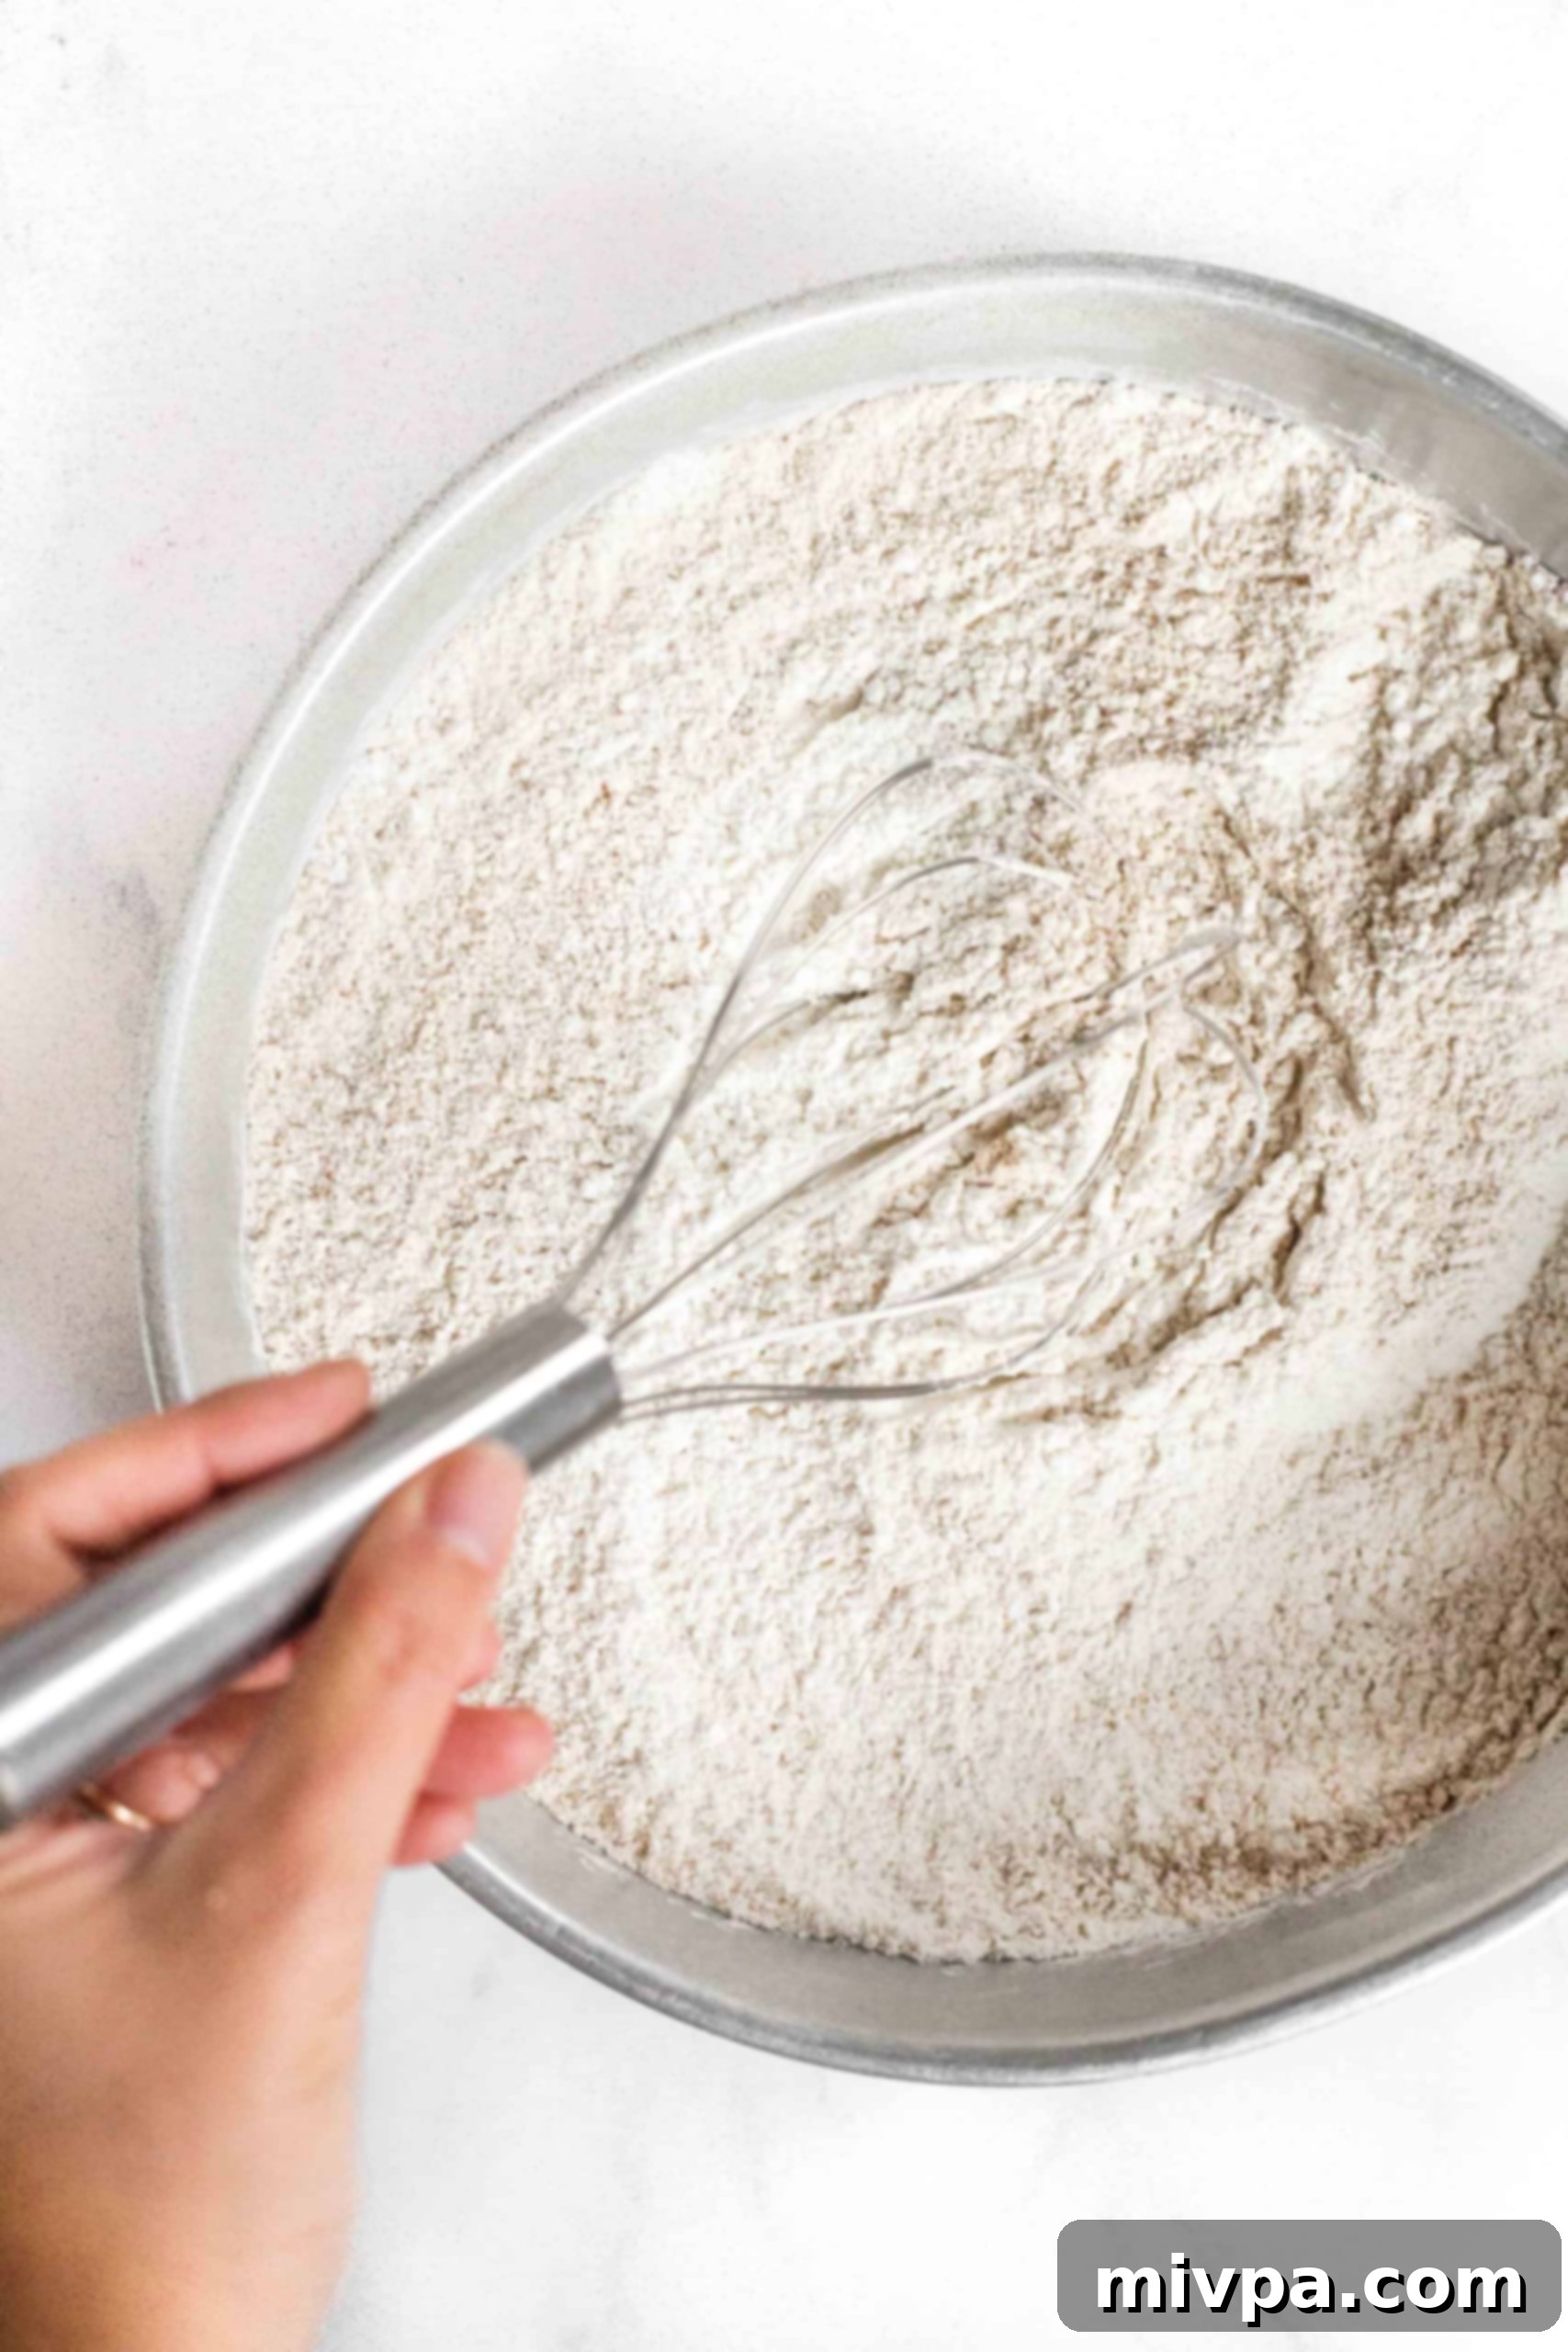
In a spacious mixing bowl, sift together the gluten-free all-purpose flour, xanthan gum, psyllium husk powder, instant yeast, sugar, baking powder, and salt. Sifting helps to aerate the flour and ensures all dry ingredients are thoroughly combined, preventing any clumps.
3. Process Pumpkin Puree and Eggs
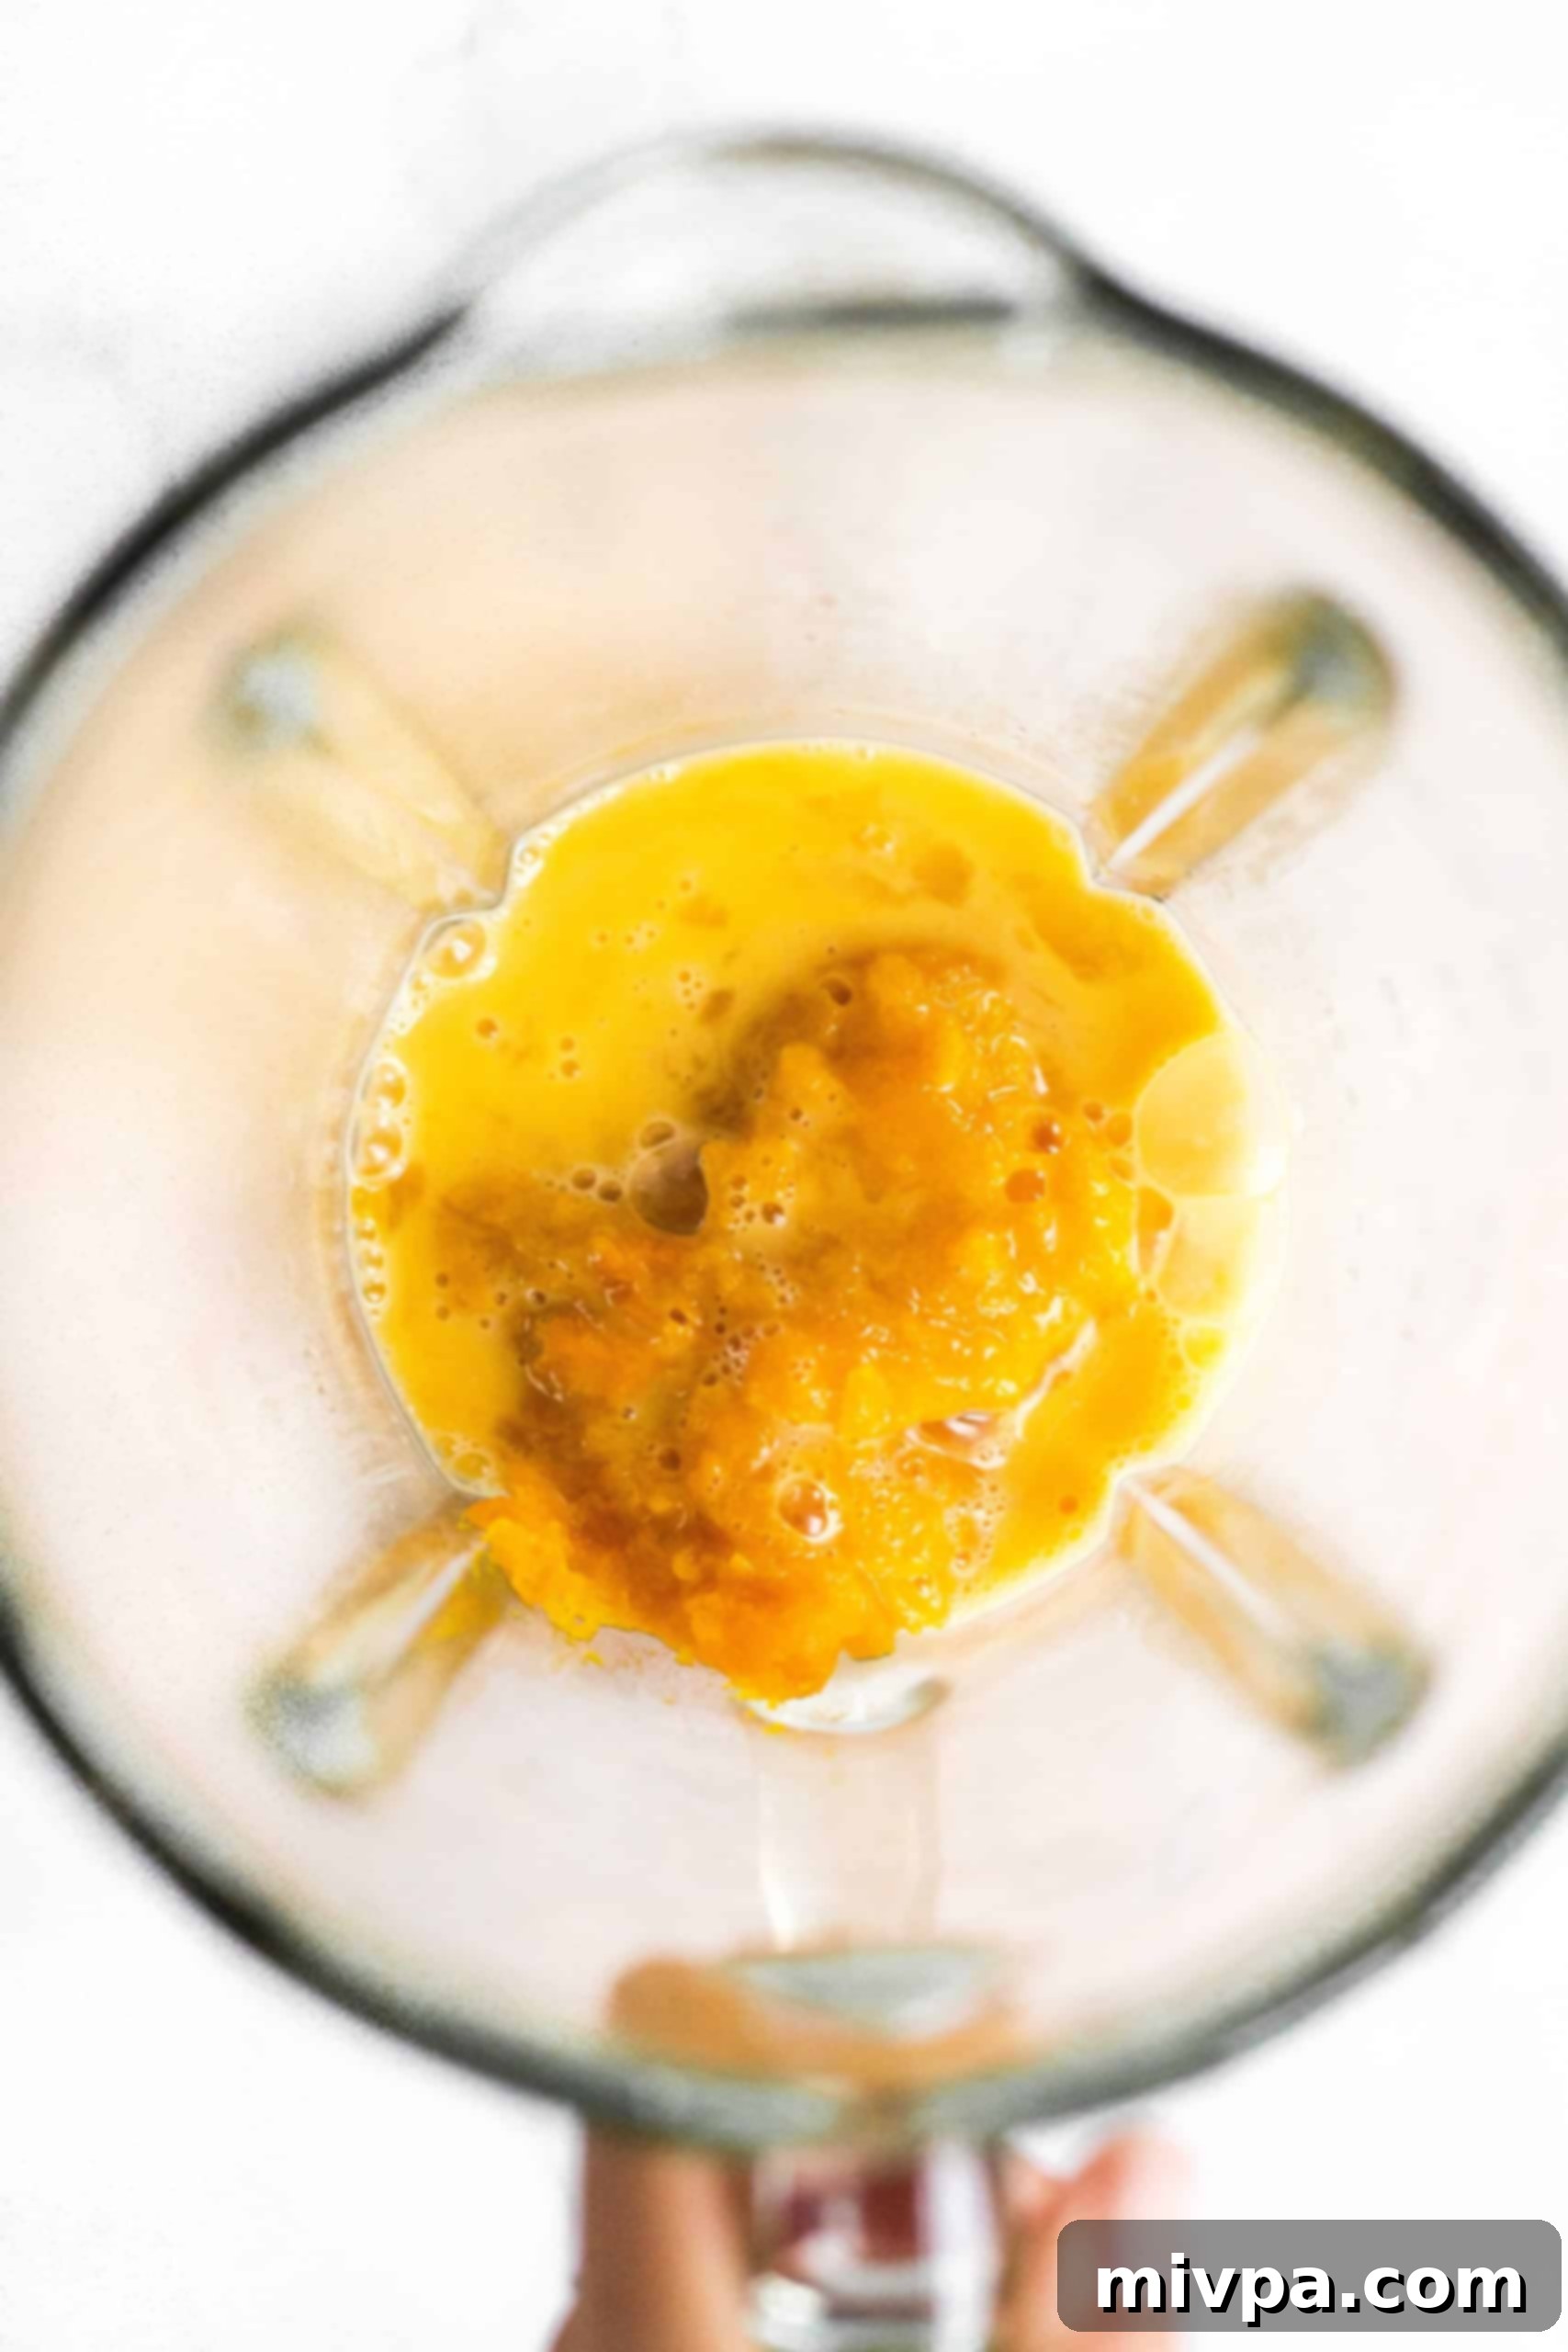
Combine the pumpkin puree and eggs in the bowl of a high-speed blender or food processor. Blend until the mixture is completely smooth and uniform. If you don’t have these appliances, you can achieve a smooth consistency by whisking the pumpkin puree and eggs vigorously by hand.
4. Integrate Water and Oil
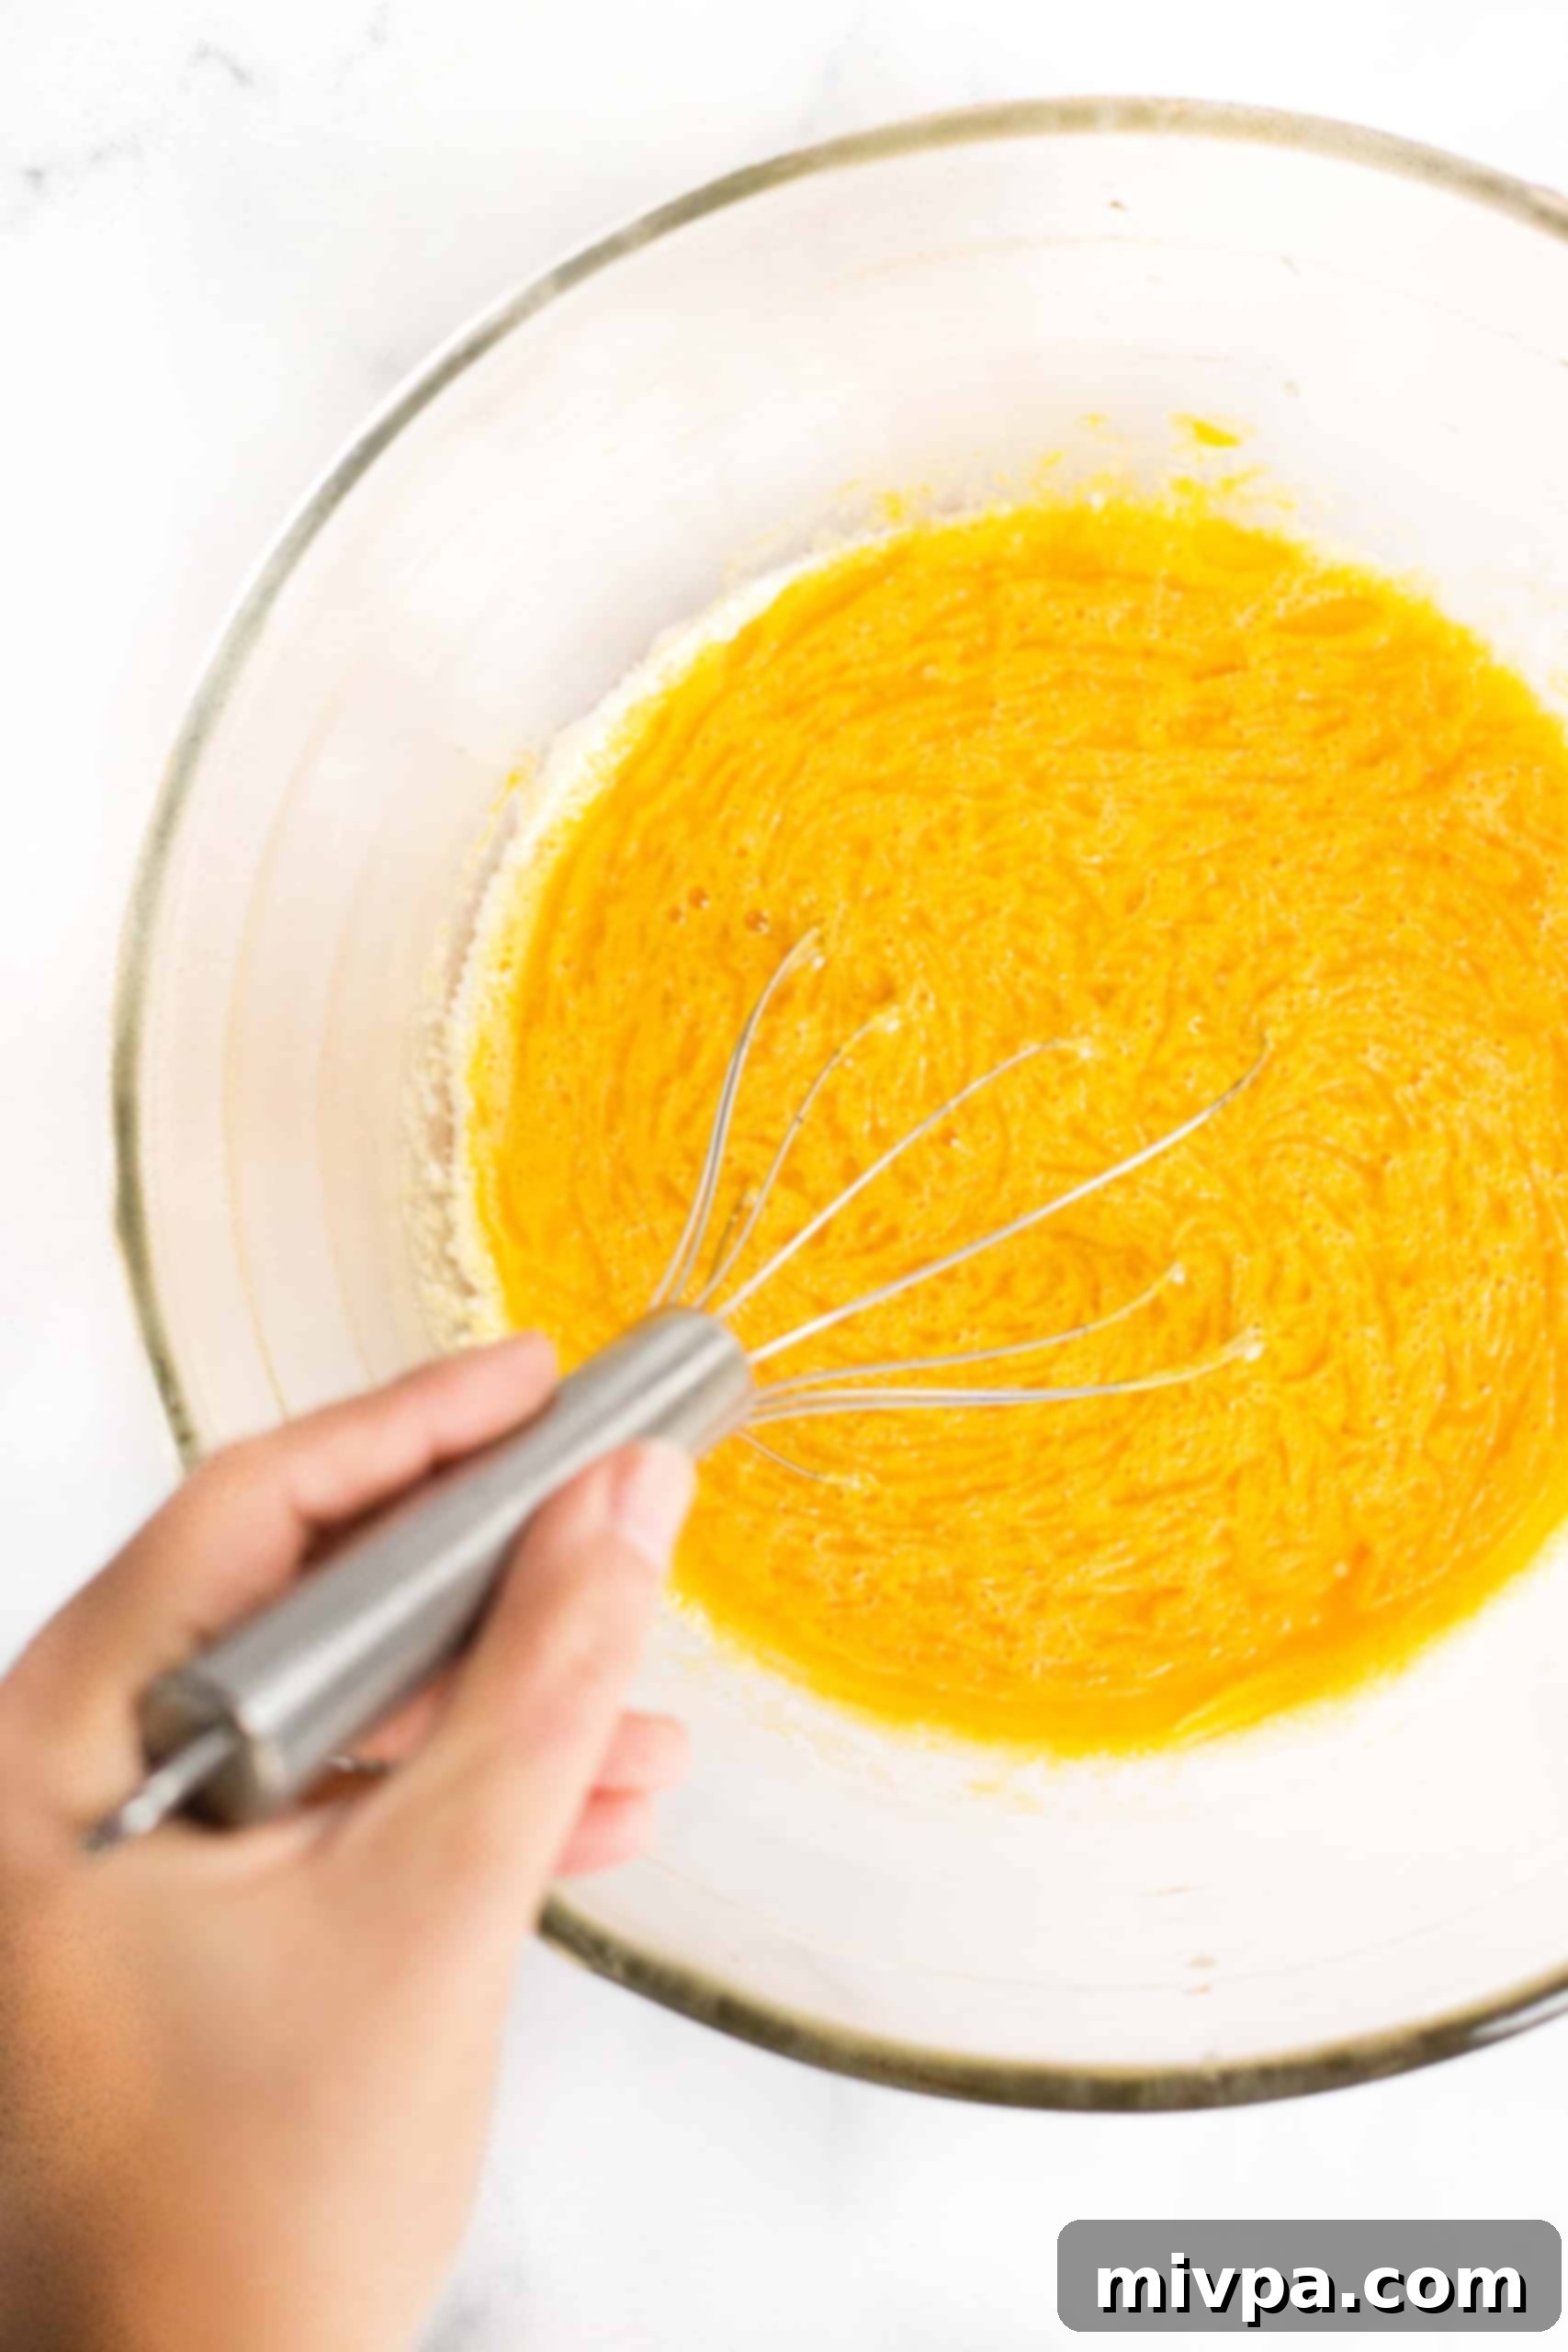
Transfer the pumpkin-egg mixture to another large bowl. Add the warm water and sunflower oil. Mix thoroughly until all the liquid ingredients are well combined, creating a homogeneous, vibrant orange liquid mixture.
5. Combine Wet and Dry Ingredients to Form Dough
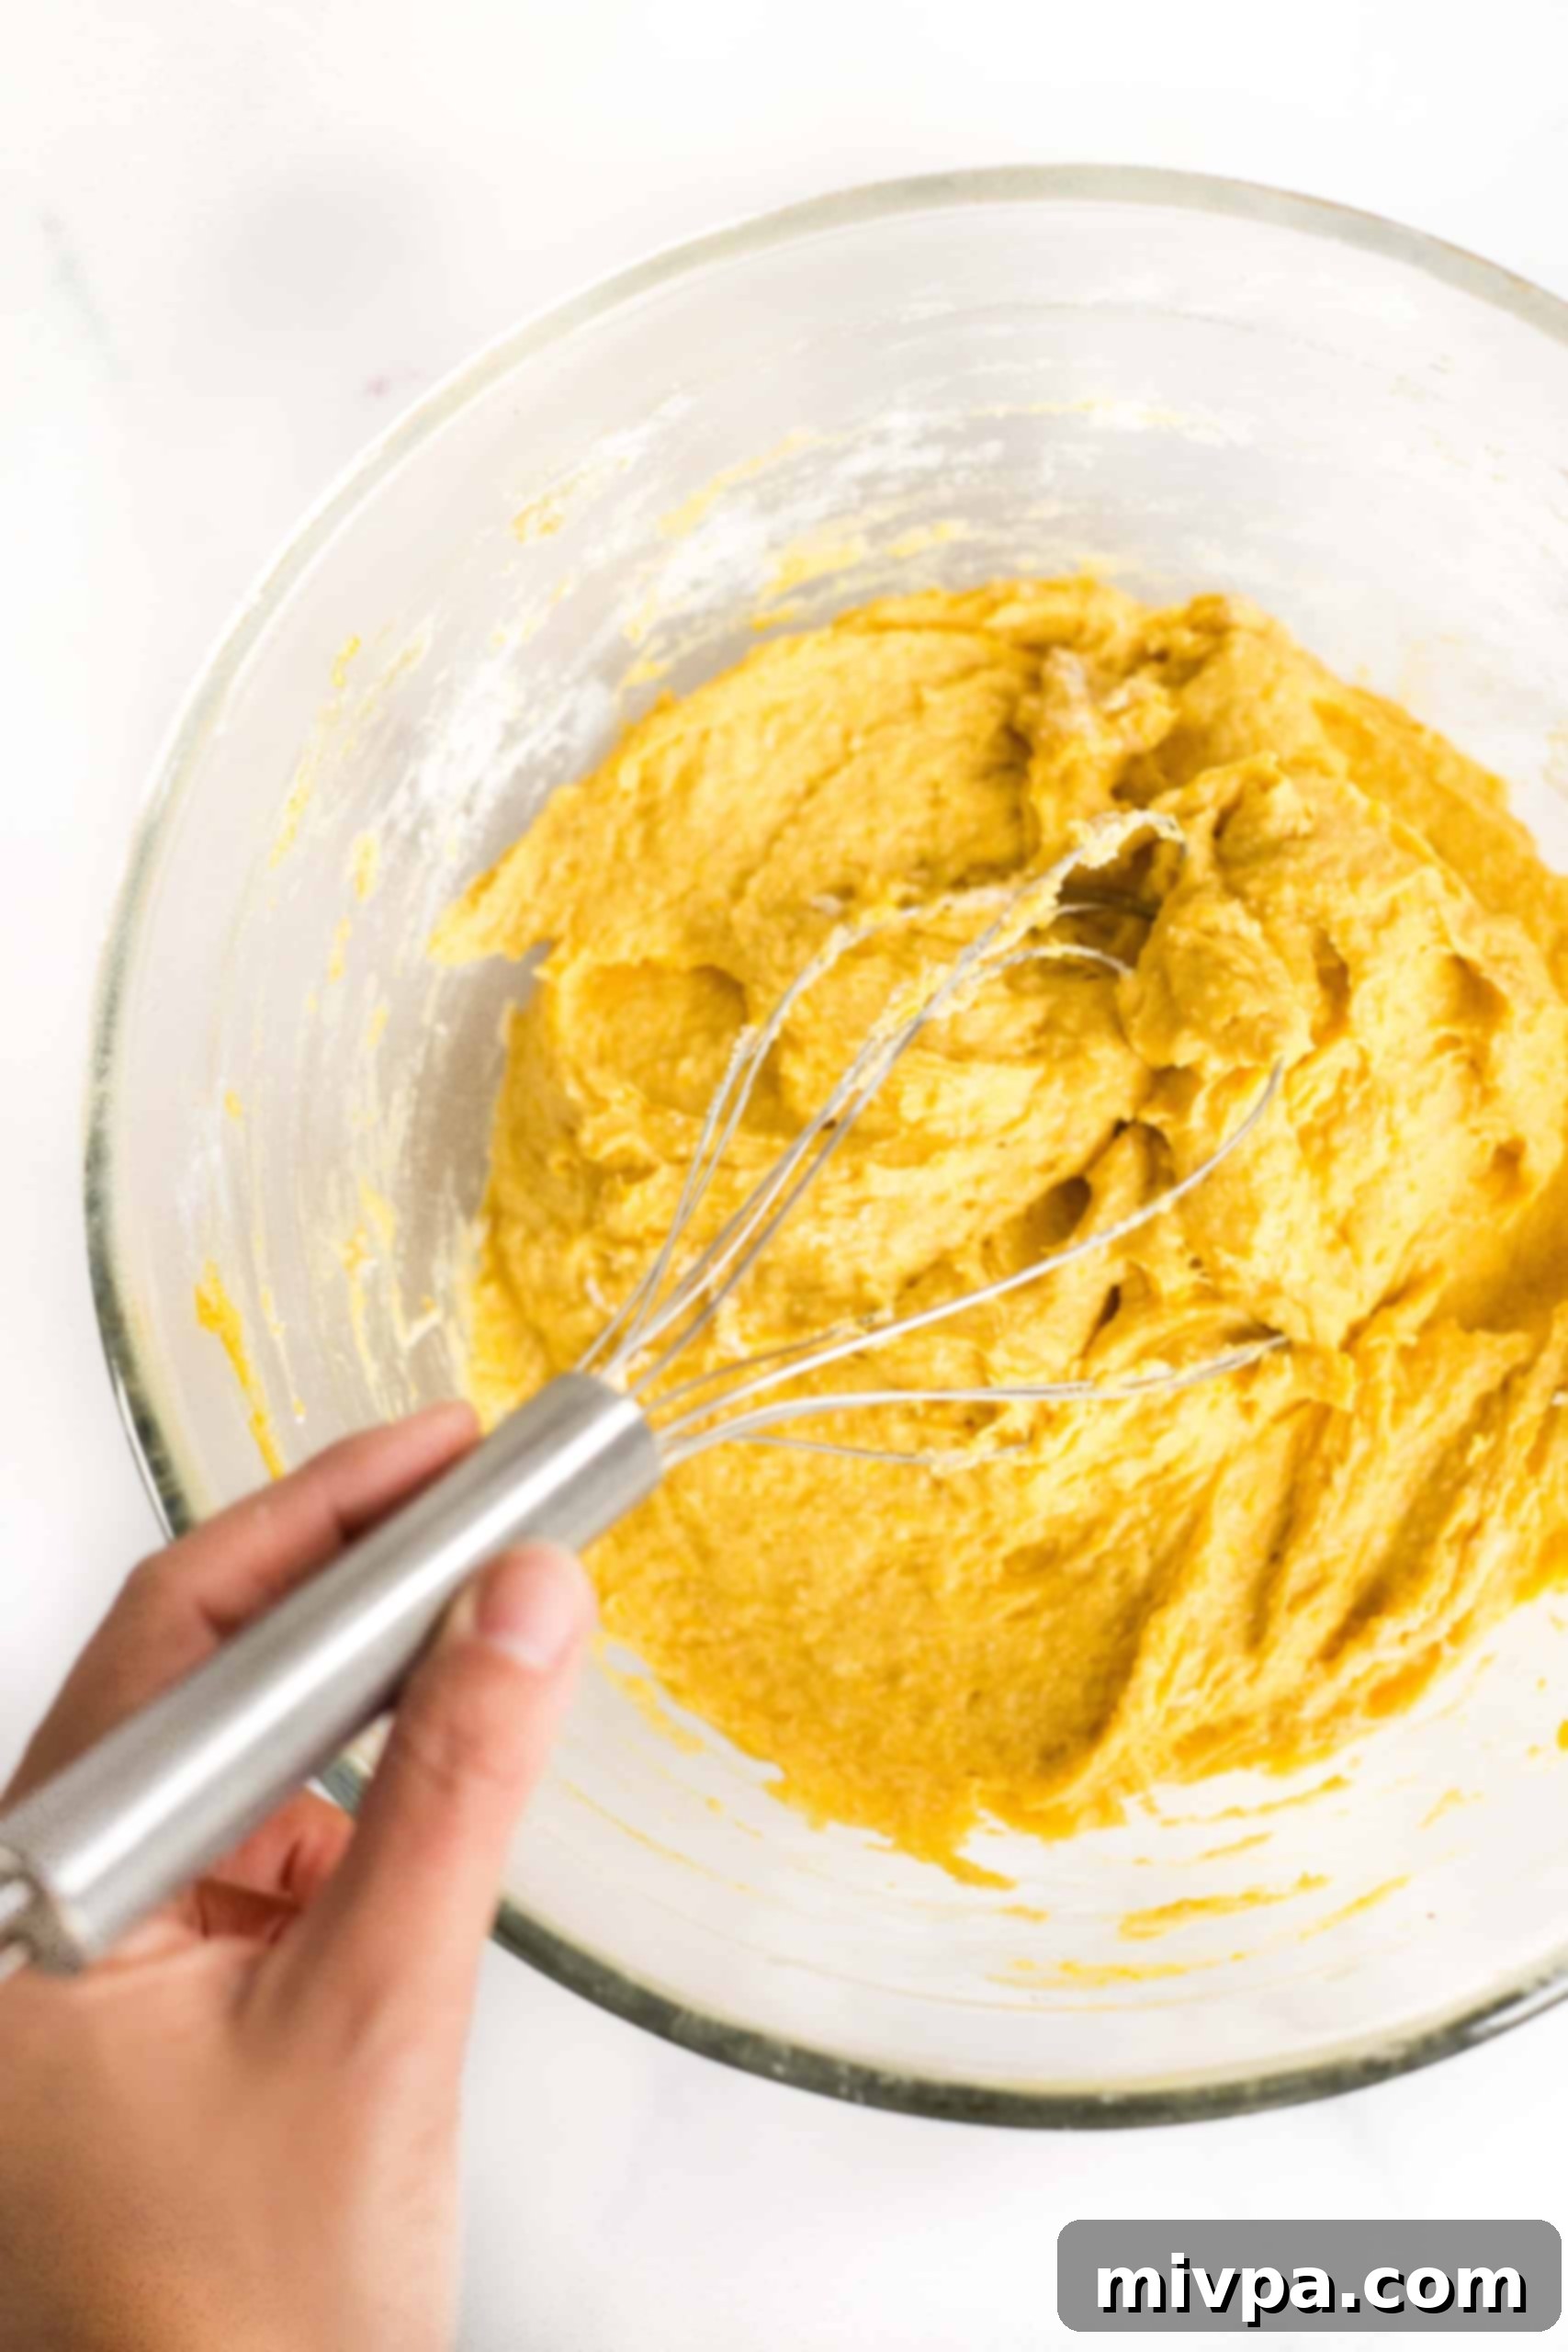
Pour the previously whisked dry ingredients into the bowl containing the wet ingredients. Mix everything together meticulously until a uniform, cohesive orange-yellow dough forms. The dough will be soft but manageable.
6. Form Dough Balls
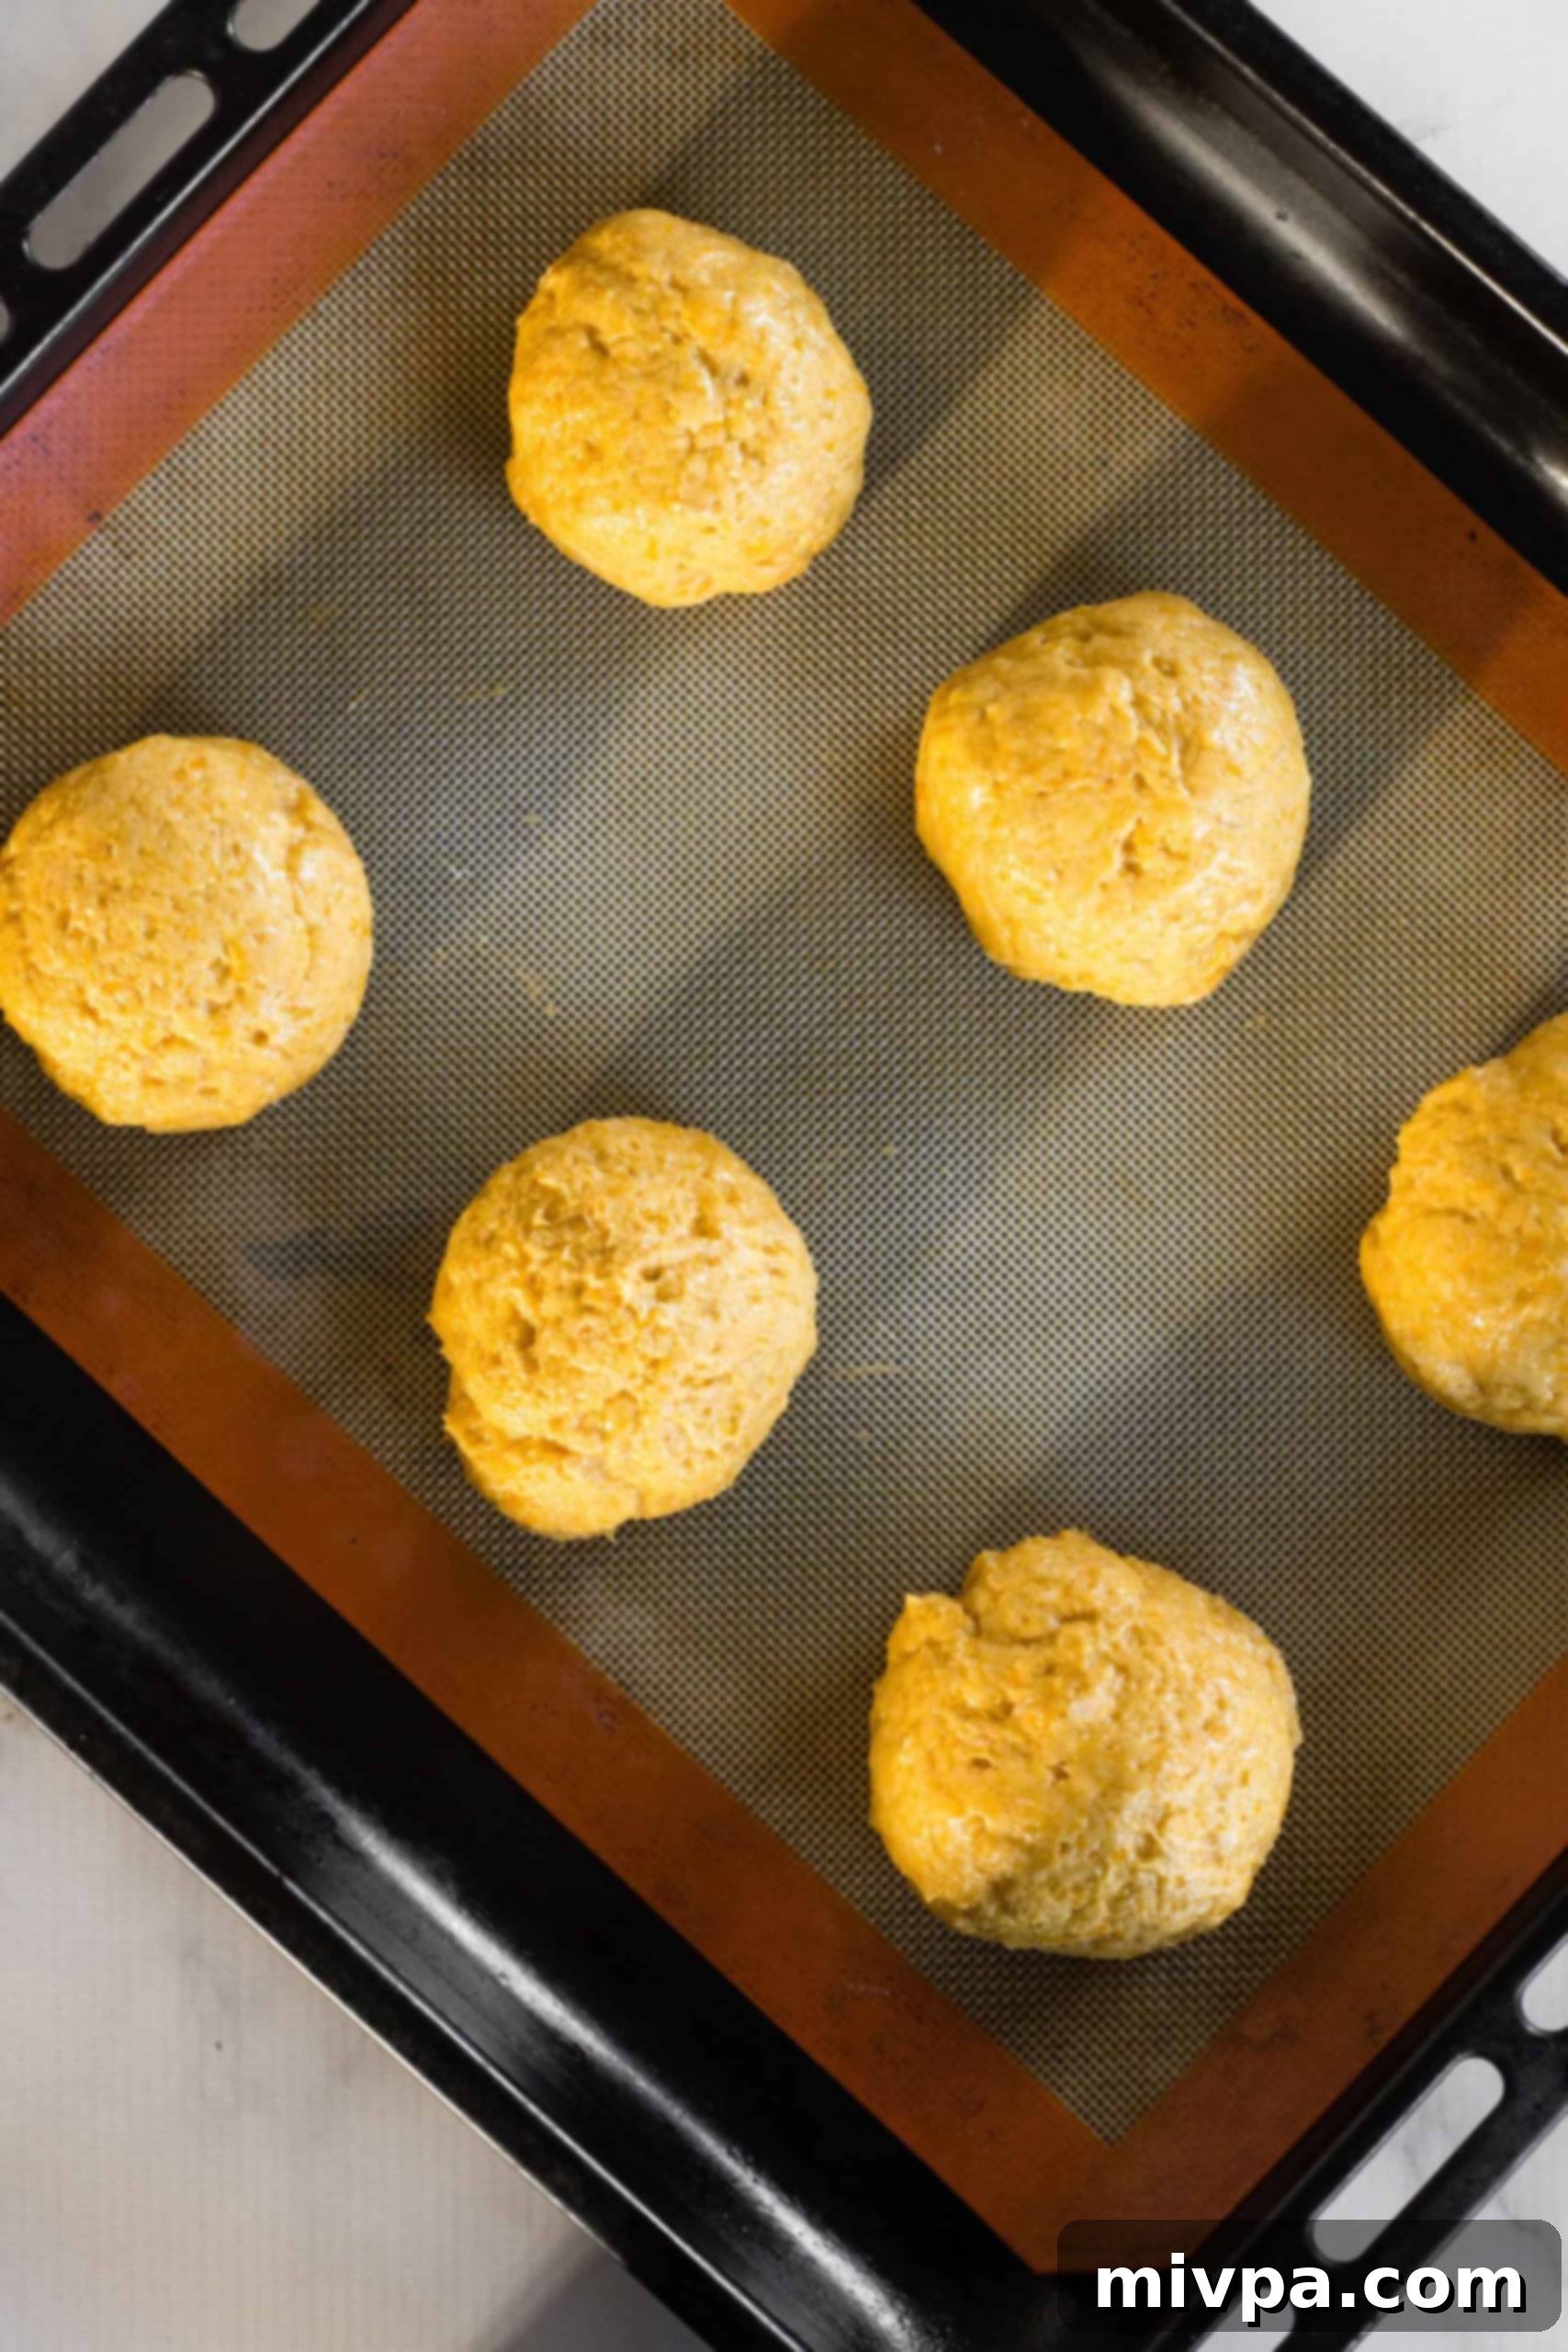
Using a large ice cream scoop or a cookie scoop for consistent sizing, portion out the dough into approximately 6 large balls. Lightly oil your palms to prevent sticking, then gently roll each portion into a smooth, round ball.
7. Arrange Dough Balls on Baking Sheet
Carefully place the formed dough balls onto the prepared baking sheet, ensuring they are evenly spaced apart to allow for proper rising and airflow during baking.
8. Create Bagel Holes
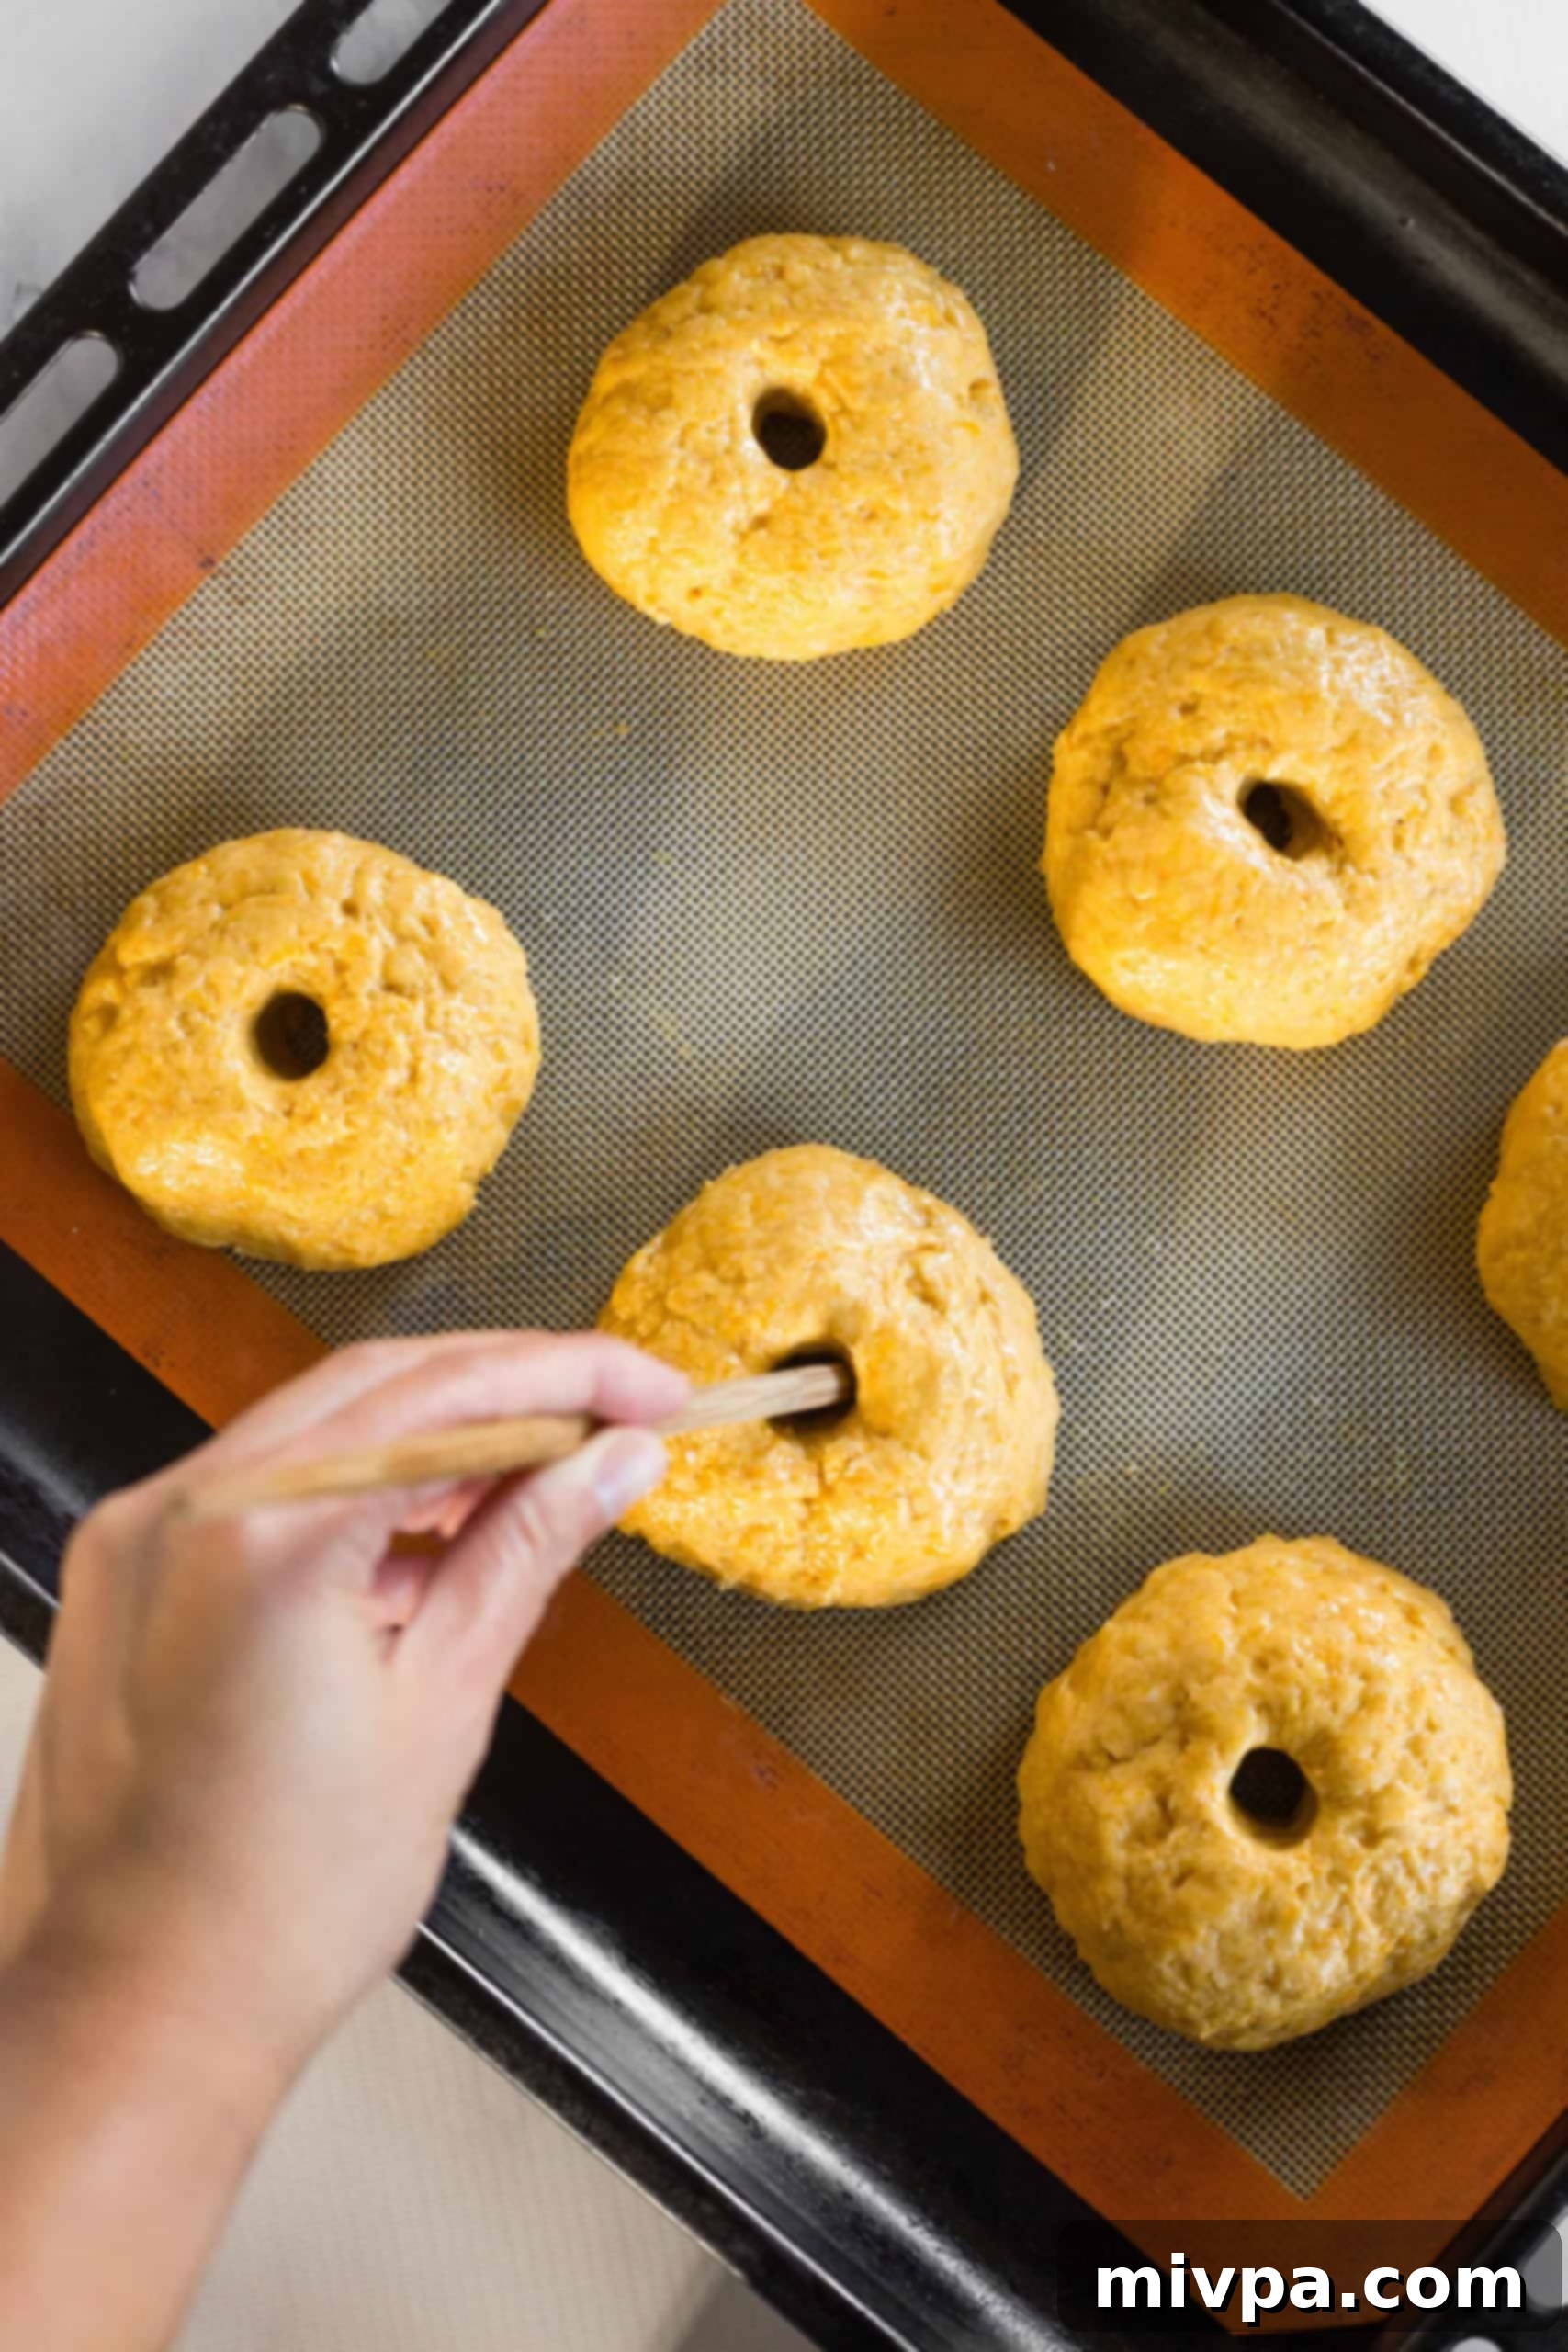
With an oiled chopstick or your oiled finger, gently poke a hole directly in the center of each dough ball. Carefully enlarge the hole slightly to form the characteristic bagel shape. Oiling your tool prevents the dough from sticking.
9. Allow Dough to Rise
Once the bagels are shaped, place the baking sheet in a warm, draft-free environment for approximately 1 hour to allow the dough to rise. While gluten-free dough won’t typically double in size like traditional wheat dough, you will notice a slight increase. As the rising time draws to a close, preheat your oven to 350°F (180°C).
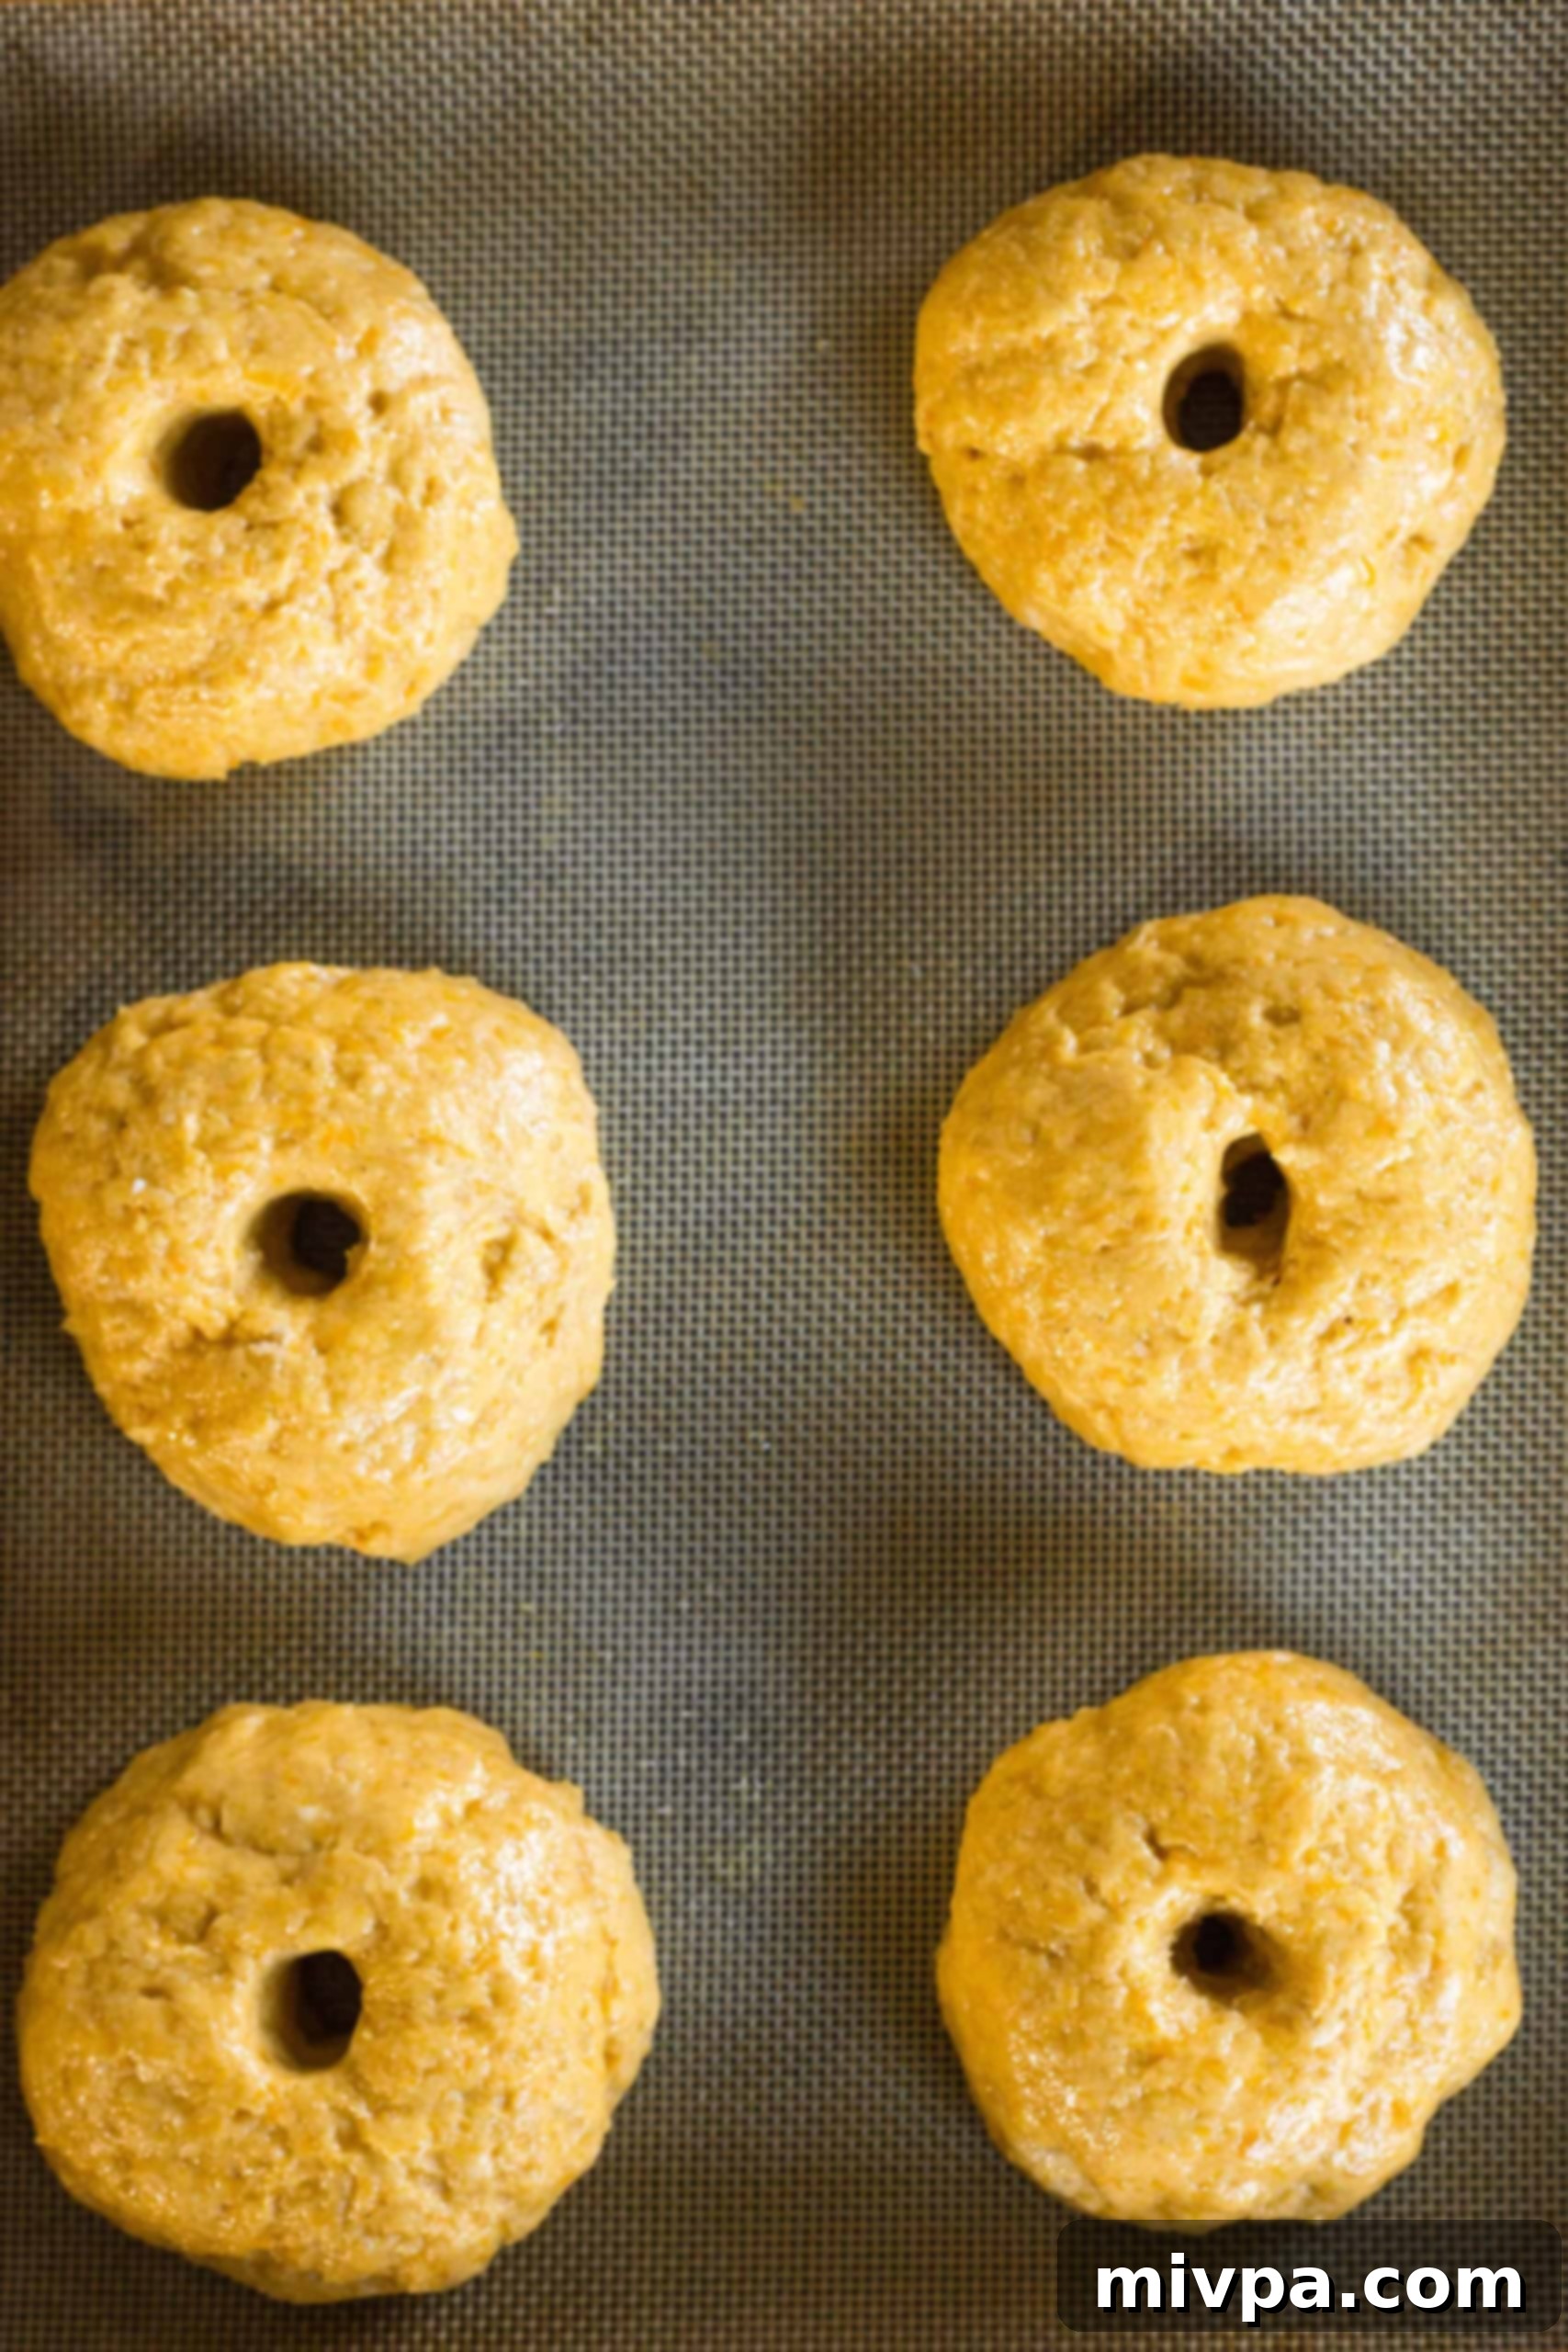
10. Brush Bagels with Oil
After the dough has completed its rise, lightly brush the tops of each bagel with a small amount of oil. This will help them achieve a beautiful golden-brown crust during baking and adds a touch of moisture.
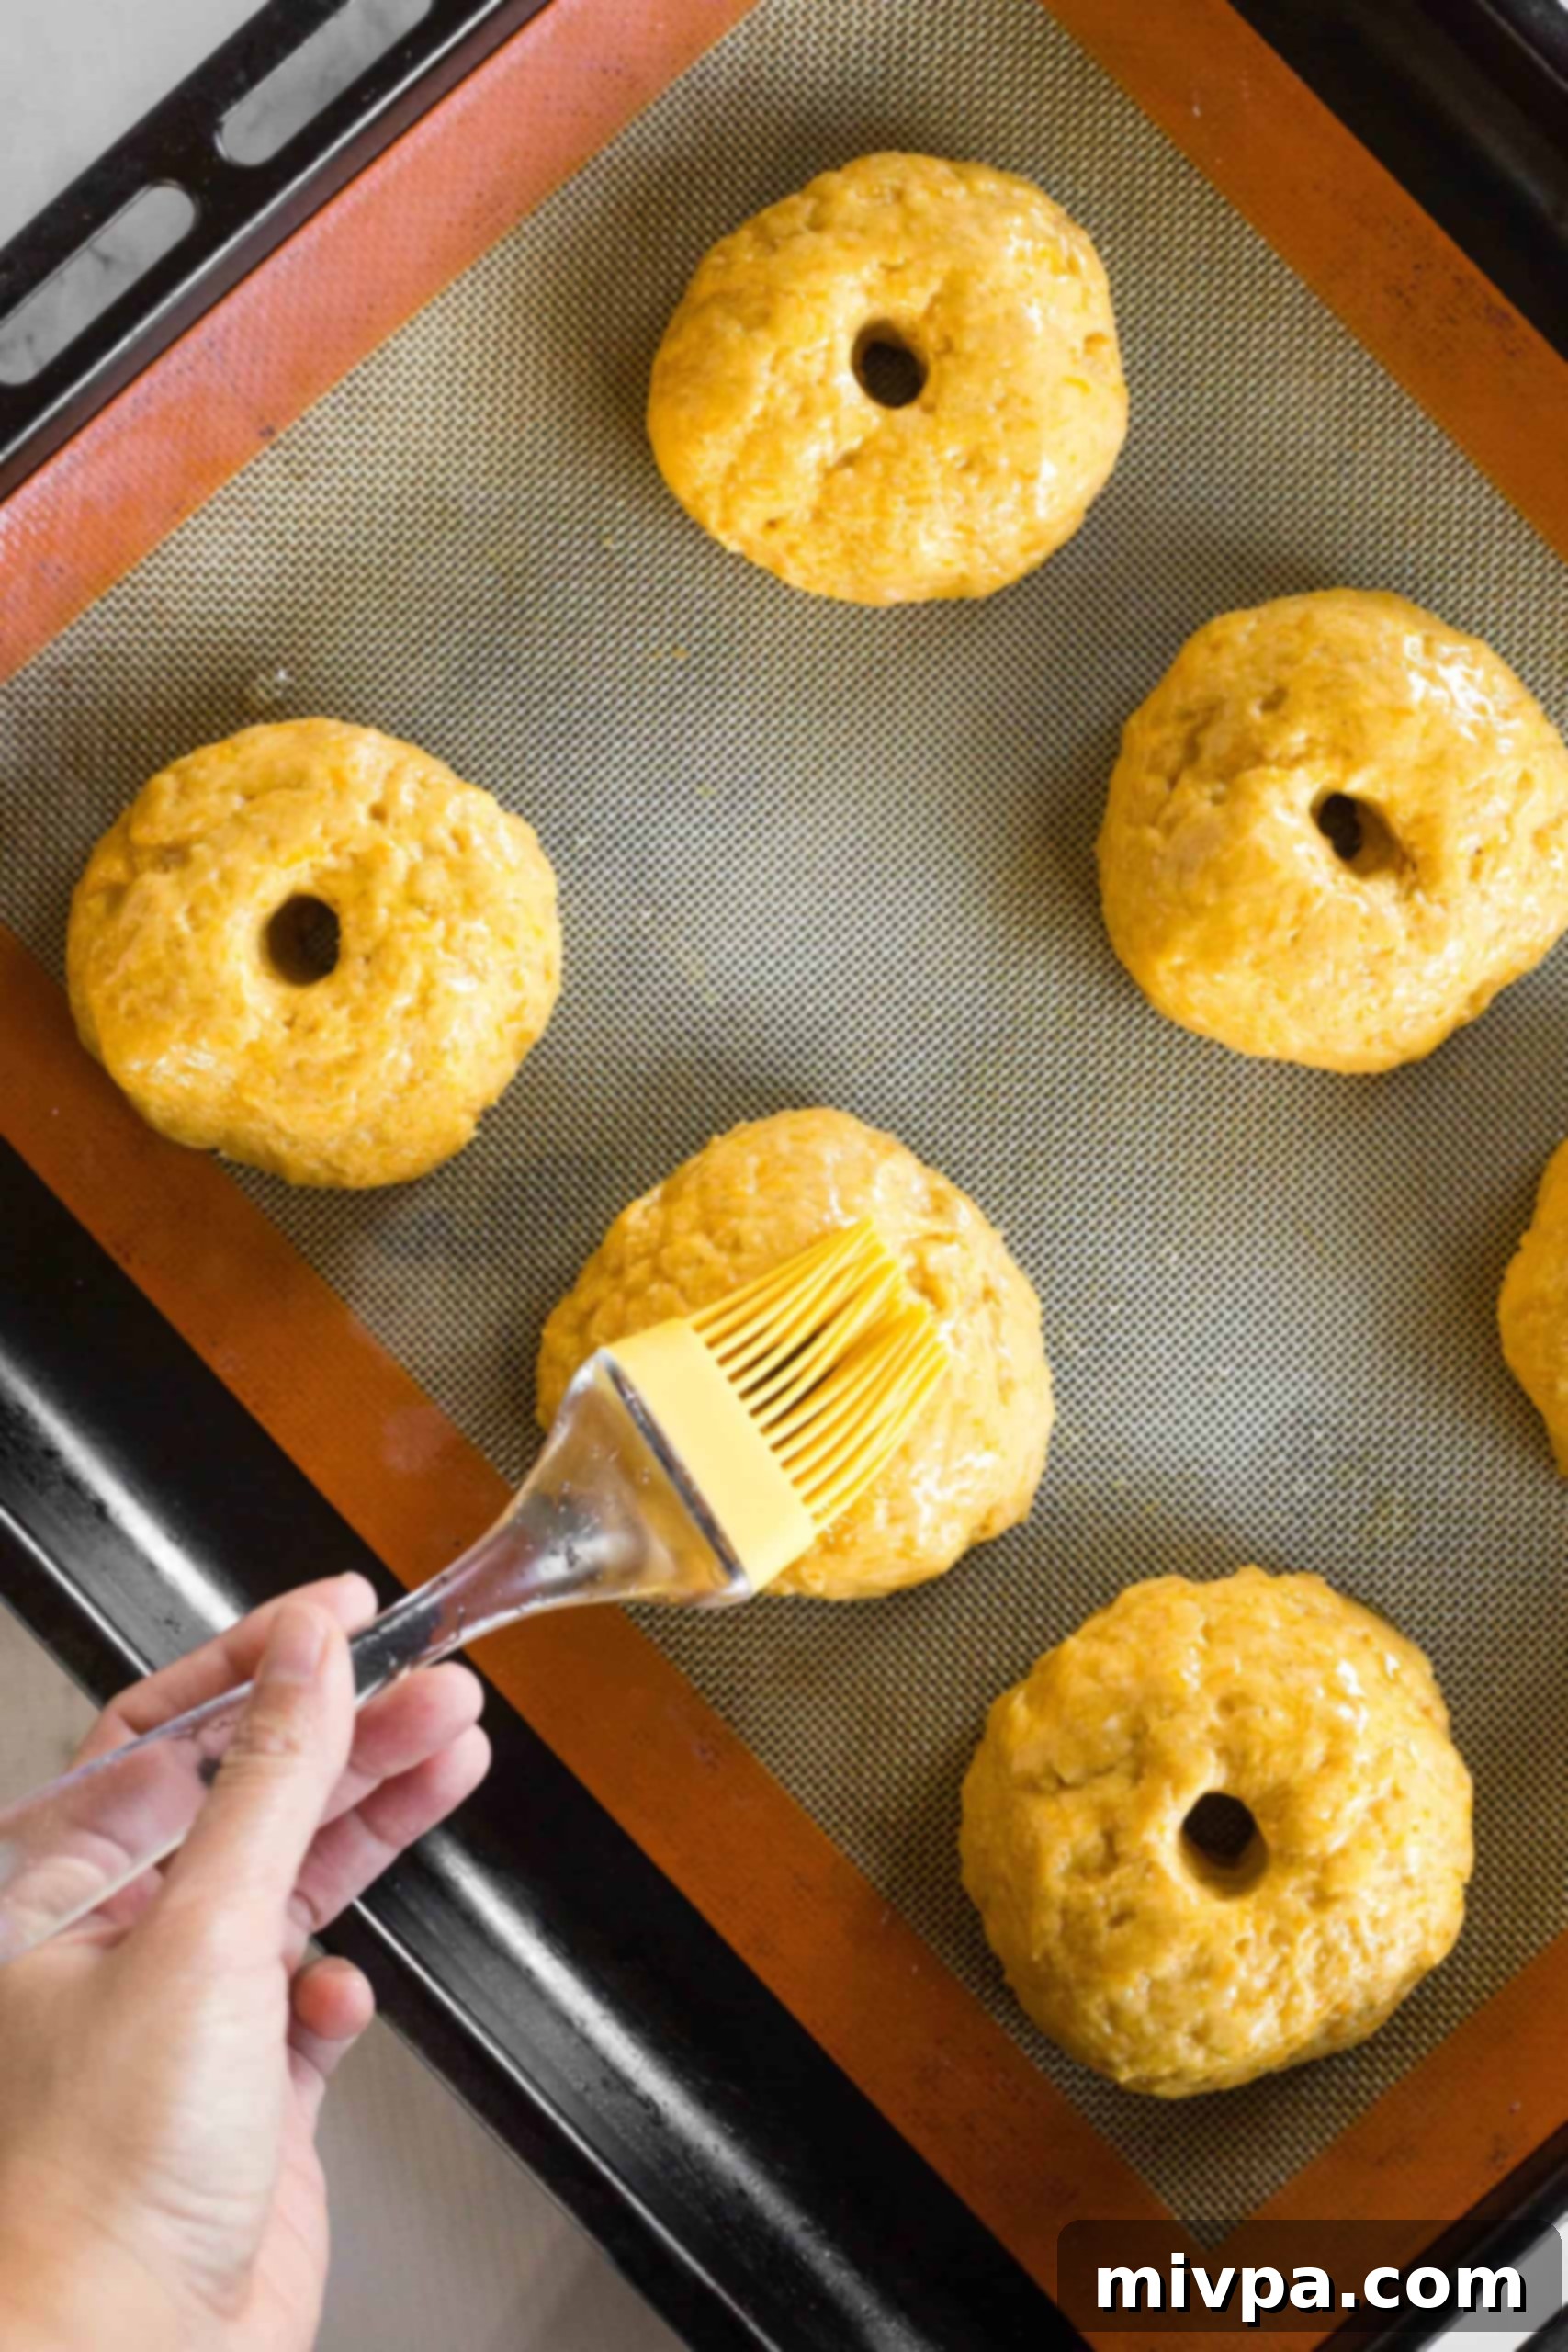
11. Sprinkle with Sesame Seeds
Generously sprinkle white sesame seeds (or your topping of choice) evenly over the top surface of each bagel. This adds a lovely texture and a classic bagel aesthetic.
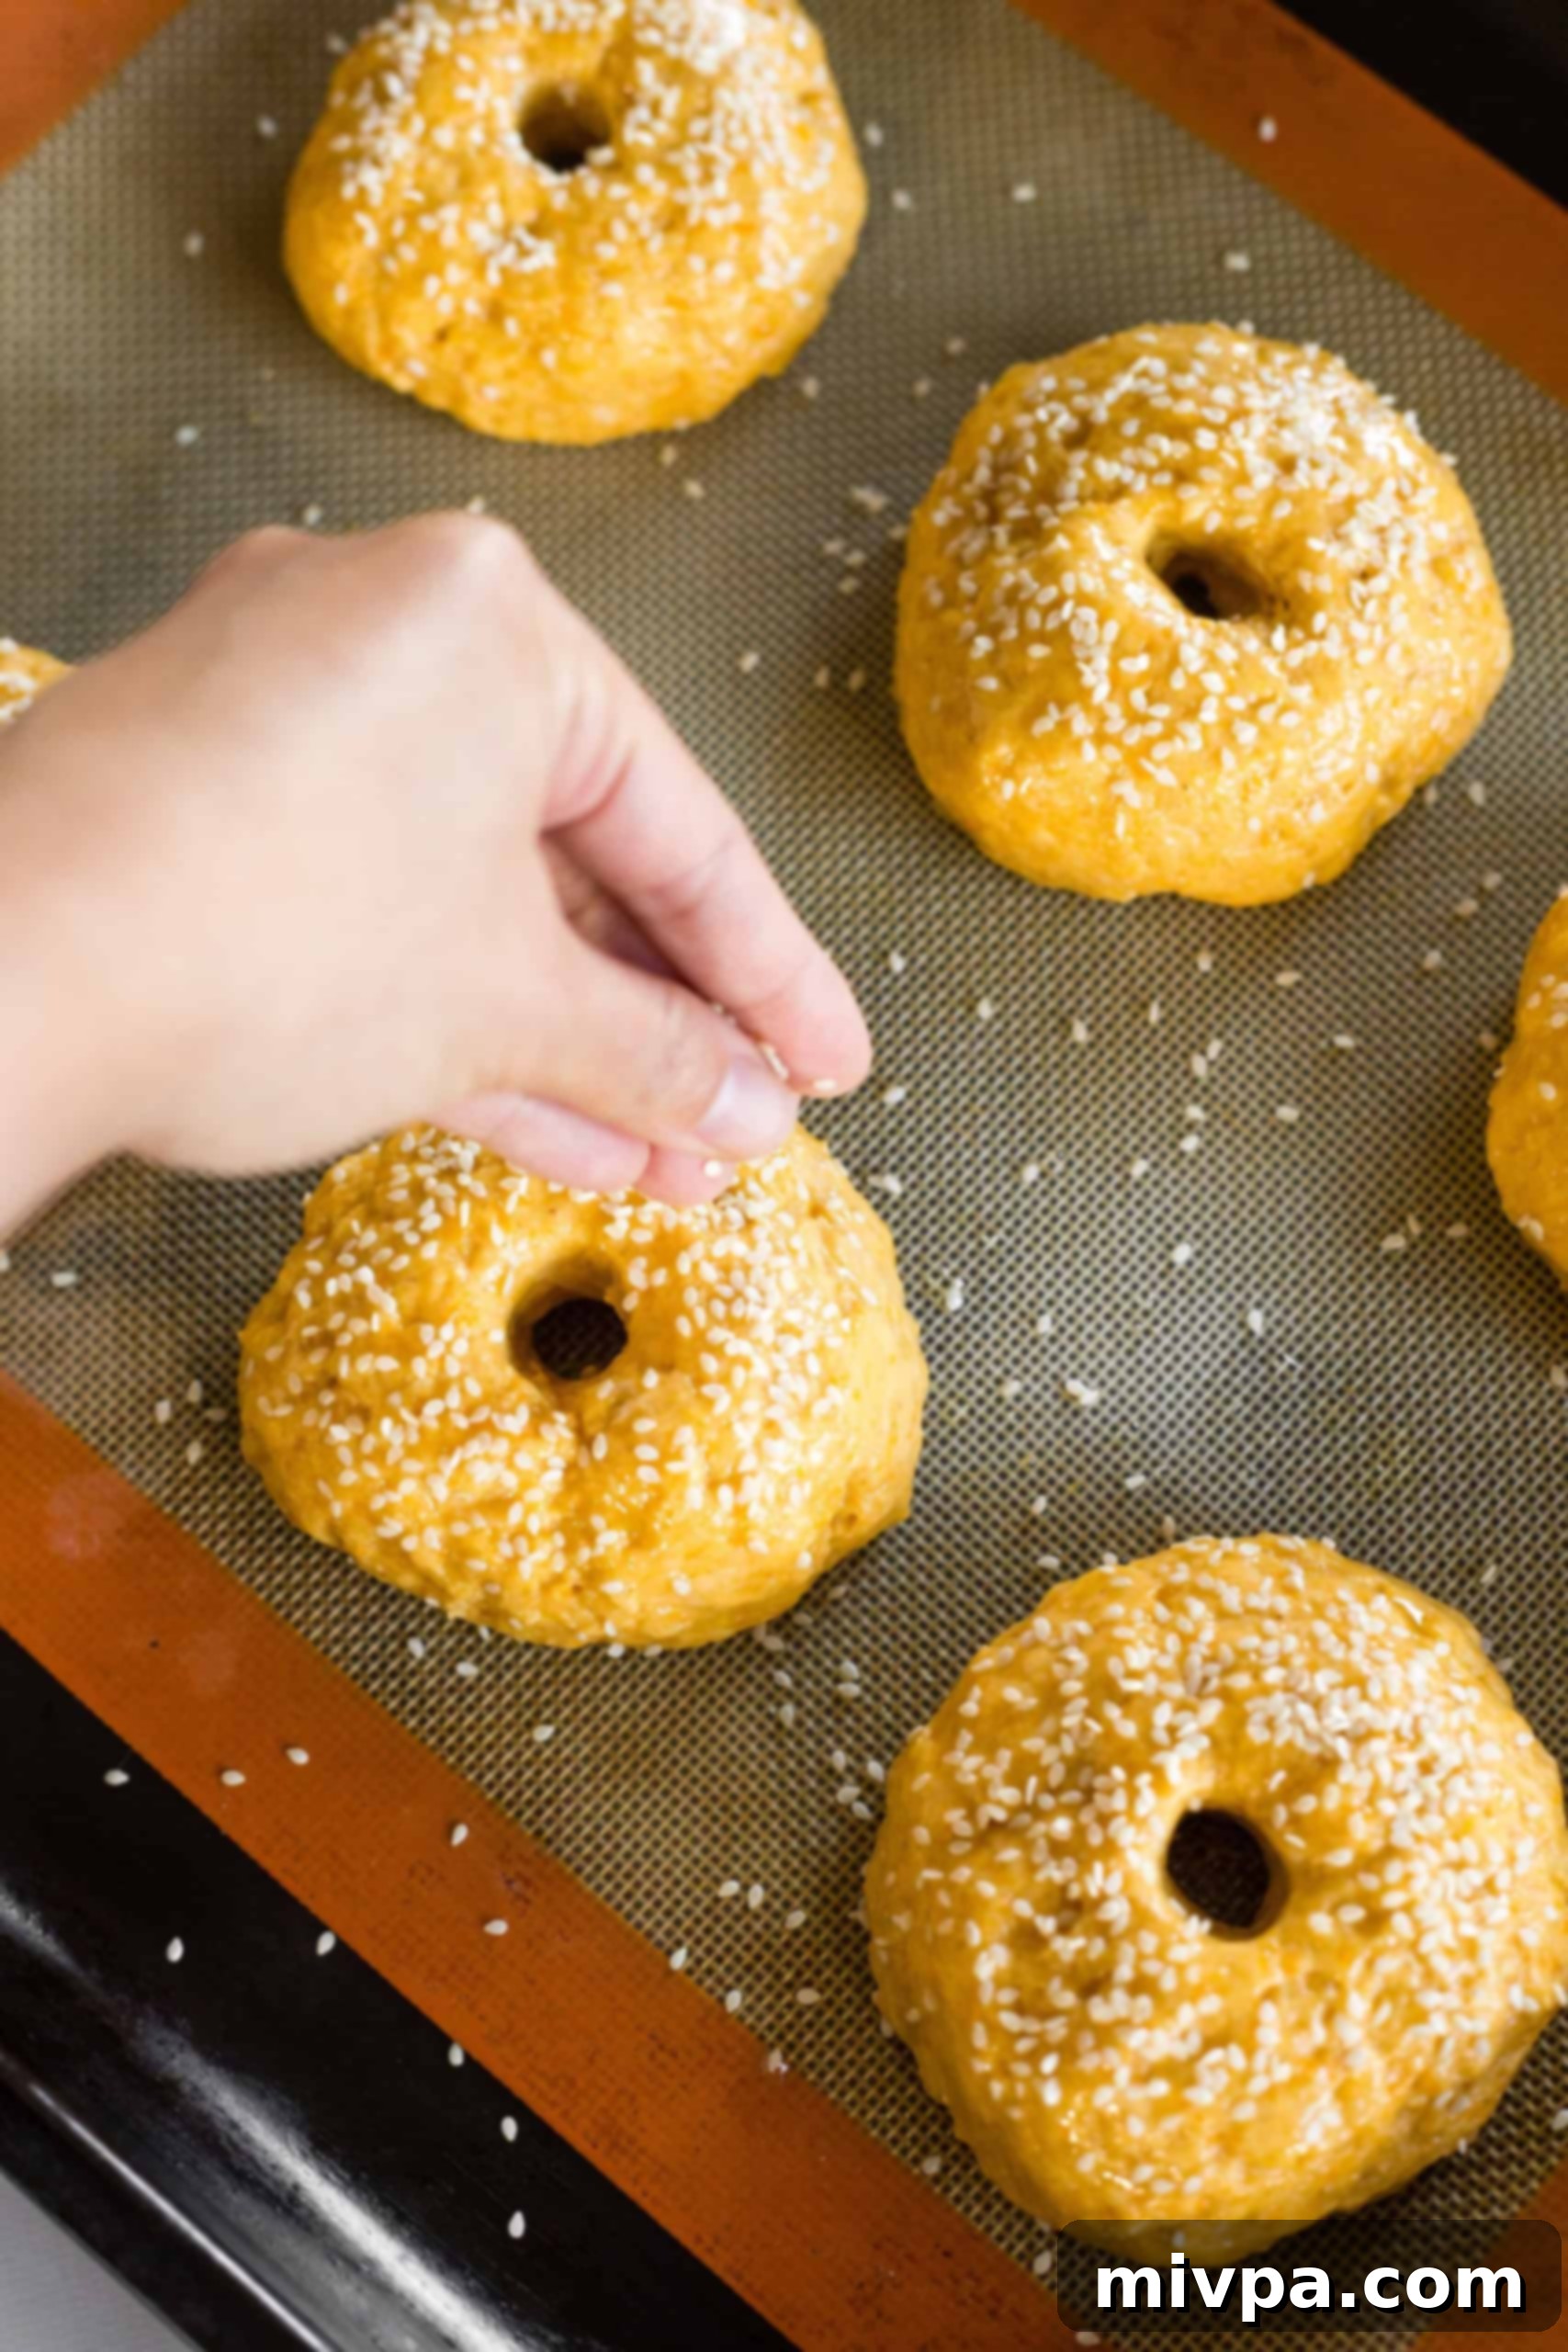
12. Bake Until Golden Brown
Transfer the baking sheet to your preheated oven and bake at 350°F (180°C) for approximately 30 to 40 minutes, or until the bagels are beautifully golden brown on top and cooked through. The exact baking time may vary slightly depending on your oven.
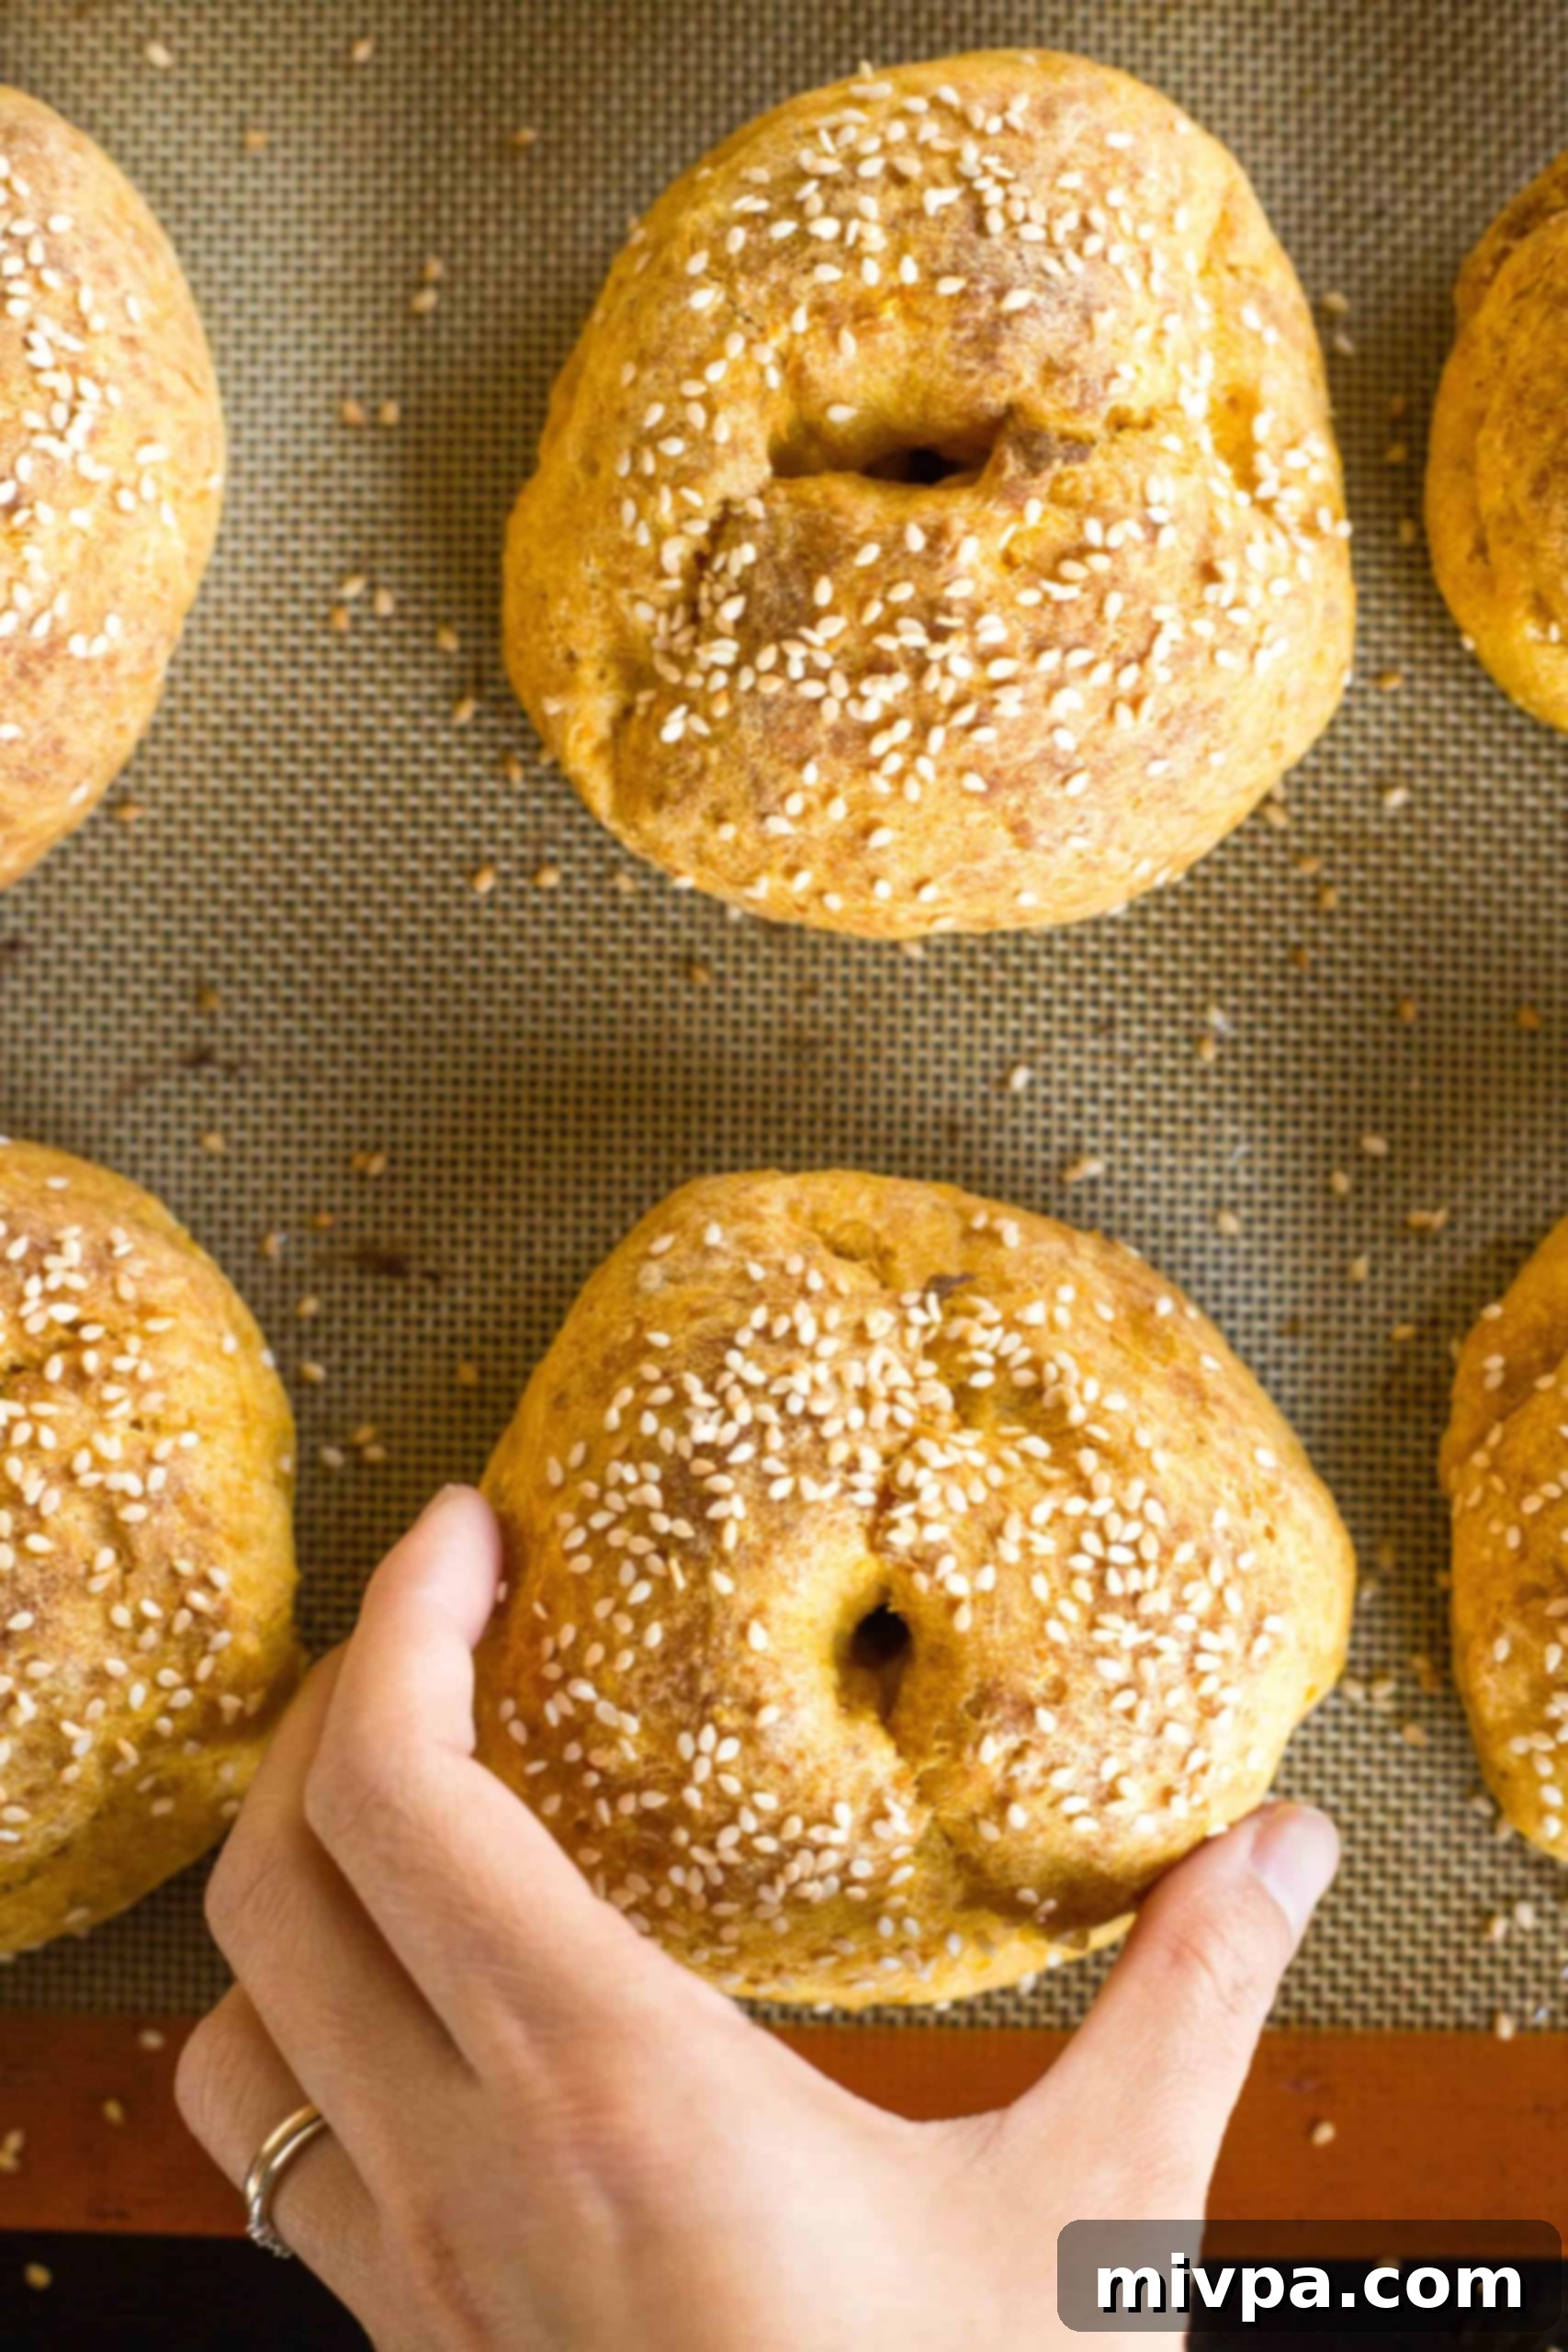
13. Cool Before Slicing
Once baked, it’s essential to allow your freshly made **gluten-free pumpkin bagels** to cool completely on a wire rack before attempting to slice them. This cooling period allows the internal structure to set, ensuring a clean slice and the best possible texture for enjoyment.
Dish by Dish Baking Tips & Tricks for Perfect Bagels:
- Always Line Your Baking Sheet: To ensure your **gluten-free pumpkin bagels** don’t stick to the pan and can be easily removed, always line your baking sheet with either parchment paper or a silpat. This simple step makes a big difference in cleanup and presentation.
- Patience is Key: Let Them Cool: For the absolute best texture and ease of slicing, resist the urge to cut into your freshly baked bagels immediately. Place them on a wire rack and allow them to cool completely. This crucial step helps the internal structure of the bagel to set, preventing a gummy texture and ensuring clean, beautiful slices.
- No Pumpkin Puree on Hand? No Problem!: If you find yourself without pumpkin puree, don’t despair! You can easily substitute it with equal amounts of homemade or canned butternut squash puree or sweet potato puree. These alternatives will still give you a lovely fall flavor and vibrant color. You could also try apple sauce for a different fruity twist, though the color will be less intense.
- Get Creative with Toppings: While white sesame seeds offer a classic look and a pleasant crunch, feel free to personalize your bagels with a variety of toppings! Consider black sesame seeds for a striking contrast, poppy seeds for a different texture, or even chopped pumpkin seeds for an extra autumnal touch and nuttiness. An everything bagel seasoning blend would also be fantastic!
- Amplify the Fall Flavor with Spices: To truly enhance the warm, inviting **fall pumpkin flavor**, consider adding a pinch (around 1/2 to 1 teaspoon) of pumpkin pie spice or ground cinnamon to the dry ingredients before mixing the dough. This will infuse your bagels with an extra layer of aromatic goodness that perfectly complements the pumpkin. You can also add a touch of nutmeg or ginger for more depth.
Recipe FAQs:
To maintain their freshness and delicious taste, once the **gluten-free pumpkin bagels** have cooled completely, place them in an airtight container or wrap them securely in plastic wrap. They can be stored in the refrigerator for up to 5 days. For optimal freshness, a quick toast or warming in the microwave will bring them back to life.
Absolutely, these **gluten-free pumpkin bagels** freeze beautifully! To freeze, wrap each cooled bagel individually in several layers of plastic wrap, then place them in a freezer-safe ziplock bag. They can be stored in the freezer for up to 2 months. When you’re ready to enjoy them, simply let the bagels thaw overnight in the refrigerator, then toast or warm as desired.
Yes, you can! Once you’ve formed the bagel shapes (before the final rise), you can cover the baking sheet with plastic wrap and refrigerate the dough overnight. The cold temperature will slow down the yeast activity. The next morning, remove the bagels from the fridge and let them come to room temperature and complete their rise (this might take a bit longer than 1 hour) before brushing with oil and baking as instructed.
More Gluten-Free Pumpkin Recipes You’ll Savor:
If you’ve fallen in love with these **gluten-free pumpkin bagels**, you’ll be thrilled to discover more delightful pumpkin creations perfect for the fall season. Explore these other fantastic gluten-free recipes that celebrate the rich, comforting flavor of pumpkin:
- Homemade Pumpkin Puree (Gluten-Free, Vegan): The foundation for all your pumpkin baking!
- Crustless Pumpkin Pie (Gluten-Free, Dairy-Free): A simpler take on a holiday classic.
- Moist Gluten-Free Pumpkin Bars (Dairy-Free): Perfect for sharing or a sweet treat.
- Gluten-Free Pumpkin Cornbread (Dairy-Free): A savory twist for your autumn meals.
- Soft, Chewy Pumpkin Cookies (Dairy-Free): A delightful everyday indulgence.
- Easy Gluten-Free Pumpkin Muffins (Vegan): Quick, delicious, and perfectly portioned.
Other Gluten-Free Bread Recipes You’ll Love:
Beyond bagels, the world of **gluten-free baking** offers endless possibilities for delicious breads. If you’re looking for more incredible **gluten-free bread recipes** to expand your baking repertoire, these selections are sure to become new favorites:
- Gluten-Free Chocolate Chip Pumpkin Bread (Dairy-Free)
- Easy Gluten-Free Drop Biscuits (Dairy-Free)
- Gluten-Free Vegan Bagels (Chewy and Tender!)
- Egg-Free Gluten-Free Bread (So Tender!)
P.S. If you try this delightful **gluten-free pumpkin bagel** recipe, I would absolutely love for you to leave a star rating below and/or a review in the comment section further down the page. Your feedback is always incredibly valuable and deeply appreciated! Be sure to check out my entire Recipe Index for all the delicious recipes on the blog. You can also follow me on Pinterest, Facebook, or Instagram to stay updated with my latest creations. Don’t forget to sign up for my Email List to get fresh, inspiring recipes delivered straight to your inbox each week!
Print Recipe Card
Easy Gluten-Free Pumpkin Bagels (Dairy-Free, No-Boil)
5 Stars
4 Stars
3 Stars
2 Stars
1 Star
5 from 1 review
- Author: Felicia Lim
Total Time: 1 hour 55 minutes
Yield: 6 bagels
Diet: Gluten Free
Description
These incredibly easy and delicious **gluten-free pumpkin bagels** are a must-make for pumpkin season! They require no boiling, bake up moist, tender, and fluffy, and are completely dairy-free. Perfect for breakfast, brunch, or a satisfying snack, spread with pumpkin cream cheese or as a bagel sandwich. A wonderful fall treat everyone can enjoy!
Ingredients
Units
Scale
- 3 cups gluten-free all-purpose flour blend
- 1 teaspoon xanthan gum (omit if your GF flour blend already includes it)
- 2 tablespoons psyllium husk powder
- 2 1/4 teaspoons instant yeast
- 1 tablespoon granulated sugar
- 1 teaspoon gluten-free baking powder
- 1/4 teaspoon salt
- 1 cup pumpkin puree (homemade or canned)
- 2 large eggs
- 1 cup warm water (between 105 to 115°F / 40-46°C)
- 1/4 cup sunflower oil + more for brushing
- 1/4 cup white sesame seeds, for sprinkling (or other preferred toppings)
Instructions
- Line Baking Sheet: Line a large baking sheet with parchment paper or a silpat.
- Whisk Dry Ingredients: In a large bowl, sift the gluten-free all-purpose flour, xanthan gum, psyllium husk powder, instant yeast, sugar, baking powder and salt together. Whisk well to combine.
- Process Pumpkin and Eggs: Combine the pumpkin puree and eggs in the bowl of a high-speed blender or food processor and blend until you get a smooth mixture. Alternatively, you may also mix the pumpkin puree and eggs by hand.
- Add Water and Oil: Transfer the pumpkin-egg mixture to another large bowl and add water and sunflower oil. Mix well until you get a homogeneous orange liquid mixture.
- Add Dry Ingredients to Wet to Form Dough: Add the dry ingredients to the bowl with the wet ingredients and mix well until you get a uniform orange-yellow dough.
- Form Dough Balls: Using a large ice cream scoop or cookie scoop, scoop out a large ball of dough and use oiled palms to roll the dough into a ball. (You should get approximately 6 balls).
- Place Dough Balls on Baking Sheet: Place the dough balls on the previously lined baking sheet evenly spaced apart.
- Poke Holes in Balls: Using an oiled chopstick or finger, poke a hole in the middle of each ball of dough. Gently enlarge to form bagel shape.
- Let Dough Rise: Let the pumpkin bagel dough rise for approximately 1 hour in a warm place away from drafts of wind. The dough will have slightly increased in size (but will not significantly double). As the dough is about to finish its rise, preheat oven to 350F (180C).
- Brush Bagel Dough: Once dough has risen, brush the top of the dough with oil.
- Sprinkle Sesame Seeds: Sprinkle sesame seeds evenly over each bagel.
- Bake Until Golden: Bake at 350F (180C) for 30 to 40 minutes until the bagels are golden brown on top.
- Cool Before Slicing: Allow the freshly baked gluten-free pumpkin bagels to cool completely on a wire rack before slicing into them and enjoying!
Notes
Gluten-Free All-Purpose Flour: I recommend using a good-quality gluten-free all-purpose flour blend that includes lighter flours and starches (such as rice flour, tapioca starch, corn starch or potato starch), as that will result in a lighter and fluffier final texture. I do NOT recommend using a gluten-free flour blend that includes heavier flours (such as garbanzo bean flour) as that will result in a denser final texture.
Xanthan Gum: Xanthan gum is the replacement for gluten in gluten-free flours, and helps the ingredients to better bind together. Make sure to add it in if your gluten-free flour blend doesn’t already include it.
Psyllium Husk Powder: In my opinion, psyllium husk powder really makes a difference in the recipe. It gives the ingredients better binding power and structure for when the dough rises and helps the dough to maintain its shape once risen. Make sure to use the powder version. If you only have whole psyllium husks, you can grind the husks in a coffee grinder or blender until you get a smooth powder.
Instant Yeast: I like using instant yeast because there is no prior activation period required and you can mix the instant yeast directly with the other dry ingredients. If you only have active yeast, make sure to activate the yeast beforehand (mix the yeast with the warm water and sugar and let it sit in a warm area for 5 minutes until the mixture is foamy).
Sugar: The sugar is required as “food” for the yeast in order for the yeast to be activated and produce the gases required for the dough to rise. I used white sugar, but feel free to use light brown sugar, dark brown sugar or coconut sugar instead.
Baking Powder: In combination with the yeast, the addition of baking powder gives the dough a little more rise. If you are Celiac or gluten-intolerant, make sure to use certified gluten-free baking powder.
Pumpkin Puree: I like using fresh homemade pumpkin puree when it’s pumpkin season, but feel free to used canned pumpkin puree instead. Alternatively, you may also substitute pumpkin puree with equal amounts of butternut squash puree or sweet potato puree if you prefer.
Eggs: Eggs help to bind the ingredients together, so I would definitely include them in. If you are allergic to eggs, you can try using aquafaba or an egg-replacer. (I personally have not made this recipe without eggs, so if you do make it egg-free, please let me know how it goes in the comments below. I’d love to know!)
Warm Water: Make sure that the water you use is between 105 to 115°F (40-46°C) (this is because the yeast requires warmth to be activated, but if the water is too hot, it will kill the yeast). You may also use warm unsweetened non-dairy milk if you prefer (such as almond milk, cashew milk, rice milk, soy milk, oat milk etc). Alternatively, if you are not lactose-intolerant, go ahead and use normal milk instead.
Sunflower Oil: I like using sunflower oil because I always have a bottle of it on hand. However, feel free to use another vegetable oil such as olive oil, avocado oil or melted coconut oil if you prefer. Alternatively, if you are not lactose-intolerant, go ahead and use melted butter or ghee instead.
Sesame Seeds: I like topping the dough with white sesame seeds for a contrast in color and texture. However, feel free to use other types of seeds as well, such as black sesame seeds, poppy seeds, or even pumpkin seeds!
Storing/Freezing: To store, placed the cooled pumpkin bagels in an airtight container or wrap them in plastic wrap and store in the refrigerator for up to 5 days. To freeze, wrap the gluten-free pumpkin bagels in various layers of plastic wrap, or place them in a ziplock bag and freeze for up to 2 months. Let the bagels thaw overnight in the refrigerator before using.
- Prep Time: 15 mins
- Rising Time: 1 hour
- Cook Time: 40 mins
- Category: Bread
- Method: Baking
- Cuisine: American
