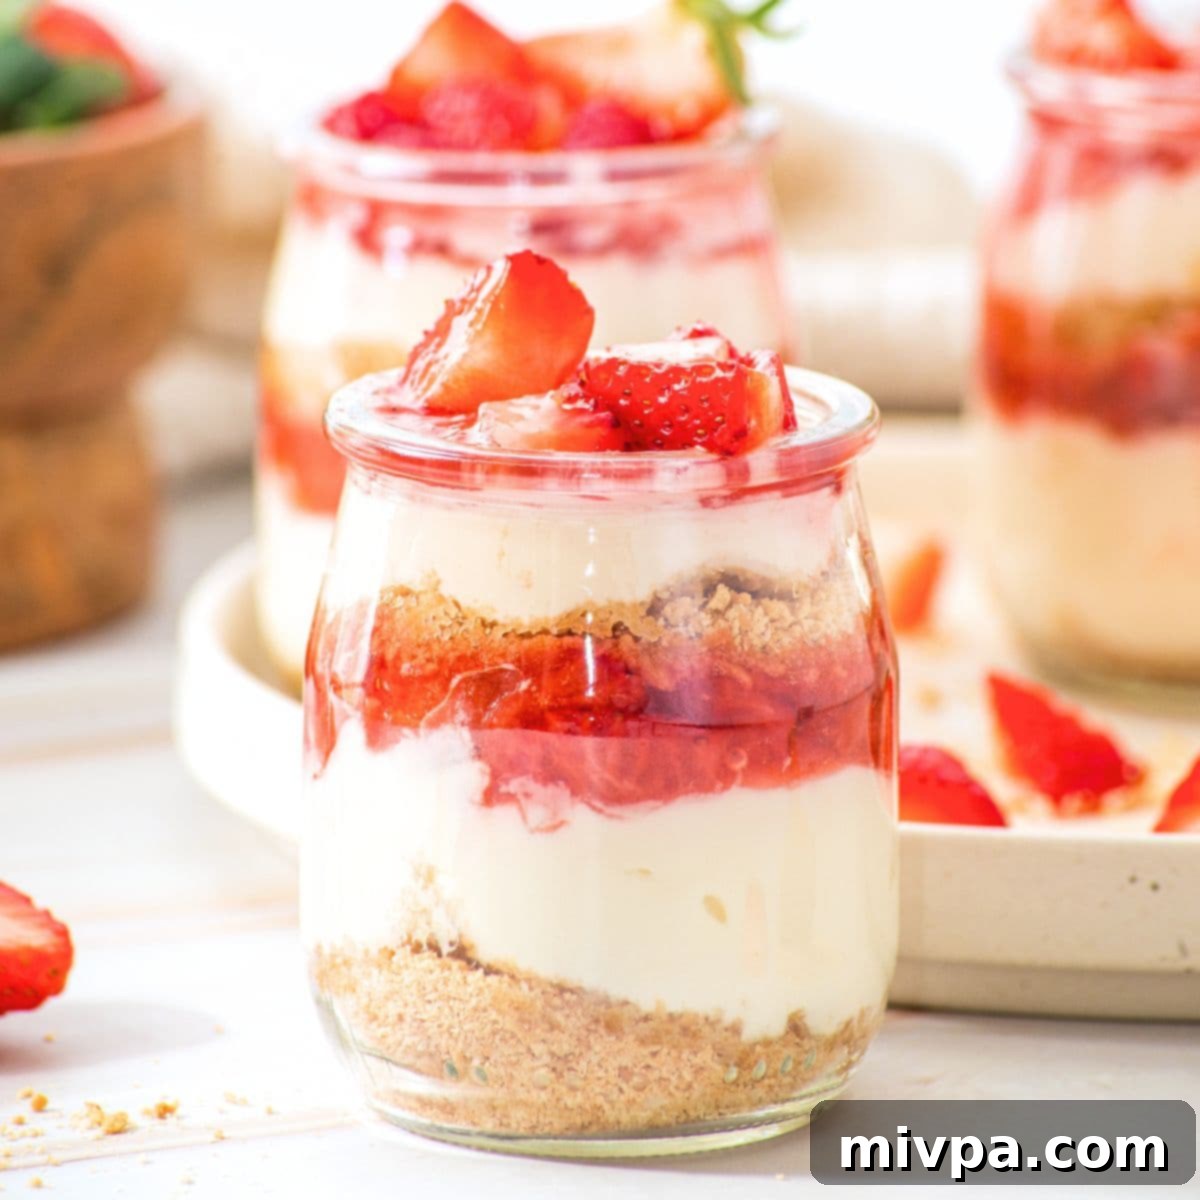
Easy No-Bake Gluten-Free Strawberry Cheesecake Cups: A Perfect Dairy-Free Dessert
Craving a delightful dessert that’s both simple to make and bursting with fresh flavor? These easy no-bake strawberry cheesecake cups are your dream come true! Imagine your favorite creamy, rich strawberry cheesecake, but perfectly portioned into individual cups. There’s absolutely no baking required, meaning you can whip up a batch of these exquisite dessert cups in a flash, making them ideal for last-minute treats or elegant gatherings. Best of all, they are naturally gluten-free and come with fantastic dairy-free options, ensuring everyone can indulge in this sweet sensation without compromise.
Cheesecake Lovers, Your New Favorite Dessert Awaits!
If classic cheesecake holds a special place among your favorite desserts, but the thought of baking one from scratch often feels intimidating, then you’re in for a delightful surprise! These no-bake cheesecake cups offer an effortlessly easy and equally delicious alternative to traditional baked cheesecakes. They capture all the beloved flavors and textures of a classic cheesecake in a convenient, individual serving format.
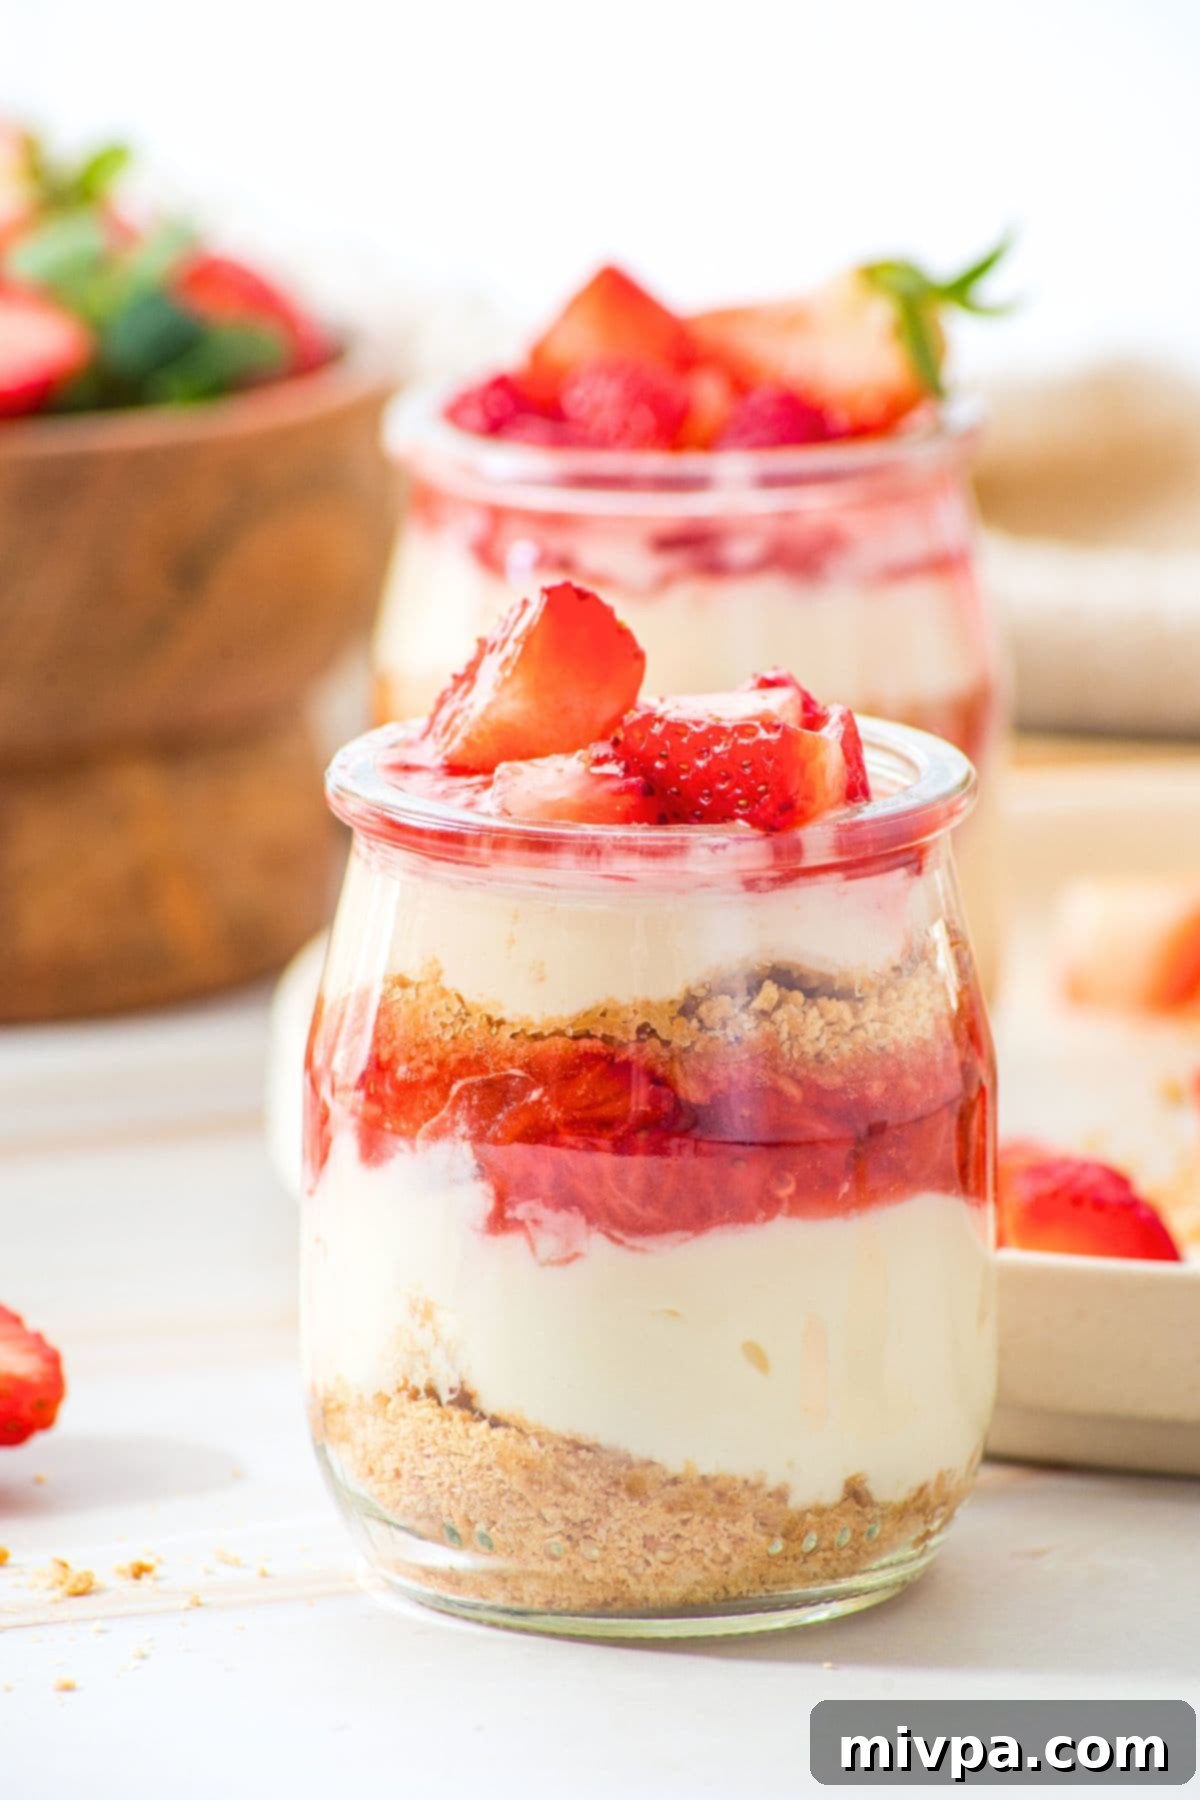
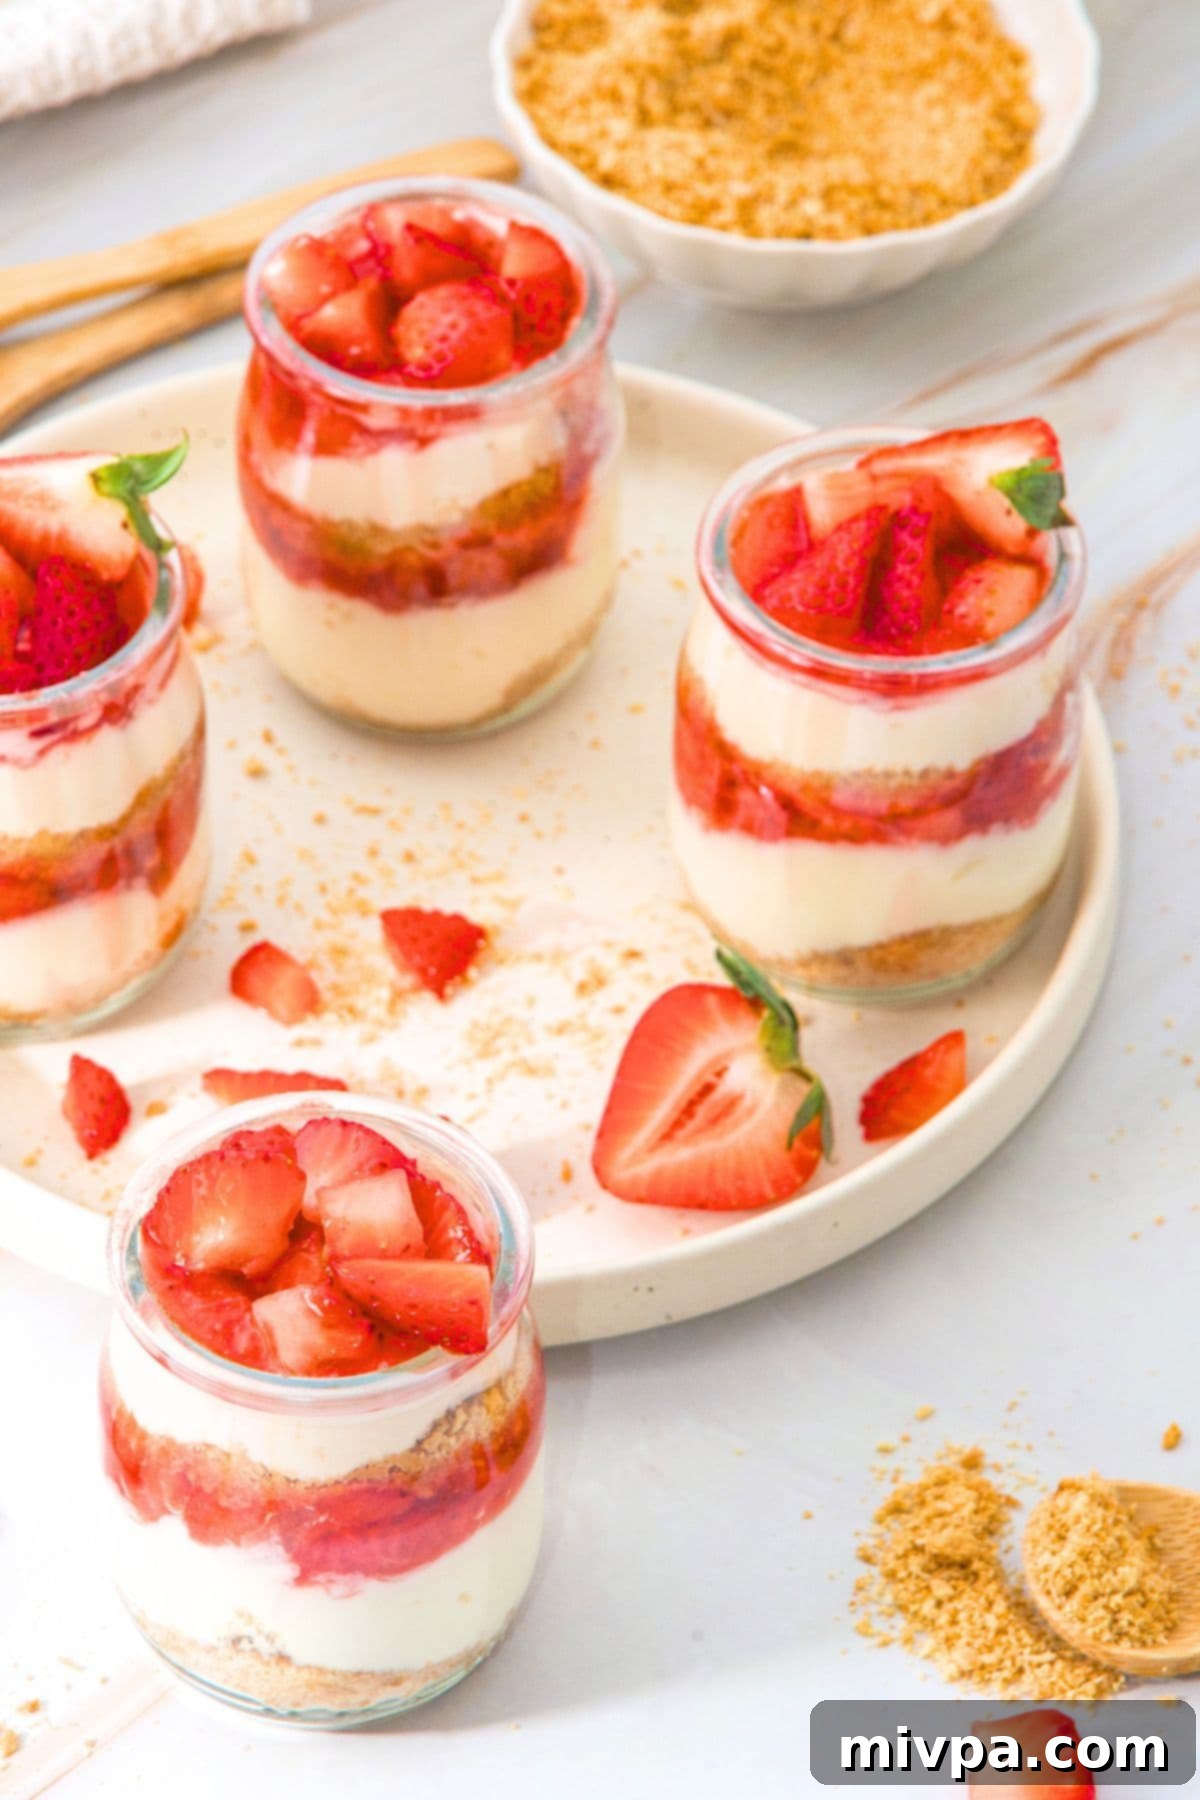
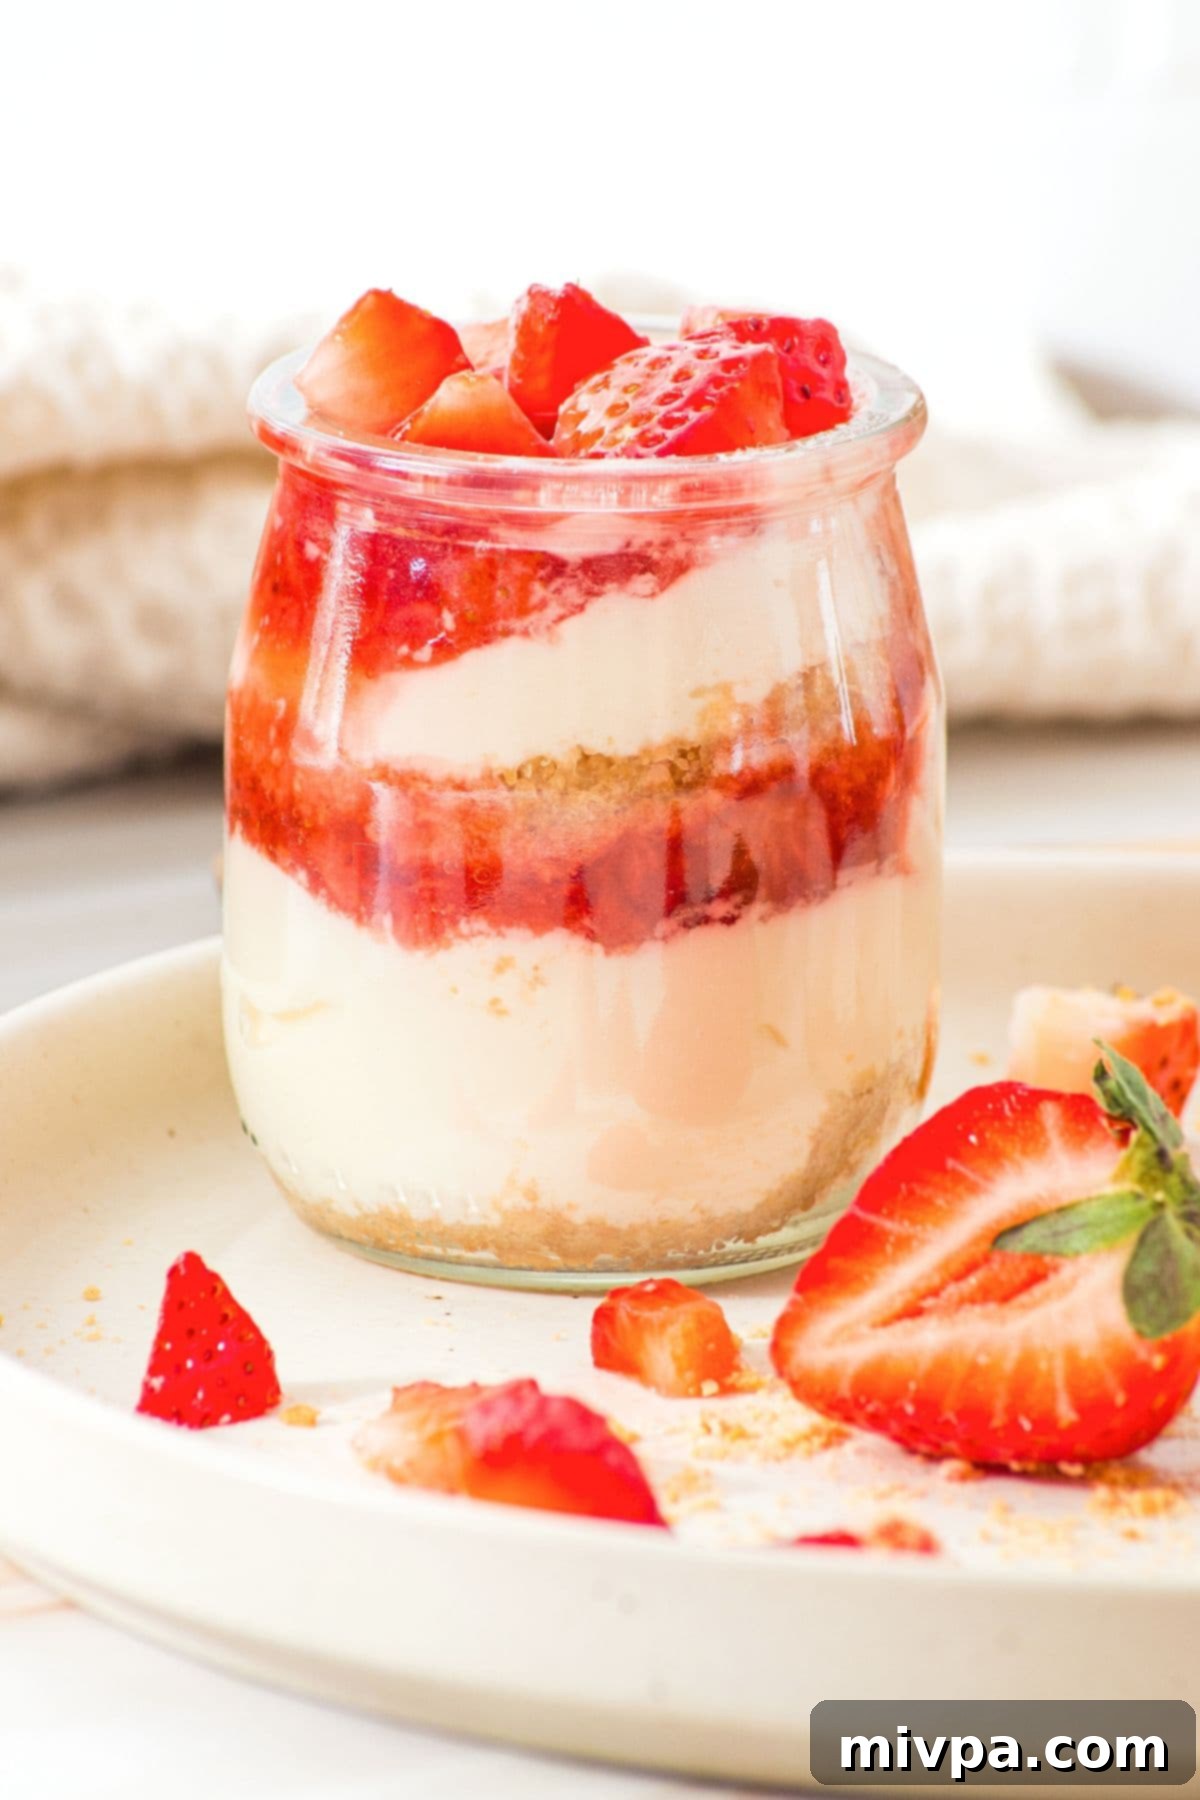
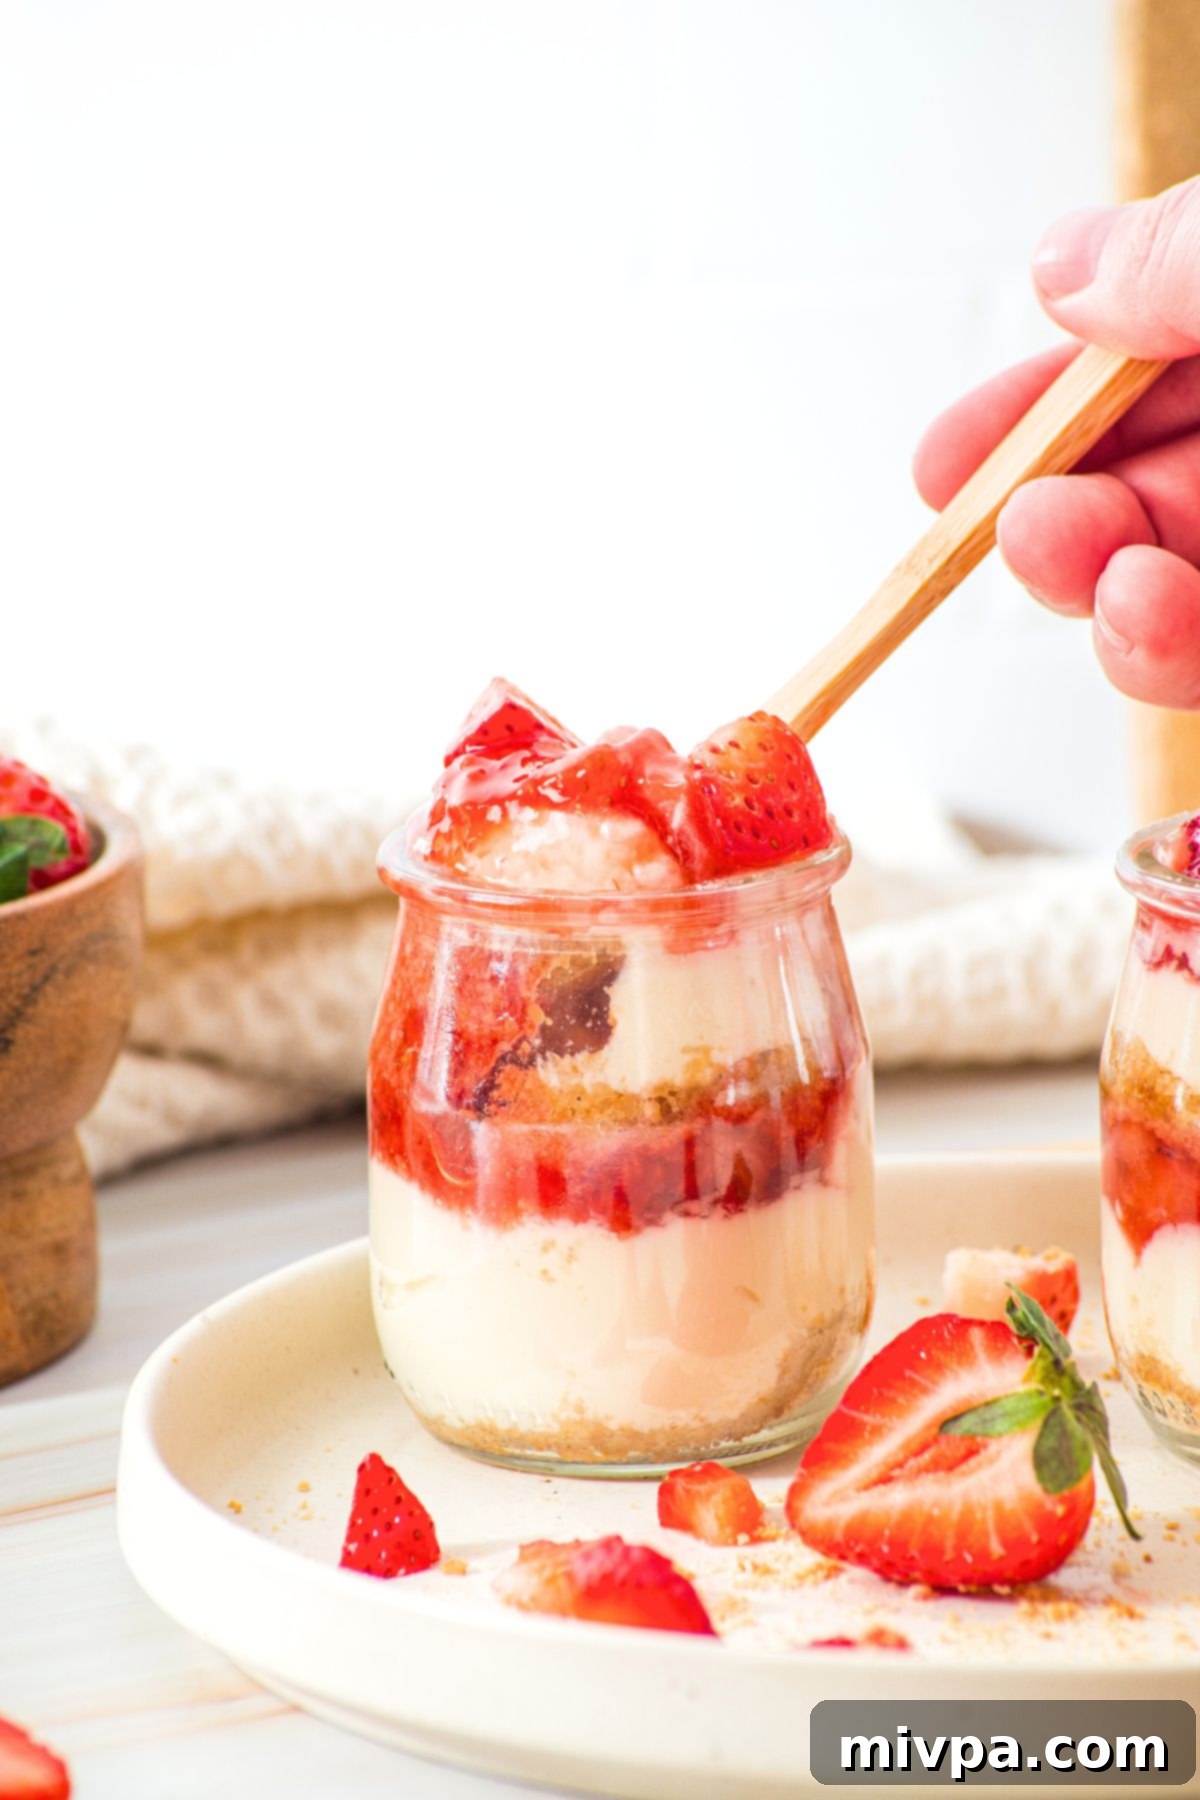
Each cup features a perfectly crunchy graham cracker base, which is, of course, entirely gluten-free to cater to all dietary needs. This delightful crust is generously topped with a lusciously rich and velvety cream cheese layer, creating a harmonious contrast of textures. The grand finale is a sweet, vibrant homemade strawberry sauce, made from fresh, ripe strawberries, adding a burst of fruity freshness that perfectly complements the creamy filling. These layers combine to create a truly irresistible treat.
Just look at them – aren’t they absolutely beautiful? These individual strawberry cheesecake dessert cups are my idea of dessert heaven! Their elegant presentation makes them ideal for special occasions, from romantic Valentine’s Day dinners and heartwarming Mother’s Day brunches to festive holiday gatherings. And with strawberry season now in full swing, there’s no better way to utilize those gorgeous, seasonal strawberries than by transforming them into this stunning and simple dessert. They’re perfect for impressing guests or simply treating yourself!
Why You’ll Fall in Love with This No-Bake Strawberry Cheesecake Recipe:
Beyond their stunning appearance and incredible taste, there are numerous reasons why these individual strawberry cheesecake cups will quickly become a staple in your dessert repertoire:
- Simple, Accessible Ingredients: You won’t need to hunt for exotic ingredients to make these mini strawberry cheesecake cups. The main components are readily available at any local grocery store, making this a hassle-free recipe that requires no fancy specialty items. Just grab your cream cheese, heavy cream, fresh strawberries, and some graham crackers, and you’re good to go!
- Effortlessly Easy to Make: The “no-bake” aspect is a game-changer! Preparing these individual cheesecake cups is truly a piece of cake – in fact, it’s even easier than baking one! With straightforward steps and minimal kitchen equipment, you can assemble these delicious desserts in record time, leaving you more moments to enjoy the sweet rewards. It’s perfect for beginner bakers or those who prefer quick and simple dessert solutions.
- Incredibly Versatile: Gluten-Free & Dairy-Free Options: This recipe is designed with dietary inclusivity in mind. It is 100% gluten-free, making it a safe and delicious choice for individuals with Celiac disease or gluten sensitivities. Moreover, with simple ingredient swaps, it can very easily be made dairy-free too! This means that those with lactose intolerances or dairy allergies can also savor this delightful dessert recipe without any concerns, making it a crowd-pleaser for any gathering.
- Perfect Individual Portions: Serving desserts can sometimes be messy, but not with these cups! Each serving is perfectly portioned, making them easy to serve, eat, and store. No need for slicing or extra plates – just grab a cup and enjoy!
Essential Ingredients for Your No-Bake Strawberry Cheesecake Delights:
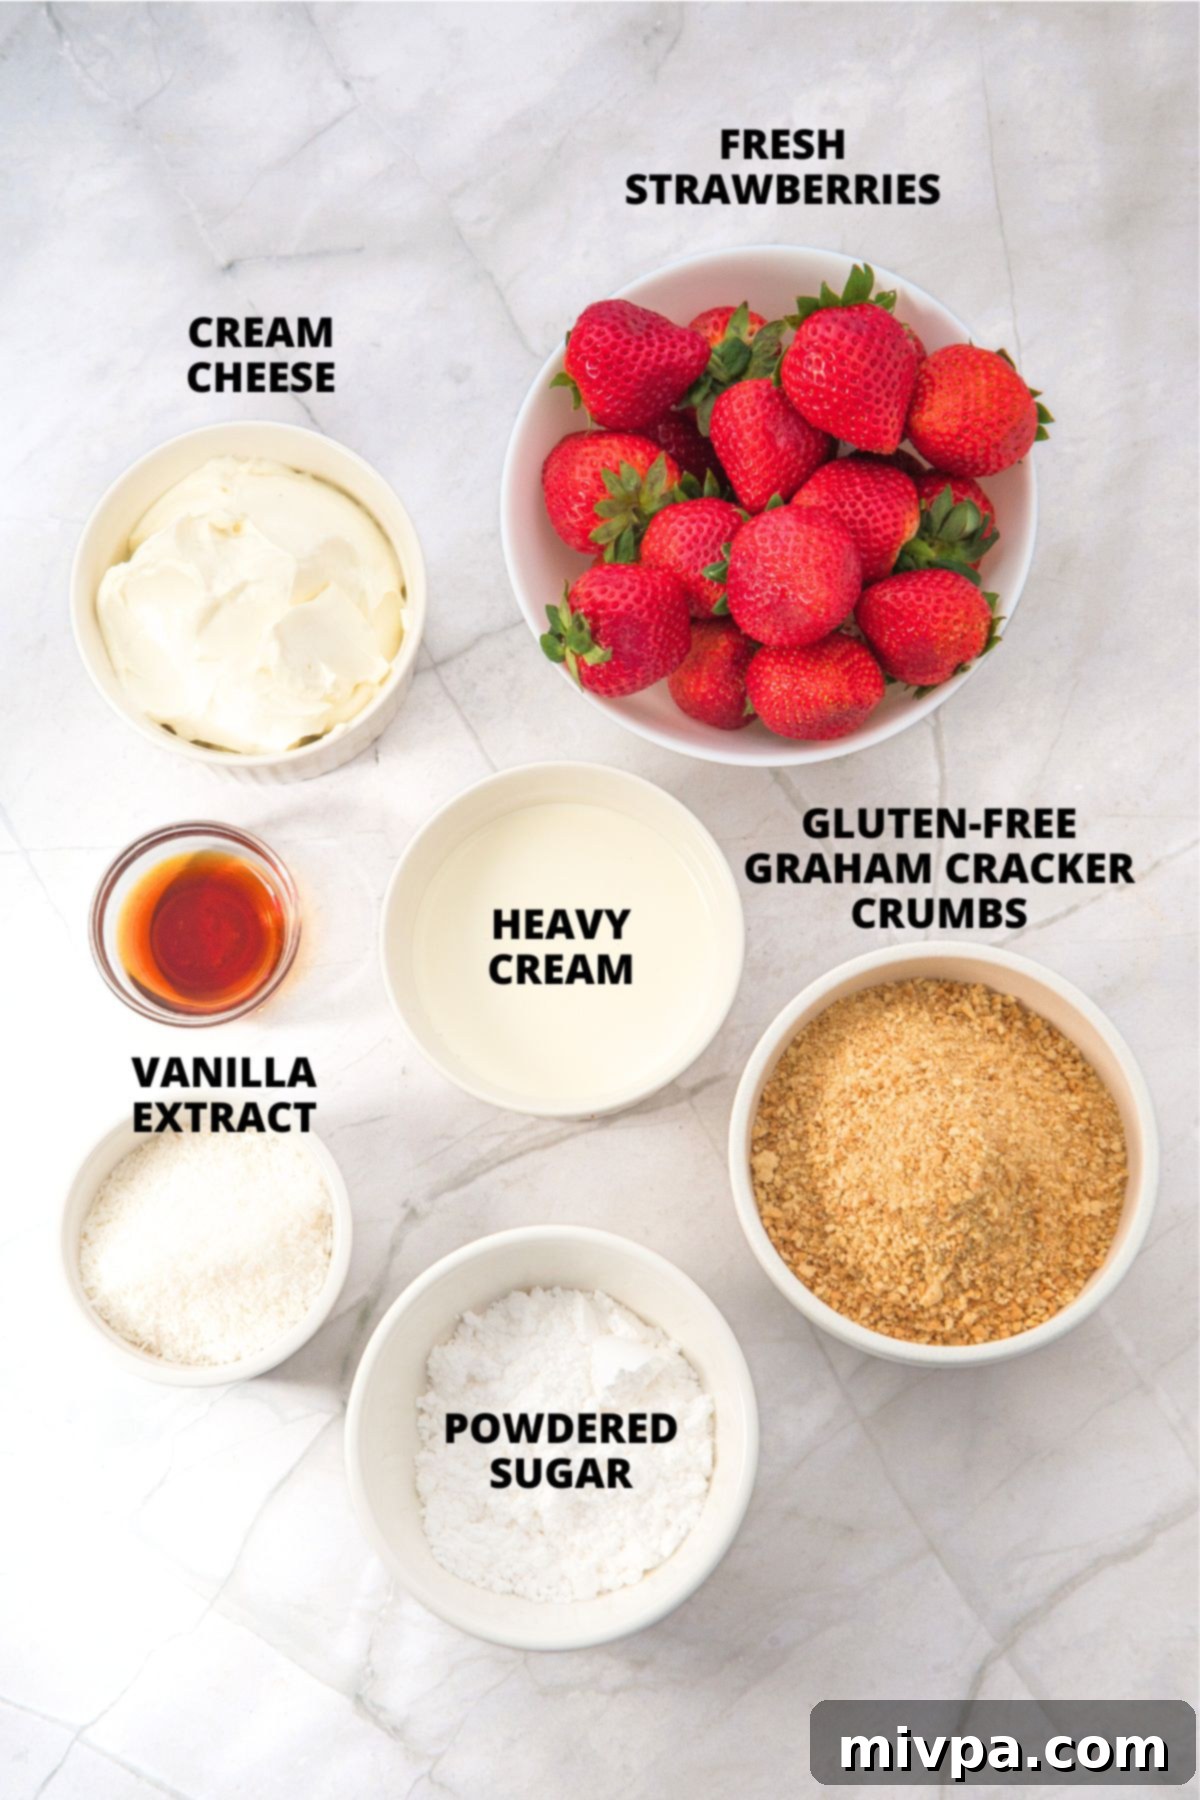
Creating these delightful no-bake strawberry cheesecake cups requires a handful of fresh and simple ingredients. Below is a visual overview to help you gather everything you’ll need. Each ingredient plays a crucial role in building the perfect balance of flavors and textures in this irresistible dessert.
(For the precise measurements of each ingredient, please make sure to scroll down to the detailed and printable recipe card conveniently located at the very bottom of this post.)
Deep Dive into Ingredients & Smart Substitutions for Your Cheesecake Cups:
Understanding your ingredients and knowing when and how to make substitutions can elevate your cooking experience. Here are some detailed notes and alternative options for each key component of this recipe:
- Graham Crackers: For the base, I specifically used gluten-free graham crackers to ensure this recipe remains suitable for those with gluten sensitivities or Celiac disease. You have the flexibility to either prepare homemade gluten-free graham crackers, which add a personal touch, or opt for convenient store-bought gluten-free crackers. If you or your guests do not have Celiac disease or gluten intolerance, feel free to use regular graham crackers instead – the method remains the same for crushing them into fine crumbs.
- Cream Cheese: It’s crucial to use plain, full-fat cream cheese for the best texture and flavor in your cheesecake filling. Ensure it’s softened at room temperature for easier beating and a smoother mixture. If you are lactose-intolerant or prefer a dairy-free option, there are excellent dairy-free cream cheese alternatives available on the market that will work beautifully, maintaining the creamy consistency you desire.
- Heavy Cream: The heavy cream is essential for achieving that light, airy, yet rich consistency in the cheesecake filling once whipped. Make sure your heavy cream is very cold before whipping to ensure it forms stiff peaks. For a dairy-free version, simply substitute with a high-quality dairy-free heavy cream alternative, often found in the refrigerated section of your grocery store. Coconut cream (the thick part from a can of full-fat coconut milk, chilled overnight) can also work in a pinch.
- Powdered Sugar: Also known as confectioners’ sugar or icing sugar, powdered sugar is finely milled sugar that dissolves quickly, resulting in a smooth, lump-free cream cheese filling. If you don’t have powdered sugar on hand, you can easily make your own by processing granulated white sugar in a high-speed blender or food processor until it reaches a super fine, powdery texture. This homemade version works just as effectively.
- Vanilla Extract: A touch of vanilla extract is a flavor enhancer that adds warmth and depth to the cream cheese filling, complementing the sweetness of the strawberries beautifully. I highly recommend including it for that extra layer of deliciousness. Use pure vanilla extract for the best results.
- Strawberries: The star of the show! Always opt for fresh, ripe strawberries for the most vibrant flavor and color in your homemade strawberry sauce and for garnishing. Peak strawberry season will yield the best results. However, if fresh strawberries are out of season, you may use frozen strawberries (thawed and drained) for the sauce, though fresh is always preferred. You can also experiment with other types of berries like raspberries, blackberries, or blueberries if you want to vary the flavor profile.
How to Make No-Bake Strawberry Cheesecake Cups (Step by Step): A Simple Guide
Making these delightful no-bake strawberry cheesecake cups is incredibly straightforward and fun! Follow these easy steps to assemble your individual desserts, layering flavors and textures that will impress everyone.
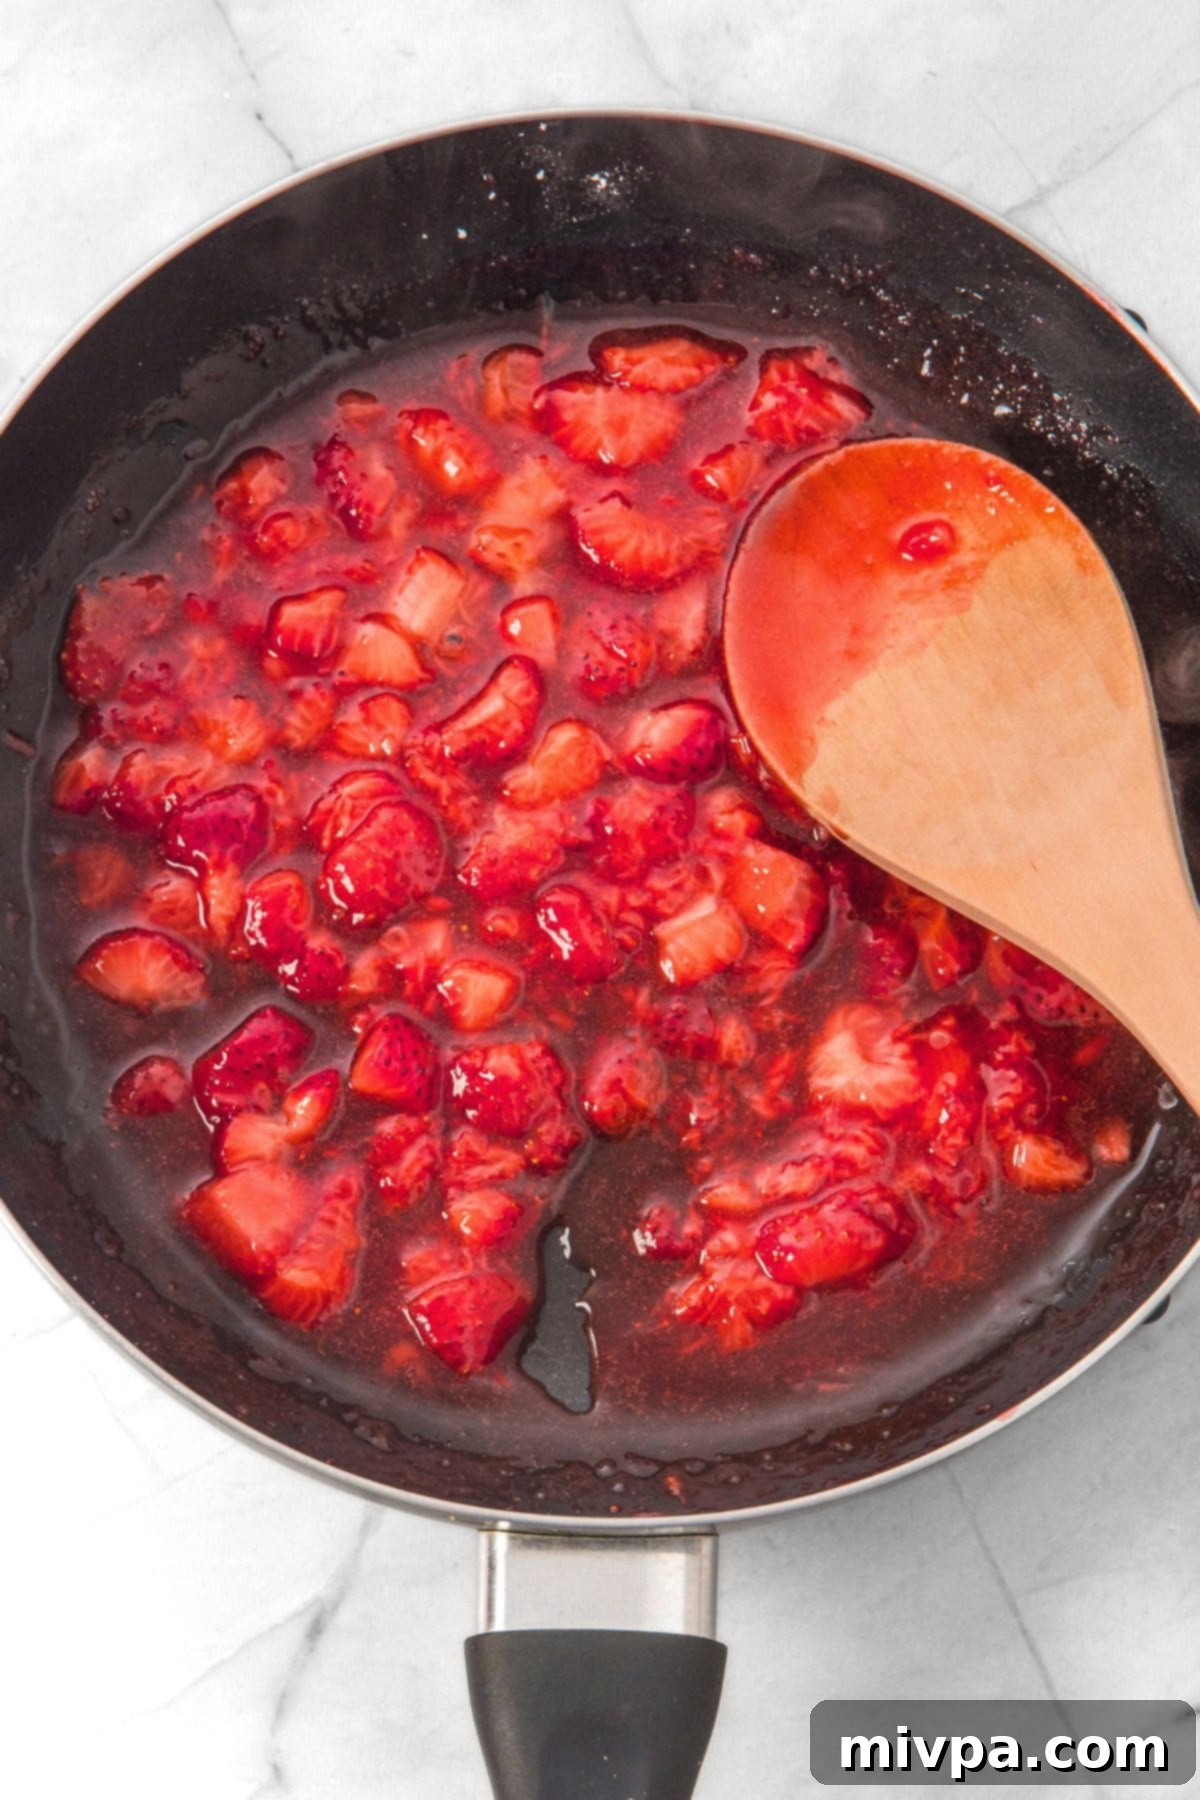
Step 1: Cook Strawberry Sauce: Begin by preparing your fresh strawberry topping. Place the diced strawberries and 3 tablespoons of powdered sugar in a small saucepan over medium heat. Cook, stirring occasionally and gently mashing the berries with a wooden spoon or spatula, until the mixture thickens into a beautiful, glossy sauce. This usually takes about 5-7 minutes. Once thickened, remove the pan from the heat and allow the sauce to cool completely before using.
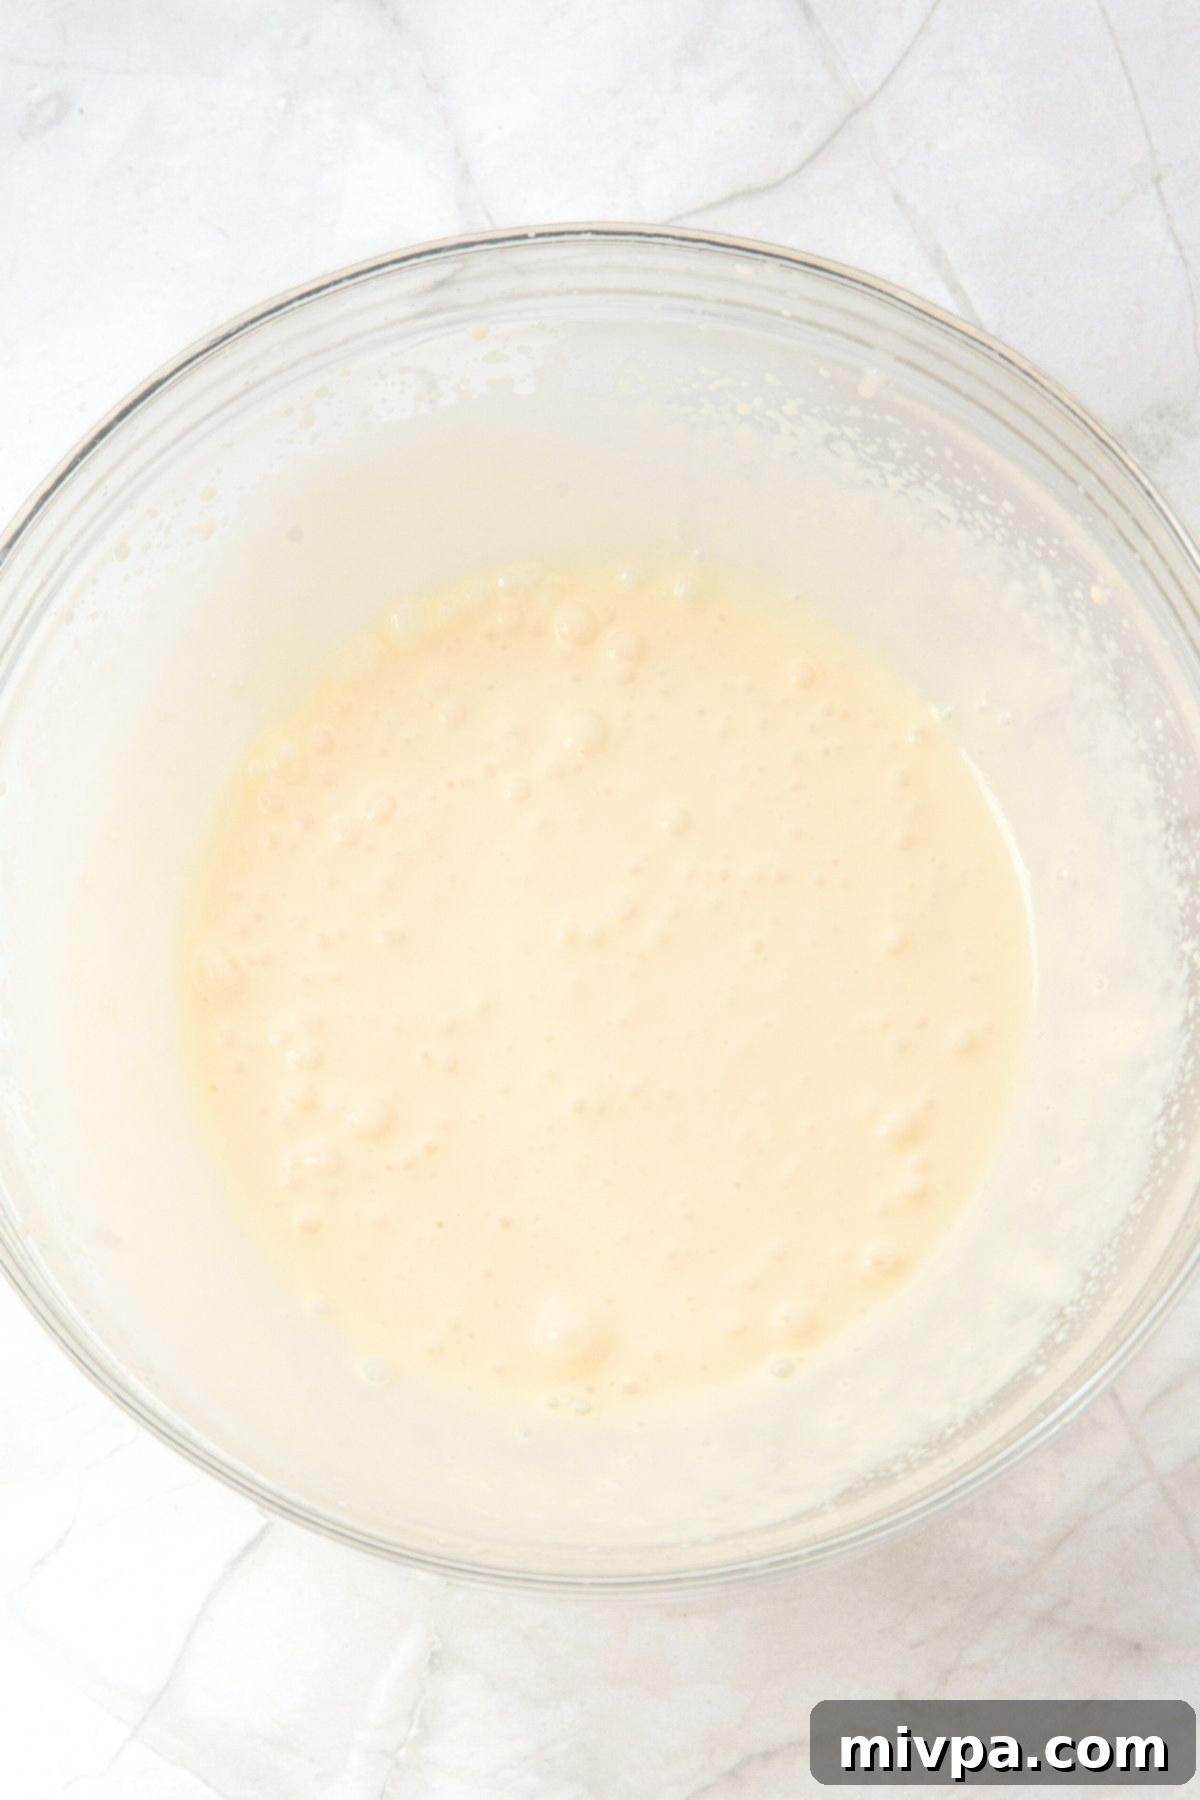
Step 2: Whip Heavy Cream and Powdered Sugar: In a large mixing bowl, using an electric mixer, beat the very cold heavy cream together with the ½ cup of powdered sugar and the vanilla extract. Whip until the mixture begins to thicken slightly and soft peaks start to form. This should take approximately 1 minute; be careful not to over-whip at this stage.
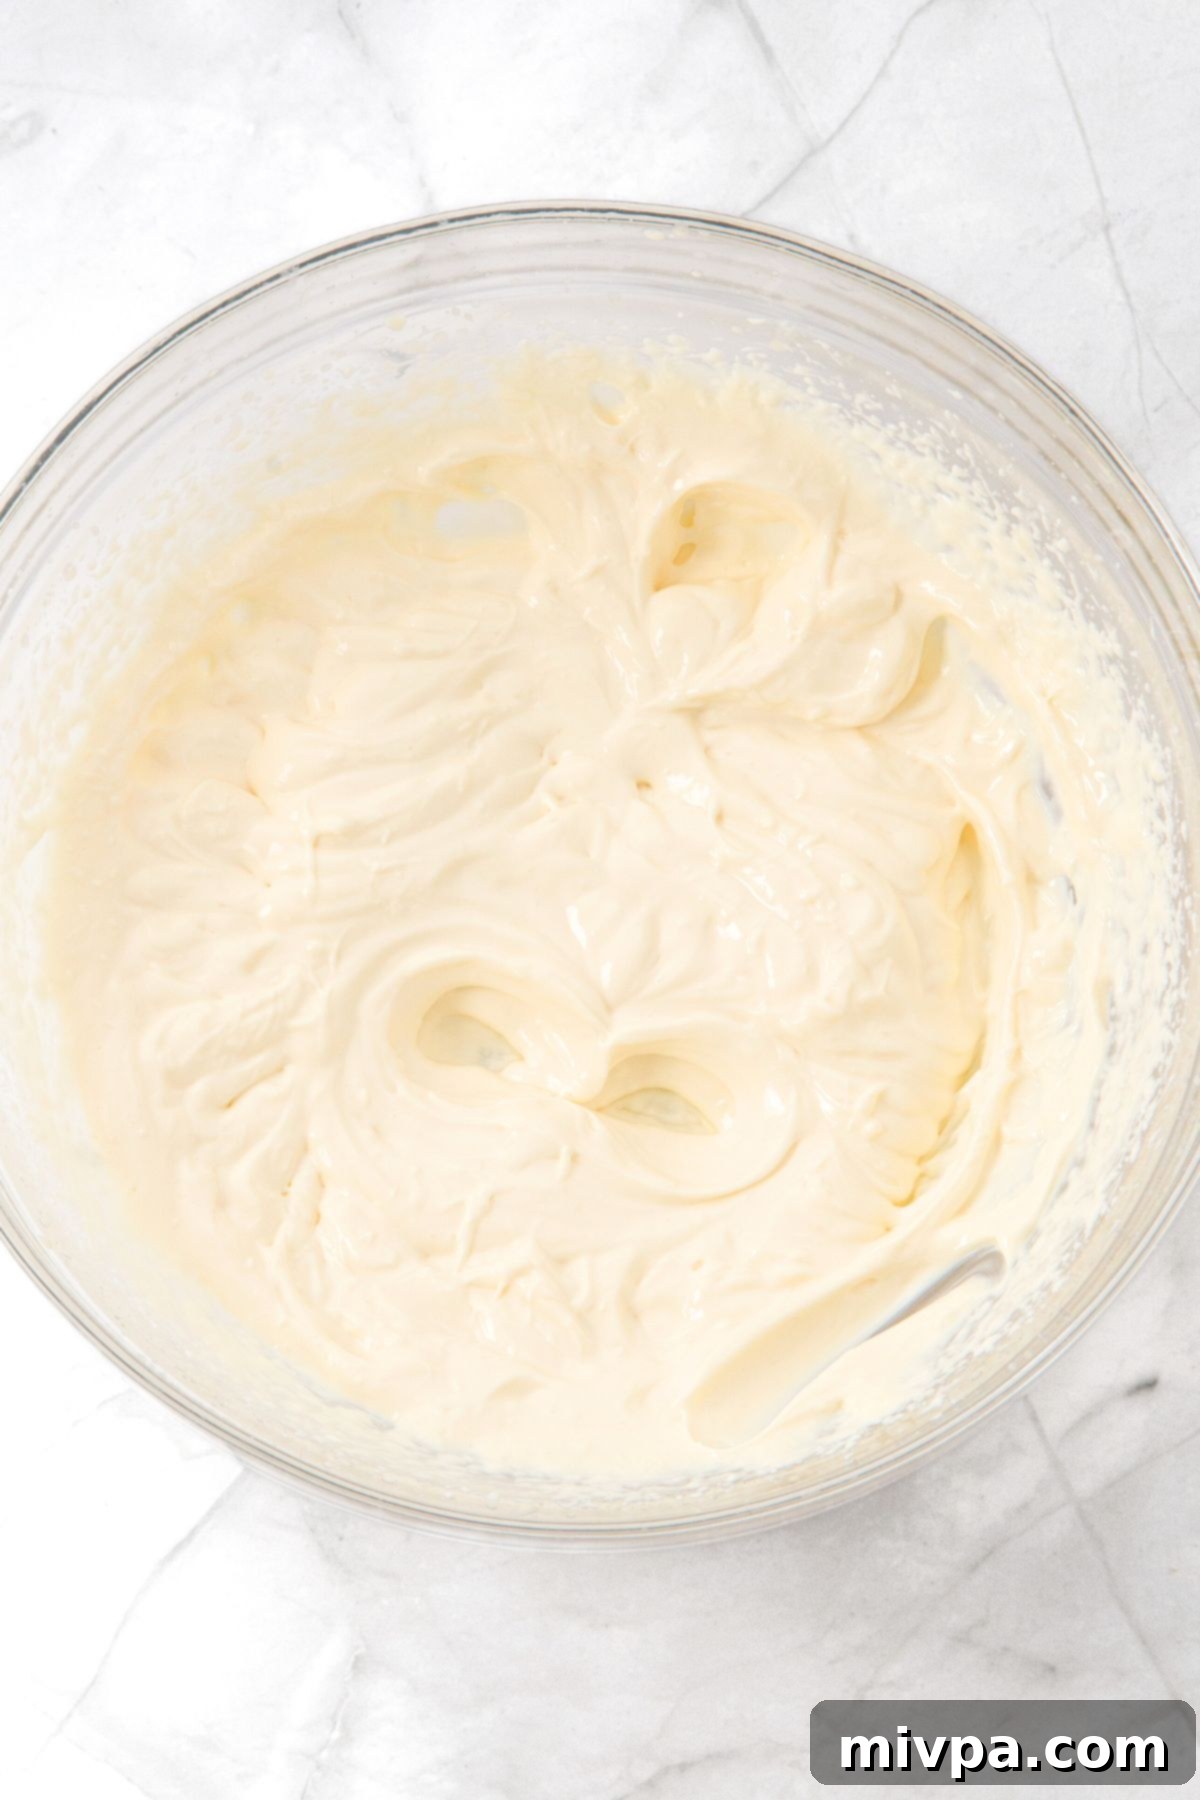
Step 3: Add Cream Cheese and Beat: Once the cream mixture is slightly thickened, add the softened cream cheese to the bowl. Continue beating with the electric mixer until the mixture becomes thick, homogeneous, and forms stiff peaks. The texture should be smooth and luxurious, holding its shape well.
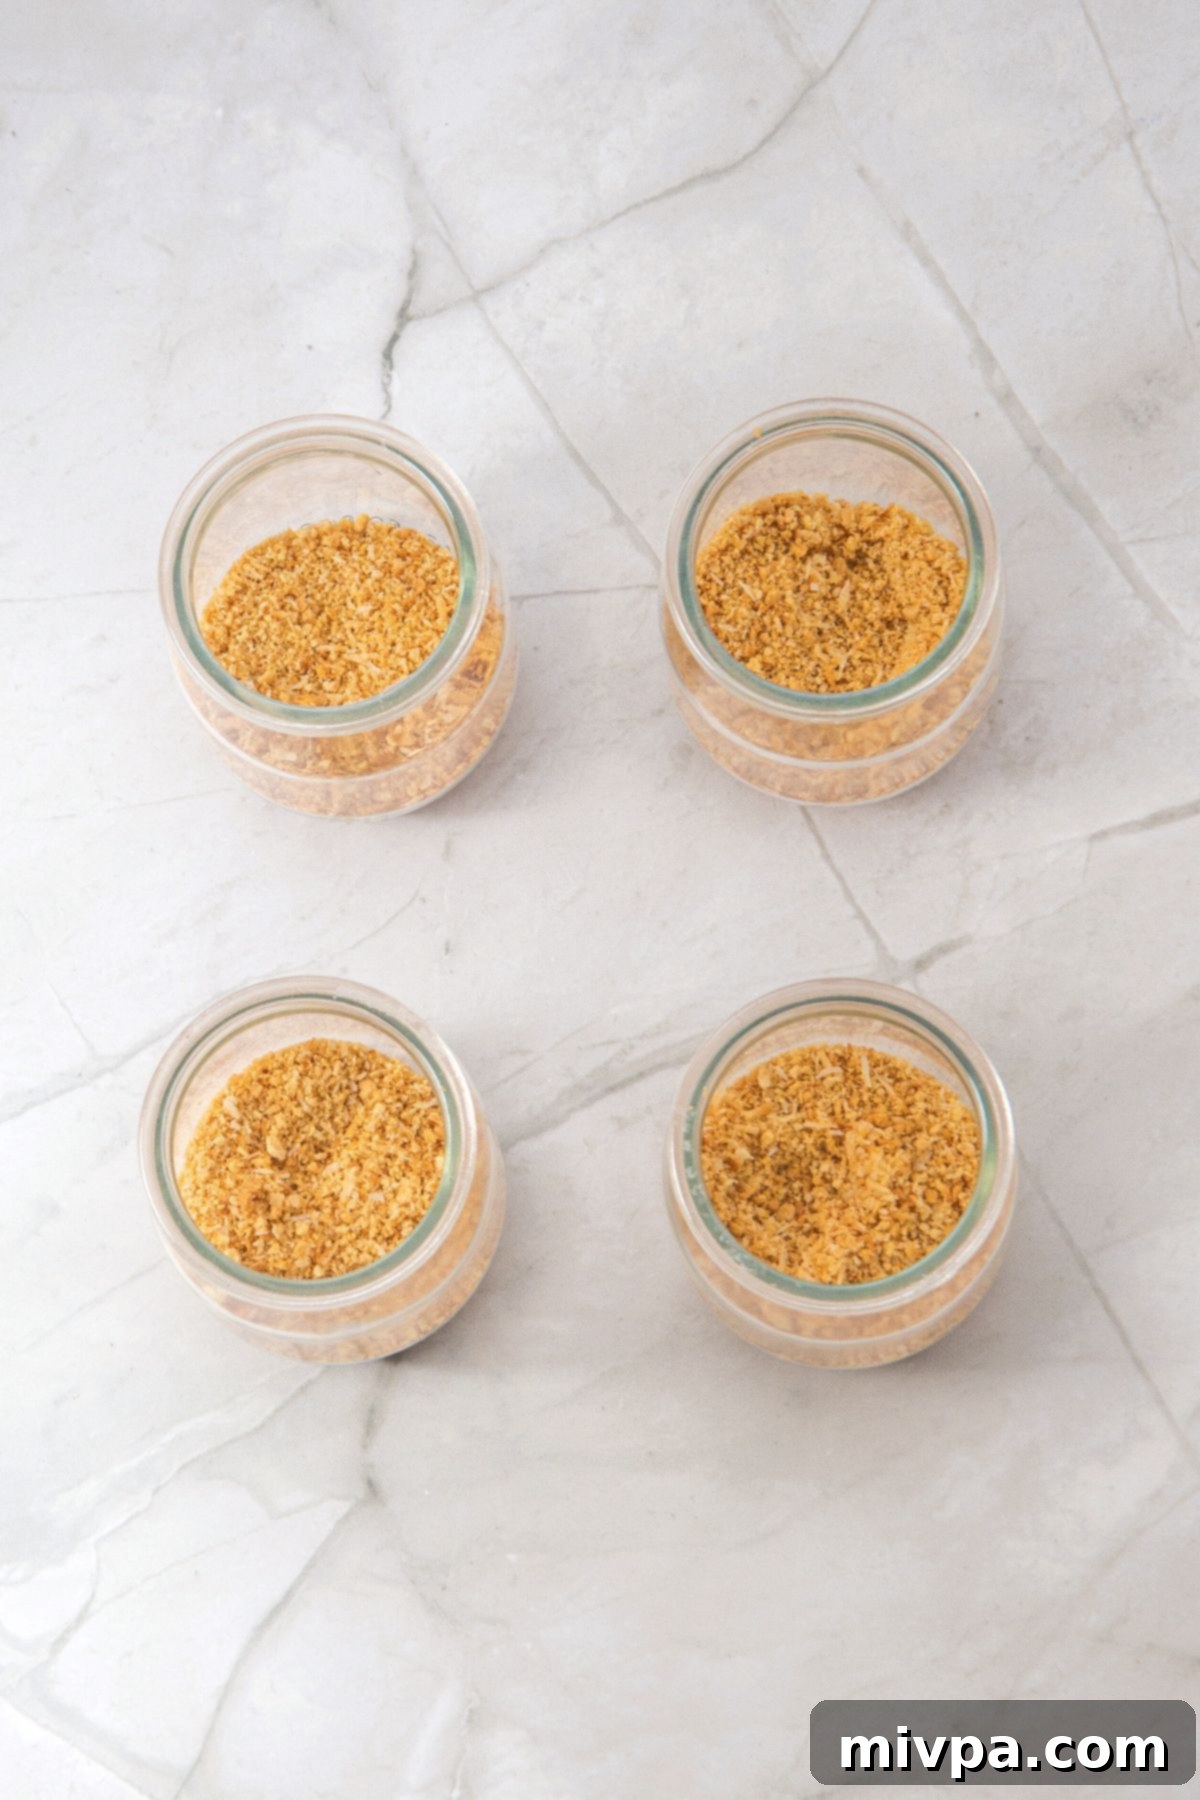
Step 4: Prepare Graham Cracker Base: Get your 4 small dessert cups or jars ready. Process the gluten-free graham crackers in a food processor until they are finely ground, resembling the texture of coarse sand. Spoon approximately 2 tablespoons of these crushed gluten-free graham cracker crumbs evenly into the bottom of each cup, creating a firm and flavorful base.
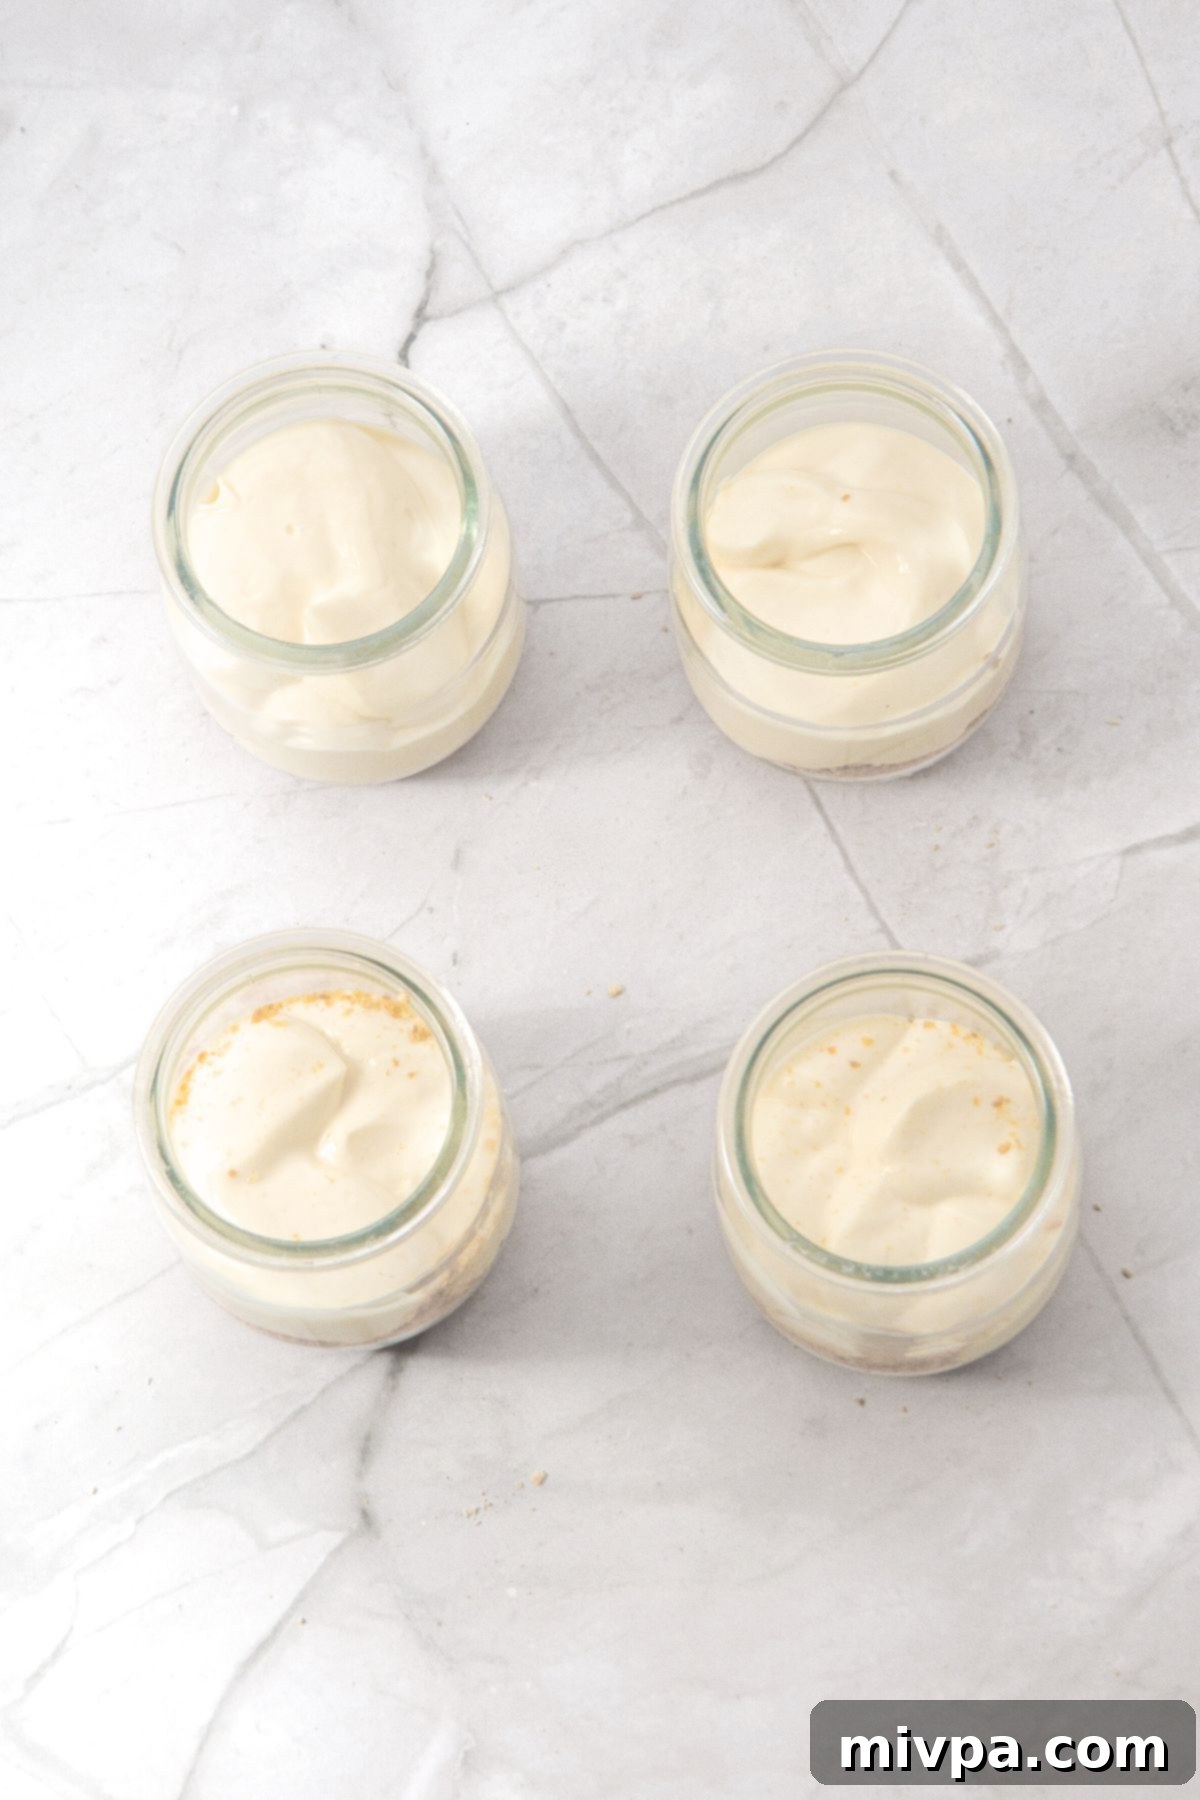
Step 5: Add Cream Cheese Layer: Carefully spoon about ¼ cup of the prepared creamy cheesecake filling on top of the graham cracker base in each cup. You can smooth the top gently with the back of a spoon or leave it slightly swirled for a more rustic look.
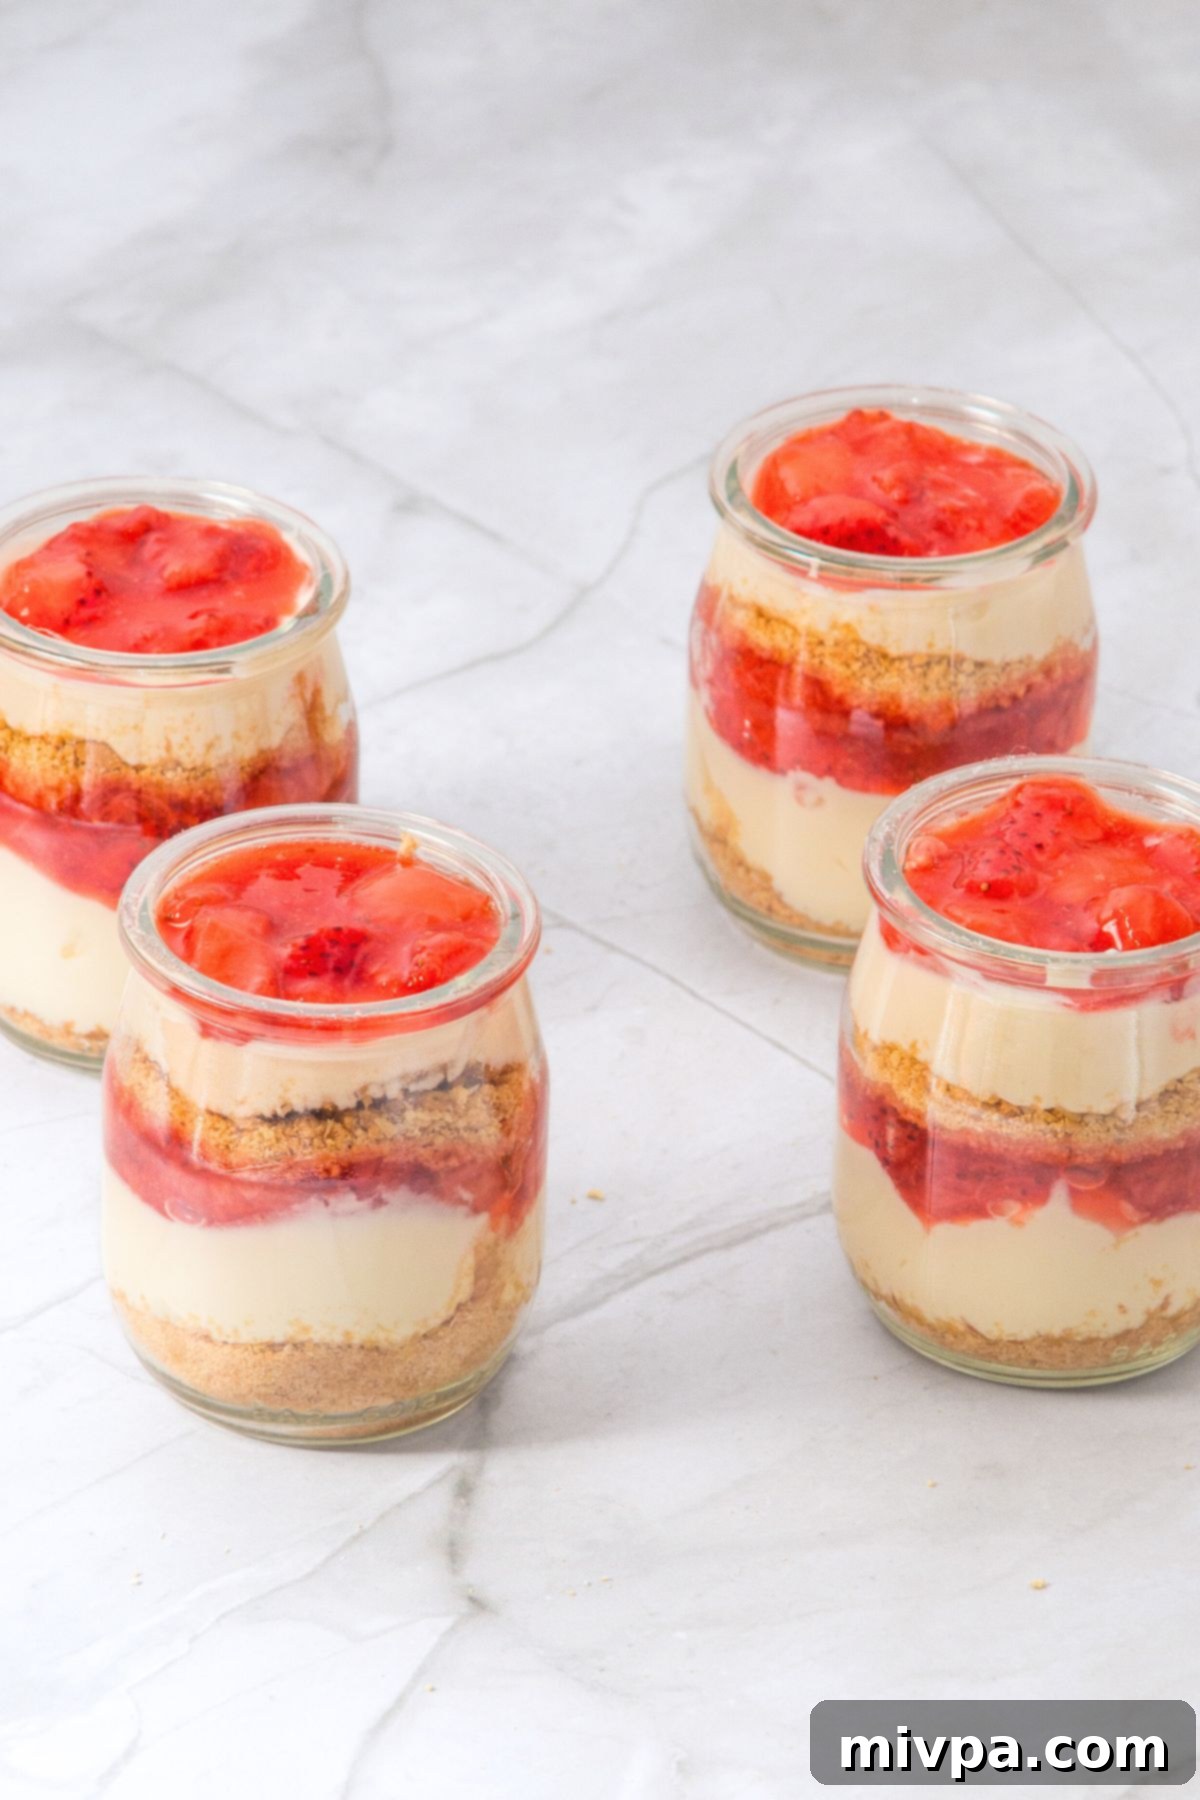
Step 6: Top with Strawberry Sauce: Finally, spoon approximately 1 tablespoon of the cooled homemade strawberry sauce over the cream cheese layer in each cup. For an even more decadent treat, you can repeat the layers if desired (graham cracker, cream cheese, sauce) and finish with additional sauce and a few fresh strawberry slices or whole berries for garnish.
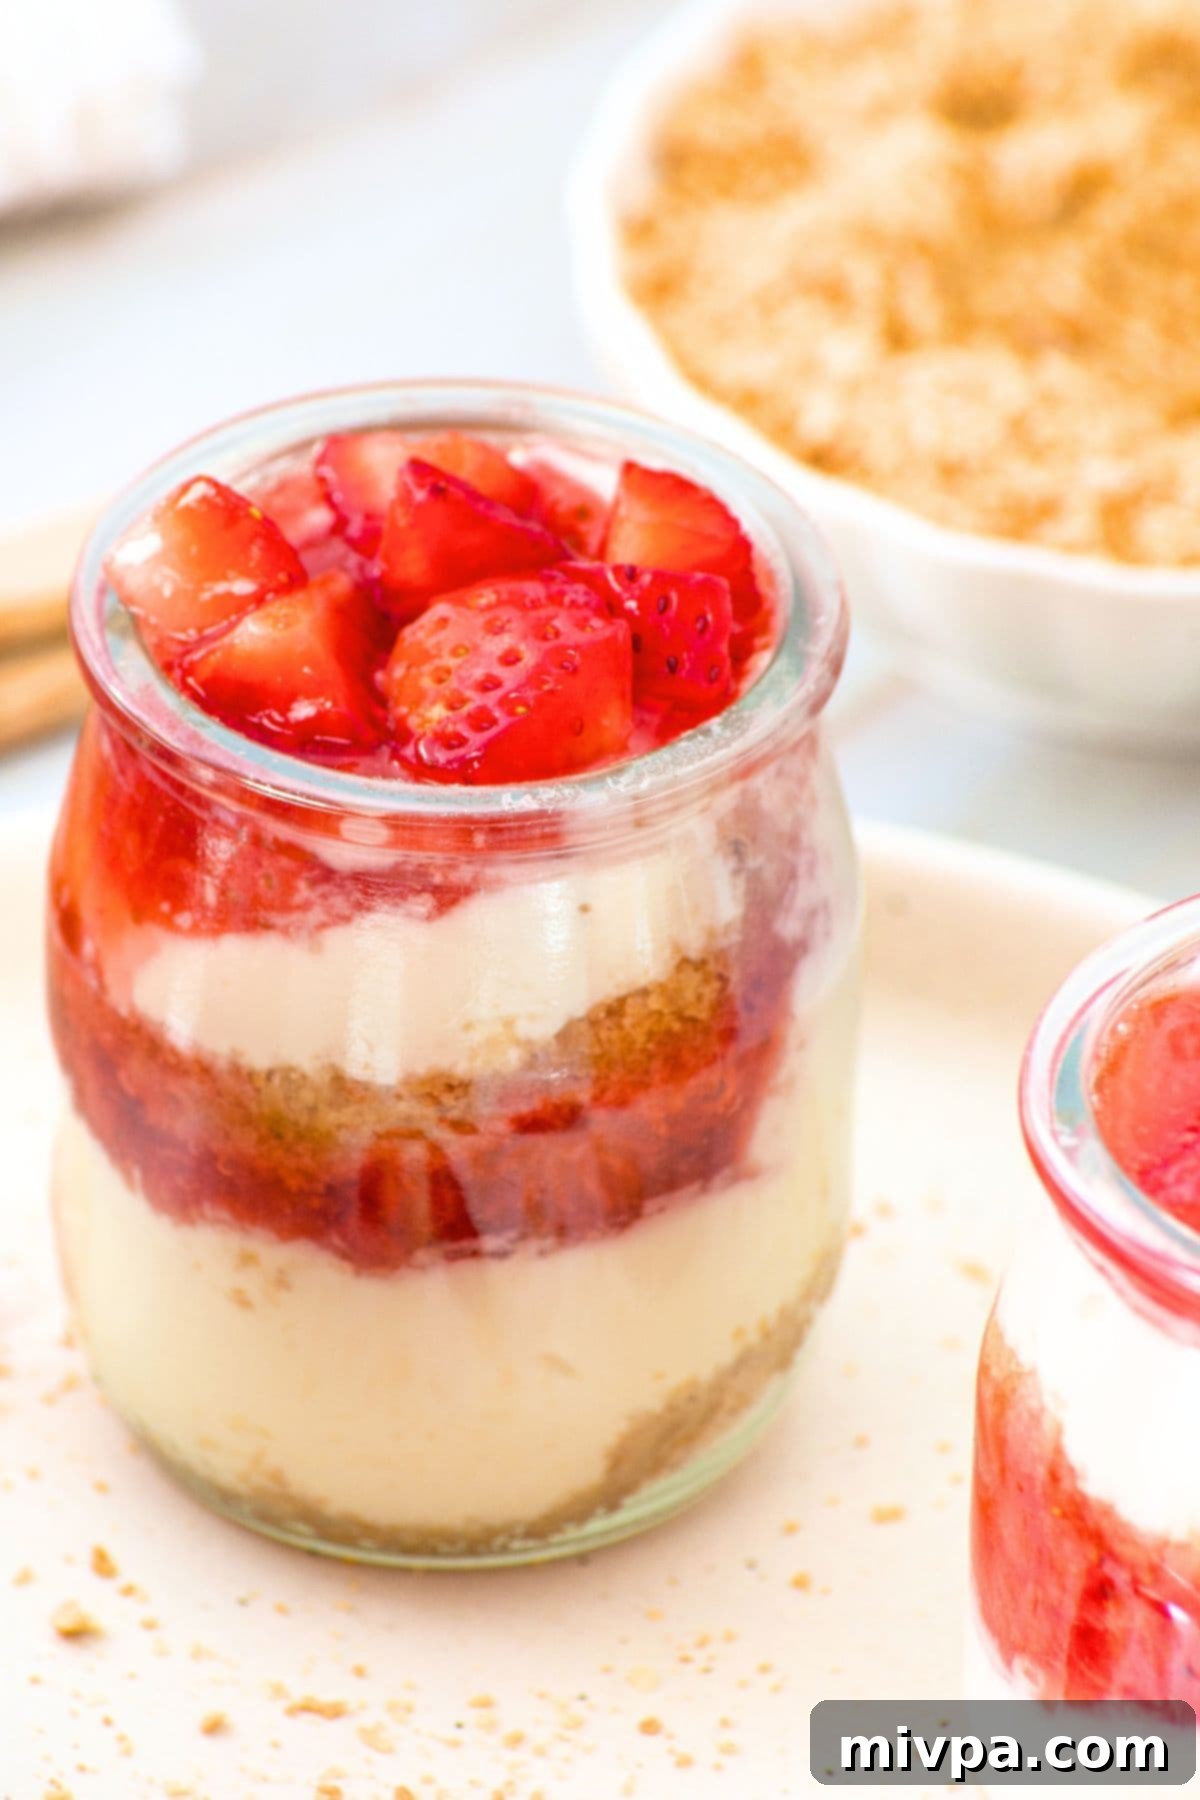
Step 7: Chill Before Serving: This step is crucial for allowing the cheesecake cups to properly set and develop their full flavor. Refrigerate the assembled dessert cups for at least 1 hour, or ideally longer, before serving. A well-chilled cheesecake cup offers the best texture and refreshing taste.
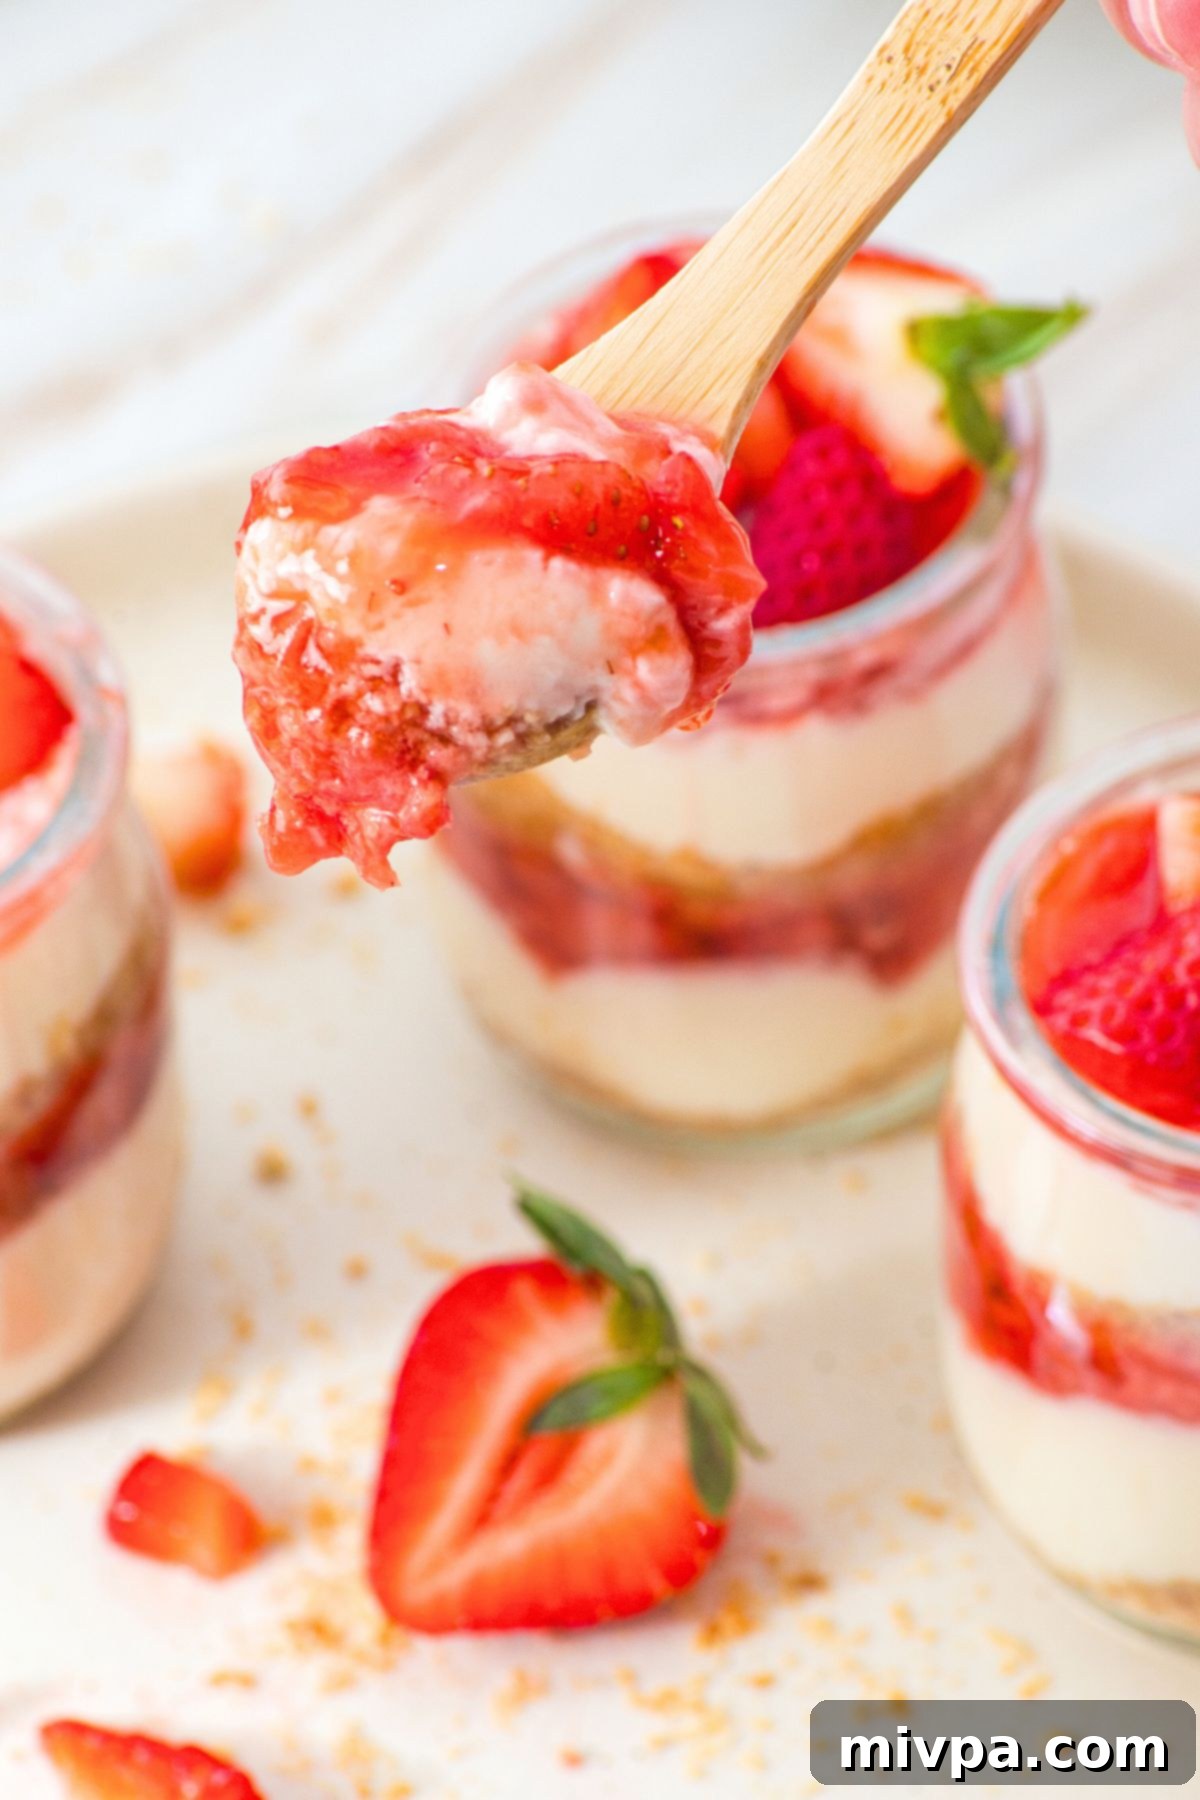
Step 8: Dig in and Enjoy: Once chilled to perfection, your delicious gluten-free strawberry cheesecake cups are ready to be savored! Grab a spoon and enjoy the delightful layers of crunchy crust, creamy filling, and sweet strawberry topping.
Expert Tips from Dish by Dish for Perfect Cheesecake Cups:
Here are some additional insights and creative variations to help you make these no-bake strawberry cheesecake cups even more amazing:
- Prefer a Fresh Strawberry Topping? If you’re short on time or prefer a simpler, more rustic strawberry topping without cooking, you absolutely can! Simply dice fresh strawberries, toss them gently with a tablespoon or two of granulated sugar (to taste), and let the mixture sit for about 10-15 minutes. The sugar will draw out the natural juices from the strawberries, creating a quick, fresh sauce that’s bursting with natural flavor.
- Experiment with Other Berries: While strawberries are fantastic, this recipe is incredibly versatile. Feel free to substitute the strawberries with other seasonal berries if you prefer! Juicy raspberries, sweet blackberries, or vibrant blueberries would all make excellent alternatives, allowing you to create different flavor profiles for your cheesecake cups. A mix of berries would also be delightful!
- Make Oreo Cheesecake Cups for a Twist: For a fun and decadent variation, swap out the crushed gluten-free graham crackers for crushed gluten-free Oreos (or golden Oreos). This instantly transforms the dessert into a rich chocolatey (or vanilla) cheesecake cup that’s equally delicious and satisfying.
- Presentation Matters: Use Glass Jars! I highly recommend using small, clear glass jars (like mason jars or small decorative dessert jars) for serving these cheesecake cups. Not only do they look incredibly charming and elegant, but they also allow you to beautifully display the distinct layers of the crunchy crust, creamy filling, and vibrant strawberry sauce. Eating with your eyes is half the experience, and these jars truly make for such a pretty dessert!
- Chill Time is Key: Don’t rush the chilling process! Allowing the cheesecake cups to refrigerate for at least 1 hour (or even better, 2-3 hours) is crucial for the filling to fully set and for the flavors to meld together beautifully. This results in a firm yet creamy texture that’s characteristic of a perfect cheesecake.
Explore More Gluten-Free Strawberry Delights from Dish by Dish:
If you love the taste of fresh strawberries as much as we do, be sure to check out these other fantastic gluten-free strawberry recipes that are perfect for any occasion:
- Moist Strawberry Cake (Gluten-Free, Dairy-Free)
- Strawberry Pie (Gluten-Free, Dairy-Free)
- Easy Strawberry Crumble Bars (Gluten-Free, Dairy-Free)
- Fresh Strawberry Cookies (Gluten-Free, Dairy-Free)
- Homemade Strawberry Jam (Gluten-Free, Vegan)
- Strawberry Shortcake (Gluten-Free, Dairy-Free)
- Strawberry Lemonade Sorbet (Gluten-Free, Vegan)
Discover Other Irresistible Gluten-Free Desserts to Indulge In:
Looking for more delicious gluten-free treats? Here are some other delightful recipes to satisfy your sweet cravings, perfect for any time of the year!
- Gluten-Free Pumpkin Banana Muffins (Dairy-Free)
- 126 Gluten-Free Desserts and Sweet Treats for Labor Day
- Mini Pumpkin Cheesecakes (Gluten-Free, Dairy-Free Option)
- Gluten-Free Pecan Pie Bars (Dairy-Free)
P.S. If you try this incredible no-bake strawberry cheesecake cups recipe, I’d absolutely love for you to leave a star rating below! Your feedback is invaluable, so please also share your thoughts in the comment section further down the page – I always appreciate hearing from you. Don’t forget to check out my entire Recipe Index for a comprehensive collection of all the delicious recipes on the blog. You can also follow me for daily inspiration and updates on Pinterest, Facebook or Instagram! And to get fresh, seasonal recipes delivered straight to your inbox each week, be sure to sign up for my Email List!
Print

Strawberry Cheesecake Cups (Gluten-Free, No-Bake)
5 Stars 4 Stars 3 Stars 2 Stars 1 Star
No reviews
Author: Felicia Lim
Total Time: 1 hour 30 minutes
Yield: 4 servings
Diet: Gluten Free
Description
These easy no-bake strawberry cheesecake cups are your favorite strawberry cheesecake in individual sized portions. There’s no baking required, and you can prepare a batch of these dessert cups very quickly! Gluten-free with dairy-free options too.
Ingredients
Units
Scale
- 1 1/2 cup crushed gluten-free graham crackers (Approximately 8 to 10 graham crackers)
For the Cream Cheese Filling:
- 1 cup cream cheese
- 1/2 cup heavy cream
- 1/2 cup powdered sugar
- 1 teaspoon vanilla extract
For the Strawberry Sauce:
- 1 1/2 cups fresh strawberries, diced
- 3 tablespoons powdered sugar
Instructions
- Cook Strawberry Sauce: Place the diced strawberries and 3 tablespoons of sugar in a pan over medium heat. Cook, stirring and gently mashing with a wooden spoon or spatula, until a thick sauce forms. Remove from heat and allow to cool.
- Whip Heavy Cream & Powdered Sugar: In a large mixing bowl, beat the cold heavy cream with the powdered sugar and vanilla extract until it thickens slightly (about 1 minute).
- Add Cream Cheese & Beat: Add the cream cheese and beat until you get a thick and homogeneous mixture.
- Prepare Graham Cracker Base: Process the gluten-free graham crackers until you get a crumb mixture the texture of sand. Spoon 2 tablespoons of the processed gluten-free graham crackers to the bottom of each cup.
- Add Cream Cheese Layer: Spoon ¼ cup of the cream cheese mixture on top of each base.
- Top with Strawberry Sauce: Spoon 1 tablespoon of the strawberry sauce on top. Repeat the layers if desired and finish with extra sauce and fresh strawberries.
- Chill Before Serving: Refrigerate for at least 1 hour before serving to allow the dessert to set and chill properly.
Notes
Graham Crackers: I used gluten-free graham crackers to keep this recipe gluten-free. You can either use homemade gluten-free graham crackers or storebought crackers. Alternatively, if you are not Celiac or gluten-intolerant, go ahead and use regular graham crackers instead.
Cream Cheese: Make sure to use plain cream cheese. If you are lactose-intolerant, go ahead and use dairy-free cream cheese instead.
Heavy Cream: If you are lactose-intolerant, go ahead and use dairy-free heavy cream instead.
Powdered Sugar: Powdered sugar is sugar that has been processed until super fine. If you wish, you can make your own powdered sugar at home by processing granulated white sugar in the blender or food processor until you get a super fine texture.
Vanilla Extract: I like adding a bit of vanilla extract for extra flavor, and highly recommend adding it in.
Strawberries: Make sure to use fresh strawberries for the best flavor. Alternatively, you may also use other types of berries if you prefer.
- Prep Time: 20 mins
- Chilling Time: 1 hour
- Cook Time: 10 mins
- Category: Desserts
- Method: No-Bake
- Cuisine: American
