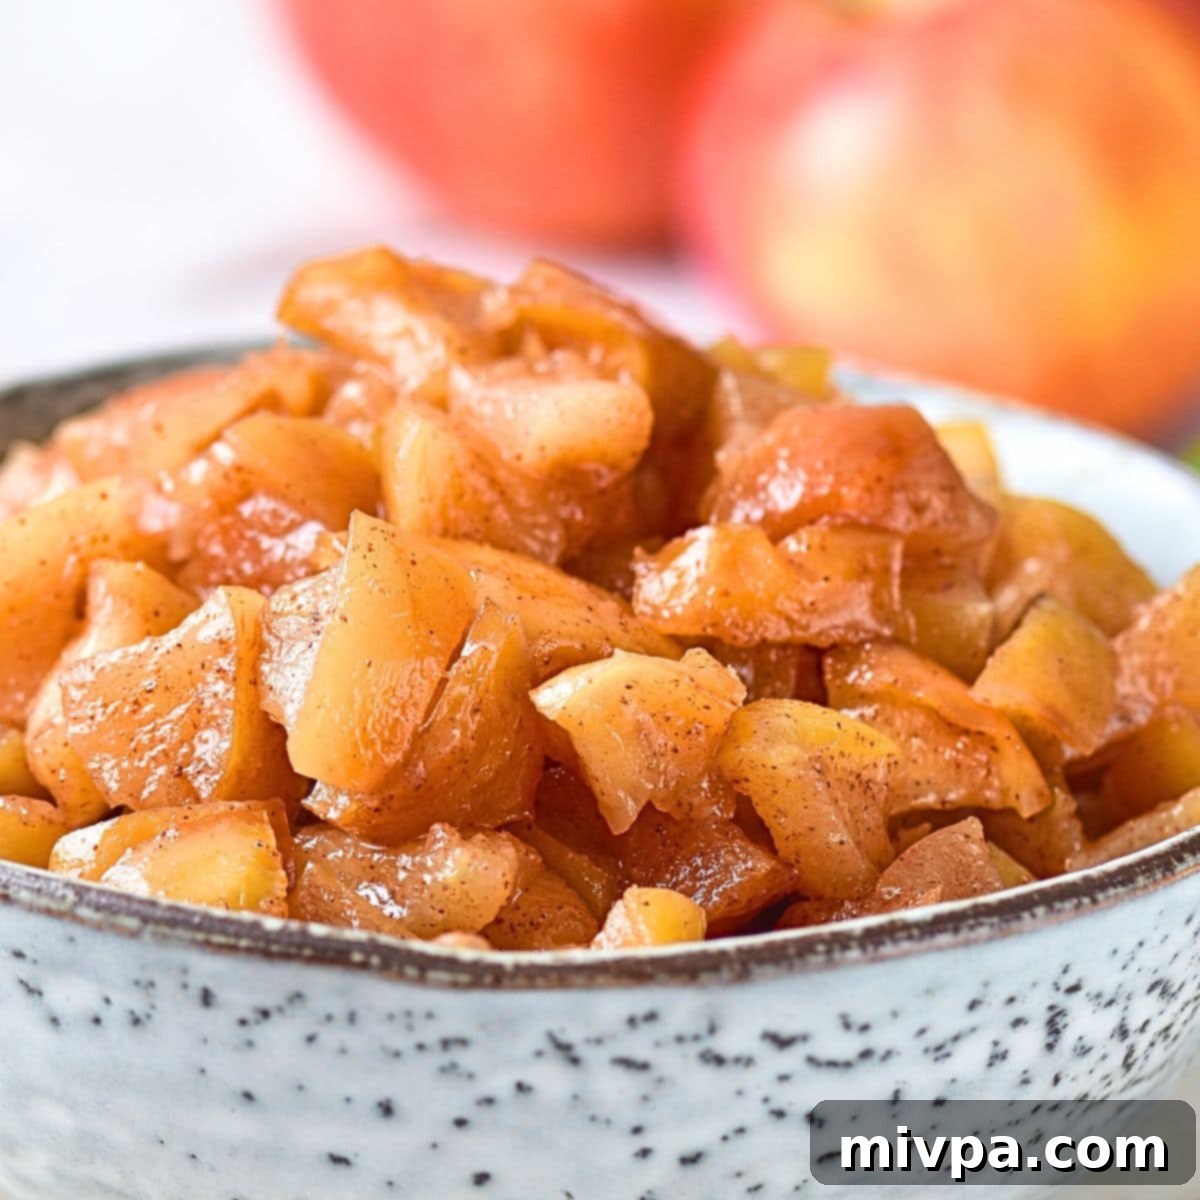
Easy & Delicious Caramelized Apples (Gluten-Free, Dairy-Free, Vegan)
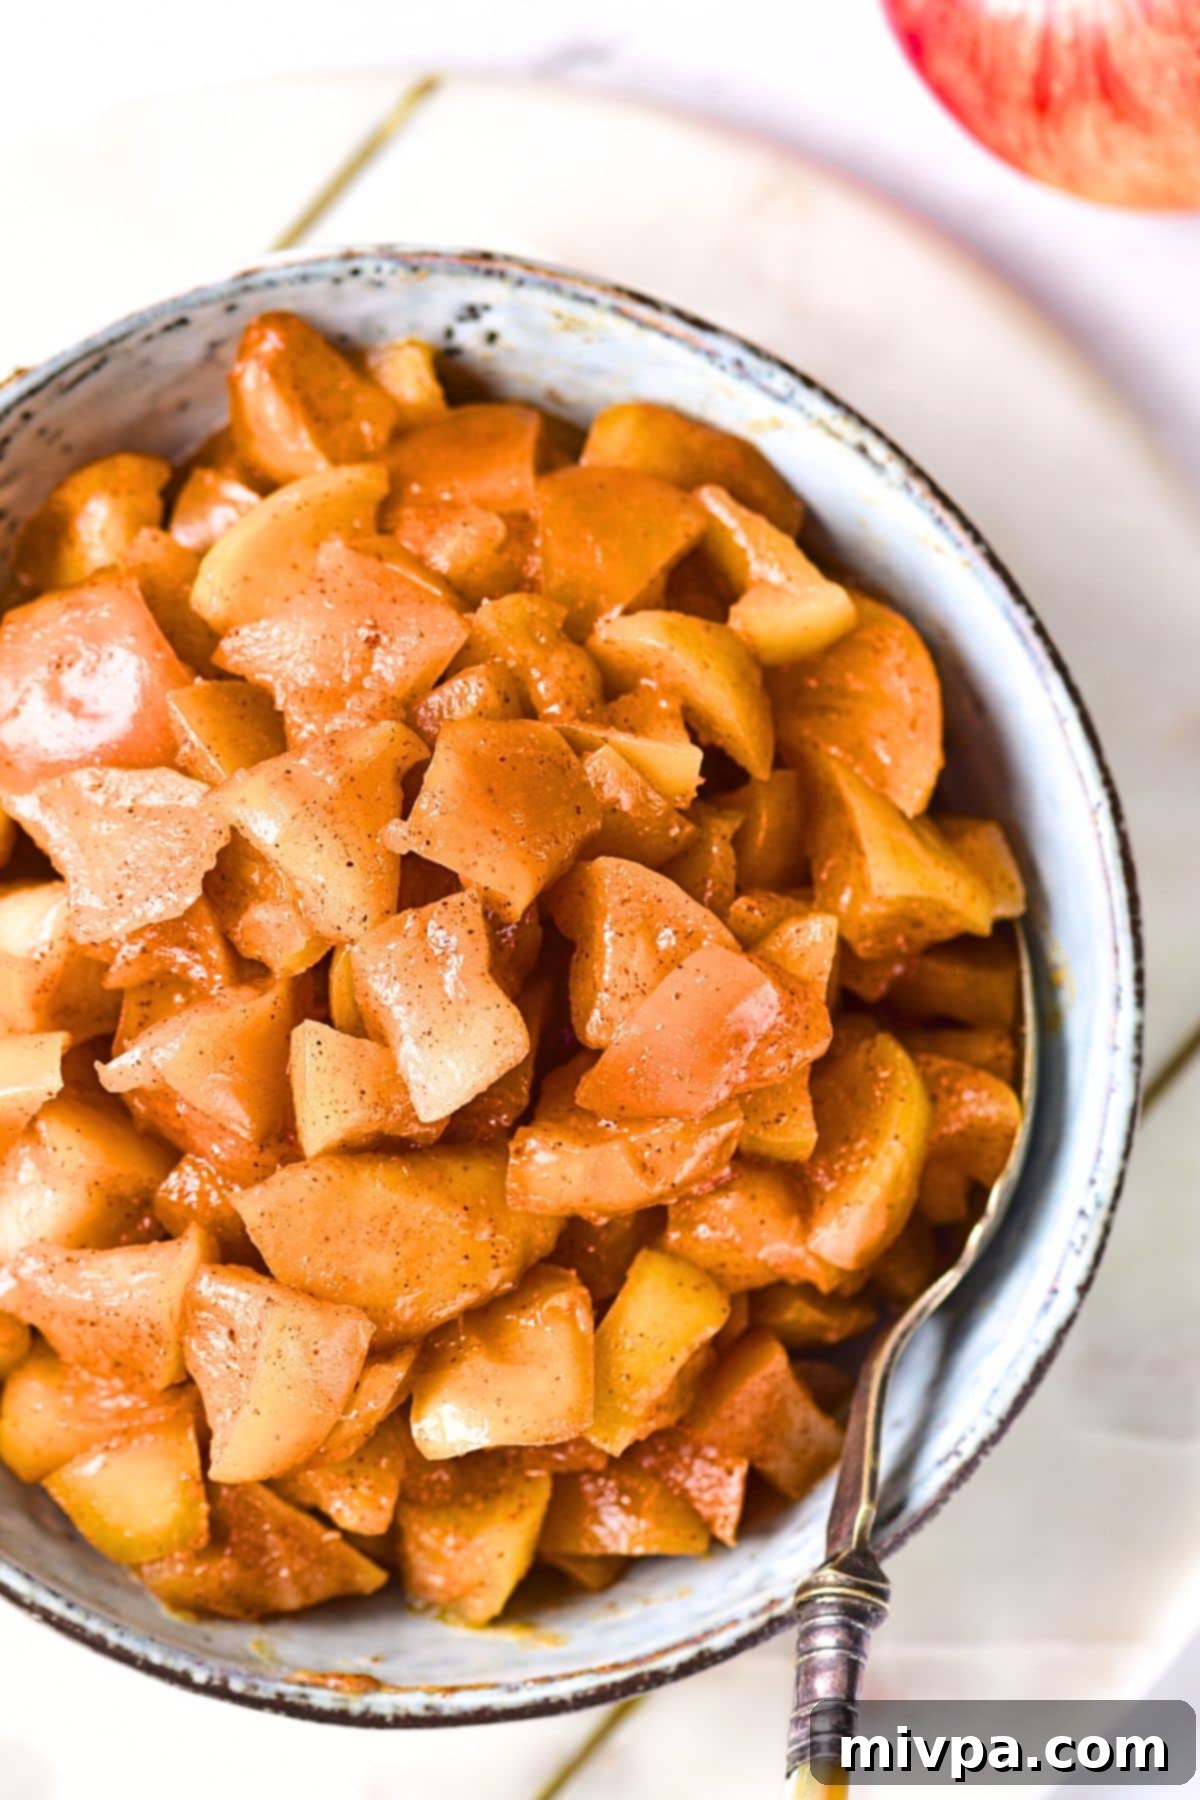
These easy caramelized apples are a delightful treat, cooked until tender and golden brown, coated in a glossy, sweet caramel sauce, and infused with warm cinnamon. They are incredibly versatile – enjoy them simply on their own as a sweet snack or dessert, or use them as a perfect topping for fluffy pancakes, crispy waffles, hearty oatmeal, delicate crepes, or even as a flavorful filling for a homemade pie crust! The best part? This recipe is completely gluten-free, dairy-free, and vegan, making it accessible and enjoyable for everyone.
Embrace the Season with Flavorful, Tender Caramelized Apples
There’s an undeniable magic that sweeps in with the fall season. The vibrant auburn leaves rustling underfoot, the cozy embrace of soft sweaters and knits, and the crisp, cool evenings that invite warmth and comfort indoors. Beyond the visual beauty and comforting sensations, fall also heralds one of the most anticipated times of the year for food lovers: apple season.
During this glorious period, all things apple become fair game, and the very air in our homes fills with the delightful aroma of sugar, spice, and everything nice. Just imagine taking a deep breath – can you almost smell that sweet, comforting fragrance?
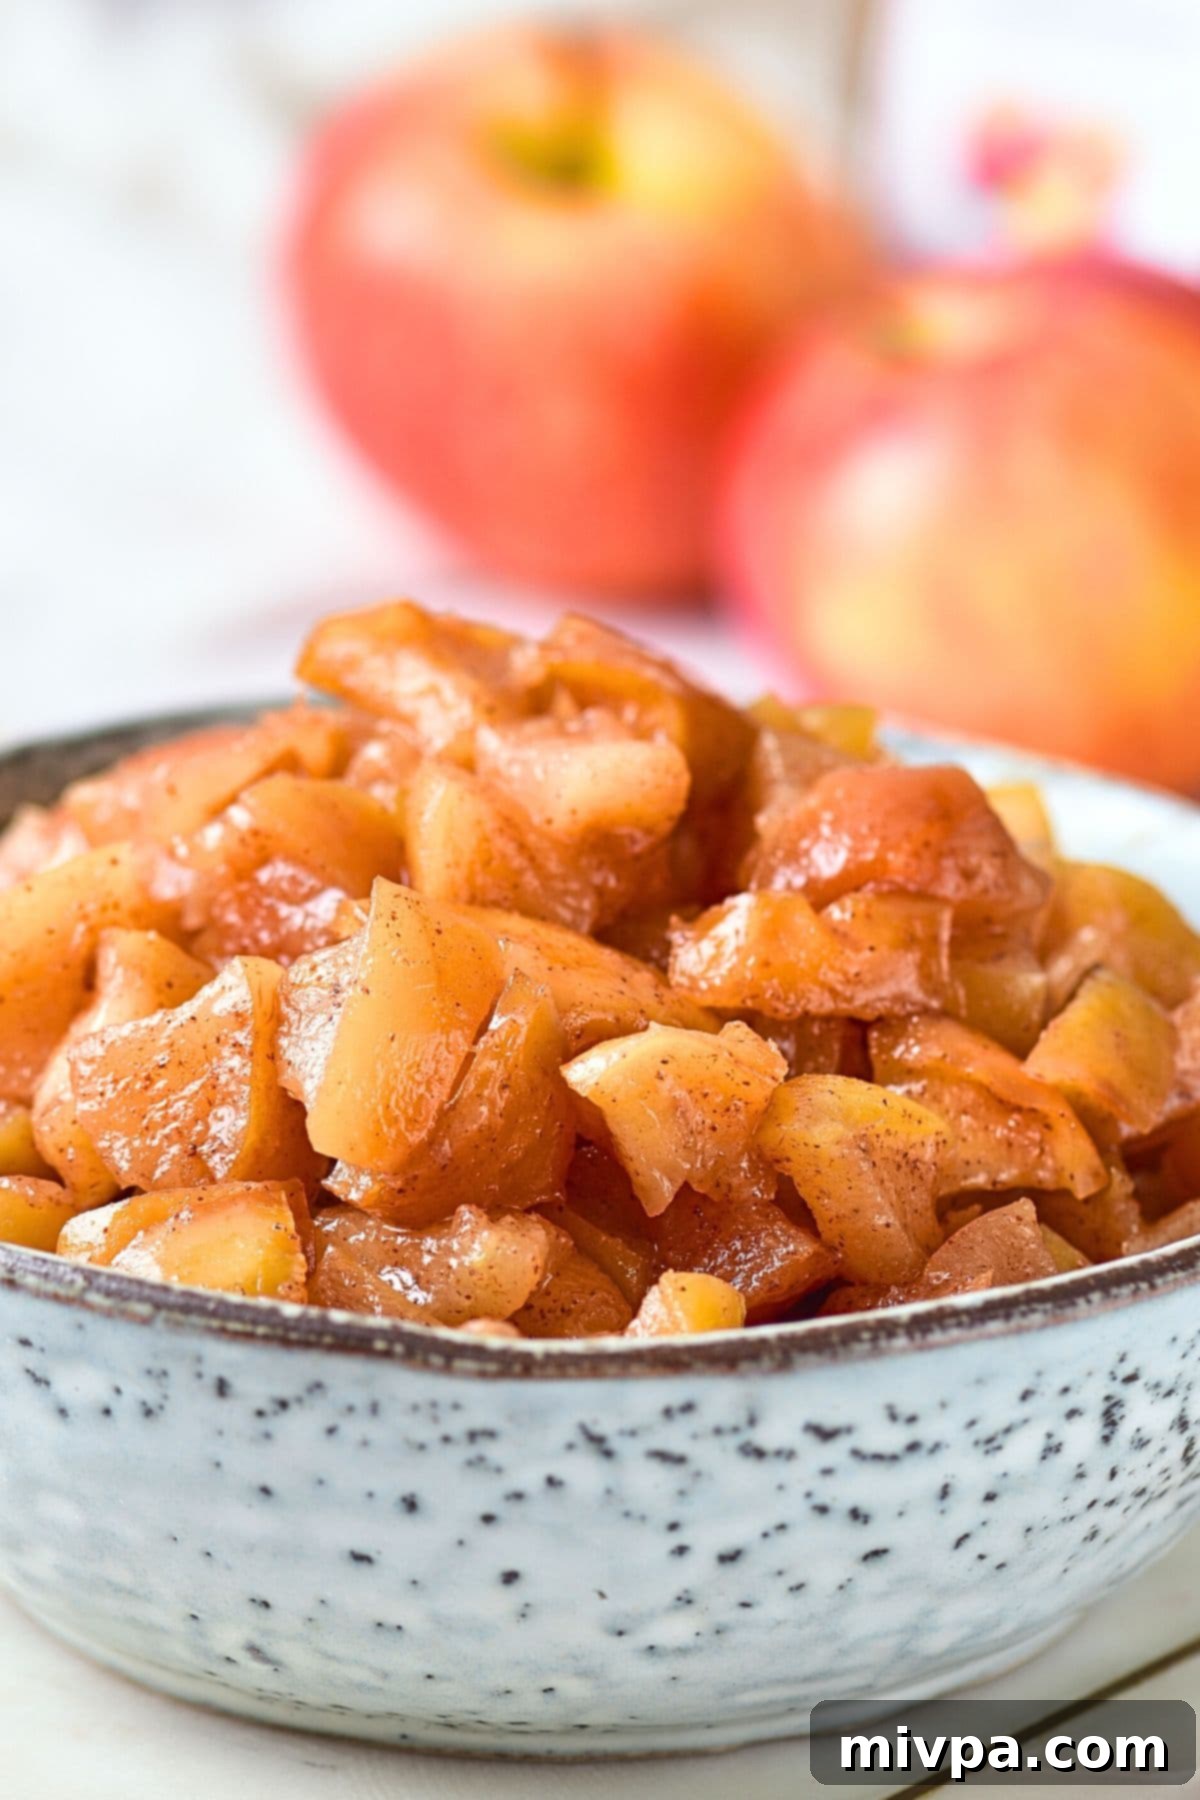
Today, we’re channeling that autumnal spirit into a truly special recipe: perfectly caramelized apples. These aren’t just any cooked apples; they’re transformed into tender, glistening gems, each piece coated in a rich, glossy caramel sauce and beautifully flavored with aromatic cinnamon. The result is a simple yet sophisticated dish that captures the essence of fall in every bite.
Whether you’re looking for a quick and satisfying snack, an elegant dessert to impress, or a versatile topping to elevate your breakfast or brunch, these caramelized apples fit the bill. Picture a warm bowl of these apples topped with a dollop of whipped cream or a scoop of vanilla ice cream. Or perhaps layered over a stack of pancakes, tucked into delicate crepes, or crowning a plate of crispy waffles. They even make a fantastic, sweet-tart filling for a homemade pie crust, transforming into an instant apple pie. The possibilities are truly apple-licious!
Why You’ll Love This Easy Caramelized Apple Recipe:
This caramelized apple recipe isn’t just delicious; it’s designed to be simple, satisfying, and suitable for a wide range of dietary needs. Here are a few compelling reasons why you’ll want to make this dish again and again:
- Effortlessly Simple Ingredients: You don’t need exotic items or a special trip to a gourmet store. All the ingredients for these caramelized apples are straightforward and readily available at your local grocery store. We’re talking about basic pantry staples that come together to create something truly magical.
- Incredibly Easy to Prepare: Don’t let the elegant sound of “caramelized” intimidate you! Preparing these apples is a breeze. It primarily involves a simple sauté of cubed apples, followed by the addition of sugar and cinnamon, cooking until a beautiful caramel forms, and the apples reach a soft, tender perfection. It’s a process that yields impressive results with minimal effort.
- Perfectly Dietary-Friendly: One of the absolute best aspects of these cinnamon-spiced caramelized apples is that they are 100% gluten-free, dairy-free, and vegan. This means that whether you have Celiac disease, gluten or lactose intolerances, or simply follow a vegan lifestyle, you can indulge in this delightful treat without any worries or compromise on flavor. It’s a dessert that truly everyone can enjoy!
- Amazingly Versatile: As mentioned, the serving options for these caramelized apples are virtually endless. From breakfast toppings to dessert fillings, they adapt beautifully to almost any meal or occasion. This makes them a fantastic staple to have in your culinary repertoire, especially during the fall season.
- Warm, Comforting Fall Flavors: The combination of sweet apples, rich caramel, and aromatic cinnamon creates a flavor profile that is deeply comforting and evocative of autumn. It’s the kind of dish that warms you from the inside out, making it perfect for crisp evenings or holiday gatherings.
Choosing the Best Apples for Caramelization
While almost any apple can be caramelized, selecting the right variety can significantly impact the texture and flavor of your finished dish. For caramelized apples, you generally want apples that hold their shape well when cooked, rather than turning into mush. However, the choice also depends on your preference for sweetness and tartness.
Here are some popular and excellent choices:
- Granny Smith: If you love a tart counterpoint to the sweet caramel, Granny Smith apples are an excellent choice. Their firm flesh holds up beautifully during cooking, and their crisp, tangy flavor provides a wonderful balance.
- Honeycrisp: A universally loved apple, Honeycrisp offers a fantastic balance of sweetness and a slight tartness. They retain a pleasant texture when cooked and absorb the caramel flavor wonderfully.
- Fuji: Known for their crisp texture and sweet, juicy flavor, Fuji apples caramelize well and maintain some of their firmness, contributing to a delightful mouthfeel.
- Pink Lady (Cripps Pink): These apples offer a sweet-tart taste and a firm flesh that stands up to heat, making them ideal for caramelized dishes.
- Gala: While slightly softer than some other varieties, Gala apples are sweet and mild, and they can work well if you prefer a softer cooked apple with a subtle flavor.
- Braeburn: These apples are known for their firm texture and a good balance of sweet and tart, making them another reliable choice for caramelizing.
Pro Tip: Using a mix of sweet and tart apples can add depth and complexity to your caramelized apple dish, creating a more dynamic flavor experience!
Essential Ingredients for Easy Caramelized Apples
The beauty of this recipe lies in its simplicity, utilizing just a handful of everyday ingredients to create something truly spectacular. Here’s a visual overview of what you’ll need to make these delicious caramelized apples, along with some helpful notes and substitutions.
(For exact measurements and a printable recipe, please scroll down to the printable recipe card at the bottom of this post.)
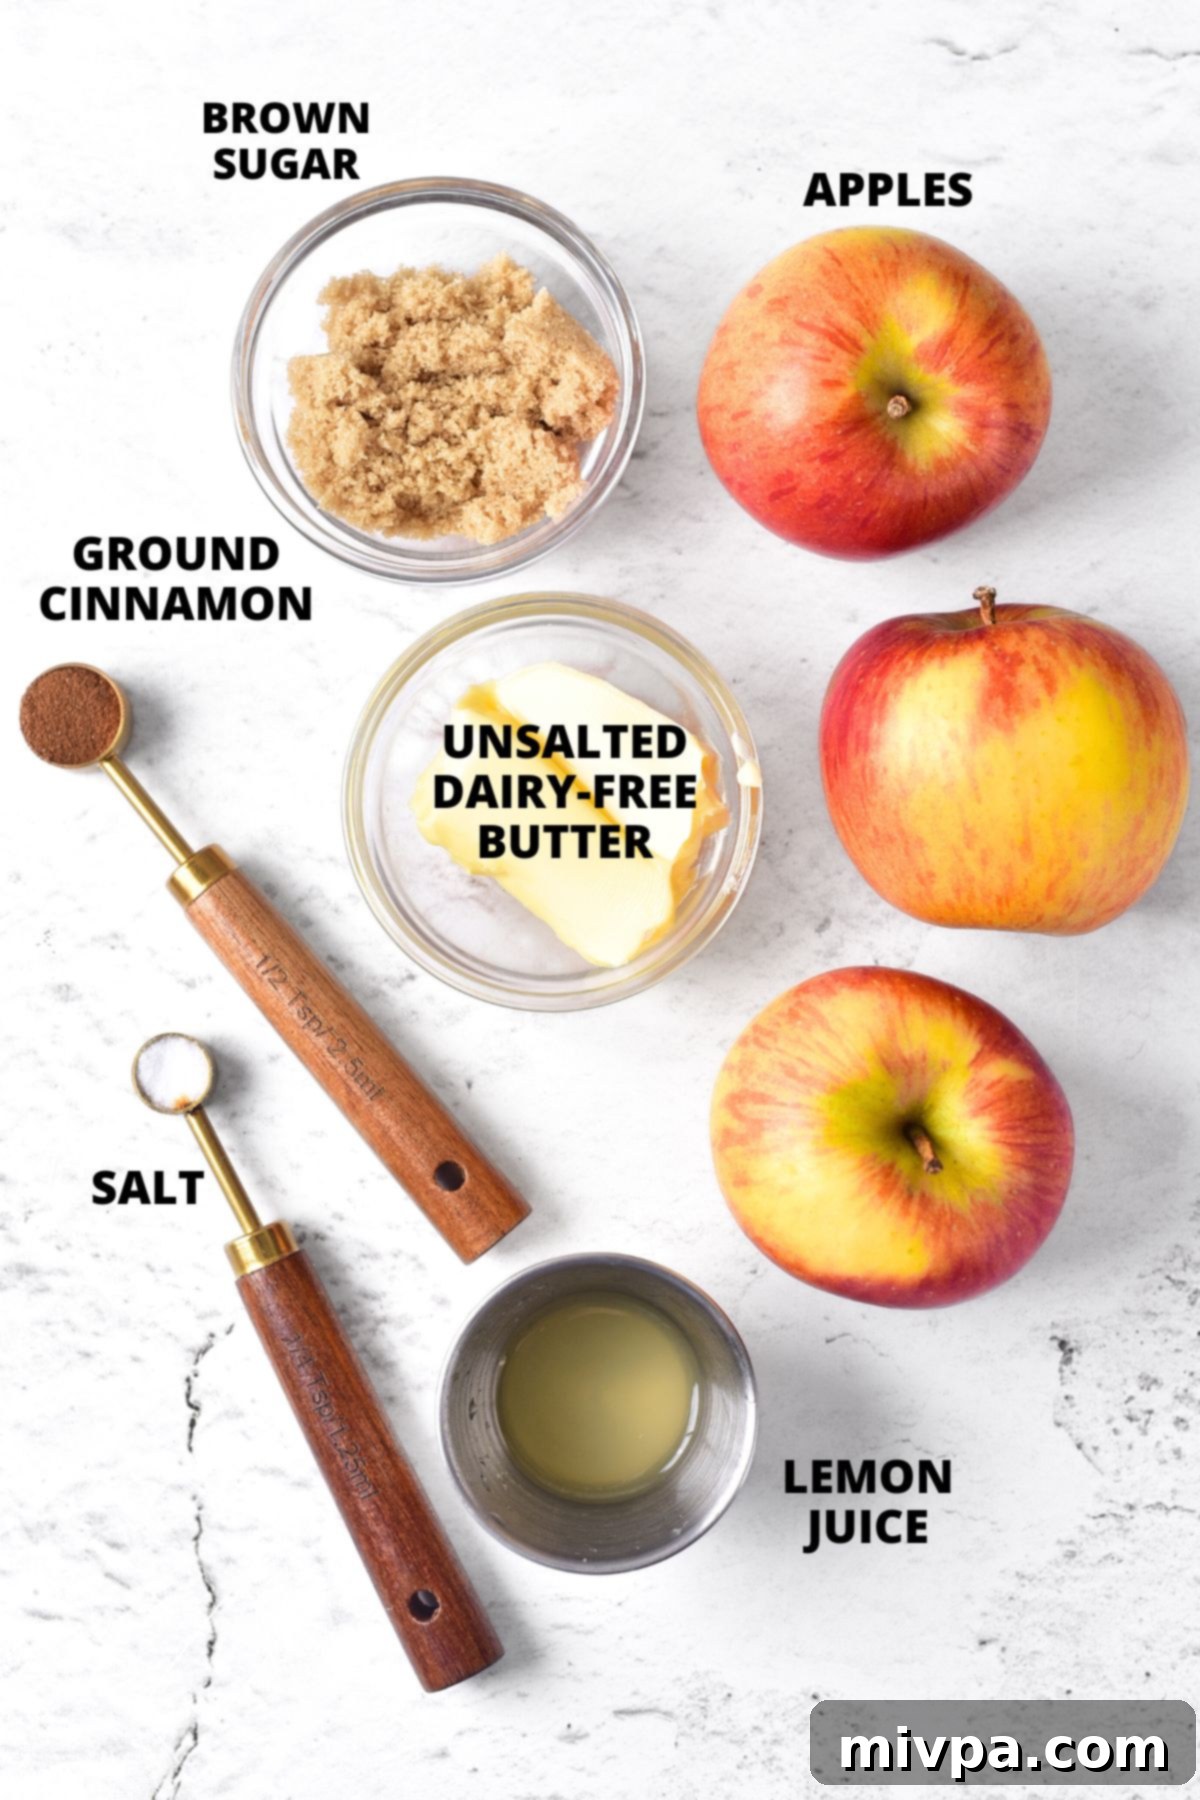
Ingredient Notes and Substitutions:
- Apples: As discussed above, feel free to use your favorite variety! Whether you prefer sweet apples (like Honeycrisp or Fuji) or tart apples (like Granny Smith or Pink Lady), the choice is yours. A mix can also be wonderful for a layered flavor.
- Brown Sugar: Brown sugar is key for achieving that rich, deep caramel flavor and glossy texture. I typically use light brown sugar, but dark brown sugar will also work beautifully, lending an even more intense molasses flavor to the caramel. If you’re managing blood sugar levels or are diabetic, I highly recommend opting for a 1:1 brown sugar substitute like golden monkfruit sweetener, which has a zero glycemic index and won’t spike your blood sugar.
- Ground Cinnamon: A generous pinch of ground cinnamon adds that essential warm, inviting fall flavor that pairs so perfectly with apples and caramel. For a slightly different but equally delicious spice profile, you may use equal quantities of apple pie spice instead, which typically contains a blend of cinnamon, nutmeg, and allspice.
- Dairy-Free Butter: To keep this recipe completely dairy-free and vegan, I use unsalted dairy-free butter. There are many great plant-based butter alternatives available now that perform wonderfully in cooking and baking. If dairy isn’t an issue for you, feel free to use regular unsalted butter instead.
- Lemon Juice: Don’t skip the fresh lemon juice! It’s a small but mighty ingredient that provides a crucial bright, tart note. This acidity beautifully contrasts and cuts through the sweetness of the caramelized apples, preventing the dish from becoming overly cloying and adding a lovely complexity.
- Salt: Just a pinch of salt enhances all the other flavors, bringing out the sweetness of the apples and the richness of the caramel.
How to Make Perfect Caramelized Apples (Step by Step):
Creating these delightful caramelized apples is surprisingly simple. Follow these easy steps for a delicious outcome every time:
1. Preparation is Key: Core and Cube Apples
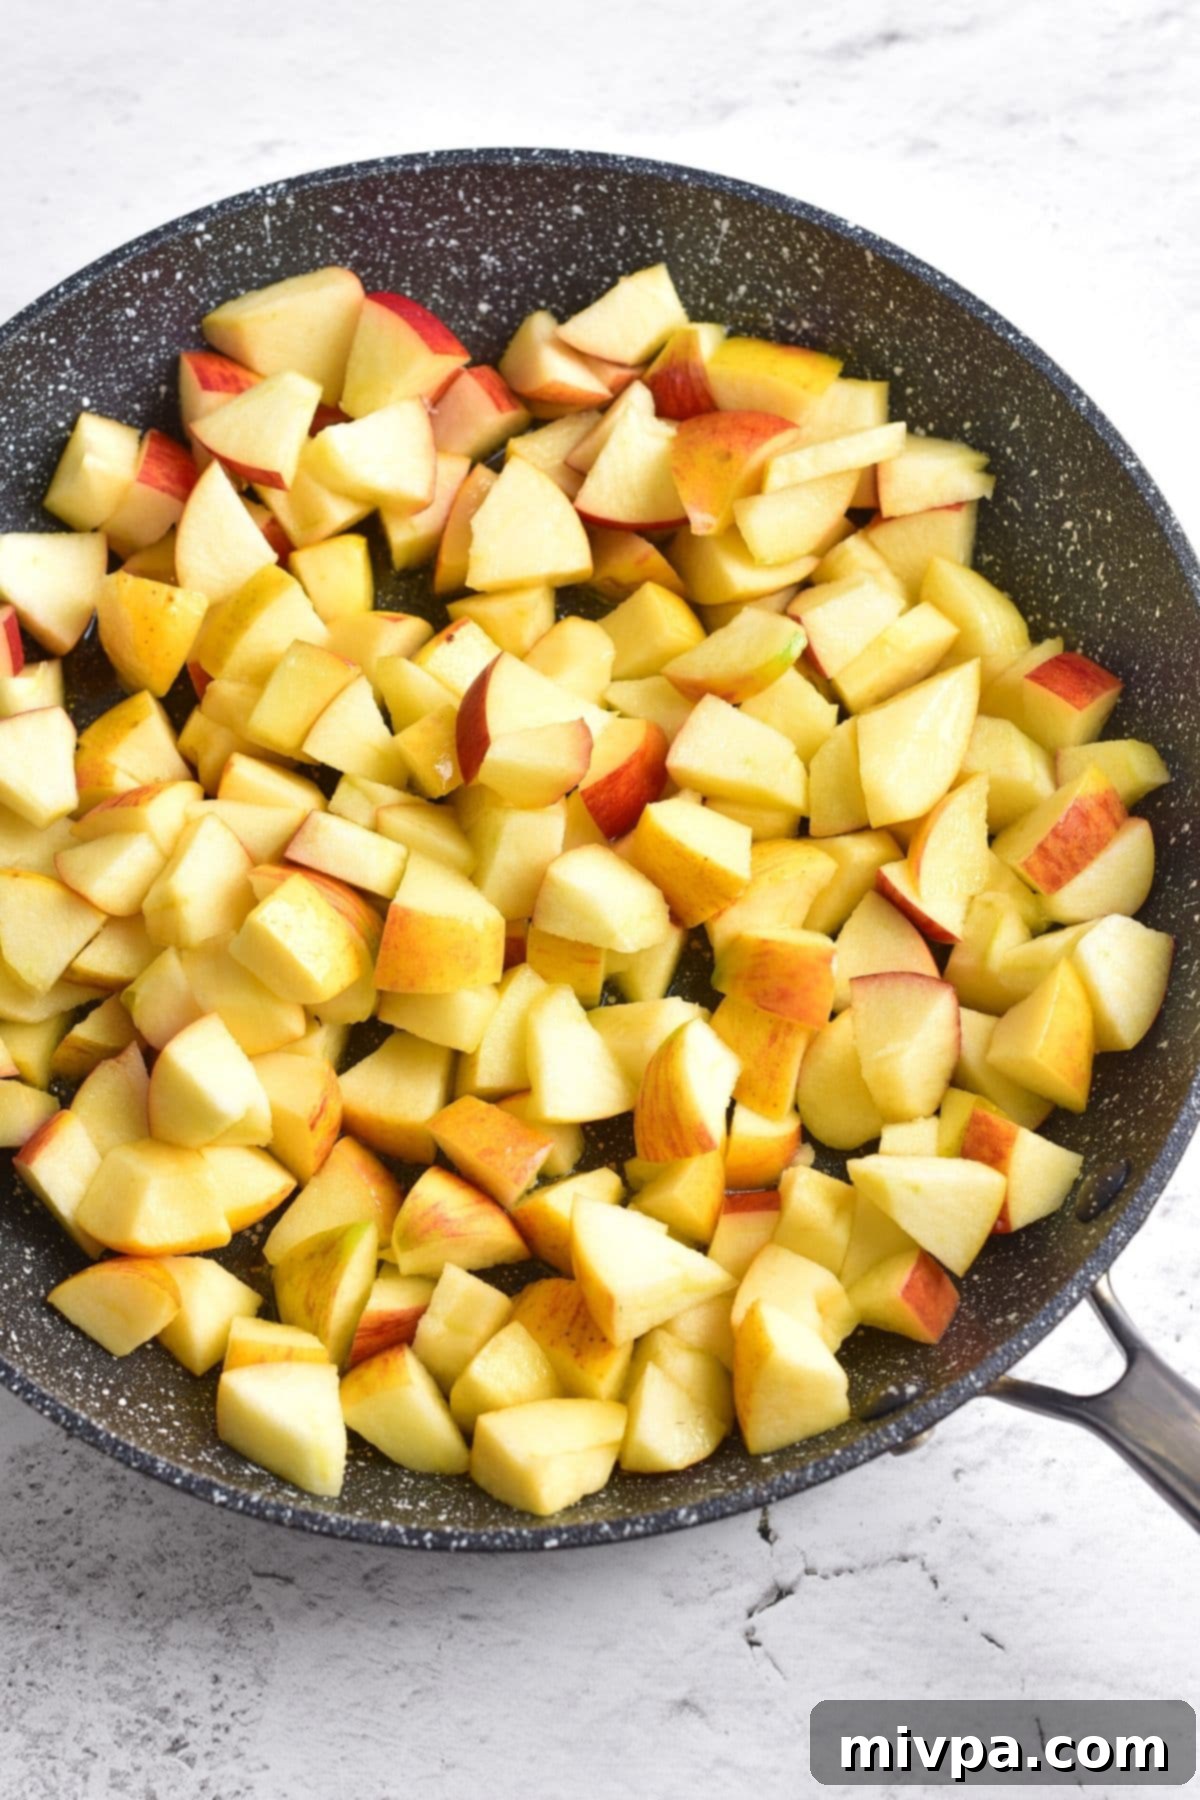
Start by washing your apples thoroughly. Then, carefully core them to remove the seeds. Once cored, cut the apples into small, even cubes. Consistency in size is important here, as it ensures all the apple pieces cook evenly and become tender at the same time. While I often leave the peels on for added texture and nutrients, if you prefer a smoother consistency, go ahead and peel the apples before coring and cubing them.
2. Sautéing to Perfection: Soften the Apples
Melt the unsalted dairy-free butter in a large skillet over low to medium-low heat. Once the butter is melted and slightly shimmering, add your cubed apples to the skillet. Sauté the apples for about 6-7 minutes, stirring occasionally. The goal here is to gently soften the apples without browning them too much, preparing them for the caramelization process.
3. The Zesty Touch: Add Lemon Juice
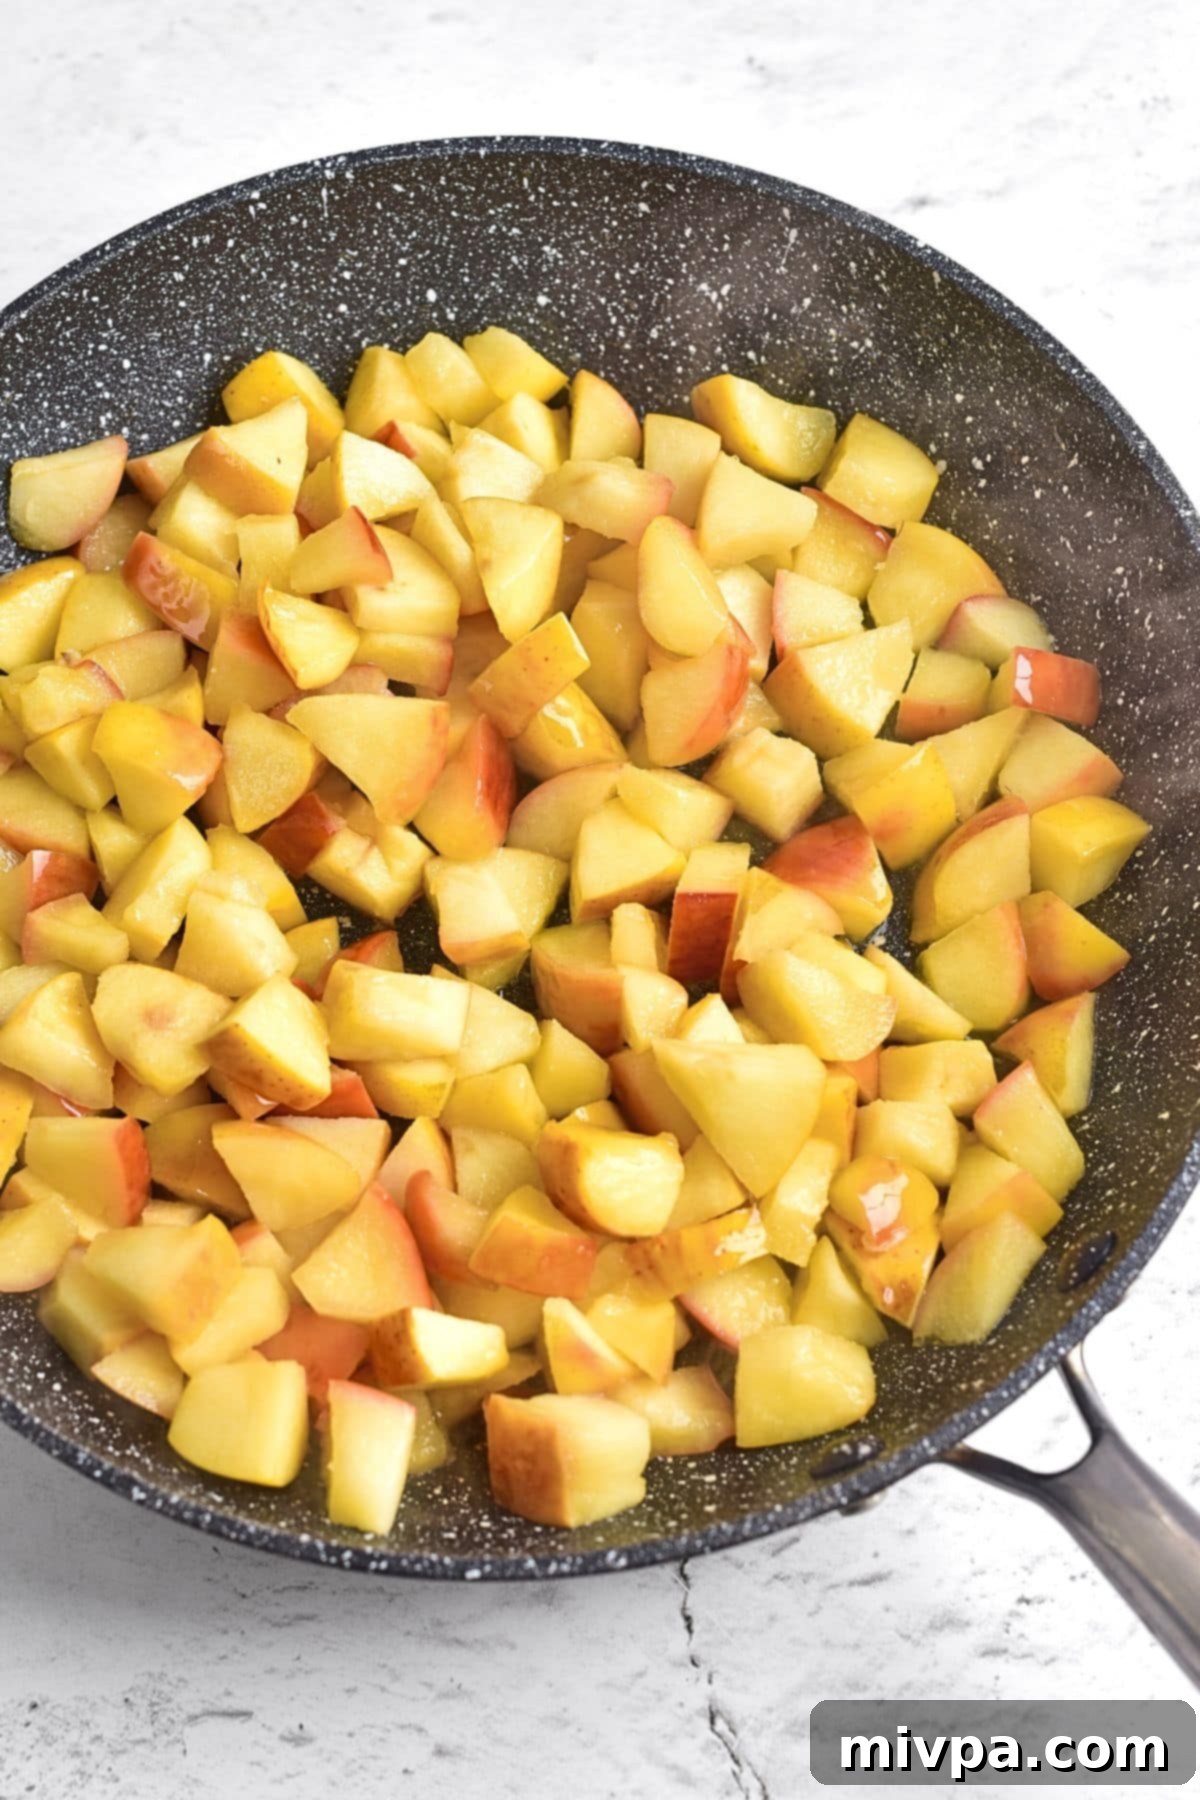
After the apples have softened slightly, add the fresh lemon juice to the skillet. Stir it in thoroughly and continue cooking for another 2-3 minutes. The lemon juice not only adds a bright, zesty flavor but also helps prevent the apples from oxidizing and turning brown, maintaining their appealing golden hue.
4. Creating the Caramel Magic: Add Sugar and Cinnamon
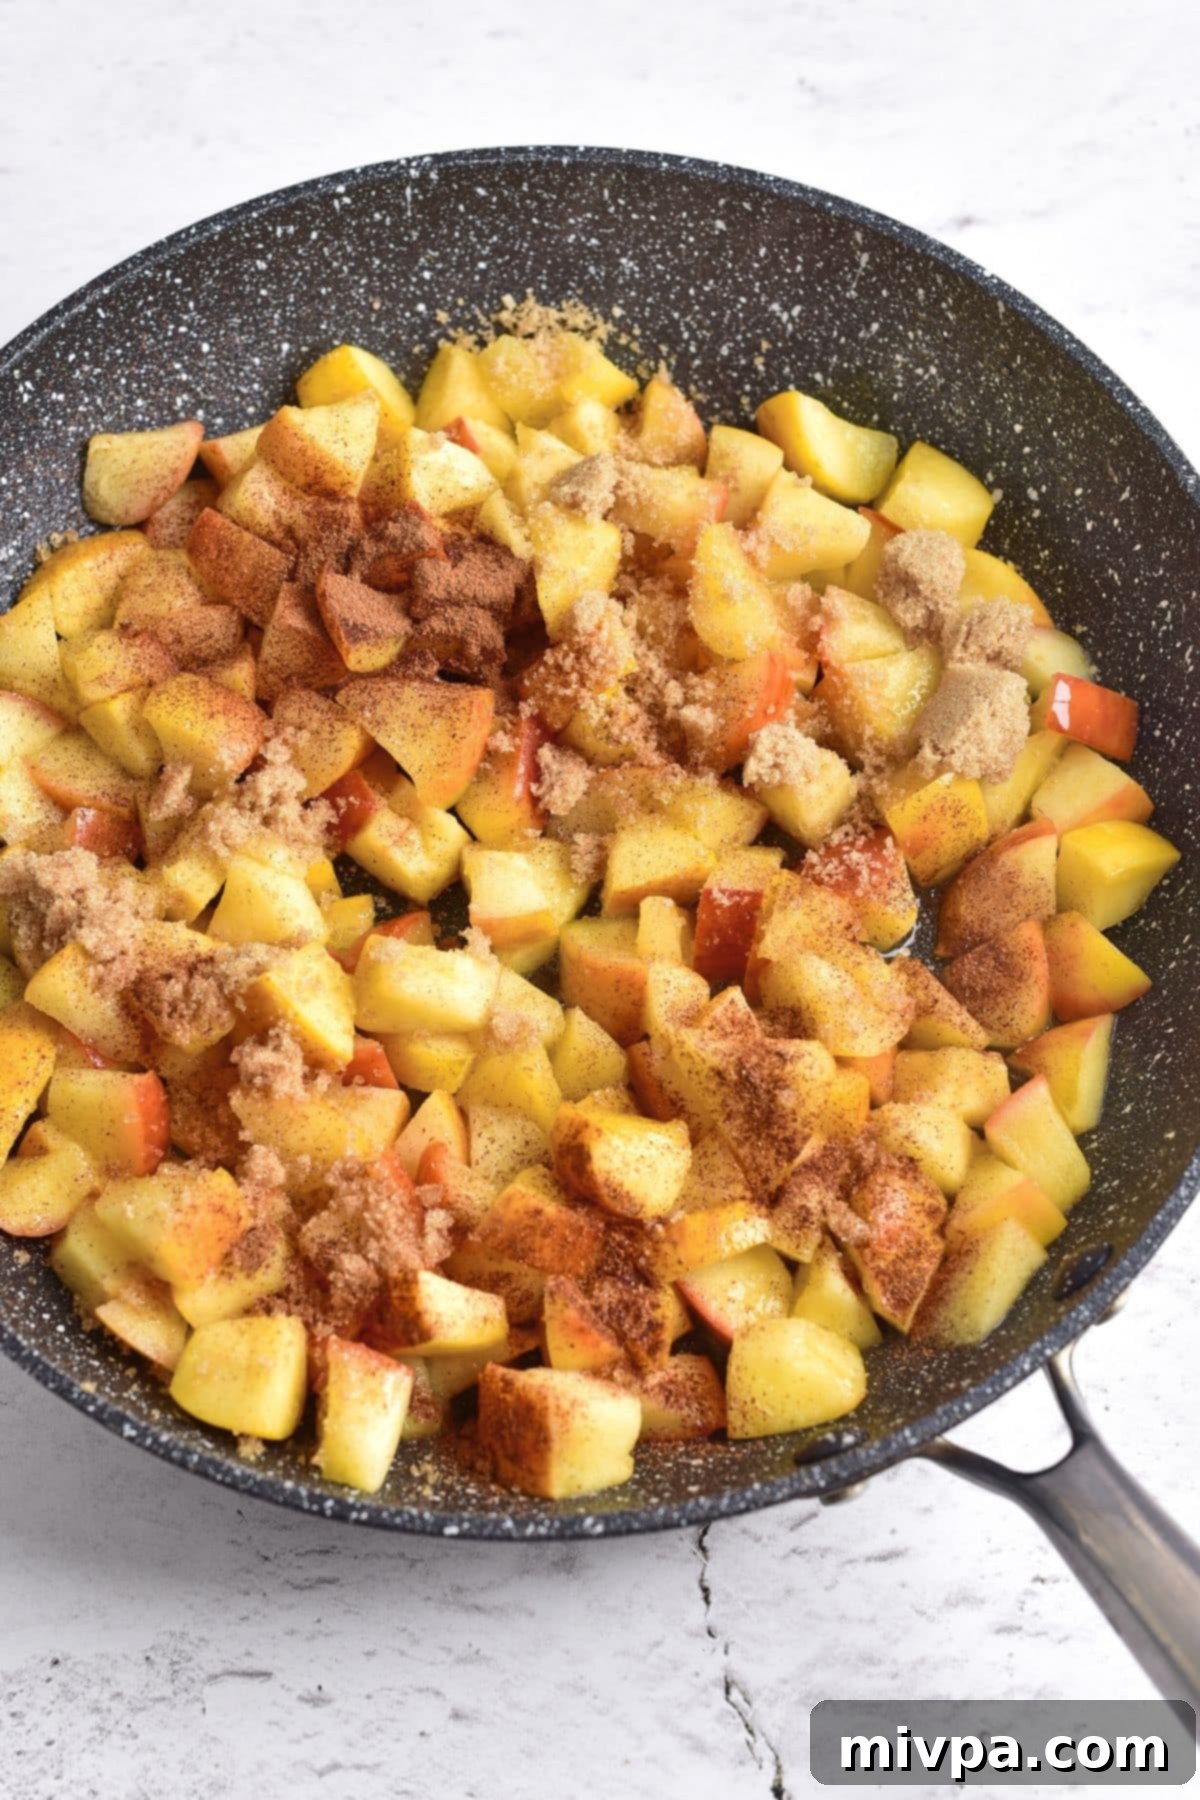
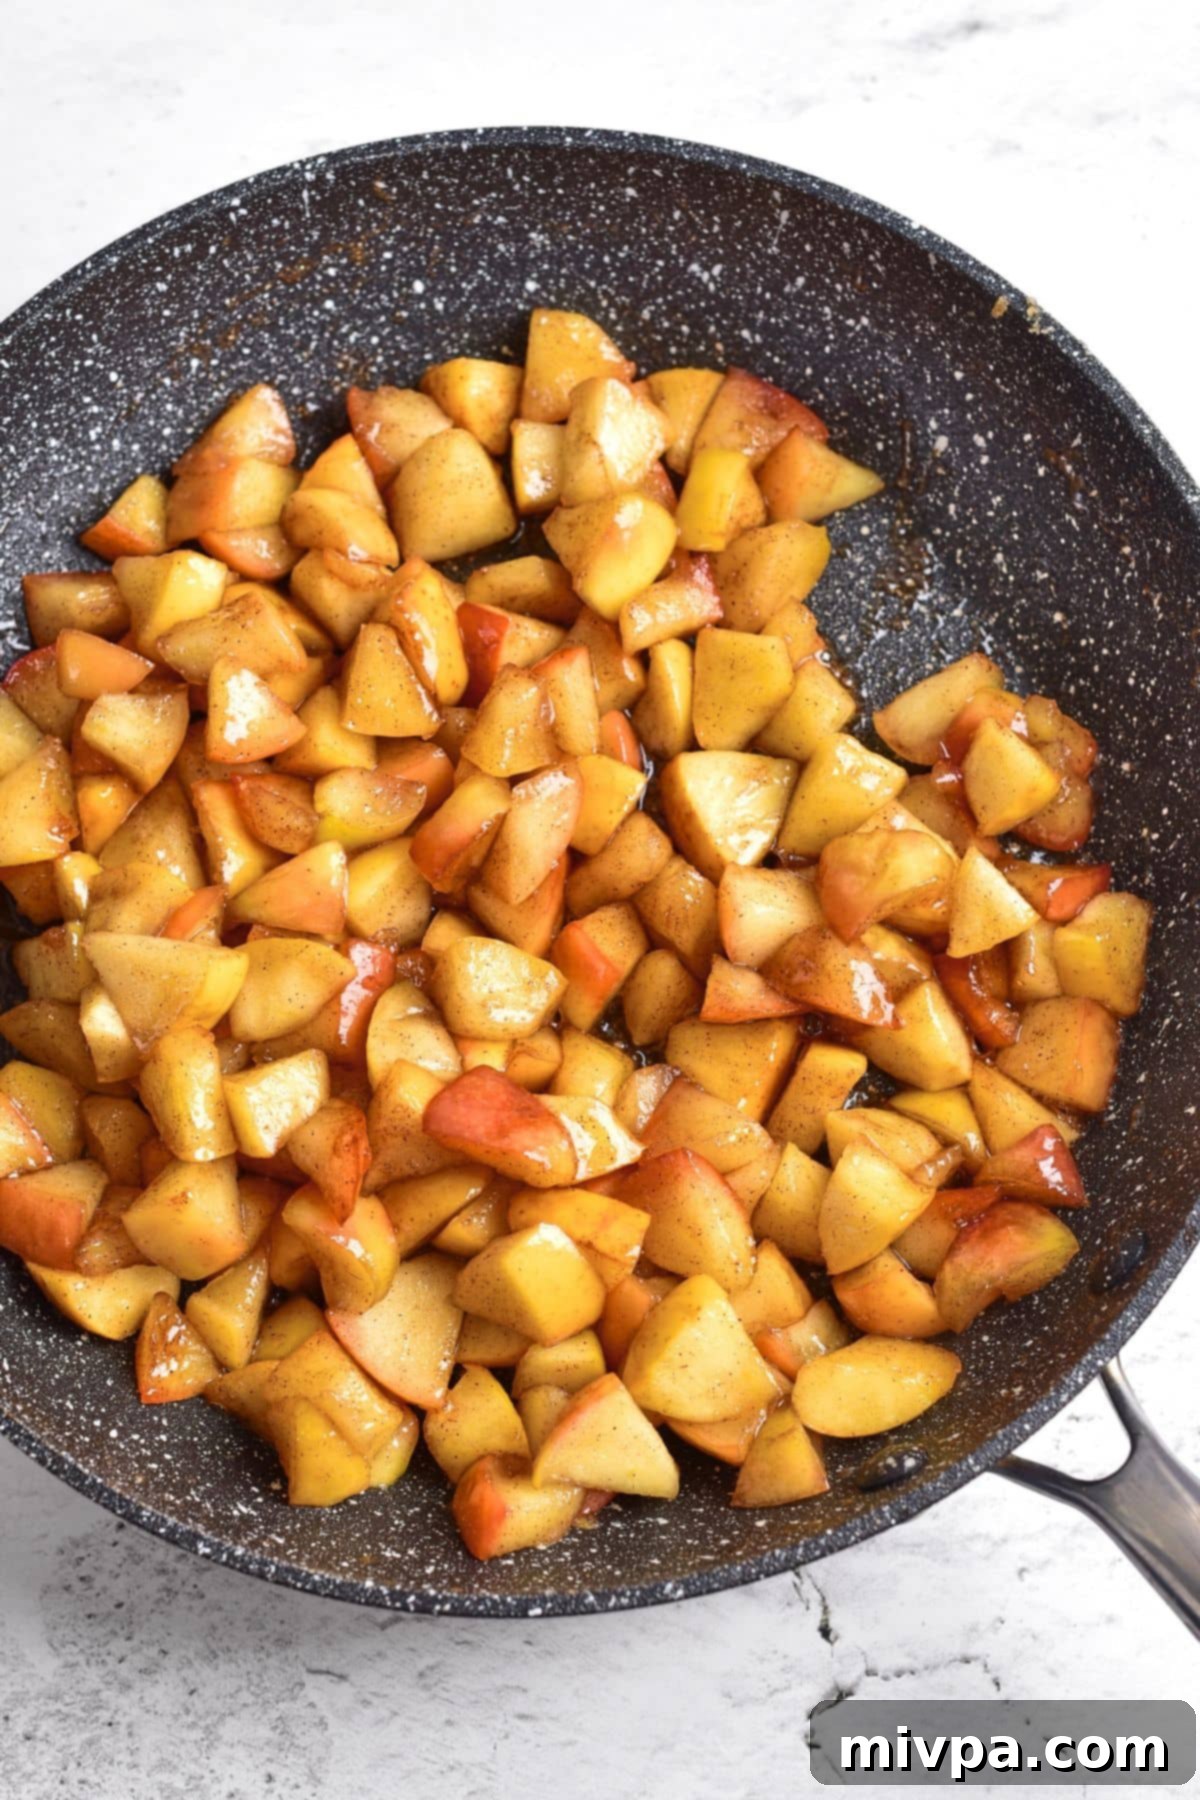
Now for the star of the show: add the brown sugar and ground cinnamon to the skillet with the apples. Stir everything together well, ensuring the sugar and spice are evenly distributed over the apple pieces. Continue cooking, stirring frequently, for another 5 to 7 minutes. During this time, the sugar will begin to melt, dissolving into the juices released by the apples and gradually transforming into a glossy, amber-colored caramel sauce. Keep a watchful eye to prevent the caramel from burning, as it can go from perfect to burnt very quickly.
5. Glossy Coating: Mix to Coat
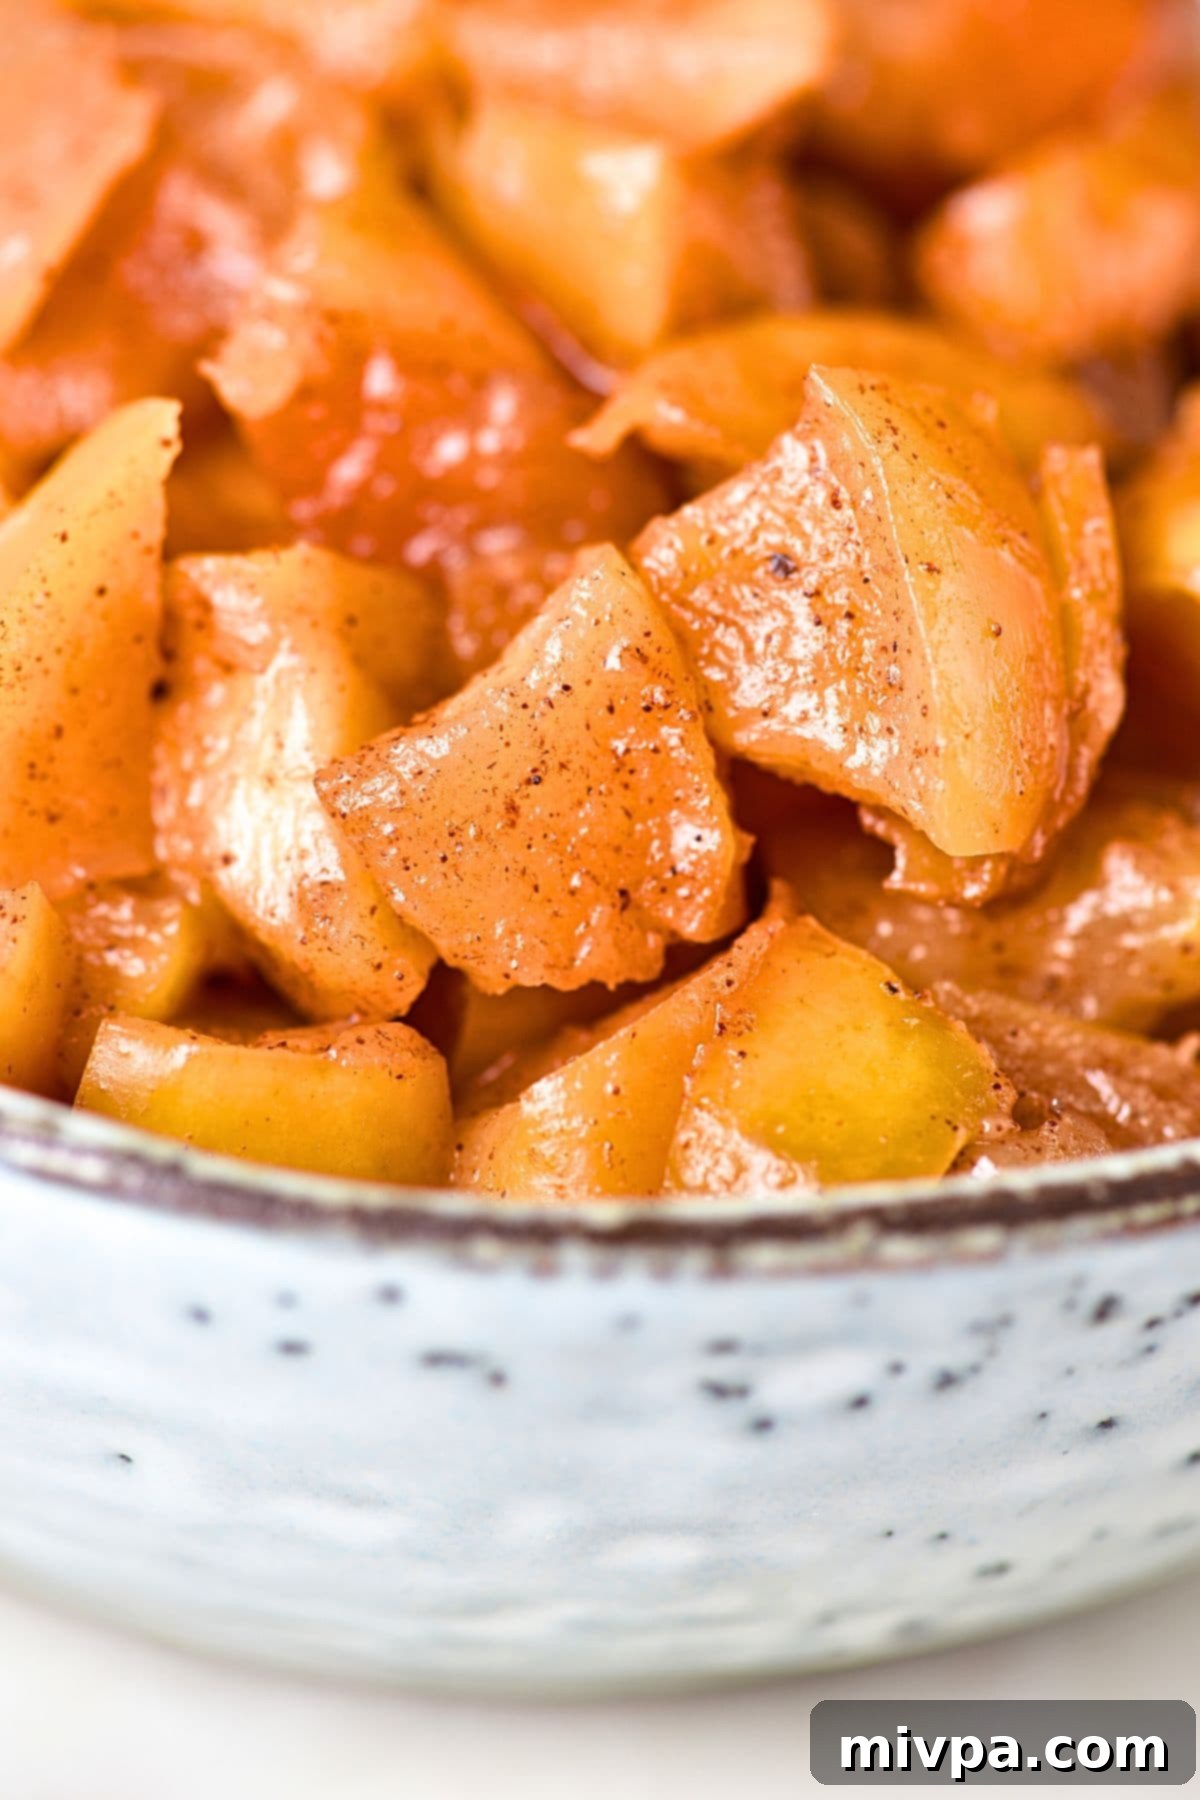
Once the caramel has formed and thickened slightly, stir the apple cubes one last time to ensure each piece is beautifully coated in the shimmering, sweet sauce. The apples should be tender but still hold their shape. As soon as they are thoroughly coated and the caramel has reached your desired consistency, immediately remove the skillet from the heat. The residual heat in the pan will continue to cook the caramel, so taking it off the heat promptly is crucial to avoid overcooking or burning.
6. Serving and Storing Your Delicious Creation
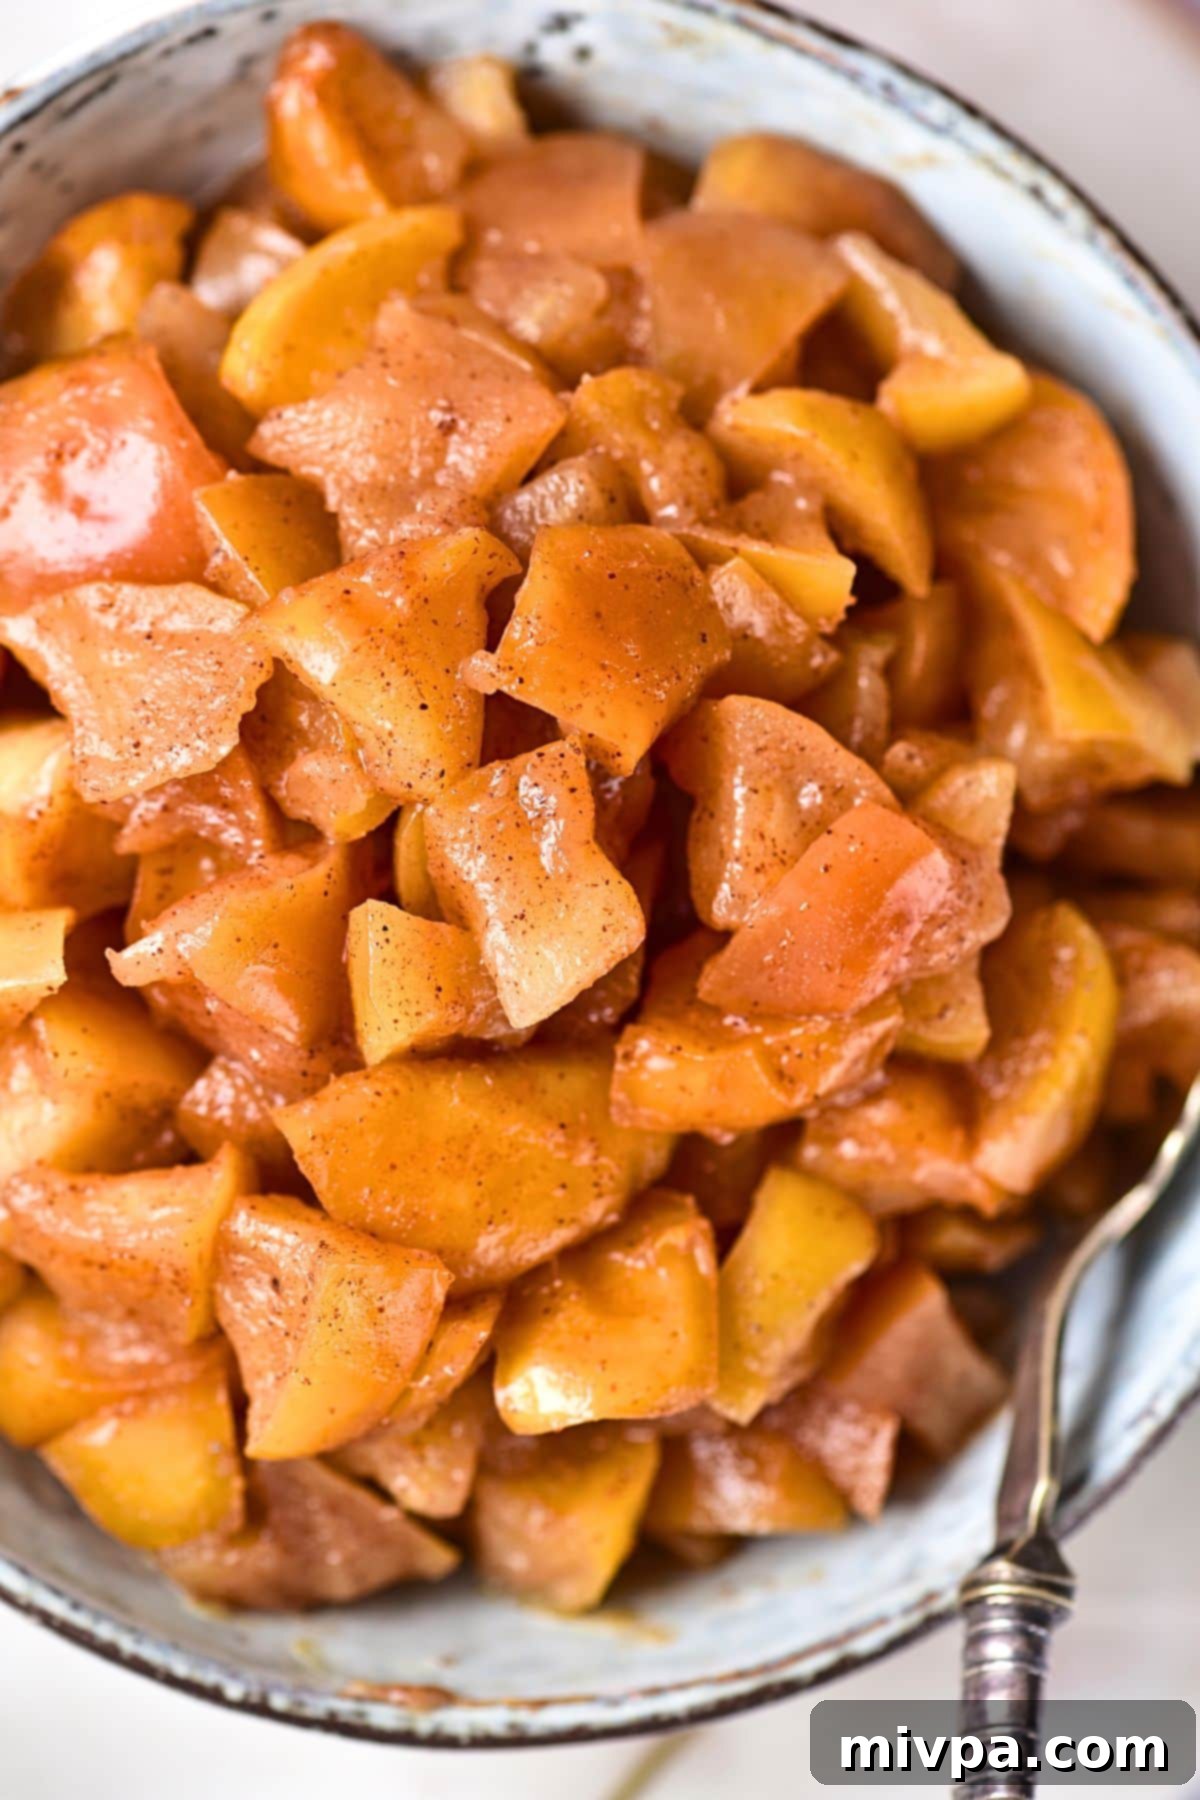
These caramelized apples are absolutely best when served warm, allowing their rich aroma and tender texture to truly shine. Spoon them over your favorite breakfast items, pair them with a scoop of ice cream for dessert, or simply enjoy them as a delightful treat on their own. If you have any leftovers (which is unlikely!), allow them to cool completely before transferring them to an airtight container. Store them in the refrigerator, where they will keep beautifully for up to 4 to 5 days. They can be gently reheated on the stovetop or in the microwave for a warm, comforting experience.
Expert Tips for the Best Caramelized Apples:
- Don’t Overcrowd the Pan: For even cooking and caramelization, make sure your apples are in a single layer or not too packed in the skillet. If you have a large batch, cook them in two smaller batches. Overcrowding can steam the apples instead of sautéing them, leading to a less desirable texture.
- Even Cubes are Essential: As mentioned in the steps, cutting your apples into uniform pieces ensures that they cook at the same rate, preventing some pieces from becoming mushy while others are still hard.
- Keep an Eye on the Caramel: Caramel can burn quickly. Stay attentive, especially during the last few minutes of cooking after adding the sugar. If it starts to smell burnt, remove it from the heat immediately.
- Adjust Sweetness to Your Liking: The amount of brown sugar can be adjusted based on the sweetness of your apples and your personal preference. Taste and adjust as you go!
- Reheating Leftovers: If reheating from the refrigerator, you can gently warm the apples in a skillet over low heat, stirring occasionally until warmed through, or microwave them in short bursts.
Creative Ways to Enjoy Caramelized Apples:
These sweet and tender caramelized apples are incredibly versatile and can elevate a variety of dishes. Here are some of our favorite ways to enjoy them:
- Breakfast & Brunch Delights:
- As a generous topping for Gluten-Free French Toast, Waffles, Pancakes or Crepes.
- Stirred into a bowl of warm oatmeal or yogurt for a flavorful start to your day.
- Irresistible Dessert Pairings:
- Served warm with a scoop of vanilla ice cream or a dollop of dairy-free whipped cream.
- As a delicious filling for tarts, crumbles, or hand pies.
- Layered in parfaits with granola and yogurt.
- Savory Enhancements:
- A fantastic accompaniment to savory dishes like roasted pork chops, pork tenderloin, or even chicken. The sweet and tart notes perfectly complement rich meats.
- Paired with sharp cheeses on a cheese board for a sophisticated flavor combination.
- Simple Snack:
- Enjoyed simply on their own, warm or at room temperature, for a wholesome and satisfying sweet treat.
Frequently Asked Questions About Caramelized Apples:
What are the best apples to use for caramelized apples?
Firm, crisp apples that hold their shape when cooked are ideal. Great choices include Honeycrisp, Granny Smith (if you prefer tartness), Fuji, Pink Lady, and Braeburn. You can also mix a couple of varieties for a more complex flavor profile.
Can I make caramelized apples ahead of time?
Yes, absolutely! Caramelized apples can be made up to 4-5 days in advance. Store them in an airtight container in the refrigerator. Reheat gently on the stovetop or in the microwave before serving for the best experience.
How long do caramelized apples last?
When stored properly in an airtight container in the refrigerator, homemade caramelized apples will last for about 4 to 5 days.
Can I use other sweeteners instead of brown sugar?
Brown sugar is recommended for its distinct caramel flavor. However, if you’re looking for alternatives, golden monkfruit sweetener is an excellent zero-glycemic substitute for brown sugar. Granulated sugar can be used, but it will yield a lighter caramel flavor and color.
Can I add other spices to the caramelized apples?
Absolutely! While cinnamon is classic, you can enhance the flavor with a pinch of nutmeg, ground cloves, or a dash of allspice. Apple pie spice is also a fantastic blend to use. A tiny hint of fresh ginger can also be wonderful.
Why did my caramel burn?
Caramel can burn quickly if the heat is too high or if it’s left unattended. Ensure you cook the apples and caramel over low to medium-low heat and stir frequently, especially once the sugar is added. Remove the pan from the heat as soon as the caramel is formed and coated.
More Apple-licious Gluten-Free Recipes You’ll Love:
If you’re an apple enthusiast, be sure to check out these other fantastic gluten-free apple recipes from our collection:
- Homemade Apple Pie Filling (Gluten-Free, Vegan)
- Easy Apple Galette (Gluten-Free, Dairy-Free)
- Homemade Apple Butter (Gluten-Free, Vegan)
- Delicious Apple Crumble (Gluten-Free, Vegan)
- Tender Apple Cake (Gluten-Free, Dairy-Free)
- Moist Apple Muffins (Gluten-Free, Dairy-Free)
Explore More Gluten-Free & Dairy-Free Desserts to Enjoy:
Craving more sweet treats that fit a gluten-free and dairy-free lifestyle? We’ve got you covered with a variety of delicious options:
- Gluten-Free Pumpkin Banana Muffins (Dairy-Free)
- 126 Gluten-Free Desserts and Sweet Treats for Labor Day
- Mini Pumpkin Cheesecakes (Gluten-Free, Dairy-Free Option)
- Gluten-Free Pecan Pie Bars (Dairy-Free)
P.S. If you try this delightful recipe, I’d absolutely love for you to leave a star rating below and/or a review in the comment section further down the page. Your feedback is always incredibly appreciated and helps other home cooks discover delicious recipes! Be sure to check out my entire Recipe Index for all the amazing recipes on the blog. You can also follow me on Pinterest, Facebook or Instagram for daily inspiration! And don’t forget to sign up for my Email List to get fresh, new recipes delivered straight to your inbox each week!
Print
Easy Caramelized Apples (Gluten-Free, Vegan)
5 Stars 4 Stars 3 Stars 2 Stars 1 Star
5 from 1 review
Author: Felicia Lim
Total Time: 25 minutes
Yield: 4 servings
Diet: Gluten Free
Description
These easy caramelized apples are cooked till tender and golden brown, coated in glossy sweet caramel, and flavored with cinnamon. Enjoy them on their own, or as a topping to pancakes, waffles, oatmeal, crepes, or with homemade pie crust! Totally gluten-free, dairy-free and vegan too.
Ingredients
Scale
- 5 apples, cored and cubed
- 4 tablespoons brown sugar
- 1 teaspoon ground cinnamon
- 4 tablespoons unsalted dairy-free butter
- 1/4 teaspoon salt
- 1 tablespoon lemon juice
Instructions
- Core and Cube Apples: Wash, then core the apples and remove the seeds and cut the apples into small even cubes. (I didn’t peel the apples, but if you prefer go ahead and peel them before coring and cubing.)
- Sauté Apples: Melt the unsalted dairy-free butter in a large skillet and sauté the cubed apples for about 6-7 minutes on low heat, stirring.
- Add Lemon Juice: Add the lemon juice and stir, continue stirring for another 2-3 minutes.
- Add Sugar and Cinnamon: Add the sugar and cinnamon, stir and continue cooking, stirring for 5 to 7 minutes until the sugar melts and caramel is formed.
- Mix to Coat: Stir the apple cubes so that each piece is well coated with the caramel. Be careful that the caramel does not start to burn. Once coated, remove from heat.
- Serve or Store: Serve the apples warm or store them in an airtight container and store in the refrigerator for up to 4 days.
Notes
Apples: Feel free to use whichever apples you like – whether sweet apples or tart apples.
Brown Sugar: Brown sugar adds a lovely sweetness to these apples. I used light brown sugar, but dark brown sugar would work too. If you are diabetic or insulin resistant, I highly recommend using golden monkfruit sweetener (a 1:1 brown sugar substitute that is zero glycemic index and will not raise your blood sugar).
Ground Cinnamon: I like adding a pinch of ground cinnamon for an amazing fall flavor. You may also use equal quantities of apple pie spice instead.
Butter: I used unsalted dairy-free butter to keep this recipe dairy-free. However, if you are not lactose-intolerant, go ahead and use regular unsalted butter instead.
Lemon Juice: Make sure to use fresh lemon juice for a nice tart flavor that contrasts beautifully with the sweetness of the caramelized apples.
Storing: To store, place any leftover caramelized apples in an airtight container and store in the refrigerator for up to 5 days.
- Prep Time: 5 mins
- Cook Time: 20 mins
- Category: Snacks
- Method: Stovetop
- Cuisine: American
