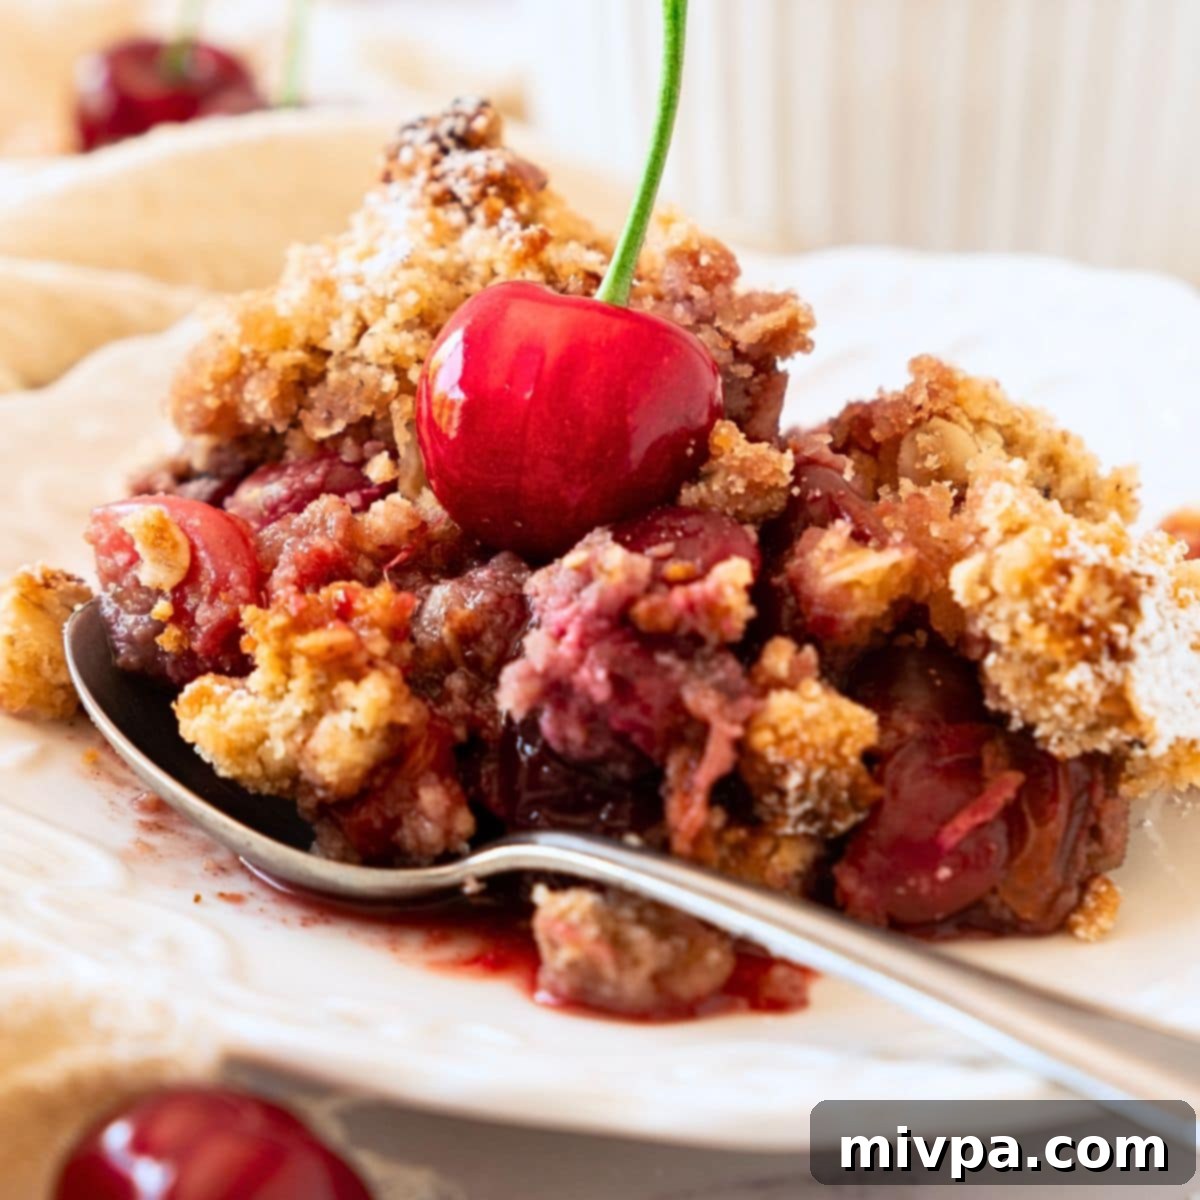
Irresistible Easy Cherry Crumble: Your Go-To Gluten-Free, Dairy-Free & Vegan Summer Dessert!
Indulge in the sweet, tangy embrace of summer with this incredibly easy cherry crumble! Featuring a luscious, rich cherry filling crowned with a perfectly crumbly, golden topping, this recipe is a delightful way to utilize your summer cherry harvest. It’s more than just a dessert; it’s a celebration of seasonal flavors you’ll crave all season long. Best of all, this recipe is completely gluten-free, dairy-free, and vegan, making it an inclusive treat for everyone to enjoy!
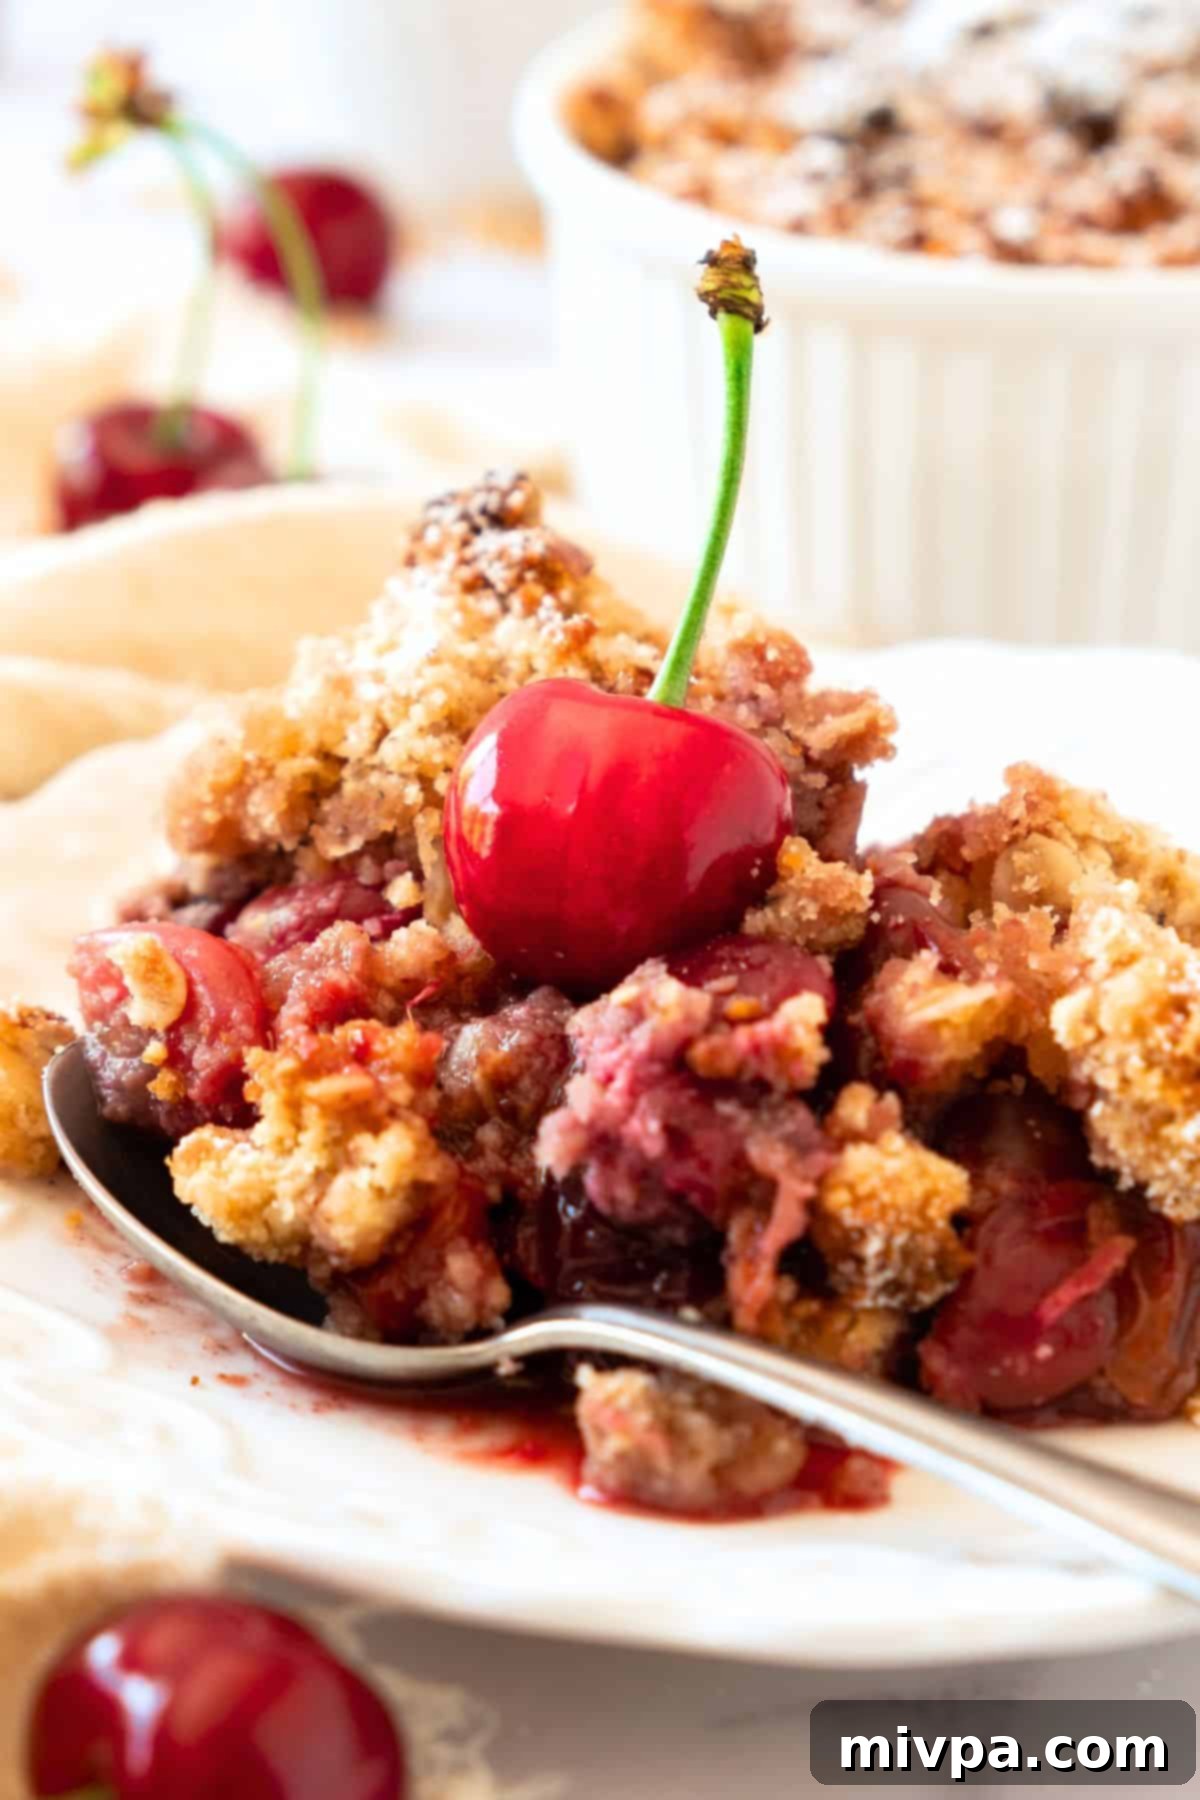
Summer’s Sweetest Bounty: The Magic of Fresh Cherries
When summer rolls around, few things bring as much joy as the sheer abundance of ripe, fresh cherries. There’s something truly magical about sinking your teeth into the sweet, slightly tart flesh of a perfectly ripened cherry. For me, it’s a simple pleasure that defines the season, a taste of pure, unadulterated happiness.
My partner, Juan, and I find ourselves devouring bag after bag of these crimson gems every summer. Honestly, if there are fresh cherries in the house, they rarely last more than a day! They’re just too good to resist. While cherries are absolutely delicious on their own, their vibrant flavor and natural sweetness also make them an incredible ingredient for baked goods. We often incorporate them into family favorites like our delicate gluten-free cherry clafoutis or rich black forest brownies. But this year, we’re particularly excited about a new go-to that’s taken our hearts by storm: this easy cherry crumble.
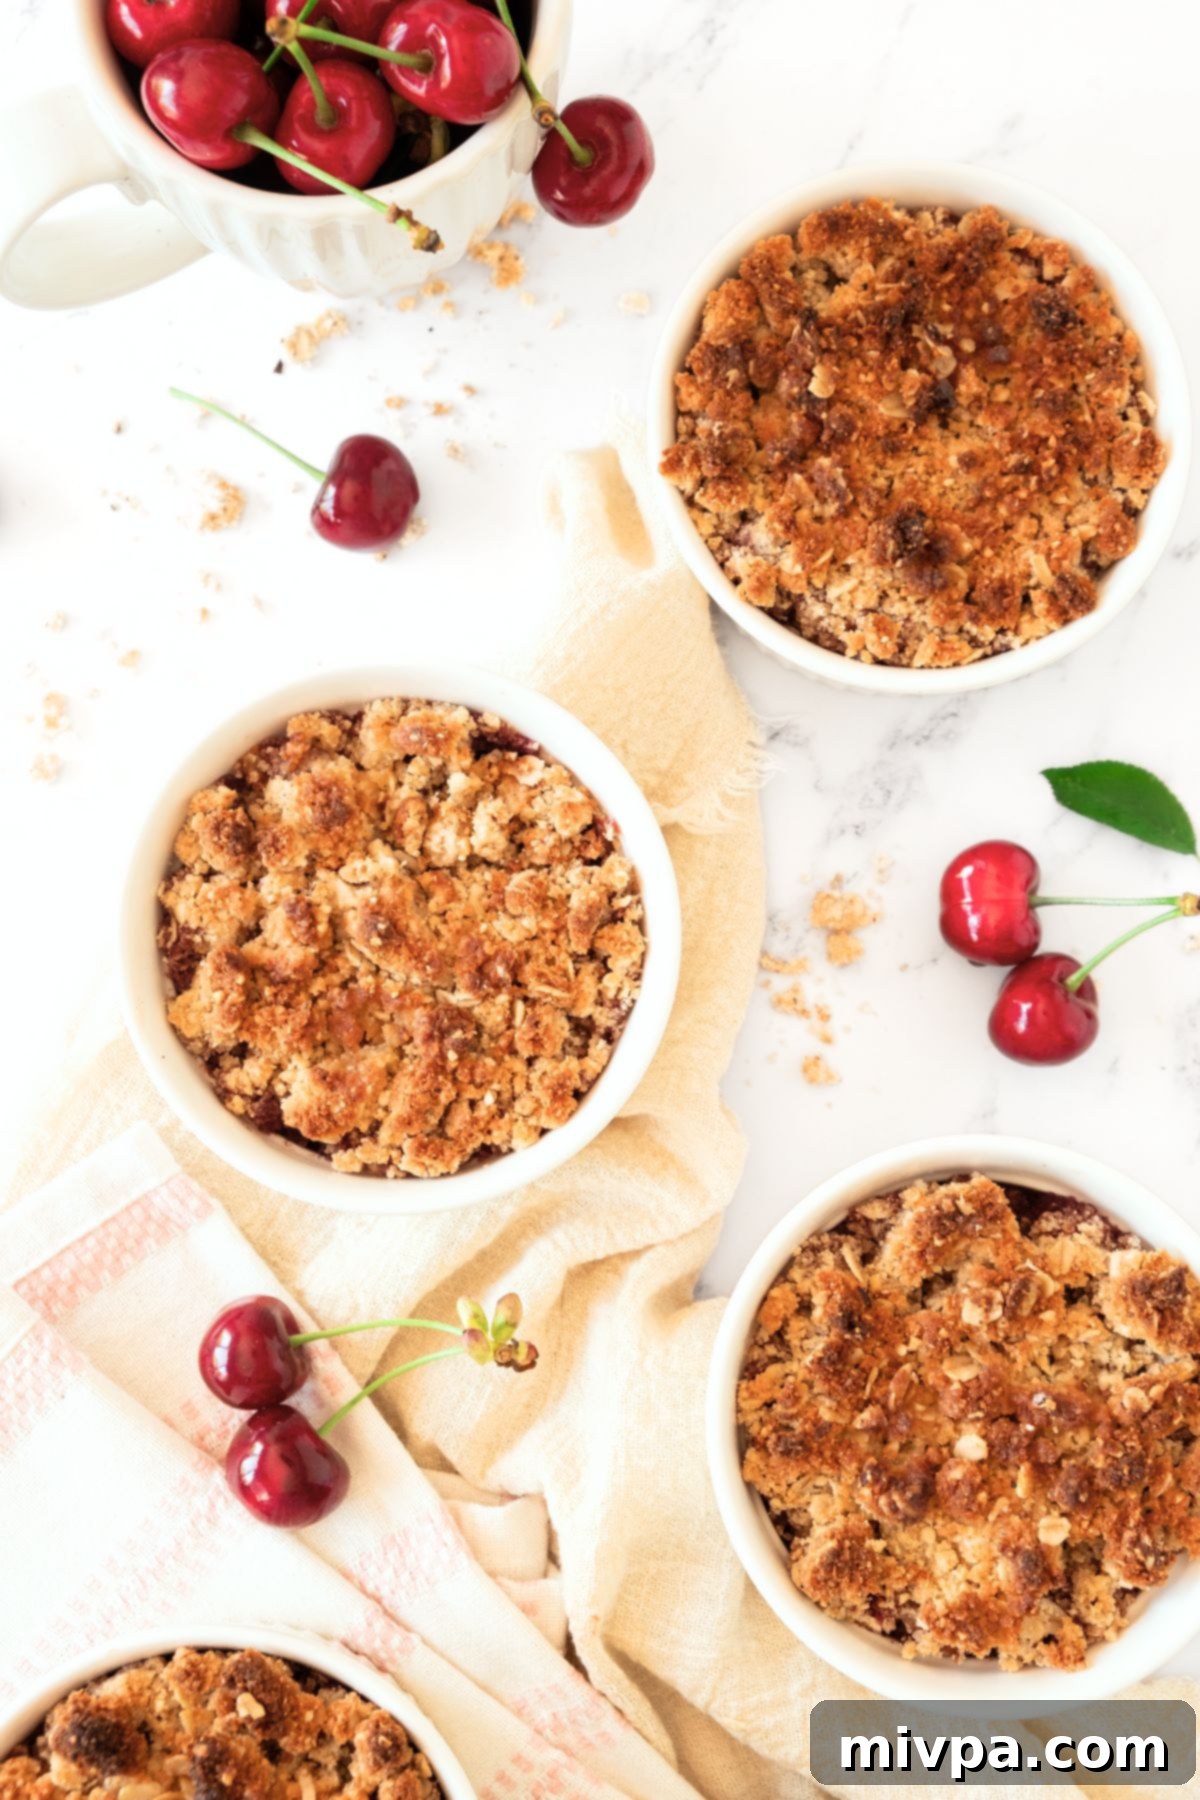
Experience the Ultimate Delicious Fresh Cherry Crumble
Today, we’re diving into the delightful world of crumbles with this incredible gluten-free version, featuring fresh, sweet cherries. While fresh is always best when in season, don’t worry—frozen cherries work perfectly too, allowing you to enjoy this treat any time of the year!
Imagine: a beautifully rich and sweet cherry filling, bubbling gently in its own concentrated juices, perfectly contrasted by a golden-brown, crunchy, buttery topping. Every spoonful delivers a harmonious blend of textures and flavors that will undoubtedly make you utter a satisfying “yuummmmm…” It’s truly one of those easy cherry desserts you’ll find yourself baking repeatedly, becoming a staple throughout the summer months and beyond.
Unlike a crisp, which typically includes oats in the fruit filling and sometimes in the topping, our crumble focuses on a rich, buttery, oat-flour topping that stays distinct from the fruit, offering a delightful textural contrast. This simple yet elegant dessert is perfect for weeknight cravings or for sharing with guests at a summer gathering.
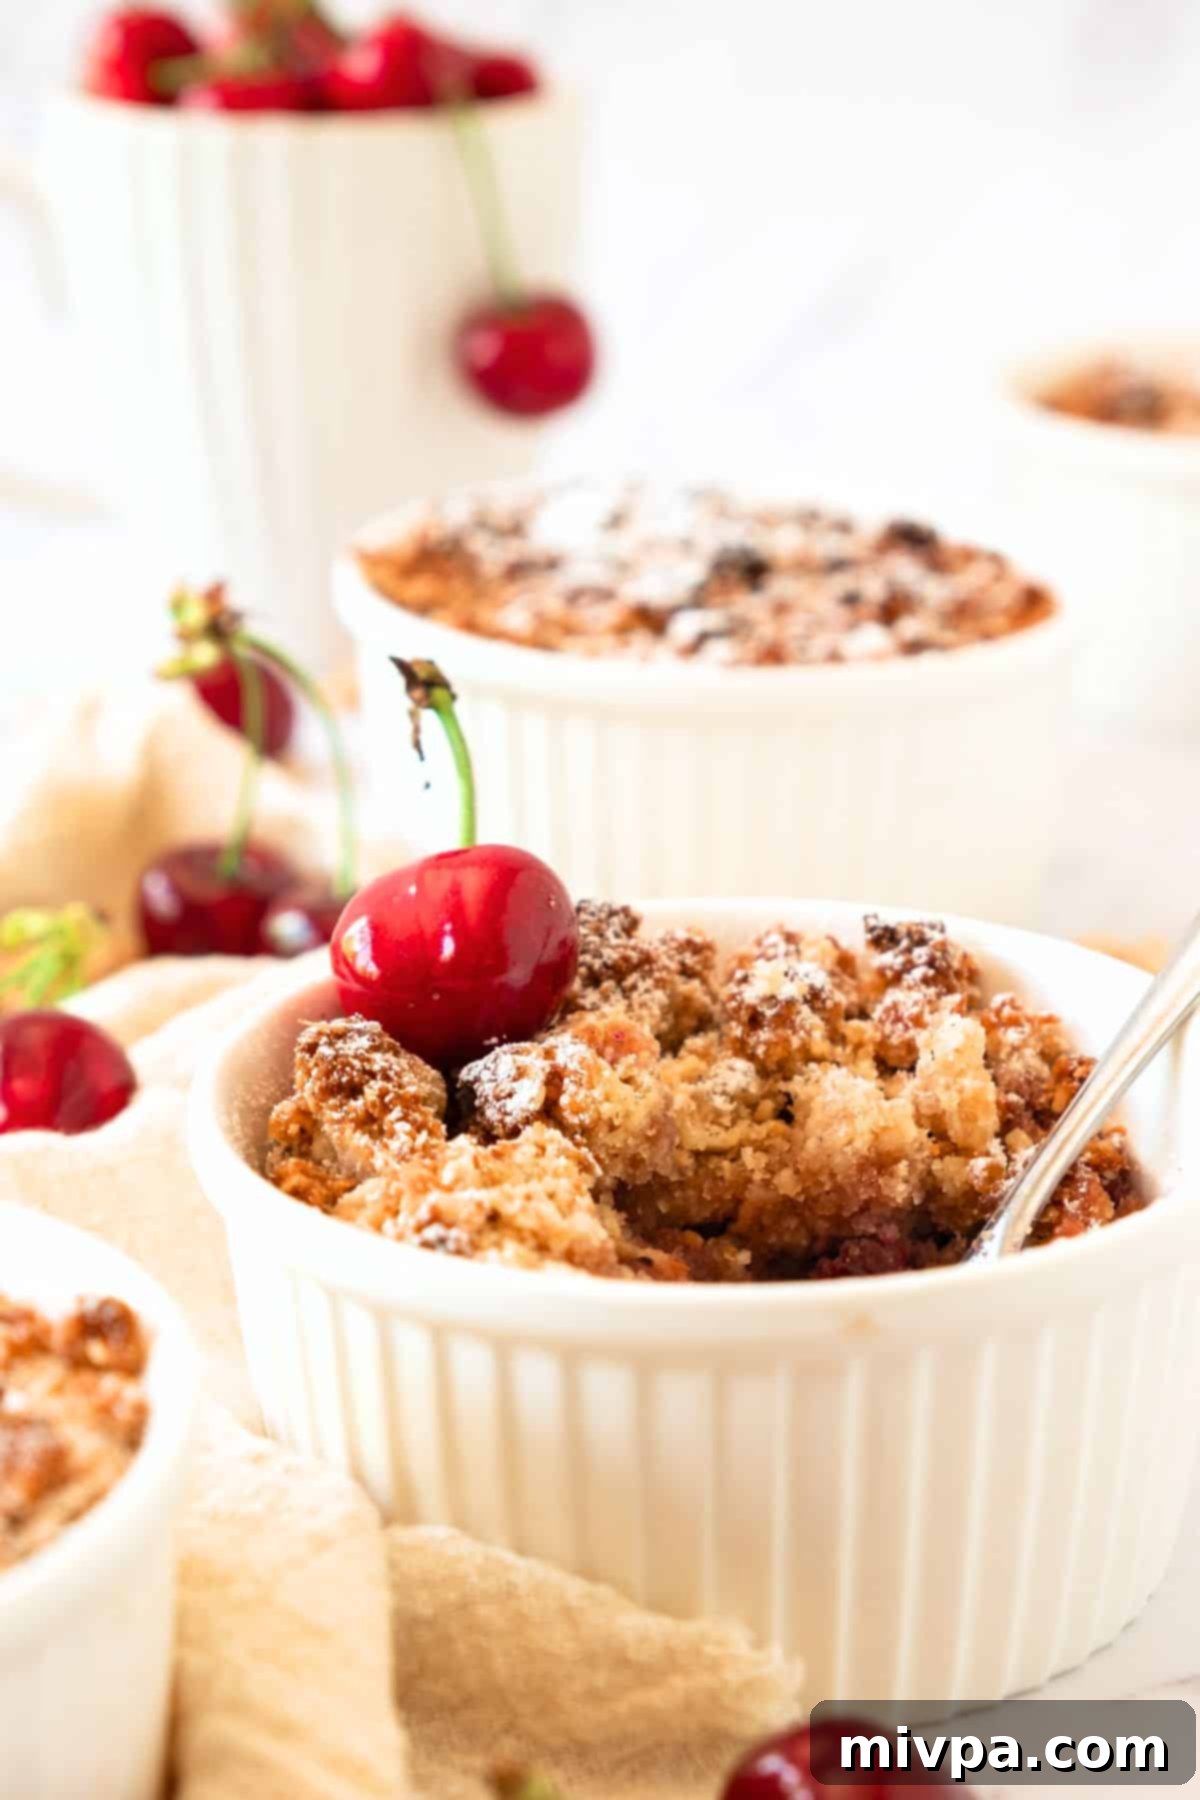
Why This Easy Cherry Crumble Recipe Will Become Your Favorite
There are countless reasons why this cherry crumble recipe stands out, making it an absolute must-try for dessert lovers:
- Simple, Accessible Ingredients: You won’t need to hunt for exotic items or specialty products. The ingredients required for this easy cherry crumble are readily available at any local grocery store. We focus on pantry staples and fresh, seasonal produce, ensuring that making this delicious dessert is as convenient as it is enjoyable.
- Effortless to Make: Don’t let its impressive taste fool you; preparing this summer fruit crumble is incredibly straightforward, even for novice bakers. The process involves just a few simple steps: first, gently toss the cherry filling ingredients together; then, create the perfect crumbly topping by cutting cold butter into the dry ingredients. Finally, assemble everything in your baking dish or ramekins, bake until golden and bubbly, and enjoy this easy dessert that the whole family is sure to adore! It’s a foolproof recipe designed for maximum flavor with minimal fuss.
- Completely Gluten-Free, Dairy-Free & Vegan: This is truly the best part for many! This particular recipe for cherry crumble is 100% gluten-free, dairy-free, and vegan. This means it caters beautifully to a wide range of dietary needs and preferences. Whether you have Celiac disease, gluten or lactose intolerances, or follow a vegan lifestyle, you can savor every spoonful of this dessert without any concerns. We use carefully selected alternatives that ensure the taste and texture are every bit as delicious as a traditional crumble, if not more so!
Essential Ingredients for Your Perfect Cherry Crumble
Gathering your ingredients is the first step to creating this delectable cherry crumble. Here’s a visual overview of the key components you’ll need, along with a brief explanation of their role in crafting this delightful dessert.
For precise measurements and detailed instructions, please make sure to scroll down to the comprehensive printable recipe card located at the bottom of this post.
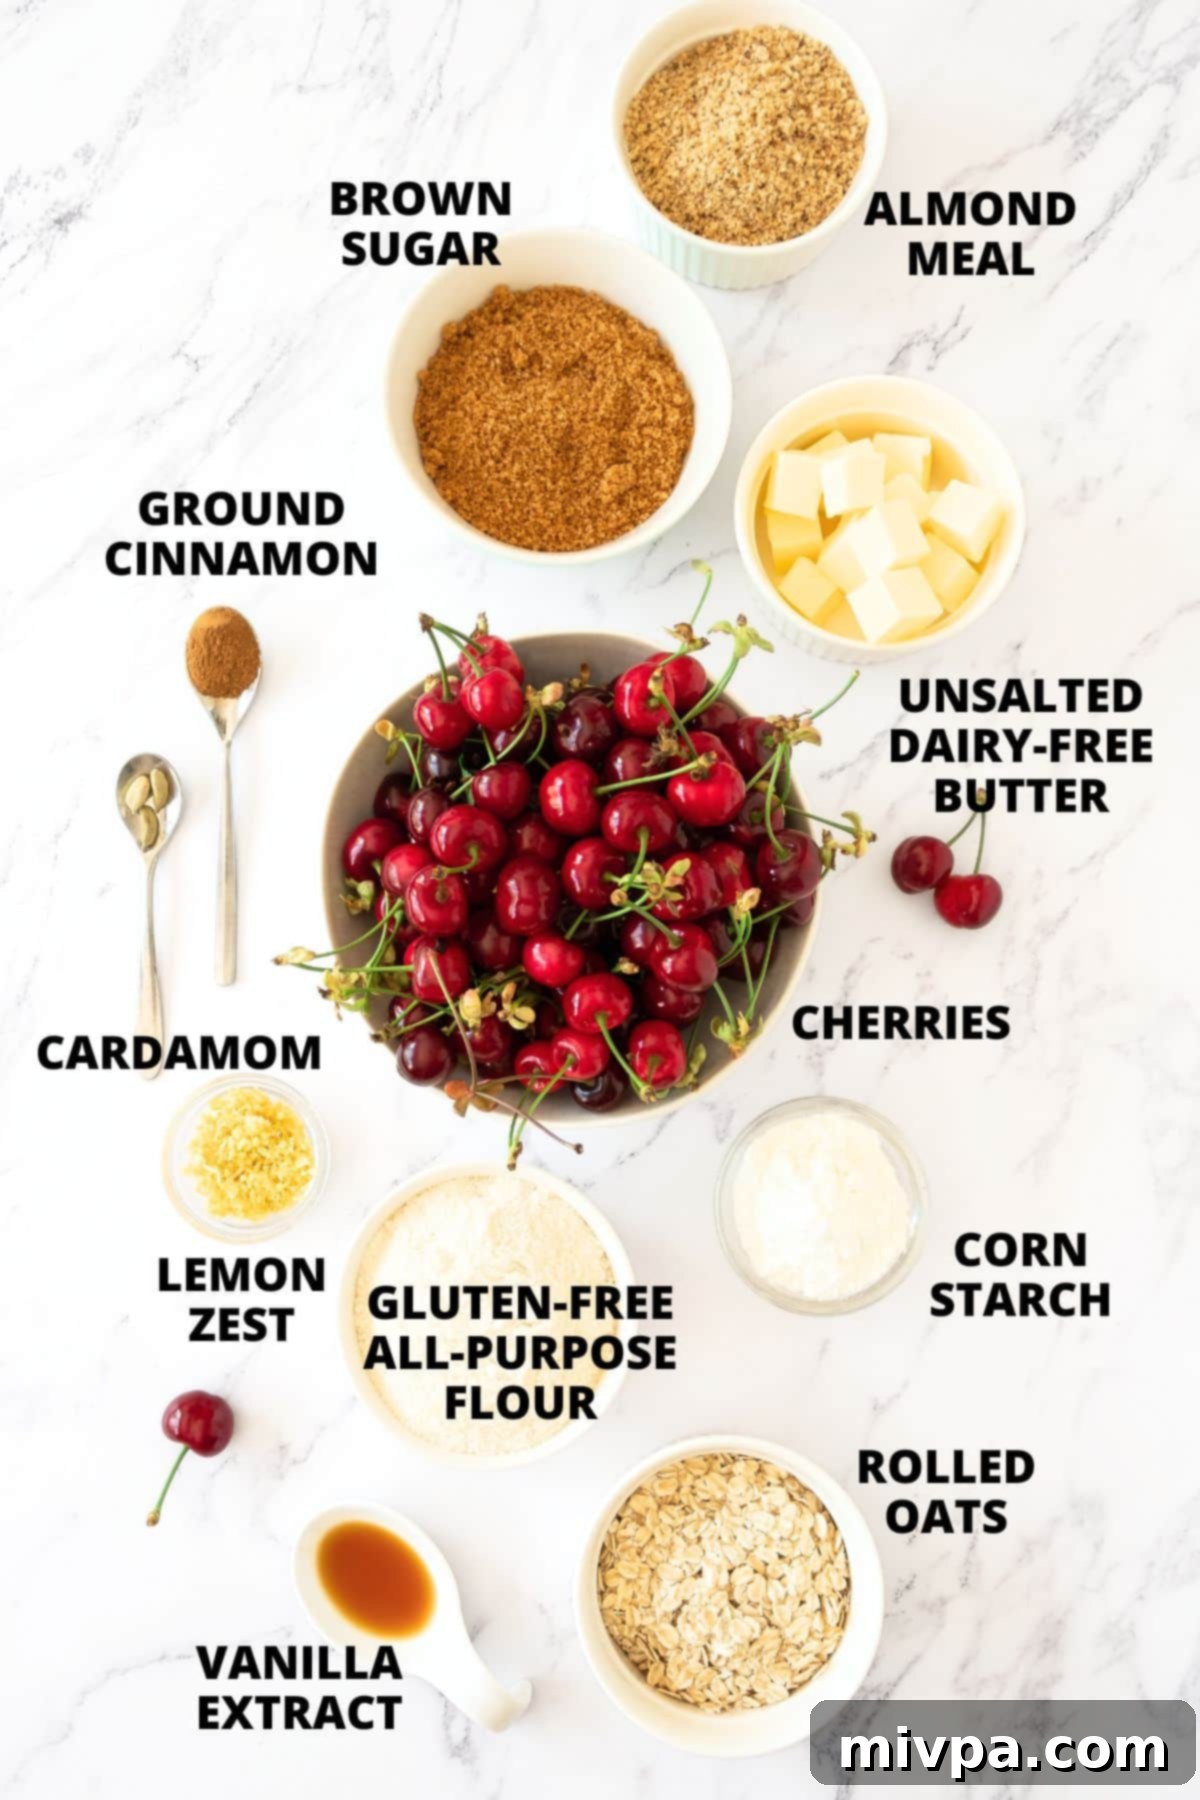
Recipe Notes & Expert Substitutions for Your Cherry Crumble
Understanding your ingredients and their potential alternatives can make all the difference in achieving the perfect cherry crumble. Here are some essential notes and substitution ideas to help you customize this recipe to your liking and dietary needs:
- Cherries: While I wholeheartedly recommend using vibrant fresh cherries when they are gloriously in season for their superior flavor and texture, don’t fret if they’re not available. Frozen cherries are an excellent alternative and will work just as well. There’s no need to thaw them beforehand; simply toss them directly into the filling mixture. The extra moisture from frozen cherries will be absorbed by the cornstarch, ensuring a perfectly thickened filling. For fresh cherries, a cherry pitter can save you a lot of time and effort!
- Cornstarch: This ingredient is crucial for creating that beautifully thick, glossy cherry filling. Cornstarch effectively binds the fruit juices, preventing a watery consistency and adding a delightful richness to the filling. If you don’t have cornstarch on hand, you can confidently substitute it with an equal amount of tapioca starch or arrowroot starch, both of which serve the same thickening purpose.
- Brown Sugar: I prefer using dark brown sugar for both the filling and the topping, as its molasses content adds a deeper, more caramel-like flavor and extra moisture. However, you have several options: feel free to use light brown sugar, regular granulated cane sugar, or even coconut sugar for a slightly different flavor profile. For those managing blood sugar levels or following a keto-friendly diet, I highly recommend using a 1:1 granulated monk fruit sweetener. It’s a zero-glycemic index sugar substitute that will not raise your blood sugar, allowing you to enjoy this dessert guilt-free.
- Cardamom: This aromatic spice adds a unique, warm, and slightly floral note that beautifully complements the cherries. I used cardamom pods, which I crush for maximum freshness, but ground cardamom will work just as well. If you find the flavor of cardamom too intense, you can simply use a smaller amount or omit it entirely if it’s not to your taste.
- Cinnamon: A classic pairing with most fruit desserts, a sprinkle of ground cinnamon adds a comforting depth and warmth to the cherry crumble. It enhances the overall flavor profile without overpowering the natural taste of the cherries.
- Gluten-Free All-Purpose Flour: To ensure this recipe remains truly gluten-free, I used a high-quality gluten-free all-purpose flour blend (one that typically contains xanthan gum). This helps achieve the perfect crumble texture. If you do not have Celiac disease or gluten intolerance, you can easily substitute it with regular all-purpose flour in equal measure.
- Almond Meal: Almond meal contributes to the crumble’s tender yet crisp texture and adds a lovely nutty flavor. Almond flour, which is more finely ground, can also be used, though it might result in a slightly finer crumble. For those with nut allergies or a preference for other flavors, you can experiment with other nut meals, such as cashew meal or hazelnut meal, or even substitute with additional gluten-free all-purpose flour.
- Oats: Rolled oats are my go-to for the crumble topping, providing a wonderful chewiness and rustic texture. Quick-cooking oats will also work effectively. For individuals with Celiac disease or gluten intolerance, it is absolutely essential to use certified gluten-free rolled oats. While oats are naturally gluten-free, they are often processed in facilities that also handle gluten-containing grains, leading to potential cross-contamination. Always check for the “certified gluten-free” label to be safe.
- Dairy-Free Butter: To keep this recipe completely dairy-free and vegan, I used unsalted dairy-free butter, ensuring it is cold and cubed for the best crumble texture. The cold butter is crucial because it creates those desirable pockets of buttery goodness when baked, resulting in a perfectly crisp topping. If you are not lactose intolerant or vegan, feel free to use regular unsalted butter instead.
How to Create Your Perfect Cherry Crumble (Step by Step Guide):
Follow these easy steps to bake a delicious gluten-free and vegan cherry crumble that will impress everyone:
1. Prepare Your Oven and Ramekins
Begin by preheating your oven to a steady 375°F (190°C). This ensures the crumble bakes evenly from the moment it enters the oven. Next, lightly grease 4 medium ramekins (or a single baking dish) with a good quality nonstick cooking spray. This step is important to prevent the sweet, sticky cherry filling from adhering to the sides, making serving and cleanup much easier.
2. Craft Your Luscious Cherry Filling
First, wash your fresh cherries thoroughly. Then, carefully remove the stems and pits. A cherry pitter is a fantastic tool for this, but you can also do it manually with a small knife. In a large mixing bowl, combine the pitted cherries with the aromatic cardamom, warm ground cinnamon, fragrant vanilla extract, bright lemon zest, binding cornstarch, and your chosen sugar. Mix all these ingredients well, ensuring the cherries are evenly coated. Set this vibrant cherry mixture aside for a few minutes while you prepare the crumble topping; this allows the flavors to meld beautifully and the sugar to start drawing out some of the cherry juices.
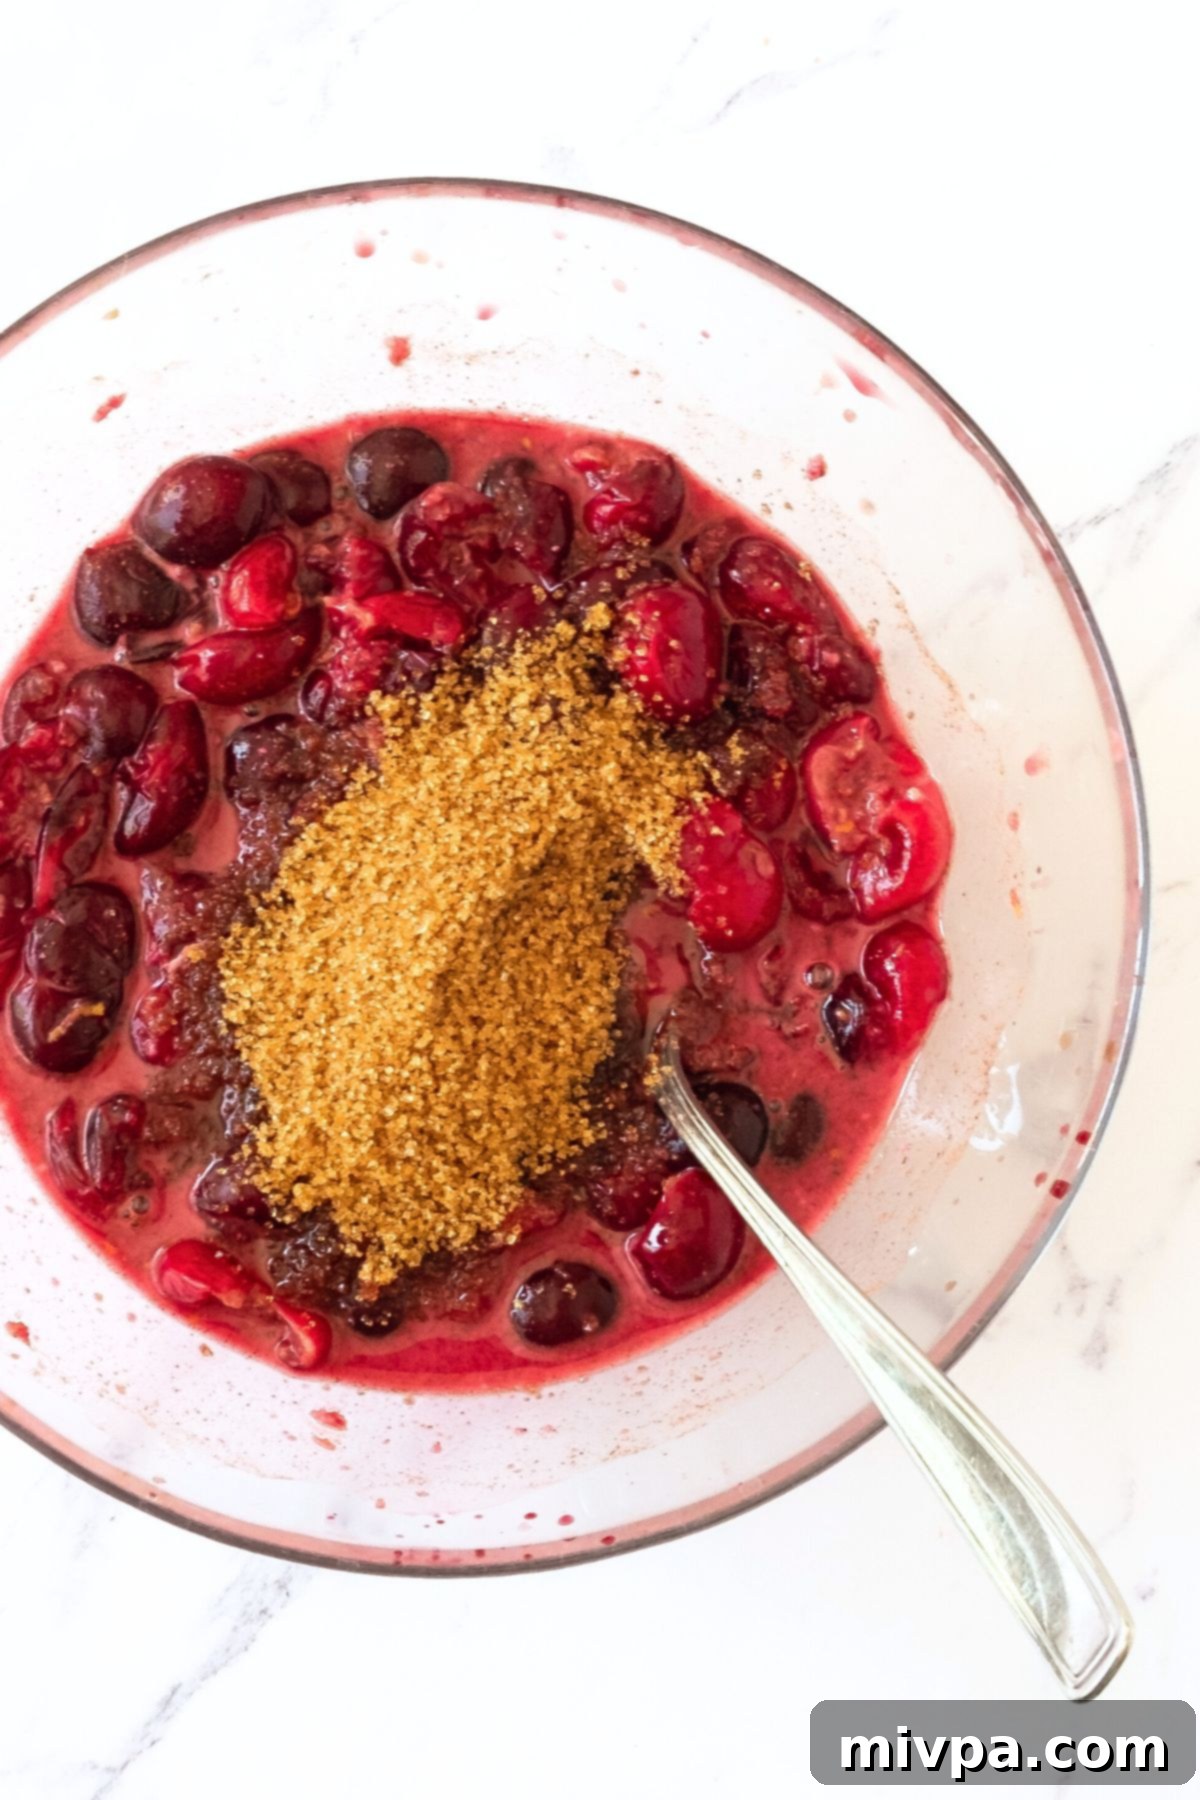
3. Prepare Your Perfect Crumble Topping
In a separate large bowl, combine the dry ingredients for your crumble: gluten-free rolled oats, gluten-free all-purpose flour, brown sugar, and almond meal. Once these are mixed, add the cold, cubed dairy-free butter. The coldness of the butter is key here – it prevents it from melting too quickly and ensures a truly crumbly texture. Using a pastry cutter or two knives, “cut” the butter into the dry ingredients. Work quickly until you achieve a crumble mixture that beautifully resembles coarse sand, with some pea-sized pieces of butter remaining. Avoid overmixing, as this can lead to a tough topping.
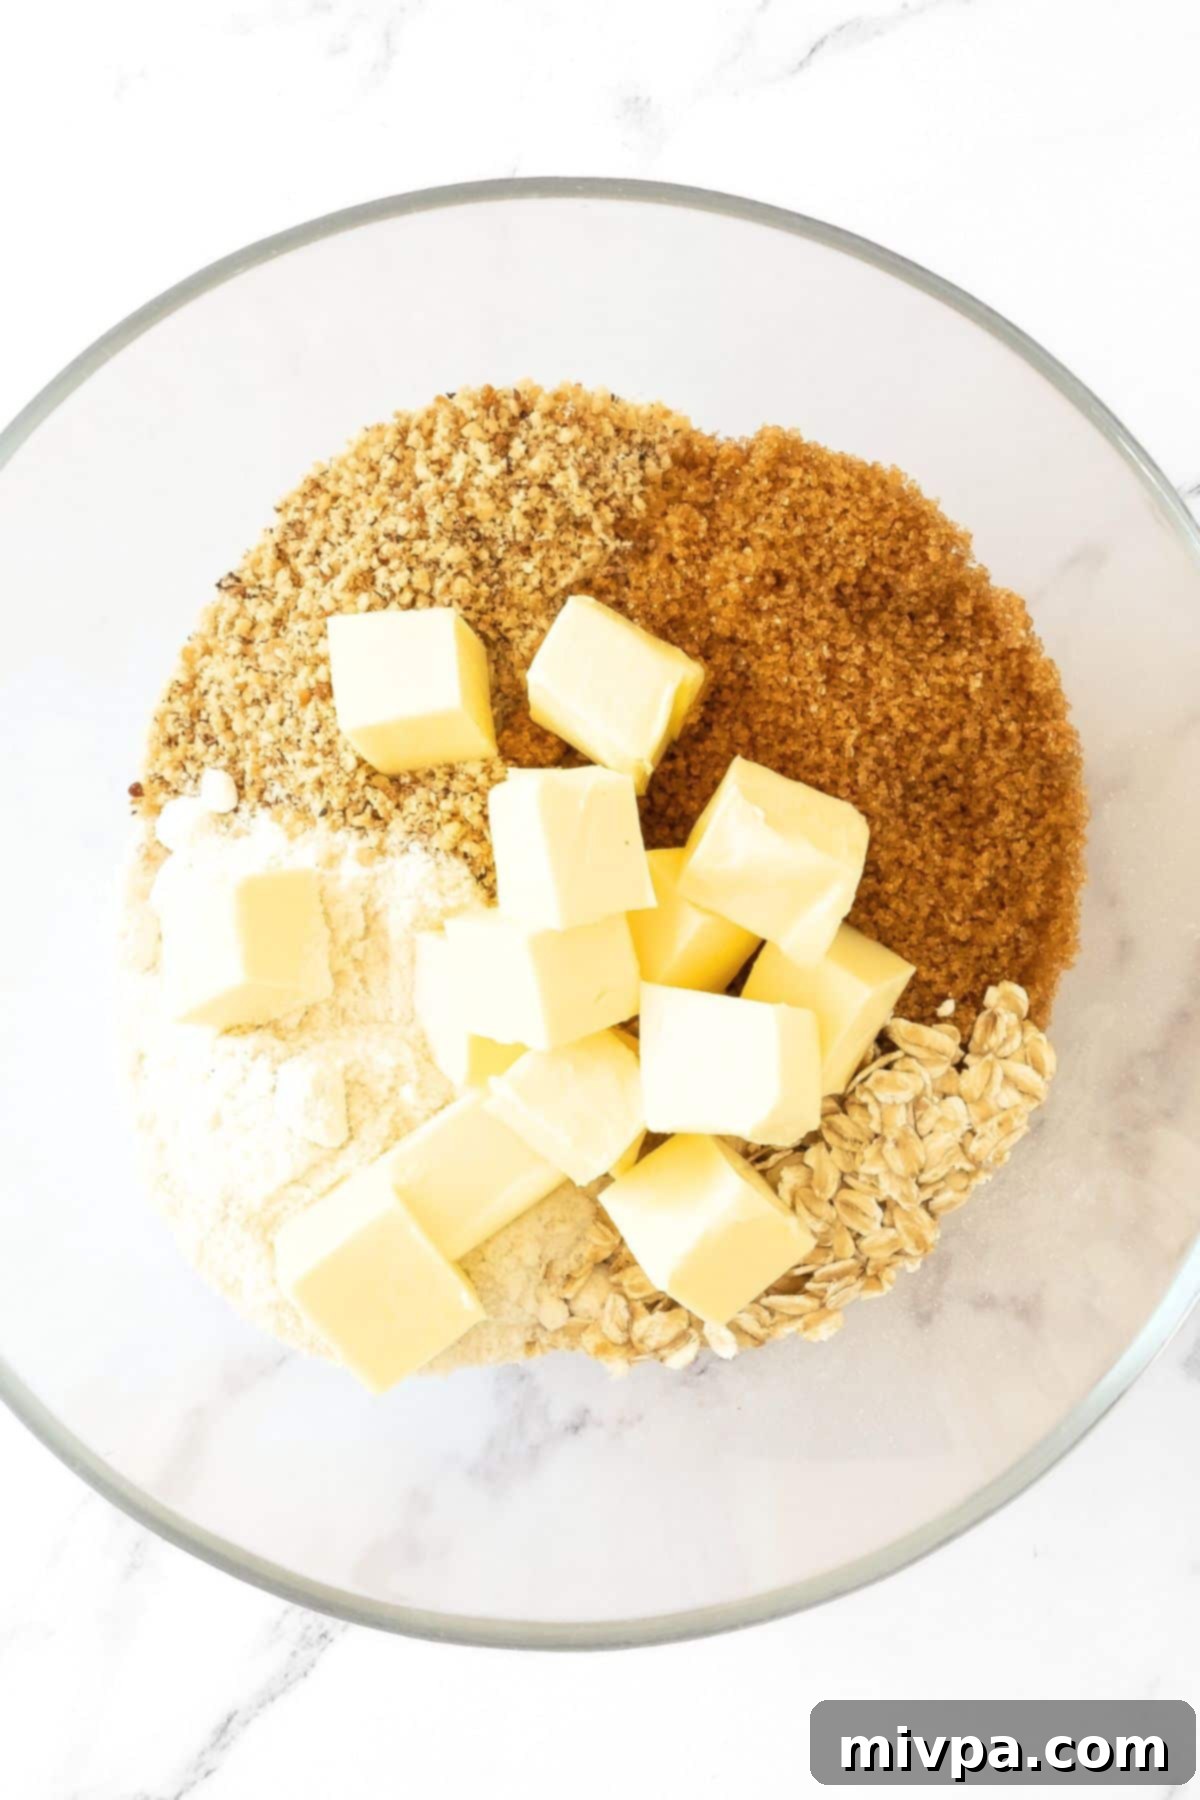
4. Fill Your Ramekins with Cherry Goodness
Carefully pour the prepared cherry fruit filling into your greased ramekins, distributing it evenly. Fill each ramekin almost to the top, ensuring there’s just enough space remaining for a generous layer of that delightful crumble topping. This ensures a balanced ratio of fruit to topping in every bite.
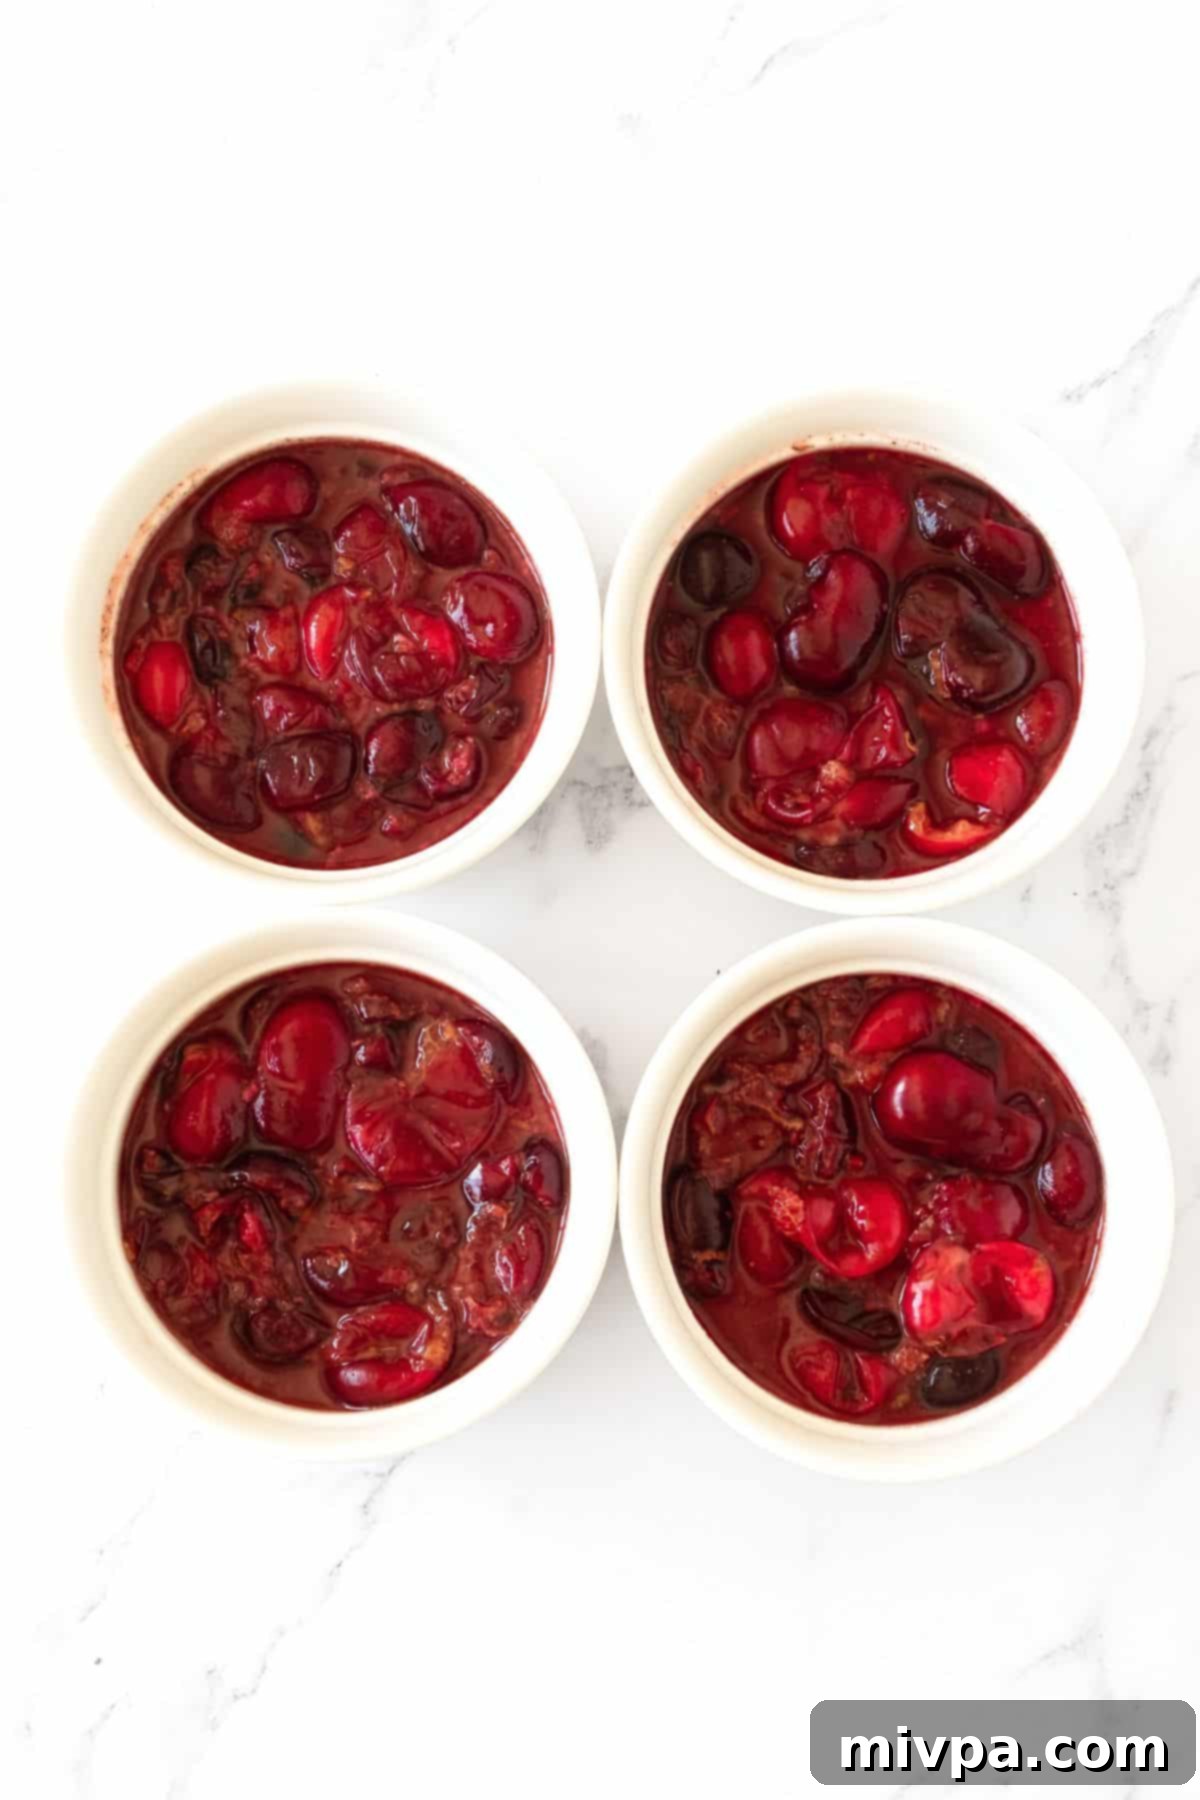
5. Crown with Crumbly Perfection
Now, it’s time for the star of the show! Divide the crumble topping evenly over the cherry filling in each ramekin. Gently spread it out to cover the cherries completely, creating an even layer. Don’t press it down too firmly; a lighter touch will ensure a truly light and crispy topping once baked.
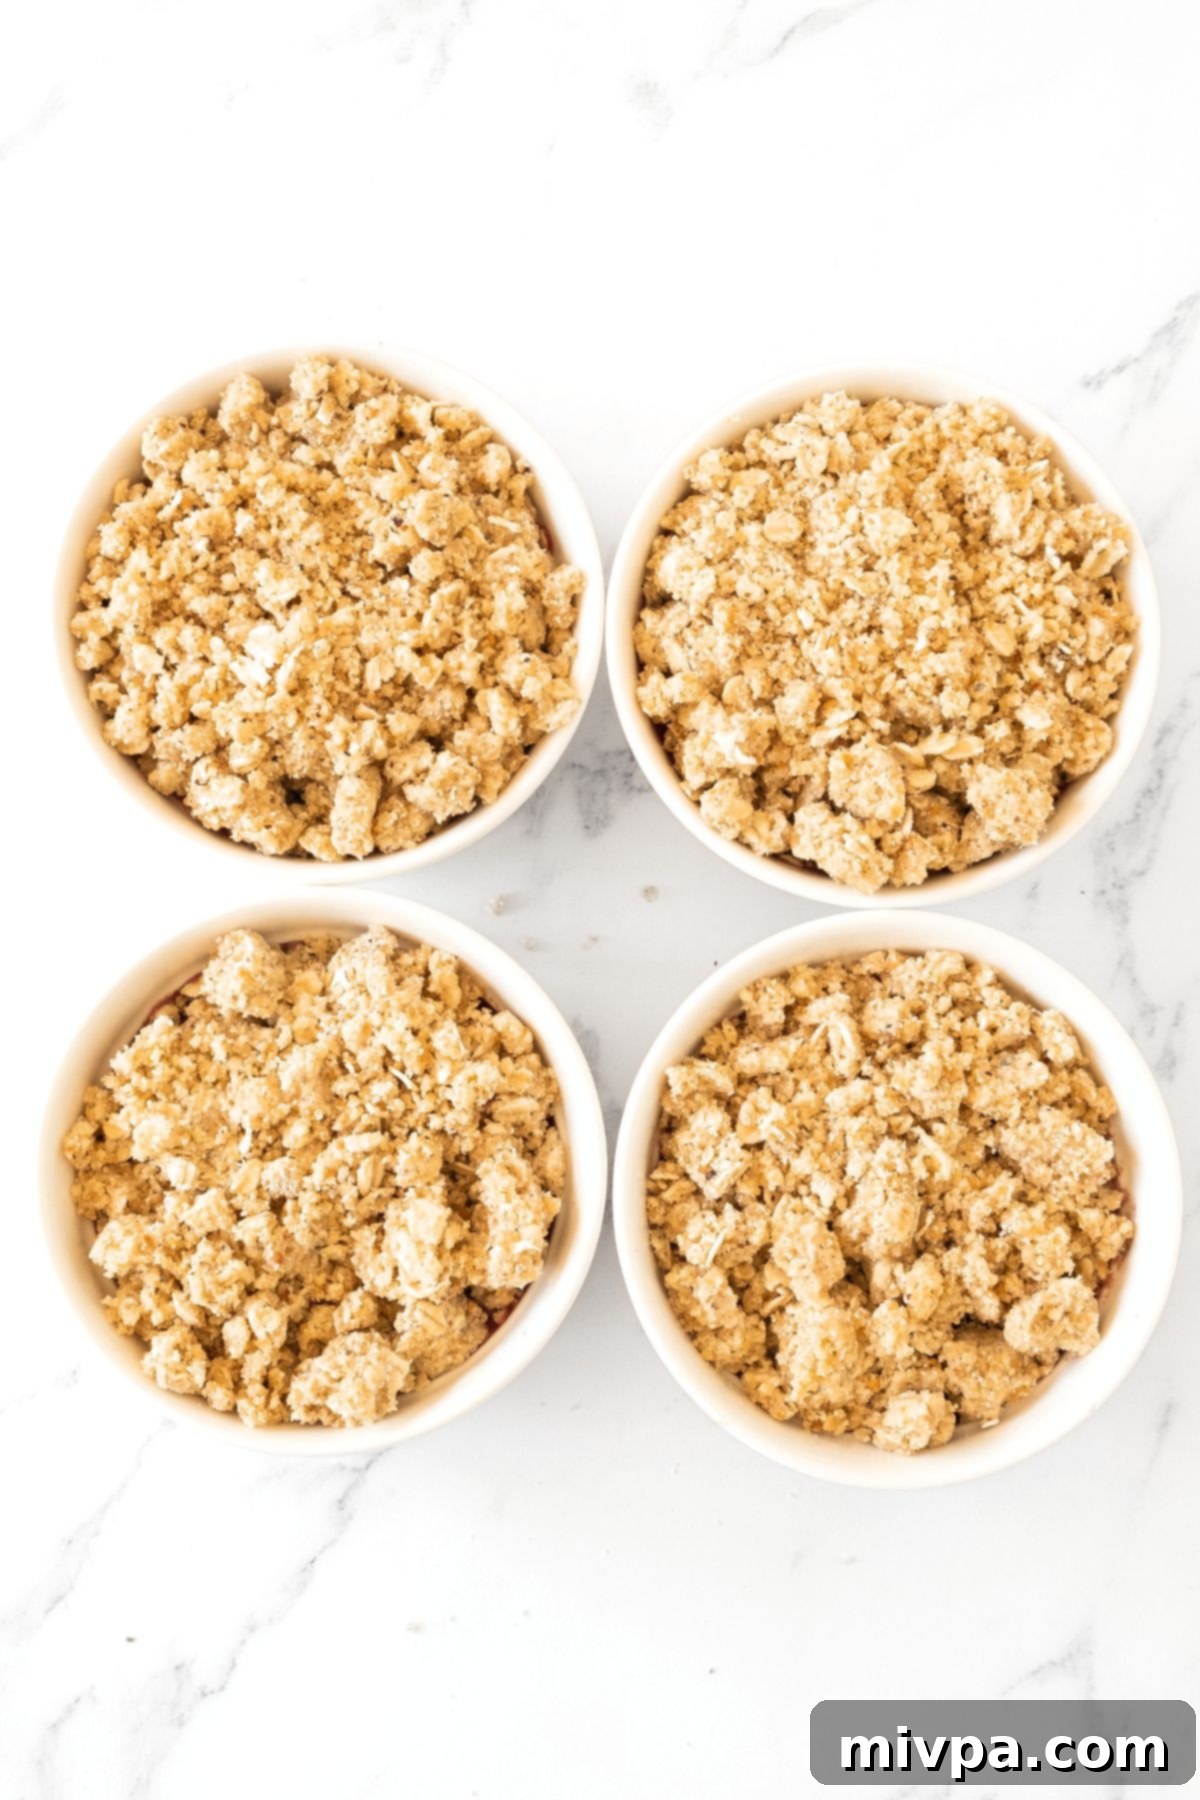
6. Bake to Golden-Brown Perfection
Carefully place the ramekins (you might want to put them on a baking sheet to catch any drips) into your preheated oven. Bake for approximately 30 to 35 minutes. You’ll know it’s perfectly done when the cherry filling is visibly bubbling around the edges, and the crumble topping has achieved a beautiful, inviting golden-brown hue. The aroma filling your kitchen will be another tell-tale sign of its readiness!
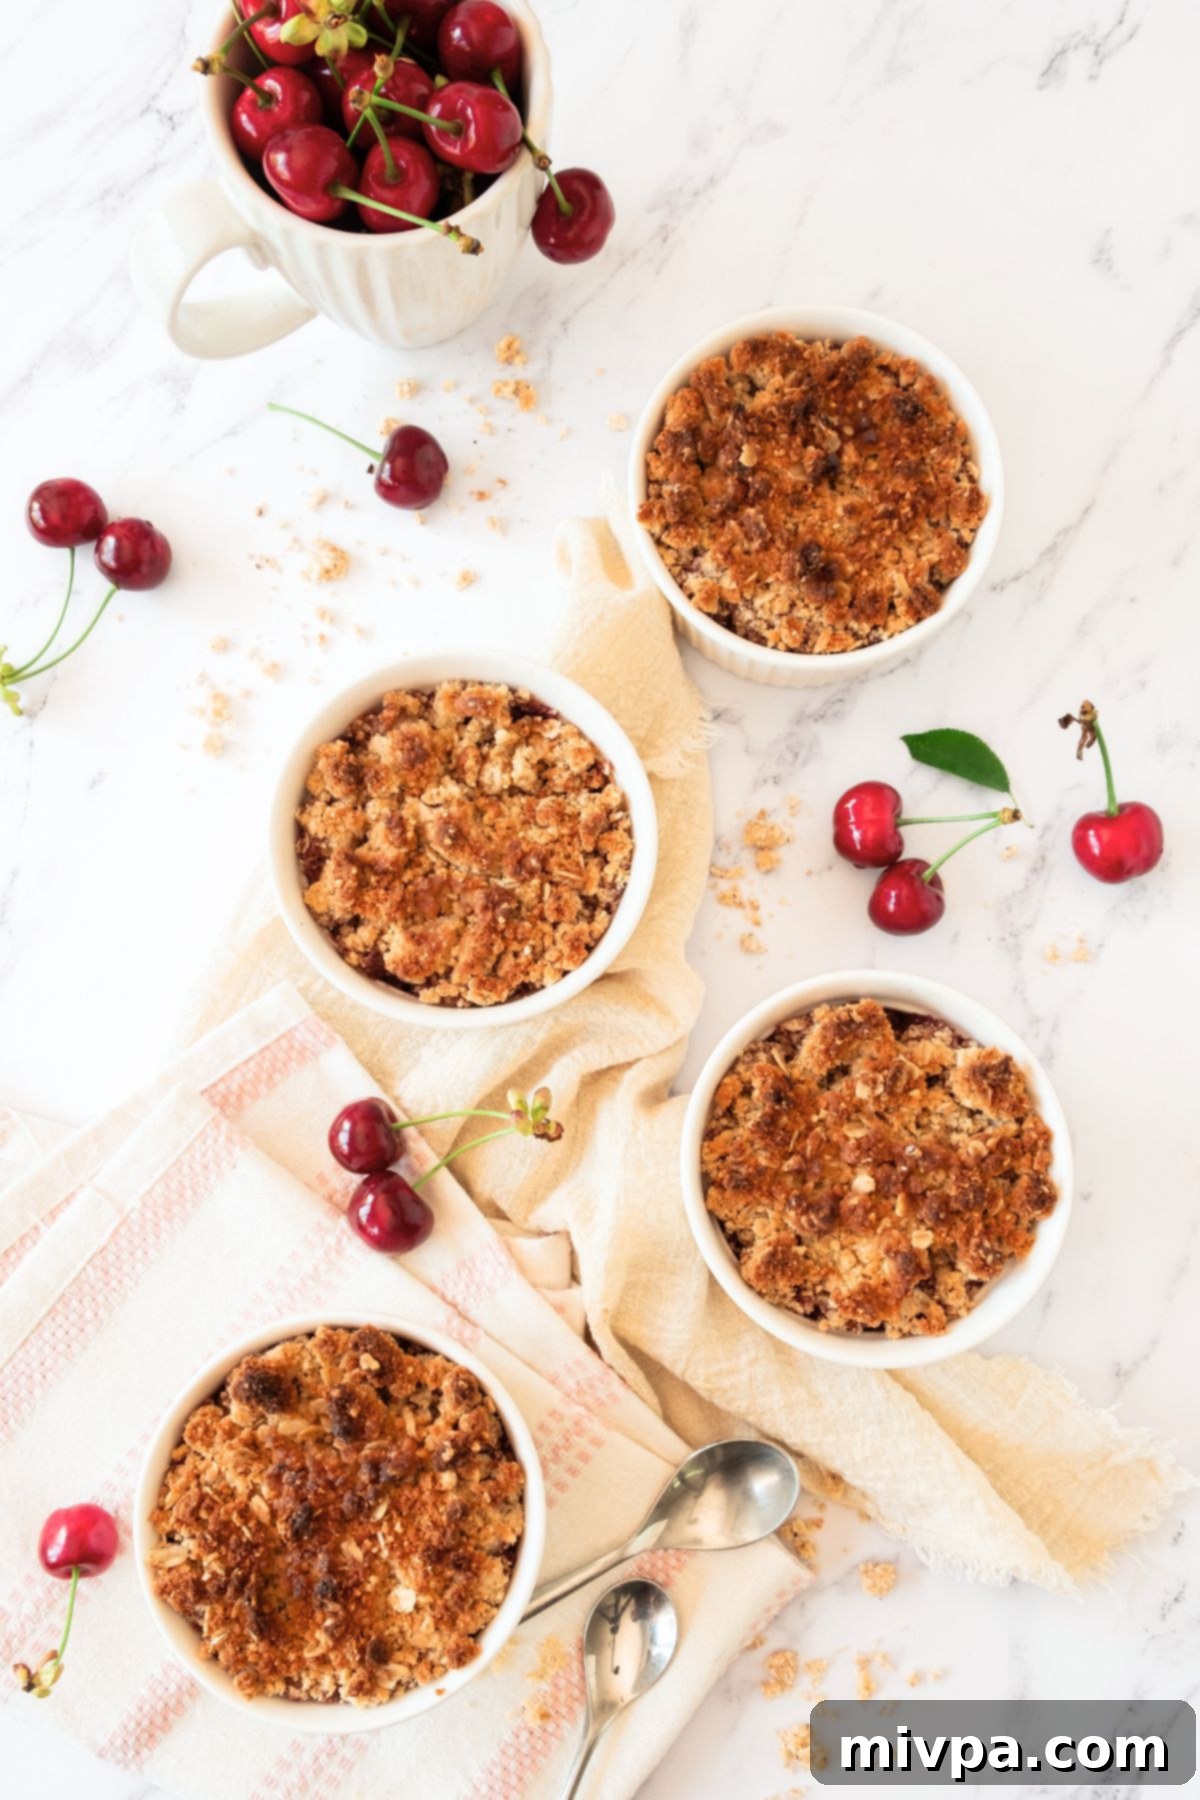
7. Final Touches & Serving Suggestions
Once baked, remove the crumbles from the oven. Let them cool slightly before serving; this allows the filling to set a bit, preventing it from being too runny. For a touch of elegance, lightly sprinkle with powdered sugar just before serving. This easy cherry crumble is absolutely divine on its own, but for an extra special treat, serve it warm with a generous scoop of dairy-free vanilla ice cream or a dollop of dairy-free whipped cream. The cold, creamy topping perfectly contrasts with the warm, fruity crumble.
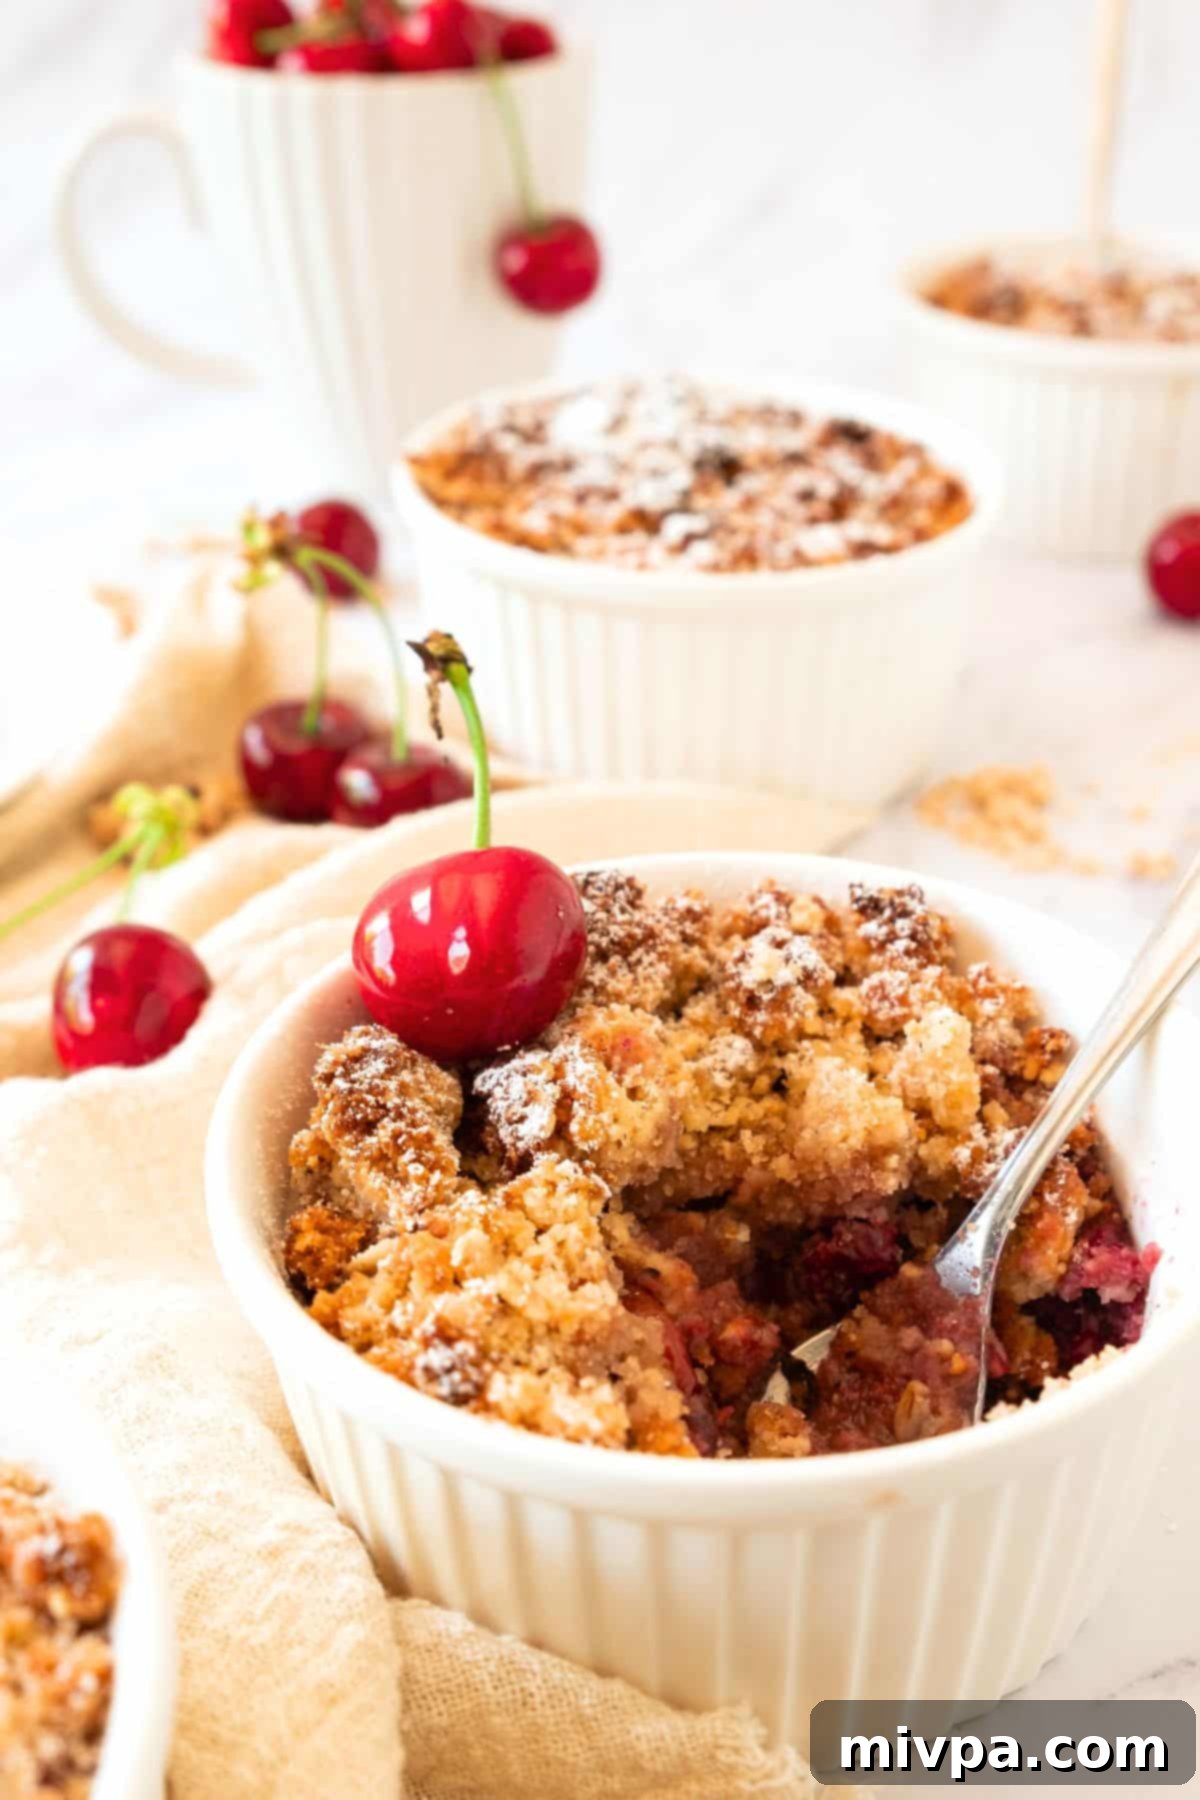
Dish by Dish Pro Tips & Tricks for the Best Cherry Crumble
Mastering this cherry crumble is simple, especially with a few expert tips and tricks up your sleeve. These insights will help you achieve perfect results every time and even inspire new variations:
- No Fresh Cherries? No Problem! As mentioned, while fresh cherries are fantastic, frozen cherries are a perfectly acceptable and convenient substitute. Just remember, there’s no need to thaw them before adding to the filling mixture. The cornstarch will expertly handle any extra moisture released during baking, ensuring your filling remains beautifully thick.
- Embrace Other Fruits: This crumble recipe is incredibly versatile and can be adapted for a variety of fruits! Feel free to swap out the cherries for other delicious summer fruits like mixed berries to create a vibrant mixed berry crumble, or use ripe peaches for a classic peach crumble. As autumn approaches, you can even switch to apples to make a cozy apple crumble. When using different fruits, you might need to slightly adjust the amount of sugar based on the fruit’s sweetness and the cornstarch for its juiciness.
- No Ramekins? Get Creative! If individual ramekins aren’t part of your kitchen arsenal, there’s absolutely no need to rush out and buy them. This gluten-free cherry crumble can be baked beautifully in a larger vessel. A cast iron skillet (about 8-10 inches) or a baking dish (like an 8×8 inch square dish) works wonderfully. Just be aware that baking times might vary slightly for larger dishes, typically increasing by 5-10 minutes. Keep an eye on the bubbling filling and golden-brown topping.
- Storing and Reheating for Freshness: To store any leftover cherry crumble, allow it to cool completely to room temperature. Then, transfer it to an airtight container or simply cover the baking dish tightly with plastic wrap. Store it in the refrigerator for up to 4 days. When you’re ready to enjoy it again, reheat the cherry crumble in the oven at 300°F (150°C) for about 10-15 minutes. This gentle reheating helps to crisp up the crumble topping beautifully, bringing it back to its delicious, freshly baked state. Avoid microwaving if you want to maintain that crispy topping!
- Freezing Instructions: You can also freeze this crumble! Bake it as directed, let it cool completely, then wrap it tightly in plastic wrap and aluminum foil. Freeze for up to 3 months. To reheat from frozen, bake at 350°F (175°C) for 30-40 minutes, or until warmed through and bubbly.
The Sweet Benefits: Why Cherries are Good for You
Beyond their delightful taste, cherries offer a host of health benefits, making this crumble a treat you can feel good about. Cherries are rich in antioxidants, particularly anthocyanins, which give them their vibrant red color and possess powerful anti-inflammatory properties. They are also a good source of fiber, vitamin C, and potassium. Including cherries in your diet can contribute to better sleep, reduced muscle soreness, and overall well-being, proving that delicious desserts can also be nourishing.
Frequently Asked Questions (FAQ) About Cherry Crumble
Here are some common questions about making and enjoying cherry crumble:
- Can I use canned cherry pie filling? While technically possible, I highly recommend using fresh or frozen cherries as specified in the recipe. Canned pie fillings often contain excessive sugar and artificial ingredients that will drastically change the flavor and texture of this natural, wholesome crumble.
- How do I know if my crumble is cooked through? Look for a few key signs: the cherry filling should be visibly bubbling around the edges, and the crumble topping should be a deep golden brown. You can also gently poke the center with a knife; if it comes out mostly clean and the fruit feels tender, it’s ready.
- Can I prepare this crumble ahead of time? Yes! You can assemble the crumble (both the filling and the topping) up to one day in advance. Store the assembled crumble (unbaked) in the refrigerator, covered. When ready to bake, add about 10-15 minutes to the baking time to account for starting from cold.
- What if my crumble topping isn’t crispy? Ensure your butter is very cold when you cut it into the dry ingredients. Also, avoid overmixing the topping, as this develops gluten (even in GF flour) and can make it less crispy. If it still feels soft, try baking for a few extra minutes until golden.
Other Gluten-Free Cherry Desserts to Indulge In:
- Cherry Clafoutis (Gluten-Free, Dairy-Free)
- Easy Blackforest Brownies (Gluten-Free, Dairy-Free)
- Cherry Macarons (Gluten-Free, Dairy-Free)
More Gluten-Free Desserts to Delight Your Palate:
- Gluten-Free Pumpkin Banana Muffins (Dairy-Free)
- 126 Gluten-Free Desserts and Sweet Treats for Labor Day
- Mini Pumpkin Cheesecakes (Gluten-Free, Dairy-Free Option)
- Gluten-Free Pecan Pie Bars (Dairy-Free)
P.S. If you try this incredible cherry crumble recipe, I’d absolutely love to hear from you! Please consider leaving a star rating below and/or a review in the comment section further down the page. Your feedback is always deeply appreciated and helps others discover these delicious recipes. Be sure to check out my entire Recipe Index for all the tempting creations on the blog. You can also follow my culinary adventures on Pinterest, Facebook, or Instagram! Don’t miss out on fresh inspiration – sign up for my Email List to get exciting new recipes delivered straight to your inbox each week!
Print Recipe

Easy Cherry Crumble (Gluten-Free, Dairy-Free, Vegan)
5 Stars
4 Stars
3 Stars
2 Stars
1 Star
5 from 2 reviews
- Author: Felicia Lim
- Total Time: 55 minutes
- Yield: 4 servings
- Diet: Gluten Free, Dairy Free, Vegan
Description
With a beautifully rich and sweet cherry filling crowned with a perfectly crispy, golden-brown topping, this easy cherry crumble is the ultimate dessert for making the most of your summer cherry bounty! It’s a truly delicious dessert that you’ll want to enjoy all summer long, and perhaps even all year round with frozen cherries. The best part? It’s completely gluten-free, dairy-free, and vegan, making it a perfect sweet treat for everyone!
Ingredients
Units
Scale
For the Cherry Filling:
- 2 pounds fresh or frozen cherries, pitted
- 1 1/2 tablespoons cornstarch (or tapioca/arrowroot starch)
- 1/4 cup brown sugar (or granulated monk fruit sweetener)
- 1 tablespoon fresh lemon zest
- 1/2 teaspoon cardamom (ground or from pods)
- 1 teaspoon ground cinnamon
- 1 teaspoon vanilla extract
For the Crumble Topping:
- 1/2 cup gluten-free all-purpose flour
- 2/3 cup almond meal (or almond flour)
- 1/4 cup certified gluten-free rolled oats
- 1/3 cup brown sugar
- 2/3 cup unsalted dairy-free butter, very cold and cubed
- Powdered sugar for sprinkling (optional)
- Dairy-free vanilla ice cream or whipped cream, for accompanying (optional)
Instructions
- Preheat and Grease: Preheat your oven to 375°F (190°C). Lightly grease 4 medium ramekins (or an equivalent baking dish) with nonstick cooking spray.
- Prepare Cherry Filling: Wash your cherries thoroughly and remove the pits and stems. In a large bowl, combine the pitted cherries with cardamom, ground cinnamon, vanilla extract, lemon zest, cornstarch, and brown sugar. Mix everything well until the cherries are evenly coated. Set this vibrant mixture aside.
- Prepare Crumble Topping: In a separate medium bowl, mix together the gluten-free oats, gluten-free all-purpose flour, brown sugar, almond meal, and the cold, cubed dairy-free butter. Using a pastry cutter or two knives, “cut” the butter into the dry ingredients until the mixture resembles coarse sand with small pea-sized butter pieces.
- Divide Cherry Filling Between Ramekins: Pour the prepared cherry filling into your greased ramekins, filling them almost to the top. Remember to leave a little space for the crumble topping.
- Top with Crumble Topping: Evenly distribute the crumbly topping over the cherry filling in each ramekin. Spread it gently to cover the fruit.
- Bake Until Golden: Place the ramekins (on a baking sheet to catch any spills) into the preheated oven. Bake for 30 to 35 minutes, or until the cherry filling is bubbling around the edges and the crumble topping is beautifully golden brown and crisp.
- Sprinkle with Powdered Sugar and Serve: Remove the crumbles from the oven and let them cool for a few minutes. For a delightful finish, sprinkle with powdered sugar and serve warm with a scoop of dairy-free vanilla ice cream or whipped cream, if desired. Enjoy!
Notes
Cherries: Fresh cherries are ideal when in season for their vibrant flavor. However, if fresh are unavailable, frozen cherries work wonderfully. There’s no need to thaw them; simply add them to the filling mixture directly from frozen.
Cornstarch: This ingredient thickens the cherry juices, preventing a watery filling. For alternatives, consider using tapioca starch or arrowroot starch in equal amounts.
Brown Sugar: Dark brown sugar adds a rich, caramel note. You can substitute with light brown sugar, cane sugar, coconut sugar, or for a sugar-free option, use a 1:1 granulated monk fruit sweetener, which won’t affect blood sugar levels.
Cardamom: This spice offers a unique, warm, and slightly floral flavor that complements cherries beautifully. You can use cardamom pods (crushed) or ground cardamom. Adjust the amount or omit if the flavor is too strong for your preference.
Cinnamon: A touch of ground cinnamon enhances the overall warmth and depth of flavor in the cherry filling.
Gluten-Free Flour: To ensure the crumble is gluten-free, a gluten-free all-purpose flour blend is used. If gluten is not an issue, regular all-purpose flour can be used instead.
Almond Meal: Almond meal adds a lovely nutty flavor and texture to the topping. Almond flour also works, or you can try other nut meals (like cashew or hazelnut meal) or use additional gluten-free all-purpose flour.
Oats: Rolled oats contribute chewiness and texture. If you’re gluten-intolerant, always opt for certified gluten-free rolled oats to avoid cross-contamination that can occur during processing.
Butter: For a dairy-free and vegan crumble, unsalted dairy-free butter is essential. Ensure it’s very cold and cubed for the best crumbly topping. Regular cold butter can be used if dairy is not a concern.
Storing: Cool completely, then store in an airtight container or covered with plastic wrap in the refrigerator for up to 4 days. Reheat in a 300°F (150°C) oven for a few minutes to re-crisp the topping.
Freezing: Baked crumbles can be frozen for up to 3 months. Wrap tightly in plastic wrap and foil. Reheat from frozen at 350°F (175°C) for 30-40 minutes.
- Prep Time: 15 mins
- Cook Time: 40 mins
- Category: Desserts
- Method: Baking
- Cuisine: American
