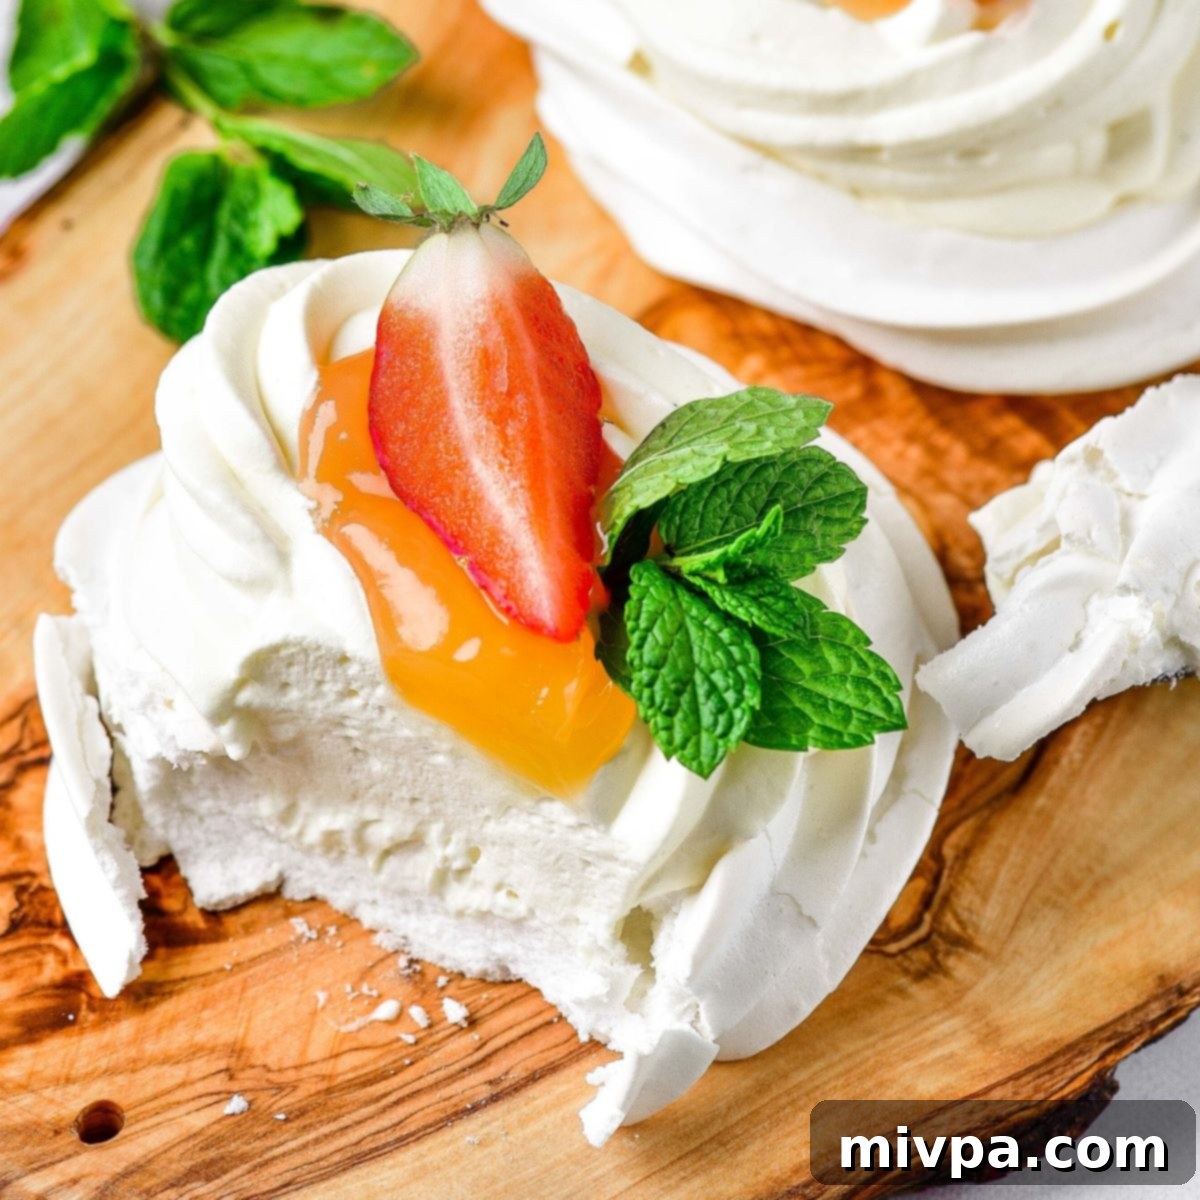
Delicious Gluten-Free & Dairy-Free Mini Pavlova Nests: The Perfect Easy Dessert
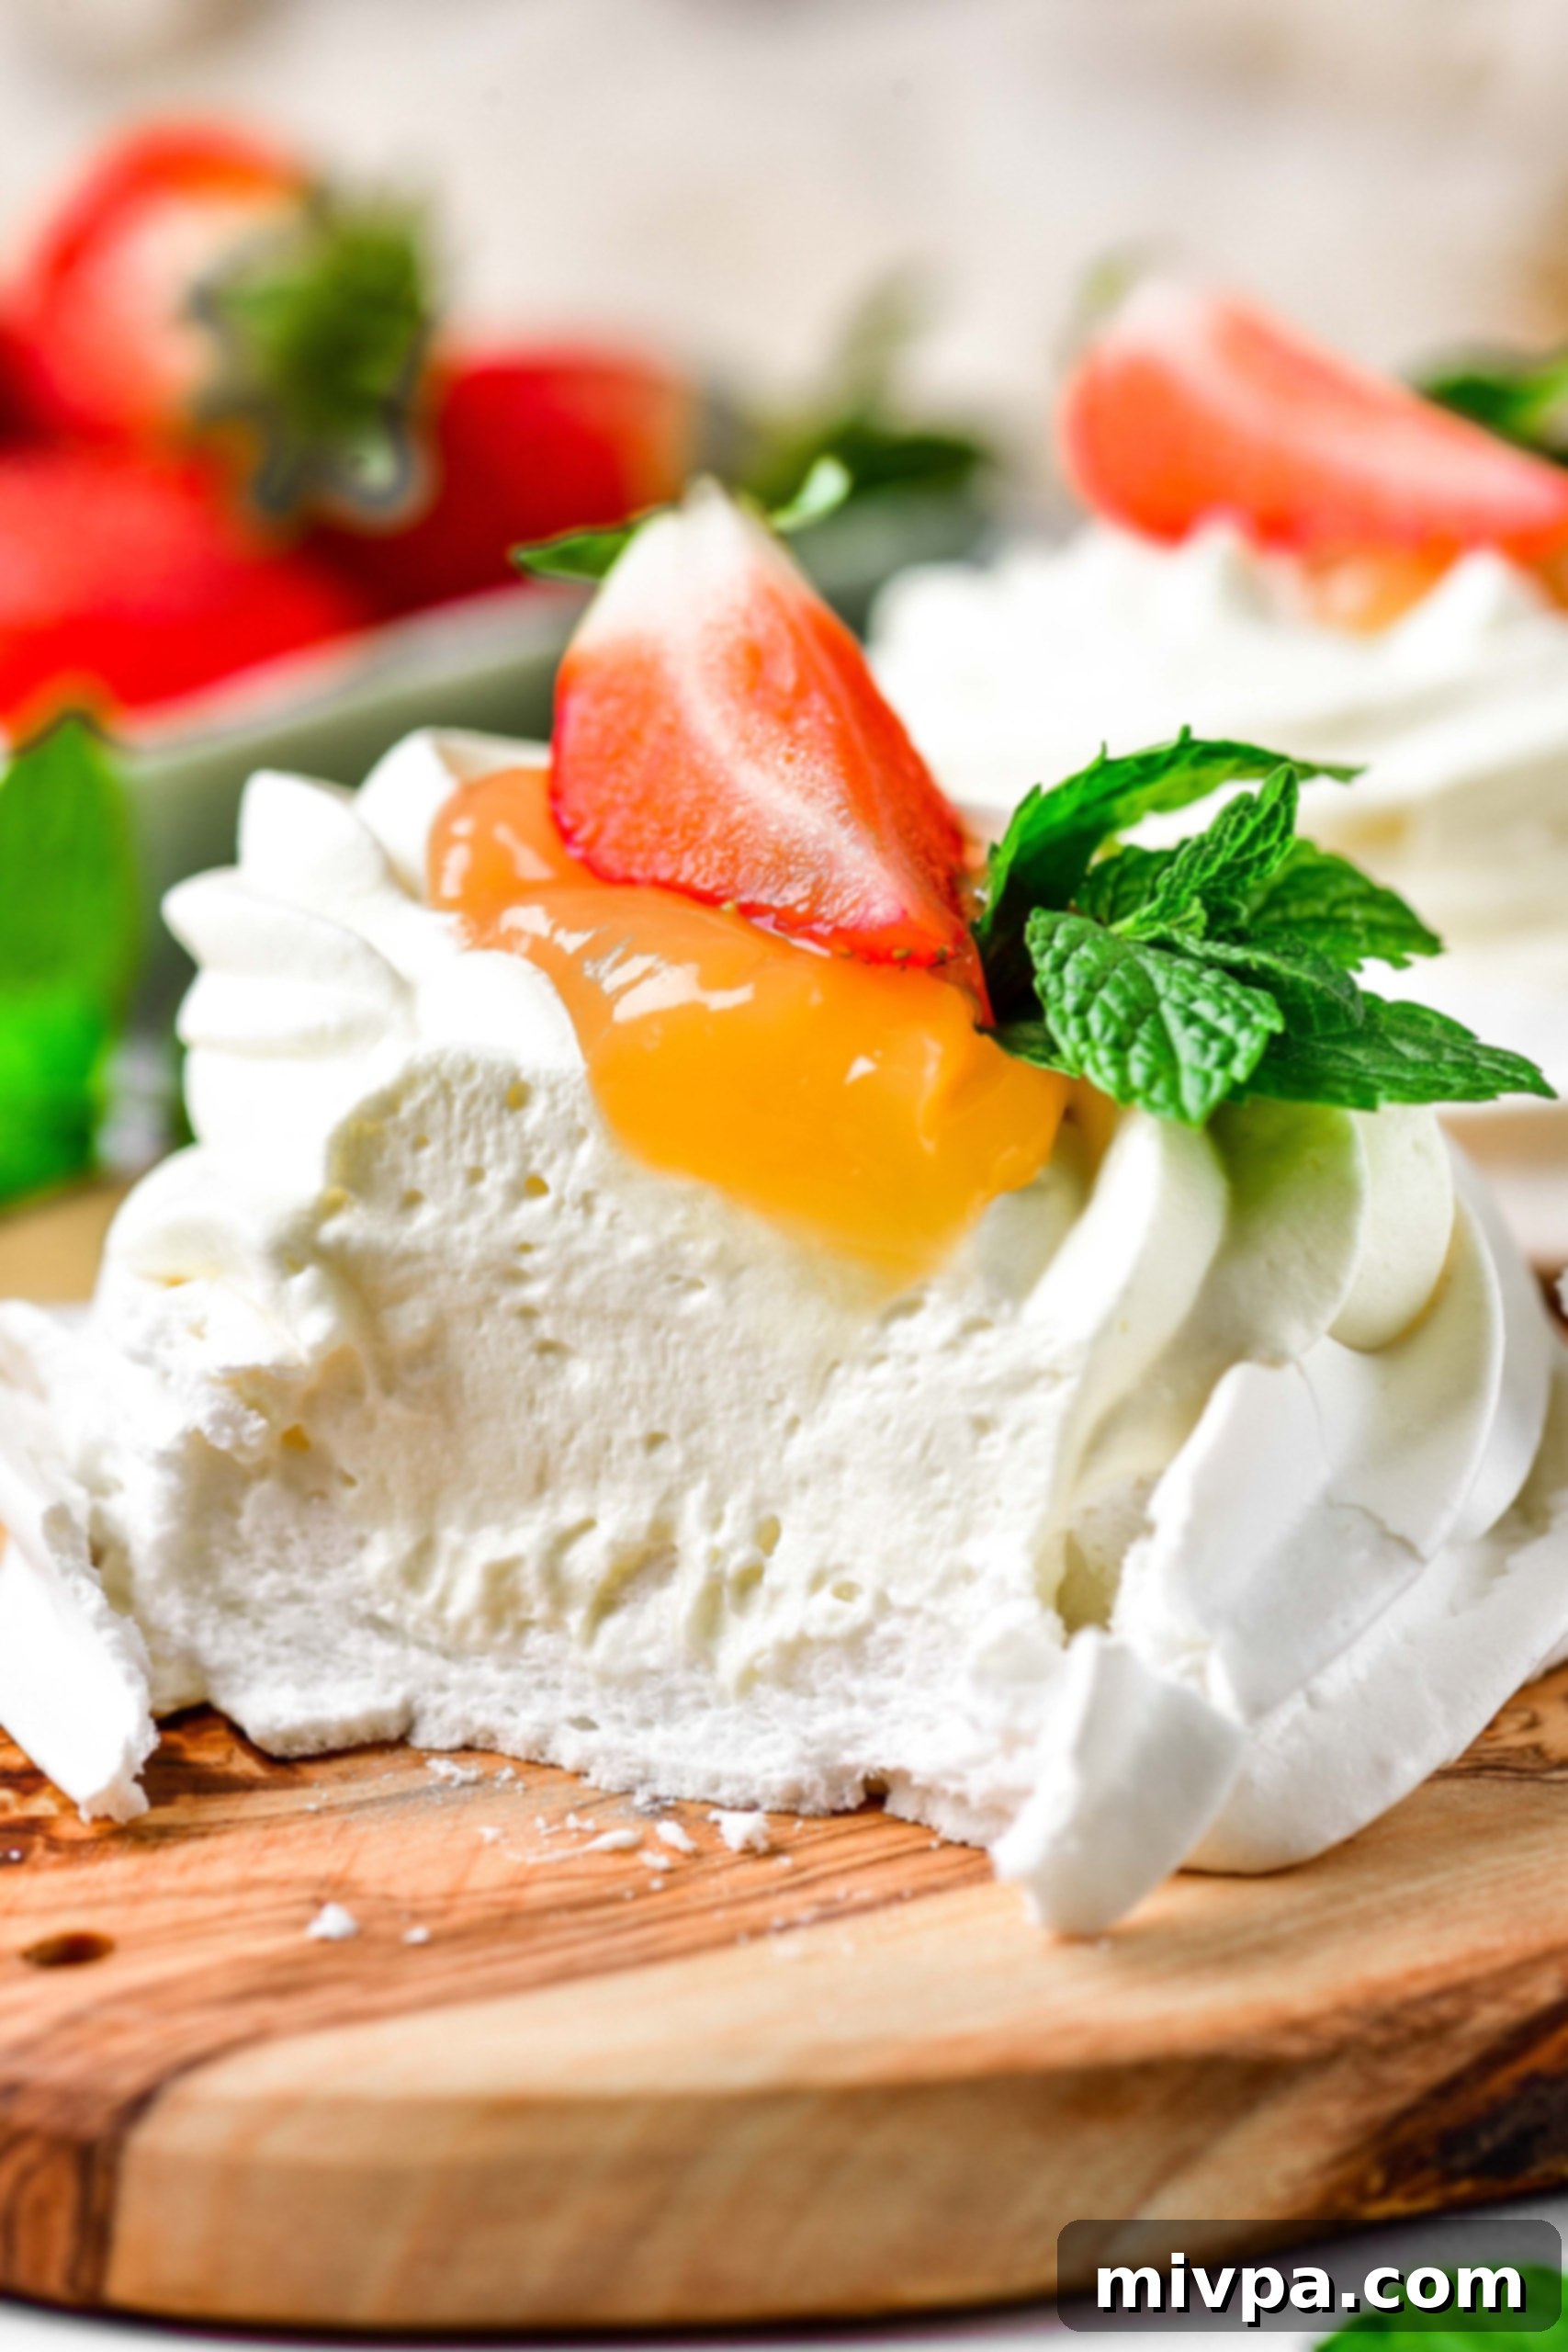
Crispy on the outside, delightfully soft and pillowy on the inside, these enchanting mini pavlova nests are a true culinary gem. Each delicate meringue nest is generously filled with luscious whipped cream and tangy lemon curd, creating a harmonious balance of textures and flavors. This gluten-free and dairy-free pavlova recipe is surprisingly straightforward to prepare, making it the perfect dessert for any special occasion, from Mother’s Day and Easter to Thanksgiving and Christmas. Its light and airy nature also makes it an ideal treat whenever you crave something sweet yet elegant.
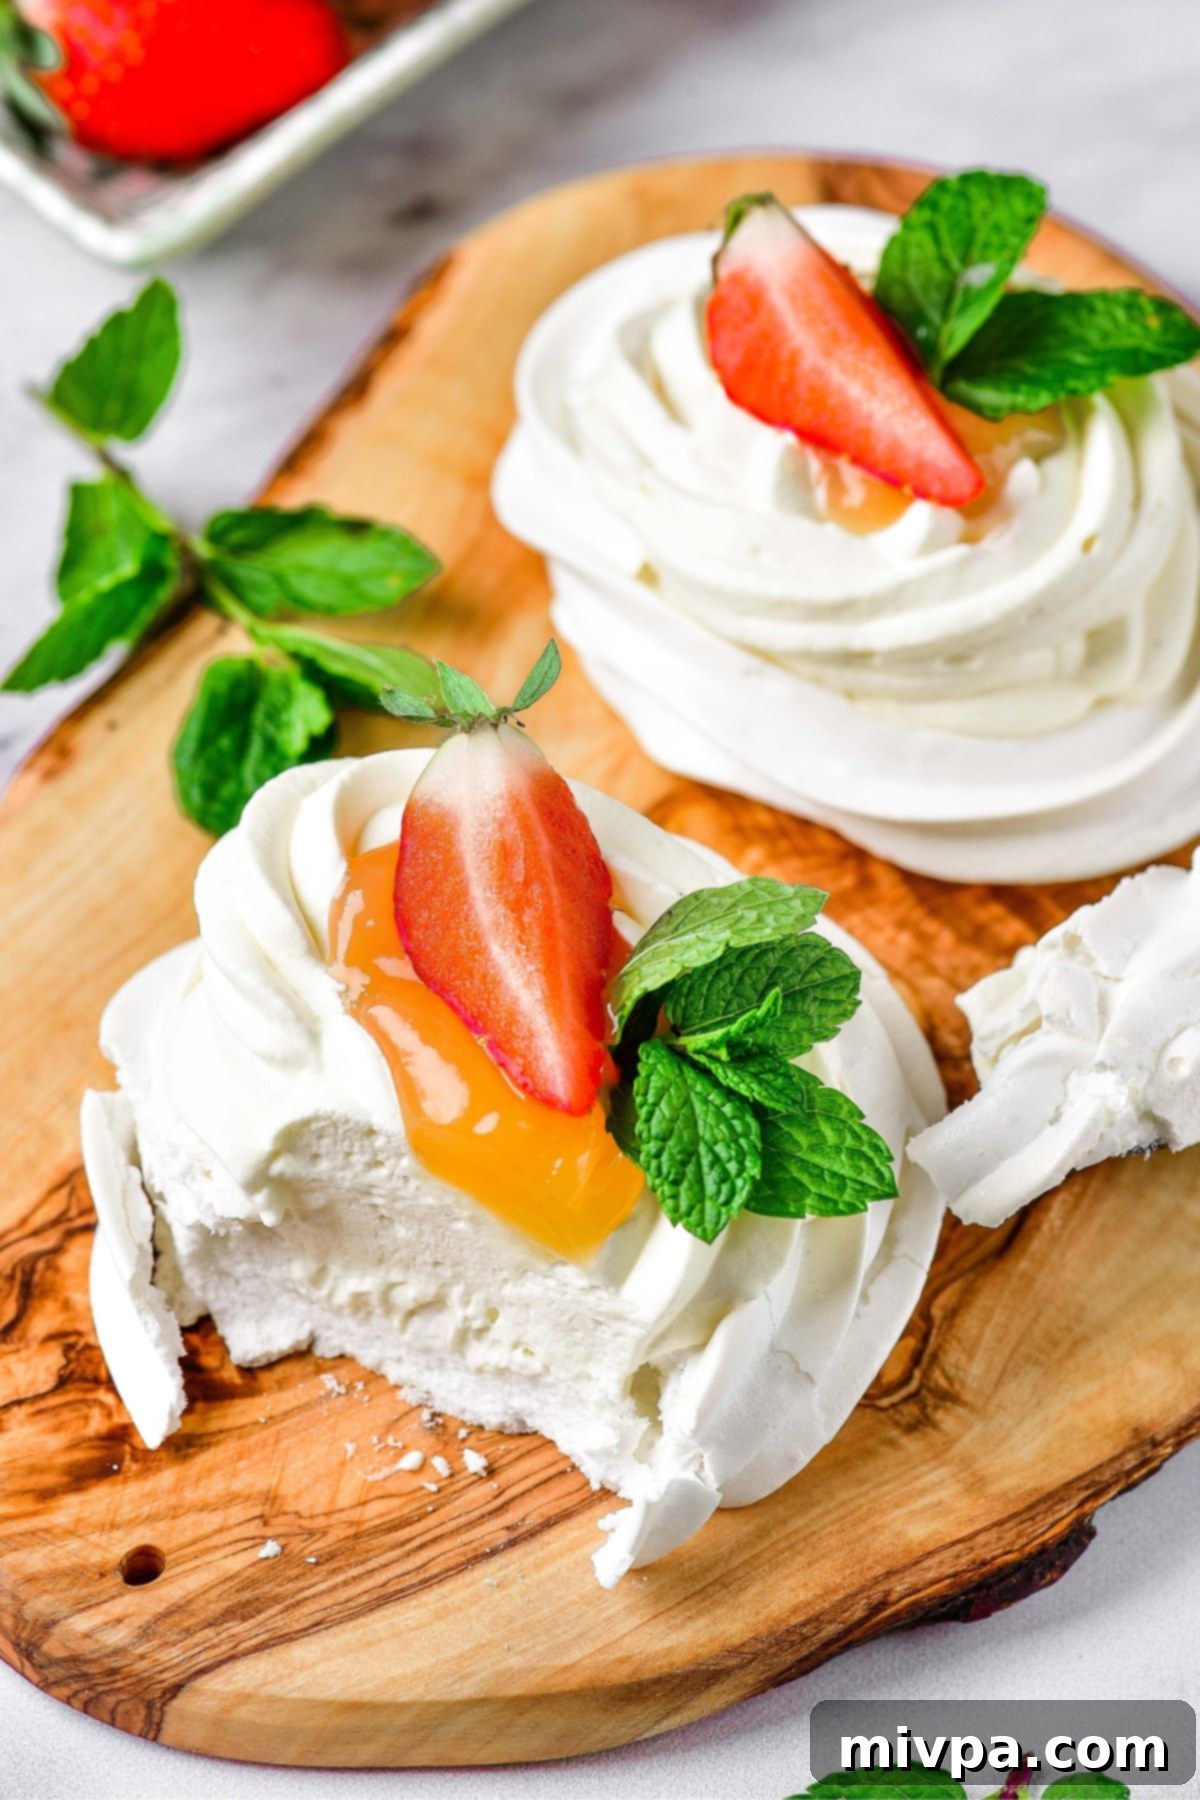
Welcome to the world of pavlova – a stunning dessert that might seem intimidating at first glance, but is wonderfully accessible with the right recipe. If you’re looking for a show-stopping yet simple dessert that caters to various dietary needs, you’ve come to the right place. These individual pavlova nests are not only a feast for the eyes but also a delightful experience for the palate, offering a cloud-like texture that truly melts in your mouth. Best of all, they’re entirely dairy-free, ensuring everyone can enjoy this exquisite treat.
[feast_advanced_jump_to]
What is Pavlova? A Cloud of Sweetness
If the name “pavlova” is new to you, don’t worry – you’re about to discover a truly enchanting dessert. While perhaps not as globally ubiquitous as a chocolate cake, pavlova has been gaining significant popularity, cherished for its unique texture and elegant presentation.
Pavlova is a meringue-based dessert, famous for its crisp outer shell and a soft, marshmallow-like interior. It’s typically adorned with a generous topping of whipped cream and an assortment of fresh fruits, creating a visually stunning and deliciously light treat. The origins of pavlova are a source of friendly debate, with both Australia and New Zealand laying claim to its invention, reportedly named in honor of the Russian ballerina Anna Pavlova during her tours of the region in the 1920s. Regardless of its exact birthplace, pavlova has firmly established itself as a beloved dessert, especially popular during festive seasons and gatherings in both countries and beyond.
Unraveling the Mystery: Meringue vs. Pavlova
While pavlova is indeed made from a meringue base, it’s crucial to understand that not all meringues are pavlovas. Think of it this way: all pavlovas are meringues, but not all meringues are pavlovas. The distinction lies in their composition and texture, making each a unique dessert in its own right.
SIMILARITIES: Both share the fundamental process of whipping egg whites until they are soft and fluffy, then baking them in a low oven until a crispy crust forms. This creates the signature delicate, airy structure that defines both.
DIFFERENCES: Here’s where the two diverge significantly. Traditional meringues usually consist solely of beaten egg whites and caster sugar, often baked for a longer duration to achieve a uniform crispness throughout – crunchy on both the outside and inside.
Pavlova, however, incorporates an additional key ingredient: cornstarch (or sometimes vinegar). This seemingly small addition makes all the difference! The cornstarch helps to stabilize the egg whites and, crucially, prevents the interior from becoming fully crisp during baking. The result is a pavlova with a perfectly crisp outer shell that gives way to a wonderfully soft, almost marshmallowy, and light interior. This unique textural contrast, combined with a typically shorter baking time, is what truly sets pavlova apart from a standard meringue. This makes pavlova a much more decadent and appealing dessert for those who love a chewy, tender center.
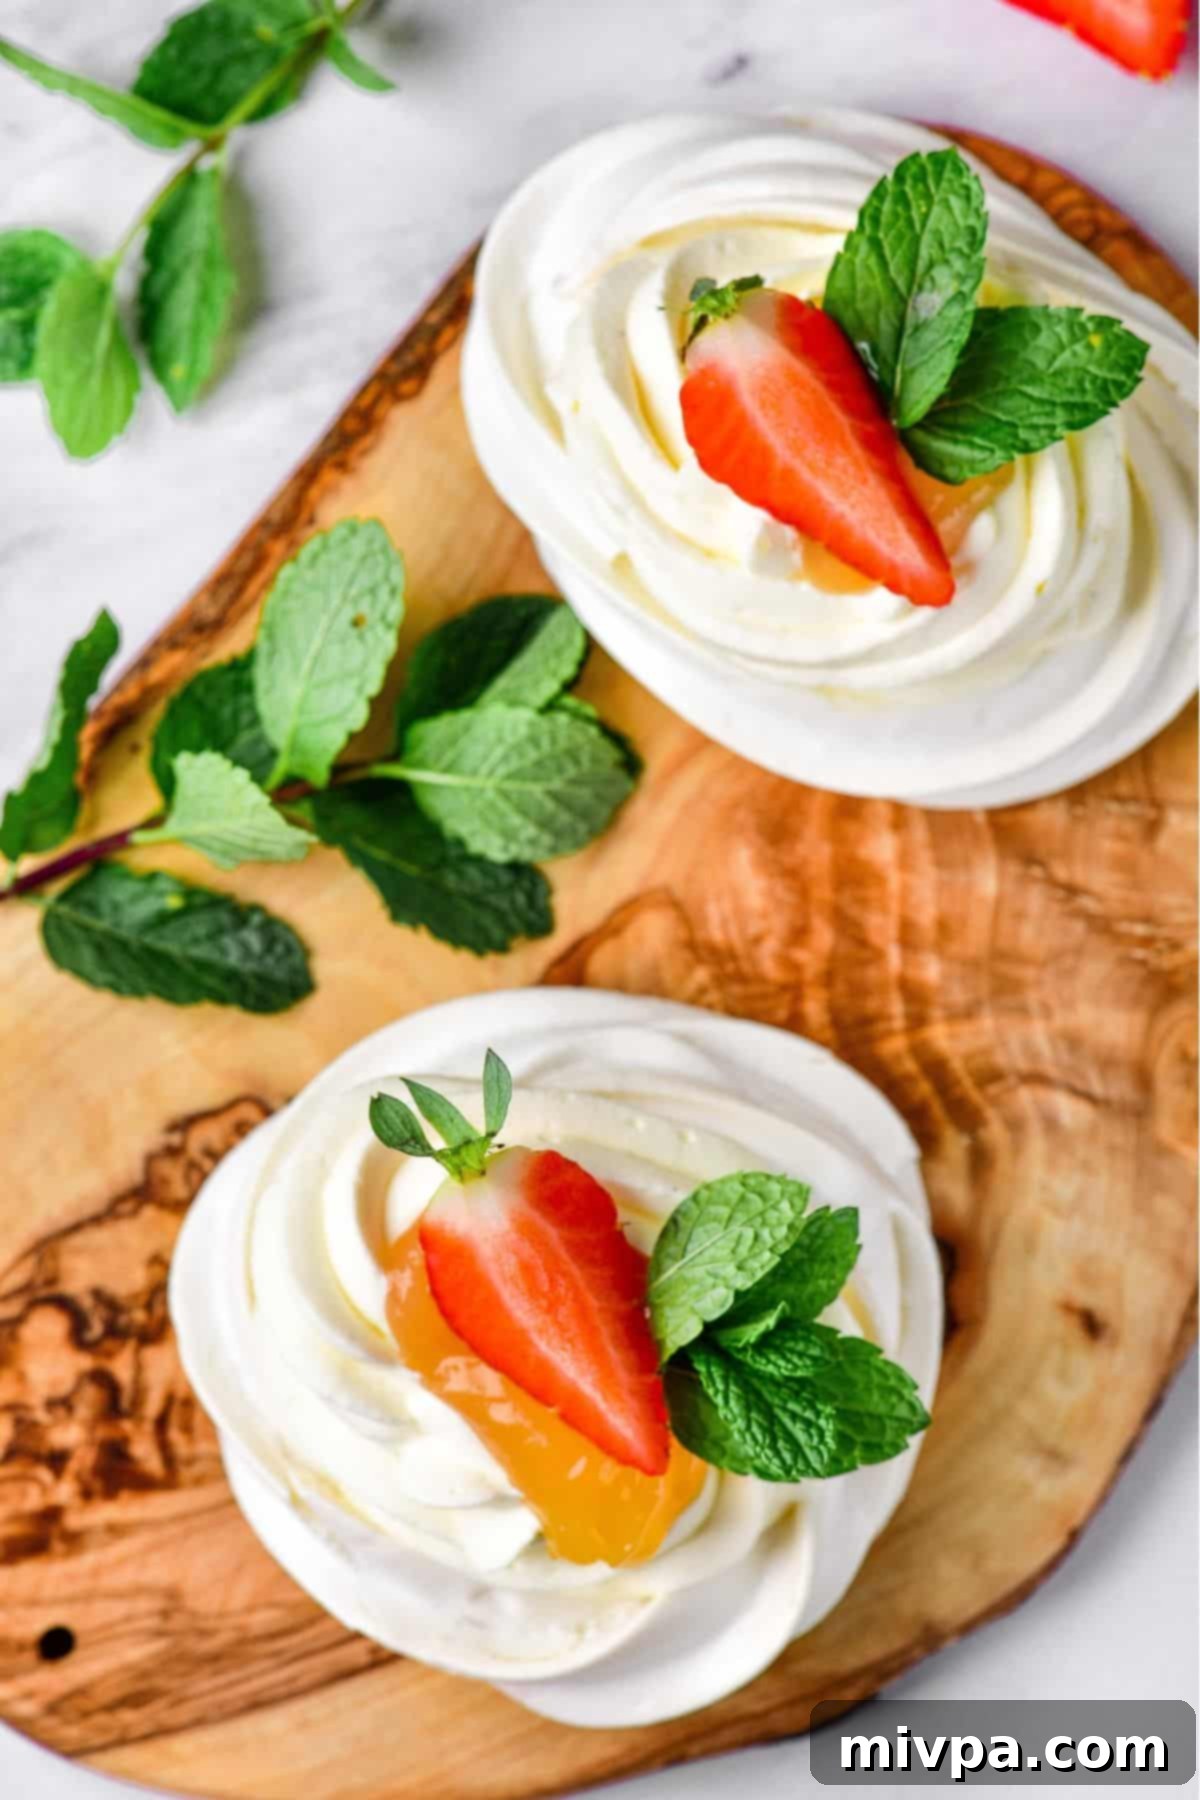
Mini Pavlova Nests – An Elegant Touch for Any Celebration
While many classic pavlova recipes involve shaping the entire meringue mixture into one large, impressive cake-like dessert, I’m a firm believer that mini pavlovas hold a special charm. There’s just something inherently prettier and more delightful about anything in miniature form, isn’t there? These individual portions elevate the dessert experience, making them perfect for entertaining.
The term “nests” comes from their distinctive shape. The whipped egg whites are carefully piped into charming nest-like forms before baking, creating a natural hollow perfect for holding luscious fillings. This design not only looks adorable but is also incredibly practical.
You have complete creative freedom when it comes to decorating and garnishing these gorgeous individual pavlova nests. Their neutral base makes them a versatile canvas for any fresh fruits, sauces, or toppings you might have on hand. Imagine them adorned with vibrant berries, a drizzle of chocolate, or a sprinkle of toasted nuts! This flexibility allows you to tailor them perfectly to the season or your guests’ preferences.
Beyond their beauty, mini pavlova nests are also incredibly convenient for serving. They eliminate the need for slicing a large dessert, ensuring each guest receives a perfectly portioned and beautifully presented treat. This makes them truly ideal individual desserts for elegant dinner parties or holiday celebrations such as Easter, Mother’s Day, Thanksgiving, Christmas, or any other special occasion where you want to impress without the stress.
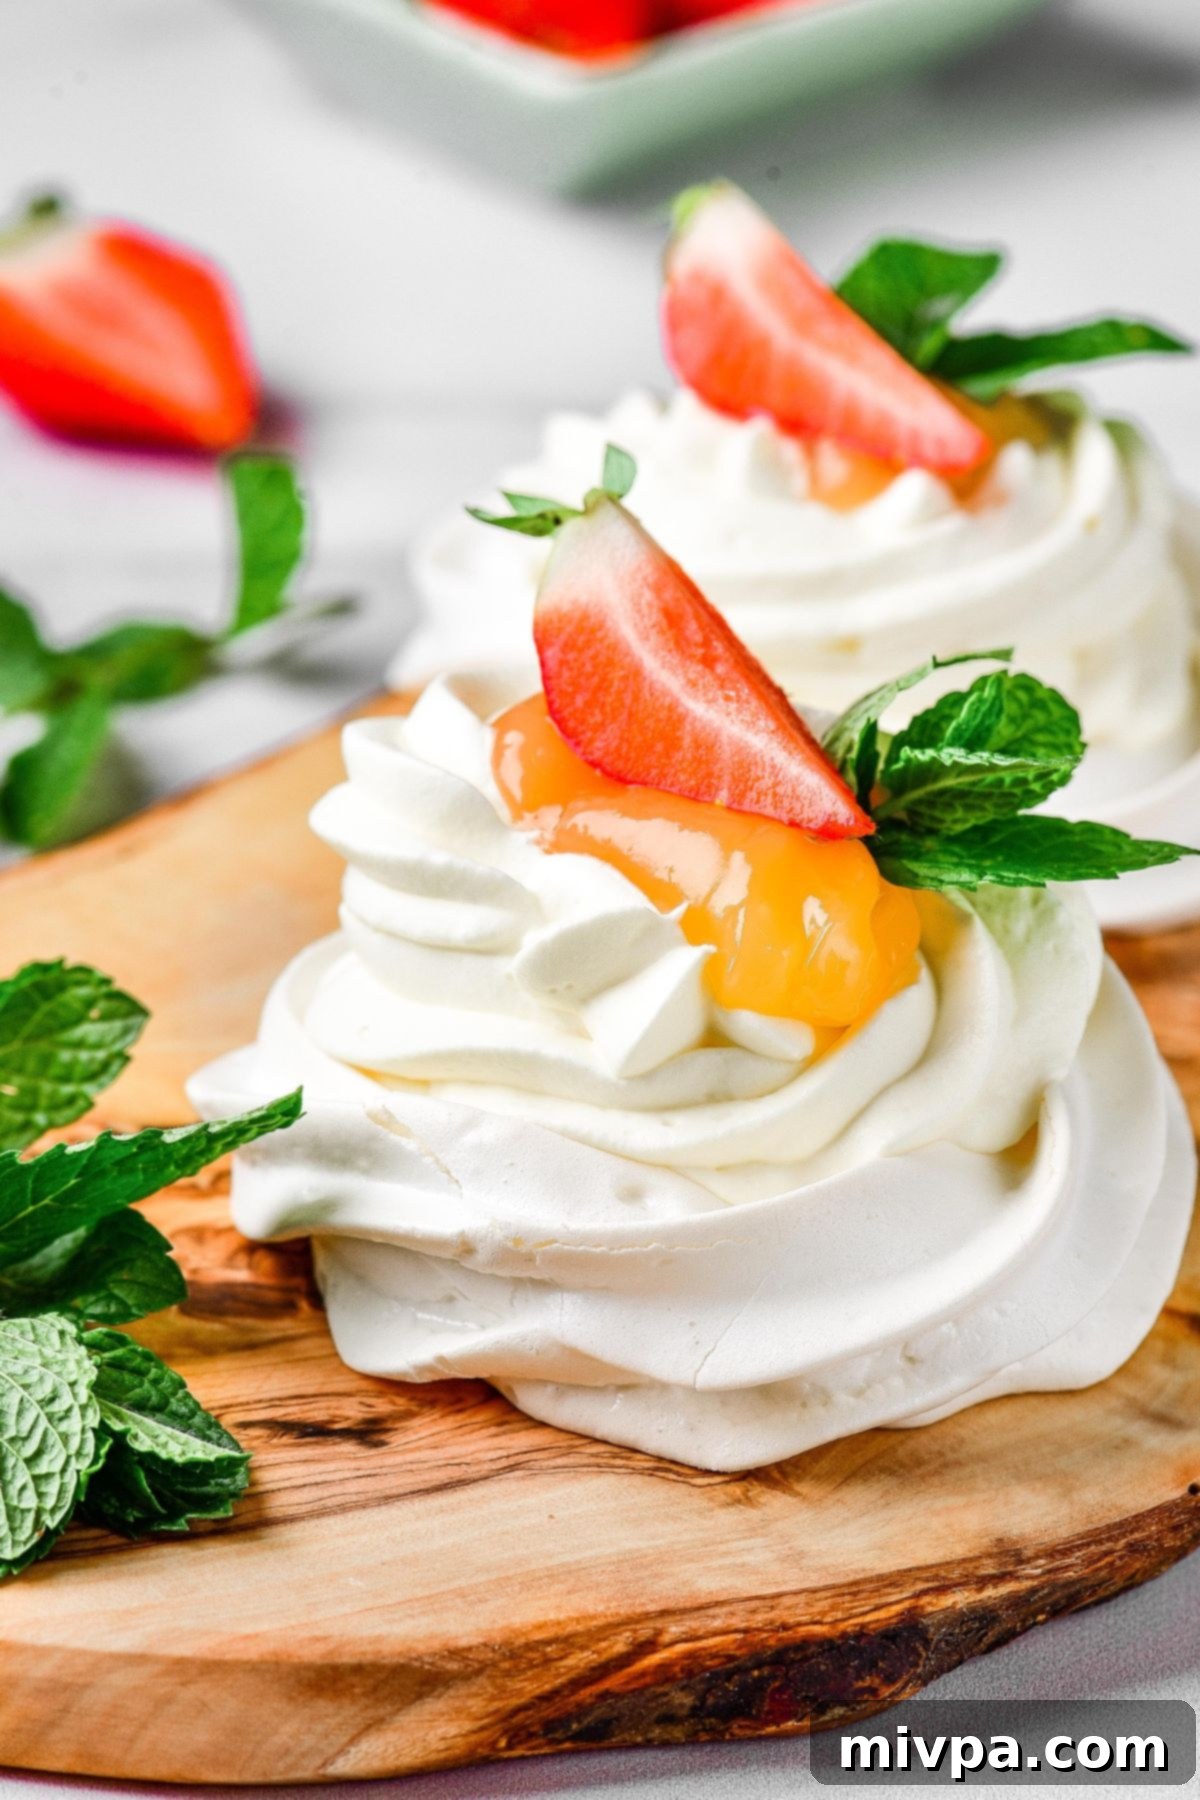
Why This Mini Pavlova Recipe Will Be Your New Favorite:
There are countless reasons why this particular mini pavlova recipe stands out and is sure to become a staple in your dessert repertoire:
- Simple, Accessible Ingredients: You don’t need obscure or hard-to-find components for these delightful mini pavlova nests. The basic ingredients required for this recipe are readily available at any local grocery store. Chances are, you might already have most of them in your pantry and fridge, making this a spontaneous dessert option!
- Effortlessly Easy to Make: Don’t let the elegant appearance fool you; preparing these pavlovas is surprisingly simple. The primary active step involves beating the egg whites into a beautiful meringue, which takes just a few minutes with an electric mixer. After that, your oven takes over, doing the majority of the work by slowly baking the meringues to perfection. Assembling the cooled nests with cream and curd is also a straightforward and enjoyable process.
- Perfectly Gluten-Free & Dairy-Free: This is truly the best part for many! This mini pavlova recipe is meticulously crafted to be 100% gluten-free and completely dairy-free. This means that individuals with Celiac disease, gluten intolerances, or dairy allergies can indulge in these exquisite desserts without any worries or compromise on flavor or texture. It’s an inclusive recipe that everyone at your table can enjoy!
- Stunning Presentation: These individual nests are inherently beautiful. Their crisp, sculpted form, filled with creamy white and bright yellow, and topped with colorful berries, makes for an incredibly appealing dessert that looks like it came from a professional patisserie.
- Light and Refreshing: Unlike heavy cakes or rich chocolate desserts, pavlova offers a refreshingly light and airy finish to any meal, making it especially perfect after a grand holiday feast.
Gathering Your Ingredients: What You’ll Need
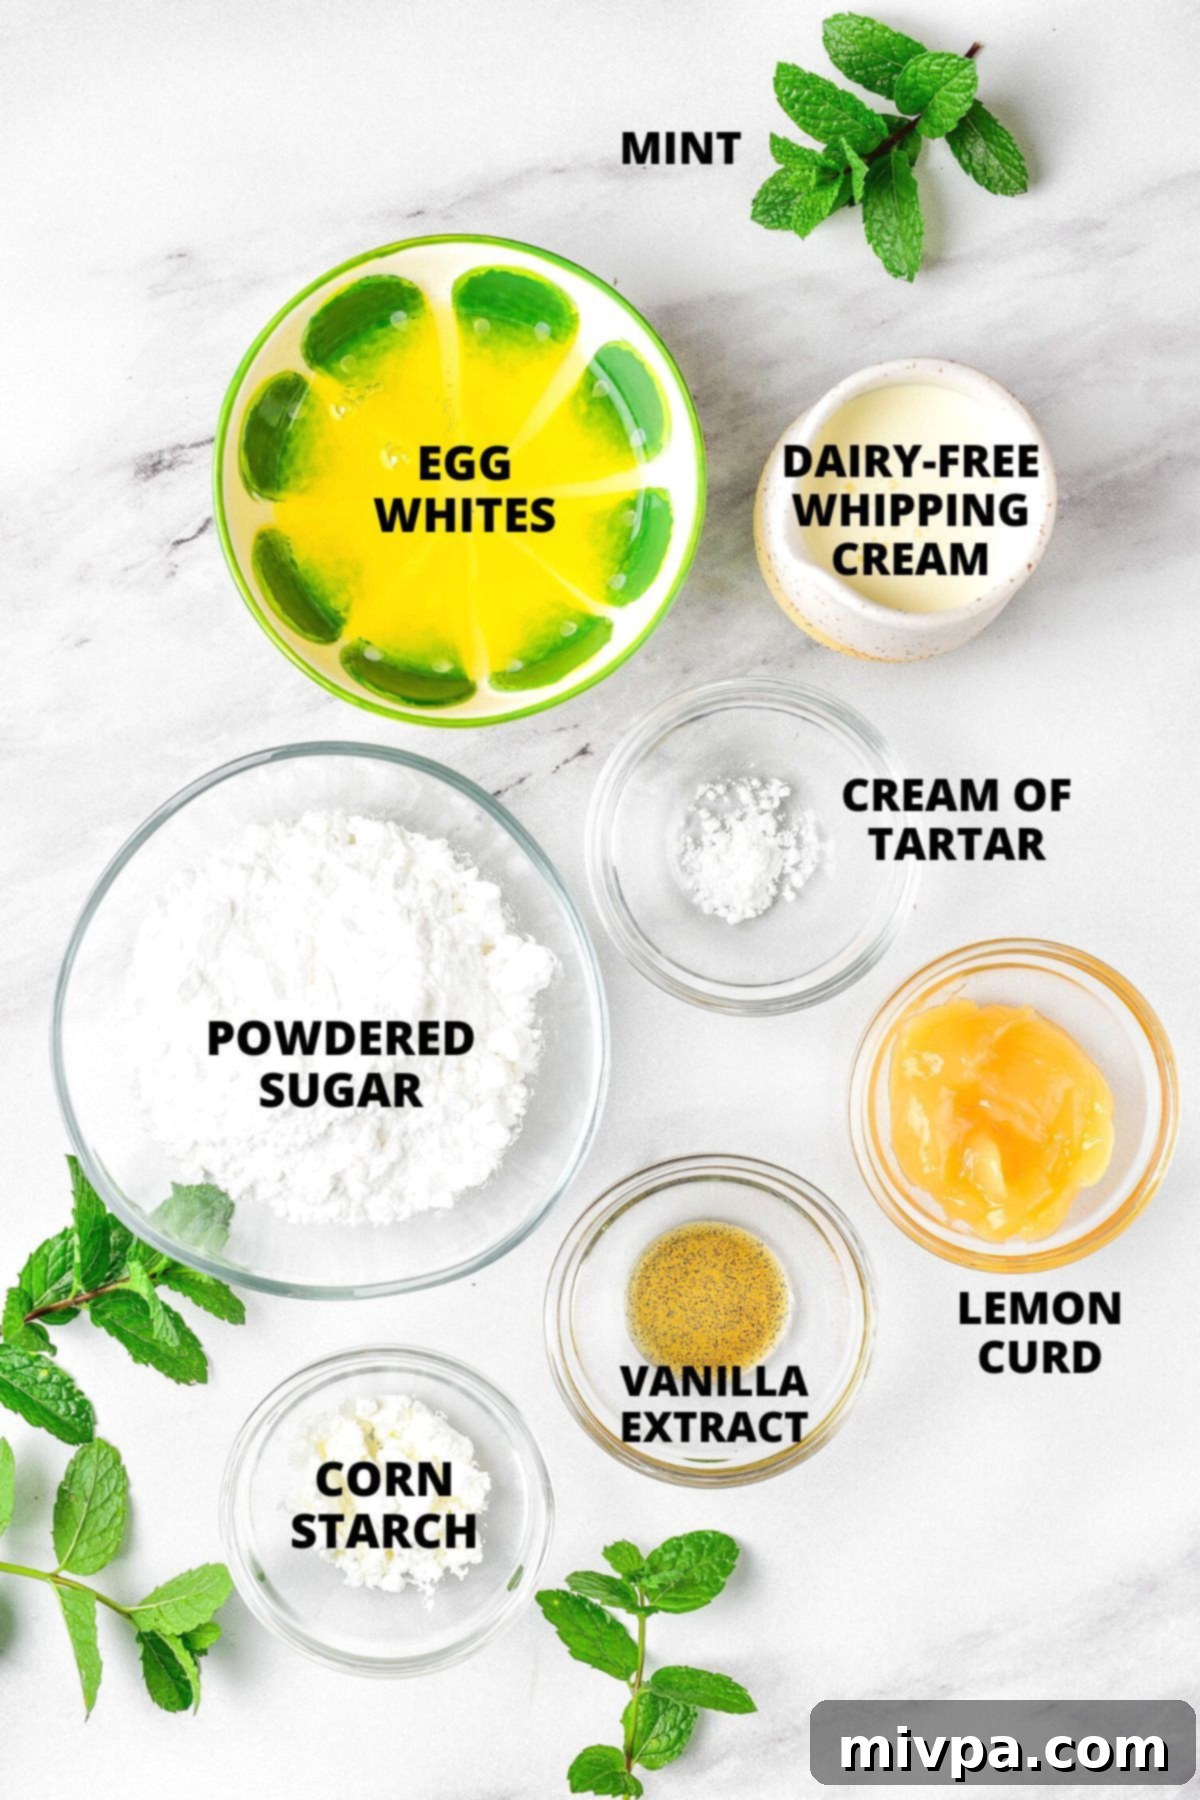
Creating these delightful mini pavlova nests starts with a few basic yet essential ingredients. Here’s a visual overview to help you get started, followed by detailed notes on each component.
(For the precise measurements and a convenient printable version, please scroll down to the recipe card at the very bottom of this post.)
Recipe Notes & Essential Substitutions for Perfect Pavlovas
Understanding the role of each ingredient will help you achieve pavlova perfection and navigate any necessary substitutions:
- Egg Whites: These are the absolute foundation of pavlova. As a meringue-based dessert, the structure and airiness come entirely from properly whipped egg whites. For this reason, I strongly advise against substituting egg whites with anything else. Fresh, room-temperature egg whites whip up best. Don’t discard those leftover egg yolks – they’re perfect for making a rich, creamy lemon curd!
- Cream of Tartar: This acidic ingredient is crucial for stabilizing the egg whites. It helps them reach their maximum volume, hold air and water effectively, and achieve those characteristic high, stiff peaks essential for a stable meringue. If you don’t have cream of tartar, an equal 1:1 substitution with fresh lemon juice or white vinegar will work perfectly, as they provide similar acidic properties.
- Sugar: I highly recommend using superfine caster sugar. Its fine granules dissolve much more readily into the egg whites as they are whipped, ensuring a smooth, stable, and glossy meringue without a grainy texture. If you only have regular caster sugar, you can easily process it in a food processor for a few seconds until it’s super fine. For those managing blood sugar, powdered monkfruit sweetener is an excellent 1:1 sugar alternative with a zero glycemic index.
- Cornstarch: This is the secret ingredient that transforms a simple meringue into a pavlova! Cornstarch acts as a thickening and stabilizing agent, helping to create that unique soft, marshmallowy interior while maintaining a crisp exterior. If cornstarch is unavailable, tapioca starch or arrowroot starch can be used as direct substitutes.
- Whipping Cream: For perfect whipped cream, ensure your dairy-free whipping cream (or regular whipping cream if not dairy-free) is very cold before you begin whipping. Cold cream whips up faster and achieves a much firmer, more stable consistency. Using a high-quality dairy-free alternative ensures this recipe remains completely dairy-free.
- Vanilla Extract: A touch of vanilla extract adds a wonderful depth of flavor to the whipped cream. While optional, it enhances the overall sweetness and aroma. If you prefer, or don’t have it on hand, you can omit it.
- Lemon Curd: The bright, tangy flavor of lemon curd perfectly complements the sweet pavlova and cream. You can opt for a high-quality store-bought lemon curd for convenience, or easily make your own with my simple homemade lemon curd recipe. Alternatively, passionfruit curd or a berry compote would also be delicious!
- Garnishing: This is where you can let your creativity shine! Feel free to decorate your mini pavlova nests with an array of fresh ingredients. Popular choices include mixed fresh berries (blueberries, raspberries, strawberries, blackberries), fresh mint leaves, toasted almond flakes, a dusting of powdered sugar, or a drizzle of maple syrup or a fruit coulis.
How to Craft Your Gluten-Free Mini Pavlova Nests (Step-by-Step Guide):
Follow these detailed steps to create perfectly crispy yet tender pavlova nests:
1. Preheat Oven and Prepare Baking Sheet
Begin by preheating your oven to 260°F (125°C). Line a large baking sheet with a silicone mat or parchment paper. If using parchment paper, you can draw 4-inch circles as guides for piping.
2. Beat Egg Whites with Cream of Tartar
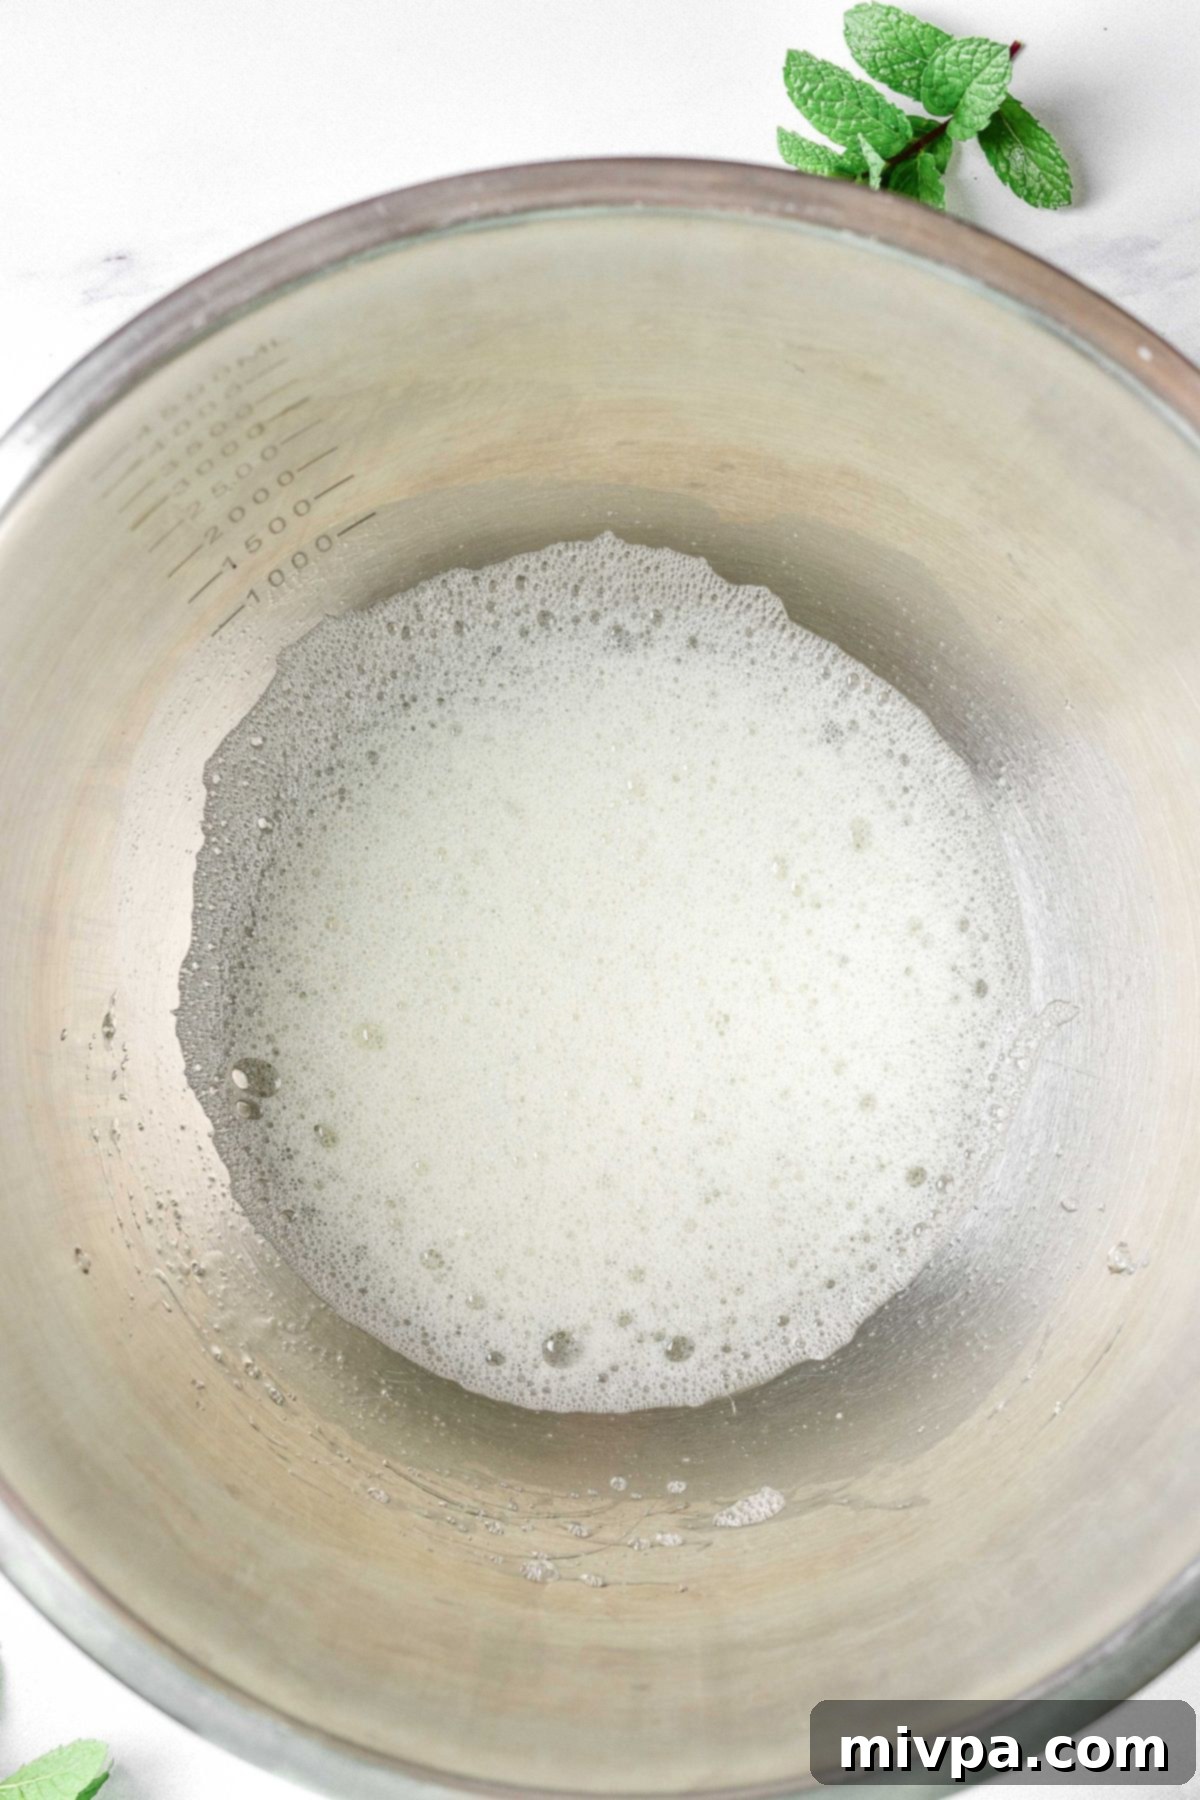
Pour the egg whites into a large, very clean mixing bowl (ensure no grease or yolk is present, as this can prevent the whites from whipping). Add the cream of tartar. Begin whisking with an electric mixer on medium speed until the egg whites become frothy and a light foam appears on the surface. This is the first stage towards building volume.
3. Gradually Add Sugar and Cornstarch
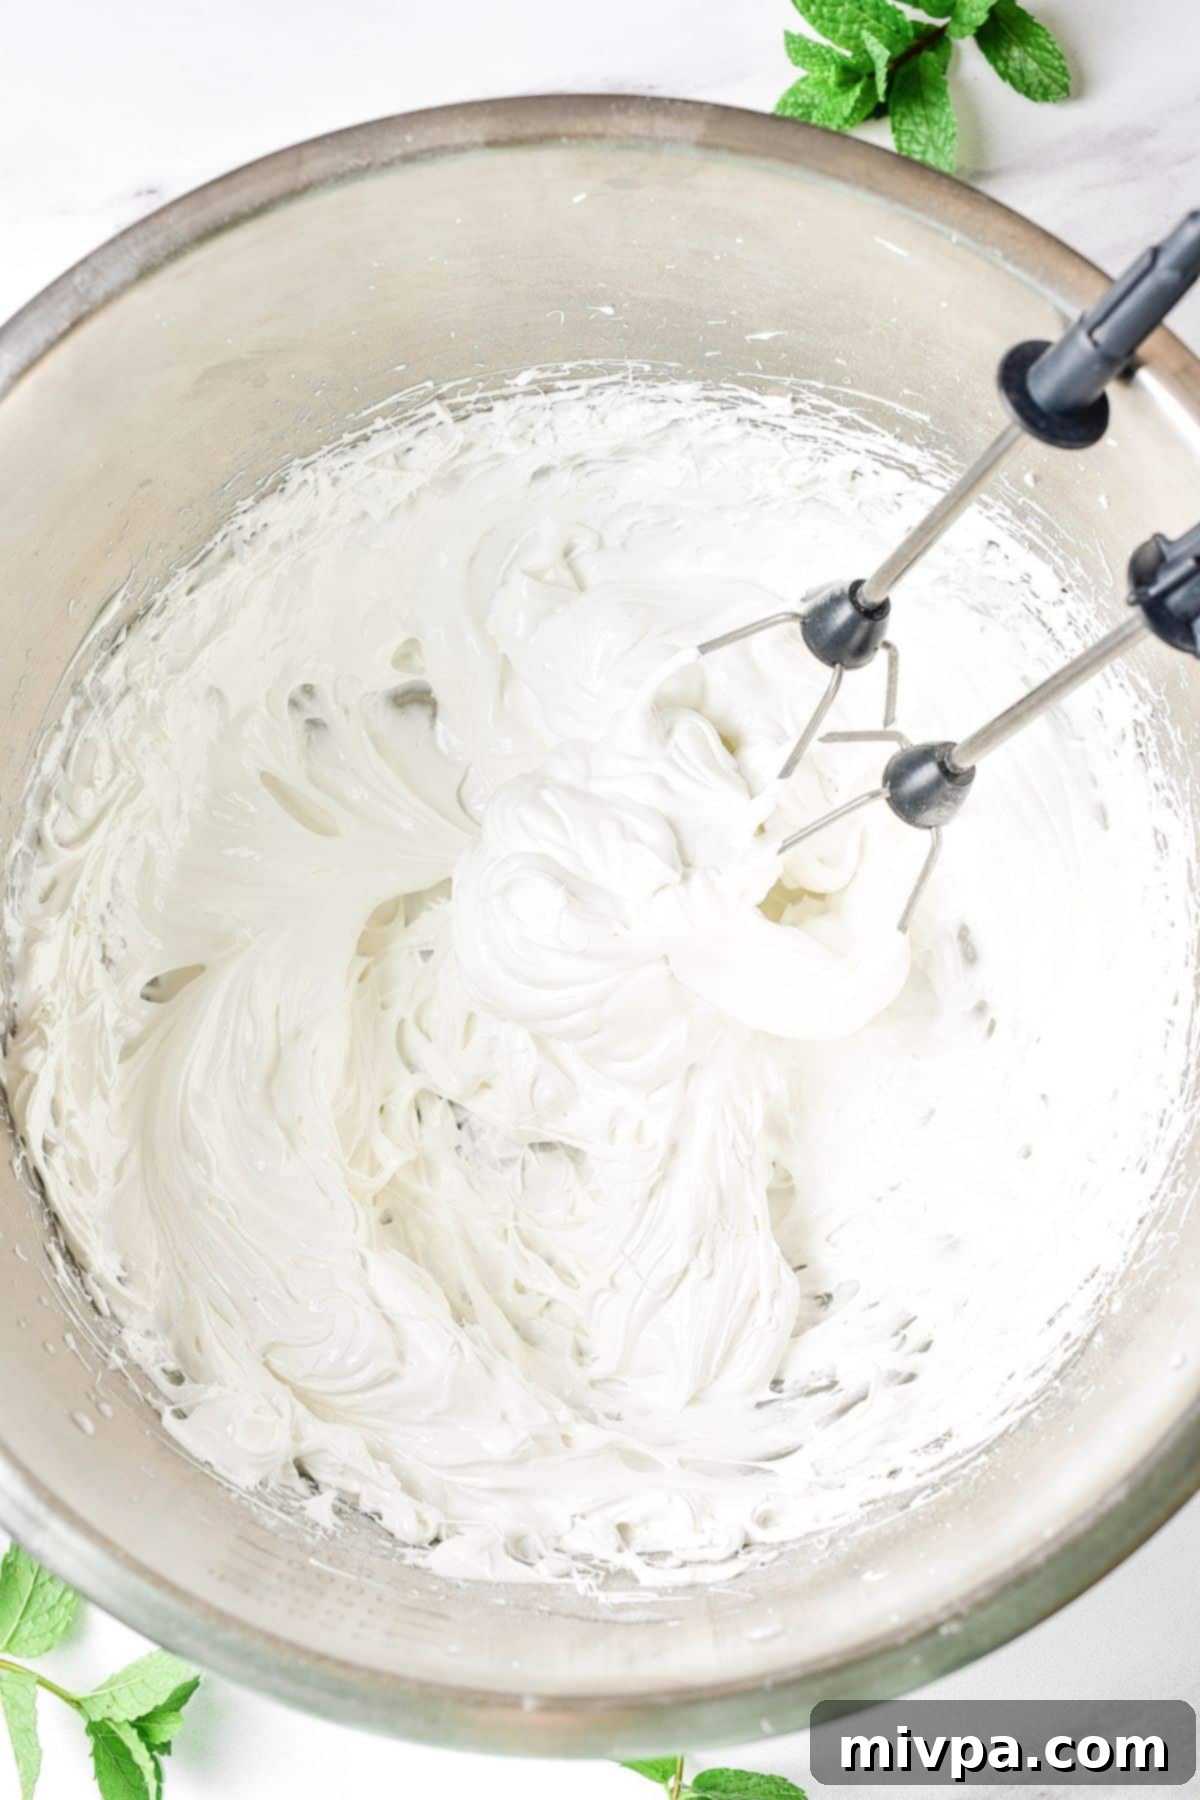
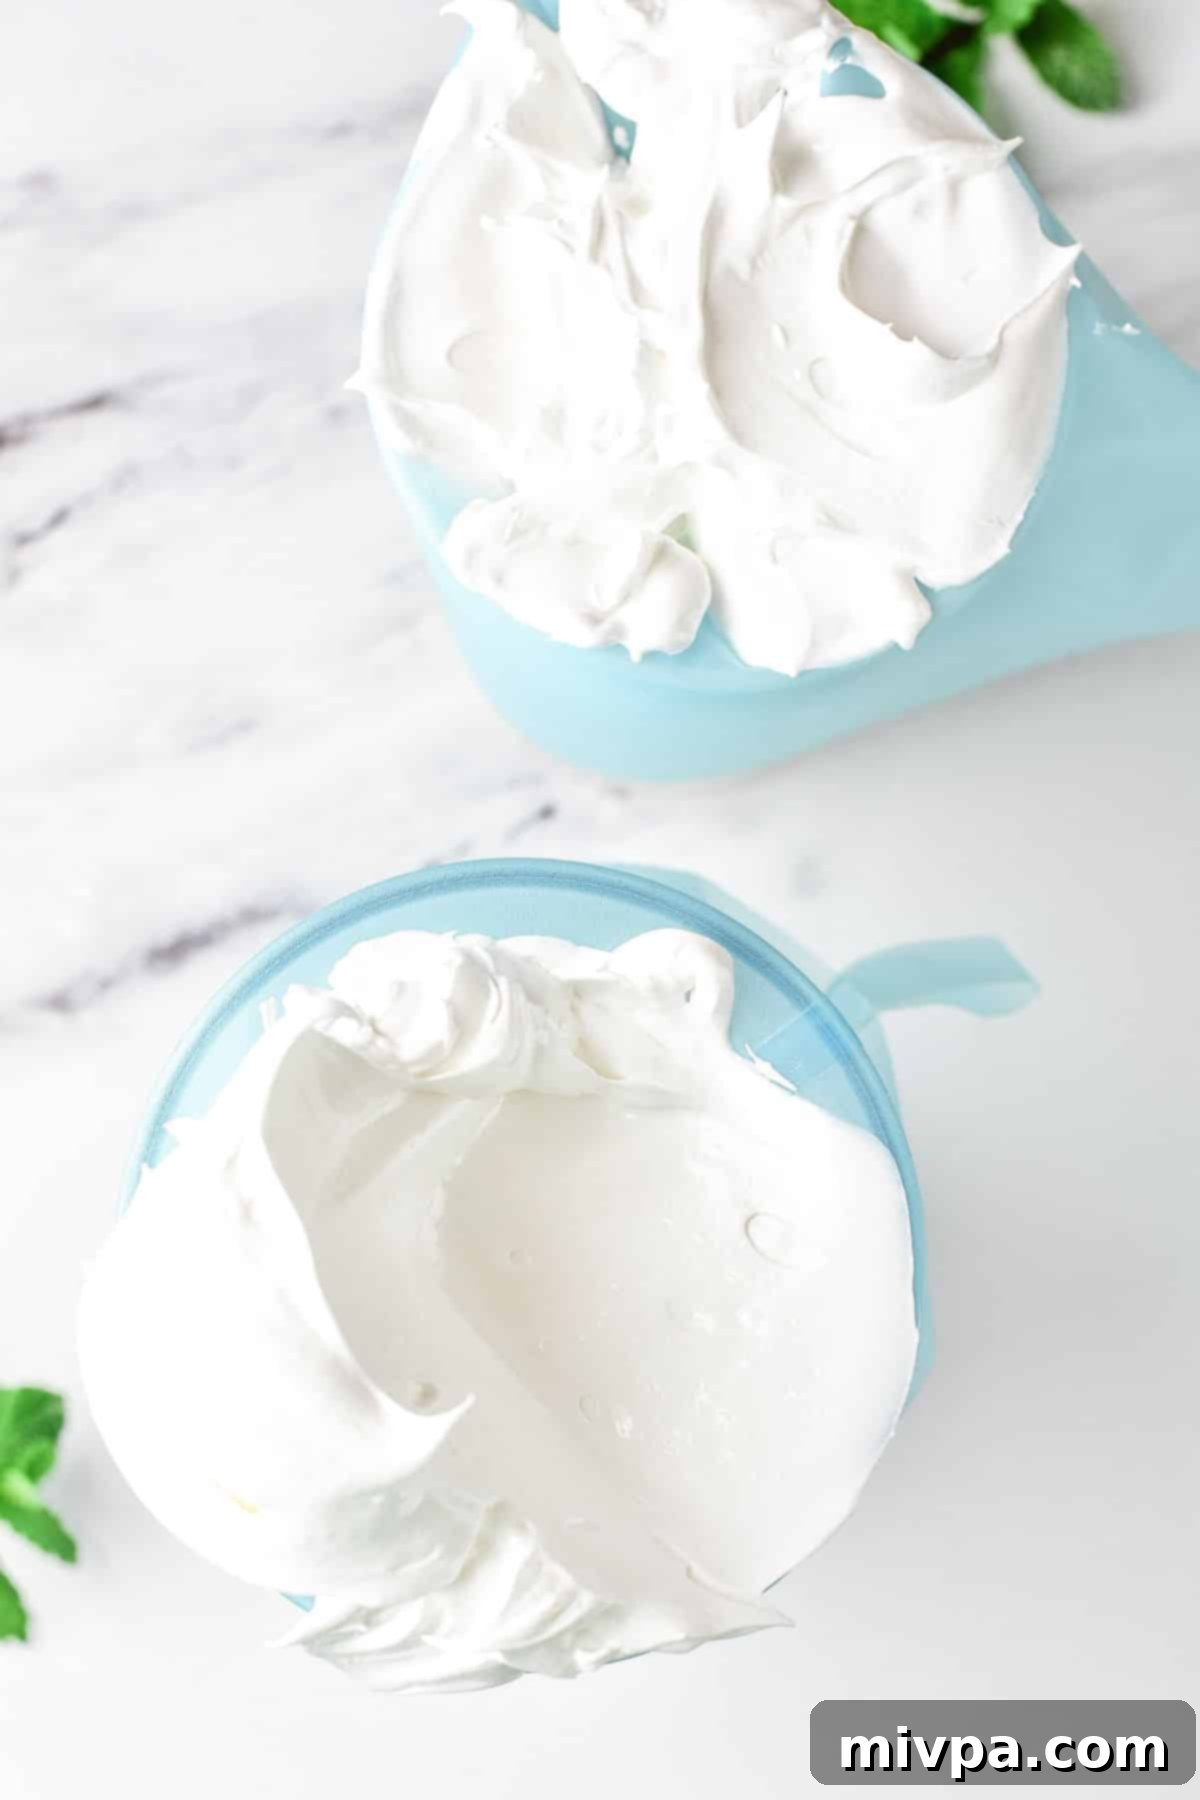
With the mixer still running on medium-high speed, gradually add the superfine caster sugar, one tablespoon at a time. Continue beating until the mixture is glossy, white, and forms fluffy, soft peaks. The sugar should be completely dissolved; rub a small amount between your fingers to check for grittiness. Once soft peaks are achieved, gently fold in the cornstarch until just combined. Be careful not to overmix at this stage, as it can deflate the meringue.
4. Transfer Meringue Mixture to Piping Bag
Carefully transfer the stiff, glossy meringue mixture into a piping bag fitted with your preferred star nozzle. This will give your nests a beautiful, textured finish. If you don’t have a piping bag, you can use a spoon to dollop the meringue and create indentations with the back of the spoon.
5. Pipe Meringue to Form Nests
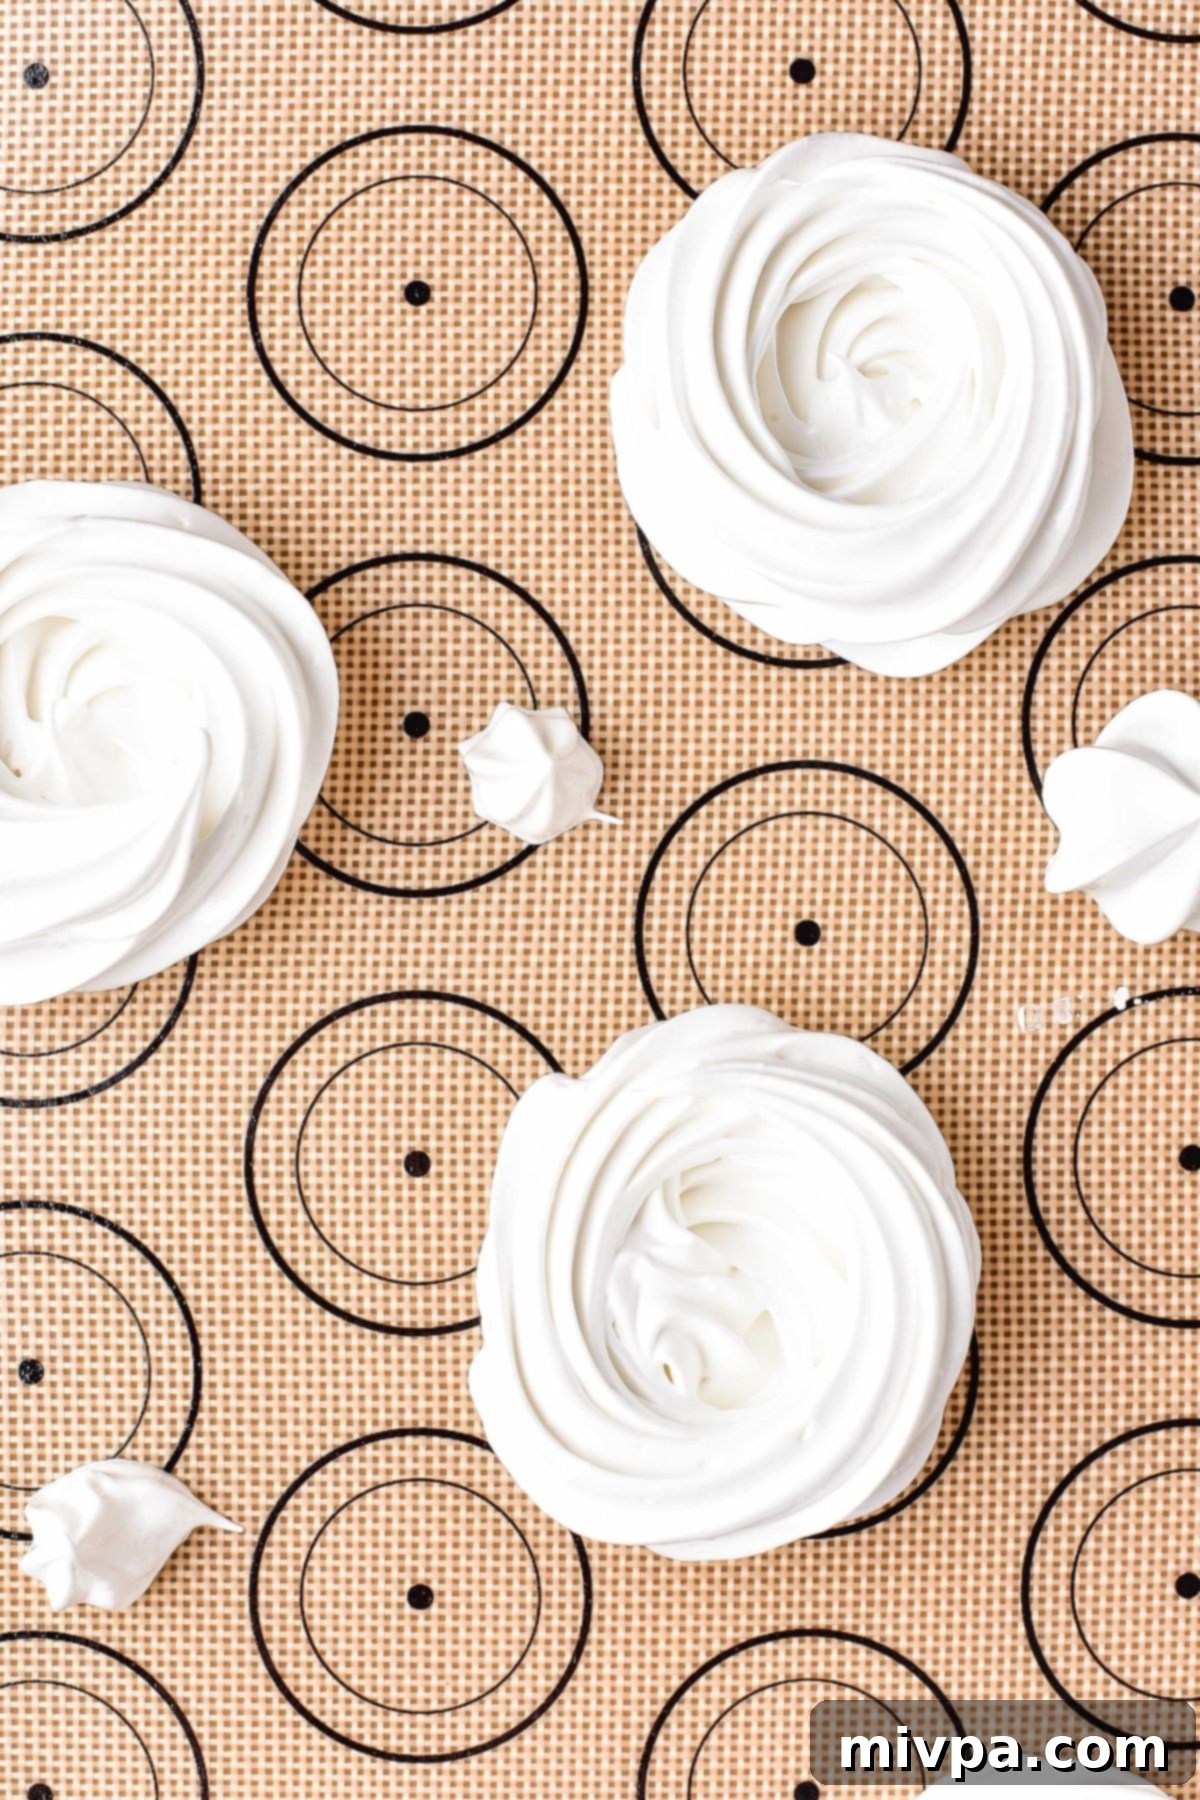
Pipe the pavlova mixture onto the prepared silicone mat (or parchment paper). Start by piping a solid 4-inch circular base, then pipe 2-3 concentric turns on top of the edge to form the “walls” of your pavlova nests. Ensure there is adequate space between each nest, as they will expand slightly during baking. Depending on the desired size, you should yield approximately 2 to 4 mini nests from this recipe.
Alternatively, if you prefer not to use a piping bag, you can simply spoon mounds of meringue onto the baking sheet and use the back of a spoon to create an indentation in the center, forming a rustic nest shape. This method is just as effective and yields equally delicious results.
6. Bake and Cool to Perfection
Carefully transfer the baking sheet to your preheated oven. Bake the mini pavlovas for 10 minutes at 260°F (125°C). After this initial period, reduce the oven temperature to 180°F (80°C) and continue baking for another 30 minutes. This two-stage baking process ensures a crisp exterior while allowing the interior to remain soft and chewy.
Once the baking time is complete, turn off the oven but leave the pavlovas inside with the oven door ajar for at least 20 minutes (or even longer, up to an hour) to cool down slowly. This gradual cooling prevents cracking and helps maintain their delicate structure. The pavlovas should feel firm and dry to the touch once fully cooled.
7. Prepare the Delicious Cream Filling
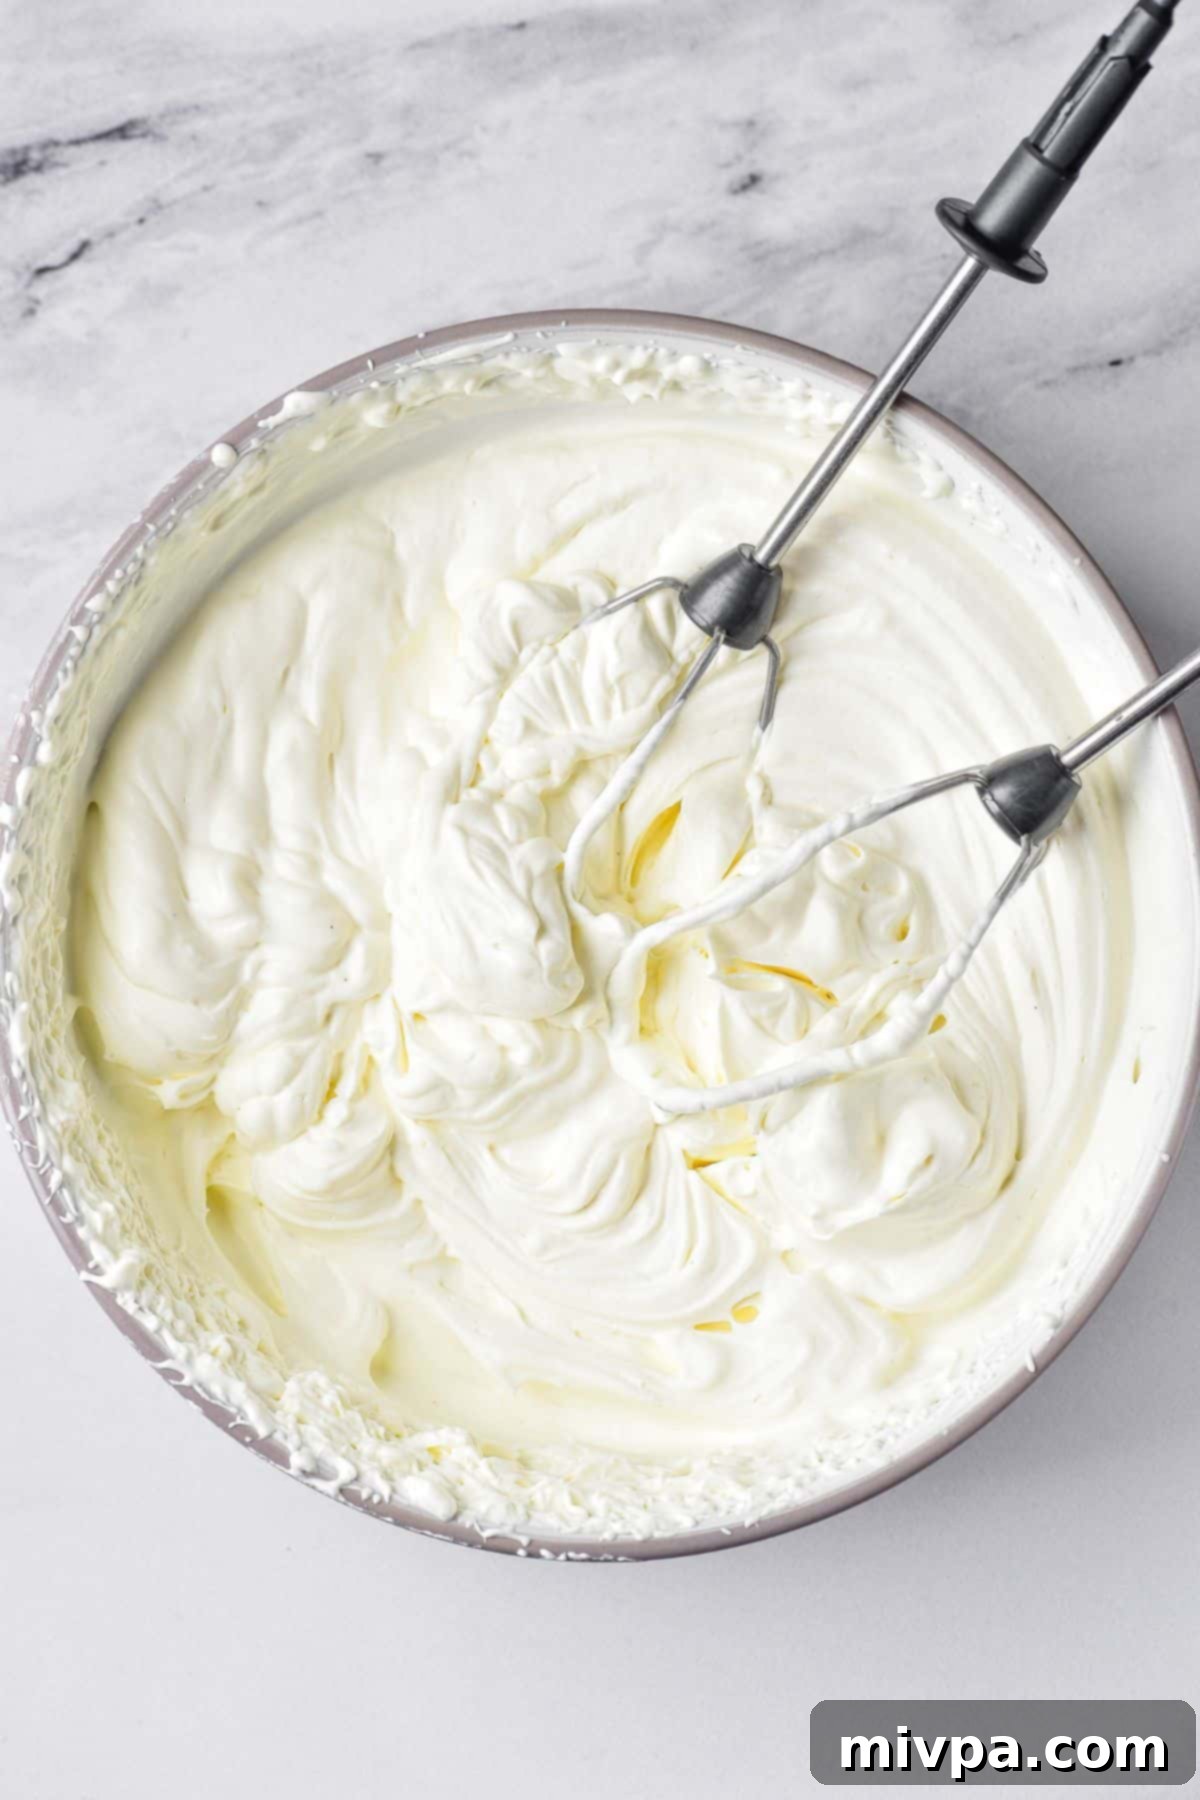
While your pavlovas are cooling, prepare the filling. Pour the very cold dairy-free whipping cream into a large bowl. Add the powdered sugar and vanilla extract. Using a hand mixer, whip the cream on high speed until it becomes fluffy and stiff peaks form. Stiff peaks mean that when you lift the beaters, the cream stands up firmly without collapsing.
(Important Tip: Be mindful not to over-whip the cream, as it can quickly turn grainy. The exact whipping time can vary depending on the power of your mixer, usually taking between 2 to 4 minutes. Keep a close eye on it!)
8. Transfer Whipped Cream to Piping Bag
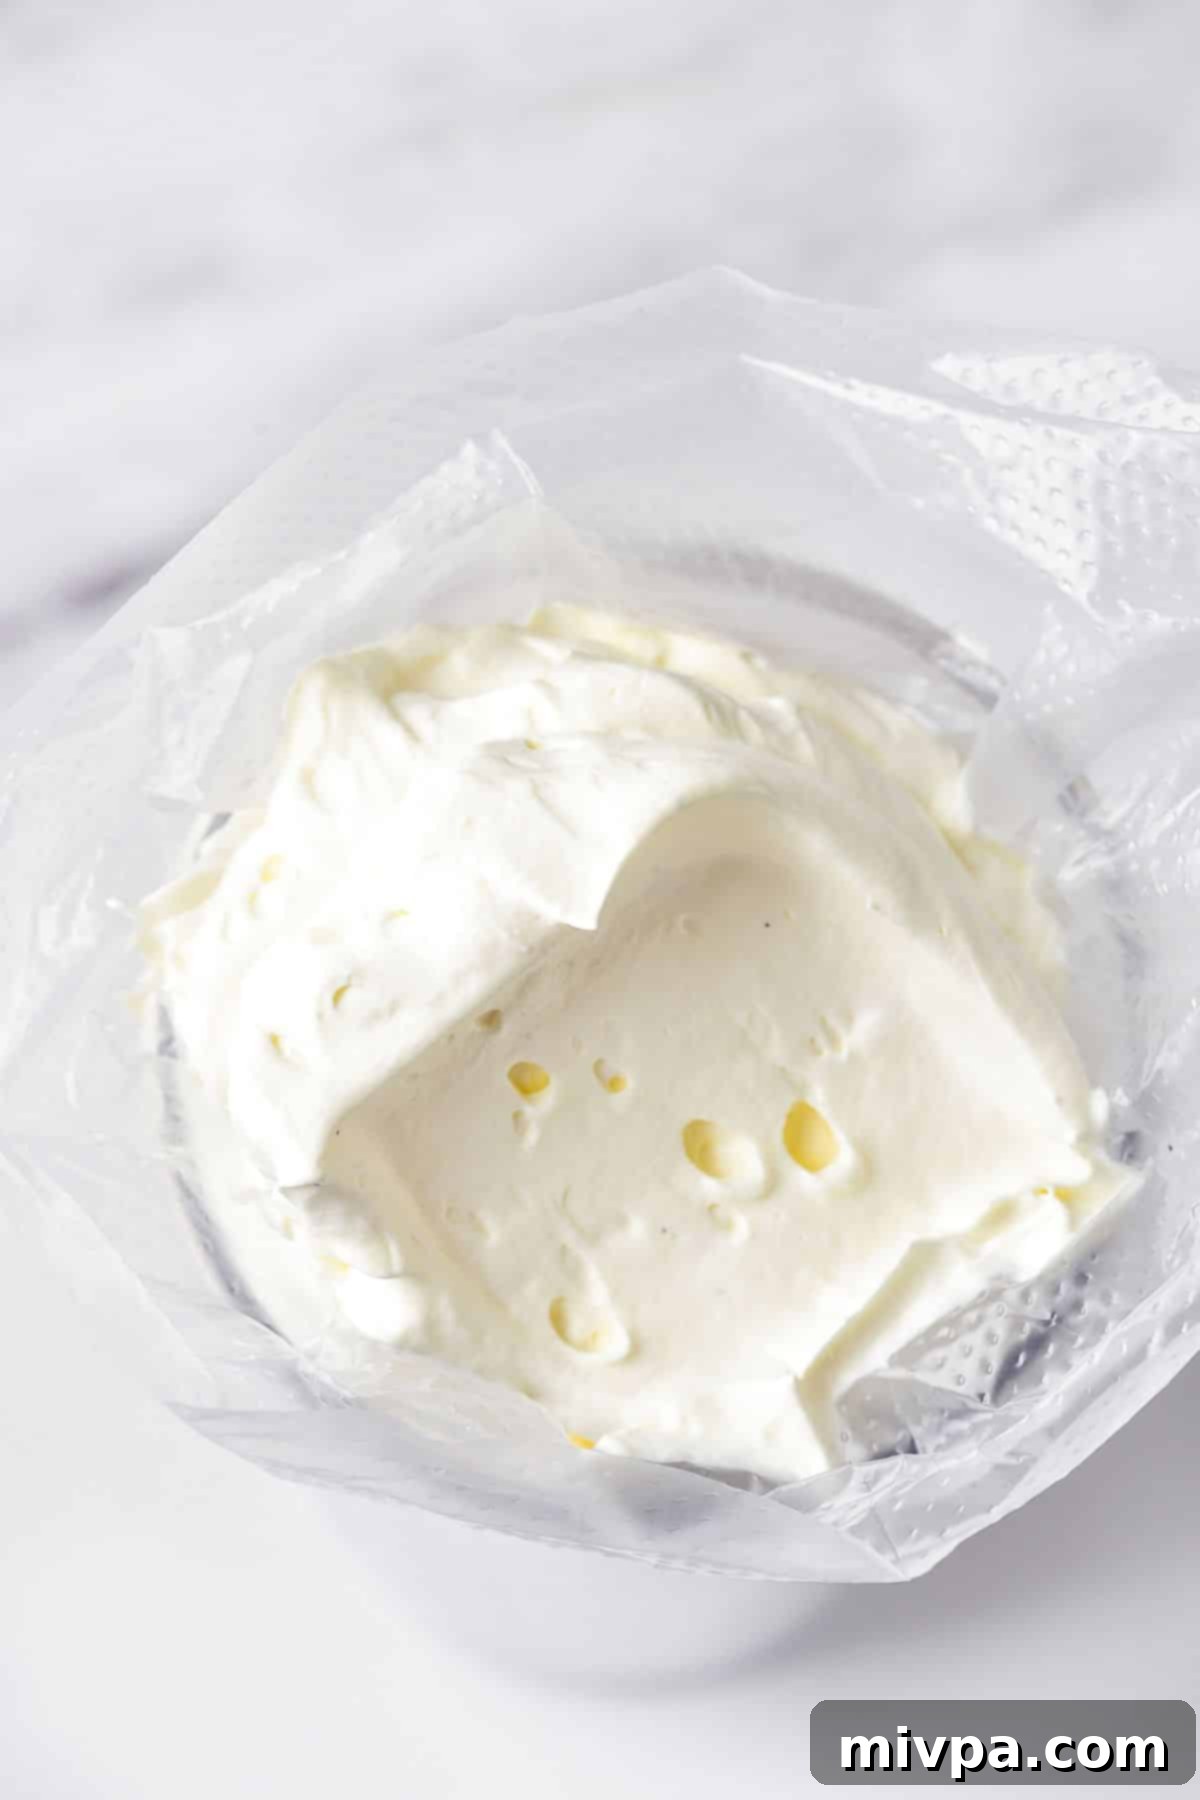
Once your whipped cream is perfectly fluffy and firm, transfer it to another piping bag, again fitted with a star nozzle (or any decorative nozzle you prefer). This allows for neat and beautiful filling of the pavlova nests.
9. Fill and Assemble Your Pavlova Nests
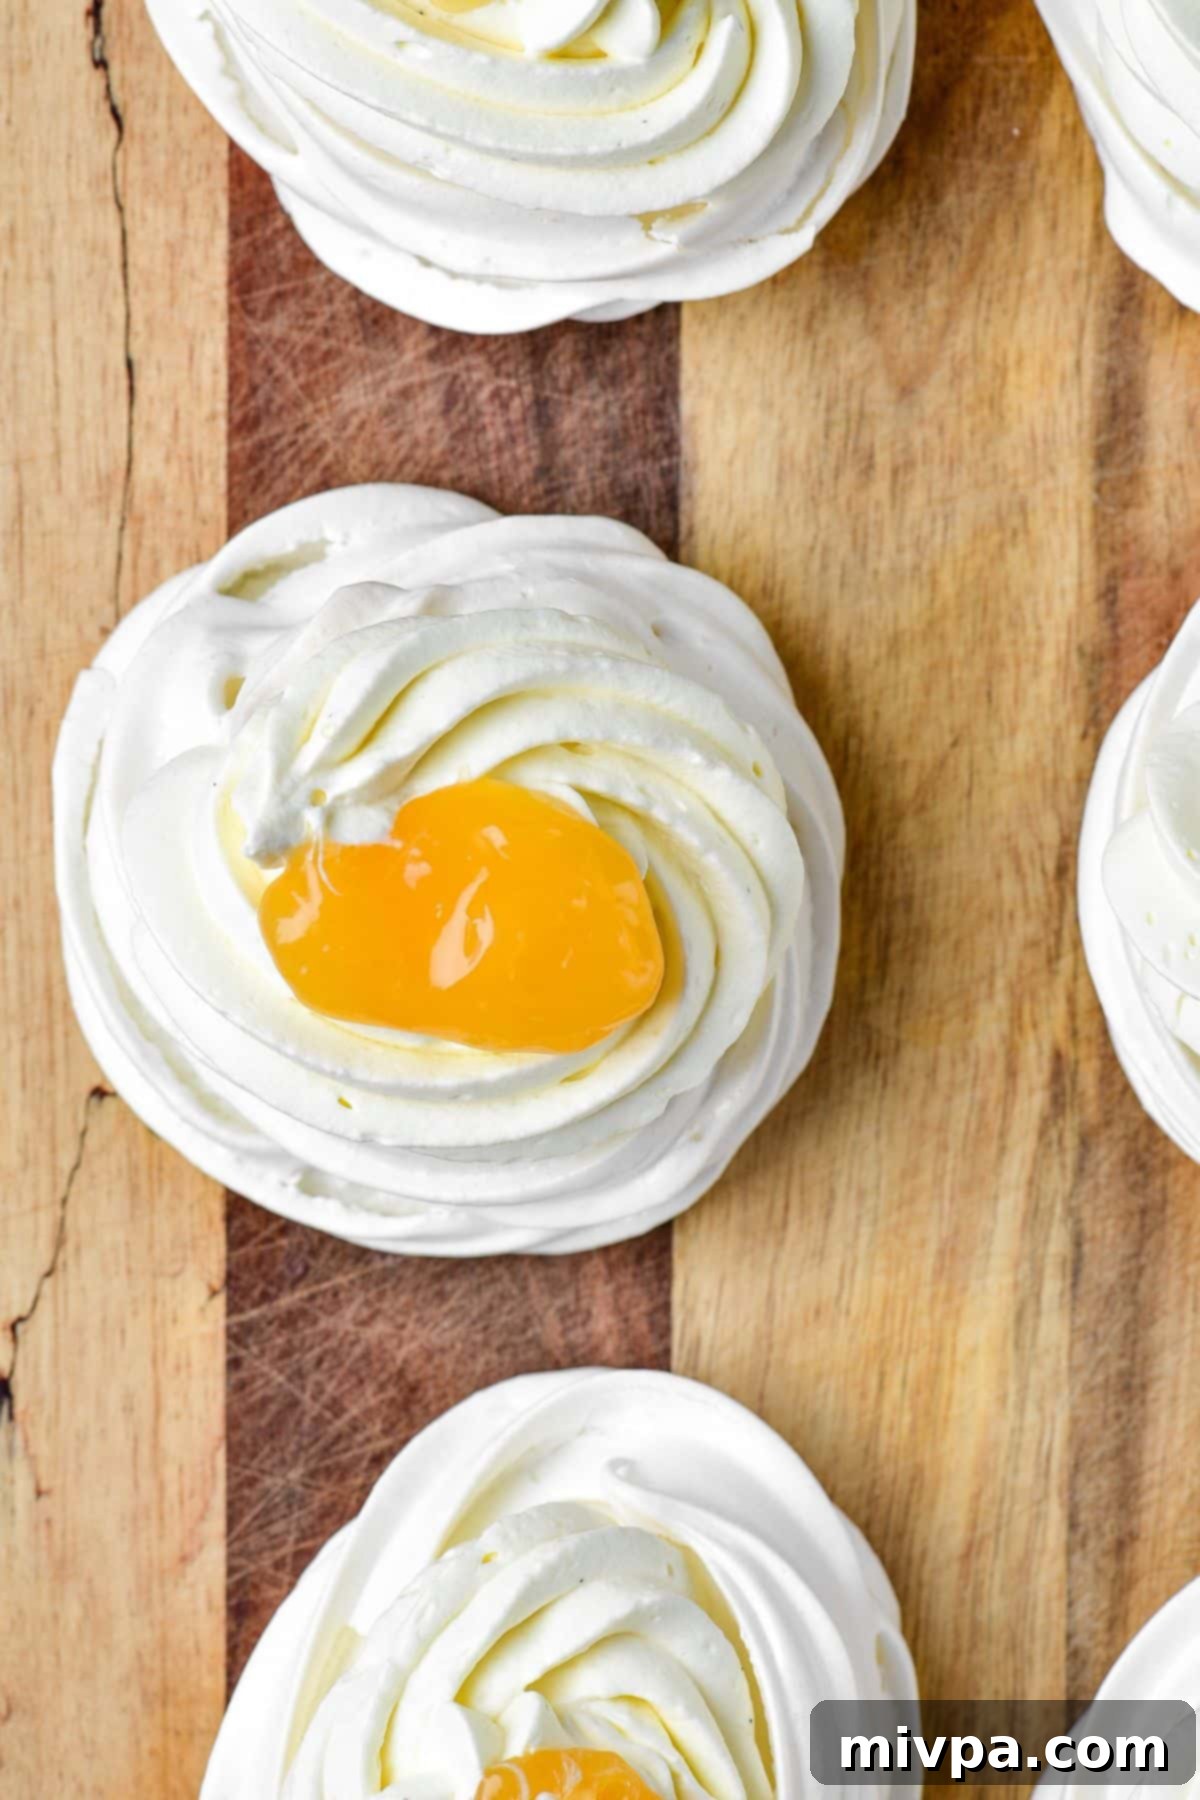
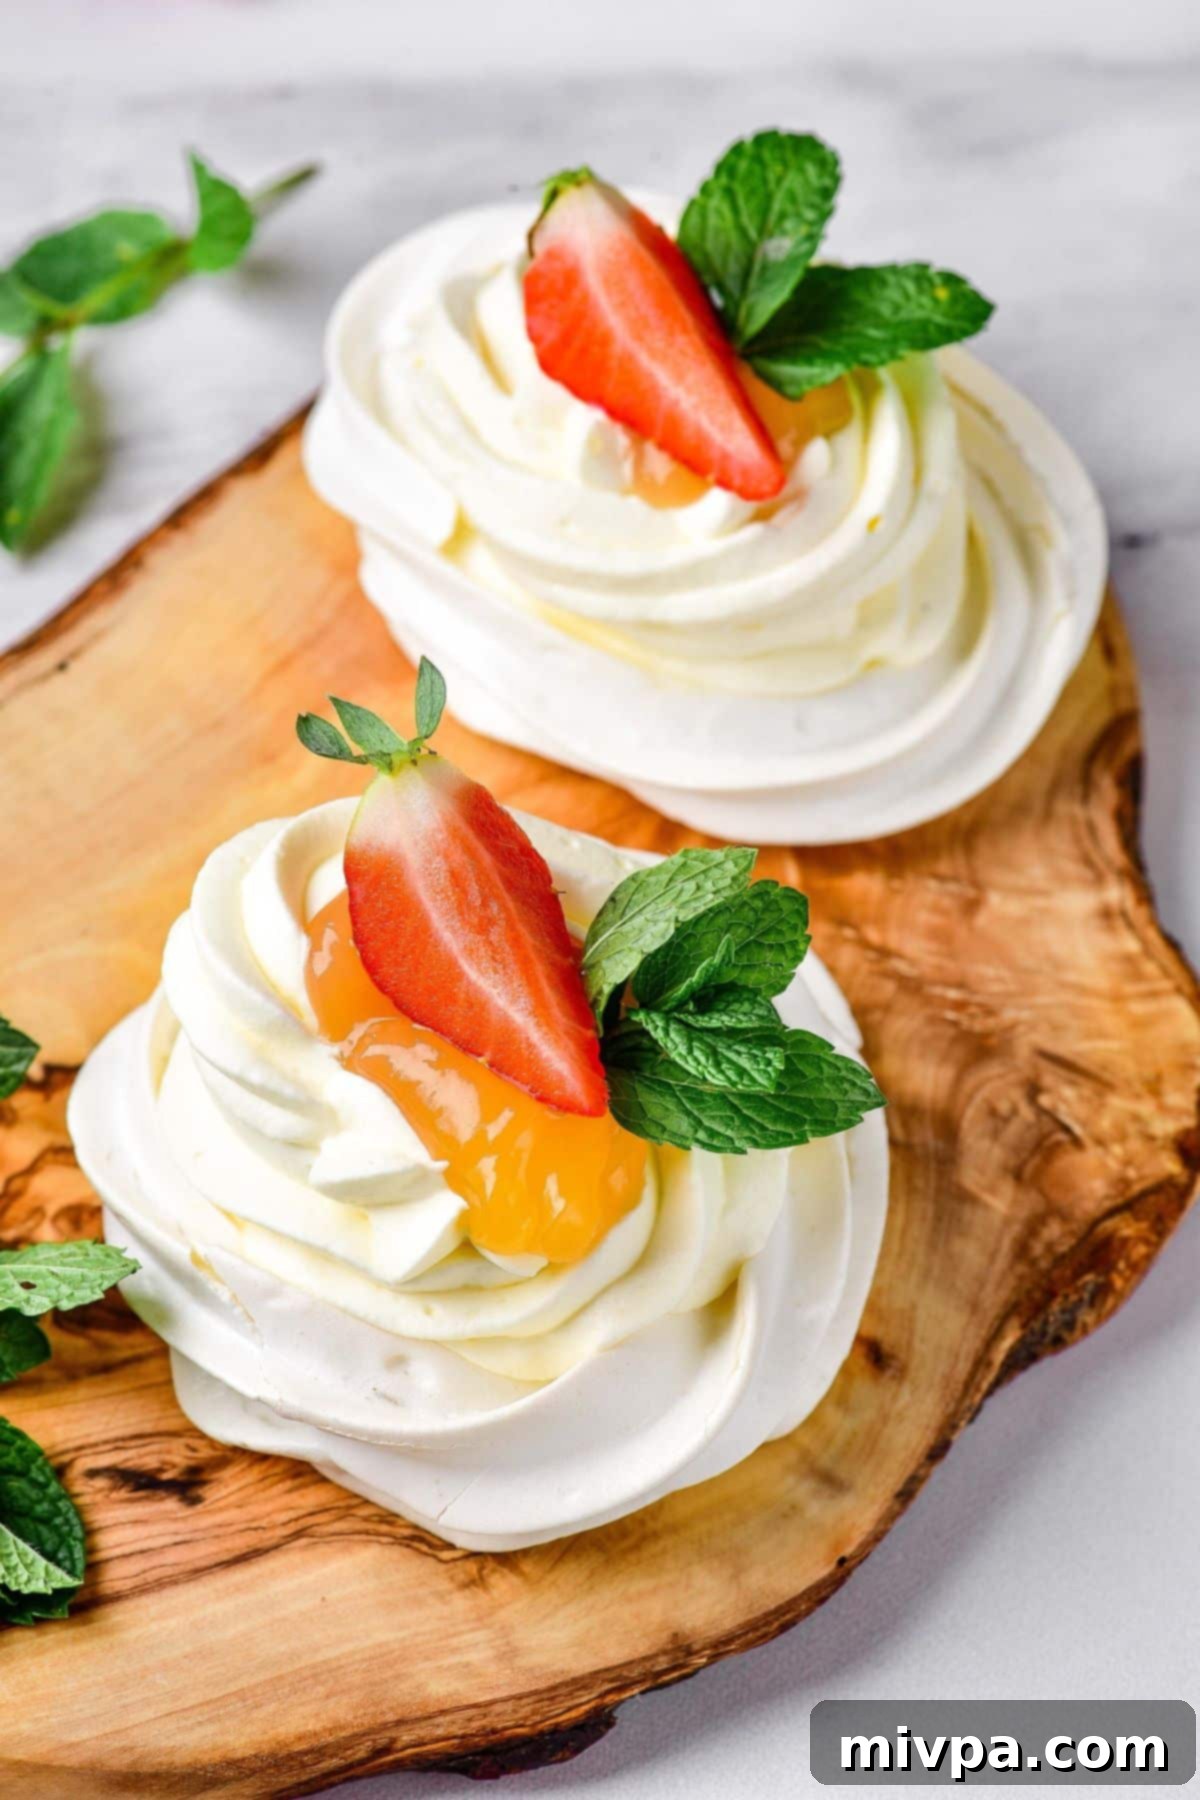
Now for the fun part – assembly! Take your cooled, crisp gluten-free pavlova nests. Generously pipe or spoon the fresh whipped cream into the hollow center of each nest. Then, add a dollop of tangy lemon curd on top of the cream. Finally, garnish these delicious mini meringue nests with vibrant fresh berries and a few delicate mint leaves for a pop of color and freshness. Serve immediately and enjoy the delightful crunch and creamy sweetness!
Dish by Dish Tips & Tricks for Pavlova Perfection:
- Scaling Up to One Large Pavlova: If you prefer to create a single, grand pavlova instead of individual nests, simply pipe all the meringue mixture into one large circular base on your prepared baking sheet. Create a slight depression in the center for your filling. When baking a large pavlova, you’ll need to increase the baking time. After the initial 10 minutes at 260°F (125°C), reduce the heat to 180°F (80°C) and bake for at least 50-60 minutes longer, then let it cool completely in the oven with the door open.
- Endless Garnishing Possibilities: Get creative with your toppings! Beyond fresh berries (such as juicy blueberries, tart raspberries, succulent blackberries, or sliced strawberries) and fragrant mint, consider adding toasted almond flakes, a light dusting of powdered sugar, a vibrant strawberry sauce, or a decadent drizzle of maple syrup. The possibilities are truly endless to match your taste and the occasion.
- Serve Immediately for Best Texture: For the ultimate experience, these mini gluten-free pavlova nests are best enjoyed immediately after assembly. The contrast of the crisp meringue, soft cream, and fresh toppings is at its peak. While you can store unfilled pavlova shells (see FAQs), once filled, the meringue can start to soften.
Frequently Asked Questions About Mini Pavlova Nests:
The primary difference lies in the addition of cornstarch (or sometimes vinegar) to pavlova recipes. While standard meringues are typically just egg whites and sugar, this added ingredient in pavlova helps create a distinct crispy crust with a wonderfully soft, marshmallowy, and chewy interior. Meringues tend to be crisp throughout due to longer baking times, whereas pavlova aims for that delightful textural contrast.
For the absolute best results, pavlova nests are best enjoyed fresh. However, if you need to prepare ahead, you can bake the meringue shells in advance. Once completely cooled, store the unfilled pavlova shells in an airtight container at room temperature for up to 2-3 days. Avoid refrigerating the unfilled shells, as humidity can make them sticky. Only assemble and fill the pavlova nests a maximum of a few hours before serving. Once filled, they should be stored loosely covered in the refrigerator and consumed within a few hours to maintain their texture. Prolonged refrigeration will cause the meringue to soften and lose its crispness.
Cracking is a common issue with pavlovas, often caused by rapid temperature changes. To minimize cracking, ensure you follow the slow cooling process outlined in the recipe: turn off the oven and leave the pavlovas inside with the door ajar for at least 20-30 minutes, or even longer, until the oven has significantly cooled down. Also, ensure your meringue is whipped to firm, glossy peaks. Over-beating can sometimes incorporate too much air, making them more fragile.
More Sweet Treats for Your Special Occasions:
- Coconut Panna Cotta (Gluten-Free, Vegan)
- Easy Lemon Bars (Gluten-Free, Dairy-Free)
- Lemon Madeleines (Gluten-Free, Dairy-Free)
Explore More Gluten-Free Dessert Recipes:
- Gluten-Free Pumpkin Banana Muffins (Dairy-Free)
- 126 Gluten-Free Desserts and Sweet Treats for Labor Day
- Mini Pumpkin Cheesecakes (Gluten-Free, Dairy-Free Option)
- Gluten-Free Pecan Pie Bars (Dairy-Free)
P.S. We hope you enjoy making these delightful Mini Pavlova Nests! If you try this recipe, we’d love for you to leave a star rating below, and/or a review in the comment section further down the page. Your feedback is always greatly appreciated! Be sure to explore our entire Recipe Index for all the delicious recipes on the blog. You can also follow us on Pinterest, Facebook, or Instagram for daily inspiration! Sign up for our Email List to get fresh recipes delivered straight to your inbox each week!
Print
Mini Pavlova Nests (Gluten-Free, Dairy-Free)
5 Stars 4 Stars 3 Stars 2 Stars 1 Star
5 from 1 review
Author: Felicia Lim
Total Time: 1 hour 10 minutes
Yield: 4
Diet: Gluten Free
Description
Crispy on the outside, soft and pillowy inside, these mini pavlova nests are filled with sweet cream and lemon curd, and topped with fresh strawberries and mint leaves. This gluten-free pavlova recipe is easier to prepare than it looks, and makes the perfect holiday dessert for Thanksgiving, Christmas, Easter or whenever you want something sweet. Totally dairy-free too.
Ingredients
Scale
For the Gluten-Free Pavlova Meringue:
- 2 egg whites
- 1/8 teaspoon cream of tartar
- 6 tablespoon superfine caster sugar
- 1 teaspoon cornstarch
For the Filling:
- 2/3 cup dairy-free whipping cream (very cold)
- 3 tablespoons superfine caster sugar
- 1 teaspoon vanilla extract
For Garnishing:
- 2 tablespoons lemon curd
- Fresh berries and mint leaves
Instructions
- Preheat: Preheat the oven to 260F (125C).
- Beat Egg Whites with Cream of Tartar: Pour the egg whites into the bowl, add cream of tartar and start whisking until foam appears on the surface.
- Add Sugar and Cornstarch: Add powdered sugar and continue beating on medium-high speed until you get fluffy and soft peaks. Then add cornstarch and mix everything until combined.
- Transfer Meringue Mixture to Piping Bag: Transfer the mixture to a piping bag fitted with a star nozzle.
- Pipe Meringue to Form Nests: Pipe the pavlova mixture onto a silicone mat – fill a round circle on the bottom and pipe 2-3 turns for the walls of the pavlova nests. Leave space between each nest as they will expand a little while baking.
- Bake: Put in a hot oven and bake for 10 minutes at 260F (125C) and then reduce heat to 180F (80C) before baking the mini pavlovas for another 30 minutes at 180F (80C). Once finished baking, let the gluten-free pavlova nests cool in the oven switched off for 20 minutes with the door ajar.
- Prepare Cream Filling: Pour the dairy-free whipping cream into a bowl, add the powdered sugar and vanilla. Using a hand mixer, whip the cream until fluffy on high speed until stiff peaks form. (It is important not to over-whip the cream. Whipping time depends on the power of your hand mixer – it is about 2-4 minutes).
- Transfer Whipped Cream to Piping Bag: Transfer the whipped cream to a piping bag fitted with a star nozzle.
- Fill and Assemble Pavlova Nests: Fill Pavlova cakes with whipped cream, top with lemon curd (if desired). Top with fresh berries and mint leaves.
Notes
Egg Whites: Since a pavlova is essentially a meringue-based dessert, and meringues are made with egg whites, these are fundamental. (Unfortunately, I have not made this recipe with an egg white substitute, so I don’t know how it will turn out. I do NOT recommend substituting the egg whites with anything.)
Cream of Tartar: The acidity of the cream of tartar is necessary to stabilize the egg whites to hold in air and water, and helps to give the characteristic high peaks when egg whites are beaten. However, if you do not have cream of tartar, you can use a 1:1 substitution with fresh lemon juice.
Sugar: I prefer using superfine caster sugar because it ensure that the sugar is readily dissolved into the egg whites as the mixture gets beaten. If you only have normal caster sugar instead, just process it to make it super fine before using. If you are diabetic or insulin-resistant, I highly recommend using powdered monkfruit sweetener (a 1:1 sugar alternative that is zero glycemic index and will not raise your blood sugar).
Cornstarch: The cornstarch is a thickening agent and helps to stabilize the pavlova meringue. If you don’t have cornstarch, you can use tapioca starch or arrowroot starch instead.
Whipping Cream: Make sure the whipping cream is very cold before whipping so it comes together easily. I like using dairy-free whipping cream to keep this recipe totally dairy-free. Alternatively, if you are not lactose-intolerant, feel free to use normal whipping cream instead.
Vanilla Extract: Adding a bit of vanilla extract gives the cream a delicious flavor, but if you aren’t keen or don’t have it on hand, feel free to leave it out instead.
Lemon Curd: You can either use storebought curd, or make your own with my homemade lemon curd recipe (very easy!).
Garnishing: Feel free to decorate the mini pavlova nests as desired – fresh berries, mint, almond flakes, powdered sugar or maple syrup.
Best Eaten Immediately: For best results, serve these mini gluten-free pavlova nests immediately. I do NOT recommend storing them in the refrigerator for more than a few hours.
- Prep Time: 10 mins
- Cooling Time: 20 mins
- Cook Time: 40 mins
- Category: Desserts
- Method: Baking
- Cuisine: Western
