Irresistible Gluten-Free S’mores Bars: Your Easy Homemade Campfire Treat (Dairy-Free Option Included!)
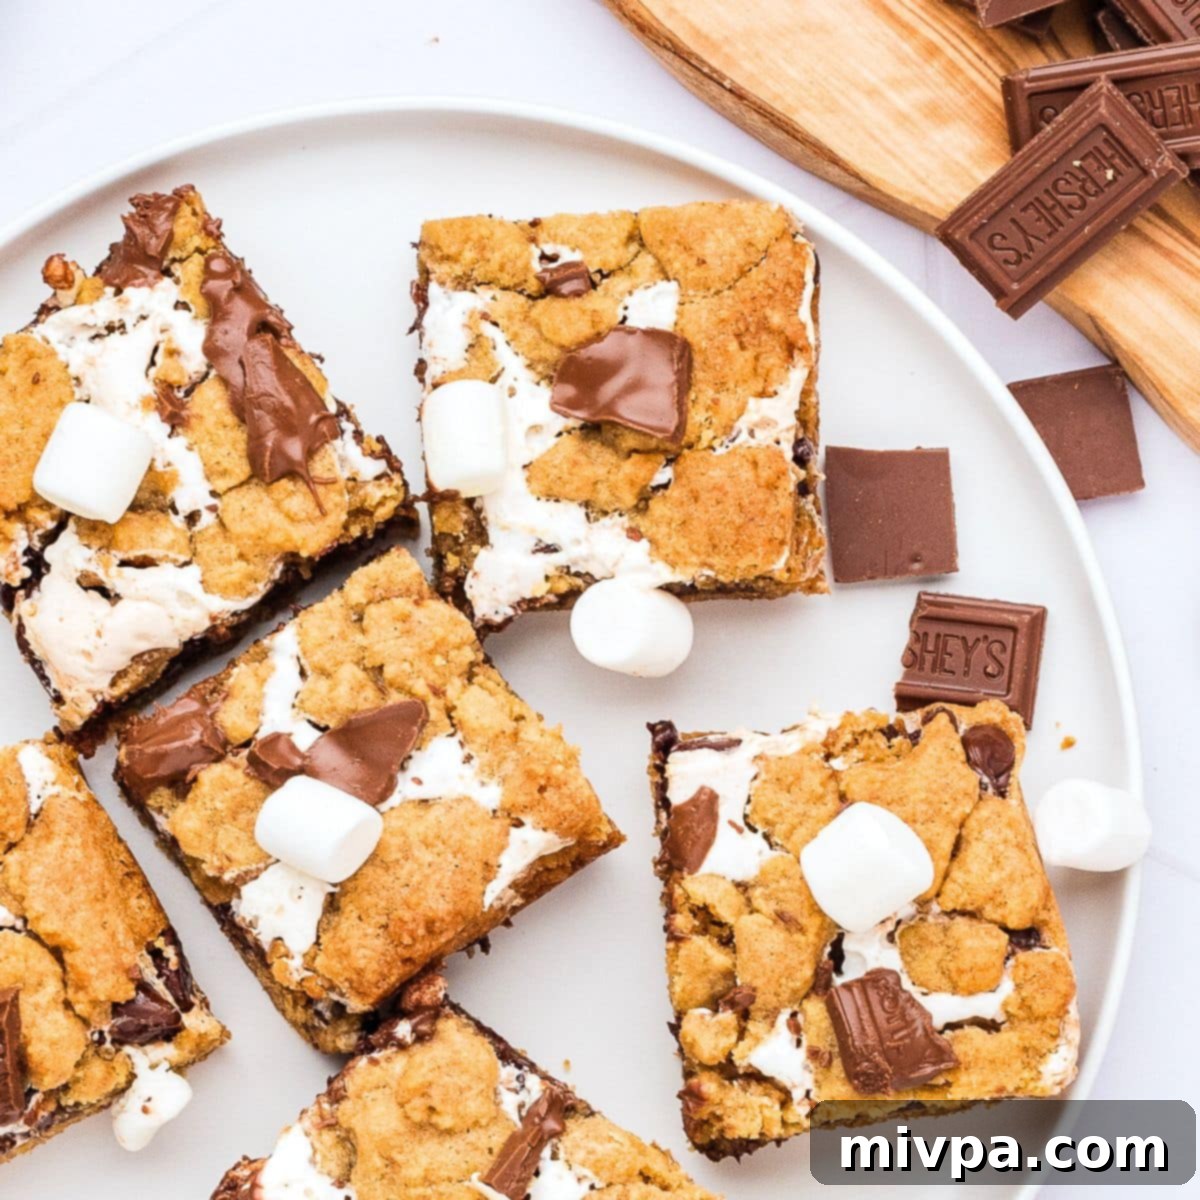
Imagine sinking your teeth into the ultimate S’mores experience, but without the hassle of a campfire! These gluten-free S’mores bars bring all the beloved gooey marshmallow, rich chocolate, and crunchy graham cracker goodness right into your kitchen. Perfect for any season, these easy-to-make dessert bars are a delightful treat that can be whipped up in under an hour, ensuring you can enjoy the classic taste of S’mores whenever the craving strikes. Whether you’re dealing with dietary restrictions or simply looking for a convenient way to enjoy this nostalgic dessert, our recipe offers a foolproof method with an adaptable dairy-free option.
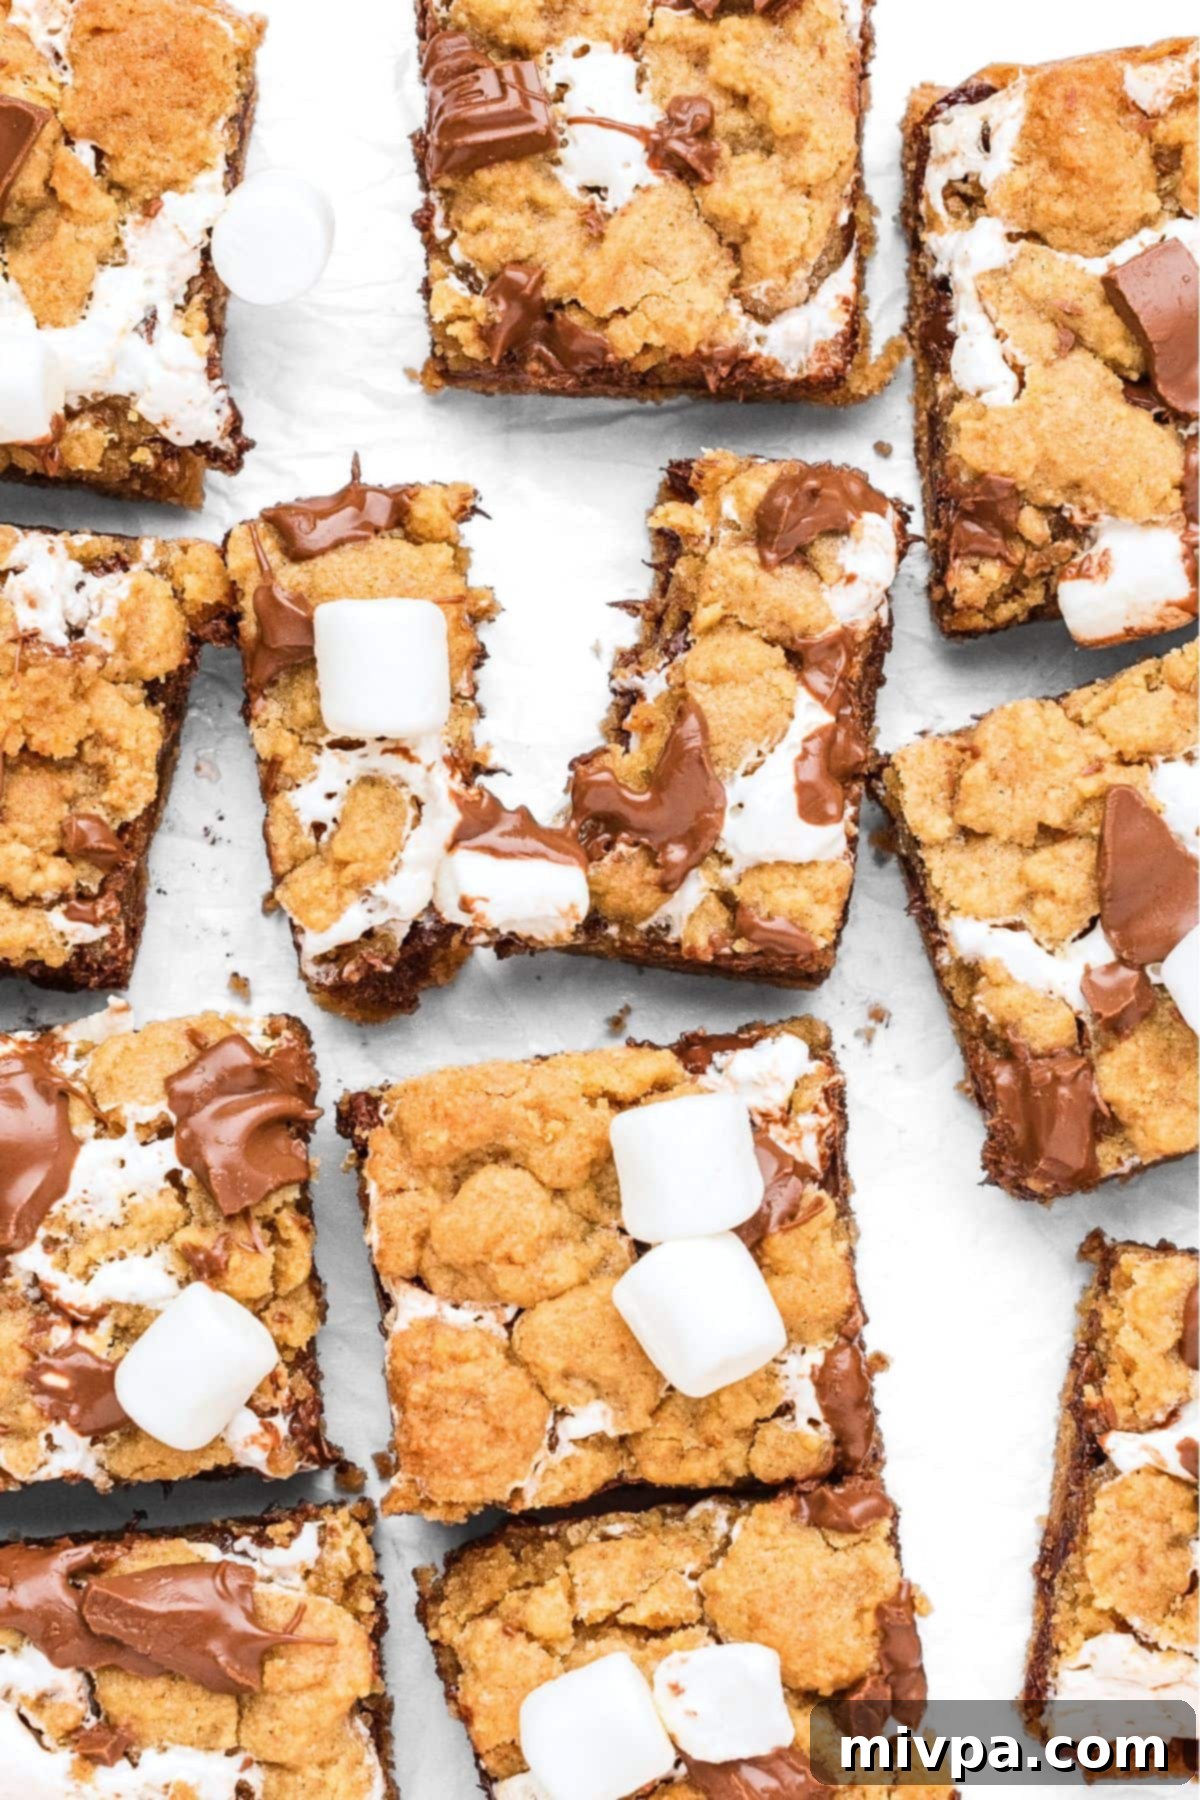
S’mores Bars: Enjoy the Classic Campfire Flavor Anywhere, Anytime
There’s something truly magical about S’mores. The anticipation of a perfectly toasted marshmallow, the rich chocolate melting into its gooey core, and the satisfying crunch of graham crackers – it’s a dessert that instantly transports you to warm summer nights, crackling campfires, and cherished memories. While a traditional campfire S’more is a delightful experience, the reality is that gathering around a fire isn’t always feasible. Perhaps you live in an apartment, it’s raining, or you simply crave that iconic flavor without all the outdoor setup and smoky aftermath.
This is where these incredible homemade gluten-free S’mores bars come in! They capture every element you adore about classic S’mores, conveniently baked into an easy-to-share cookie bar form. No more smoke in your eyes or sticky fingers from trying to assemble the perfect bite by a flickering flame. Now, you can enjoy that irresistible combination of flavors and textures right from the comfort of your own kitchen, whenever the mood strikes, all year round.
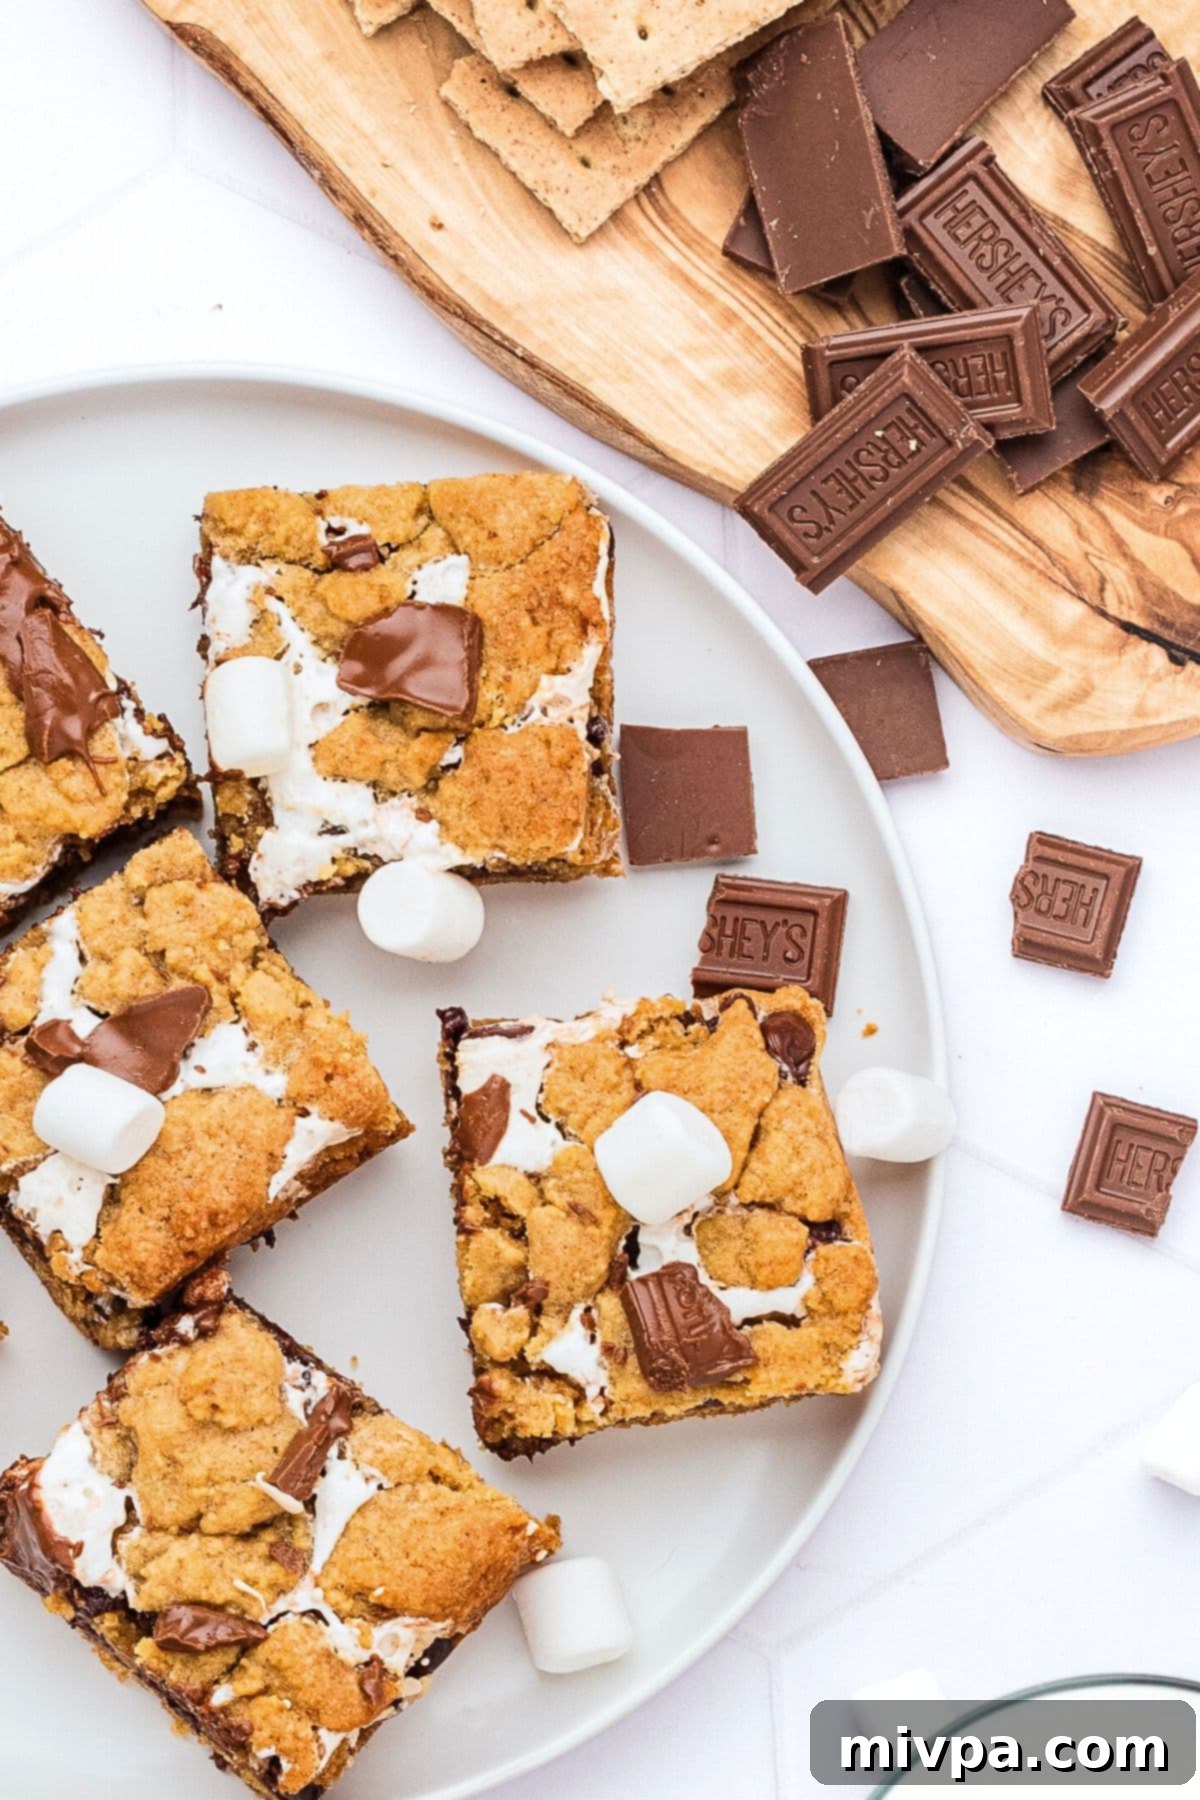
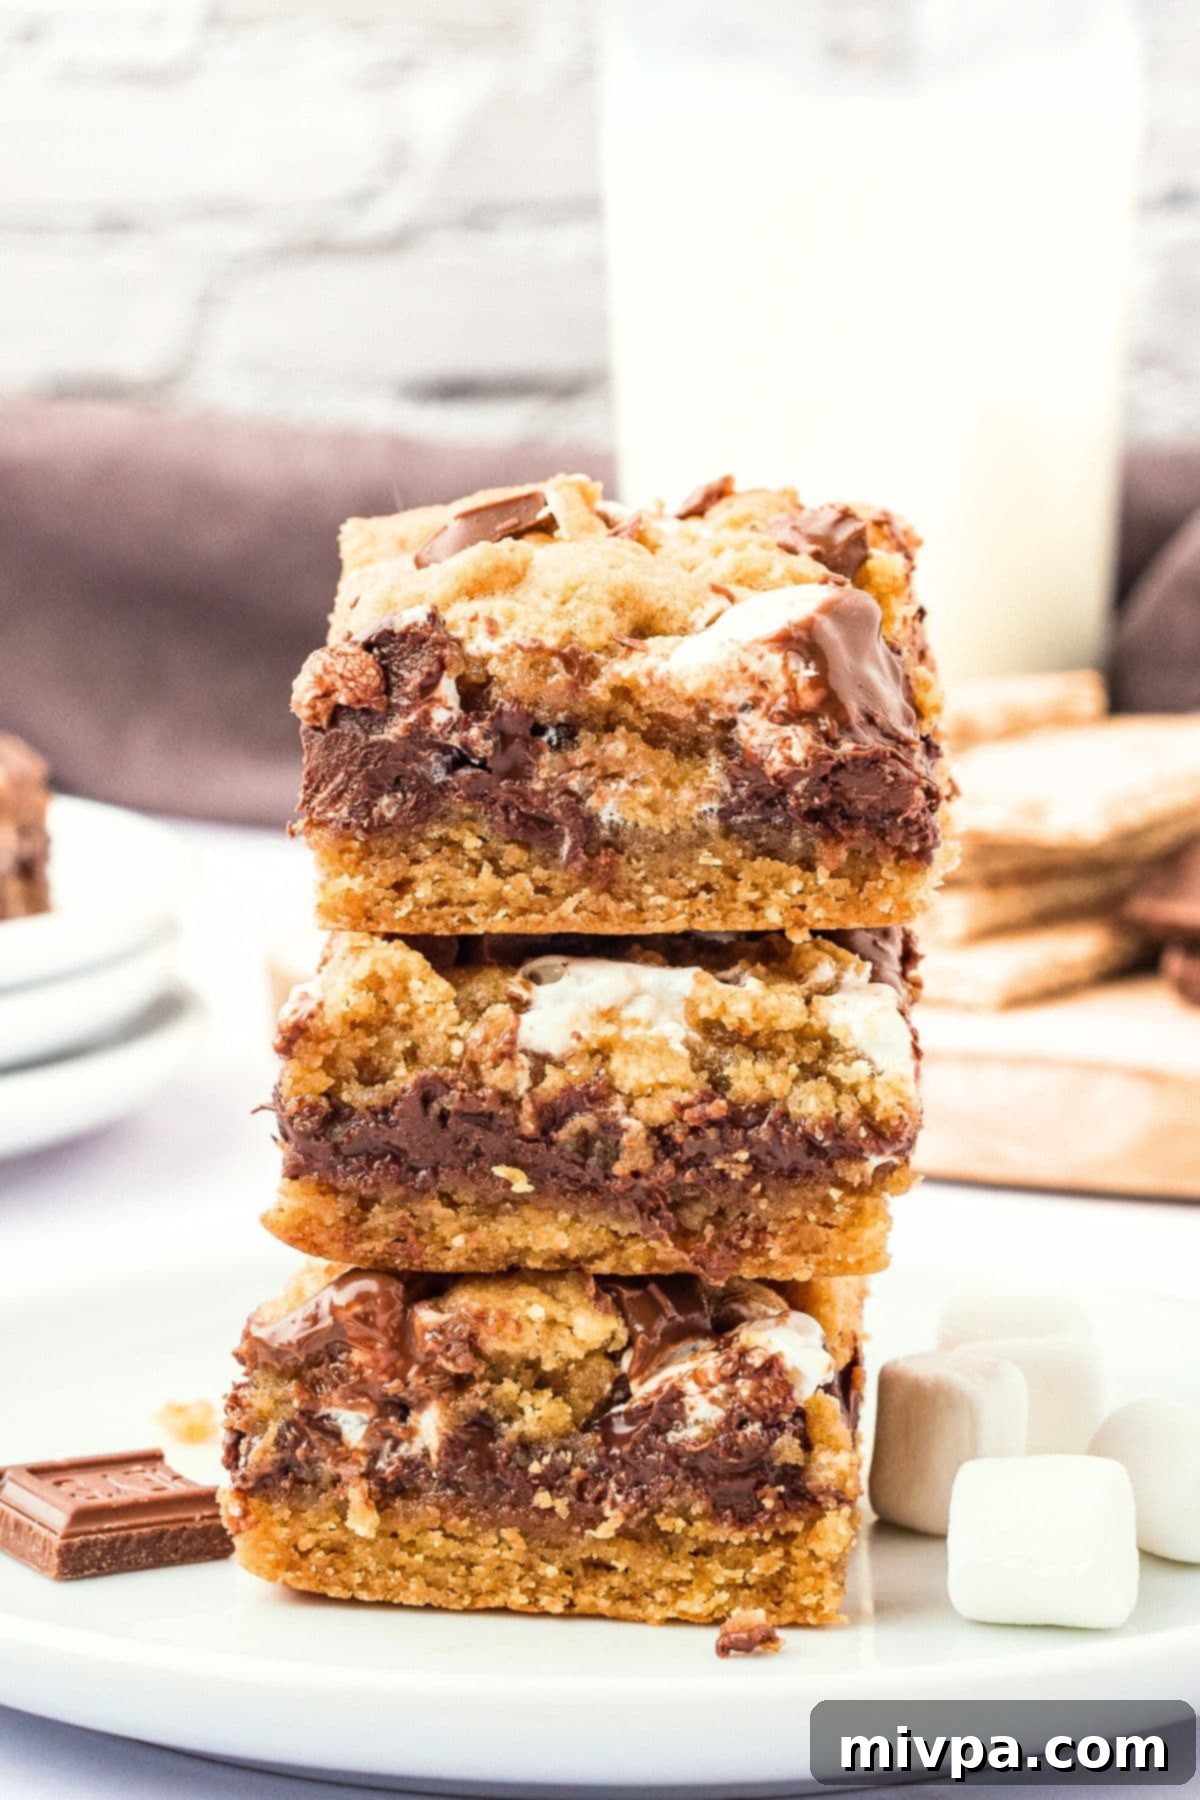
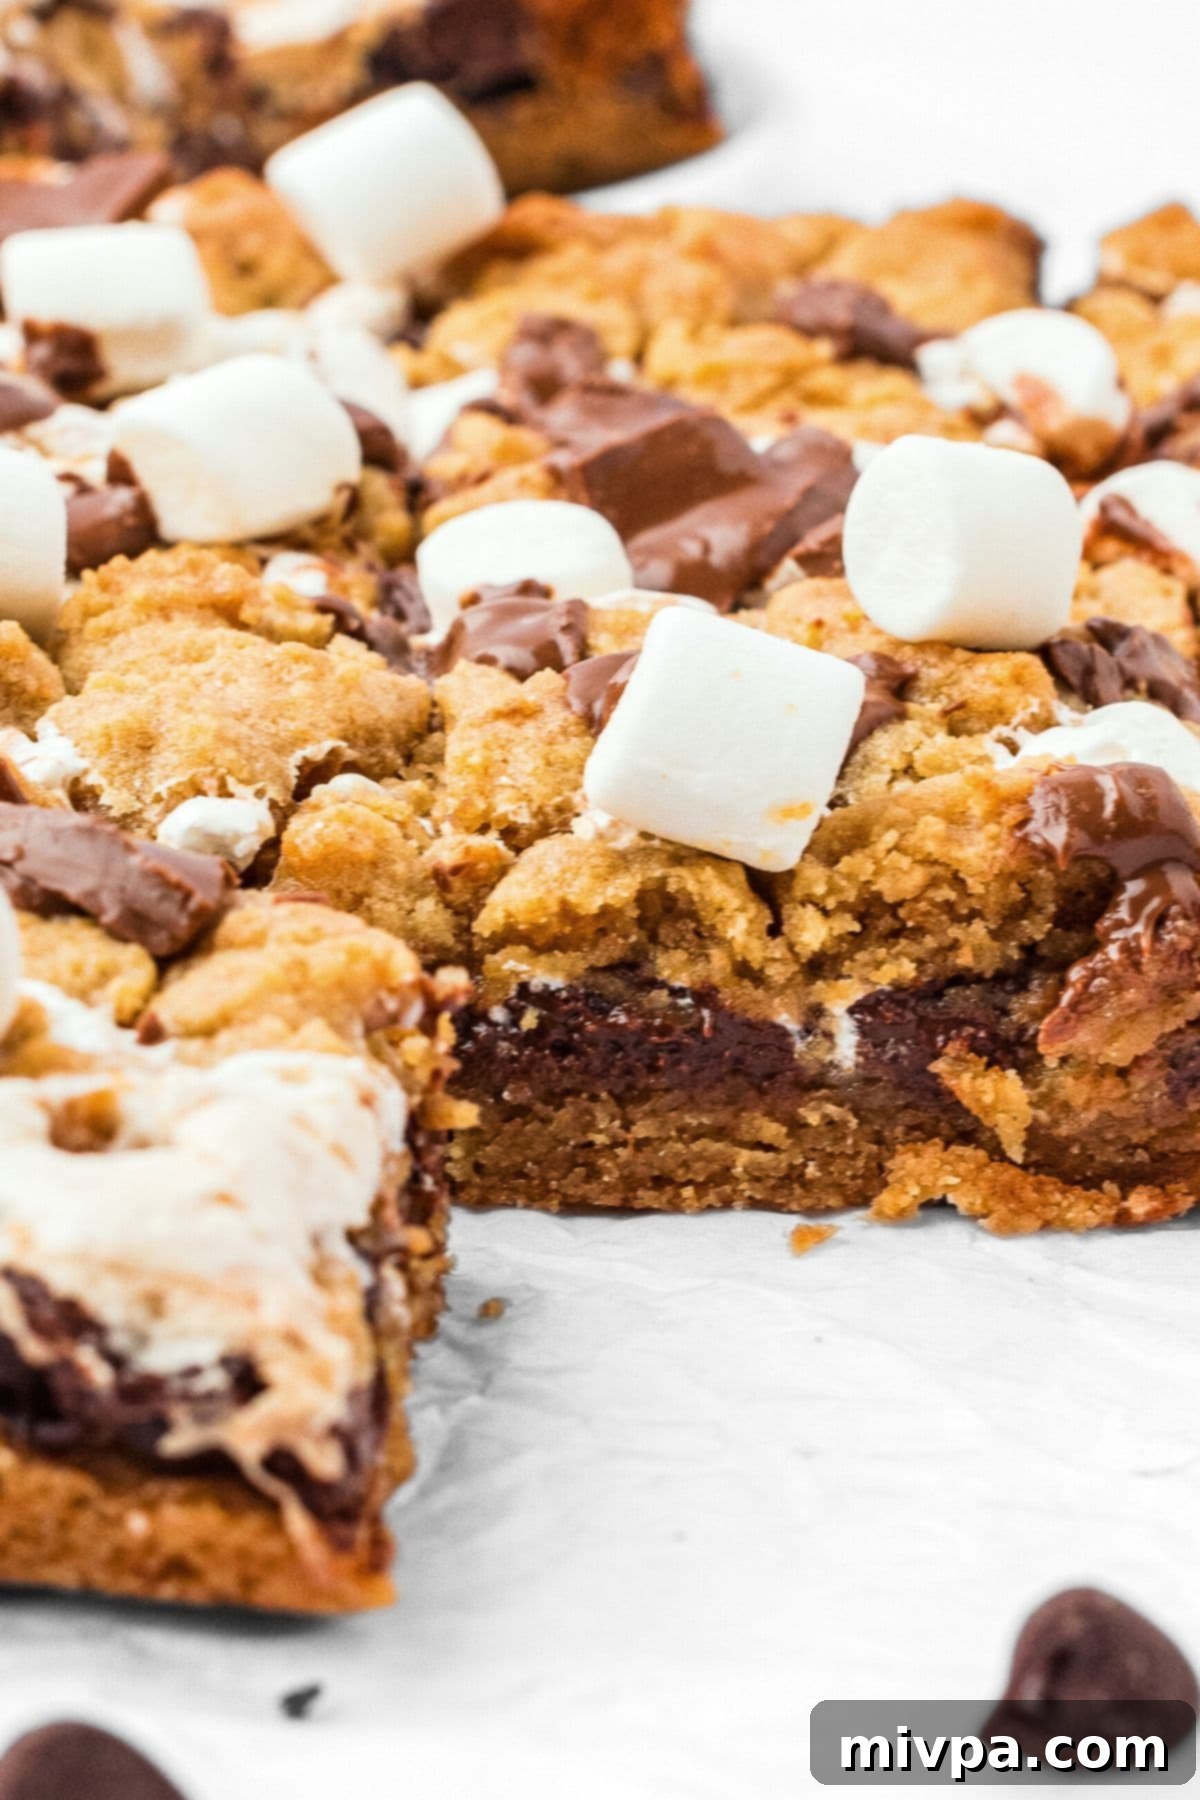
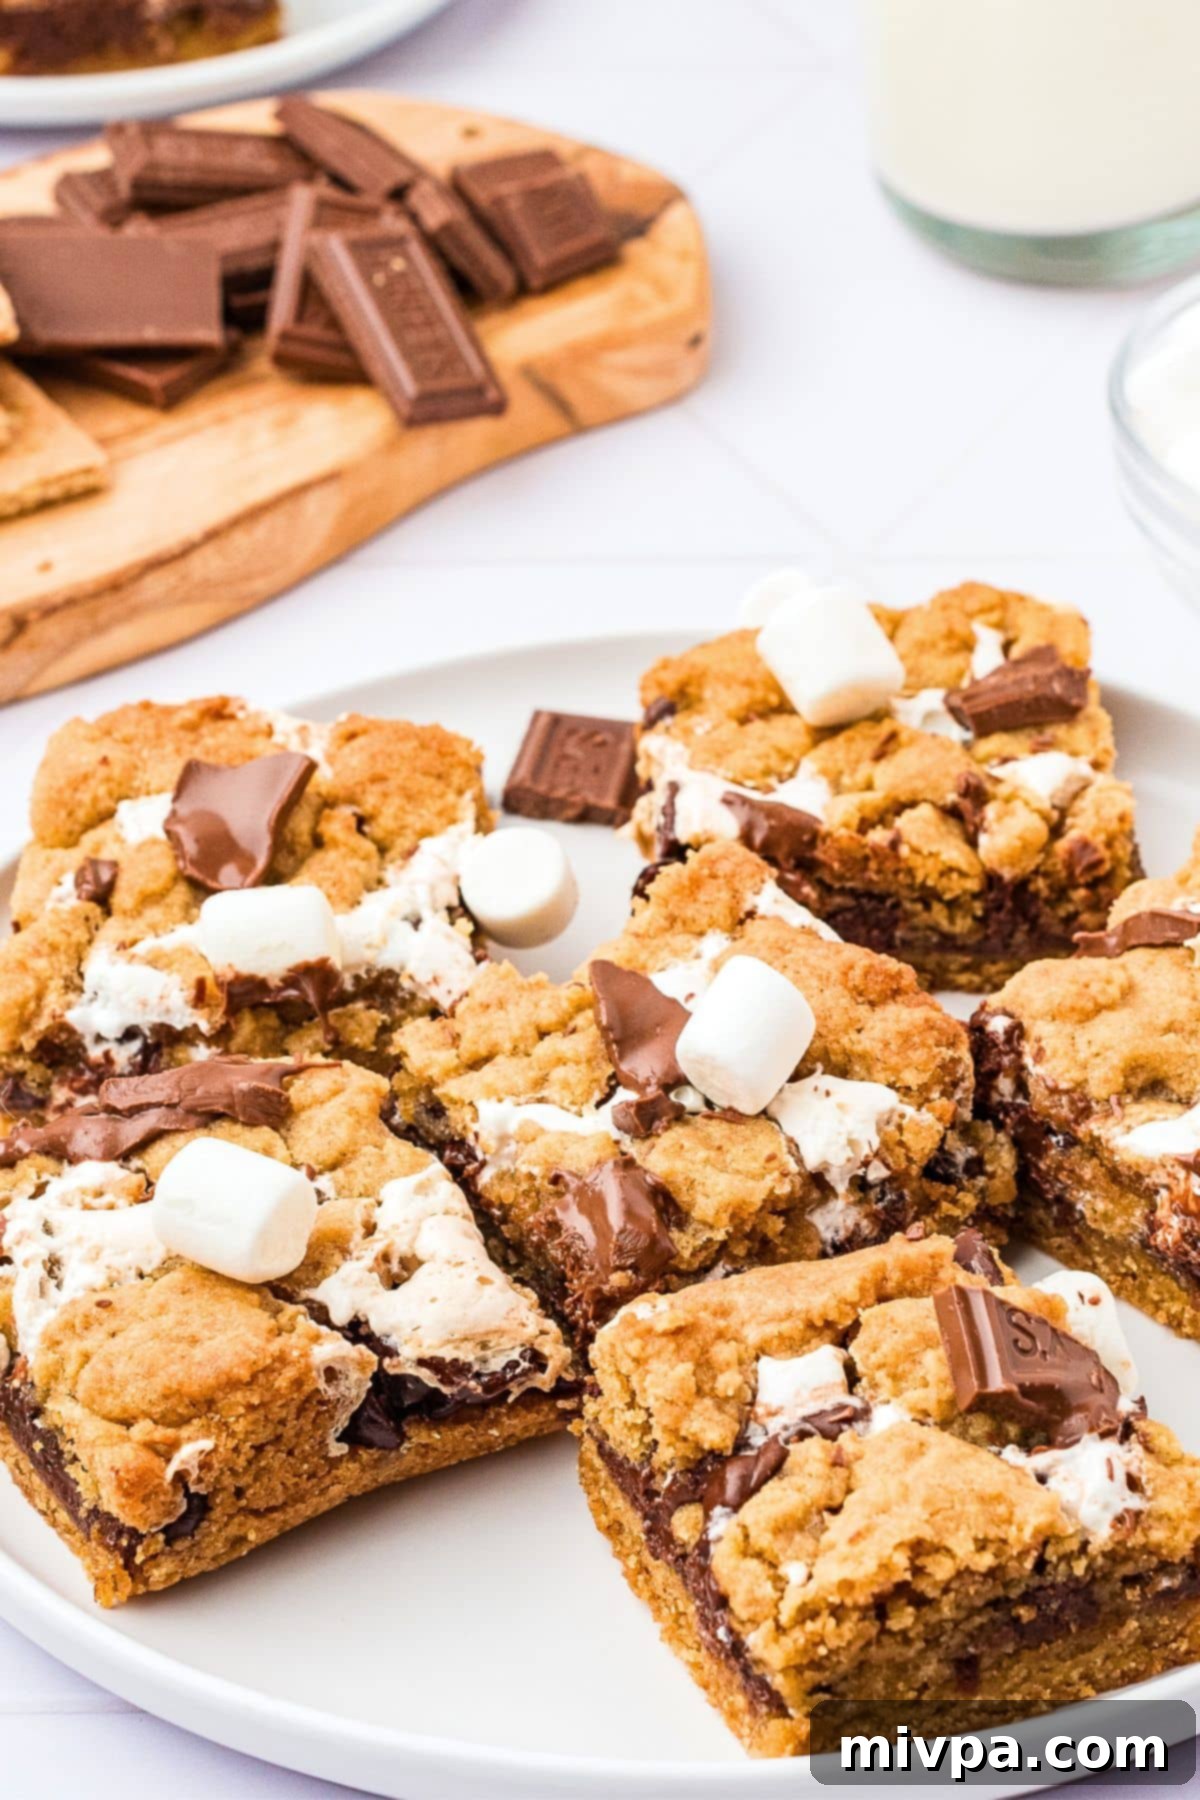
Each bar is a carefully crafted symphony of indulgence: a rich, buttery gluten-free graham cracker crust forms the perfect foundation, followed by a generous layer of luscious melted chocolate, and then topped with sweet, fluffy marshmallow. To elevate the experience even further, we add a sprinkle of mini marshmallows and chopped chocolate, creating a delightful visual and textural contrast. This isn’t just a dessert; it’s a slice of pure joy, designed to evoke the happy nostalgia of childhood treats and create new, delicious memories with every bite.
Why These Gluten-Free S’mores Bars Are Your New Go-To Dessert:
Beyond their undeniable deliciousness, there are many reasons why these S’mores bars will quickly become a favorite in your recipe collection. They combine convenience, versatility, and inclusive dietary options, making them truly special and a joy to bake and share.
- Simple, Accessible Ingredients: You won’t need to hunt for exotic ingredients for this recipe. All the core components – butter, sugar, eggs, gluten-free flour, graham cracker crumbs, marshmallow fluff, and chocolate chips – are readily available at any standard local grocery store. This means less time searching and more time baking and enjoying the process.
- Incredibly Easy and Quick to Make: Craving a delicious treat but short on time? This recipe is your answer. Preparing these S’mores cookie bars is straightforward and doesn’t require any advanced baking skills. From start to finish, a full batch can be ready in under an hour, making them perfect for last-minute gatherings, after-school snacks, or a spontaneous sweet craving. The simple steps ensure a stress-free baking experience for everyone.
- 100% Gluten-Free with a Simple Dairy-Free Option: This is arguably the “best part” for many! We understand the challenges of dietary restrictions, which is why this S’mores bars recipe is meticulously crafted to be entirely gluten-free. This ensures that individuals with Celiac disease or gluten sensitivities can indulge without worry. Furthermore, with just a few simple swaps highlighted in our notes, these bars can easily be made dairy-free, opening up the joy of S’mores to those with lactose intolerance or dairy allergies. Everyone deserves a taste of this classic treat!
- Perfect for Any Occasion: While S’mores are traditionally associated with campfires, these bars are incredibly versatile. They are ideal for potlucks, birthday parties, bake sales, holiday gatherings, or simply a cozy night in. Their sturdy bar form makes them easy to transport and serve, unlike messy traditional S’mores, making them a crowd-pleasing dessert for any event.
- Year-Round Enjoyment: No need to wait for summer! These S’mores bars allow you to savor the taste of summer campfires and fall bonfires any day of the year. They bring warmth, comfort, and a touch of nostalgic indulgence, no matter the season or weather outside.
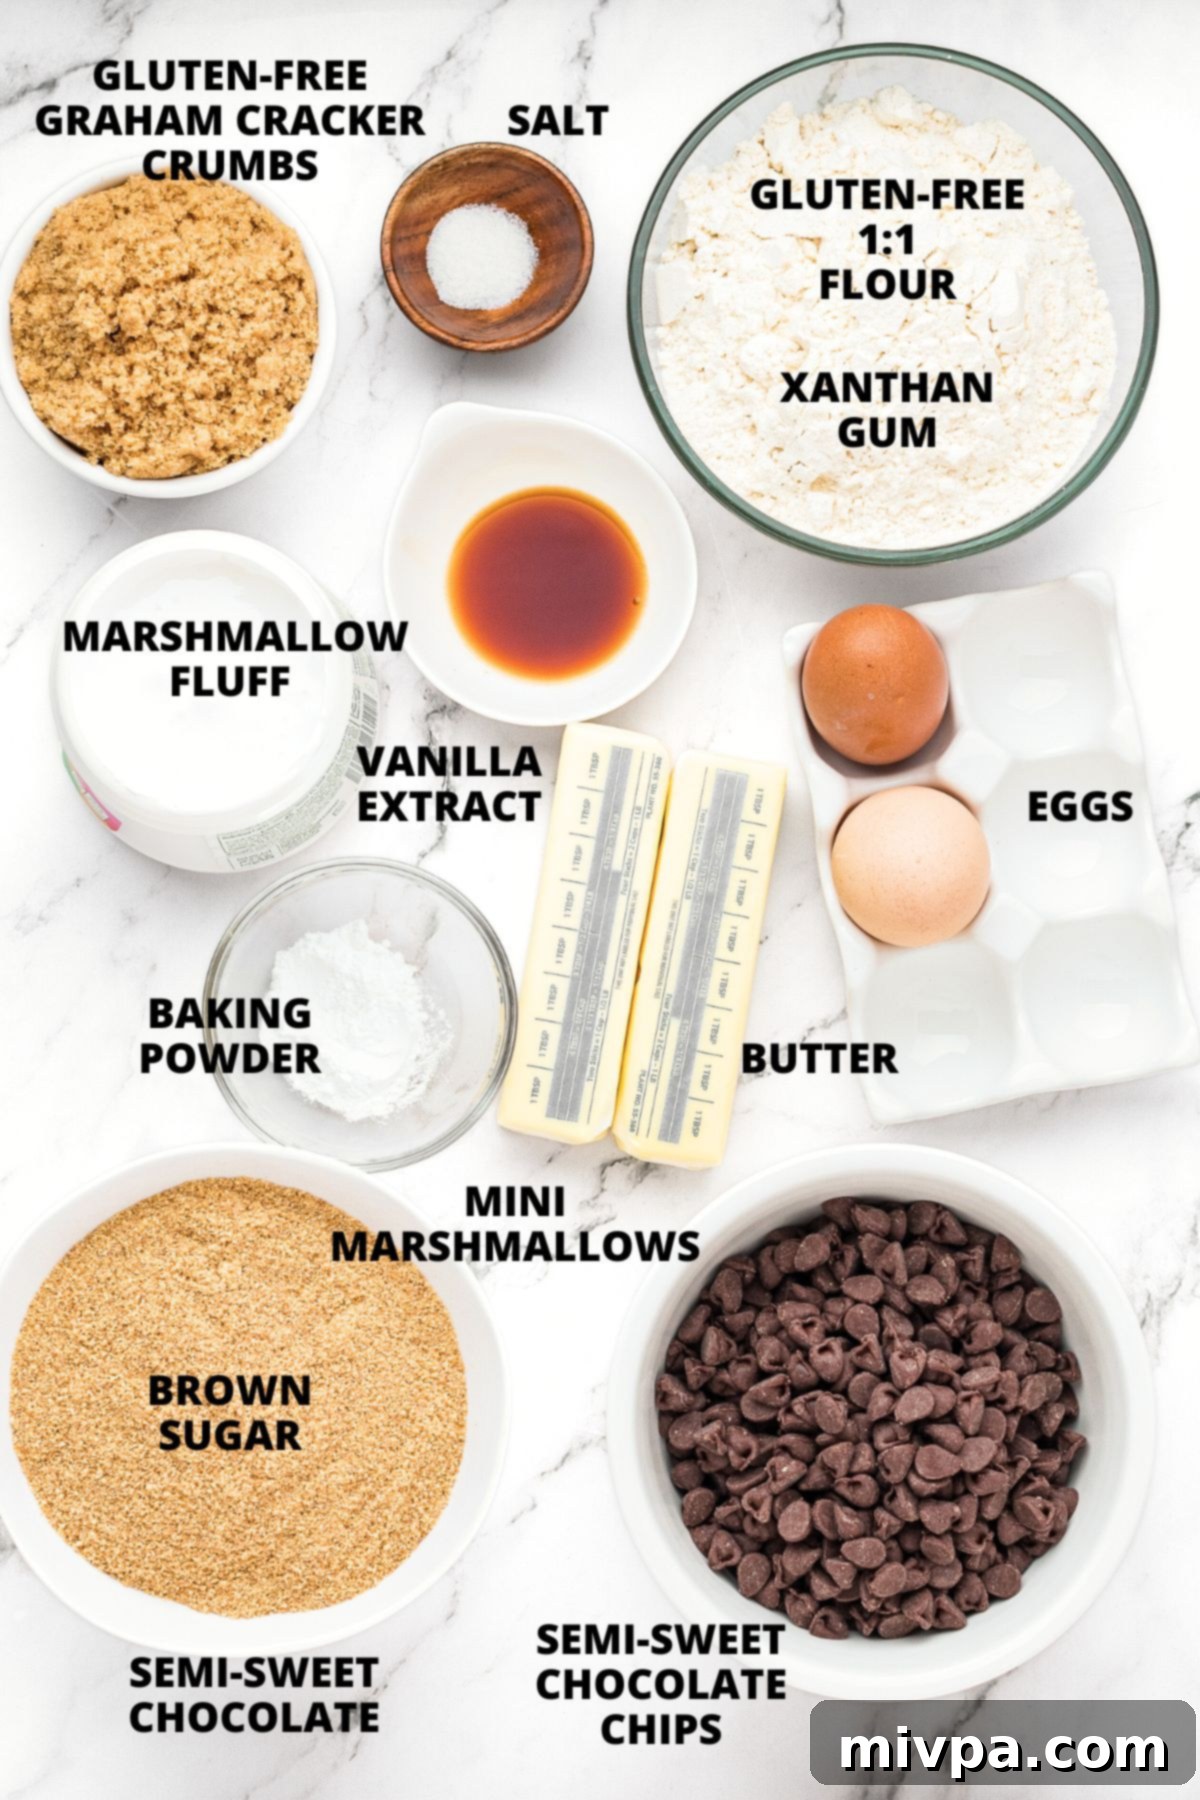
Essential Ingredients for Your Gluten-Free S’mores Bars:
Crafting these delectable S’mores bars starts with a selection of readily available ingredients. To give you a clear idea of what you’ll need before you begin, here’s a visual overview of the key components for making these irresistible gluten-free S’mores bars. We prioritize simple, high-quality ingredients to ensure the best flavor and texture in your homemade treat.
(For precise measurements and a detailed list, please scroll down to the comprehensive printable recipe card located at the bottom of this post.)
Recipe Notes & Essential Substitutions for Perfect S’mores Bars:
To ensure your gluten-free S’mores bars turn out perfectly every time, here are some important notes and potential substitutions to keep in mind, especially for those with specific dietary needs or ingredient preferences:
- Butter: For the most authentic flavor and texture, good quality salted butter is recommended as it adds richness to the graham cracker crust. However, to easily convert this recipe into a dairy-free option for those with lactose intolerance or milk allergies, simply use an equal amount of your favorite dairy-free butter substitute. Brands like Miyoko’s Kitchen or Earth Balance work wonderfully and will still provide that rich, buttery base without compromising on taste.
- Sugar: Our recipe primarily uses light brown sugar, which contributes to a moist texture and a subtle caramel-like flavor that complements the graham cracker crust beautifully. However, you can certainly experiment with other sugars such as cane sugar for a crisper finish, dark brown sugar for a deeper molasses flavor, or coconut sugar for a slightly healthier, less refined alternative. Each will subtly alter the flavor profile and color of the crust, so choose what best suits your taste.
- Eggs: Eggs play a crucial role as a binding agent in this recipe, helping to hold the graham cracker crust together and contributing to its tender yet cohesive texture. For this reason, we highly recommend including them as specified.
- Vanilla Extract: A splash of vanilla extract enhances the overall flavor of the cookie dough, adding a warm, aromatic depth that pairs wonderfully with the chocolate and marshmallow. While a small detail, it makes a noticeable difference in the complexity of the taste. If you’re not a fan of vanilla or don’t have it on hand, you can omit it without significant impact on the structure, but you might miss that extra layer of flavor.
- Gluten-Free Flour: The type of gluten-free flour you choose is critical for the success of these bars. We strongly recommend using a high-quality gluten-free 1:1 all-purpose flour blend. These blends are specifically formulated to substitute regular wheat flour cup-for-cup and typically consist of lighter flours and starches such as rice flour, tapioca starch, corn starch, or potato starch. It’s important to avoid blends primarily made from heavier, denser flours like garbanzo bean flour, as these can result in a gritty texture and an undesirable aftertaste in baked goods.
- Xanthan Gum: In gluten-free baking, xanthan gum acts as a vital substitute for gluten, providing elasticity and binding properties that gluten normally would. It prevents baked goods from becoming crumbly and ensures a good structure. If your chosen gluten-free flour blend already lists xanthan gum as an ingredient, you can (and should) omit the additional amount specified in the recipe. If it doesn’t, be sure to add it to ensure the dough holds together properly.
- Gluten-Free Graham Cracker Crumbs: These crumbs are the heart of the S’mores crust, providing that signature flavor and texture. You’ll need about 12 to 15 gluten-free graham crackers to yield the required 2 cups of fine crumbs. To prepare them, simply break the crackers into smaller pieces and pulse them in a high-speed blender or food processor until they resemble fine breadcrumbs. For convenience, you can use store-bought gluten-free graham crackers, or if you’re feeling adventurous, make your own homemade gluten-free graham crackers for an even fresher flavor profile.
- Baking Powder: As the primary leavening agent, baking powder helps the cookie dough rise slightly and achieve a tender, airy texture. For those with Celiac disease or gluten intolerance, it’s crucial to use a certified gluten-free baking powder, as some brands may contain wheat starch. Always check the label.
- Marshmallow Fluff: This is key to achieving that signature gooey, stretchy S’mores center without the mess of melting whole marshmallows. Marshmallow fluff ensures a consistent, soft layer that perfectly mimics a freshly roasted marshmallow. Do not skip this ingredient for the best and most authentic S’mores texture!
- Chocolate Chips: We’ve opted for semi-sweet chocolate chips, which offer a balanced sweetness that pairs well with the other components. However, feel free to customize! Milk chocolate chips will yield a sweeter, creamier center, while dark chocolate chips will provide a more intense, slightly bitter contrast for those who prefer less sweetness. For our dairy-free friends, make sure to use dairy-free chocolate chips to keep the entire recipe compliant.
- Mini Marshmallows (for Topping): While the marshmallow fluff provides the gooey layer, topping the baked bars with a handful of mini marshmallows just after they come out of the oven adds a beautiful, toasted appearance and another layer of soft, sweet texture as they melt slightly. It’s optional, but highly recommended for that classic S’mores look and feel.
- Chopped Chocolate (for Topping): Similar to the mini marshmallows, sprinkling chopped semi-sweet or dairy-free chocolate on top immediately after baking contributes both to the visual appeal and adds extra pockets of rich, melted chocolate goodness. This optional step truly elevates the presentation and the overall S’mores experience, making each bar even more decadent.
Step-by-Step Guide: How to Make Irresistible Gluten-Free S’mores Bars:
Follow these detailed steps to create your perfect batch of gooey, chocolatey S’mores bars. Each instruction is designed to be clear and easy to follow, ensuring a delicious outcome every time, even for beginner bakers. Precision and patience are your best friends here!
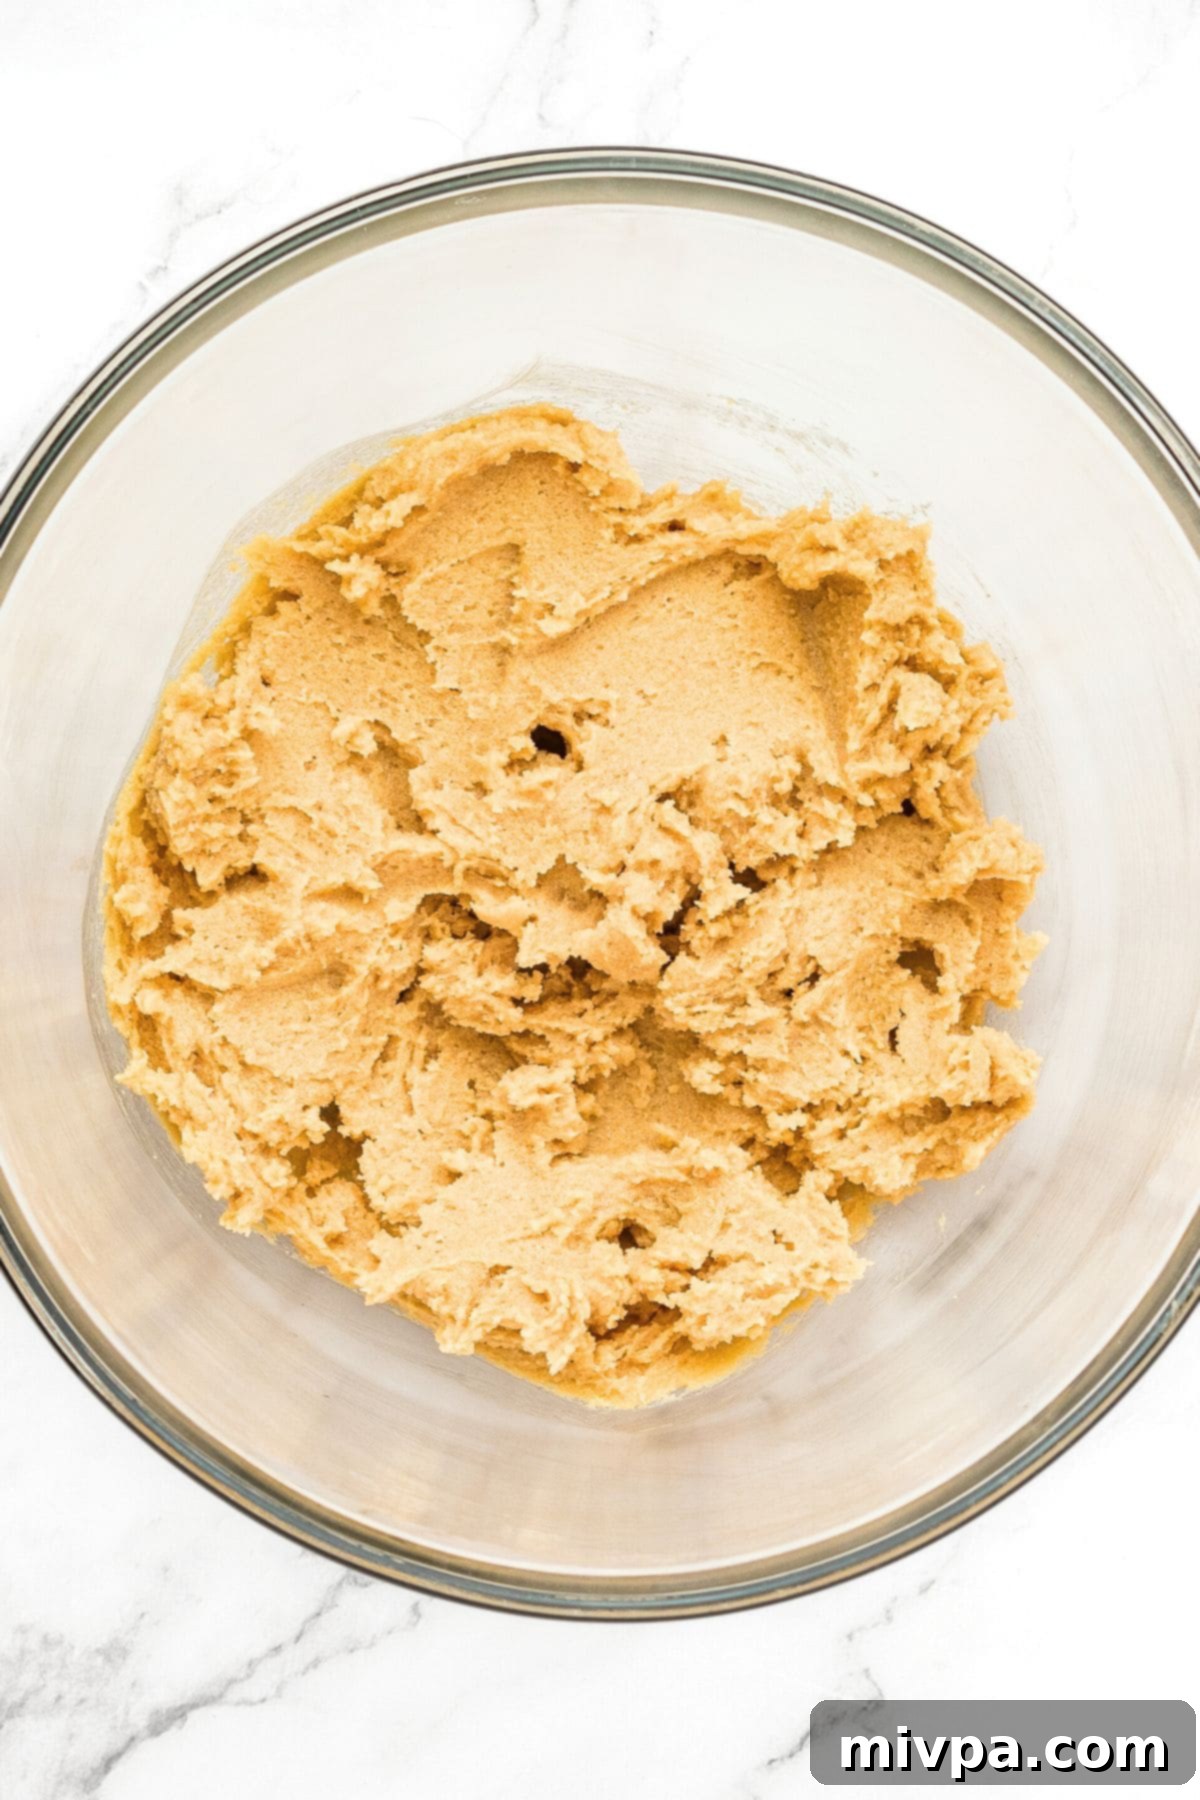
1. Prepare Oven and Beat Butter & Sugar: Start by preheating your oven to 350°F (175°C). Line a 9” x 13” baking pan with parchment paper, making sure to leave a generous overhang on all sides; this will be your handle for easy removal of the baked bars later. In a large mixing bowl, combine the softened salted butter (or dairy-free butter substitute) and the light brown sugar. Beat these ingredients together on medium speed for approximately 2 minutes, using an electric mixer, until the mixture becomes wonderfully light, fluffy, and pale in color. This essential creaming process incorporates air, which is key to achieving a tender and crumbly texture for your graham cracker crust.
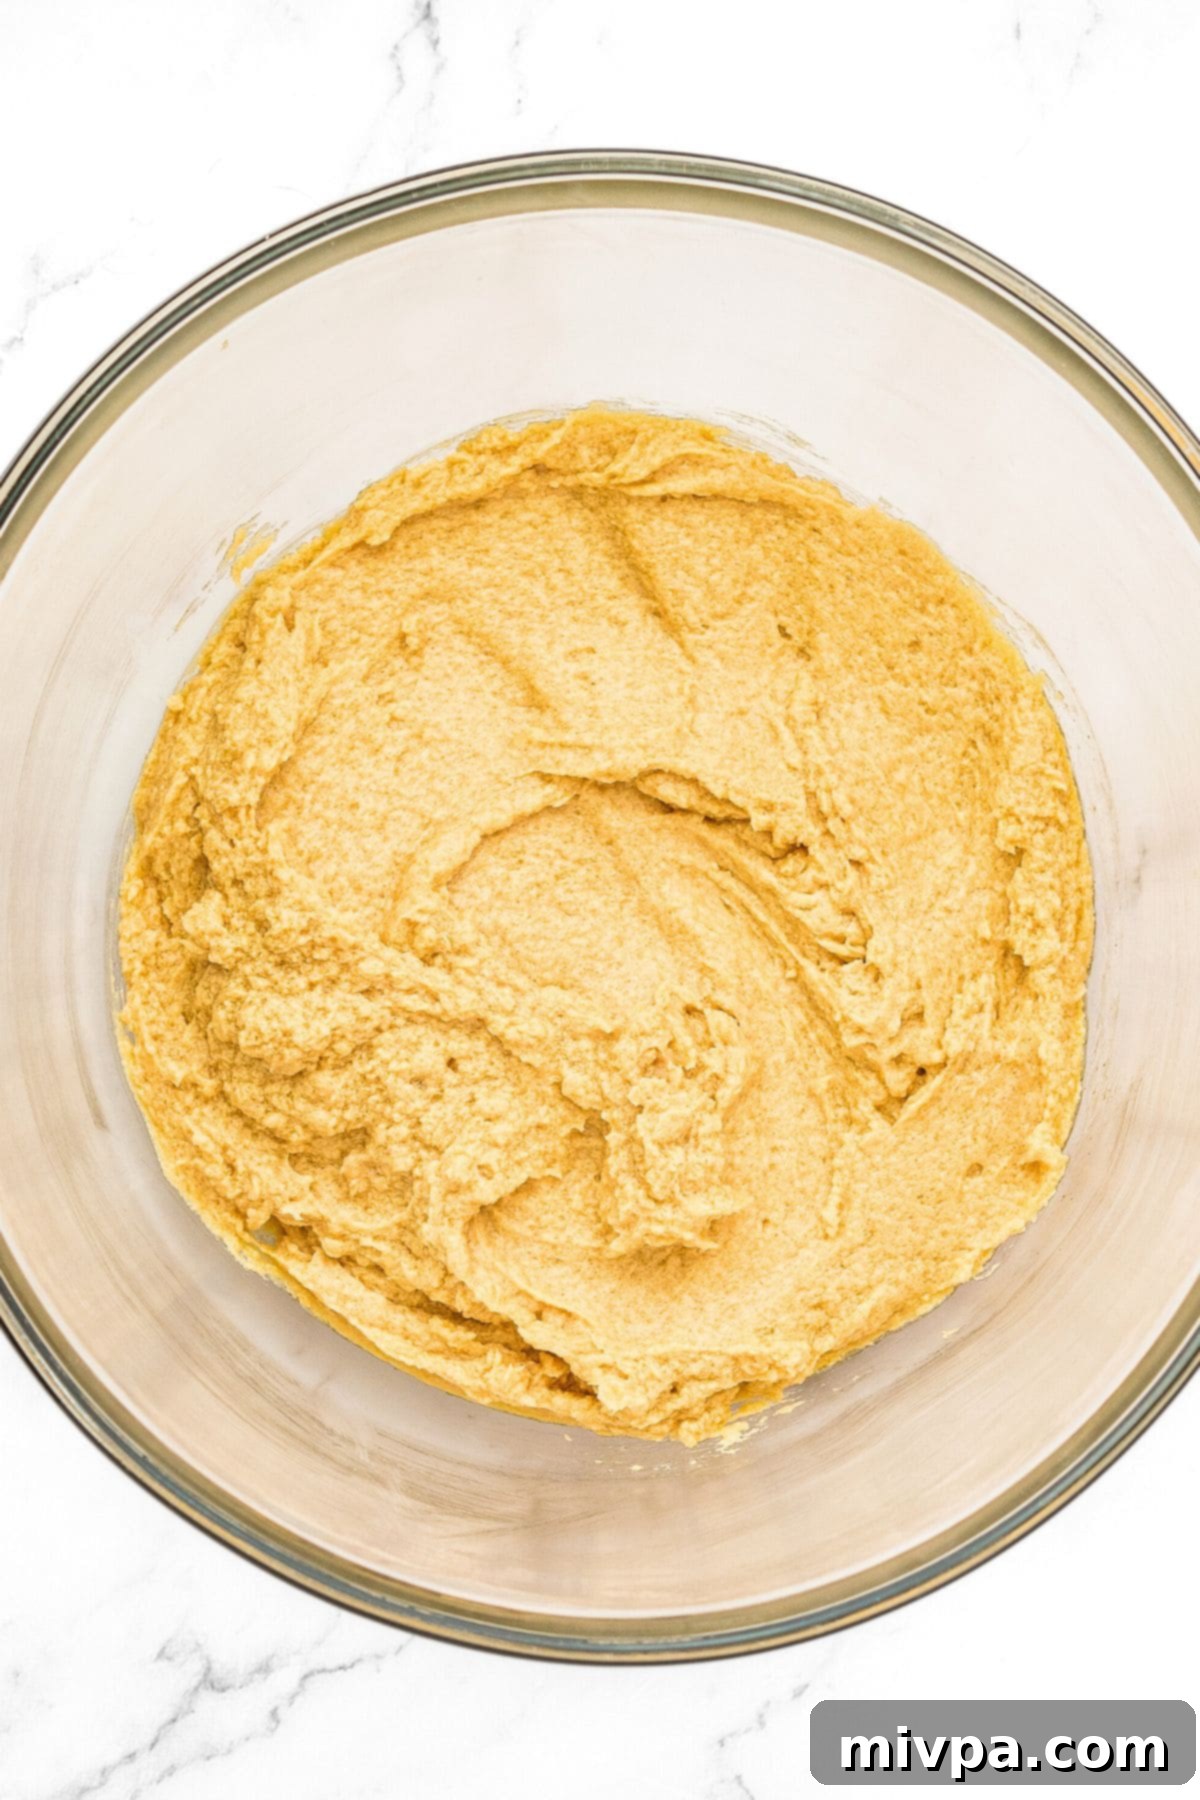
2. Incorporate Eggs & Vanilla: Next, crack in the eggs one at a time, beating thoroughly after each addition to ensure they are fully combined with the butter and sugar mixture. Pour in the vanilla extract, which will add a delightful aromatic depth to your bars. Continue to beat the mixture on medium-high speed for approximately another 1-2 minutes until all the ingredients are fully integrated and the mixture appears smooth and emulsified. Don’t forget to scrape down the sides of the bowl with a spatula as needed to ensure everything is evenly mixed.
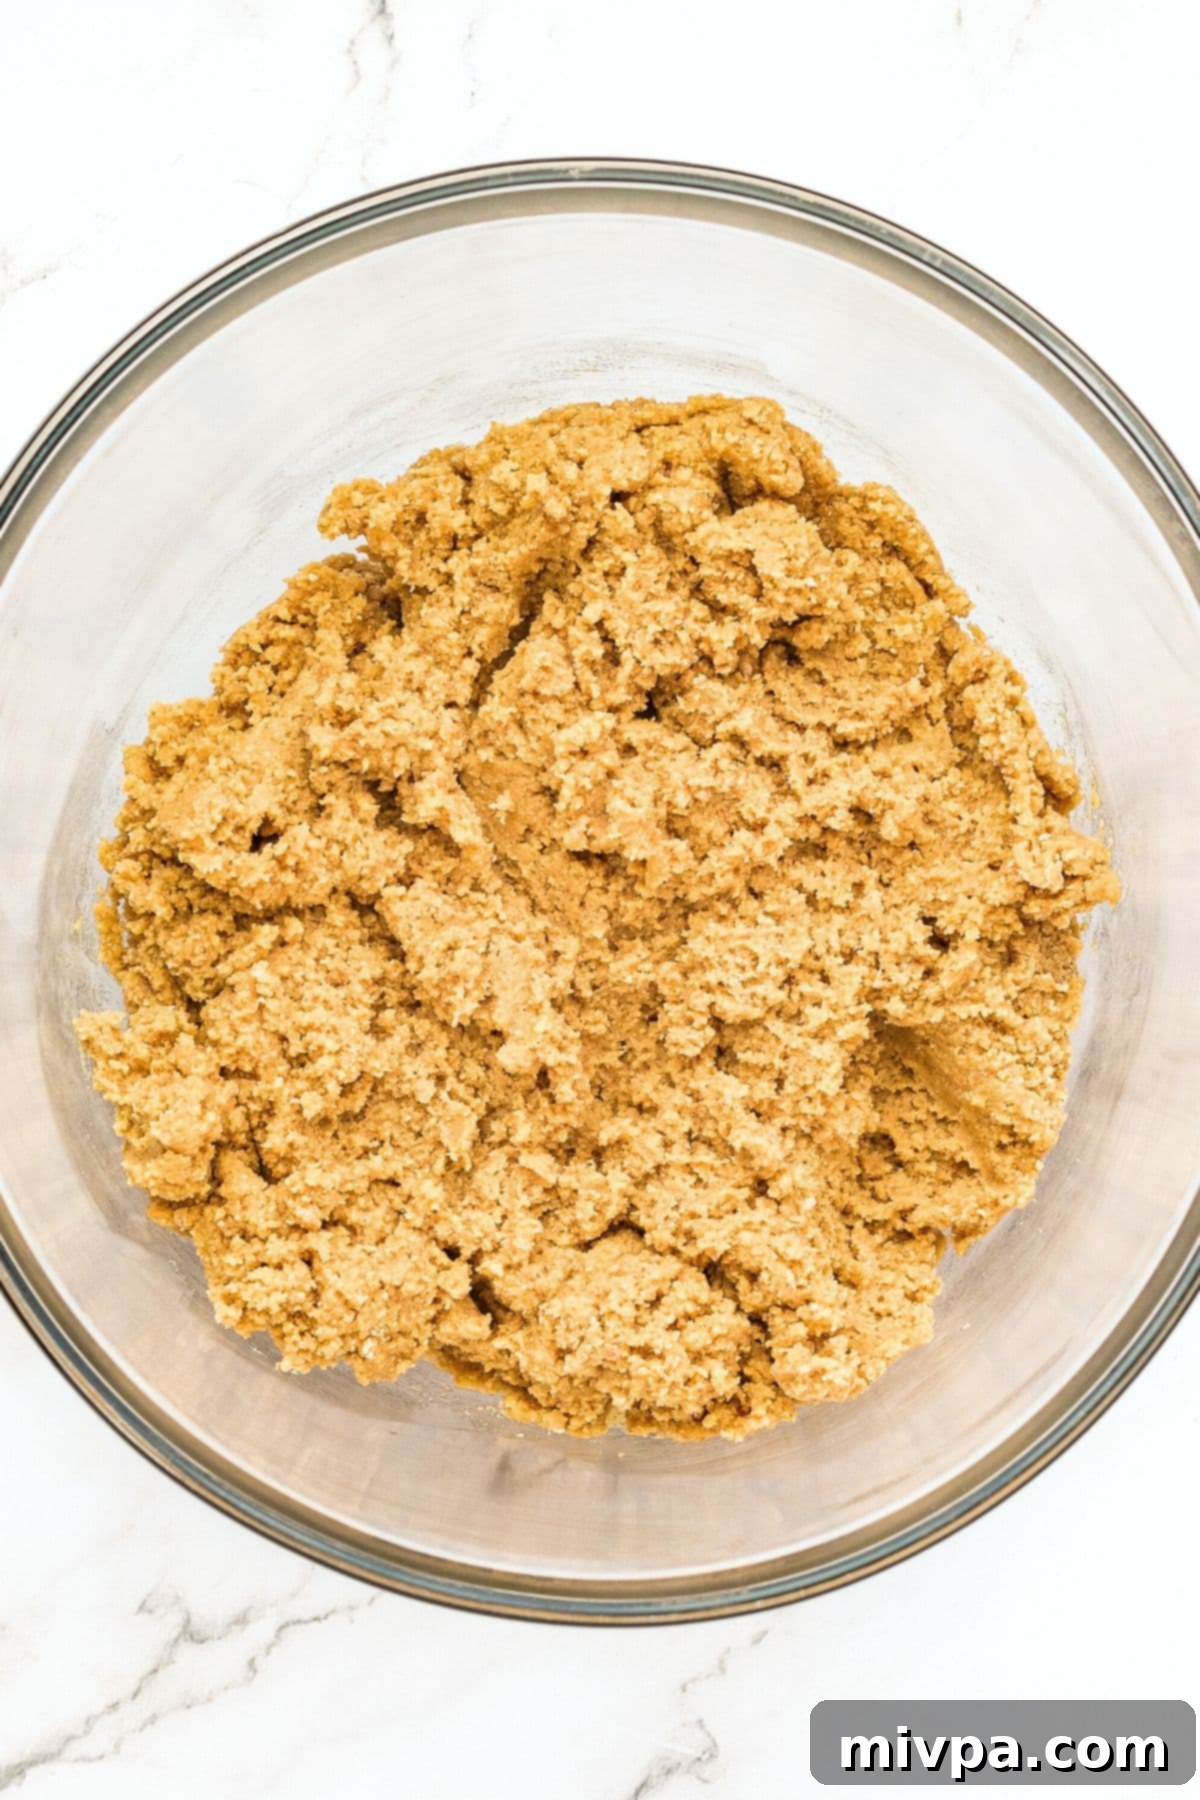
3. Add Dry Ingredients: To the same bowl, add your dry ingredients: the gluten-free graham cracker crumbs, the chosen gluten-free 1:1 flour, xanthan gum (only if your flour blend does not already contain it), gluten-free baking powder, and salt. Continue mixing on low speed until these dry components are just thoroughly combined with the wet mixture. Be careful not to overmix the dough once the flour is added, as this can lead to a tougher texture. The result should be a thick, somewhat crumbly, but cohesive graham cracker cookie dough that is easy to handle.
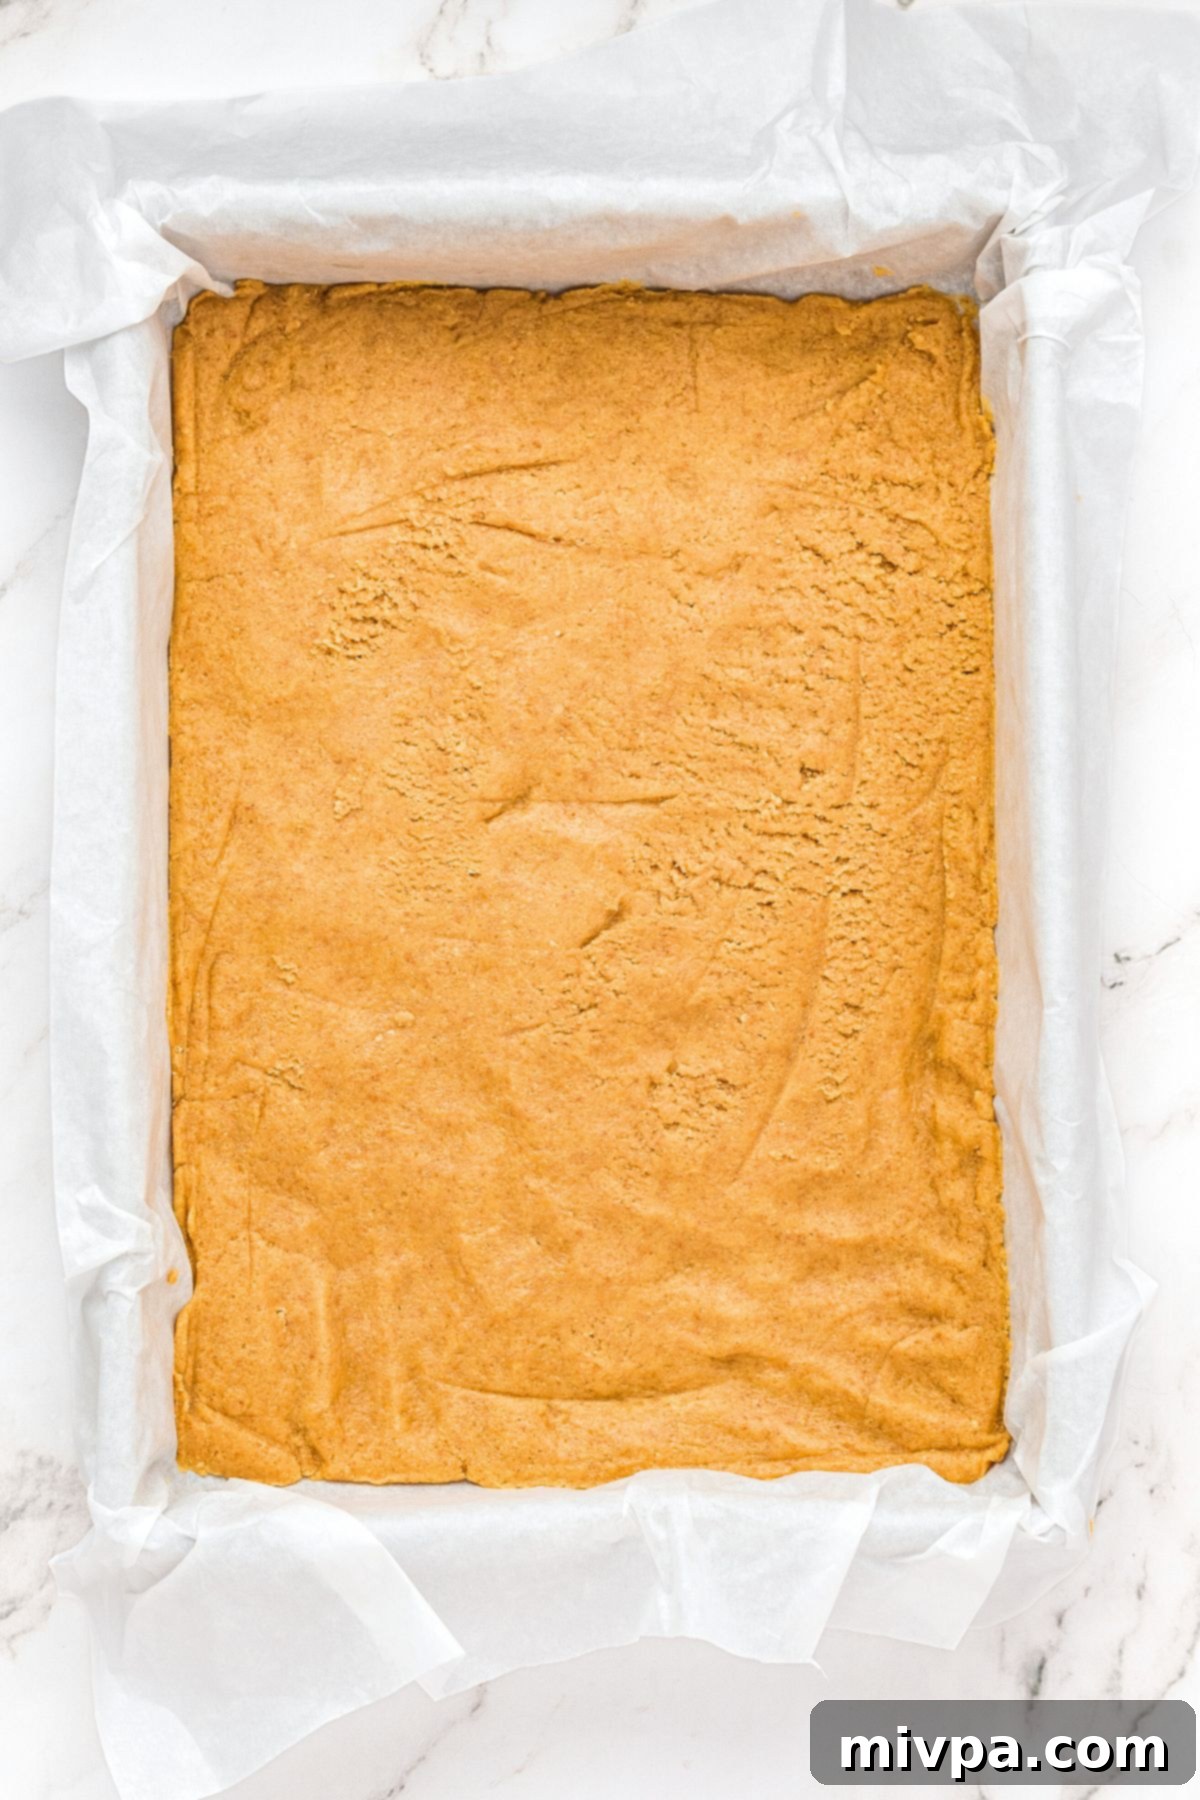
4. Press Half of the Dough into Pan: Take approximately half of your prepared graham cracker cookie dough. Using your hands, or a flat-bottomed glass to help achieve an even surface, firmly and evenly press this portion of the dough into the bottom of your parchment-lined 9” x 13” baking pan. This will form the sturdy, delicious and slightly chewy base of your S’mores bars. Make sure it’s well-compacted to prevent it from crumbling once baked.
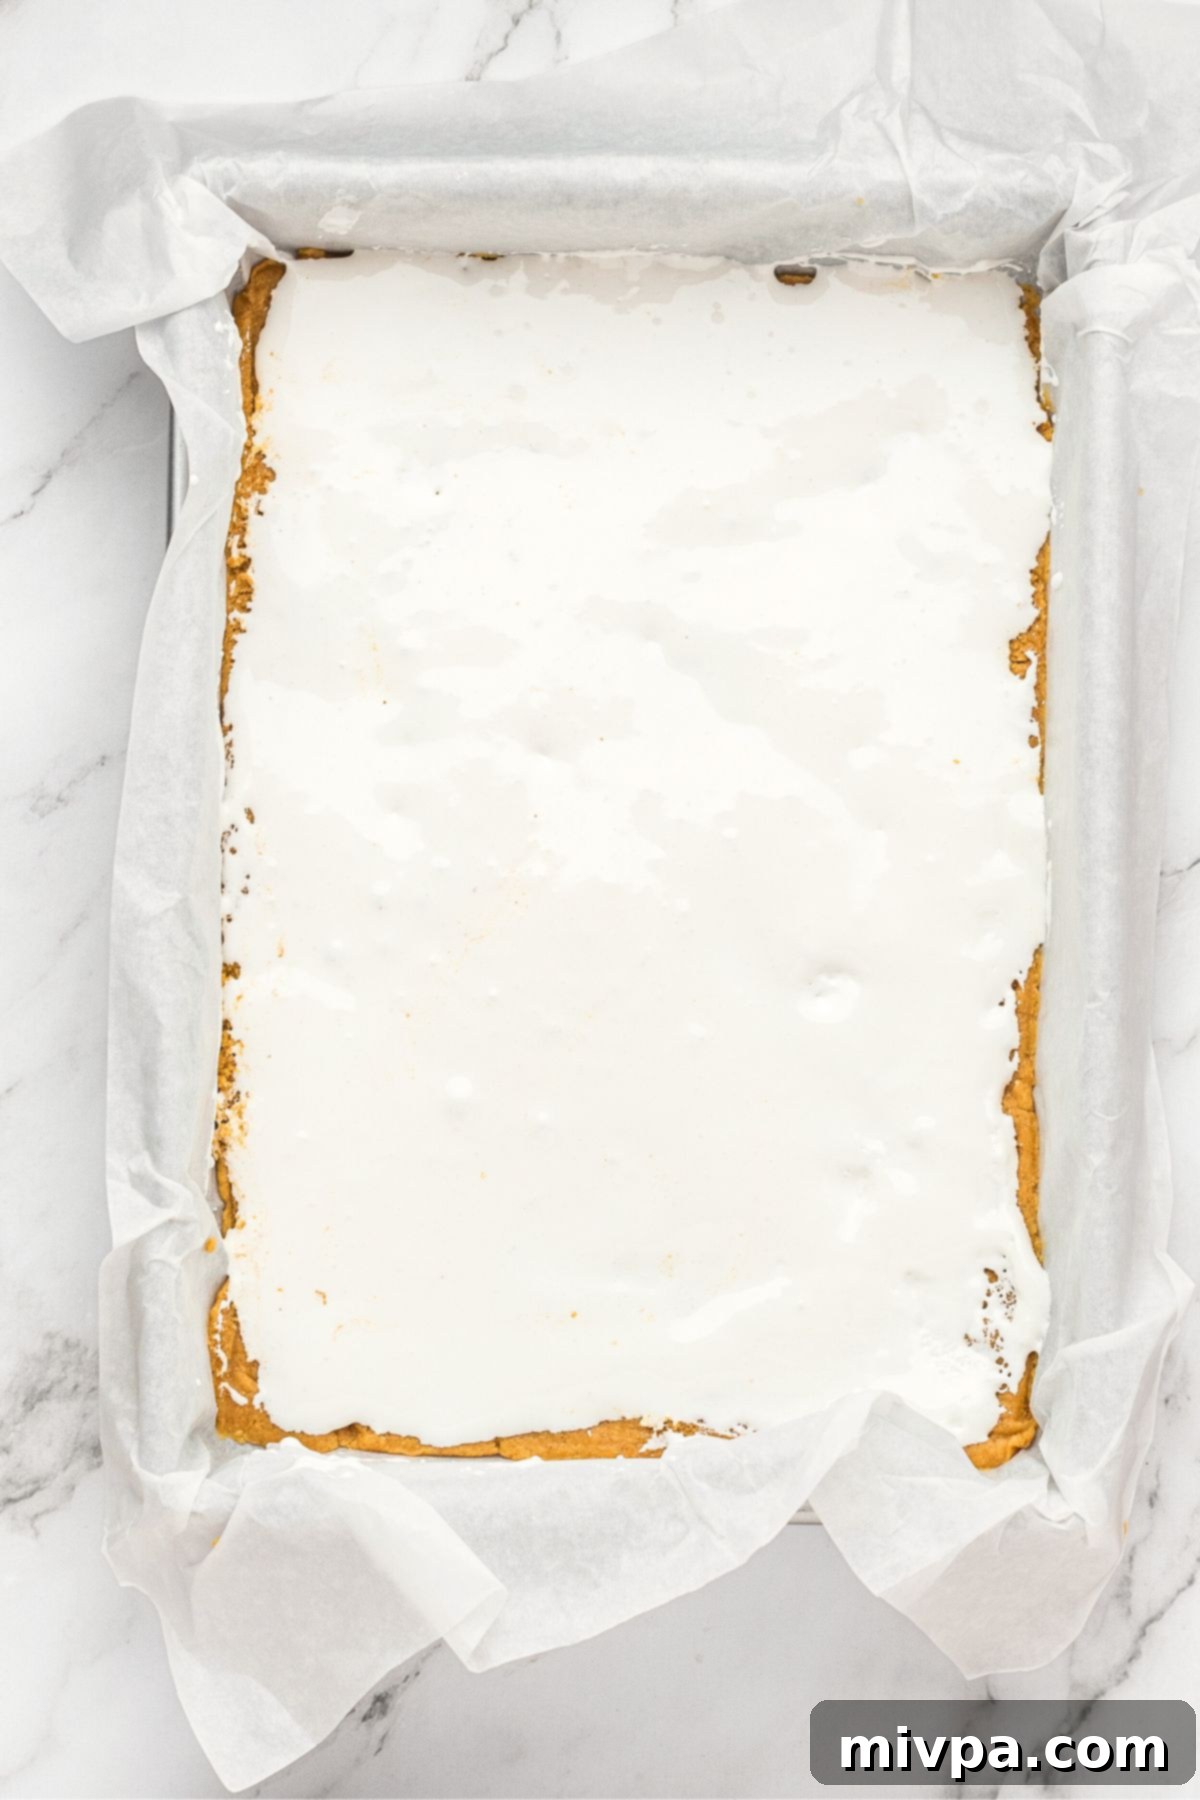
5. Spread Marshmallow Fluff: Carefully and gently spread the entire 7-ounce jar of marshmallow fluff evenly over the layer of pressed cookie dough. Marshmallow fluff can be quite sticky, so using an offset spatula or a spoon coated lightly with non-stick cooking spray can help you achieve a smooth, even layer without disturbing the base. This thick, gooey layer is absolutely essential for that authentic, stretchy S’mores experience.
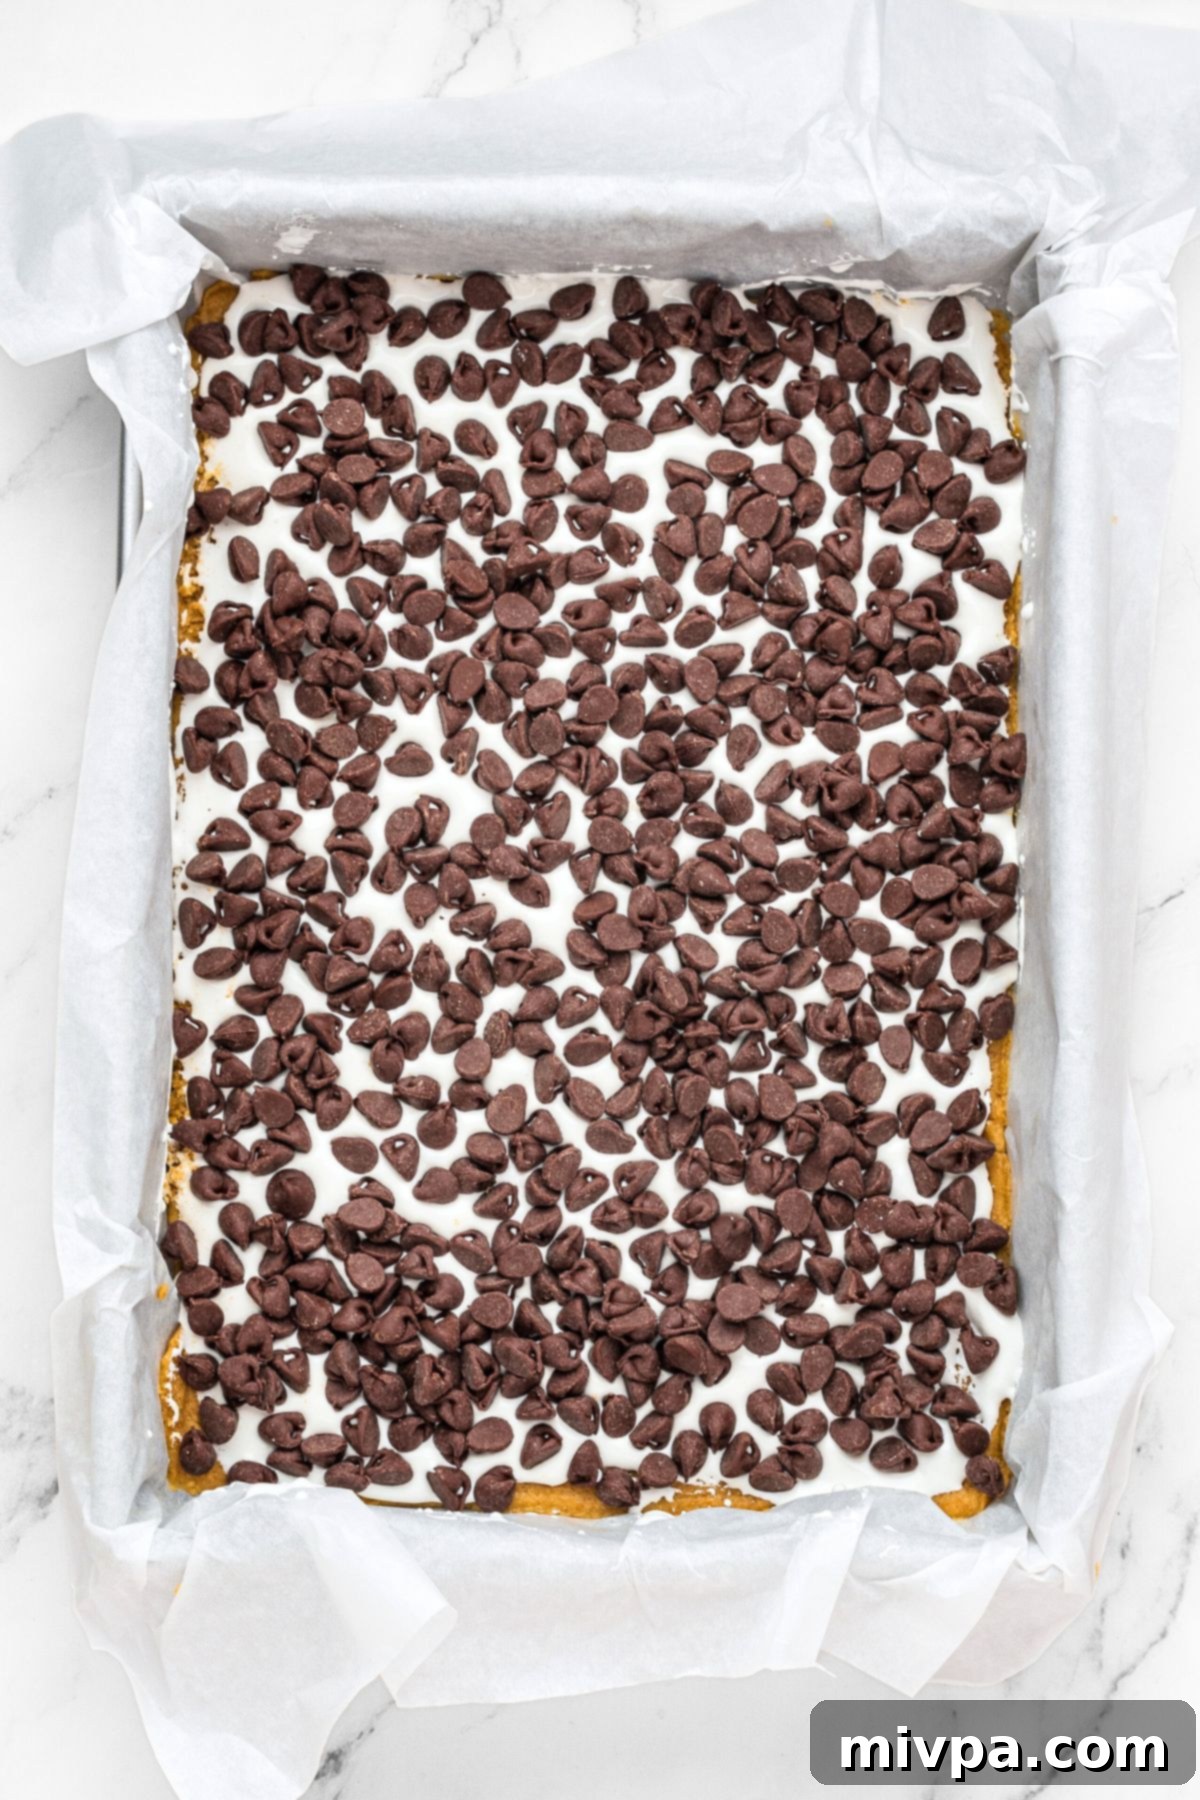
6. Sprinkle Chocolate Chips: Evenly sprinkle the semi-sweet chocolate chips (or your chosen dairy-free chocolate chips) on top of the marshmallow fluff layer. Try to distribute them as uniformly as possible across the entire surface to ensure that every single bite of your S’mores bar has that perfect amount of rich, melted chocolate. This layer adds a decadent richness that balances the sweetness of the marshmallow.
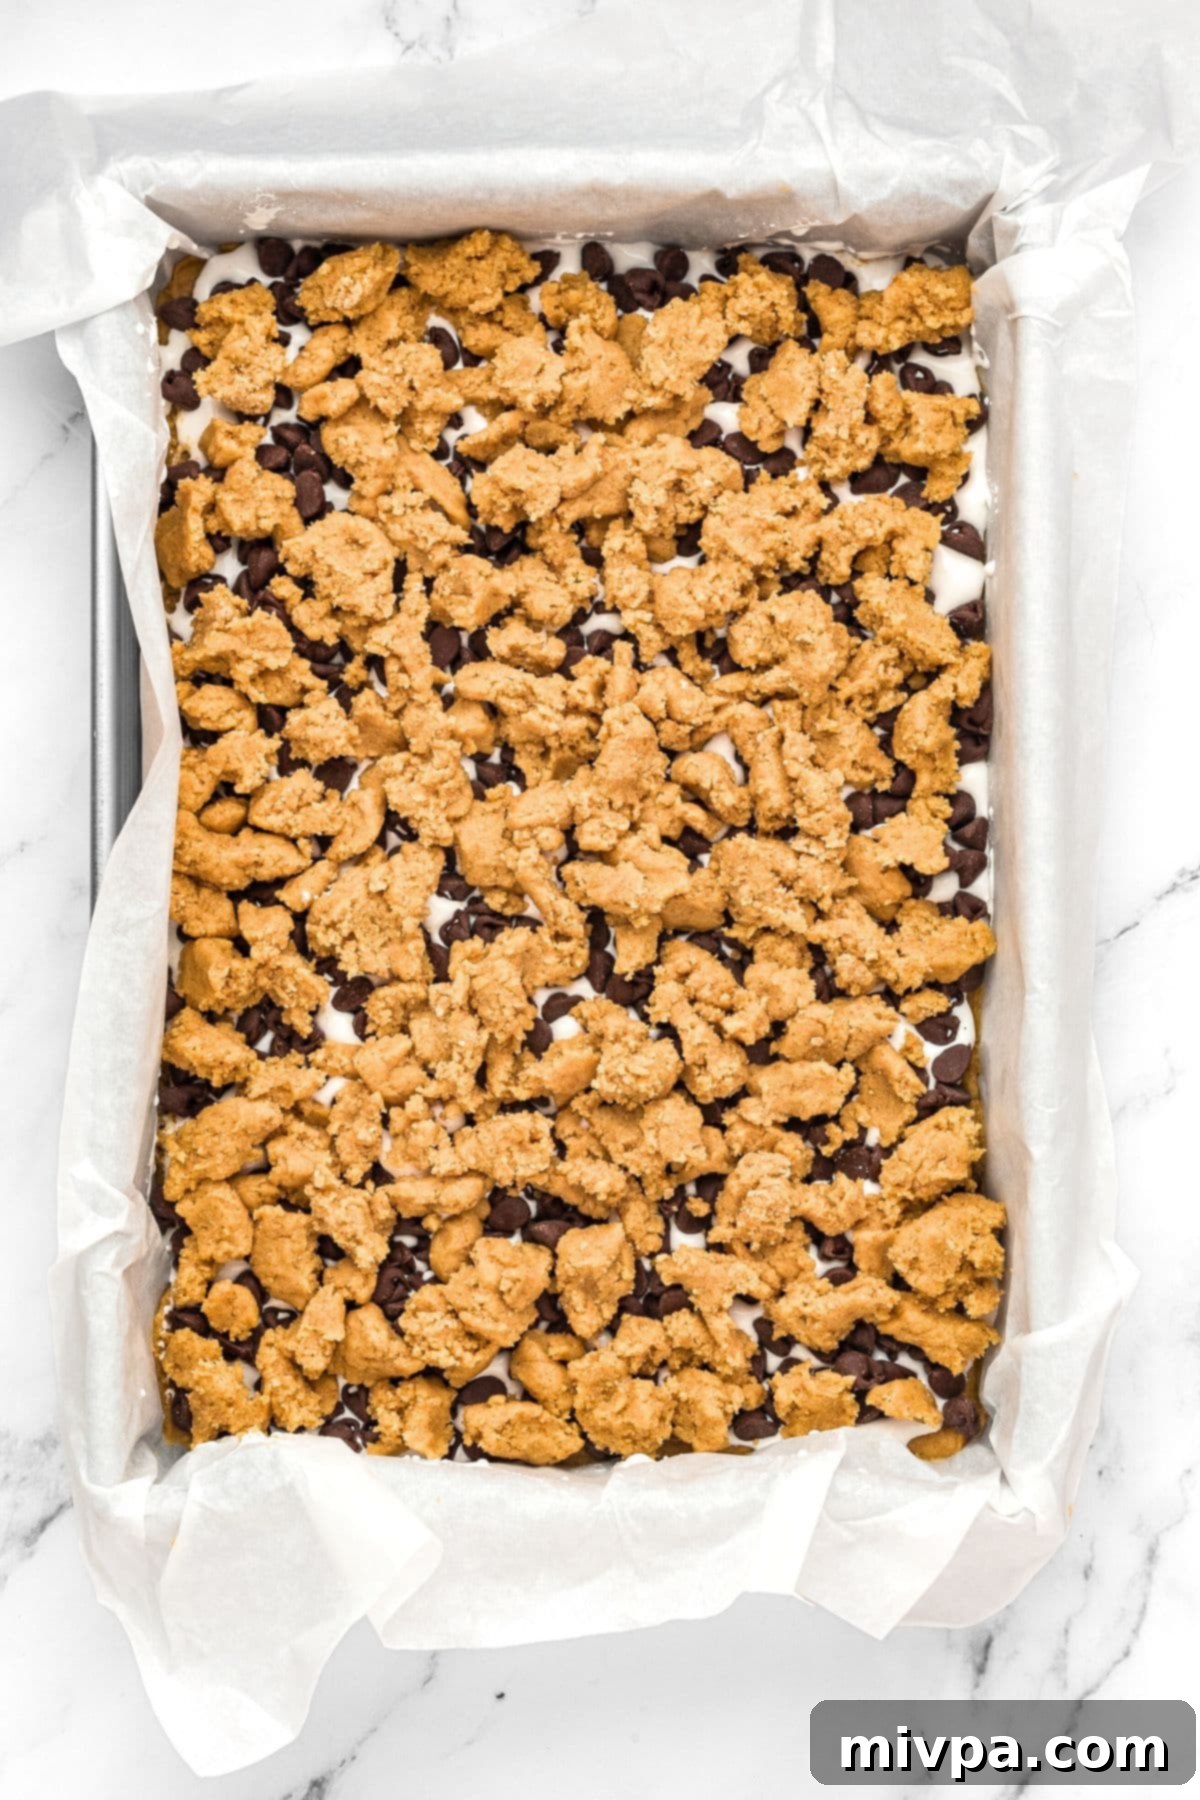
7. Sprinkle Remaining Dough: Take the other half of your graham cracker cookie dough. Using your hands, gently crumble and sprinkle this remaining dough in clusters over the chocolate and marshmallow layers. The goal is to create an appealing, somewhat open topping where you should still be able to see portions of the marshmallow fluff and chocolate peeking through the dough. This creates a beautiful rustic appearance and ensures a satisfying crunch in contrast to the soft, gooey layers beneath.
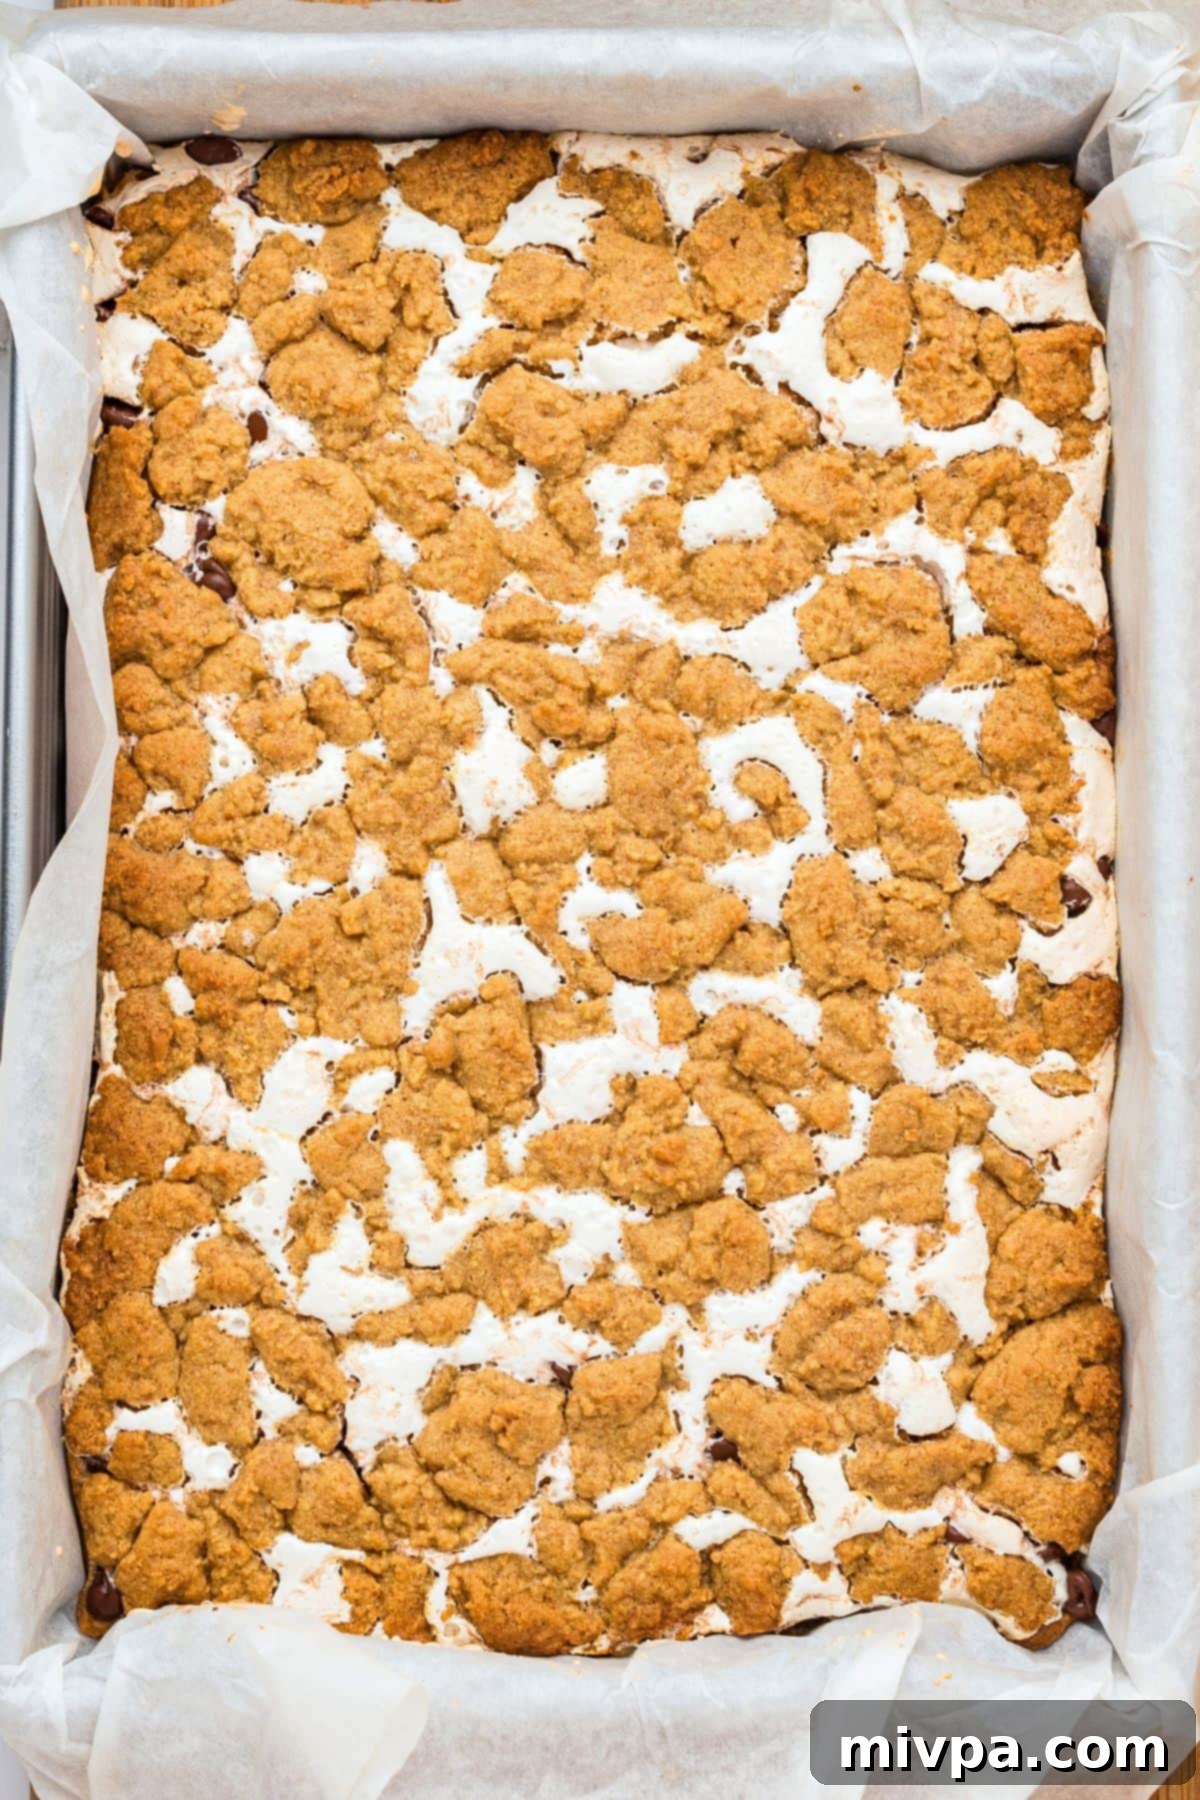
8. Bake Until Golden: Place the baking pan in your preheated oven at 350°F (175°C) and bake for 30-32 minutes. The bars are ready when the edges are beautifully golden brown and the top dough clusters are lightly toasted. The marshmallow layer beneath will be visibly puffy and slightly caramelized in spots. Keep a close eye on them towards the end of the baking time to prevent over-browning of the delicate marshmallow.
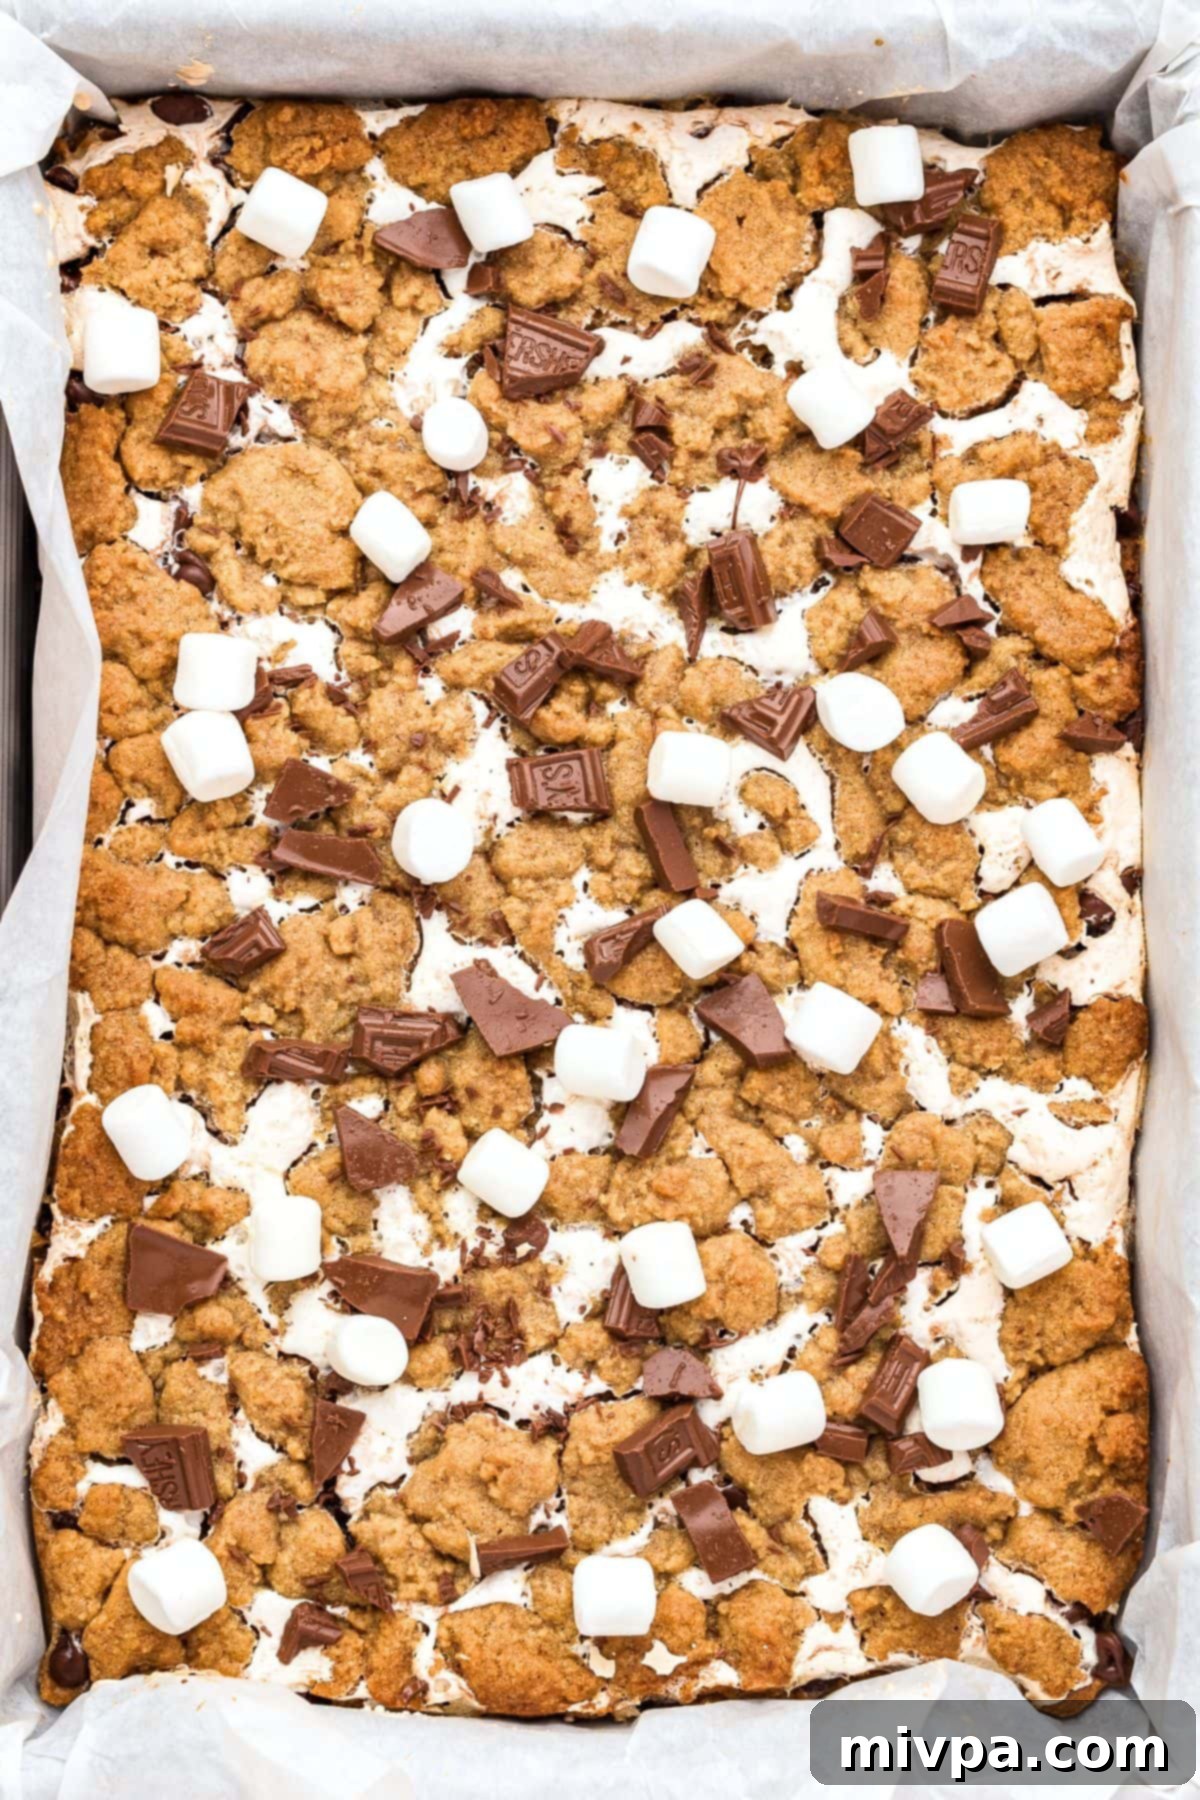
9. Top with Marshmallows & Chocolate, Then Cool: As soon as you remove the pan from the oven, immediately and generously sprinkle the mini marshmallows and chopped chocolate over the hot bars. The residual heat will work its magic, gently melting the chocolate into luscious pools and softening the marshmallows to a gooey consistency, creating an even more irresistible topping. Allow the bars to cool in the pan for 5-10 minutes. This initial cooling helps them set slightly before you attempt to move them.
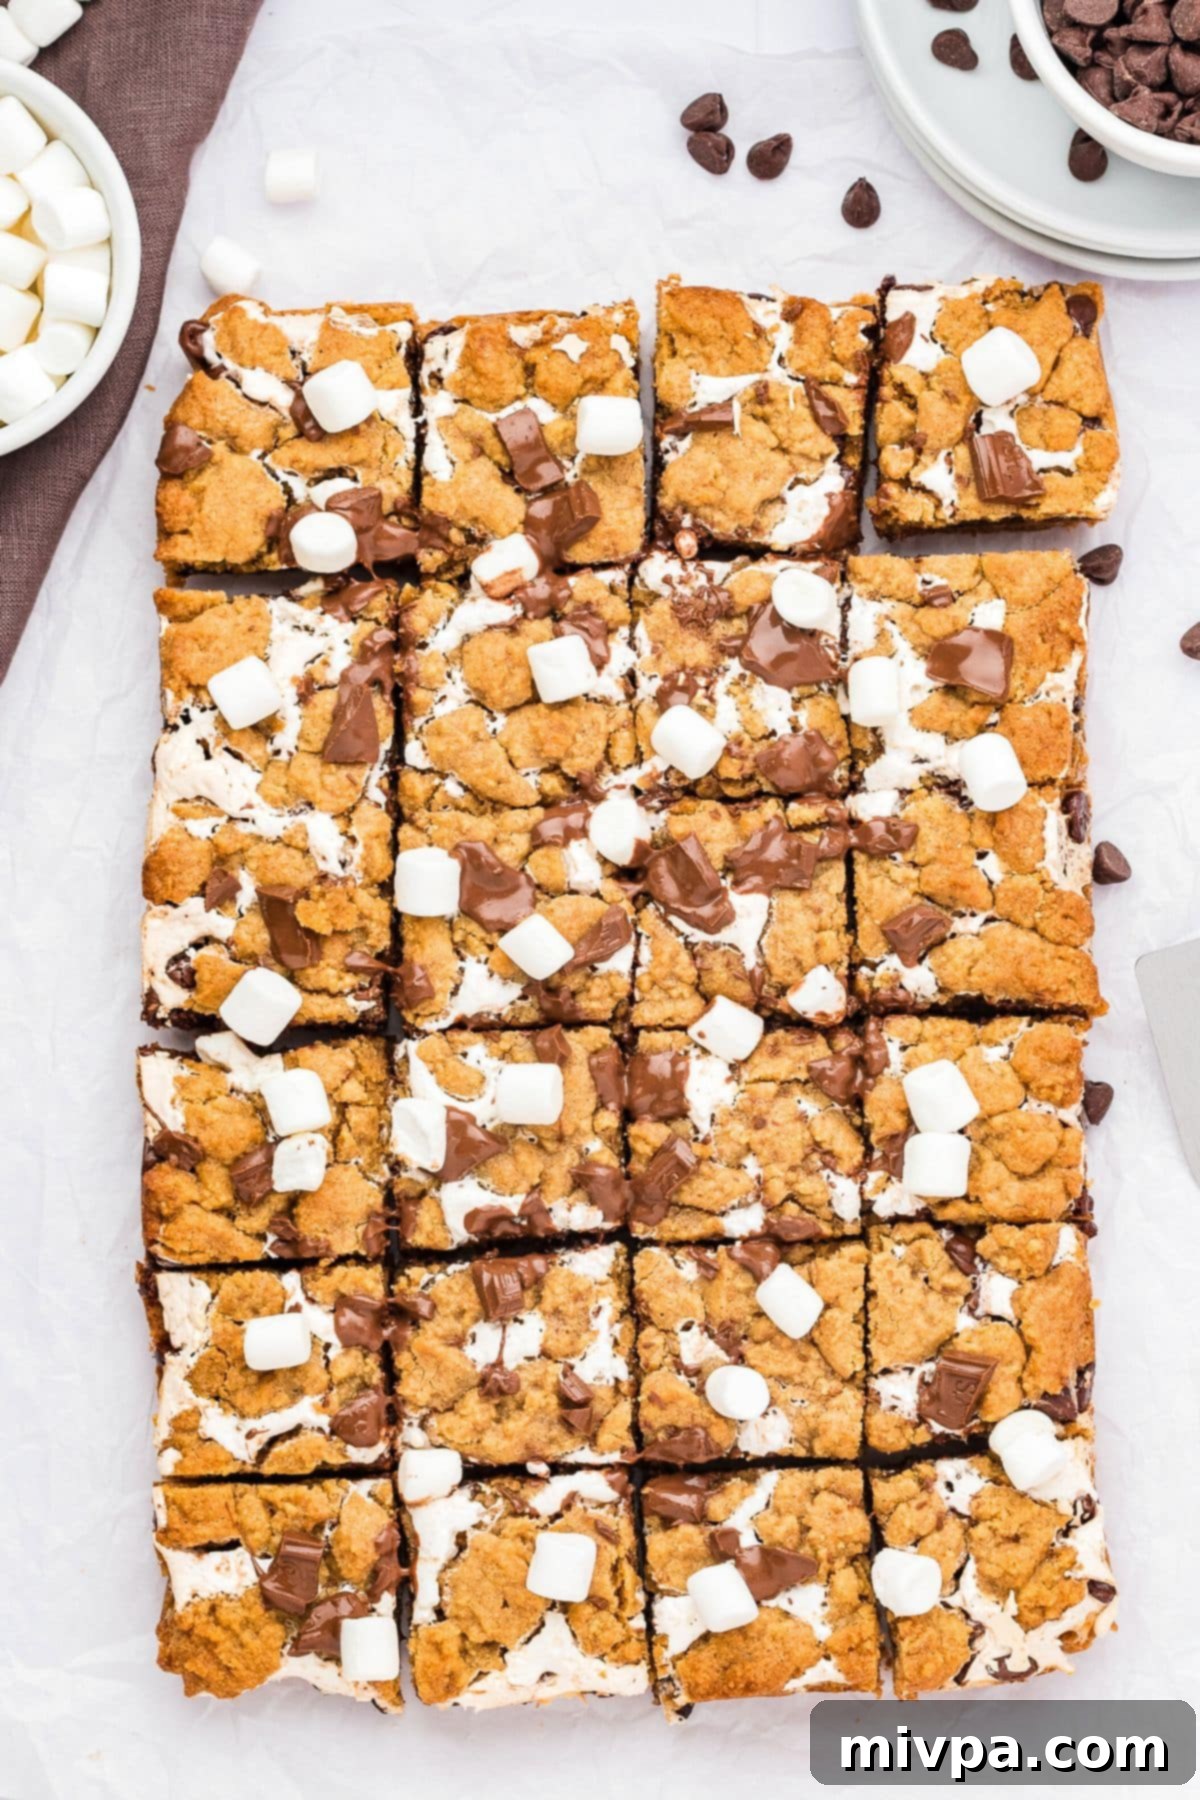
10. Remove & Slice: Using the parchment paper overhang, gently lift the entire slab of S’mores bars out of the pan and transfer it to a wire rack. It is absolutely crucial to allow the bars to cool completely to room temperature before attempting to slice them. This step is vital for clean, neat cuts and prevents the gooey layers from oozing out and making a mess. Once fully cooled and firm, use a large, sharp knife to cut into individual bars. Serve immediately or store for later enjoyment!
Dish by Dish Tips for the Best Gluten-Free S’mores Bars:
Achieve S’mores bar perfection with these extra tips and tricks from our kitchen to yours. These insights will help you maximize flavor, texture, and convenience:
- Don’t Skip the Topping Marshmallows & Chocolate: While technically optional, the addition of mini marshmallows and chopped chocolate immediately after baking significantly enhances both the visual appeal and the textural complexity of these gluten-free S’mores bars. The heat from the freshly baked bars will gently melt the chocolate into luscious pockets and soften (and slightly toast) the marshmallows, creating a truly irresistible finish that elevates them from simply delicious to absolutely stunning. It’s the final touch that makes them look and taste like a true S’mores indulgence.
- Proper Storing & Freezing for Freshness: These S’mores cookie bars are fantastic for meal prep or making ahead. To keep them fresh, store them in an airtight container at room temperature for up to 2-3 days, or in the refrigerator for up to 5 days. For longer storage, these bars freeze exceptionally well! Wrap individual bars tightly in plastic wrap, then place them in a freezer-safe bag or container. They can be frozen for up to 3 months. When you’re ready to enjoy, simply thaw them at room temperature or warm them gently in the microwave for a few seconds for that freshly baked, gooey experience. They truly freeze and defrost beautifully without compromising on taste or texture.
- Serving Suggestions: While undeniably delicious on their own, these S’mores bars are fantastic when served warm with a scoop of vanilla ice cream, or a drizzle of caramel sauce for an extra touch of decadence. A cup of hot cocoa makes for the perfect pairing on a cool evening.
- Achieving Clean Slices: For perfectly clean and neat slices, patience is key! It is absolutely essential to ensure the bars are completely cooled to room temperature before cutting. For even crisper cuts, you can chill them in the refrigerator for about 30 minutes after cooling. Use a large, sharp, non-serrated chef’s knife and wipe the blade clean with a damp cloth between each slice to prevent sticking and ensure defined edges.
- Customize Your Toppings: Don’t be afraid to experiment with your chocolate and marshmallow toppings. Consider adding a sprinkle of sea salt flakes for a gourmet sweet and salty twist, or a handful of chopped nuts for an extra layer of crunch.
Frequently Asked Questions (FAQs) About Gluten-Free S’mores Bars:
Here are some common questions you might have when preparing these delightful gluten-free S’mores bars:
- Can I use regular graham crackers if I’m not gluten-free?
Absolutely! If gluten is not an issue for you or your guests, feel free to use regular graham crackers. The recipe will work perfectly with either gluten-free or conventional graham cracker crumbs, just ensure you still measure out 2 cups of fine crumbs for the crust.
- What if I don’t have marshmallow fluff? Can I use regular marshmallows?
Marshmallow fluff is specifically recommended for its smooth, incredibly gooey, and consistent layer that truly mimics a melted campfire marshmallow without the mess. If you only have regular marshmallows, you can try melting about 3-4 cups of mini marshmallows with a tablespoon of butter or oil over very low heat, then spreading it quickly. However, be aware that the texture will be slightly different – likely less uniform and potentially firmer once cooled. The fluff provides a superior, easier-to-spread, and consistently gooey experience.
- How can I ensure my bars cut cleanly without sticking?
The key to perfectly clean slices is patience! It is absolutely essential to let the S’mores bars cool completely to room temperature. For even crisper and cleaner cuts, you can chill them in the refrigerator for about 30 minutes before slicing. Use a large, sharp chef’s knife and wipe the blade clean with a damp cloth between each slice to prevent sticking and ensure neat, defined edges.
- Can I add other mix-ins or toppings to the bars?
Definitely! Feel free to get creative and customize your S’mores bars. You could add a sprinkle of flaky sea salt over the chocolate layer for a wonderful sweet and salty contrast, or mix in some chopped nuts (like pecans or walnuts) with the chocolate chips for extra texture and flavor. Caramel bits, a swirl of peanut butter, or even a dash of cinnamon with the graham cracker crumbs could also be delicious additions!
- Are these S’mores bars suitable for making ahead for a party or event?
Yes, these bars are an excellent make-ahead dessert, which makes them perfect for parties, potlucks, or family gatherings! You can bake them a day or two in advance and store them in an airtight container at room temperature. They often taste even better after a day as the flavors have more time to meld together. For longer storage options, refer to the detailed freezing instructions provided in the “Dish by Dish Tips” section above.
Other Delicious Gluten-Free Cookie Bars to Bake:
If you loved these S’mores bars, you might also enjoy exploring these other fantastic gluten-free cookie bar recipes from our collection:
- Chocolate Chip Cookie Bars (Gluten-Free, Dairy-Free)
- Monster Cookie Bars (Gluten-Free, Dairy-Free)
- Chocolate Pecan Bars (Gluten-Free, Dairy-Free)
- Strawberry Crumble Bars (Gluten-Free, Dairy-Free)
- Moist Pumpkin Bars (Gluten-Free, Dairy-Free)
More Gluten-Free Desserts You’ll Love:
Looking for more sweet treats that cater to gluten-free diets? Dive into these delightful options:
- Gluten-Free Pumpkin Banana Muffins (Dairy-Free)
- 126 Gluten-Free Desserts and Sweet Treats for Labor Day
- Mini Pumpkin Cheesecakes (Gluten-Free, Dairy-Free Option)
- Gluten-Free Pecan Pie Bars (Dairy-Free)
P.S. If you try this irresistible gluten-free S’mores bars recipe, we’d absolutely love for you to leave a star rating below and/or a detailed review in the comment section further down the page. Your feedback is invaluable to us and helps other bakers too! Be sure to check out our entire Recipe Index for all the delicious recipes on the blog. You can also connect with us and find more inspiration by following us on Pinterest, Facebook or Instagram! Don’t miss out on fresh recipes and baking tips – sign up for our Email List to get delicious updates delivered straight to your inbox each week!
Print

Gluten’Free S’mores Bars (Dairy-Free Option)
5 Stars 4 Stars 3 Stars 2 Stars 1 Star
No reviews
Author: Felicia Lim
Total Time: 45 minutes
Yield: 24 cookie bars
Diet: Gluten Free
Description
No campfire required for these gluten-free S’mores bars! You get all the gooey, chocolatey and crunchy goodness of S’mores in these easy-to-make dessert bars which can be baked in your own kitchen and enjoyed all year round!
Ingredients
Units
Scale
- 1 cup (2 sticks) salted butter, softened
- 1 1/2 cups light brown sugar, packed
- 2 eggs
- 2 teaspoons vanilla extract
- 2 cups gluten-free 1:1 flour
- 1/2 teaspoon xanthan gum (omit if your gluten-free flour blend already has it)
- 2 cups gluten-free graham cracker crumbs (from 12 -15 graham crackers)
- 1 1/2 teaspoons baking powder
- 1/2 teaspoon salt
- 7 ounce jar marshmallow fluff
- 2 cups semi-sweet chocolate chips
For the Topping (Optional, But Recommended):
- 1 cup gluten-free mini marshmallows
- 1/2 cup chopped semi-sweet chocolate
Instructions
- Preheat & Line: Preheat the oven to 350F (175°C). Line a 9” x 13” baking pan with parchment paper, making sure to leave an overhang for easy removal of bars after baking.
- Beat Butter & Sugar: In a large mixing bowl, beat the softened butter and brown sugar on medium speed about 2 minutes, until the mixture is light and fluffy.
- Add Eggs & Vanilla: Add in the eggs and vanilla extract to the butter-brown sugar mixture and continue to beat on medium-high speed for approximately another 1-2 minutes until fully combined.
- Add Dry Ingredients: Add the gluten-free graham cracker crumbs, gluten-free 1:1 flour, xanthan gum (if using), baking powder and salt to the same bowl. Continue mixing until thoroughly combined – you will get a thick dough.
- Press Half of the Dough into Pan: Using your hands, press half of the dough into the bottom of the prepared pan, forming an even layer.
- Spread Fluff: Gently spread the marshmallow fluff on top of the layer of pressed dough.
- Sprinkle Chocolate Chips: Sprinkle the chocolate chips evenly on top of marshmallow layer.
- Sprinkle Remaining Dough: Using your hands, crumble and sprinkle the remaining dough in clusters on top of marshmallow layer (you should be able to see the marshmallow fluff peaking through the dough).
- Bake Until Golden: Bake in the preheated oven for 30-32 minutes until edges are golden brown.
- Top with Marshmallows & Chocolate, Then Cool: Upon removing pan from the oven, immediately top with mini marshmallows and chopped chocolate, and allow the bars to cool in the pan for 5-10 minutes before removing.
- Remove & Slice: Remove bars by gently lifting parchment paper and allow to fully cool to room temperature before slicing.
- Enjoy: Serve and enjoy these delicious gluten-free S’mores bars!
Notes
Butter: If you are lactose-intolerant, make sure to use dairy-free butter instead.
Sugar: I used light brown sugar, but cane sugar, dark brown sugar or coconut sugar will work just as well.
Eggs: Eggs help to bind the ingredients together, so make sure to add them in.
Vanilla Extract: I like adding a bit of vanilla extract for extra flavor. However, if you are not keen on the taste of vanilla, feel free to leave it out instead.
Gluten-Free Flour: I recommend using a good-quality gluten-free 1:1 flour (a 1:1 gluten-free substitute for regular all-purpose flour) that is made up of lighter flours/starches (such as rice flour, tapioca starch, corn starch or potato starch). I do NOT recommend using a gluten-free flour blend that is made up of heavier flours (such as garbanzo bean flour).
Xanthan Gum: Xanthan gum is the replacement for gluten in gluten-free flours and helps to better bind the ingredients together. If your gluten-free flour blend does not already include xanthan gum, make sure to add it in.
Graham Cracker Crumbs: You’ll need approximately 12 to 15 gluten-free graham crackers to get 2 cups of cracker crumbs. Roughly break the crackers and pulse them in a high-speed blender or food processor until you get fine crumbs. You can use either homemade graham crackers or store-bought graham crackers.
Baking Powder: Baking powder is the only leavening agent used to help the dough rise. If you are Celiac or gluten-intolerant, make sure to use gluten-free baking powder.
Marshmallow Fluff: Marshmallow fluff will add to the gooey texture that is so characteristic of s’mores. Make sure to add it in.
Chocolate Chips: I used semi-sweet chocolate chips, but you can use milk chocolate chips if you prefer. If you are lactose-intolerant, go ahead and usedairy-free chocolate chips instead.
Mini Marshmallows: While topping with mini marshmallows is optional, it adds to the appearance of the s’mores bars, so I definitely recommend adding them.
Chocolate: In the same way as the mini marshmallows, adding chopped chocolate on top is optional but definitely makes the bars look better! If you are lactose-intolerant, go ahead and use dairy-free chocolate instead.
- Prep Time: 15 mins
- Cook Time: 30 mins
- Category: Desserts
- Method: Baking
- Cuisine: American
