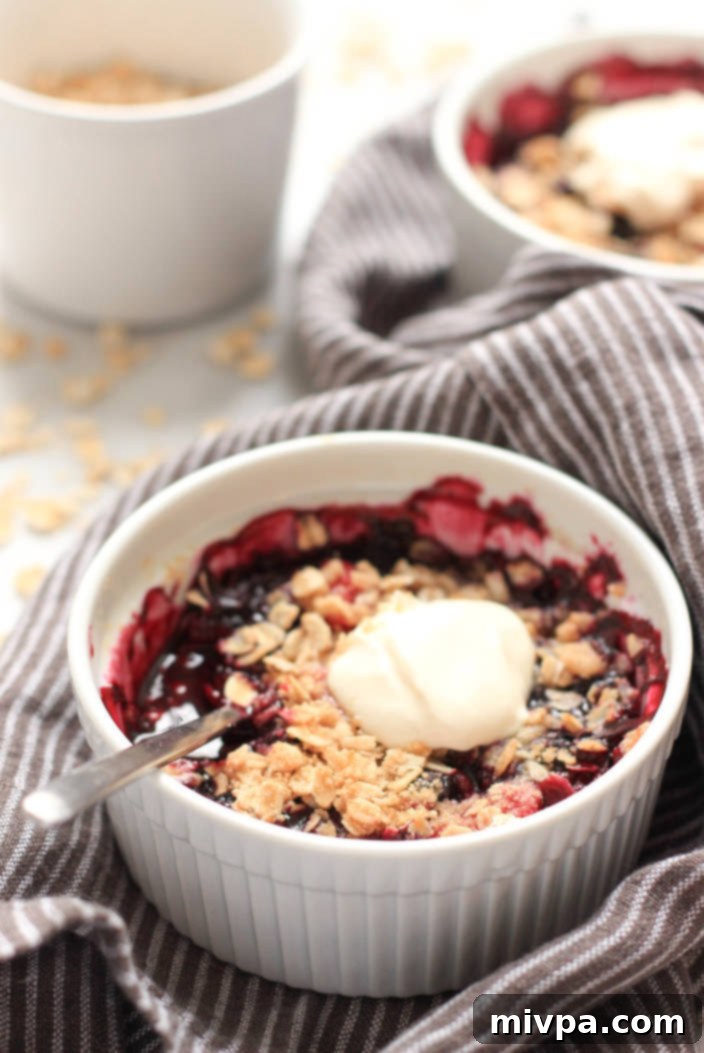
Easy Gluten-Free Berry Crisp: Your Go-To Vegan & Dairy-Free Dessert (or Breakfast!)
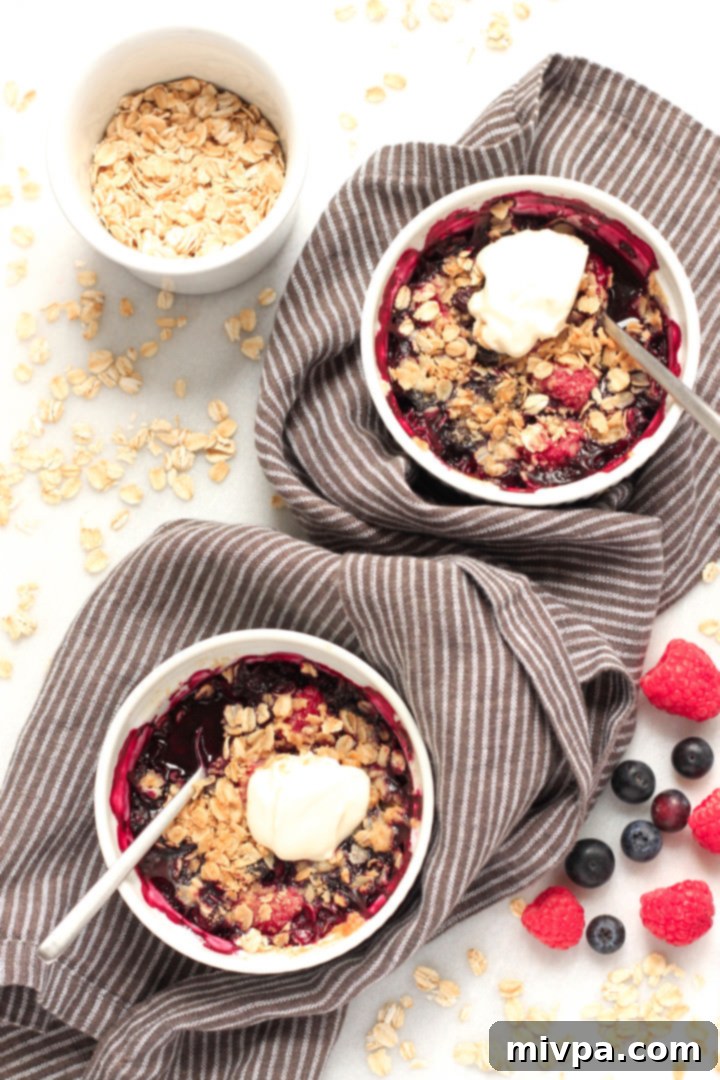
There’s nothing quite like the comforting aroma of warm berries bubbling under a golden, crispy oat topping. This easy gluten-free berry crisp brings that perfect balance of sweet, tart, and crunchy straight to your table in just 35 minutes. Whether you’re looking for a delightful breakfast to kickstart your day or a mouthwatering dessert to complete any meal (especially with a generous scoop of dairy-free ice cream!), this recipe is a true winner. Best of all, it’s completely dairy-free and vegan, making it accessible and enjoyable for everyone.
[feast_advanced_jump_to]
Celebrating the Versatility of Mixed Berries
Berries, with their vibrant colors and burst of flavor, have always held a special place in my heart – and my kitchen! The natural sweetness and subtle tartness of a medley of berries are simply irresistible, lending themselves beautifully to a wide array of culinary creations. From refreshing morning treats to comforting evening desserts, mixed berries elevate any dish they grace.
This gluten-free berry crisp is a testament to the magic of combined blueberries and raspberries, creating a symphony of flavors and textures. The warm, juicy fruit filling perfectly complements the crunchy, golden-brown oat topping. It’s a truly amazing and comforting dish that evokes feelings of cozy days and homemade goodness. If you’re as big a fan of berries as I am, you’ll love exploring these other favorite berry-centric recipes:
- Mixed Berry Crumble (Gluten-Free, Vegan)
- Mixed Berry Chia Seed Jam (Gluten-Free, Vegan)
- Mixed Berry Yogurt Popsicles (Gluten-Free, Vegan)
- Mini Mixed Berry Galettes (Gluten-Free)
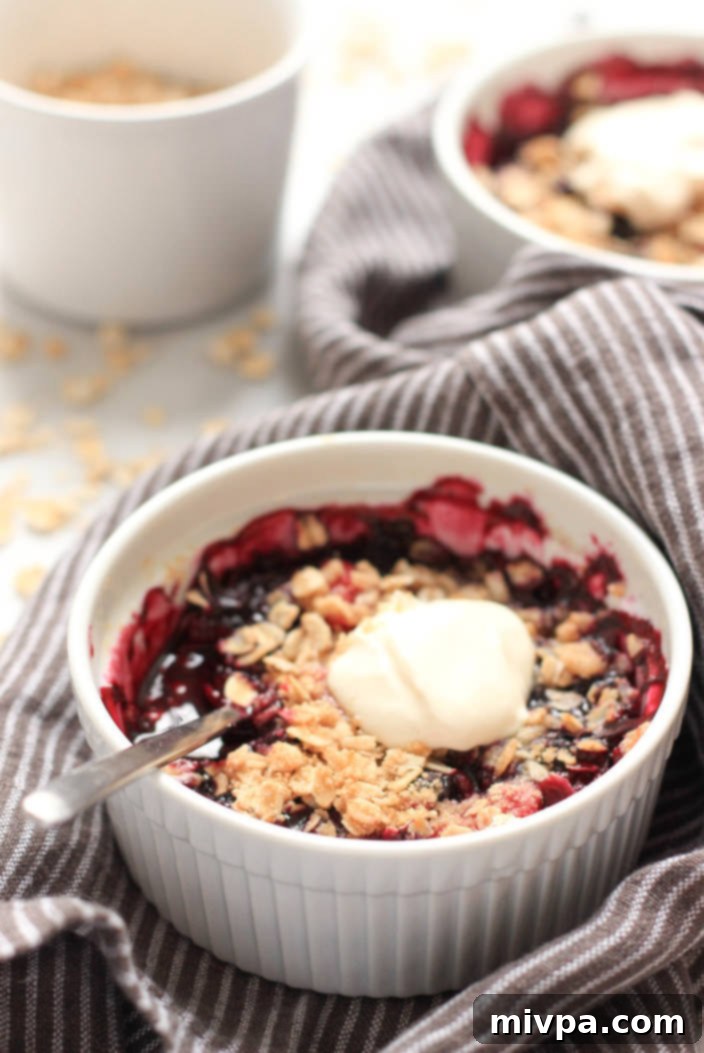
Why This Gluten-Free Berry Crisp Recipe Stands Out
This particular berry crisp recipe isn’t just delicious; it’s designed for ease, accessibility, and maximum enjoyment. Here are a few reasons why it’s become a staple in my kitchen and why I believe it will in yours too:
- Effortless Preparation with Simple Ingredients: You don’t need exotic ingredients or a trip to a specialty store to make this crisp. The basic components are widely available at any local grocery store, and chances are, you already have most (if not all!) of them in your pantry. We’re talking fresh or frozen berries, oats, a bit of sugar, and some gluten-free flour. It’s a fuss-free recipe that delivers gourmet taste with minimal effort.
- Incredibly Easy to Make: The process of preparing this berry crisp is refreshingly straightforward. It essentially involves two simple steps: combining your choice of berries with a touch of sugar for the filling, and then mixing the dry ingredients for the crispy oat topping with cold vegan butter. Once assembled, it’s just a matter of baking until golden and bubbly. Even novice bakers can achieve spectacular results with this foolproof recipe!
- Caters to Dietary Needs (Gluten-Free, Dairy-Free, Vegan): This is truly the best part for many! This wholesome berry crisp is thoughtfully crafted to be 100% gluten-free, dairy-free, and vegan. This means that individuals managing Celiac disease, gluten or lactose intolerances, or simply those adhering to a gluten-free or vegan lifestyle can indulge in this scrumptious treat without any concerns or compromise on flavor. It’s a dessert that truly everyone at the table can enjoy.
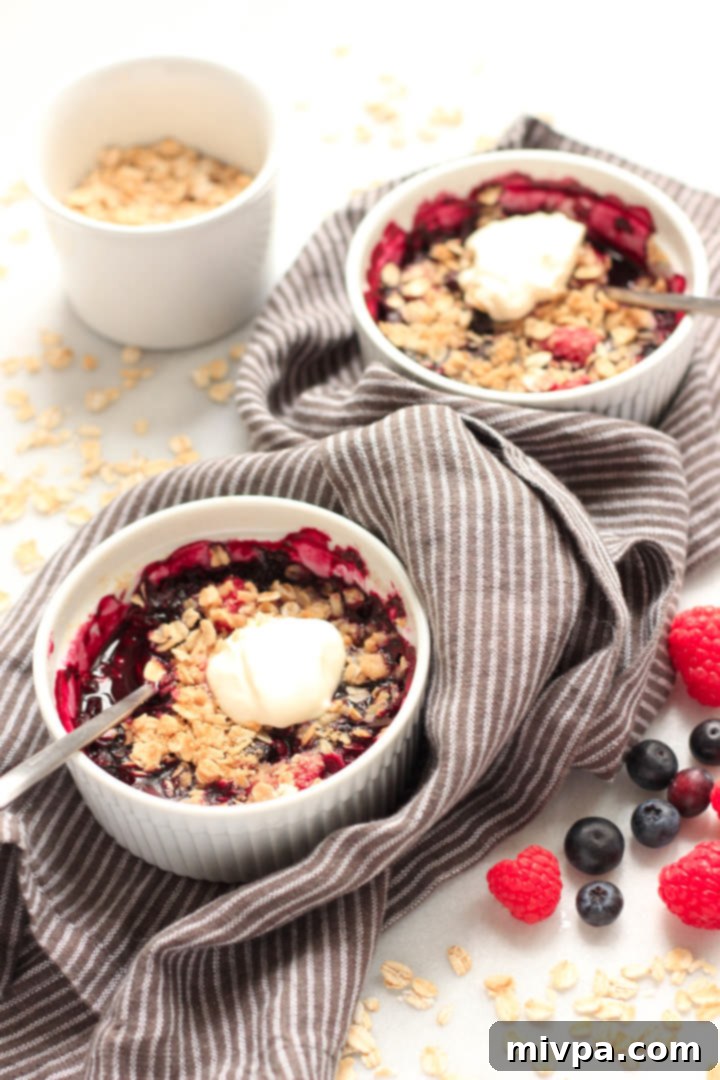
Essential Ingredients and Helpful Substitutions for Your Berry Crisp
Crafting the perfect berry crisp starts with understanding your ingredients. Here’s a detailed look at what you’ll need and how you can adapt the recipe to suit your preferences or pantry:
- Berries: For this recipe, I primarily used a delightful mix of fresh blueberries and raspberries. However, the beauty of a berry crisp lies in its flexibility. Feel free to experiment with other types of fresh berries such as sweet strawberries (sliced or halved) or tart blackberries. The goal is to have a total of 4 cups of berries. While fresh berries are wonderful, especially during peak season, frozen berries work equally well and offer fantastic convenience. If using frozen, simply adjust your baking time slightly as detailed in the instructions.
- Sweetener (Sugar): I opted for light brown sugar for its subtle molasses notes and moist texture, which enhances the crisp topping. However, you have several excellent alternatives: natural cane sugar, dark brown sugar for a richer flavor, or coconut sugar for a less refined option. For those managing blood sugar levels or following a low-glycemic diet, I highly recommend Lakanto monkfruit sweetener. It’s a fantastic 1:1 sugar substitute with a zero glycemic index, meaning it won’t spike your blood sugar while still providing the desired sweetness.
- Oats: The star of our crispy topping! It’s absolutely crucial for individuals with Celiac disease or gluten intolerance to use certified gluten-free rolled oats. Regular oats, even if naturally gluten-free, are often processed in facilities that also handle gluten-containing grains like wheat, barley, and rye. This cross-contamination can cause adverse reactions. “Certified gluten-free” ensures they’ve been handled separately to prevent this issue.
- Gluten-Free All-Purpose Flour: This provides structure to the oat topping. For the best texture – light, crumbly, and never dense – I strongly advise using a good-quality gluten-free all-purpose flour blend composed of lighter flours and starches. Look for blends containing ingredients like rice flour, corn starch, tapioca starch, or potato starch. Avoid blends that prominently feature heavier flours such as garbanzo bean flour, as these can result in a tougher, denser, and less appealing topping.
- Vegan Butter: To ensure this crisp remains truly dairy-free and vegan, I use vegan butter. It behaves very similarly to regular butter, contributing to the rich flavor and crisp texture. A fantastic alternative is chilled coconut oil. If you choose coconut oil, I recommend refined coconut oil, as it has a neutral taste that won’t interfere with the berry flavors. In contrast, extra virgin coconut oil has a more distinct coconut aroma and flavor, which might not be desirable depending on your preference.
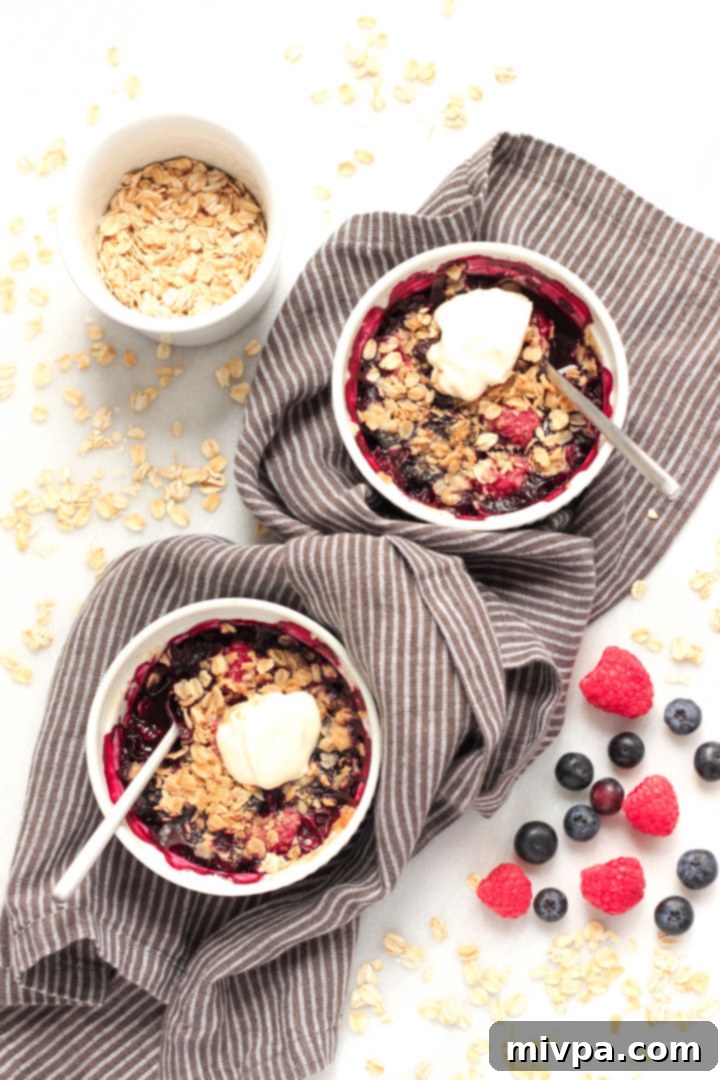
Step-by-Step Guide to Making Your Gluten-Free Berry Crisp
Ready to create this delicious and comforting dessert? Follow these simple steps for a perfect berry crisp every time:
1. Preheat Oven and Grease Ramekins
Begin by preheating your oven to 375F (190C). While the oven heats up, prepare four medium ramekins (or a single baking dish, see tips below) by lightly greasing them with a thin layer of vegan butter or coconut oil. This prevents sticking and ensures your crisp comes out beautifully. Set them aside.
2. Prepare the Flavorful Berry Filling
In a spacious mixing bowl, gently combine your chosen berries with 2 tablespoons of sugar. Mix them well, ensuring each berry is lightly coated. Allow this mixture to sit for 5 to 10 minutes. This short resting period encourages the berries to release some of their natural juices, which will create that wonderful bubbling, syrupy filling during baking.
3. Craft the Crispy Oat Topping
In a separate large mixing bowl, combine the certified gluten-free rolled oats, light brown sugar, gluten-free all-purpose flour, and a pinch of salt. Add the cold vegan butter, cut into small chunks. Using two knives, or a pastry blender, work the butter into the dry ingredients in a criss-cross motion. Continue until the mixture resembles coarse crumbs with some pea-sized pieces of butter remaining. This technique is key to achieving that perfectly crisp, crumbly topping.
4. Assemble Your Berry Crisps
Now, it’s time to bring it all together! Divide the berry-sugar mixture evenly among your four greased ramekins, creating a nice layer of fruit at the bottom. Next, generously sprinkle the prepared oat topping evenly over the berry filling in each ramekin. Ensure a good, consistent layer for maximum crunch.
5. Bake Until Golden Perfection
Carefully place the four assembled ramekins onto a baking tray. This tray will catch any potential drips from the bubbling berries, keeping your oven clean. Bake in the preheated oven until the crisp topping is beautifully golden brown and the berry filling is visibly bubbling around the edges. This typically takes around 25 minutes if you’re using fresh berries, or approximately 40 minutes if you’ve opted for frozen berries (as they need extra time to thaw and heat through).
6. Serve Warm and Enjoy!
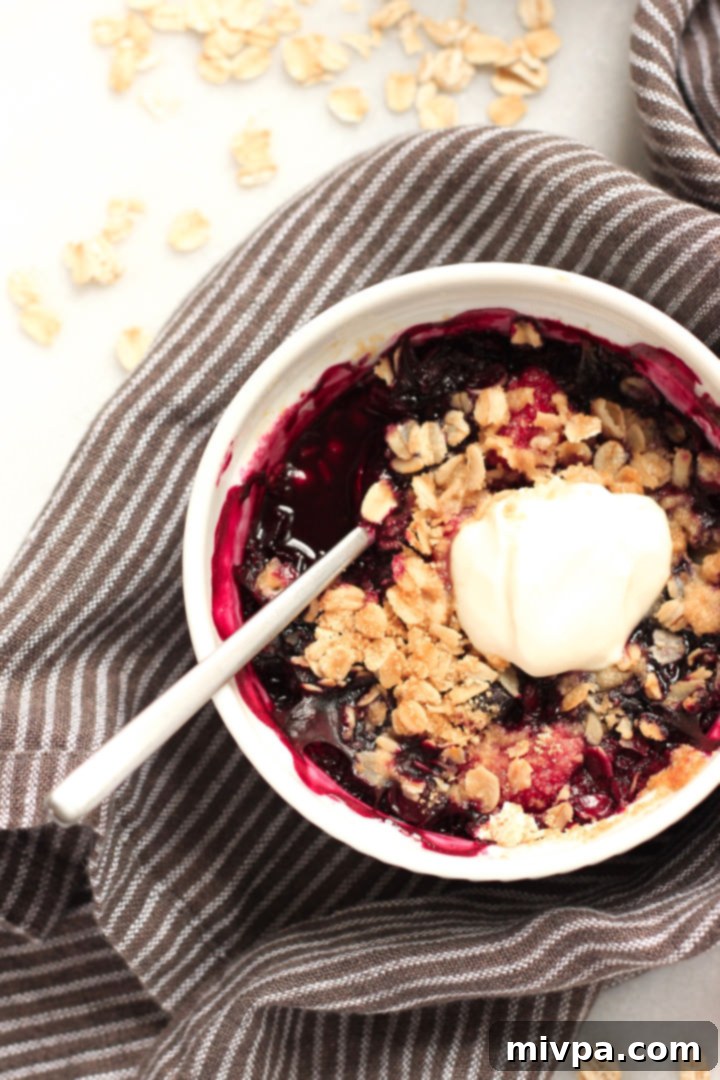
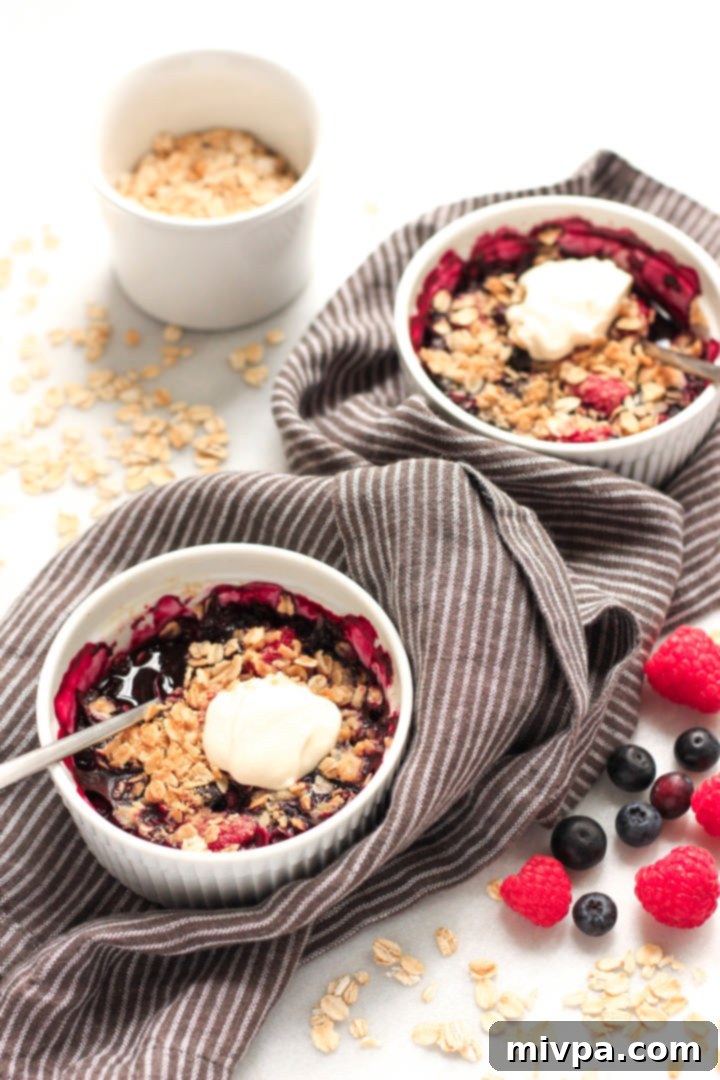
Once baked, remove the tray from the oven. Allow the crisps to cool for a few minutes before serving. This brief cooling period helps the fruit filling to set slightly. Serve your warm berry crisp as is, or for an extra treat, add a small scoop of dairy-free heavy cream, a dollop of dairy-free Greek yogurt, or your favorite dairy-free ice cream. Pure comfort in every spoonful!
Dish by Dish Tips & Tricks for the Perfect Crisp
Unlock even more potential from this delightful recipe with these expert tips and variations:
- Mix Up the Berries for Flavor Variety: While blueberries and raspberries are a classic combination, don’t hesitate to get creative! Incorporate other seasonal favorites like sliced fresh strawberries or juicy blackberries. The key is to maintain a total of 4 cups of berries to ensure the right fruit-to-topping ratio and prevent the dish from becoming too watery or too dry. A mix often provides a more complex and satisfying flavor profile.
- Explore Other Fruits for Different Crisps: This crisp topping recipe is incredibly versatile! If berries aren’t your preference or are out of season, you can easily substitute them with other fresh fruits to create a variety of delicious fruit crisps. Think sliced peaches or nectarines for a summer treat, or thinly sliced apples and a pinch of cinnamon for a classic fall dessert. Just be aware that denser fruits like apples may require a slightly longer baking time to become tender.
- No Ramekins? No Problem: Individual ramekins are lovely for presentation and portion control, but they’re not essential. If you don’t have individual ramekins, you can absolutely make a larger, family-style crisp in an 8×8 inch or 9×9 inch baking dish. Simply prepare your chosen baking dish by greasing it, then create an even layer of the berry filling mixture at the bottom. Distribute the oat topping evenly over the fruit. When baking a larger dish, you’ll generally need to extend the baking time by an additional 5 to 10 minutes, or until the fruit filling is visibly bubbling throughout and the oats on top are a deep golden brown and wonderfully crispy.
- Always Use Certified Gluten-Free Oats if Needed: It bears repeating: for anyone with Celiac disease or a gluten intolerance, always opt for certified gluten-free oats. This distinction is critical because, as mentioned, standard oats are frequently processed in facilities that also handle gluten-containing grains (like wheat, barley, and rye), leading to cross-contamination. Choosing certified gluten-free ensures peace of mind and safety for those with dietary restrictions.
Recipe FAQs: All Your Gluten-Free Berry Crisp Questions Answered
Got questions? We’ve got answers to help you make and enjoy your berry crisp even more!
To ensure your berry crisp stays fresh and delicious, you have a couple of storage options. If made in individual ramekins, simply cover each ramekin tightly with plastic wrap or aluminum foil. Alternatively, if you made a larger crisp or prefer to consolidate, transfer the cooled gluten-free mixed berry crisp to an airtight container. Store it in the refrigerator for up to 4 days. When you’re ready to enjoy it again, reheat the crisp in the oven at 350F (175C) for a few minutes until it’s warmed through and the topping crisps up slightly once more.
Absolutely! Using frozen berries is a convenient and perfectly acceptable option, especially when fresh berries are out of season or harder to find. There’s no need to thaw them beforehand; you can use them directly from the freezer. The only adjustment you’ll need to make is to increase the baking time. If you are using frozen berries, bake the crisp for approximately 40 minutes instead of 25 minutes to ensure the fruit thaws completely and heats through, allowing the juices to bubble and thicken properly.
Yes, you can! To save time, you can prepare the berry filling and the oat topping mixtures separately and store them in airtight containers in the refrigerator for up to 1-2 days. When ready to bake, assemble the crisp and follow the baking instructions. Alternatively, you can fully assemble the crisp in the ramekins or baking dish, cover tightly with plastic wrap, and refrigerate for up to 24 hours before baking. You might need to add an extra 5-10 minutes to the baking time if baking directly from the refrigerator.
More Delightful Gluten-Free Dessert Recipes to Explore
If you loved this easy berry crisp, you’re in for a treat! Here are more delicious gluten-free dessert recipes from Dish by Dish that you’re sure to enjoy, perfect for any occasion:
- Gluten-Free Pumpkin Banana Muffins (Dairy-Free)
- 126 Gluten-Free Desserts and Sweet Treats for Labor Day
- Mini Pumpkin Cheesecakes (Gluten-Free, Dairy-Free Option)
- Gluten-Free Pecan Pie Bars (Dairy-Free)
P.S. If you try this recipe, I’d love for you to leave a star rating below, and/or a review in the comment section further down the page. Your feedback is always incredibly valuable! Be sure to check out my entire Recipe Index for all the recipes on the blog. You can also follow me on Pinterest, Facebook or Instagram! Sign up for my Email List to get fresh recipes in your inbox each week!
Print

Gluten-free Berry Crisp (Dairy-Free, Vegan)
5 Stars 4 Stars 3 Stars 2 Stars 1 Star
5 from 2 reviews
Author: felicia | Dish by Dish
Total Time: 35 minutes
Yield: 4 portions
Diet: Vegan
Description
This easy gluten-free berry crisp features warm, juicy blueberries and raspberries bubbling in their natural sweetness, all nestled under a golden canopy of crispy baked oats. Ready in just 35 minutes, it’s perfect as a comforting breakfast or a delightful dessert (especially with a scoop of ice cream!). Plus, it’s entirely dairy-free and vegan.
Ingredients
Units
Scale
For The Mixed Berry Filling:
- 4 cups berries of your choice (e.g., blueberries, raspberries, strawberries, blackberries)
- 2 tablespoons light brown sugar (or preferred sweetener)
For the Oat Topping:
- 3/4 cup certified gluten-free rolled oats
- 1/4 cup light brown sugar (or preferred sweetener)
- 2 tablespoons gluten-free all-purpose flour blend (preferably lighter flours)
- 1/8 cup cold unsalted vegan butter, cut into chunks (or refined coconut oil)
- Pinch of salt
For Serving (Optional):
- Dairy-free heavy cream, dairy-free Greek yogurt or dairy-free ice cream
Instructions
- Preheat Oven and Grease: Preheat the oven to 375F (190C). Grease four medium ramekins with vegan butter or coconut oil and set aside.
- Prepare Berry Filling: In a large bowl, combine the berries with the 2 tablespoons of sugar and mix well, then set it aside for 5 to 10 minutes to allow juices to release.
- Prepare Oat Topping: In another large mixing bowl, combine the certified gluten-free rolled oats, light brown sugar, gluten-free all-purpose flour, and a pinch of salt. Add cold vegan butter chunks and use two knives (or a pastry blender) to cut the butter into smaller pieces in a criss-cross motion, mixing all ingredients until crumbly.
- Assemble Berry Crisp: Divide the berry-sugar mixture evenly among the four ramekins. Then, sprinkle evenly divided portions of the crisp topping over the fruit in each ramekin.
- Bake Until Golden: Place the four ramekins on a baking tray. Bake until the crisp is golden brown and the berry filling is bubbling (around 25 minutes for fresh berries, or 40 minutes for frozen berries).
- Serve and Enjoy: Serve the berry crisp warm, optionally with a small scoop of dairy-free heavy cream, Greek yogurt, or ice cream.
Notes
Berries: Use any combination of fresh or frozen berries. If using frozen, increase baking time to 40 minutes. Ensure a total of 4 cups of fruit.
Sugar: Feel free to use light brown sugar, natural cane sugar, dark brown sugar, coconut sugar, or for a zero-glycemic option, Lakanto monkfruit sweetener.
Oats: For Celiac disease or gluten intolerance, always use certified gluten-free rolled oats to avoid cross-contamination.
Gluten-Free All-Purpose Flour: Opt for a good-quality blend made with lighter flours (rice, corn, tapioca, potato starch) for a tender topping. Avoid blends with heavier flours like garbanzo bean flour.
Butter: Vegan butter keeps the recipe dairy-free/vegan. Chilled refined coconut oil is a great alternative, providing a neutral taste.
Storing: Cover with plastic wrap or aluminum foil and refrigerate for up to 4 days. Reheat in oven at 350F (175C) for a few minutes until warm.
Make Ahead: Prepare components or assemble the crisp 1-2 days in advance and refrigerate. Add 5-10 minutes to baking time if baking directly from cold.
- Prep Time: 10 mins
- Cook Time: 25 mins
- Category: Dessert
- Method: Baking
- Cuisine: American
