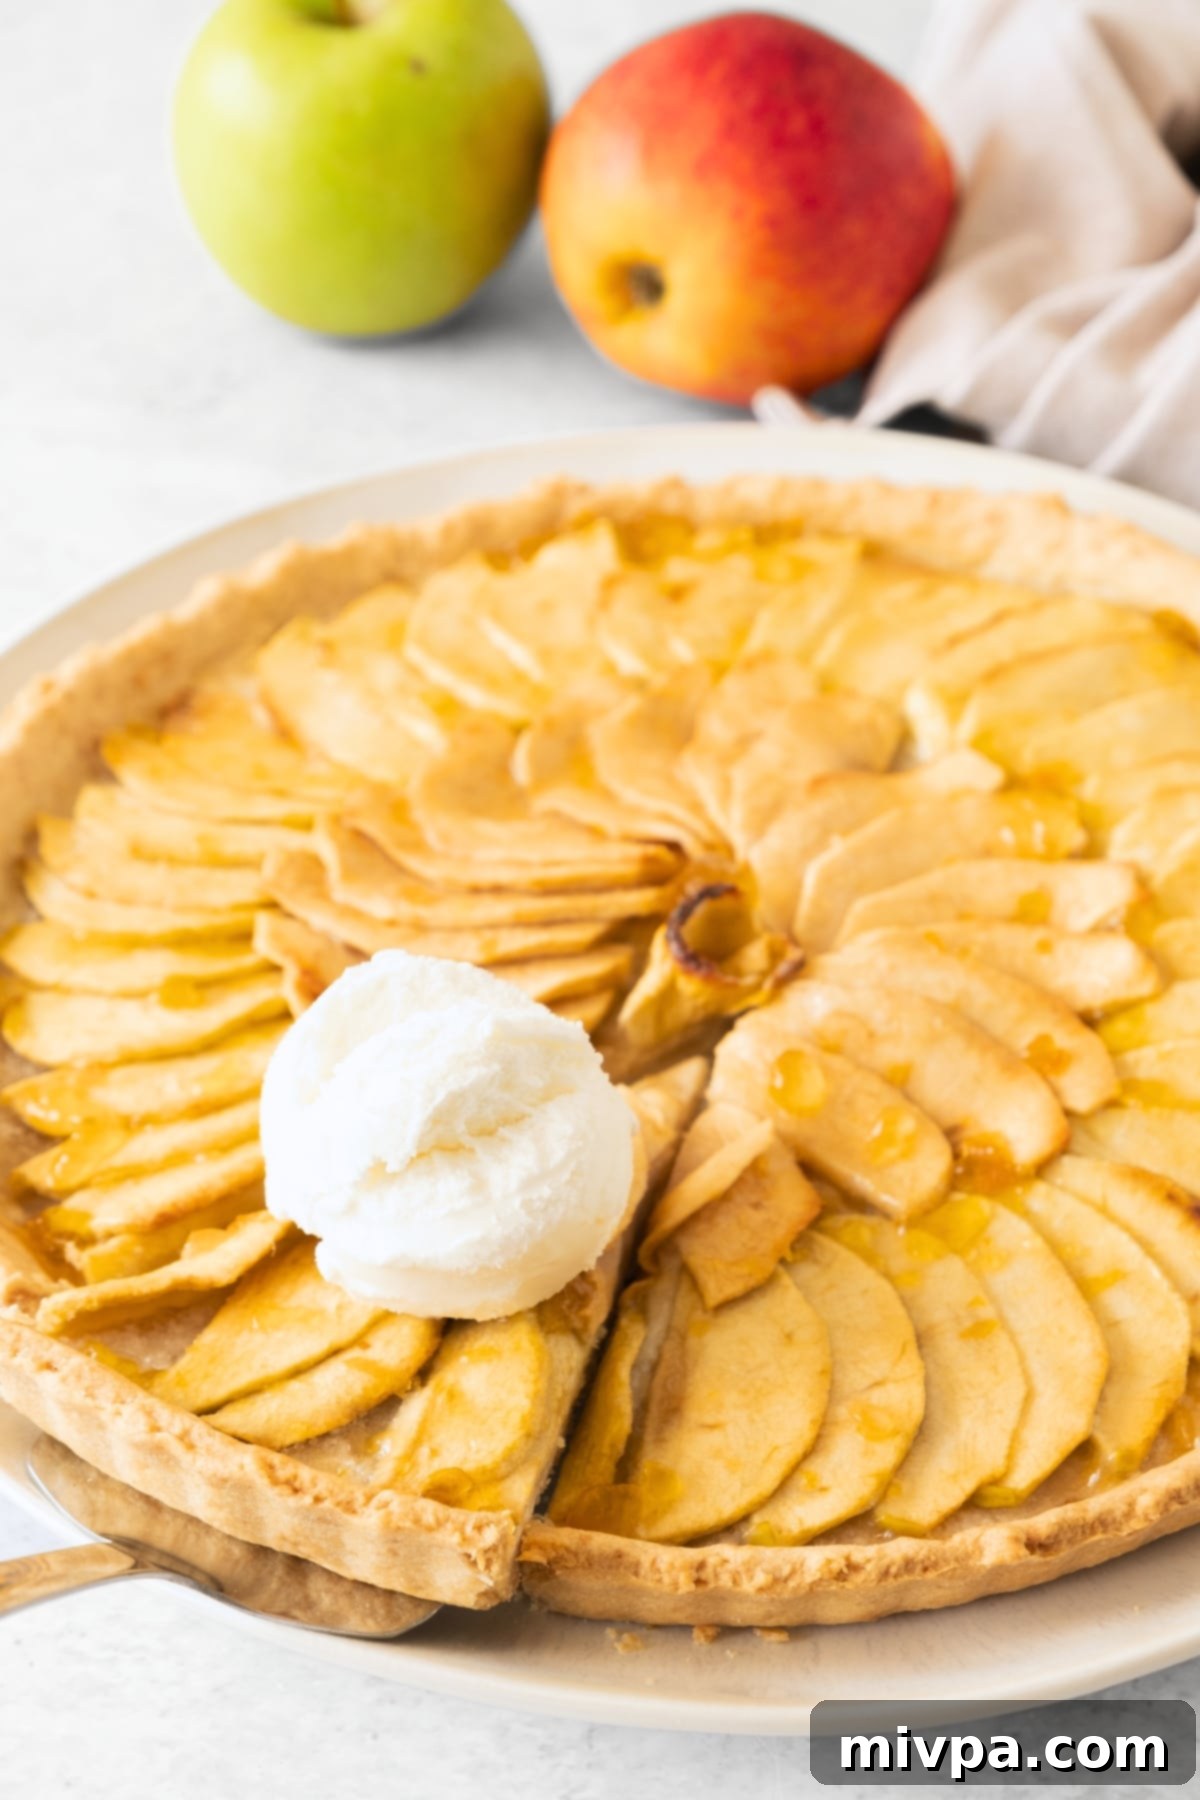
The Ultimate Easy Gluten-Free Dairy-Free Apple Tart: Your Perfect Fall Dessert Recipe
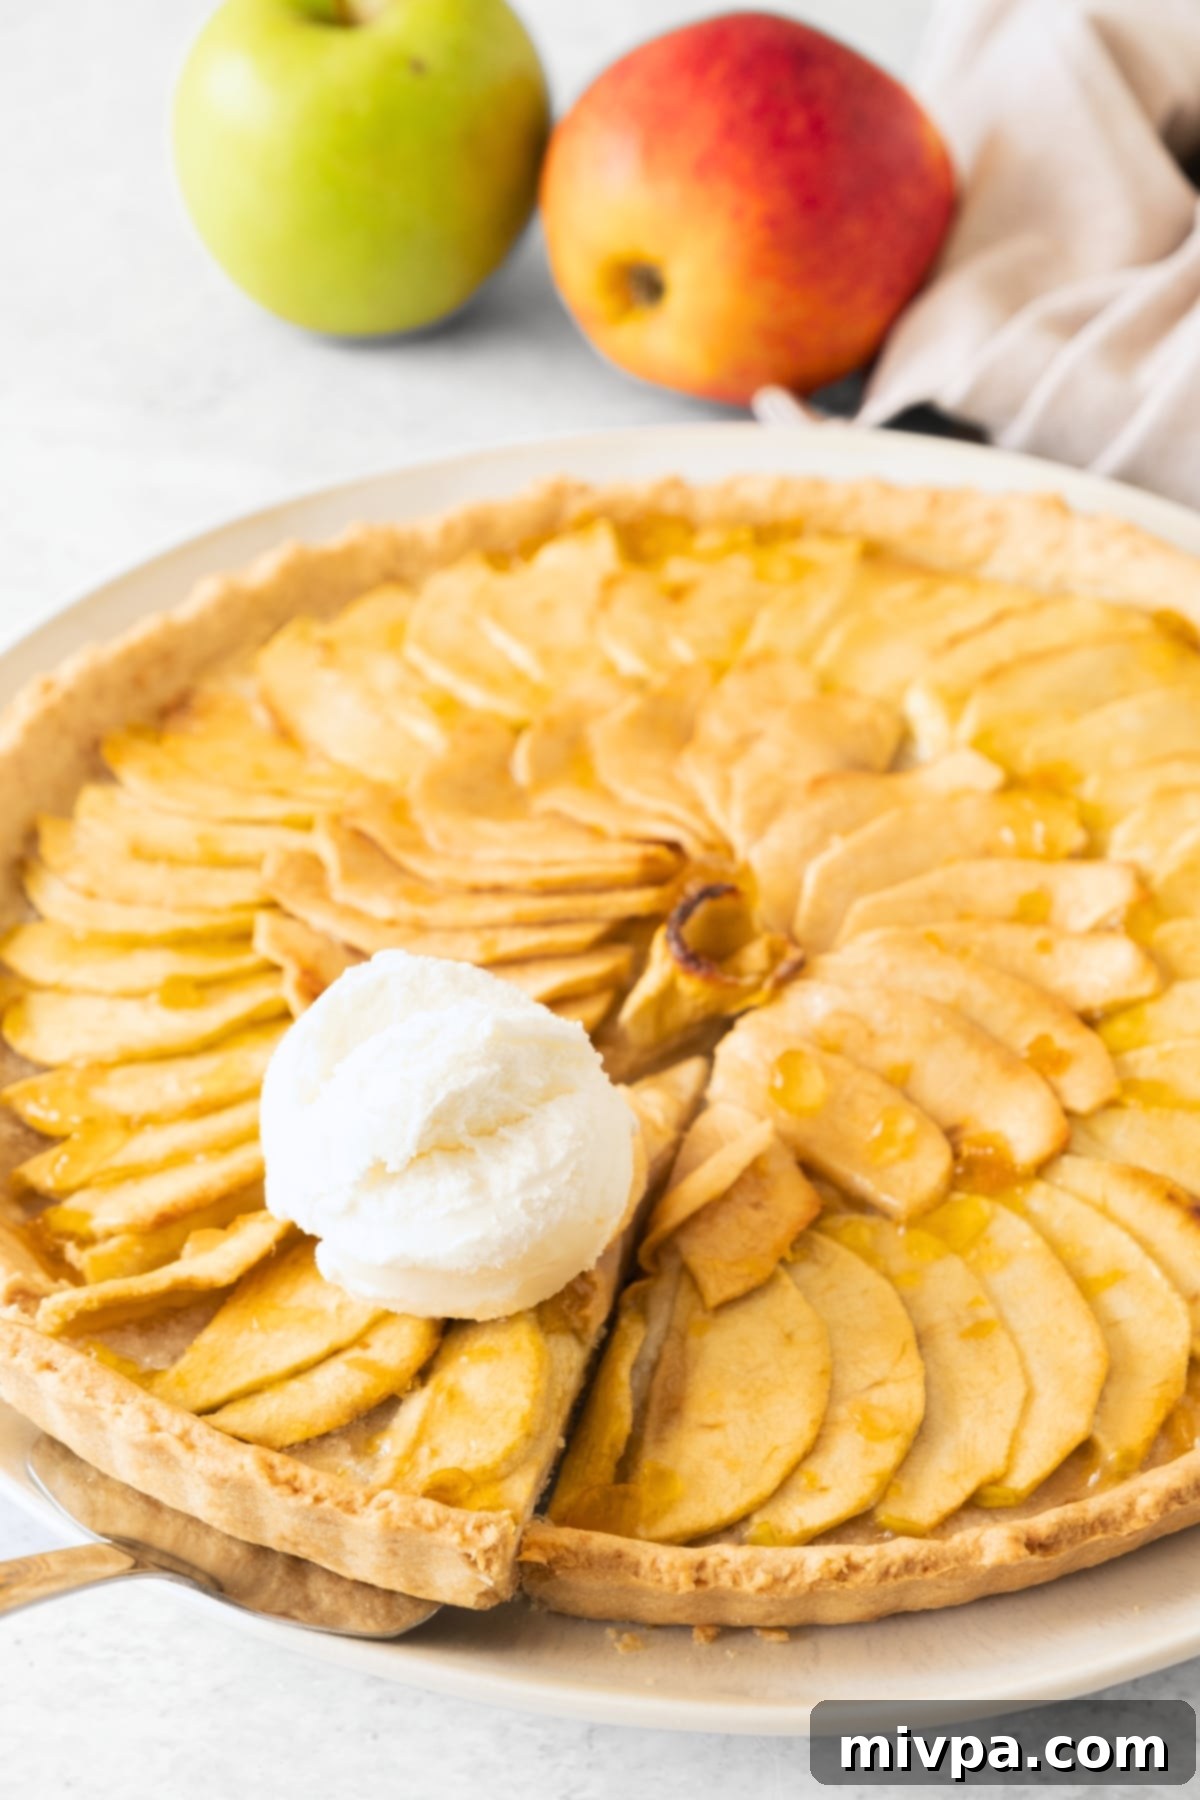
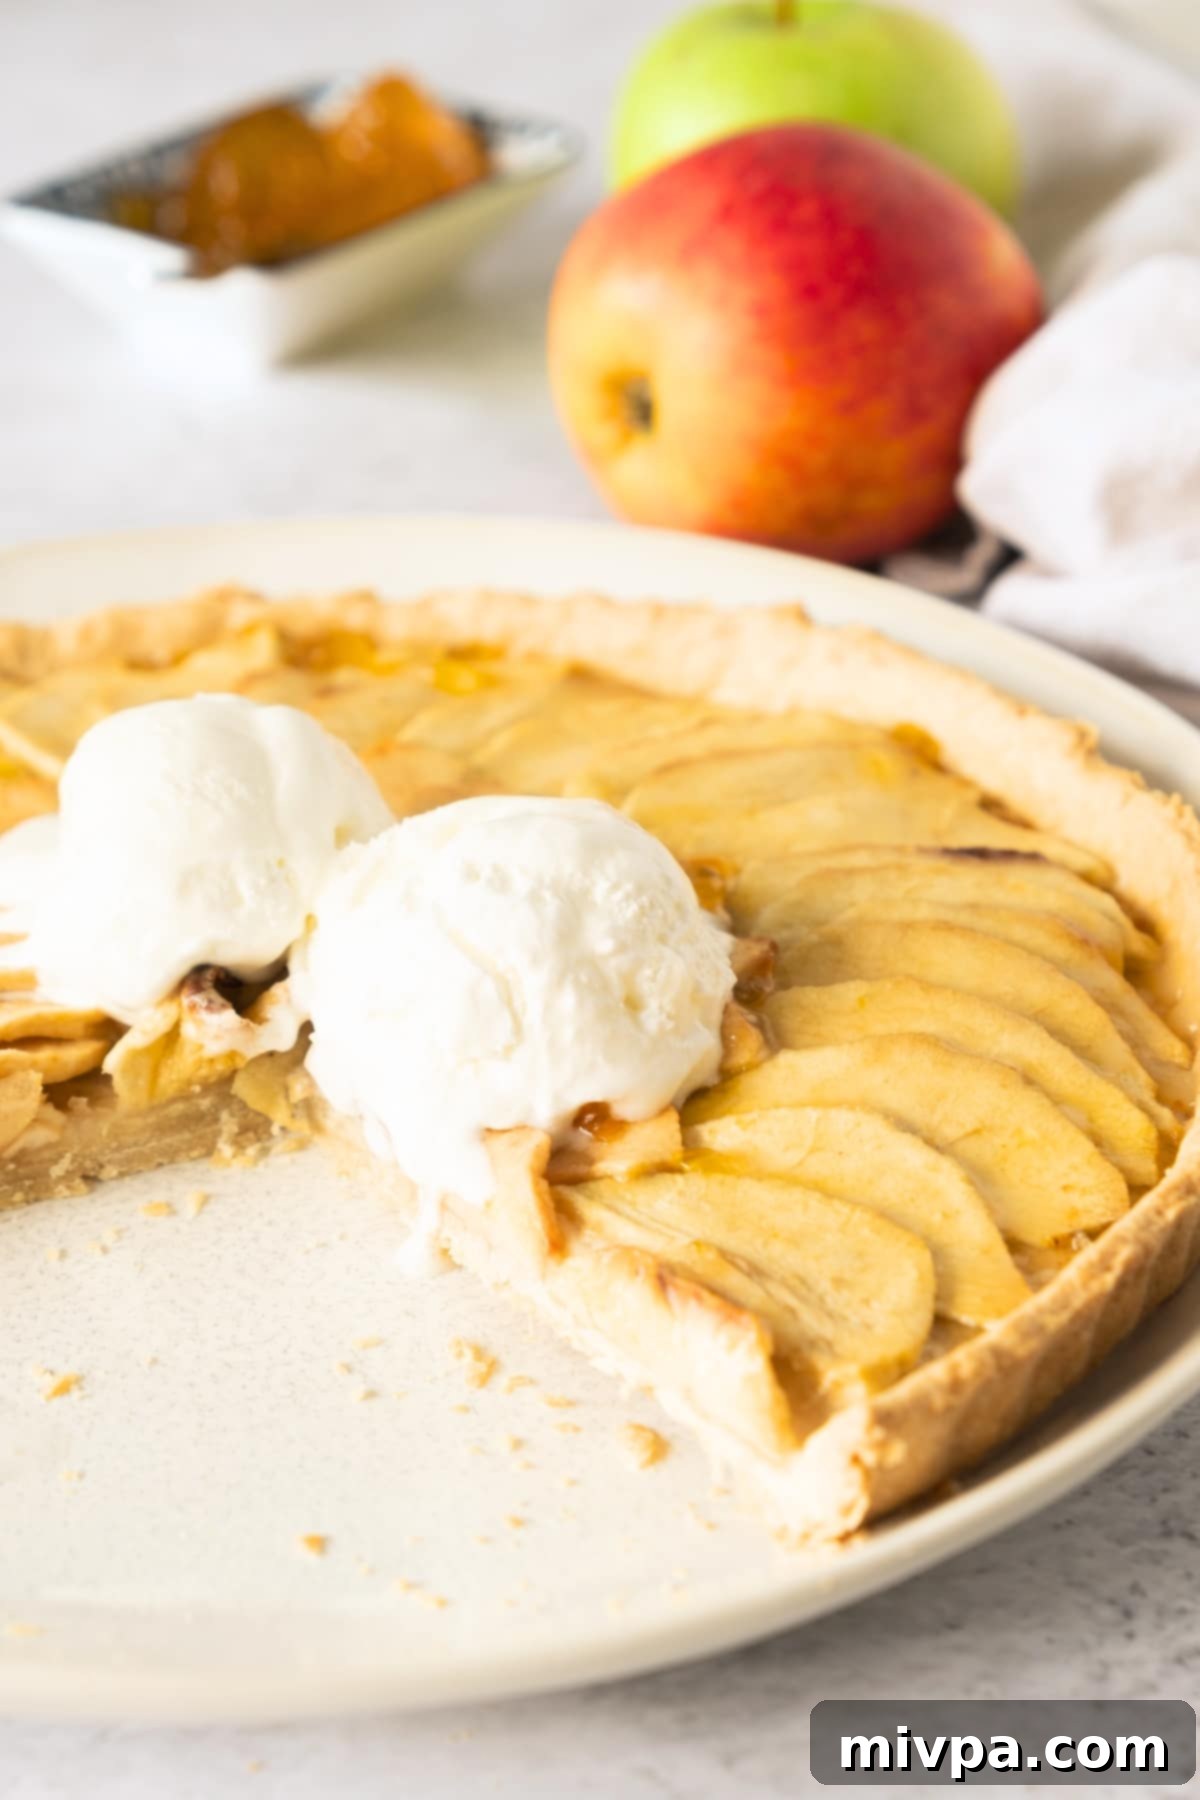
Indulge in the comforting flavors of autumn with our sensational easy gluten-free apple tart. This exquisite recipe features perfectly sliced, tender apples nestled atop a rich, buttery, and irresistibly flaky shortbread crust. It’s a truly delightful dessert that caters to various dietary needs, being completely dairy-free. Imagine serving a warm slice, perhaps crowned with a generous scoop of dairy-free vanilla ice cream, making it an unforgettable fall dessert or a luxurious sweet snack. This homemade gluten-free apple tart promises pure enjoyment for everyone, including those with Celiac disease or gluten and lactose intolerances, proving that dietary restrictions don’t mean compromising on taste or texture.
[feast_advanced_jump_to]
Embrace the Flavors of Autumn: It’s Apple Season!
There’s an undeniable magic that sweeps in with the arrival of fall. The air turns crisp, painted in hues of auburn and gold as leaves crunch underfoot during leisurely walks. Beyond the picturesque scenery and the cozy evenings, fall ushers in a beloved period of festive holidays and, perhaps most exciting for bakers, the glorious return of apple season! It’s a time when orchards overflow with ripe, juicy apples, just waiting to be transformed into delicious culinary creations. This abundance of fresh, crisp apples means one thing for us: an opportunity to savor all things apple, and what better way to celebrate than with a stunning homemade apple tart?
From warm spiced ciders to delectable pies and tarts, apples are the quintessential ingredient of autumn. Their natural sweetness and slight tang provide the perfect foundation for comforting desserts, making them a staple in fall baking. This easy gluten-free apple tart recipe is designed to help you make the most of this wonderful season, bringing the sweet and aromatic essence of apples right into your kitchen. Get ready to fill your home with the inviting aroma of cinnamon and baked apples!
More Delicious Gluten-Free Apple Desserts to Try:
If you’re as enthusiastic about apple desserts as we are, you’ll love exploring these other fantastic gluten-free and dairy-free options that are perfect for any time of year, but especially delightful during the crisp fall months:
- Easy Apple Muffins (Gluten-Free, Dairy-Free)
- Moist Apple Cake (Gluten-Free, Dairy-Free)
- Delicious Apple Crumble (Gluten-Free, Vegan)
- Simple Apple Crisp (Gluten-Free, Vegan)
- Apple Fritters (Gluten-Free, Dairy-Free)
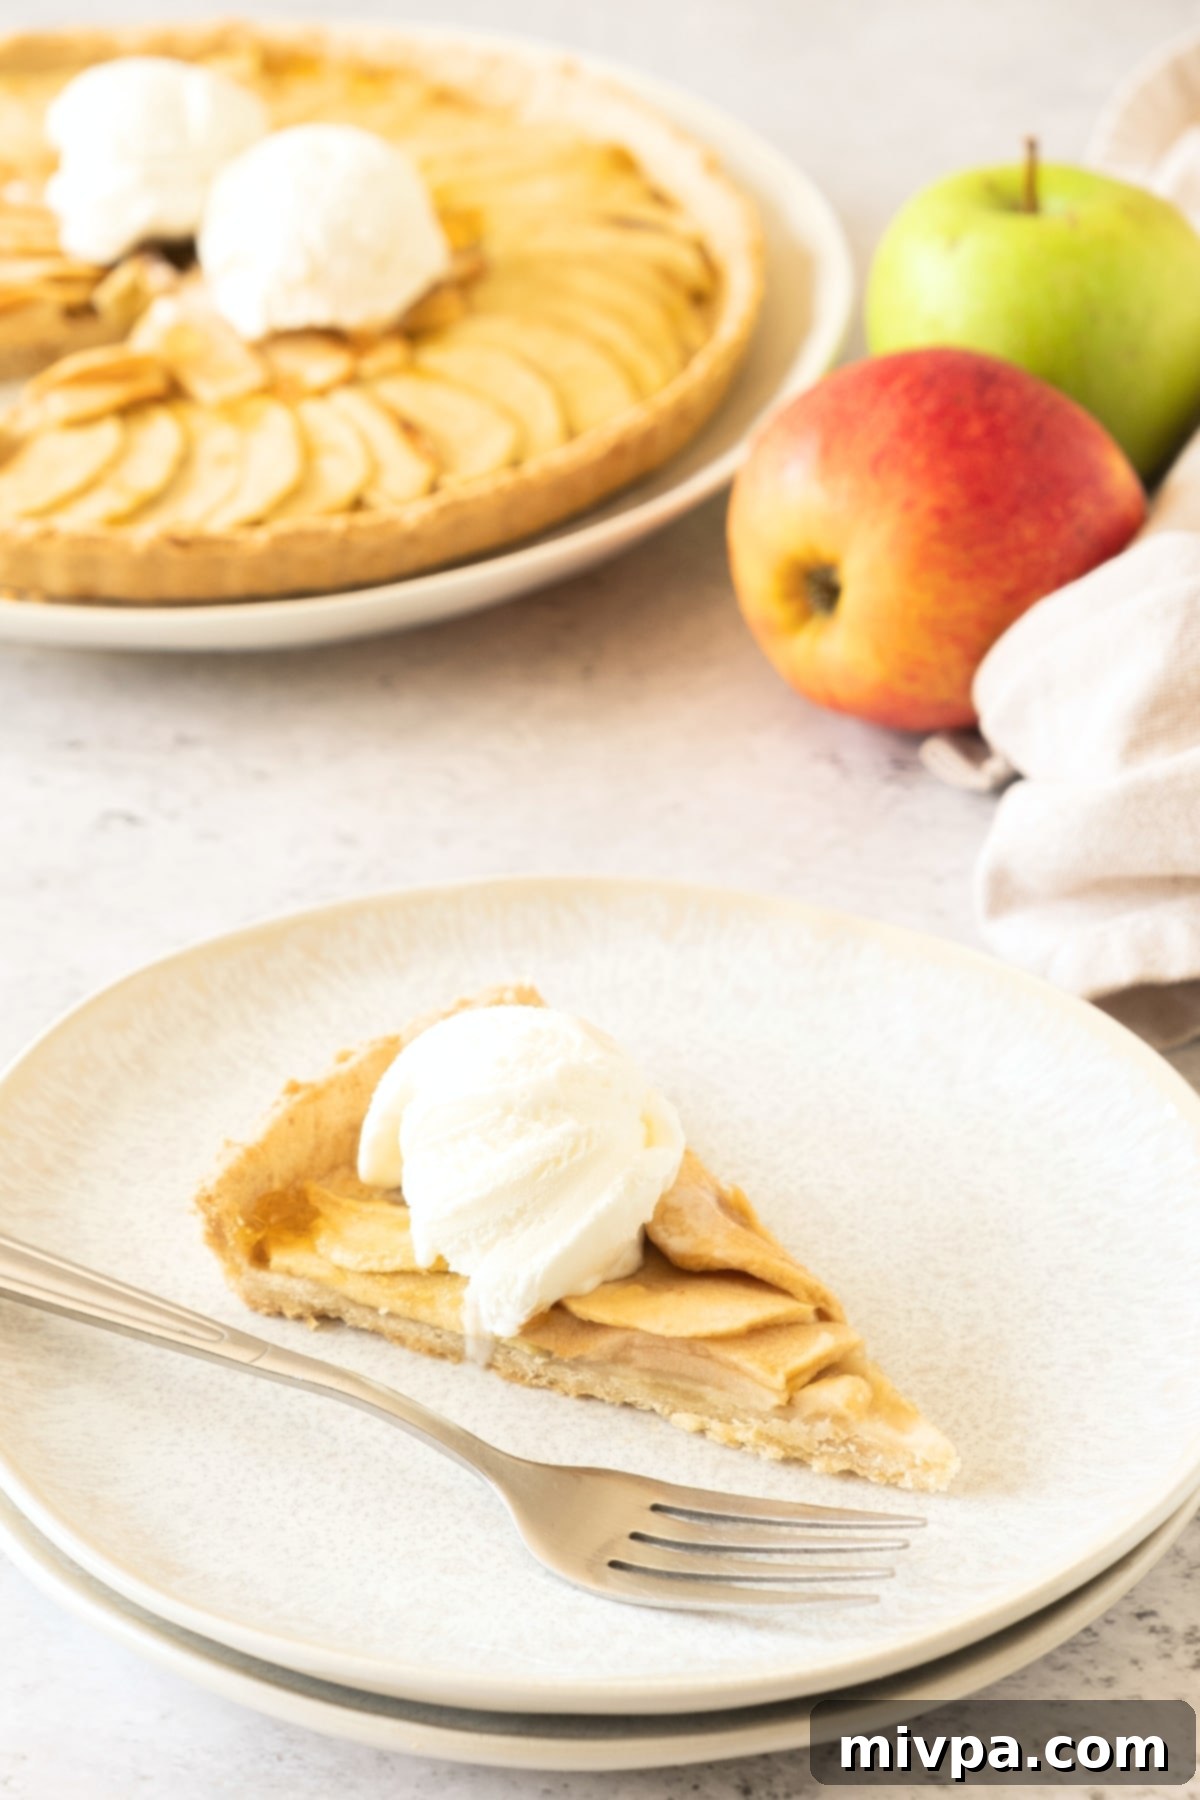
A Show-Stopping Gluten-Free Apple Tart Perfect for the Holidays
As the holiday season draws near, finding a dessert that is both impressive and accommodating to various dietary needs can be a challenge. Look no further! This gorgeous gluten-free and dairy-free apple tart is the perfect centerpiece for your festive table. Its elegant presentation and comforting flavors make it an ideal dessert for celebrating with family and friends. Imagine the delight of serving a slice of this beautiful tart, especially when accompanied by a luscious scoop of vanilla ice cream or a dollop of whipped cream. It’s not just a dessert; it’s an experience that truly captures the spirit of the holidays, ensuring everyone can partake in the sweet celebrations without worry.
This recipe provides a wonderful alternative to traditional apple pies, offering a lighter, crispier crust and a stunning visual appeal that will undoubtedly impress your guests. Whether it’s Thanksgiving, Christmas, or any special gathering, this homemade apple tart will be a much-loved addition to your holiday dessert spread, proving that allergen-friendly baking can be both simple and spectacularly delicious.
Why This Gluten-Free Apple Tart Recipe is a Must-Try:
This isn’t just another apple tart recipe; it’s a carefully crafted delight designed for simplicity, flavor, and inclusivity. Here’s why this particular recipe stands out and why you’ll want to make it your go-to for years to come:
- Simple, Accessible Ingredients: The beauty of this gluten-free apple tart lies in its straightforward ingredient list. You won’t need to embark on a scavenger hunt for exotic items or expensive specialty products. All the main components, from the flour blend to the fresh apples, can be easily found at your local grocery store, making this recipe incredibly convenient to prepare. We believe that delicious, inclusive baking shouldn’t require specialty trips, and this recipe proves just that, bringing gourmet taste with everyday convenience.
- Surprisingly Easy to Make: Don’t let the stunning appearance of this tart intimidate you! While there are a few distinct steps involved in bringing this masterpiece to life, each one is relatively simple and manageable. We’ve broken down the process into clear, actionable instructions, making it approachable for bakers of all skill levels, even beginners. From preparing the flaky crust to arranging the beautiful apple slices, you’ll find the process enjoyable and rewarding, resulting in a tart that looks professionally made but is effortlessly homemade.
- 100% Gluten-Free & Dairy-Free: This is arguably the most crucial aspect of this recipe. We’ve ensured that this apple tart is completely gluten-free and dairy-free, making it a safe and delicious option for individuals with Celiac disease, gluten sensitivities, or lactose intolerance. There’s no need for complex substitutions or compromises on taste or texture here – this tart is naturally free from common allergens, allowing everyone at your table to enjoy a slice of pure apple goodness without any worries or discomfort.
- Perfectly Balanced Flavors and Textures: This tart delivers a delightful contrast that keeps you coming back for more. The crisp, sweet-tart apples, tenderized by baking, create a juicy, aromatic filling that perfectly complements the rich, crumbly yet flaky texture of the shortbread-style crust. The subtle notes of cinnamon infused with the apples and the bright, glossy glaze of apricot preserves add layers of sophisticated flavor, making every bite a memorable and harmonious experience.
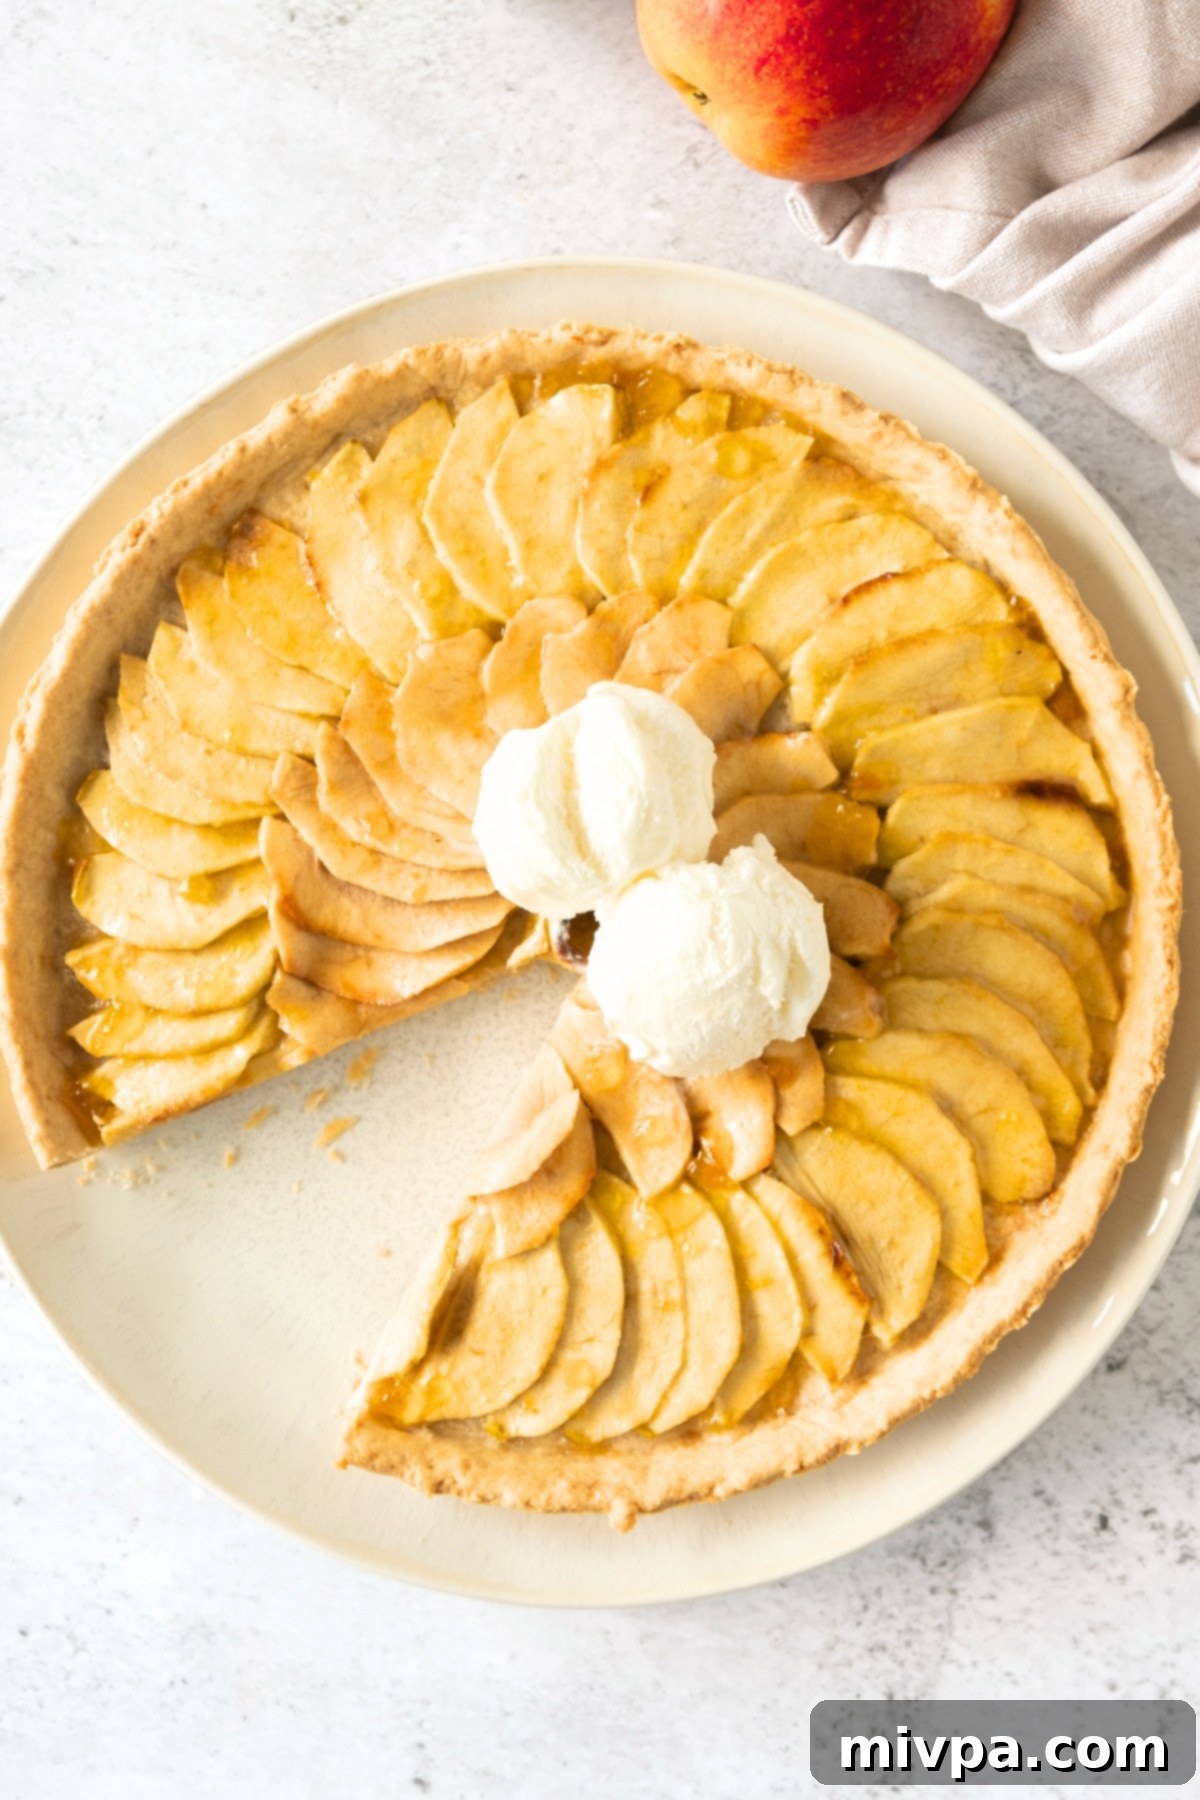
- Visually Stunning Presentation: The artful arrangement of the thinly sliced apples creates a beautiful rosette pattern on top, making this tart not just a treat for the taste buds but also a feast for the eyes. It’s a dessert that looks like it took hours of intricate effort but is surprisingly simple to achieve, making it perfect for impressing guests at any gathering or simply brightening up your own kitchen.
Essential Ingredients for Your Gluten-Free Apple Tart:
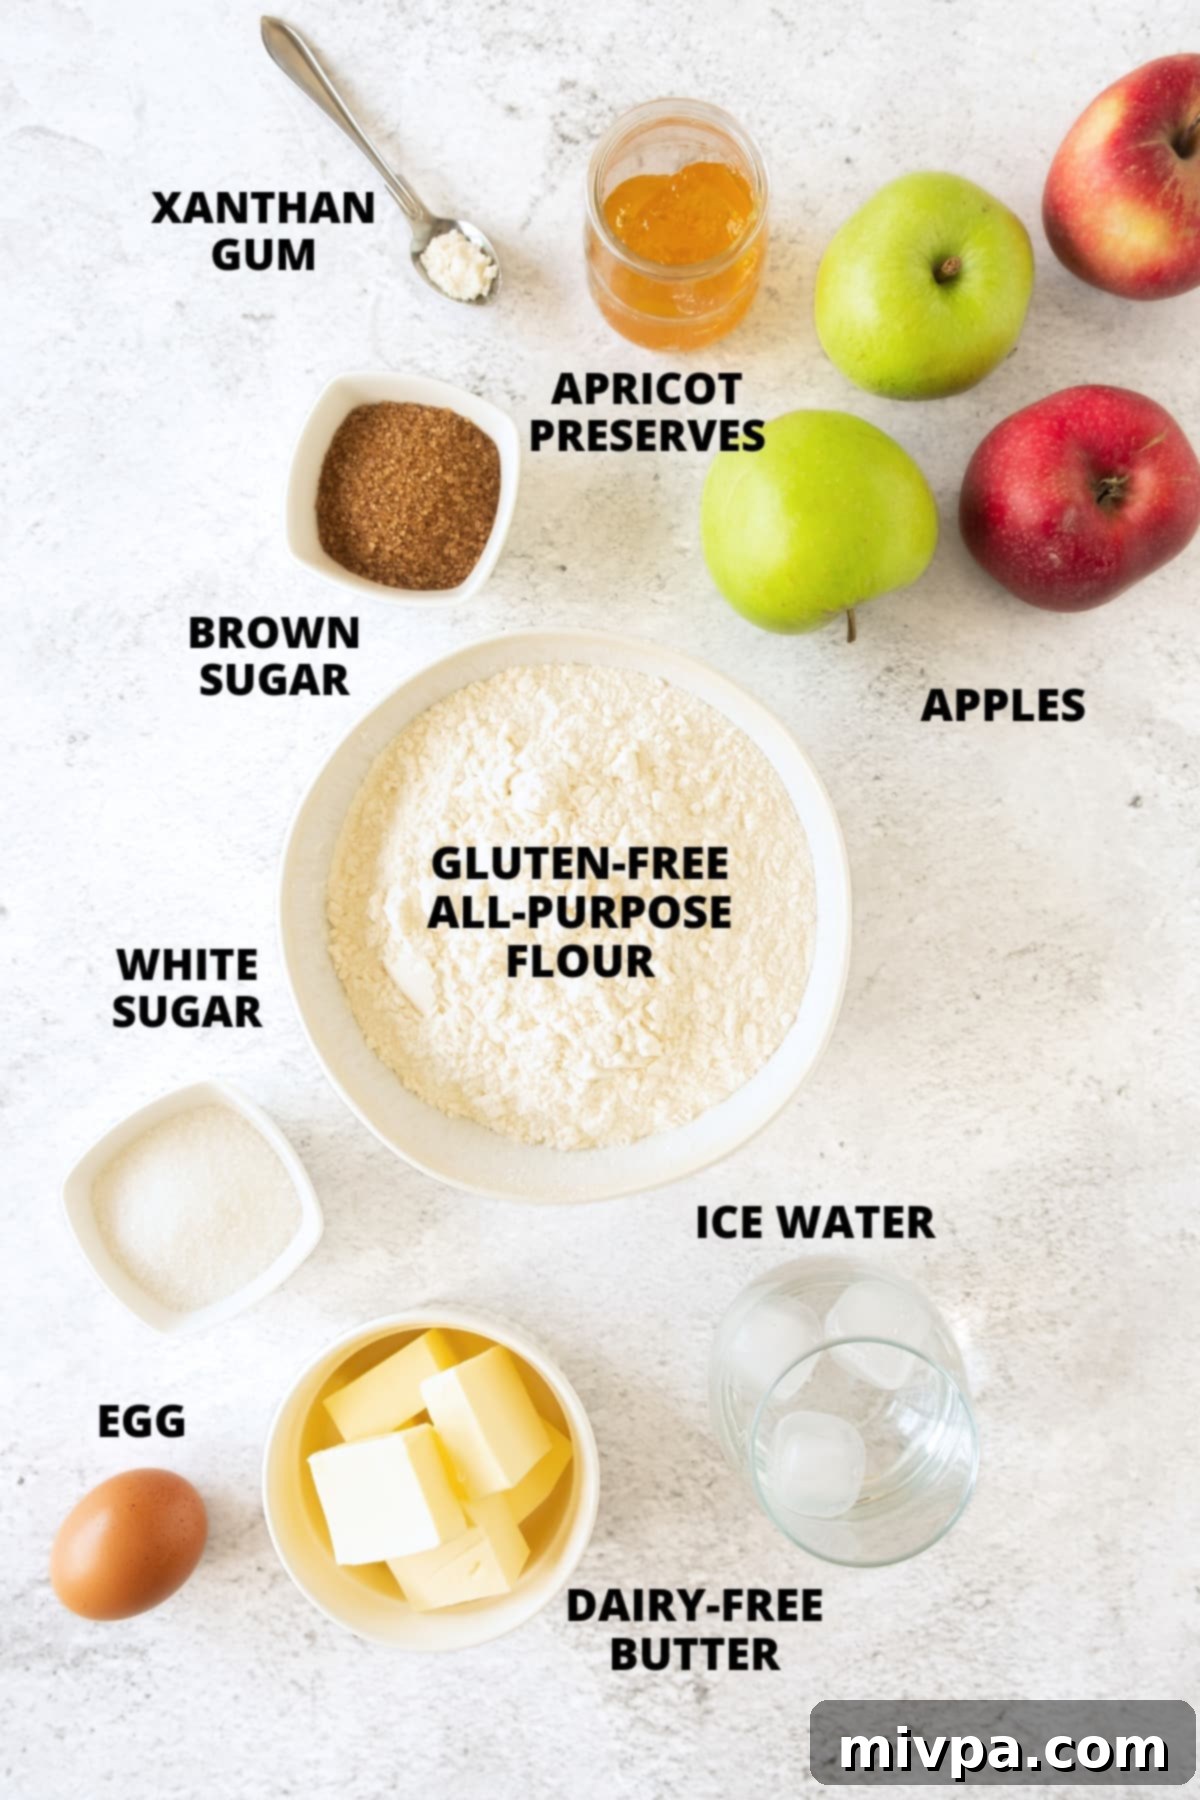
Crafting the perfect gluten-free apple tart starts with understanding each ingredient and its role. Here’s a comprehensive look at what you’ll need, along with important notes and substitution ideas to ensure your baking success. Even if you’re new to gluten-free baking, these insights will guide you through every step. You’ll find a visual overview of the ingredients below, and for exact measurements, please scroll down to the printable recipe card at the bottom of this post.
Detailed Recipe Notes & Smart Substitutions:
Understanding your ingredients and having flexible substitution options are key to successful baking, especially when catering to specific dietary needs. Here are some detailed notes to help you master this gluten-free and dairy-free apple tart:
- Gluten-Free All-Purpose Flour Blend: The quality of your gluten-free flour makes a significant difference in the final texture of your tart crust. I highly recommend using a high-quality gluten-free all-purpose flour blend that incorporates a mix of lighter flours and starches. Look for blends containing rice flour, tapioca starch, corn starch, or potato starch. These combinations yield a tender, flaky, and delicate crust that perfectly mimics traditional pastry. Conversely, I strongly advise against using gluten-free flour blends that primarily feature heavier flours, such as garbanzo bean flour or other bean-based flours, as they can result in a dense, gritty, or overly crumbly texture in your tart crust, which isn’t what we’re aiming for.
- Xanthan Gum: This ingredient is crucial in gluten-free baking. Xanthan gum acts as a binder and emulsifier, mimicking the elasticity and structure that gluten provides in traditional flours. It plays a vital role in preventing your gluten-free dough from falling apart, ensuring a cohesive, workable crust that holds its shape. Before adding, always check your chosen gluten-free flour blend – many commercial blends already include xanthan gum. If yours does, you can omit adding extra. If not, including the specified amount is essential for the tart’s structural integrity and overall success.
- Sugar Varieties: For the tart crust, I prefer dark brown sugar for its rich, molasses-like flavor, which adds depth, and its moisture content, which contributes to a tender crust. For the apple filling, white granulated sugar works beautifully to highlight the apples’ natural sweetness without overpowering them. However, you have several options: light brown sugar, cane sugar, or even coconut sugar can all be used interchangeably based on your preference for flavor, sweetness level, and dietary needs. For those managing blood sugar levels or following a diabetic-friendly diet, granulated monk fruit sweetener is an excellent 1:1 sugar substitute that has a zero glycemic index and won’t impact blood sugar levels.
- Dairy-Free Butter: To keep this recipe entirely dairy-free and suitable for vegans, I use a good quality dairy-free butter (also commonly known as vegan butter). It’s crucial that it’s chilled and cut into cubes, just like regular butter, for the best results in the crust. The cold butter helps create pockets of steam during baking, leading to a flaky texture. Chilled, solidified coconut oil can also be used as an alternative, ensuring it’s firm before incorporating. Alternatively, if you don’t have lactose intolerance or dairy allergies, you are welcome to use traditional unsalted butter in the same quantity.
- Egg for Binding: The egg plays an important role in binding the gluten-free tart crust ingredients together, contributing to its structure and providing a richer, more cohesive dough. While I haven’t personally tested an egg-free version of this specific tart, if you have an egg allergy or wish to make this tart completely vegan, you could experiment with an egg replacer or aquafaba (the liquid from a can of chickpeas, typically 3 tablespoons per egg). If you try an egg-free alternative, please share your results in the comments below – I’m always eager to learn about successful adaptations and help others with similar dietary needs!
- Ice Water: This seemingly small detail is incredibly vital for achieving a wonderfully flaky crust. Using ice-cold water for the dough helps to maintain the butter in a solid state. As the butter melts during baking, it releases steam, which creates those desirable flaky layers in the crust. The exact amount of ice water needed can vary depending on factors like your local humidity levels and the specific gluten-free flour blend you use. It’s always best to start with 1 tablespoon and add more, a teaspoon at a time, until your dough just comes together into a soft, pliable ball. Remember, a slightly more moist dough is generally easier to handle and less prone to crumbling than one that’s too dry.
- Choosing the Right Apples: For a wonderfully balanced flavor profile, I wholeheartedly recommend using a mix of both tart green apples (like Granny Smith, which are firm and hold their shape well during baking while offering a pleasant tang) and sweeter red apples (such as Gala, Fuji, Honeycrisp, or Pink Lady). This combination provides a delightful contrast of sweet and tart notes that truly elevates the apple filling. However, feel free to use whichever apple varieties you have readily available, especially if you’re enjoying the bounty of apple season from a local orchard! While I typically remove the skins for a smoother filling texture and more refined presentation, you can certainly leave them on if you prefer a more rustic look and added fiber.
- Apricot Preserves for Glaze: Once your apple tart is baked to golden perfection, we’ll brush the top with apricot preserves or apricot jam. This step isn’t just for adding extra sweetness and a touch of fruitiness; it also provides a beautiful, glossy finish, making your tart look even more appealing and professional. The warmth of the tart helps the preserves melt slightly, allowing for an even coating. If you don’t have apricot preserves on hand, orange marmalade can be a fantastic alternative, offering a similar sheen and a lovely citrusy complement to the apples.
- Dairy-Free Vanilla Ice Cream: For a truly decadent and complete dessert experience, I love to serve a warm slice of this gluten-free apple tart with a generous scoop of dairy-free vanilla ice cream. The cold, creamy ice cream melts slightly into the warm tart, creating a heavenly combination of temperatures and textures that is simply irresistible. It’s the perfect finishing touch, especially when celebrating a special occasion or simply treating yourself to a well-deserved indulgence. Alternatively, dairy-free whipped cream is also a fantastic option!
How to Make Gluten-Free Apple Tart (Step by Step):
Follow these detailed instructions to create a flawless and delicious gluten-free apple tart. Each step is designed for clarity and success, even for novice bakers!
1. Preheat Oven and Prepare Tart Pan
Begin by preheating your oven to a moderate 350°F (175°C) and positioning an oven rack in the middle. This ensures even baking and proper heat distribution for both the crust and the filling. Next, take a 9-inch tart pan with a removable bottom, which is ideal for easy removal and elegant serving. Liberally grease the entire interior of the pan with non-stick cooking spray or a thin layer of dairy-free butter. This crucial step prevents the crust from sticking and helps achieve that perfect golden-brown finish.
2. Whisk Dry Ingredients for the Crust
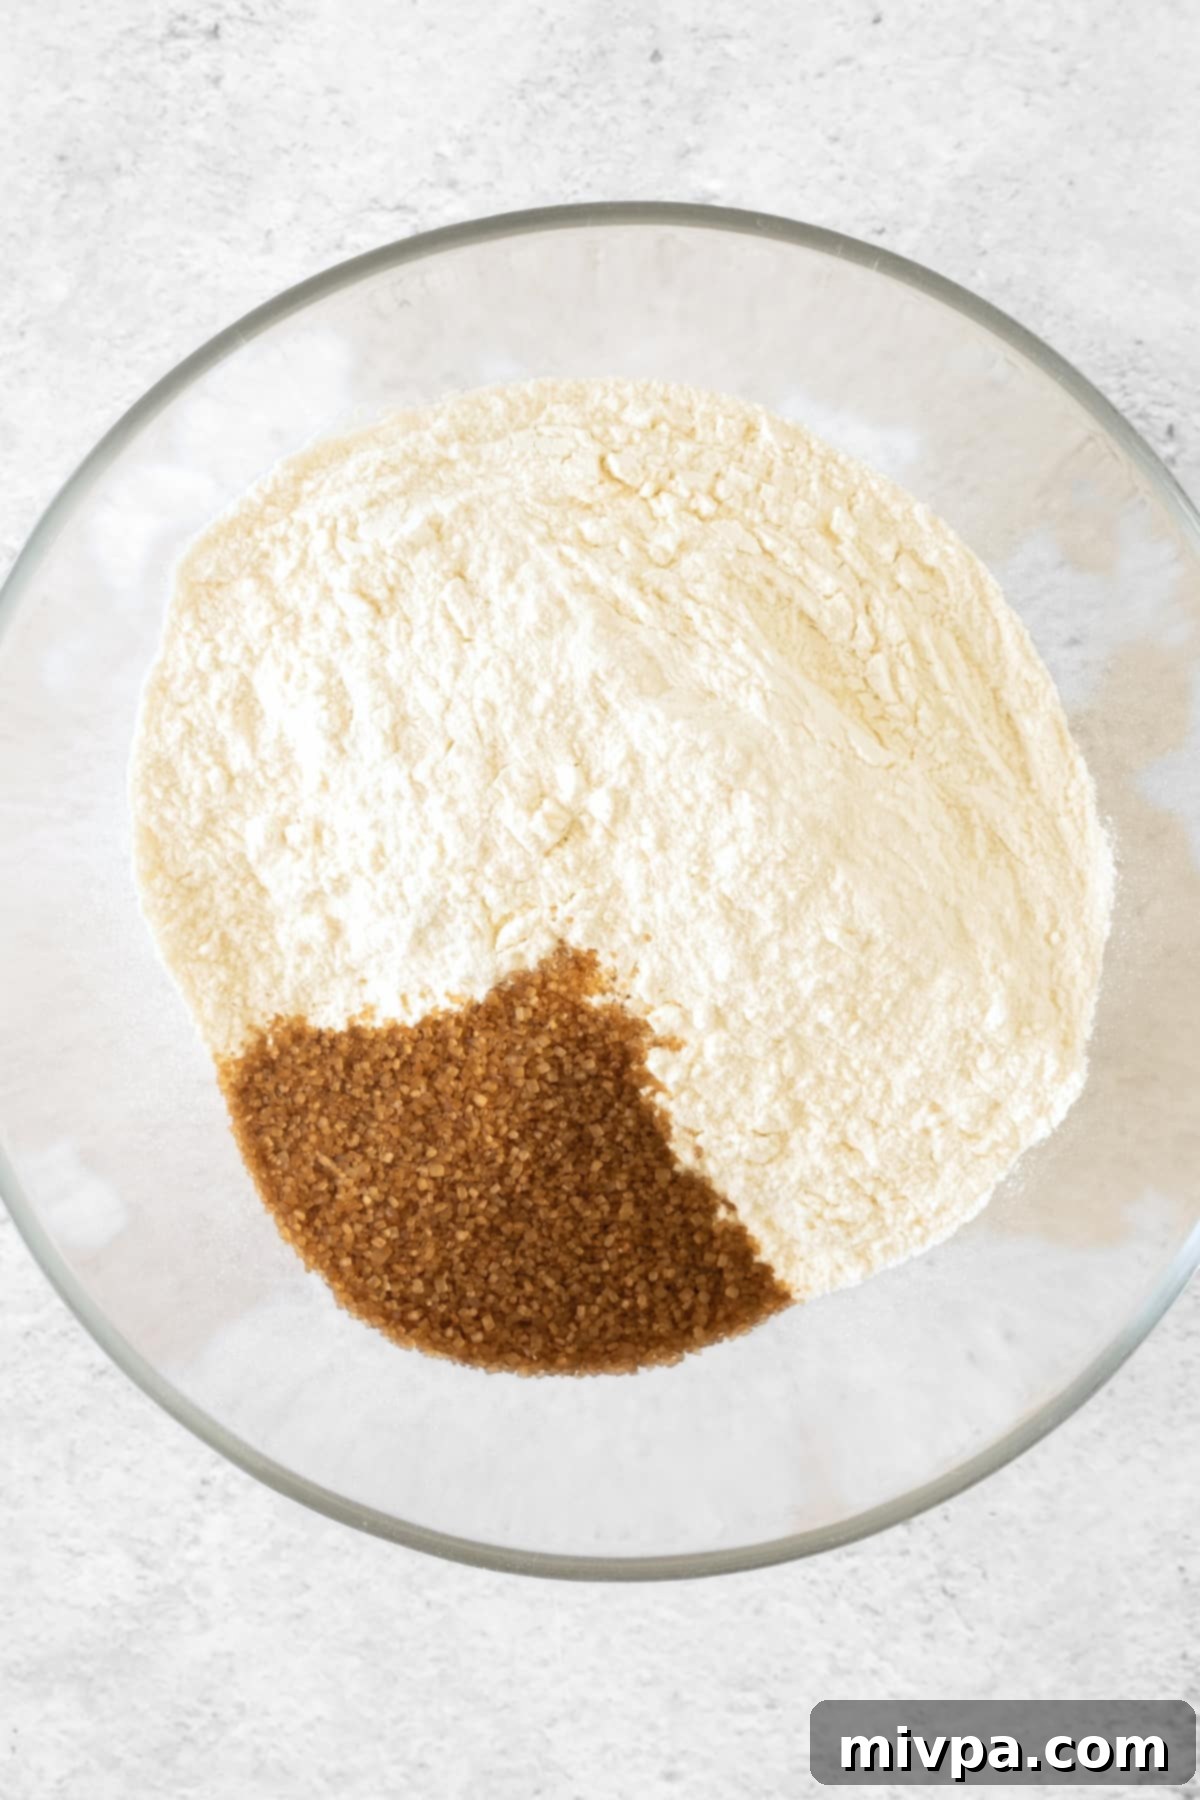
In a spacious large mixing bowl, combine your gluten-free all-purpose flour blend, the specified amount of xanthan gum (if your flour blend doesn’t already contain it), and light brown sugar. Whisk these dry ingredients thoroughly using a balloon whisk until they are uniformly combined and airy. This aeration helps create a light and tender crust, and ensures the sugar is evenly distributed for consistent sweetness throughout the pastry.
3. Incorporate Chilled Dairy-Free Butter
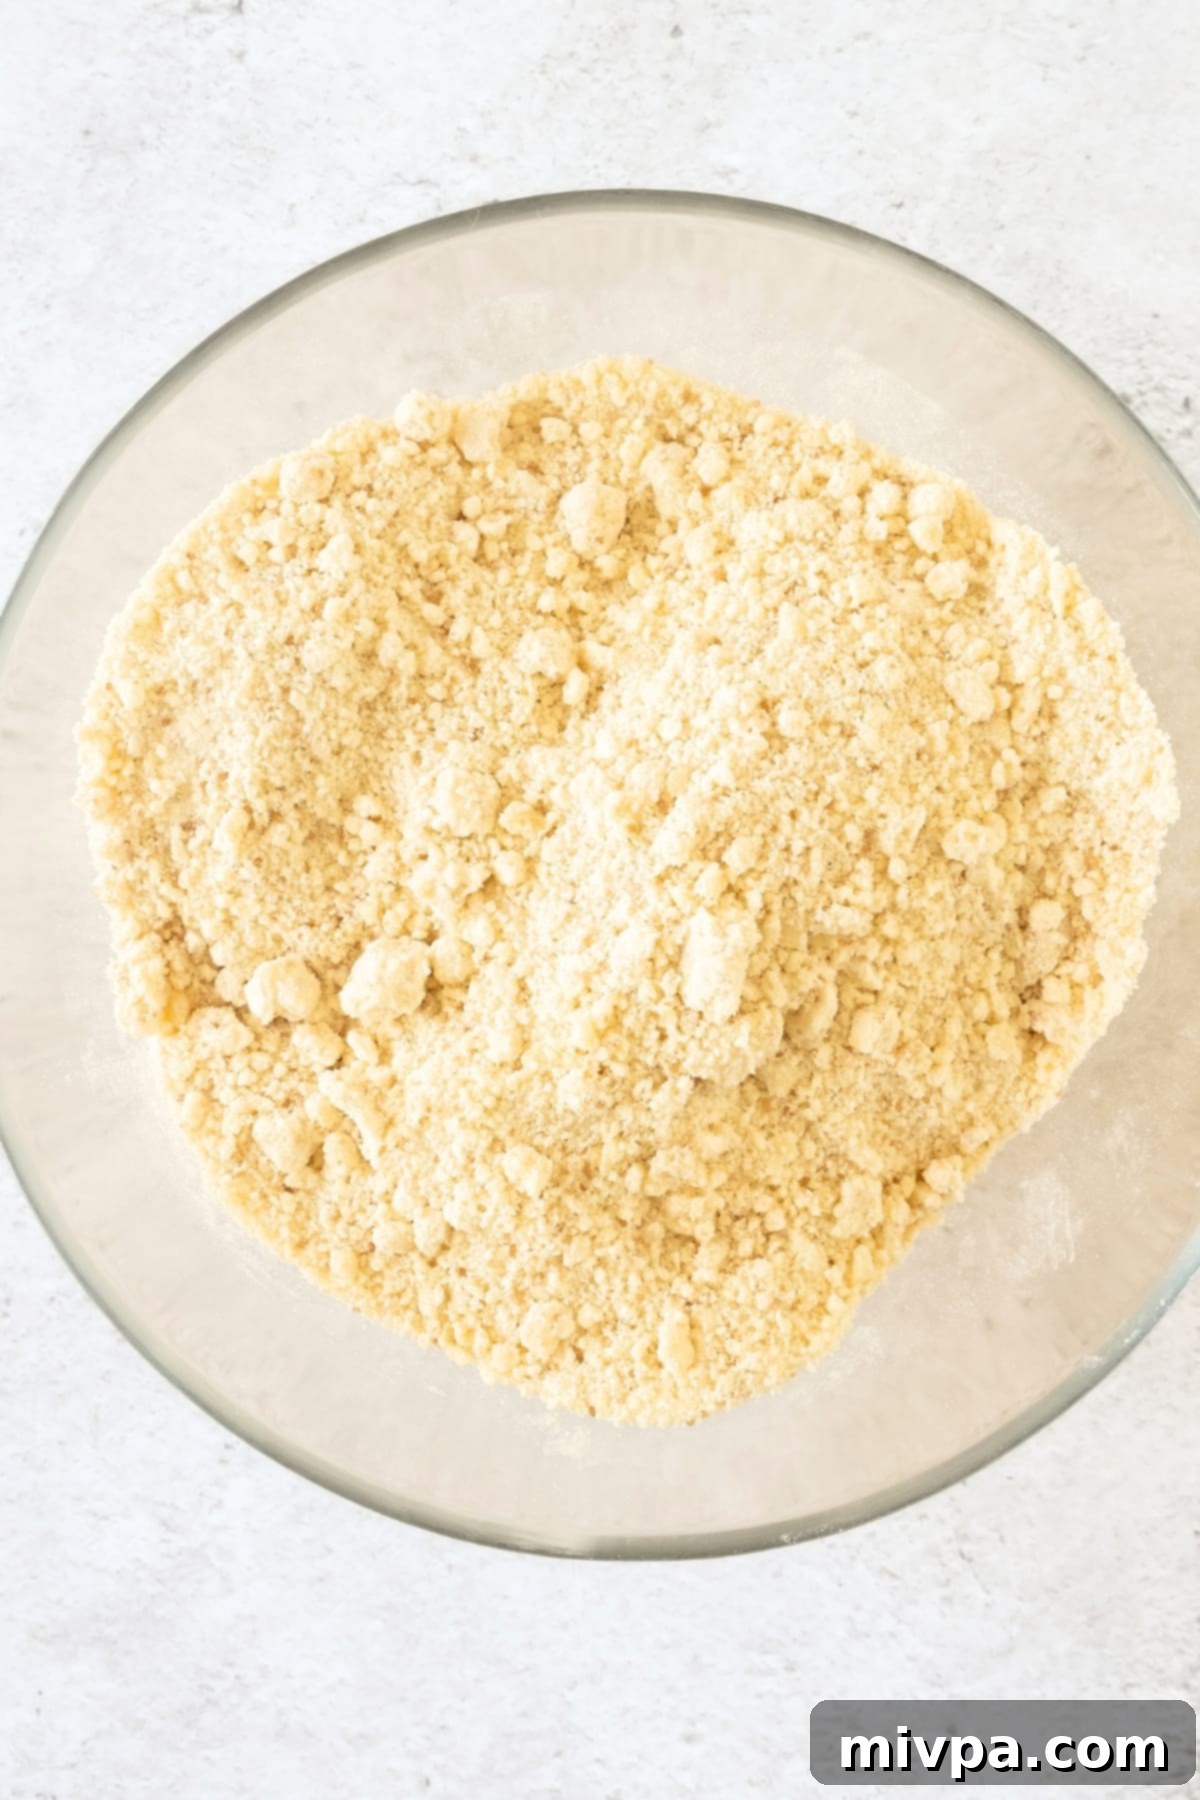
Add the chilled, cubed dairy-free butter to your dry mixture. Using a pastry cutter, two knives, or even the back of a fork to press and break down the butter, work the butter into the flour until the mixture resembles coarse sand with some pea-sized crumbs. The key here is to keep the butter as cold as possible; this prevents it from melting too quickly and is essential for achieving a flaky, tender tart crust. Avoid overworking the mixture, as excessive handling can warm the butter and lead to a tough crust.
4. Add the Beaten Egg
Pour in the beaten egg and mix it into the crumbly flour and butter mixture. Continue mixing gently with a spoon or your hands until the egg is fully incorporated. At this stage, the mixture will still be quite crumbly, but you’ll notice it takes on a slightly pale yellow hue. The egg acts as an important binder, helping to bring the dough together and providing richness to the crust, ensuring it bakes up with a lovely golden color.
5. Form the Tart Dough with Ice Water
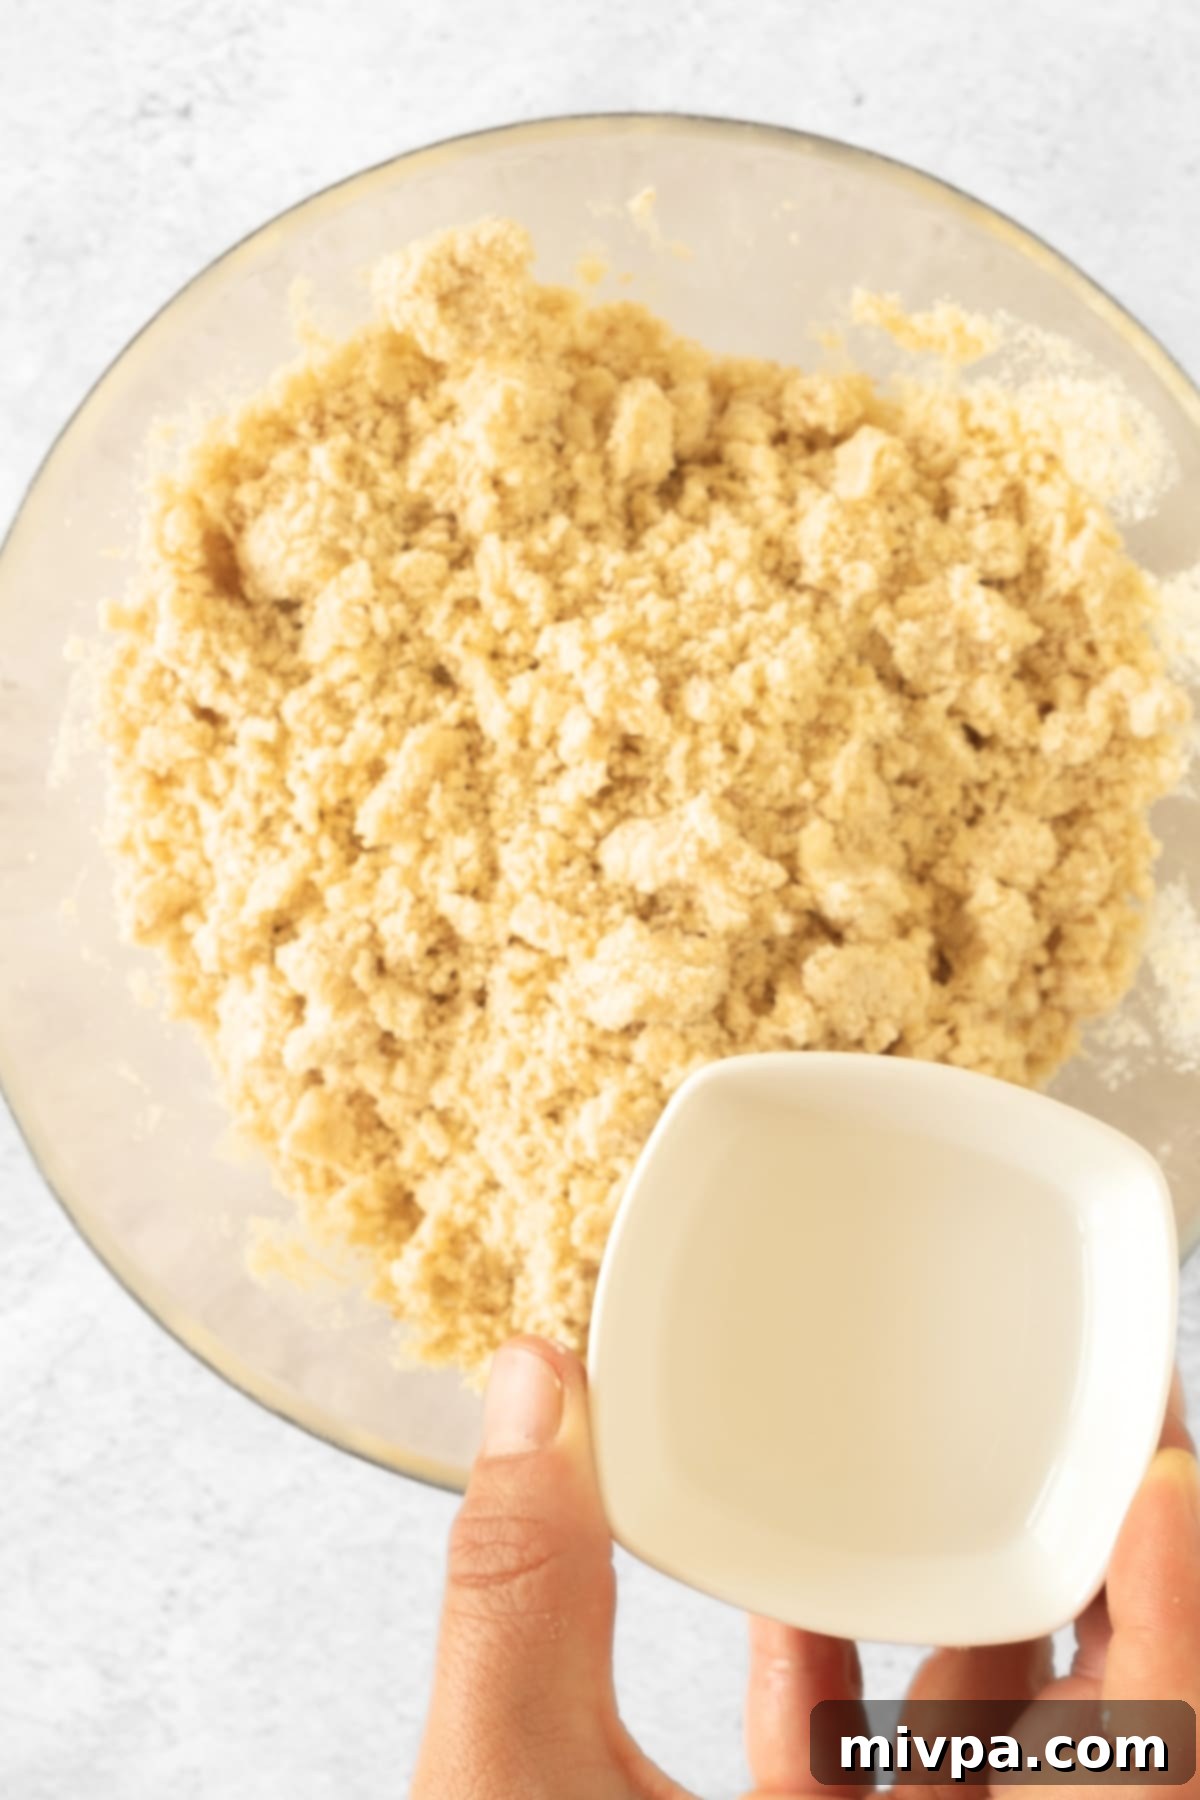
Now, it’s time to bring the dough together. Add 1 tablespoon of ice-cold water at a time to the mixture. Using a sturdy spoon or your hands, mix the crust mixture gently after each addition, just until the water is absorbed. Continue adding water, a teaspoon at a time if needed, until the dough just comes together and can be formed into a cohesive ball. The ideal consistency is a soft, pliable dough – remember, a slightly more moist dough is generally easier to handle and less prone to crumbling than one that’s too dry. (TIP: The exact amount of water needed will depend on the humidity in your environment and the specific gluten-free flour blend you are using, so adjust accordingly.)
6. Roll Out the Dough Evenly
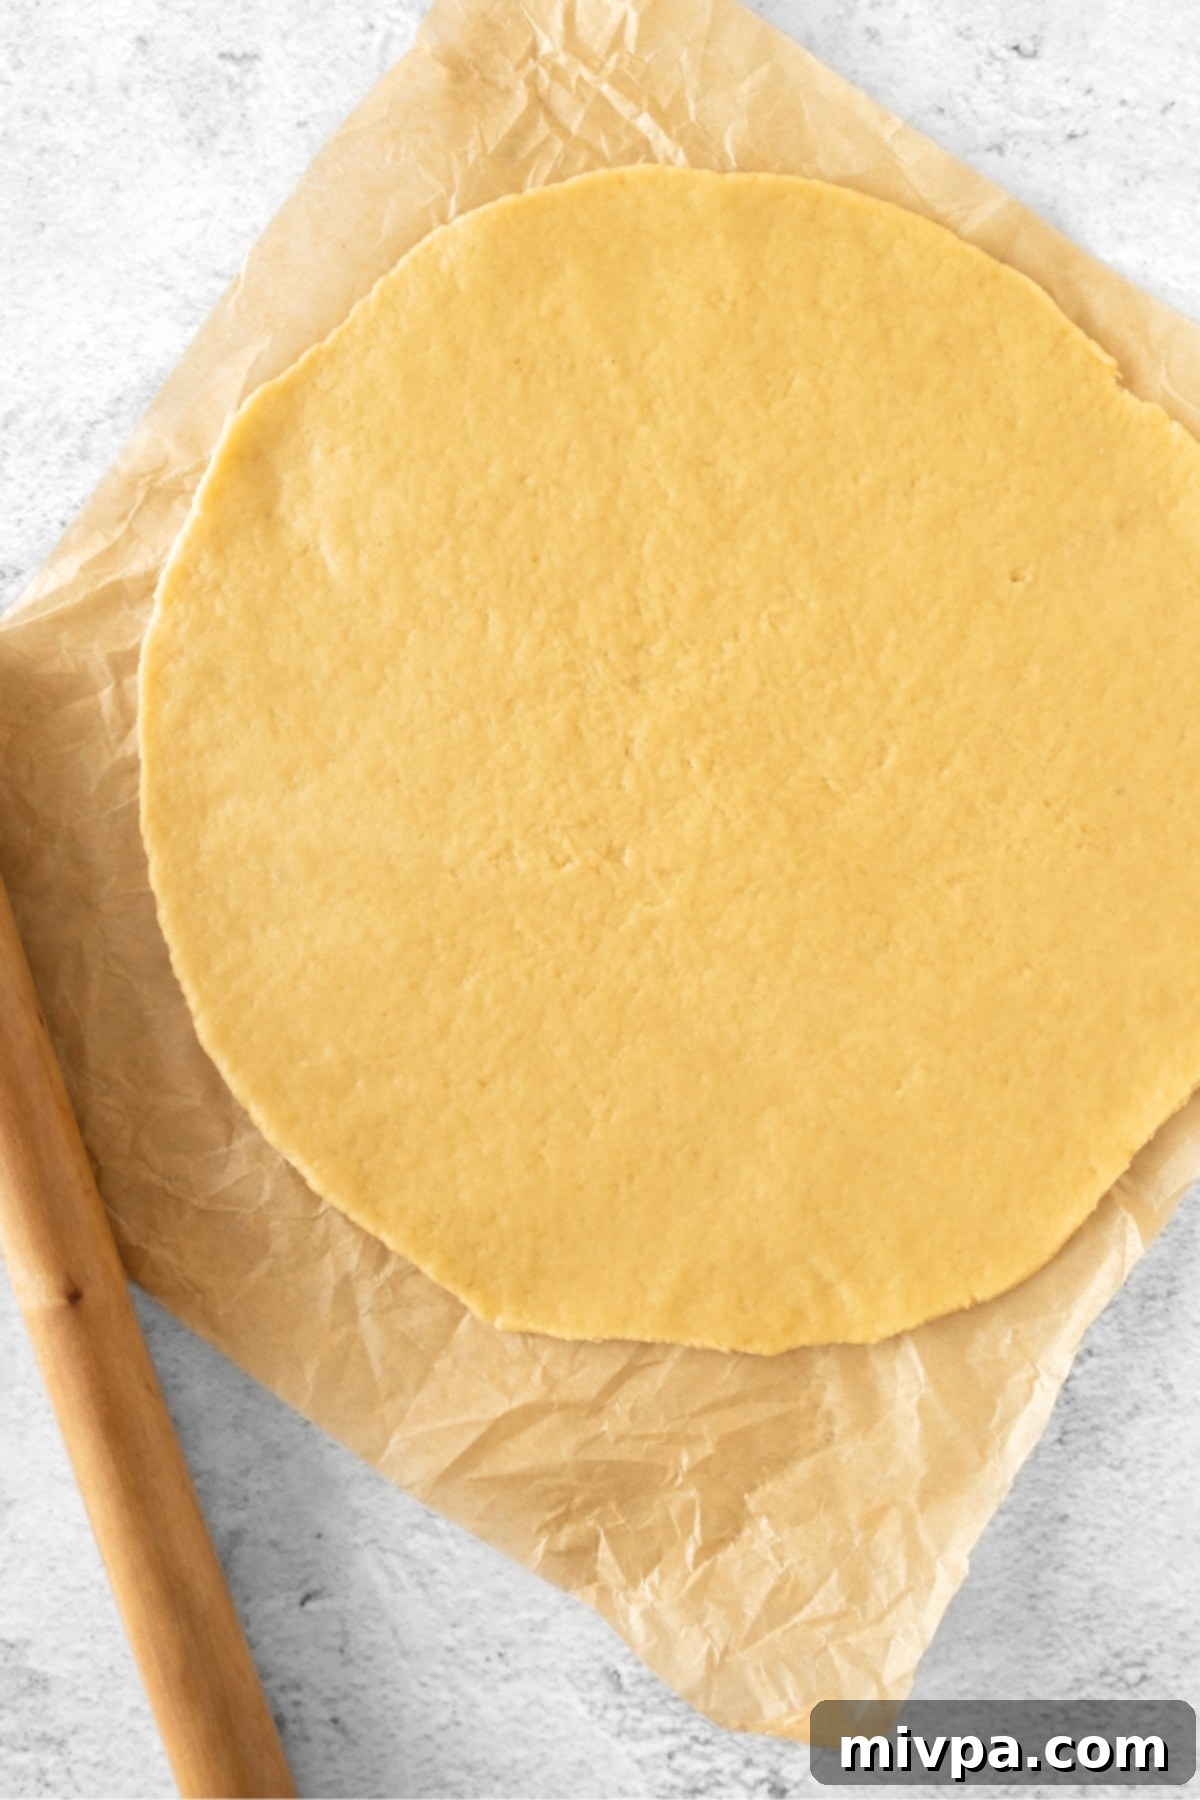
Lightly dust your work surface with gluten-free flour, or for easier handling, use two pieces of parchment paper to roll out your dough. First, gently shape the dough into a flat disc. Then, using a rolling pin, roll it out until it’s a uniform thickness (about 1/8 to 1/4 inch) and slightly larger than your 9-inch tart pan. Rolling between parchment paper is a fantastic trick for gluten-free doughs, as it prevents sticking and makes transferring the delicate dough much easier, minimizing breakage.
7. Gently Press Dough into the Tart Pan
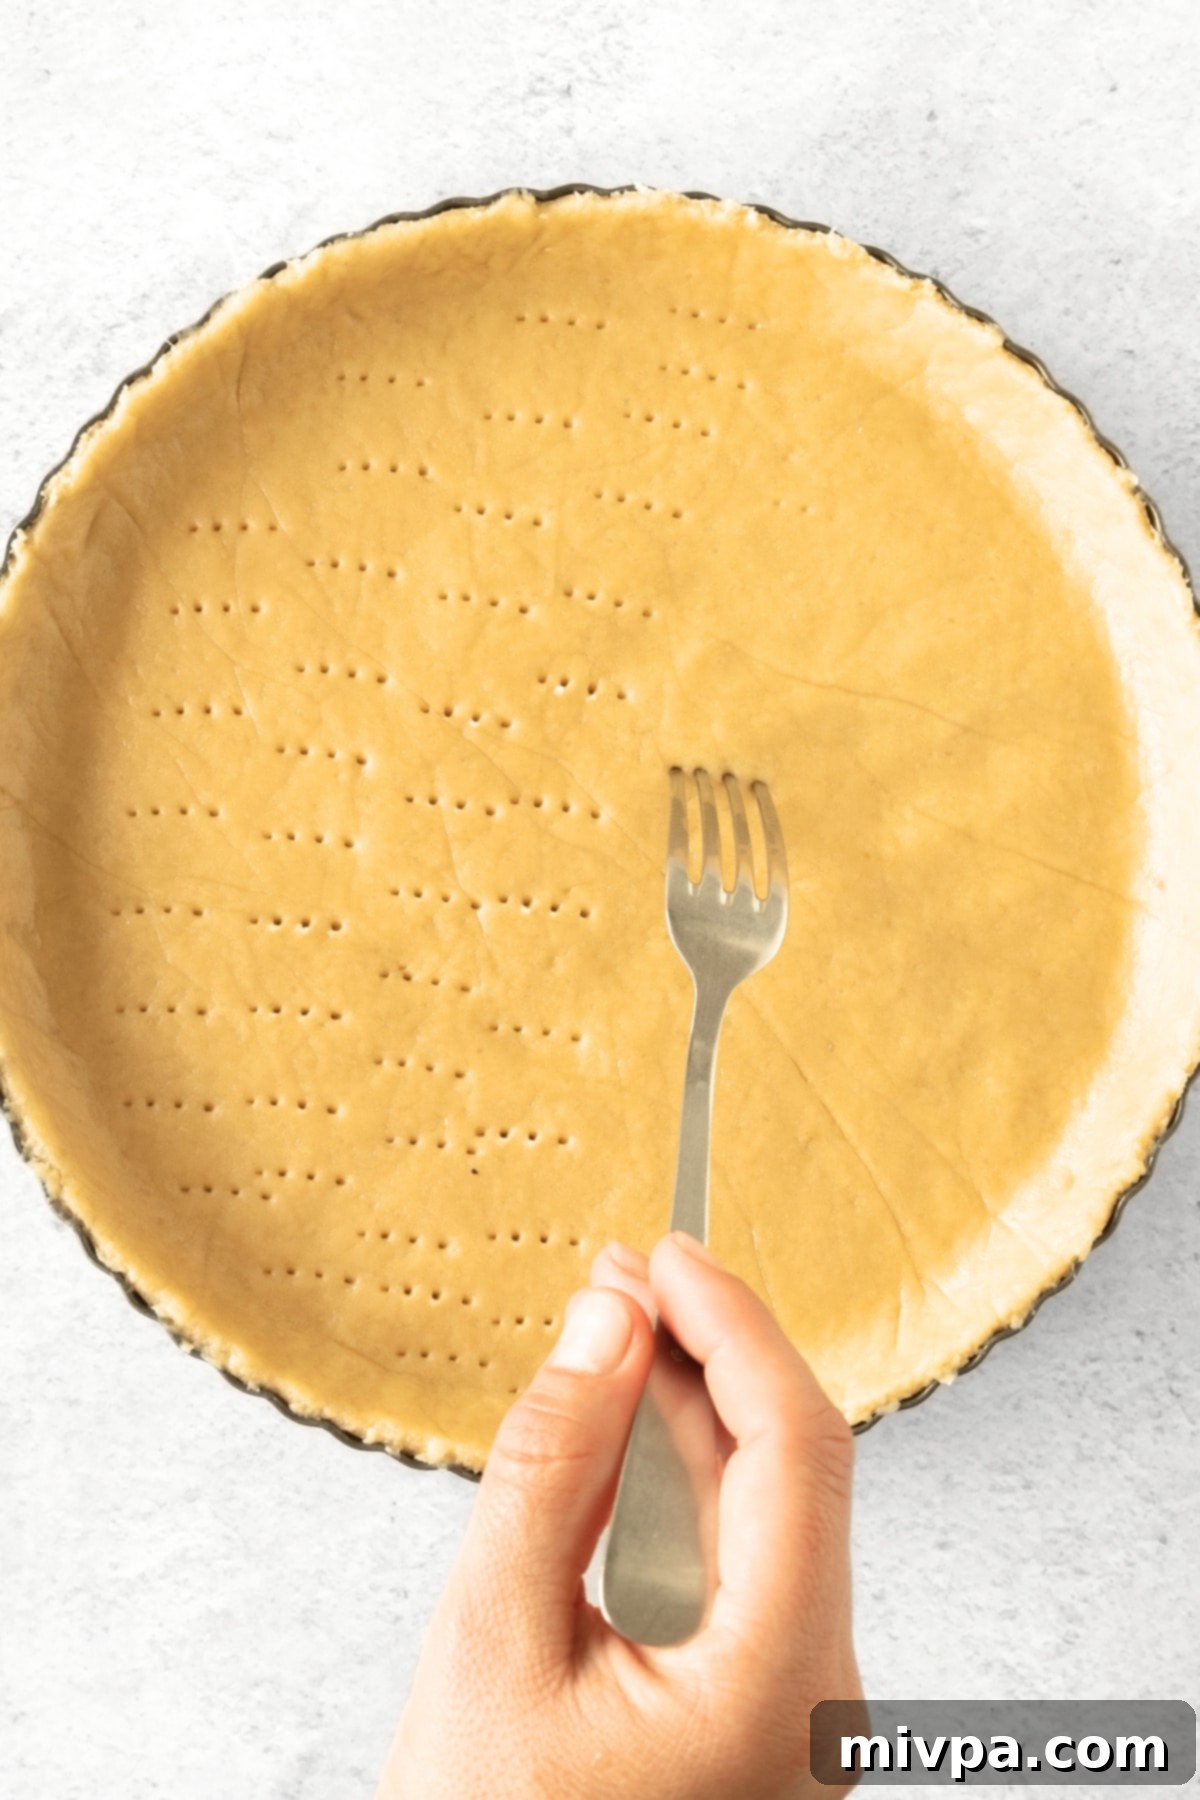
Carefully remove the top piece of parchment paper from your rolled-out dough. Then, place your hand underneath the bottom piece of parchment paper and gently flip the dough over into your prepared tart tin. Slowly and carefully peel off the remaining parchment paper. Now, gently press the dough into the bottom and up the sides of the tart pan, ensuring it fits snugly into the fluted edges. Don’t worry if the dough tears or cracks a little – gluten-free doughs can be a bit more delicate. Simply press the broken pieces back into place with your fingers; once baked, it will still look perfectly beautiful and hold its shape.
8. Par-Bake the Tart Crust for Crispness
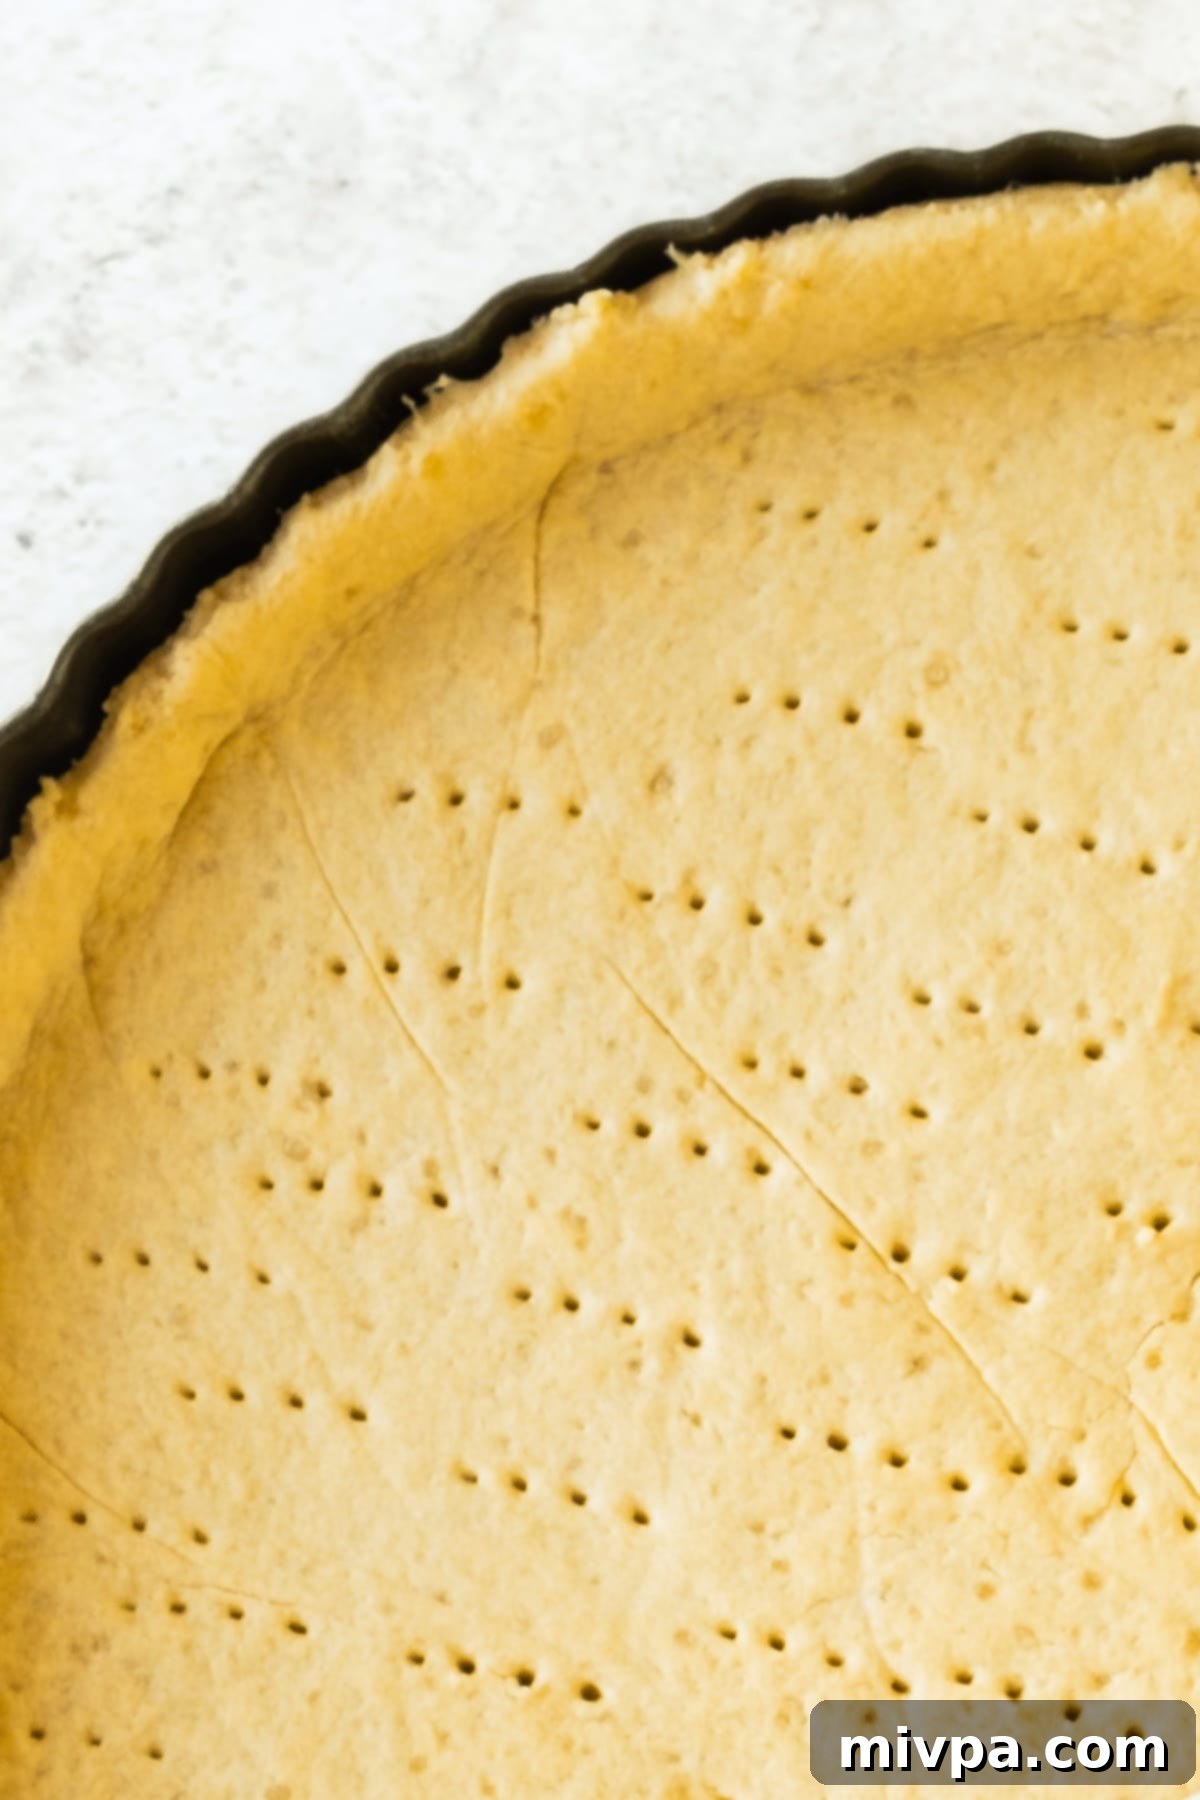
Before adding the filling, it’s essential to par-bake (or blind bake) the tart crust. This crucial step helps prevent a soggy bottom and ensures a crisp, fully cooked crust that can support the apple filling. Using a fork, gently poke holes all over the bottom of the tart crust. These holes act as vents, allowing steam to escape and preventing the crust from “ballooning” or puffing up excessively during baking. Place the pan in the preheated oven and bake for 10 minutes. After 10 minutes, remove the par-baked crust from the oven and set it aside to cool slightly while you prepare the filling.
9. Prepare the Flavorful Apple Filling
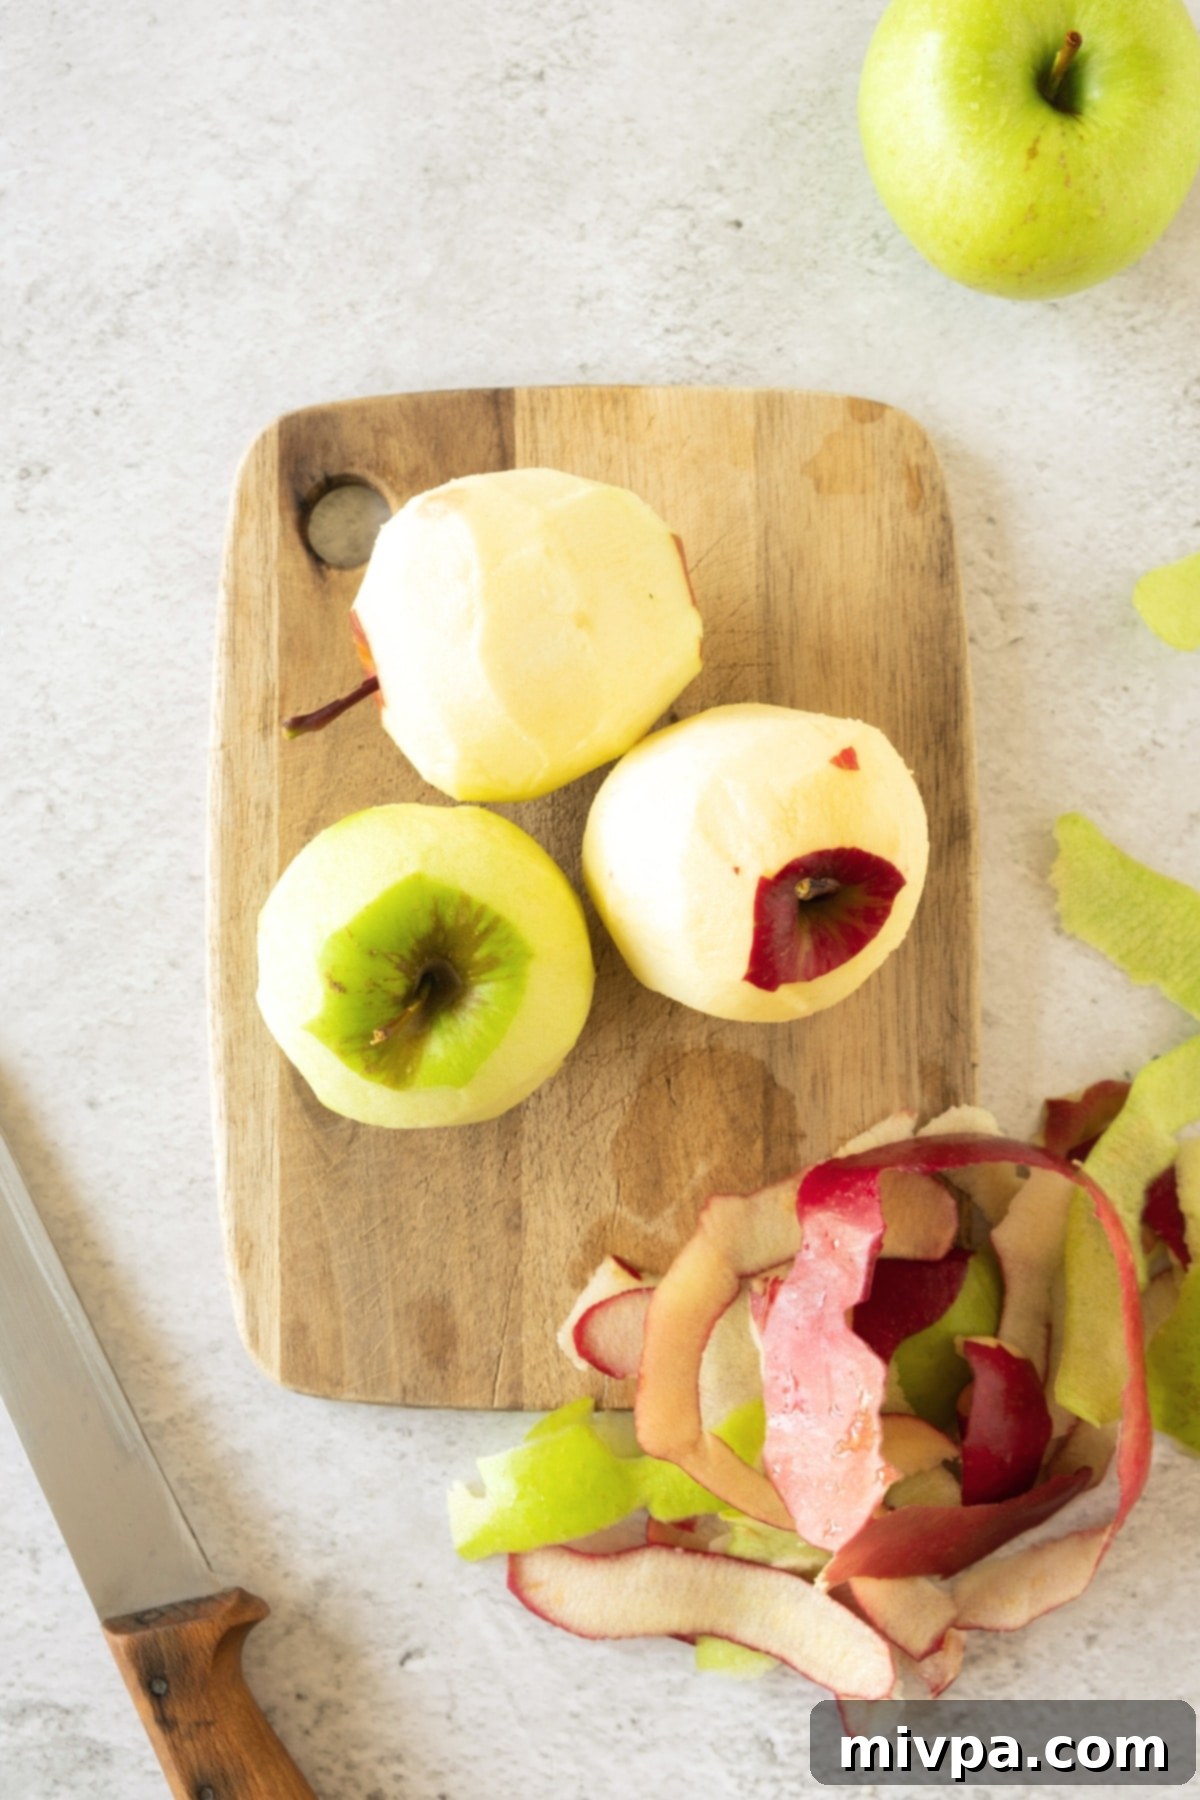
While your tart shell is par-baking, turn your attention to the star of the show: the apples. Begin by peeling, coring, and then slicing your chosen apples into thin, uniform pieces. Aim for slices that are about 1/8-inch thick; this ensures they cook evenly and become wonderfully tender without turning to mush. Thin slices also make for a more beautiful, artful arrangement in the tart, creating those classic concentric circles that are so visually appealing.
10. Create the Sugar-Flour Mixture
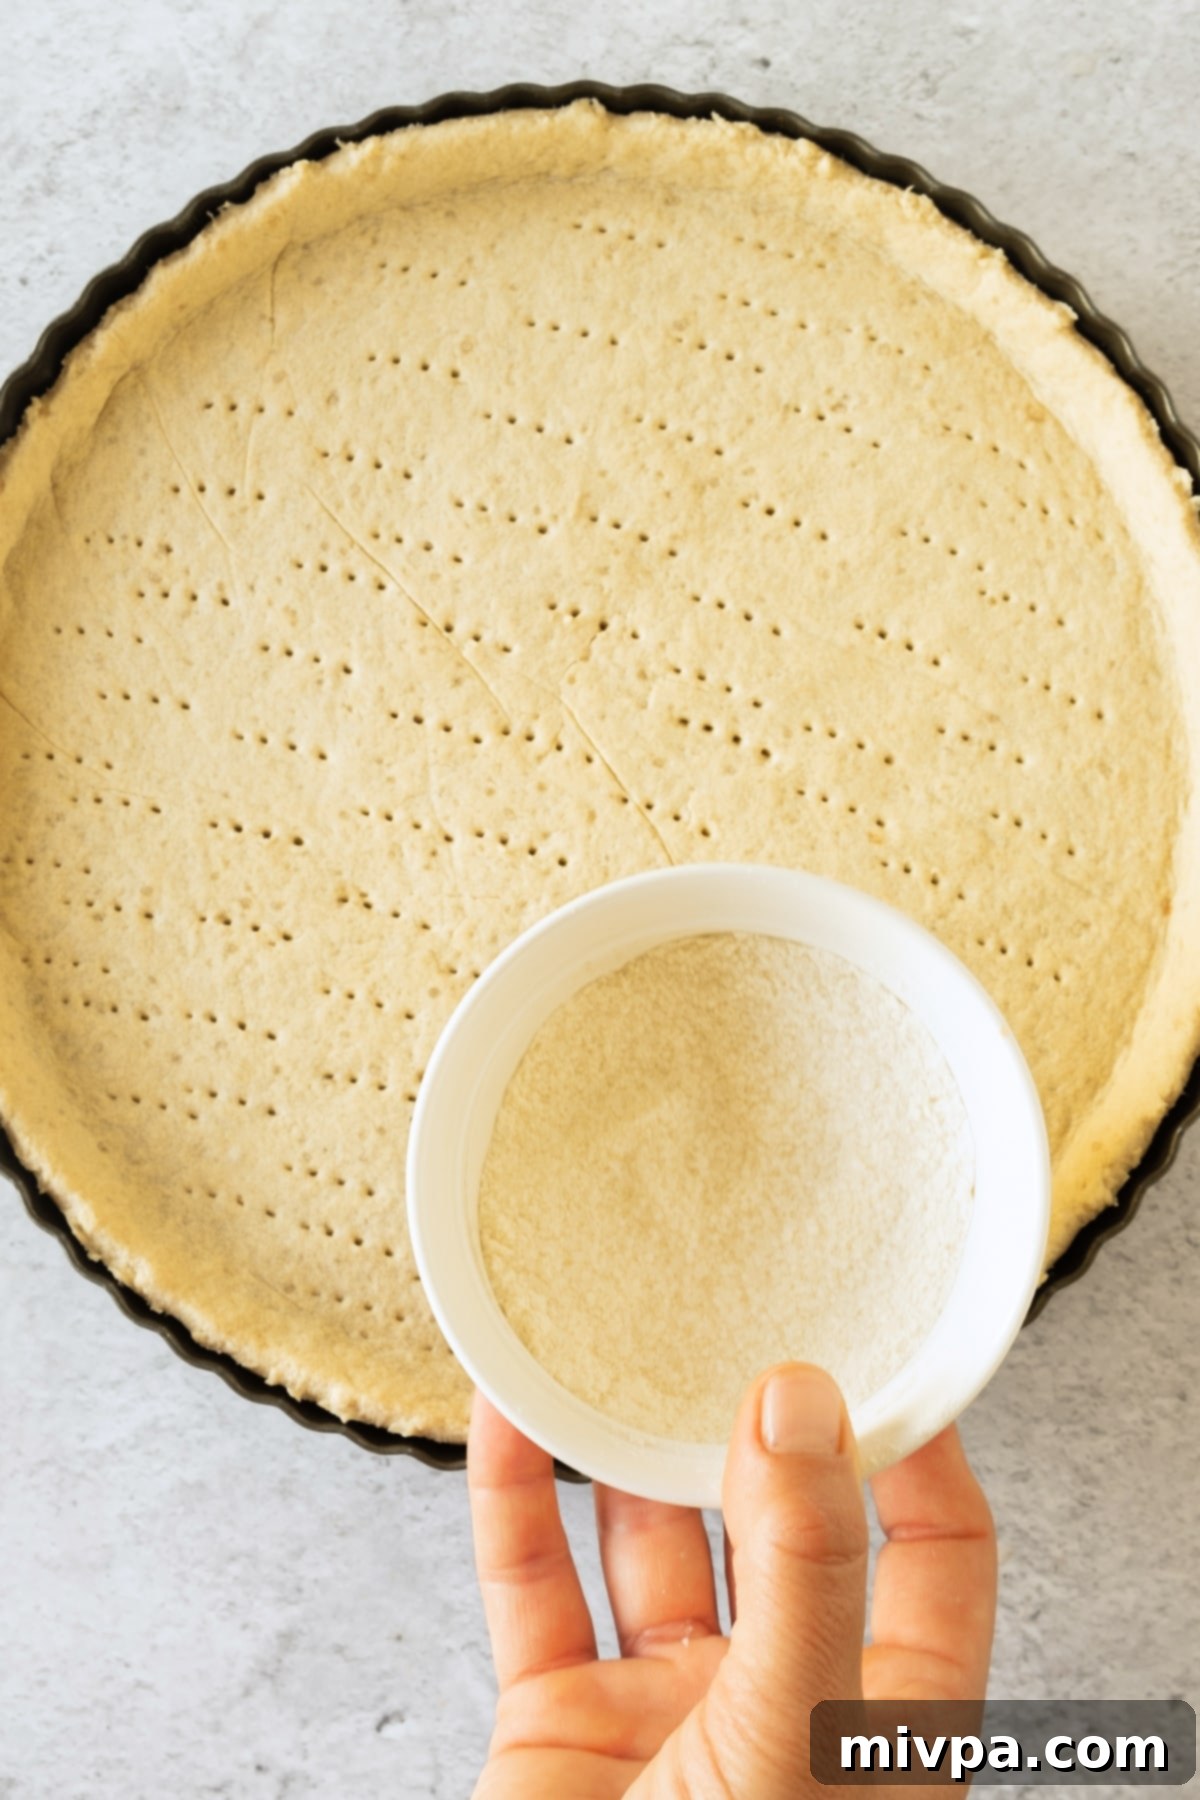
In a small bowl, combine the 2 tablespoons of white sugar with 1 tablespoon of gluten-free all-purpose flour. Mix these two ingredients thoroughly until well combined. This flour and sugar mixture will be sprinkled evenly over the par-baked tart crust. Its purpose is twofold: the flour helps to absorb any excess moisture released by the apples during baking, preventing a soggy crust, while the sugar adds an extra layer of sweetness directly beneath the fruit, enhancing the overall flavor.
11. Arrange Apple Slices and Bake
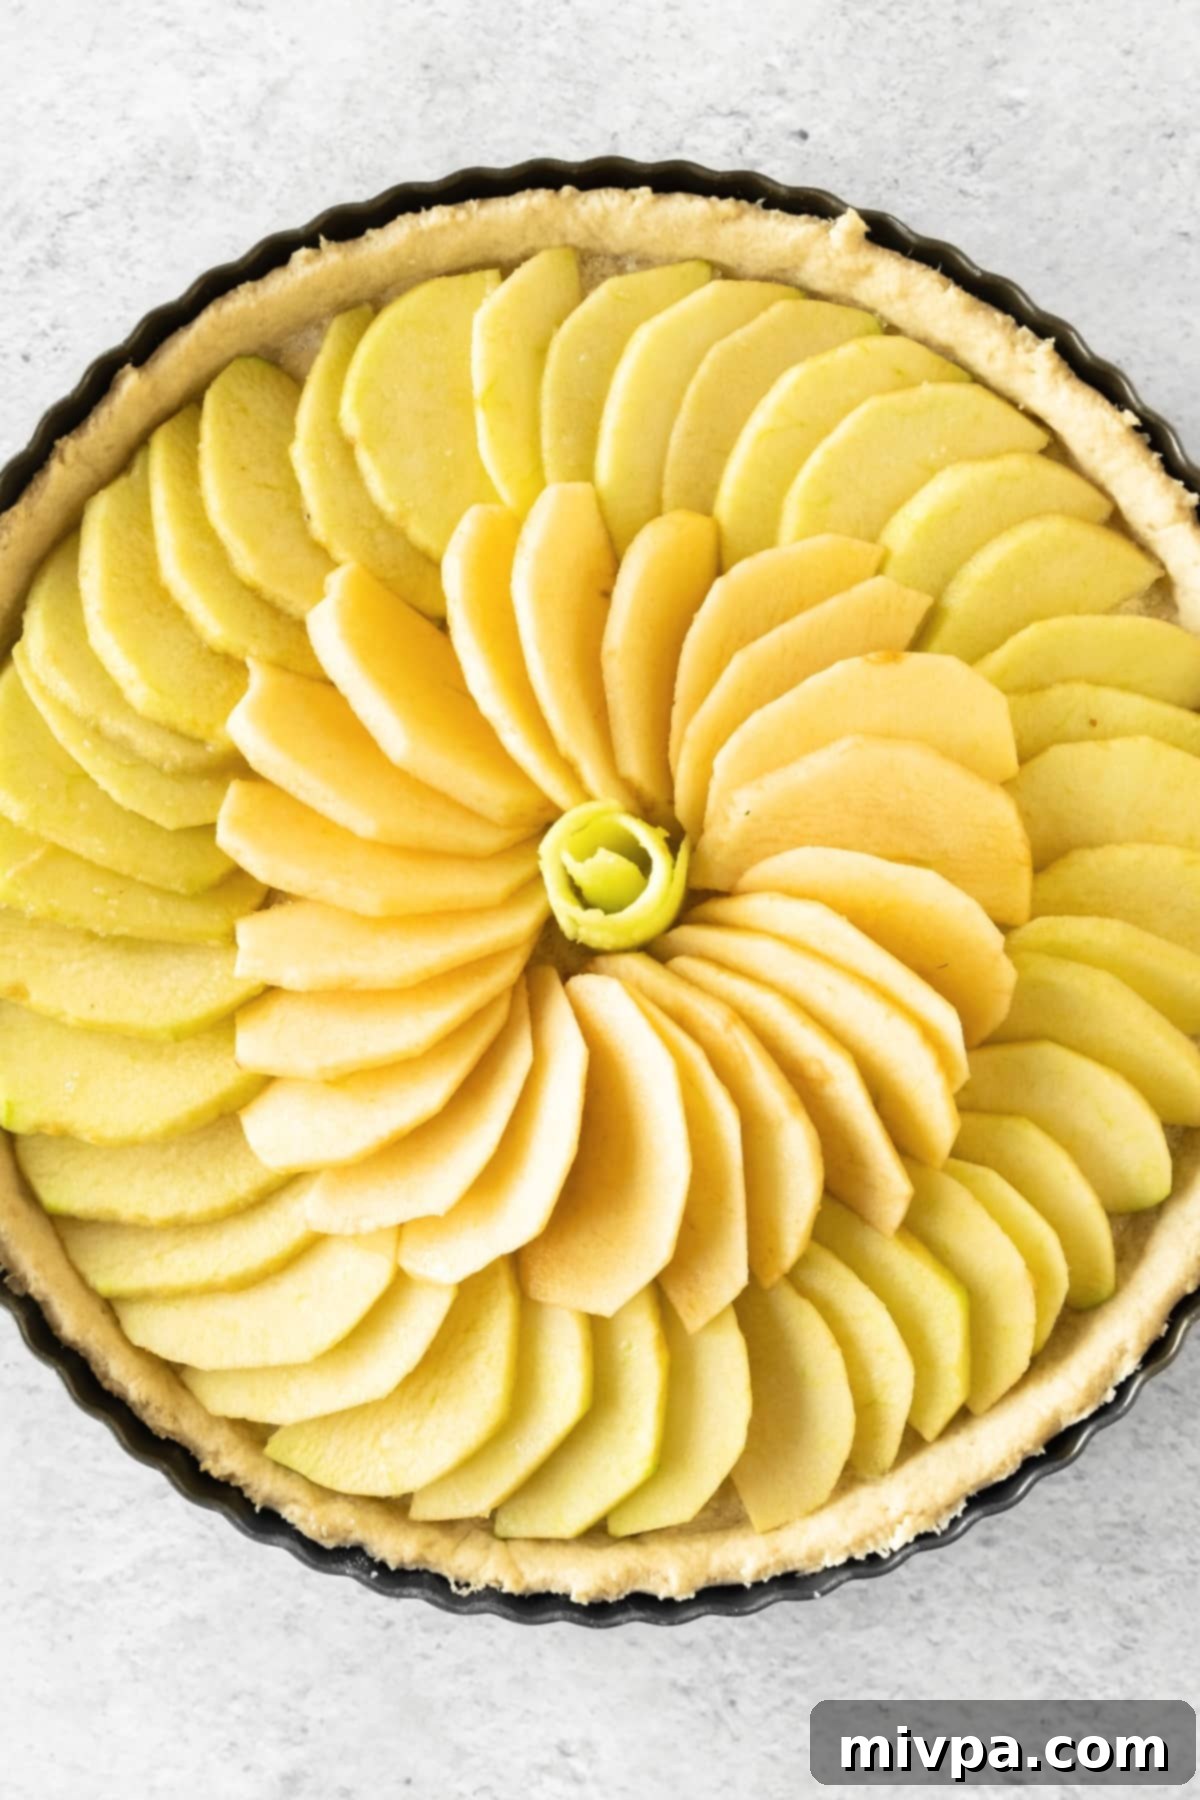
Now for the artistic part! Take your thinly sliced apples and begin arranging them on top of the par-baked crust in beautiful, overlapping concentric circles. Start from the outer edge of the tart and work your way inward, creating a lovely rosette pattern. This not only looks stunning but also ensures an even distribution of apples. Once the entire surface of the tart crust is covered with your carefully arranged apple slices, place the tart back into the preheated oven. Bake for approximately 1 hour, or until the apple slices are wonderfully tender when pierced with a fork, appear beautifully golden brown, and the tart crust is deep golden and thoroughly cooked through. Keep an eye on it during the last 15-20 minutes to prevent over-browning; if needed, loosely tent with foil.
12. Glaze with Apricot Preserves for Shine
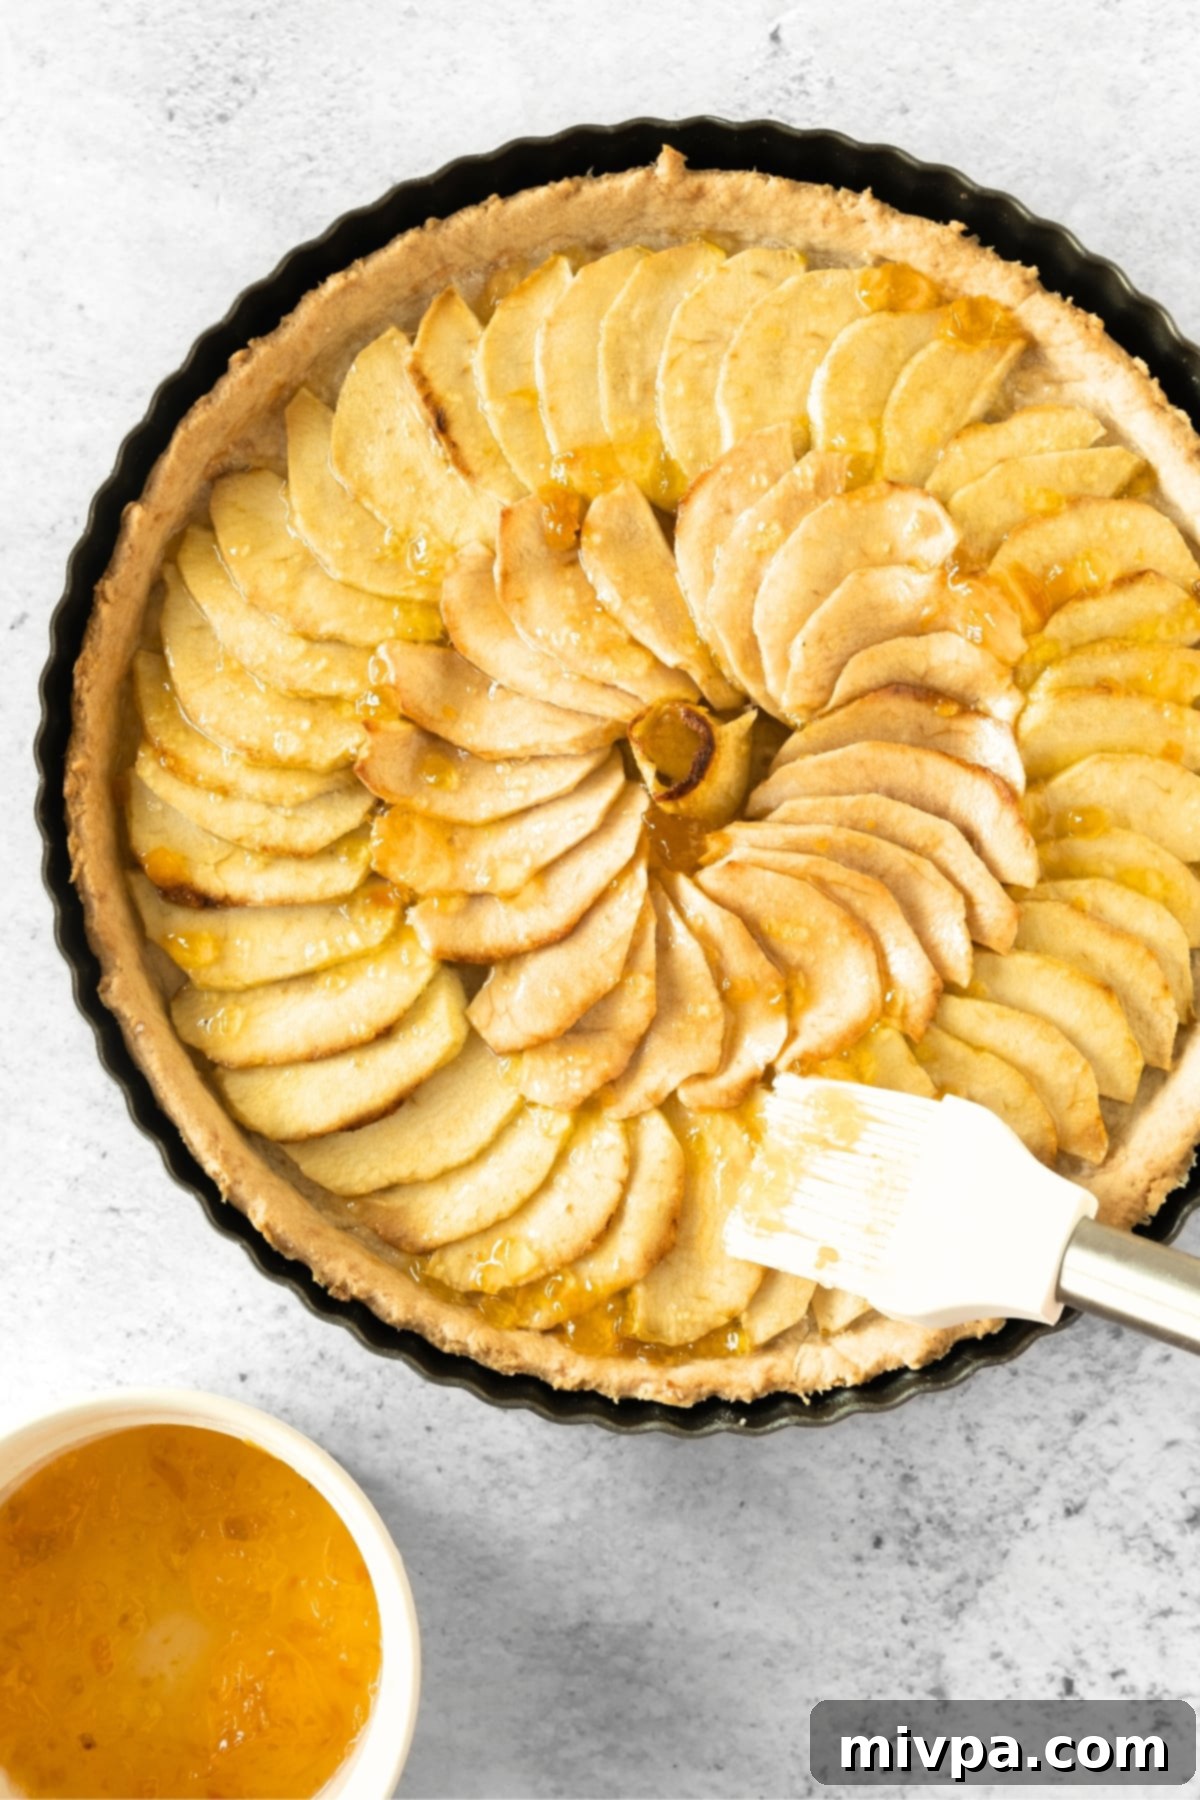
Once the apple tart is fully baked and still warm from the oven, it’s time to add a touch of professional shine and sweetness. Using a silicon pastry brush, gently brush the tops of the cooked apple slices with apricot preserves (or orange marmalade). You may need to warm the preserves slightly to make them easier to brush. This step not only adds a beautiful gloss and an extra layer of fruit flavor but also helps to keep the apples moist and glistening, making for an even more irresistible presentation. It’s a simple step that significantly enhances the visual and taste appeal of your homemade tart.
13. Crucial Cooling Before Slicing and Serving
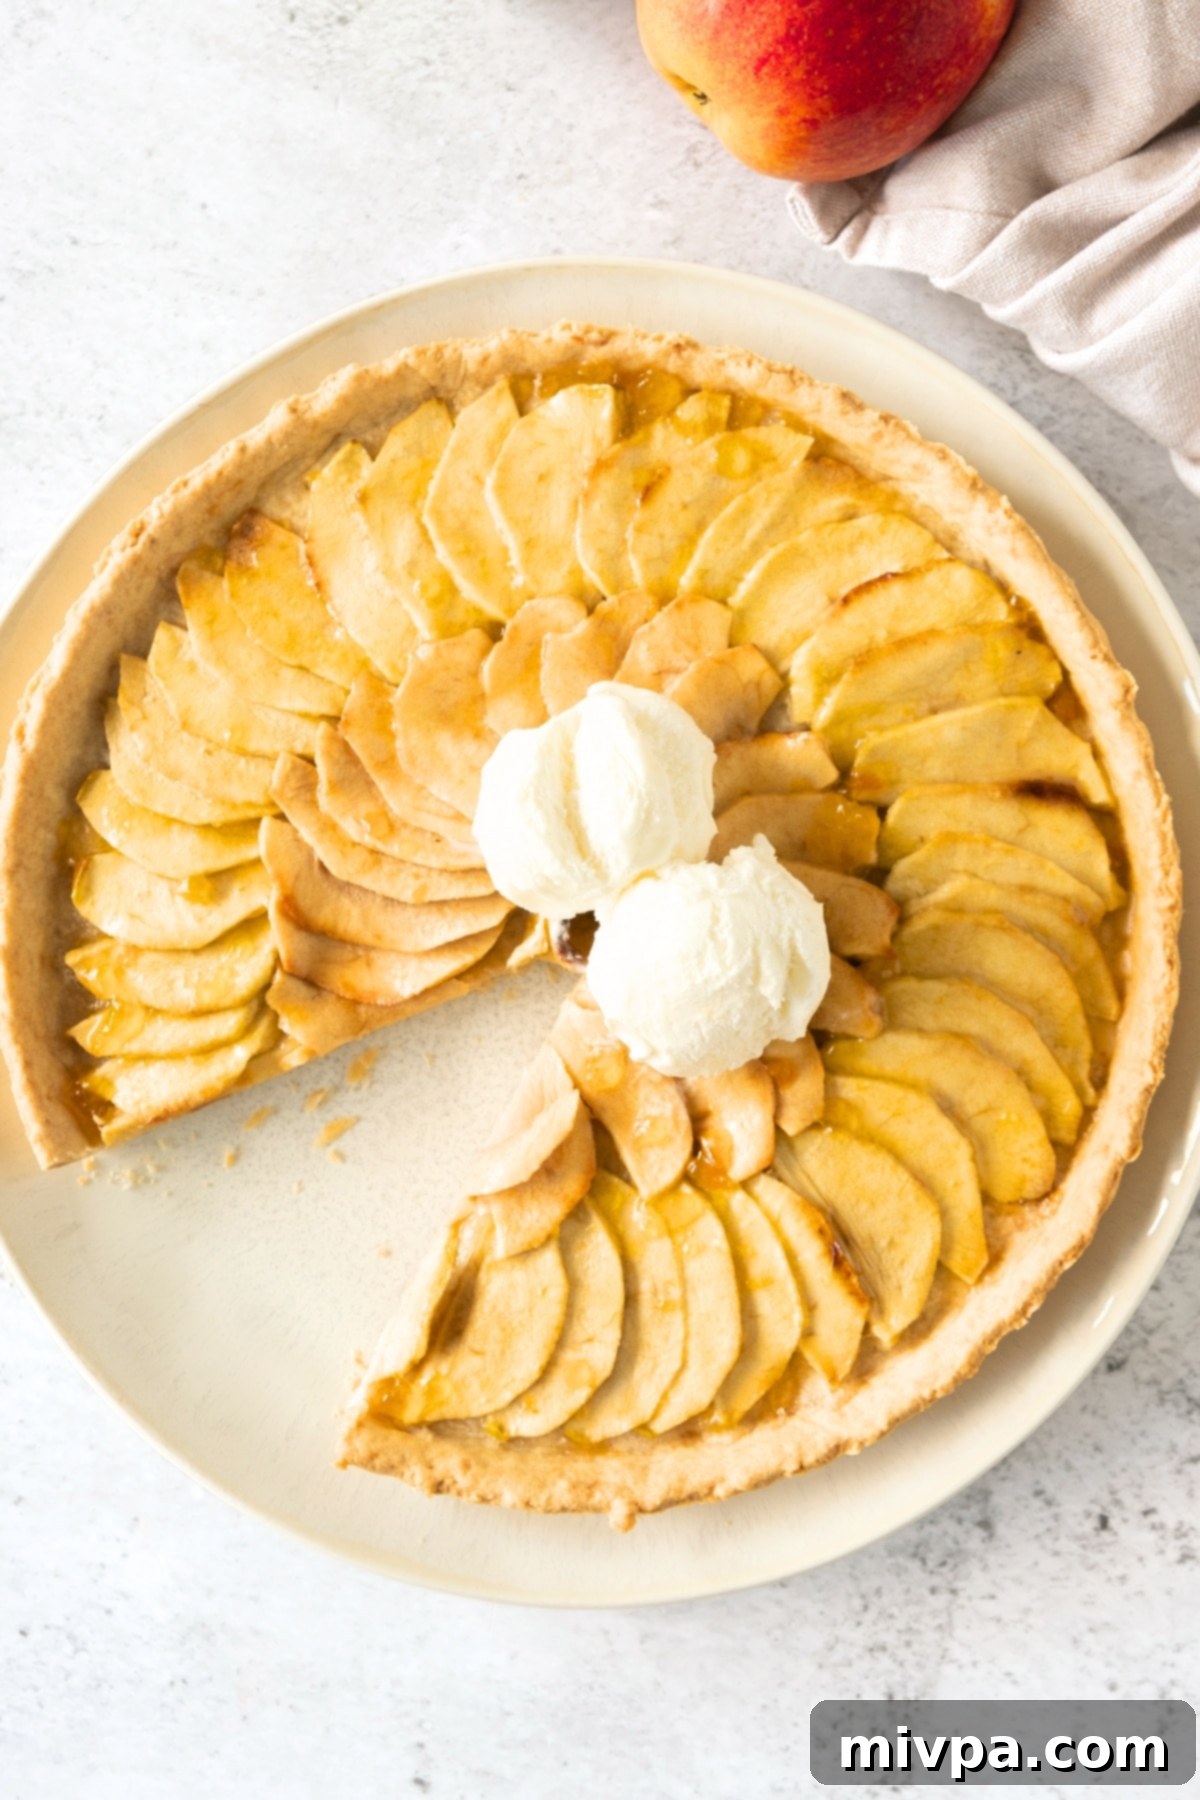
This final step is perhaps the most important for ensuring a perfectly structured slice. Allow your magnificent gluten-free French apple tart to cool completely for at least 1 hour at room temperature before attempting to slice it. While it’s tempting to dive in immediately, cooling allows the apple filling to set properly and the crust to firm up, making for clean, neat slices that hold their shape. Once fully cooled, carefully remove it from the tart pan by pushing up the removable bottom. Serve your exquisite tart with a generous scoop of dairy-free vanilla ice cream or a dollop of whipped cream for an utterly delightful dessert experience that truly celebrates the flavors of fall.
Dish by Dish Pro Tips & Clever Tricks for Your Apple Tart:
Elevate your gluten-free apple tart from great to extraordinary with these expert tips and clever tricks from the Dish by Dish kitchen:
- Tart Crust Options: While I’ve provided a fantastic recipe for a homemade gluten-free tart crust that’s buttery and flaky, don’t hesitate to use a store-bought gluten-free tart crust for added convenience, especially if you’re short on time. Always look for a high-quality brand to ensure good flavor and texture. If gluten is not a dietary concern for you or your guests, a traditional pie crust can also be used following the same preparation and baking instructions. Just be sure to par-bake as directed to prevent a soggy bottom.
- Create Mini Tarts: This recipe yields a beautiful 9-inch tart, perfect for sharing at a dinner party. However, for individual servings or charming bite-sized party treats, you can easily adapt it to make mini tarts. Simply divide the dough into smaller portions (about 12-16 pieces) and press them into mini tart pans or muffin tins. Adjust the baking time accordingly – mini tarts will cook much faster, typically 25-35 minutes. They make for an adorable and easily portioned dessert that’s perfect for potlucks or afternoon tea.
- Optimal Apple Varieties: For the most dynamic flavor, my preference is to use a harmonious blend of both tart green apples (like Granny Smith, which are firm, hold their shape well, and offer a pleasant tang) and naturally sweeter red apples (such as Gala, Fuji, Honeycrisp, or Pink Lady, which soften beautifully and provide natural sweetness). This combination creates a rich, complex filling that’s neither too sweet nor too sharp. If you’re using apples from an orchard during harvest season, simply use the varieties you have most of – fresh is always best! You can also choose to leave the apple skins on for a more rustic look and added fiber, though I typically remove them for a smoother filling texture.
- Seasonal Pear Swap: While apples are classic for fall, don’t limit yourself! During the fall season, pears are also wonderfully abundant and can be a delightful substitute. You can easily replace the apples with thinly sliced pears in this recipe for a delightful twist. Firmer varieties like Bosc or Anjou pears work best, as they maintain their structure during baking and offer a lovely, subtle sweetness that complements the crust beautifully. This simple swap offers a different, yet equally delicious, autumnal flavor profile.
- Drizzle with Caramel: For an extra layer of decadence and a truly comforting treat, consider transforming this into a gluten-free caramel apple tart! Once the tart has cooled slightly, drizzle a generous amount of warm dairy-free caramel sauce over the top of the glazed apples. The combination of sweet, gooey caramel with the tender, spiced apples and flaky crust is absolutely divine. This makes for an impressive presentation and a flavor explosion that’s perfect for special occasions or when you simply crave an indulgent treat.
Frequently Asked Questions About This Gluten-Free Apple Tart:
To maintain its freshness and flavor, cover this easy apple tart securely with plastic wrap or aluminum foil. Store it in the refrigerator for up to 3 days. You have the option to enjoy the tart cold, which is delightful, or gently warm individual slices in the oven (around 300°F/150°C for 10-15 minutes, or a quick microwave for a softer texture) for a few minutes if you prefer it warm, especially if you plan to serve it with ice cream.
Yes, absolutely! This gluten-free apple tart is an excellent make-ahead dessert, perfect for holiday planning or entertaining. You can bake the entire tart, allow it to cool completely, then cover and store it in the refrigerator for up to 2-3 days. For best results, gently warm it in the oven (around 300°F/150°C for 10-15 minutes) before serving to revive the crust’s crispness and warm the apples. This also helps the flavors meld beautifully.
While you can freeze the baked tart, keep in mind that the texture of the apples and crust might change slightly upon thawing, potentially becoming a little softer. If freezing, allow the tart to cool completely, then wrap it tightly in several layers of plastic wrap and then aluminum foil to prevent freezer burn. Freeze for up to 1-2 months. When ready to enjoy, thaw overnight in the refrigerator, then warm in a low oven (around 325°F/160°C) until heated through and the crust is crisp again.
Gluten-free dough can sometimes be more crumbly than traditional dough due to the absence of gluten’s binding properties. If your dough is too dry and crumbly to form a ball after mixing with the egg, gradually add a little more ice water, one teaspoon at a time, mixing gently until it just comes together. Be careful not to add too much, as this can make the crust tough. If it’s still a bit crumbly during rolling, don’t despair! You can try pressing it directly into the tart pan with your fingers, patching up any cracks as you go. Gluten-free dough is often forgiving in this aspect, and it will still bake beautifully!
No, not really! While a tart pan with a removable bottom is highly recommended for easy serving and a beautiful, fluted presentation, you can certainly use a regular 9-inch pie dish (though the aesthetic might be different). A pastry cutter is helpful for incorporating butter into the flour, but two knives or even your clean fingertips work just fine. Basic baking tools like mixing bowls, a rolling pin, and measuring cups are all you truly need to create this delicious gluten-free apple tart.
More Gluten-Free Apple Recipes You’ll Love to Make:
If you’re eager to continue your apple-baking adventure, explore these other fantastic gluten-free and dairy-free apple recipes:
- Easy Apple Pear Chutney (Gluten-Free, Vegan)
- Gluten-Free Apple Pancakes (Dairy-Free)
- Easy Baked Apples (Gluten-Free, Vegan)
- Easy Caramelized Apples (Gluten-Free, Vegan)
Other Gluten-Free Desserts You’ll Love:
Craving more sweet treats that are gluten-free and delicious? Here are some other favorites from our kitchen:
- Gluten-Free Pumpkin Banana Muffins (Dairy-Free)
- 126 Gluten-Free Desserts and Sweet Treats for Labor Day
- Mini Pumpkin Cheesecakes (Gluten-Free, Dairy-Free Option)
- Gluten-Free Pecan Pie Bars (Dairy-Free)
P.S. We hope you absolutely adore this easy, flavorful, and incredibly satisfying gluten-free dairy-free apple tart! It truly embodies the warmth and comfort of the fall season, making it a perfect addition to any meal or gathering. If you give this recipe a try, we would be thrilled to hear from you! Please consider leaving a star rating below and/or sharing your experience in the comment section further down the page – your feedback is invaluable and helps other bakers too. Don’t forget to explore our entire Recipe Index for more delightful gluten-free and dairy-free creations. You can also connect with us and find daily inspiration by following on Pinterest, Facebook, or Instagram! For a weekly dose of fresh, delicious recipes delivered straight to your inbox, sign up for our exclusive Email List. Happy baking!
Print

Gluten-Free Apple Tart (Dairy-Free)
5 Stars 4 Stars 3 Stars 2 Stars 1 Star
5 from 1 review
Author: Felicia Lim
Total Time: 1 hour 30 minutes
Yield: 8 servings
Diet: Gluten Free
Description
In this easy gluten-free apple tart, sliced apples are layered on a buttery and flaky shortbread crust. Top it with a scoop of vanilla ice cream for the perfect fall dessert or sweet snack! Dairy-free too.
Ingredients
Units
Scale
- 2 cups gluten-free all-purpose flour + more for dusting
- 3/4 teaspoon xanthan gum (omit if your gluten-free flour blend already includes it)
- 2 tablespoons dark brown sugar
- 1/2 cup dairy-free butter, chilled and cut into cubes
- 1 egg, beaten
- 1/2 cup ice water, amount necessary
For the Apple Filling:
- 2 red apples, peeled, cored and sliced thinly
- 2 green apples, peeled, cored and sliced thinly
- 2 tablespoons white sugar
- 1 tablespoon gluten-free all-purpose flour
- 1 tablespoon apricot preserves, for brushing
For Serving:
- Dairy-free vanilla ice cream (optional)
Instructions
- Preheat Oven and Prepare Tart Pan: Begin by preheating your oven to a moderate 350°F (175°C) and positioning an oven rack in the middle. This ensures even baking and proper heat distribution for both the crust and the filling. Next, take a 9-inch tart pan with a removable bottom, which is ideal for easy removal and elegant serving. Liberally grease the entire interior of the pan with non-stick cooking spray or a thin layer of dairy-free butter. This crucial step prevents the crust from sticking and helps achieve that perfect golden-brown finish.
- Whisk Dry Ingredients for the Crust: In a spacious large mixing bowl, combine your gluten-free all-purpose flour blend, the specified amount of xanthan gum (if your flour blend doesn’t already contain it), and light brown sugar. Whisk these dry ingredients thoroughly using a balloon whisk until they are uniformly combined and airy. This aeration helps create a light and tender crust, and ensures the sugar is evenly distributed for consistent sweetness throughout the pastry.
- Incorporate Chilled Dairy-Free Butter: Add the chilled, cubed dairy-free butter to your dry mixture. Using a pastry cutter, two knives, or even the back of a fork to press and break down the butter, work the butter into the flour until the mixture resembles coarse sand with some pea-sized crumbs. The key here is to keep the butter as cold as possible; this prevents it from melting too quickly and is essential for achieving a flaky, tender tart crust. Avoid overworking the mixture, as excessive handling can warm the butter and lead to a tough crust.
- Add the Beaten Egg: Pour in the beaten egg and mix it into the crumbly flour and butter mixture. Continue mixing gently with a spoon or your hands until the egg is fully incorporated. At this stage, the mixture will still be quite crumbly, but you’ll notice it takes on a slightly pale yellow hue. The egg acts as an important binder, helping to bring the dough together and providing richness to the crust, ensuring it bakes up with a lovely golden color.
- Form the Tart Dough with Ice Water: Now, it’s time to bring the dough together. Add 1 tablespoon of ice-cold water at a time to the mixture. Using a sturdy spoon or your hands, mix the crust mixture gently after each addition, just until the water is absorbed. Continue adding water, a teaspoon at a time if needed, until the dough just comes together and can be formed into a cohesive ball. The ideal consistency is a soft, pliable dough – remember, a slightly more moist dough is generally easier to handle and less prone to crumbling than one that’s too dry. (TIP: The exact amount of water needed will depend on the humidity in your environment and the specific gluten-free flour blend you are using, so adjust accordingly.)
- Roll Out the Dough Evenly: Lightly dust your work surface with gluten-free flour, or for easier handling, use two pieces of parchment paper to roll out your dough. First, gently shape the dough into a flat disc. Then, using a rolling pin, roll it out until it’s a uniform thickness (about 1/8 to 1/4 inch) and slightly larger than your 9-inch tart pan. Rolling between parchment paper is a fantastic trick for gluten-free doughs, as it prevents sticking and makes transferring the delicate dough much easier, minimizing breakage.
- Gently Press Dough into the Tart Pan: Carefully remove the top piece of parchment paper from your rolled-out dough. Then, place your hand underneath the bottom piece of parchment paper and gently flip the dough over into your prepared tart tin. Slowly and carefully peel off the remaining parchment paper. Now, gently press the dough into the bottom and up the sides of the tart pan, ensuring it fits snugly into the fluted edges. Don’t worry if the dough tears or cracks a little – gluten-free doughs can be a bit more delicate. Simply press the broken pieces back into place with your fingers; once baked, it will still look perfectly beautiful and hold its shape.
- Par-Bake the Tart Crust for Crispness: Before adding the filling, it’s essential to par-bake (or blind bake) the tart crust. This crucial step helps prevent a soggy bottom and ensures a crisp, fully cooked crust that can support the apple filling. Using a fork, gently poke holes all over the bottom of the tart crust. These holes act as vents, allowing steam to escape and preventing the crust from “ballooning” or puffing up excessively during baking. Place the pan in the preheated oven and bake for 10 minutes. After 10 minutes, remove the par-baked crust from the oven and set it aside to cool slightly while you prepare the filling.
- Prepare the Flavorful Apple Filling: While your tart shell is par-baking, turn your attention to the star of the show: the apples. Begin by peeling, coring, and then slicing your chosen apples into thin, uniform pieces. Aim for slices that are about 1/8-inch thick; this ensures they cook evenly and become wonderfully tender without turning to mush. Thin slices also make for a more beautiful, artful arrangement in the tart, creating those classic concentric circles that are so visually appealing.
- Create the Sugar-Flour Mixture: In a small bowl, combine the 2 tablespoons of white sugar with 1 tablespoon of gluten-free all-purpose flour. Mix these two ingredients thoroughly until well combined. This flour and sugar mixture will be sprinkled evenly over the par-baked tart crust. Its purpose is twofold: the flour helps to absorb any excess moisture released by the apples during baking, preventing a soggy crust, while the sugar adds an extra layer of sweetness directly beneath the fruit, enhancing the overall flavor.
- Arrange Apple Slices and Bake: Now for the artistic part! Take your thinly sliced apples and begin arranging them on top of the par-baked crust in beautiful, overlapping concentric circles. Start from the outer edge of the tart and work your way inward, creating a lovely rosette pattern. This not only looks stunning but also ensures an even distribution of apples. Once the entire surface of the tart crust is covered with your carefully arranged apple slices, place the tart back into the preheated oven. Bake for approximately 1 hour, or until the apple slices are wonderfully tender when pierced with a fork, appear beautifully golden brown, and the tart crust is deep golden and thoroughly cooked through. Keep an eye on it during the last 15-20 minutes to prevent over-browning; if needed, loosely tent with foil.
- Glaze with Apricot Preserves for Shine: Once the apple tart is fully baked and still warm from the oven, it’s time to add a touch of professional shine and sweetness. Using a silicon pastry brush, gently brush the tops of the cooked apple slices with apricot preserves (or orange marmalade). You may need to warm the preserves slightly to make them easier to brush. This step not only adds a beautiful gloss and an extra layer of fruit flavor but also helps to keep the apples moist and glistening, making for an even more irresistible presentation. It’s a simple step that significantly enhances the visual and taste appeal of your homemade tart.
- Crucial Cooling Before Slicing and Serving: This final step is perhaps the most important for ensuring a perfectly structured slice. Allow your magnificent gluten-free French apple tart to cool completely for at least 1 hour at room temperature before attempting to slice it. While it’s tempting to dive in immediately, cooling allows the apple filling to set properly and the crust to firm up, making for clean, neat slices that hold their shape. Once fully cooled, carefully remove it from the tart pan by pushing up the removable bottom. Serve your exquisite tart with a generous scoop of dairy-free vanilla ice cream or a dollop of whipped cream for an utterly delightful dessert experience that truly celebrates the flavors of fall.
Notes
Gluten-Free All-Purpose Flour: I highly recommend using a good-quality gluten-free all-purpose flour blend that is made up of lighter flours/starches (such as rice flour, tapioca starch, corn starch or potato starch). I do NOT recommend using a gluten-free flour blend made up of heavier flours (such as garbanzo bean flour), as these can result in a dense or gritty crust. A balanced blend ensures a tender, flaky texture.
Xanthan Gum: Xanthan gum is the replacement for gluten in gluten-free flours, and will help to better bind the ingredients together, giving the dough structure and preventing crumbliness. If your gluten-free flour blend does not already include xanthan gum, make sure to add it in as specified.
Sugar: I use dark brown sugar for the crust for its rich flavor and moisture, and white sugar for the apple filling to keep the focus on the apples. However, you can also use light brown sugar, cane sugar, or coconut sugar if you prefer. If you are diabetic or insulin-resistant, make sure to use granulated monkfruit sweetener (a 1:1 sugar substitute that is zero glycemic index and will not raise your blood sugar).
Butter: To keep this recipe dairy-free, I used dairy-free butter (vegan butter). Ensure it’s well-chilled for best results in the crust. You may also use chilled, solidified coconut oil instead. Alternatively, if you are not lactose-intolerant, feel free to use regular unsalted butter instead.
Egg: The egg helps to better bind the tart crust together, adding richness and structure, so make sure you add it in. I haven’t made this without eggs before, but if you are allergic to eggs or simply want to make this tart vegan or egg-free, you may try using acquafaba (3 tablespoons per egg) or an egg-replacer. (If you do make this egg-free, please let me know how it goes in the comments below, I’d love to know your results!).
Ice Water: Using ice water for the crust dough is crucial as it helps to maintain a cool temperature and keeps the butter solid, which makes the dough easier to handle and work with while promoting a flaky texture. You may not need to use all the ice water – the amount you’ll need depends on the temperature and humidity where you live and the specific gluten-free flour blend. Start off with 1 tablespoon of ice water and then add more as needed, a teaspoon at a time, until you get a soft pliable dough (it’s better to have a dough that’s a little more moist than one that’s too dry).
Apples: I used a mix of both green tart apples (like Granny Smith) and sweeter red apples (such as Gala or Fuji) for a balanced sweet and tart flavor, and improved texture after baking. However, you can simply go with whichever apples you have on hand (if it’s apple season, choose the ones you have most of!). I also like to remove the skins from the apples for a smoother filling, but you can leave them on if you prefer a more rustic texture and added fiber.
Apricot Preserves: We’ll be brushing the top of the apples with apricot preserves or apricot jam once the apple tart is fully baked to add a beautiful glossy finish and a little more sweetness and fruity flavor. Alternatively, you can use orange marmalade too if that’s what you have available – it adds a lovely citrusy note.
Vanilla Ice Cream: I like adding a scoop of dairy-free vanilla ice cream to go with this gluten-free apple tart for a lovely, creamy finish (especially on a special occasion or simply for an indulgent treat!). Dairy-free whipped cream is another excellent option.
Storing: To store, cover this easy apple tart securely with plastic wrap or aluminum foil and store in the refrigerator for up to 3 days. You can either eat the tart cold, or warm up the tart in the oven for a few minutes if you prefer a warm dessert, especially when serving with ice cream.
- Prep Time: 20 mins
- Cook Time: 1 hour 10 mins
- Category: Desserts
- Method: Baking
- Cuisine: Western
