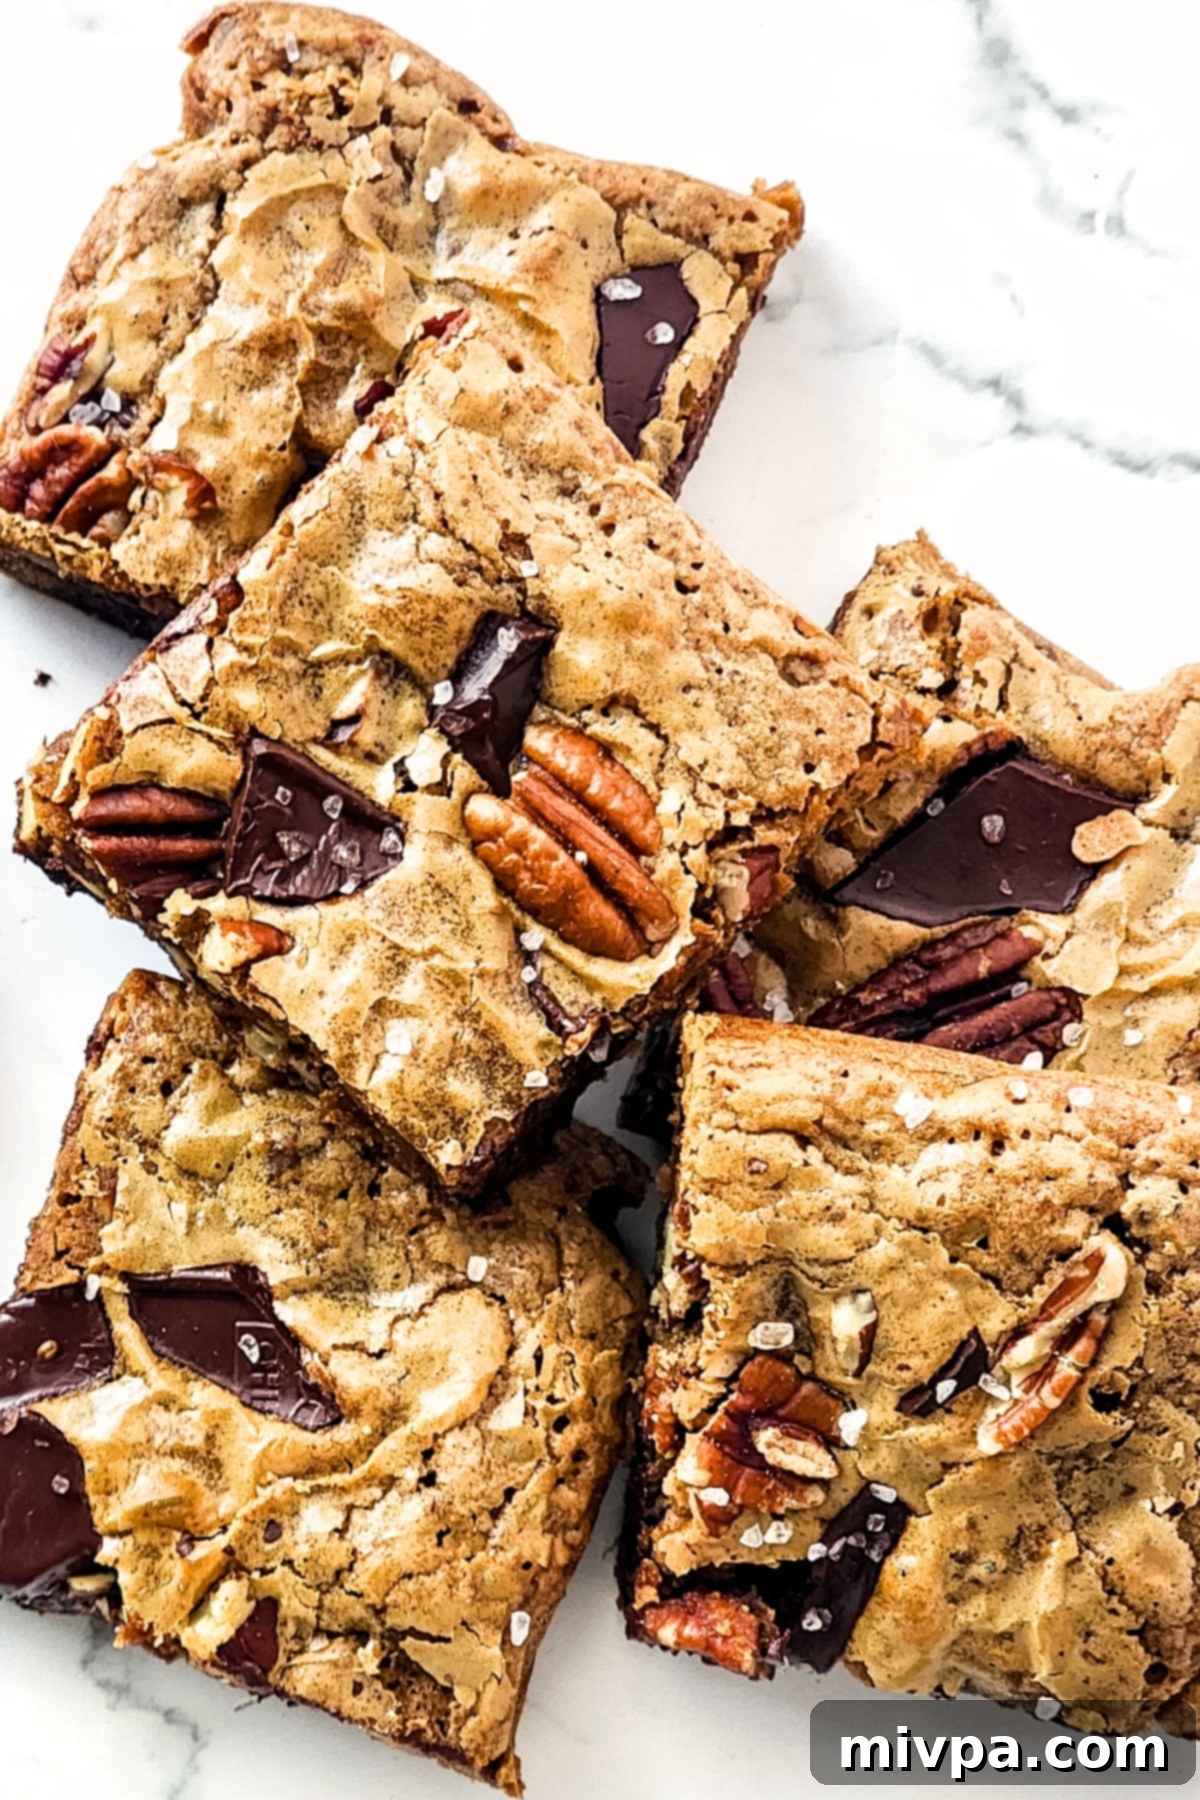
Fudgy & Delicious Gluten-Free Dairy-Free Chocolate Pecan Bars: Your Ultimate Easy Dessert!
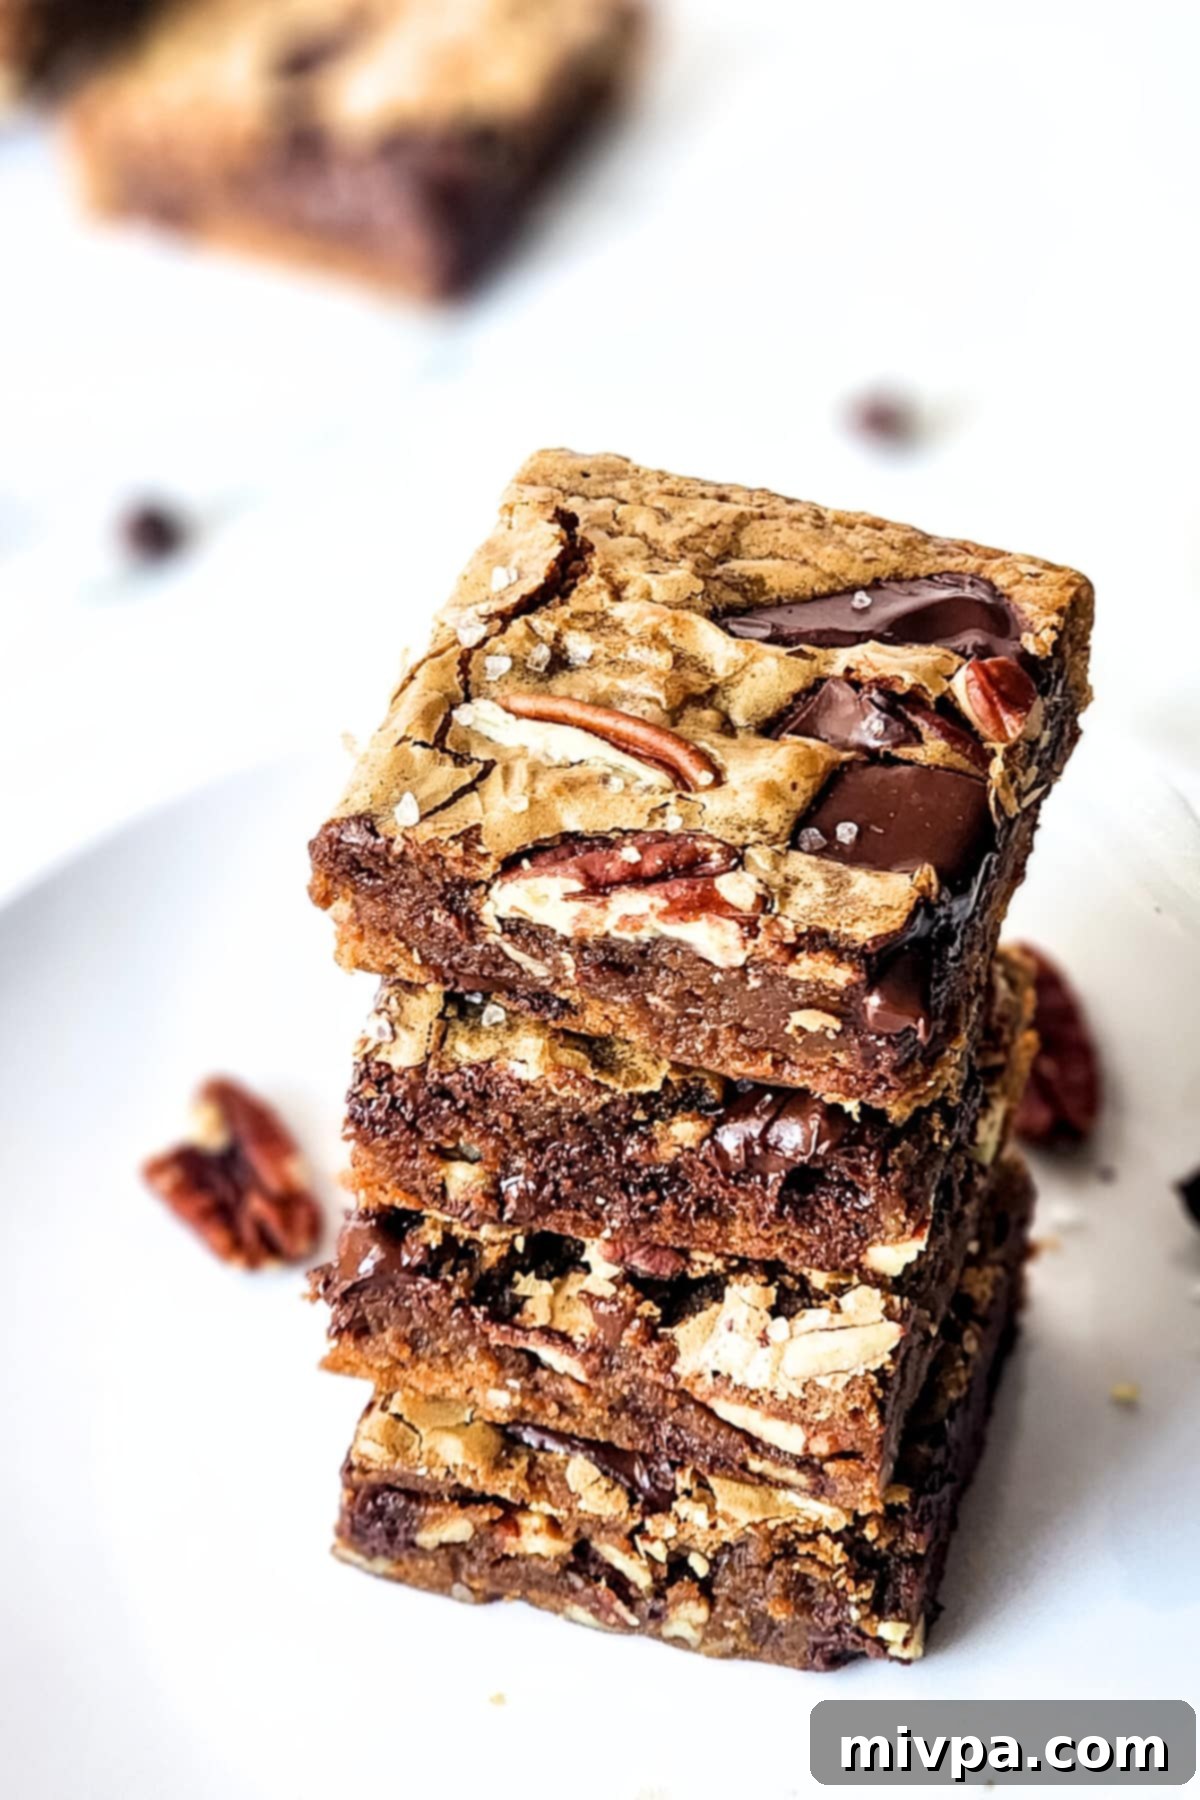
These irresistible chocolate pecan bars are more than just a treat; they’re a celebration of fudgy blondies generously studded with crunchy pecans and rich chocolate chunks. Imagine a delightful cross between a blondie and a pecan pie, all in an easy-to-handle bar form. They’re the perfect sweet treat or snack for any moment, whether you’re craving something special after dinner, prepping for lively family gatherings, or seeking a standout dessert for the holiday season. Best of all, they’re completely gluten-free and dairy-free, ensuring everyone can indulge without a worry!
Effortlessly Delicious: The Appeal of Perfect Cookie Bars
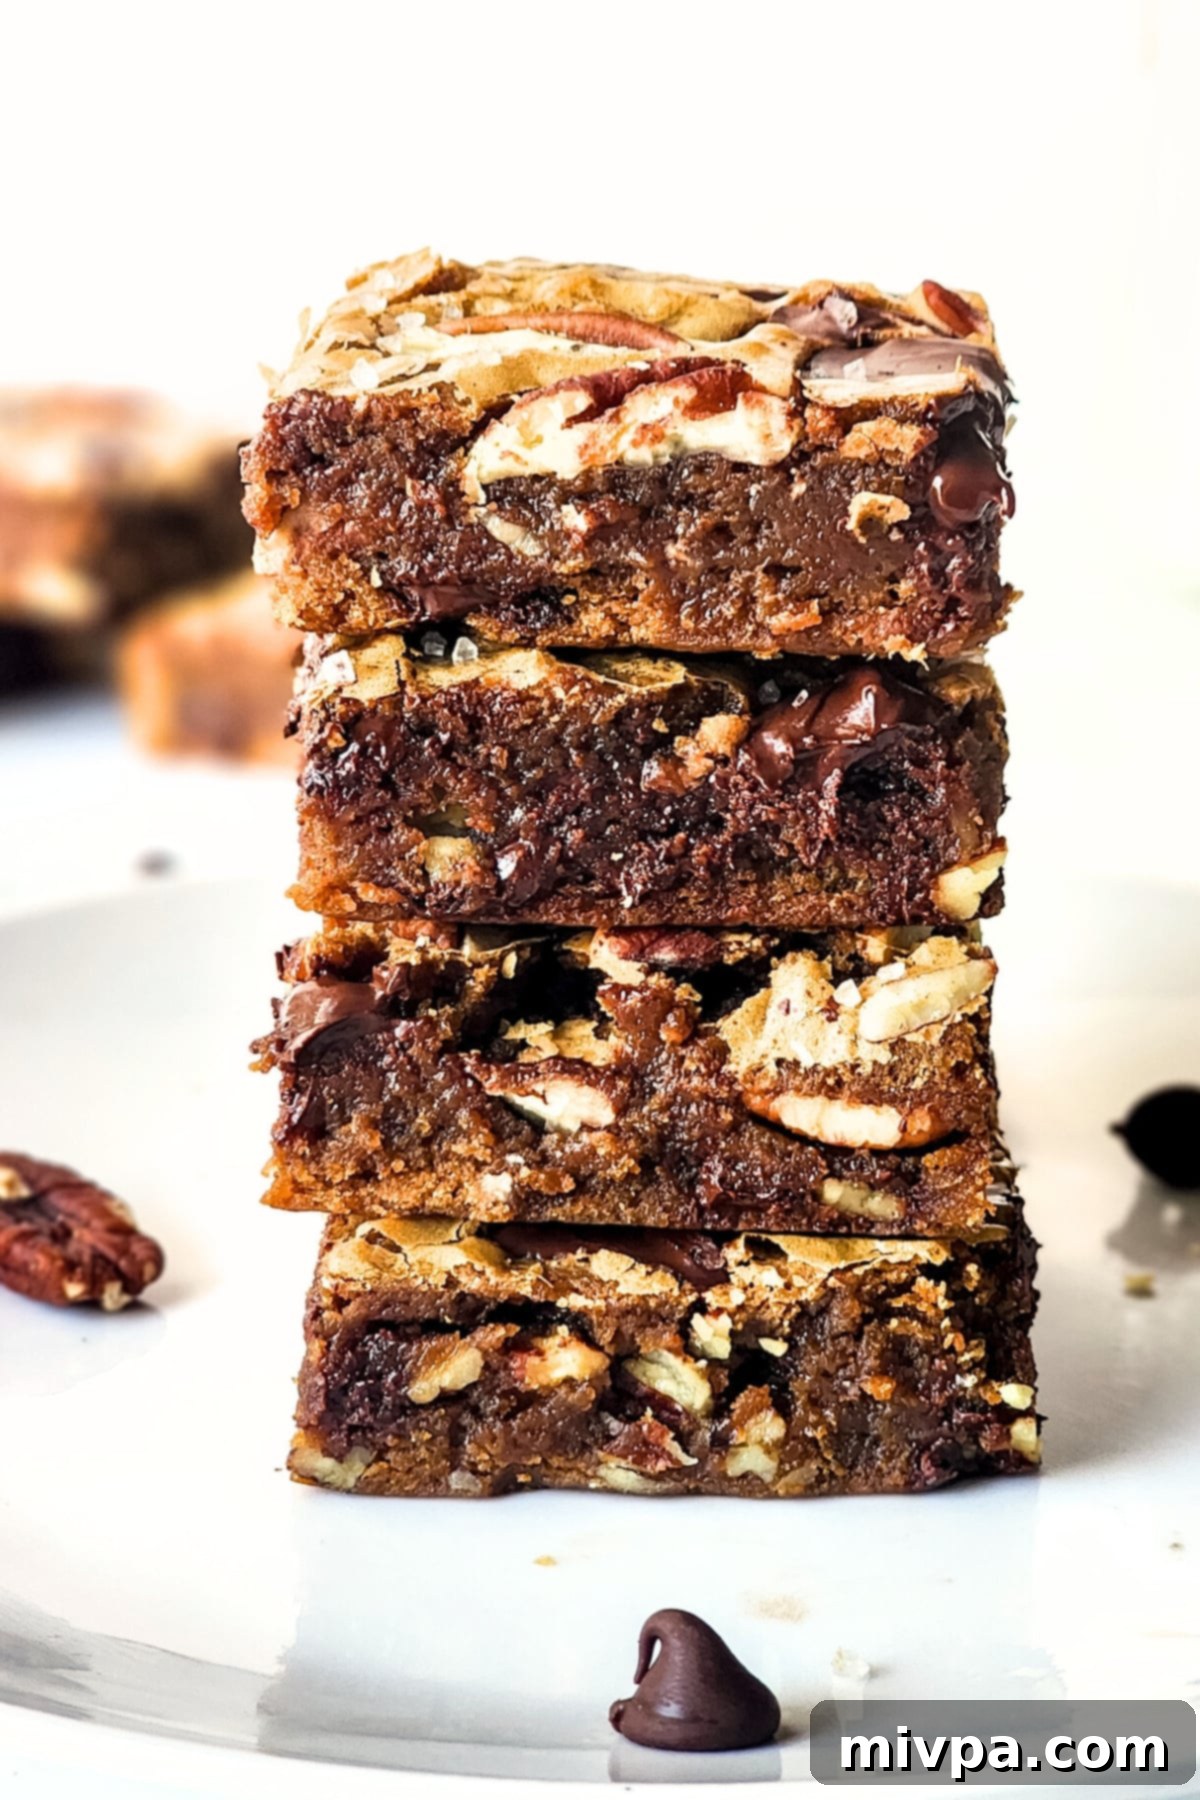
These aren’t just any cookie bars; they are a dream come true for dessert lovers and busy bakers alike. Our chocolate pecan bars strike a perfect balance, with generous amounts of chopped chocolate and rich pecans woven throughout a wonderfully fudgy blondie base. A subtle sprinkle of flaky sea salt on top elevates the entire experience, offering a delightful contrast that deepens the overall flavor profile. You might even find yourself calling them chocolate pecan pie bars, especially when you realize they deliver all the comforting flavors of a classic pecan pie, but in a much more approachable and less intimidating format.
Think of these as your favorite cookies, reimagined in a convenient bar form. The true beauty lies in their simplicity: there’s no tedious rolling of individual cookie dough balls, no worrying about dough spreading too much, and no endless batches. Instead, you simply pour the luscious batter into a pan, bake it to golden perfection, and then slice it into squares. Voilà! A batch of incredible treats is ready with minimal fuss, making them an ideal choice for Thanksgiving dinner, holiday parties, or simply a cozy evening at home.
Their ease of preparation also makes them a fantastic recipe for beginner bakers or those short on time. The “set it and forget it” nature of baking a bar dessert means you can spend less time in the kitchen and more time enjoying the company of loved ones, or simply savoring your freshly baked creation.
Why This Recipe Is a Must-Try: Unbeatable Benefits!
Our chocolate pecan bars aren’t just delicious; they are specifically designed to be a hassle-free, delightful baking experience with fantastic results every time. Here’s why this recipe deserves a permanent spot in your baking repertoire:
- Simple, Accessible Ingredients: You won’t need to embark on a scavenger hunt for exotic items. All the ingredients for these chocolate pecan bars are readily available at your local grocery store. From pantry staples like flour and sugar to essential additions like pecans and chocolate, everything is straightforward and easy to find, making your baking journey smooth from start to finish. We focus on common, high-quality ingredients that deliver maximum flavor without complexity.
- Incredibly Easy to Make: Forget complicated techniques or hours of prep! This recipe is a testament to the fact that extraordinary desserts don’t require extraordinary effort. The process is as simple as combining your dry ingredients with your wet ingredients, then gently folding in the star additions: chopped chocolate and pecans. Once your luscious batter is ready, it’s just a matter of baking, cooling, slicing, and enjoying this delicious dessert. It’s perfect for novice bakers and seasoned pros alike who appreciate efficiency.
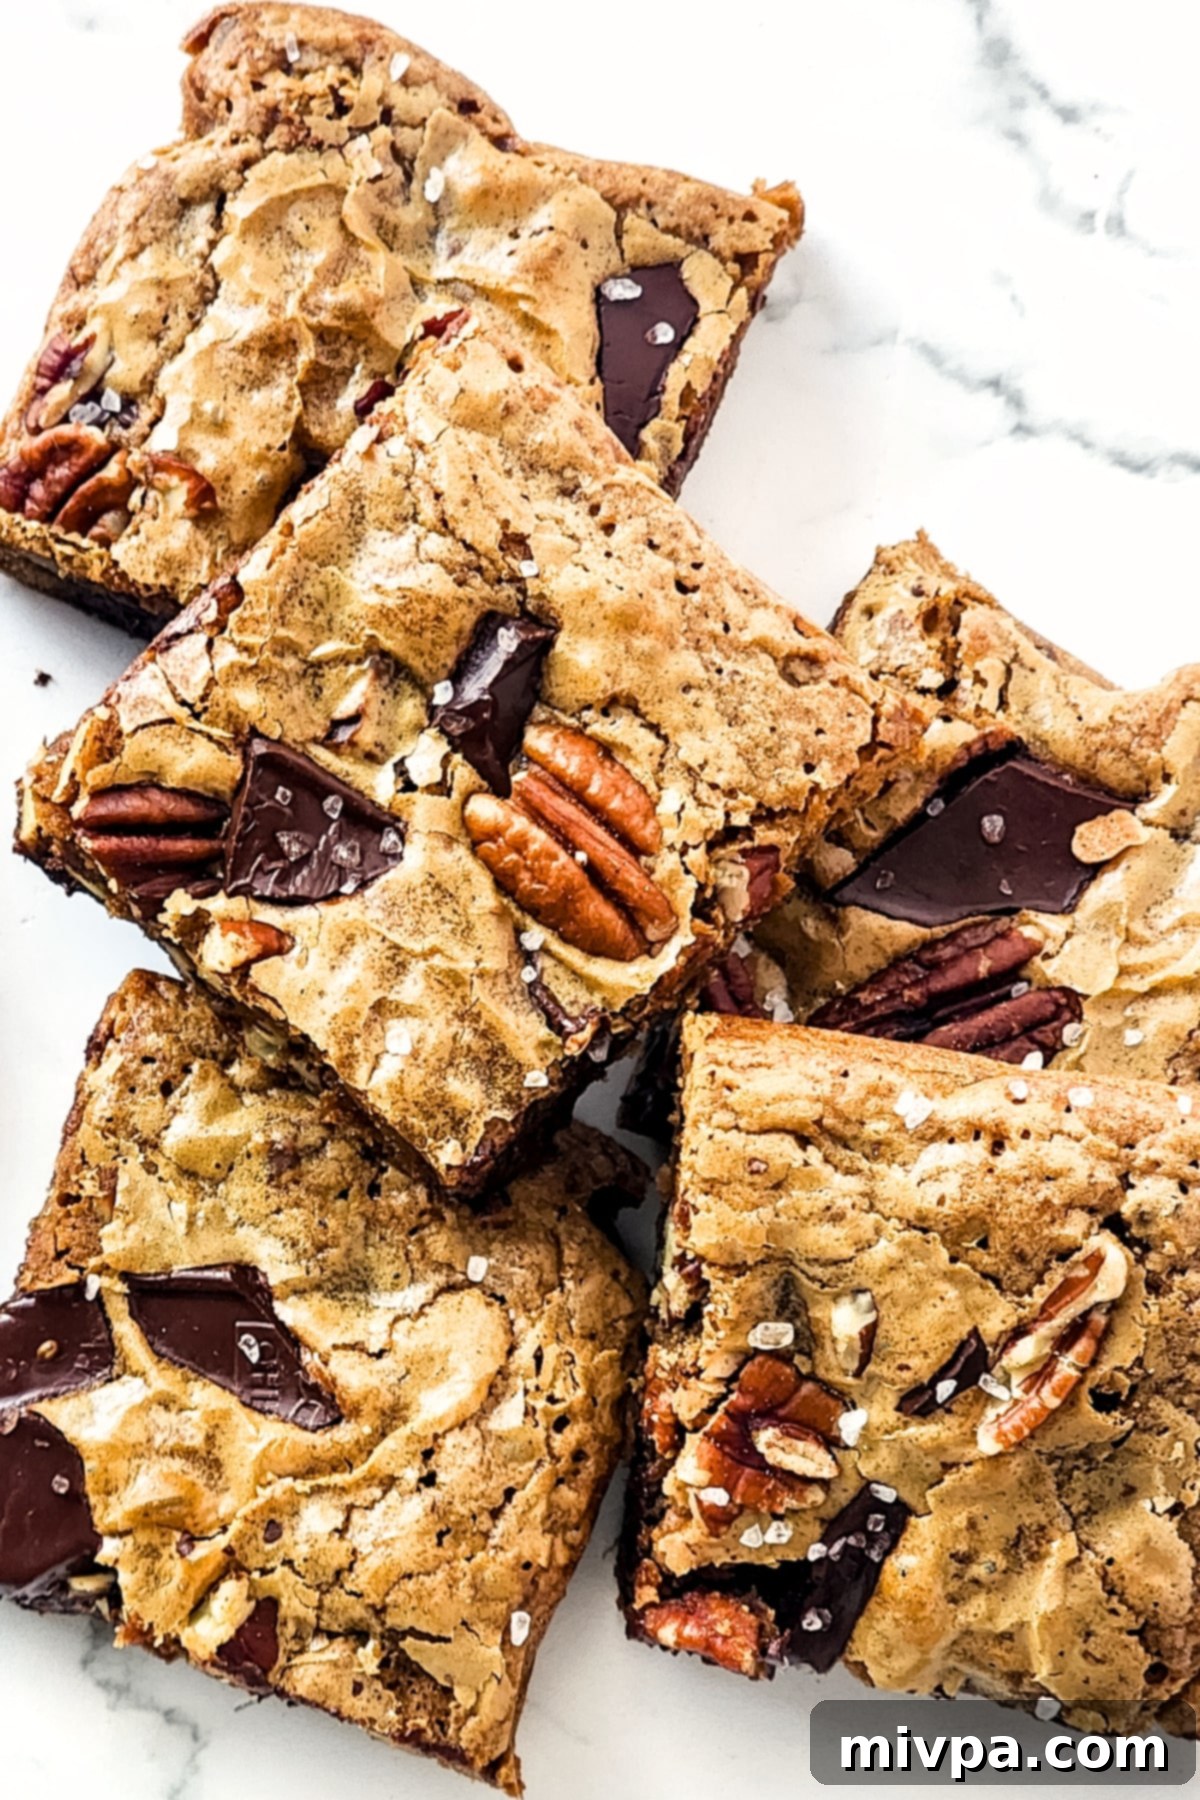
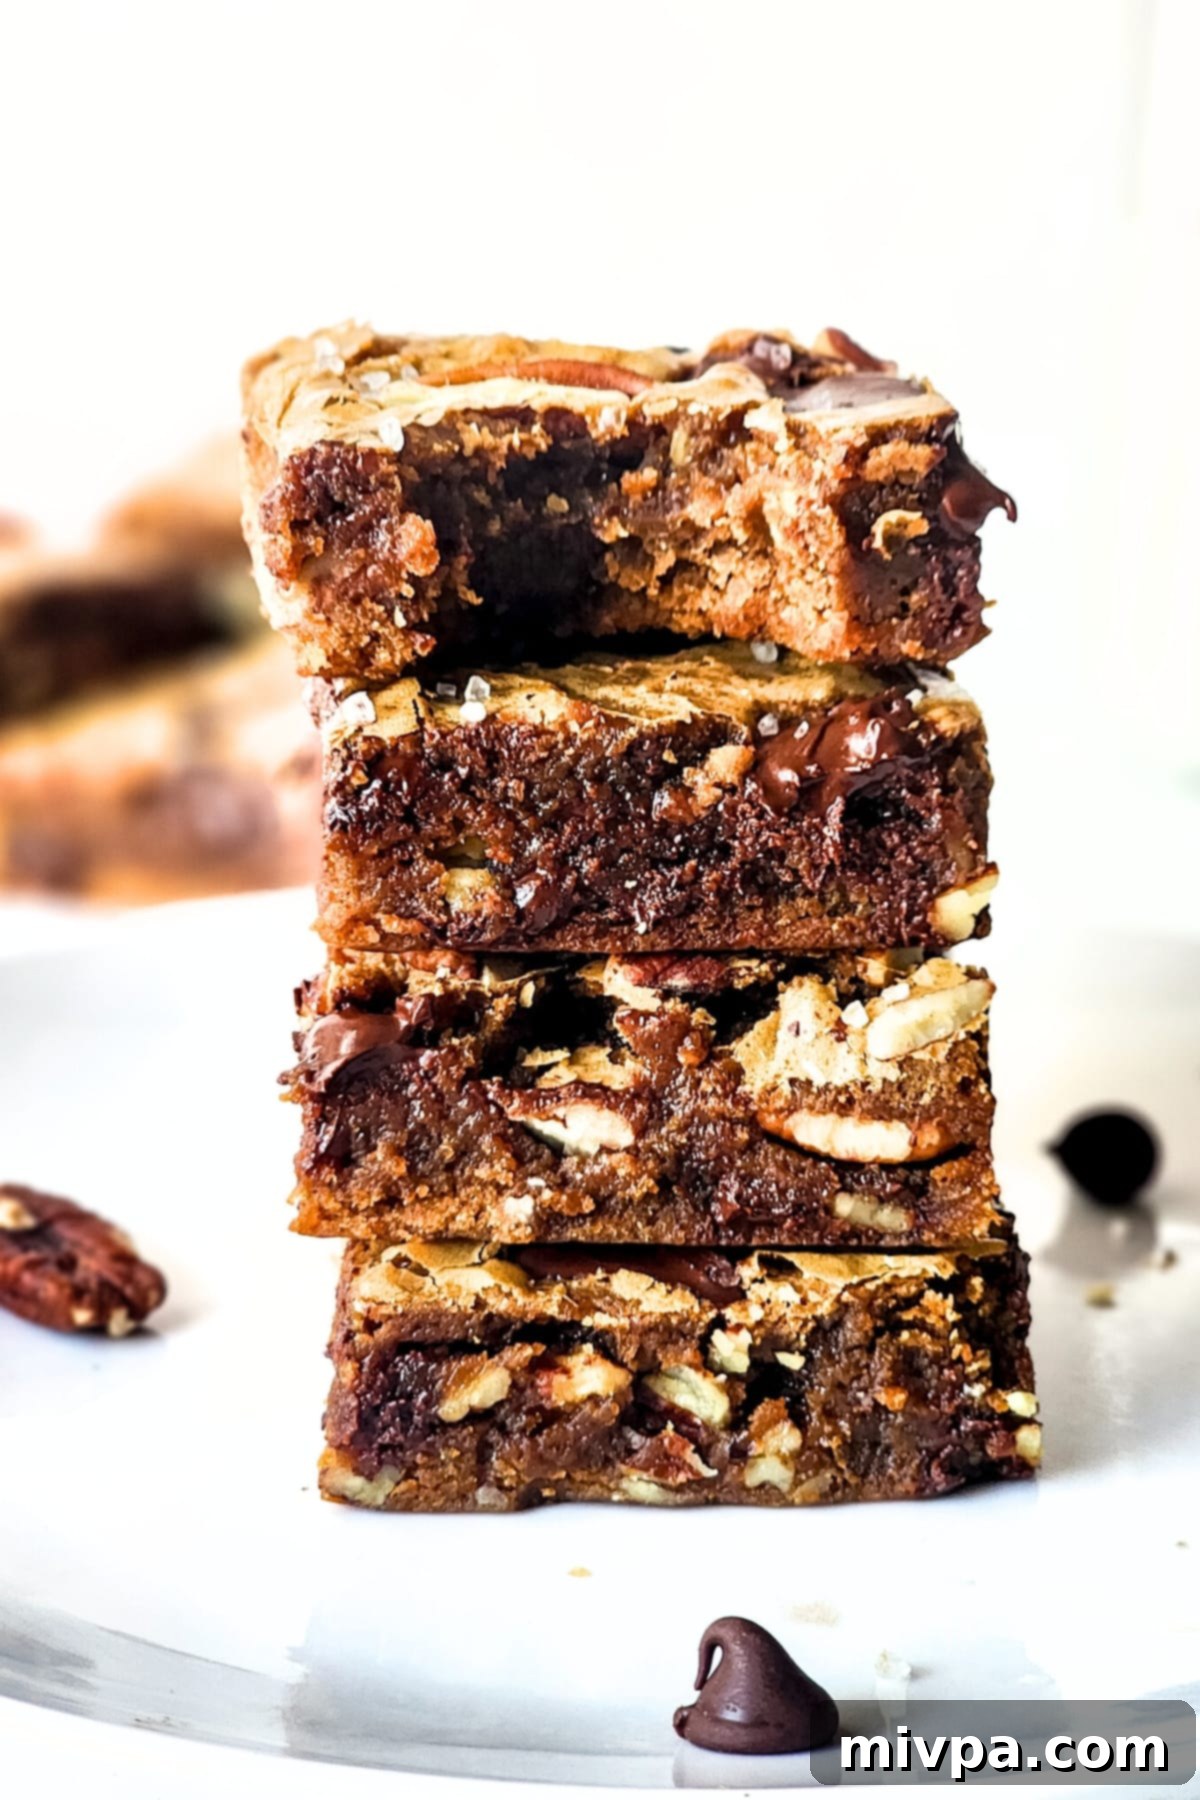
- Perfect Balance of Flavor & Texture: Prepare for a truly sensational mouthfeel. The rich sweetness of the chocolate is expertly balanced by a delicate sprinkle of sea salt, creating an addictive sweet-and-salty dynamic. The texture is equally captivating: the soft, fudgy, and chewy blondie base provides a wonderful contrast to the satisfying crunch of the pecans and the melt-in-your-mouth pockets of chocolate chunks. This harmonious blend of tastes and textures makes these bars an easy holiday dessert or everyday treat that everyone will adore.
- Completely Gluten-Free & Dairy-Free: This is arguably the best feature for many! We understand the importance of catering to various dietary needs without compromising on taste or quality. These chocolate pecan brownies are meticulously crafted to be 100% gluten-free and dairy-free. This means individuals with Celiac disease, gluten sensitivities, or lactose intolerances can joyfully indulge in these decadent bars without any concerns, making them a fantastic inclusion for any mixed dietary gathering.
Gather Your Ingredients: What You’ll Need
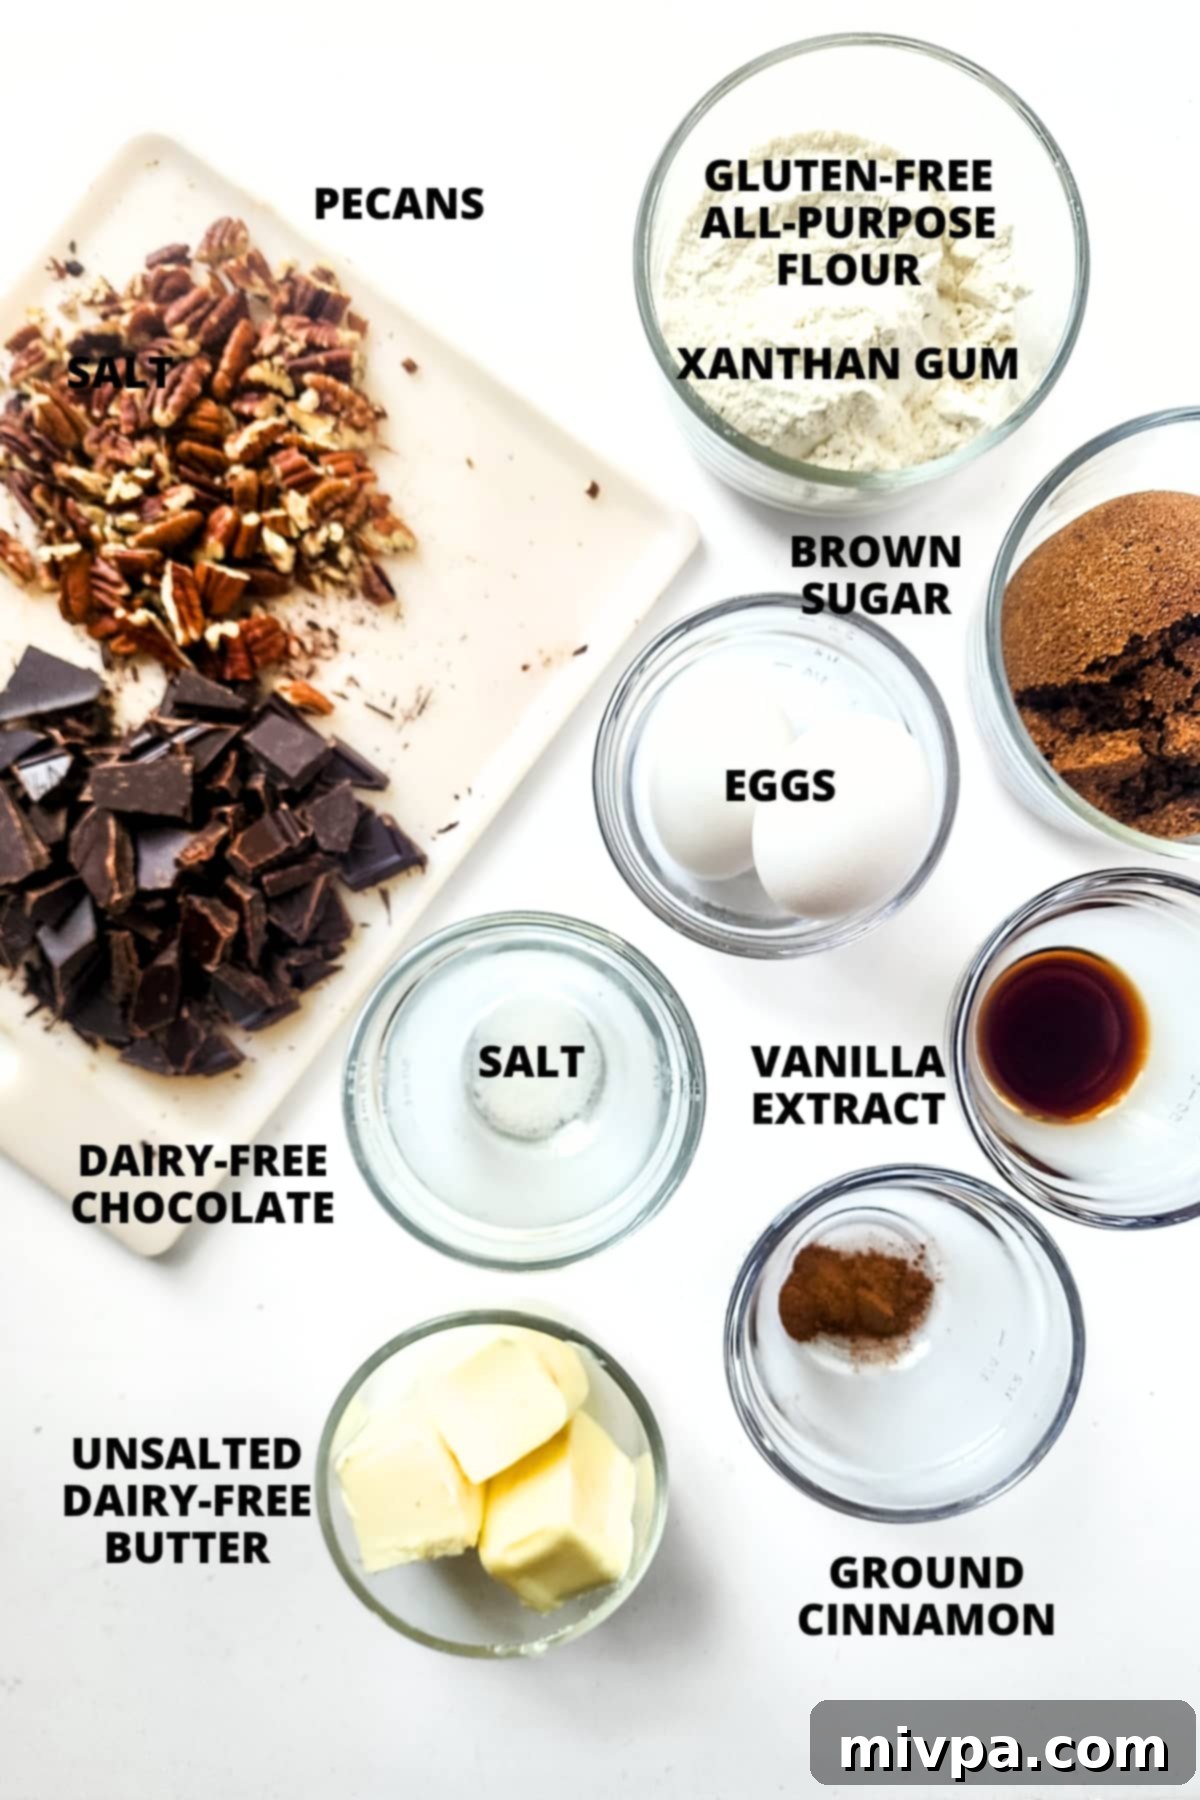
Preparing these fantastic chocolate pecan bars starts with gathering the right components. Below is a visual representation of the key ingredients you’ll need for this recipe. Each item plays a crucial role in creating the perfect flavor and texture, so it’s worth paying attention to the specific types recommended, especially for our gluten-free and dairy-free adaptation. Don’t worry, they’re all easy to find!
(For the precise quantities and detailed instructions, please make sure to scroll down to the comprehensive printable recipe card located at the very bottom of this post.)
Recipe Notes & Thoughtful Substitutions
Baking is an art, and sometimes, flexibility is key! Here are some important notes and potential substitutions to help you customize this chocolate pecan bars recipe to your dietary needs or personal preferences, ensuring perfect results every time.
- Butter: For a truly dairy-free experience, I utilized unsalted dairy-free butter. This ensures the bars remain rich and moist without any dairy. An excellent alternative is coconut oil; however, I strongly suggest using refined coconut oil. Refined coconut oil boasts a neutral flavor profile, which won’t overpower the delicate notes of chocolate and pecan. In contrast, extra virgin coconut oil has a distinct coconut aroma and taste that might not be desired in this recipe. Of course, if you don’t have lactose intolerance and prefer traditional ingredients, feel free to use regular unsalted butter for that classic buttery flavor.
- Sugar: I opted for dark brown sugar because its higher molasses content contributes to a deeper, more caramel-like flavor and an extra fudgy texture. If dark brown sugar isn’t on hand, light brown sugar or coconut sugar can be used as direct substitutes, though they may result in a slightly different flavor depth and texture. For those managing blood sugar levels, such as diabetics or individuals with insulin resistance, granulated monk fruit sweetener is a fantastic 1:1 sugar substitute. It has a zero glycemic index and won’t spike your blood sugar, allowing you to enjoy these treats guilt-free.
- Vanilla Extract: A touch of vanilla extract truly enhances the overall flavor of these bars, adding a warm, aromatic depth that complements the chocolate and pecans beautifully. It’s a foundational flavor enhancer in many baked goods. However, if vanilla isn’t to your liking or you simply don’t have it, you can certainly omit it without drastically altering the structural integrity of the bars, though the flavor will be less complex.
- Eggs: Eggs are crucial binders in baking, helping to hold all the ingredients together and contributing to the rich, fudgy texture. It’s vital not to skip them. While I haven’t personally tested this recipe without eggs, if you have an egg allergy, you might explore alternatives like aquafaba (the liquid from a can of chickpeas) or a commercial egg replacer. If you do experiment with an egg-free version, please share your results in the comments below – I’m always keen to learn about successful adaptations!
- Gluten-Free Flour: The type of gluten-free flour blend you use can significantly impact the final texture. I highly recommend using a good-quality gluten-free all-purpose flour blend that primarily consists of lighter flours or starches, such as rice flour, tapioca starch, corn starch, or potato starch. These blends tend to yield a tender, less dense result. Conversely, I strongly advise against using gluten-free flour blends predominantly made from heavier, bean-based flours (like garbanzo bean flour), as they can result in a gritty texture and an undesirable aftertaste.
- Xanthan Gum: In gluten-free baking, xanthan gum acts as a vital substitute for gluten, providing elasticity and binding properties that are typically found in wheat flour. It’s essential for preventing crumbly baked goods. If your chosen gluten-free flour blend already lists xanthan gum as an ingredient, you can omit the additional amount specified in the recipe. Always check your flour blend’s label!
- Ground Cinnamon: A subtle hint of ground cinnamon adds a wonderfully warm, comforting spice note that perfectly complements the robust flavors of chocolate and pecans. It elevates the overall aroma and taste profile, making these bars even more inviting. While optional, I genuinely highly recommend including it for that extra layer of deliciousness.
- Pecans: As the name suggests, pecans are a star ingredient in these bars, offering their signature buttery, earthy crunch. However, if you’re looking to mix things up or prefer other nuts, feel free to swap out the chopped pecans for an equal amount of other chopped nuts. Fantastic alternatives include walnuts for a slightly more bitter note, cashew nuts for a milder, creamier crunch, pistachios for a vibrant color and unique flavor, or hazelnuts for a delightful nutty aroma, especially when toasted.
- Chocolate: To ensure these chocolate pecan bars remain completely dairy-free, I specifically used dairy-free chocolate. There are many excellent brands available that melt beautifully and taste just as rich as traditional chocolate. If dairy isn’t an issue for you, then by all means, use your favorite regular semi-sweet or dark chocolate instead. Chocolate chips, chopped chocolate bars, or even chocolate feves would work wonderfully.
How to Bake Perfect Chocolate Pecan Bars (Step-by-Step Guide)
Follow these detailed steps to create your own batch of fudgy, delectable chocolate pecan bars. Each step is designed to be straightforward, ensuring success even for beginner bakers!
1. Preheat Your Oven and Prepare the Pan
Begin by preheating your oven to 350°F (175°C). This ensures the oven is at the correct temperature for even baking. Next, take a 9” x 9” baking pan and line it with parchment paper. Allow the parchment paper to overhang on two sides; this creates “handles” that will make it incredibly easy to lift the entire batch of baked bars out of the pan later for cooling and cutting. Set the prepared pan aside.
2. Brown the Dairy-Free Butter for Depth of Flavor
In a small, light-colored saucepan (using a light-colored pan helps you see the browning process more clearly), melt the unsalted dairy-free butter over medium heat. Continue stirring the melted butter every couple of minutes. You’ll notice it will first melt, then foam, and finally, small brown bits will start to form at the bottom of the pot. A distinct, nutty aroma will fill your kitchen – this is the sign that your butter is perfectly browned and will add an incredible depth of flavor to your bars. The butter itself should turn a rich golden-brown color.
3. Allow the Browned Butter to Cool Slightly
Once your butter is beautifully browned, immediately pour it into a large mixing bowl. It’s crucial to let it cool down for a few minutes. This prevents the hot butter from cooking the eggs when they are added in the next step, ensuring a smooth, cohesive batter. Just a couple of minutes should suffice to bring it to a safe temperature.
4. Incorporate Sugar, Vanilla, and Eggs
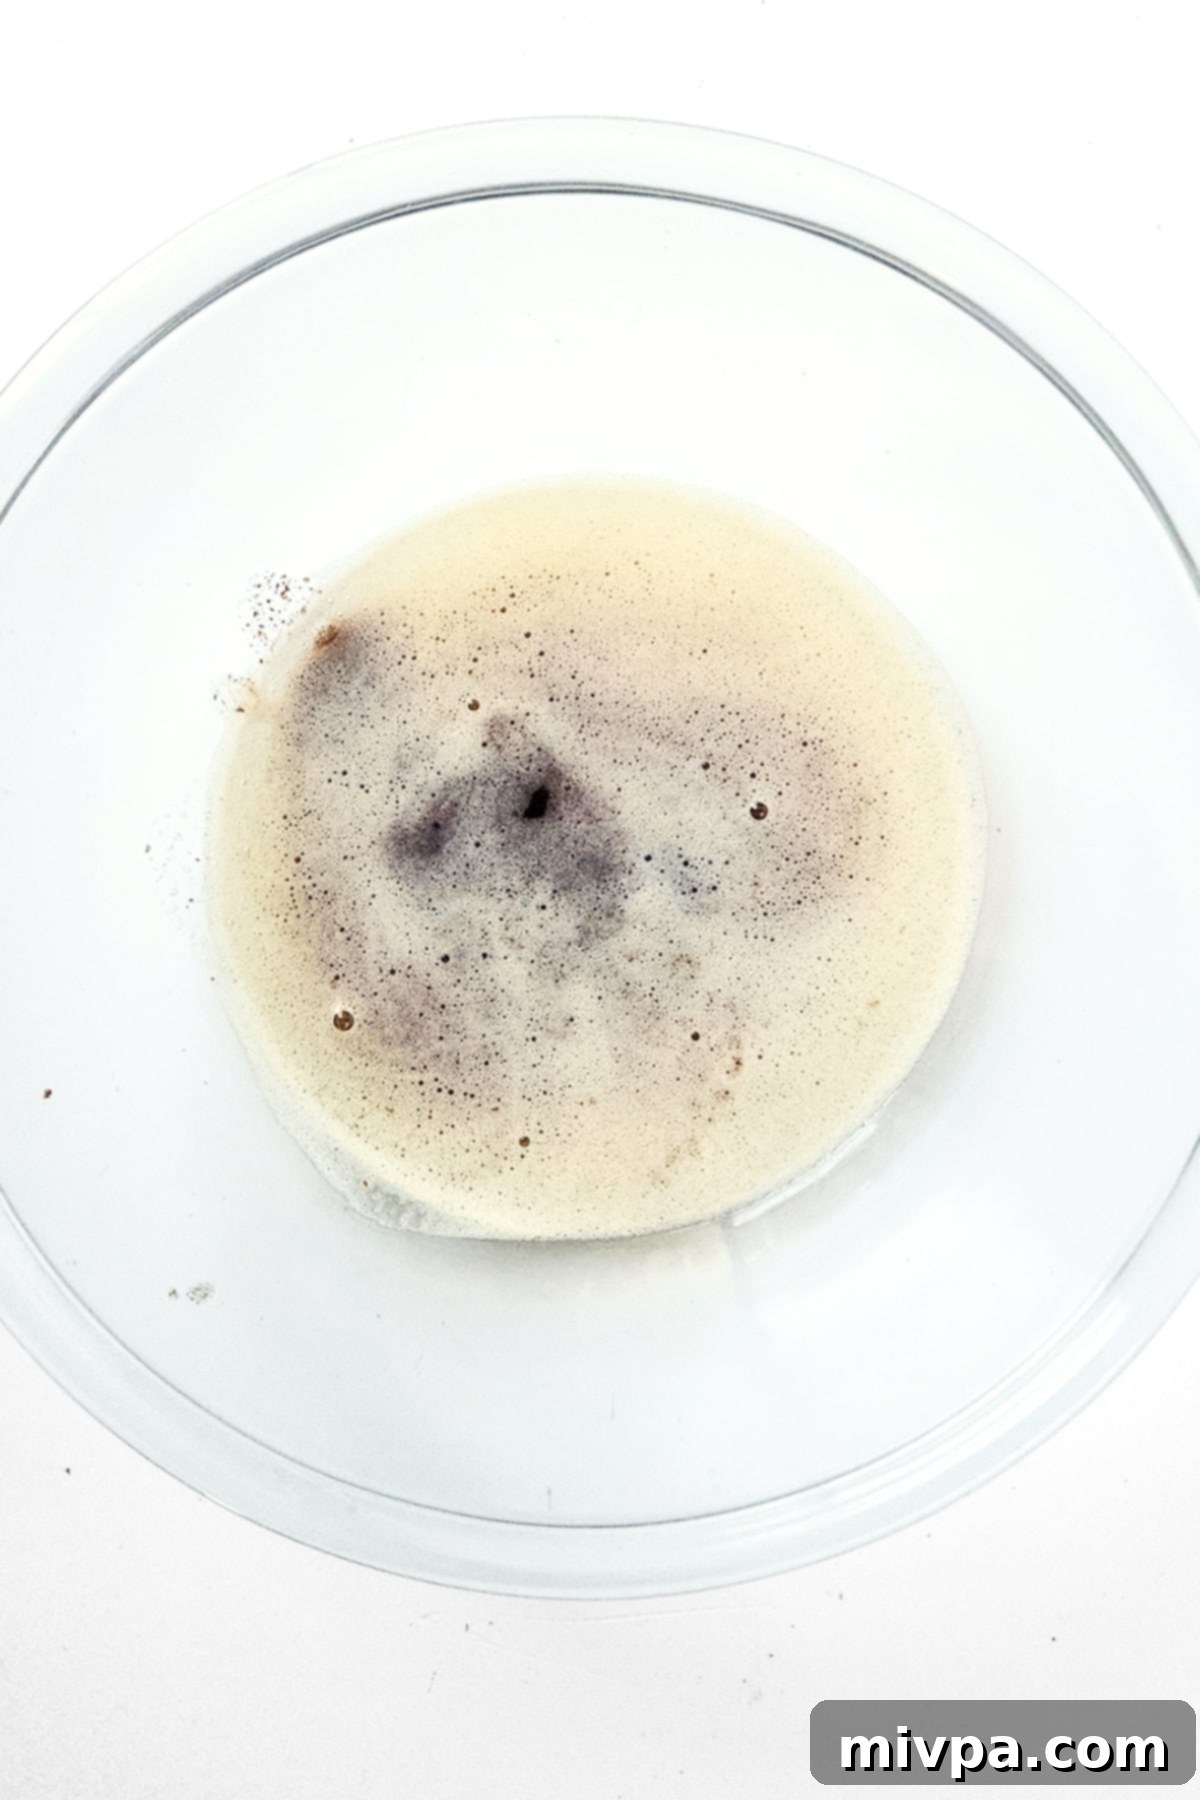
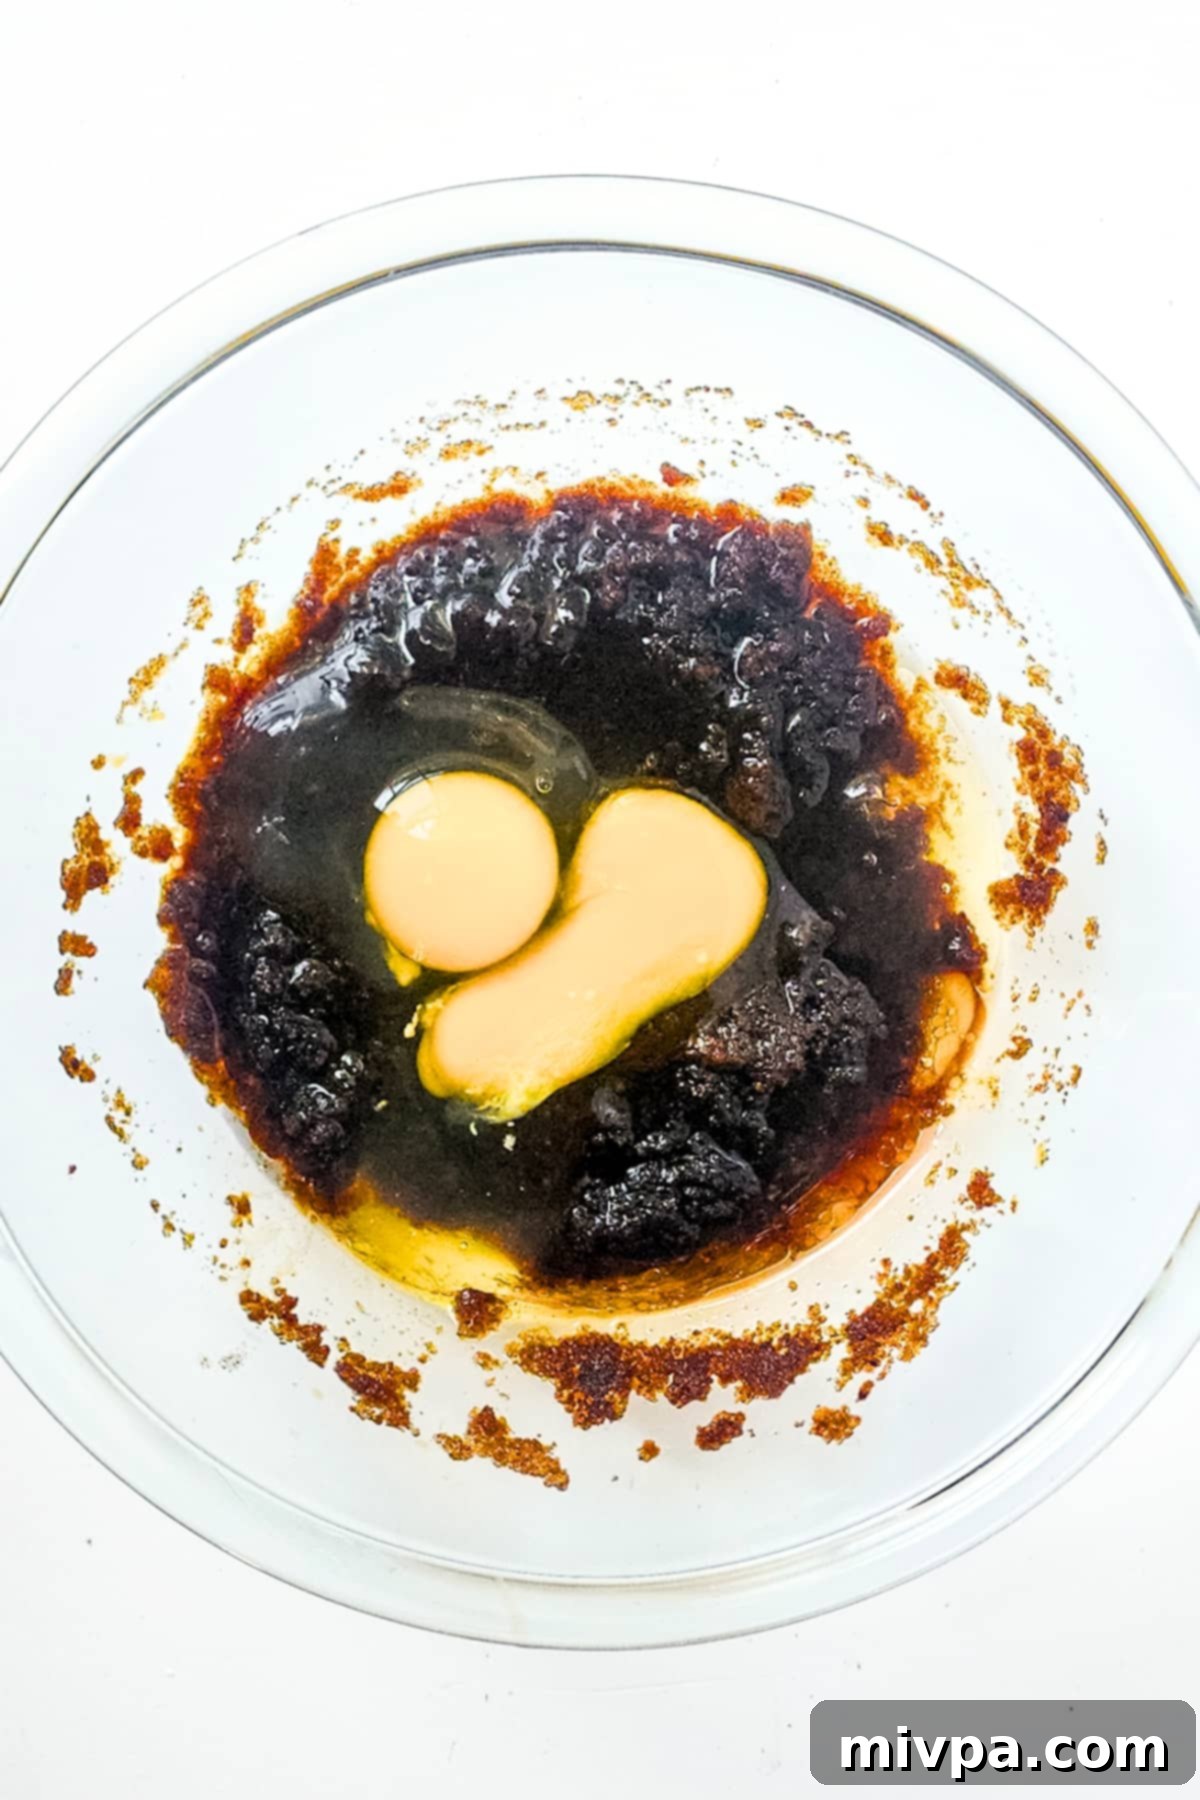
To the slightly cooled browned butter, add the dark brown sugar. Whisk these two together vigorously until they are well combined and the mixture is smooth. Now, introduce the vanilla extract and the eggs. Whisk again, ensuring all the ingredients are thoroughly incorporated. The mixture should become light, creamy, and slightly aerated, forming a uniform wet base for your blondies.
5. Gently Fold in the Dry Ingredients
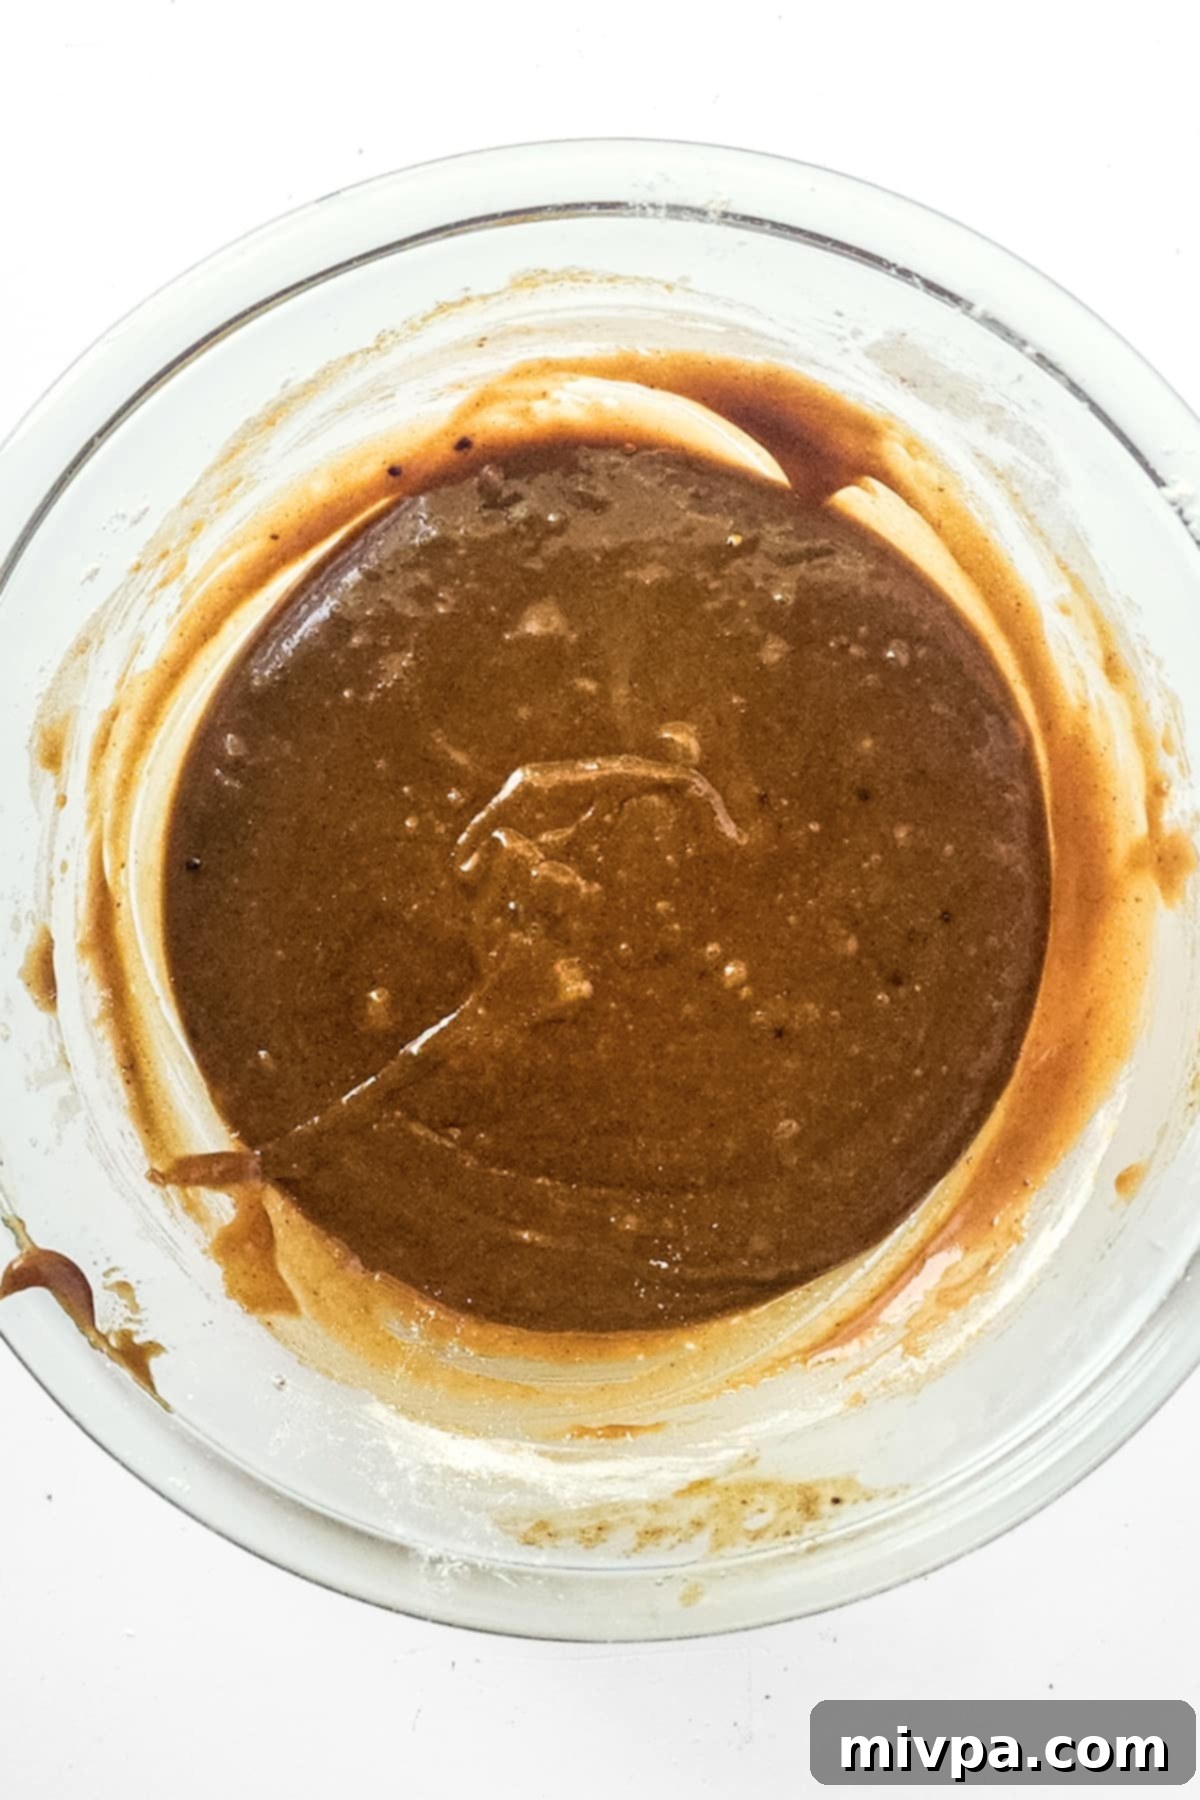
Into the bowl with your wet ingredients, carefully add the gluten-free all-purpose flour, xanthan gum (if your flour blend doesn’t already contain it), a pinch of ground cinnamon, and salt. Using a wooden spoon or a rubber spatula, gently fold these dry ingredients into the wet mixture. Mix just until a thick, cohesive cookie batter forms. Be careful not to overmix, as this can lead to tough bars. The consistency should be similar to a thick brownie batter.
6. Incorporate Pecans and Chocolate Chunks
Now for the stars of the show! Combine your chopped pecans and chopped dairy-free chocolate pieces in a separate small bowl. Take a moment to reserve approximately ¼ cup of this delightful pecan-chocolate mixture; this will be used as a beautiful topping. Gently fold the remaining pecans and chocolate into the prepared blondie batter using your spatula until they are evenly distributed. Again, avoid overmixing.
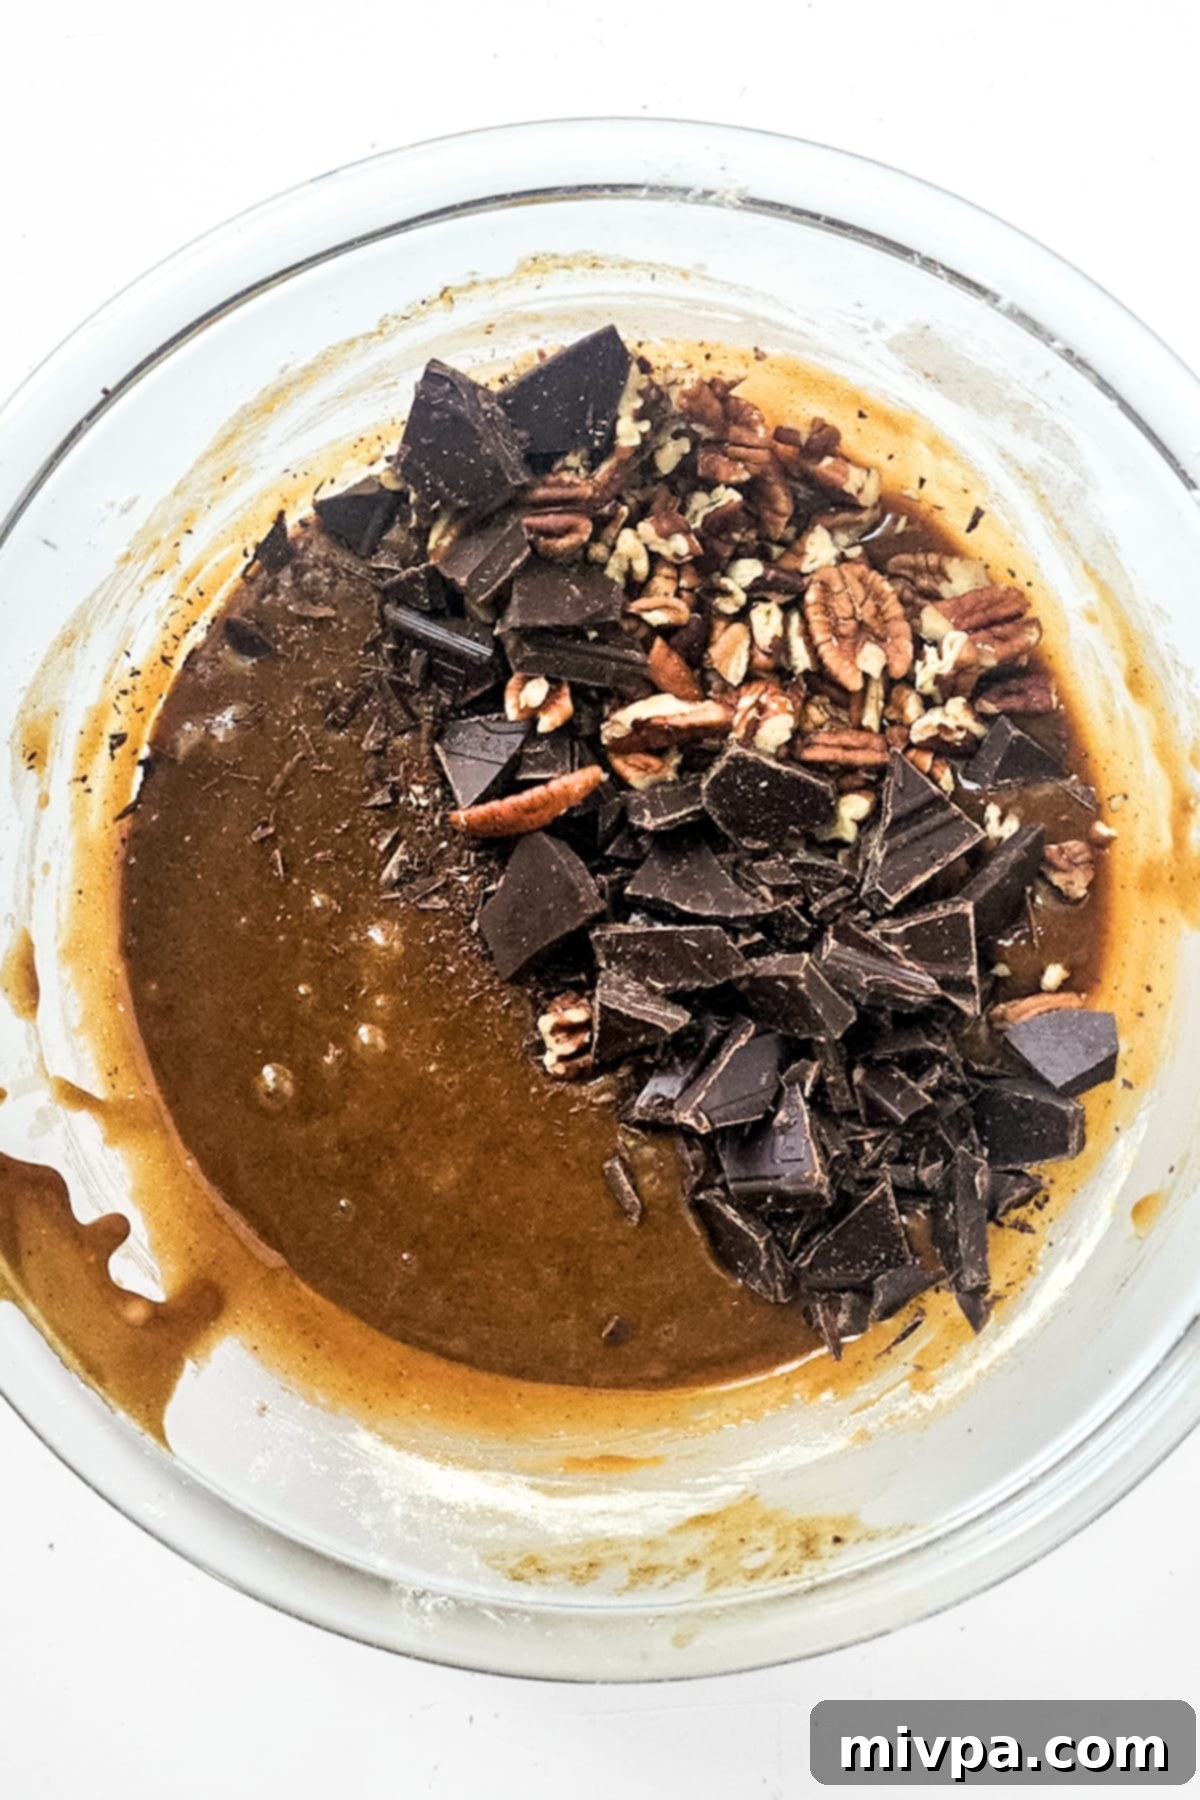
7. Transfer Batter to Baking Dish & Top
Carefully pour the rich batter into your prepared 9×9 inch baking dish. Use your spatula to gently spread the batter out into an even layer across the entire pan. This ensures that your bars will bake uniformly. Now, take the reserved ¼ cup of pecan-chocolate mixture and sprinkle it generously over the top of the batter. This not only adds extra crunch and flavor but also creates a visually appealing finish.
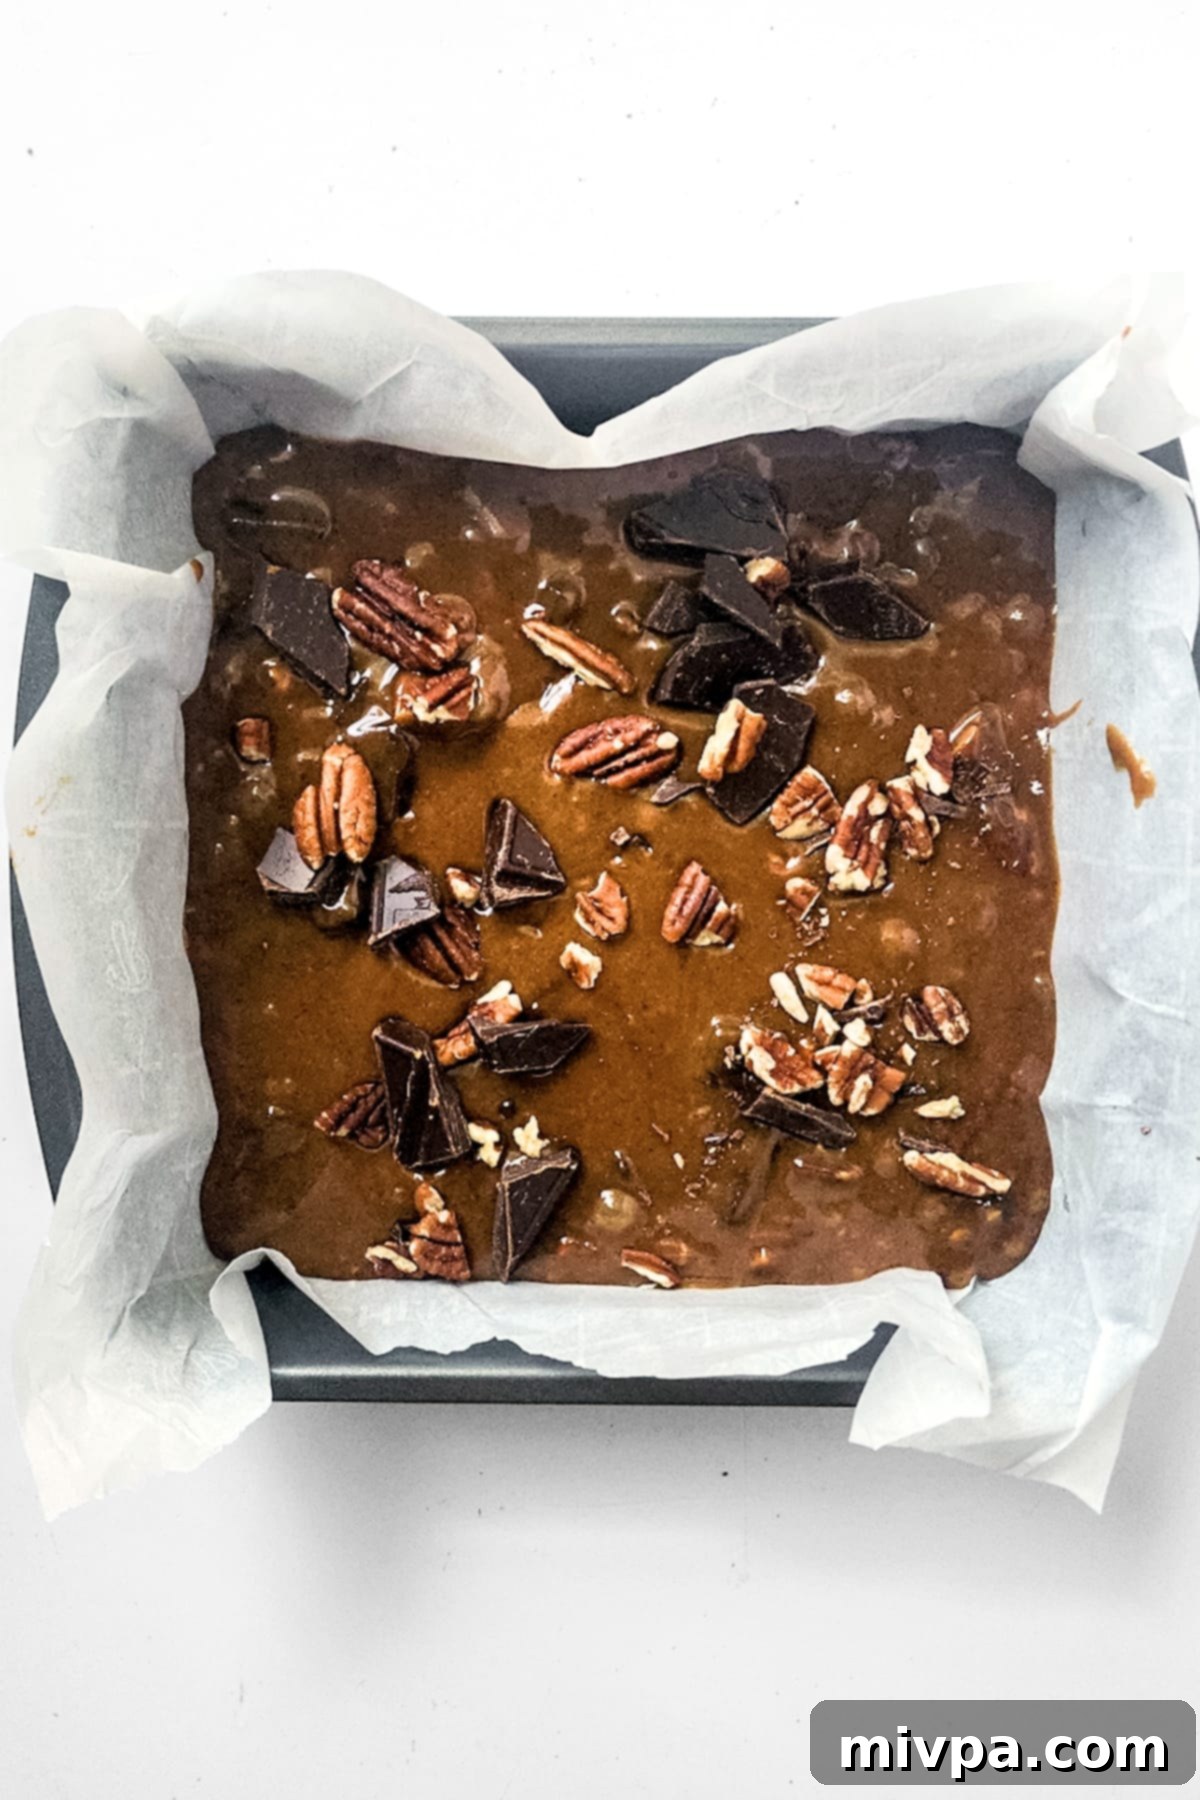
8. Bake to Golden Perfection
Place the baking pan in your preheated oven and bake for approximately 25 minutes. Baking times can vary slightly depending on your oven, so keep an eye on them. You’ll know they’re ready when the edges are set and a beautiful golden brown, and a toothpick inserted into the center comes out clean or with just a few moist crumbs attached. Avoid overbaking, as this can lead to dry bars.
9. Finish with Sea Salt & Cool Down
As soon as you pull the cookie bars out of the oven, immediately sprinkle coarse flaky sea salt over the warm surface (this is optional, but highly recommended for a delicious sweet-and-salty kick!). Allow the bars to cool in the baking pan for about 15 minutes before carefully lifting them out by the parchment paper handles and transferring them to a wire rack to cool completely. Cooling is essential for the bars to set properly and for clean cuts.
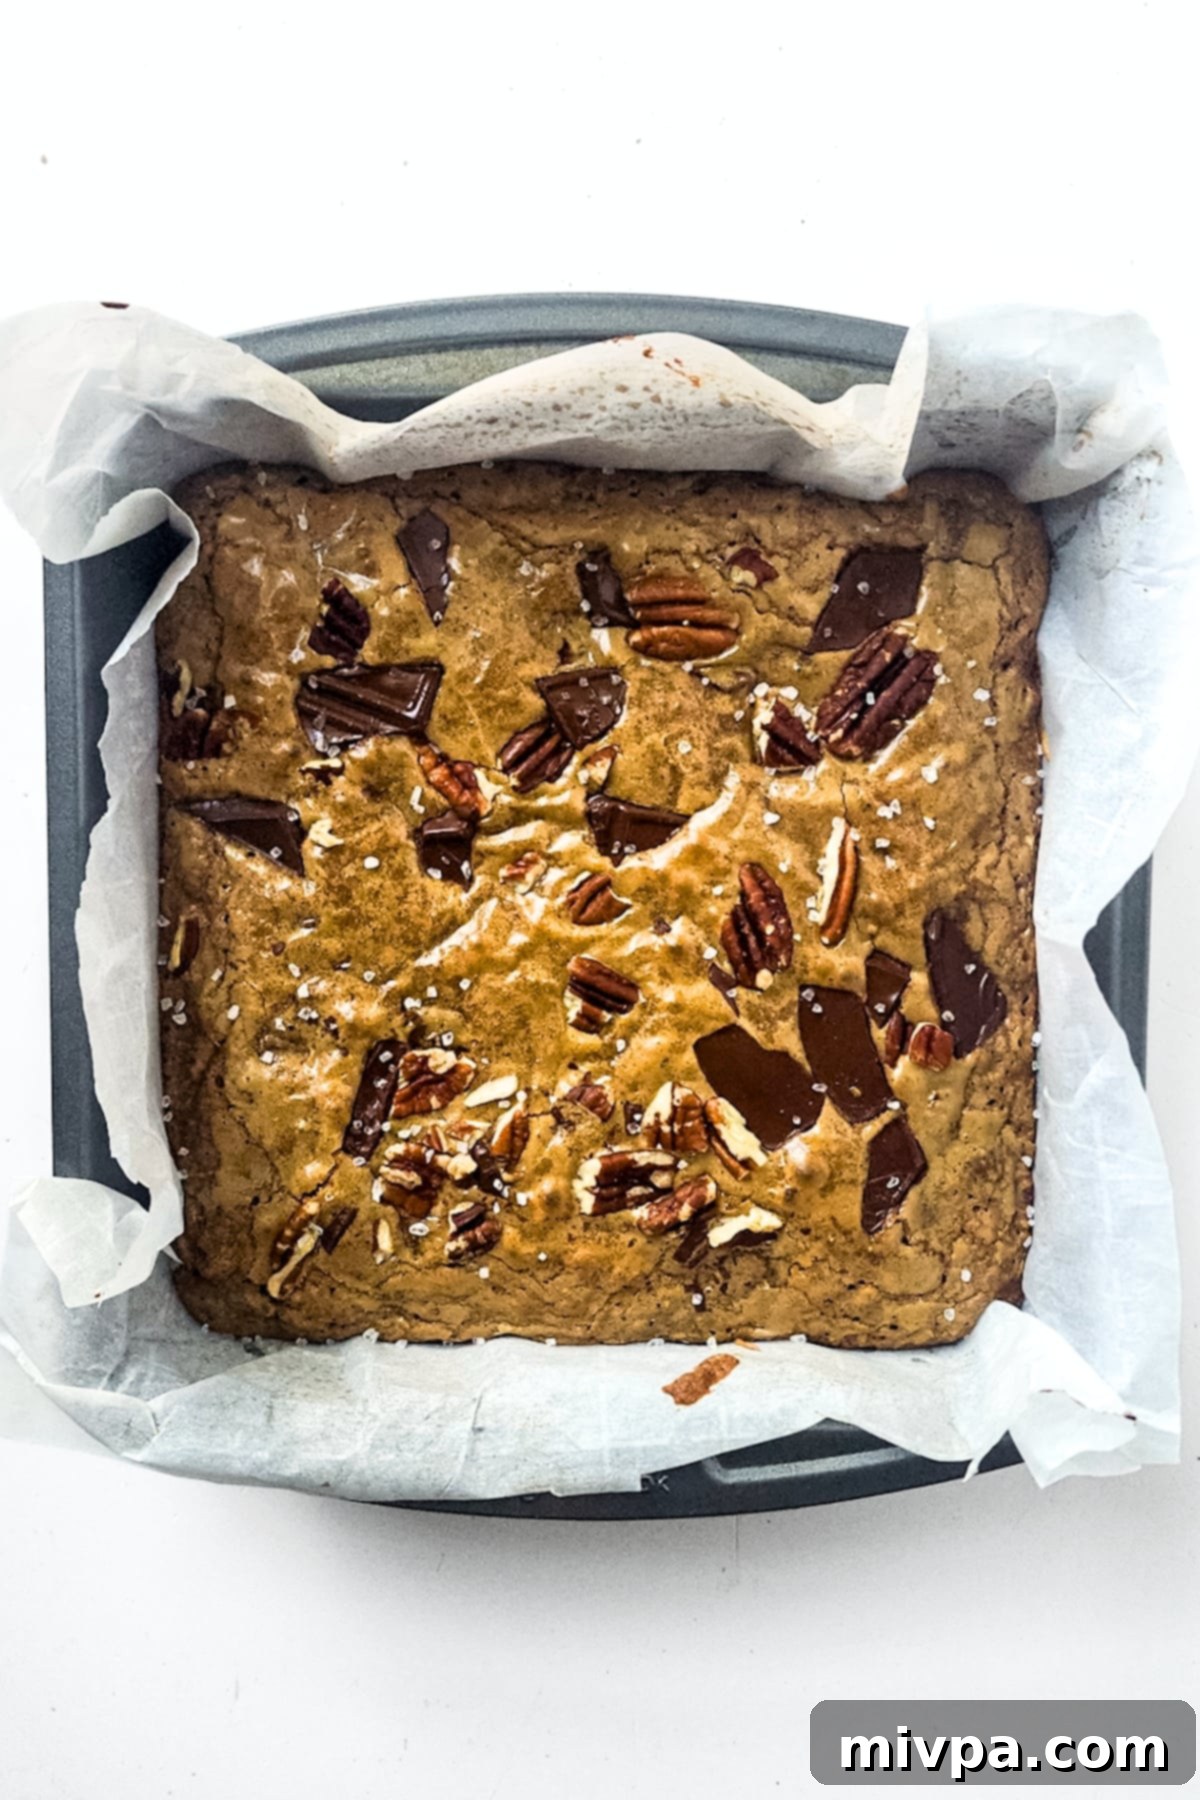
10. Slice, Serve & Savor!
Once the bars have cooled completely (or are at least warm enough to handle without falling apart), use a sharp knife to cut the chocolate pecan brownies into 9 equal squares. For extra-clean cuts, you can chill the bars in the refrigerator for 30 minutes before slicing. Now, gather your loved ones, or simply enjoy these delightful gluten-free and dairy-free cookie bars all to yourself!
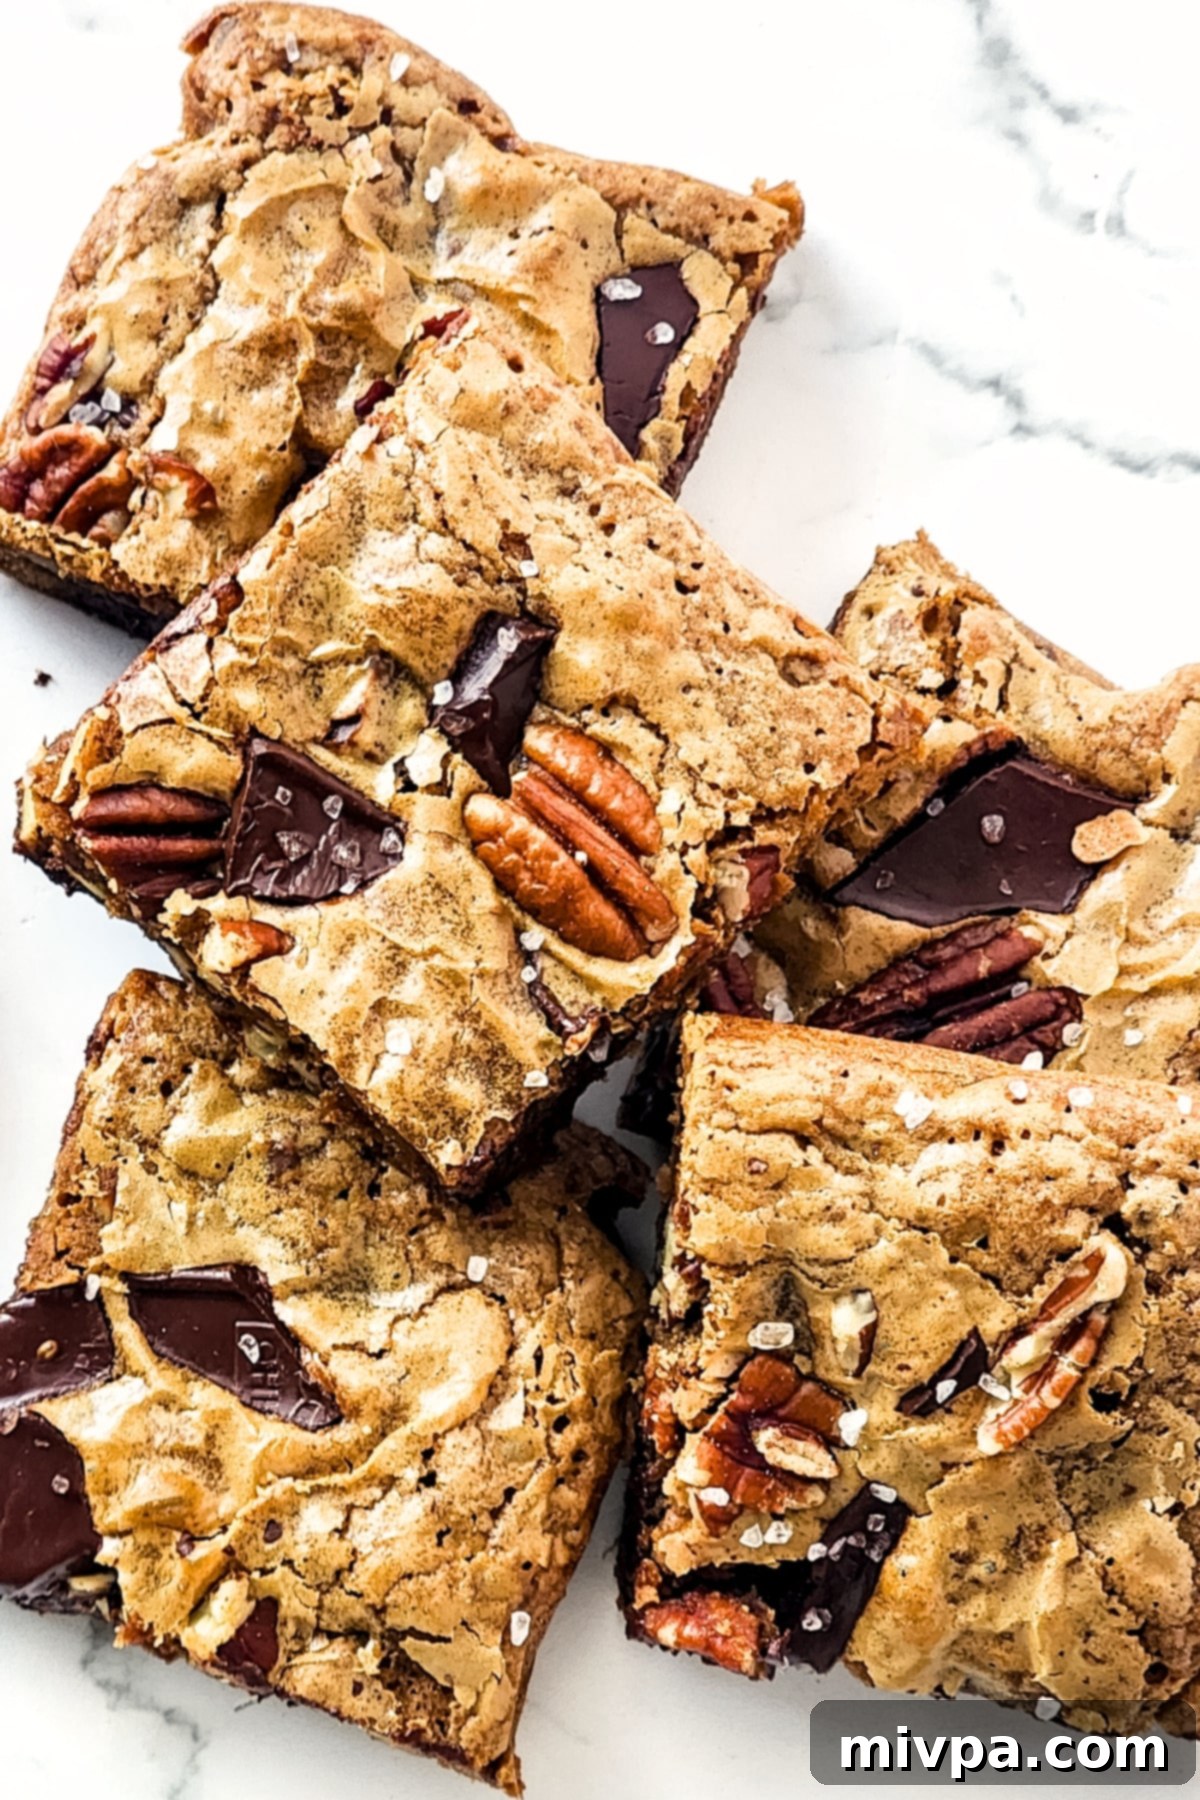
Dish by Dish Tips & Expert Tricks
Here are a few extra tips and tricks to ensure your chocolate pecan bars turn out perfectly and to help you customize them even further:
- Not a Fan of Salty Desserts? The combination of sweet chocolate and salty flakes is a culinary delight for many, creating a complex flavor profile that keeps you coming back for more. However, taste is subjective! If you prefer your desserts purely sweet, or if the idea of mixing sweet and salty doesn’t appeal to you, feel absolutely free to omit the sprinkle of sea salt on top. These bars are delicious either way, and it’s completely up to your personal preference.
- Experiment with Other Nuts: While pecans offer a classic, buttery flavor, these bars are incredibly versatile! Don’t hesitate to get creative with other nuts. You can easily swap out the chopped pecans for an equal amount of different chopped nuts. Consider walnuts for a slightly more robust, earthy taste, cashew nuts for a creamier texture and milder flavor, pistachios for a beautiful green hue and unique taste, or hazelnuts for a wonderfully aromatic and distinct nutty note. Each will offer a slightly different but equally delicious experience!
- Chocolate Chip Convenience: While chopped chocolate chunks melt beautifully and provide satisfying pockets of gooey chocolate, sometimes convenience is key. Instead of meticulously chopping a chocolate bar, feel free to use your favorite chocolate chips in these dessert bars instead. Dairy-free chocolate chips are widely available, or you can use regular semi-sweet or dark chocolate chips if dairy isn’t a concern. They work just as well and save a step!
- Do Not Overbake: This is crucial for fudgy blondies! Overbaking will lead to dry, crumbly bars. Keep a close eye on them during the last few minutes of baking. Remember, a toothpick inserted into the center should come out clean or with just a few moist crumbs, not wet batter. The center might look slightly underdone, but it will continue to set as it cools.
- Chilling for Clean Slices: For perfectly clean and sharp cuts, especially if you plan to serve these for a special occasion, allow the bars to cool completely to room temperature, then transfer them to the refrigerator for at least 30 minutes (or even an hour) before slicing. A warm knife can also help achieve cleaner cuts.
Recipe Frequently Asked Questions (FAQs)
Got questions about these delicious chocolate pecan bars? We’ve got answers!
To maintain their freshness and fudgy texture, store these chocolate pecan bars in an airtight container at room temperature for up to 3 days, or in the refrigerator for up to 5-7 days. For longer storage, you can individually wrap each cut cookie bar in plastic wrap and then place them in an airtight freezer-safe bag or container. They will keep well in the freezer for up to 3 months. Simply thaw them at room temperature or gently warm them in the microwave when you’re ready to enjoy!
Yes, you can! To make thicker bars, use an 8×8 inch baking pan instead of a 9×9 inch pan. This will increase the baking time slightly, so keep an eye on them. For thinner bars, you can use a 9×13 inch baking pan, which will result in a shorter baking time. Adjust accordingly and always perform the toothpick test for doneness.
The most common reason for dry bars is overbaking. Blondies, like brownies, are meant to be fudgy. Ensure you remove them from the oven as soon as the toothpick test indicates readiness (clean or with moist crumbs, not wet batter). Also, make sure your ingredients are accurately measured, especially the flour, and use a good quality gluten-free blend as recommended in the recipe notes.
More Gluten-Free Cookie Delights to Bake
If you loved these chocolate pecan bars, you’re in for a treat! Here are more fantastic gluten-free cookie recipes that are just as easy and delicious:
- Easy Oatmeal Cookies (Gluten-Free, Dairy-Free) – A timeless classic, made accessible for everyone!
- Homemade Graham Crackers (Gluten-Free, Dairy-Free) – Perfect for s’mores or crushing into pie crusts.
- Almond Chocolate Chip Cookies (Gluten-Free, Dairy-Free) – Rich, chewy, and loaded with chocolate and almond flavor.
Other Gluten-Free Sweet Treats You’ll Absolutely Love
Expanding your repertoire of gluten-free desserts has never been easier or more delicious. Explore these other amazing sweet treats from our kitchen:
- Gluten-Free Pumpkin Banana Muffins (Dairy-Free)
- 126 Gluten-Free Desserts and Sweet Treats for Labor Day
- Mini Pumpkin Cheesecakes (Gluten-Free, Dairy-Free Option)
- Gluten-Free Pecan Pie Bars (Dairy-Free)
P.S. If you try this recipe, I’d absolutely love for you to leave a star rating below, and/or a review in the comment section further down the page. Your feedback is incredibly valuable to me and helps other bakers! Be sure to check out my entire Recipe Index for all the delicious recipes on the blog. You can also follow me on Pinterest, Facebook or Instagram for daily inspiration and behind-the-scenes glimpses! And don’t forget to sign up for my Email List to get fresh, new recipes delivered straight to your inbox each week!
Print Recipe
Chocolate Pecan Bars (Gluten-Free, Dairy-Free)
5 Stars 4 Stars 3 Stars 2 Stars 1 Star
No reviews yet!
Author: Felicia Lim
Total Time: 55 minutes
Yield: 9 cookie bars
Diet: Gluten Free, Dairy-Free
Description
These chocolate pecan bars are incredibly fudgy blondies, generously studded with crunchy chopped pecans and rich chocolate chunks. They are the perfect sweet treat or snack for any time of the day. They are also entirely gluten-free and dairy-free, making them a perfect option for those with dietary restrictions.
Ingredients
Scale
- 1/3 cup unsalted dairy-free butter, softened
- 1 cup dark brown sugar
- 1 1/2 teaspoons vanilla extract
- 2 large eggs
- 1 cup gluten-free all-purpose flour blend
- 1/4 teaspoon xanthan gum (omit if your gluten-free flour blend already includes it)
- 1 teaspoon ground cinnamon
- 1/4 teaspoon salt
- 1/2 cup pecans, finely chopped
- 6 ounces dairy-free chocolate, roughly chopped (or use dairy-free chocolate chips)
- Flaky sea salt, for topping (optional, but highly recommended)
Instructions
- Preheat and Line: Preheat your oven to 350°F (175°C). Line a 9” x 9” baking pan with parchment paper, leaving an overhang on two sides for easy removal. Set aside.
- Cook Butter Until Browned: In a small, light-colored saucepan, melt the unsalted dairy-free butter over medium heat. Stir every couple of minutes until the butter creates brown bits at the bottom and gives off a nutty scent, turning a rich golden-brown color.
- Let Browned Butter Cool: Immediately pour the browned butter into a large mixing bowl and let it cool for a few minutes to prevent cooking the eggs prematurely.
- Add Sugar, Vanilla and Eggs: Add the dark brown sugar to the cooled browned butter and whisk vigorously until well combined. Stir in the vanilla extract and eggs, whisking again until the mixture is smooth and thoroughly incorporated.
- Add Flour, Cinnamon and Salt: Pour the gluten-free all-purpose flour, xanthan gum (if using), ground cinnamon, and salt into the wet ingredients. Use a wooden spoon or rubber spatula to gently fold in the dry ingredients just until a thick, cohesive cookie batter forms, similar to brownie batter consistency. Avoid overmixing.
- Fold in Pecans and Chocolate: Combine the chopped pecans and chopped dairy-free chocolate pieces. Reserve ¼ cup of this mixture for topping. Gently fold the remaining pecans and chocolate into the batter until evenly distributed.
- Transfer Batter to Baking Dish: Pour the batter into the prepared baking pan and spread it out evenly with a spatula. Sprinkle the reserved pecan-chocolate mixture over the top.
- Bake Until Ready: Bake in the preheated oven for 25 minutes, or until the edges are golden brown and a toothpick inserted into the center comes out clean or with a few moist crumbs. Do not overbake.
- Sprinkle Sea Salt and Let Cool: Immediately after removing from the oven, sprinkle flaky sea salt over the warm cookie bars (optional). Let the bars cool completely in the baking pan for at least 15 minutes before lifting them out using the parchment paper handles and transferring to a wire rack to cool fully.
- Cut and Enjoy: Once completely cooled, use a sharp knife to cut the chocolate pecan brownies into 9 equal squares. Serve and enjoy these deliciously fudgy, gluten-free, and dairy-free treats!
Notes
Butter: For a true dairy-free experience, I used unsalted dairy-free butter. Alternatively, refined coconut oil is a great neutral-flavored substitute for a dairy-free option. If you are not lactose-intolerant, regular unsalted butter works perfectly. Avoid extra virgin coconut oil as its strong coconut flavor can impact the taste profile.
Sugar: Dark brown sugar provides a rich, fudgy result. You can substitute with light brown sugar or coconut sugar if preferred, though the flavor and texture may vary slightly. For a sugar-free alternative, granulated monk fruit sweetener is an excellent zero-glycemic index option.
Vanilla Extract: Vanilla extract enhances the overall flavor. If you’re not a fan, you can omit it without affecting the structure.
Eggs: Eggs are crucial for binding and texture. While I haven’t tested egg substitutes, aquafaba or a commercial egg replacer might work if you have an allergy. Please share your results if you try an egg-free version!
Gluten-Free Flour: Use a good-quality gluten-free all-purpose flour blend composed of lighter starches like rice, tapioca, corn, or potato starch for the best texture. Avoid blends with heavier bean flours.
Xanthan Gum: This is a vital binder for gluten-free baking. If your flour blend doesn’t already contain it, make sure to add the specified amount. It helps prevent a crumbly texture.
Ground Cinnamon: A pinch of ground cinnamon adds a beautiful depth of flavor that complements the chocolate and pecans wonderfully. It is highly recommended but optional.
Pecans: While pecans are key here, feel free to swap them for other chopped nuts like walnuts, cashew nuts, pistachios, or hazelnuts for a different flavor profile.
Chocolate: Use dairy-free chocolate to keep the recipe dairy-free. If dairy is not an issue, regular semi-sweet or dark chocolate works just as well.
Storing: Store these delicious bars in an airtight container at room temperature for up to 3 days, or in the fridge for up to a week. For longer storage, wrap individually and freeze for up to 3 months.
- Prep Time: 15 mins
- Cooling Time: 15 mins
- Cook Time: 25 mins
- Category: Desserts
- Method: Baking
- Cuisine: American
