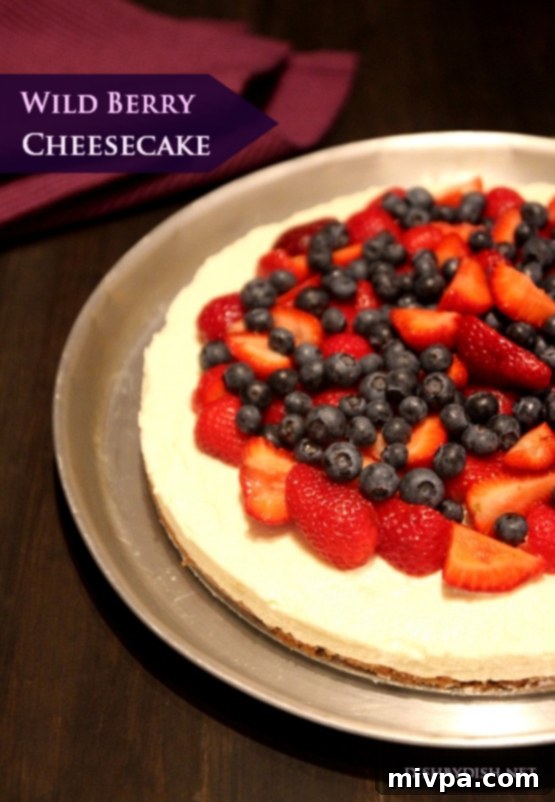
Mastering the No-Bake Wild Berry Cheesecake: A Homemade Adventure (No Processor Needed!)
A truly extraordinary idea sparked in my mind the other day, one that initially seemed a little wild, but ultimately led to a profoundly rewarding experience. Juan’s birthday was approaching, and with us celebrating it for the very first time in our new apartment, I was determined to make it exceptionally special. There’s something inherently meaningful about marking such an occasion in a new home, and I wanted a centerpiece that reflected that sentiment. So, I reached out to my friend Maru for her renowned cheesecake recipe – the very one that had captivated everyone at another friend’s birthday gathering and proven to be an absolute sensation. I decided then and there that I would attempt it for the first time, pouring all my effort into creating a memorable dessert.
Now, making a cheesecake, especially a no-bake one, isn’t typically considered a “crazy” endeavor; it’s a perfectly normal and delightful culinary pursuit. The real challenge, the “crazy part” of my idea, emerged when I meticulously reviewed the recipe. It explicitly called for processed digestive biscuits and freshly whipped cream, the latter of which I was adamant about whipping myself for that authentic homemade touch. The glaring problem? Our brand-new apartment, still sparsely equipped, possessed neither a food processor, nor a juicer, nor, crucially, an electric beater. This realization hit me like a ton of bricks, turning my ambitious baking project into an unexpected, appliance-free odyssey. Uh-oh, indeed.
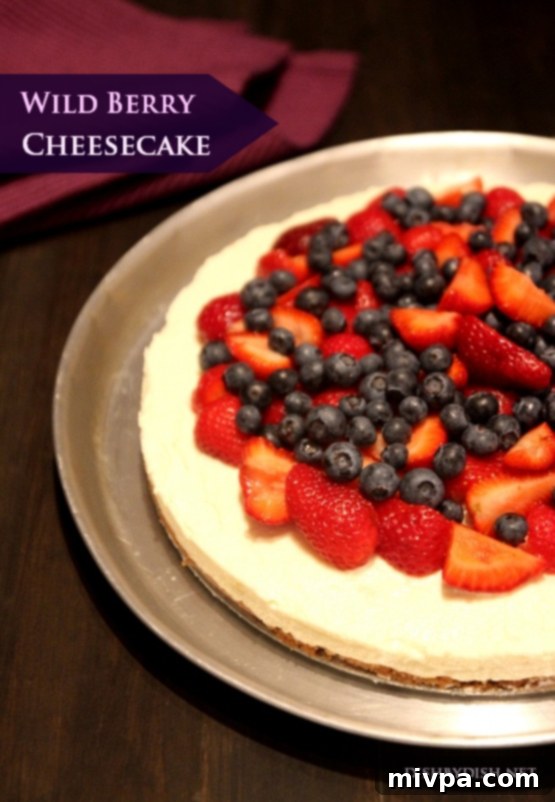
Launching “Project Wild Berry Cheesecake”
Given the unforeseen manual labor involved, I made a strategic decision to begin the cake-making process a few days in advance. Juan’s birthday fell on a Thursday, and I certainly didn’t want to take any chances with a last-minute scramble or, worse, a baking disaster. Thus, by Tuesday evening, “Project Wild Berry Cheesecake” was officially launched, transforming our quiet new kitchen into a bustling workshop of determination and elbow grease. I braced myself for what I knew would be a physically demanding but hopefully fulfilling journey.
If you had been a fly on the wall in our still-minimalist kitchen that Tuesday evening, you would have witnessed quite a spectacle: me, breaking into a genuine sweat as I manually whipped the cream. The recipe simply called for “whipped cream,” a phrase that usually implies the effortless hum of an electric mixer. Without one, however, it translated into twenty minutes of furious, non-stop whipping with a balloon whisk and sheer willpower. I wasn’t entirely sure how long it would take to achieve those perfect stiff peaks, but after what felt like an eternity, my arm was throbbing, and I literally felt as if my hand might detach from my wrist. (A little secret for my fellow fitness enthusiasts: if you’re looking for a free, intense arm workout that delivers delicious rewards, try whipping cream by hand. It’s an incredibly effective, albeit tiring, alternative to lifting weights at the gym, and the satisfaction of homemade whipped cream is unparalleled. I promise, it’s worth every aching muscle.)
The Old-Fashioned Way: Crushing Biscuits by Hand
Once the whipped cream was finally achieved and perfectly fluffy, having drained nearly all my immediate energy, I moved on to the next manual challenge: “processing” the digestive biscuits. This step, too, typically falls to the mighty food processor. However, a wave of relief washed over me when I recalled that the brilliant cookbook from which Maru’s recipe originated offered a wonderfully simple, old-fashioned solution. It wisely stated: “finely crush the biscuits in a food processor, or in a bag with a rolling pin.”
Thank goodness for that clever alternative! My heart sank for a moment thinking I might have to resort to smashing them with a spoon, but then I remembered our handy rolling pin. PHEW. No processor? No sweat, man. This was a moment of true culinary resourcefulness, a testament to the fact that even without all the modern gadgets, a delicious homemade dessert is still very much within reach.
And so, there I was, embarking on a surprisingly therapeutic session of smashing a plastic bag full of digestive biscuits with my spanking new rolling pin – a kitchen tool I hadn’t even had the chance to use for its intended purpose of rolling dough yet! If anyone had observed me in action, they might have mistakenly concluded that I’d had an exceptionally rough day at work and was vigorously venting my frustrations in the kitchen, with the innocent digestive biscuits bearing the brunt of my supposed anger. Hah! The truth, of course, was far less dramatic; it was simply a necessity born from the delightful lack of a food processor in our current setup. There was a certain primal satisfaction in each thud and crunch, transforming whole biscuits into a fine, sandy crumb.
Embracing the Nostalgia of Handmade Cooking
In those moments, I truly felt like a character from some late 1970s black-and-white television show, a dedicated housewife diligently paying her dues in the kitchen, long before the ubiquitous age of electrical domestic appliances. There’s a particular kind of connection you forge with your food when every step, from whipping cream to crushing biscuits, is a direct result of your own physical effort. It adds an invisible ingredient of love and labor that you simply can’t replicate with the push of a button. It wasn’t just about making a cheesecake; it was about experiencing a piece of culinary history, understanding the foundations of baking before automation streamlined everything.
When the biscuits were finally crushed into perfectly fine, uniform pieces – a task that took more patience and muscle than anticipated – I was more than ready for a long, well-deserved break. But alas, the clock was ticking, and the cheesecake awaited. So, I took a deep breath, acknowledged the small victories, and plowed on with renewed determination.
The Seamless Assembly: From Base to Filling
Thankfully, the remaining steps of constructing this wild berry cheesecake proved to be considerably more straightforward and less physically demanding compared to the initial two, rather strenuous, phases. The manual labor was behind me, and now it was time for careful assembly. Pressing the perfectly blended biscuit crumb mixture into the springform tin was, comparatively, a huge breeze. The butter had beautifully bound the crumbs, making it easy to create an even, sturdy base, which I then chilled to set. This firm foundation was crucial for the structural integrity of the no-bake marvel.
Next came the creamy filling. After some more gentle beating with my hand whisk – this time, thankfully, a much less arduous task than whipping the cream from scratch – I smoothly combined the rich cream cheese, the bright tang of lemon juice, the aromatic zest of one lemon, and the measured sweetness of sugar. Finally, the dissolved gelatin was incorporated, ensuring the filling would set beautifully. The grand finale for the filling involved delicately folding in the chilled, hand-whipped cream. This step required a light touch, preserving the airy texture that would give the cheesecake its luxurious mouthfeel. Once perfectly blended, the filling was done. Pouring this velvety mixture evenly over the chilled biscuit crumb base was indeed a walk in the park – or, in this particular case, perhaps a satisfying stroll around my kitchen, pun absolutely intended. The smooth, glistening surface promised a decadent treat.
The Final Touch: Fresh Berries and Anticipation
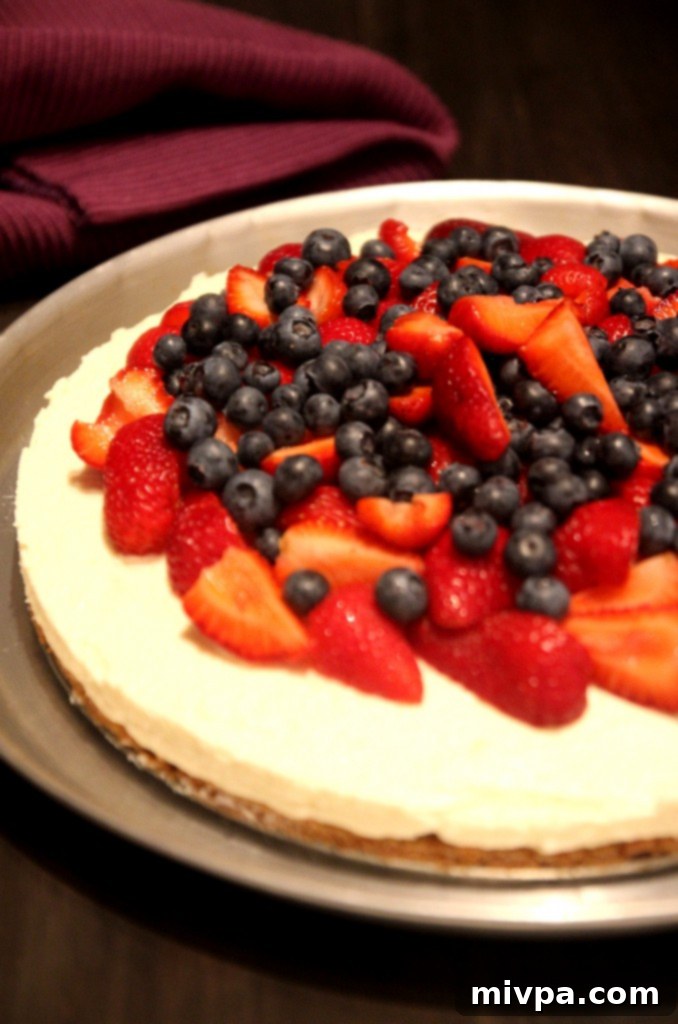
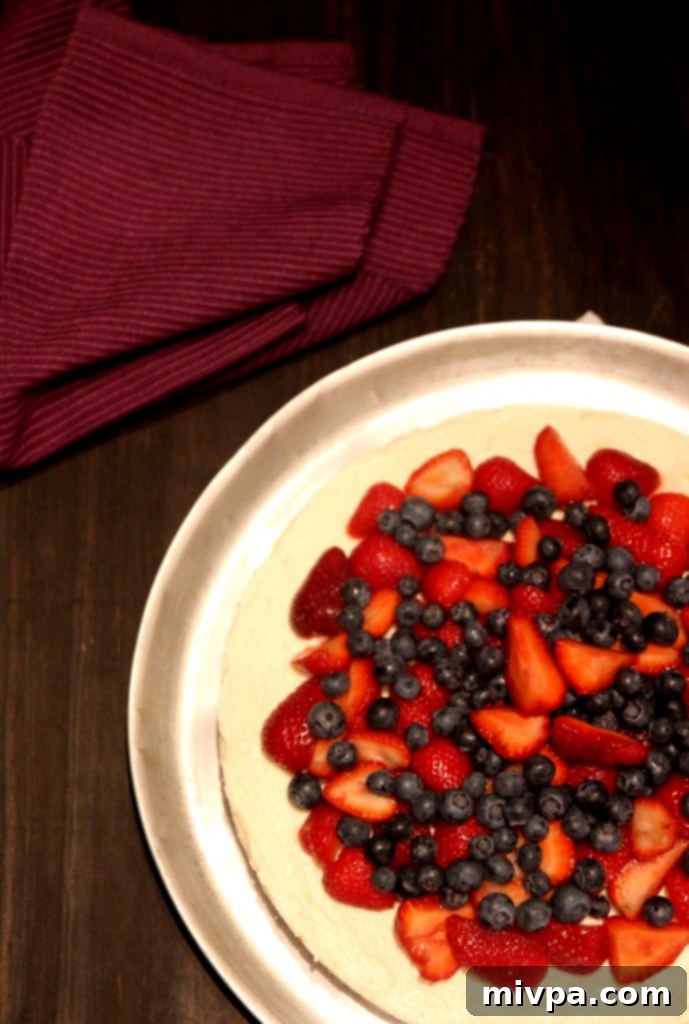
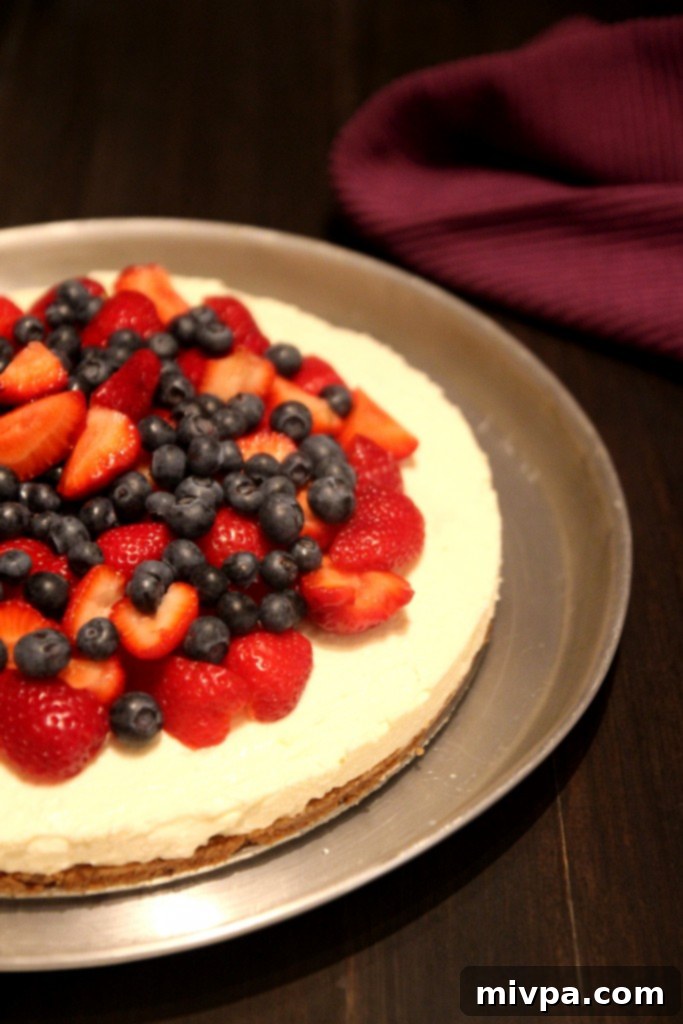
As Thursday afternoon rolled around, with the cheesecake base and filling setting perfectly in the refrigerator, it was time for the grand finale: the fresh fruit topping. I made a special trip to the supermarket, carefully selecting the freshest, most vibrant strawberries and plump, juicy blueberries I could find. Quality ingredients truly make a difference, especially when they’re the crowning glory of your homemade dessert. Upon returning to the apartment, I meticulously washed the berries, then delicately sliced the strawberries, ensuring each piece was uniform and aesthetically pleasing. The creative process of arranging them atop the chilled cheesecake began, each berry placed with intention, creating a beautiful, edible mosaic of red and blue. It was the final artistic flourish that would elevate the dessert from delicious to truly spectacular.
Despite all the effort and careful execution, a nervous flutter resided in my stomach. Because it was the first time I was testing out Maru’s recipe, and especially with all the manual modifications I’d had to make, the stakes felt incredibly high. Every baker knows that the first attempt at a new recipe can be a nail-biting experience, a leap of faith into the unknown.
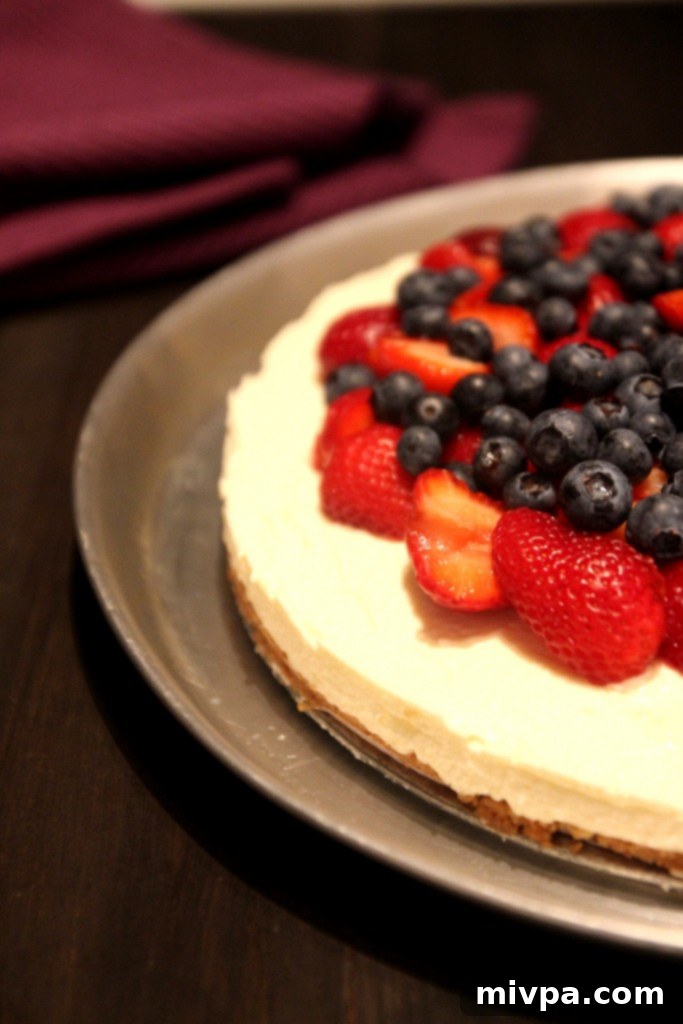
While I generally consider myself lucky in the kitchen, with recipes often turning out successfully on my initial try, this particular cheesecake felt different. This was either going to be an absolutely crazy, show-stopping success, a testament to my perseverance and resourcefulness, or a terrifyingly big disaster that would live on in family legend for all the wrong reasons. You can bet every penny of yours that I was crossing each finger and toe, silently praying for the odds to be firmly lying in my favor. The anticipation was almost unbearable.
The pressure wasn’t just internal; it was external too. You see, we had invited Juan’s closest friends and their girlfriends over to celebrate his birthday that Thursday night. They weren’t just guests; they were, unknowingly, the primary taste testers of this very personal, very homemade, and very much-labored-over cake. To be brutally honest, I was scared witless. I spent the hours leading up to their arrival fervently praying that the cheesecake would not only set properly but would also taste as incredible as Maru had promised and as my effort deserved. The success of the entire birthday celebration, at least in my mind, hinged on that perfect slice of no-bake wild berry cheesecake.
The Moment of Truth: A Wildly Awesome Success!
And the verdict? The moment of truth arrived, the first slice cut, the first forkful tasted. It was, without exaggeration, wildly AWESOME! A collective murmur of approval swept through the room, followed by exclamations of delight. The texture was perfect, the flavors balanced, and the fresh berries provided a vibrant counterpoint to the creamy, tangy filling. All my fears dissipated into pure elation.
And might I humbly add, it deserved a few more brownie points than usual, precisely because it was literally made from scratch, with every ounce of effort poured into it without the aid of modern kitchen gadgets. The triumphant feeling of creating such a delicious dessert through sheer will and manual labor was incredibly satisfying. But more than anything, Juan deserved it anyway. His delight, his appreciative smiles, and the shared joy with our friends made it totally worth every single muscle ache I had endured after making it. The physical exhaustion was a small price to pay for such a sweet and memorable celebration.
HAPPY BIRTHDAY LOVE. TE AMO!
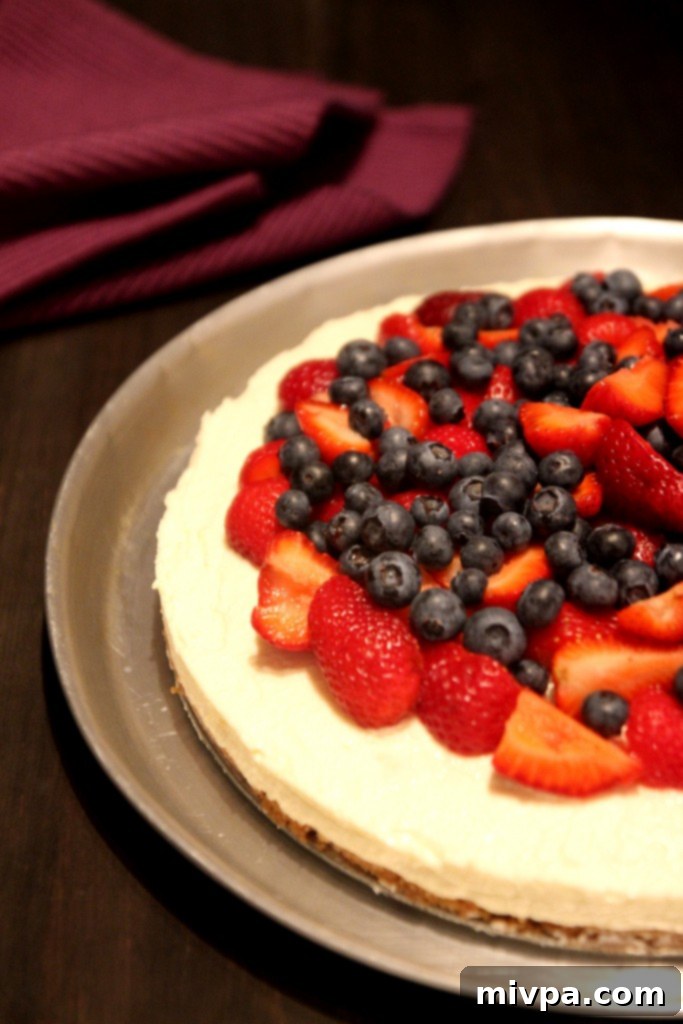
Wild Berry No-Bake Cheesecake Recipe (Serves 12)
Barely adapted from: Cooking: A Commonsense Guide
Ingredients:
- 400g of digestive biscuits, finely crushed
- 150g of butter, melted
- 5 teaspoons of gelatin (powdered)
- 3 tablespoons of water
- 400g of cream cheese (I used and highly recommend Philadelphia cream cheese for its rich, smooth texture)
- ½ cup of fresh lemon juice (from 1 very large lemon or 2 small lemons)
- Zest of 1 lemon
- ¾ cup granulated sugar
- 1 cup heavy milk cream, whipped to soft peaks
- 500g of fresh strawberries
- 200g of fresh blueberries
Steps:
- Start by whipping the heavy milk cream until it forms soft peaks. For those without an electric beater, this can be done manually with a whisk, requiring patience and vigorous effort. Alternatively, store-bought whipped cream can be used for convenience.
- Once the cream is whipped, place it in the fridge to chill until it’s ready to be folded into the cheesecake mixture.
- Finely crush the digestive biscuits. A food processor or blender works best, but a plastic bag and a rolling pin (or heavy pan) can be used for an old-fashioned, appliance-free method. Aim for a fine, sand-like crumb.
- Melt the butter in a pan on the stovetop or in a microwave. Mix the melted butter thoroughly with the crushed digestive biscuits until well combined.
- Lightly grease a 23cm (9-inch) springform tin with oil or butter, then line the base with a circle of baking paper. This ensures easy removal.
- Press the biscuit-butter mixture firmly and evenly onto the base of the prepared tin, using the back of a spoon to create a compact crust. Chill in the refrigerator for at least 10 minutes to allow the base to set.
- While the base chills, hydrate the gelatin by sprinkling it over 3 tablespoons of cold water in a small, heatproof bowl. Let it sit for 5 minutes until it blooms, then dissolve it by heating it gently in a microwave for about 30 seconds (or over a double boiler), stirring until clear. Do not boil.
- In a large bowl, beat the cream cheese, lemon juice, lemon zest, and sugar together until the mixture is smooth and lump-free. Then, gradually add the dissolved gelatin into the bowl and beat well to ensure it is fully incorporated.
- Gently fold the chilled whipped cream into the cream cheese mixture using a spatula until it’s just combined and no streaks remain. Be careful not to overmix, as this can deflate the whipped cream.
- Spoon the creamy filling evenly over the chilled biscuit base, smoothing out the surface with the back of a spoon or an offset spatula.
- Refrigerate the cheesecake to set for at least 2 hours, or preferably overnight, to ensure a firm and sliceable texture.
- While the cheesecake is chilling, wash and prepare your fresh fruits. Slice the strawberries as desired. Once the cheesecake is fully set, carefully arrange the sliced strawberries and whole blueberries decoratively over the top just before serving.
