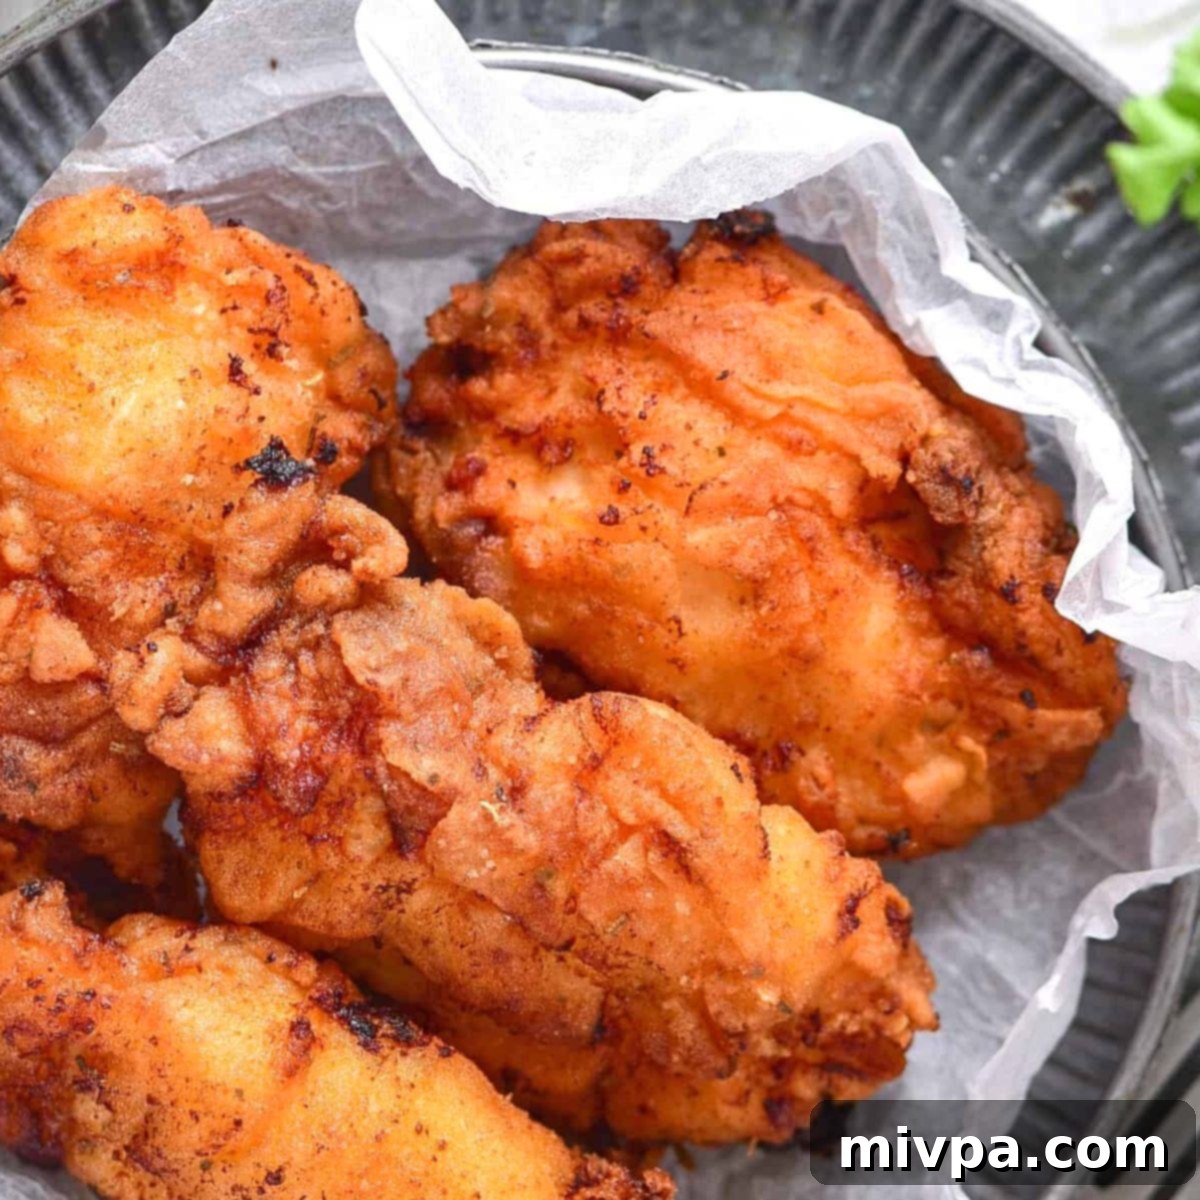
Crispy & Flavorful: The Ultimate Gluten-Free Dairy-Free Fried Chicken Recipe
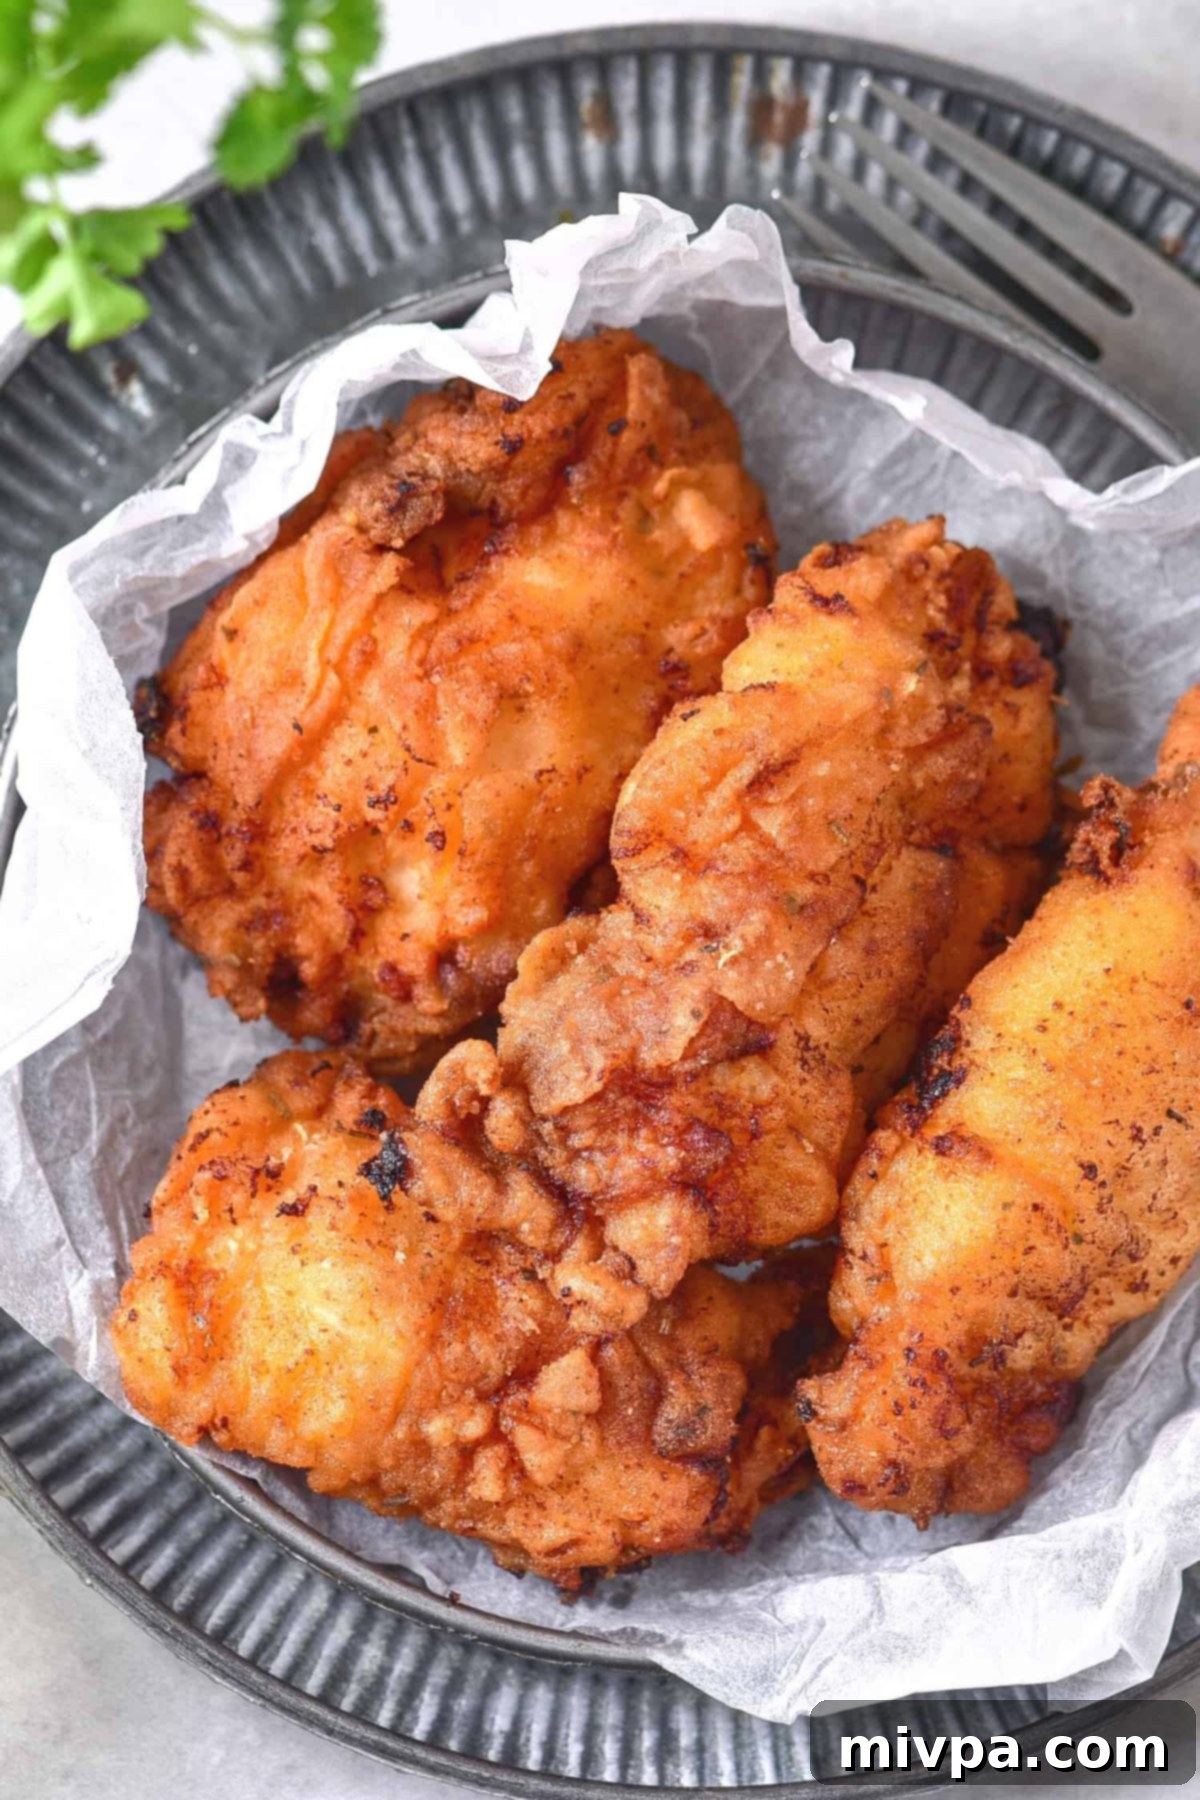
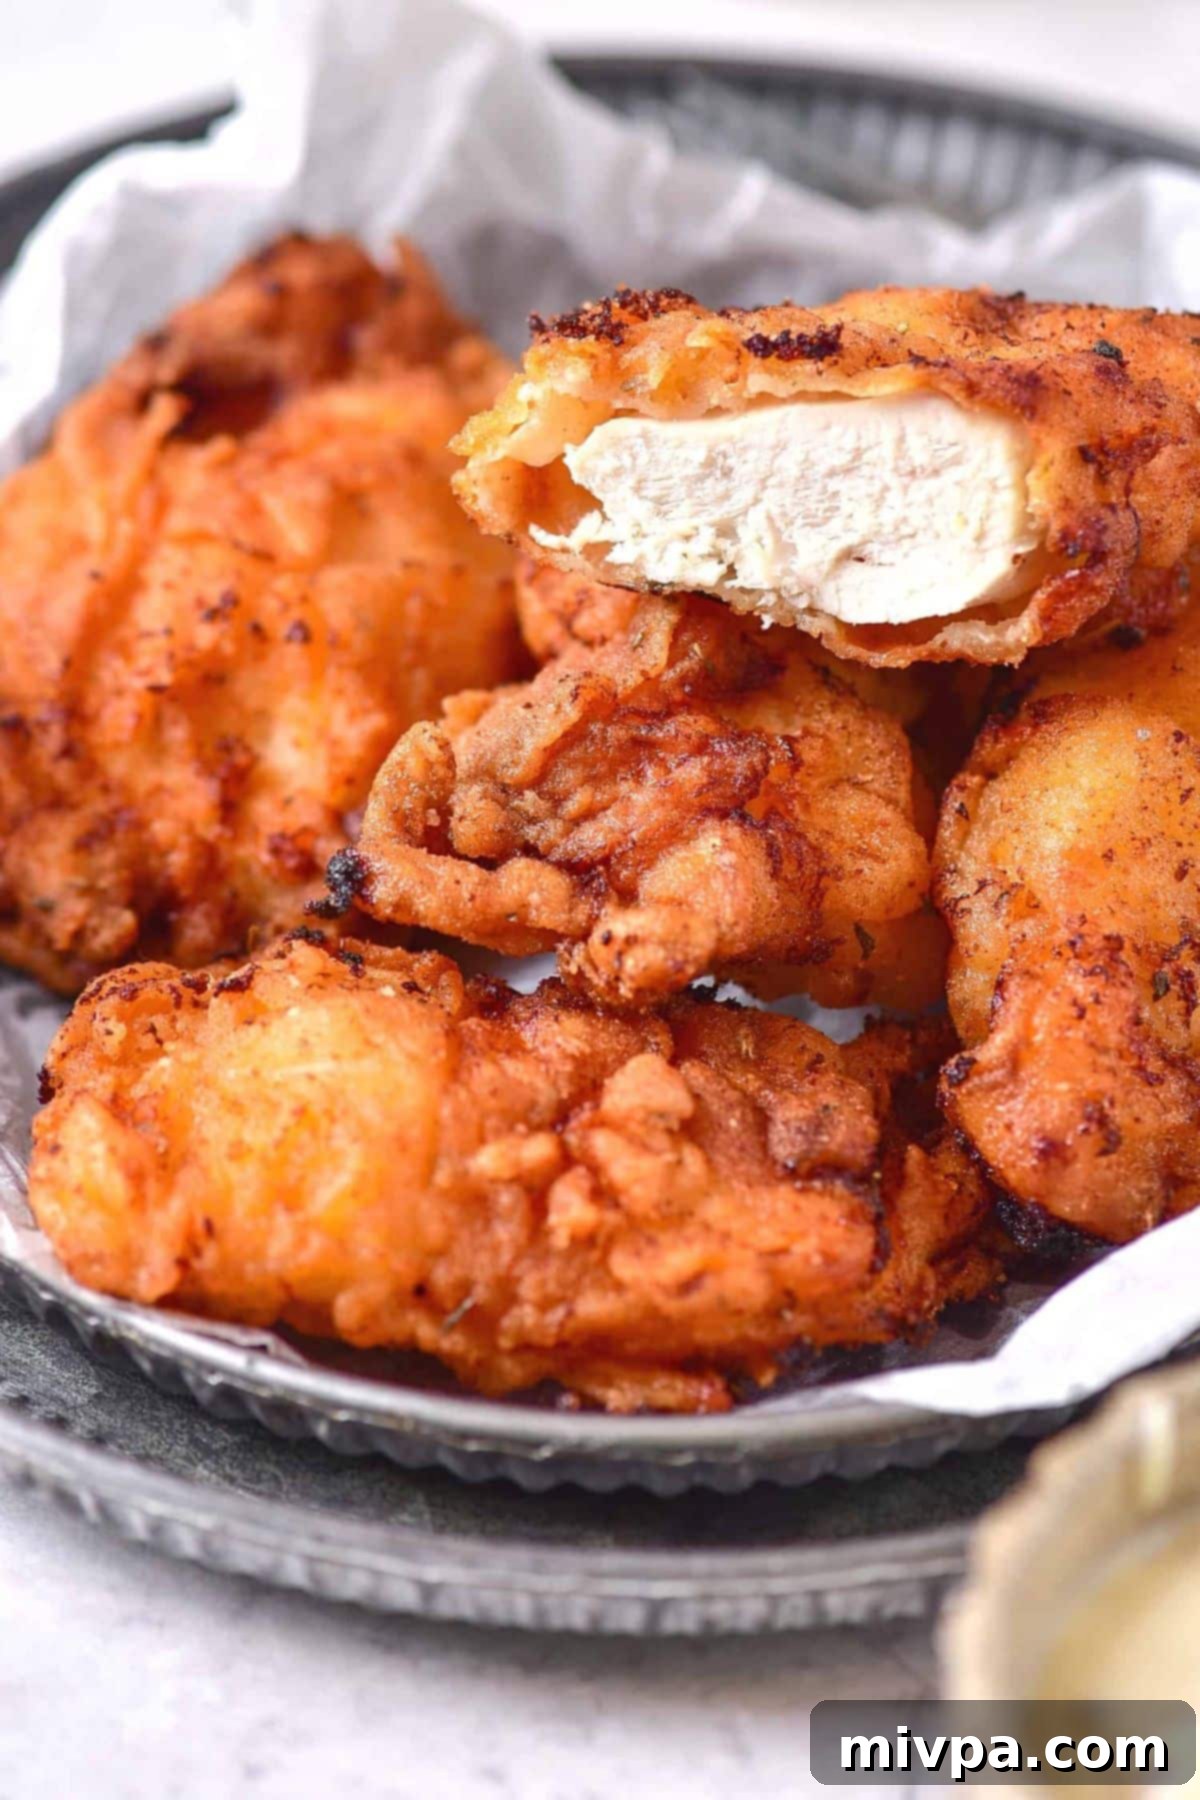
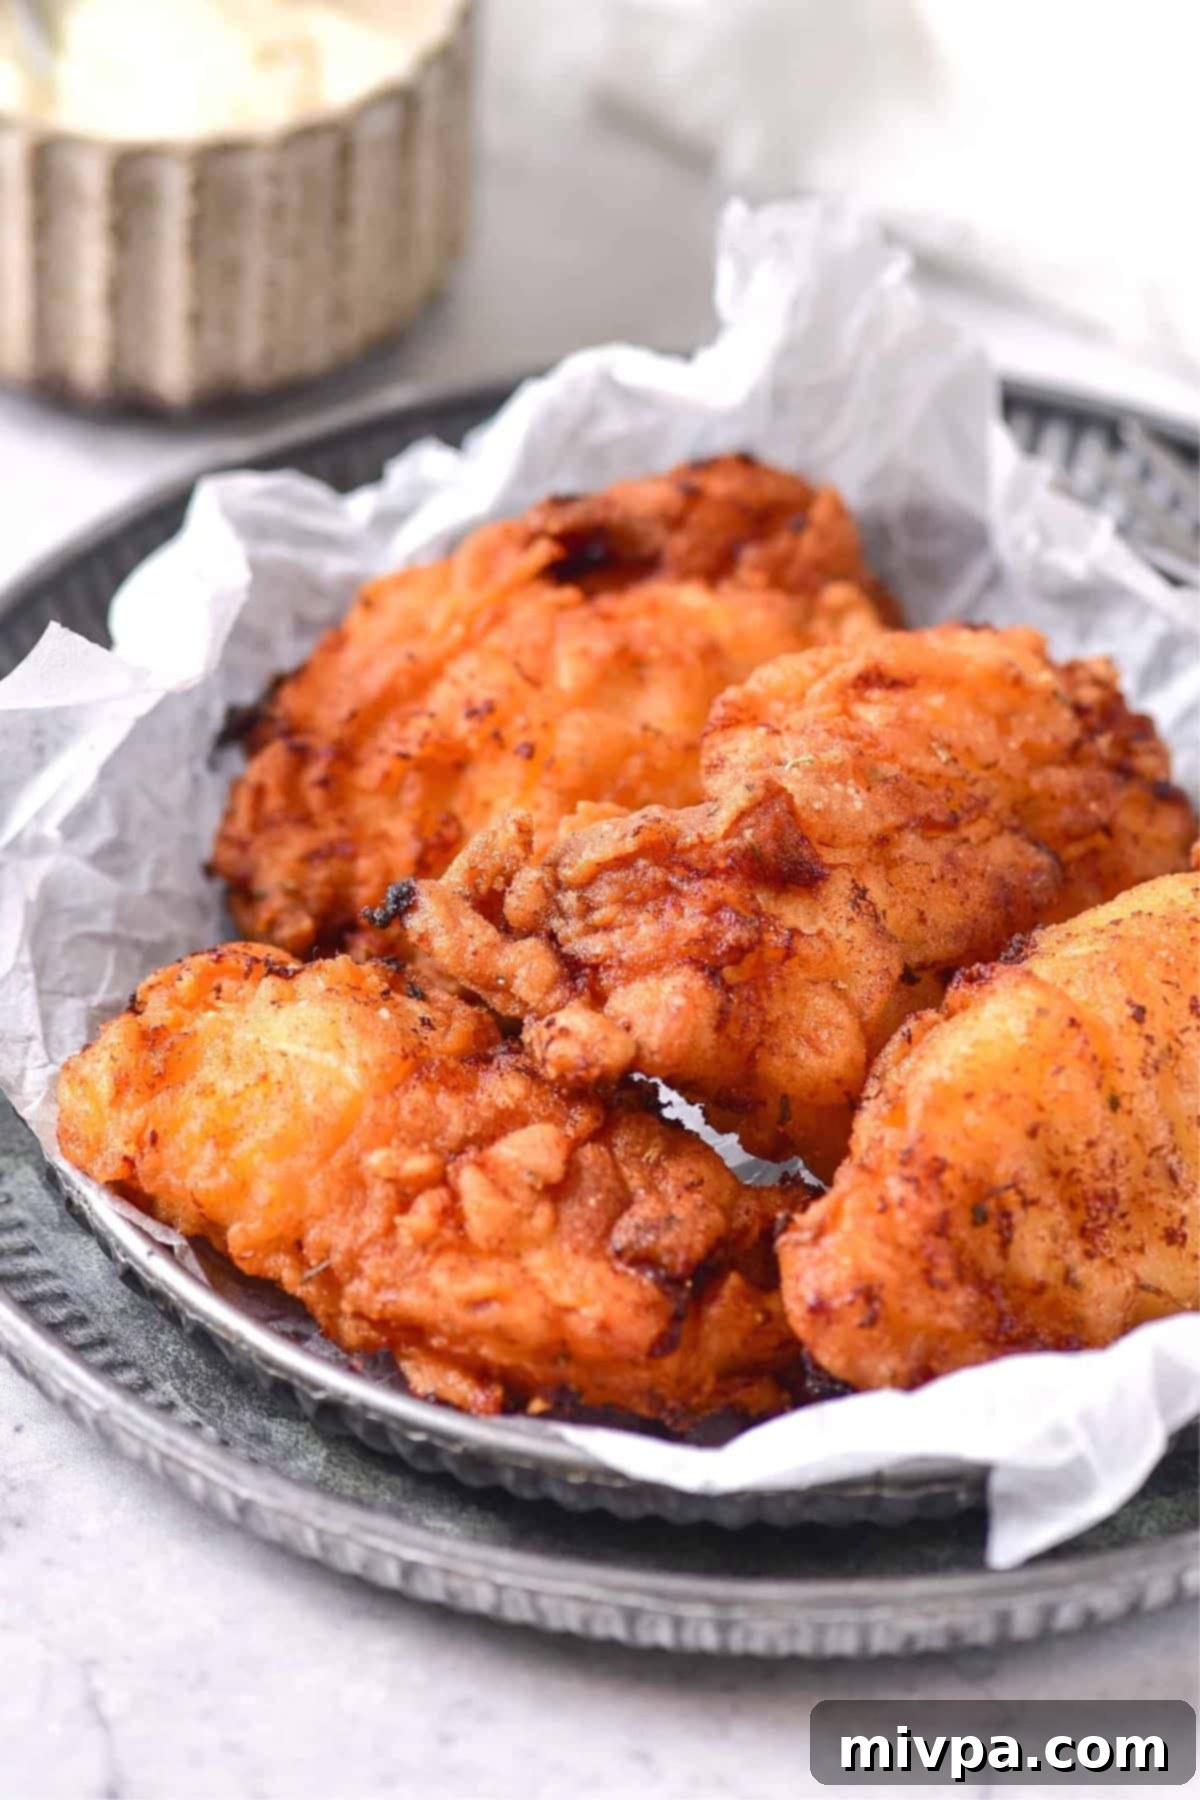
Prepare to indulge in the most delicious gluten-free fried chicken you’ve ever tasted! This incredible recipe delivers a burst of flavor in every bite, boasting a perfectly crispy exterior and irresistibly tender, juicy meat on the inside. A true crowd-pleaser, this flavorful Southern-style fried chicken is ideal for lunch, dinner, or even as a fantastic appetizer. The best part? It’s completely dairy-free, ensuring everyone can enjoy this classic comfort food without compromise.
[feast_advanced_jump_to]
Embracing the Crunch: Our Crispy Gluten-Free Fried Chicken
There’s something uniquely comforting about a plate of perfectly fried chicken. Growing up, the occasional visit to KFC was a glorious and finger-lickingly tasty treat, a memory I still cherish. That classic, satisfying crunch and the tender, juicy chicken beneath is what inspired this recipe – a homage to those childhood delights, reimagined for modern dietary needs.
Traditional fried chicken, often referred to as Southern fried chicken, involves pieces of chicken coated in a seasoned flour or batter, then deep-fried until golden and crispy. This coating serves a dual purpose: it creates a protective breading that locks in the chicken’s natural moisture, resulting in an incredibly tender interior, while simultaneously developing that irresistible, crunchy exterior we all love.
For those navigating gluten or dairy sensitivities, enjoying this beloved dish can often be a challenge. Most commercial fried chicken recipes rely heavily on wheat flour and dairy-based marinades. Our mission was to create a recipe that delivers all the authentic flavor and texture of classic Southern fried chicken, but is 100% gluten-free and dairy-free. We’ve meticulously chosen ingredients and techniques to ensure that no one misses out on this ultimate comfort food experience. Get ready for a crispy, flavorful, and wonderfully satisfying meal!
Why This Gluten-Free Dairy-Free Fried Chicken Recipe Is a Must-Try:
- Simple, Accessible Ingredients: You don’t need to hunt for obscure ingredients to make this fantastic fried chicken. All the items required for this gluten-free and dairy-free recipe are readily available at your local grocery store. We focus on common gluten-free flour blends and easy-to-find dairy-free alternatives, proving that delicious, specialized cooking doesn’t have to be complicated or expensive.
- Effortlessly Delicious: Don’t be intimidated by the idea of making fried chicken at home. Our step-by-step process is incredibly straightforward. The magic happens with a simple double-coating technique: first in a perfectly seasoned gluten-free flour mixture, then a quick dip in dairy-free buttermilk, and finally, another coating in the flour blend. After this easy preparation, all that’s left is to deep-fry the coated chicken strips to golden-brown, crispy perfection. It’s a process designed for minimal fuss and maximum flavor.
- 100% Gluten-Free and Dairy-Free: This is truly the best part! Our Southern fried chicken recipe is meticulously crafted to be completely gluten-free and dairy-free. This means that individuals with Celiac disease, gluten sensitivities, or lactose intolerance can savor every bite without any concerns or discomfort. We believe everyone deserves to enjoy classic comfort foods, and this recipe ensures that dietary restrictions don’t mean sacrificing taste or texture. Prepare to impress everyone with a fried chicken that’s both inclusive and incredibly tasty!
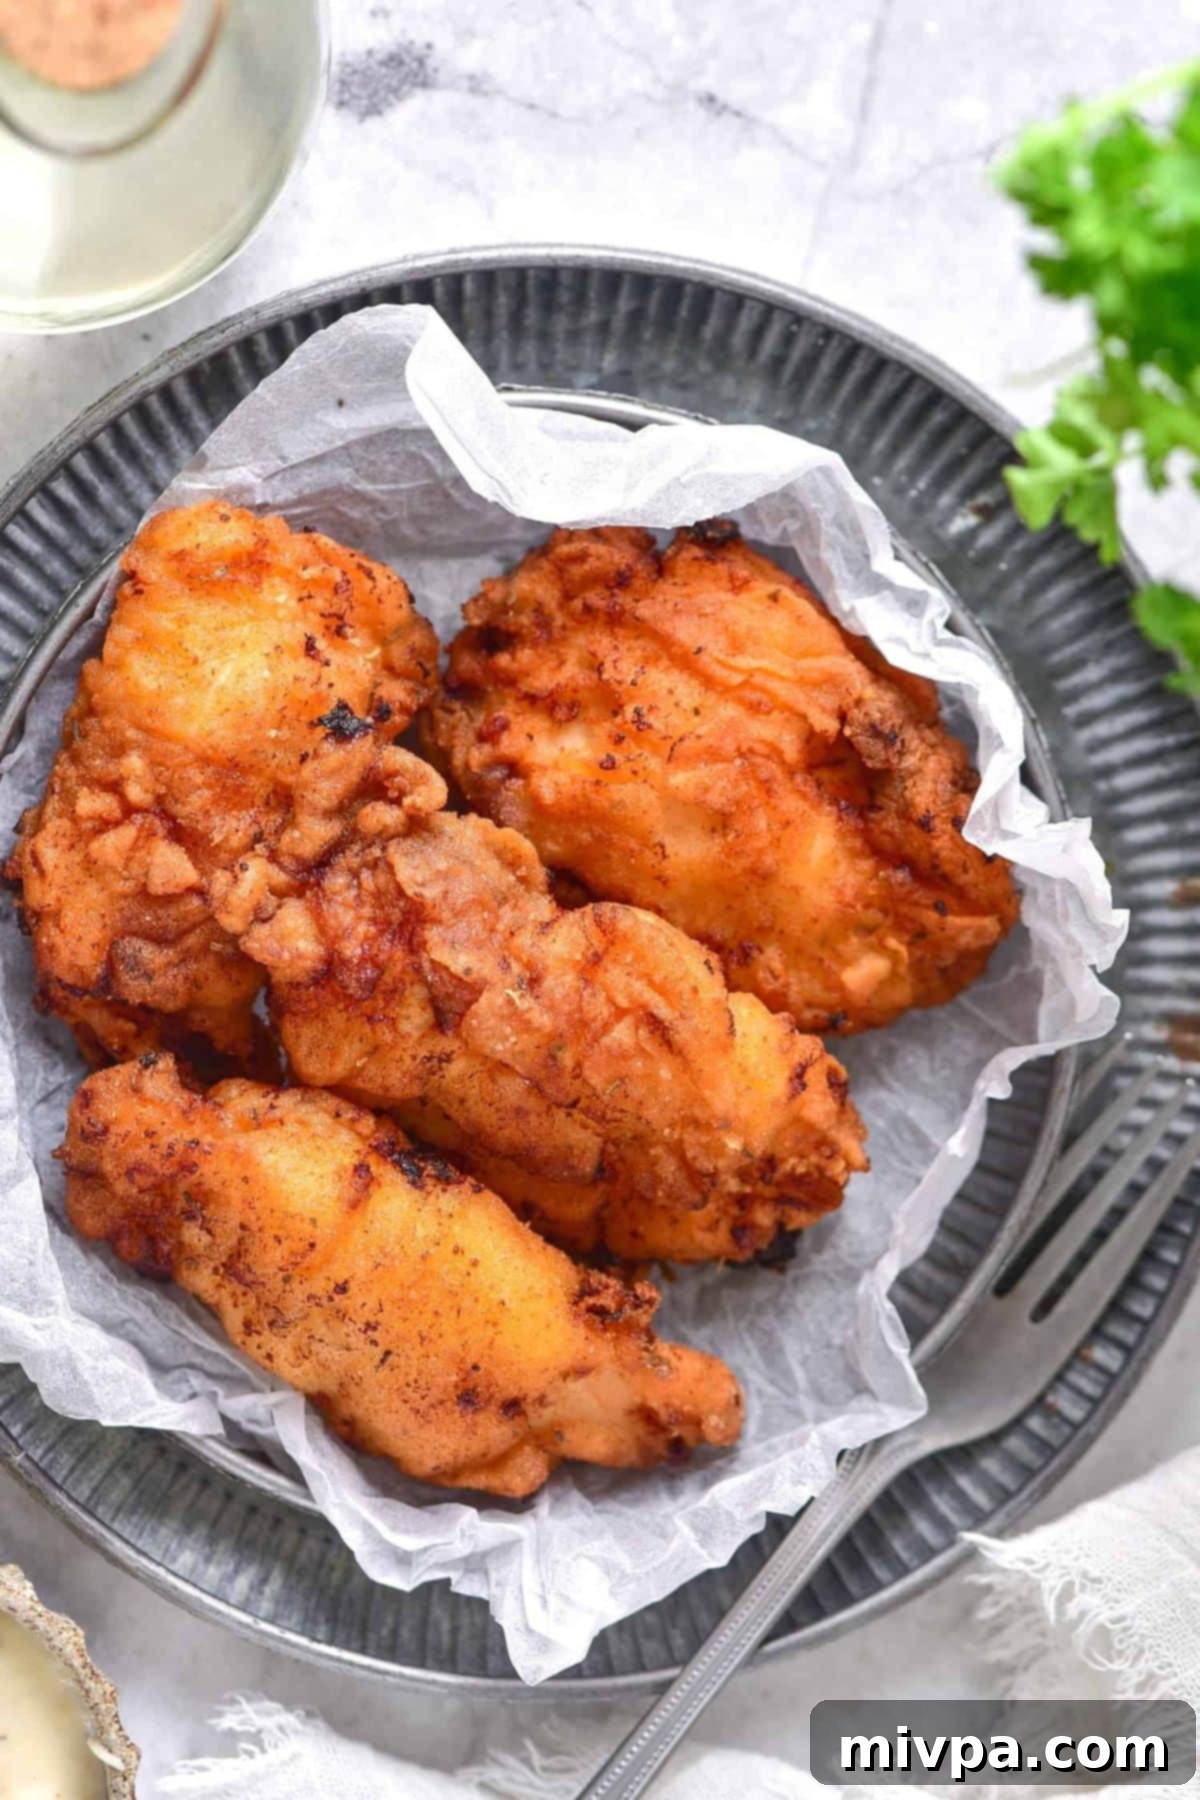
Essential Ingredients for Your Crispy Fried Chicken
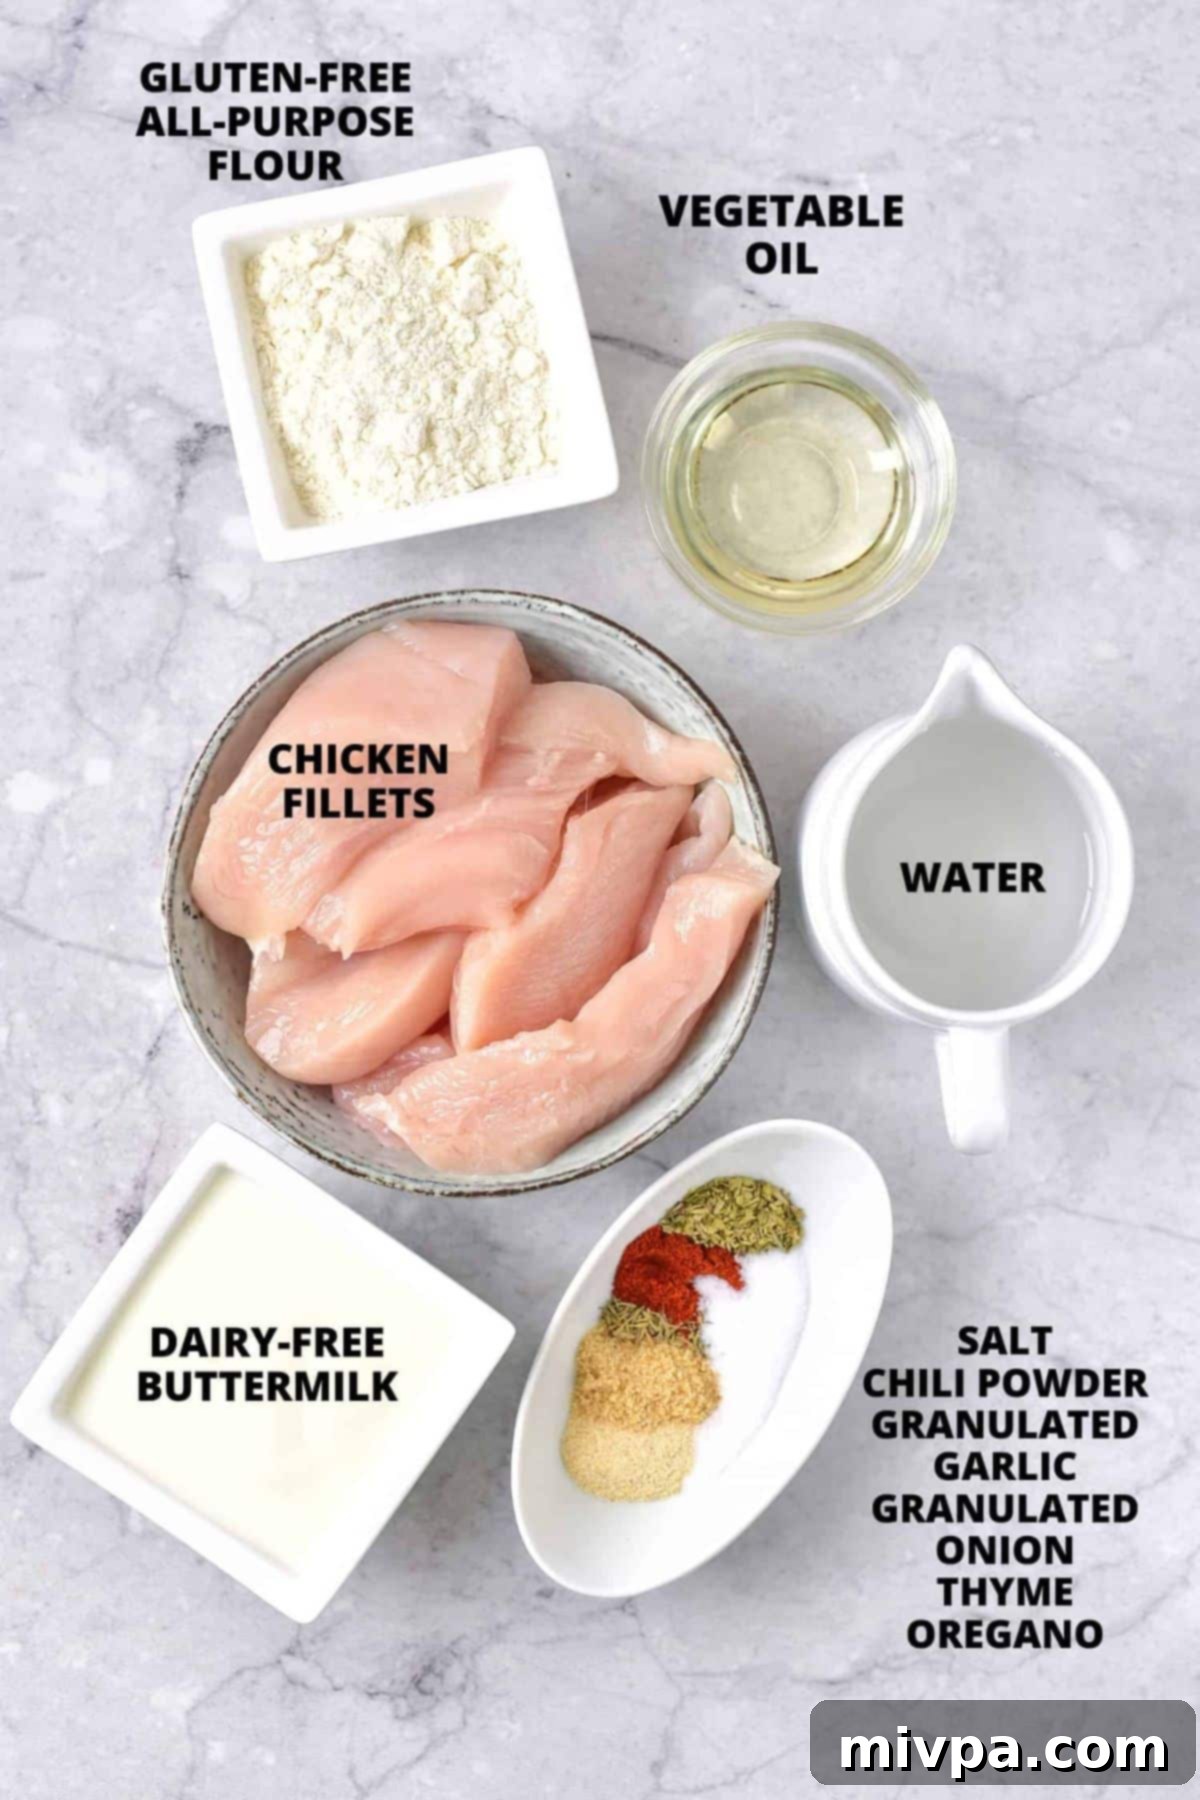
Gathering your ingredients is the first exciting step towards making this mouth-watering, crispy gluten-free fried chicken. Below is a visual guide and a detailed breakdown of what you’ll need. Make sure to check the exact measurements in the printable recipe card at the very bottom of this post for perfect results. Having everything prepped and ready before you start will make the cooking process smooth and enjoyable!
Recipe Notes & Expert Substitutions for Perfect Results
- Chicken Fillets: While I’ve opted for boneless, skinless chicken breast for its ease of preparation and consistent cooking, this recipe is incredibly versatile. Feel free to use other cuts like chicken wings, tender chicken thighs, or even chicken drumsticks. If using bone-in pieces, ensure they are cooked thoroughly to an internal temperature of 165°F (74°C), which might require slightly longer frying times. Cutting chicken breast into strips helps them cook faster and more evenly, ensuring every piece is perfectly crispy.
- Buttermilk: To maintain the dairy-free integrity of this recipe, we use a homemade dairy-free buttermilk. The acidity of buttermilk is crucial as it tenderizes the chicken and helps the breading adhere better. If your dairy-free buttermilk appears too thick, simply thin it out with a small amount of filtered water until it reaches a consistency similar to thick milk. To effortlessly make your own dairy-free buttermilk, combine 1/2 cup of unsweetened non-dairy milk (such as smooth almond milk, rich cashew milk, light rice milk, or creamy canned coconut milk) with 1/2 tablespoon of fresh lemon juice. Give it a good mix and let it sit for a few minutes; you’ll notice it slightly curdles, creating the perfect buttermilk substitute. If dairy is not an issue for you, traditional buttermilk works just as well.
- Gluten-Free All-Purpose Flour: The type of gluten-free flour blend you use profoundly impacts the texture of your fried chicken. I highly recommend using a high-quality gluten-free all-purpose flour blend primarily composed of lighter flours and starches, such as rice flour, tapioca starch, corn starch, or potato starch. These blends create a wonderfully light and crispy coating. I strongly advise against using gluten-free flour blends that feature heavier flours, like garbanzo bean flour (chickpea flour), as they can result in a dense, gummy, or unpleasantly gritty coating that won’t achieve that desired crispiness.
- Xanthan Gum: This ingredient is a game-changer for gluten-free recipes. If your chosen gluten-free flour blend does not already contain xanthan gum, it’s essential to add 1/4 teaspoon separately. Xanthan gum acts as a replacement for gluten, providing elasticity and binding properties that prevent the coating from falling off during frying and help create a more cohesive, crispy crust. It’s a small addition that makes a huge difference.
- Vegetable Oil for Frying: The choice of oil is important for achieving a crisp texture and maintaining flavor. You can use your favorite high-smoke-point vegetable oil for deep frying. Excellent options include sunflower oil, canola oil, corn oil, avocado oil, or even light olive oil (ensure it’s not extra virgin, which has a lower smoke point). The key is to use enough oil (2-3 inches deep) to submerge the chicken pieces sufficiently for even frying.
- Spices and Herbs: Our carefully selected blend of spices and herbs is what gives this fried chicken its signature Southern flavor. We use a mix of fragrant chili powder for a subtle warmth, savory granulated garlic (garlic powder), aromatic granulated onion (onion powder), earthy dried thyme, and distinct dried oregano. However, feel absolutely free to customize the spice blend to your personal preference! Other fantastic additions could include dried parsley for freshness, fragrant dried rosemary, a pinch of ground cayenne pepper for extra heat, vibrant ground paprika for color and flavor, or freshly ground black pepper. Experiment to find your perfect flavor profile!
How to Make Gluten-Free Fried Chicken (Step by Step Guide):
1. Combine Dry Ingredients for the Coating
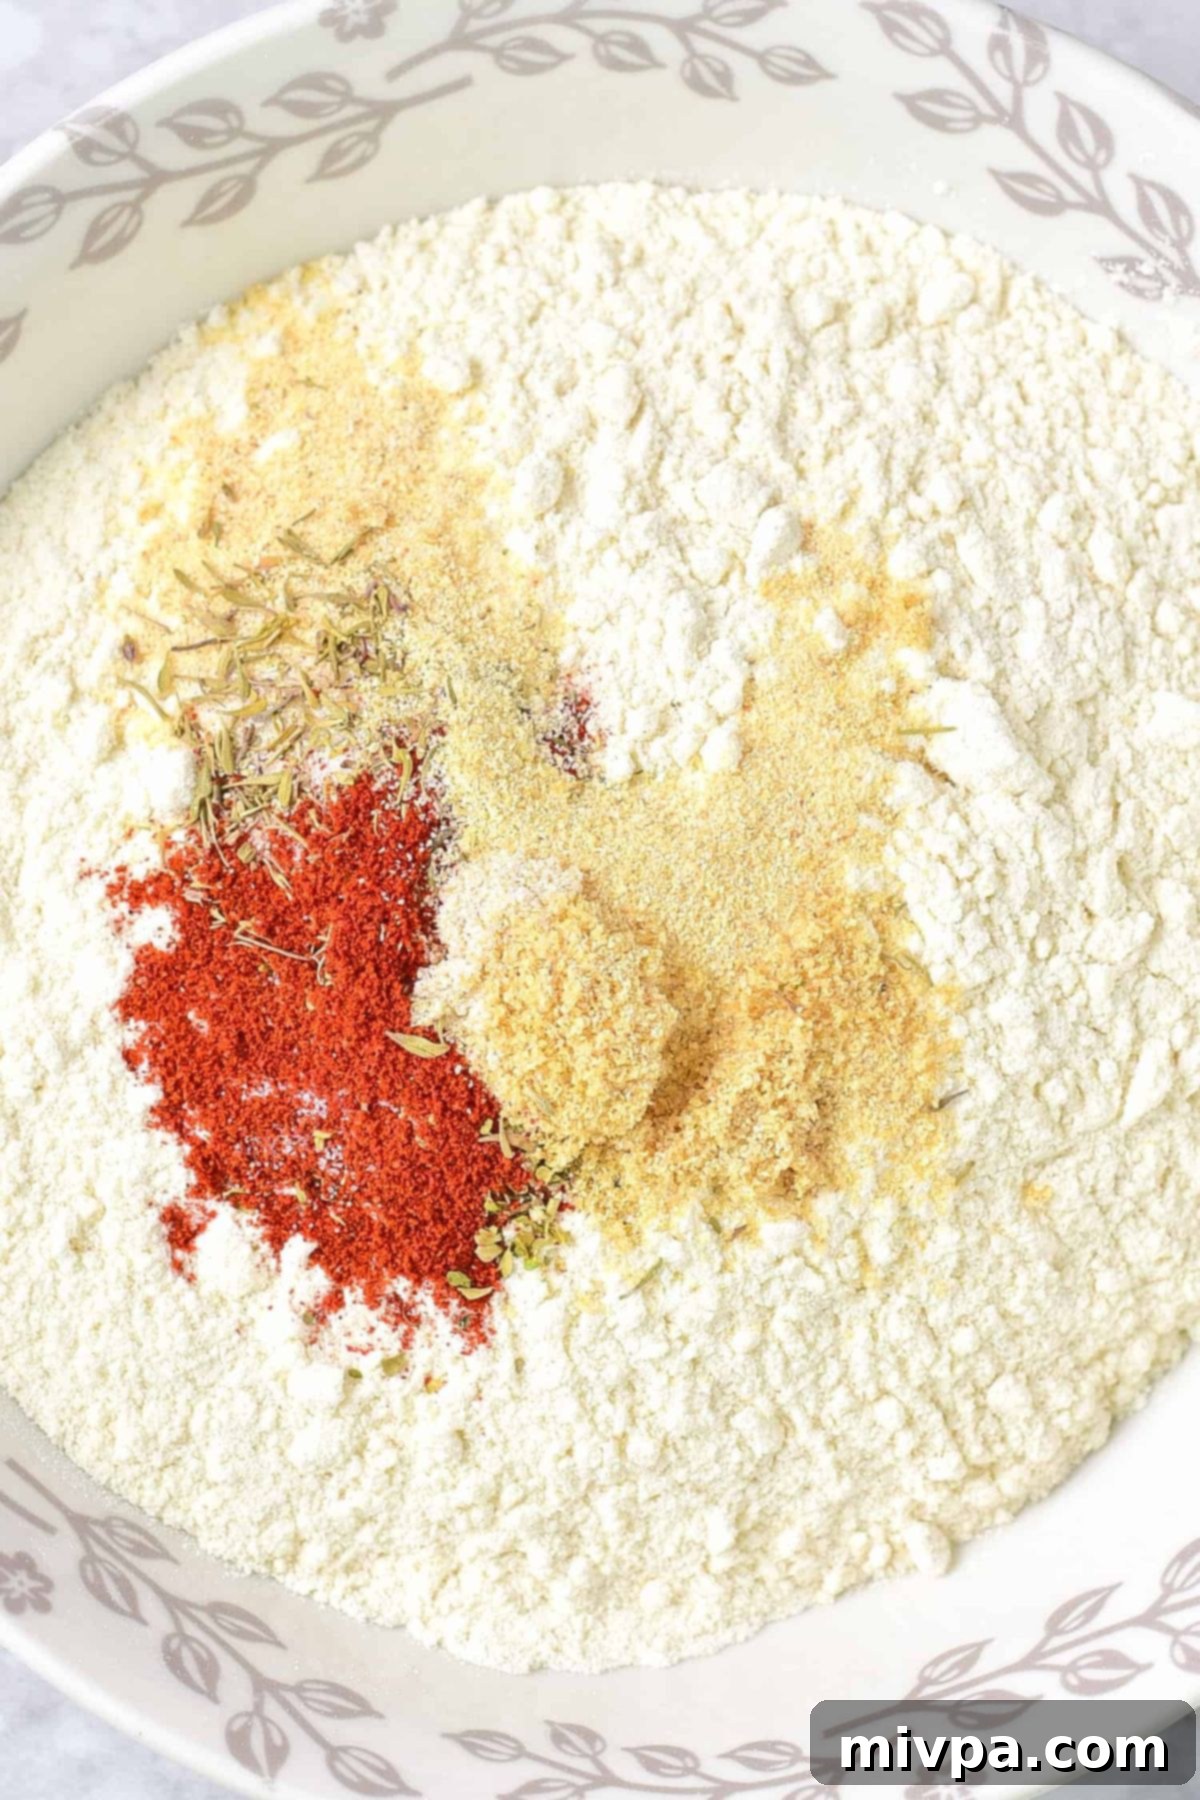
In a large, shallow bowl (wide enough to easily coat chicken pieces), meticulously combine all the dry ingredients: the gluten-free all-purpose flour, salt, and your chosen blend of spices and herbs. Whisk them thoroughly until everything is evenly distributed. This ensures that every piece of chicken gets a consistent, flavorful coating, which is key to great fried chicken.
2. Prepare Your Dairy-Free Buttermilk
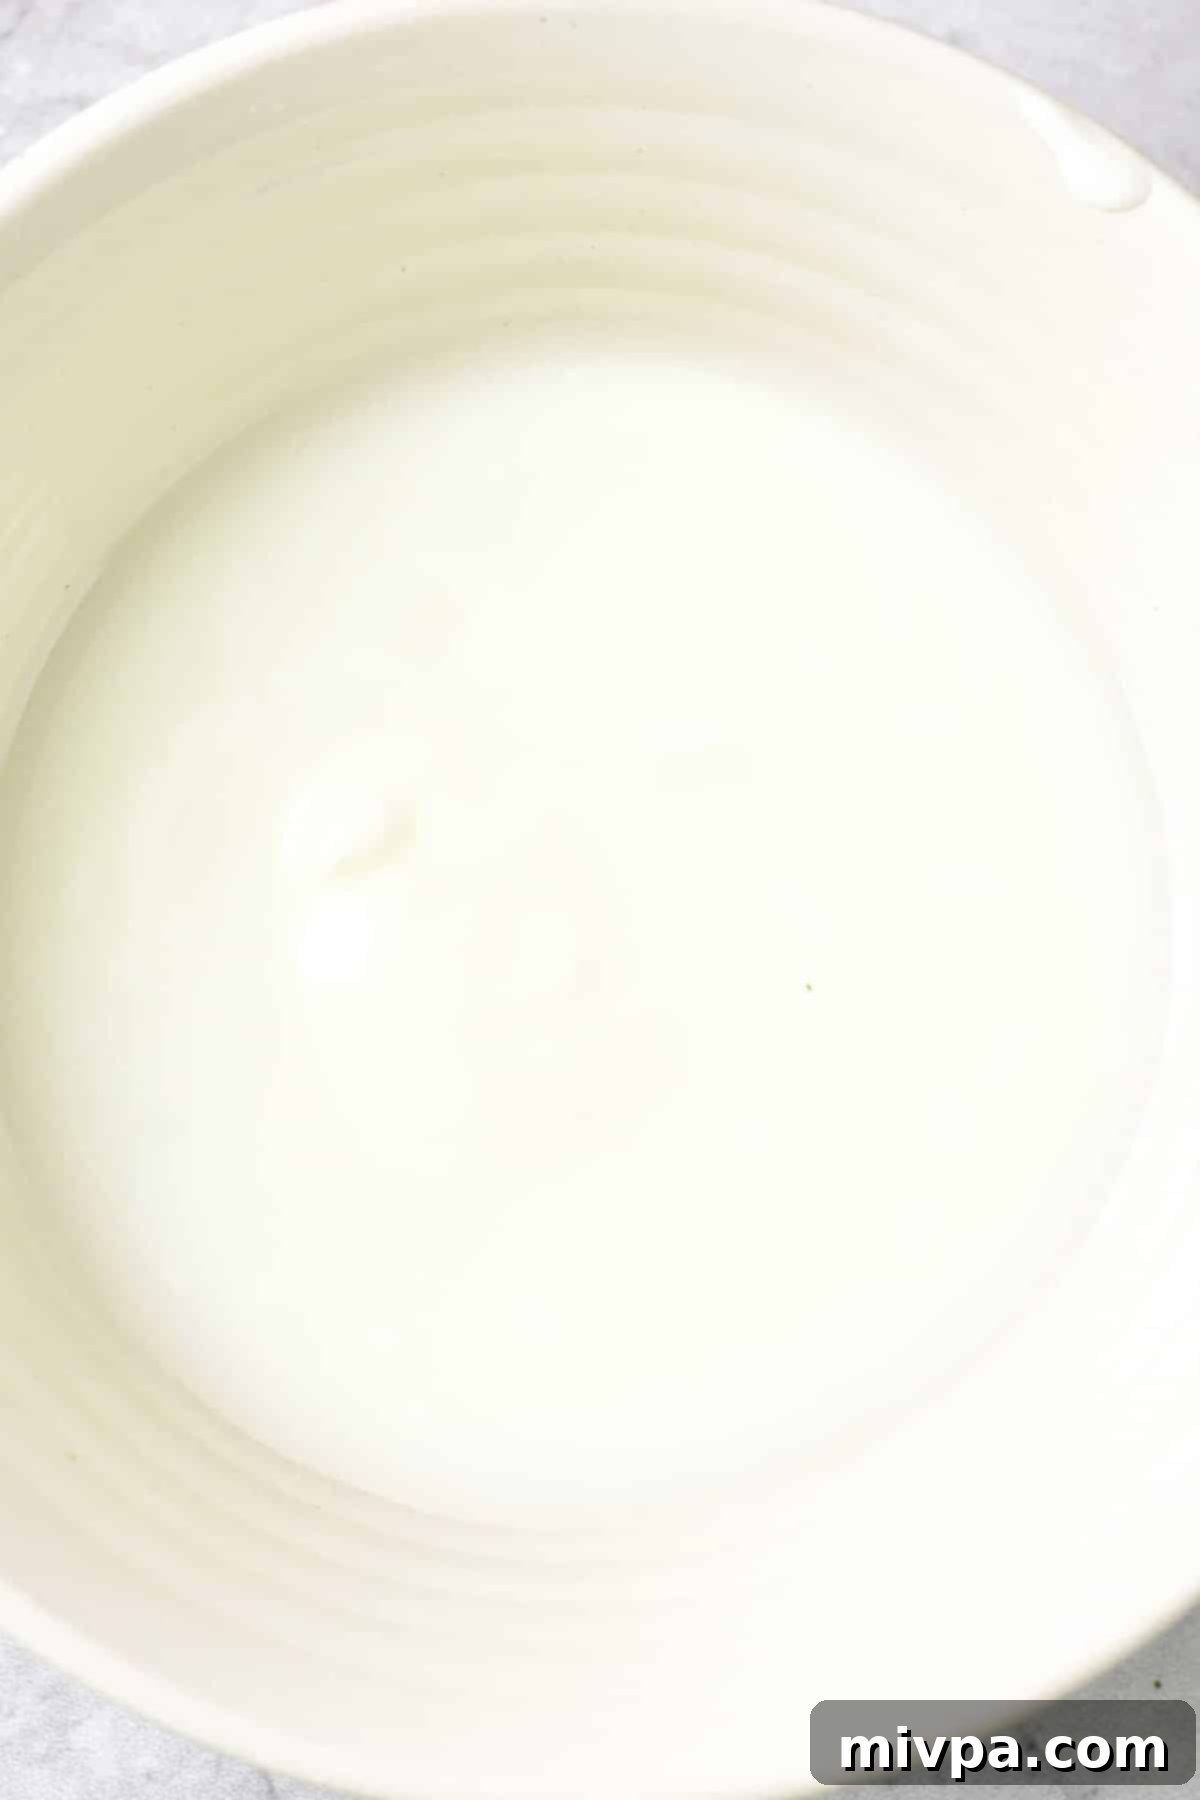
Pour your dairy-free buttermilk into a separate large bowl. If your buttermilk seems overly thick, a common characteristic of some store-bought dairy-free varieties, gently thin it out by adding a small amount of filtered water. Stir well until it reaches the consistency of a thick milk or thin pancake batter – not too watery, but easily coating a spoon.
If you’re making your own homemade dairy-free buttermilk, combine 1/2 cup of your preferred non-dairy milk with 1/2 tablespoon of fresh lemon juice. Stir the mixture and let it sit undisturbed for a few minutes. You’ll observe it beginning to curdle slightly, which is exactly what you want for that signature tangy flavor and tenderizing effect.
3. First Flour Coat: Prepping the Chicken
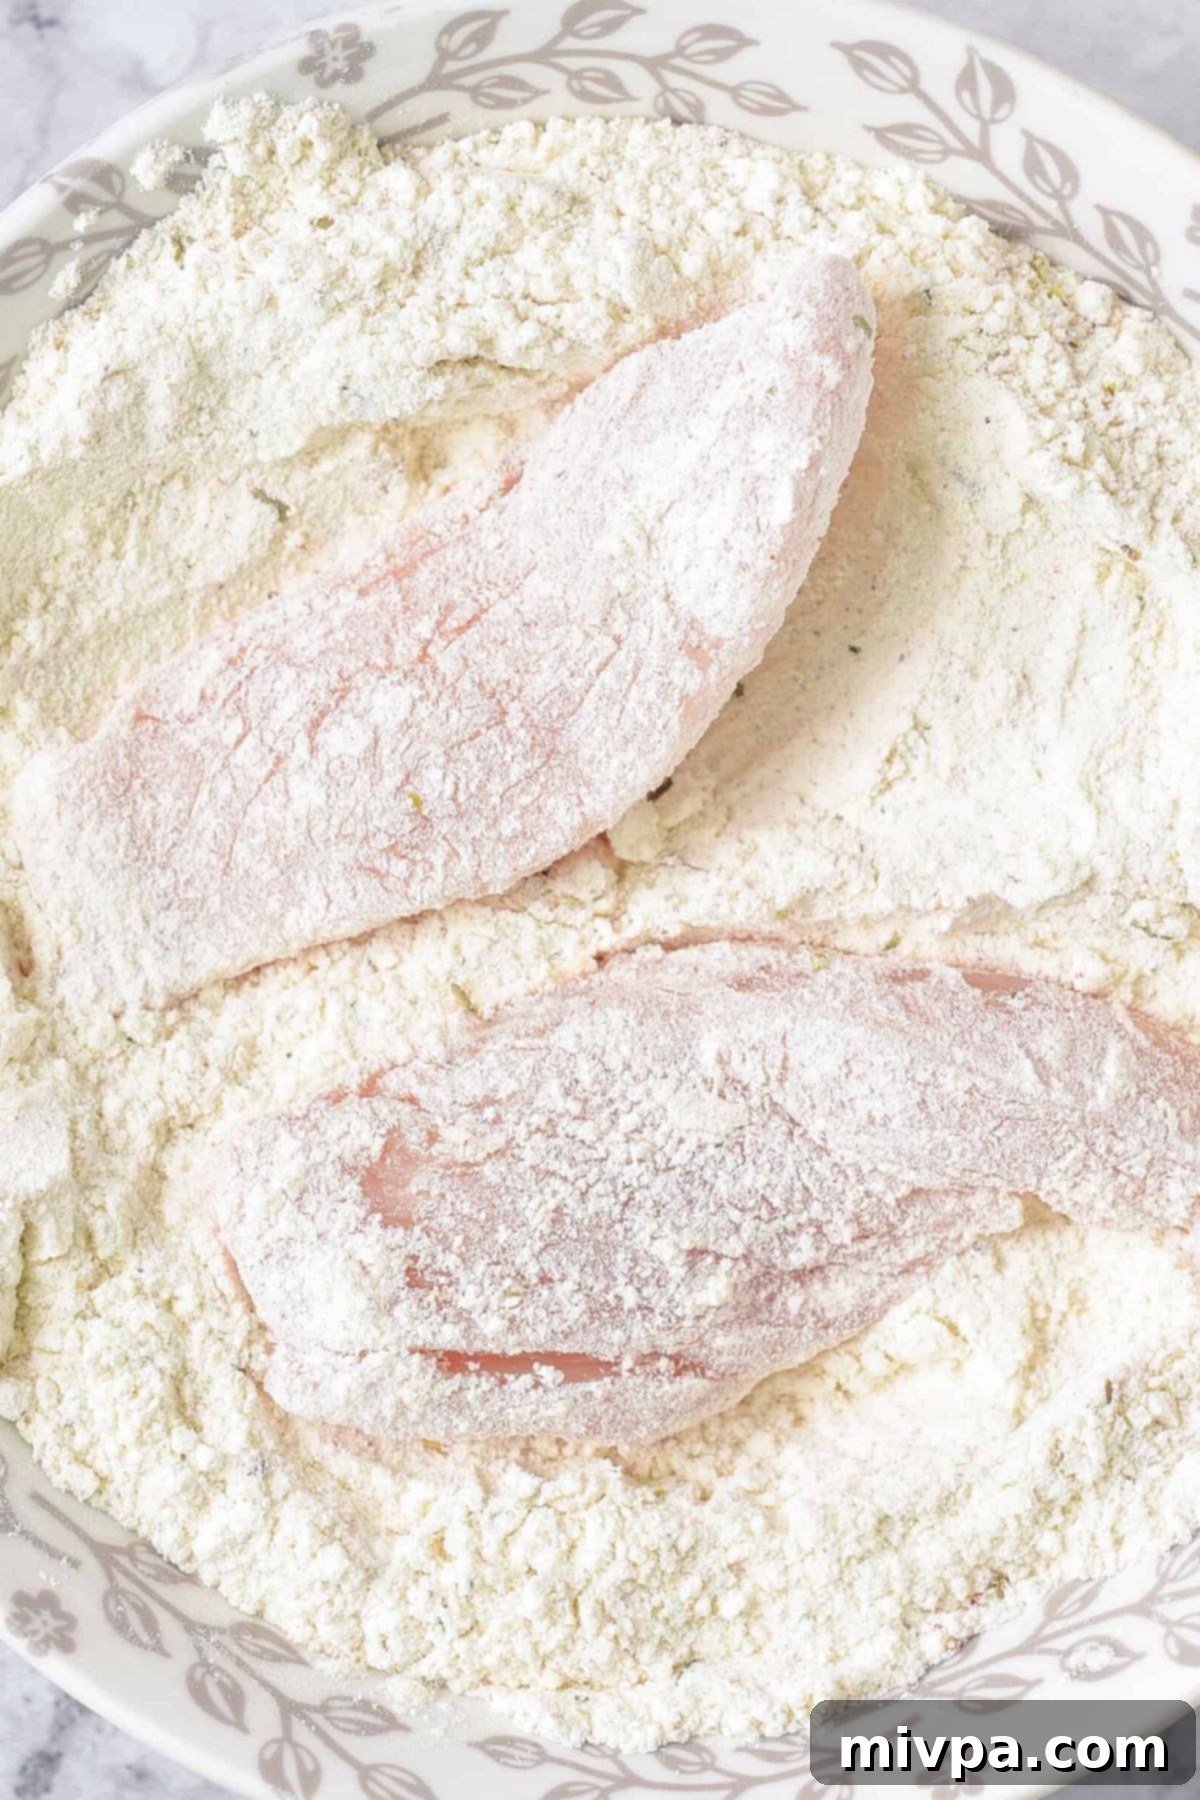
Take each strip of chicken fillet and thoroughly roll it in the dry flour mixture from Step 1, ensuring all sides are completely covered. Lightly shake off any excess flour. This initial coating creates a dry surface that will help the buttermilk adhere evenly in the next step, laying the foundation for a perfectly crispy crust.
4. Buttermilk Dip: Adding Moisture and Flavor
Next, carefully dip the flour-coated chicken strips into the dairy-free buttermilk prepared in Step 2. Submerge each piece entirely, making sure it’s completely covered in the creamy liquid. The buttermilk acts as a sticky binder, allowing the second layer of flour to adhere beautifully and also works to tenderize the chicken from the inside, contributing to its juicy texture.
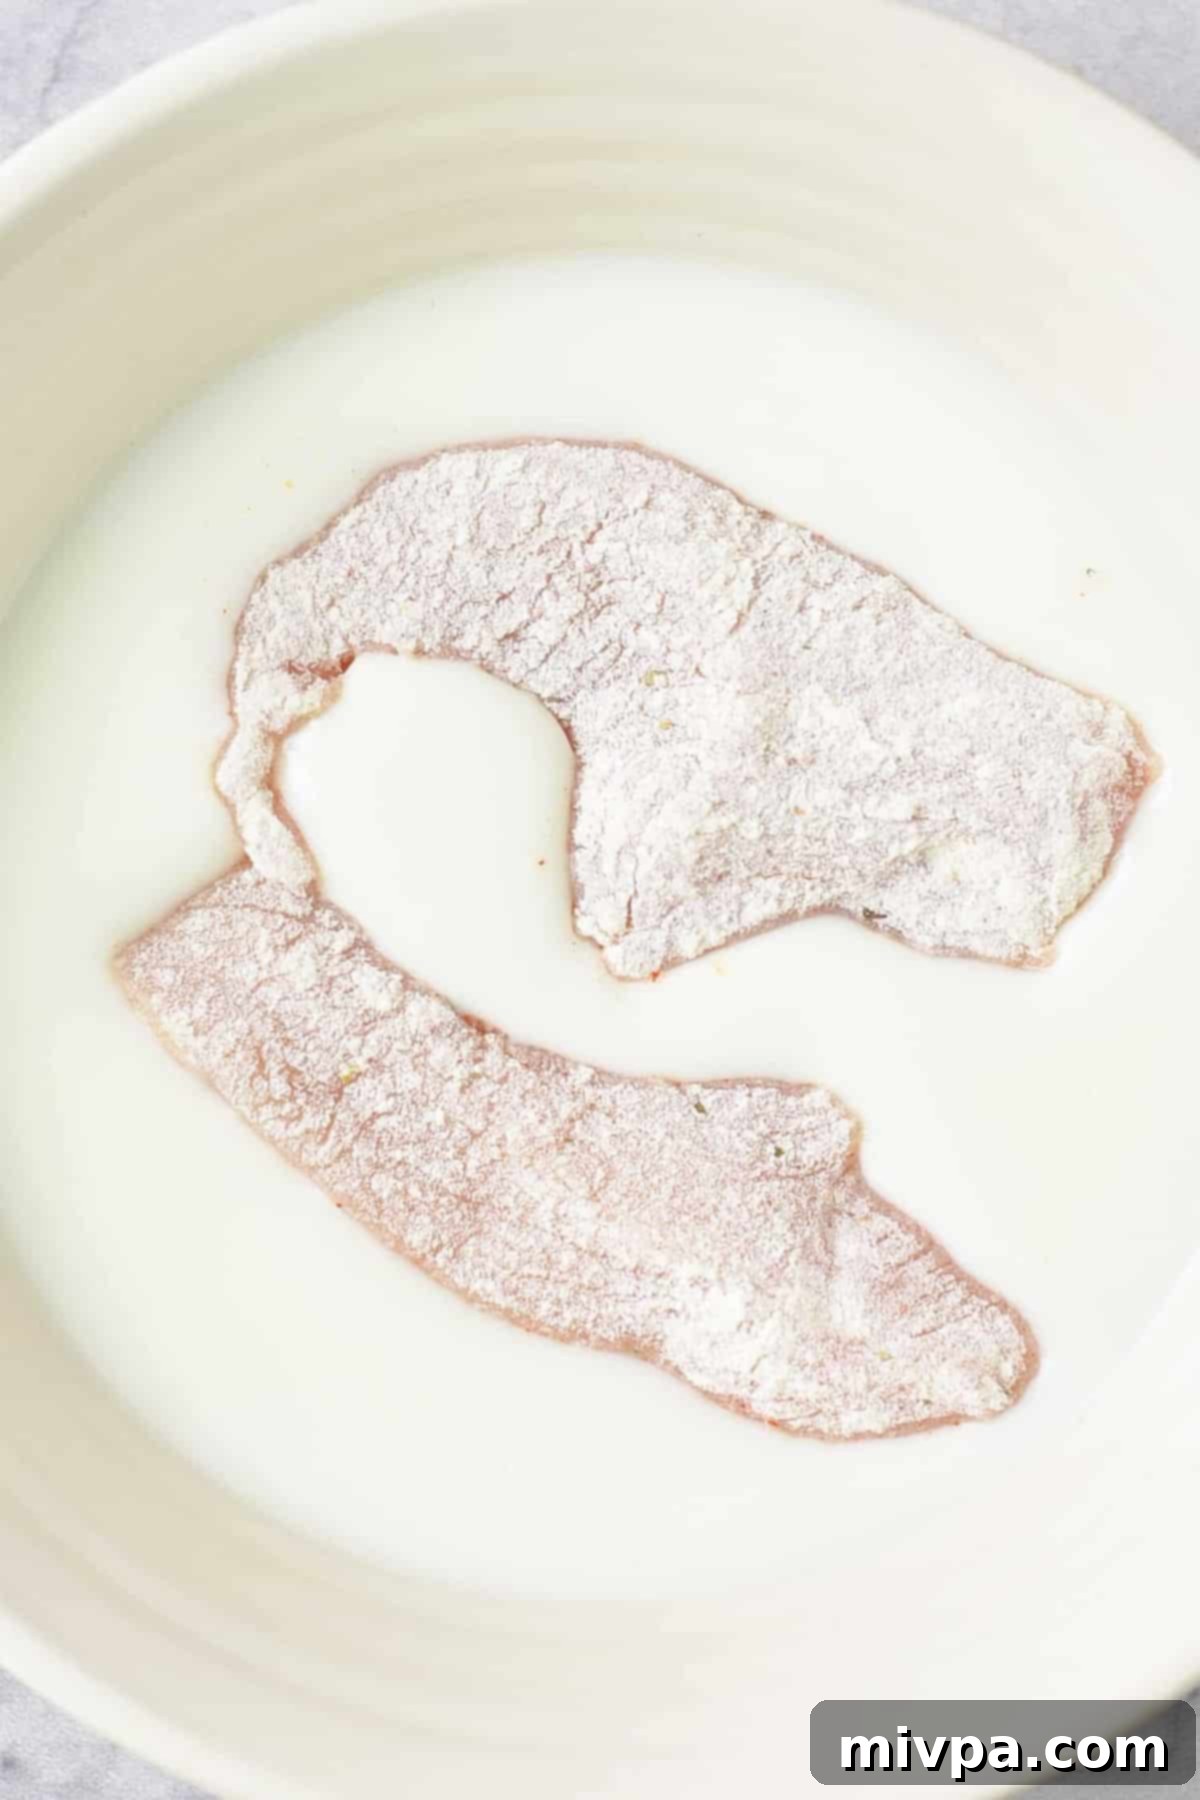
5. Second Flour Coat: Building the Crispy Shell
After dipping in buttermilk, transfer the chicken strips back into the dry flour mixture. Coat them generously a second time, pressing the flour gently onto the chicken to create a thick, shaggy “shell.” This double-coating method is essential for achieving that characteristic craggy, extra-crispy fried chicken texture. Don’t be shy; ensure every nook and cranny is covered with the seasoned flour blend.
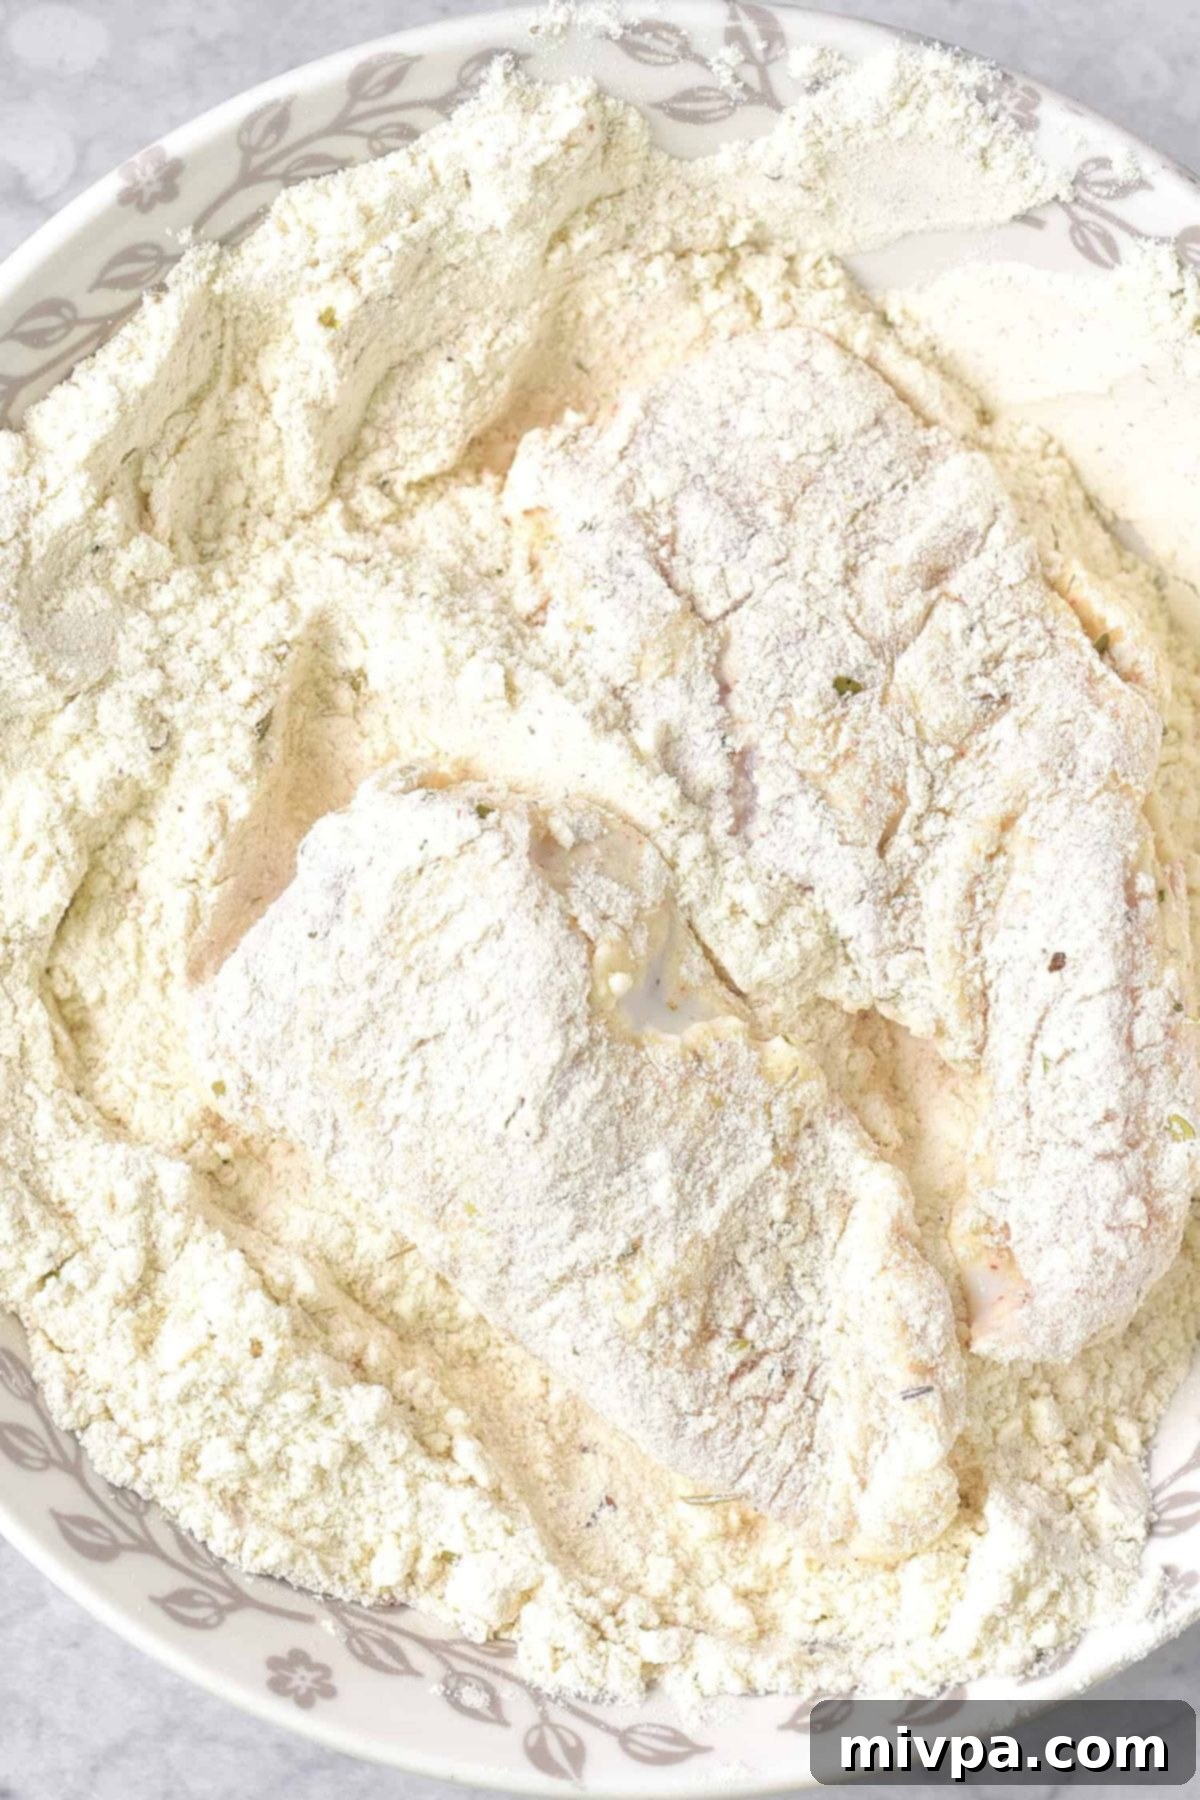
6. The Crucial Rest: Setting the Coating
Once all chicken strips are double-coated, lay them out in a single layer on a wire rack placed over a baking sheet. Allow them to rest for a minimum of 10 minutes. This resting period is incredibly important for two main reasons: it allows the moisture from the chicken to be absorbed by the flour, helping the coating set and preventing it from falling off during frying, and it also allows any excess, unadhered flour to drop off, ensuring a cleaner frying process and a crispier result.
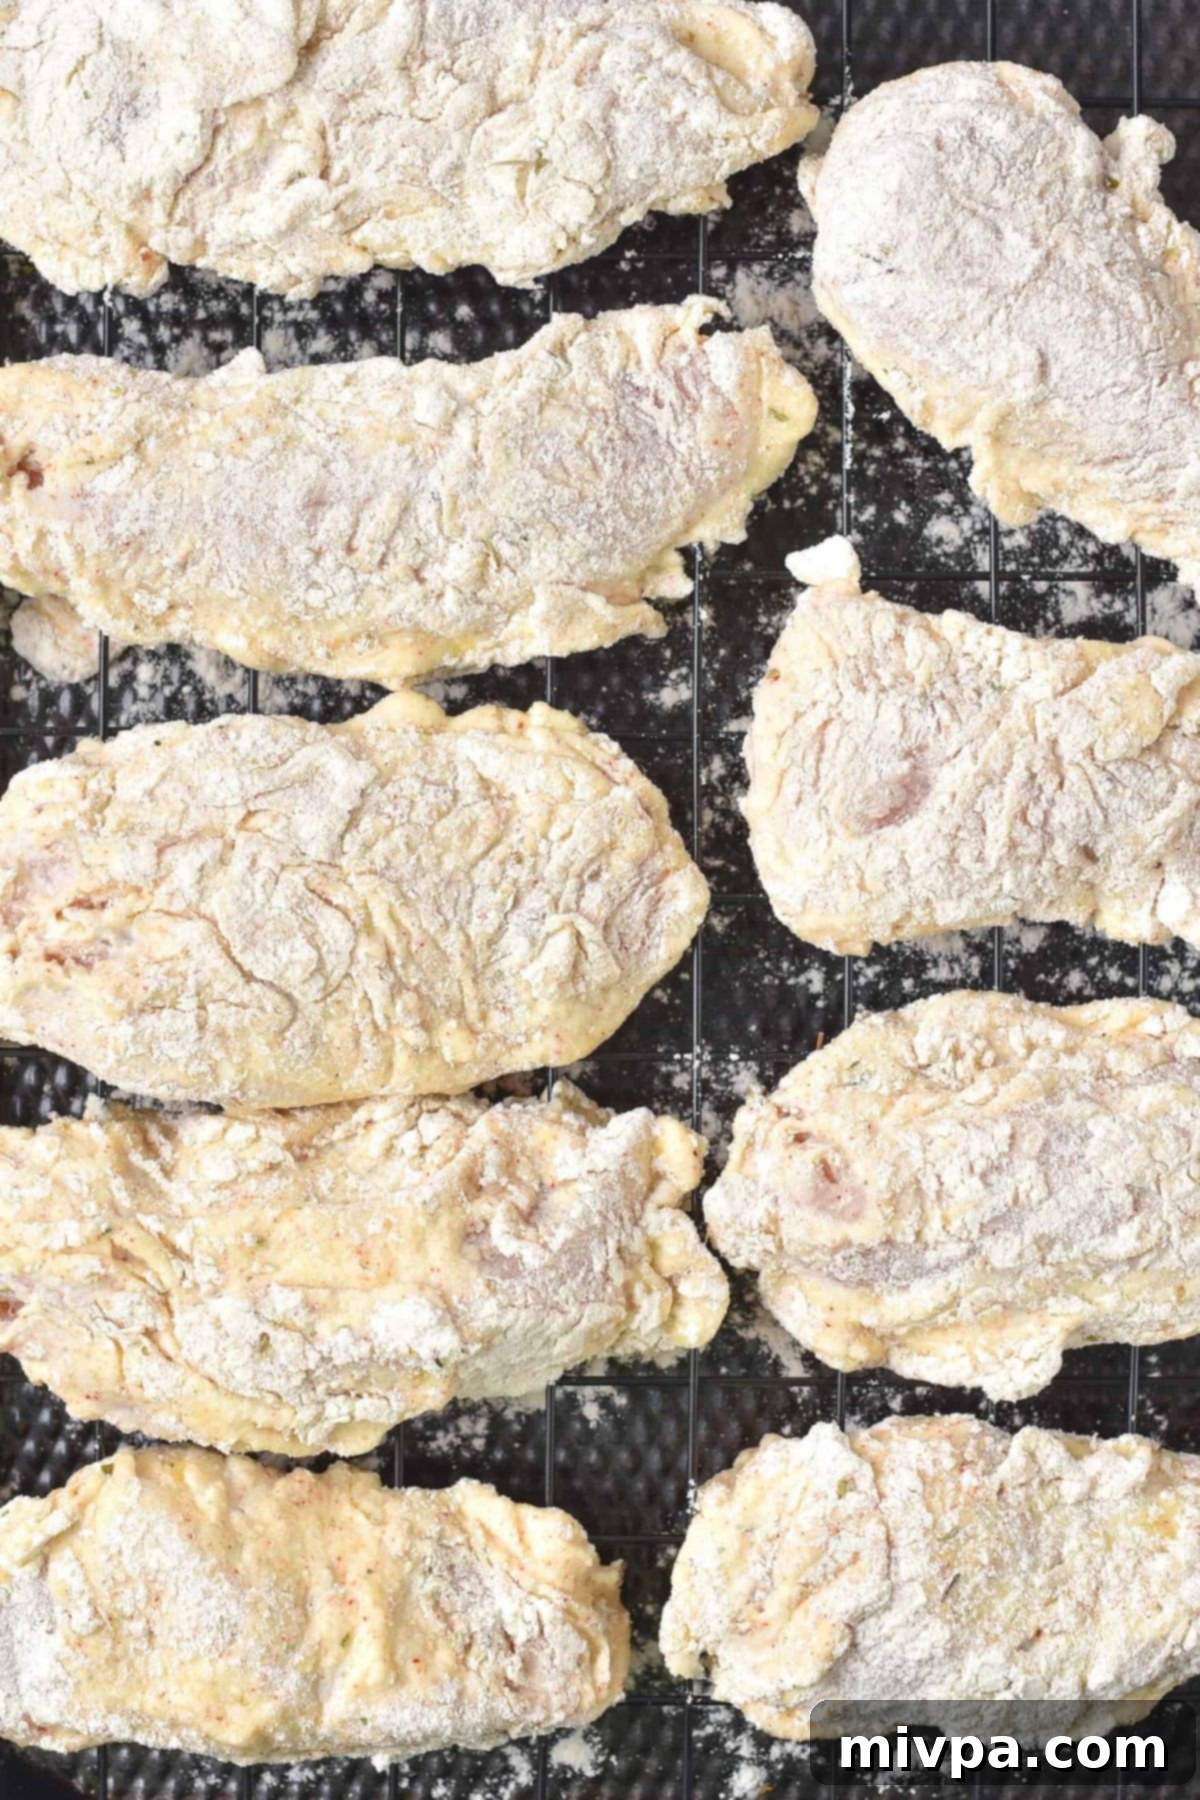
7. Heat the Oil to Perfection
As your chicken nears the end of its resting time, pour 2-3 inches of your chosen frying oil into a sturdy medium or large pan, heavy-bottomed pot, or Dutch oven. Begin heating the oil over medium-high heat. The key to perfectly crispy fried chicken is maintaining the correct oil temperature. Aim for 350°F (175°C). Use a reliable kitchen thermometer to monitor the temperature; it’s a crucial step that prevents soggy chicken (if too low) or burnt coating (if too high).
8. Fry to Golden, Crispy Perfection
Once the oil reaches the target temperature, carefully transfer the floured chicken fillets into the hot oil using kitchen tongs. Fry the chicken in batches to avoid overcrowding the pan. Overcrowding will drastically drop the oil temperature, leading to greasy, less crispy chicken, and can also damage the delicate coating. Cook each batch, turning occasionally, until the coating is a beautiful golden-brown and intensely crispy, typically about 6-7 minutes. Ensure the internal temperature of the chicken reaches 165°F (74°C) for food safety.
(IMPORTANT NOTE: Always fry in small batches. This maintains optimal oil temperature, ensuring maximum crispiness and even cooking for every piece. Patience here leads to superior results!)
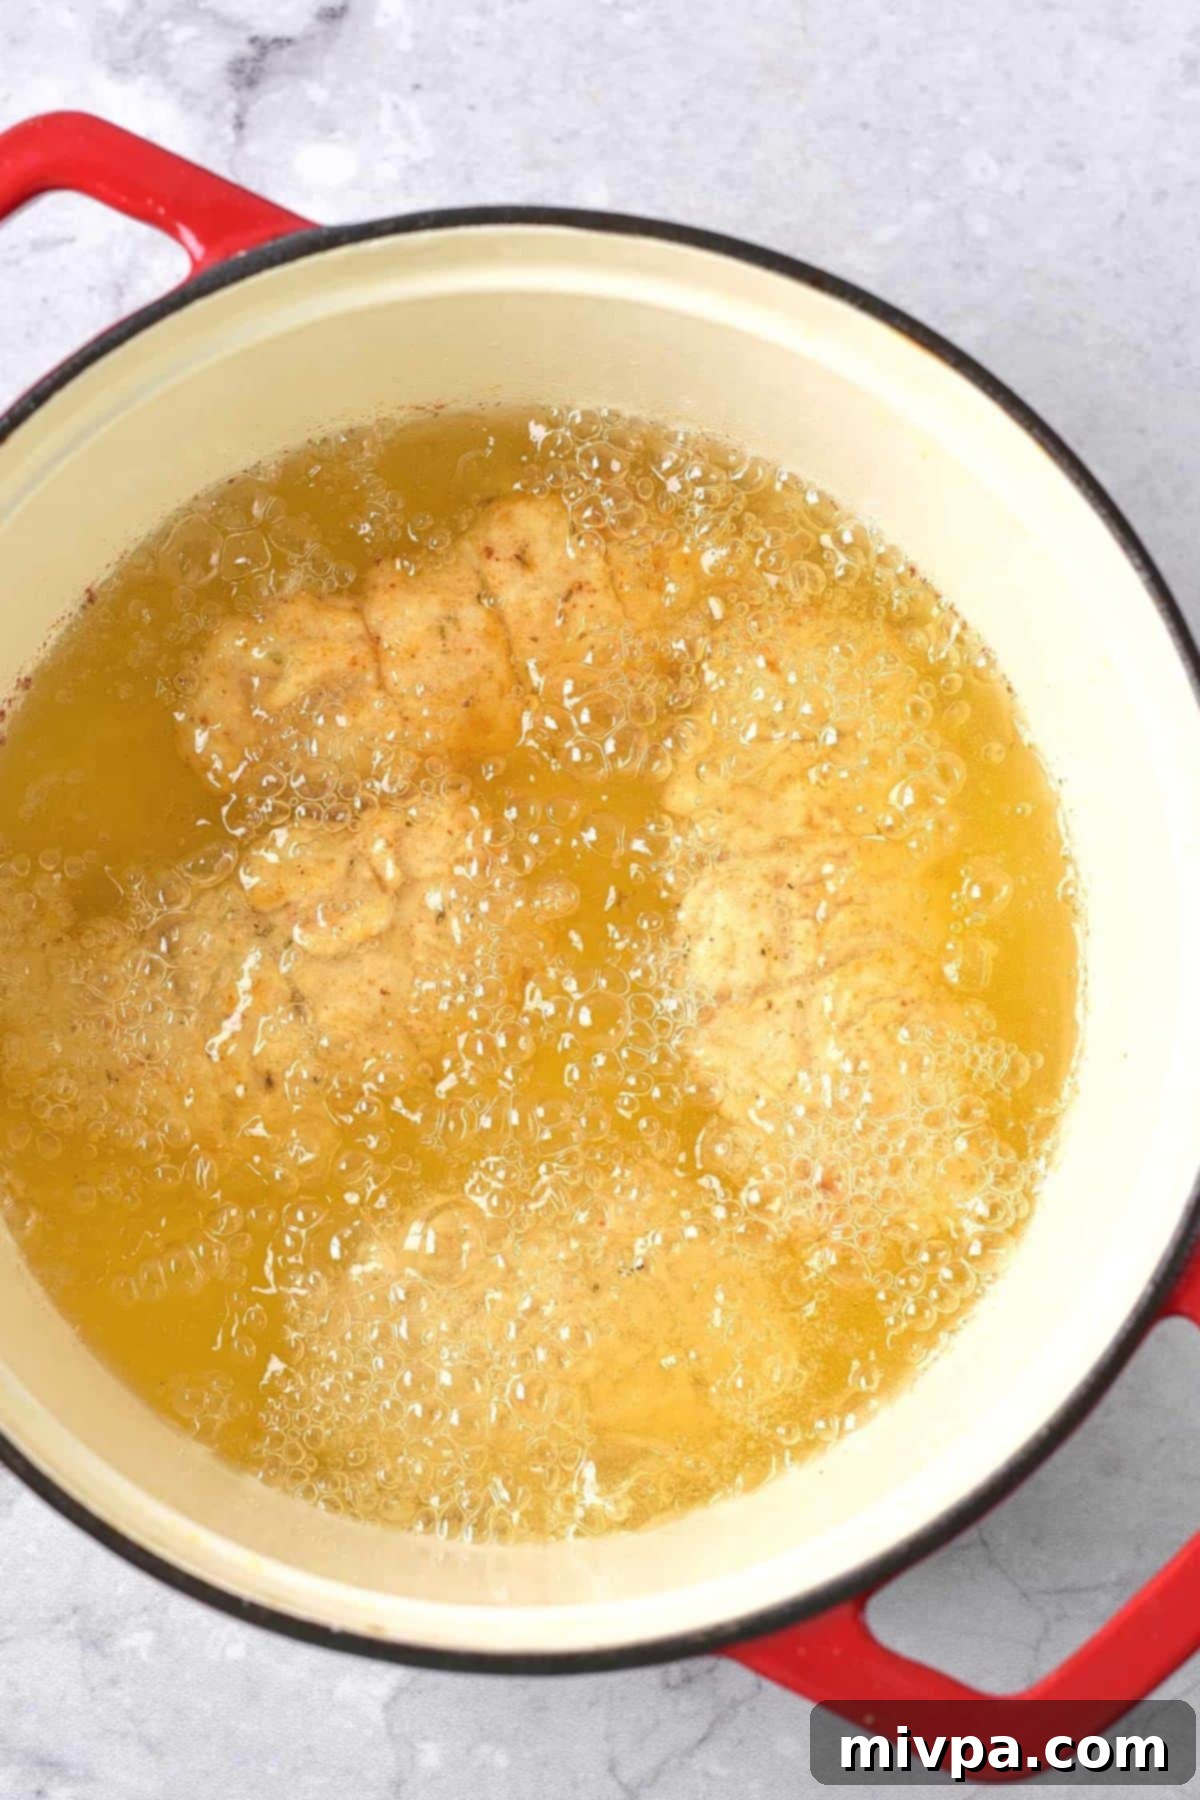
9. Drain and Serve Immediately
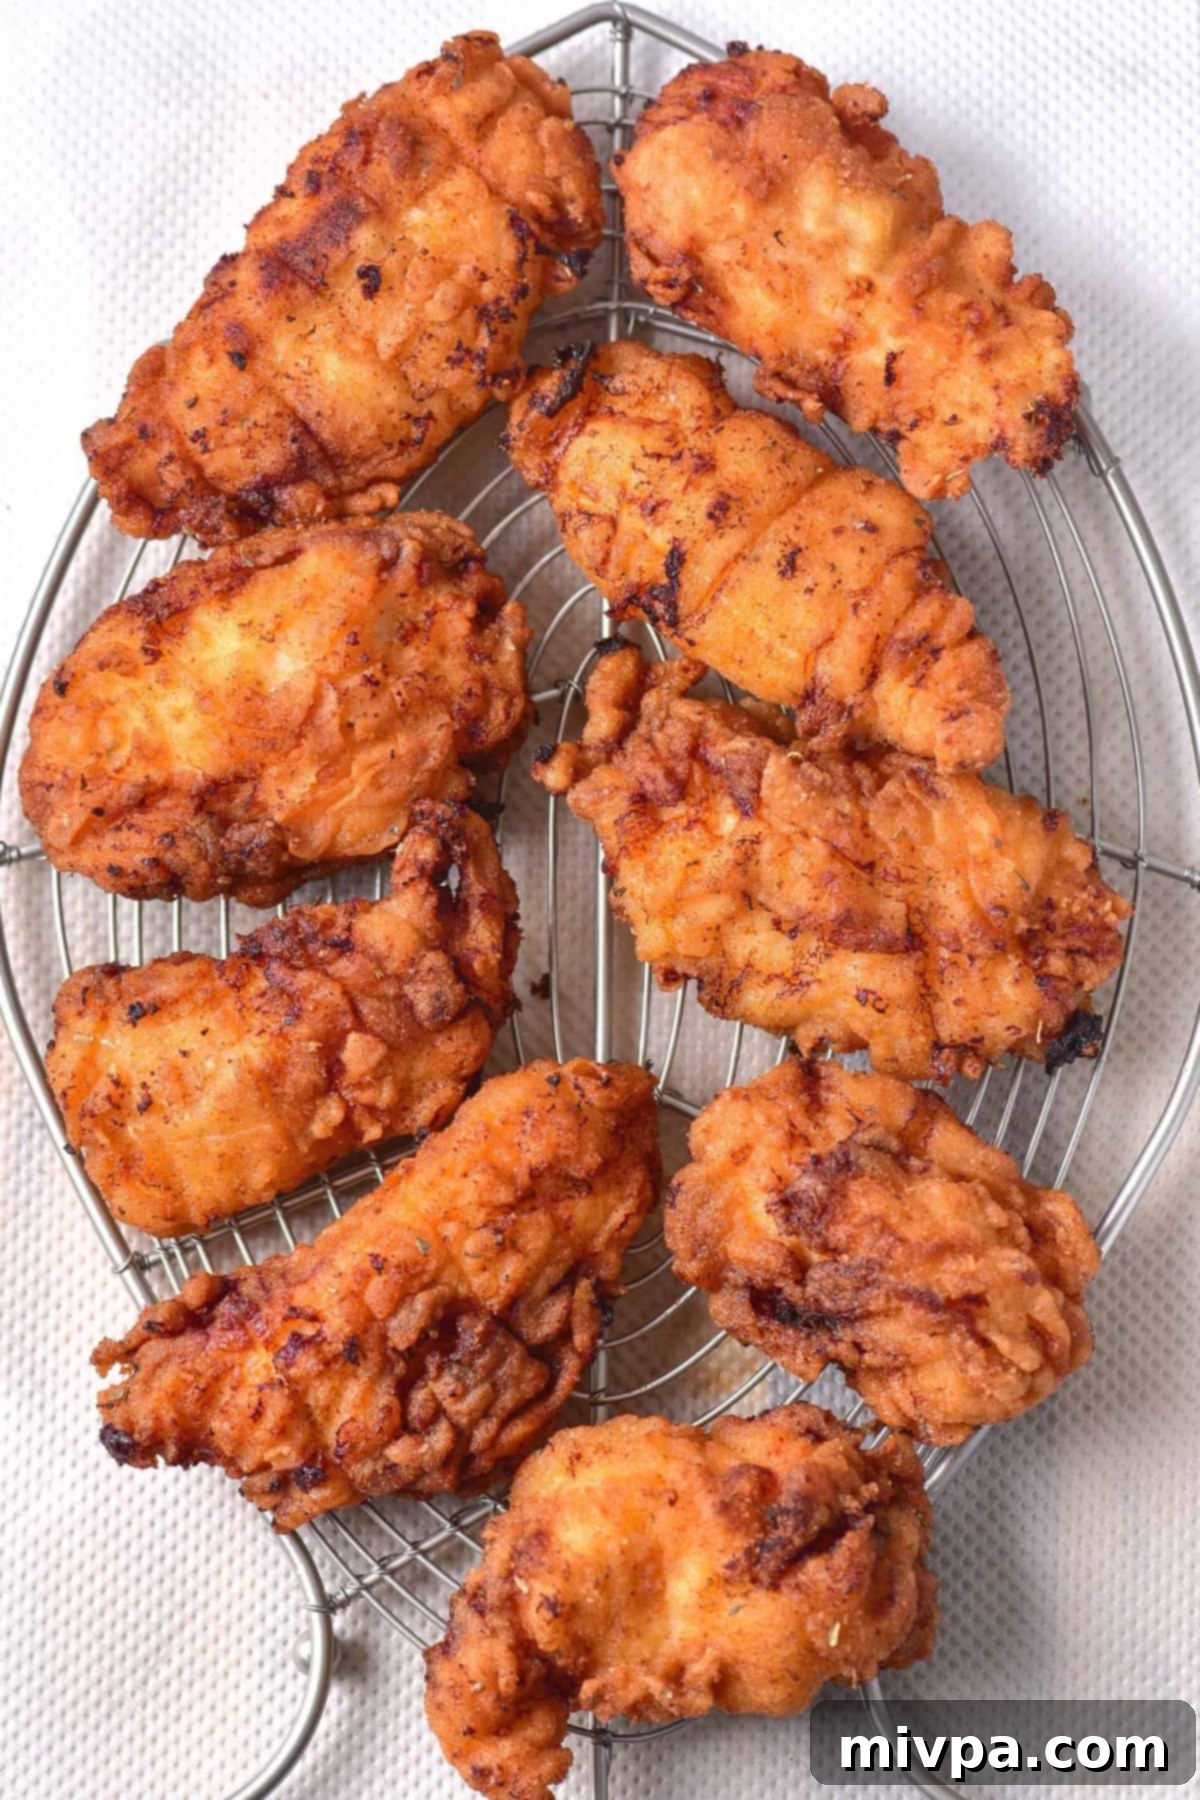
As each batch of gluten-free fried chicken finishes cooking, carefully remove the pieces from the oil using tongs and place them on a clean wire rack. Position several layers of paper towels underneath the wire rack to effectively soak up any excess oil. This setup allows air to circulate around the chicken, helping to maintain its crispiness. After allowing the chicken to drain for about 5 minutes, it’s ready to be served hot and enjoyed. The wait is worth it!
Dish by Dish Tips & Tricks for the Best Fried Chicken
- Never Overcrowd the Pot: This is arguably the most crucial tip for perfectly crispy fried chicken. When deep-frying chicken pieces, resist the urge to add too many to the pot at once. Overcrowding dramatically lowers the oil temperature, leading to chicken that absorbs too much oil and turns out soggy, rather than crispy. It can also cause the delicate coating to become damaged or fall off. Fry in small, manageable batches for optimal results.
- Properly Drain Excess Oil: As soon as the chicken is done frying, transfer it directly to a wire rack placed over a baking sheet lined with paper towels. Draining on a wire rack allows air to circulate around all sides of the chicken, which is essential for maintaining its crispiness. Placing chicken directly on paper towels on a flat surface can trap steam, making the bottom soggy.
- Season the Chicken First (Optional but Recommended): For an extra layer of flavor, consider lightly seasoning the raw chicken pieces with salt and pepper about 15-30 minutes before coating. This allows the seasoning to penetrate the meat, enhancing the overall taste.
- Maintain Oil Temperature: Use a kitchen thermometer to keep the oil at a consistent 350°F (175°C). If the oil gets too hot, the coating will burn before the chicken cooks through. If it’s too cool, the chicken will soak up excess oil and become greasy.
- Don’t Skimp on Resting Time: The 10-minute rest after the second flour coating (Step 6) is not optional. It allows the moisture in the chicken to bind with the flour, creating a more stable crust that is less likely to flake off during frying.
Recipe FAQs: Your Questions Answered
Traditionally, the vast majority of fried chicken, especially that found in restaurants or at fairs, is made using wheat flour for its coating. Wheat flour contains gluten, which means traditional fried chicken is not safe for individuals with Celiac disease or gluten intolerances. Unless a restaurant explicitly states and guarantees their fried chicken is gluten-free, it’s generally best to assume it contains gluten. This is precisely why a homemade recipe like ours is so valuable – it offers a delicious and safe alternative!
This gluten-free fried chicken is undeniably at its best when served immediately after cooking, while it’s still hot and wonderfully crispy. However, if you find yourself with irresistible leftover fried chicken strips, store them in an airtight container in the refrigerator for up to 3 days. Be aware that the crispy coating will soften after being refrigerated. To regain that desired crunch, you can reheat the fried chicken in the oven at 375°F (190°C) for 15-20 minutes, or in an air fryer at 350°F (175°C) for 8-10 minutes, until it’s heated through and crispy once more.
While this recipe is designed for deep-frying to achieve peak crispiness and moisture, you can certainly adapt it for baking or air frying. For baking, place the coated chicken on a greased wire rack over a baking sheet and bake at 400°F (200°C) for 25-30 minutes, flipping halfway, until golden and cooked through. For air frying, preheat your air fryer to 375°F (190°C), lightly spray the chicken with oil, and air fry for 18-22 minutes, flipping halfway, until crispy and cooked. Keep in mind that the texture won’t be identical to deep-fried, but it will still be delicious!
The safest and most accurate way to ensure your chicken is fully cooked is to use a meat thermometer. Insert it into the thickest part of the chicken, avoiding the bone if using bone-in pieces. The internal temperature should register 165°F (74°C). The juices should also run clear. Never rely solely on the color of the coating, as it can brown quickly while the inside remains undercooked.
Delicious Sides to Serve with Your Fried Chicken:
Complete your meal with these fantastic side dishes that perfectly complement the rich flavor and crispy texture of our gluten-free dairy-free fried chicken:
- Cinnamon Sweet Potato Fries (Gluten-Free, Vegan): A touch of sweet and savory, these fries offer a delightful contrast to the chicken.
- Air Fryer Green Beans (Gluten-Free, Vegan): Light, fresh, and perfectly crisp, these green beans provide a healthy and flavorful balance.
- Crispy Potato Wedges (Gluten-Free, Vegan): A classic pairing that delivers extra satisfying crunch alongside your chicken.
- Easy Garlic Aioli (Gluten-Free, Dairy-Free): A creamy, zesty dip that elevates every bite of fried chicken.
- Honey Mustard: The perfect blend of sweet and tangy, a timeless dipping sauce for fried chicken.
More Gluten-Free Fried Treats You’ll Love:
If you enjoyed this fried chicken, you’ll love these other crispy and delicious gluten-free treats, perfect for any occasion:
- Gluten-Free Corn Dogs (Dairy-Free)
- Gluten-Free Fried Pickles (Dairy-Free)
- Crispy Fried Onions (Gluten-Free, Vegan) – Note: The original text had a typo here, calling it “Crispy Fried Chicken (Gluten-Free, Vegan)”. Corrected to Fried Onions based on typical usage.
- Delicious Funnel Cake (Gluten-Free, Dairy-Free)
Other Gluten-Free Chicken Recipes You’ll Adore:
Looking for more ways to enjoy chicken that’s both healthy and delicious? Explore these other fantastic gluten-free chicken recipes from our kitchen:
- Baked Chicken Legs and Potatoes (Gluten-Free, Dairy-Free)
- Mexican Chicken Meatballs (Gluten-Free, Dairy-Free)
- Easy Chicken Satay with Peanut Sauce (Gluten-Free, Dairy-Free)
- Crispy Cornflake Chicken Strips (Gluten-Free, Dairy-Free)
P.S. If you try this recipe, I’d love for you to leave a star rating below, and/or a review in the comment section further down the page. I always appreciate your feedback. Be sure to check out my entire Recipe Index for all the recipes on the blog. You can also follow me on Pinterest, Facebook or Instagram! Sign up for my Email List to get fresh recipes in your inbox each week!
Print

Gluten-Free Fried Chicken (Dairy-Free)
5 Stars 4 Stars 3 Stars 2 Stars 1 Star
5 from 1 review
Author: Felicia Lim
Total Time: 50 minutes
Yield: 4 servings
Diet: Gluten Free
Description
Indulge in this truly delicious gluten-free fried chicken, bursting with incredible flavor! Each piece is wonderfully crispy on the outside and incredibly tender on the inside, making it an instant favorite. Perfect for a hearty lunch, dinner, or even as a crowd-pleasing appetizer, this Southern-style fried chicken recipe is also completely dairy-free, ensuring everyone can enjoy this classic comfort food without compromise.
Ingredients
Units
Scale
- 1 1/2 pounds chicken fillets, cut into 3-4″ strips
- 1/2 cup dairy-free buttermilk (see notes for homemade option)
- 1/4 cup filtered water, if necessary to thin the buttermilk
- 1 cup gluten-free all-purpose flour blend
- 1/4 teaspoon xanthan gum (omit if your GF flour blend already includes it)
- 1/2 teaspoon salt
- 1/3 teaspoon chili powder
- 1/3 teaspoon granulated garlic (garlic powder)
- 1/3 teaspoon granulated onion (onion powder)
- 1/3 teaspoon dried thyme
- 1/3 teaspoon dried oregano
- Vegetable oil for frying, amount necessary (approx. 2-3 inches deep in your pan)
Instructions
- Combine Dry Ingredients: In a large mixing bowl (wide enough for dipping), thoroughly combine the gluten-free all-purpose flour, salt, chili powder, granulated garlic, granulated onion, dried thyme, and dried oregano. If your gluten-free flour blend doesn’t contain xanthan gum, add 1/4 teaspoon here as well. Whisk well to ensure all spices are evenly distributed.
- Prepare Dairy-Free Buttermilk: In a separate large bowl, pour the dairy-free buttermilk. If the buttermilk is very thick, add the 1/4 cup of filtered water and mix until it has a pourable, thick milk-like consistency. (To make your own, combine 1/2 cup non-dairy milk with 1/2 tablespoon fresh lemon juice, mix, and let sit for 5 minutes).
- First Flour Coat: Take each chicken strip and roll it thoroughly in the dry flour mixture from Step 1, ensuring all sides are completely coated. Shake off any excess flour gently.
- Buttermilk Dip: Next, dip the flour-coated chicken strips into the dairy-free buttermilk, making sure they are entirely submerged and covered.
- Second Flour Coat: Transfer the buttermilk-dipped chicken back into the dry flour mixture. Coat generously a second time, pressing the flour onto the chicken to create a thick, shaggy “shell.” This double-coating is key for a super crispy crust.
- Let Chicken Rest: Lay the coated chicken strips on a wire rack placed over a baking sheet. Allow them to sit undisturbed for at least 10 minutes. This crucial resting period helps the coating adhere properly to the chicken and prevents it from falling off during frying.
- Heat Oil: As the chicken is resting, pour 2-3 inches of your preferred frying oil into a medium or large, heavy-bottomed pan or Dutch oven. Heat the oil over medium-high heat until it reaches 350°F (175°C). Use a kitchen thermometer to accurately monitor the temperature.
- Fry Chicken in Batches: Carefully transfer a few floured chicken fillets to the hot oil using kitchen tongs. Avoid overcrowding the pan; fry in small batches to maintain the oil temperature and ensure even cooking. Cook, turning occasionally, until the flour coating is a beautiful golden brown and crispy, approximately 6-7 minutes. Ensure chicken reaches an internal temperature of 165°F (74°C).
- Drain Excess Oil & Serve: Once cooked, remove the fried chicken pieces from the oil and place them on a clean wire rack over paper towels to drain any excess oil. After about 5 minutes, your crispy gluten-free dairy-free fried chicken is ready to be served hot and enjoyed!
Notes
Chicken Fillets: This recipe uses boneless, skinless chicken breast fillets, cut into strips for quick and even cooking. You can also use other cuts like chicken thighs, wings, or drumsticks; just adjust frying time and ensure they reach an internal temperature of 165°F (74°C).
Buttermilk: To keep this recipe dairy-free, dairy-free buttermilk is essential. If it’s too thick, thin it with filtered water. To make your own dairy-free buttermilk: combine 1/2 cup unsweetened non-dairy milk (such as almond, cashew, or rice milk) with 1/2 tablespoon fresh lemon juice. Mix and let sit for a few minutes until slightly curdled. If dairy is not a concern, regular buttermilk works perfectly.
Gluten-Free All-Purpose Flour: For the best crispy coating, select a good-quality gluten-free all-purpose flour blend that primarily consists of lighter flours/starches (e.g., rice flour, tapioca starch, corn starch, or potato starch). Avoid blends with heavier flours like garbanzo bean (chickpea) flour, which can lead to a dense or gummy texture.
Xanthan Gum: If your chosen gluten-free flour blend does not already contain xanthan gum, be sure to include 1/4 teaspoon. Xanthan gum acts as a vital binding agent in gluten-free recipes, helping the coating adhere to the chicken and creating a more cohesive, crispy crust.
Vegetable Oil: Use any high-smoke-point vegetable oil for frying, such as sunflower oil, canola oil, corn oil, or avocado oil. Ensure you use enough oil (about 2-3 inches deep) to properly submerge the chicken pieces for even cooking.
Spices and Herbs: The specified spice blend includes chili powder, granulated garlic, granulated onion, dried thyme, and dried oregano for a classic Southern flavor. Feel free to customize with other favorites like paprika, cayenne, or black pepper.
Storing & Reheating: This fried chicken is best enjoyed fresh and hot for maximum crispiness. Leftover strips can be stored in an airtight container in the refrigerator for up to 3 days. To restore crispiness, reheat in an oven at 375°F (190°C) for 15-20 minutes or in an air fryer at 350°F (175°C) for 8-10 minutes.
- Prep Time: 10 mins
- Resting Time: 10 mins
- Cook Time: 30 min
- Category: Main Dish
- Method: Stovetop
- Cuisine: American
