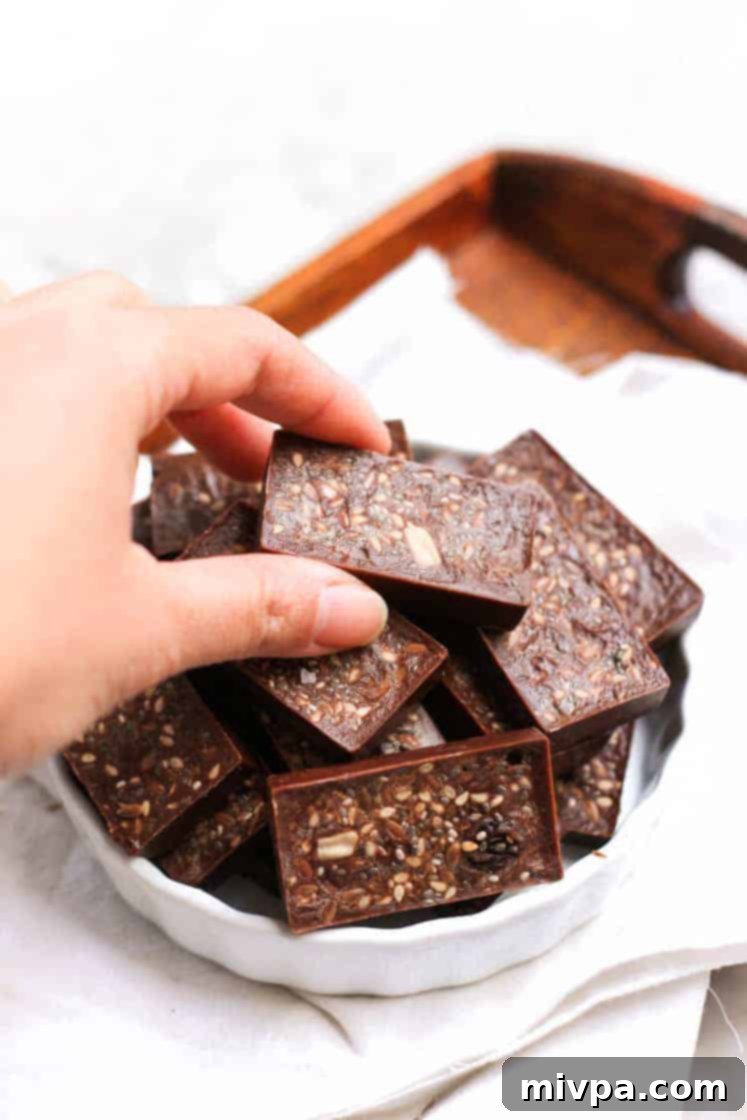
Easy Homemade Raisin & Seed Chocolate: A 10-Minute Gluten-Free & Vegan Delight
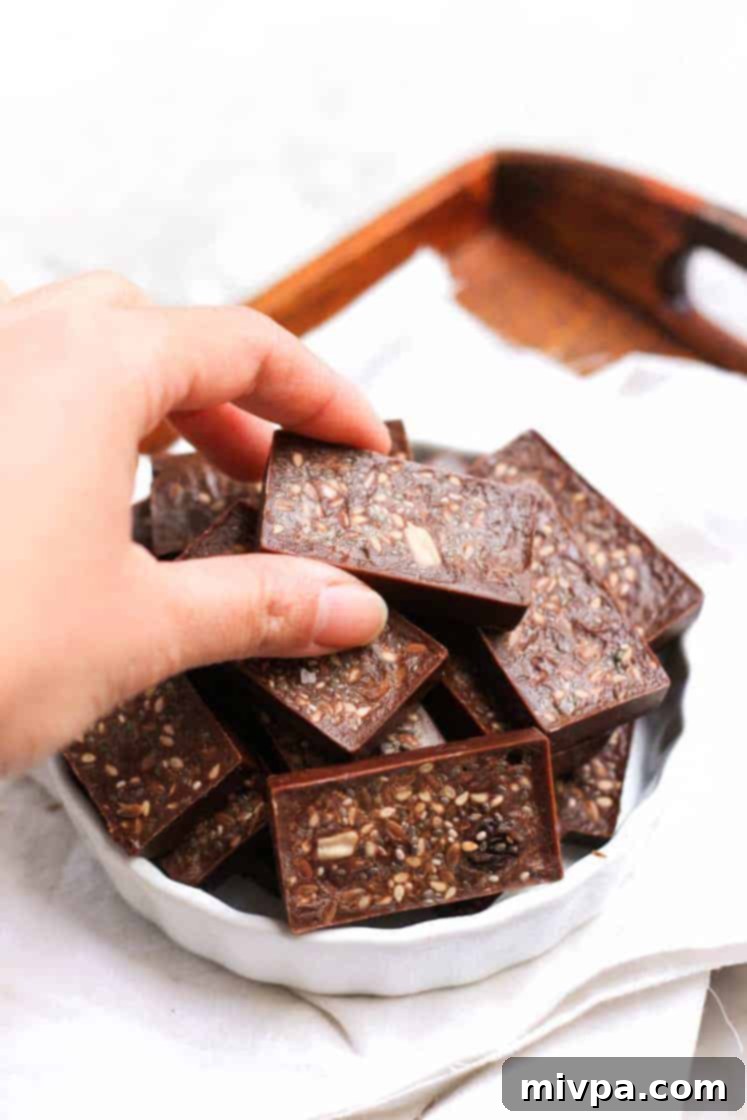
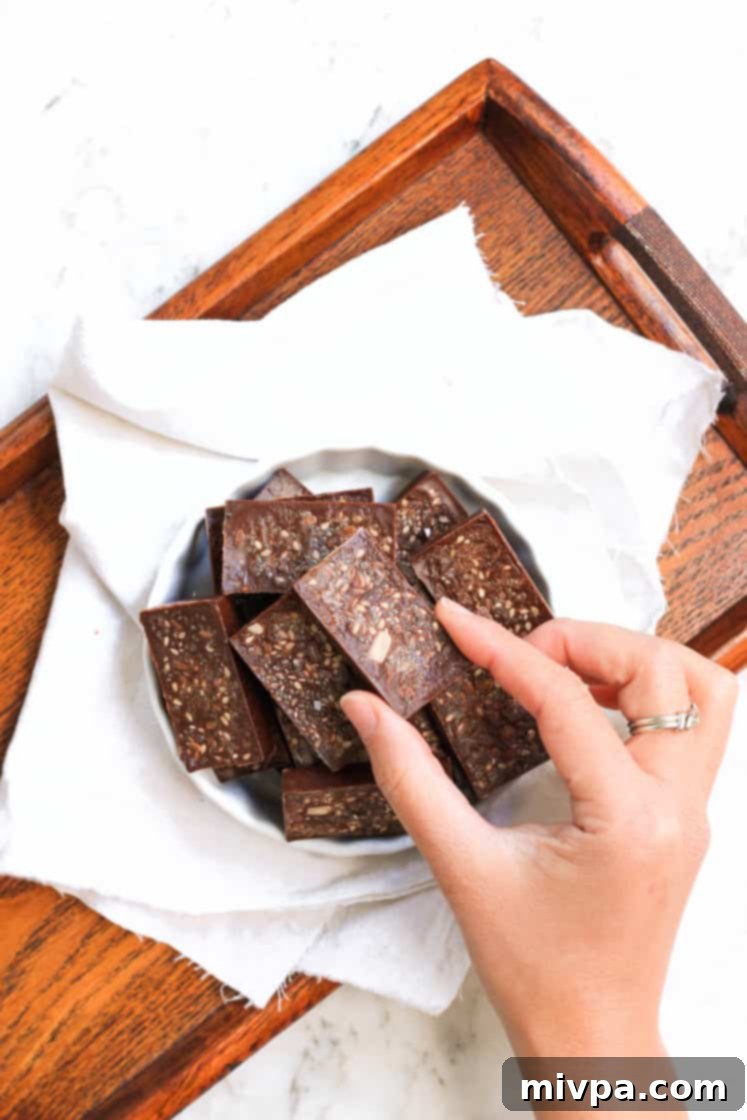
Discover the incredible simplicity of crafting your very own homemade chocolate, generously studded with plump raisins and crunchy seeds for an irresistible blend of taste and texture. This delightful recipe requires only 10 minutes of active preparation time, making it the perfect stress-free sweet treat. Not only is it naturally gluten-free and entirely vegan, but it’s also an ideal confection for any occasion – whether you’re celebrating Valentine’s Day, hosting a Thanksgiving feast, preparing for the holidays, or simply looking to satisfy an urgent sweet tooth craving. Get ready to transform basic ingredients into a rich, wholesome, and utterly delicious chocolate experience!
Life’s Sweet Surprises: Embracing the Unexpected
There’s a classic scene from the movie Forrest Gump that often comes to mind, a moment of simple wisdom shared at a bus stop. Forrest, with his unassuming charm, offers a box of chocolates to a stranger, uttering those memorable words, “You know, my momma always said that ‘Life is a box of chocolates. You never know what you’re gonna get.’”
And truly, Forrest’s momma was profoundly right. Life unfolds with a myriad of surprises, presenting us with twists and turns we could never anticipate. The life I live today is a beautiful surprise in itself, one that fills me with constant awe and gratitude. It’s an immense privilege to develop recipes, write about my culinary creations, and capture their essence through photography for a living. While the future remains an exciting mystery, what I do know for certain is the importance of savoring every moment and finding joy in the journey.
One of those unexpected joys has been the discovery of how incredibly simple it is to make delicious, wholesome chocolate right in my own kitchen. What once seemed like a complex art best left to professional chocolatiers, has now become a quick and rewarding ritual. This realization, much like Forrest’s life lessons, reminds us that some of the greatest pleasures are often the most accessible and surprisingly easy to achieve.
Crafting Healthier Sweet Treats for Every Occasion
As the holiday season draws near, the irresistible craving for sweet treats becomes almost palpable. And when it comes to indulgence, anything with chocolate always feels like the perfect choice. Whether it’s a freshly baked batch of our decadent fudgy gluten-free brownies, these unbelievably addictive 4-ingredient peanut butter cups, or even a silky smooth 5-minute chocolate pudding, chocolate consistently hits the spot.
Given my passion for creating everything from scratch – from fluffy homemade bread to creamy homemade almond milk and vibrant homemade pumpkin puree – it was only a matter of time before I ventured into making homemade chocolate. The desire to control the ingredients, avoid artificial additives, and customize flavors is a driving force in my kitchen, especially when it comes to holiday desserts that friends and family will enjoy.
This raisin and seed chocolate recipe perfectly embodies that philosophy. It’s a versatile, wholesome, and incredibly satisfying treat that’s not only perfect for festive gatherings but also for everyday snacking. You can feel good about indulging in this chocolate, knowing exactly what goes into it – pure, simple ingredients that taste amazing. It’s a wonderful way to celebrate the season with a healthier, homemade touch.
Unlocking the Secret: Making Your Own Chocolate is Surprisingly Simple
There’s a common misconception that some culinary feats are simply too complex for the home cook. For many years, I held this very belief about making chocolate from scratch. The idea seemed daunting, a skill reserved for industrial manufacturers like Milka, Cadbury, or Lindt. I never even entertained the thought of attempting it myself, assuming it required specialized equipment or arcane techniques.
Then, a few years ago, my friend Ally—the same friend who introduced me to the life-changing chocolate beetroot cake—casually mentioned that she sometimes makes her own chocolates. My eyes widened in disbelief. It was a revelation, a truly revolutionary concept that completely shifted my perspective. I let the idea simmer and brew in my mind over several months, gradually building the courage to try it myself.
And what I discovered was astounding: homemade chocolate, my friends, is genuinely incredibly easy. The process is far less complicated than I had ever imagined, proving that often, the hardest part is simply taking that first step. What’s even better is that you likely already have most of the necessary ingredients readily available in your pantry, making this a spontaneous and accessible project.
Beyond the ease, there’s a significant health advantage. This vegan and gluten-free homemade chocolate is free from the countless additives, emulsifiers, and preservatives found in most store-bought varieties. You get to enjoy a pure, unadulterated chocolate experience, knowing exactly what wholesome ingredients are fueling your body. It’s not just a sweet treat; it’s a healthier, more mindful indulgence that tastes fantastic and feels good too.
Essential Ingredients for Your Homemade Chocolate
Ingredient Notes and Creative Substitutions:
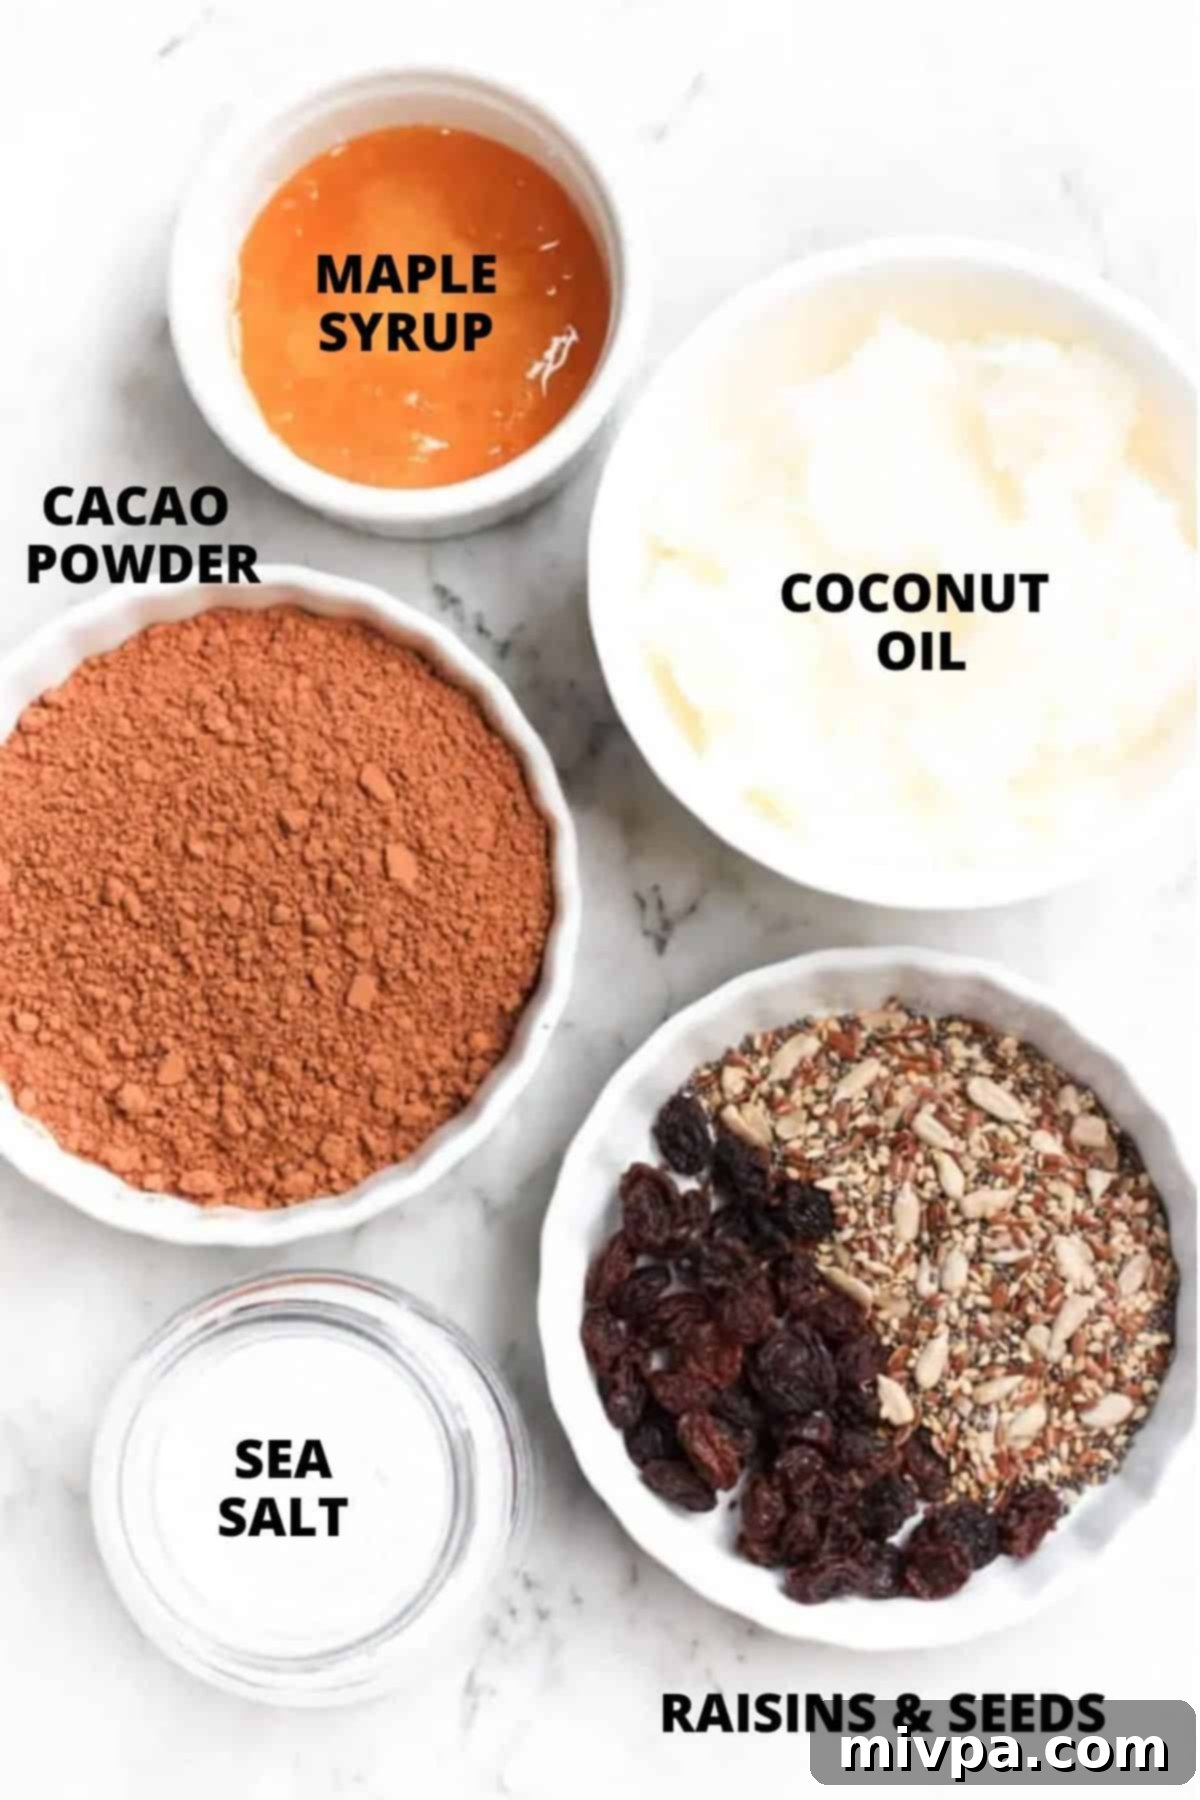
- Coconut Oil: The base of our rich chocolate. I highly recommend using refined coconut oil. Its neutral flavor ensures the chocolate taste truly shines, unlike extra virgin coconut oil which can impart a distinct coconut aroma. Refined coconut oil is also widely available and a pantry staple for many. For an even richer, more traditional chocolate experience, you can substitute refined coconut oil with cacao butter in equal quantities. Cacao butter also offers a more stable texture at room temperature.
- Maple Syrup: This natural sweetener is key to keeping our chocolate entirely vegan. Pure maple syrup provides a lovely depth of flavor. If you don’t have maple syrup on hand or prefer an alternative, feel free to use agave nectar. For those who aren’t strictly vegan, honey can also be used, though it will alter the dietary classification of the recipe.
- Raisins & Seeds: I personally love the combination of sweet, chewy raisins with the satisfying crunch of mixed seeds. It adds both fantastic flavor and textural contrast. However, this is where you can get creative! Experiment with other dried fruits such as chopped dried cranberries, apricots, or even cherries. For nuts, finely chopped walnuts, almonds, pecans, or pistachios would all be excellent choices. Don’t be afraid to mix and match to find your favorite combination!
- Unsweetened Cocoa Powder: The quality of your cocoa powder directly impacts the flavor of your chocolate. Opt for a good quality unsweetened cocoa powder for the best results. Dutch-processed cocoa powder will give a darker, milder chocolate flavor, while natural cocoa powder will result in a lighter, more intense chocolate taste.
Effortless Step-by-Step Instructions:
1. Melt the Coconut Oil
Gently melt the coconut oil in a small pot or pan over low heat. The goal is to melt it completely without letting it get too hot or simmer. Stir occasionally to ensure even melting.
2. Prepare the Silky Chocolate Mixture
Once the coconut oil is fully melted, remove the pot from the heat. Stir in the unsweetened cocoa powder and maple syrup (or your chosen liquid sweetener). Whisk thoroughly until the mixture is smooth, glossy, and completely homogeneous, with no lumps of cocoa powder remaining. The aroma at this stage is divine!
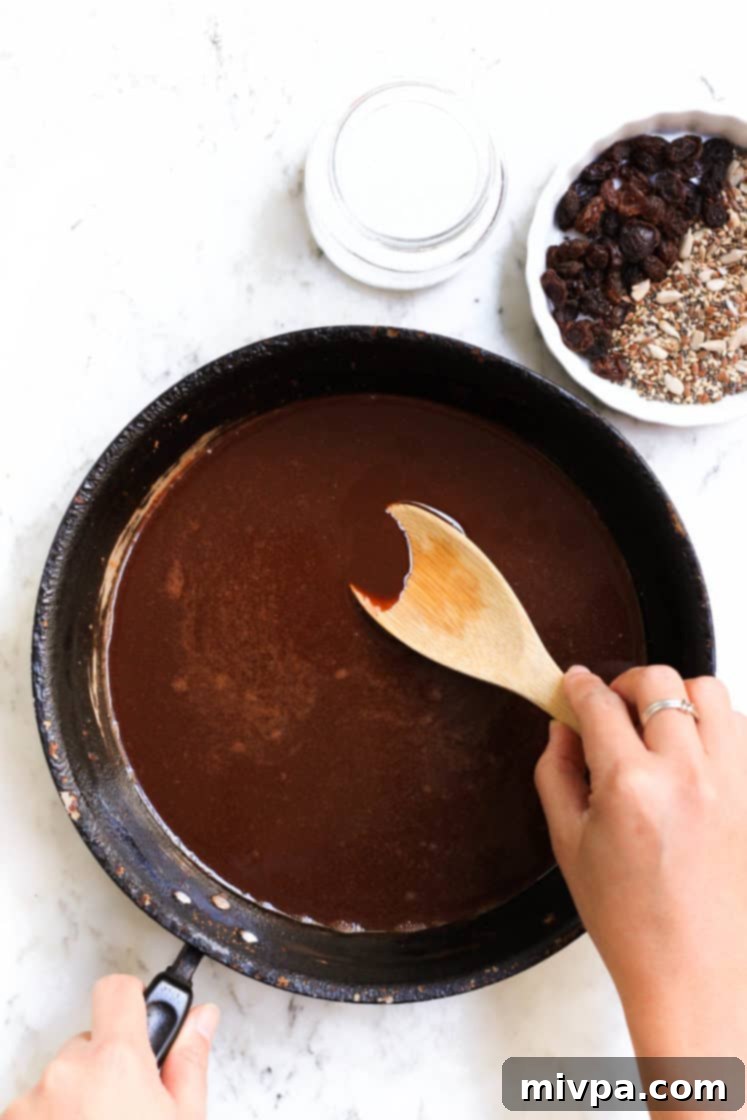
3. Pour and Adorn into Molds
Carefully pour the rich chocolate mixture into a silicon chocolate mold. Work quickly as the coconut oil will start to firm up. Immediately after pouring, drop a few raisins and sprinkle some seeds into each cavity. For a delightful sweet and savory contrast, consider adding a tiny pinch of flaky sea salt over each chocolate piece before it sets.
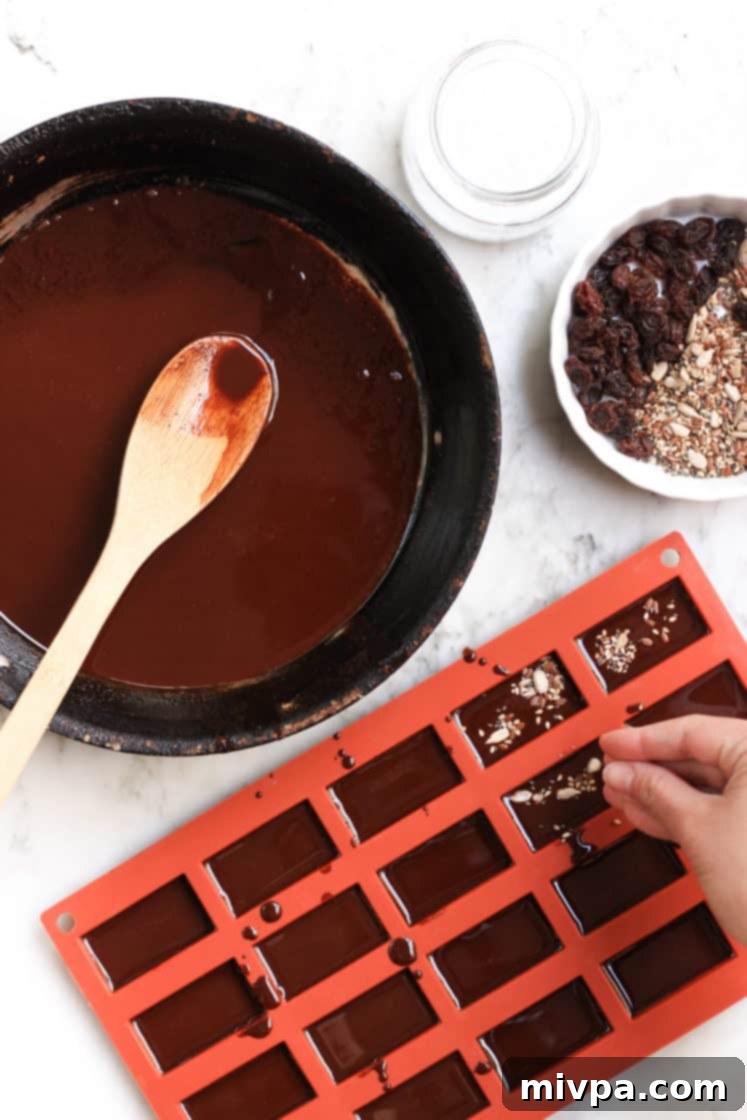
4. Freeze to Perfection
Once all your molds are filled and decorated, transfer the silicon mold to the freezer. Allow the chocolate mixture to freeze for at least one hour, or until it is completely firm and solid. This crucial step ensures the chocolate holds its shape perfectly before you unmold it. Once set, they will easily pop out of the silicon mold, ready to be enjoyed.
Expert Tips & Tricks for Perfect Homemade Chocolate:
- Alternative Molds: While a silicon chocolate mold is ideal for its ease of use and clean release, it’s not strictly necessary. If you don’t own one, you can easily use paper muffin liners or silicon cupcake liners placed in a muffin tin. Simply pour the chocolate mixture into these liners and proceed as directed. For an even simpler approach, you can pour the entire mixture into a parchment-lined shallow dish (like an 8×8 inch pan) and break it into bark-like pieces once set.
- Patience is Key: The setting time is crucial for perfectly firm chocolates. Resist the urge to unmold them prematurely. Allow the chocolate to sit in the freezer for at least 1 hour, or even longer if your freezer isn’t very cold, until they are fully solid. This ensures they maintain their shape and have that satisfying snap when you bite into them.
- Quality of Ingredients: The fewer ingredients a recipe has, the more each ingredient shines. Using high-quality unsweetened cocoa powder and good quality coconut oil or cacao butter will make a noticeable difference in the final flavor and texture of your homemade chocolate.
- Creative Flavor Boosts: Beyond raisins and seeds, consider other additions like a few drops of pure vanilla extract, a pinch of cinnamon or chili powder for a spicy kick, or even a swirl of nut butter (like almond or peanut butter) marbled into the chocolate for an extra layer of flavor.
- Don’t Overheat: When melting coconut oil, keep the heat low. Overheating can compromise the flavor and properties of the oil. A gentle melt is all you need to create a smooth base for your chocolate.
Homemade Chocolate Recipe FAQs:
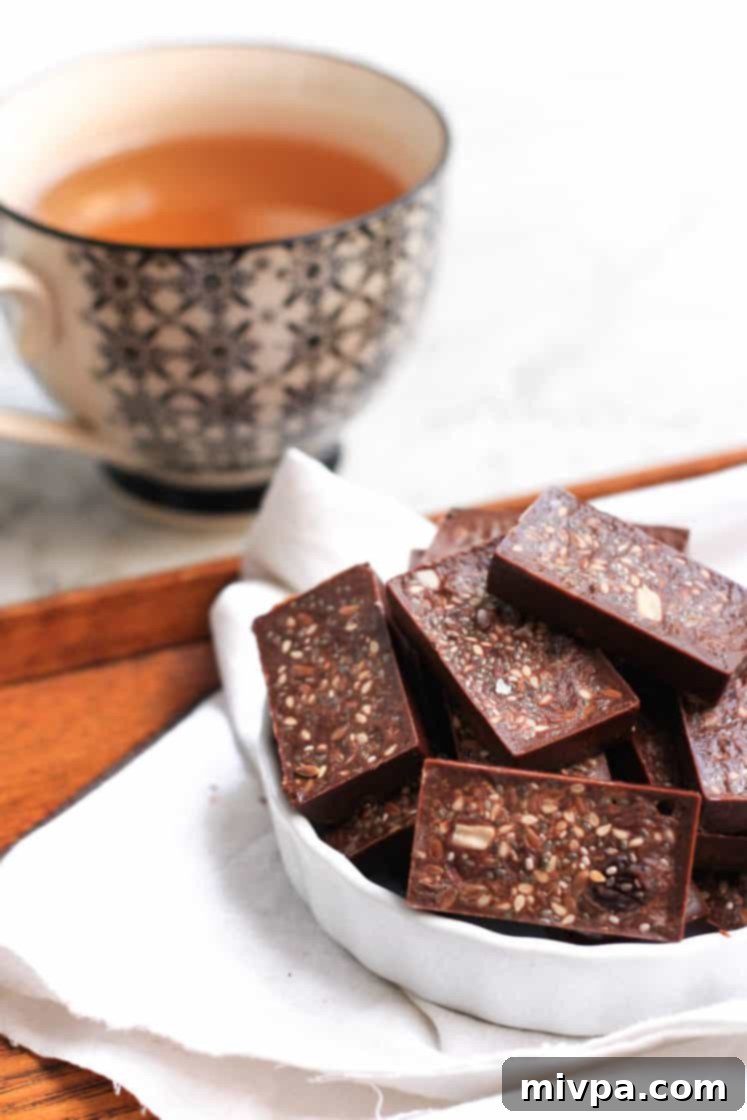
Due to its coconut oil base, this homemade chocolate is best stored in the refrigerator. Place the chocolates in an airtight container to prevent them from absorbing other odors and store them in the fridge for up to 10 days. They will stay firm and fresh, ready for whenever you need a sweet bite.
Absolutely! Freezing is a fantastic option for longer storage. Simply place the gluten-free chocolates in freezer-safe containers or bags, ensuring they are well-sealed, and freeze for up to 3 months. When you’re ready to enjoy them, thaw the chocolate for just a few minutes at room temperature before eating or serving. This will help prevent them from being too hard.
The reason this vegan homemade chocolate melts more easily than commercial varieties is due to its primary fat: coconut oil. Coconut oil naturally has a lower melting point, turning to liquid above 76°F (24°C). Unlike store-bought chocolates, which often contain stabilizers and emulsifiers to maintain a solid form at room temperature, our homemade version uses pure, natural ingredients. While this means it requires refrigeration, it also means you’re avoiding unnecessary additives. Keeping it in the refrigerator or freezer, as recommended, easily solves this!
Yes, definitely! If you don’t have a silicon mold, you can line a small baking dish (like an 8×8 inch pan) with parchment paper. Pour the chocolate mixture into the dish, spread it evenly, and sprinkle with raisins and seeds. Once completely frozen and firm, you can break it into irregular “bark” pieces. Alternatively, use paper or silicone muffin liners for individual portions.
You can certainly adjust the sweetness to your preference. Start with a slightly smaller amount of maple syrup (e.g., 1/4 cup instead of 1/3 cup) and taste the mixture before setting. Keep in mind that cocoa powder is naturally bitter, so some sweetener is needed to balance the flavor. If using other additions like dried fruit, they will contribute natural sweetness, allowing you to reduce the syrup slightly.
More Irresistible Chocolate Recipes You’ll Love:
- 4-Ingredient Chocolate Peanut Butter Cups
- 5-Minute Cashew Chocolate Pudding (Gluten-Free, Vegan)
- Chocolate Coconut Cake (Gluten-Free, Dairy-Free)
- Fudgy Gluten-Free Brownies (Dairy-Free)
- Double Chocolate Almond Coconut Cookies (Grain-Free)
Sweet Treats & Desserts to Delight Your Senses:
- Gluten-Free Pumpkin Banana Muffins (Dairy-Free)
- 126 Gluten-Free Desserts and Sweet Treats for Labor Day
- Mini Pumpkin Cheesecakes (Gluten-Free, Dairy-Free Option)
- Gluten-Free Pecan Pie Bars (Dairy-Free)
P.S. If you try this simple and delicious homemade chocolate recipe, I’d love for you to leave a star rating below and/or a review in the comment section further down the page. Your feedback is invaluable and always appreciated! Don’t forget to check out my entire Recipe Index for more delightful creations on the blog. You can also follow me on Pinterest, Facebook, or Instagram! To ensure you never miss a new recipe, sign up for my Email List and get fresh recipes delivered to your inbox each week!
Print

Easy Homemade Chocolate (Gluten-free, Vegan)
5 Stars 4 Stars 3 Stars 2 Stars 1 Star
5 from 3 reviews
Author: felicia | Dish by Dish
Total Time: 1 hour 10 mins
Yield: 36 chocolates
Diet: Vegan
Description
Learn to make your own homemade chocolate that’s studded with raisins and seeds for extra taste and texture, and only requires 10 minutes of hands-on time! Also gluten-free and vegan, this is the perfect sweet treat for Valentine’s, Thanksgiving, the holidays, or whenever you need to satisfy your sweet tooth!
Ingredients
Units
Scale
- 1 cup coconut oil
- 1/2 cup unsweetened cocoa powder
- 1/3 cup maple syrup (or liquid sweetener of choice)
- 1/4 cup raisins
- 1/4 cup seeds (I used a mix of sunflower seeds, chia seeds and flax seeds)
- pinch of sea salt (optional)
Instructions
- Melt: Gently melt the coconut oil in a small pot or pan over low heat until completely liquid.
- Prepare the Chocolate Mixture: Remove from heat and stir in the unsweetened cocoa powder and maple syrup. Whisk well until you get a smooth, homogeneous mixture.
- Pour into Mold: Pour the chocolate mixture into a silicon chocolate mold. Immediately drop a few raisins and sprinkle some seeds into each cavity. Optionally, sprinkle a tiny bit of sea salt for a sweet and savory touch.
- Freeze to Set: Transfer the mold to the freezer and freeze the chocolate mixture for at least one hour, or until it is firm and solid before unmolding.
Notes
Coconut Oil: I prefer using refined coconut oil in my recipes because it has a neutral taste compared to extra virgin coconut oil, and is easily available. Alternatively, you can also use cacao butter in equal quantities for a more classic chocolate texture.
Maple Syrup: I used maple syrup to keep this recipe completely vegan, but feel free to use agave nectar or honey too if you prefer (note: honey is not vegan).
Raisins & Seeds: I like a mixture of raisins and seeds, but feel free to use other dried fruits such as chopped dried cranberries, and nuts such as chopped walnuts, almonds, pecans or pistachios.
Silicon Mold: I used a silicon chocolate mold, but you can also use paper muffin liners or silicon liners if that’s what you prefer or have on hand. For a simple bark, pour the mixture into a parchment-lined dish.
Storing/Freezing: Since this recipe uses coconut oil, the chocolate will melt if left at room temperature. Make sure to keep this chocolate in an airtight container in the refrigerator until ready to be eaten and served, for up to 10 days. For longer storage, place the chocolates in a freezer-proof container and freeze for up to 3 months (let thaw for a few minutes at room temperature before eating).
- Prep Time: 10 mins
- Category: Dessert
- Method: Stovetop
- Cuisine: American
