Irresistibly Chewy Gluten-Free Peanut Butter Chocolate Chip Blondies (Easy & Dairy-Free Recipe)
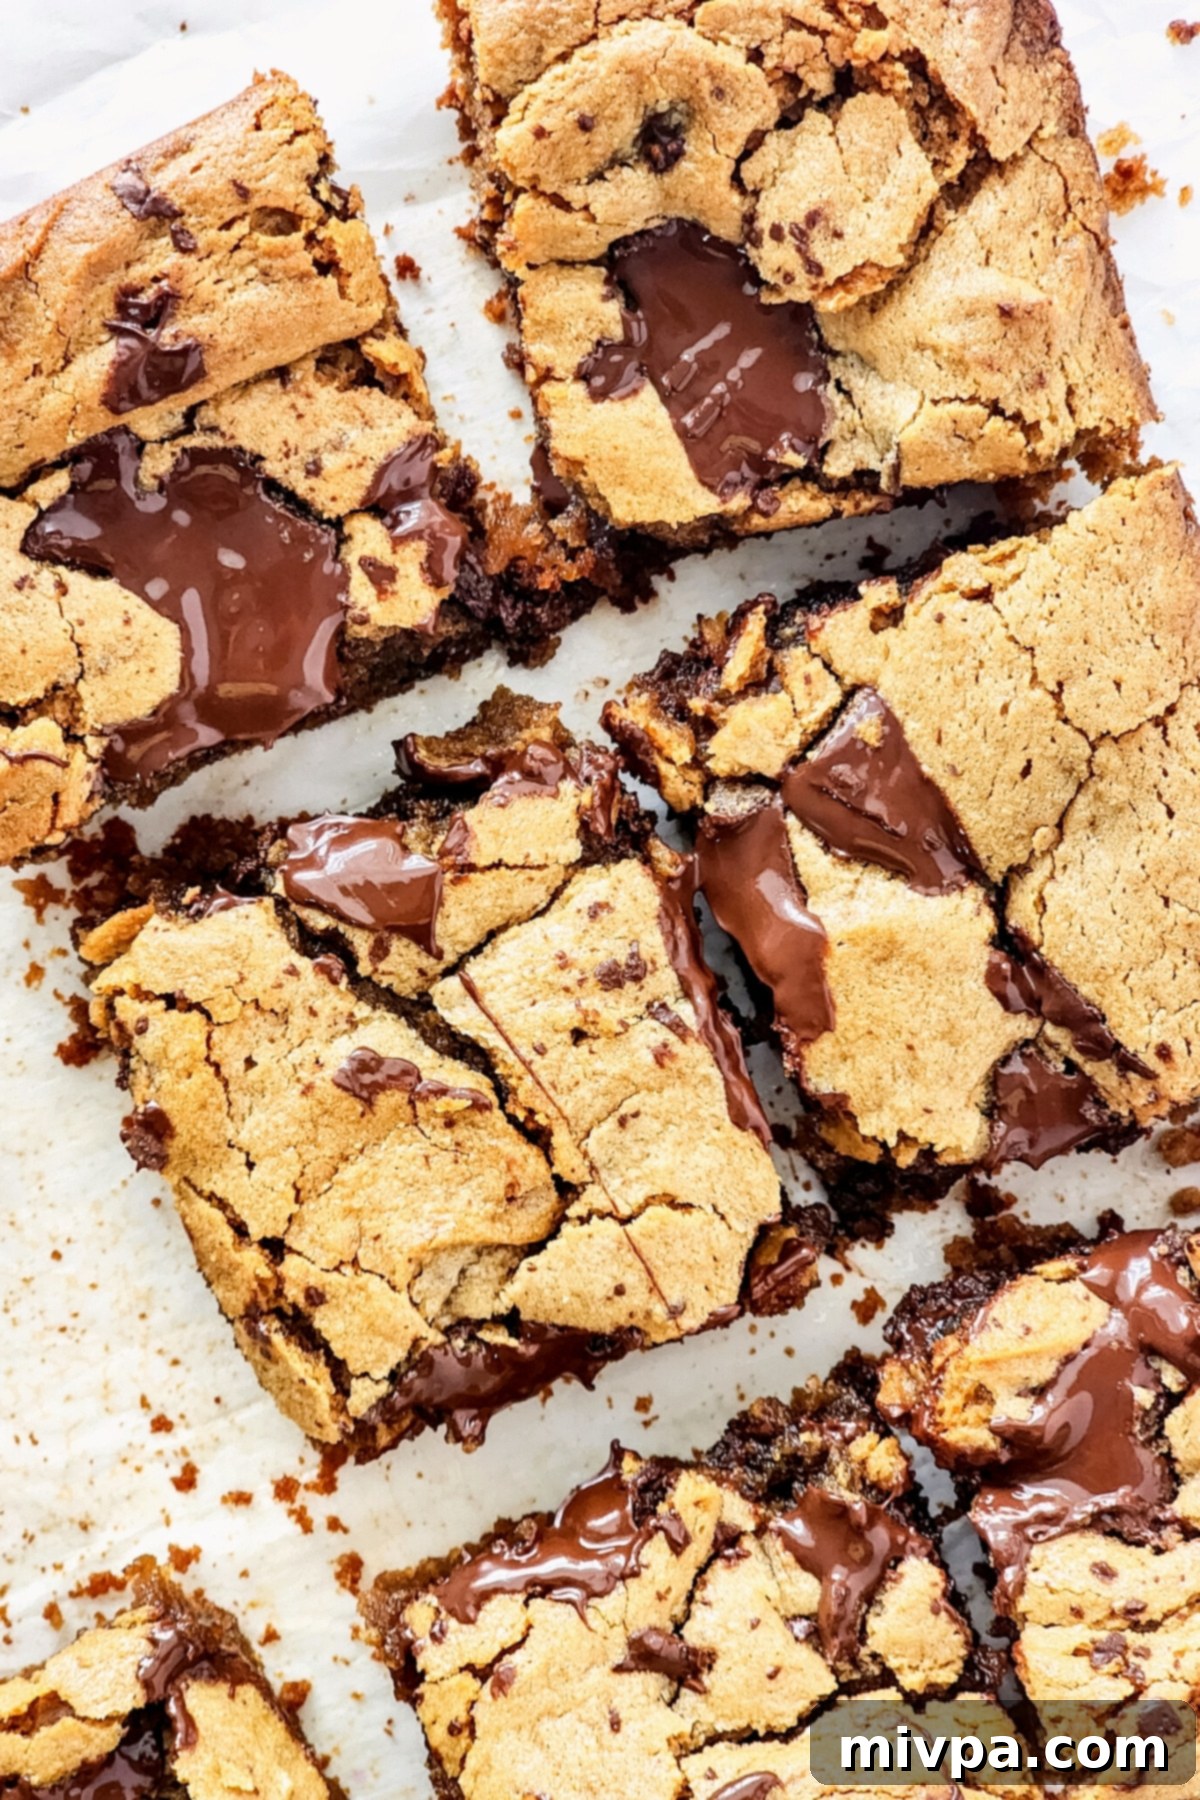
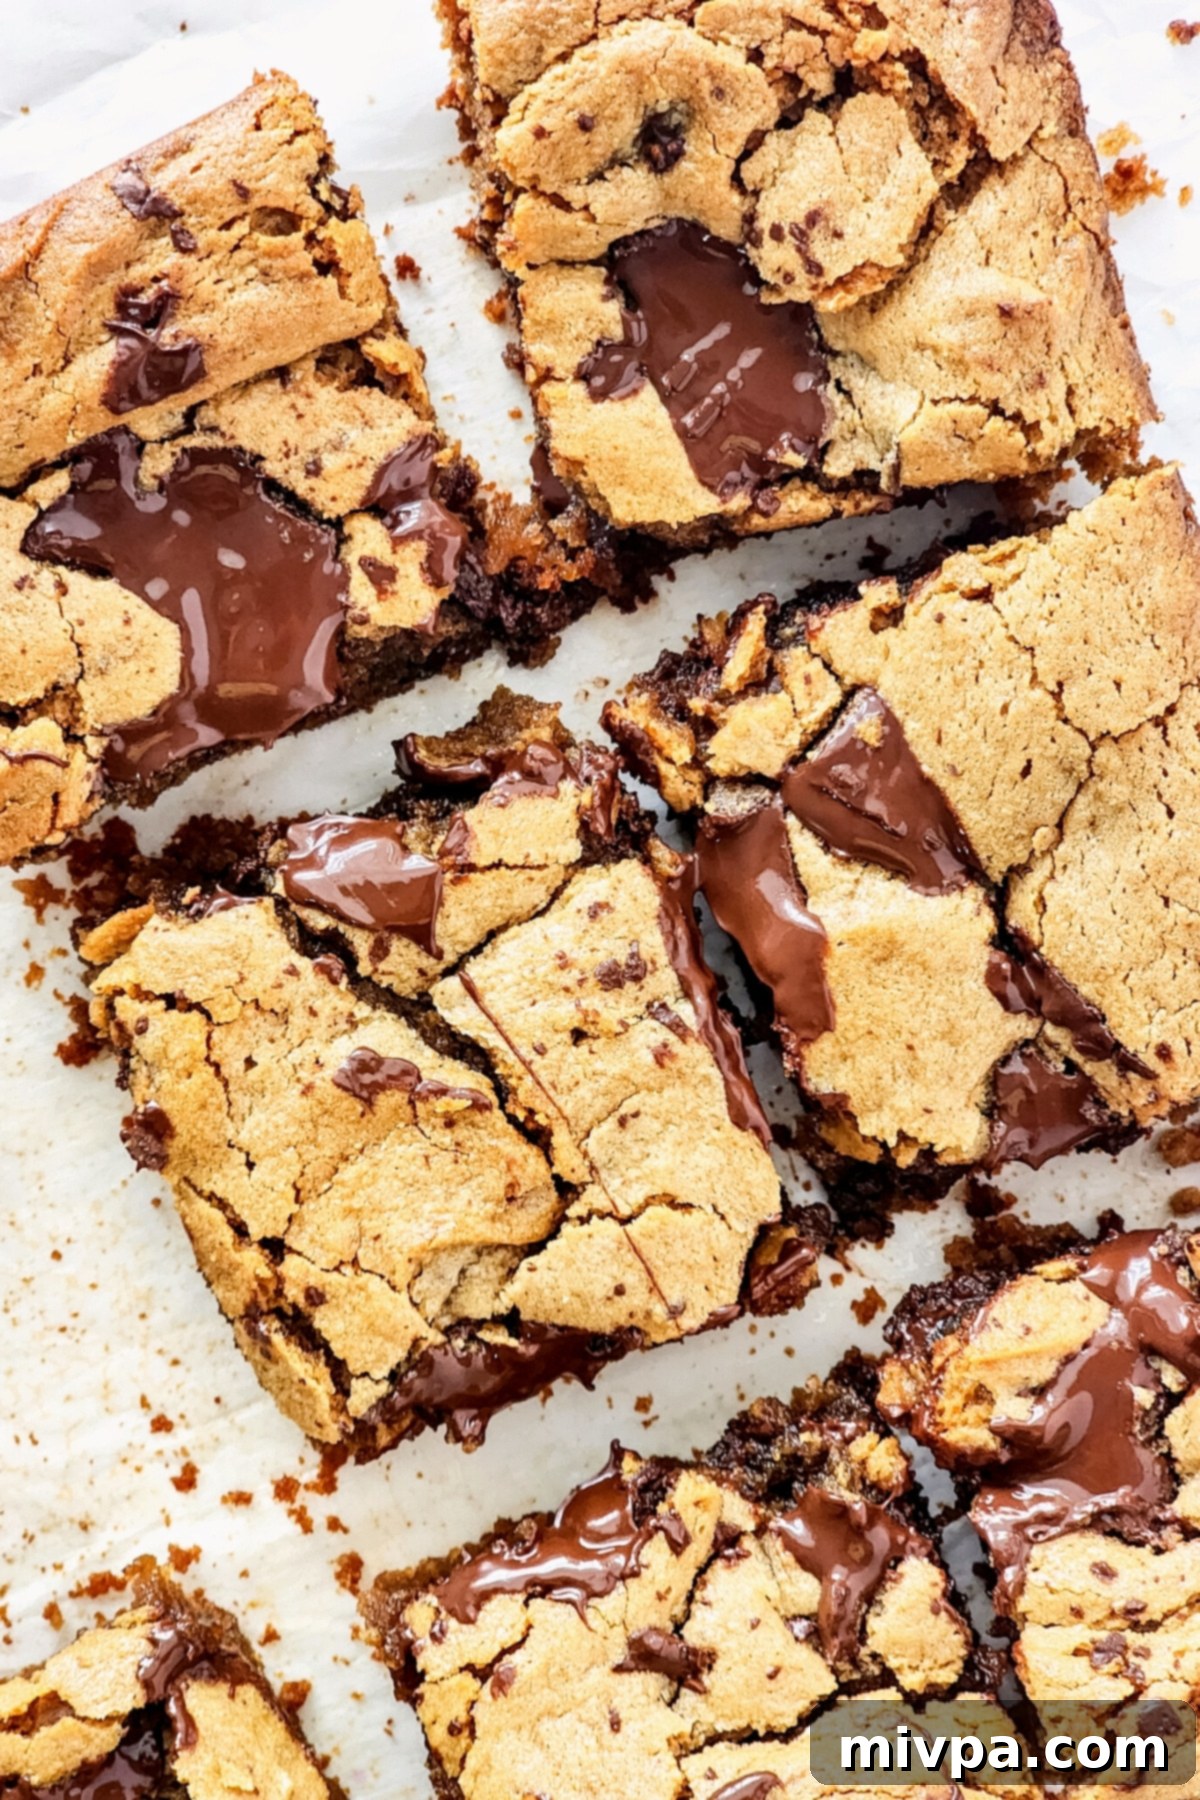
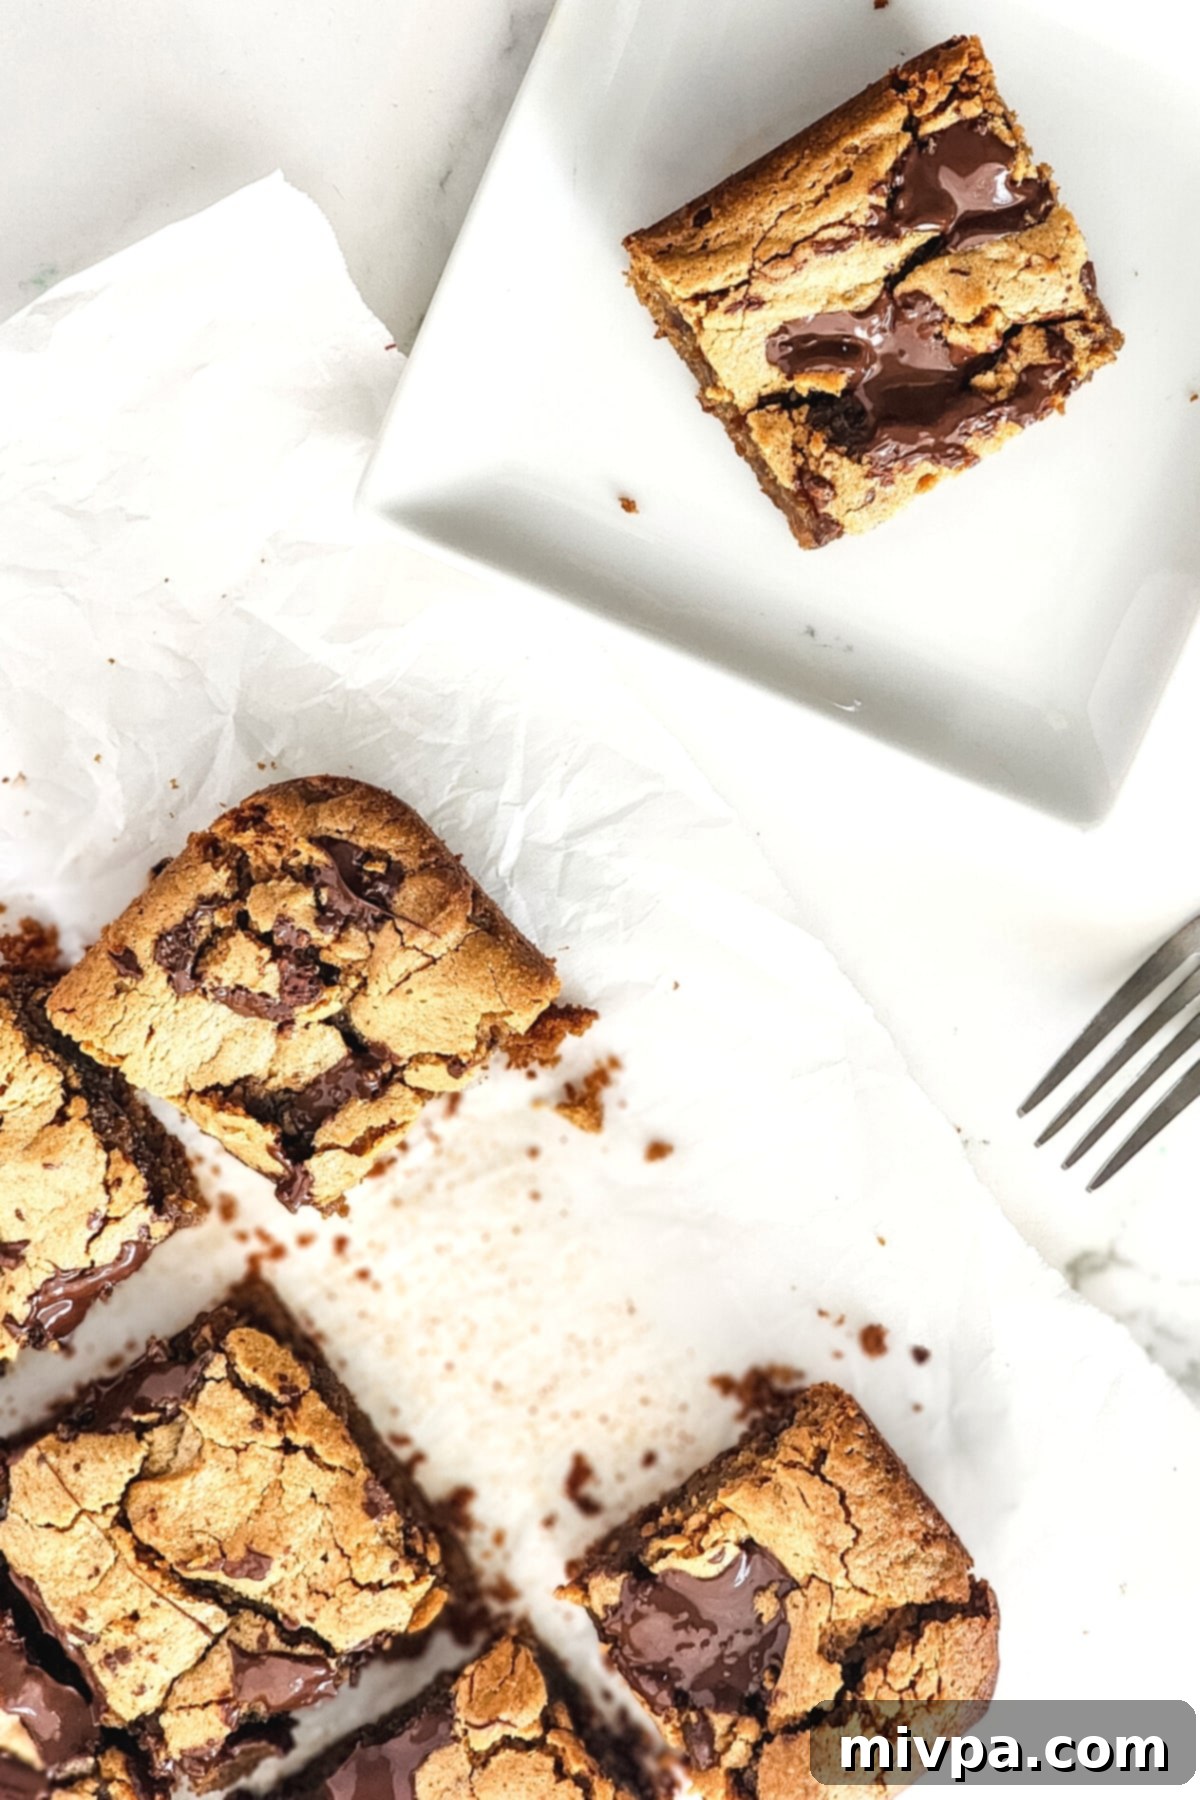
These gluten-free peanut butter blondies are the epitome of chewy, fudgy perfection, generously studded with luscious chocolate bits. They are incredibly easy to whip together, making them your go-to recipe whenever you crave a sweet treat that truly hits the spot. Plus, the classic combination of peanut butter and chocolate is always a deliciously decadent match made in heaven. The best part? This recipe is also completely dairy-free, ensuring everyone can enjoy a slice of pure bliss!
[feast_advanced_jump_to]
Peanut Butter + Chocolate: A Match Made in Dessert Heaven
If you’re anything like us, the mere mention of peanut butter combined with chocolate brings a smile to your face. This iconic duo is not just a flavor pairing; it’s a culinary phenomenon that transcends generations and taste buds. From classic peanut butter cups to elaborate desserts, the rich, nutty notes of peanut butter perfectly complement the sweet, sometimes bitter, richness of chocolate.
It’s the very definition of bliss and glorious decadence, offering a comforting familiarity with every bite. The salty-sweet balance, the creamy texture of peanut butter against the melt-in-your-mouth chocolate – it’s simply irresistible. This recipe harnesses that magical combination to create a dessert that will have everyone coming back for more.
Introducing Our Amazing Gluten-Free Peanut Butter Blondies
Today, we’re diving into the delightful world of gluten-free peanut butter blondies. Think of them as your favorite peanut butter cookies, but in a convenient, chewy bar form. These delicious sweet treats utilize creamy peanut butter as the star ingredient in the batter, which is then generously studded with an abundance of chopped chocolate pieces. The result is a bar that’s soft, incredibly moist, and bursting with flavor.
One of the best aspects of this recipe is how incredibly quick and easy it is to prepare. Seriously, if you start now, you could be enjoying a warm, fresh batch of these delectable blondies in well under an hour! They’re perfect for impromptu gatherings, a cozy night in, or simply when a serious sweet craving strikes.
Why You’ll Fall in Love with This Recipe:
This gluten-free peanut butter blondie recipe isn’t just another dessert; it’s a game-changer for anyone seeking a simple, delicious, and allergy-friendly treat. Here’s why it stands out:
- Simple, Accessible Ingredients: You’ll only need a handful of basic ingredients for these gluten-free peanut butter blondies. The best part? They are incredibly easy to find at any local grocery store. In fact, you likely already have most, if not all, of these pantry staples on hand, saving you a trip to the store and making spontaneous baking sessions a breeze!
- Effortlessly Easy to Make: Forget complicated steps or fancy equipment. Preparing this peanut butter blondie batter is as simple as combining the wet ingredients with the dry ingredients. No stand mixer required, just a bowl and a whisk! Once mixed, it’s straight into the oven for baking, and then a quick slice into irresistible pieces. It’s a truly beginner-friendly recipe that promises delicious results every time.
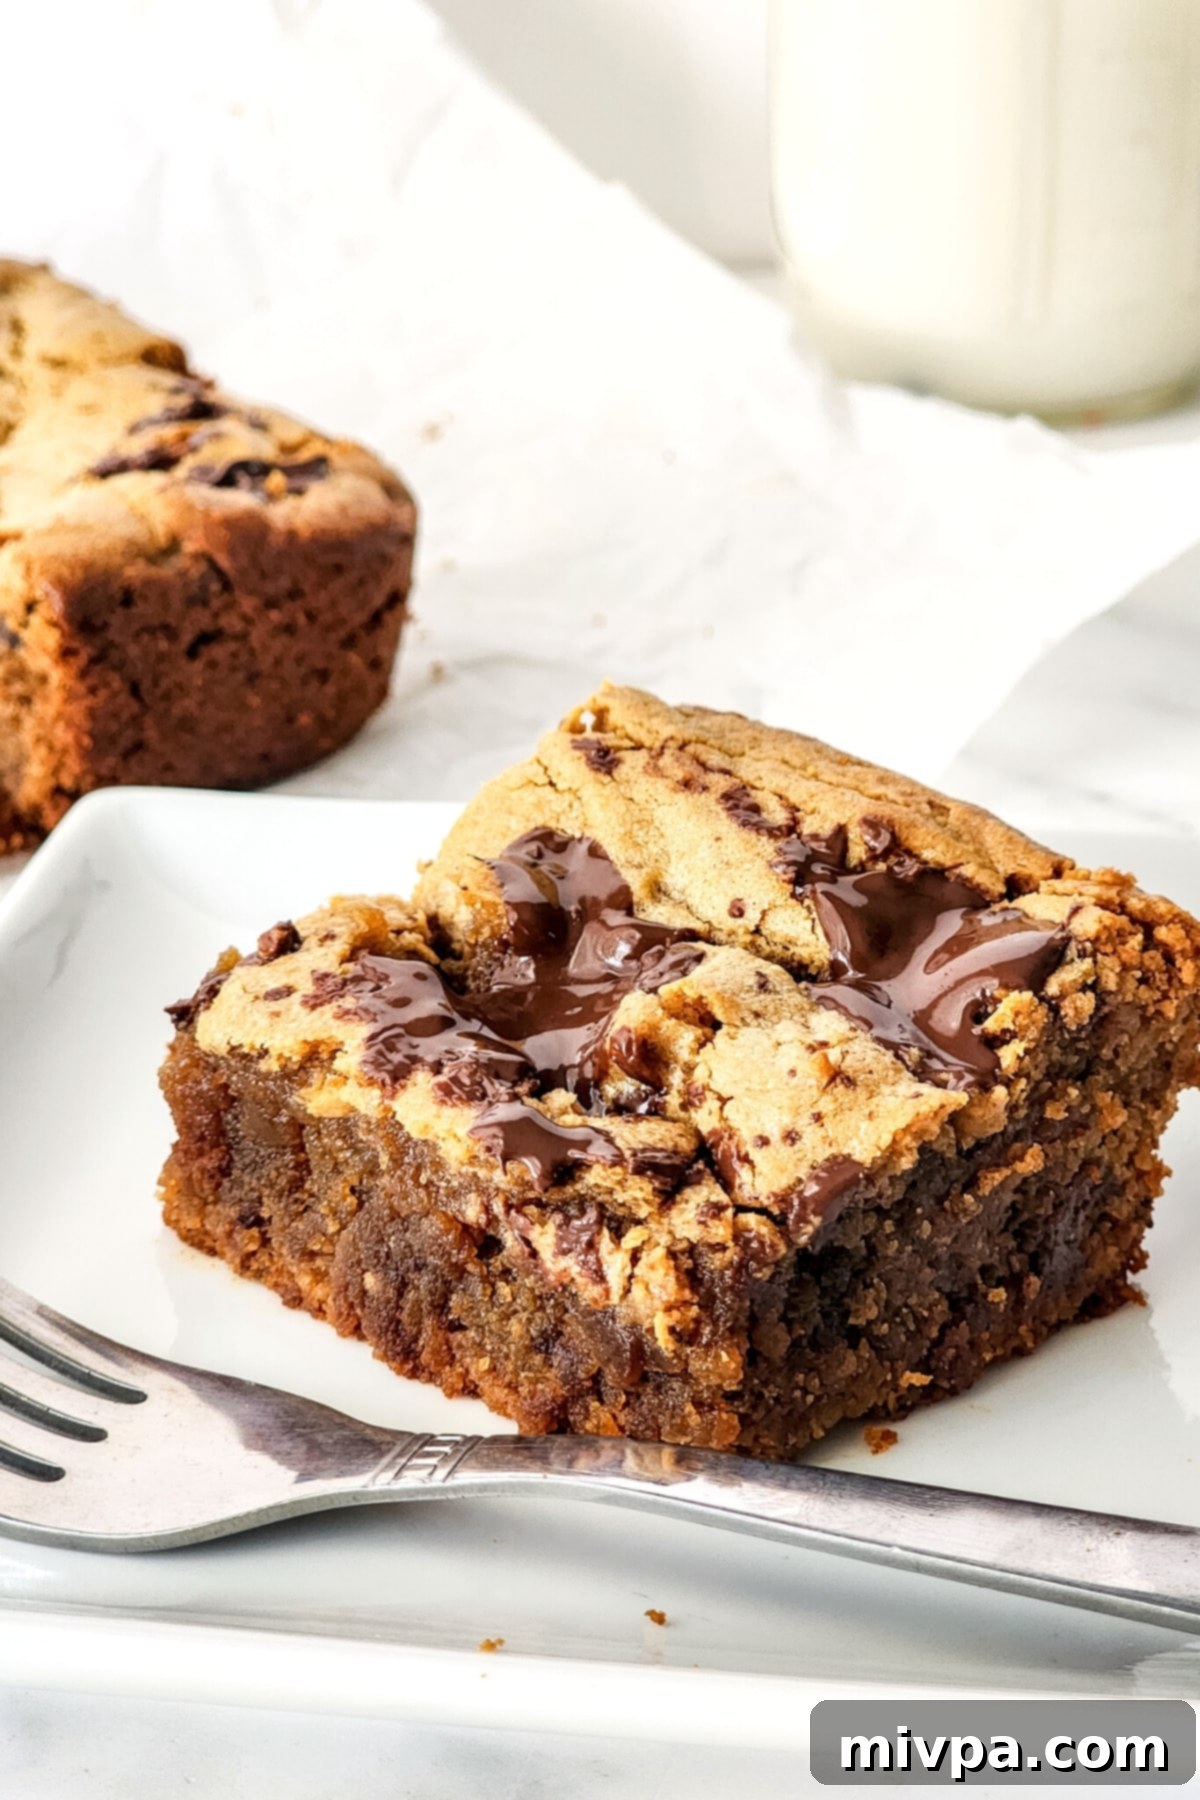
- Unforgettable Taste & Texture: Imagine the beloved flavor of a classic chocolate chip cookie, infused with rich peanut butter, but in a thick, chewy bar format. These blondies are soft, incredibly moist, and boast that perfect chewy texture that makes blondies so addictive. They strike an ideal balance between sweet and salty, making them absolutely perfect for all you chocolate and peanut butter aficionados out there!
- Completely Gluten-Free & Dairy-Free: This is perhaps one of the most significant advantages of this recipe. It is 100% gluten-free and dairy-free, making it an ideal choice for those with Celiac disease, gluten sensitivities, or lactose intolerance. You no longer have to miss out on decadent desserts; these blondies allow everyone to indulge without a worry, enjoying every bite of this allergy-friendly delight.
Key Ingredients for Your Dairy-Free Blondies:
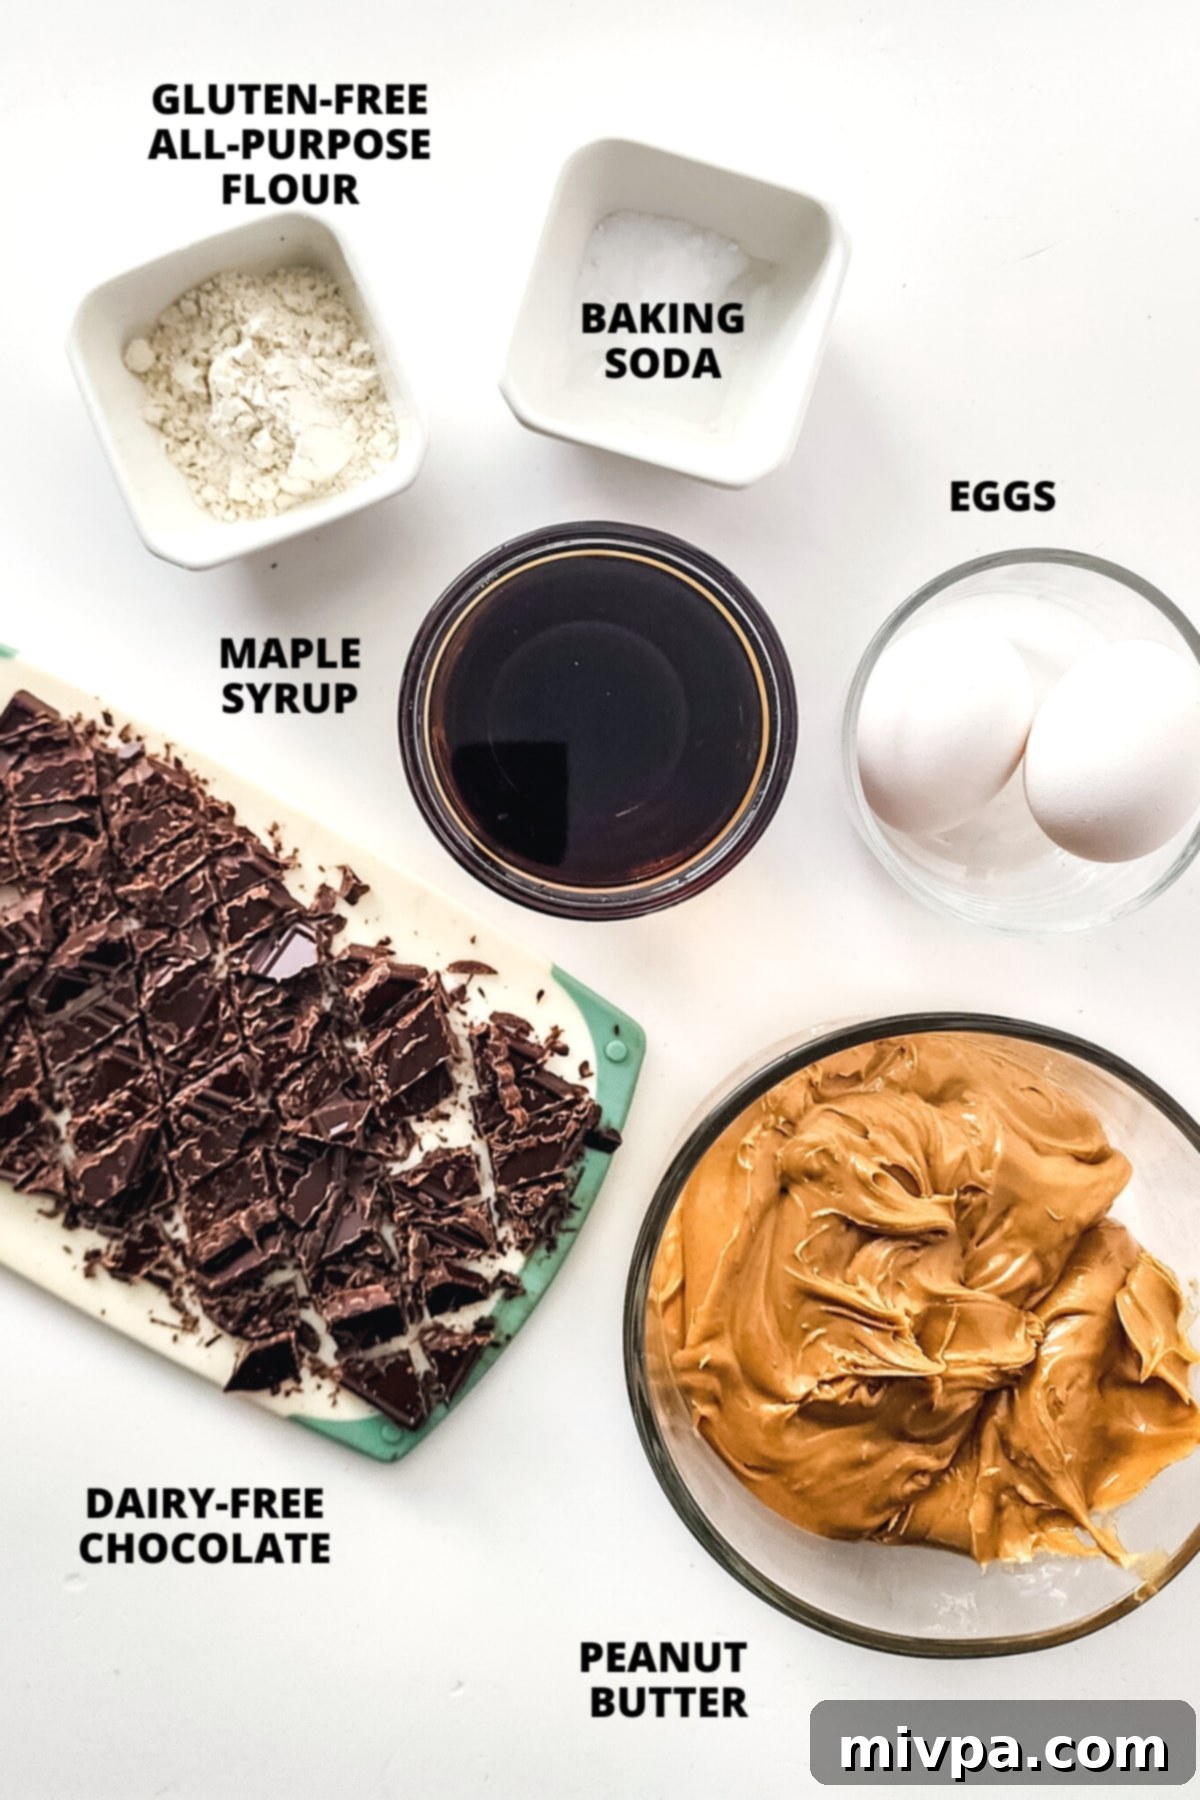
Here’s a quick visual overview of the six simple ingredients you’ll need to create these incredible gluten-free peanut butter blondies. For precise measurements and quantities, please refer to the detailed printable recipe card conveniently located at the bottom of this post.
Getting your ingredients ready beforehand makes the baking process even smoother!
Recipe Notes & Essential Substitutions:
Understanding your ingredients and their potential substitutes can make all the difference in successful baking. Here are some detailed notes and alternative options for this recipe:
- Peanut Butter: I opted for creamy peanut butter because it’s the star of these peanut butter blondies, contributing to their smooth, fudgy texture. While creamy is recommended for consistency, you can experiment with crunchy peanut butter for added texture. If you have a peanut allergy or simply prefer a different flavor, other types of nut butter work beautifully. Consider using almond butter, cashew butter, or for a nut-free option, sunflower seed butter (SunButter). Be aware that different nut butters have varying oil content and sweetness, which might slightly alter the final texture and flavor.
- Maple Syrup: To keep this recipe naturally sweetened, I used pure maple syrup, which also adds a lovely depth of flavor. If maple syrup isn’t readily available or you prefer another sweetener, agave nectar or honey (if not strictly vegan) are excellent alternatives. For those managing blood sugar levels or who are insulin-resistant, I highly recommend exploring maple-flavored monk fruit syrup. This low-glycemic index sweetener provides all the sweetness and flavor without significantly impacting blood sugar.
- Eggs: Eggs play a crucial role in binding the ingredients together, providing structure and moisture to the blondies. While I haven’t personally tested this specific recipe without eggs, if you need to make these blondies egg-free or vegan, you have a couple of options. You could try using acquafaba (the liquid from canned chickpeas) – typically 3 tablespoons per egg – or a commercial egg replacer powder mixed according to package directions. Flax eggs (1 tbsp ground flaxseed + 3 tbsp water per egg) might also work, but can sometimes result in a slightly denser texture. If you do experiment with an egg substitute, please share your results in the comments below; your feedback is invaluable!
- Gluten-Free Flour: To ensure these blondies are truly gluten-free, I used a high-quality gluten-free all-purpose flour blend. It’s important to use a blend that contains xanthan gum (or add it separately if your blend doesn’t) as this helps with the structure and elasticity often missing in gluten-free baking. If you don’t have Celiac disease or gluten intolerance, feel free to use regular all-purpose flour in the same quantity.
- Baking Soda: Baking soda is the sole leavening agent in this recipe, essential for helping the blondie batter achieve a slight rise and tender texture. Do not omit it! If you find yourself without baking soda, you can substitute it with 2 teaspoons of baking powder. Always ensure your baking soda or baking powder is fresh for optimal results. For those with Celiac disease or severe gluten intolerance, double-check that your leavening agents are certified gluten-free.
- Chocolate: To maintain the dairy-free nature of this recipe, I used chopped dairy-free chocolate. You can use a chopped dairy-free chocolate bar or dairy-free chocolate chips. Feel free to use your favorite type – dark, semi-sweet, or even a mix. If dairy is not an issue for you, regular chopped chocolate, semi-sweet chocolate chips, or dark chocolate chips will work perfectly. For a fun twist, you could even try white chocolate chips (dairy-free if needed!).
How to Make Gluten-Free Peanut Butter Blondies (Step by Step):
Baking these blondies is wonderfully straightforward. Follow these simple steps for perfect results every time!
1. Preheat Oven & Prepare Pan
Before you begin mixing, make sure your oven is preheated to 350°F (180°C). This ensures even baking from the moment your blondies enter the oven. Next, prepare an 8”x8” square baking dish. You can either grease it thoroughly with nonstick cooking spray, or for super easy removal, line the baking dish with parchment paper, leaving an overhang on two sides to create “handles.”
2. Combine Wet Ingredients
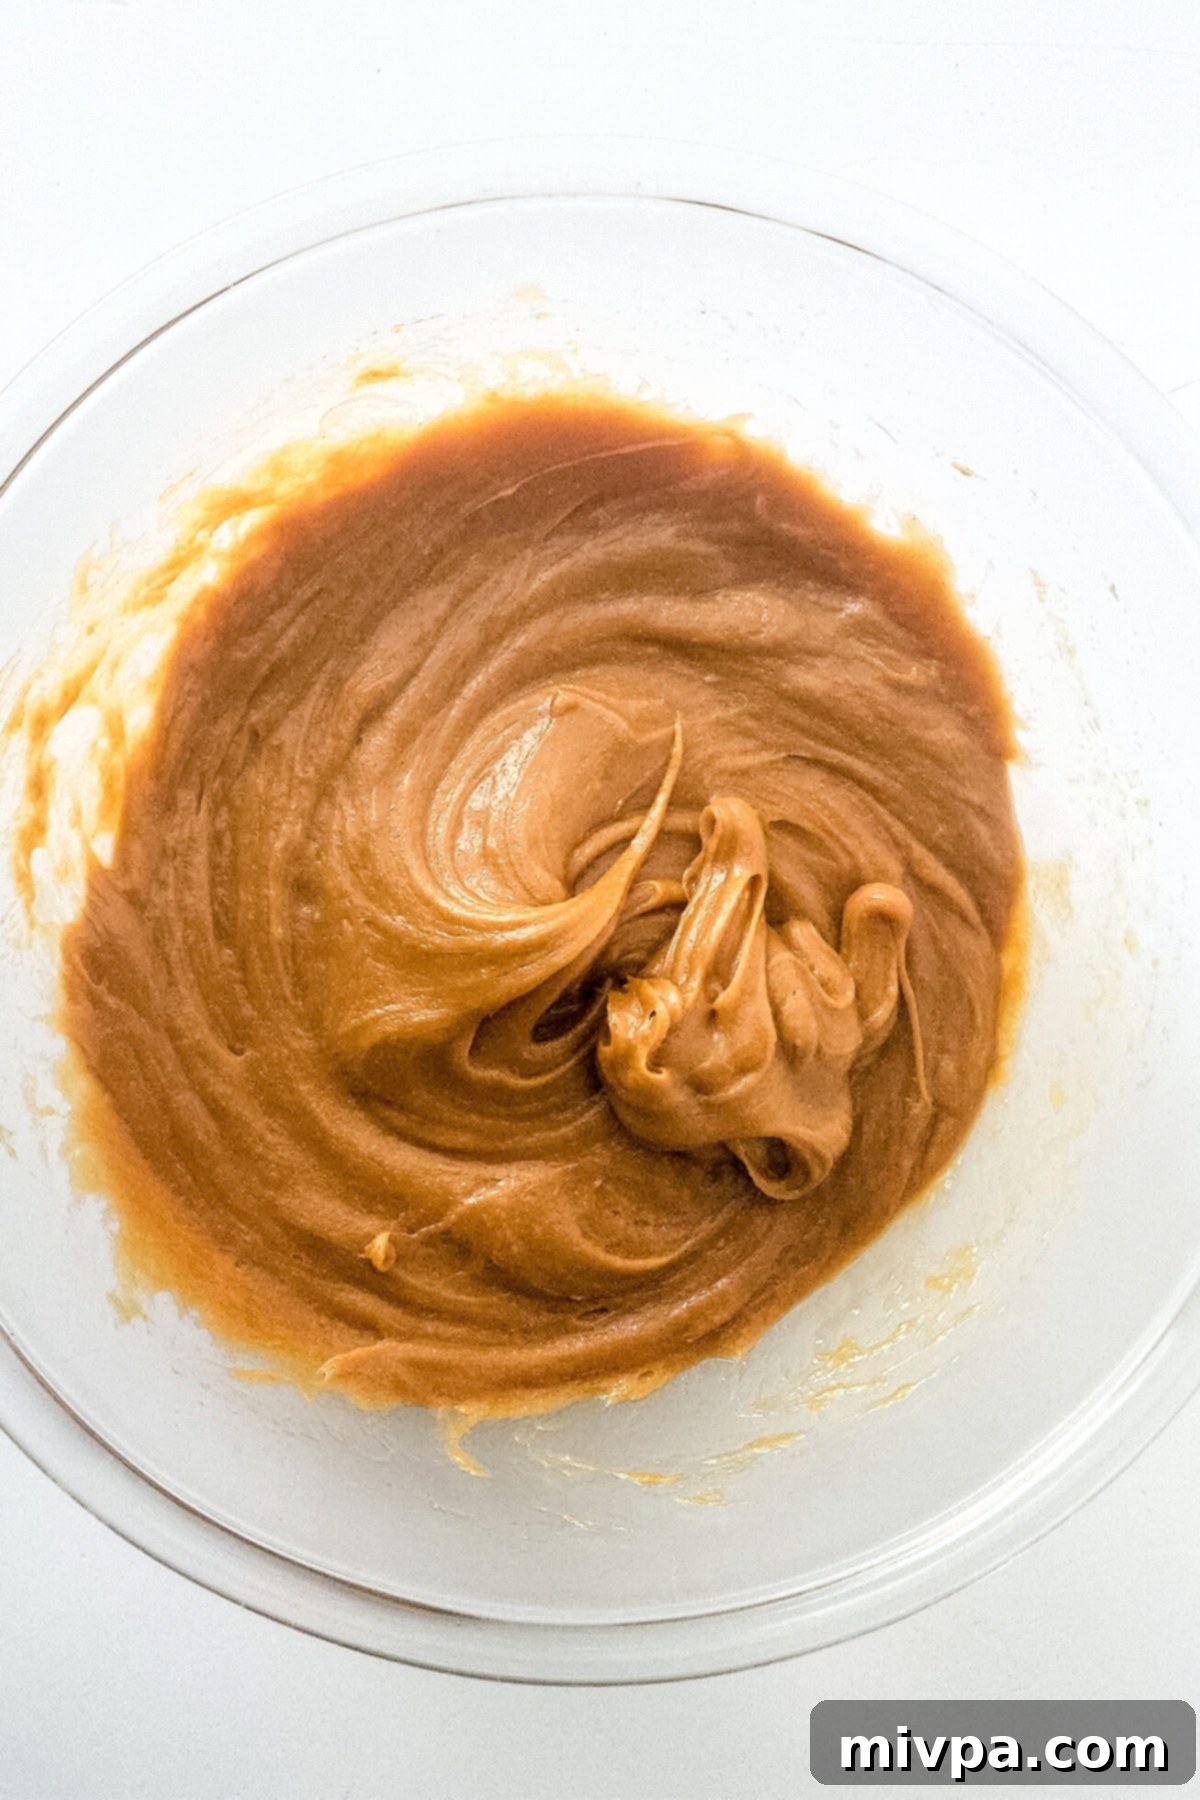
In a large mixing bowl, combine the creamy peanut butter, natural maple syrup, and beaten eggs. Using a whisk, stir these ingredients together vigorously until you achieve a perfectly creamy, smooth, and homogeneous mixture. This ensures all the wet components are well incorporated and ready for the dry ingredients.
3. Add Dry Ingredients
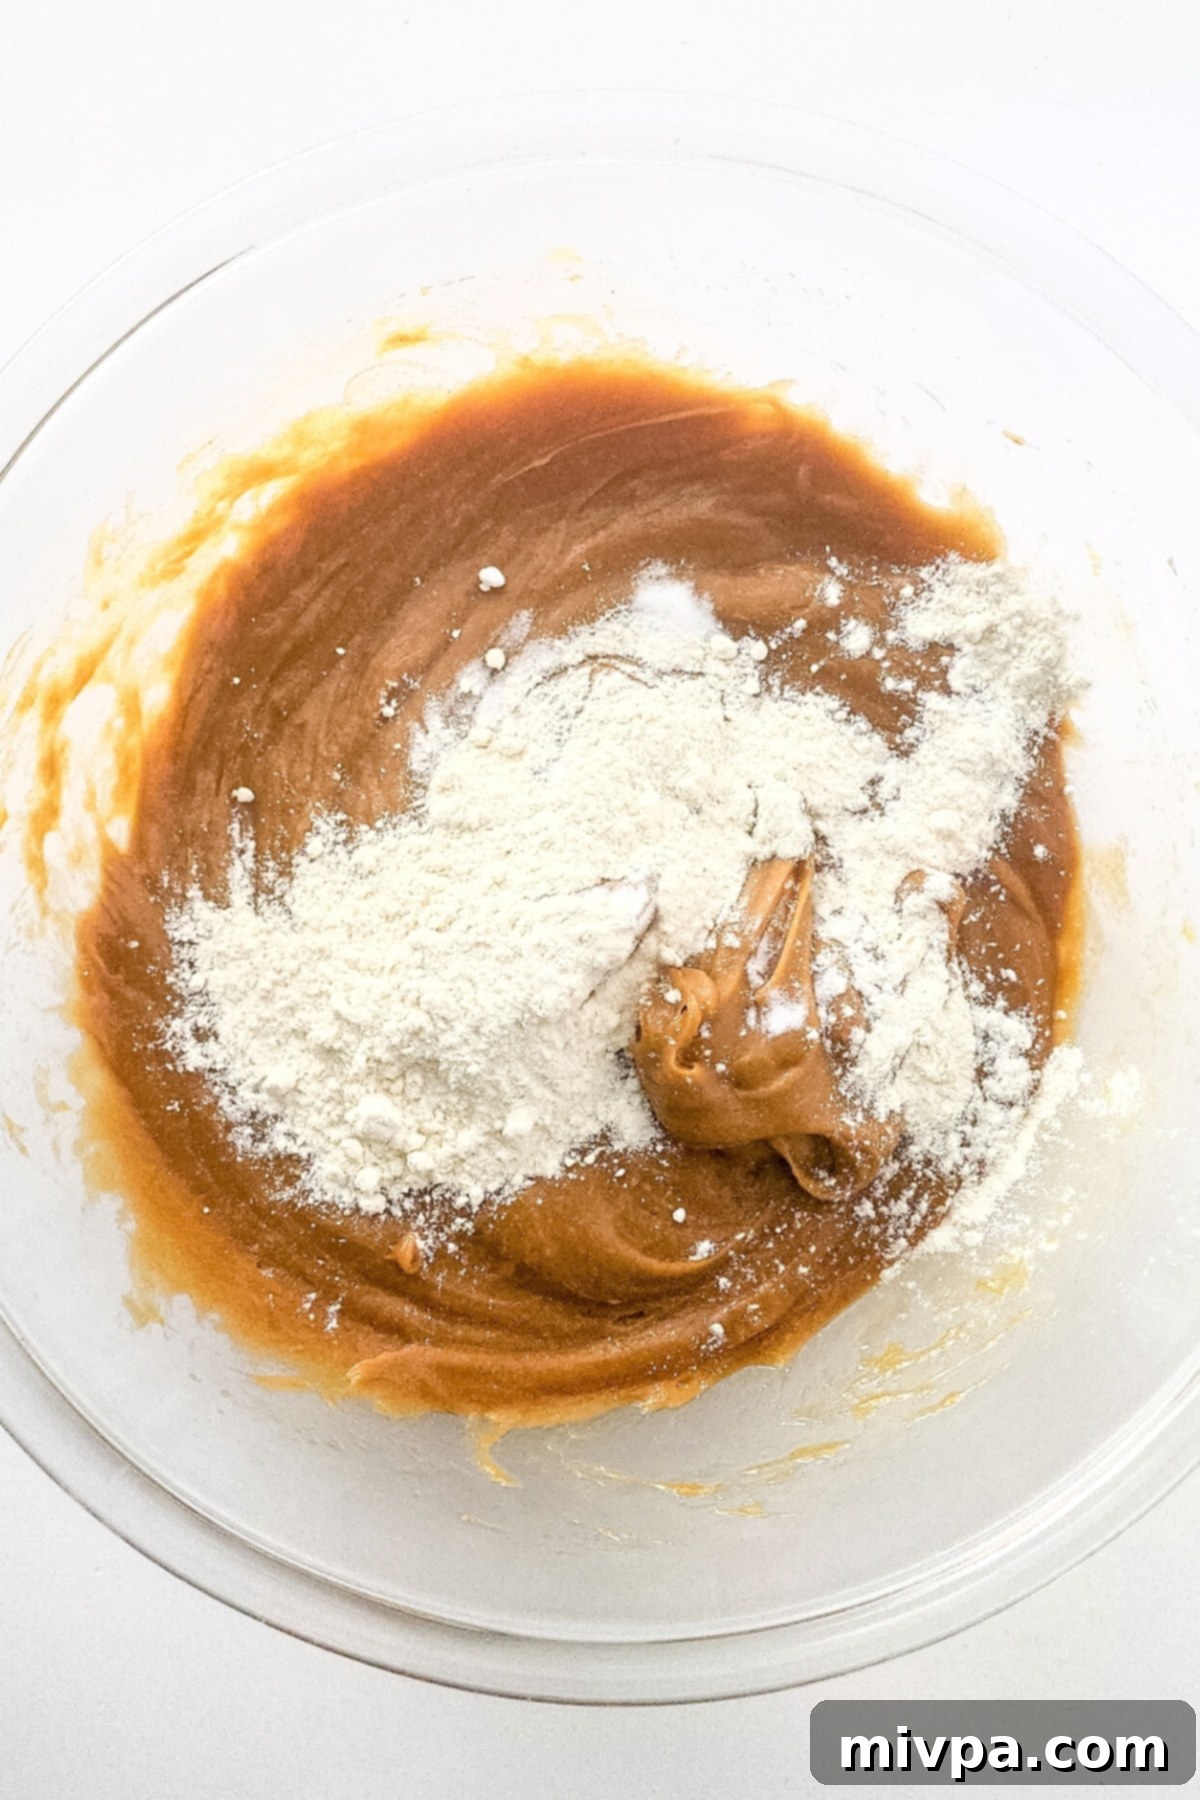
In a separate small bowl, briefly whisk together the gluten-free all-purpose flour and baking soda to ensure they are well combined. Then, add this dry mixture to the bowl containing your wet ingredients. Mix everything together thoroughly until no streaks of dry flour remain and a uniform batter forms. Be careful not to overmix; just combine until smooth.
4. Fold in Chopped Chocolate
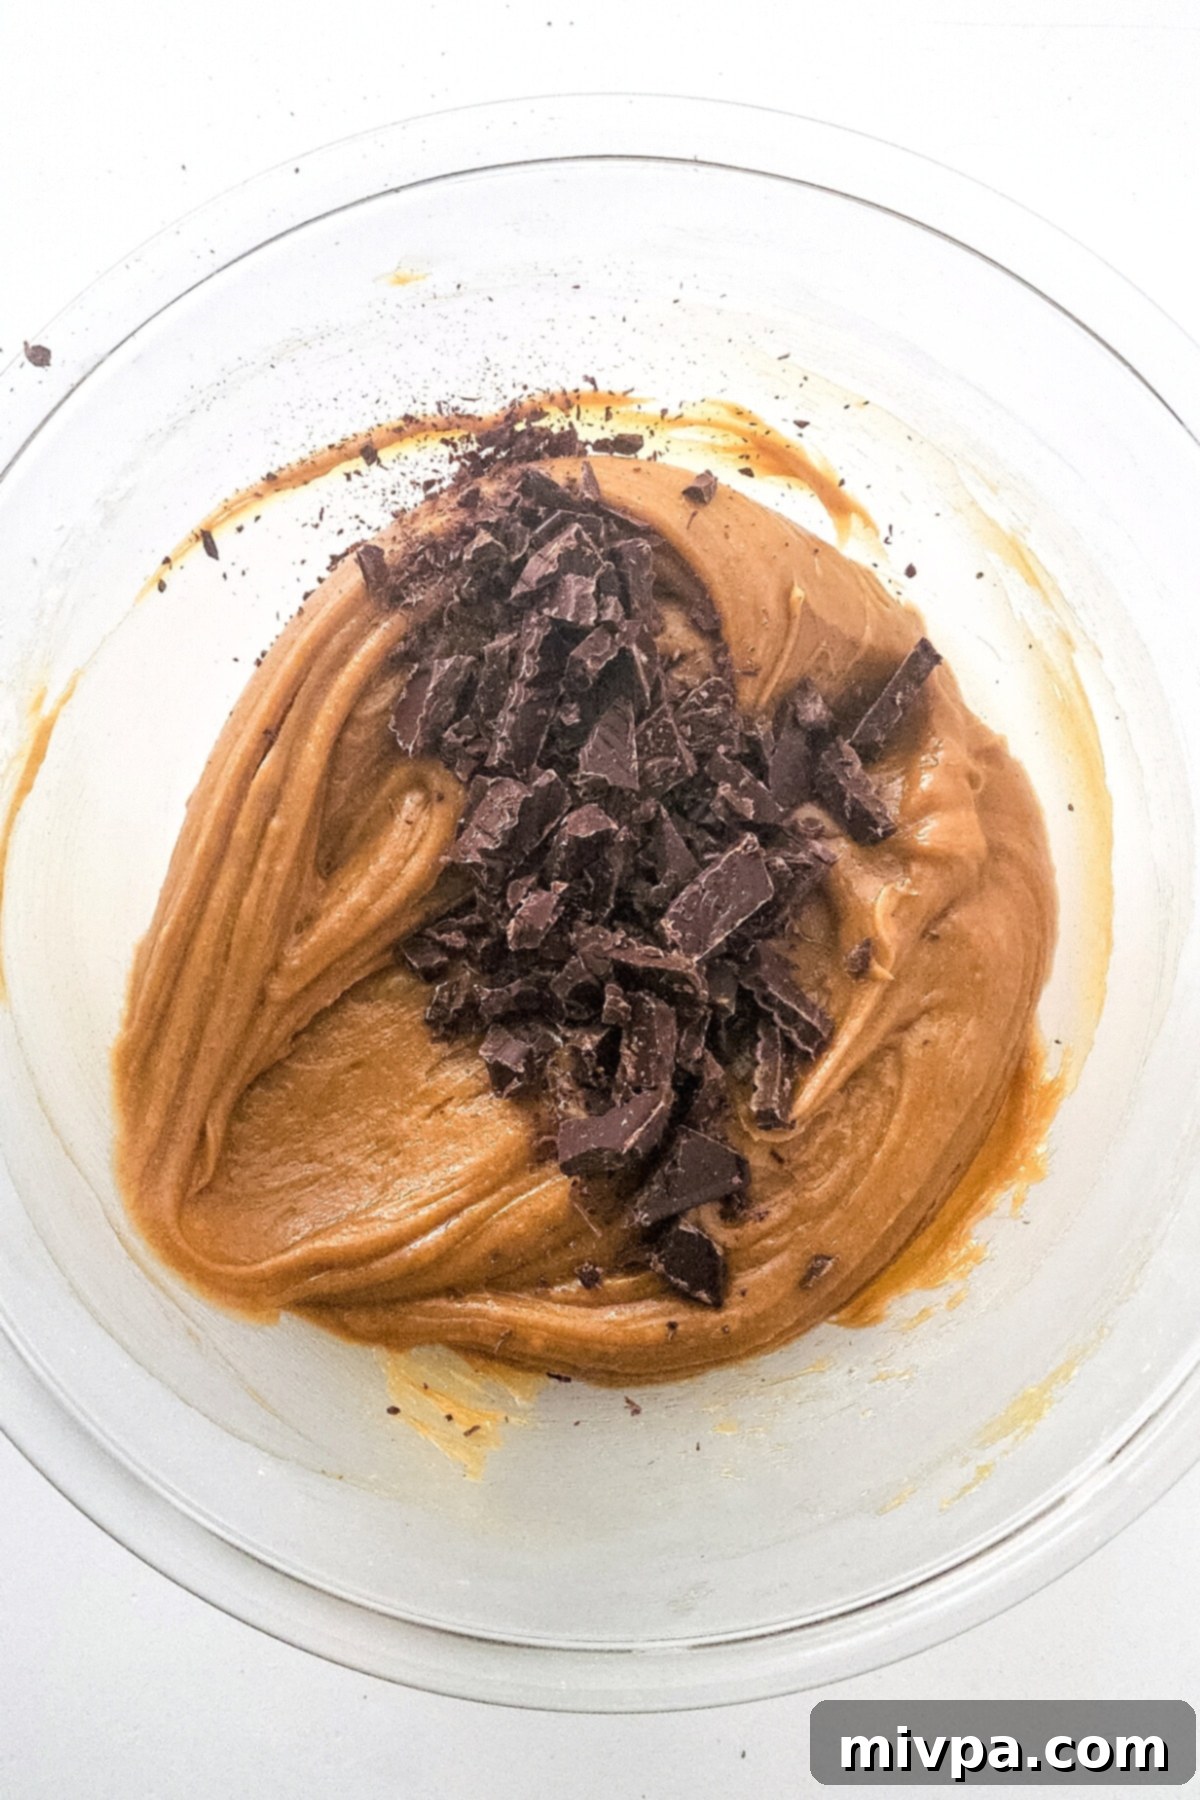
Now for the fun part! Gently fold in most of your chopped dairy-free chocolate pieces into the batter. Reserve a small handful of chocolate to sprinkle on top of the blondies before baking; this will give them a beautiful, appealing finish.
5. Transfer to Baking Dish
Carefully pour the rich blondie batter into your previously greased or parchment-lined square pan. Use a spatula or the back of a spoon to spread the batter out evenly across the bottom of the pan. This ensures uniform thickness and consistent baking.
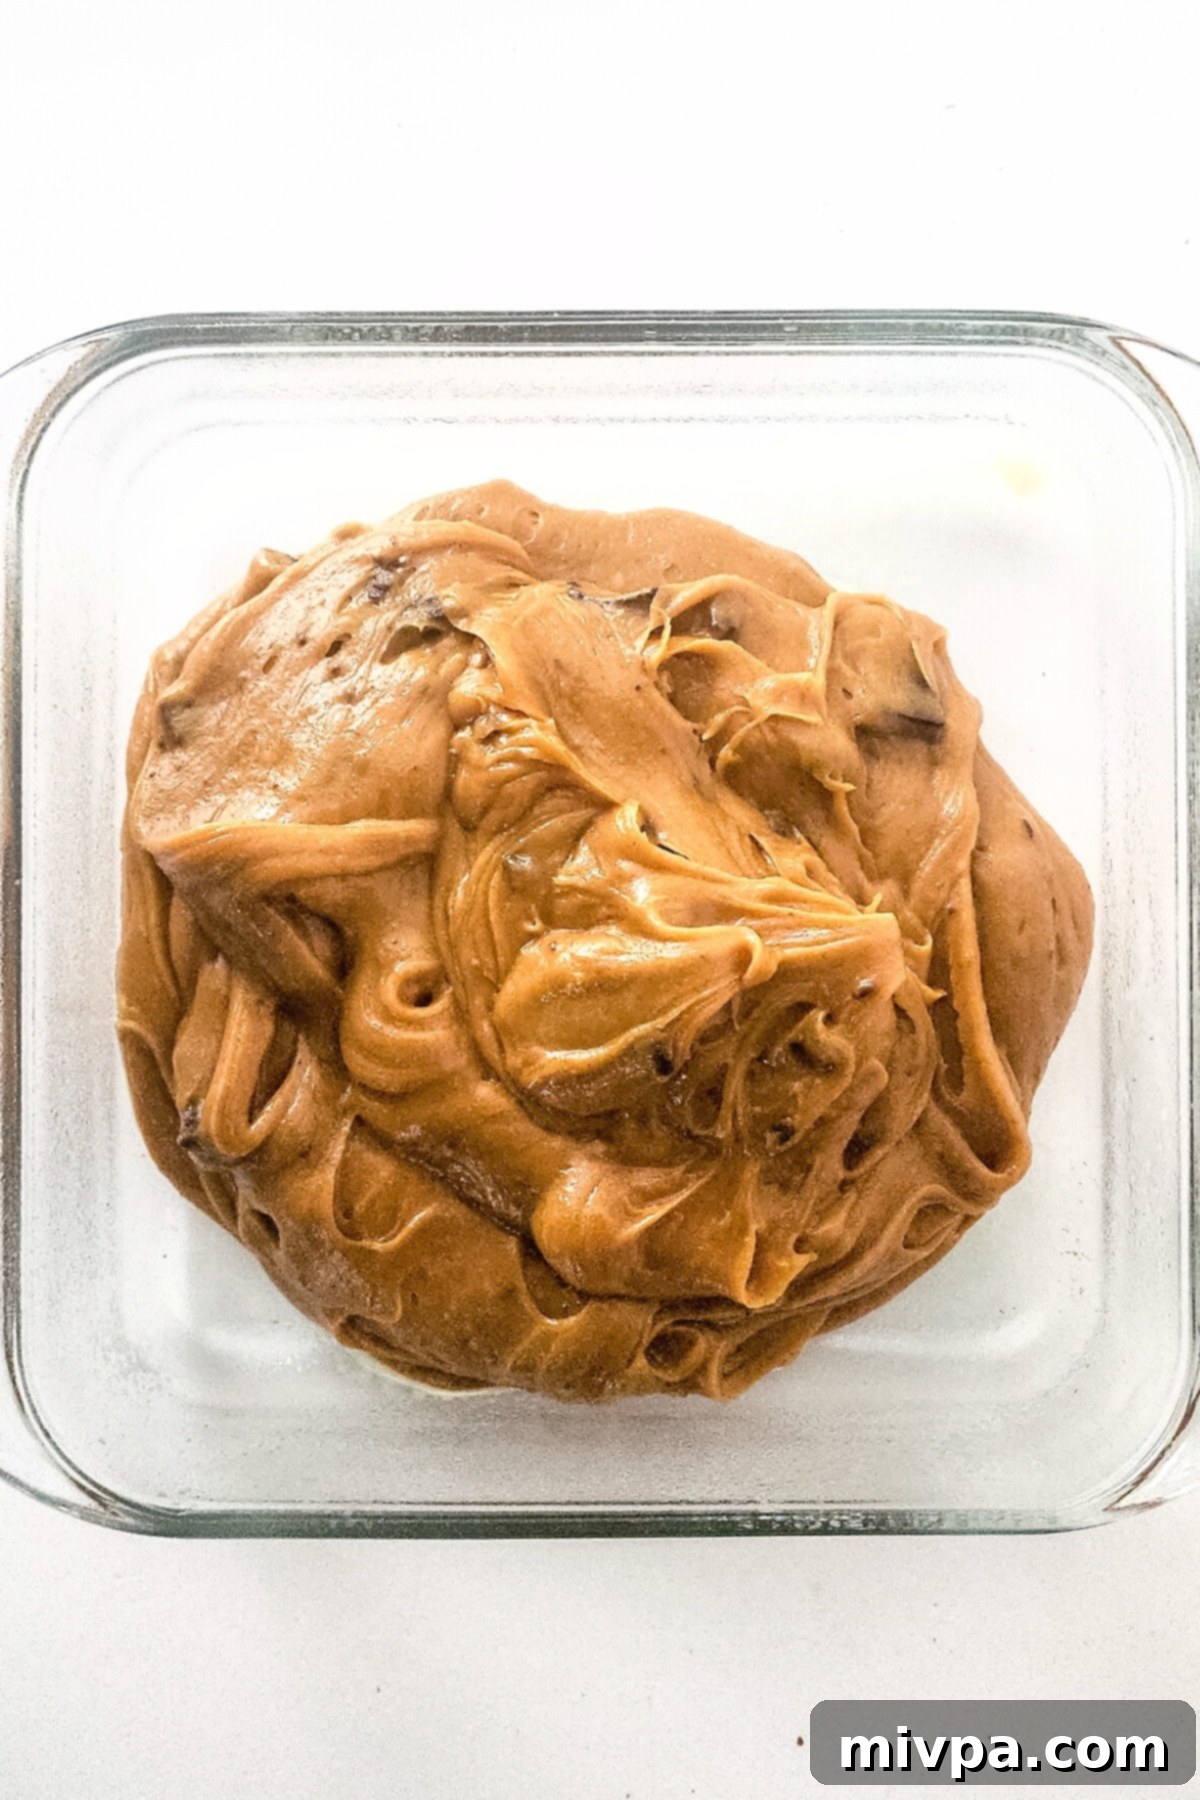
6. Top with Remaining Chocolate
Now, take the small amount of chopped chocolate pieces you reserved and generously sprinkle them over the top of the batter. This not only adds more chocolatey goodness but also creates an attractive, professional-looking finish once baked.
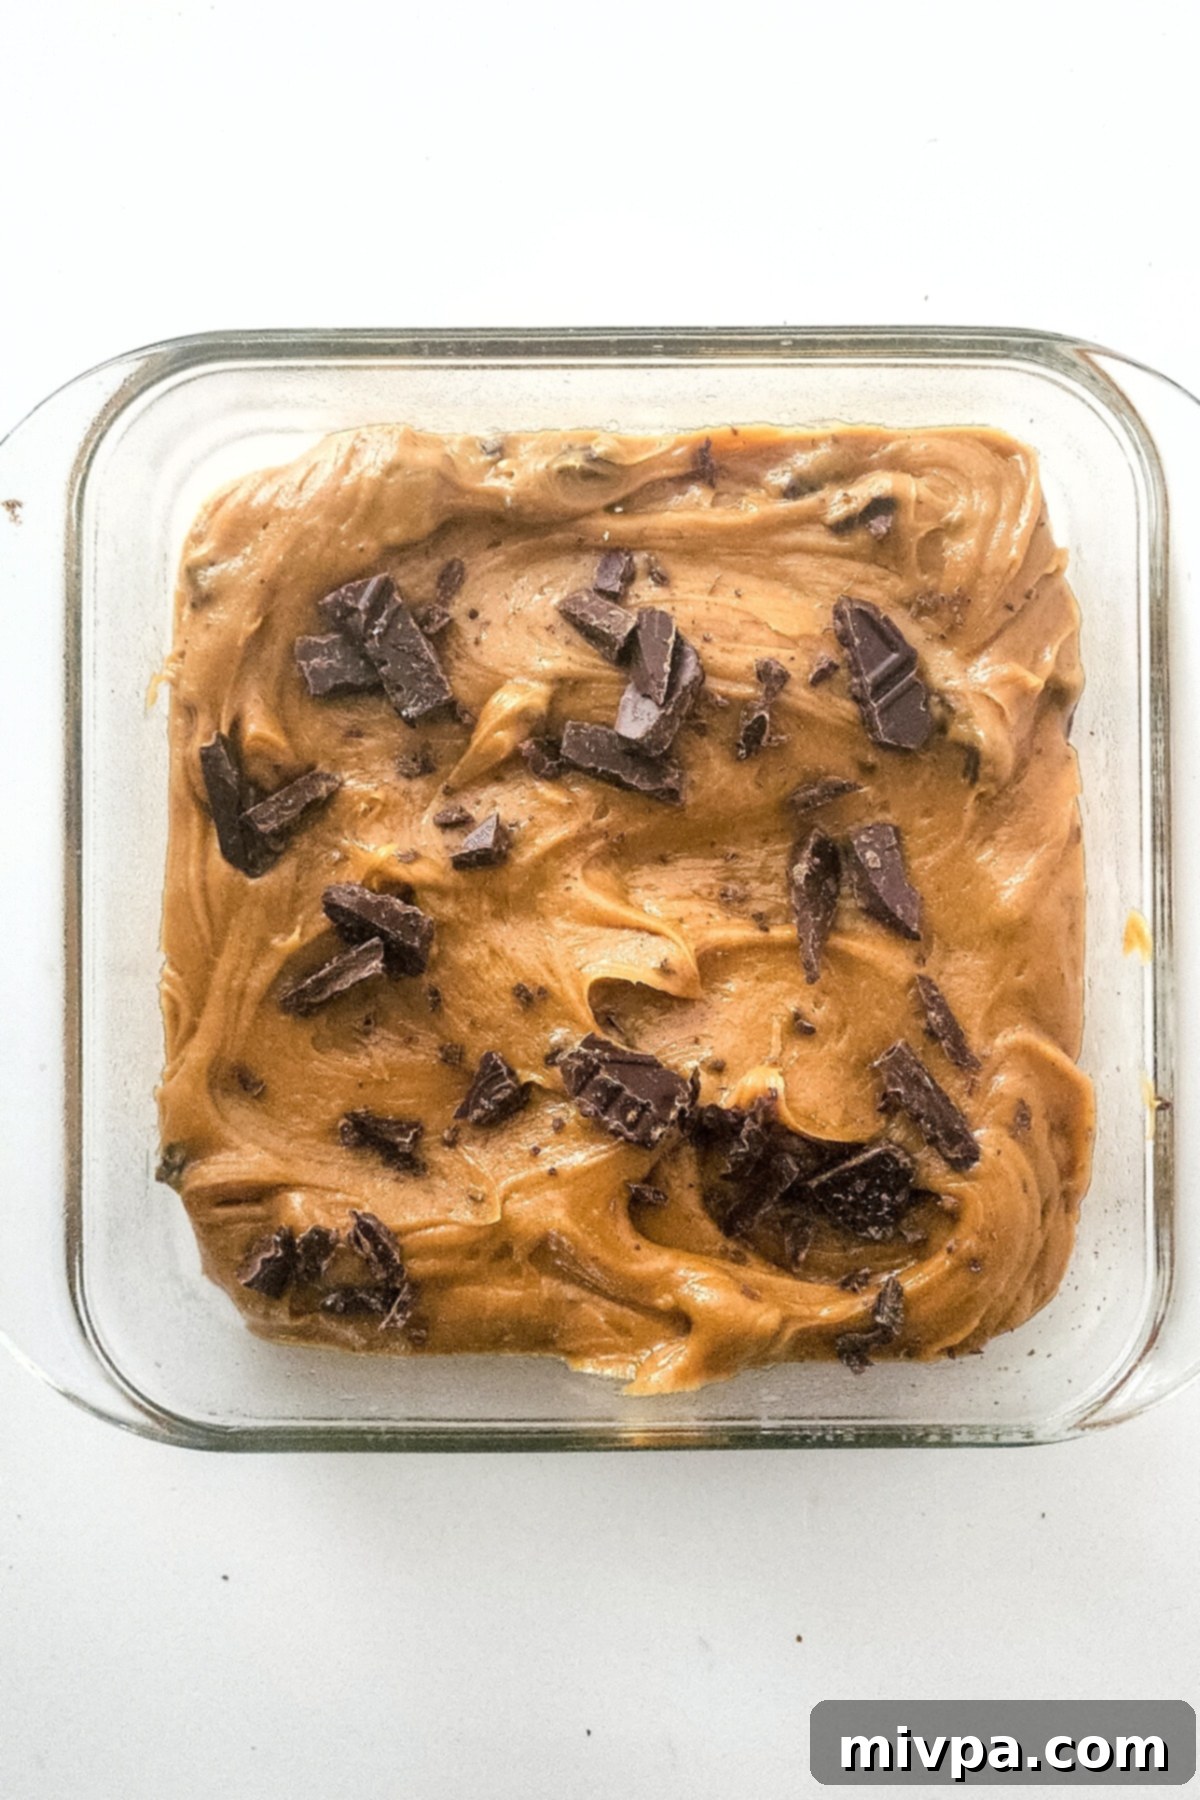
7. Bake Until Golden Brown
Place the baking dish into your preheated oven and bake for 30-35 minutes. You’re looking for the edges to be set and golden brown, and a toothpick inserted into the center should come out with moist crumbs attached, but not wet batter. Avoid overbaking, as this can lead to dry blondies; we want them perfectly fudgy and chewy!
8. Cool Before Slicing
Once baked, remove the blondies from the oven. This step is crucial for achieving that perfect chewy texture and clean slices. Allow them to cool completely in the pan on a wire rack before attempting to slice them. Resist the urge to cut them while warm, as they will be too soft and crumbly. Once fully cooled, lift them out of the pan (using the parchment handles, if applicable) and slice into 9 equal pieces.
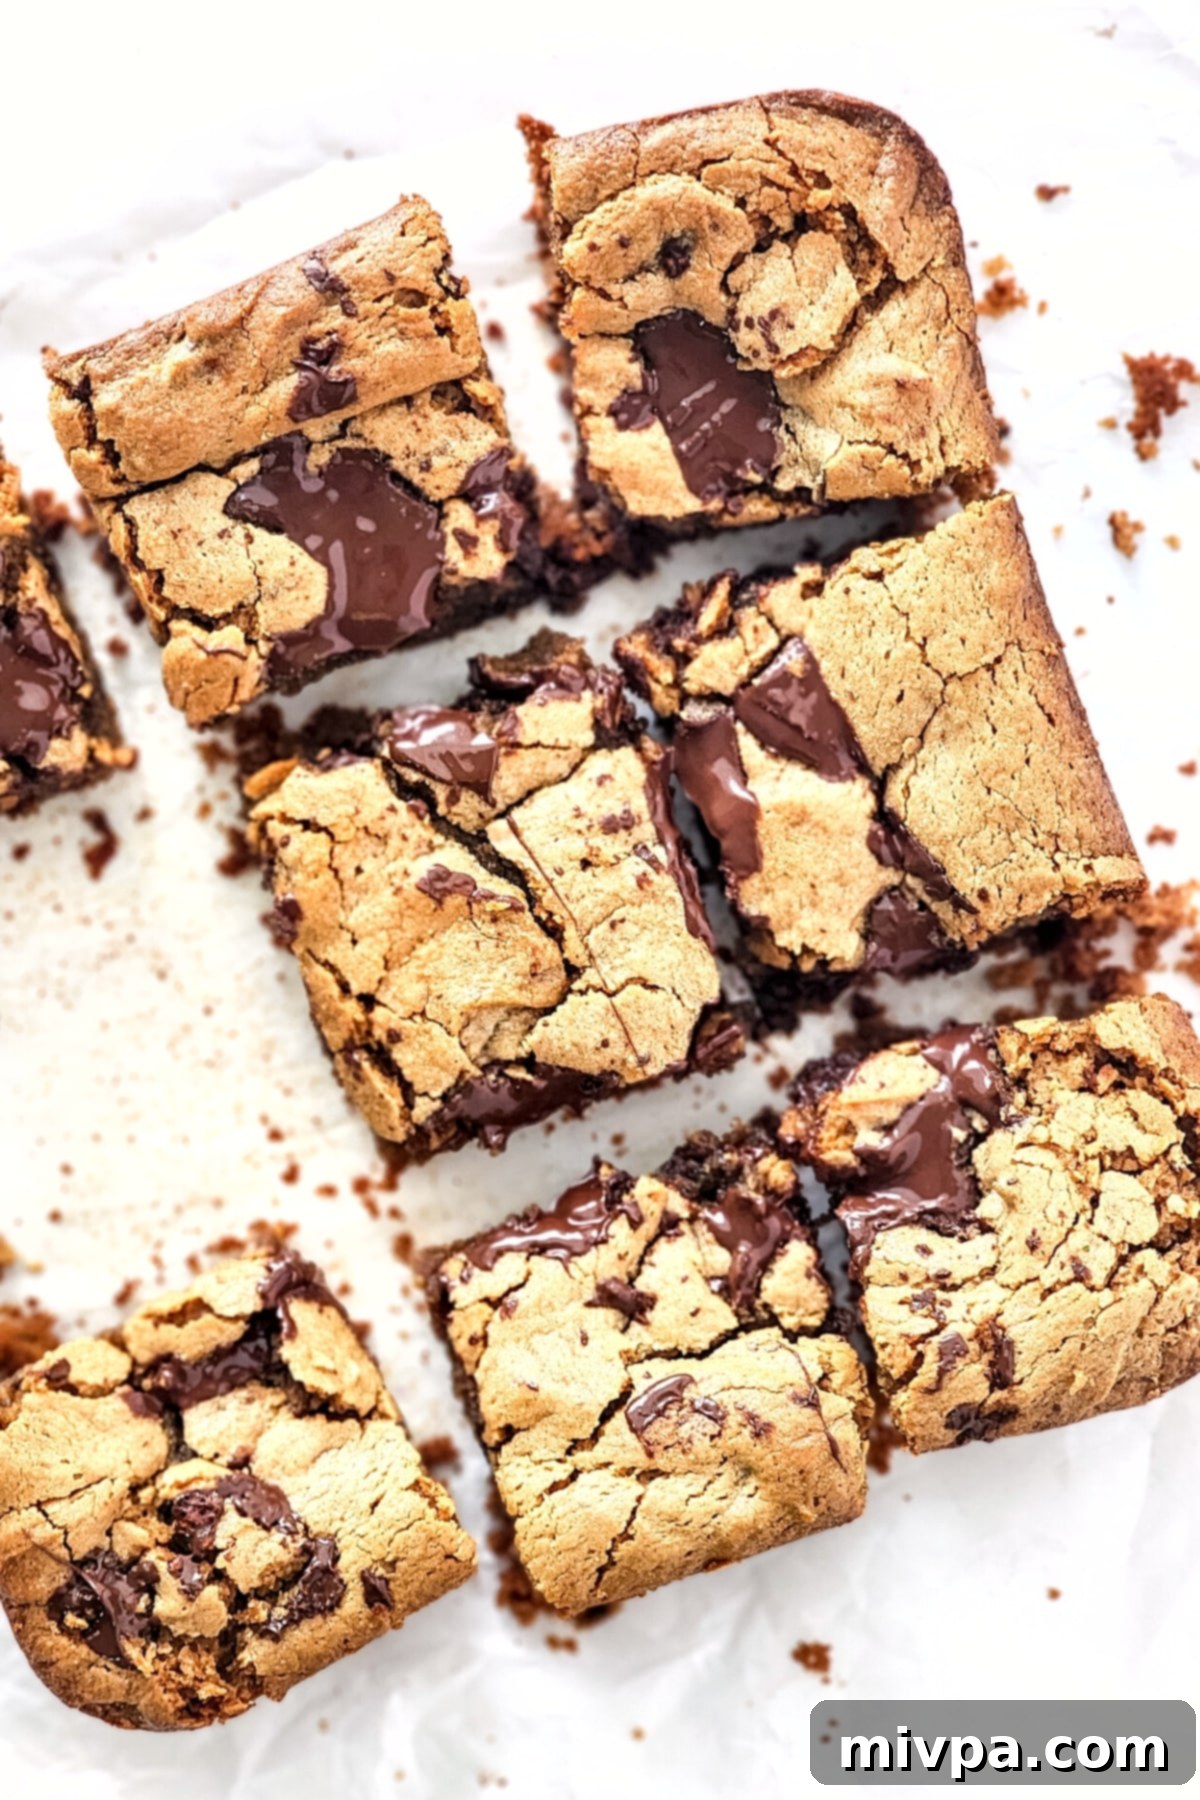
9. Serve and Enjoy!
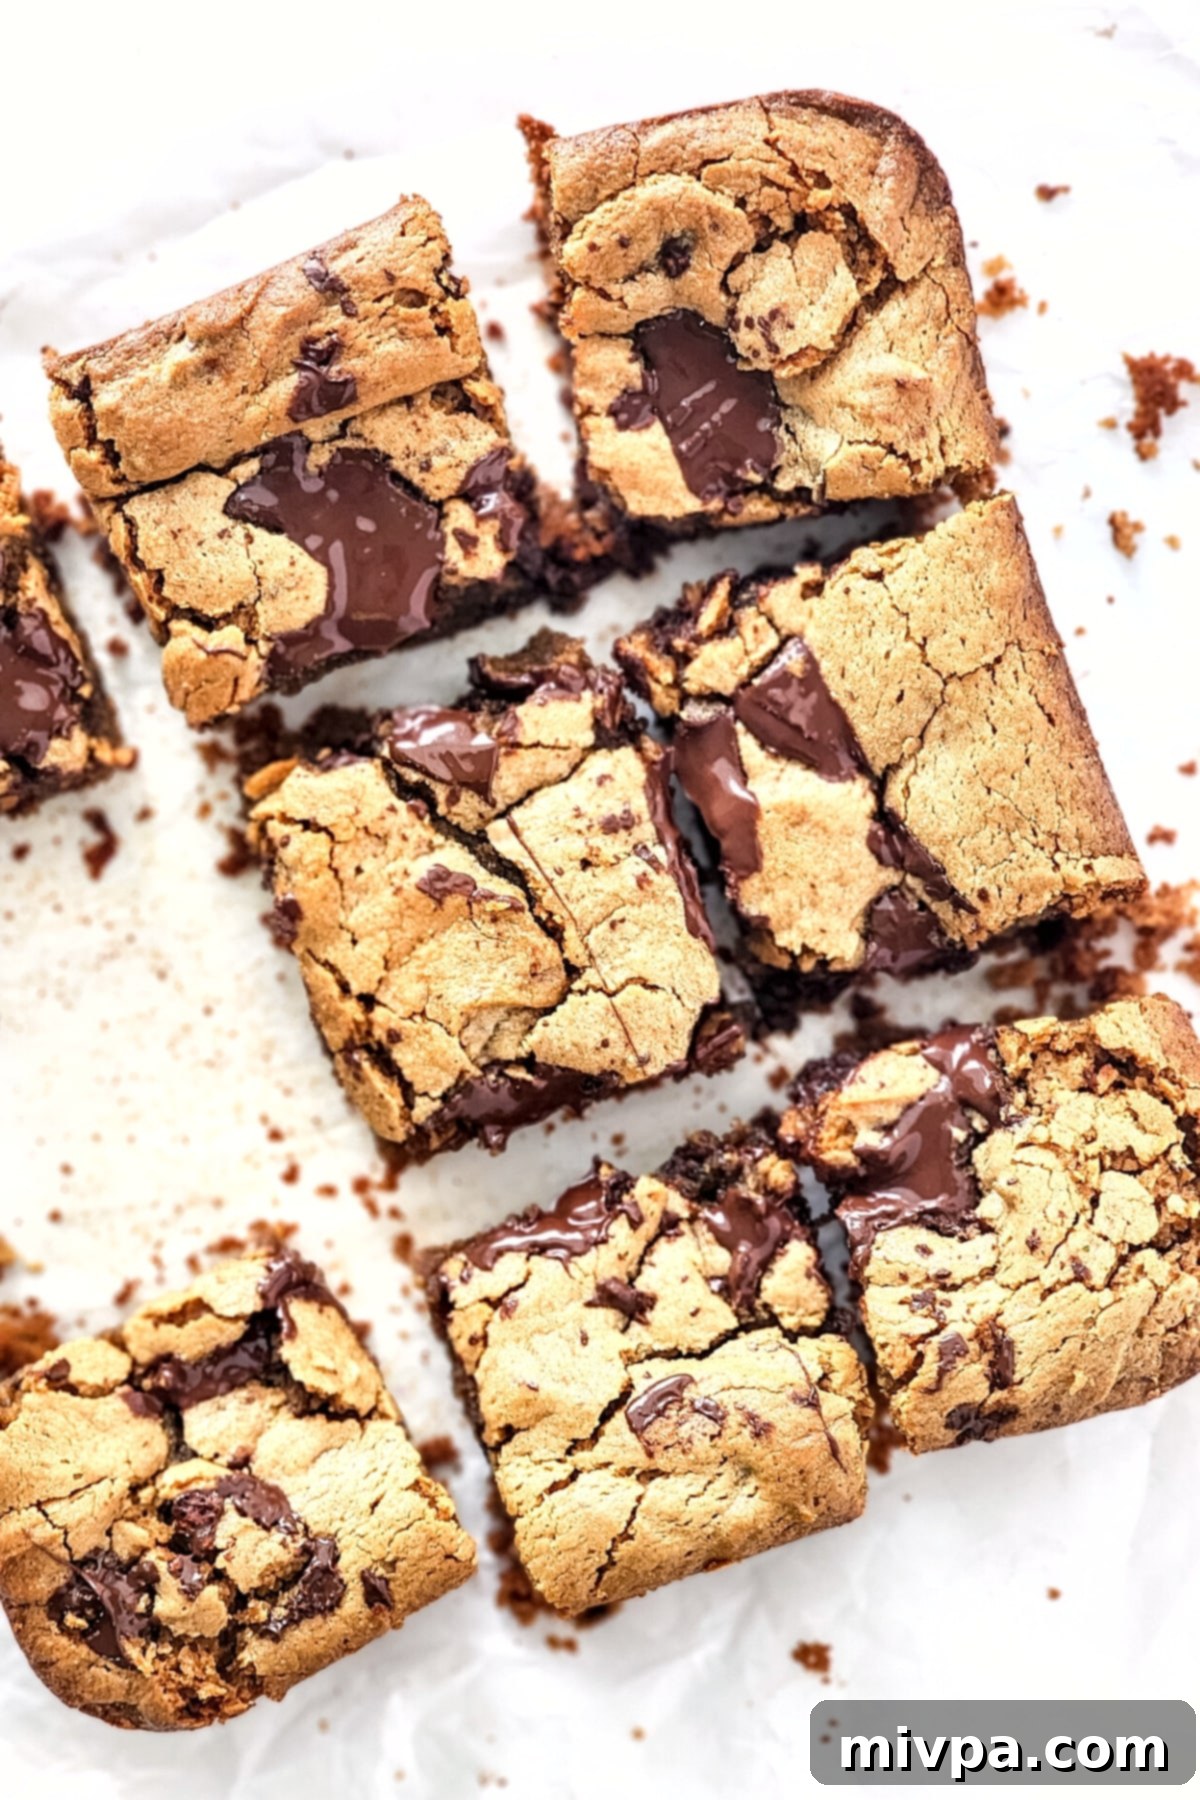
Your irresistibly delicious gluten-free peanut butter cookie bars are now ready! Serve them as is, perhaps with a sprinkle of sea salt to enhance the flavors, or elevate the experience with a scoop of your favorite dairy-free chocolate or vanilla ice cream. They make a fantastic dessert, a satisfying snack, or a delightful addition to any lunchbox.
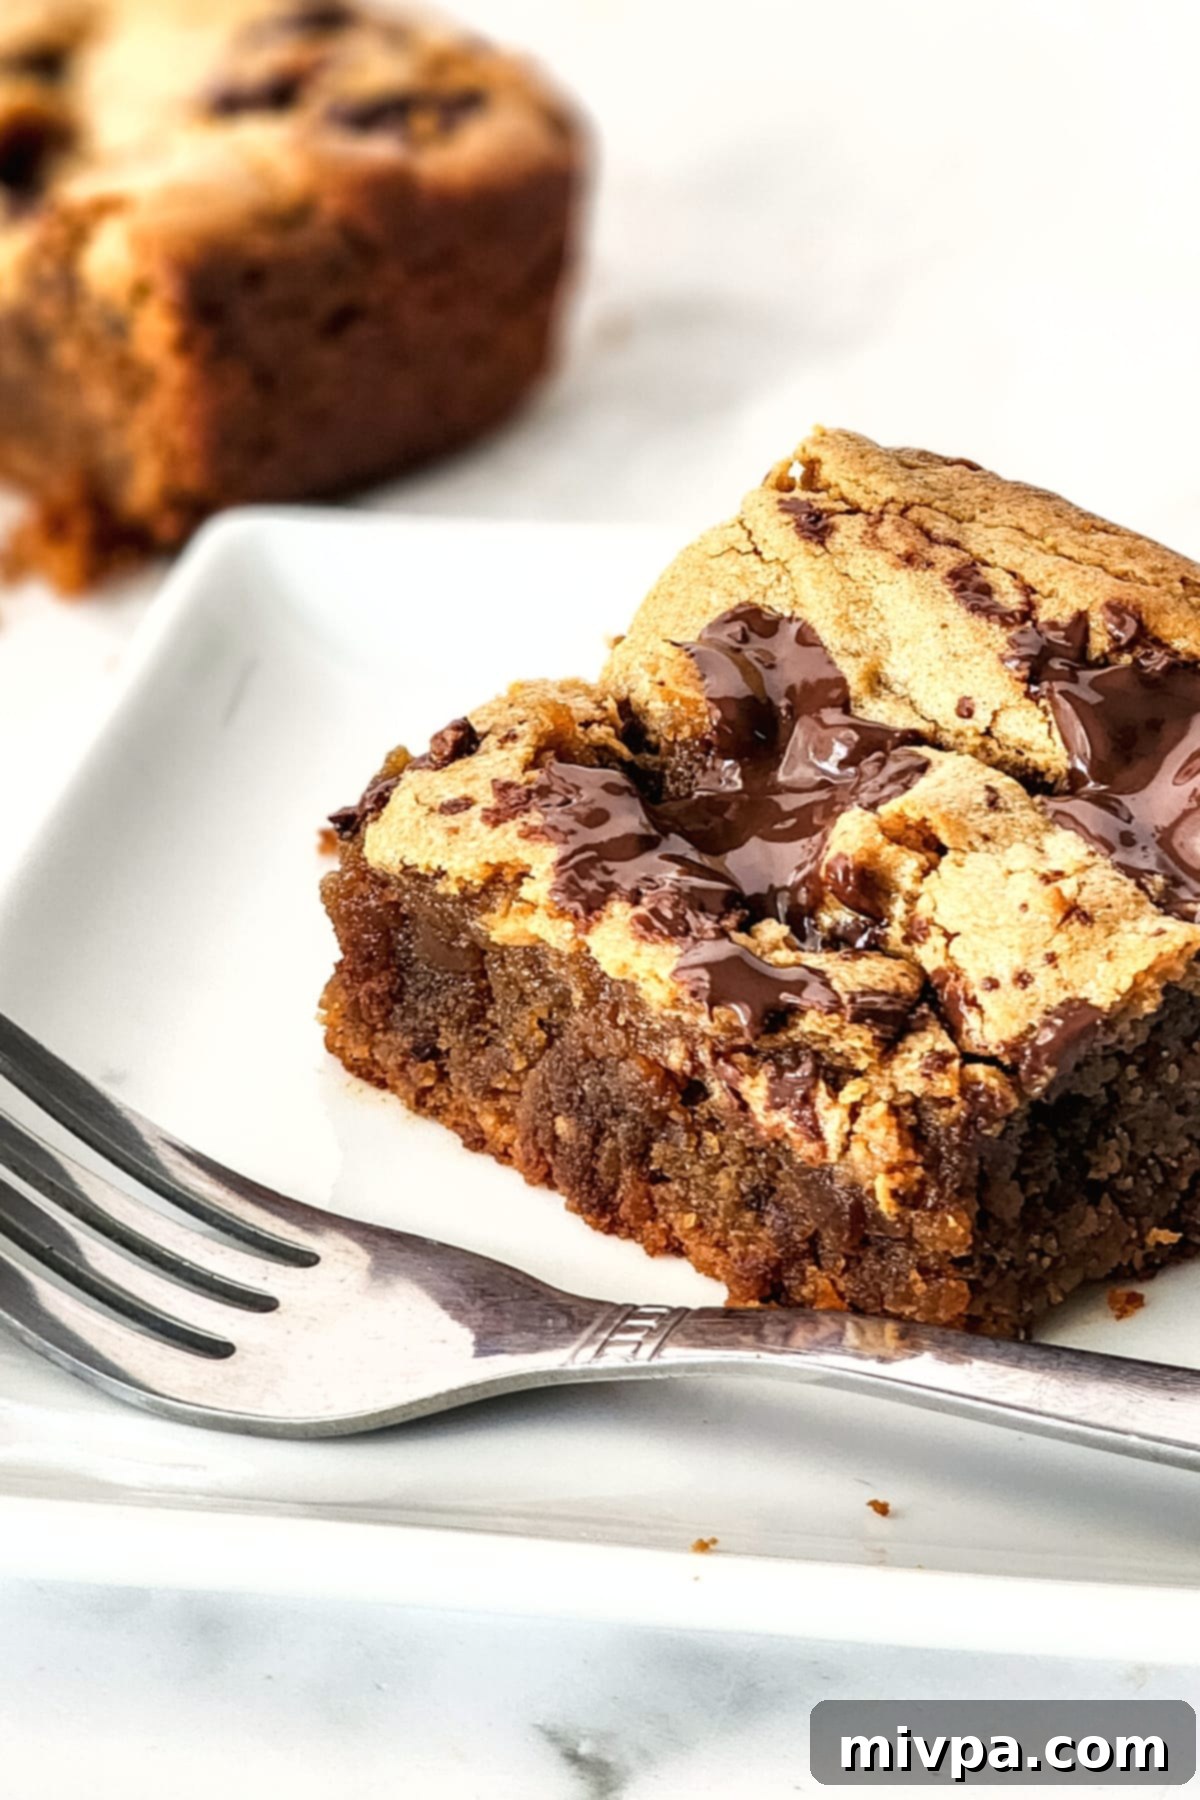
Dish by Dish: Expert Tips & Tricks for Perfect Blondies
Enhance your blondie-making experience with these additional tips and variations:
- Experiment with Chocolate Types: While dairy-free chocolate chips or chopped chocolate are fantastic, don’t limit yourself! If you’re a fan of white chocolate, go ahead and swap out the dark chocolate for chopped dairy-free white chocolate or dairy-free white chocolate chips. For an even simpler blondie, you can omit the chocolate entirely and let the pure peanut butter flavor shine.
- Explore Different Nut Butters: As mentioned in the substitutions, this recipe is incredibly versatile. While peanut butter is classic, feel free to use other types of nut or seed butter like almond butter, cashew butter, or sunflower seed butter. Each will impart a unique flavor profile to your blondies. Just ensure they are creamy for the best texture.
- Add Extra Crunch: For more texture, mix in a handful of chopped peanuts, walnuts, or pecans along with the chocolate. This adds another layer of flavor and a delightful crunch.
- A Touch of Sea Salt: A sprinkle of flaky sea salt on top of the blondies before baking (or even after) can really enhance the flavors, creating a beautiful sweet and salty contrast.
- Don’t Overbake: The key to chewy, fudgy blondies is to avoid overbaking. Blondies continue to set as they cool. Look for set, golden edges and a slightly soft center when you remove them from the oven.
Recipe FAQs: Your Questions Answered
To keep these delicious peanut butter cookie bars fresh, place them in an airtight container or wrap them tightly in plastic wrap. Store them at room temperature for up to 4 days. If your kitchen is particularly warm, storing them in the refrigerator can extend their freshness slightly.
Absolutely! Blondies freeze wonderfully, making them perfect for meal prep or saving for a future craving. To freeze, individually wrap each blondie in plastic wrap, then place them in a freezer-safe container or a ziplock bag. They will keep in the freezer for up to 3 months. When you’re ready to enjoy them, thaw the blondies overnight in the refrigerator, or gently warm them in the microwave for a few seconds (or in a low oven) for a freshly baked feel.
The main difference lies in the base flavor. Brownies are typically chocolate-based, deriving their rich, dark color and intense flavor from cocoa powder or melted chocolate. Blondies, on the other hand, are vanilla-based, often featuring brown sugar, which gives them a golden “blonde” color and a distinctly buttery, caramel-like flavor. While both are chewy bar cookies, blondies offer a lighter, often nuttier flavor profile without the dominant chocolate taste (though chocolate chips are often added!).
Yes, this recipe is already dairy-free. To make it fully vegan, you would need to substitute the eggs. As mentioned in the “Recipe Notes,” you can try using acquafaba (3 tablespoons per egg) or a commercial egg replacer powder mixed according to package instructions. The remaining ingredients are typically vegan-friendly, but always double-check labels for maple syrup and chocolate to ensure they are certified vegan.
More Peanut Butter & Chocolate Delights You’ll Love:
If you can’t get enough of the irresistible peanut butter and chocolate combination, you’re in luck! Here are some other fantastic recipes from the blog that celebrate this iconic duo, all while being allergy-friendly:
- No-Bake Peanut Butter Crunch Bars (Gluten-Free, Vegan)
- Peanut Butter Buckeye Balls (Gluten-Free, Vegan)
- Healthy Peanut Butter Cups (Gluten-Free, Vegan)
- Flourless Peanut Butter Cookies (Gluten-Free, Dairy-Free)
Even More Gluten-Free Desserts to Indulge In:
Craving more sweet treats that cater to dietary needs? Explore our collection of delightful gluten-free desserts:
- Gluten-Free Pumpkin Banana Muffins (Dairy-Free)
- 126 Gluten-Free Desserts and Sweet Treats for Labor Day
- Mini Pumpkin Cheesecakes (Gluten-Free, Dairy-Free Option)
- Gluten-Free Pecan Pie Bars (Dairy-Free)
P.S. If you try this recipe, I’d love for you to leave a star rating below, and/or a review in the comment section further down the page. I always appreciate your feedback. Be sure to check out my entire Recipe Index for all the recipes on the blog. You can also follow me on Pinterest, Facebook or Instagram! Sign up for my Email List to get fresh recipes in your inbox each week!
Print
Gluten-Free Peanut Butter Blondies Recipe (Dairy-Free)
5 Stars
4 Stars
3 Stars
2 Stars
1 Star
No reviews
- Author: Felicia Lim
Total Time: 45 minutes
Yield: 9 servings
Diet: Gluten Free
Description
These gluten-free peanut butter blondies are the ultimate chewy, fudgy, and delicious sweet treat, loaded with chocolate bits. They’re incredibly easy to make, calling for simple ingredients you likely already have. Plus, they’re completely dairy-free, making them a perfect, allergy-friendly dessert for everyone to enjoy!
Ingredients
Scale
- 2 cups creamy peanut butter
- 3/4 cup maple syrup
- 2 large eggs, beaten (see notes for vegan option)
- 2 tablespoons gluten-free all-purpose flour blend
- 1 teaspoon baking soda (certified gluten-free if needed)
- 1/2 cup dairy-free chocolate, chopped (or dairy-free chocolate chips)
Instructions
- Preheat Oven & Prepare Pan: Preheat the oven to 350°F (180°C). Grease an 8”x8” square baking dish with nonstick cooking spray, or line it with parchment paper for easy removal.
- Combine Wet Ingredients: In a large mixing bowl, add the peanut butter, maple syrup, and eggs. Whisk them together until you have a creamy and homogeneous mixture.
- Add Dry Ingredients: In a separate small bowl, whisk the gluten-free all-purpose flour and baking soda together. Add this flour mixture to the wet ingredients and mix well until just combined and no dry streaks remain.
- Fold in Chopped Chocolate: Gently fold in most of the chopped dairy-free chocolate into the batter. Reserve a small amount to sprinkle on top.
- Transfer to Baking Dish: Pour the batter into the prepared square pan and use a spatula to spread it out into an even layer.
- Top with Remaining Chocolate: Sprinkle the reserved chopped chocolate pieces evenly over the top of the batter.
- Bake Until Golden Brown: Place the pan in the preheated oven and bake for 30-35 minutes, or until the edges are golden brown and a toothpick inserted into the center comes out with moist crumbs.
- Cool Before Slicing: Let the blondies cool completely in the pan on a wire rack before attempting to slice them into 9 equal pieces. This is crucial for a perfectly chewy texture and clean cuts.
- Serve and Enjoy! Serve your delicious gluten-free peanut butter blondies warm or at room temperature. Enjoy them plain, or with a scoop of your favorite dairy-free ice cream.
Notes
Peanut Butter: I used creamy peanut butter. Other nut butters like almond butter, cashew butter, or sunflower seed butter can be used for variations or allergies.
Maple Syrup: Maple syrup provides natural sweetness. Agave nectar or honey are good substitutes. For a low-glycemic option, try maple-flavored monk fruit syrup.
Eggs: Eggs bind the ingredients. To make this recipe egg-free and vegan, you may try substituting with acquafaba (3 tbsp per egg) or an egg-replacer. Please note, results may vary slightly in texture.
Gluten-Free Flour: I used a gluten-free all-purpose flour blend. If you are not gluten-intolerant, regular all-purpose flour works fine. Ensure your GF blend contains xanthan gum for best results.
Baking Soda: Baking soda is the leavening agent. If unavailable, use 2 teaspoons of baking powder instead. For Celiac, ensure it’s certified gluten-free.
Chocolate: I used chopped dairy-free chocolate to keep it dairy-free. Regular chocolate, semi-sweet, or dark chocolate chips can be used if dairy isn’t an issue. You can also use dairy-free chocolate chips.
Storing & Freezing: Store blondies in an airtight container or wrapped in plastic wrap at room temperature for up to 4 days. For longer storage, freeze them for up to 3 months in a freezer-safe container or securely wrapped. Thaw in the refrigerator overnight or gently reheat for a few minutes in the microwave or oven.
- Prep Time: 10 mins
- Cook Time: 35 mins
- Category: Desserts
- Method: Baking
- Cuisine: American
