Easy Homemade Peppermint Patties (Gluten-Free, Dairy-Free, Vegan)
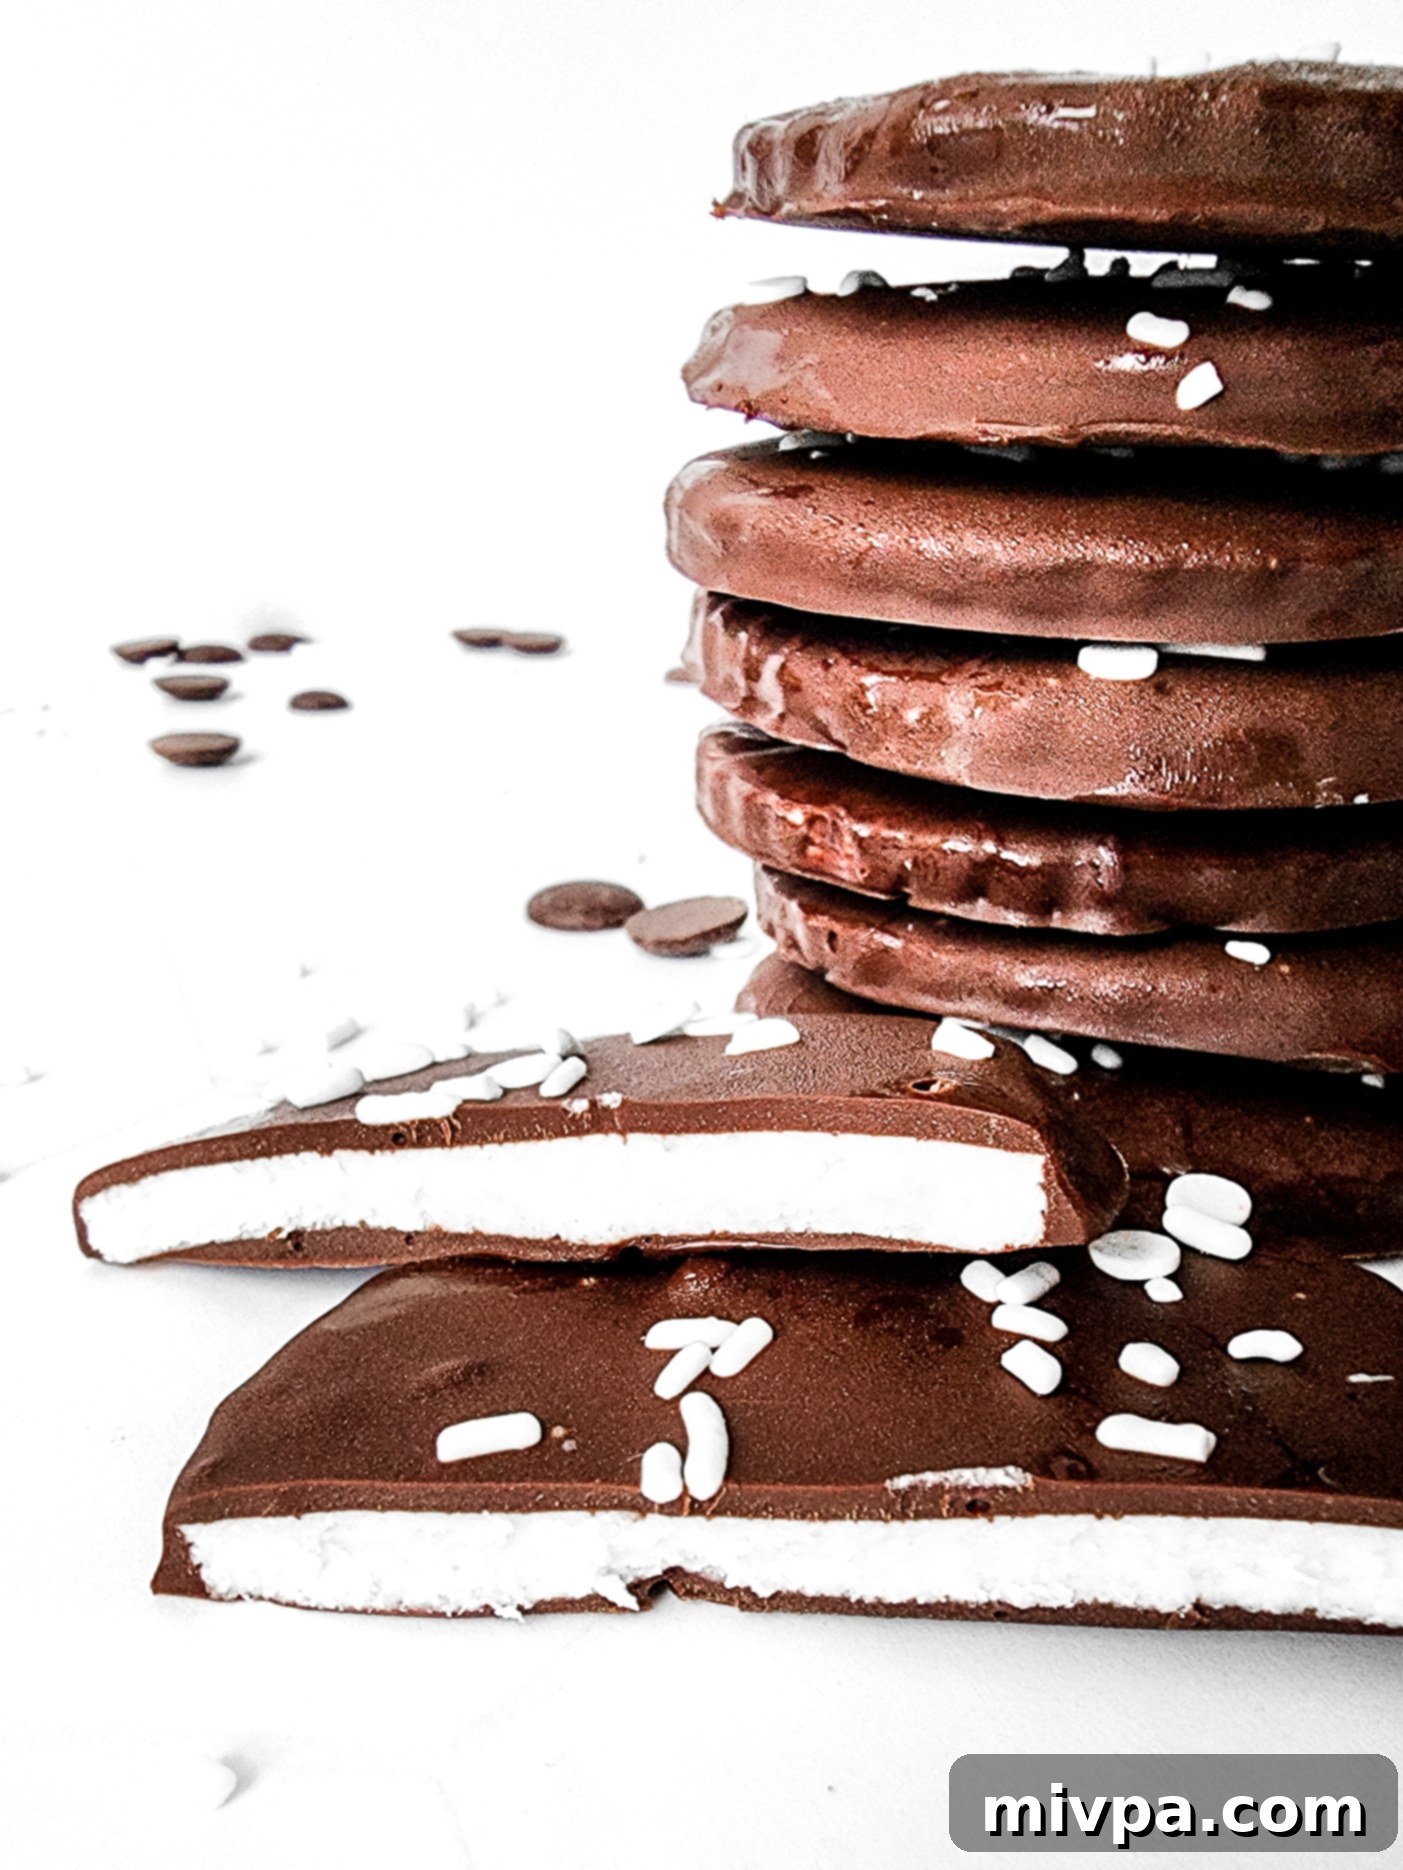
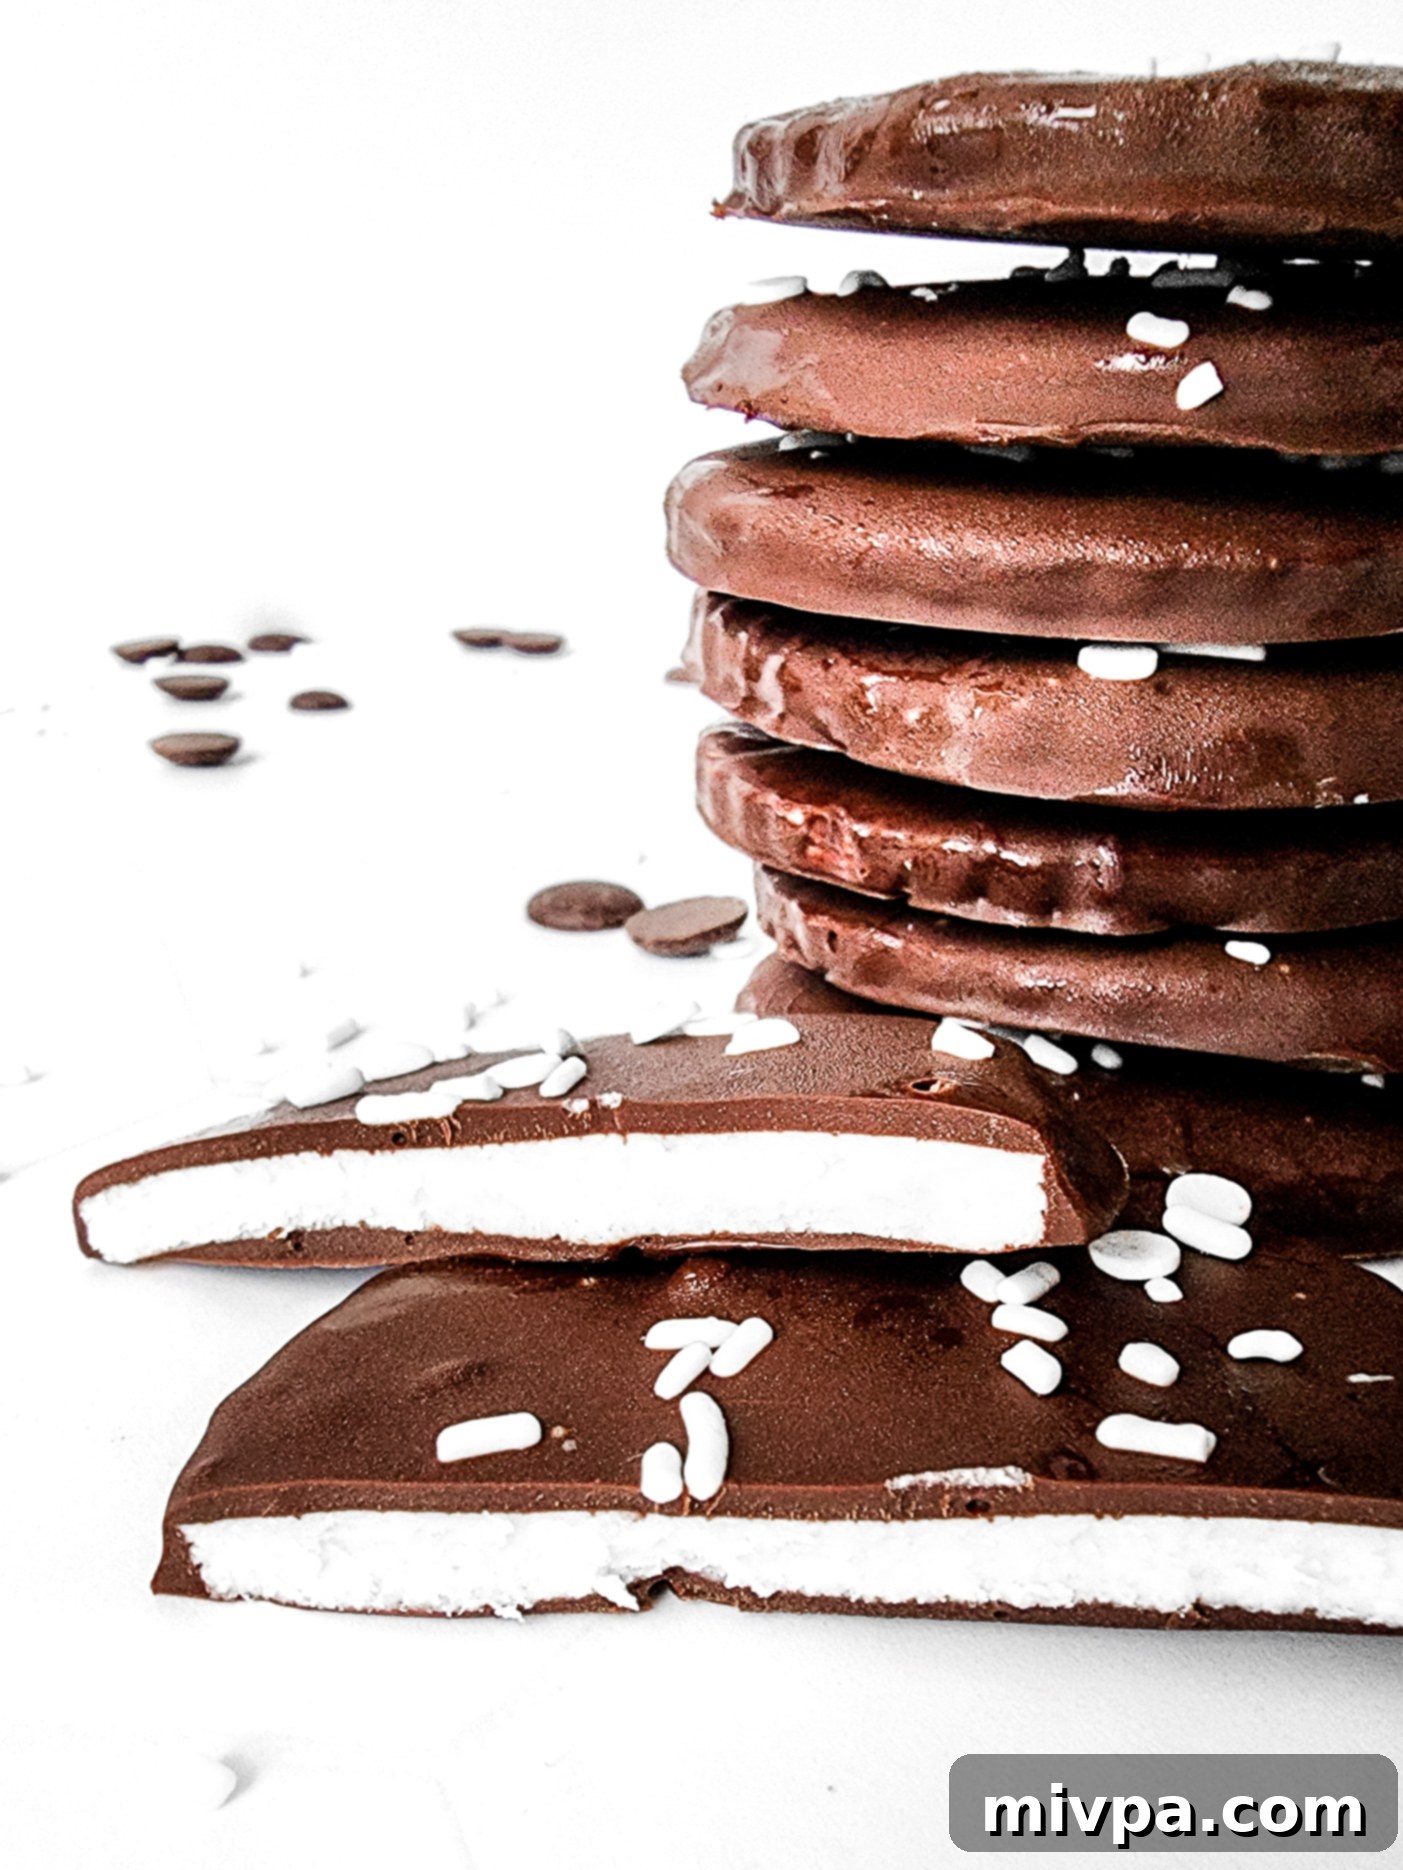
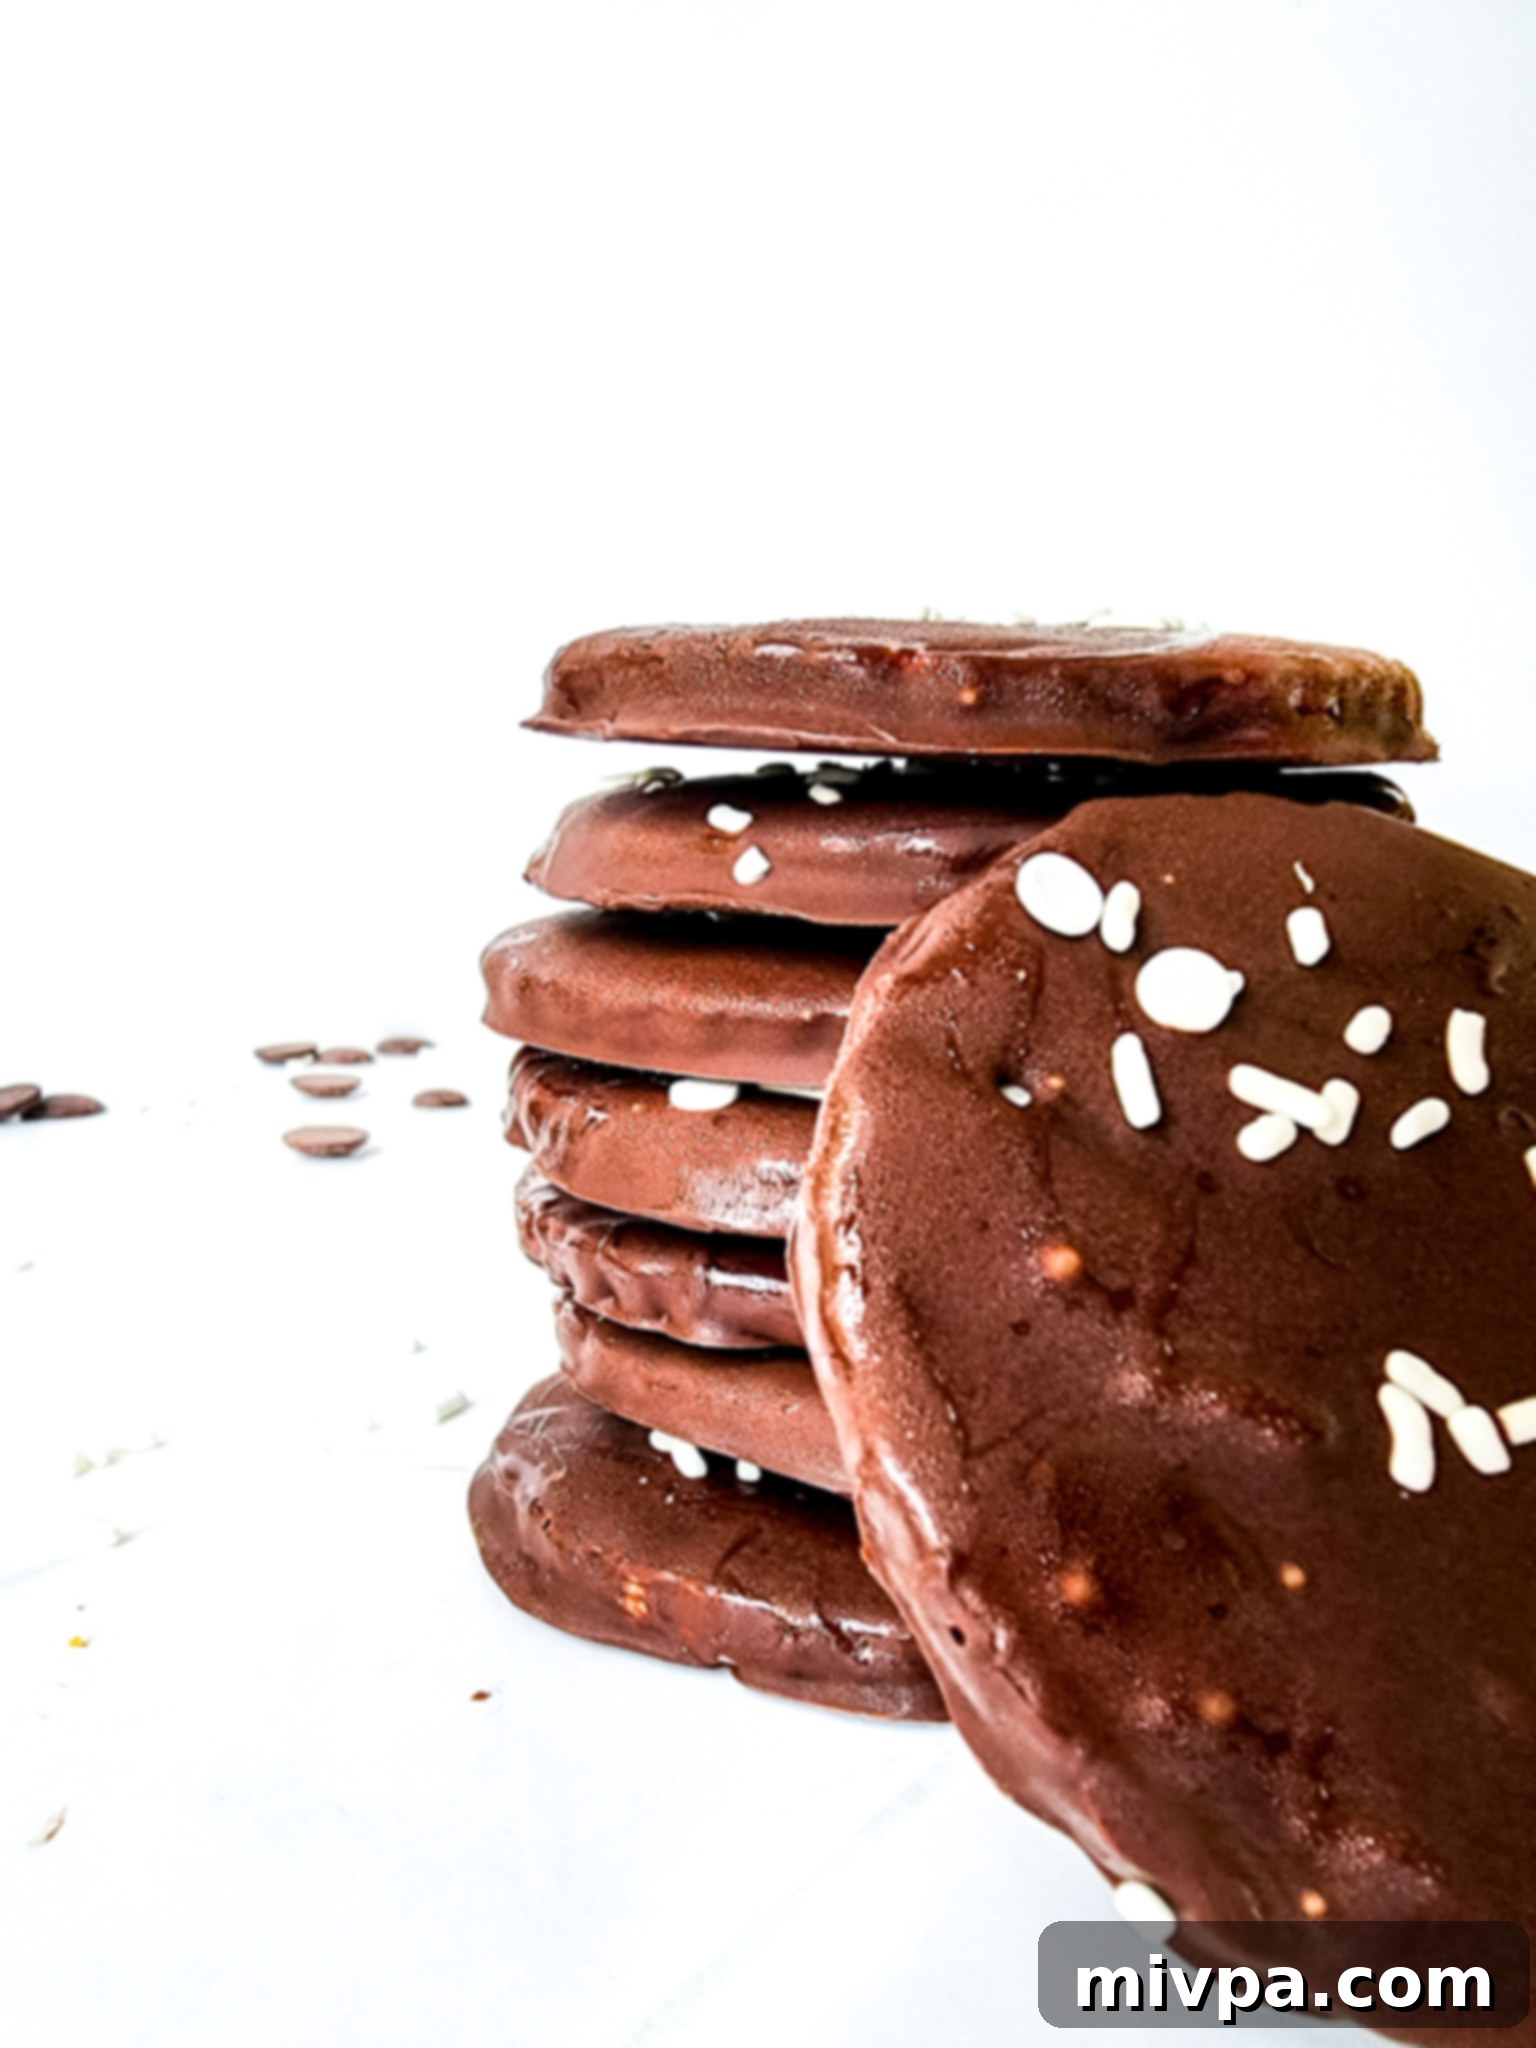
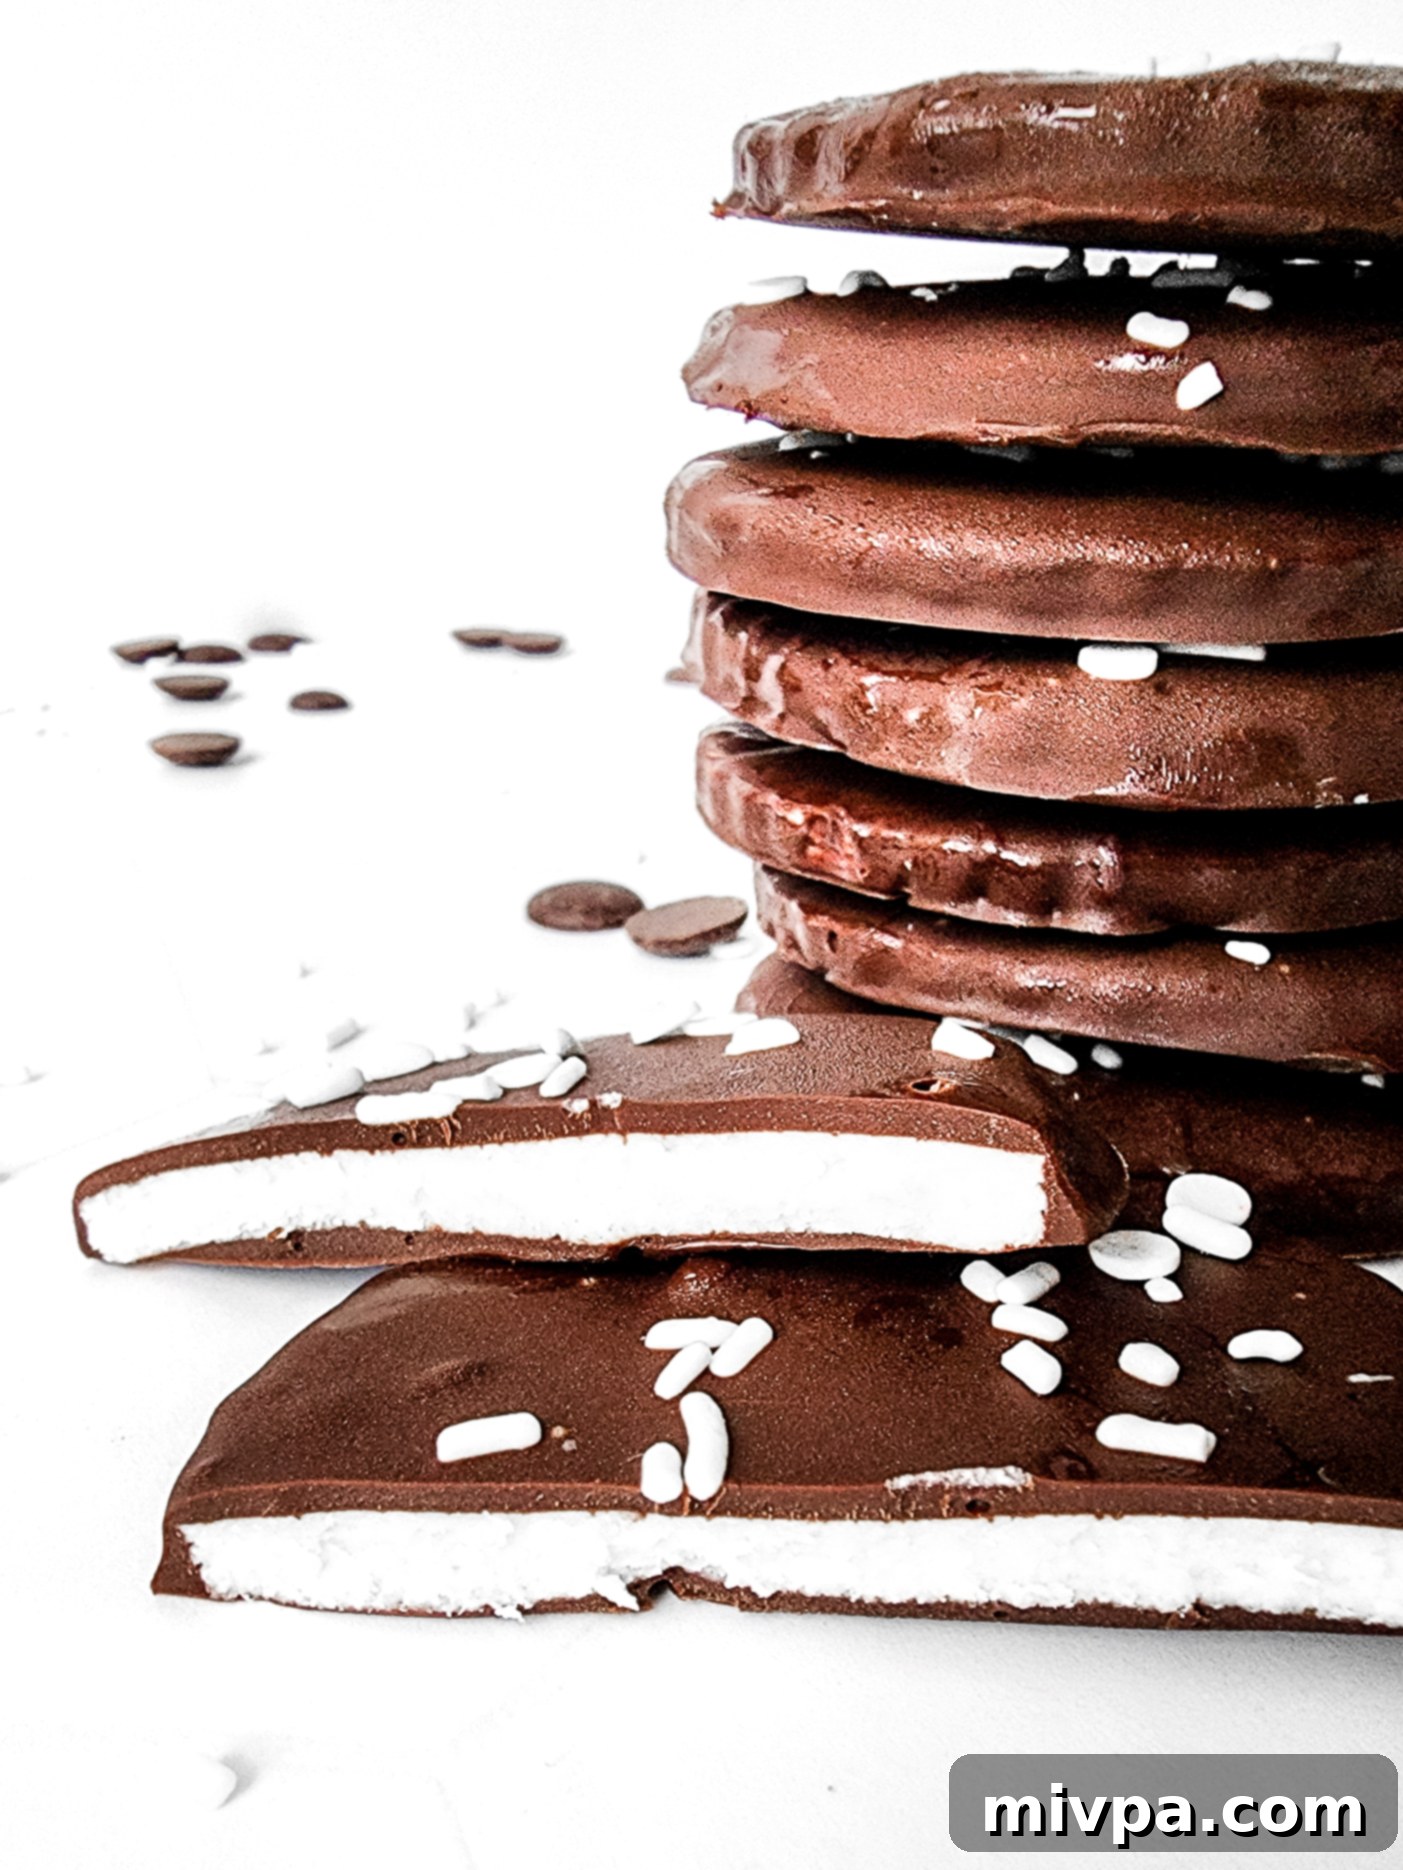
Indulge in the refreshing magic of these homemade peppermint patties! Crafted with just 5 simple ingredients, these delightful treats boast a smooth, creamy peppermint-flavored center generously coated in rich, dark chocolate. They are truly the perfect sweet treat for any holiday party or festive occasion. What makes this version even more special is that it’s completely gluten-free, dairy-free, and vegan, ensuring that everyone at your table can enjoy these minty delights without any dietary concerns. Get ready to impress your loved ones with this classic candy reinvented!
Jump to Recipe
Celebrating with Sweet Holiday Treats
The holiday season truly holds a special place in my heart. It’s that wonderful time of year when twinkling Christmas decorations adorn every corner, cheerful carols fill the air, and the warmth of gathering with family and friends becomes the ultimate highlight. There’s an unparalleled joy in reconnecting with loved ones, sharing stories, and creating new memories after a busy year. For me, the holidays are not just a season; they’re an eagerly anticipated reunion, a chance to slow down and savor precious moments with the people who matter most.
And what’s a holiday celebration without an array of delicious sweet treats? Food plays a central role in these festivities, bringing comfort, nostalgia, and pure indulgence. From elaborate desserts to simple candies, each treat adds to the festive atmosphere, making every gathering a little sweeter and more memorable. These peppermint patties are designed to be that perfect, festive addition to your holiday spread, offering a delightful burst of mint and chocolate that everyone will adore.
Our Favorite Gluten-Free & Vegan Sweet Treats
When it comes to holiday indulgences, it’s essential that everyone can partake, regardless of dietary restrictions. The holidays certainly taste better when we can all enjoy a few delectable sweet treats without worry. That’s why we love creating recipes that are not only delicious but also inclusive, catering to various needs like gluten-free, dairy-free, and vegan diets. Here are some of our other favorite recipes that ensure no one misses out on the festive fun:
- Homemade Candied Orange Peels (Gluten-Free, Vegan)
- Mini Pavlova Nests (Gluten-Free, Dairy-Free)
- French Toast Casserole (Gluten-Free, Dairy-Free)
- Chocolate Pumpkin Truffles (Gluten-Free, Vegan)
- Healthy Peanut Butter Cups (Gluten-Free, Vegan)
These recipes prove that special dietary needs don’t mean sacrificing flavor or festive spirit. We believe everyone deserves to enjoy the rich, sweet flavors of the season!
Why Homemade Peppermint Patties Are a Holiday Must-Have
Among the many wonderful candies that grace our tables during year-end holiday celebrations, peppermint patties stand out as an undeniable classic. Their cool, minty center perfectly contrasts with a crisp, dark chocolate shell, creating an irresistible bite that evokes nostalgic memories of childhood and festive joy. However, finding good quality, store-bought peppermint patties that are consistently gluten-free, dairy-free, or vegan can often be a challenge. Many commercial brands contain hidden ingredients that can trigger allergies or simply don’t align with these dietary choices.
That’s precisely why we’re so excited to share our own copycat version of these beloved York peppermint patties! Making them from scratch not only guarantees full control over the ingredients, ensuring they are suitable for everyone, but it also fills your kitchen with the most delightful aroma of peppermint and chocolate. There’s something incredibly satisfying about crafting these iconic candies yourself, knowing that each one is made with care and customized to be enjoyed by all. Say goodbye to label-reading anxiety and hello to a batch of homemade, inclusive peppermint patties that will be the star of your holiday dessert table!
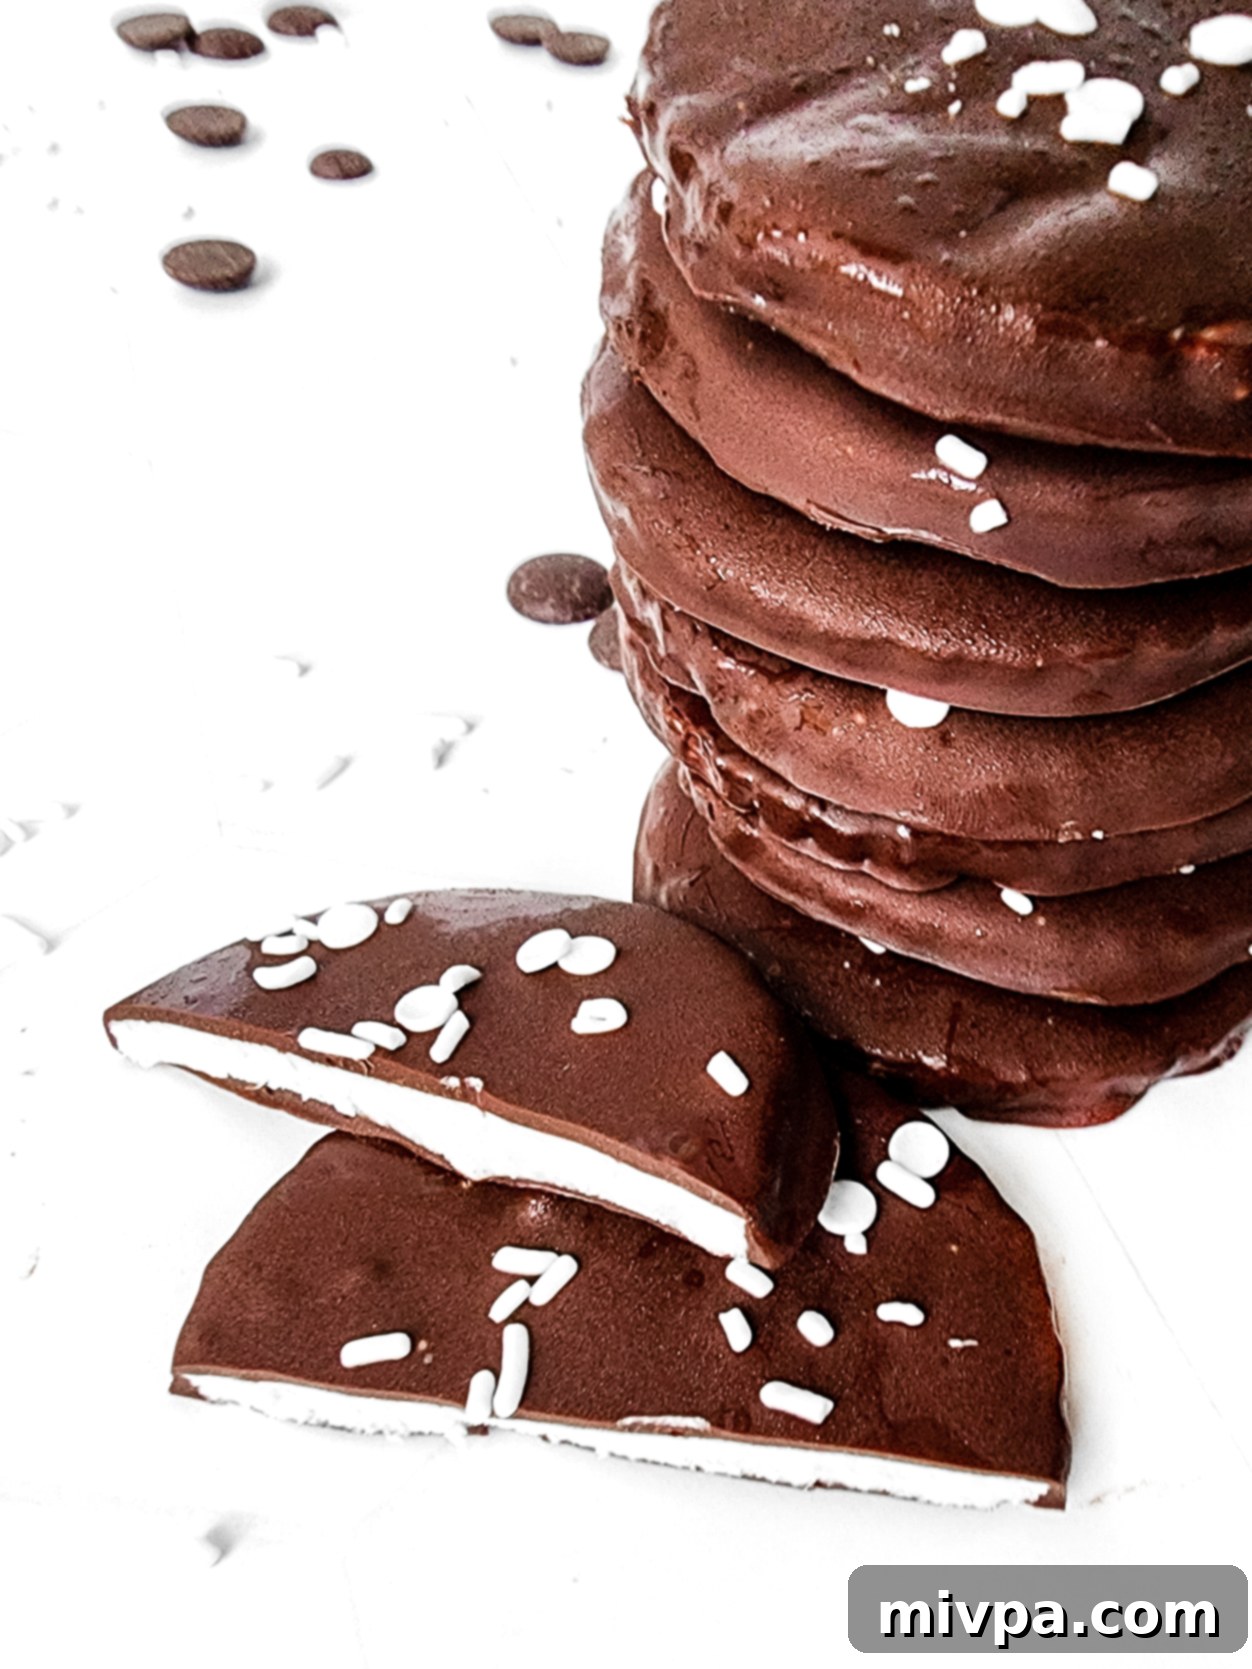
Why This Recipe Is a Must-Try:
- Simple & Accessible Ingredients: You won’t need to hunt for obscure items! The five core ingredients required for these gluten-free peppermint patties are widely available at your local grocery store. This means less stress and more time enjoying the process of making these delightful treats.
- Super Easy to Make (No-Bake!): Don’t be intimidated by homemade candy. Preparing these dark chocolate peppermint patties is incredibly straightforward. It’s simply a matter of mixing the filling ingredients, cutting out the perfect patty shapes, and then dipping them into luscious melted chocolate. Making homemade candy truly cannot get any easier, making it a fantastic project for both seasoned bakers and beginners alike.
- Totally Gluten-Free, Dairy-Free & Vegan: This is arguably the biggest win! This homemade peppermint patty recipe is 100% gluten-free, dairy-free, and vegan. This fantastic feature means that even those with Celiac disease, gluten sensitivities, or lactose intolerances, as well as anyone following a plant-based diet, can indulge in these refreshing minty treats without any concerns or issues. It’s a sweet everyone can enjoy!
- Perfect for Gifting: Homemade candies make heartfelt gifts. These elegant peppermint patties are ideal for holiday gift baskets, party favors, or as a thoughtful present for friends and family. Their impressive appearance belies their simple preparation.
- Customizable Fun: From adding festive sprinkles to experimenting with different chocolate types, this recipe offers plenty of room for personalization, allowing you to tailor them to your taste or specific holiday theme.
Ingredients You’ll Need:
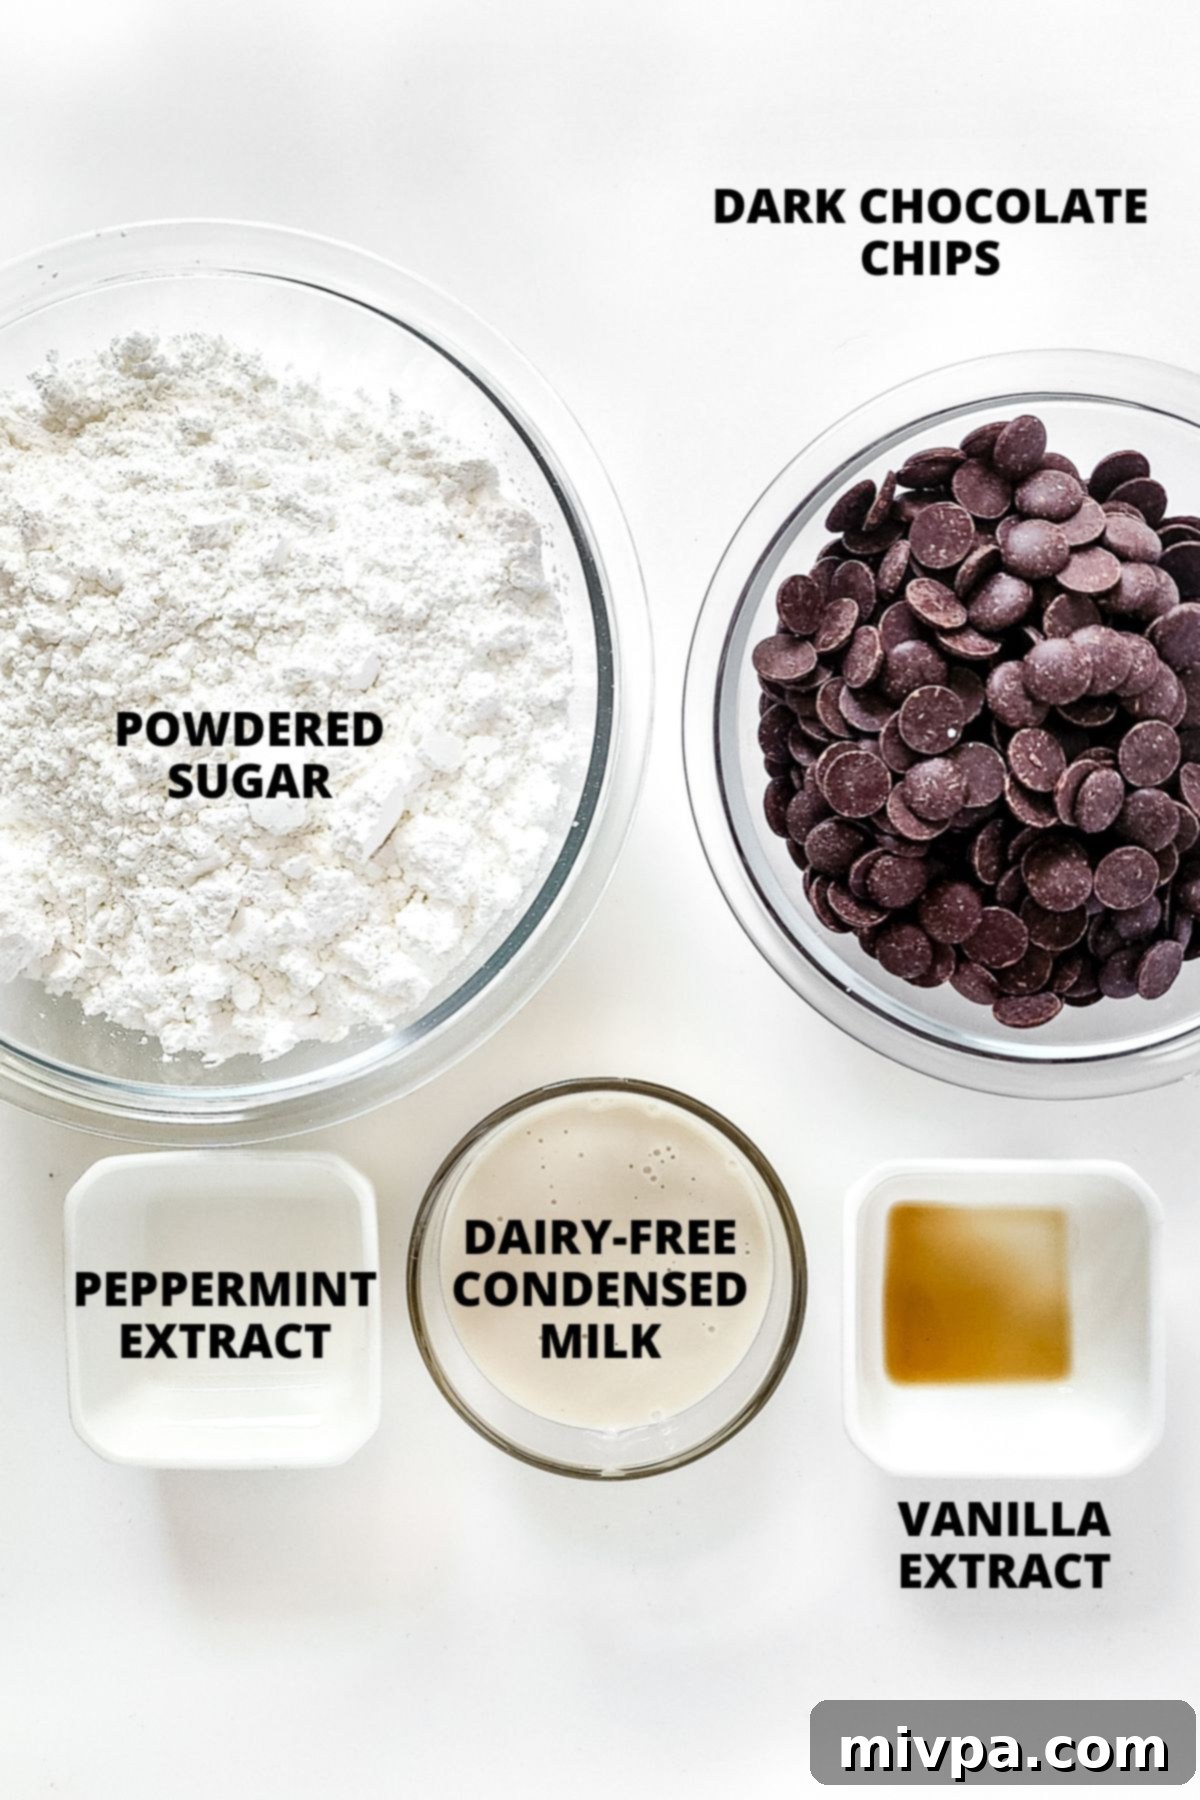
Creating these delicious homemade peppermint patties requires just a few key ingredients. Here’s a visual overview to help you gather everything you need for this easy and delightful recipe. You’ll find that these staples are readily available at most grocery stores, making your preparation even simpler.
(For exact measurements, please scroll down to the printable recipe card at the bottom of this post.)
Recipe Notes & Ingredient Substitutions:
Understanding each ingredient and its potential substitutes can help you customize this recipe to your preferences or dietary needs. Here are some important notes:
- Condensed Milk: For this dairy-free and vegan recipe, I specifically used a dairy-free condensed coconut milk. Its rich and creamy texture is essential for the smooth filling. However, if you do not have lactose intolerance or are not following a vegan diet, you are absolutely welcome to use regular sweetened condensed milk instead. Both options will yield delicious results, though the coconut version offers a subtle tropical hint.
- Peppermint Extract: This is a non-negotiable ingredient for authentic peppermint patties! Peppermint extract provides that signature cool, minty flavor. Be sure to use peppermint extract, not spearmint or plain mint extract, as these have different flavor profiles. The distinction is crucial for achieving the classic taste.
- Vanilla Extract: I find that a touch of vanilla extract enhances the overall flavor of the filling, adding a subtle warmth that complements the peppermint. While I highly recommend it for that extra depth, if you don’t have it on hand, or simply prefer a pure peppermint flavor, feel free to omit it. The patties will still be delicious!
- Powdered Sugar (Confectioner’s Sugar): It’s critical to use powdered sugar (also known as confectioner’s sugar) for this recipe, rather than granulated sugar. Powdered sugar dissolves easily and creates the incredibly creamy, fine texture of the peppermint filling. Using regular sugar would result in a gritty texture. If you are diabetic or insulin-resistant, I highly recommend using a powdered monk fruit sweetener, which is a fantastic 1:1 powdered sugar substitute that has a zero glycemic index and will not impact your blood sugar levels.
- Dark Chocolate Chips: To maintain the dairy-free and vegan nature of this recipe, I used dairy-free dark chocolate chips. There are many excellent brands available now that melt beautifully. However, if you are not lactose-intolerant or vegan, feel free to use your favorite brand of regular dark chocolate chips. For a truly luxurious coating, you could even use high-quality baking chocolate chopped into small pieces.
- Sprinkles: As an optional but fun decoration, you may wish to sprinkle your peppermint patties with white sprinkles or festive Christmas sprinkles while the chocolate is still wet. This adds a lovely visual appeal and a touch of extra holiday cheer, or you can simply leave them as they are for a classic look.
How to Make Peppermint Patties (Step-by-Step Guide):
Making these delightful peppermint patties is a fun and rewarding process. Follow these detailed steps to create your perfect batch of minty chocolate treats!
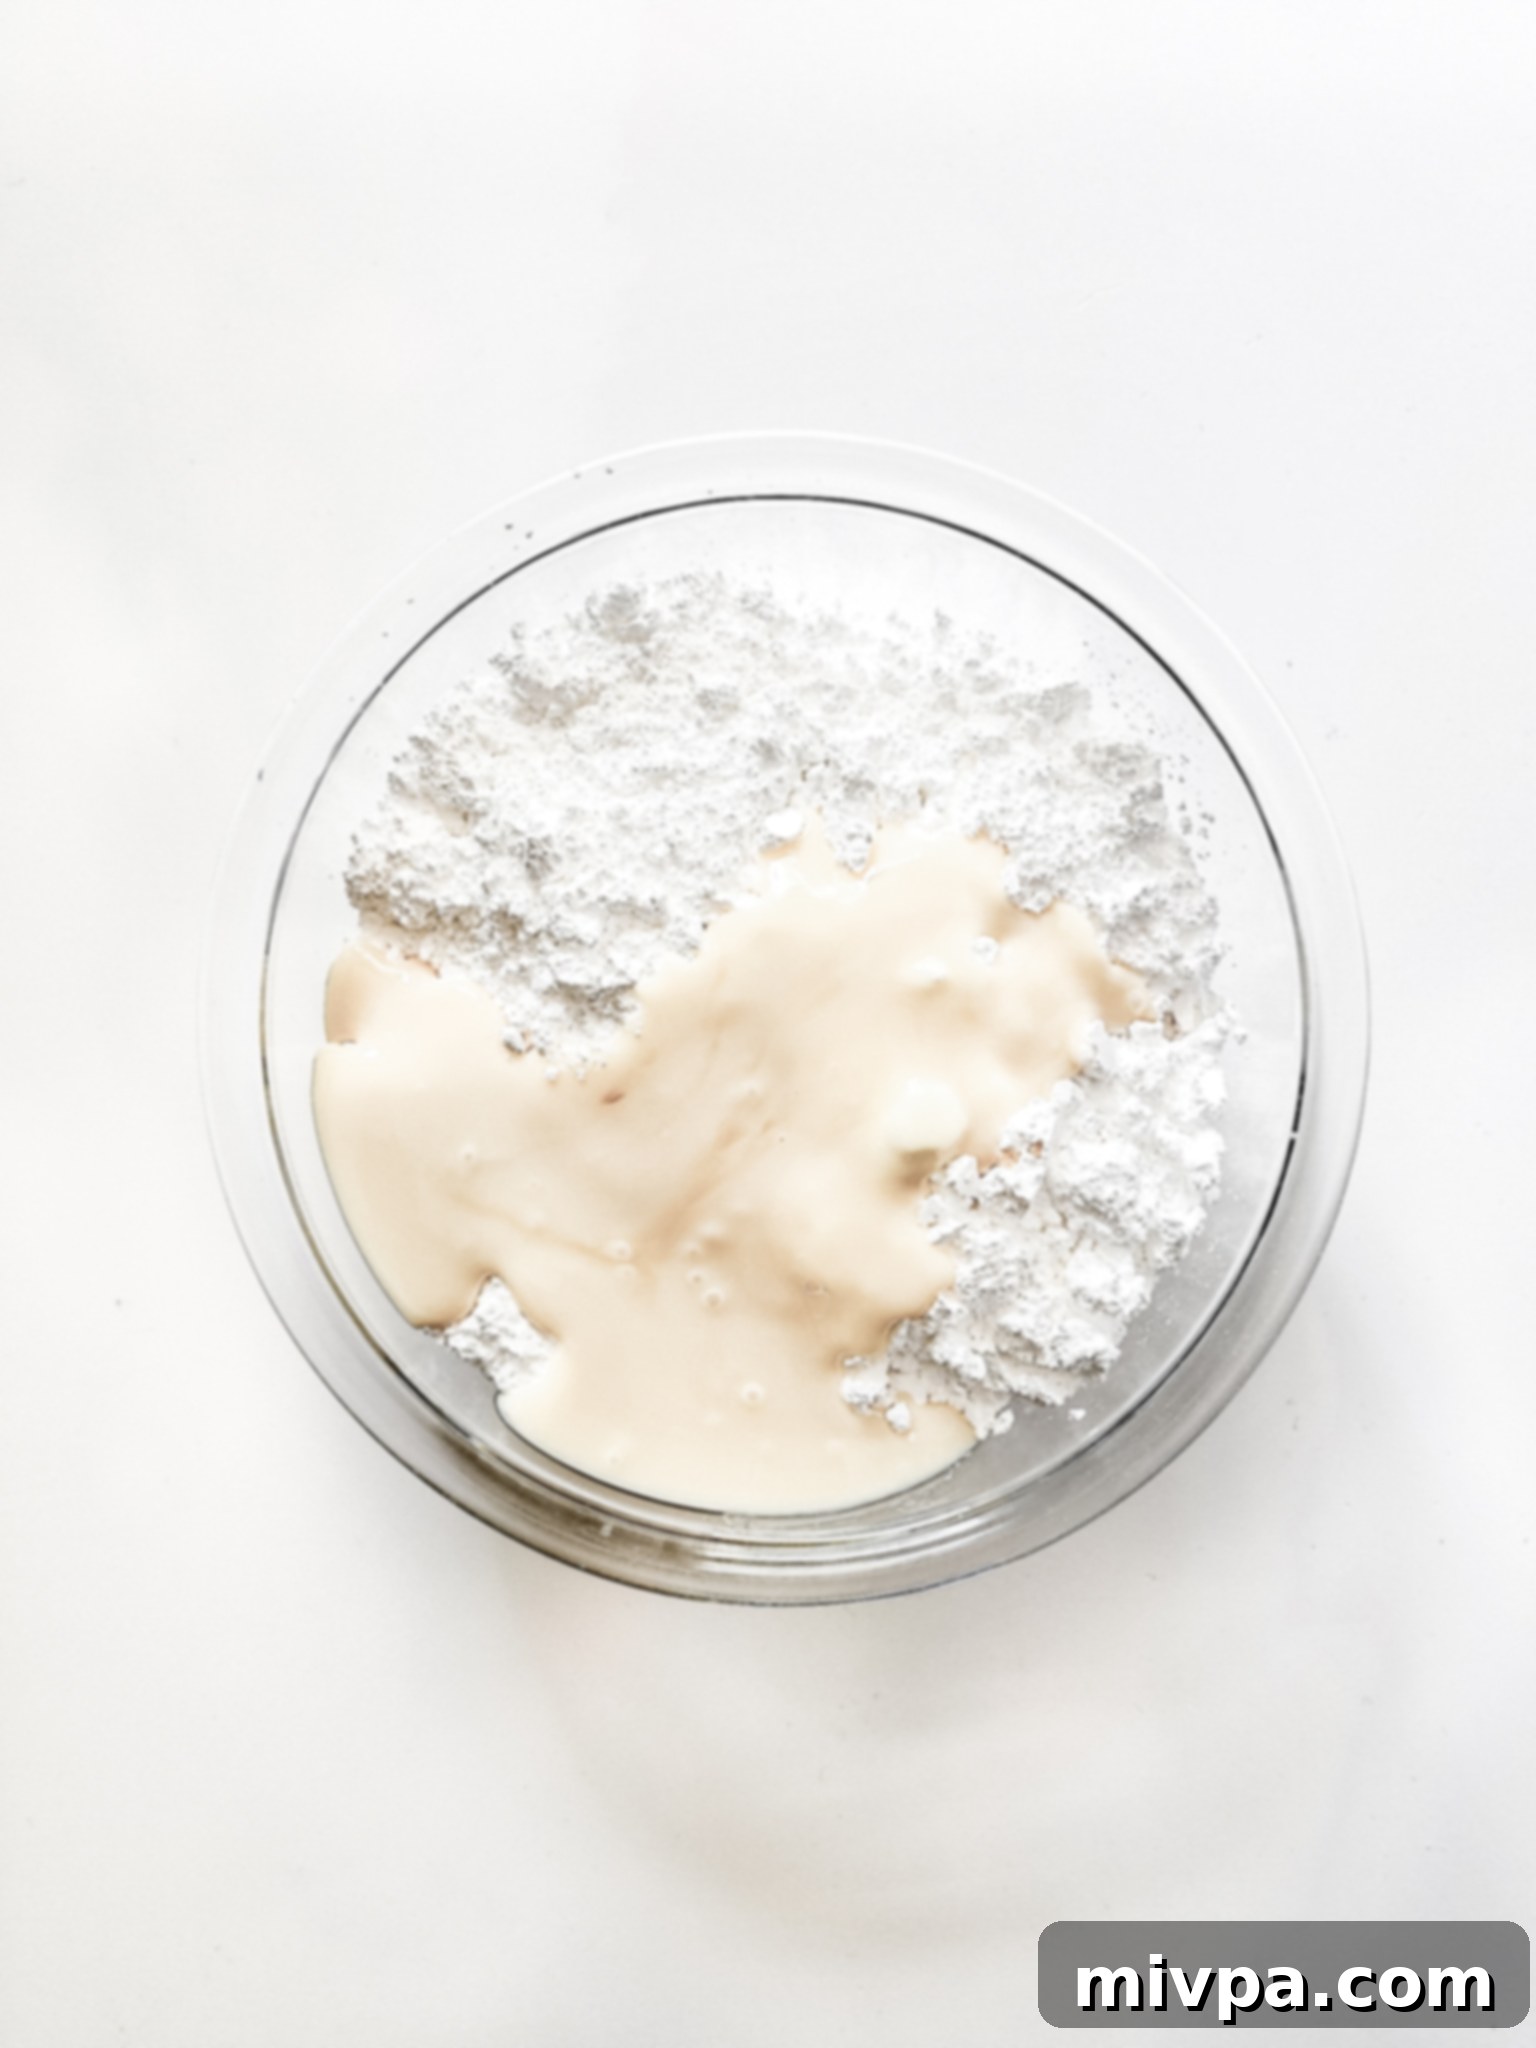
1. Combine Sugar, Condensed Milk and Extracts
In a large mixing bowl, combine the powdered sugar with the full-fat dairy-free condensed coconut milk (or regular condensed milk if preferred), the essential peppermint extract, and the vanilla extract (if using). Ensure your bowl is large enough to comfortably mix all ingredients without spills.
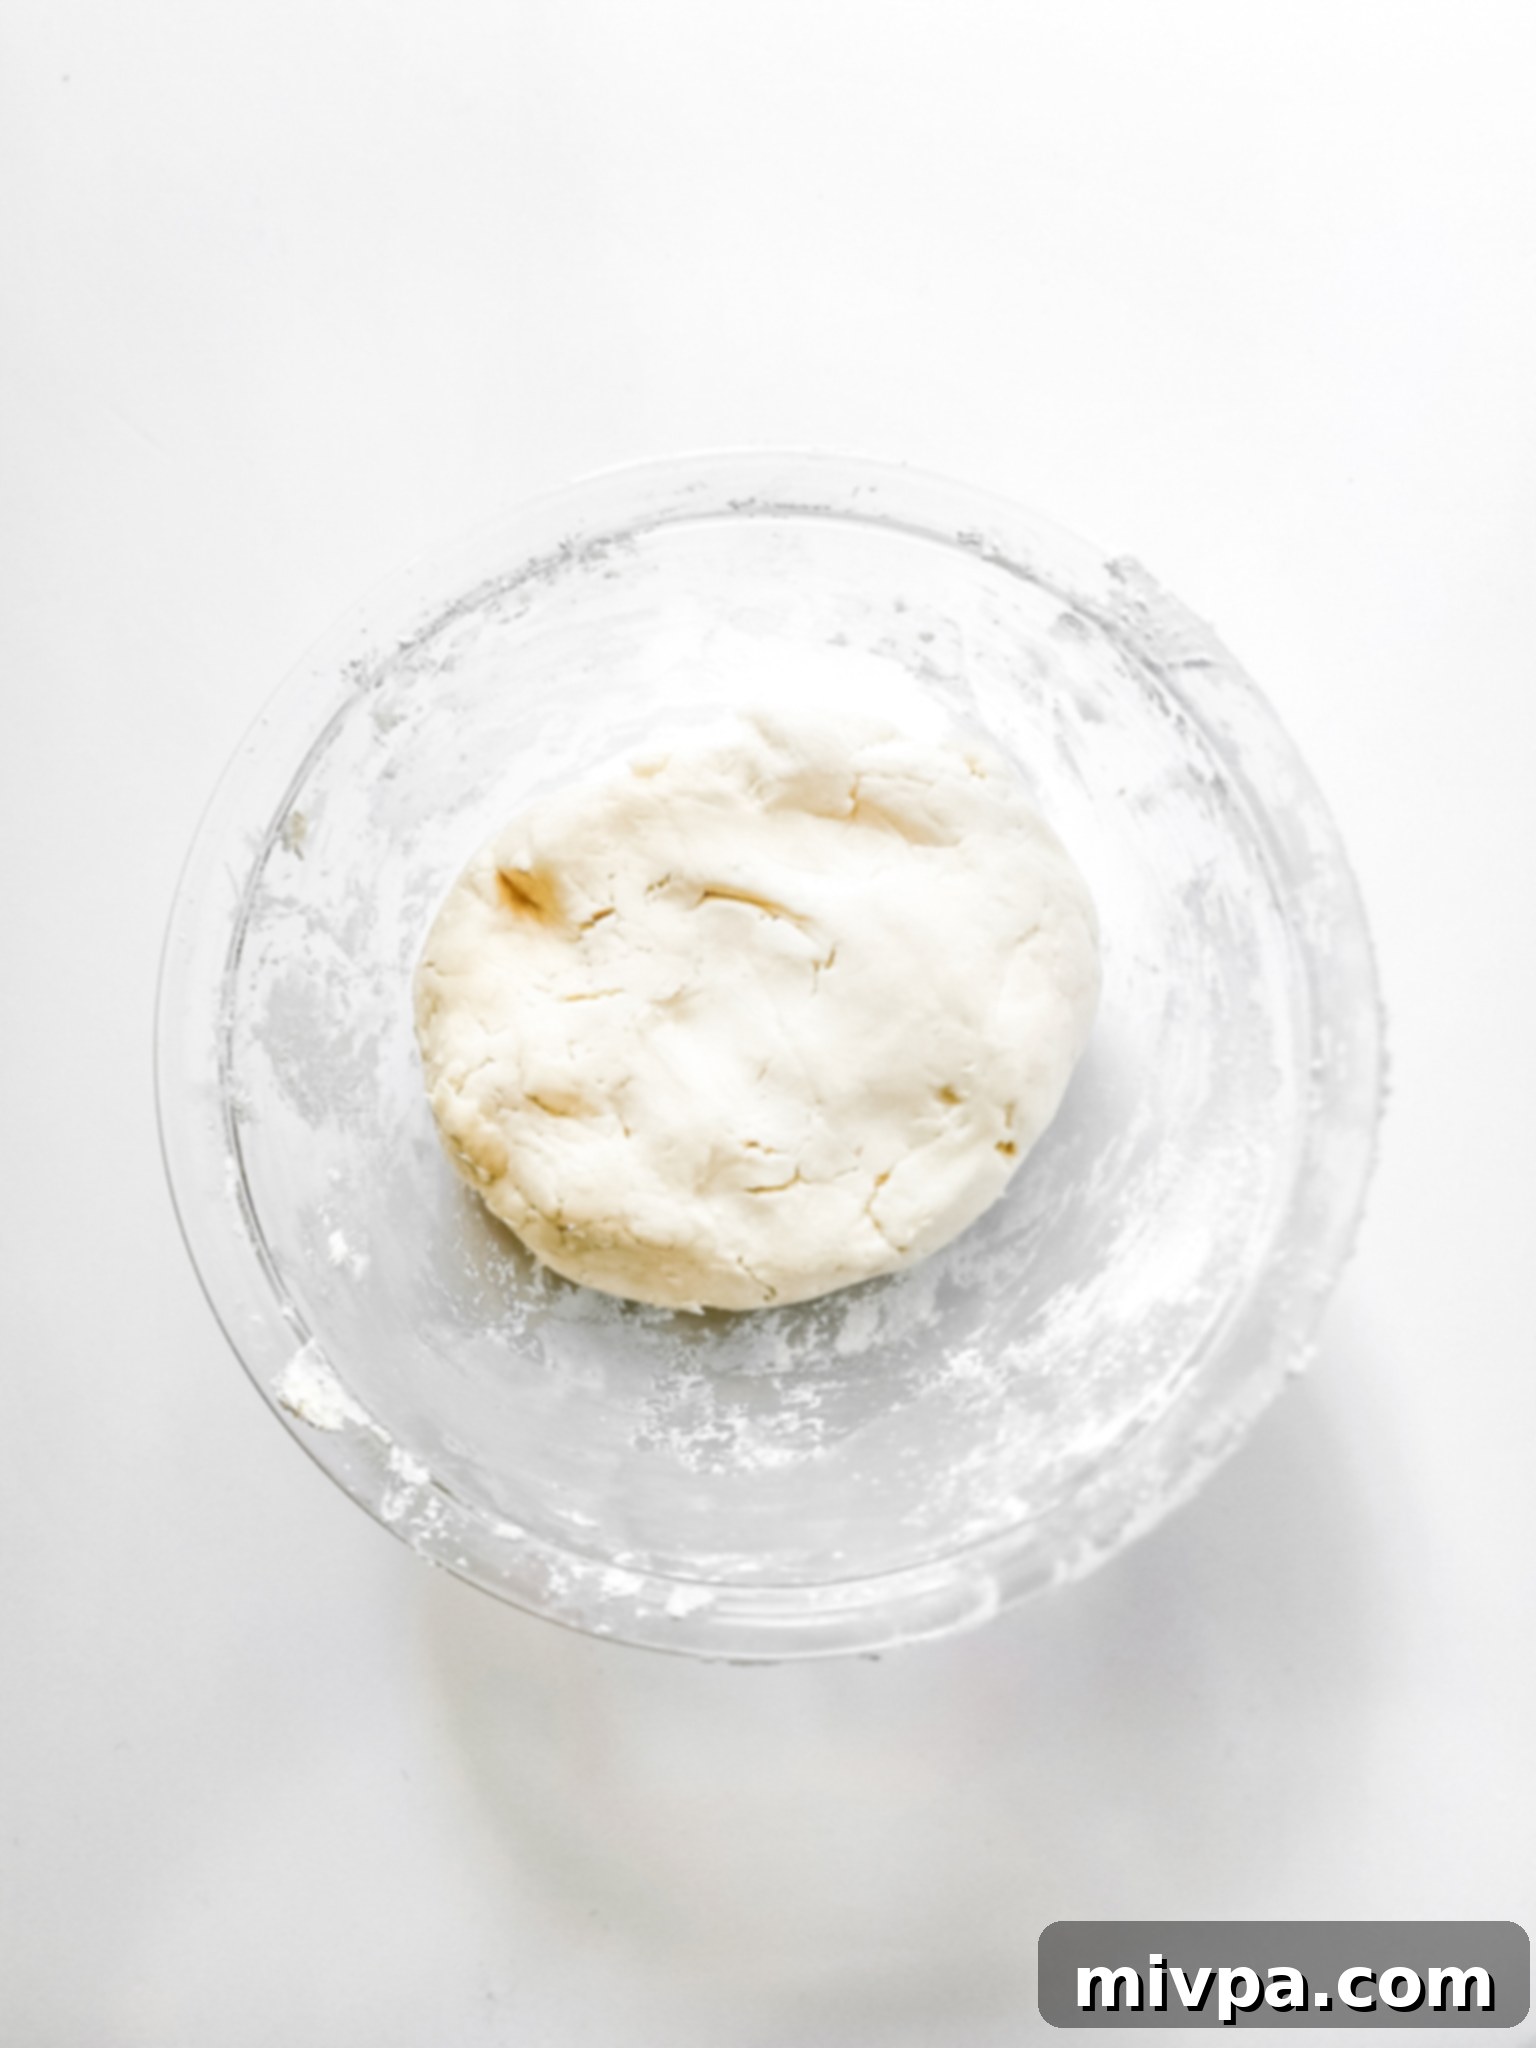
2. Form the Peppermint Dough Filling
Using a sturdy wooden spoon or a hand mixer on low speed, stir the ingredients together thoroughly. Continue mixing until a soft, pliable, and malleable dough begins to form. At first, it might seem crumbly, but keep mixing, and the moisture from the condensed milk will bring everything together into a cohesive dough. If it feels too sticky, add a little more powdered sugar; if too dry, a tiny bit more condensed milk.
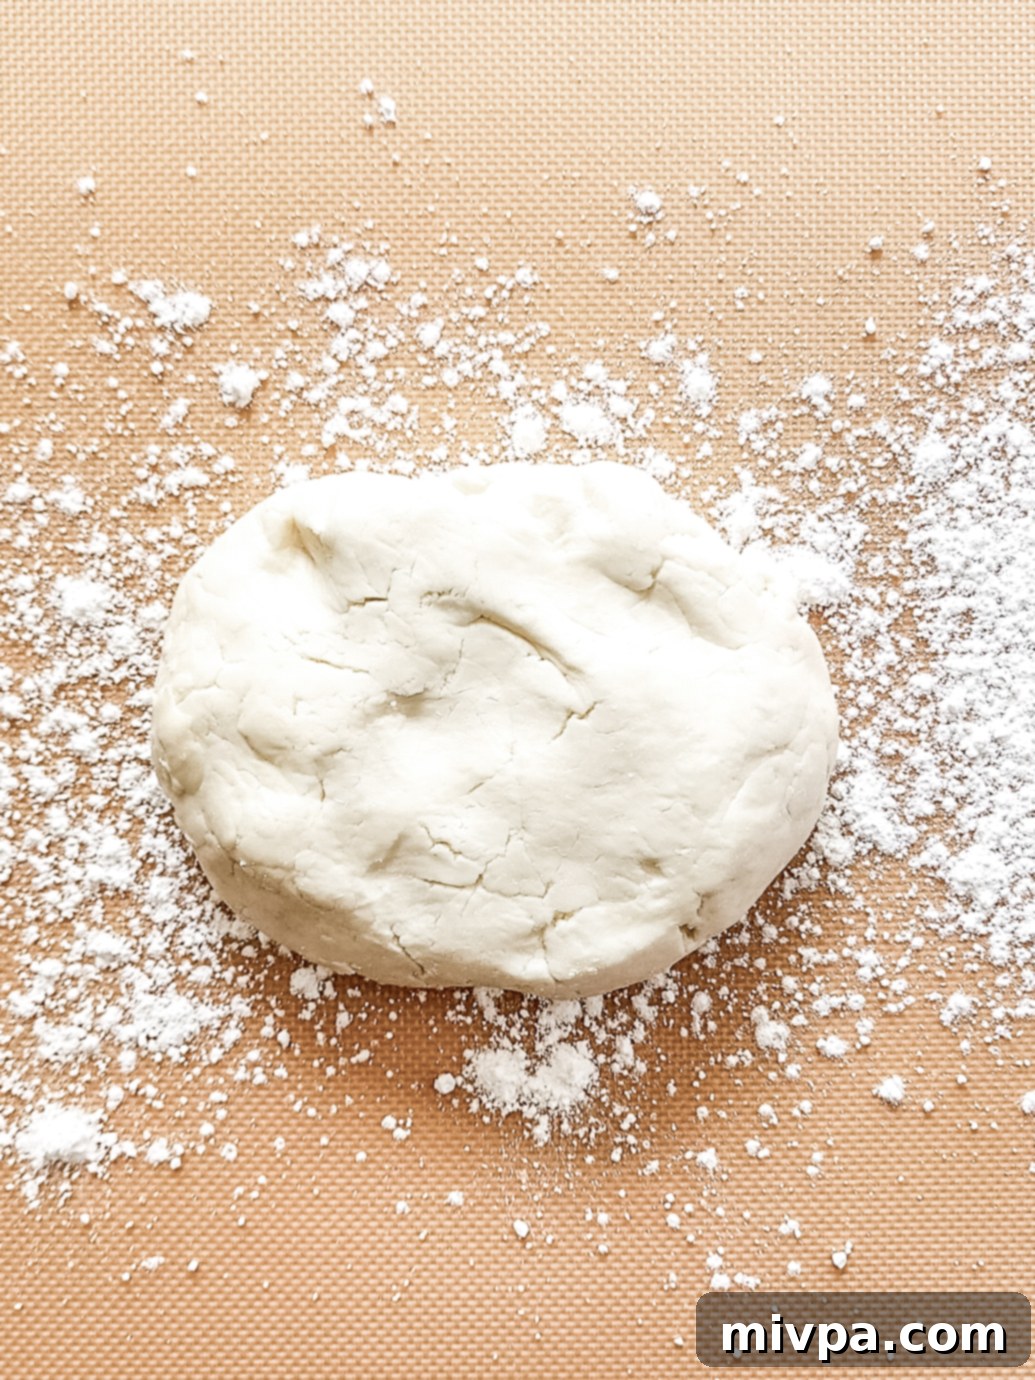
3. Prepare Your Rolling Surface
Lightly coat a clean, flat surface – such as a countertop or a large cutting board – with a generous dusting of powdered sugar. Alternatively, you can line the surface with a silpat baking mat or a piece of parchment paper, also lightly dusted with powdered sugar, to prevent sticking and ensure easy cleanup. Place the peppermint dough onto this prepared, sugared surface.
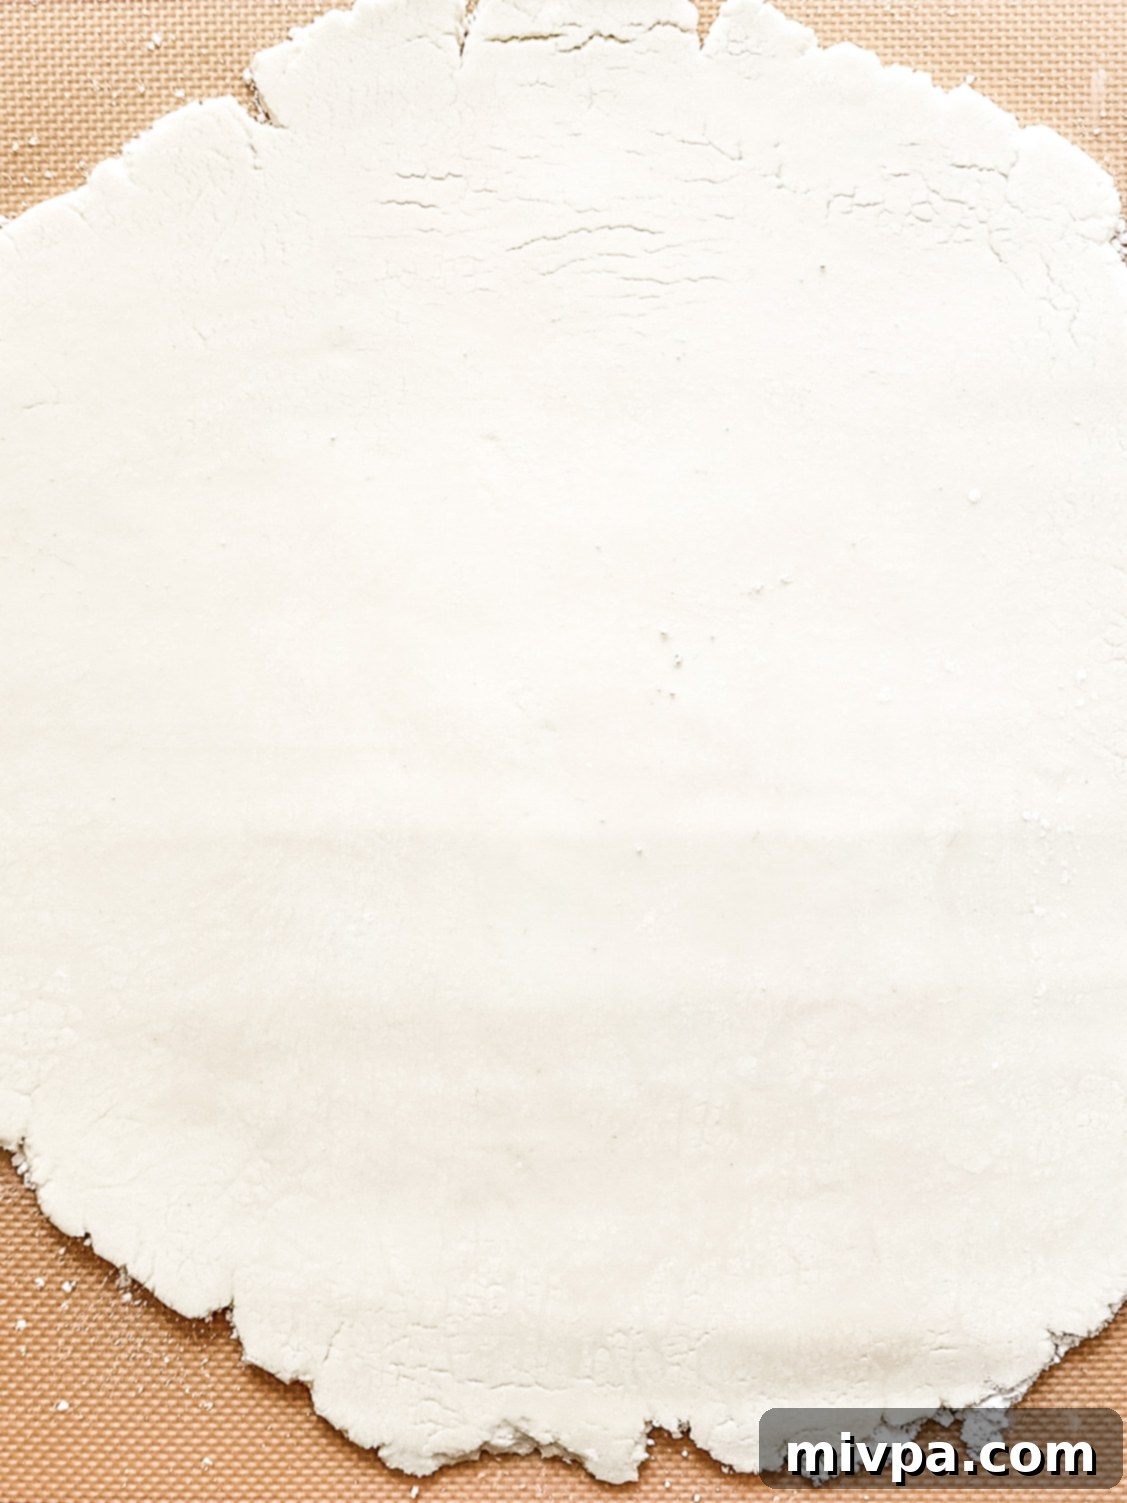
4. Roll Dough to Even Thickness
Using a rolling pin, carefully roll out the peppermint dough to an even thickness. Aim for approximately ¼-inch to ½-inch thick, depending on how thick you prefer your finished peppermint patties. Thinner patties will be more delicate, while thicker ones will offer a more substantial, creamy bite. Ensure the thickness is consistent across the entire sheet of dough for uniform patties.
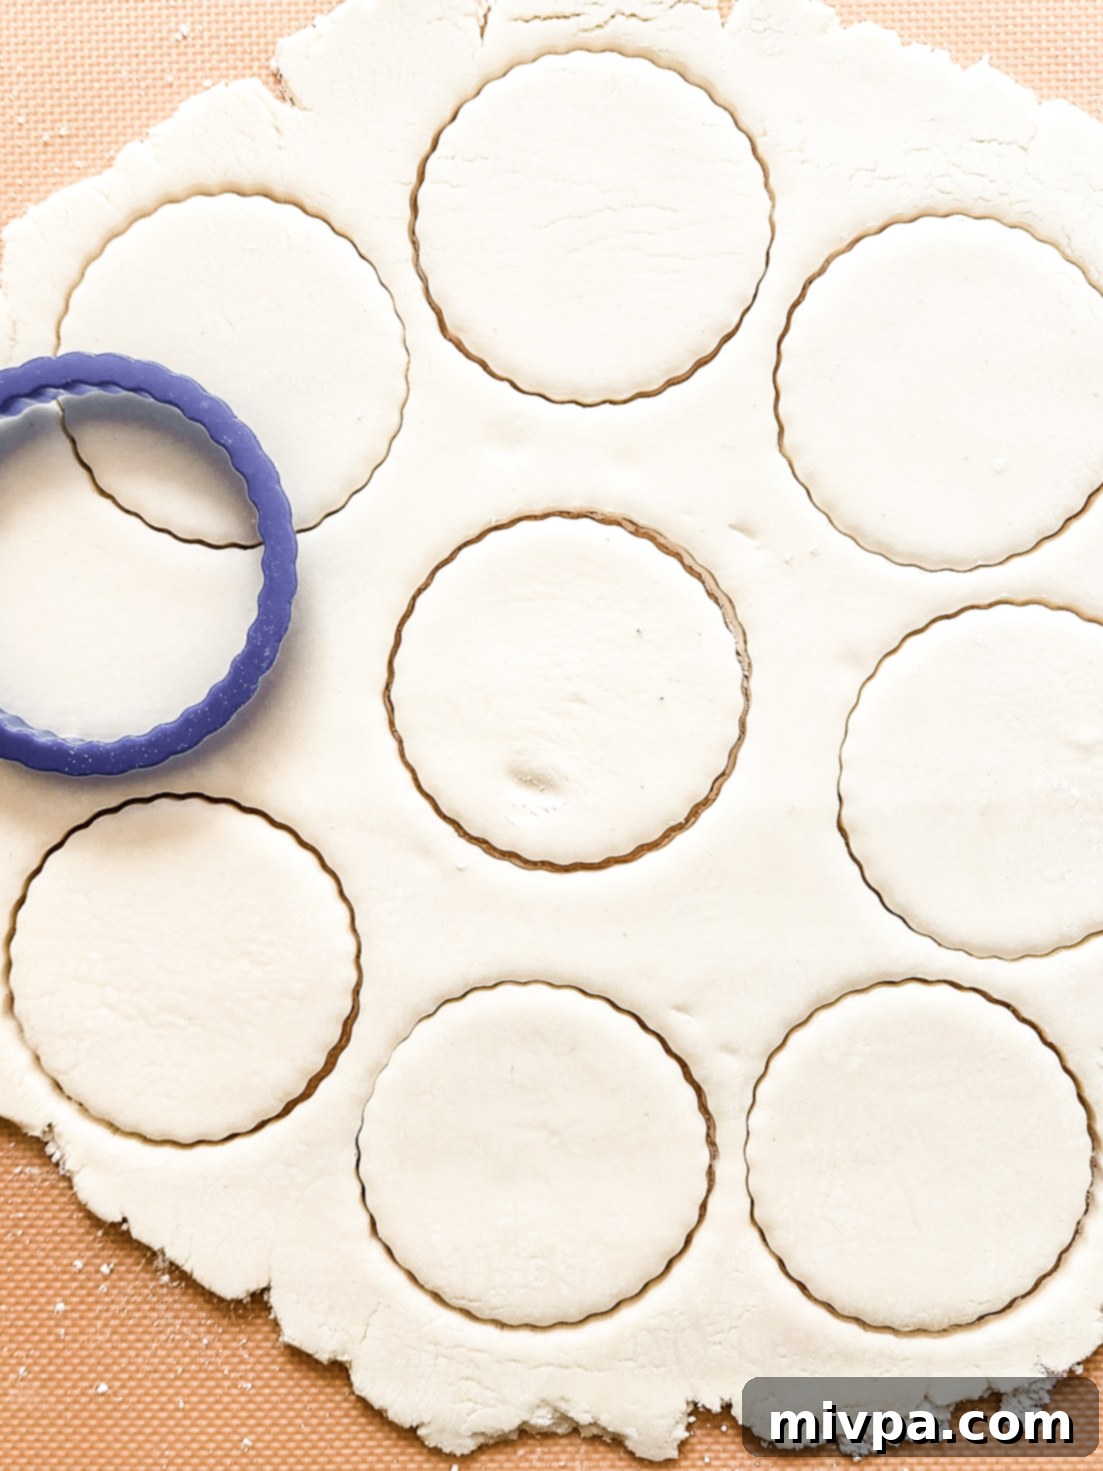
5. Cut Patties with Cookie Cutter
Now for the fun part! Take a round cookie cutter (a small, approximately 1.5 to 2-inch cutter works best for classic patty size) and firmly press it into the rolled-out dough to cut out individual patties. You should yield approximately 12 patties using a small cookie cutter from this batch of dough. Gently re-roll any scraps to cut out additional patties, minimizing waste.
6. Chill Patties to Set
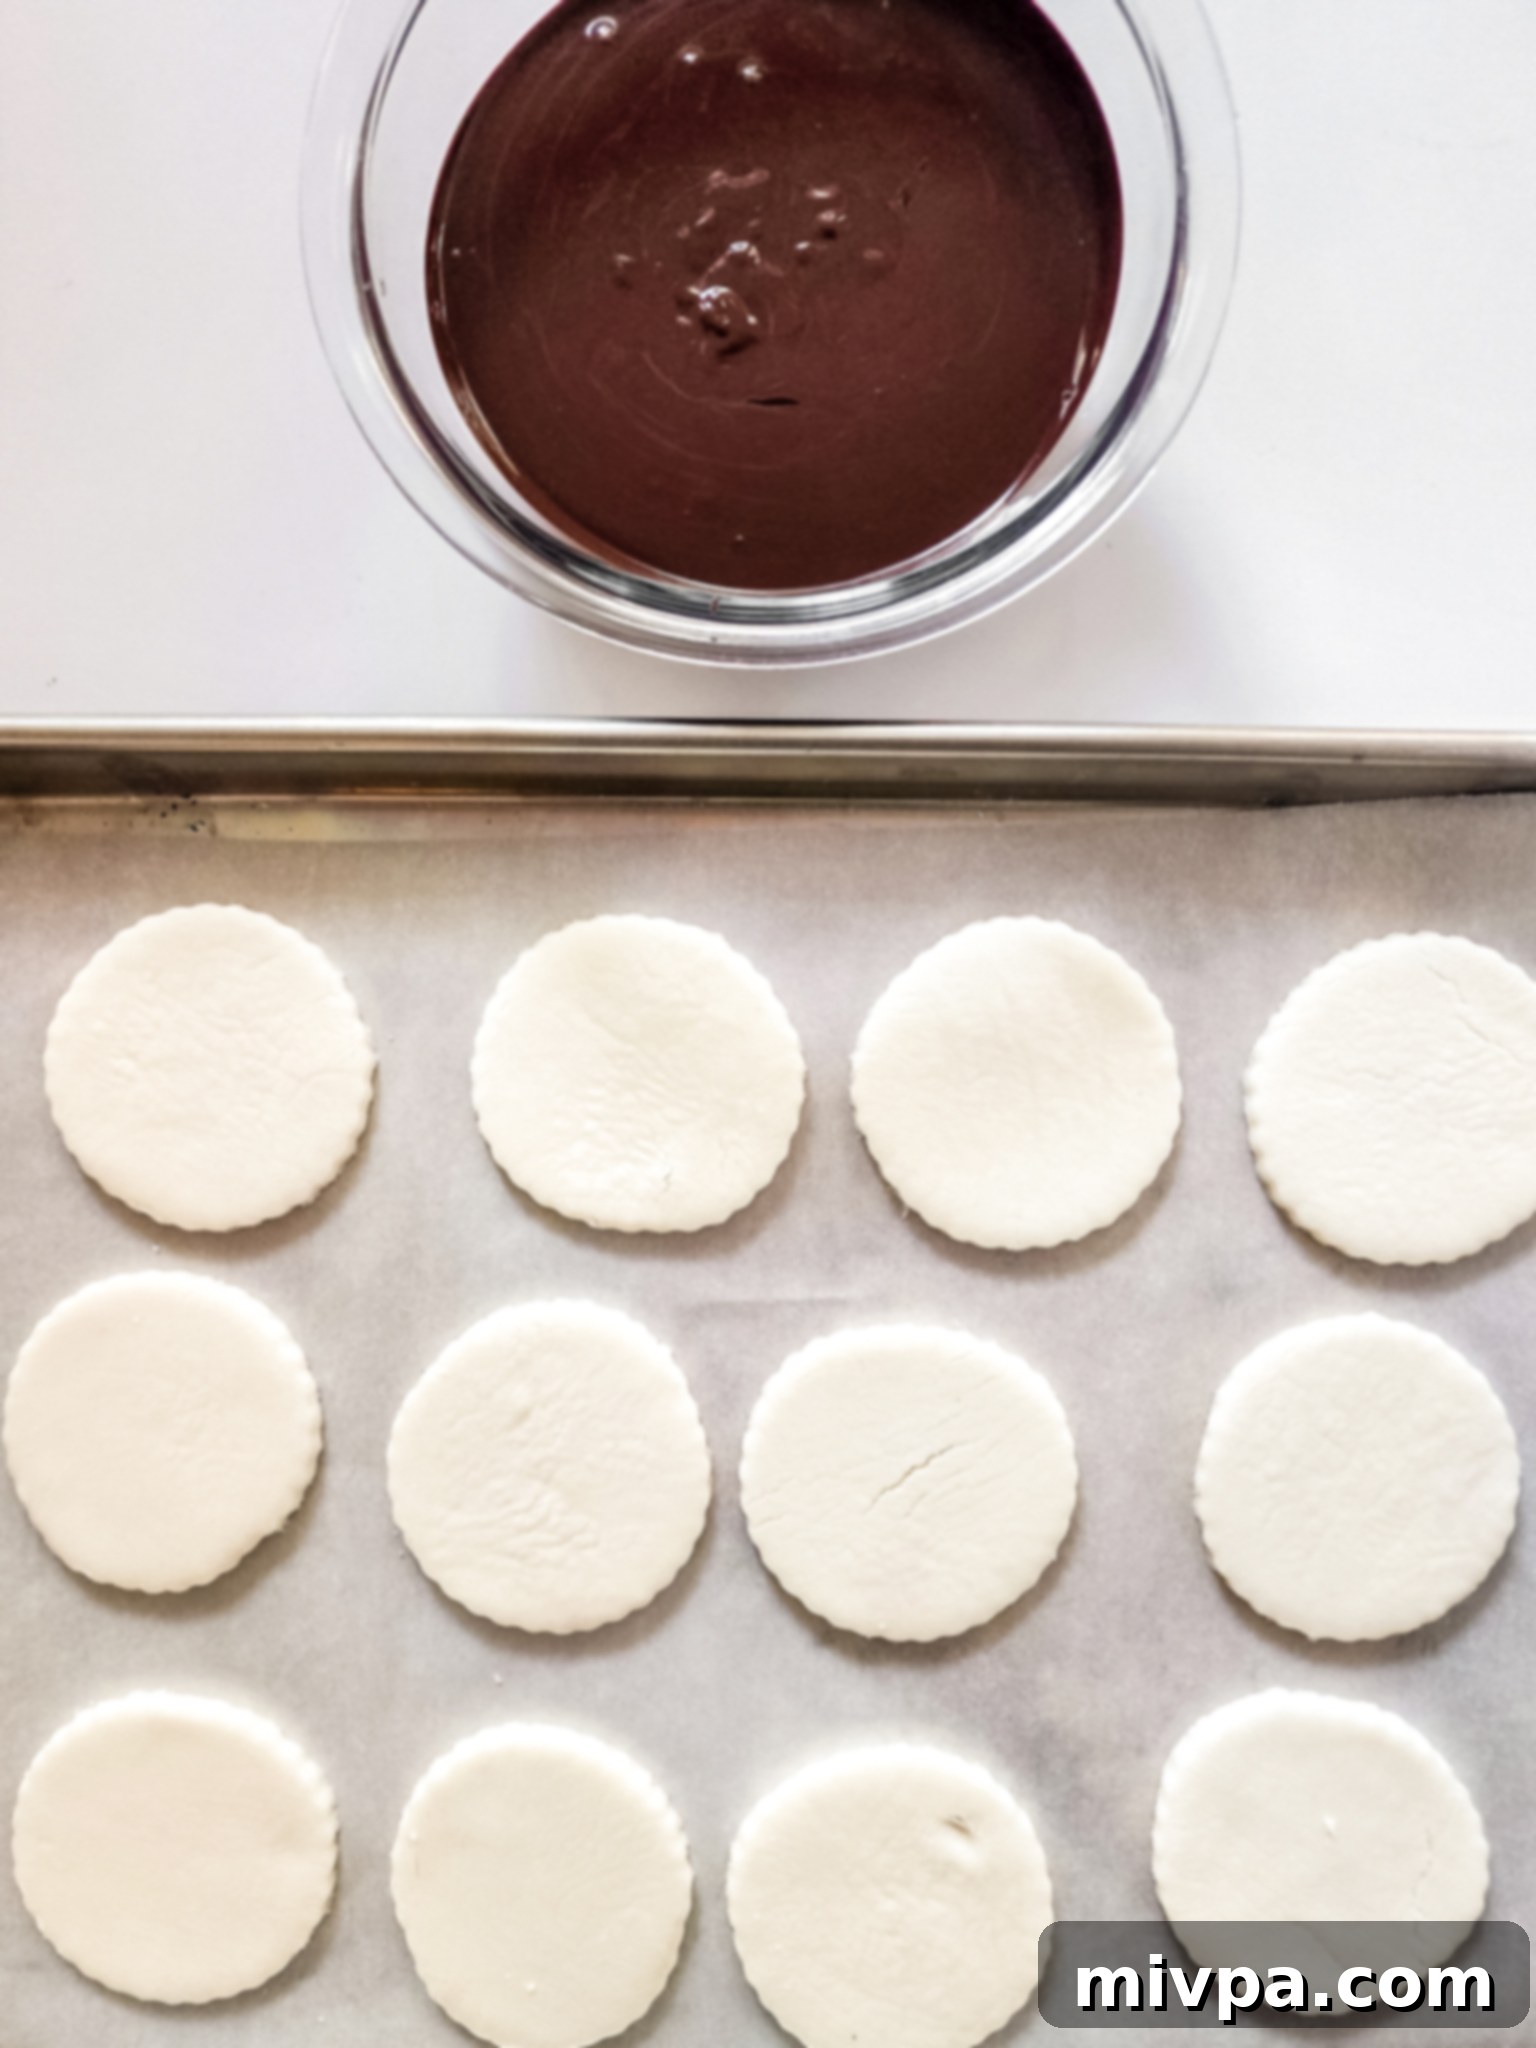
Prepare a large baking sheet by lining it with either parchment paper or wax paper. Carefully transfer the cut peppermint patties onto the prepared baking sheet, ensuring they don’t touch each other. Place the entire baking sheet into the freezer for at least 10 minutes. This chilling step is crucial as it helps the patties firm up, making them much easier to dip in chocolate without falling apart.
7. Melt Chocolate
While your peppermint patties are chilling in the freezer, it’s time to prepare the chocolate coating. Place your dark chocolate chips in a microwave-safe bowl. Melt the chocolate in the microwave in 30-second intervals, stirring thoroughly after each interval. Continue this process until the chocolate is completely smooth, glossy, and free of any lumps. Be careful not to overheat the chocolate, as it can seize. If you don’t have a microwave, you can use a double boiler over simmering water, stirring until melted.
8. Dip Patties in Chocolate
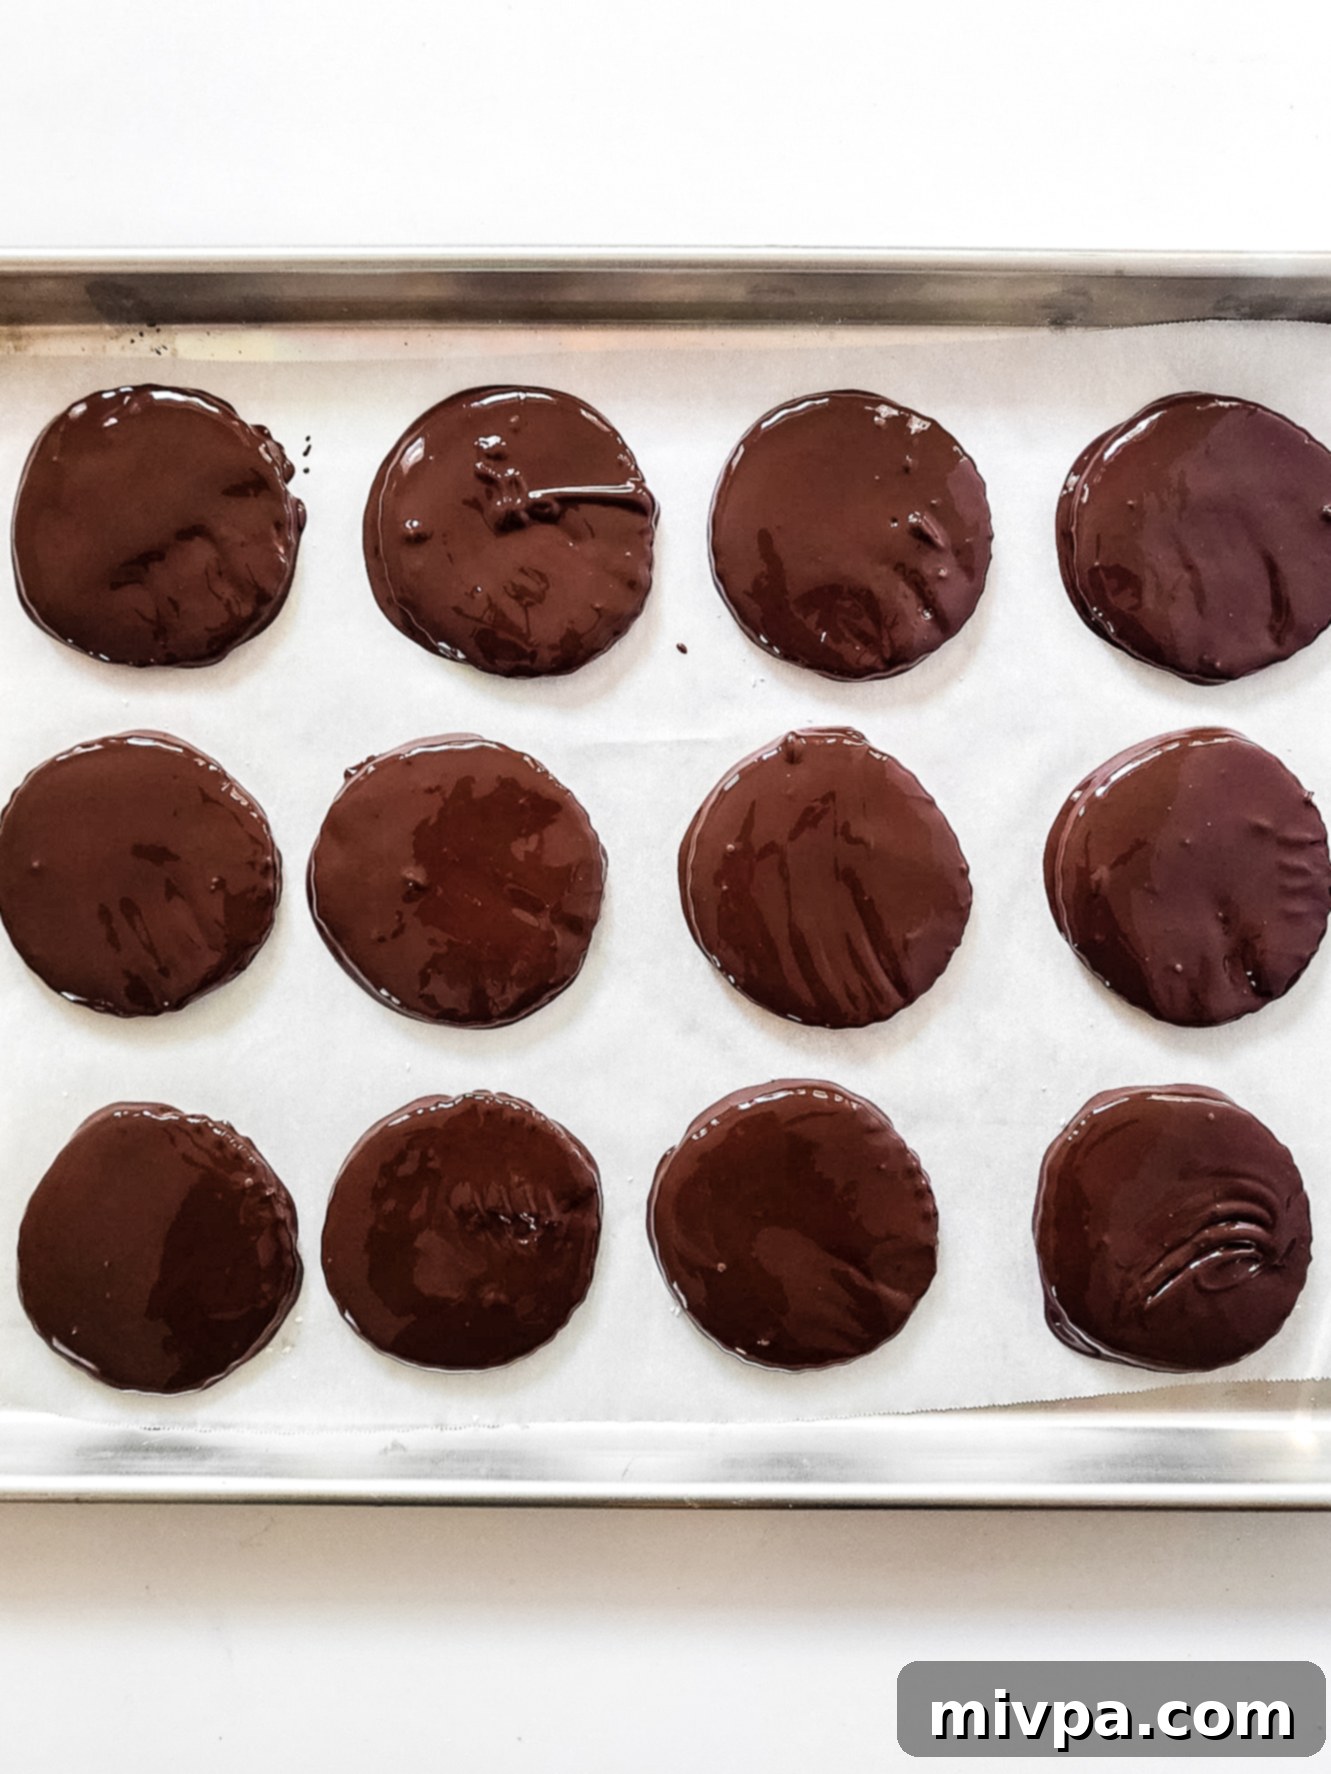
Remove the peppermint patties from the freezer; they should be quite firm and hard. Using a fork or a dipping tool, carefully dip each peppermint patty into the melted dark chocolate, ensuring both sides are fully coated. Lift the patty, gently tapping the fork against the edge of the bowl to allow any excess chocolate to drip away. This helps achieve a thinner, smoother coating. Once coated, carefully place the dipped patty back onto the parchment-lined baking sheet. Allow the patties to cool and set at room temperature, or return them to the freezer for quicker setting.
9. Optional: Add Sprinkles
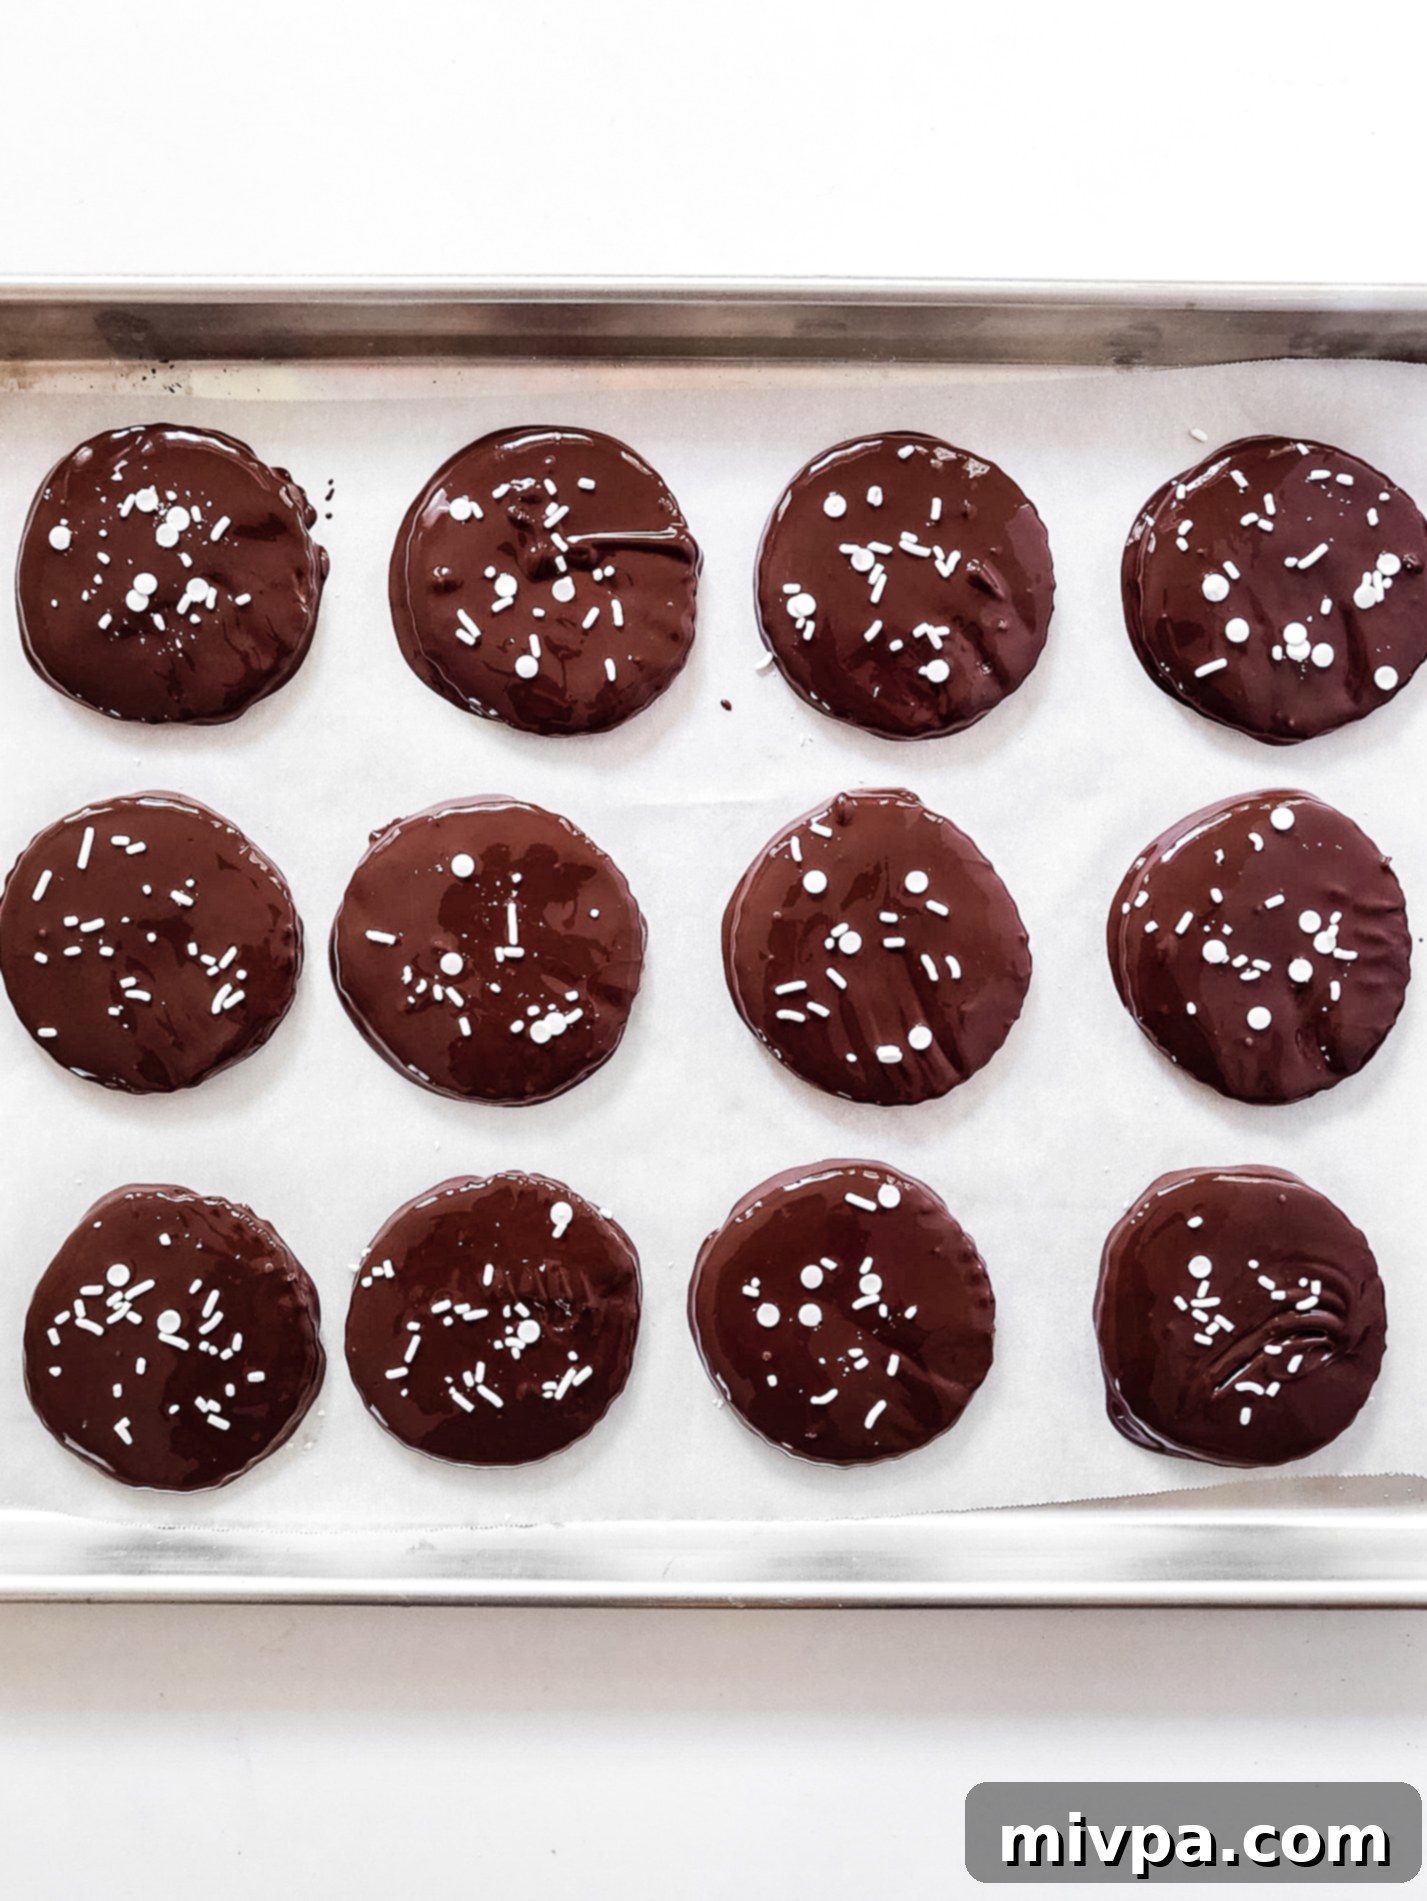
If you choose to add sprinkles for extra flair, do so immediately after dipping each patty, while the chocolate coating is still wet and liquid. This ensures the sprinkles adhere properly, adding a festive touch and a bit of crunch to your homemade treats. Get creative with colors and shapes for different occasions!
10. Repeat
Continue the dipping and optional sprinkling process with all the remaining peppermint patties until all the dough and melted chocolate are used up. Work efficiently, as the melted chocolate will start to set. If your chocolate cools too much, simply reheat it in the microwave for a few seconds until smooth again.
11. Chill Until Chocolate is Set
Once all the patties are dipped, place the entire baking sheet of chocolate-coated peppermint patties back into the freezer for another 10-15 minutes. This final chill allows the chocolate to fully harden and set, giving you that satisfying snap when you bite into them. Once the chocolate is firm to the touch, your homemade dark chocolate peppermint patties are ready to be enjoyed! Store them in an airtight container in the refrigerator to keep them fresh.
Dish by Dish Tips & Tricks:
Here are a few extra tips to make your peppermint patties even more special or to troubleshoot common issues:
- Swap Dark Chocolate with White: For a delightful variation, if you prefer to make white chocolate peppermint patties, simply use the same amount of white chocolate chips instead of dark chocolate chips. The contrast of the white chocolate with the minty green (you could even add a tiny drop of green food coloring to the filling!) can be visually stunning.
- Sprinkle with Crushed Candy Canes: To elevate the festive feel and add a delightful crunch, consider sprinkling the still-wet chocolate-coated gluten-free peppermint patties with crushed candy canes. This not only adds a beautiful pop of red and white but also doubles down on the peppermint flavor, making them truly irresistible for the Christmas season.
- Make Smaller, Bite-Sized Patties: Want to create dainty, bite-sized versions of these tasty treats? Simply use a smaller cookie cutter (e.g., a thimble-sized cutter or even a piping bag with a round tip) to cut out or pipe small circles of the peppermint dough. These mini patties are perfect for dessert platters or as a smaller indulgence.
- Ensure Chocolate is Temperate: When melting your chocolate, avoid overheating it. Overheated chocolate can become thick and difficult to work with. If it seems too thick, you can stir in half a teaspoon of coconut oil (for vegan) or vegetable shortening to thin it slightly, ensuring a smooth, even coating.
- Use Gloves: When forming and dipping the patties, wearing food-safe gloves can help prevent fingerprints and keep the process cleaner, especially if your hands are warm.
Recipe FAQs:
To maintain their fresh flavor and firm texture, place the dark chocolate peppermint patties in an airtight container. Store them in the refrigerator for up to 1 week. The cold helps keep the chocolate crisp and the filling firm, providing a delightful contrast.
Absolutely! These homemade chocolate peppermint patties freeze beautifully. Once the chocolate coating is completely set and hardened, arrange the patties in a single layer in a freezer-safe container. If stacking, separate each layer with a piece of parchment paper to prevent them from sticking together. Alternatively, you can place them in a freezer-safe ziplock bag, removing as much air as possible. They can be frozen for up to 2-3 months. Thaw them in the refrigerator for a few hours before serving, or enjoy them straight from the freezer for a super-chilled treat!
Chocolate seizing (becoming thick and grainy) usually happens if it gets too hot too quickly, or if even a tiny drop of water gets into it. To prevent this, melt chocolate slowly in 30-second intervals in the microwave, stirring each time, or use a double boiler, ensuring no water splashes into the chocolate. Always use a dry bowl and utensils.
Yes, you can! The peppermint dough filling can be prepared a day or two in advance. Store it wrapped tightly in plastic wrap in the refrigerator. When you’re ready to make the patties, let the dough sit at room temperature for about 15-20 minutes to soften slightly, making it easier to roll out.
Other Gluten-Free Dessert Recipes You’ll Love:
If you enjoyed making these peppermint patties, you’ll surely love these other delightful gluten-free dessert recipes from our collection:
- Gluten-Free Pumpkin Banana Muffins (Dairy-Free)
- 126 Gluten-Free Desserts and Sweet Treats for Labor Day
- Mini Pumpkin Cheesecakes (Gluten-Free, Dairy-Free Option)
- Gluten-Free Pecan Pie Bars (Dairy-Free)
Holiday Recipes to Indulge In:
Beyond desserts, we have a wonderful selection of other holiday recipes that are perfect for any festive gathering:
- 94 Savory Gluten-Free Recipes for Labor Day Weekend
- Gluten-Free Chocolate Chip Pumpkin Bread (Dairy-Free)
- Easy Gluten’Free S’mores Bars (Dairy-Free Option)
- Easy Gluten-Free Dutch Baby (Dairy-Free)
P.S. If you try this recipe, I’d love for you to leave a star rating below, and/or a review in the comment section further down the page. I always appreciate your feedback. Be sure to check out my entire Recipe Index for all the recipes on the blog. You can also follow me on Pinterest, Facebook or Instagram! Sign up for my Email List to get fresh recipes in your inbox each week!

Homemade Peppermint Patties (Gluten-Free, Vegan) Recipe
⭐️⭐️⭐️⭐️⭐️ (5 from 1 review)
- Author: Felicia Lim
- Total Time: 50 minutes
- Yield: 12 patties
- Diet: Gluten-Free, Dairy-Free, Vegan
Description
These 5-ingredient homemade peppermint patties feature a creamy, refreshing peppermint filling coated in rich dark chocolate, making them the perfect sweet treat for the holidays! This classic candy is also completely gluten-free, dairy-free, and vegan, ensuring everyone can indulge in this holiday season!
Ingredients
- 3/4 cup dairy-free condensed milk
- 1 teaspoon peppermint extract
- 1/4 teaspoon vanilla extract (optional, but recommended)
- 4 cups powdered sugar (confectioner’s sugar)
- 3 cups dairy-free dark chocolate chips
- 2 tablespoons white sprinkles (optional, for decoration)
Instructions
- Combine Sugar, Milk and Extracts: In a medium mixing bowl, combine the powdered sugar, full-fat dairy-free condensed coconut milk (or regular condensed milk), peppermint extract, and vanilla extract.
- Form the Peppermint Dough: Mix thoroughly until a malleable, cohesive dough is formed. You can use a wooden spoon or a hand mixer.
- Prepare Rolling Surface: Lightly coat a clean surface (such as a countertop or parchment paper/silpat) with powdered sugar to prevent sticking.
- Roll Dough to Even Thickness: Place the peppermint dough on the prepared surface and roll it out to an even thickness of about ¼-inch to ½-inch, according to your preference.
- Cut Patties with Cookie Cutter: Use a round cookie cutter (approx. 1.5-2 inches) to cut out individual patties. Reroll scraps to make more. You should get around 12 patties.
- Chill Patties to Set: Line a large baking sheet with parchment paper. Place the cut patties on the sheet and freeze for 10 minutes to firm up.
- Melt Chocolate: While the patties chill, melt the dark chocolate chips in a microwave-safe bowl in 30-second intervals, stirring until completely smooth. Alternatively, use a double boiler.
- Dip Patties in Chocolate: Remove patties from the freezer (they should be hard). Dip each patty into the melted chocolate, coating both sides, and let excess chocolate drip off. Place on the parchment-lined baking sheet.
- Add Sprinkles (Optional): If desired, sprinkle with white or festive sprinkles immediately while the chocolate is still wet.
- Repeat: Continue dipping and sprinkling until all peppermint patties are coated.
- Chill Until Chocolate is Set: Return the chocolate-coated patties to the freezer for another 10-15 minutes until the chocolate is firm. Once set, they are ready to enjoy!
Notes
Condensed Milk: I used dairy-free condensed coconut milk for a vegan recipe. Regular sweetened condensed milk can be used if not dairy-free.
Peppermint Extract: Essential for the classic flavor. Use peppermint, not mint extract.
Vanilla Extract: Optional for enhanced flavor, but can be omitted if preferred.
Powdered Sugar: Crucial for a creamy filling. Do not substitute with granulated sugar. For a sugar-free option, use powdered monk fruit sweetener.
Dark Chocolate Chips: Used dairy-free dark chocolate chips for a vegan recipe. Regular dark chocolate chips can be used if not dairy-free.
Sprinkles: An optional decoration. You can use white sprinkles or other festive options.
Storing: Store in an airtight container in the refrigerator for up to 1 week.
Freezing: Patties can be frozen for up to 2-3 months in a freezer-safe container, separated by parchment paper. Thaw in the refrigerator before serving.
- Prep Time: 30 mins
- Chilling Time: 20 mins
- Category: Desserts
- Method: No-Bake
- Cuisine: American
