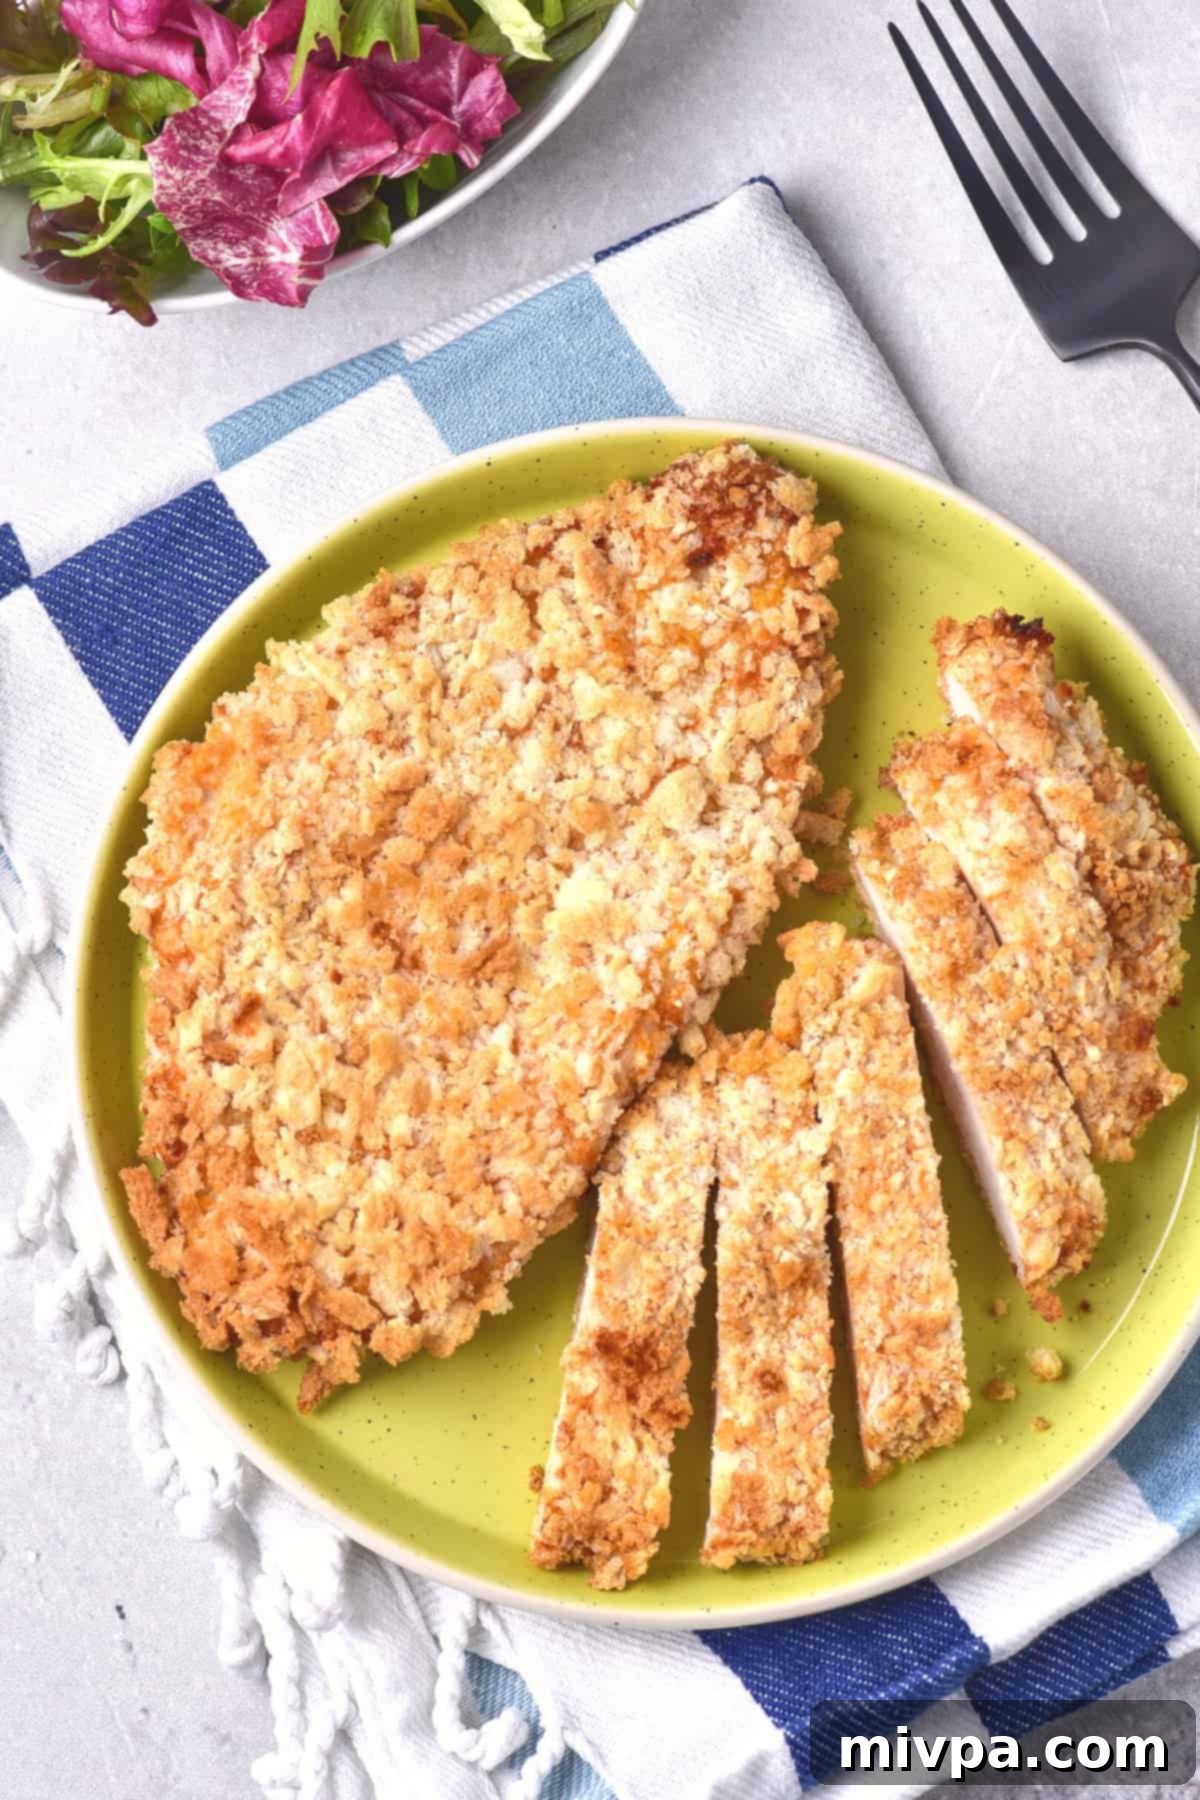
Crispy Air Fryer Chicken Cutlets: Your Ultimate Gluten-Free & Dairy-Free Weeknight Dinner
Prepare to revolutionize your weeknight dinners with these incredibly crispy air fryer chicken cutlets! This recipe delivers a perfectly golden, crunchy exterior and a tender, juicy interior, all achieved with minimal oil thanks to the magic of the air fryer. Not only are they super easy to prepare, tasting absolutely delicious, but they also come together in just 30 minutes, making them an ideal choice for busy evenings. Plus, for those with dietary restrictions, this recipe is completely gluten-free and dairy-free, ensuring everyone can enjoy a fantastic meal without compromise. Get ready to add this to your list of favorite 30-minute meals and easy main dishes!
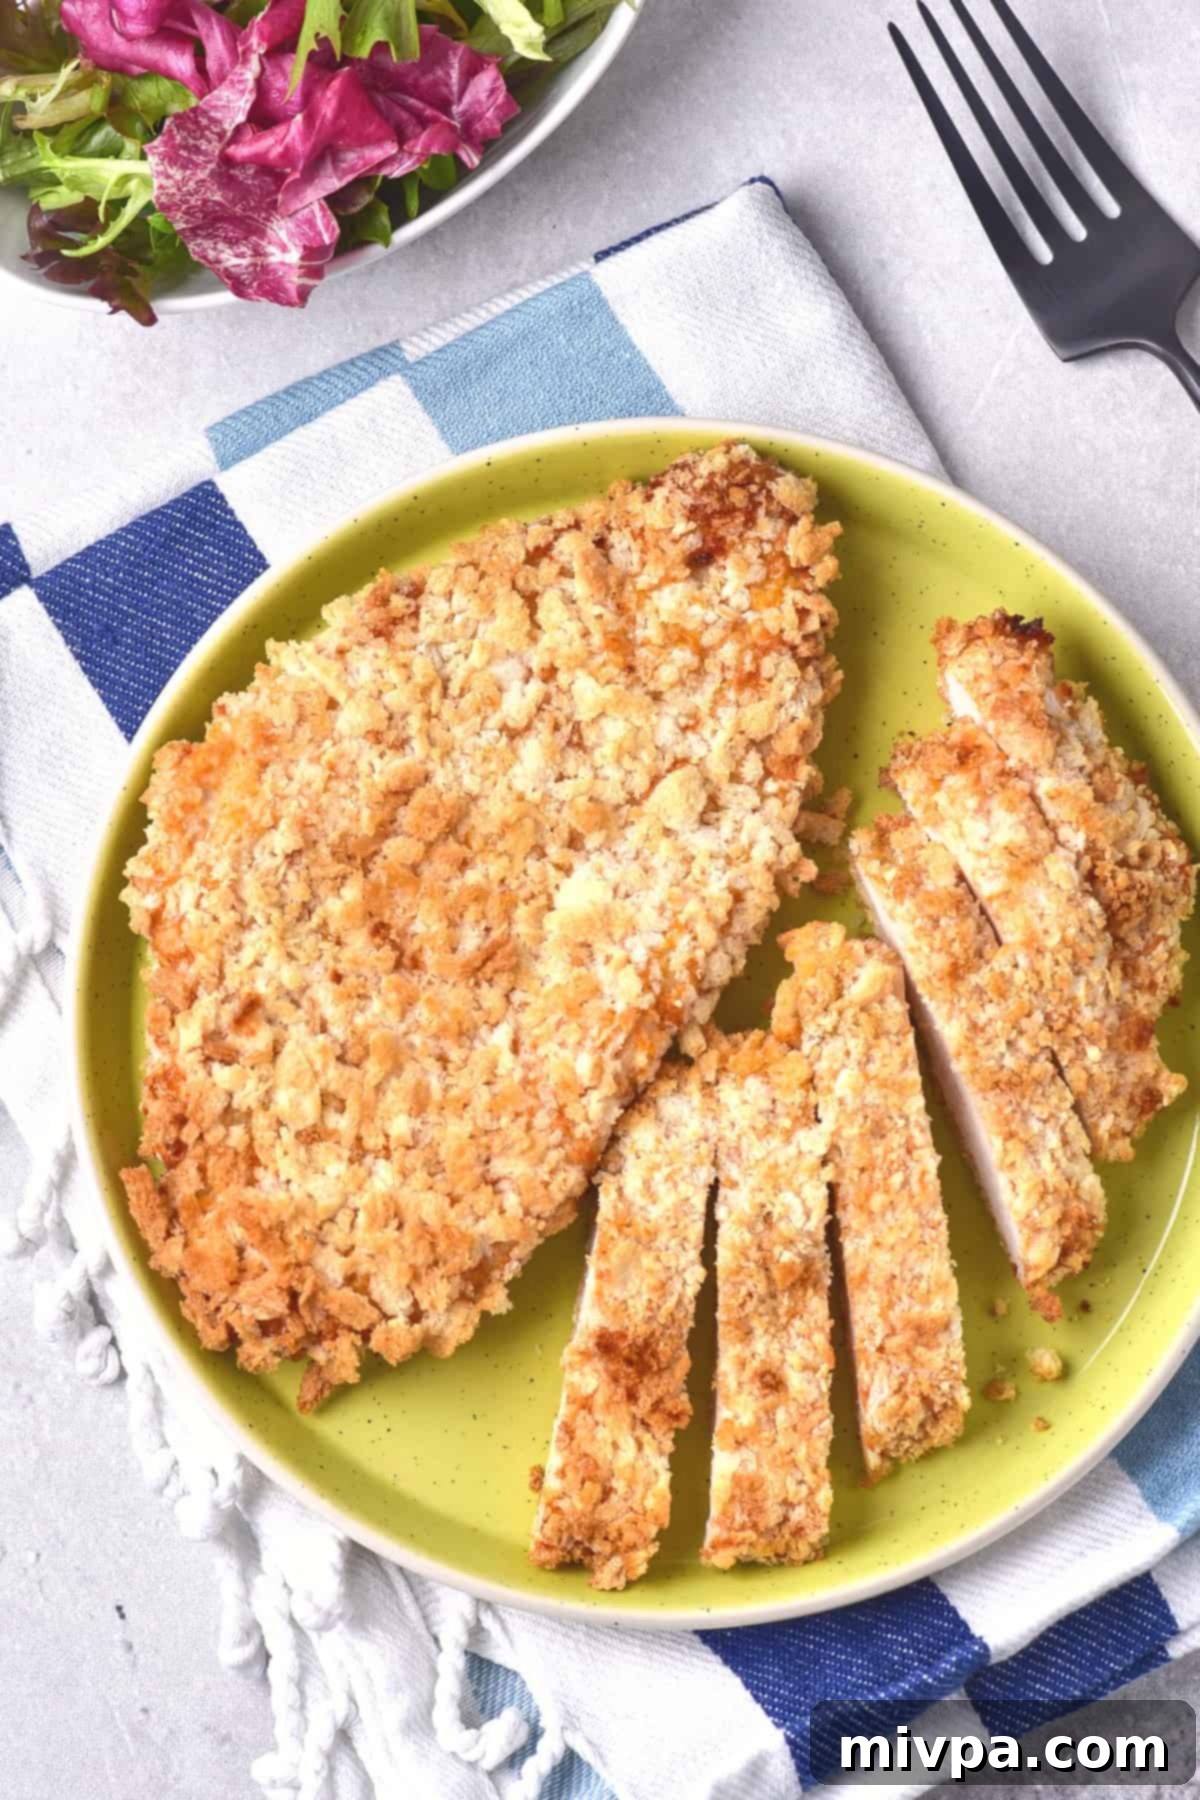
The Air Fryer – A Miraculous Kitchen Appliance
The air fryer has quickly become a beloved kitchen staple, and for good reason! Its immense popularity over recent years stems from its ability to produce incredibly crispy foods without the need for copious amounts of oil, a common requirement for traditional deep frying. This innovative appliance utilizes rapid air circulation technology, essentially mimicking a convection oven, to cook food evenly and create that desirable crunchy texture using significantly less fat.
Beyond its health benefits, the air fryer offers unmatched convenience. Cooking is fully contained within the appliance, which means less splatter and a cleaner kitchen. Say goodbye to unwanted oil stains on your countertops and walls, and embrace a simpler clean-up process! Its compact size and efficient cooking make it perfect for quick meals, minimizing both cooking time and post-meal chores. It truly is a versatile and miraculous tool for any home cook looking to enjoy delicious, healthier versions of their favorite fried foods.
Our Favorite Air Fryer Recipes
Ever since we welcomed an air fryer into our kitchen a few years ago, I’ve been continuously amazed by its versatility. It’s become our go-to for so many dishes, and I’ve loved experimenting with various recipes. Some of our absolute favorites, which consistently deliver fantastic results, include:
- Air Fryer Chicken Wings (Gluten-Free, Dairy-Free) – Perfect for game nights!
- Crispy Air Fryer French Fries (Gluten-Free, Vegan) – A healthier take on a classic side.
- Air Fryer Zucchini Fries (Gluten-Free, Dairy-Free) – A great way to get extra veggies in.
- Air Fryer Chicken Quarters (Gluten-Free, Dairy-Free) – Juicy and flavorful.
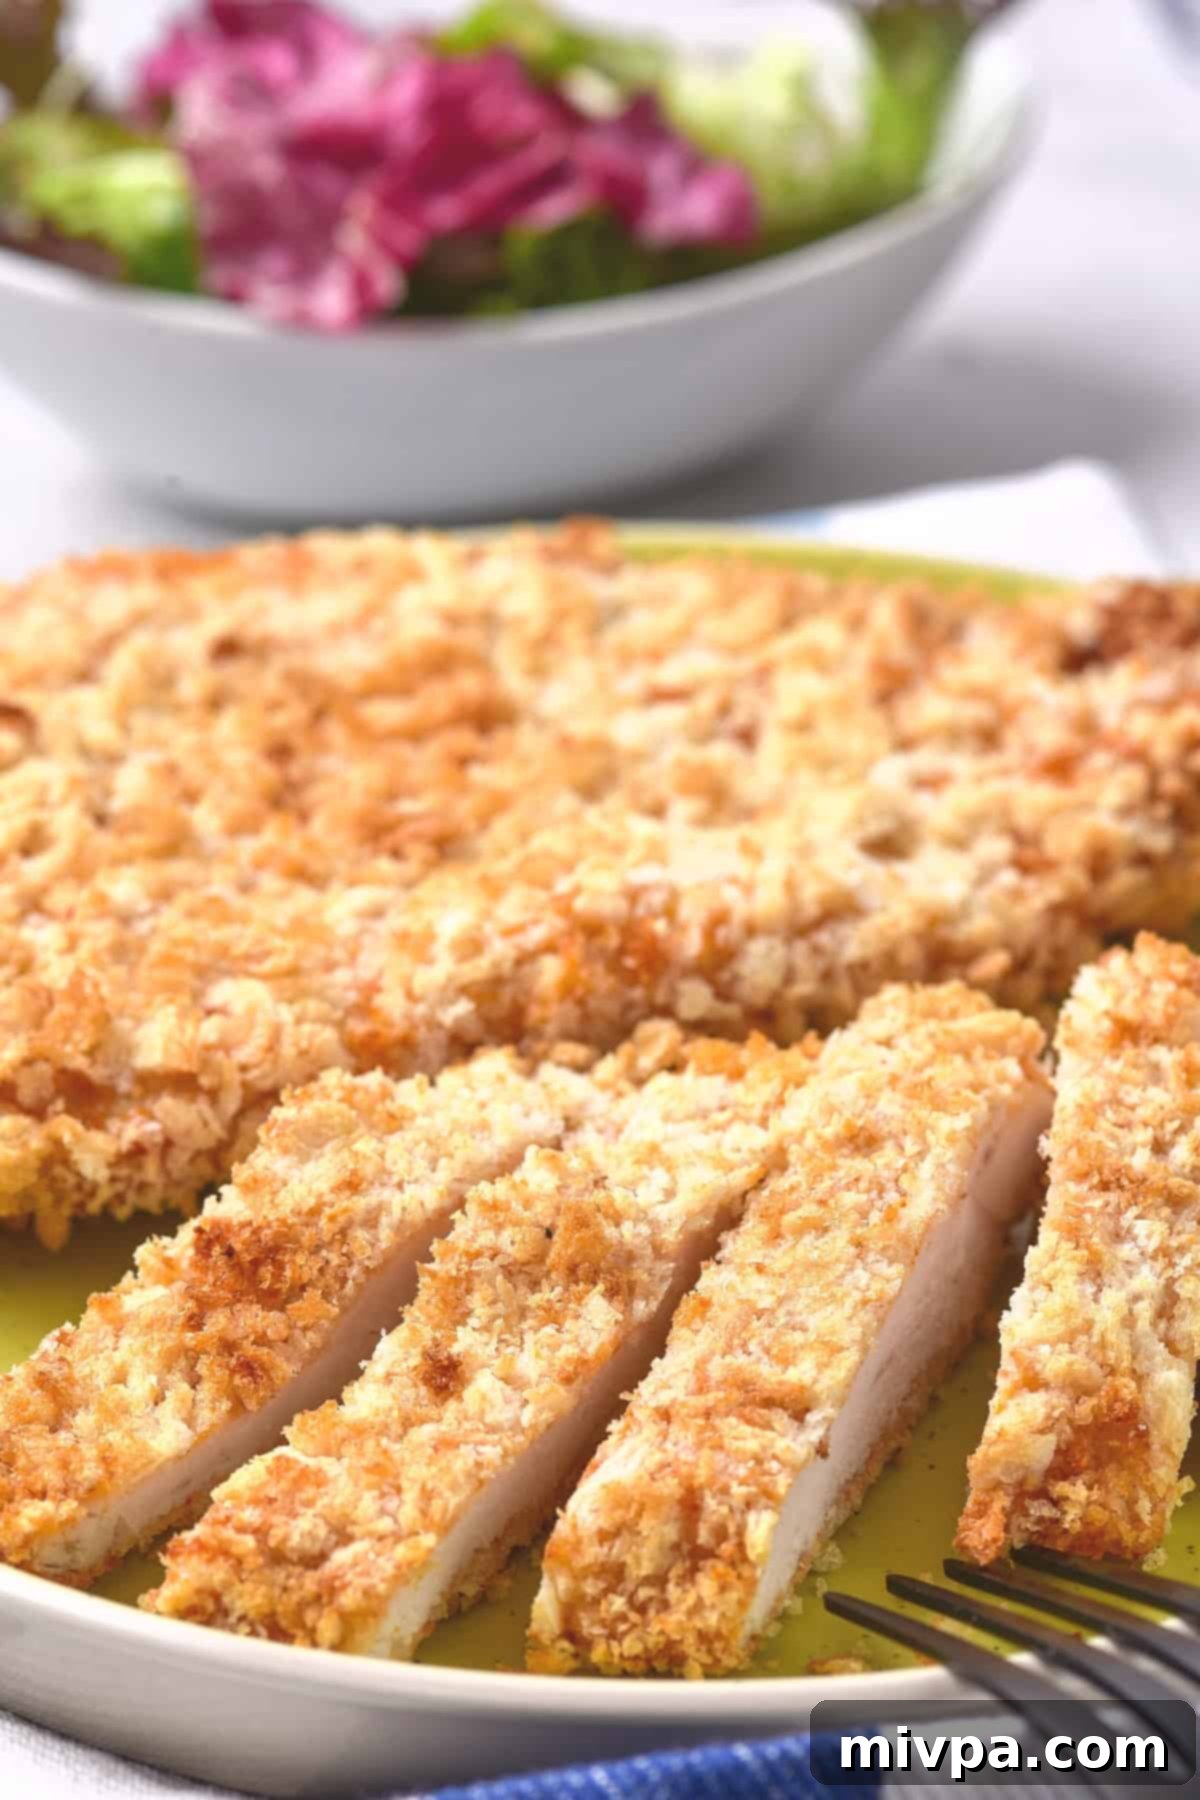
Cooking Chicken Cutlets in the Air Fryer
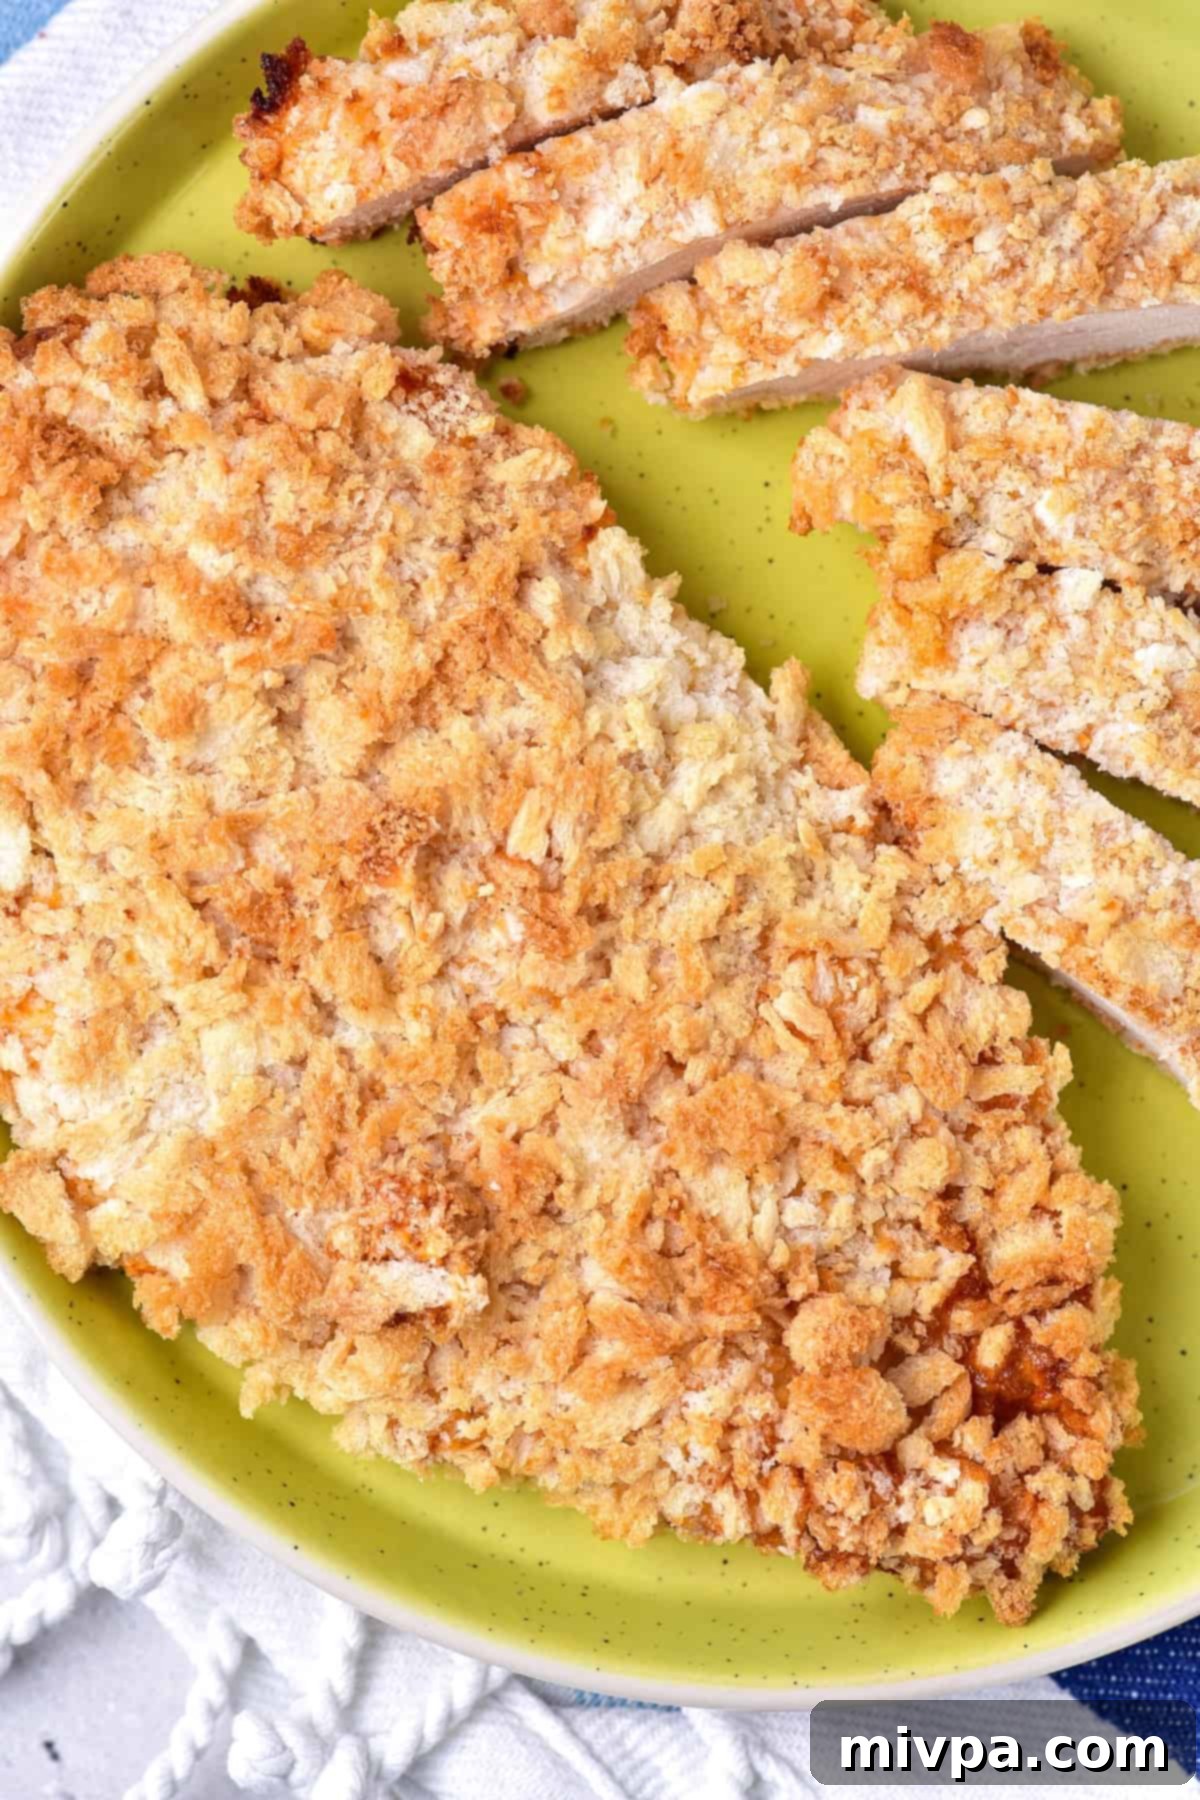
Today, we’re focusing on one of the most satisfying air fryer recipes: perfectly crispy, golden-brown chicken cutlets. These cutlets are not only incredibly easy to prepare but also come together in almost no time, making them a fantastic option for a delicious, fuss-free meal. Whether served with a fresh green salad, an assortment of sautéed vegetables, or any of your favorite comforting sides, these chicken cutlets are sure to become a regular in your meal rotation. Their exceptional texture and robust flavor truly highlight the convenience and capabilities of the air fryer.
Why This Recipe Works:
This air fryer chicken cutlet recipe isn’t just another dinner idea; it’s a culinary win for several compelling reasons:
- Simple, Accessible Ingredients: You won’t need to hunt for exotic items. All the necessary ingredients for these breaded chicken cutlets are readily available at any local grocery store. We keep it straightforward, ensuring that delicious, healthy eating is within everyone’s reach.
- Effortless Preparation for Busy Lives: Breading the chicken cutlets is a surprisingly uncomplicated process. Once they’re coated, the air fryer takes over, doing all the hard work to achieve perfection. This 30-minute meal is designed for efficiency, making it an ideal, stress-free dinner solution for the busiest weeknights.
- Unbeatable Texture Your Family Will Love: Imagine this: succulent, juicy chicken breast encased in a light, incredibly crispy gluten-free panko breading. This recipe consistently delivers that perfect contrast of textures. Your entire family, from the pickiest eaters to the most discerning palates, will absolutely rave about this air fryer chicken.
- Completely Gluten-Free and Dairy-Free: One of the best aspects of these air-fried chicken cutlets is that they are 100% gluten-free and dairy-free. This means that individuals with Celiac disease, gluten sensitivities, or lactose intolerances can enjoy a hearty and flavorful chicken dinner without any concerns or digestive issues. Everyone deserves a delicious meal!
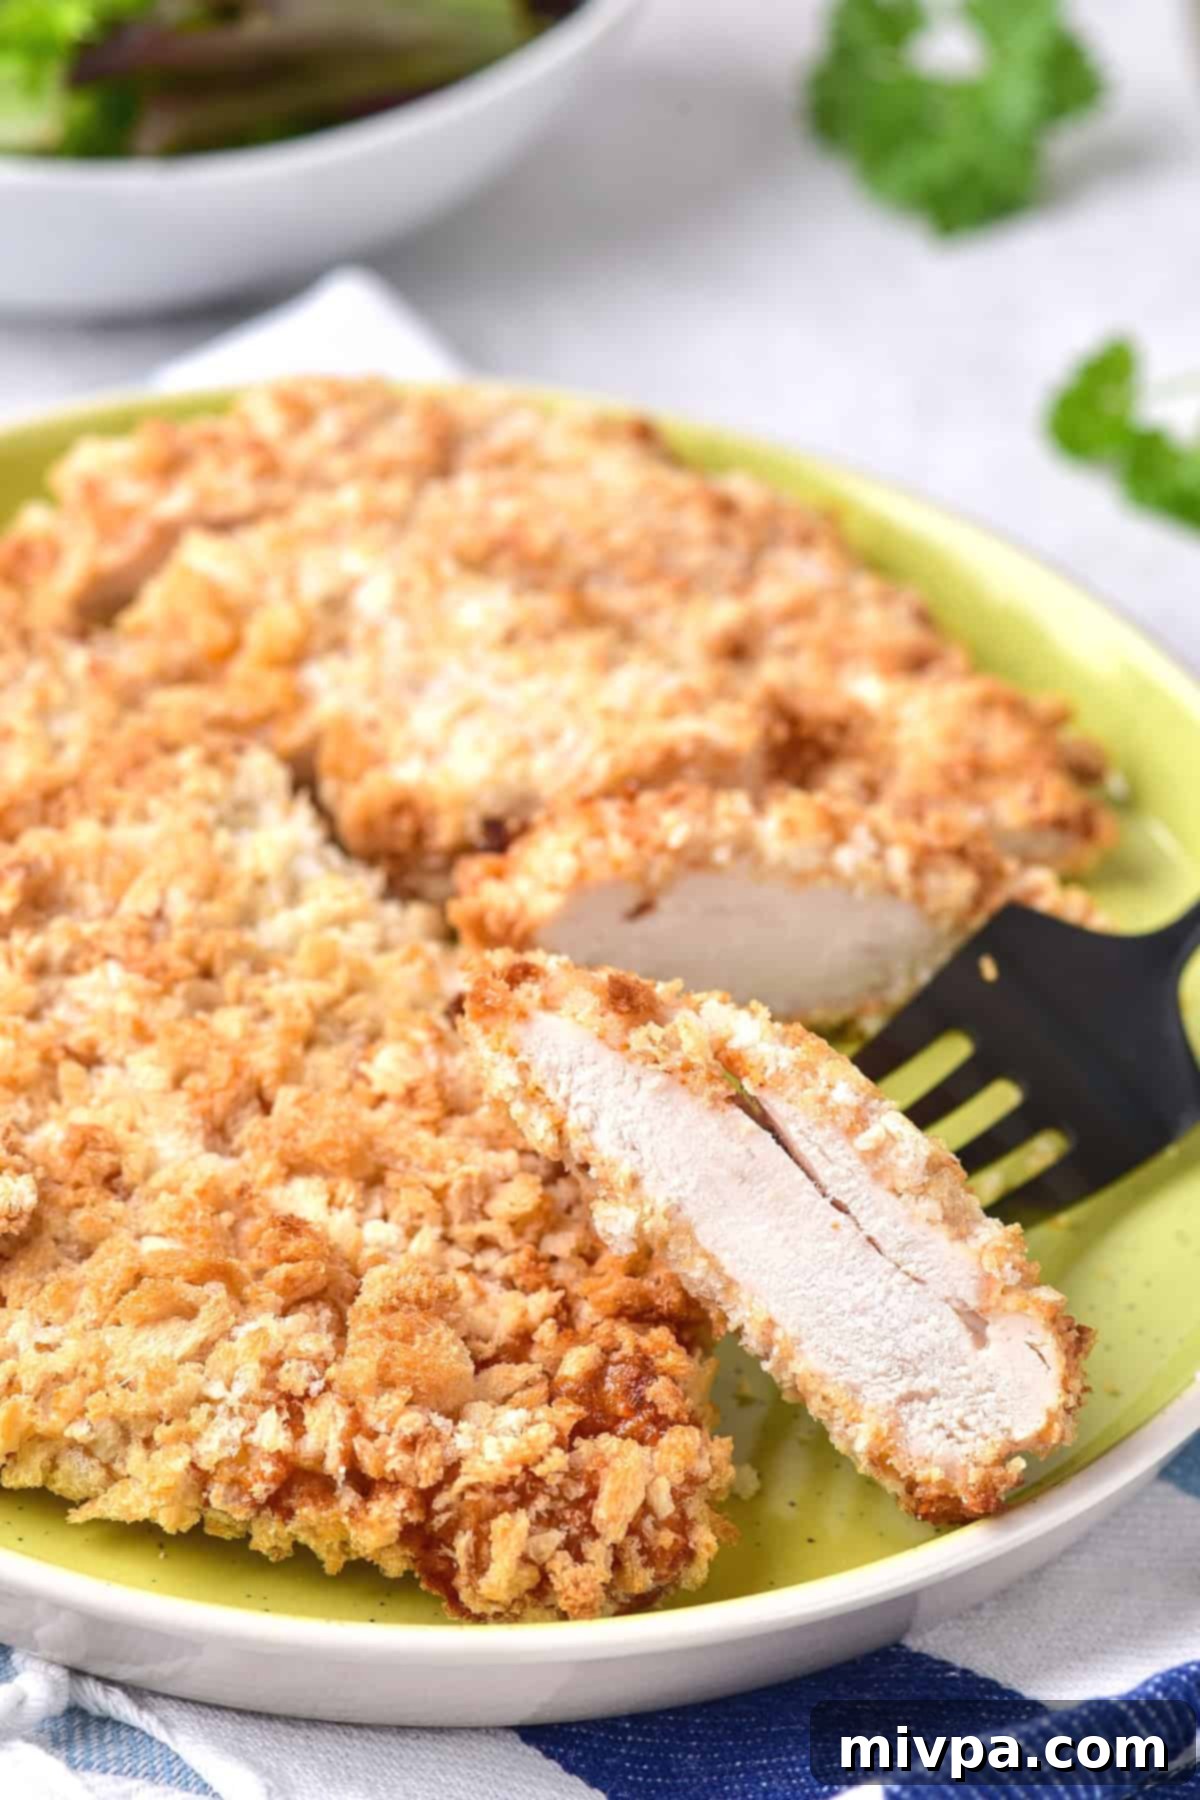
Ingredients You’ll Need:
Here’s a visual overview of the simple, yet essential ingredients required for this delicious air fryer chicken cutlet recipe. You’ll find these easily at your local store, ensuring a hassle-free cooking experience.
(For exact measurements and a detailed recipe, please scroll down to the printable recipe card at the bottom of this post.)
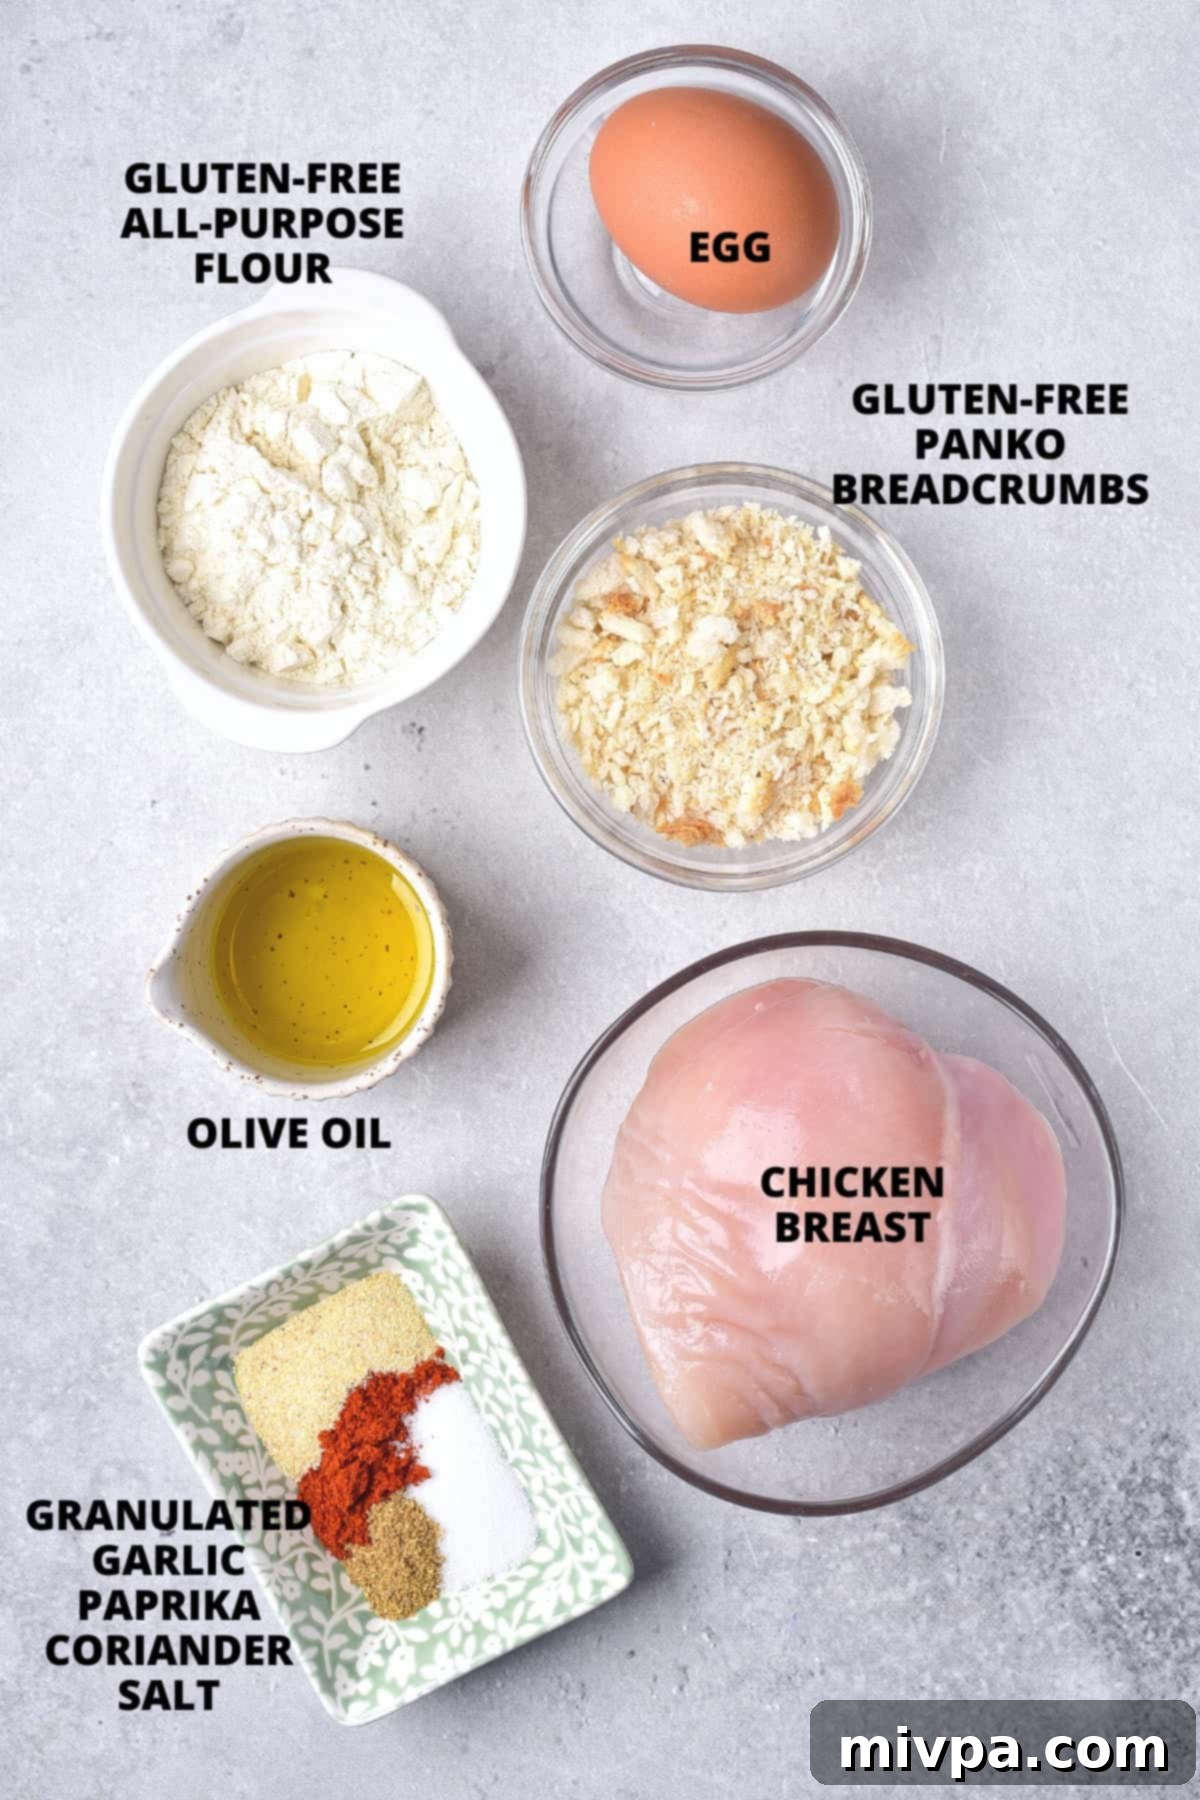
Recipe Notes + Substitutions:
Understanding your ingredients and having options for substitutions can make all the difference in your cooking. Here are some detailed notes to help you perfect these air fryer chicken cutlets:
- Raw Chicken Breast: For this recipe, I highly recommend using boneless, skinless chicken breasts. I typically slice them lengthwise into thinner cutlets myself, which allows for more surface area for that crispy breading and faster cooking. If you prefer to save time, don’t hesitate to ask your butcher to slice the chicken breast into cutlets for you. An essential step for evenly cooked and tender cutlets is pounding them with a meat mallet. Place them between two pieces of plastic wrap to avoid a mess. This extra few minutes of effort ensures uniform thickness, preventing some parts from drying out while others are still cooking, and results in a more tender bite.
- Gluten-Free Flour: The type of gluten-free flour blend you use is crucial. I strongly recommend a good quality gluten-free all-purpose flour blend that primarily consists of lighter flours or starches, such as rice flour, tapioca starch, corn starch, or potato starch. These provide a delicate, crispy coating. Avoid blends made predominantly from heavier flours like garbanzo bean flour, which can lead to a dense, gummy texture. If you don’t have Celiac disease or gluten intolerance, regular all-purpose flour works perfectly fine.
- Granulated Garlic: Garlic adds an incredible depth of flavor to the breading, and granulated garlic is my choice for its even distribution and potent taste. It’s distinct from garlic powder, often having a slightly coarser texture and a more robust flavor. If you only have garlic powder, it can be used interchangeably. For fresh garlic lovers, you could mince it very finely and mix with the egg, but be aware it might not adhere as evenly.
- Ground Paprika: To introduce a touch of warmth and beautiful color, I like to sprinkle in ground paprika. Depending on your preference, you can use sweet paprika, smoked paprika for an extra layer of flavor, or hot paprika for a spicier kick. If you enjoy more significant heat, red chili powder is an excellent alternative.
- Ground Coriander: A hint of ground coriander elevates the overall flavor profile with its bright, citrusy notes. It complements the other spices beautifully. If coriander isn’t to your taste, or you simply don’t have it on hand, feel free to omit it without significantly altering the success of the recipe.
- Salt: Proper seasoning is key to any delicious dish. I typically use normal table salt, but you can certainly opt for fine Himalayan pink salt or fine sea salt if those are your preference. Adjust the amount to your taste, remembering you can always add more later but can’t take it away.
- Egg: The egg acts as the crucial binding agent, ensuring the breading adheres perfectly to the chicken. For this reason, I strongly advise against omitting it. If you wish to avoid the yolk, simply use two egg whites instead of one whole egg. For those with egg allergies or who prefer an egg-free recipe, aquafaba (the liquid from a can of chickpeas) or a commercial egg-replacer can be excellent substitutes. Follow the instructions on the egg replacer package for best results.
- Gluten-Free Panko: For the ultimate crispiness, gluten-free Panko breadcrumbs are a game-changer. Panko breadcrumbs are flakier and lighter than regular breadcrumbs, resulting in a much crunchier coating. I use plain GF Panko to keep the recipe gluten-free, but you can also use other gluten-free bread crumbs. If gluten isn’t a concern for you, feel free to use regular Panko or standard breadcrumbs.
- Olive Oil: I prefer extra virgin olive oil not only for its wonderful flavor but also for its ability to help achieve that beautiful golden-brown crust. However, if you prefer, other high smoke point vegetable oils like avocado oil or canola oil can also be used. A light brush of oil is all you need to help the breading crisp up perfectly in the air fryer.
How to Make Chicken Cutlets in Air Fryer (Step by Step)
Follow these simple steps to create perfectly crispy and delicious air fryer chicken cutlets:
1. Cut Chicken into Cutlets and Pound
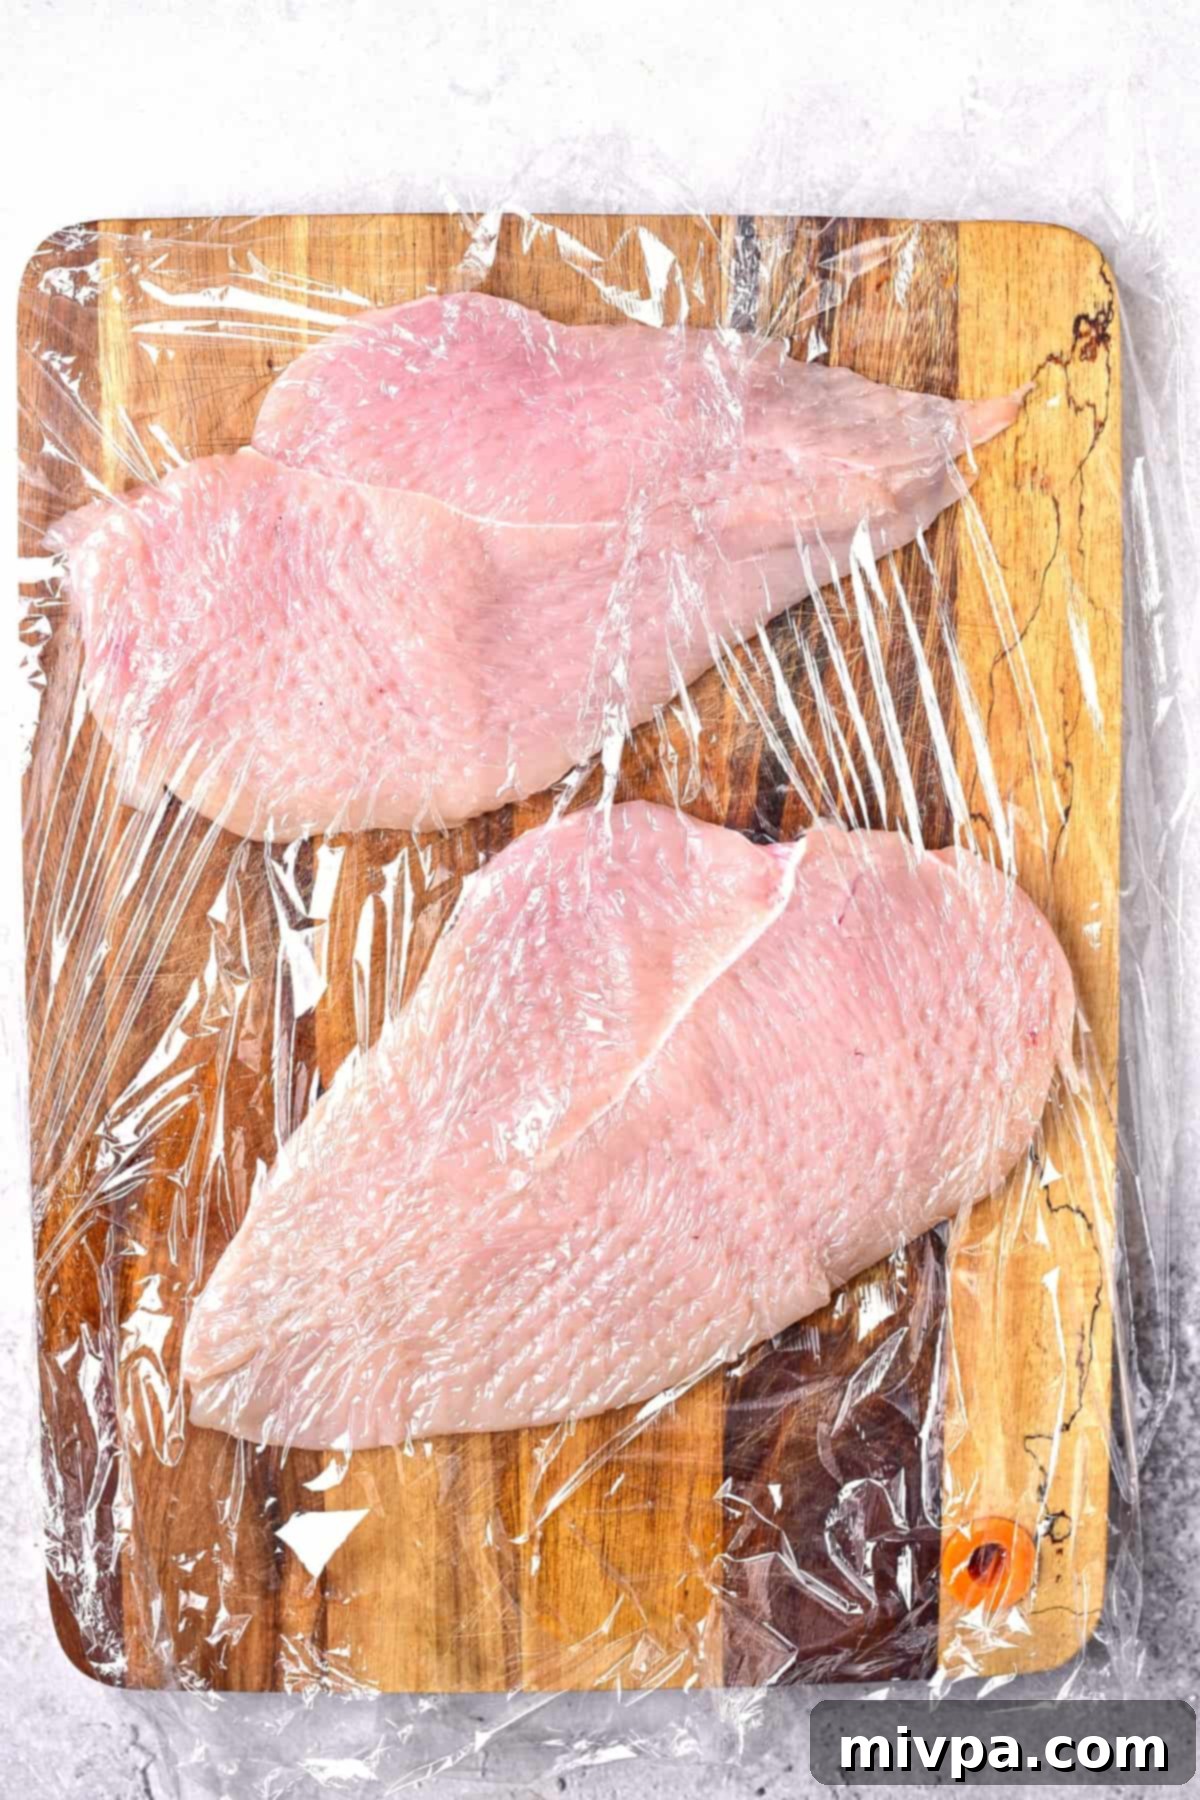
Begin by preparing your chicken breast. Slice the boneless, skinless chicken breast lengthwise into two even cutlets. If your chicken breast is particularly large, you might even get three. Once sliced, place the cutlets on a sturdy cutting board. Cover them with a sheet of plastic wrap – this prevents mess and helps contain any bacteria. Using a meat mallet, gently but firmly pound each cutlet until it reaches a uniform thickness, ideally about 1/2 to 3/4 inch. This crucial step ensures even cooking throughout and a tender final product.
2. Whisk Flour with Condiments
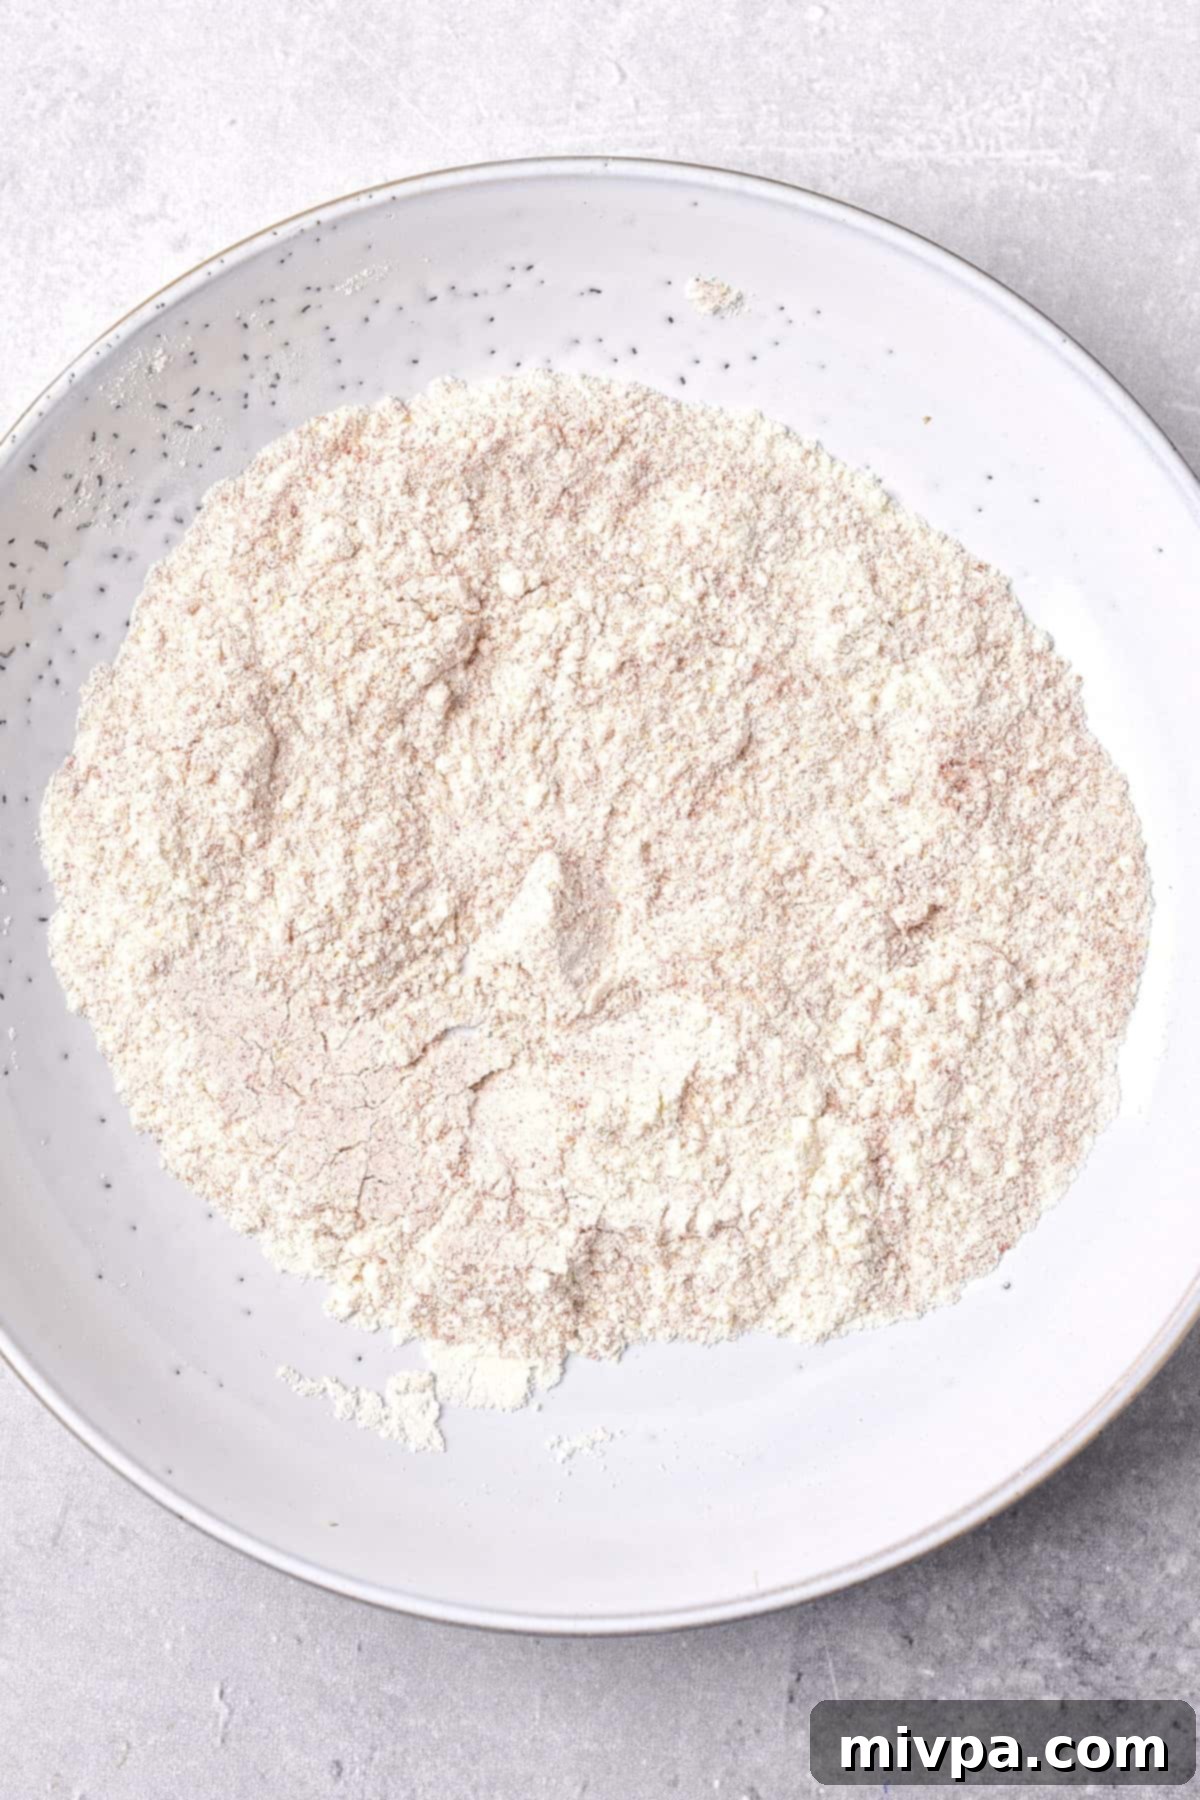
In a shallow bowl, combine the gluten-free all-purpose flour with the salt, granulated garlic, ground paprika, and ground coriander. Use a whisk to thoroughly mix these ingredients until the spices are evenly distributed throughout the flour. This seasoned flour forms the first layer of your flavorful breading.
3. Coat Cutlets in Flour
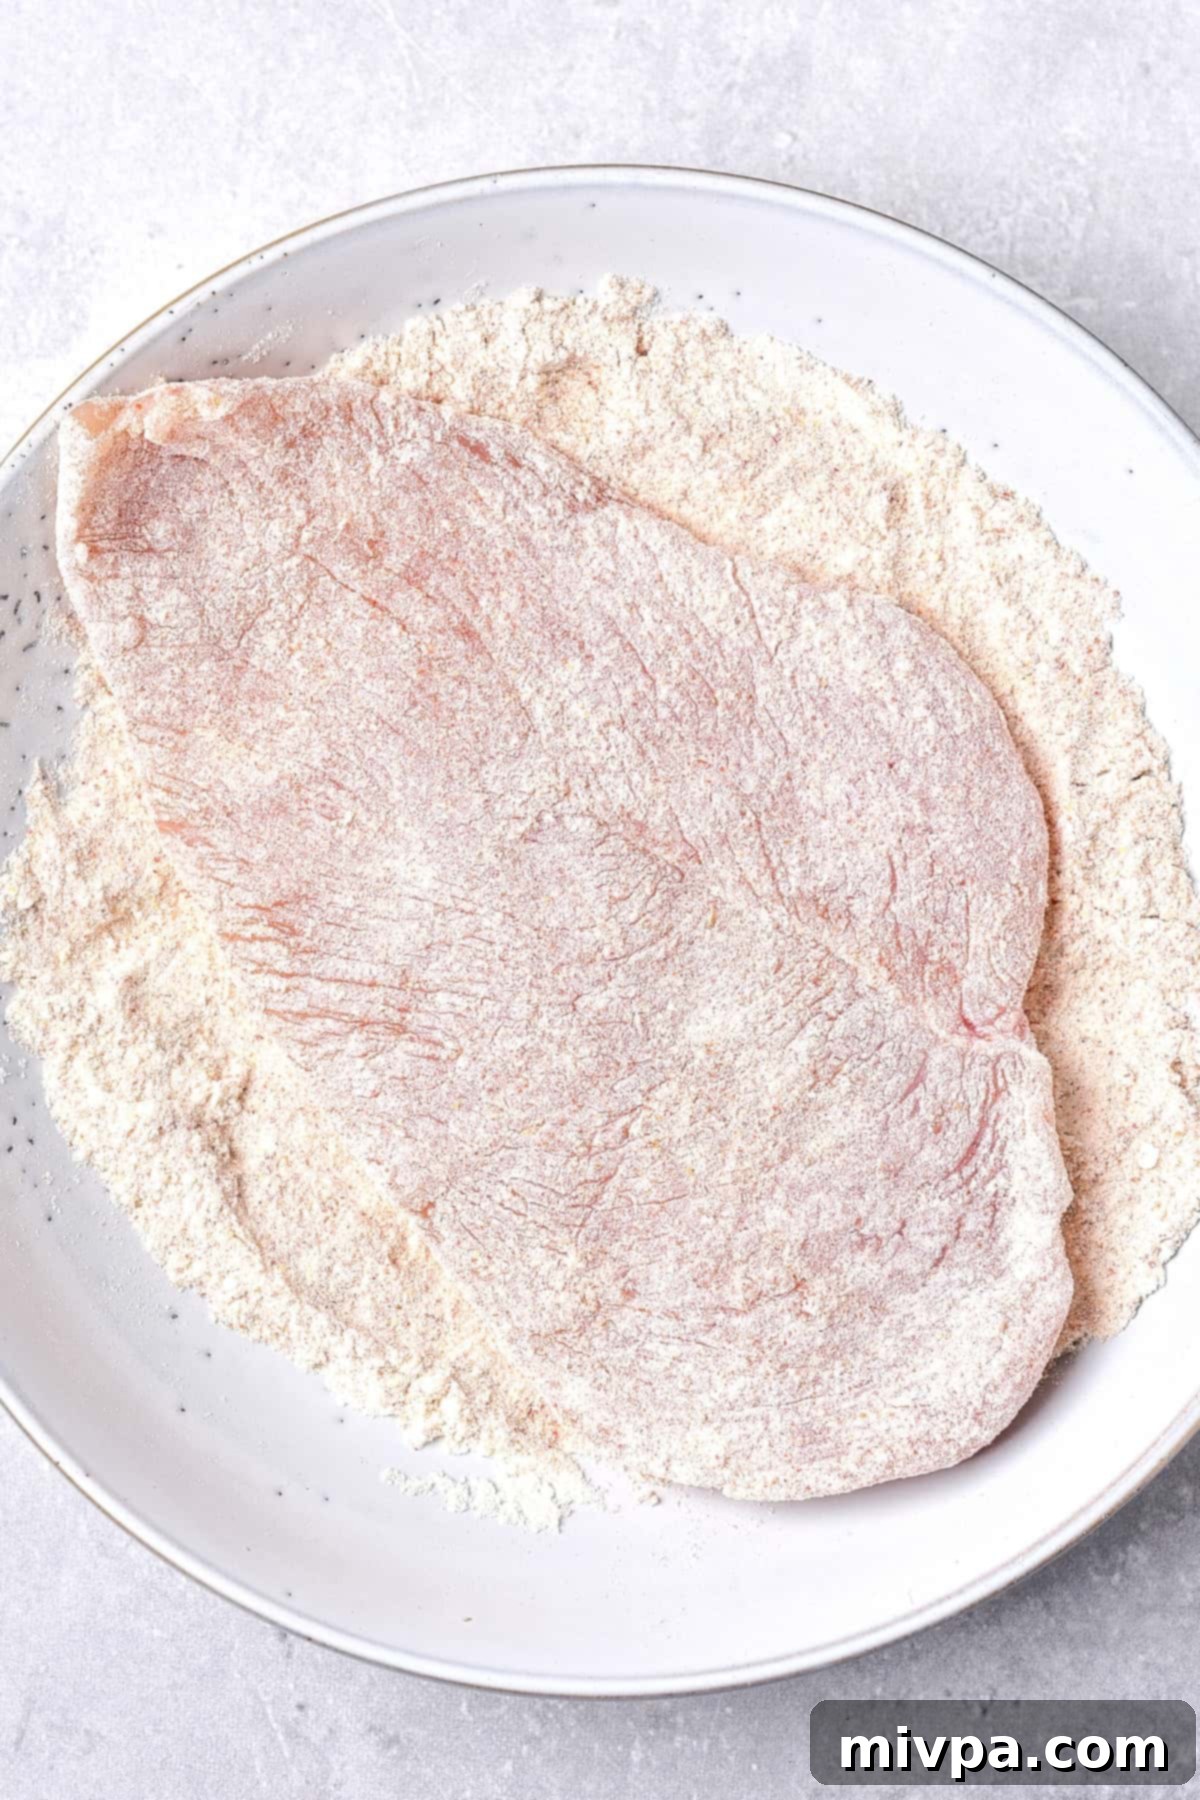
Take each pounded chicken cutlet and dredge it completely in the seasoned flour mixture. Ensure both sides are thoroughly coated. Gently shake off any excess flour – you want a light, even dusting, not a thick paste.
4. Dip Flour-Coated Cutlets in Egg
In another shallow bowl, beat the egg (or egg substitute) until it’s well scrambled. Carefully dip each flour-coated chicken cutlet into the beaten egg, making sure both sides are fully covered. The egg layer acts as a binder for the panko breadcrumbs, helping them adhere and create that perfectly crispy crust.
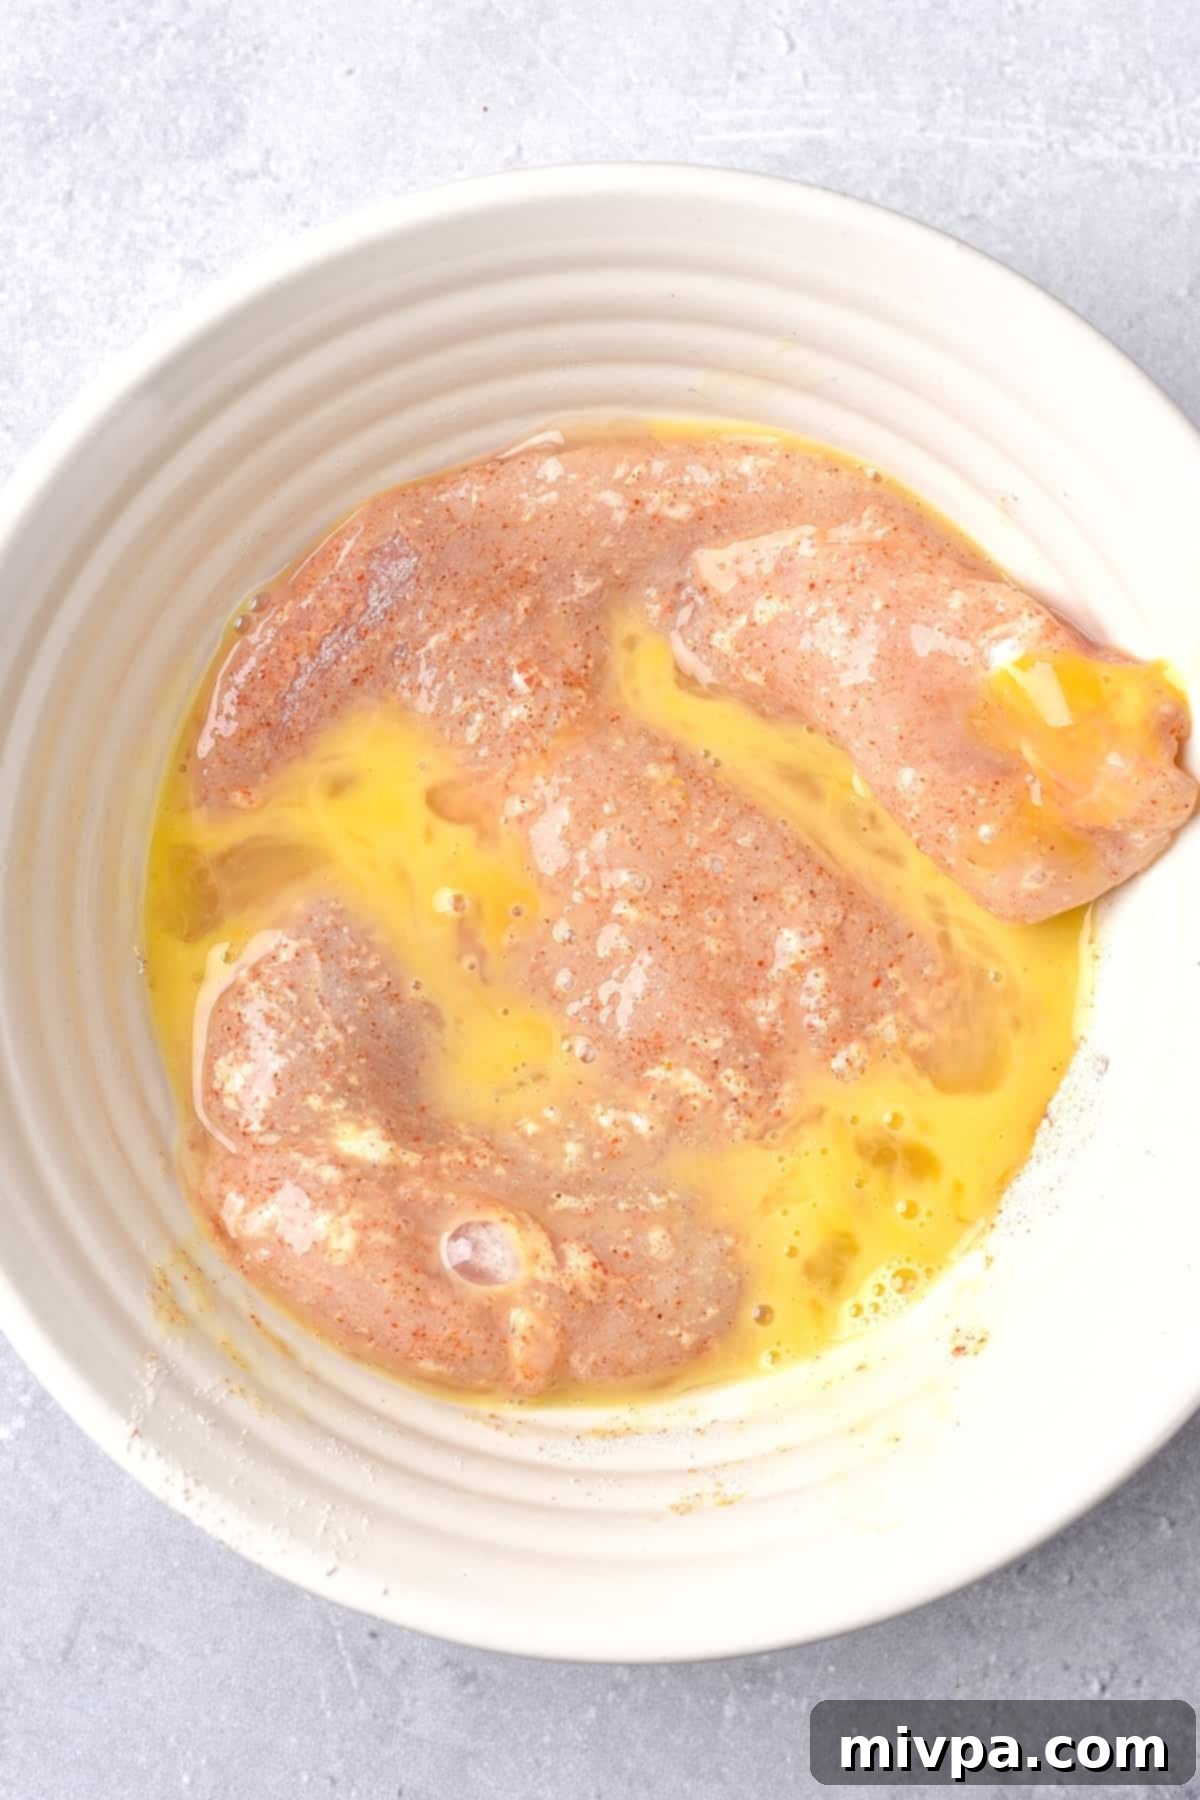
5. Coat Cutlets in Panko Breadcrumbs
Place the gluten-free panko breadcrumbs into a third shallow dish. Transfer the egg-dipped chicken cutlet to the panko, pressing it gently into the breadcrumbs to ensure a complete and even coating on all sides. The more panko that sticks, the crispier your cutlet will be! Repeat with the remaining cutlets.
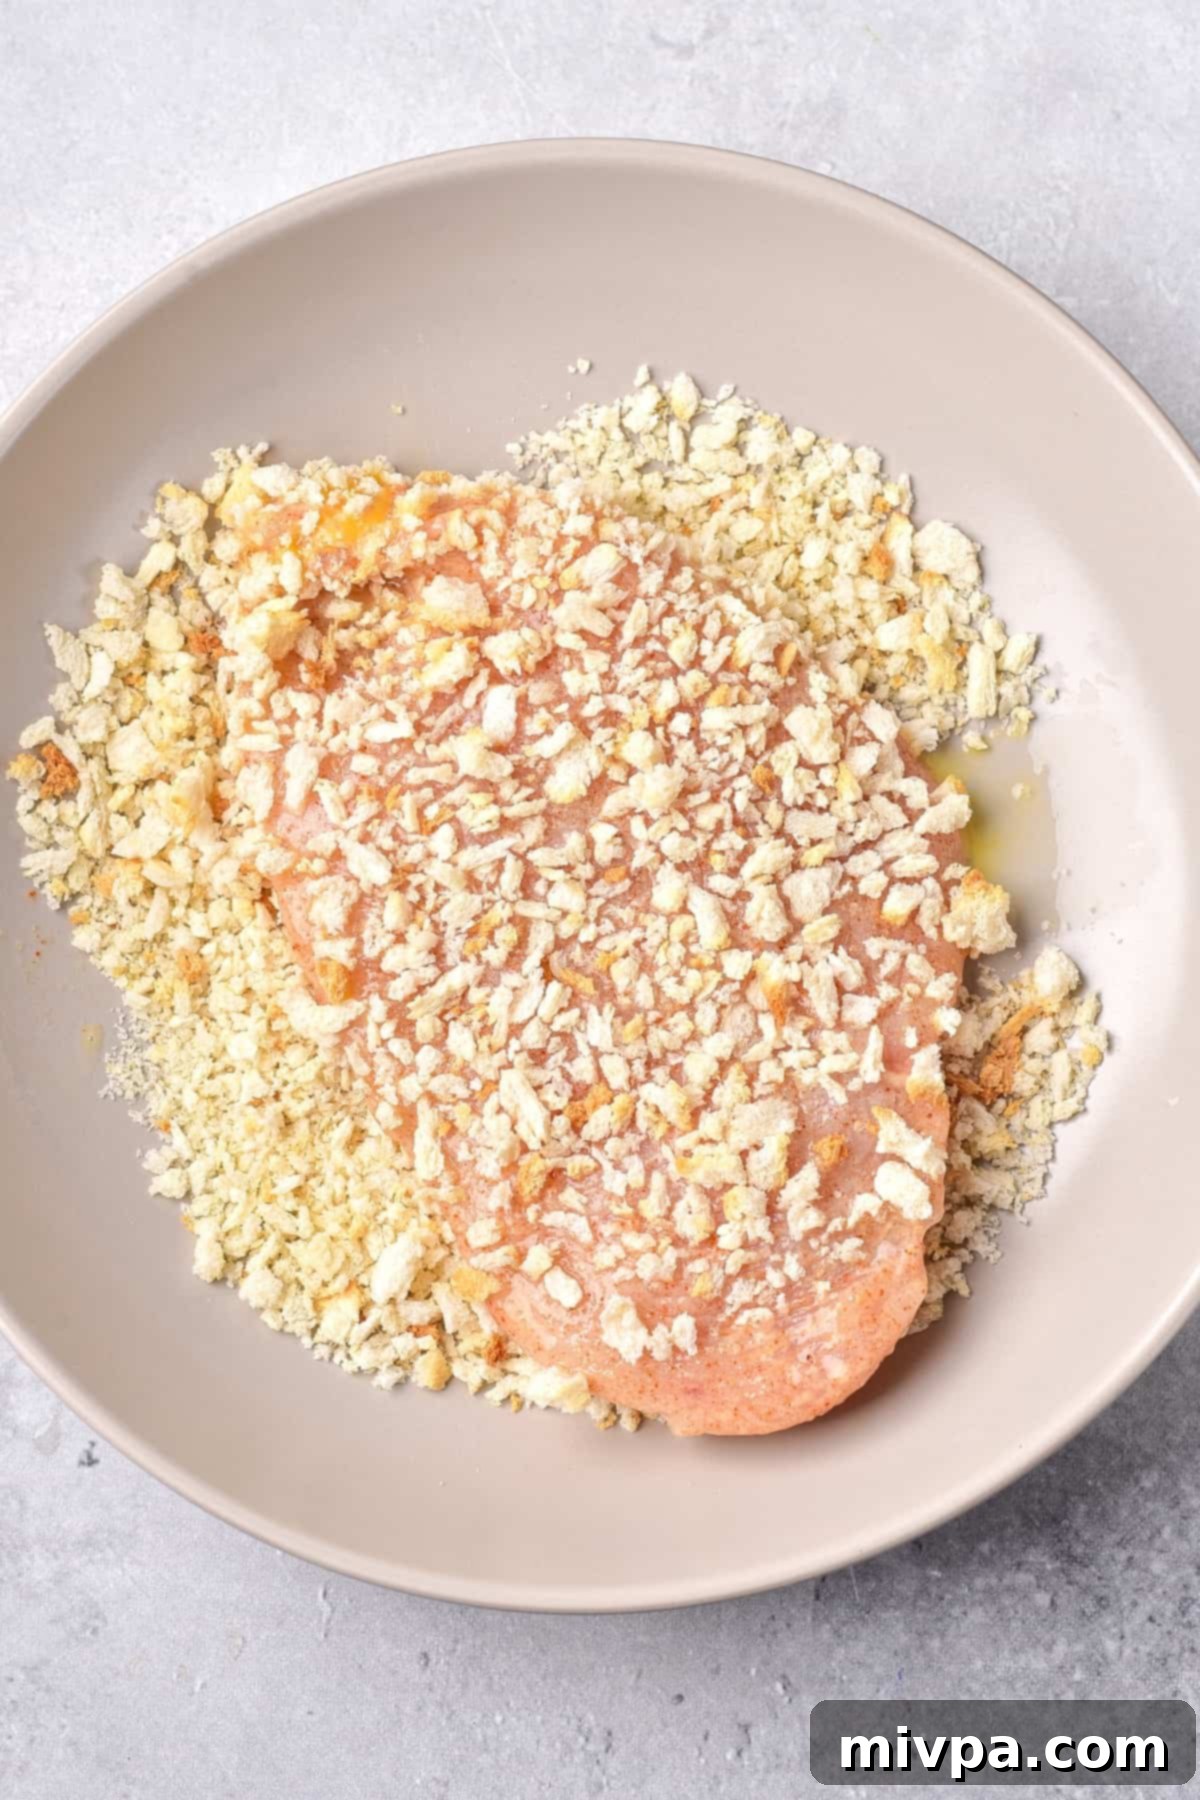
6. Grease and Preheat
Before cooking, lightly spray the inside of your air fryer basket with a nonstick cooking spray or brush with a little olive oil. This prevents sticking and promotes even browning. Then, preheat your air fryer to 380°F (195°C) for at least 3-5 minutes. Preheating is a key step to achieve maximum crispiness and ensure consistent cooking from the start.
7. Brush Cutlets with Oil and Place in Air Fryer Basket
For an extra golden and crispy finish, lightly brush each breaded chicken cutlet with a little olive oil. Carefully arrange the oiled cutlets in a single layer in the preheated air fryer basket. Ensure there is enough space between each piece for hot air to circulate freely. Depending on the size of your air fryer, you may need to cook in batches to avoid overcrowding, which can lead to steaming rather than crisping.
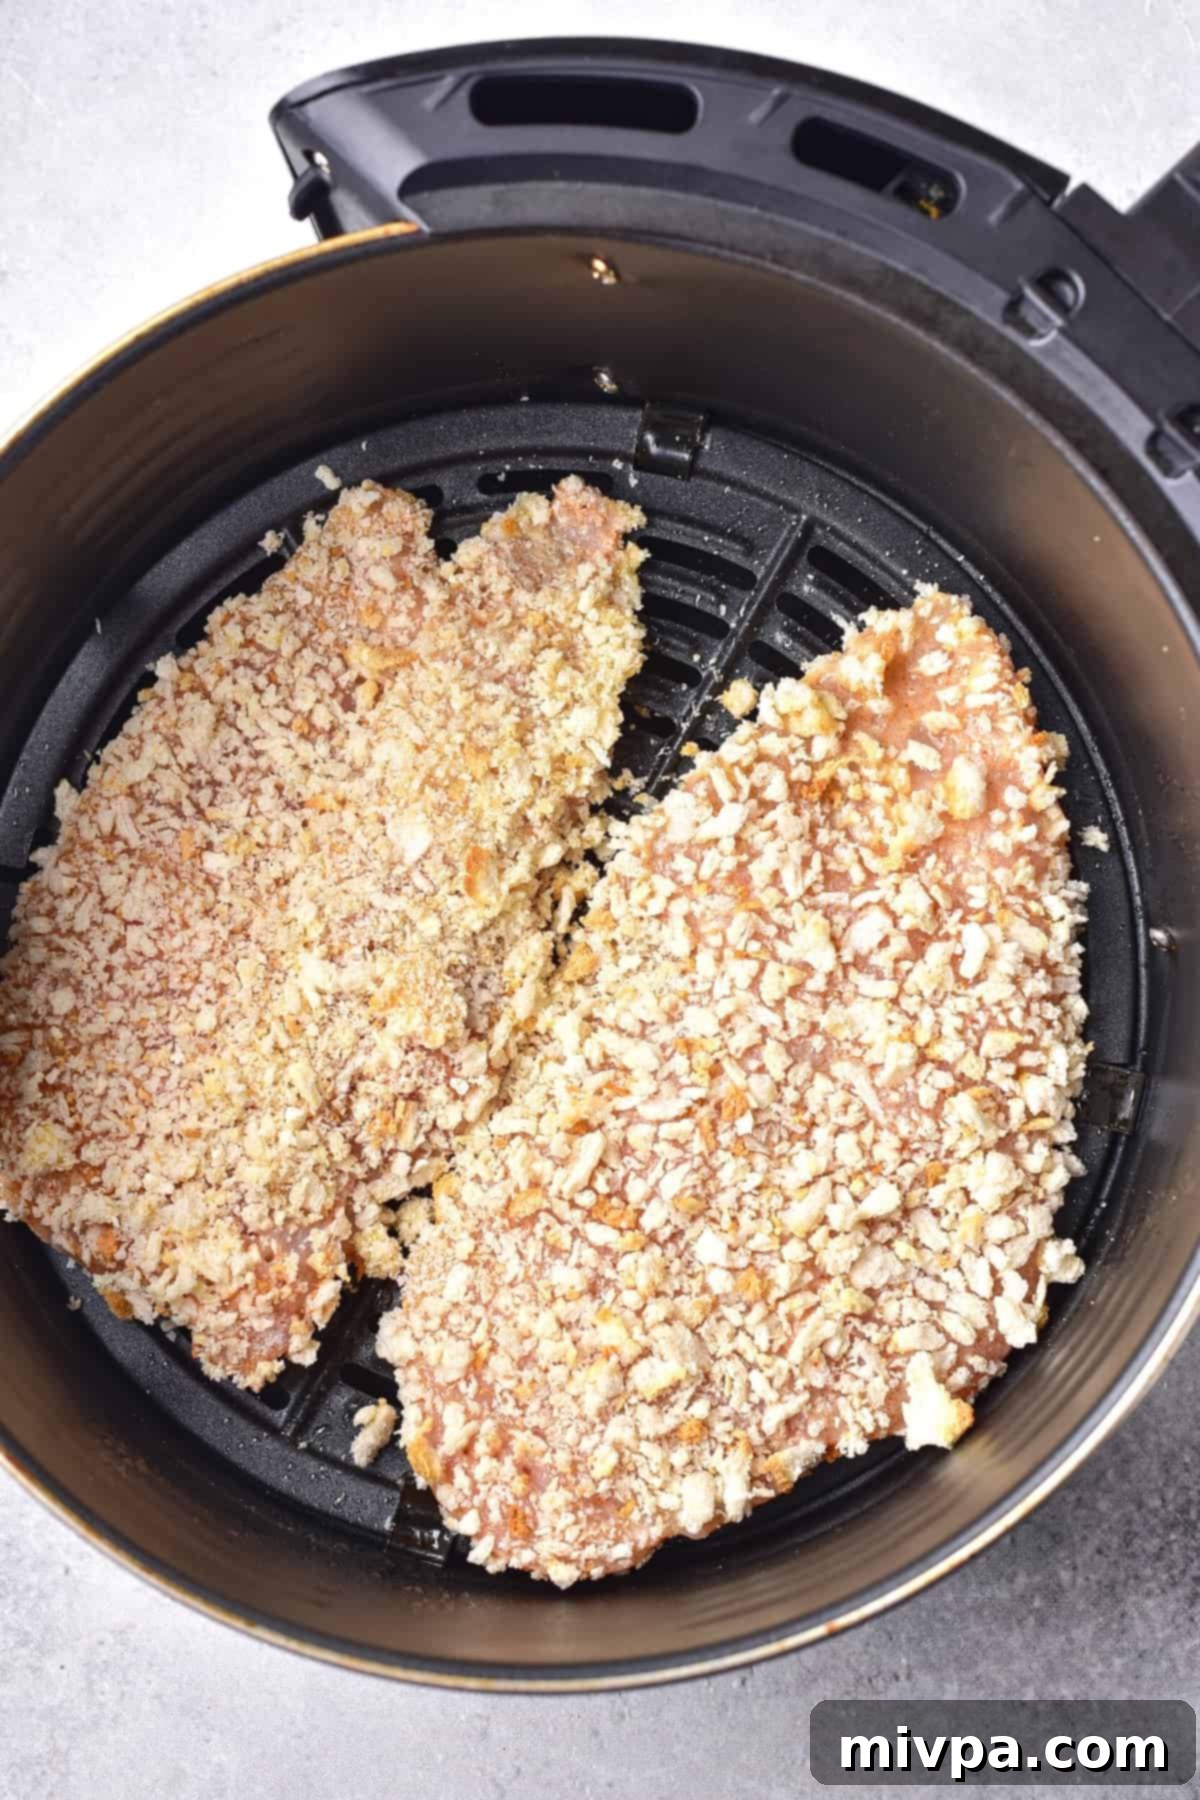
8. Air Fry Chicken Cutlets
Air fry the chicken cutlets at 380°F (195°C) for an initial 10 minutes. After this time, carefully flip each cutlet over to the other side to ensure even browning. Continue to cook for another 3-5 minutes, or until the cutlets are beautifully golden brown on both sides and cooked through. The internal temperature should reach 165°F (74°C) when checked with a meat thermometer at the thickest part. Cooking times may vary slightly depending on your air fryer model and the thickness of your cutlets.
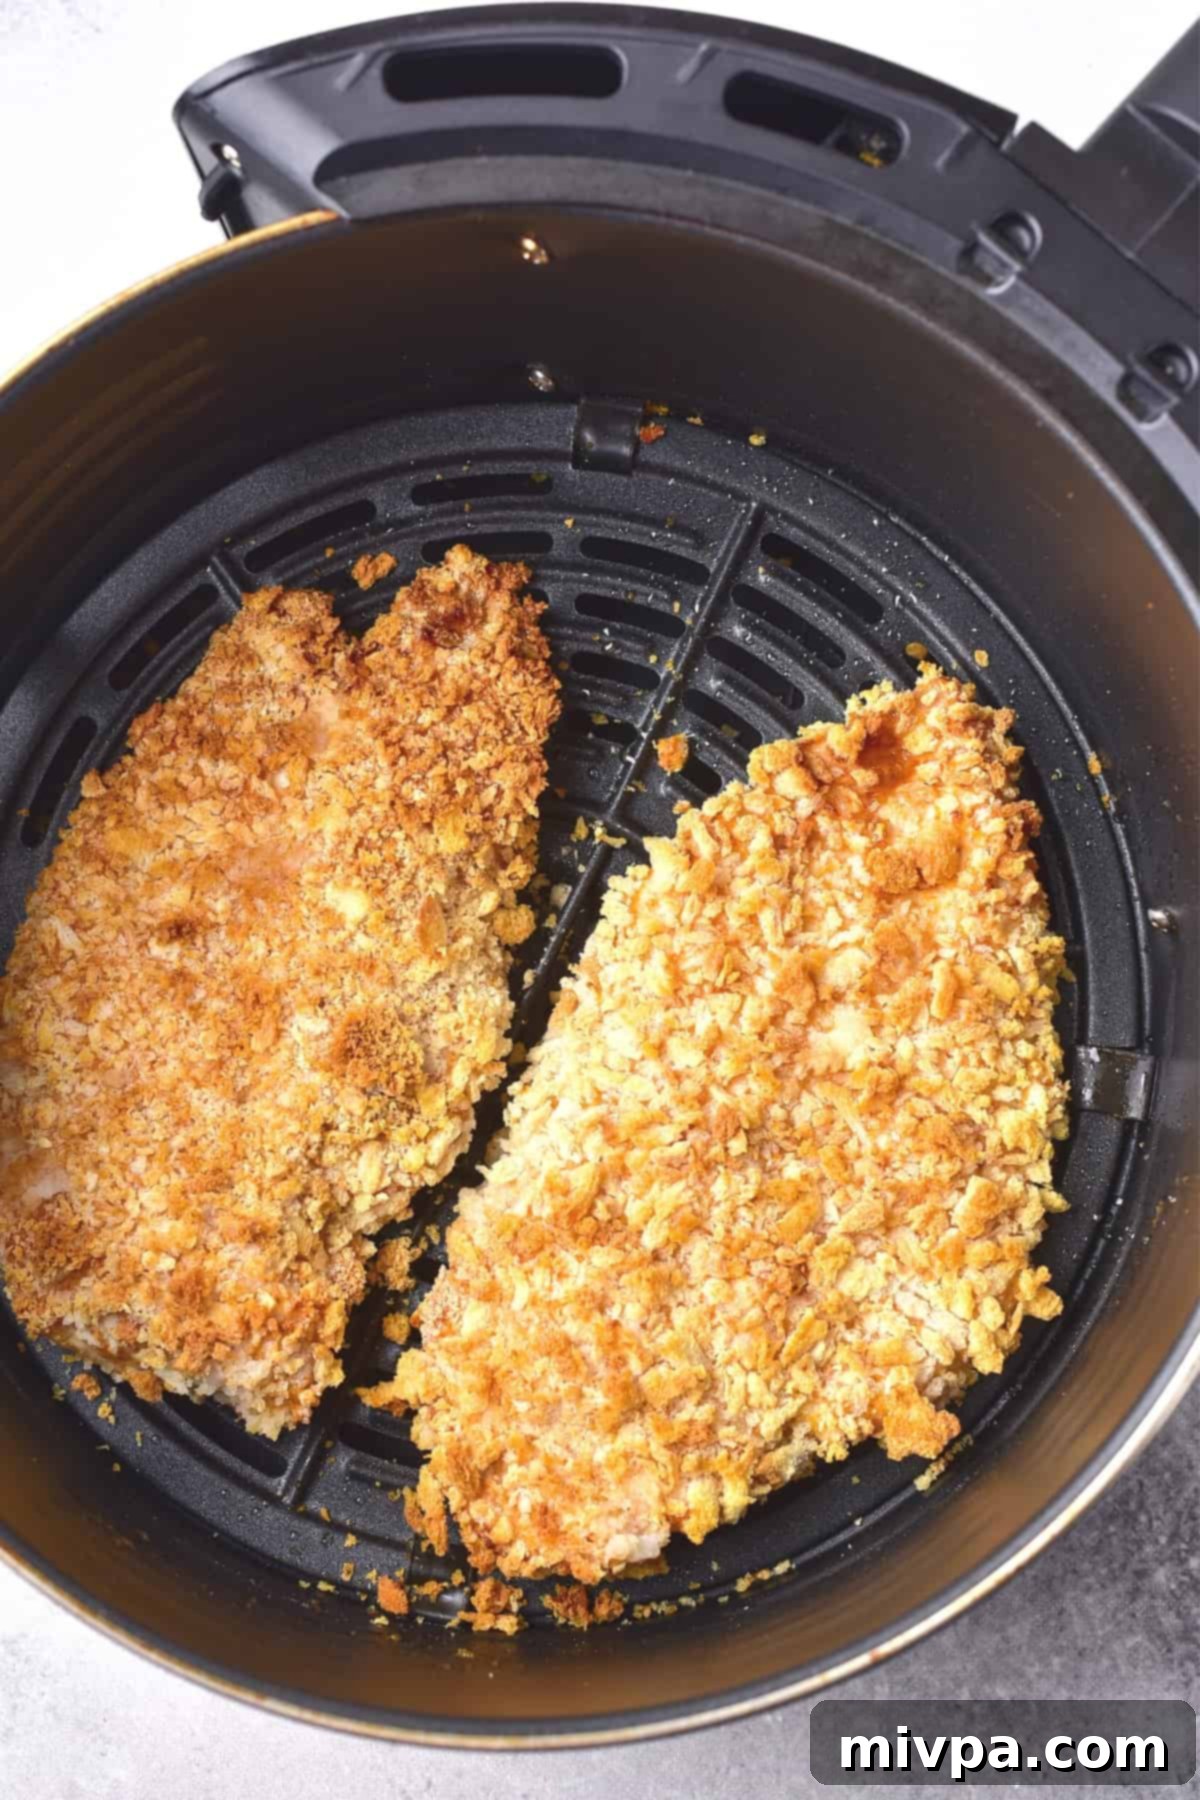
9. Serve and Enjoy
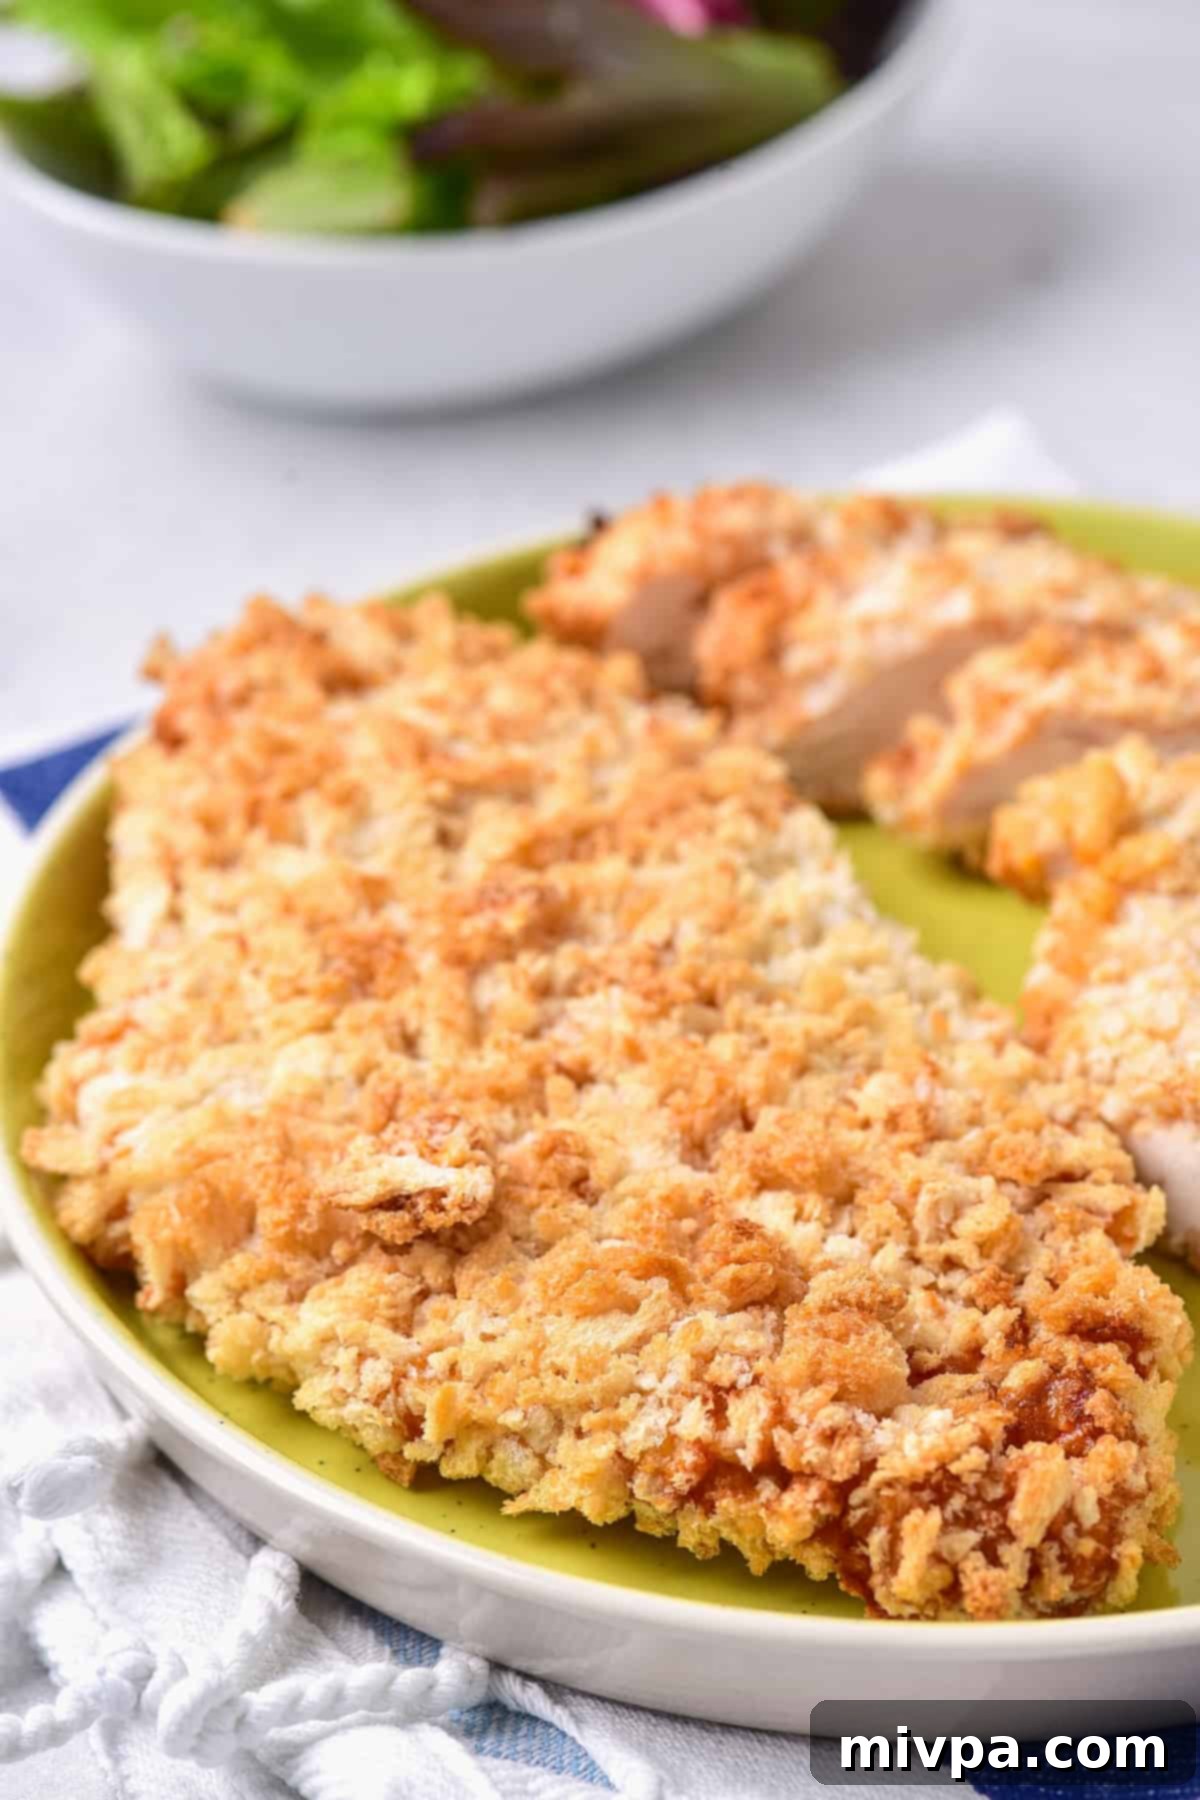
Once cooked to perfection, carefully transfer the crispy air-fried chicken cutlets from the basket to a serving plate. Allow them to rest for a minute or two before serving, as this helps the juices redistribute, resulting in even more tender chicken. Serve immediately with your favorite fresh greens, roasted vegetables, or a dipping sauce of your choice. Enjoy this incredibly easy, flavorful, and satisfying meal!
Dish by Dish Tips/Tricks:
To ensure your air fryer chicken cutlets turn out perfectly every single time, keep these valuable tips in mind:
- Pound the Cutlets for Even Cooking: This step cannot be emphasized enough! Using a meat mallet to pound your chicken cutlets to a uniform thickness (around 1/2 to 3/4 inch) is crucial. While it adds a few extra minutes to prep, it guarantees that all parts of the chicken cook evenly and reach the perfect internal temperature simultaneously, preventing dry spots or undercooked areas. If you don’t have a mallet, a heavy rolling pin or the bottom of a sturdy pan can work in a pinch.
- Always Cook in a Single Layer: For maximum crispiness and optimal results, it is absolutely vital that the chicken cutlets are placed in a single layer within the air fryer basket. Overcrowding the basket restricts the hot air circulation, which is what makes the air fryer so effective. If cutlets are stacked or touching, they will steam rather than fry, resulting in a soggy coating. If you’re doubling or tripling the recipe, cook the cutlets in multiple batches. Patience here pays off!
- Experiment with Optional Condiments: While our recipe uses granulated garlic, ground paprika, and ground coriander, feel free to customize the seasoning to your taste! Other fantastic options include onion powder for an savory boost, chili powder for extra heat, aromatic dried parsley, or Mediterranean dried oregano. A dash of black pepper or a blend like Italian seasoning can also add wonderful complexity. Don’t be afraid to create your own signature blend!
- Perfect Pairing Sauces: These crispy chicken cutlets are fantastic on their own, but they truly shine when paired with a complementary dipping sauce. We highly recommend our homemade garlic aioli for a creamy, savory kick, our vibrant homemade sriracha chili sauce for those who love a bit of heat, or a fresh and aromatic basil walnut pesto for a herbaceous touch.
- Don’t Skip Preheating: Just like a conventional oven, preheating your air fryer ensures that the chicken starts cooking immediately at the right temperature, leading to a much crispier exterior.
- Check Internal Temperature: The safest way to ensure your chicken is fully cooked is to use a meat thermometer. Insert it into the thickest part of the cutlet; it should read 165°F (74°C).
- Cleaning Your Air Fryer: For easy cleanup, always let your air fryer basket cool down before washing. Most baskets are non-stick and can be cleaned with warm, soapy water and a soft sponge.
Recipe FAQs:
To ensure freshness and flavor, place any leftover cooked air fryer chicken cutlets in an airtight container. They can be safely stored in the refrigerator for up to 3-4 days. When ready to enjoy again, reheat them in the air fryer at 350°F (175°C) for a few minutes until warmed through and re-crisped.
Absolutely! Freezing is a fantastic way to prep ahead. I recommend freezing the uncooked, breaded cutlets. To do this, place each breaded cutlet on a baking sheet lined with parchment paper and freeze for about 1-2 hours until solid. Then, transfer the frozen cutlets to freezer-safe bags or a freezer-safe container, separating each with a plastic freezer sheet to prevent sticking. They will keep well for up to 2 months. You can either thaw them overnight in the refrigerator before air frying as usual, or for a quicker option, cook them directly from frozen (this will require an additional 5-10 minutes of air frying time).
Several factors contribute to ultimate crispiness: ensure your cutlets are pounded to an even thickness, use Panko breadcrumbs (they are flakier), preheat your air fryer, do not overcrowd the basket (cook in a single layer), and lightly brush or spray the breaded cutlets with olive oil before air frying. Flipping halfway through also helps achieve even browning on both sides.
Yes, you can! This breading technique works wonderfully with boneless, skinless chicken thighs or even chicken tenders. Adjust the cooking time accordingly – thinner tenders might cook faster, while thicker thighs might take a few minutes longer. Always check for an internal temperature of 165°F (74°C).
For food safety, all poultry should be cooked to an internal temperature of 165°F (74°C). Using a reliable meat thermometer inserted into the thickest part of the chicken cutlet is the best way to ensure it’s fully cooked and safe to eat.
Yes, you can! If you don’t have an air fryer, you can bake these cutlets in a preheated oven at 400°F (200°C). Place them on a wire rack set on a baking sheet and bake for about 20-25 minutes, flipping halfway through, or until golden brown and cooked to an internal temperature of 165°F (74°C). The air fryer provides a superior crispy texture with less oil, but the oven is a great alternative.
What to Serve with Chicken Cutlets:
These versatile crispy chicken cutlets pair wonderfully with a variety of sides. Here are some of our top recommendations to complete your meal:
- Crispy Air Fried Potato Wedges (Gluten-Free, Vegan): A fantastic, healthier alternative to french fries that offers a satisfying crunch.
- Air Fryer Green Beans (Gluten-Free, Vegan): Quick, tender-crisp green beans seasoned perfectly in the air fryer for a vibrant and healthy side.
- Roasted Rainbow Carrots (Gluten-Free, Vegan): Sweet and earthy carrots, beautifully roasted with herbs, adding color and nutrients to your plate.
- A simple fresh green salad with a light vinaigrette.
- Steamed broccoli or asparagus for a quick vegetable side.
- Creamy mashed potatoes (dairy-free if needed) for a comforting classic.
Other Gluten-Free Air Fryer Chicken Recipes You’ll Love:
If you’re loving the convenience and crispiness that the air fryer brings to chicken, be sure to try these other delicious gluten-free air fryer chicken recipes:
- Air Fryer Chicken Tenders (Gluten-Free, Dairy-Free): Perfect for kids and adults alike, great for dipping!
- Air Fryer Chicken Wings (Gluten-Free, Dairy-Free): A game-day favorite that’s effortlessly crispy and flavorful.
- Air Fryer Chicken Quarters (Gluten-Free, Dairy-Free): A hearty and satisfying meal, beautifully cooked in the air fryer.
More Delicious Gluten-Free Dinner Recipes:
Looking for even more gluten-free inspiration for your dinner table? We’ve got you covered with a selection of flavorful and easy-to-make dishes:
- Baked Chicken Legs and Potatoes (Gluten-Free, Dairy-Free)
- Mexican Chicken Meatballs (Gluten-Free, Dairy-Free)
- Easy Chicken Satay with Peanut Sauce (Gluten-Free, Dairy-Free)
- Crispy Cornflake Chicken Strips (Gluten-Free, Dairy-Free)
P.S. If you try this recipe, I’d love for you to leave a star rating below, and/or a review in the comment section further down the page. I always appreciate your feedback. Be sure to check out my entire Recipe Index for all the recipes on the blog. You can also follow me on Pinterest, Facebook or Instagram! Sign up for my Email List to get fresh recipes in your inbox each week!
Print
Air Fryer Chicken Cutlets (Gluten-Free, Dairy-Free)
5 Stars 4 Stars 3 Stars 2 Stars 1 Star
5 from 1 review
Author: Felicia Lim
Total Time: 30 minutes
Yield: 2 servings
Diet: Gluten Free
Description
These crispy air fryer chicken cutlets are super easy to make, taste delicious and are made with very little oil in the air fryer! Ready in just 30 minutes, these are perfect for an easy weeknight dinner. Totally gluten-free and dairy-free too.
Ingredients
Scale
- 1 uncooked chicken breast (approximately 6 oz)
- 1/3 cup gluten-free all-purpose flour
- 1/3 teaspoon granulated garlic
- 1/3 teaspoon ground paprika
- 1/3 teaspoon ground coriander
- 1/4 teaspoon salt
- 1 egg, beaten
- 1/2 cup gluten-free Panko breadcrumbs
- 1 tablespoon olive oil
Instructions
- Cut Chicken into Cutlets and Pound: Cut the chicken breast lengthwise into two cutlets (or more if your chicken breast is larger). Place them on a cutting board, cover with cling film, and pound each cutlet with a meat mallet until uniformly thick (about 1/2-3/4 inch), ensuring even cooking throughout.
- Whisk Flour with Condiments: In a shallow bowl, mix the gluten-free all-purpose flour with salt, granulated garlic, ground paprika, and ground coriander. Whisk well to combine.
- Coat Cutlets in Flour: Dredge each chicken cutlet in the seasoned flour mixture, ensuring both sides are fully coated. Gently shake off any excess flour.
- Dip Flour-Coated Cutlets in Egg: In a separate shallow bowl, beat the egg. Dip each flour-coated cutlet into the beaten egg, making sure both sides are covered.
- Coat Cutlets in Panko Breadcrumbs: Place the gluten-free Panko breadcrumbs in a third shallow bowl. Press each egg-dipped chicken cutlet into the Panko, ensuring it is completely covered for maximum crispiness.
- Preheat and Grease: Lightly spray the air fryer basket with nonstick cooking spray or brush with olive oil. Preheat the air fryer to 380°F (195°C) for 3-5 minutes.
- Brush Cutlets with Oil and Place in Air Fryer Basket: Lightly brush the breaded chicken cutlets with olive oil. Arrange them in a single layer in the preheated air fryer basket, ensuring no overcrowding for optimal crisping.
- Air Fry Chicken Cutlets: Air fry for 10 minutes at 380°F (195°C). Flip the cutlets over and cook for another 3-5 minutes, or until golden brown, crispy, and the internal temperature reaches 165°F (74°C).
- Serve and Enjoy: Transfer the crispy air-fried chicken cutlets to a plate, let rest briefly, then serve immediately with your preferred sides. Enjoy!
Notes
Chicken Breast: Use boneless, skinless chicken breast sliced into cutlets. Pounding with a meat mallet ensures even thickness and cooking.
Gluten-Free Flour: Opt for a good quality gluten-free all-purpose flour blend made with lighter starches (rice, tapioca, corn, potato). Avoid heavier flours like garbanzo bean. Regular flour can be used if not gluten-intolerant.
Granulated Garlic: Granulated garlic adds key flavor; garlic powder is an acceptable substitute.
Ground Paprika: Adds flavor and color. Use ground paprika or red chili powder for heat, if desired.
Ground Coriander: Adds a complementary flavor. Optional if not preferred.
Salt: Use normal table salt, fine Himalayan pink salt, or fine sea salt to taste.
Egg: Essential for binding breading. For egg-free, use aquafaba or an egg-replacer.
Gluten-Free Panko: For best crispiness, use gluten-free Panko breadcrumbs. Other gluten-free bread crumbs work. Regular Panko can be used if not gluten-intolerant.
Olive Oil: Extra virgin olive oil is preferred for flavor; other vegetable oils can be substituted.
Storing/Freezing: Cooked cutlets store in an airtight container in the fridge for up to 4 days; reheat in the air fryer. Uncooked, breaded cutlets can be frozen for up to 2 months in freezer-safe bags (separate with plastic sheets). Thaw overnight or cook from frozen (adjusting time) in the air fryer.
- Prep Time: 15 mins
- Cook Time: 15 mins
- Category: Main Dish
- Method: Air Fryer
- Cuisine: American
