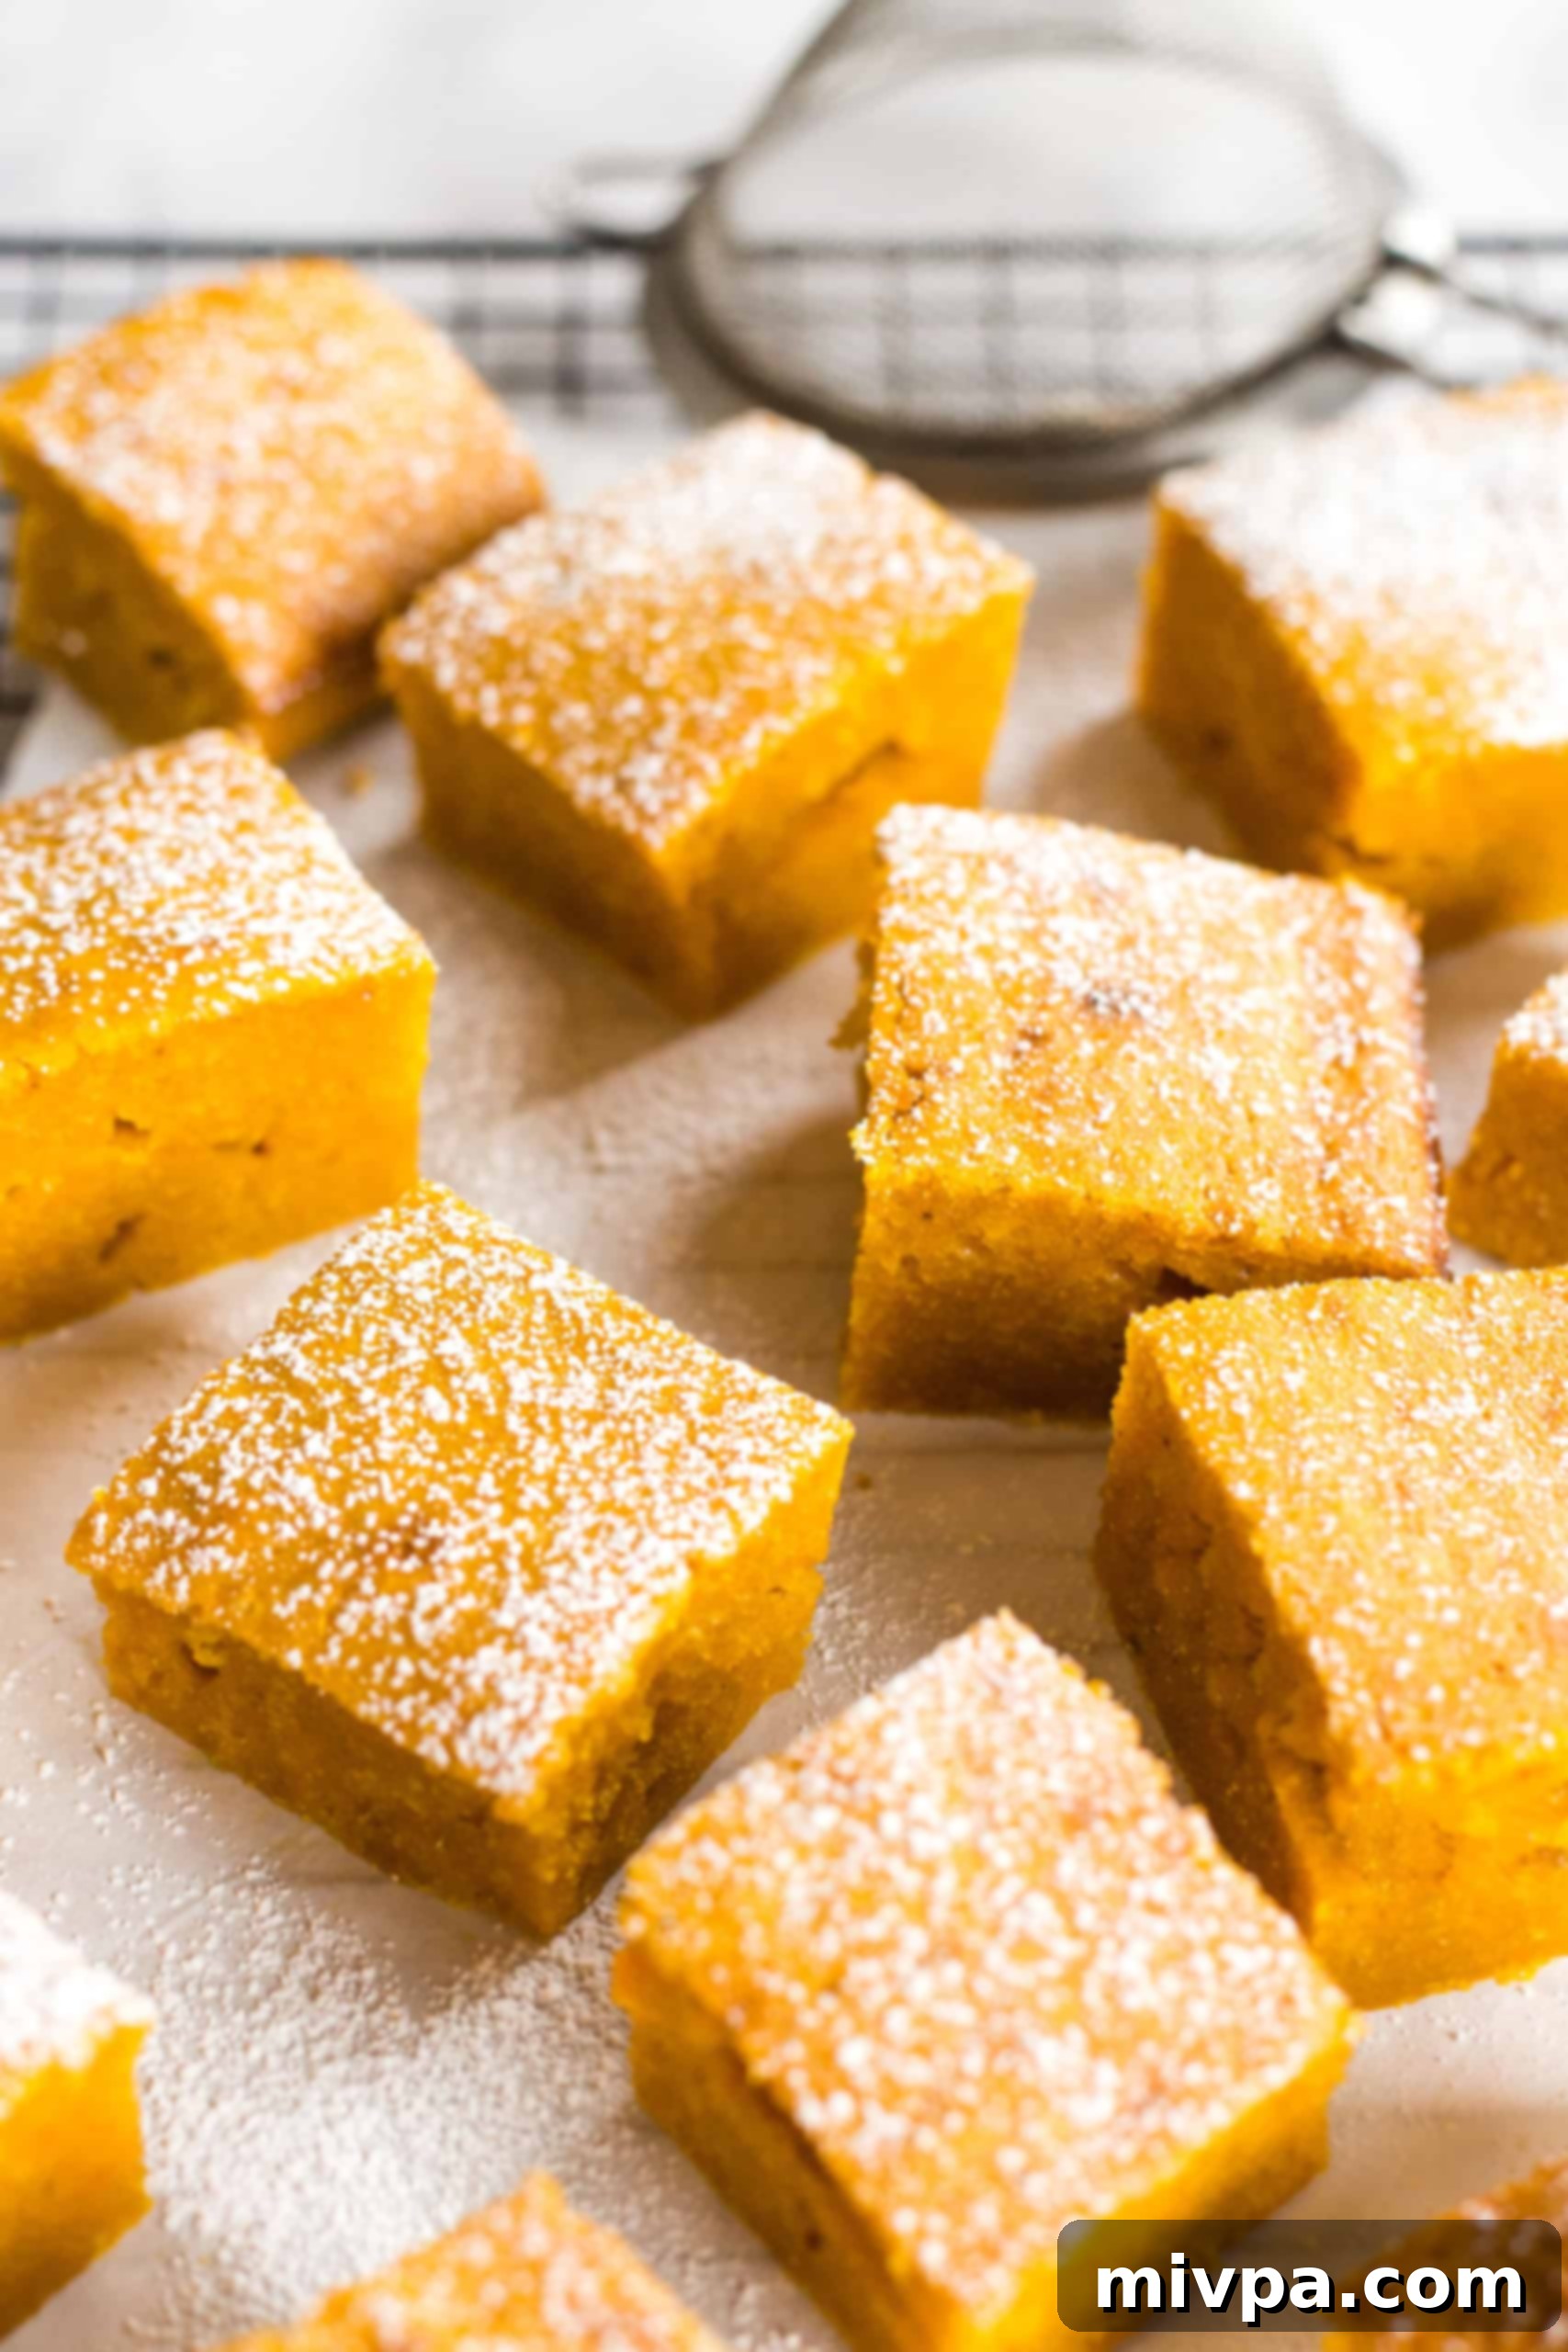
Easy & Delicious Gluten-Free Pumpkin Bars: Your Moist, Dairy-Free Fall Favorite
Welcome to the heart of autumn, where the comforting aroma of pumpkin spice fills the air! These incredibly easy-to-make gluten-free pumpkin bars are a testament to everything we love about fall. With their irresistibly moist texture and rich, authentic pumpkin flavor, they are truly a seasonal delight. Each bar is delicately sprinkled with powdered sugar, adding just the right touch of sweetness without overwhelming the natural warmth of the spices. Whether you’re looking for the perfect sweet treat to enjoy with a cup of coffee or a satisfying snack during pumpkin season, these bars hit all the right notes. What’s more, they are completely dairy-free, making them accessible to even more friends and family – though honestly, no one would ever guess!
[feast_advanced_jump_to]
It’s Finally Pumpkin Season: Time for Delicious Fall Flavors!
Can you believe it? The crisp air, the changing leaves, and the comforting scent of spices signal that fall is finally here, and with it, the much-anticipated pumpkin season! This is undeniably the time of year that many of us eagerly await, dreaming of all things pumpkin. Now that pumpkin season is officially in full swing – and yes, even Starbucks has unveiled their beloved pumpkin spice lattes – I felt it was the perfect moment to dive back into sharing our favorite pumpkin-infused recipes!
There’s something truly magical about incorporating pumpkin into our baking. Its natural sweetness and rich, earthy flavor pair wonderfully with warming spices like cinnamon, nutmeg, and ginger, creating desserts that evoke cozy evenings and festive gatherings. These gluten-free pumpkin bars are no exception, offering a taste of autumn in every single bite. They are simple to prepare, yet yield a sophisticated flavor that will impress anyone, regardless of their dietary needs.
Explore Our Favorite Gluten-Free Pumpkin Desserts
Before we dive into the star of today’s show, these incredible pumpkin bars, let’s take a moment to appreciate some of our other cherished pumpkin recipes that we find ourselves returning to year after year. Each one is designed to be gluten-free, ensuring that everyone can partake in the joy of pumpkin season without compromise.
- Easy Homemade Pumpkin Puree (Gluten-Free, Vegan) – The foundation for many amazing pumpkin dishes.
- Crustless Gluten-Free Pumpkin Pie (Dairy-Free) – All the flavor, none of the fuss.
- Moist Pumpkin Cornbread (Gluten-Free, Dairy-Free) – A savory-sweet twist perfect with any meal.
- Soft, Chewy Pumpkin Cookies (Gluten-Free, Dairy-Free) – A delightful bite-sized treat.
- Super Moist Gluten-Free Pumpkin Bread (Dairy-Free) – A classic loaf for breakfast or a snack.
- Easy Pumpkin Muffins (Gluten-Free, Vegan) – Quick and satisfying individual portions.
Gluten-Free Pumpkin Bars: Your Perfect Fall Sweet Treat!
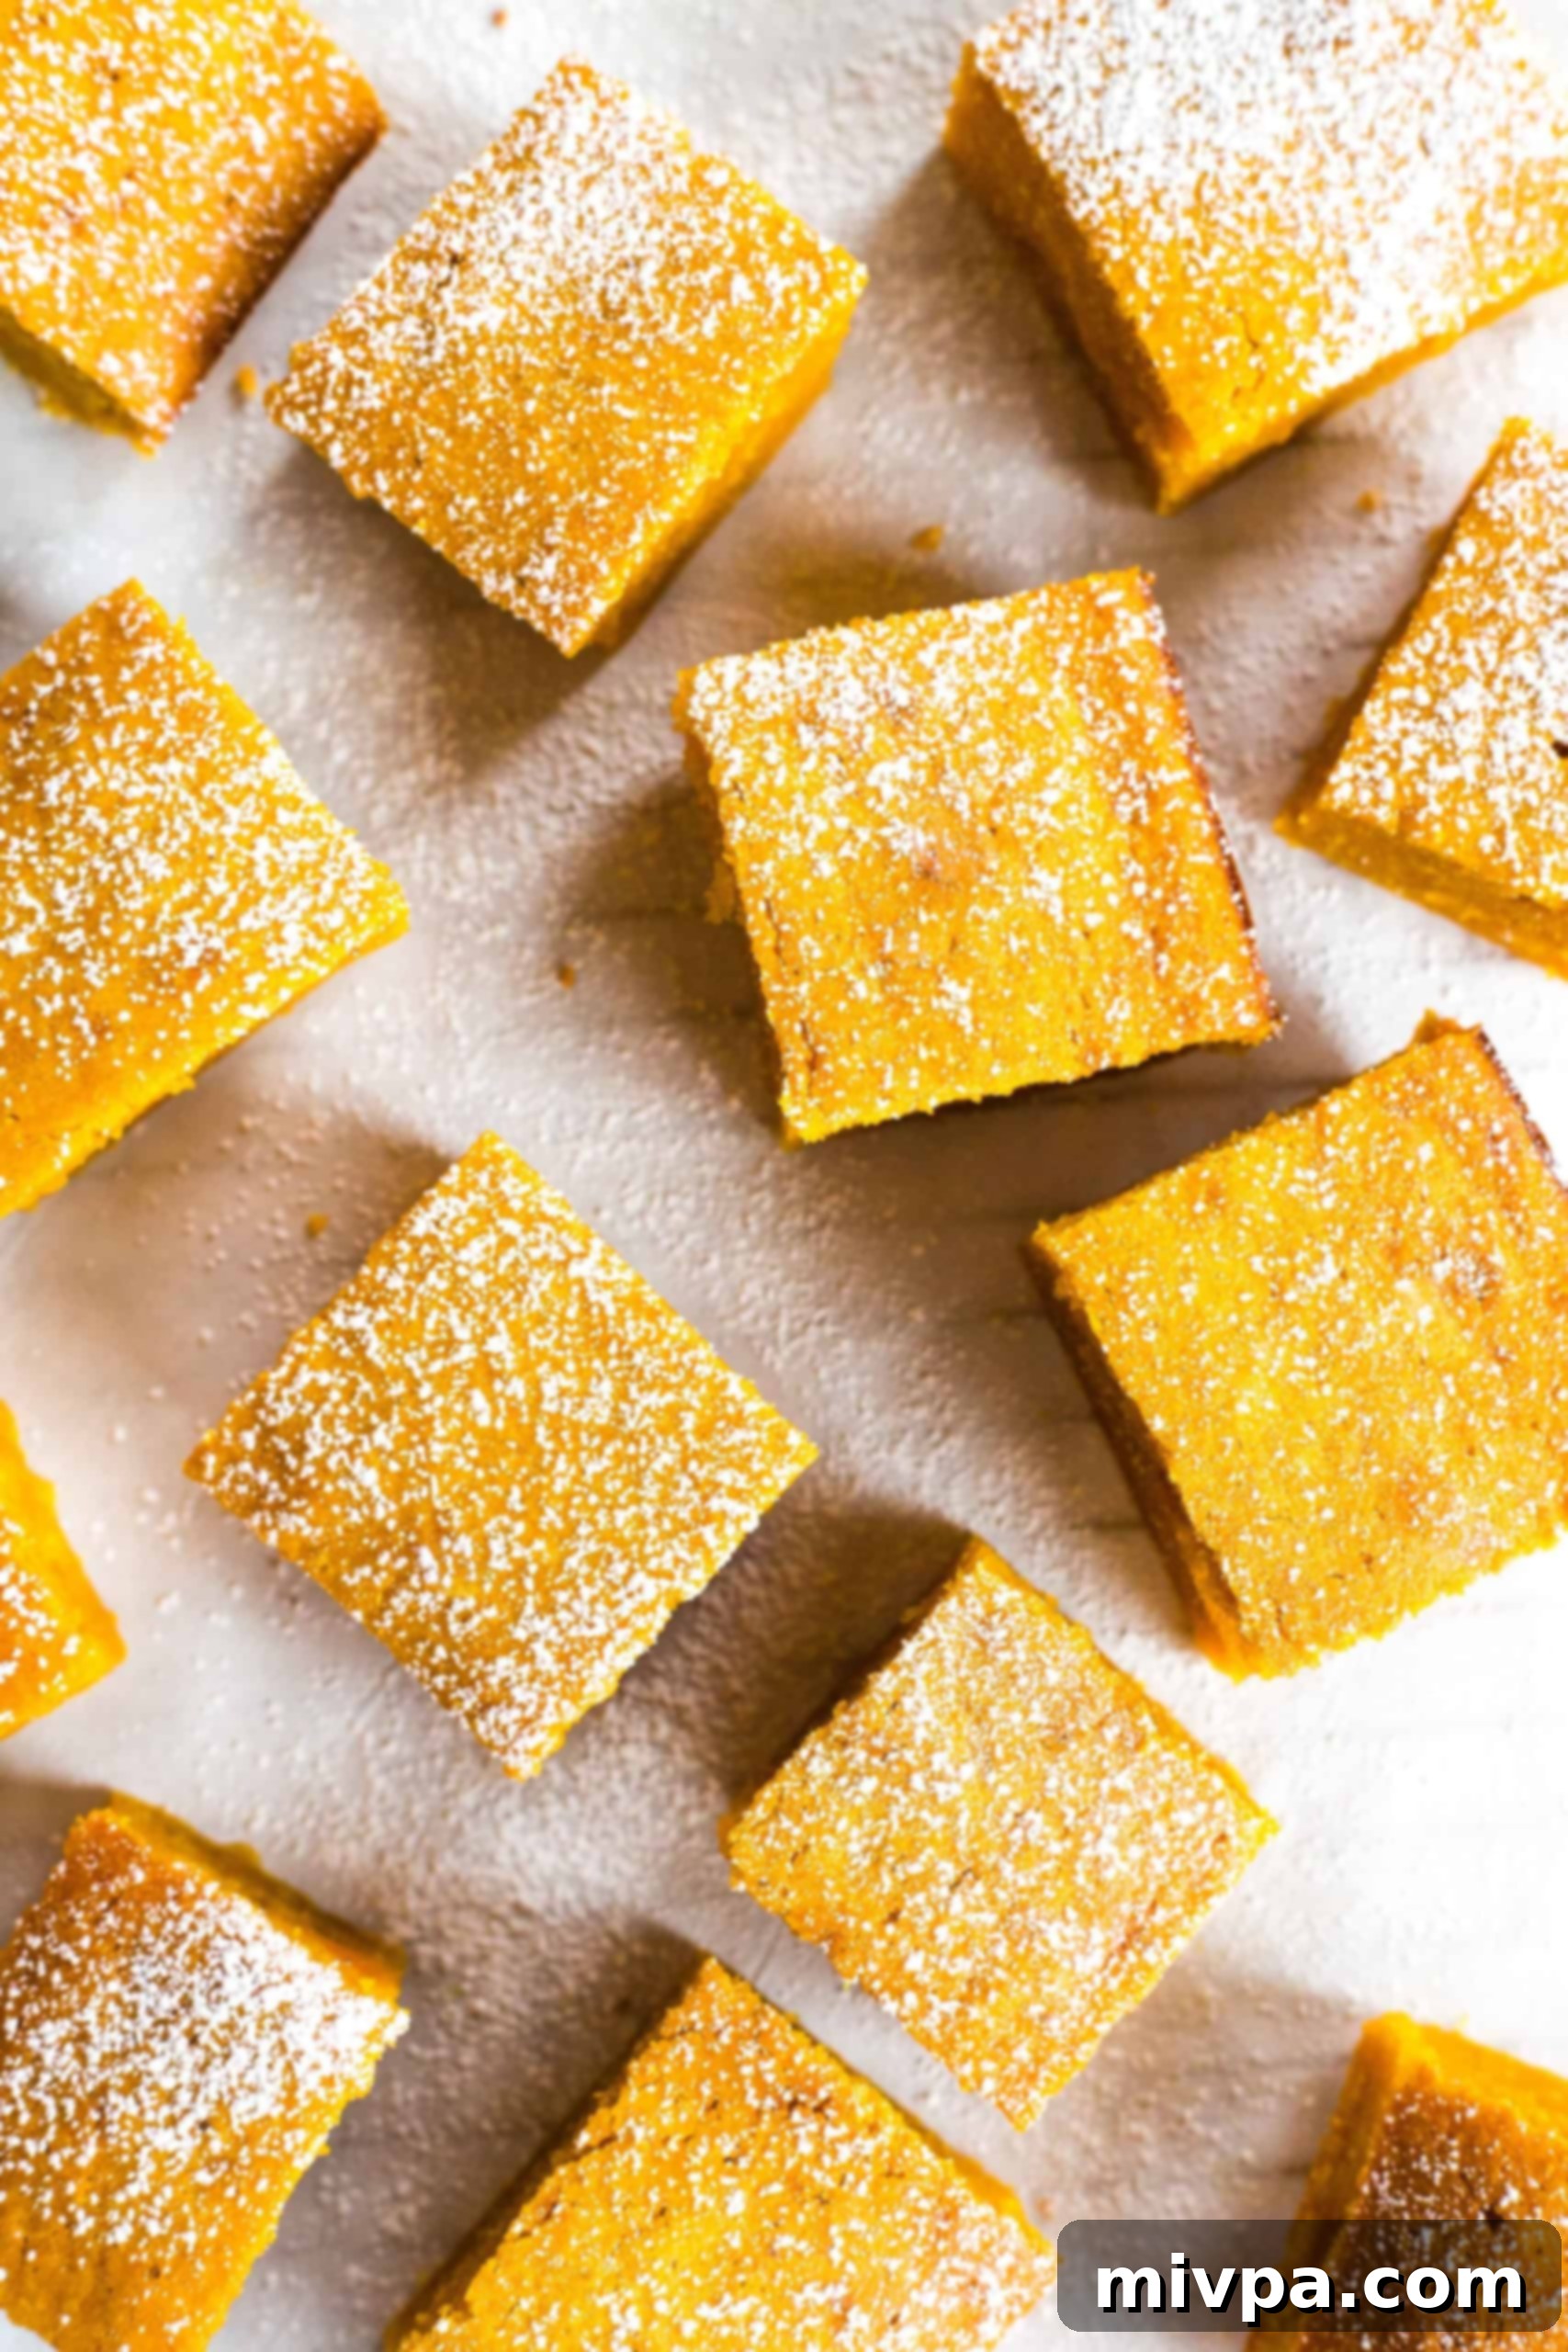
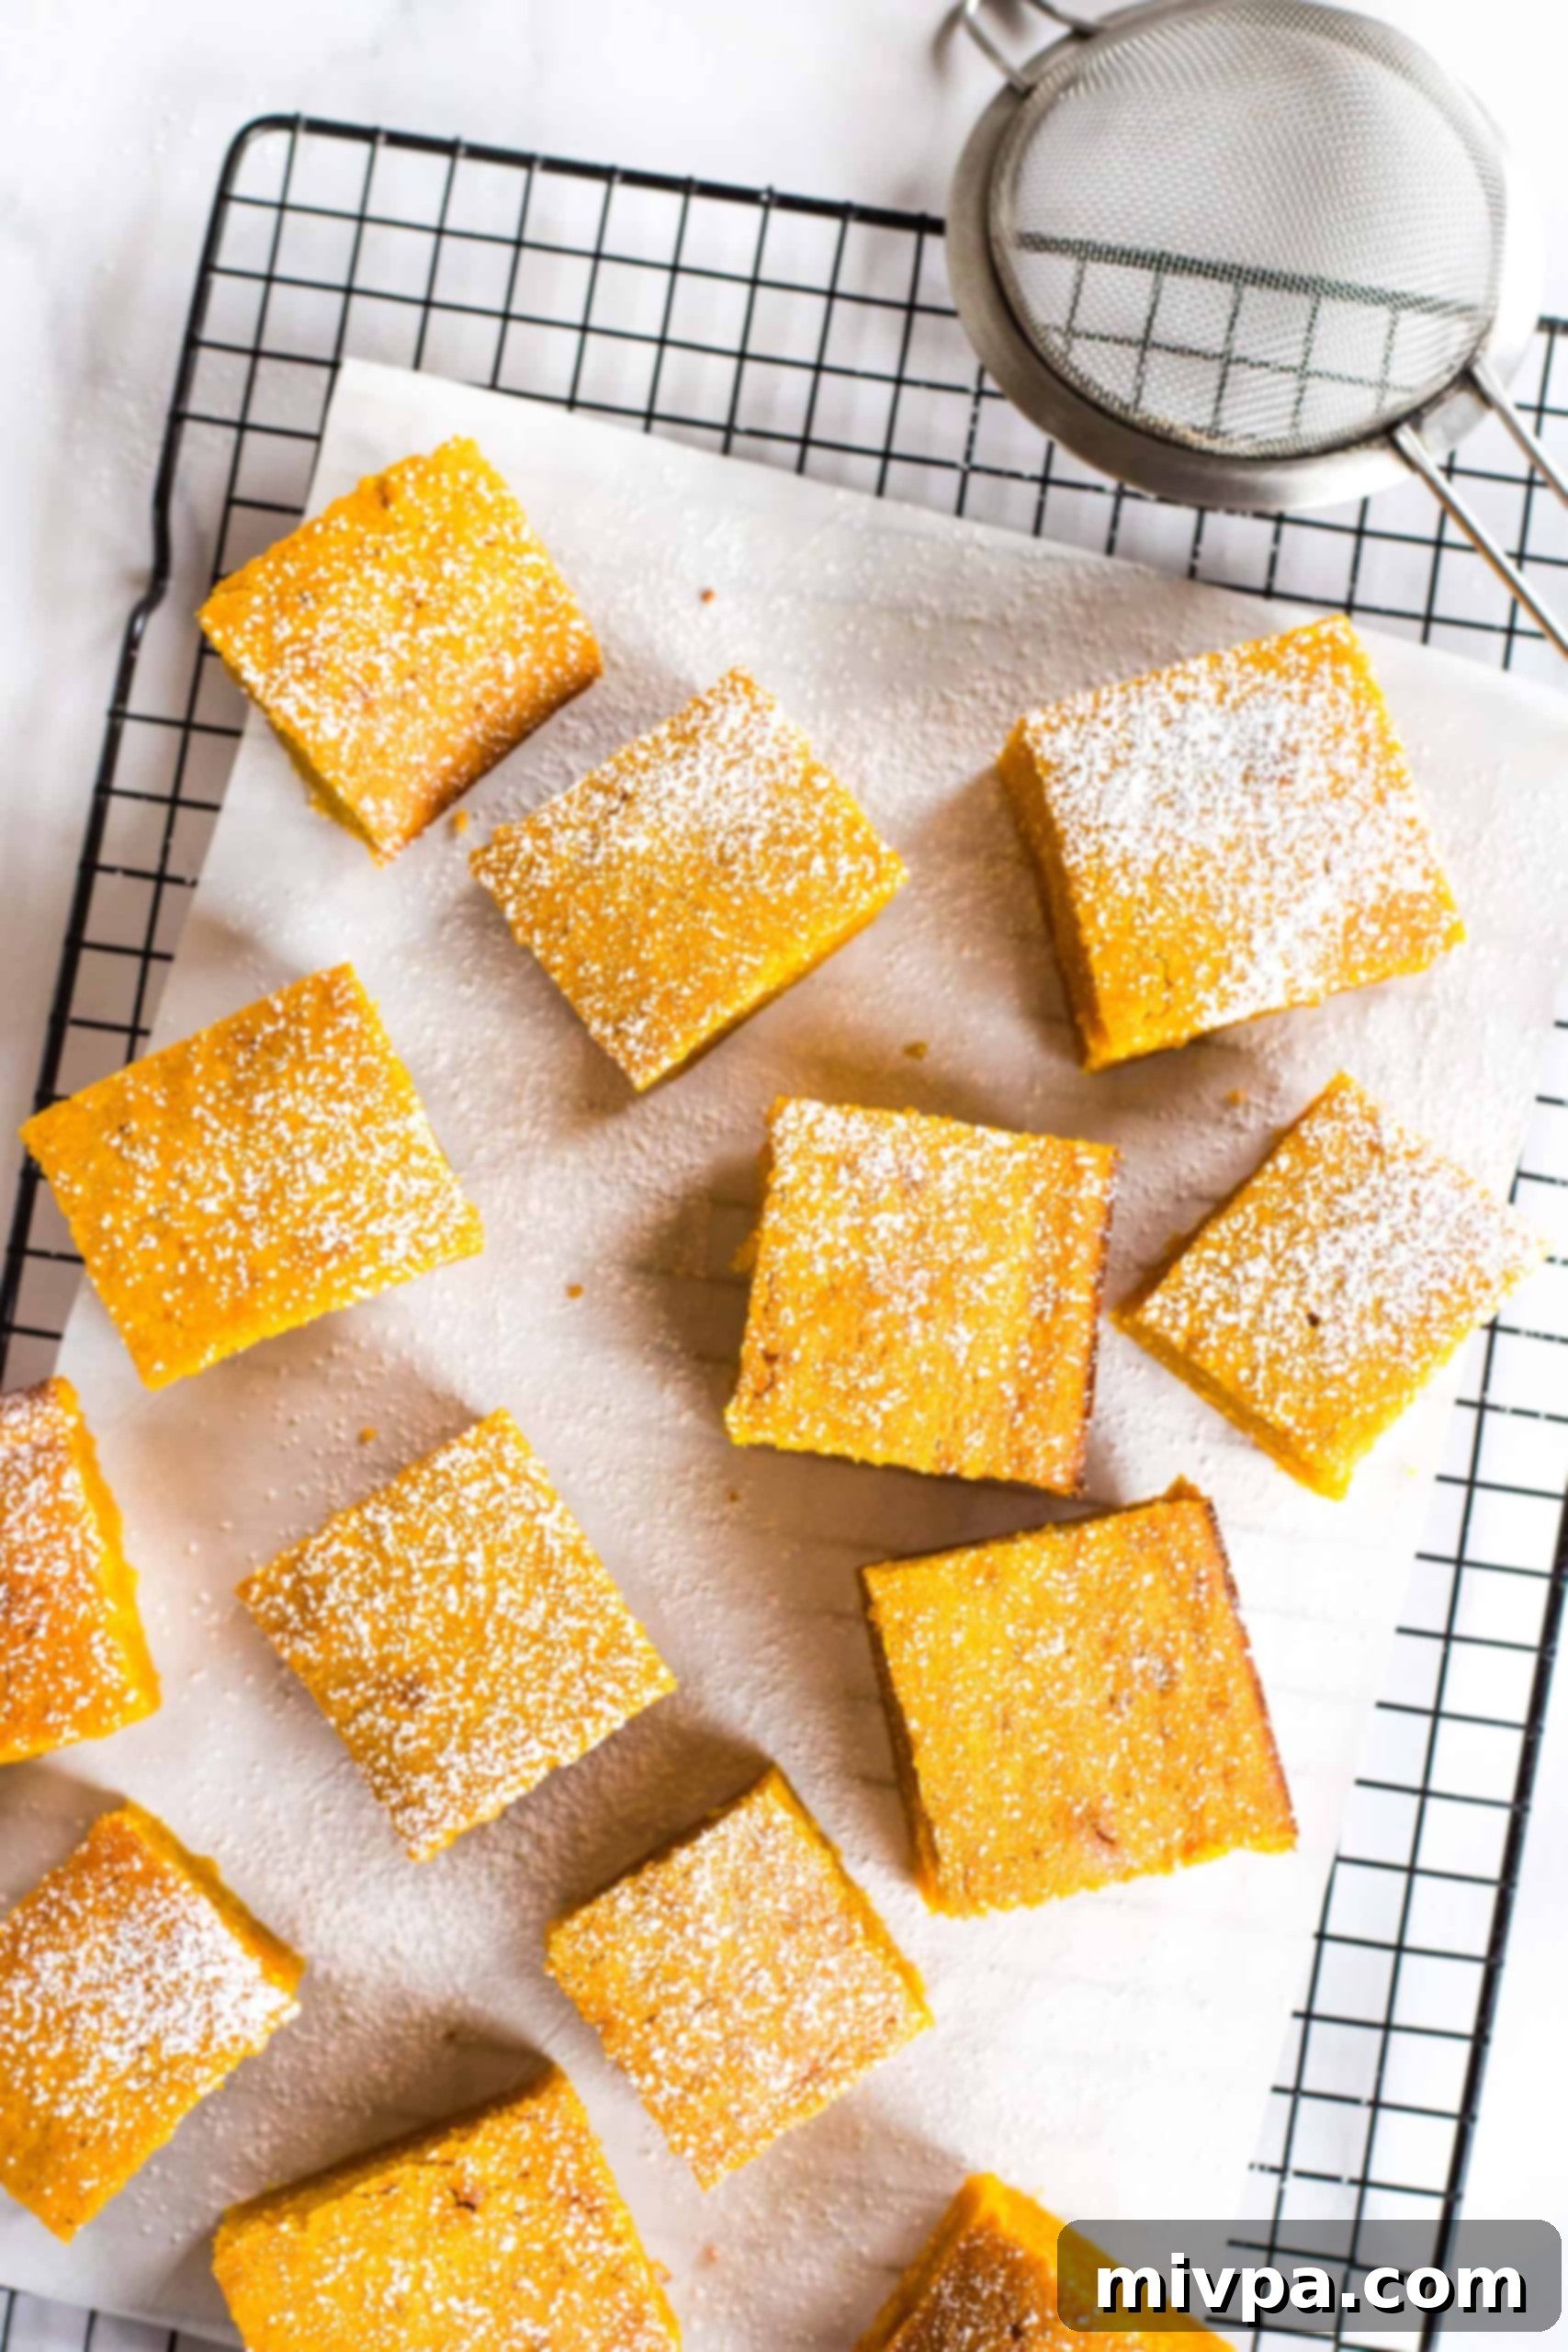
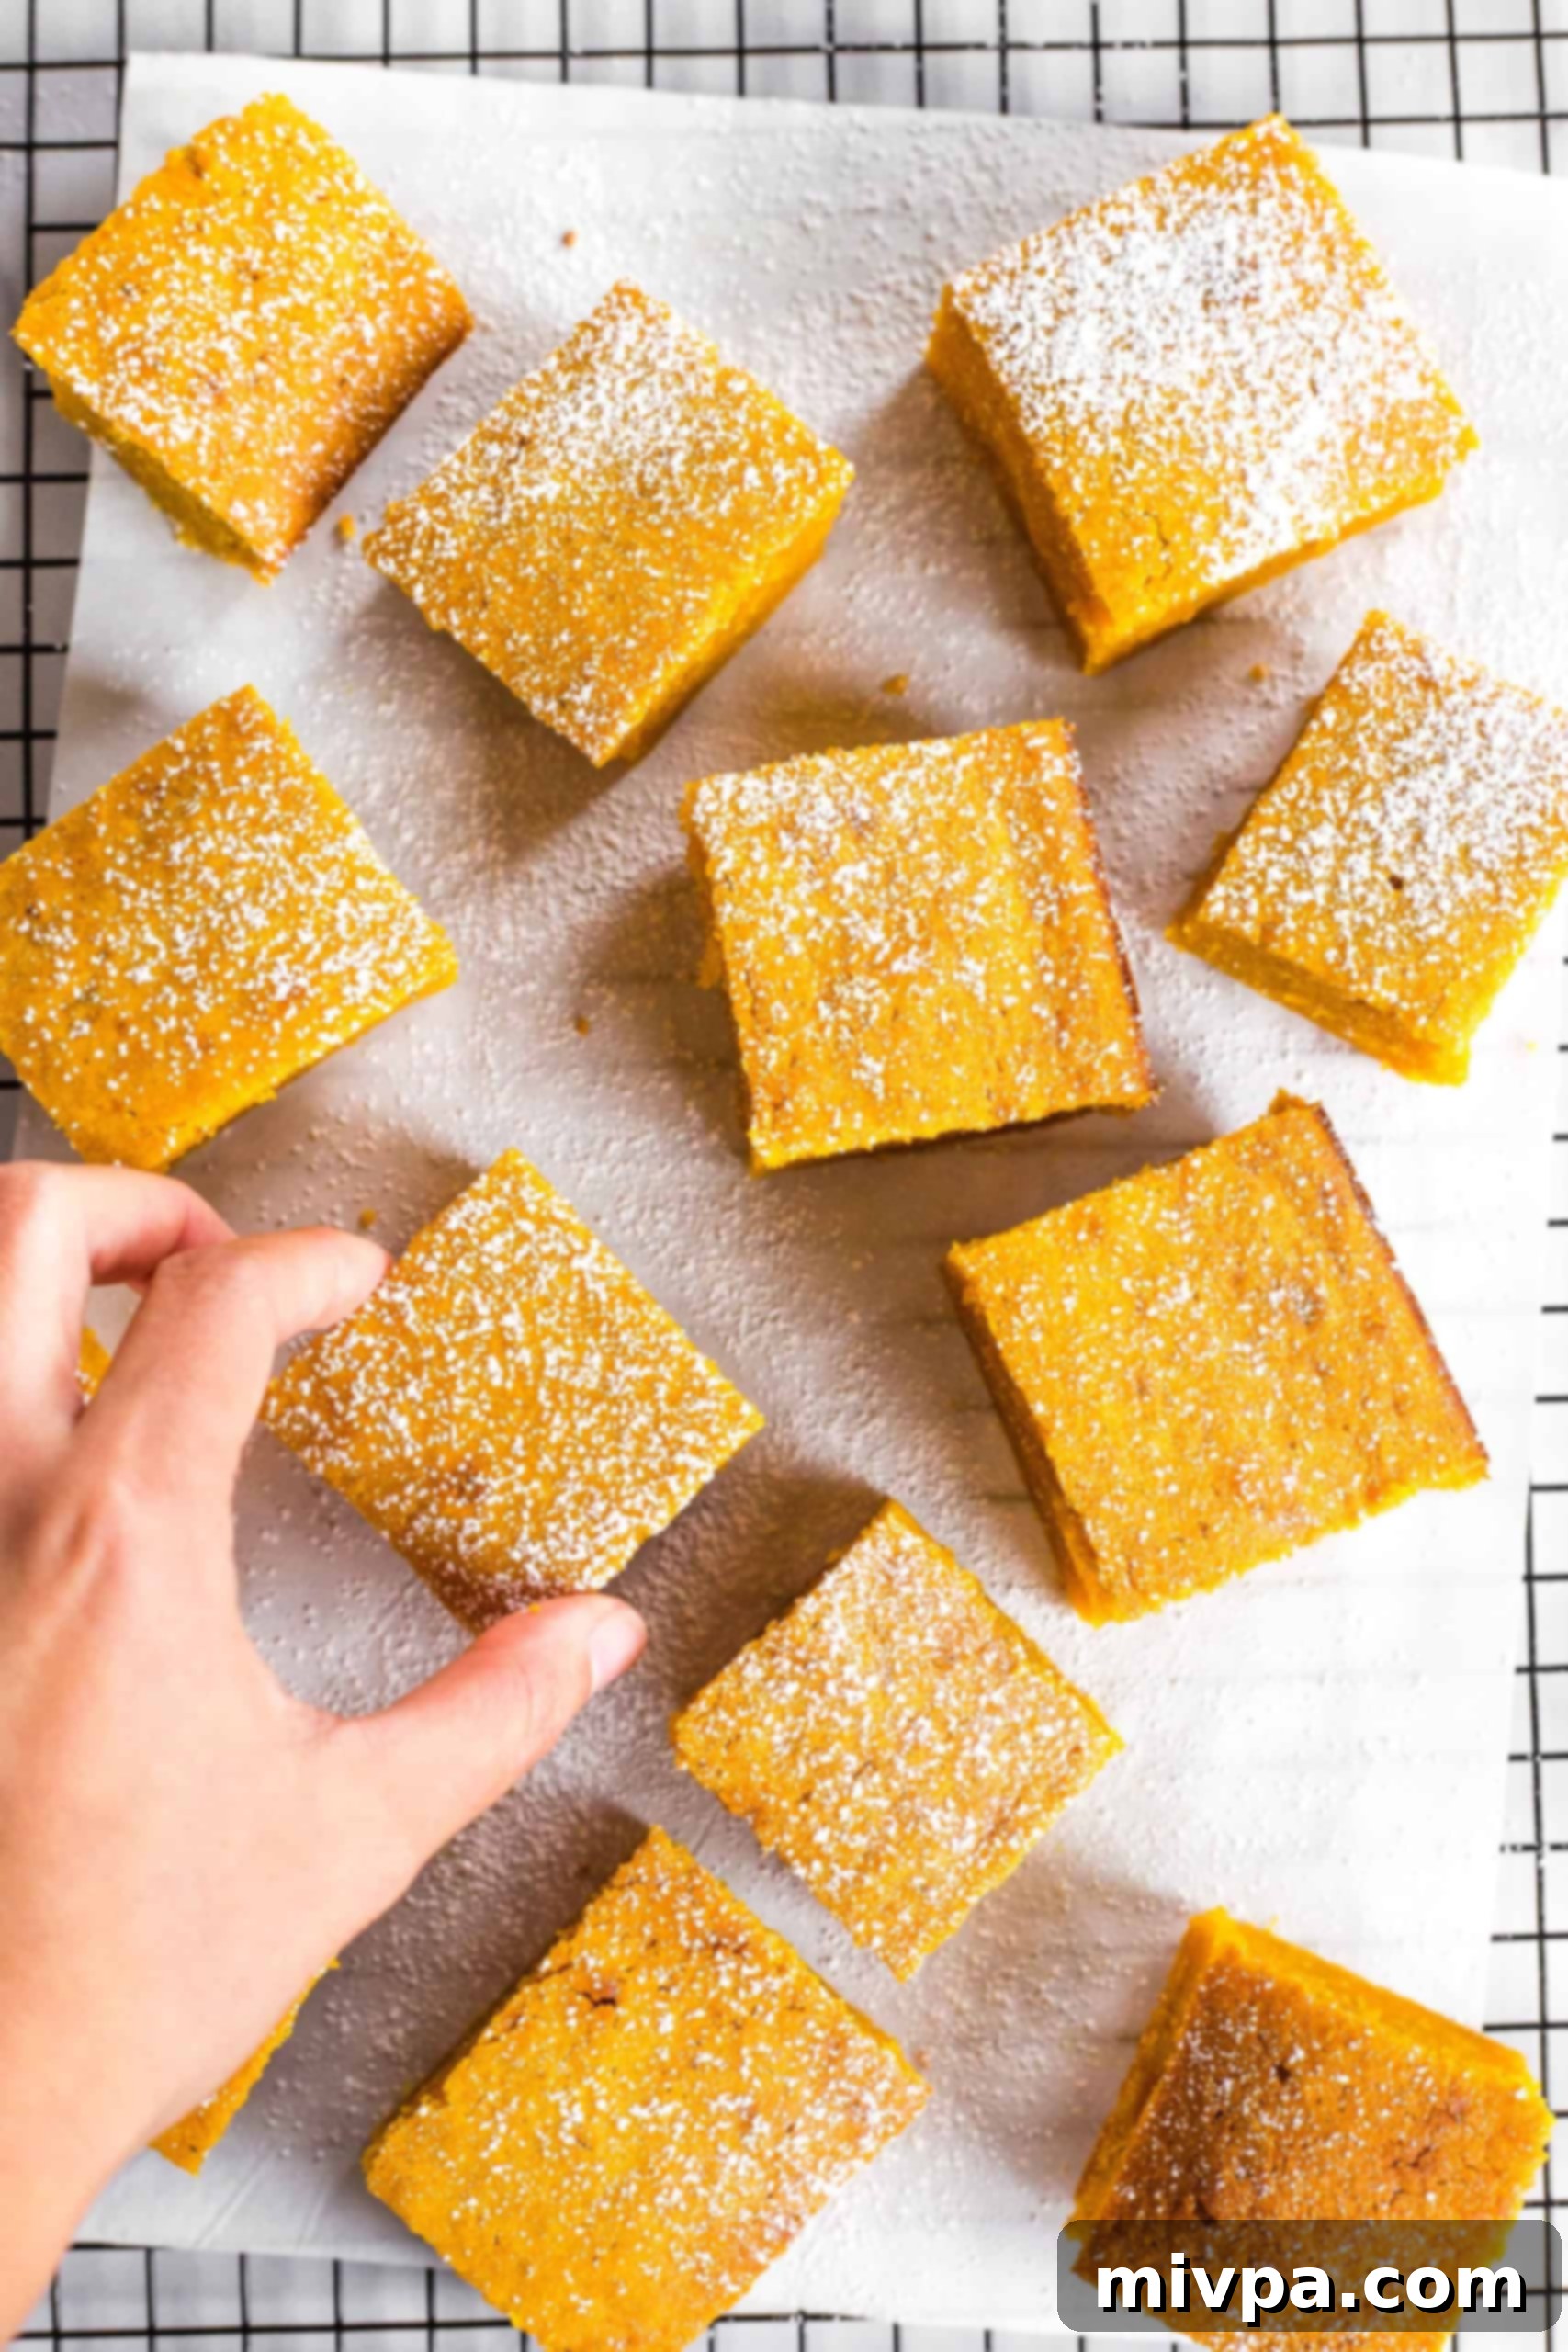
And now, let’s talk about these glorious, moist gluten-free pumpkin bars. Imagine biting into a soft, tender square that tastes just like the essence of autumn. Each mouthful brings together the comforting warmth of pumpkin and a delicate blend of fall spices. A light dusting of powdered sugar on top provides that subtle extra sweetness, creating a dessert that’s not overly rich but perfectly balanced. These pumpkin squares are incredibly versatile, ideal for a dessert spread, a mid-day pick-me-up, or even a cozy evening treat. Their delightful texture and flavor make them a guaranteed crowd-pleaser for any fall occasion.
Why This Easy Gluten-Free & Dairy-Free Pumpkin Bar Recipe Is a Must-Try:
You might be wondering what makes these particular gluten-free pumpkin bars stand out from the rest. The truth is, it’s a combination of simplicity, accessibility, and an incredible final product that defies expectations for a specialty dessert. Here’s why this recipe deserves a spot in your fall baking rotation:
- Simple, Accessible Ingredients: We believe that great baking shouldn’t require a scavenger hunt for obscure items. The ingredients for this gluten-free pumpkin bars recipe are readily available at any local grocery store. Chances are, you already have most of them stocked in your pantry, making this a go-to recipe when a pumpkin craving strikes. We focus on common gluten-free flours and everyday baking staples, ensuring a stress-free shopping experience.
- Effortlessly Easy to Make: Don’t let the “gluten-free” and “dairy-free” labels intimidate you! Preparing these delicious pumpkin bars is remarkably straightforward. The process is as simple as combining the wet ingredients in one bowl and the dry ingredients in another, then gently mixing them together to form a smooth batter. From there, it’s just a matter of baking, slicing, and a final dusting of powdered sugar. There’s no complex machinery or advanced techniques required, making it perfect for bakers of all skill levels, even beginners.
- Completely Gluten-Free & Dairy-Free Goodness: This is where this recipe truly shines. These moist pumpkin bars are 100% gluten-free and dairy-free. This means that individuals with Celiac disease, gluten sensitivity, or lactose intolerance can indulge in this delightful fall dessert without any concerns. You can confidently serve these to a diverse group of guests, knowing everyone can enjoy them equally. The best part? The flavor and texture are so outstanding that no one will suspect they’re missing anything at all!

Essential Ingredients for Your Gluten-Free Pumpkin Bars:
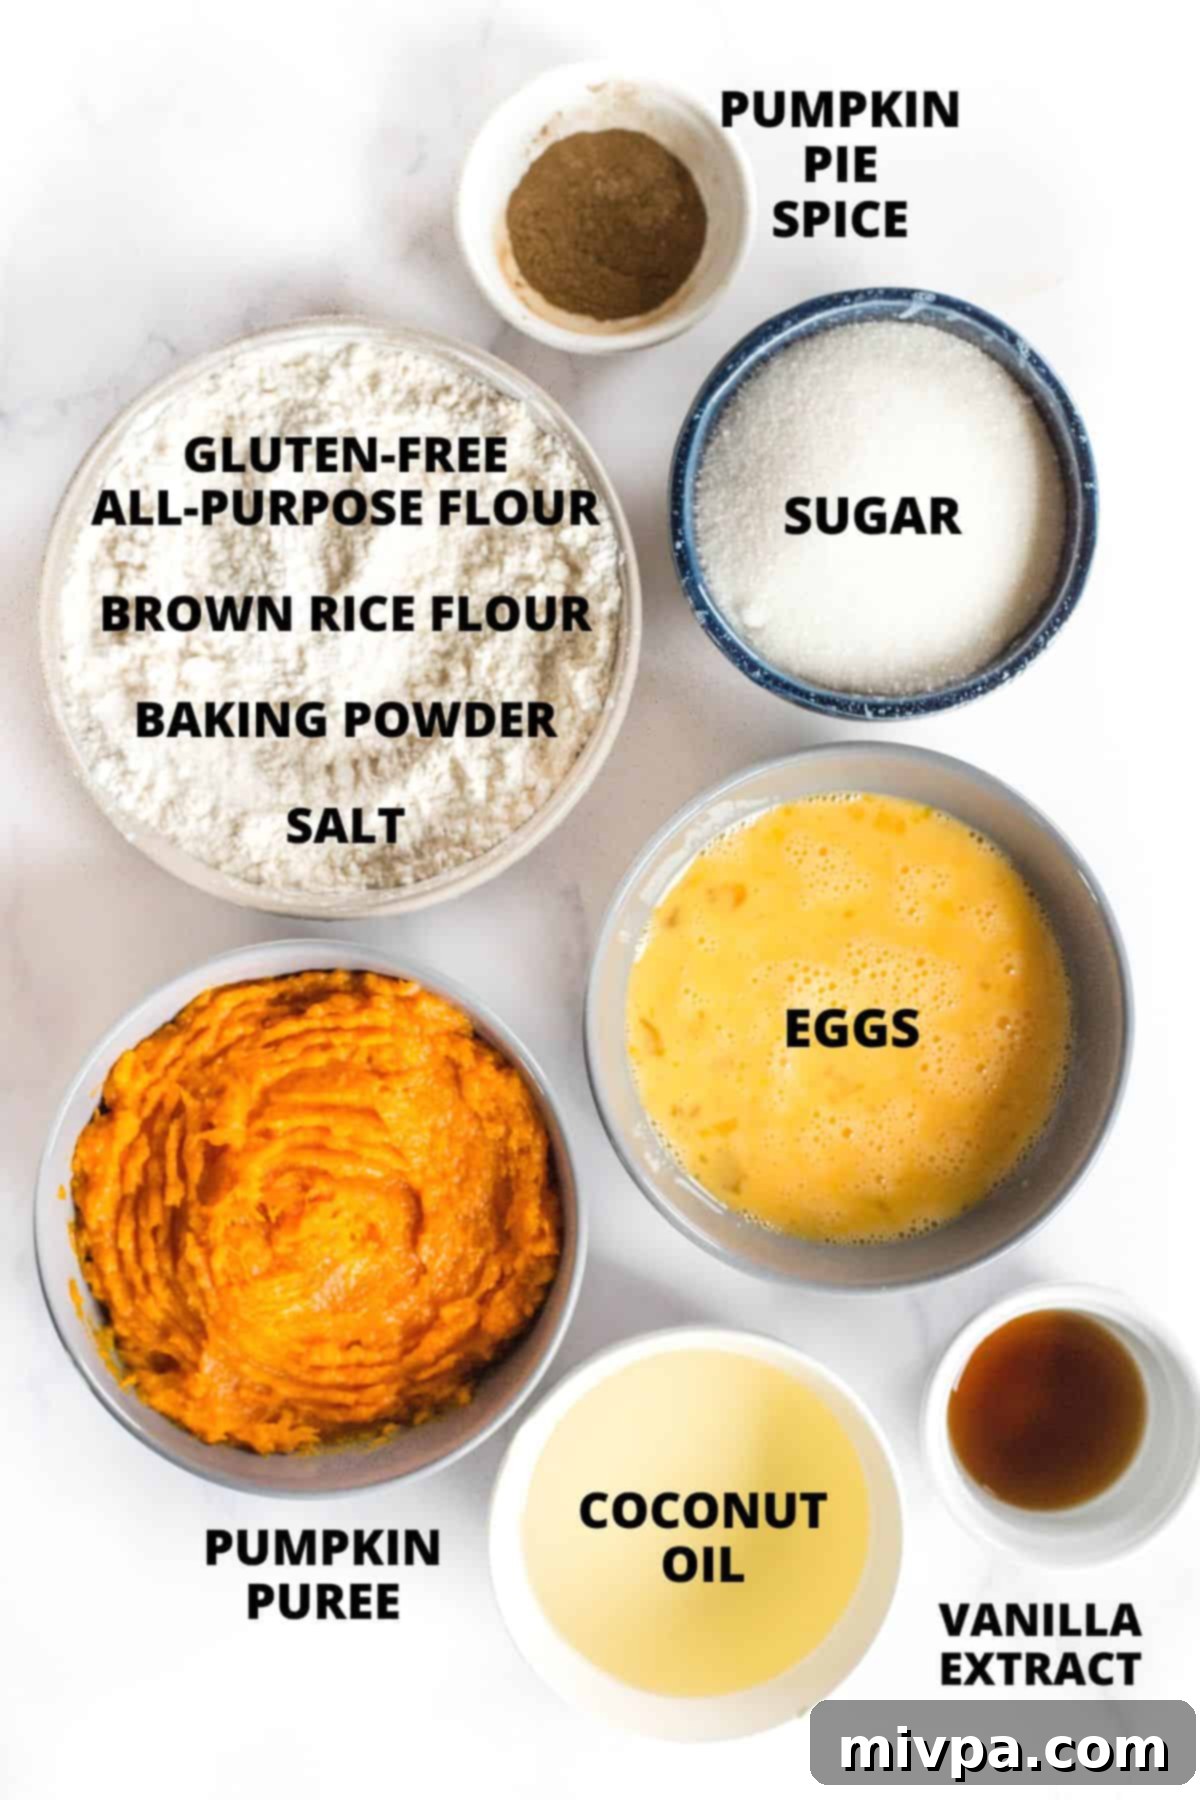
To embark on this delicious baking adventure, gather these simple yet powerful ingredients. This visual overview should give you a good idea of what you’ll need to create these amazing gluten-free pumpkin bars.
(For precise measurements and detailed instructions, please make sure to scroll down to the comprehensive printable recipe card located at the very bottom of this post.)
Detailed Recipe Notes and Helpful Ingredient Substitutions:
Understanding your ingredients is key to successful baking, especially when working with gluten-free and dairy-free recipes. Here are some essential notes and substitution tips to help you achieve the perfect batch of pumpkin bars every time:
- Gluten-Free All-Purpose Flour Blend: The quality of your flour blend significantly impacts the final texture of your bars. I strongly recommend opting for a high-quality gluten-free all-purpose flour blend that incorporates lighter flours and starches. Look for blends containing ingredients like rice flour (white or brown), tapioca starch, corn starch, and potato starch. These lighter components contribute to a deliciously tender and less dense crumb, mimicking traditional baked goods. Conversely, I advise against using gluten-free blends that feature a high proportion of heavier flours, such as garbanzo bean flour or other legume flours, as these can result in a noticeably denser, sometimes gritty, texture.
- Xanthan Gum: This ingredient is a crucial binder in gluten-free baking, acting as a substitute for the elasticity and structure normally provided by gluten. If your chosen gluten-free all-purpose flour blend does not already list xanthan gum as an ingredient, it is essential to add it separately as specified in the recipe. Without it, your bars may be crumbly and lack the desired moistness and structure.
- Brown Rice Flour: I personally love to include a small amount of brown rice flour in this recipe, as it subtly enhances the texture and adds a mild, pleasant nuttiness. However, if brown rice flour isn’t readily available in your pantry, you have excellent alternatives. Sorghum flour or millet flour can be used as direct substitutes, offering similar textural benefits and a neutral to slightly sweet flavor profile.
- Baking Powder: As the primary leavening agent in these bars, baking powder is indispensable for achieving that light and airy rise. Do not skip it! For those with Celiac disease or severe gluten intolerance, always ensure you are using a certified gluten-free baking powder to prevent cross-contamination.
- Pumpkin Pie Spice: This spice blend is the heart and soul of fall flavor in these gluten-free pumpkin bars. Adding pumpkin pie spice will instantly elevate your bars with that classic autumnal warmth. If you don’t have a pre-mixed pumpkin pie spice on hand, you can easily create your own blend. A good substitute would be 2 1/2 teaspoons of ground cinnamon combined with 1/4 teaspoon of ground nutmeg. You can also experiment with a pinch of ground ginger or cloves for added depth.
- Coconut Oil: To keep these bars dairy-free and wonderfully moist, I prefer using refined coconut oil. Refined coconut oil has been processed to remove most of its coconut flavor and aroma, resulting in a more neutral taste that allows the pumpkin and spices to shine. This is in contrast to extra virgin coconut oil, which retains a distinct coconut scent and taste that might not be desired in this recipe. As alternatives, you may also use melted vegan butter or another neutral-flavored vegetable oil like canola or grapeseed oil. If you do not have lactose intolerance or dairy allergies, traditional melted butter or ghee can be used as well.
- Sugar: While I’ve used granulated white sugar for its clean sweetness, feel completely free to customize the sugar to your preference. Light brown sugar, dark brown sugar, or coconut sugar can all be used, each adding slightly different caramel notes. Just be aware that darker sugars will naturally result in a slightly darker-colored pumpkin bar batter. For those managing blood sugar levels due to diabetes or insulin resistance, I highly recommend using a 1:1 sugar substitute such as granulated monkfruit sweetener. It has a zero glycemic index and will not significantly impact blood sugar.
- Eggs: Eggs play a vital role in this recipe, serving as both a binder that holds all the ingredients together and a source of moisture that contributes to the bars’ tender crumb. For these reasons, I do not recommend omitting them. If you need to make slight adjustments, you may substitute some of the egg yolks with an equal amount of egg whites, though keeping the full eggs is best for richness.
- Vanilla Extract: A touch of vanilla extract always enhances the overall flavor profile of baked goods, adding a subtle warmth and complexity. If vanilla isn’t your favorite or you simply don’t have it, you can certainly leave it out without drastically altering the core pumpkin flavor.
- Pumpkin Puree: The star ingredient! During peak autumn, I love to use fresh homemade pumpkin puree for the freshest flavor. However, high-quality canned pumpkin puree works perfectly and is a convenient option year-round. It’s crucial to remember that pumpkin puree is NOT the same as pumpkin pie filling. Pumpkin pie filling is already spiced and sweetened, whereas puree is just cooked, mashed pumpkin. Using the wrong one will significantly alter the recipe’s outcome.
- Powdered Sugar (Confectioner’s Sugar): A light dusting of powdered sugar (also known as confectioner’s sugar) is the perfect finishing touch, adding a delicate sweetness and elegant appearance. If you don’t have powdered sugar on hand, you can easily make your own by placing regular granulated white sugar in a blender or food processor and blitzing it until it becomes a fine powder. For those watching their sugar intake, powdered monkfruit sweetener is an excellent 1:1 sugar substitute that provides sweetness without affecting blood sugar levels.
How to Make Delicious Gluten-Free Pumpkin Bars (Step by Step Visual Guide)
Ready to bake? Follow these simple steps, complete with visual aids, to create your own batch of moist and flavorful gluten-free pumpkin bars.
1. Preheat Oven and Prepare Baking Dish
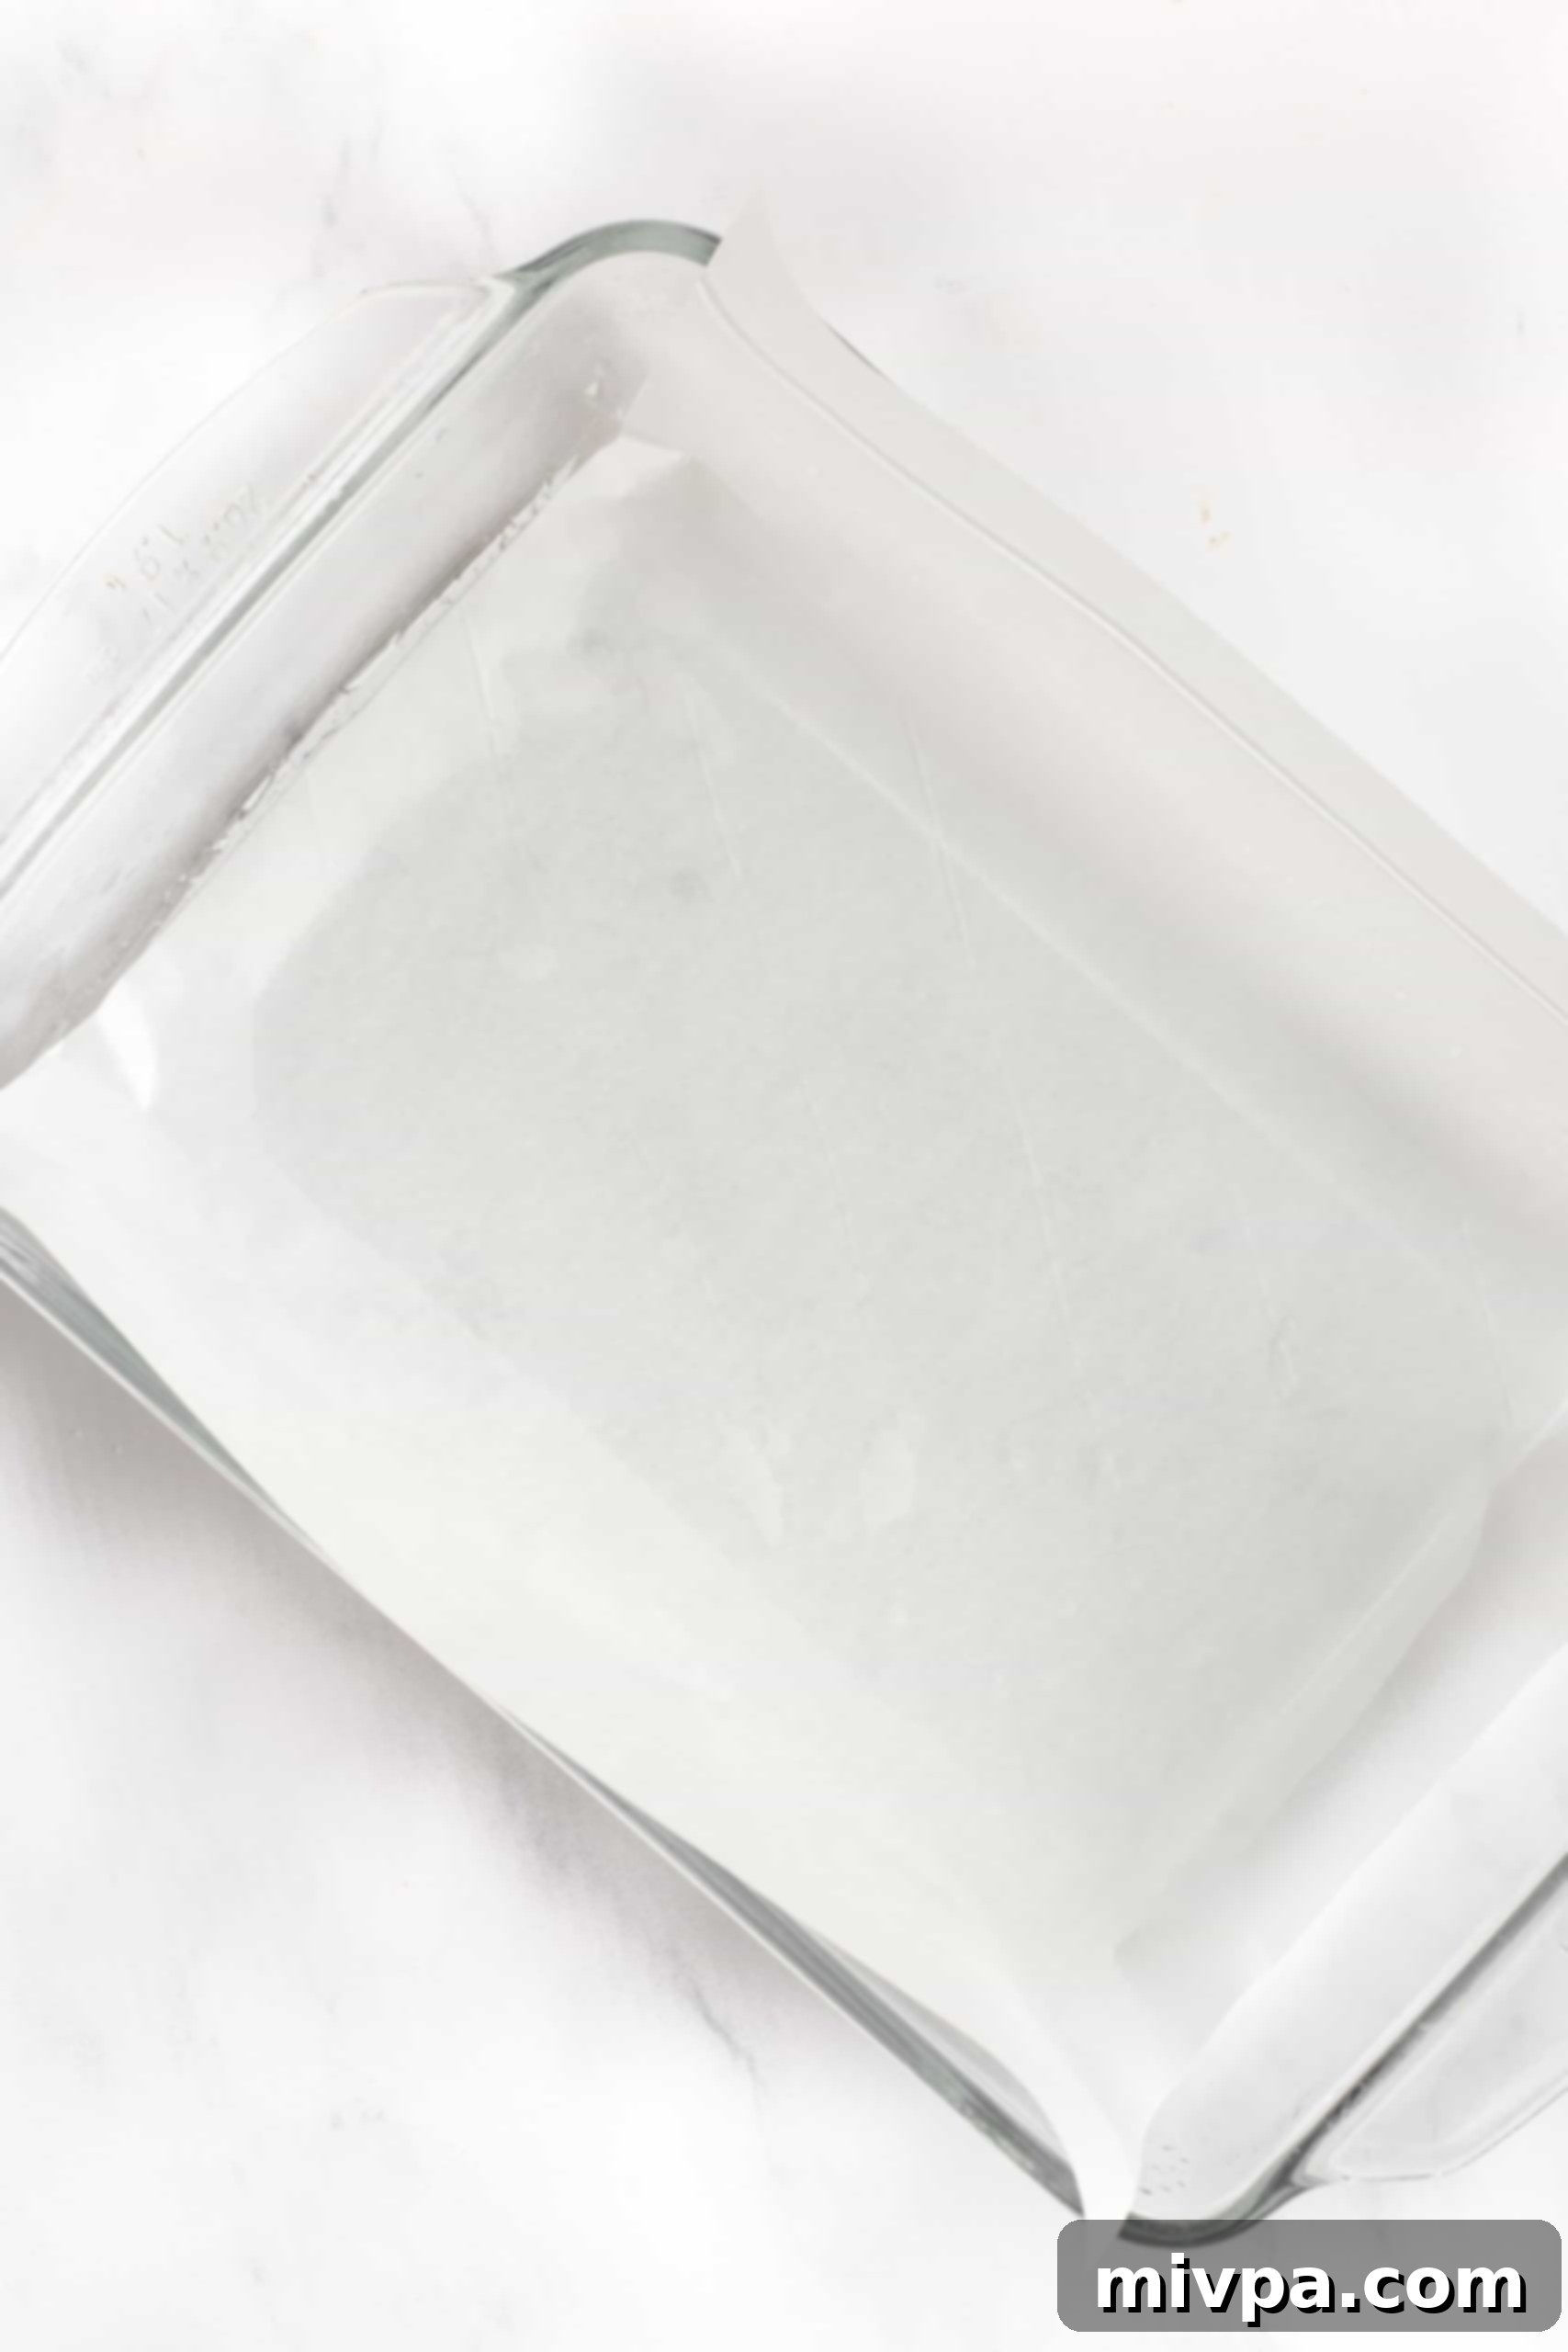
Start by preheating your oven to 350°F (175°C) to ensure it’s at the correct temperature when your batter is ready. Adjust the oven rack to the middle position for even baking. Next, lightly grease a 10″ x 7″ glass baking dish (or a similar size). To make removal super easy, line the greased dish with parchment paper, leaving an overhang on the sides. This creates “handles” for lifting the baked bars out effortlessly.
2. Combine All Dry Ingredients
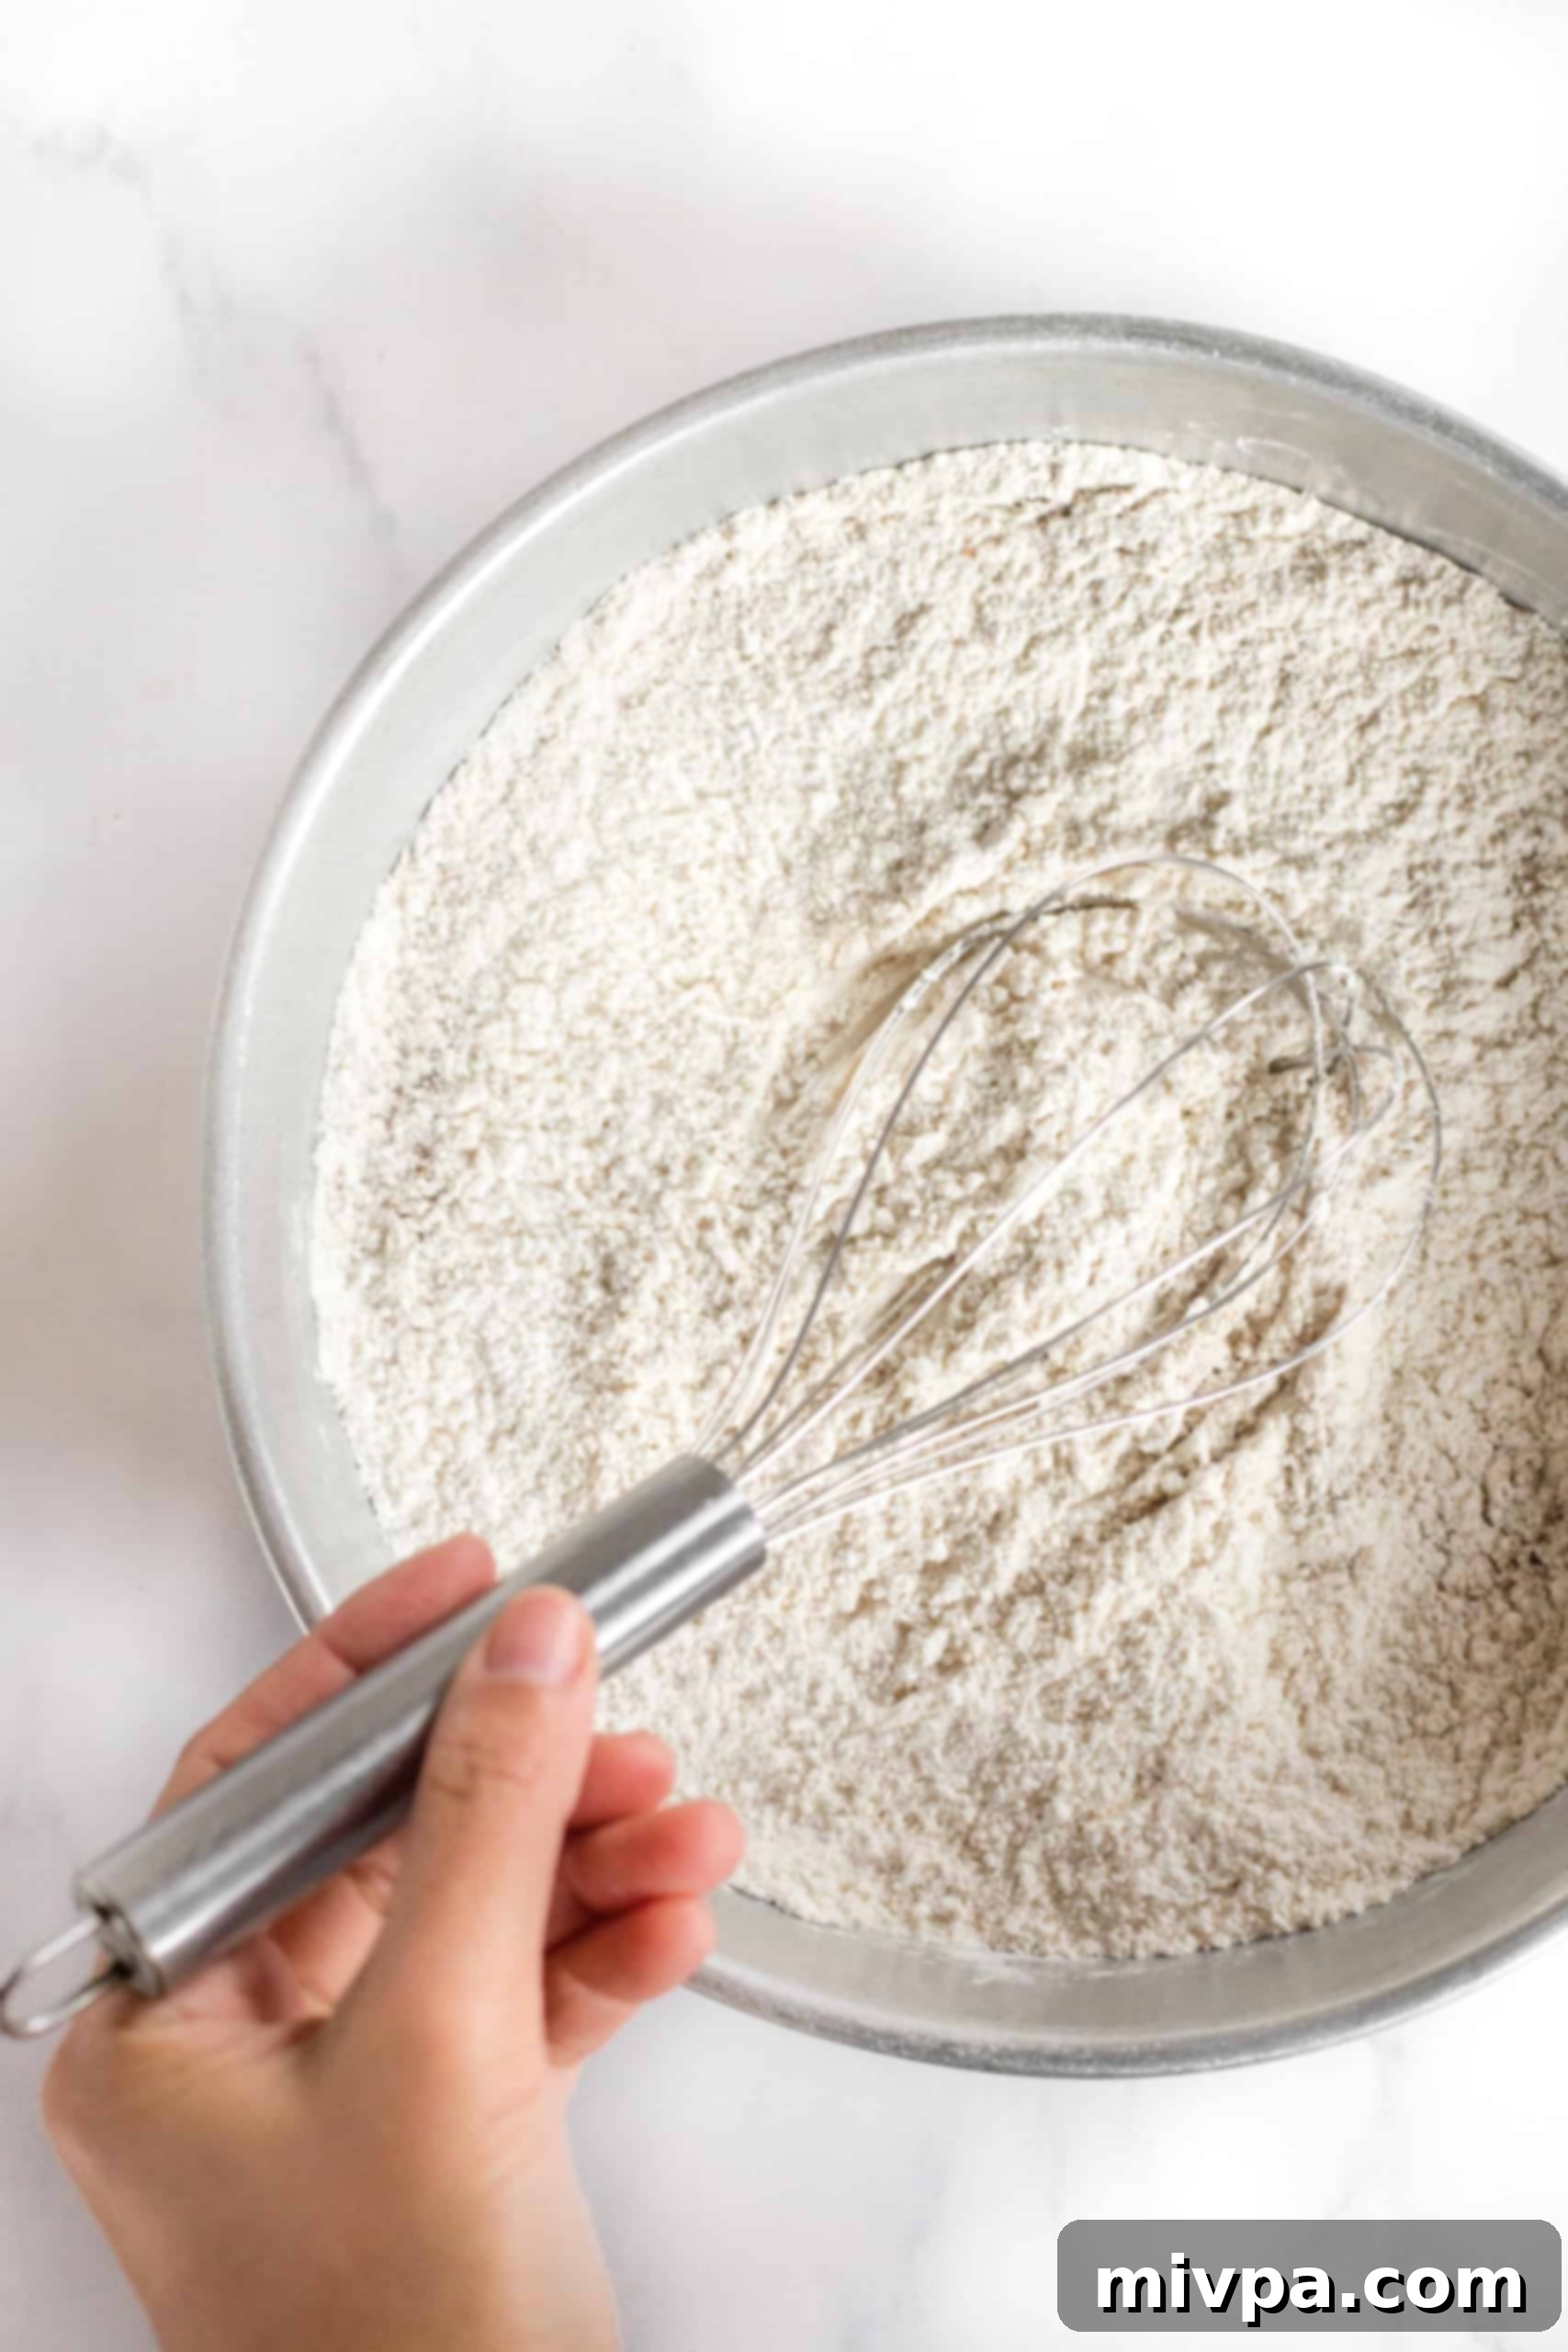
In a large mixing bowl, combine all your dry ingredients. Whisk together the gluten-free all-purpose flour blend, brown rice flour, baking powder, salt, and pumpkin pie spice. It’s important to mix these thoroughly to ensure that the leavening agent and spices are evenly distributed throughout the batter, leading to consistent flavor and rise in every bite.
3. Beat Sugar and Coconut Oil Until Creamy
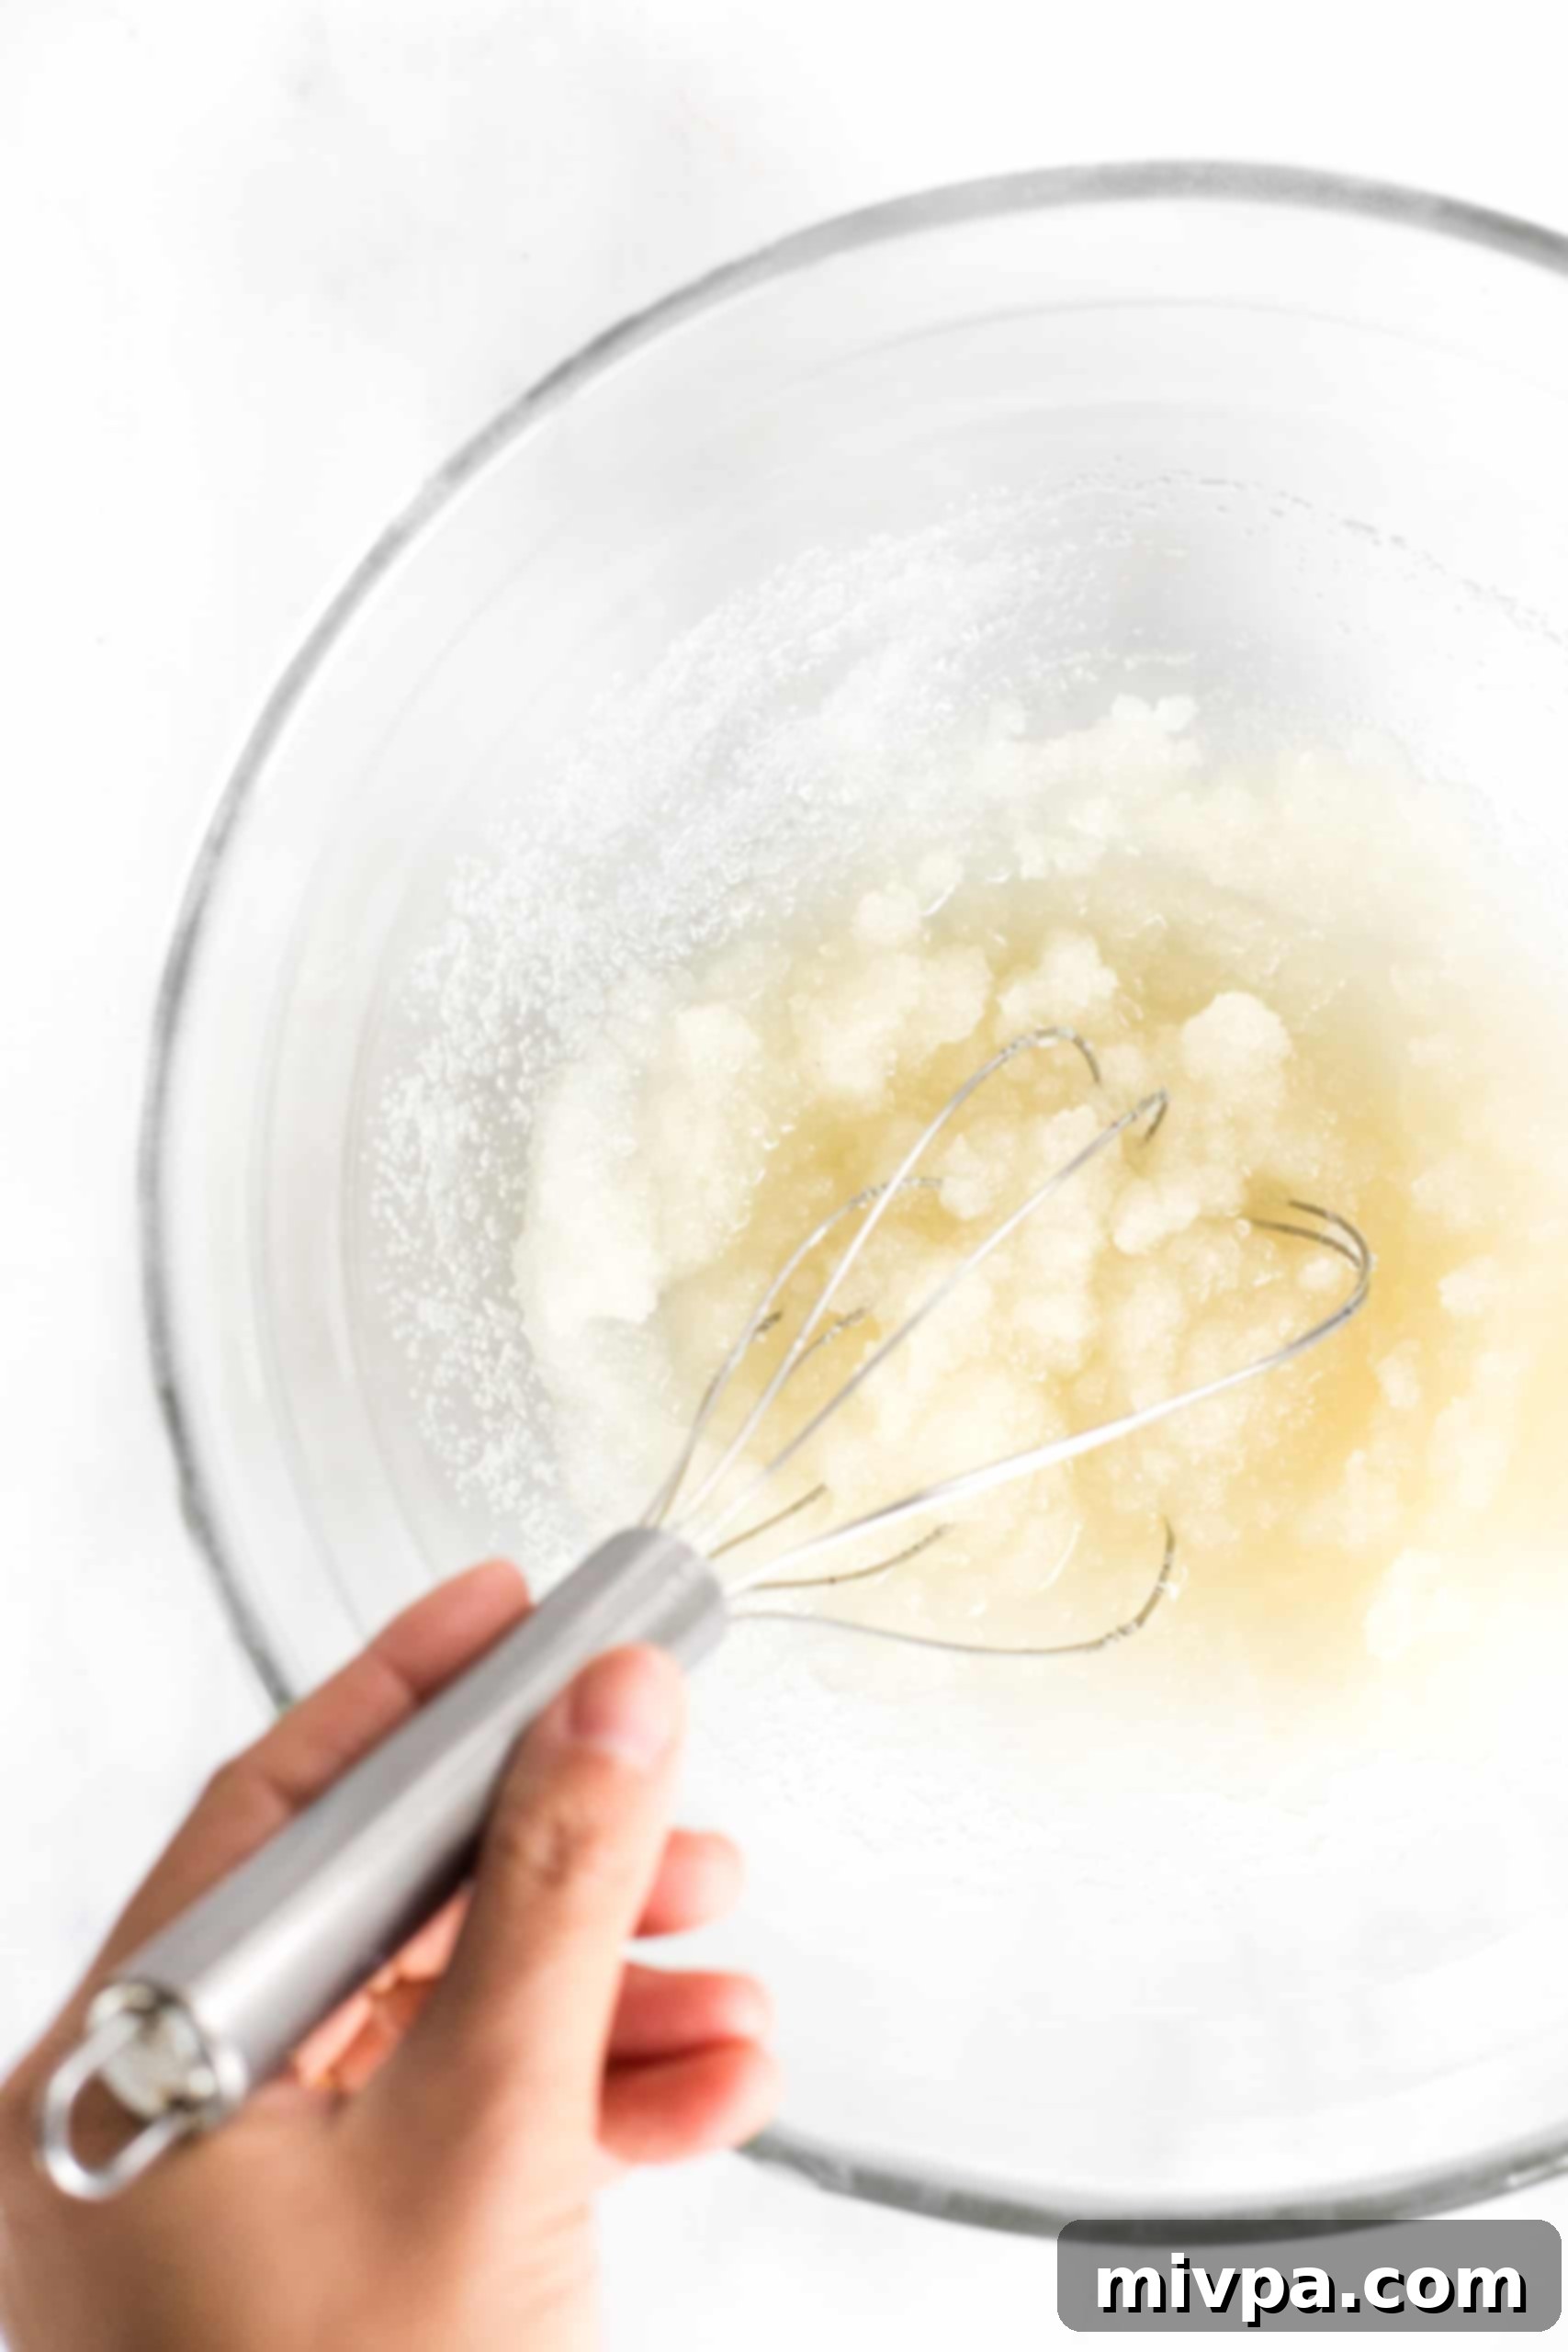
In a separate, large bowl, combine the melted coconut oil and granulated sugar. Using a whisk or an electric hand mixer, beat these two ingredients together until the mixture is light, fluffy, and creamy. This creaming process helps to incorporate air, which contributes to the bars’ tender texture.
4. Incorporate Remaining Wet Ingredients
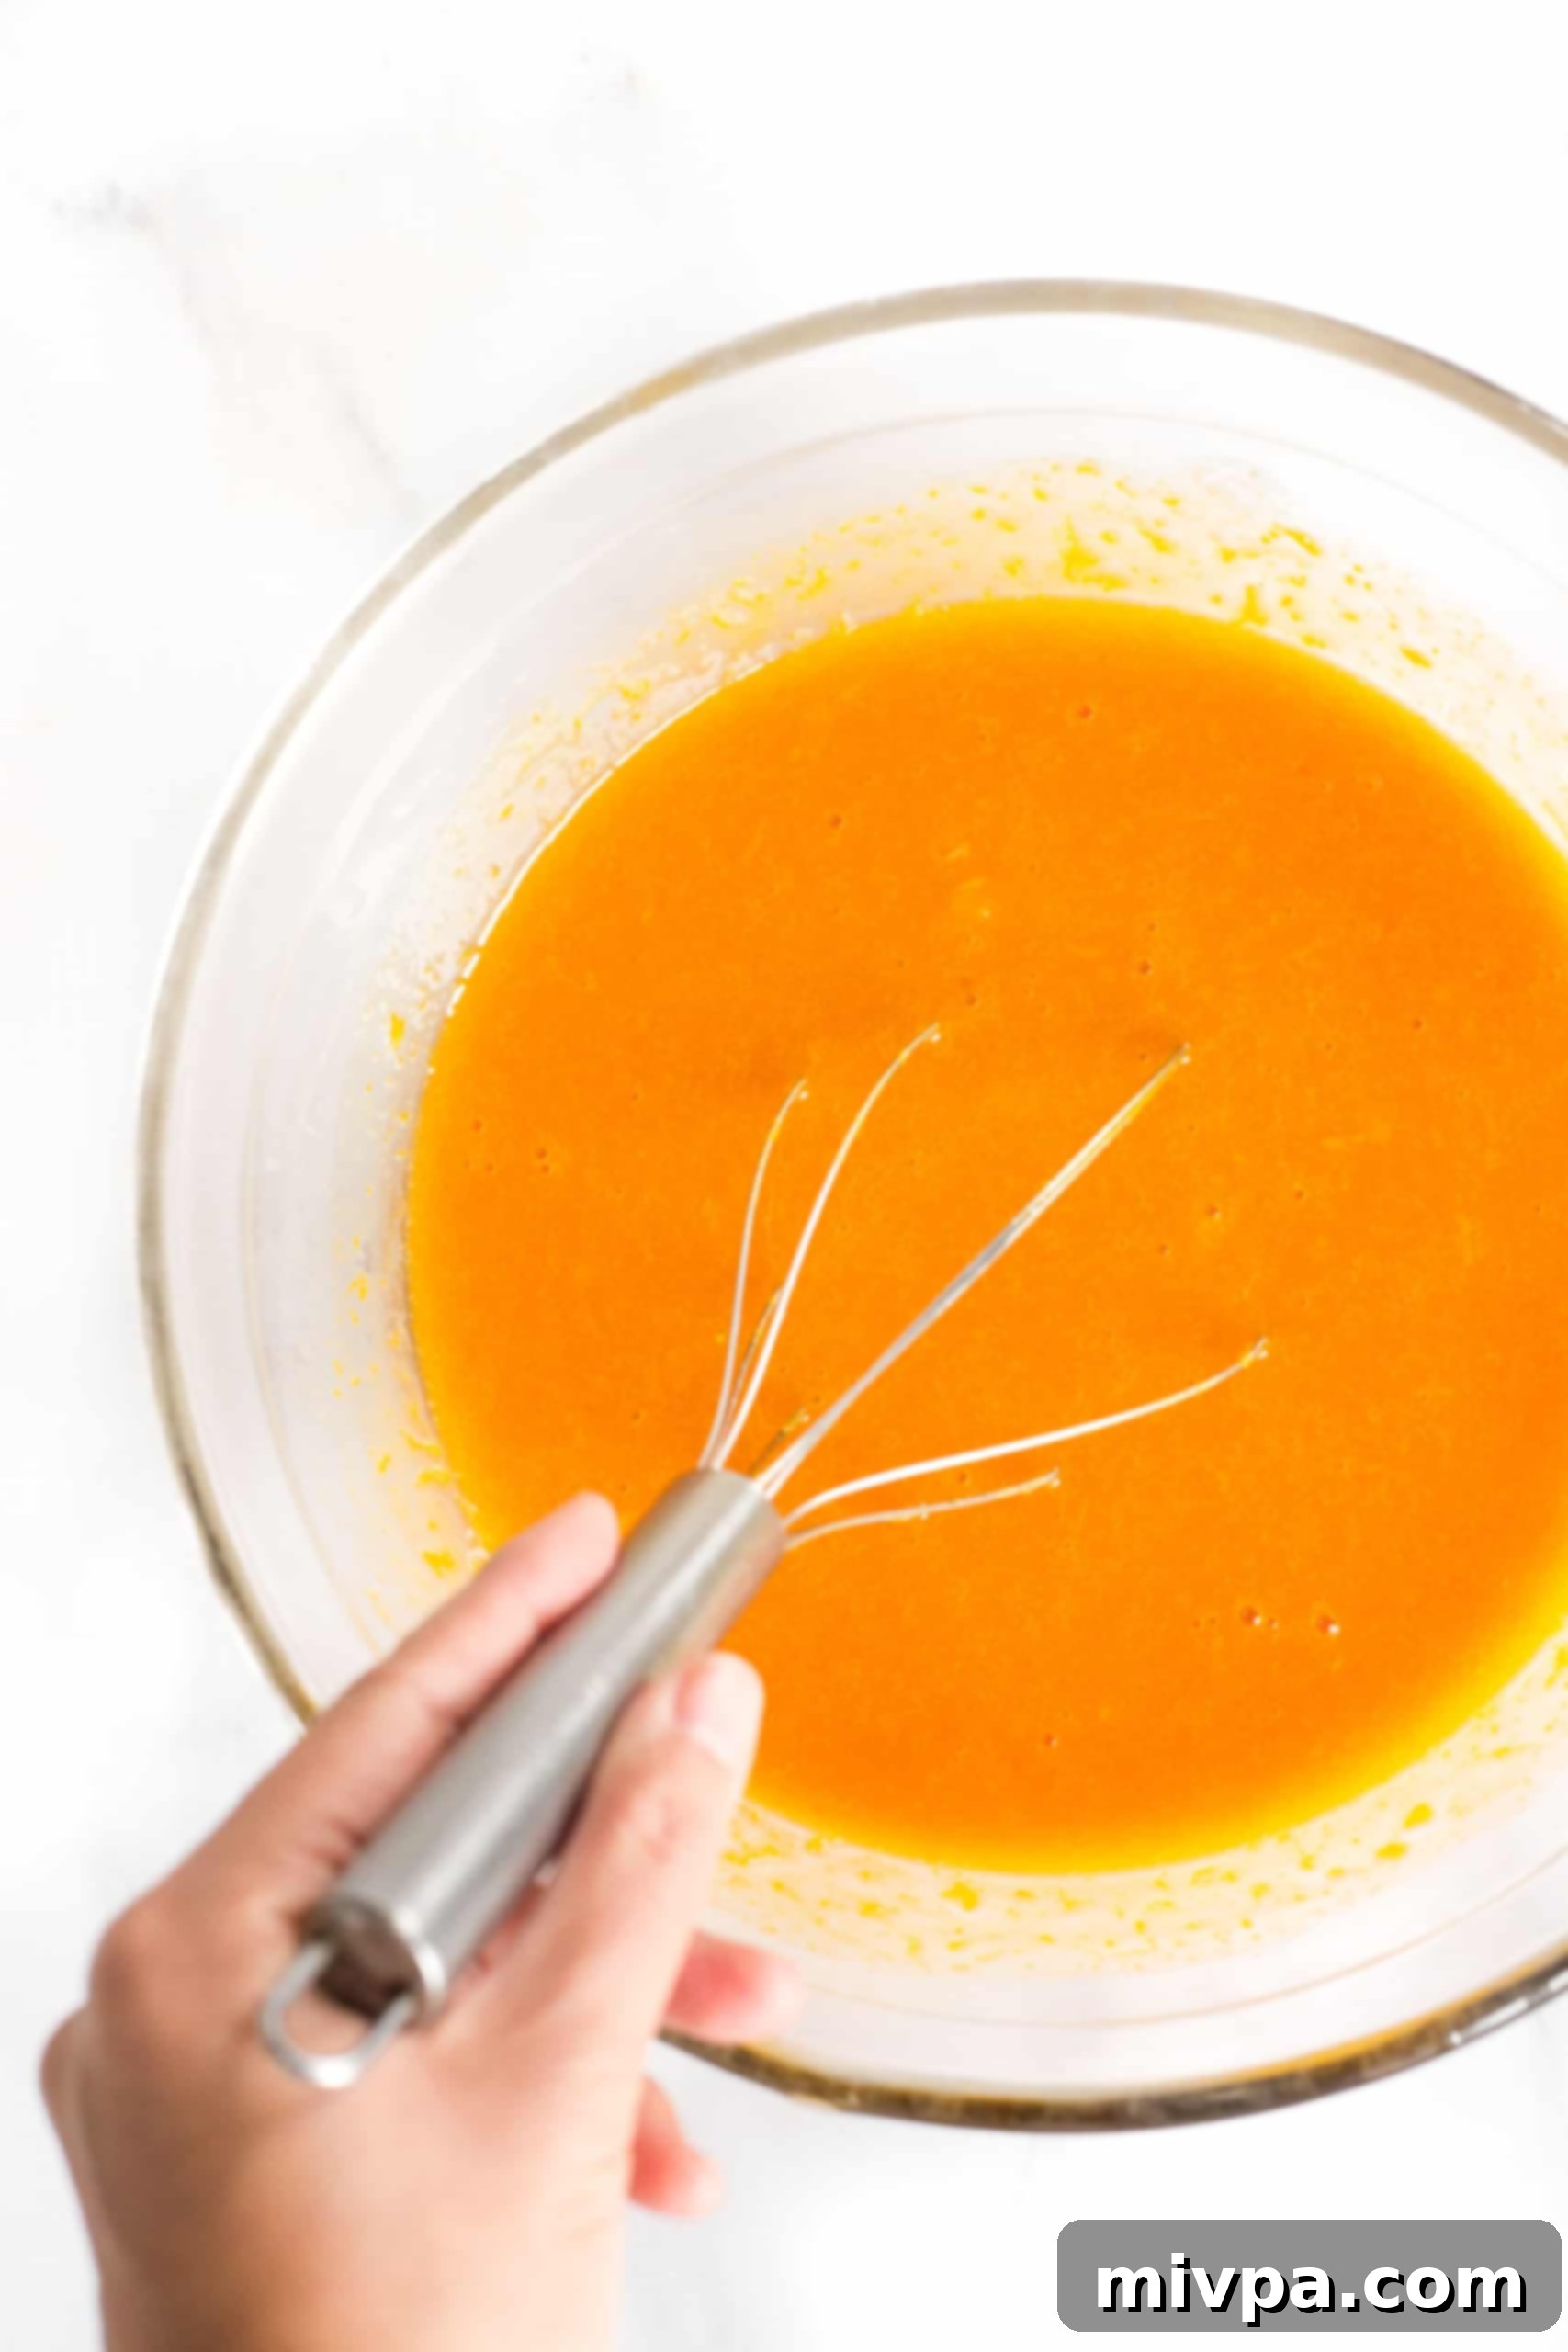
To the creamy sugar-oil mixture, add the beaten eggs, a splash of vanilla extract, and the rich pumpkin puree. Whisk vigorously with a hand mixer or a sturdy whisk until all these wet ingredients are fully combined and you have a smooth, beautifully uniform orange liquid mixture. Ensure there are no streaks of unmixed ingredients.
5. Gently Combine Dry and Wet Mixtures
Now, it’s time to bring everything together. Gradually add the whisked dry ingredients into the bowl containing the wet ingredients. Mix well, but be careful not to overmix the batter. Stir until just combined and you achieve a homogeneous, pale-orange batter, thick and ready for baking. Overmixing gluten-free flours can sometimes lead to a tougher texture.
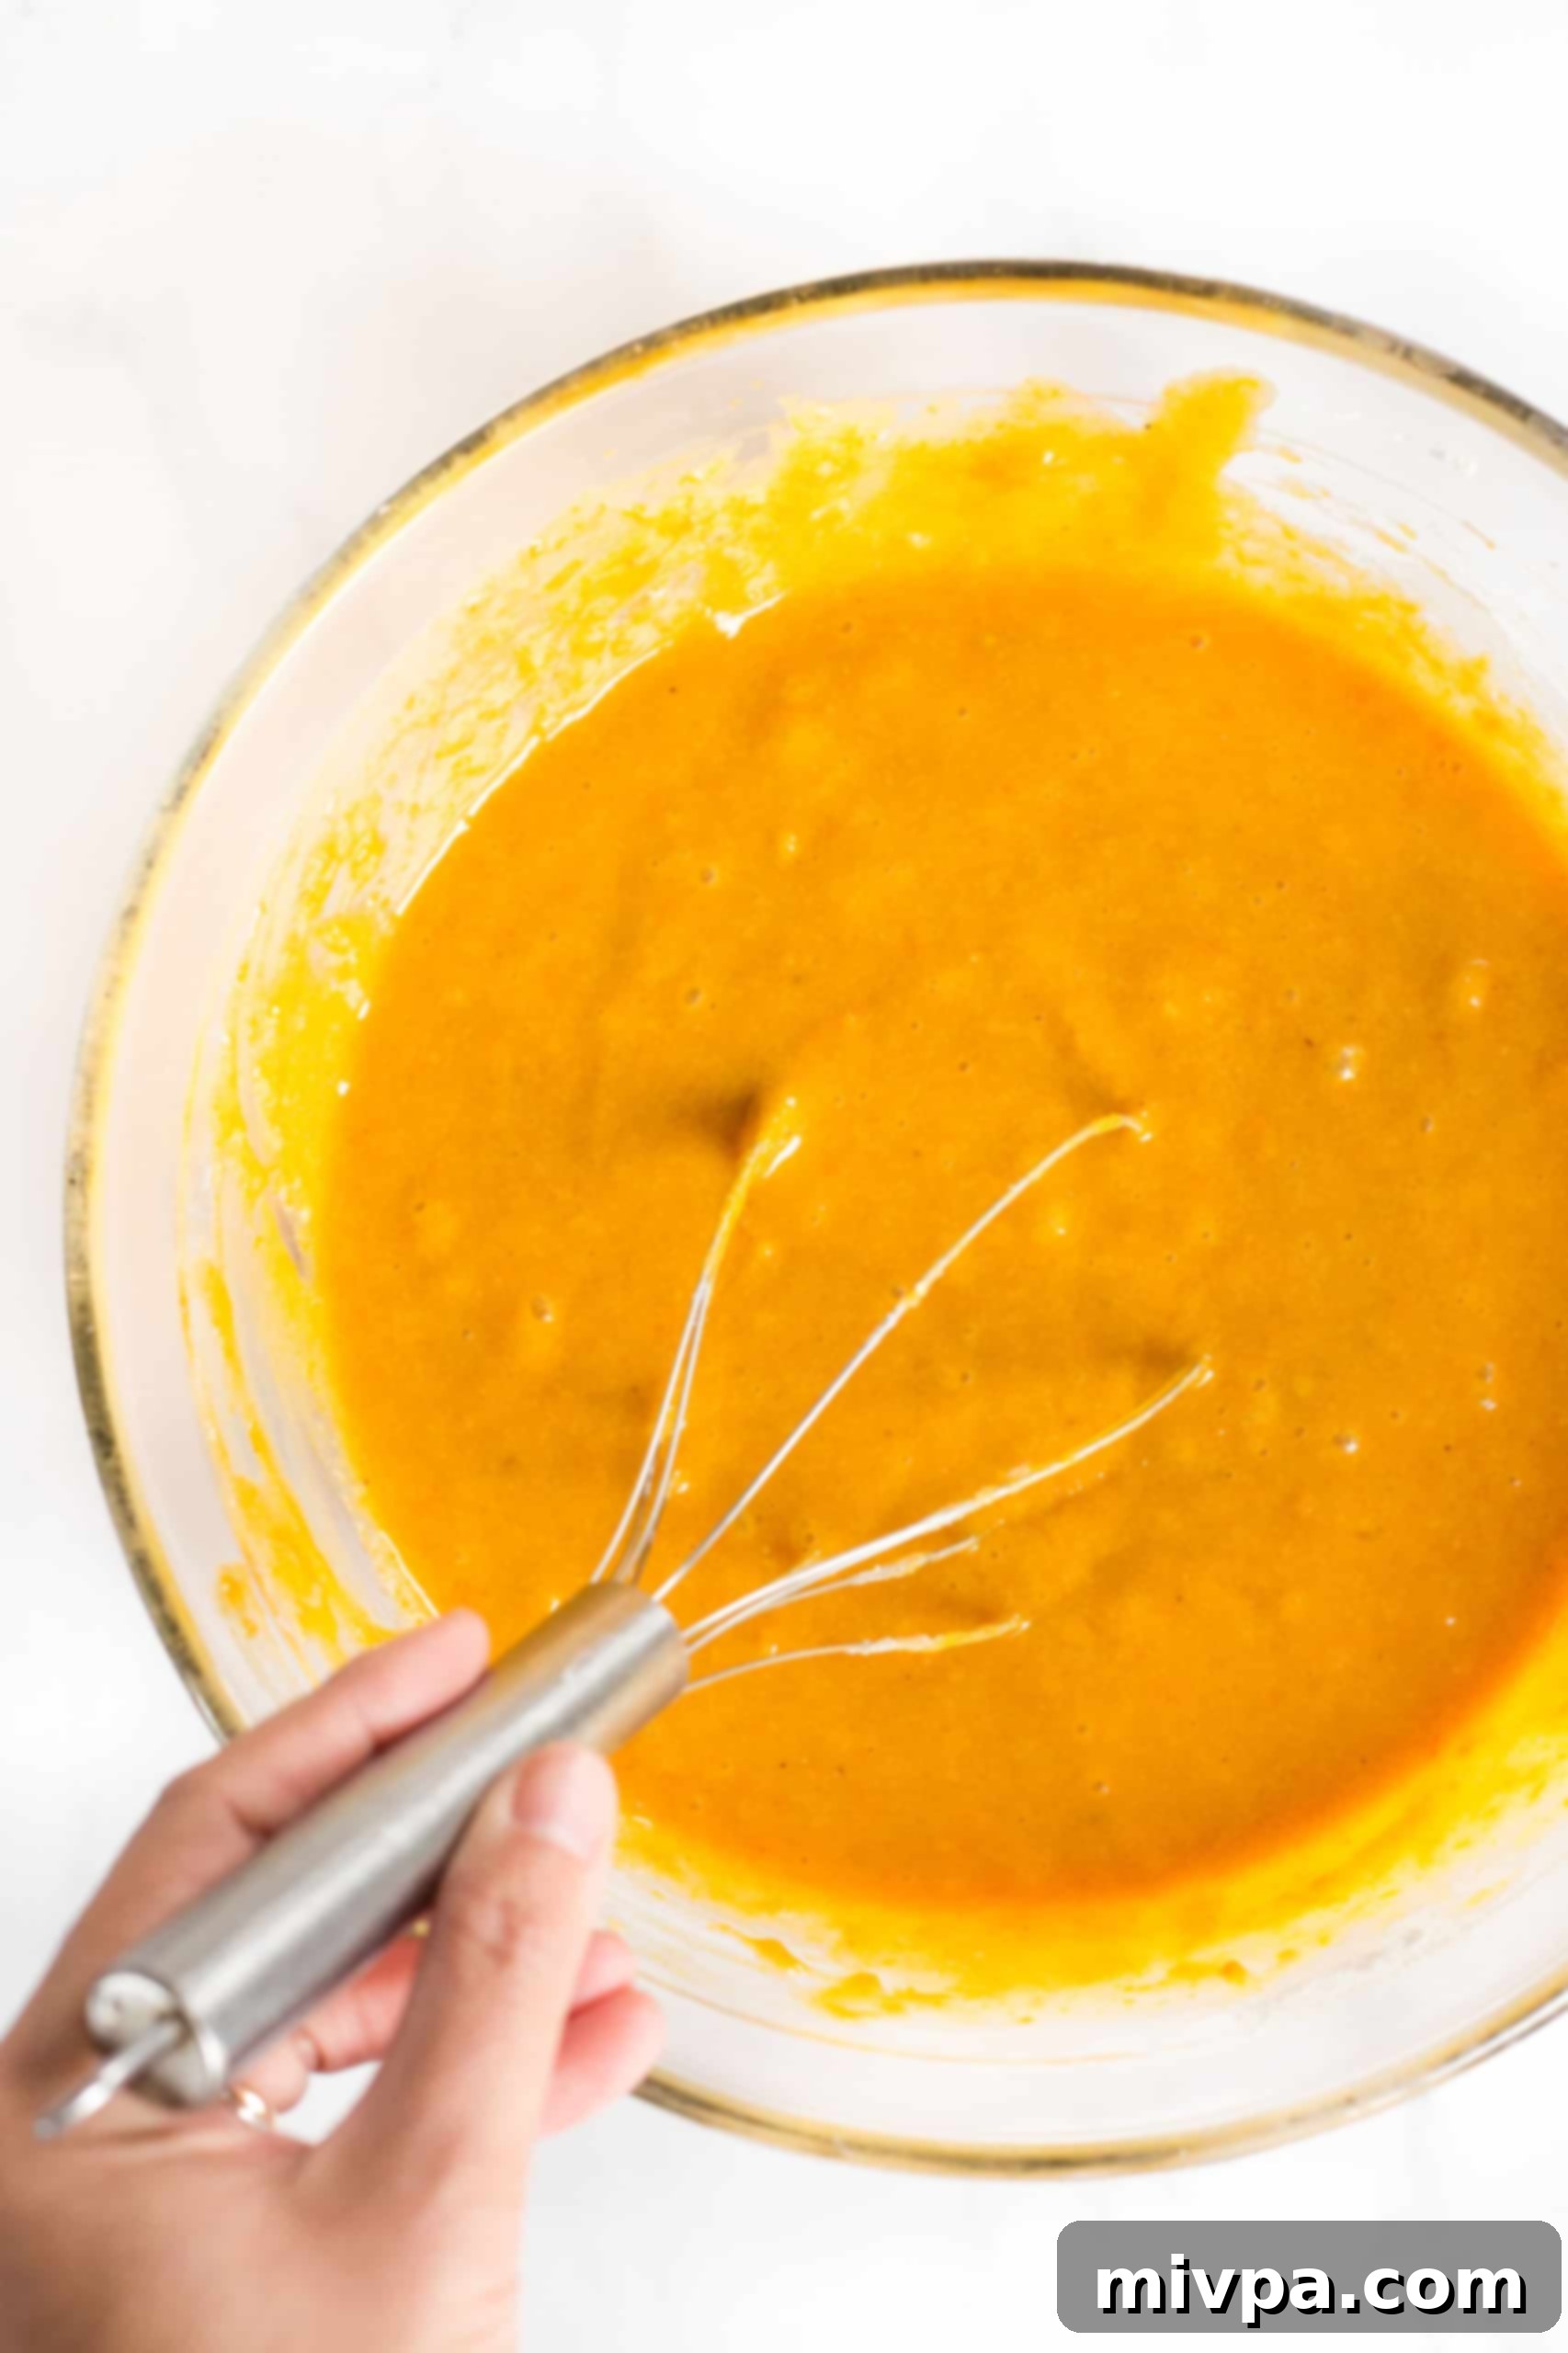
6. Transfer Batter to Prepared Pan
Carefully pour the creamy gluten-free pumpkin bars batter into the parchment-lined baking pan you prepared earlier. Use a wet spatula or the back of a spoon to gently spread the top of the batter evenly across the pan. This ensures uniform thickness and even baking, resulting in perfectly shaped bars.
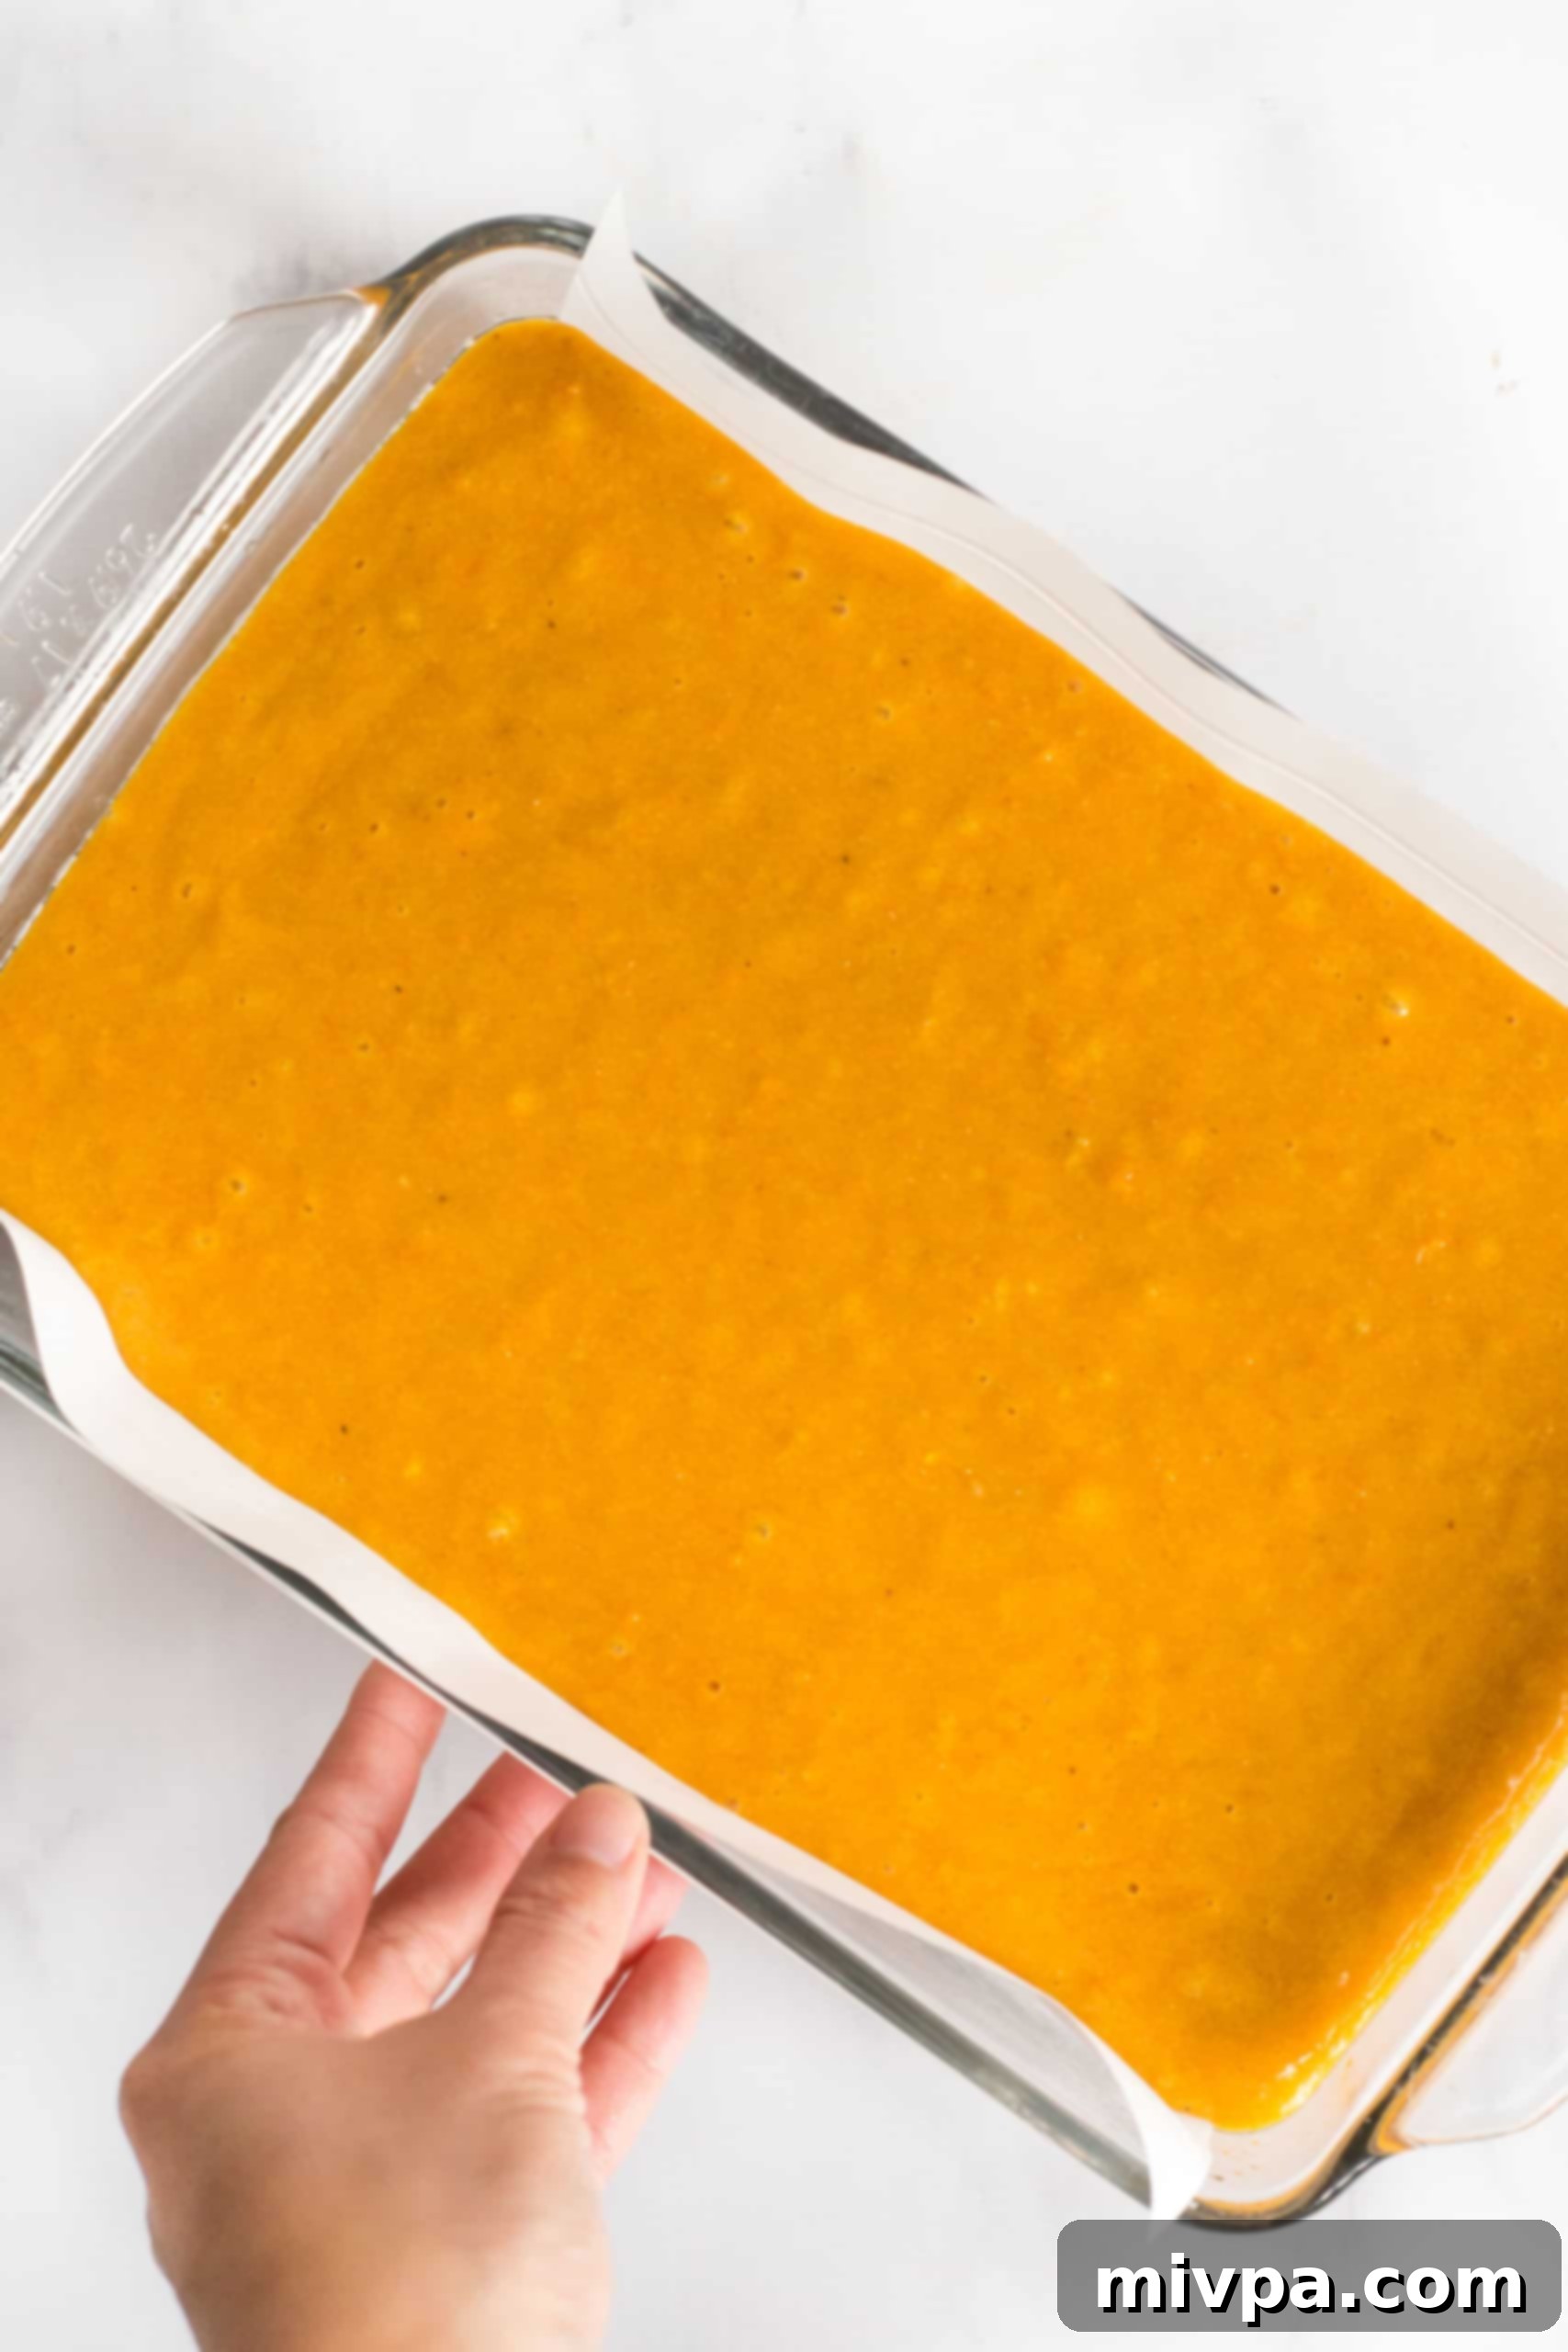
7. Bake Until Golden and Done
Place the pan in your preheated oven and bake for approximately 40 to 45 minutes. Baking times can vary slightly depending on your oven, so keep an eye on it. The bars are ready when a toothpick inserted into the very center comes out clean or with just a few moist crumbs attached, indicating they are cooked through but still delightfully moist.

8. Allow to Cool Completely
Once baked, remove the pan from the oven and place it on a wire rack. It’s crucial to let the pumpkin cake cool completely at room temperature. This step is essential because the bars will firm up as they cool, making them easier to slice and preventing them from crumbling. Patience is key for perfect bars!
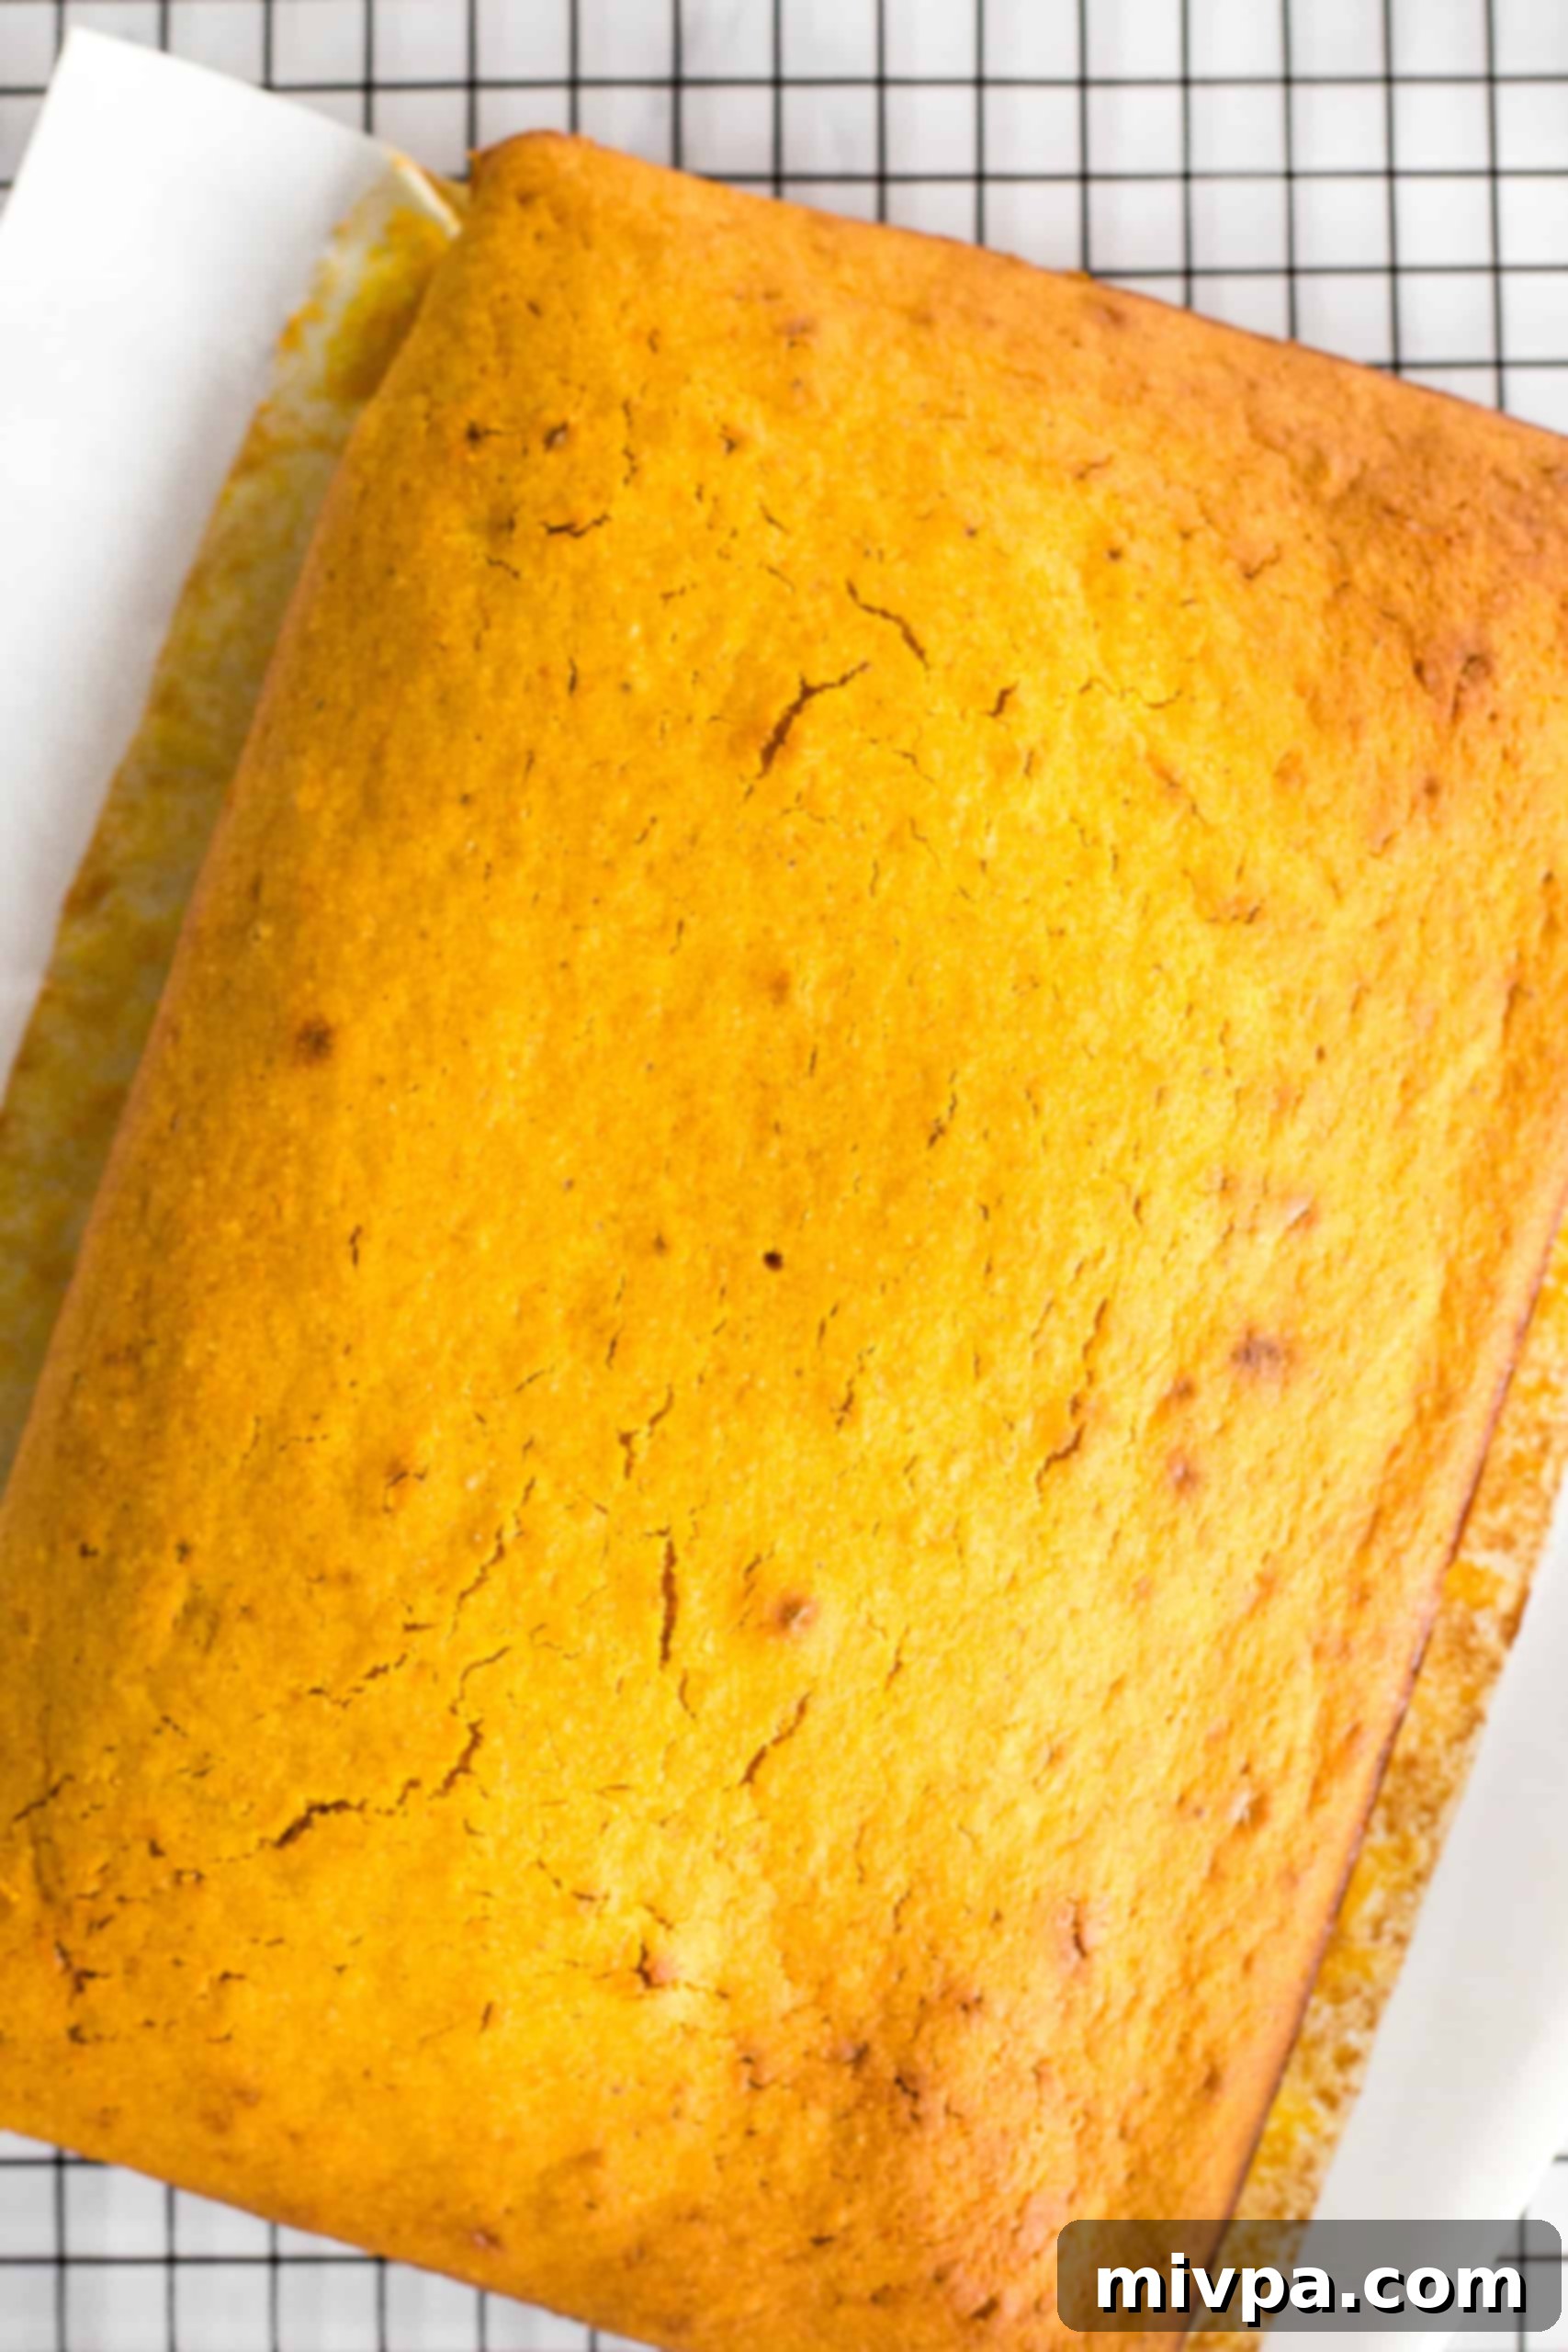
9. Slice Into Perfect Bars (or Squares!)
Once the pumpkin cake has cooled entirely, lift it out of the pan using the parchment paper overhang. Place it on a clean cutting board and carefully slice the cake into evenly-sized squares or rectangles, depending on your preference. For cleaner cuts, use a sharp knife and wipe it between slices.
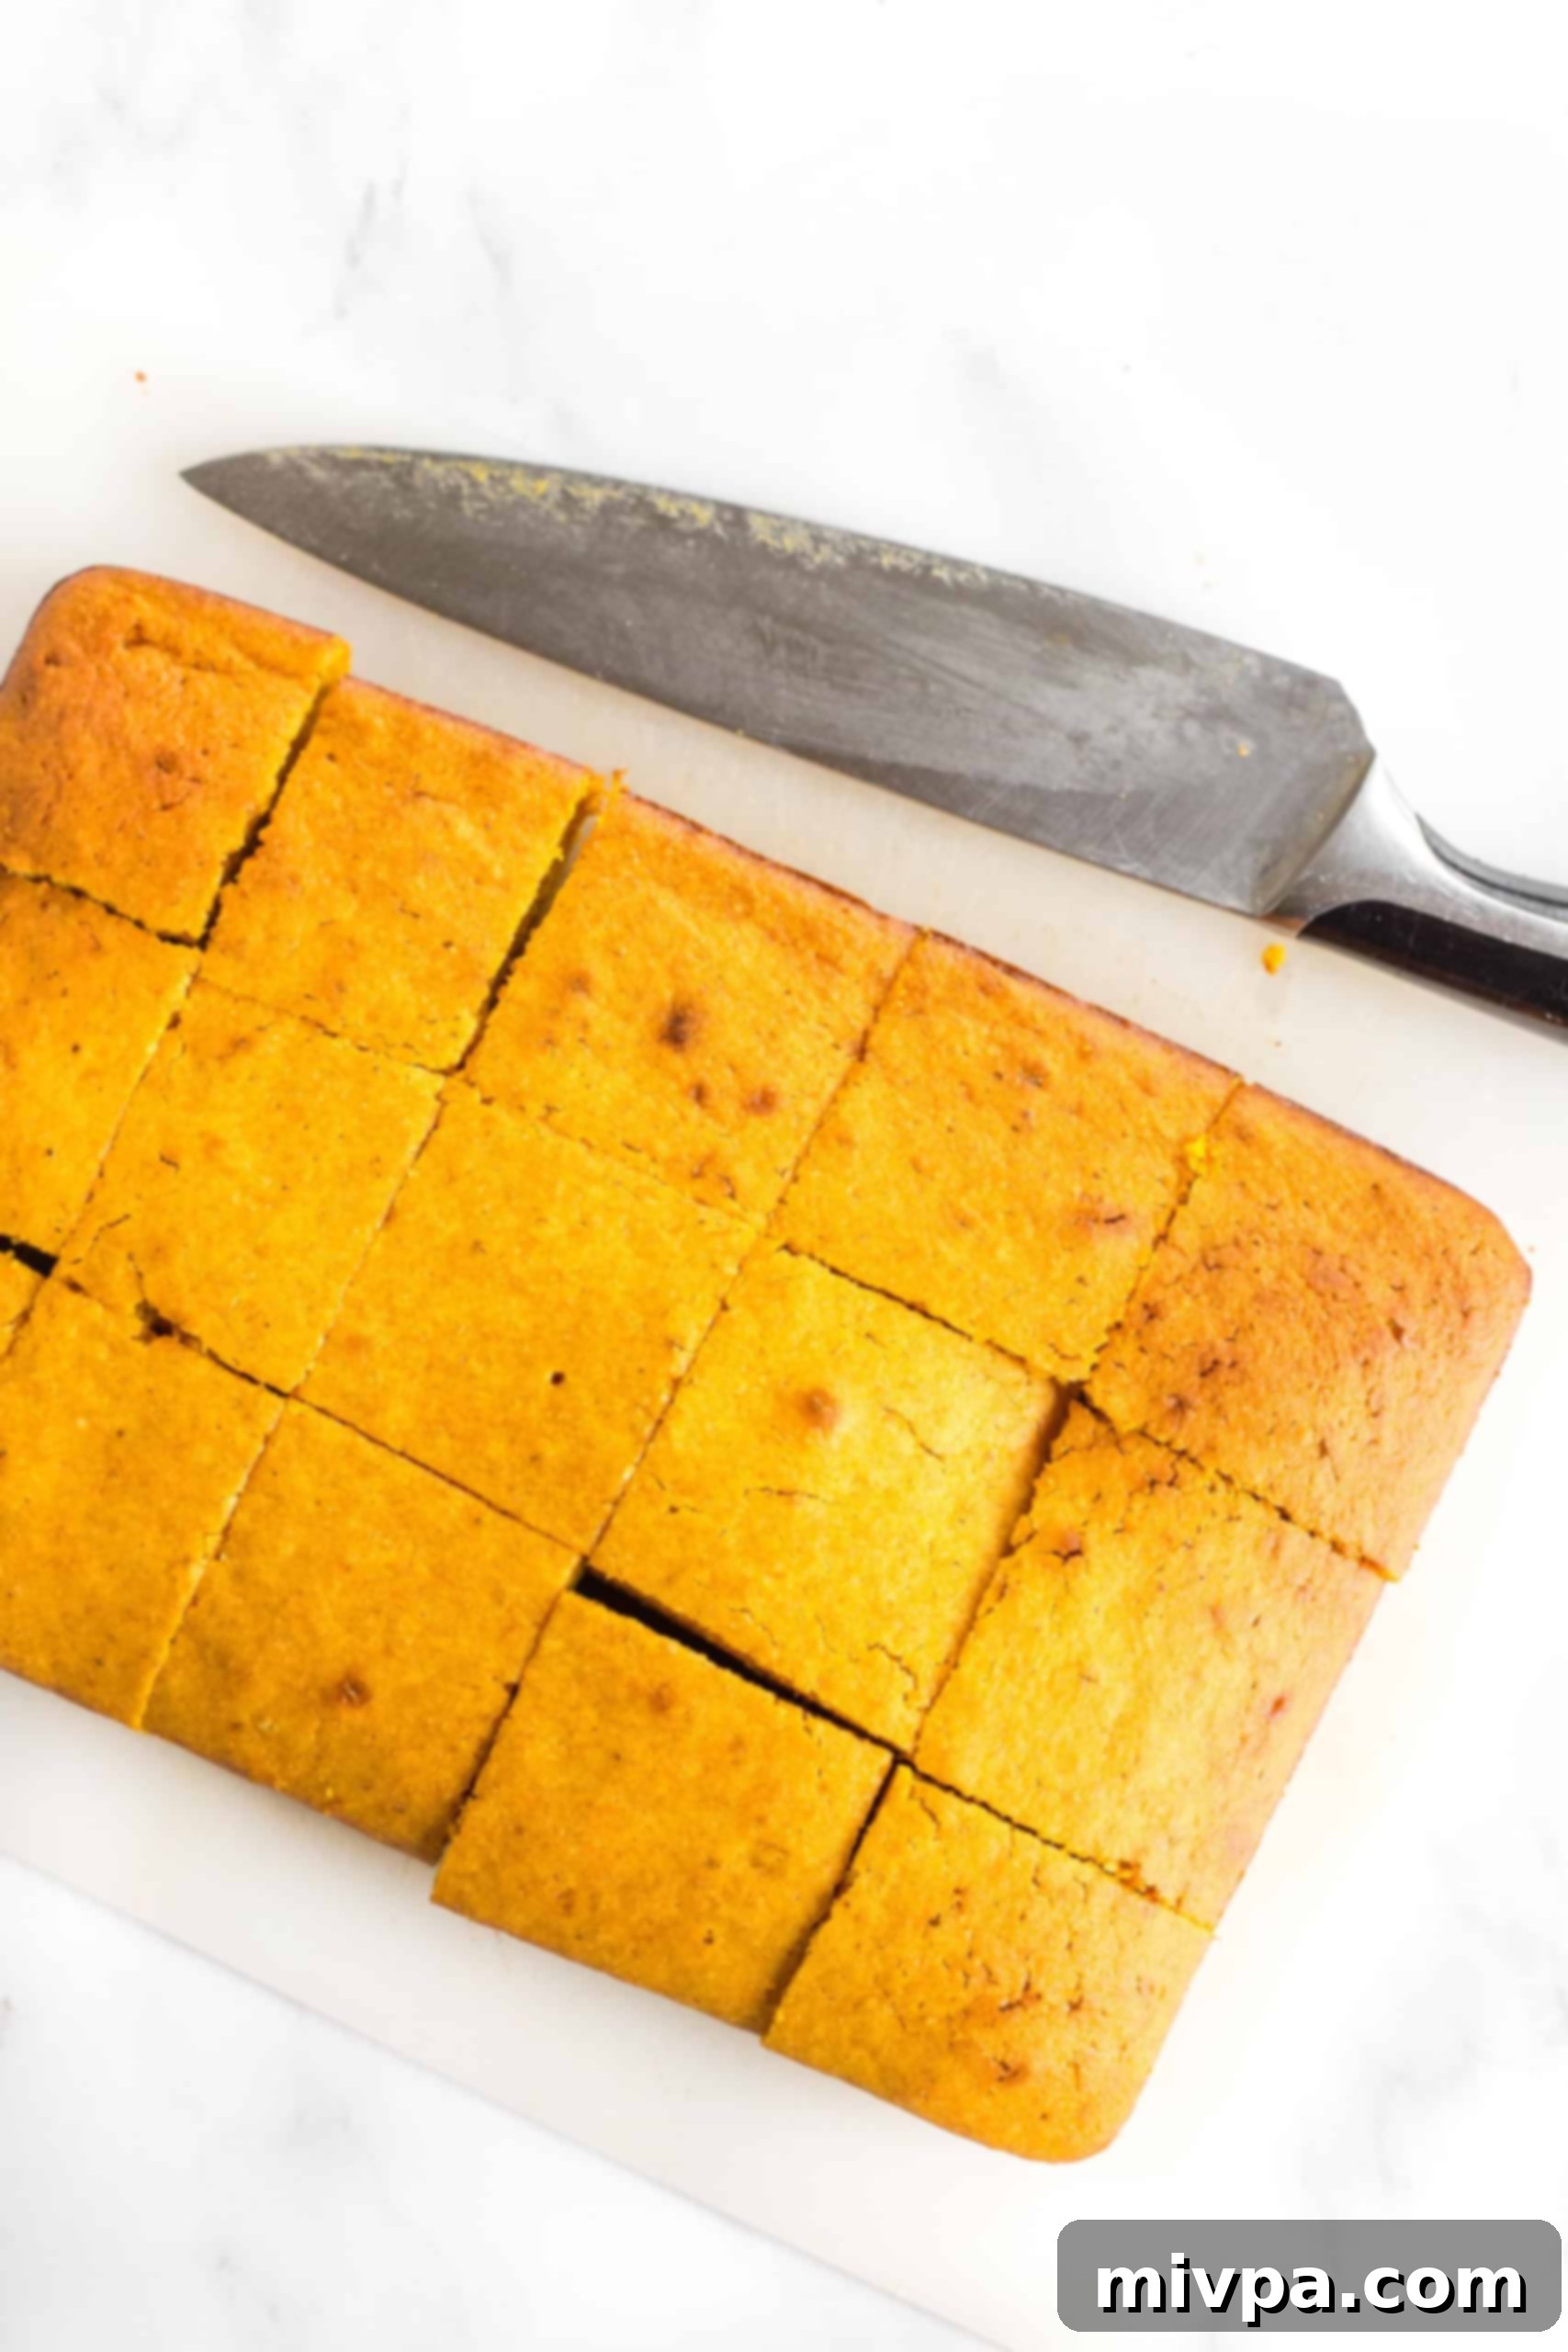
10. Dust with Powdered Sugar and Enjoy!
For the final touch of elegance and a hint of extra sweetness, lightly sprinkle a dusting of powdered sugar over the cooled, sliced gluten-free pumpkin bars. Use a small sieve or a fine-mesh strainer for an even coating. Now, they are perfectly ready to be served and enjoyed by all!
Dish by Dish Tips & Tricks for Perfect Pumpkin Bars:
Enhance your baking experience and elevate your gluten-free pumpkin bars with these additional tips and creative ideas:
- The Parchment Paper Advantage: This simple trick makes a world of difference! Always line your baking pan with parchment paper, ensuring there’s a slight overhang on two sides. This creates convenient “handles” that allow you to easily lift the entire slab of baked bars out of the pan once cooled, preventing sticking and making slicing a breeze.
- Optional Toppings for Extra Flair: While these pumpkin bars are delicious on their own, don’t hesitate to customize them with additional toppings! For a delightful crunch and nutty flavor, consider adding chopped nuts such as almonds, walnuts, or pecans. To lean further into the fall theme, sprinkle some pumpkin seeds on top before baking. If you’re a chocolate lover, mix in some chocolate chips (dairy-free if needed) directly into the batter before pouring it into the pan.
- Make it Fancier with Frosting: I designed this recipe for simplicity, with just a dusting of powdered sugar. However, if you’re looking to impress or simply love a good frosting, feel free to spread a creamy dairy-free cream cheese frosting over the cooled pumpkin squares. It adds another layer of indulgence and a lovely tangy contrast to the sweet pumpkin.
- Transform into a Pumpkin Cake: If you prefer a whole cake rather than individual bars, this recipe is incredibly adaptable! Simply bake the batter in a round cake pan or a square cake pan instead of a rectangular dish. Adjust baking time as needed (a larger, thicker cake might take longer). Once baked and cooled, you can leave it whole, frost it, and serve it as a beautiful pumpkin cake for any celebration.
Common Questions About Gluten-Free Pumpkin Bars:
To maintain their delicious moistness and flavor, once the gluten-free dairy-free pumpkin bars have cooled completely to room temperature, place them in an airtight container or wrap them tightly in plastic wrap. Store them in the refrigerator for up to 5 days. This keeps them fresh and prevents them from drying out.
Absolutely, these pumpkin dessert bars freeze beautifully! Once completely cooled, arrange the pumpkin squares in a single layer in a freezer-safe container with parchment paper between layers to prevent sticking. You can freeze them for up to 2 months. When you’re ready to enjoy, simply transfer the frozen gluten-free pumpkin squares to the refrigerator and let them thaw overnight until fully defrosted.
No, pumpkin itself is naturally gluten-free! Therefore, both homemade pumpkin puree and most commercially available canned pumpkin purees are naturally free of gluten. However, it’s always a good practice to double-check the label, especially for canned varieties, to ensure there are no added ingredients that might contain gluten, particularly if you have a severe allergy or Celiac disease. Always choose pure pumpkin puree, not pumpkin pie filling.
For perfectly neat slices, ensure the bars are completely cooled. Warm bars tend to be more crumbly. Use a sharp, non-serrated knife. For extra clean cuts, you can lightly grease the knife blade between each slice, or wipe it clean with a damp cloth. Press down firmly rather than sawing back and forth, and try to make one decisive cut per bar.
More Gluten-Free Pumpkin Recipes You’ll Absolutely Love:
If these pumpkin bars have ignited your love for fall baking, you’re in luck! We have an abundance of other fantastic gluten-free pumpkin recipes that are just as delightful. Explore these delicious options to keep the pumpkin season festivities going strong!
- Mini Pumpkin Cheesecakes (Gluten-Free, Dairy-Free Option)
- Gluten-Free Chocolate Chip Pumpkin Bread (Dairy-Free)
- Gluten-Free Pumpkin Chocolate Chip Muffins (Dairy-Free)
- Easy Pumpkin Butter (Gluten-Free, Vegan)
Other Delightful Fall Recipes to Enjoy This Season:
Beyond pumpkin, autumn offers a bounty of incredible flavors. Here are more of our favorite gluten-free fall recipes that you’ll want to add to your repertoire!
- Gluten-Free Pecan Pie Bars (Dairy-Free)
- Easy Apple Pear Chutney (Gluten-Free, Vegan)
- Moist Gluten-Free Sweet Potato Bread (Dairy-Free)
- 51 Delicious Gluten-Free Holiday Desserts (that Aren’t Just Pie)!
P.S. If you bake these irresistibly moist Gluten-Free Pumpkin Bars, I’d be absolutely thrilled if you left a star rating below and/or a review in the comment section further down the page. Your feedback is truly invaluable to me and helps others discover these wonderful recipes. Don’t forget to explore my entire Recipe Index for more delightful gluten-free creations on the blog. You can also stay connected with me and find daily inspiration by following on Pinterest, Facebook, or Instagram! For a weekly dose of fresh recipes delivered straight to your inbox, sign up for my Email List!
Print
Gluten-Free Pumpkin Bars (Dairy-Free)
5 Stars 4 Stars 3 Stars 2 Stars 1 Star
5 from 1 review
Author: Felicia Lim
Total Time: 55 minutes
Yield: 15 bars
Diet: Gluten Free
Description
Super easy to make, these gluten-free pumpkin bars have a deliciously moist texture and are full of comforting pumpkin flavor! Delicately sprinkled with powdered sugar for just the right amount of sweetness, these delightful pumpkin squares are the perfect fall sweet treat or even a satisfying snack throughout pumpkin season! They are also completely dairy-free, yet so rich and flavorful, no one would ever suspect!
Ingredients
Units
Scale
- 1 cup gluten-free all-purpose flour blend
- 1 cup brown rice flour
- 1/2 teaspoon xanthan gum (omit if already in your flour blend)
- 3 teaspoons baking powder (certified gluten-free if needed)
- 1/2 teaspoon salt
- 3 teaspoons pumpkin pie spice (or 2.5 tsp cinnamon + 0.25 tsp nutmeg)
- 1 cup melted refined coconut oil (or melted vegan butter)
- 3/4 cup granulated sugar (or preferred sugar substitute)
- 4 large eggs, beaten
- 2 teaspoons vanilla extract
- 1 1/2 cups pumpkin puree (not pumpkin pie filling)
- 1 tablespoon powdered sugar, for dusting (optional, or powdered monkfruit sweetener)
Instructions
- Preheat and Grease: Preheat your oven to 350F (175C) and adjust the baking rack to the middle position. Grease a 10″ x 7″ glass baking dish and line it with parchment paper, leaving an overhang on the sides.
- Combine Dry Ingredients: In a large mixing bowl, whisk together the gluten-free all-purpose flour blend, brown rice flour, xanthan gum (if not in blend), baking powder, salt, and pumpkin pie spice. Mix well to combine thoroughly.
- Beat Sugar and Coconut Oil: In a separate large bowl, beat the melted coconut oil and granulated sugar together with a whisk or hand mixer until the mixture becomes light and creamy.
- Add Remaining Wet Ingredients: To the sugar-oil mixture, add the beaten eggs, vanilla extract, and pumpkin puree. Whisk thoroughly until you achieve a homogeneous, smooth orange liquid mixture.
- Combine Dry and Wet Ingredients: Pour the dry ingredients into the bowl with the wet ingredients. Mix until well combined and you have a uniform, pale-orange batter. Be careful not to overmix.
- Transfer Batter to Pan: Carefully pour the pumpkin bar batter into the prepared parchment-lined pan. Use a wet spatula to spread the batter evenly across the top.
- Bake Until Ready: Bake the batter for 40 to 45 minutes, or until a toothpick inserted into the center of the bars comes out clean, indicating they are fully cooked.
- Let Cool Completely: Remove the pan from the oven and place it on a wire rack. Allow the pumpkin cake to cool completely at room temperature before handling, as this will help it firm up.
- Slice Into Squares: Once fully cooled, use the parchment paper overhang to lift the cake from the pan. Transfer to a cutting board and slice into evenly-sized squares or rectangles.
- Dust with Powdered Sugar and Enjoy: For a final touch, sprinkle a light dusting of powdered sugar over the gluten-free pumpkin bars before serving. Enjoy your delicious homemade fall treat!
Notes
Gluten-Free All-Purpose Flour: For the best results and a light, tender texture, use a high-quality gluten-free all-purpose flour blend that primarily consists of lighter flours/starches such as rice flour, tapioca starch, corn starch, or potato starch. Avoid blends containing heavier flours like garbanzo bean flour, as these can lead to a denser, gummier texture.
Xanthan Gum: This ingredient is crucial for structure in gluten-free baking. If your chosen gluten-free flour blend does not already contain xanthan gum, be sure to add the specified amount to prevent crumbly bars.
Brown Rice Flour: Adding brown rice flour contributes to a better overall texture. If unavailable, you can substitute with sorghum flour or millet flour for similar results.
Baking Powder: As the sole leavening agent, baking powder is essential for the bars to rise. Always ensure you are using certified gluten-free baking powder if you have Celiac disease or gluten intolerance.
Pumpkin Pie Spice: For authentic fall flavor, pumpkin pie spice is key. If you don’t have it, a good homemade substitute is 2 1/2 teaspoons of ground cinnamon mixed with 1/4 teaspoon of ground nutmeg.
Coconut Oil: I prefer refined coconut oil for its neutral flavor, which allows the pumpkin to dominate. Extra virgin coconut oil has a stronger coconut taste. Alternatively, melted vegan butter or another neutral vegetable oil can be used. If not dairy-free, melted butter or ghee works too.
Sugar: Granulated white sugar is used here, but feel free to experiment with light brown sugar, dark brown sugar, or coconut sugar, noting that darker sugars will slightly alter the color of the bars. For diabetic-friendly options, granulated monkfruit sweetener is an excellent zero-glycemic substitute.
Eggs: Eggs are crucial for moisture and binding. I do not recommend omitting them. Small substitutions with egg whites are possible but may affect richness.
Vanilla Extract: Vanilla extract adds depth of flavor, but can be omitted if you prefer.
Pumpkin Puree: Use either fresh homemade pumpkin puree (recipe here) or canned pumpkin puree. Crucially, ensure it’s pure pumpkin puree and not pumpkin pie filling, which is already spiced and sweetened.
Powdered Sugar: For dusting, powdered sugar (confectioner’s sugar) adds a lovely finish. To make your own, blend granulated sugar until fine. For a sugar-free option, use powdered monkfruit sweetener.
Storing/Freezing: Store cooled bars in an airtight container in the fridge for up to 5 days. To freeze, place cooled bars in a freezer-safe container for up to 2 months. Thaw overnight in the refrigerator before serving.
- Prep Time: 10 mins
- Cook Time: 45 mins
- Category: Desserts
- Method: Baking
- Cuisine: American
