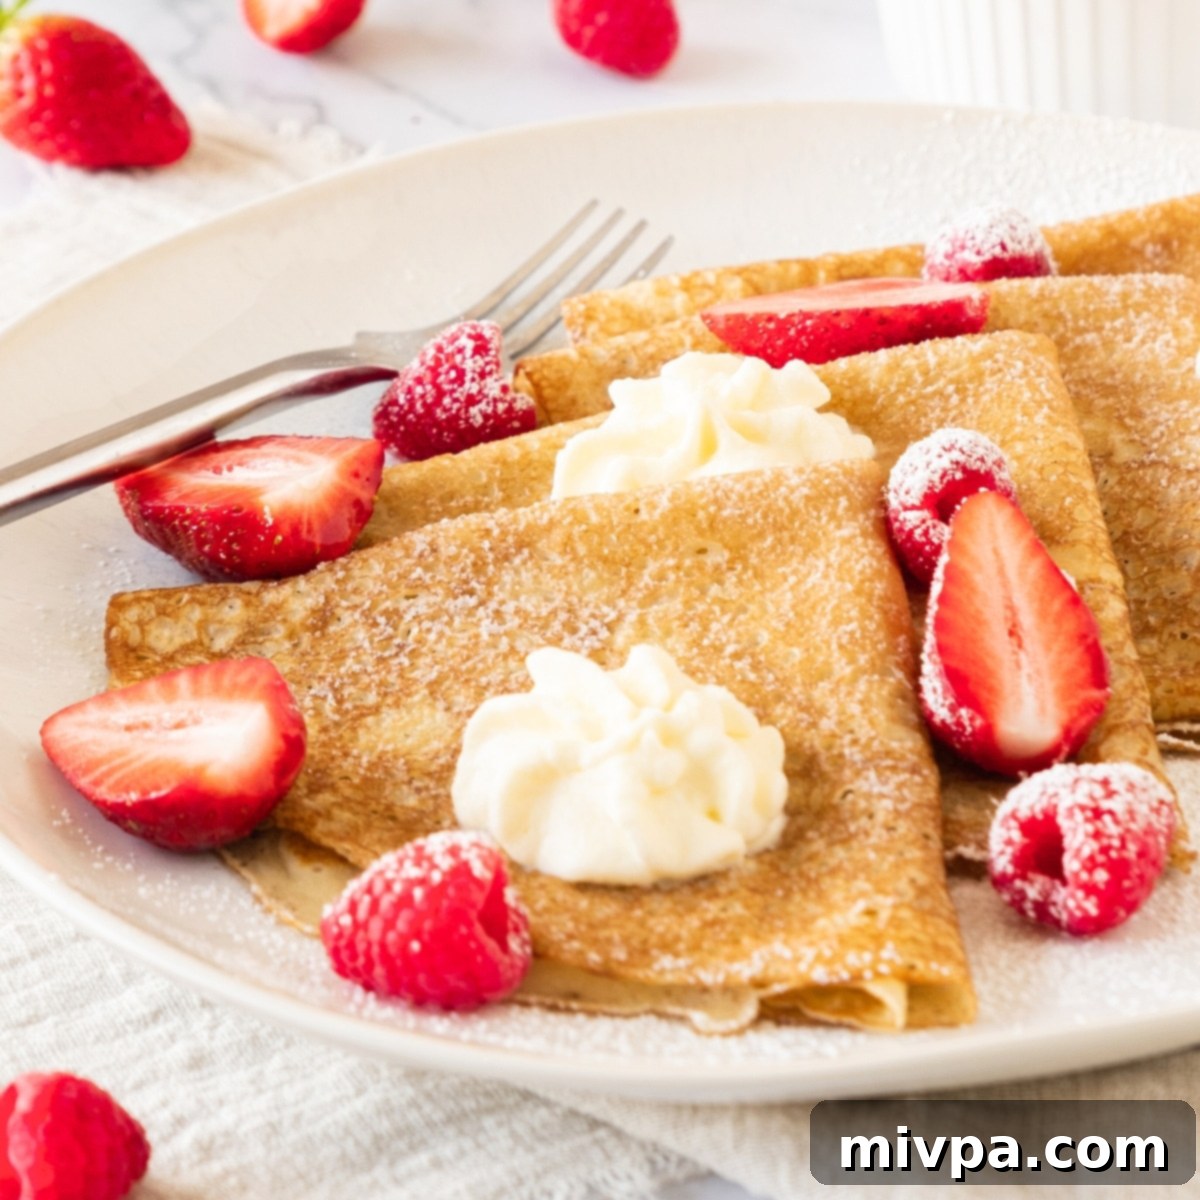
Effortlessly Delicious: The Ultimate Gluten-Free Dairy-Free Crepes Recipe
Delicate, thin, and wonderfully flexible, these gluten-free and dairy-free crepes are incredibly easy to make. They’re perfect for rolling or folding with your favorite fillings – no worries about them tearing! Whether you’re planning a fancy breakfast, a leisurely weekend brunch, a satisfying sweet snack, or a show-stopping delicious dessert, these versatile crepes are an absolute delight. Top them with fresh berries and a dollop of dairy-free whipped cream for an unforgettable treat!

[feast_advanced_jump_to]
What are Crepes? A Culinary Delight
Crepes, often referred to as “crêpes,” are exquisite, paper-thin pancakes that hail from the rich culinary traditions of France. If you’ve ever had the pleasure of strolling through the charming streets of Paris, you’ve likely encountered street vendors expertly flipping these delicate treats, filling them with irresistible combinations like creamy Nutella and sweet, ripe strawberries. Truly a delightful experience!
Unlike their thicker American pancake cousins, crepes are celebrated for their remarkably fine, almost translucent texture. The fundamental ingredients for a classic crepe batter typically include all-purpose flour, eggs, milk, and butter. This smooth, fluid batter is then meticulously cooked on a hot skillet or a dedicated crepe pan until it achieves a beautiful, lightly golden hue on both sides. Their incredible versatility means crepes can effortlessly transition between being a sweet indulgence, perfect with fruits, cream, or chocolate, or a savory main course, embracing fillings such as mushrooms, cheese, or various meats and vegetables. The key distinction often lies in whether sugar is incorporated into the batter and, of course, the choice of filling.
Are Traditional Crepes Gluten-Free? Understanding Dietary Needs
In their conventional form, most crepe recipes rely heavily on regular wheat flour, which, as many know, contains gluten. Consequently, traditional crepes are typically not gluten-free and are therefore unsuitable for individuals managing Celiac disease, gluten sensitivities, or those adhering to a gluten-free diet. This can often mean missing out on a beloved culinary experience for many.
However, the wonderful news is that enjoying delicious crepes is entirely possible without gluten or dairy! Our specially crafted recipe is designed to be both gluten-free and dairy-free, ensuring that everyone can partake in the joy of these light, airy delights without any concerns about dietary restrictions. We’ve perfected a method to create crepes that are just as delicate and flavorful as their traditional counterparts, but entirely safe and enjoyable for those with specific dietary needs.
Why You’ll Love This Easy Gluten-Free Crepe Recipe
This recipe isn’t just a gluten-free alternative; it’s a superior choice that brings ease and deliciousness to your kitchen. Here’s why these crepes will quickly become a favorite:
- Simple, Accessible Ingredients: You won’t need to hunt for exotic items. All the main ingredients required for these gluten-free and dairy-free crepes are readily available at your local grocery store, making preparation hassle-free and convenient for everyday cooking.
- Incredibly Easy to Make: Don’t let the elegant appearance of crepes intimidate you. Preparing this recipe is remarkably straightforward. It’s as simple as combining the ingredients to create a smooth batter, then cooking that batter in a skillet until golden. Even novice cooks will find this recipe approachable and rewarding.
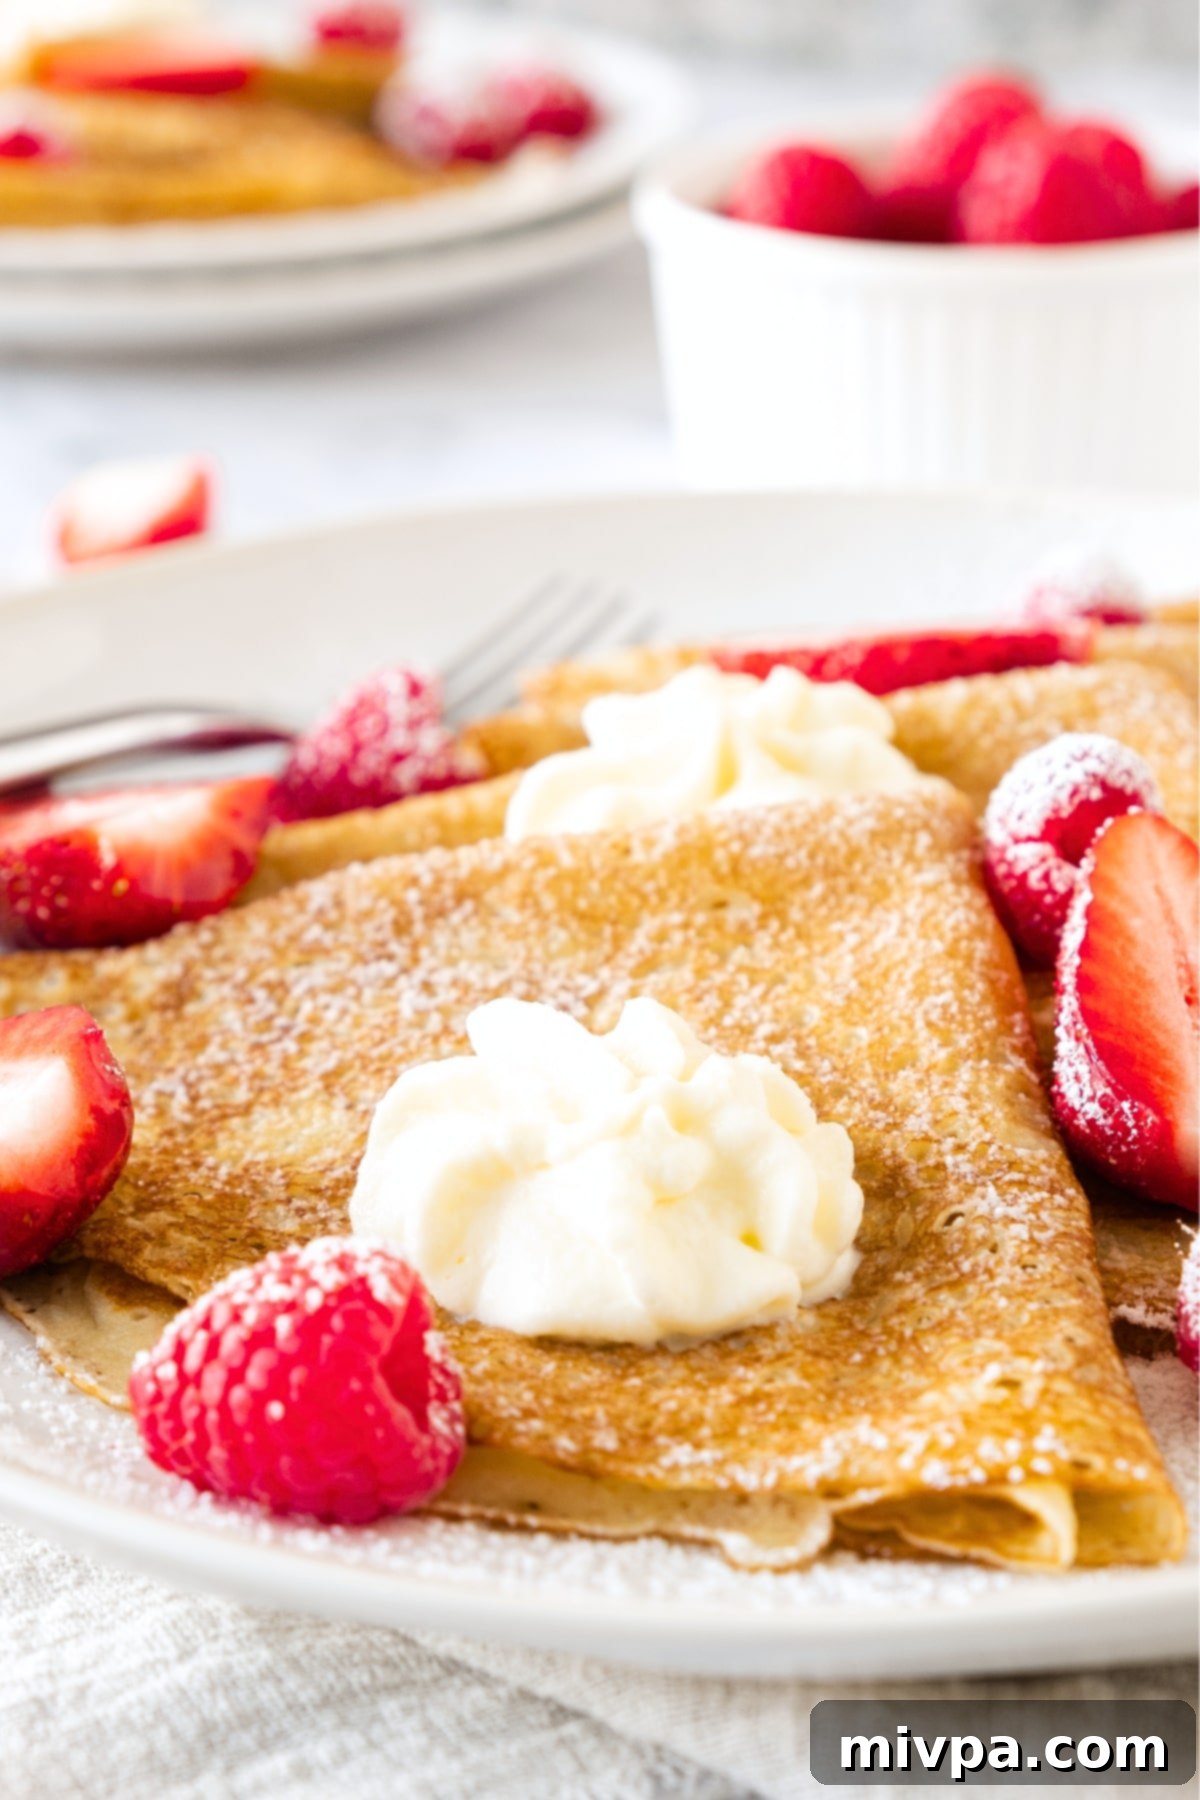
- Perfectly Flexible & Pliable: Achieving the perfect crepe means having a delicate yet resilient texture. These thin crepes are wonderfully pliable and flexible, allowing you to easily roll them up or fold them into quarters without any fear of tearing or breaking. This makes them ideal for showcasing various fillings and presentation styles.
- Dietary-Friendly & Inclusive: The best feature of this recipe is its complete freedom from gluten and dairy. These easy crepes are 100% gluten-free and dairy-free, making them a safe and delicious option for individuals with Celiac disease, gluten intolerance, lactose intolerance, or anyone simply opting for a gluten-free lifestyle. Everyone at your table can enjoy them without compromise.
- Versatile for Any Occasion: These crepes are incredibly adaptable. Serve them as an elegant breakfast, a satisfying brunch, a quick sweet snack, or a truly indulgent dessert. Their light texture and neutral base complement a wide array of sweet and savory toppings, ensuring they fit perfectly into any meal plan.
Essential Ingredients for Your Dairy-Free Gluten-Free Crepes
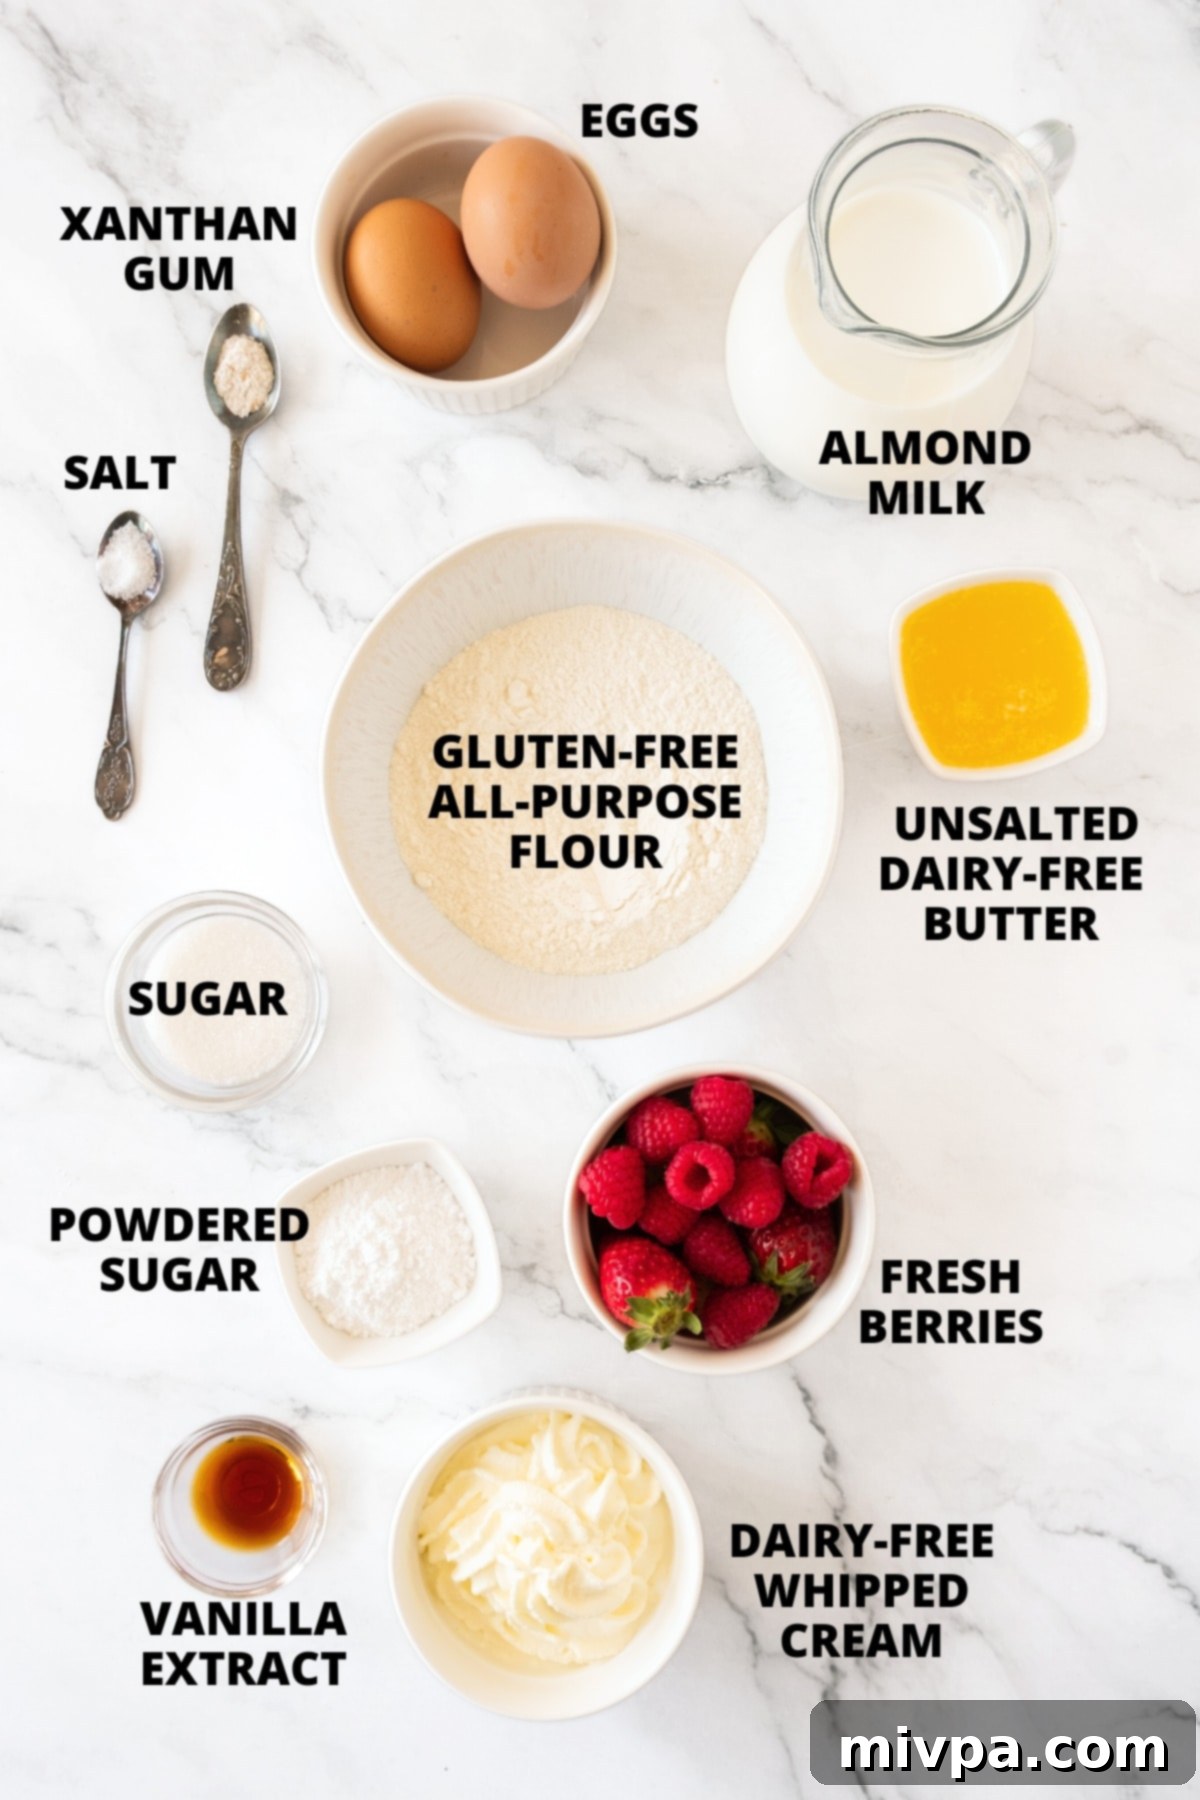
Creating these delightful gluten-free crepes starts with gathering a few simple ingredients. Here’s a visual overview of what you’ll need to make this fantastic recipe.
(For exact measurements and a detailed step-by-step guide, please scroll down to the printable recipe card at the bottom of this post.)
Recipe Notes & Helpful Substitutions for Perfect Crepes
Understanding your ingredients and their potential substitutions is key to customizing this recipe to your preferences and dietary needs. Here are some detailed notes:
- Milk: For this dairy-free recipe, I prefer using an unsweetened version of my homemade almond milk for its neutral flavor and smooth consistency. However, you have several other excellent non-dairy milk options that will work beautifully, such as cashew milk, rice milk, oat milk, or even tigernut milk. If dairy isn’t an issue for you, feel free to use regular cow’s milk—the recipe will still yield delicious results.
- Butter: To maintain the dairy-free nature of this recipe, I use unsalted dairy-free butter. This provides the richness and flavor profile expected in crepes. As an alternative, you can also use coconut oil for a similar effect, though it might impart a slight coconut flavor. For those without lactose intolerance, regular unsalted butter is a perfectly acceptable substitution.
- Sugar: White granulated sugar is my go-to for these crepes, offering a clean sweetness. However, you can experiment with other sugars like cane sugar, light brown sugar, dark brown sugar, or coconut sugar. Do note that darker sugars will naturally lead to a slightly darker crepe batter and a richer, caramel-like color in the final cooked crepes. For individuals managing blood sugar levels, I highly recommend using a 1:1 sugar substitute like granulated monk fruit sweetener, which has a zero glycemic index and won’t impact blood sugar.
- Eggs: Eggs are crucial in this recipe as they act as a binder, holding the ingredients together and providing structure and richness to the crepes. I have not personally tested this recipe without eggs. However, if you have an egg allergy or prefer to make this recipe egg-free, you might try using aquafaba (the liquid from canned chickpeas) or a commercial egg replacer. (If you do try an egg-free version of these gluten-free crepes, please share your results in the comments below – I’d be genuinely interested to know how it turns out!).
- Vanilla Extract: A touch of vanilla extract is added to enhance the overall flavor profile, lending a warm, sweet aroma that complements the other ingredients beautifully, especially when serving sweet crepes.
- Gluten-Free Flour: The type of gluten-free all-purpose flour you choose is vital for the texture of your crepes. I strongly recommend using a high-quality gluten-free all-purpose flour blend that primarily consists of lighter flours and starches. Look for blends containing rice flour, tapioca starch, corn starch, or potato starch. These lighter components contribute to a delicate, airy, and pliable crepe texture. Conversely, avoid blends that rely heavily on denser flours, such as garbanzo bean flour (chickpea flour), as these can result in a heavier, gummier, and less flexible crepe. For those who are not Celiac or gluten-intolerant, regular all-purpose wheat flour can be used, though the gluten-free blend is specifically formulated for dietary needs.
- Xanthan Gum: Xanthan gum is an indispensable ingredient in many gluten-free baking recipes, acting as a direct replacement for the elasticity and binding properties that gluten provides. It’s crucial for preventing your crepes from becoming crumbly or easily torn. If your chosen gluten-free flour blend explicitly states that it already contains xanthan gum (or guar gum), you can omit adding it separately. Otherwise, ensure you add the specified amount for optimal results.
- Berries & Other Toppings: While I adore topping these crepes with a vibrant mix of fresh berries—raspberries, strawberries, blackberries, or blueberries—the beauty of crepes lies in their adaptability. Feel free to use any fresh fruit that catches your eye, such as sliced bananas, kiwi, or peaches. For an extra touch of sweetness, consider drizzling maple syrup, honey, or agave nectar.
- Whipped Cream: To maintain the dairy-free integrity of the recipe, I opt for a dairy-free whipped cream. There are many excellent coconut, oat, or almond-based whipped creams available on the market that are wonderfully light and fluffy. Of course, if dairy is not a concern, traditional whipped cream is a classic choice.
- Powdered Sugar: A final, elegant touch to these dairy-free gluten-free crepes is a delicate dusting of powdered sugar, also known as confectioner’s sugar. This super-fine sugar dissolves beautifully, adding a subtle sweetness and visual appeal. For those monitoring sugar intake, powdered monk fruit sweetener is an excellent 1:1 substitute that offers the same fine texture and sweetness without raising blood sugar levels.
How to Make the Best Gluten-Free Dairy-Free Crepes: A Step-by-Step Guide
Making these perfect crepes is a straightforward process. Follow these simple steps for consistently delicious results every time.
1. Mix Wet Ingredients and Sugar
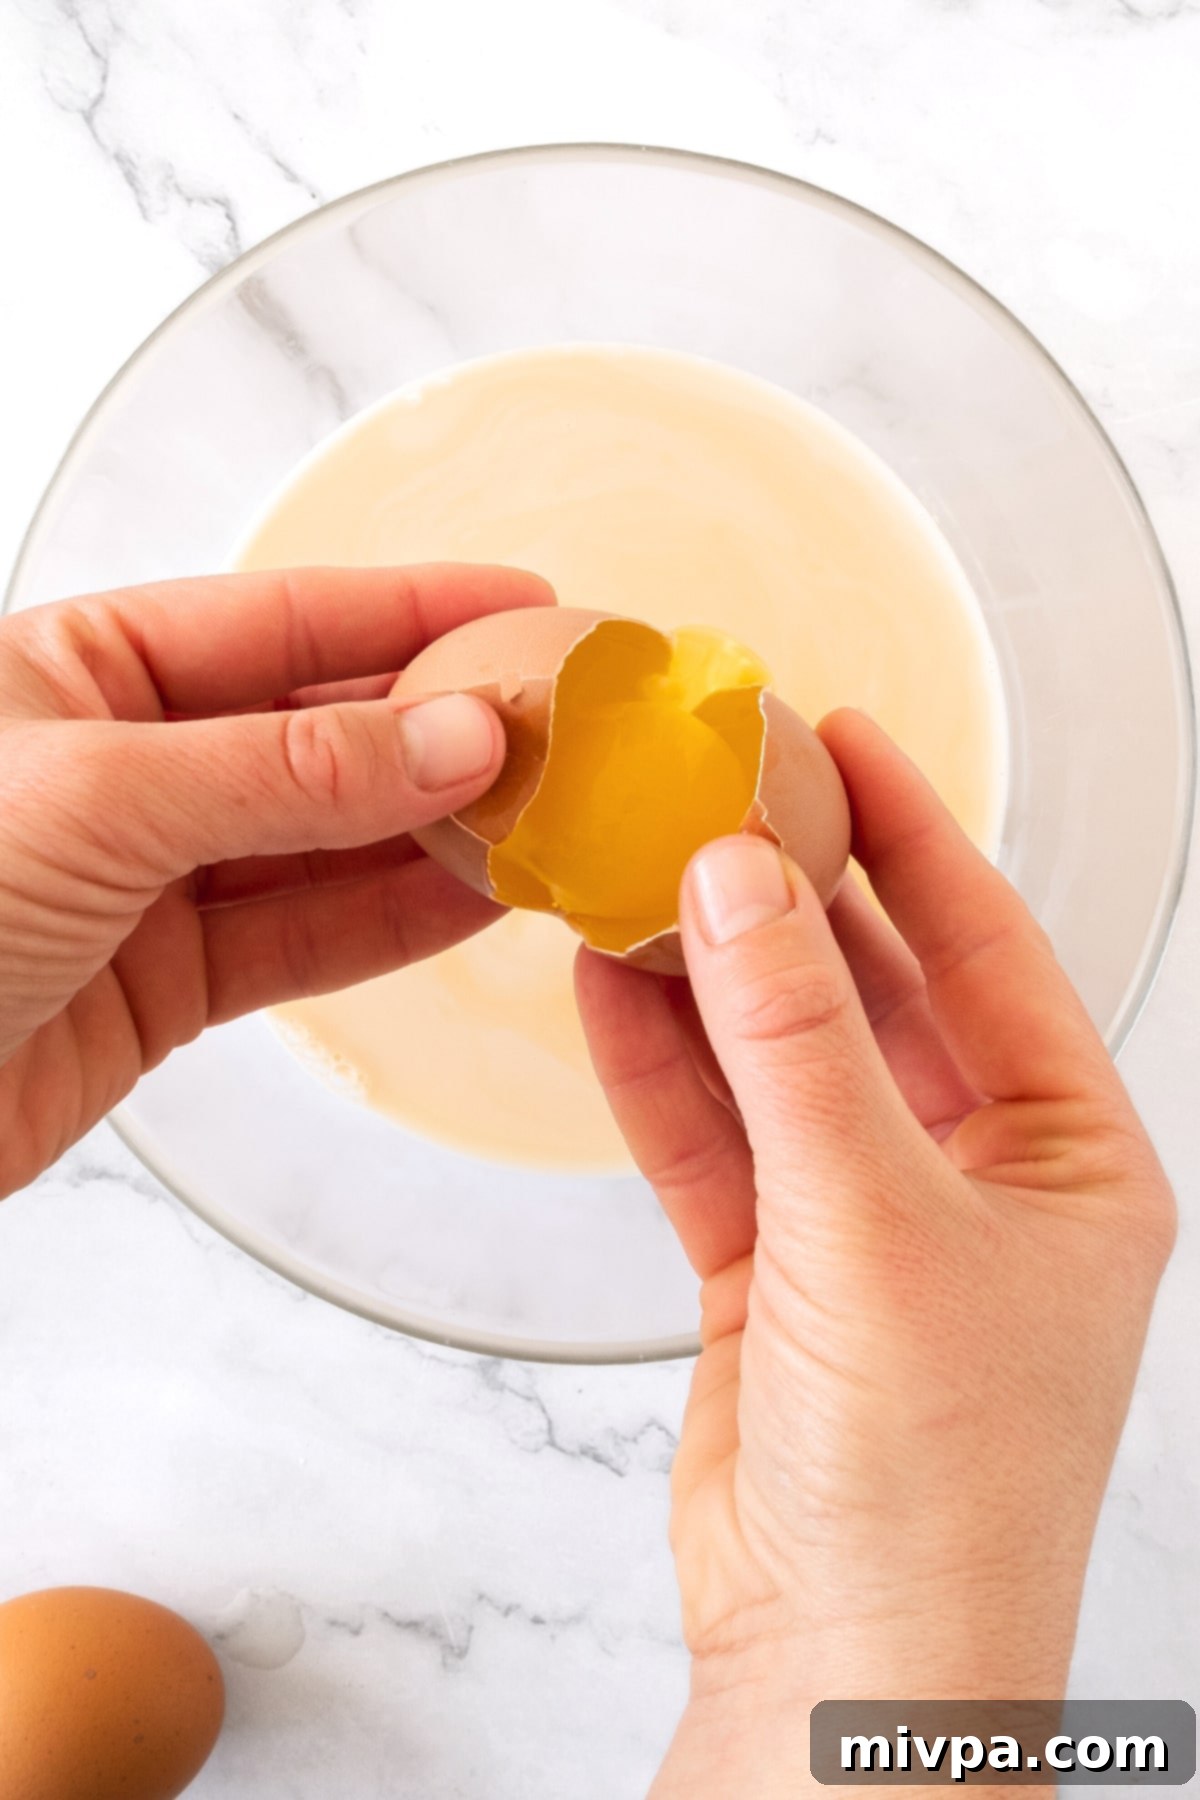
In a large mixing bowl, combine the unsweetened almond milk, your melted dairy-free butter, sugar, large eggs, and vanilla extract. Whisk these ingredients together until they are thoroughly combined and smooth. Ensure the butter is fully integrated and there are no streaks of egg yolk.
2. Combine Dry Ingredients
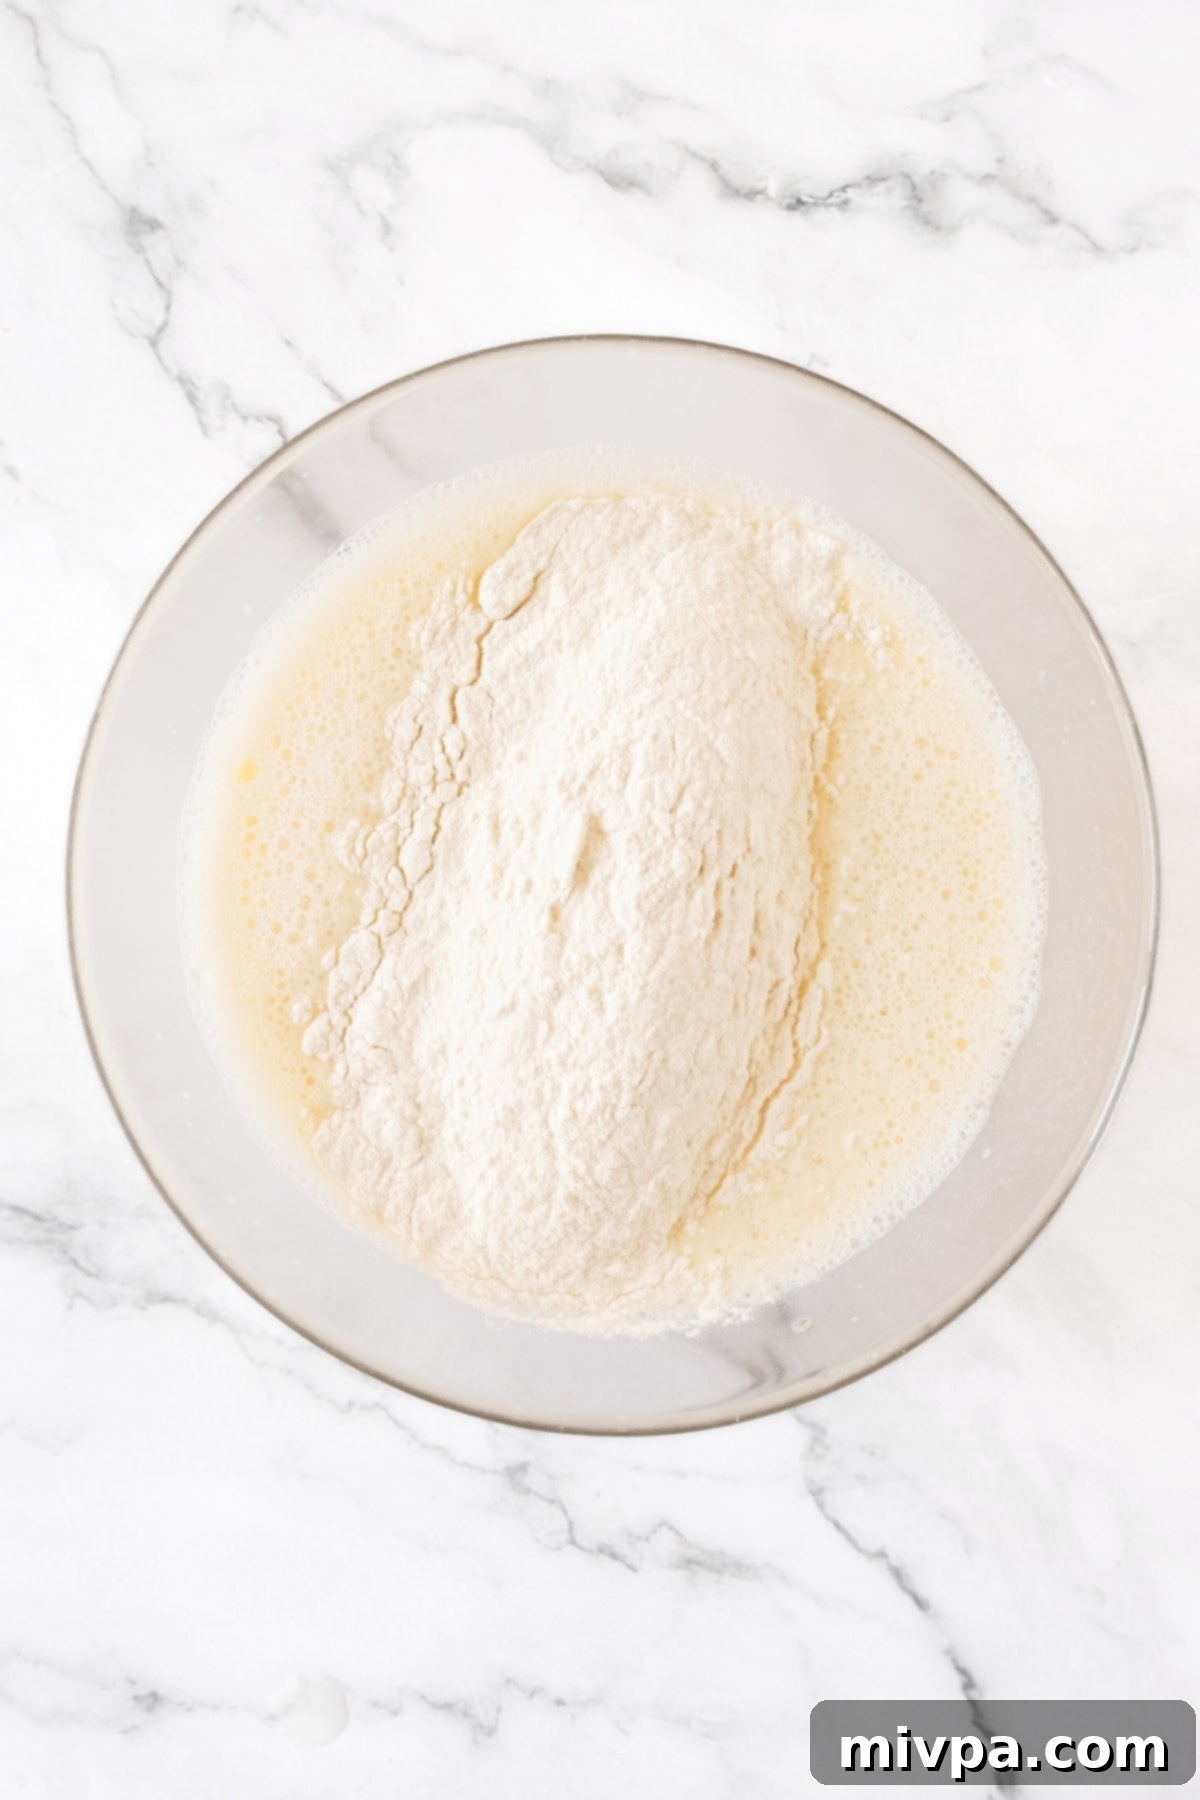
In a separate, medium-sized bowl, whisk together the gluten-free all-purpose flour, xanthan gum (if your flour blend doesn’t already contain it), and salt until all the dry ingredients are uniformly distributed. This ensures consistent texture and flavor throughout your crepes.
Now, gradually add this flour mixture to the large bowl containing your wet ingredients. Slowly incorporating the dry into the wet helps prevent lumps.
3. Whisk to a Smooth Batter
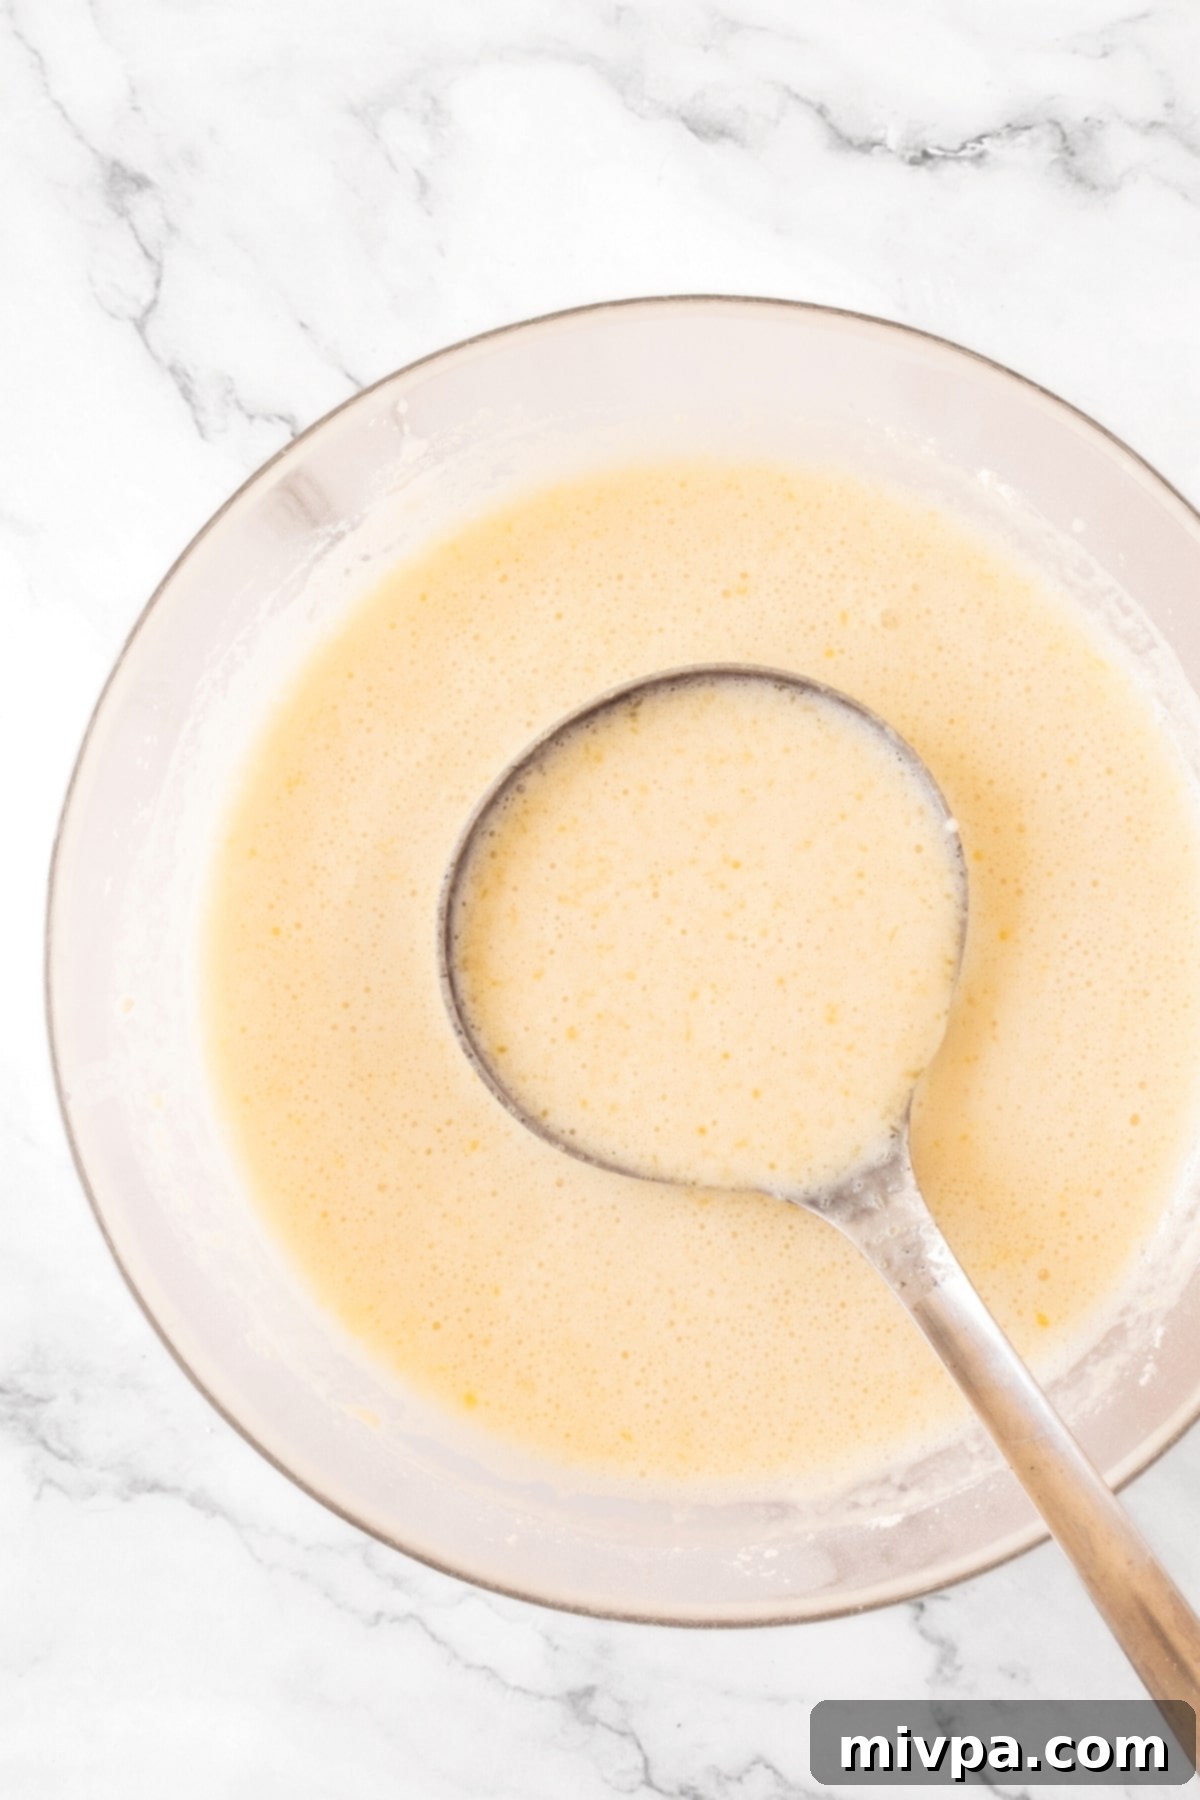
Once the dry ingredients are added, whisk the mixture thoroughly until you achieve a perfectly smooth batter, free from any lumps. The consistency should be quite thin, very similar to a runny pancake batter. This thinness is crucial for making delicate, paper-thin crepes. If the batter seems too thick, add a tablespoon or two of almond milk until the desired consistency is reached. We recommend letting the batter rest for 10-15 minutes at room temperature, which allows the gluten-free flours to fully hydrate, leading to an even better texture.
4. Heat Your Skillet and Prepare for Cooking
Place a large nonstick skillet or a specialized crepe pan over medium heat. It’s essential to allow the pan to heat sufficiently for even cooking. Once hot, lightly grease the surface with a small amount of melted butter or cooking spray. A well-greased, nonstick surface is key to preventing crepes from sticking.
5. Pour and Swirl the Batter for Thin Crepes
Using a ¼ cup measuring cup (or a small ladle), pour approximately ¼ cup of the gluten-free crepe batter directly into the center of the hot, greased pan. Immediately, pick up the skillet and gently swirl it in a circular motion. This action allows the batter to spread thinly and evenly across the entire surface of the pan, extending all the way to the edges. The goal is to create a crepe that is as thin as possible for that signature delicate texture.
6. Cook to Golden Perfection and Flip
Cook the crepe for approximately 1 minute on the first side. You’ll know it’s ready to flip when the edges begin to turn a light golden brown and easily lift away from the pan. Use a wide, thin spatula to carefully loosen the edges from the pan before gently sliding it underneath the crepe and flipping it over to cook the other side. Cook the second side for another 1 minute, or until it is also lightly browned. Once cooked, transfer the crepe to a plate and cover it with a clean kitchen towel to keep it warm and prevent it from drying out while you cook the remaining batter.
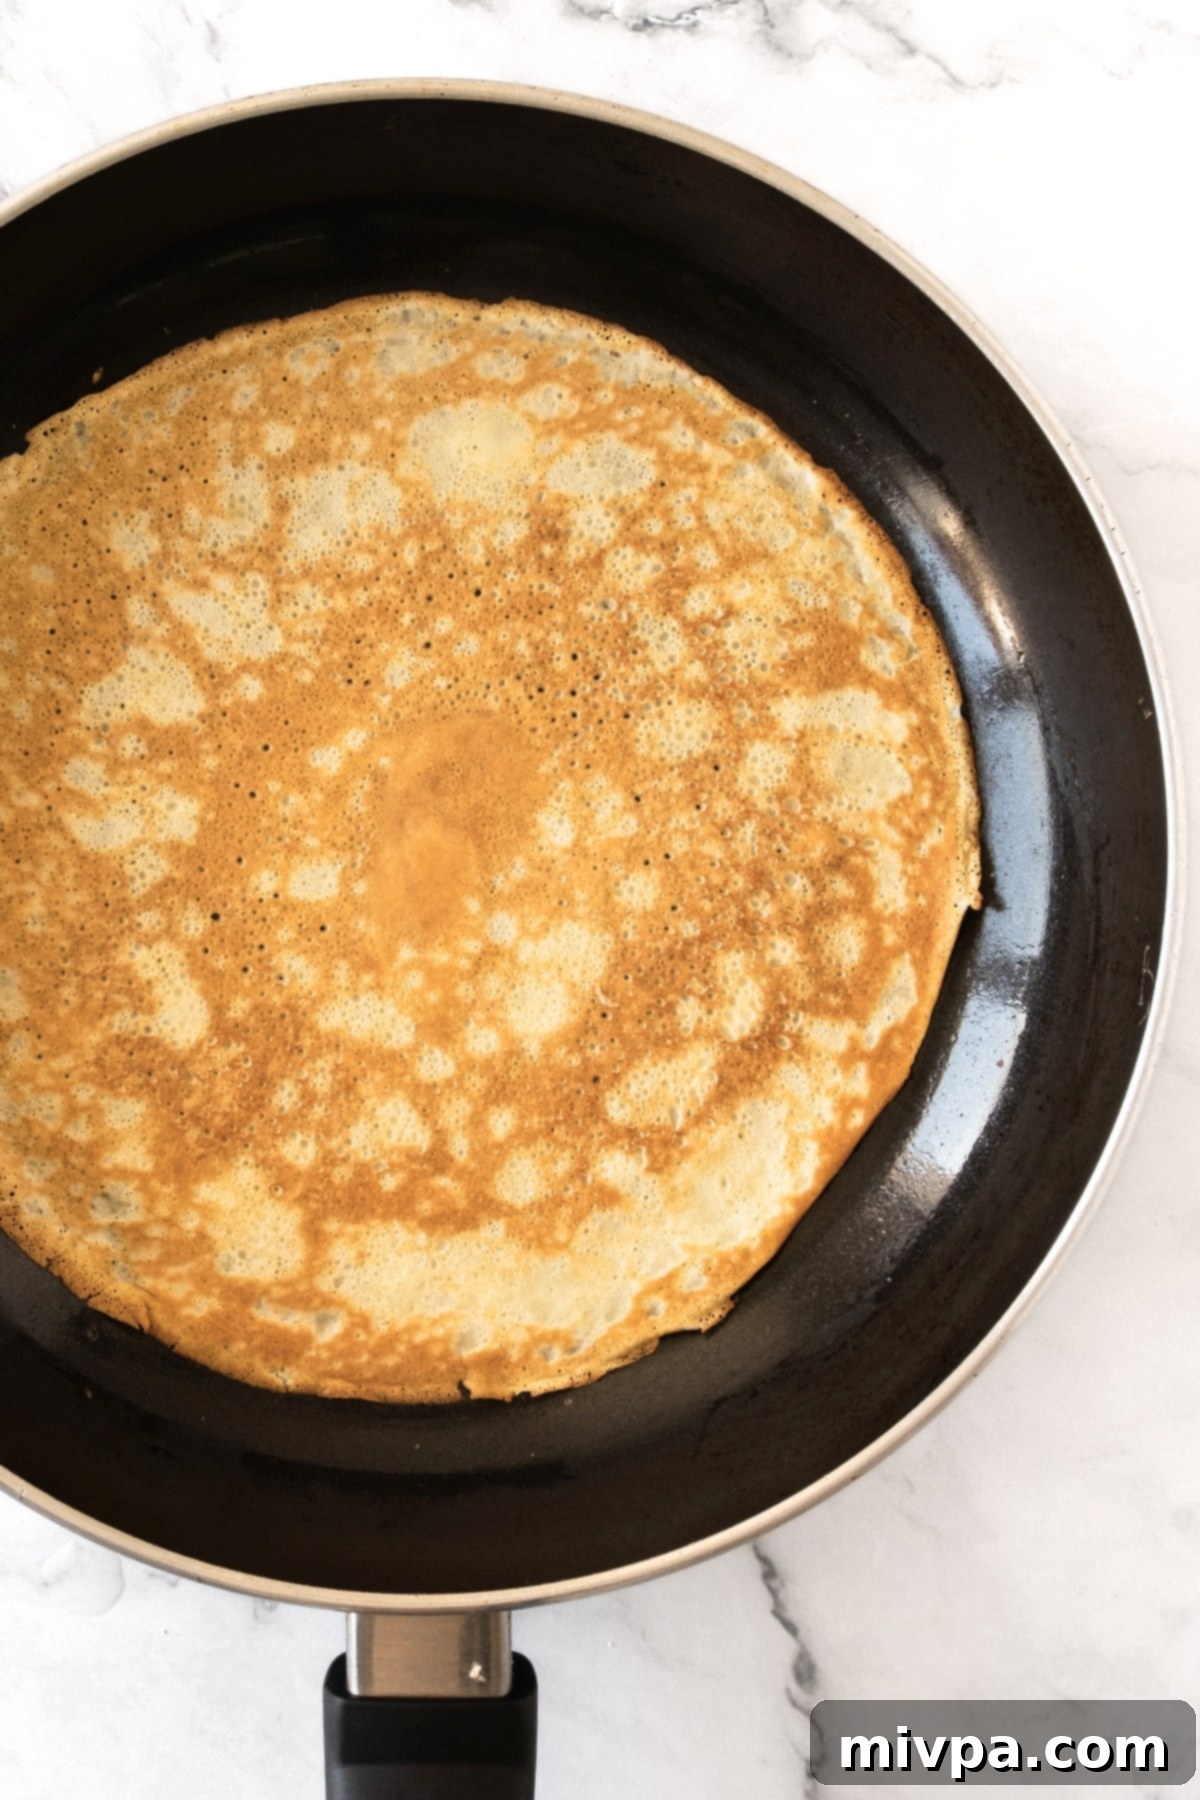
7. Repeat the Process for All Crepes
Continue this cooking process with the remaining crepe batter, greasing the pan lightly between each crepe as needed. Stack the cooked crepes on the plate, keeping them covered under the kitchen towel to retain warmth and moisture. This ensures that each crepe is as fresh and delicious as the first.
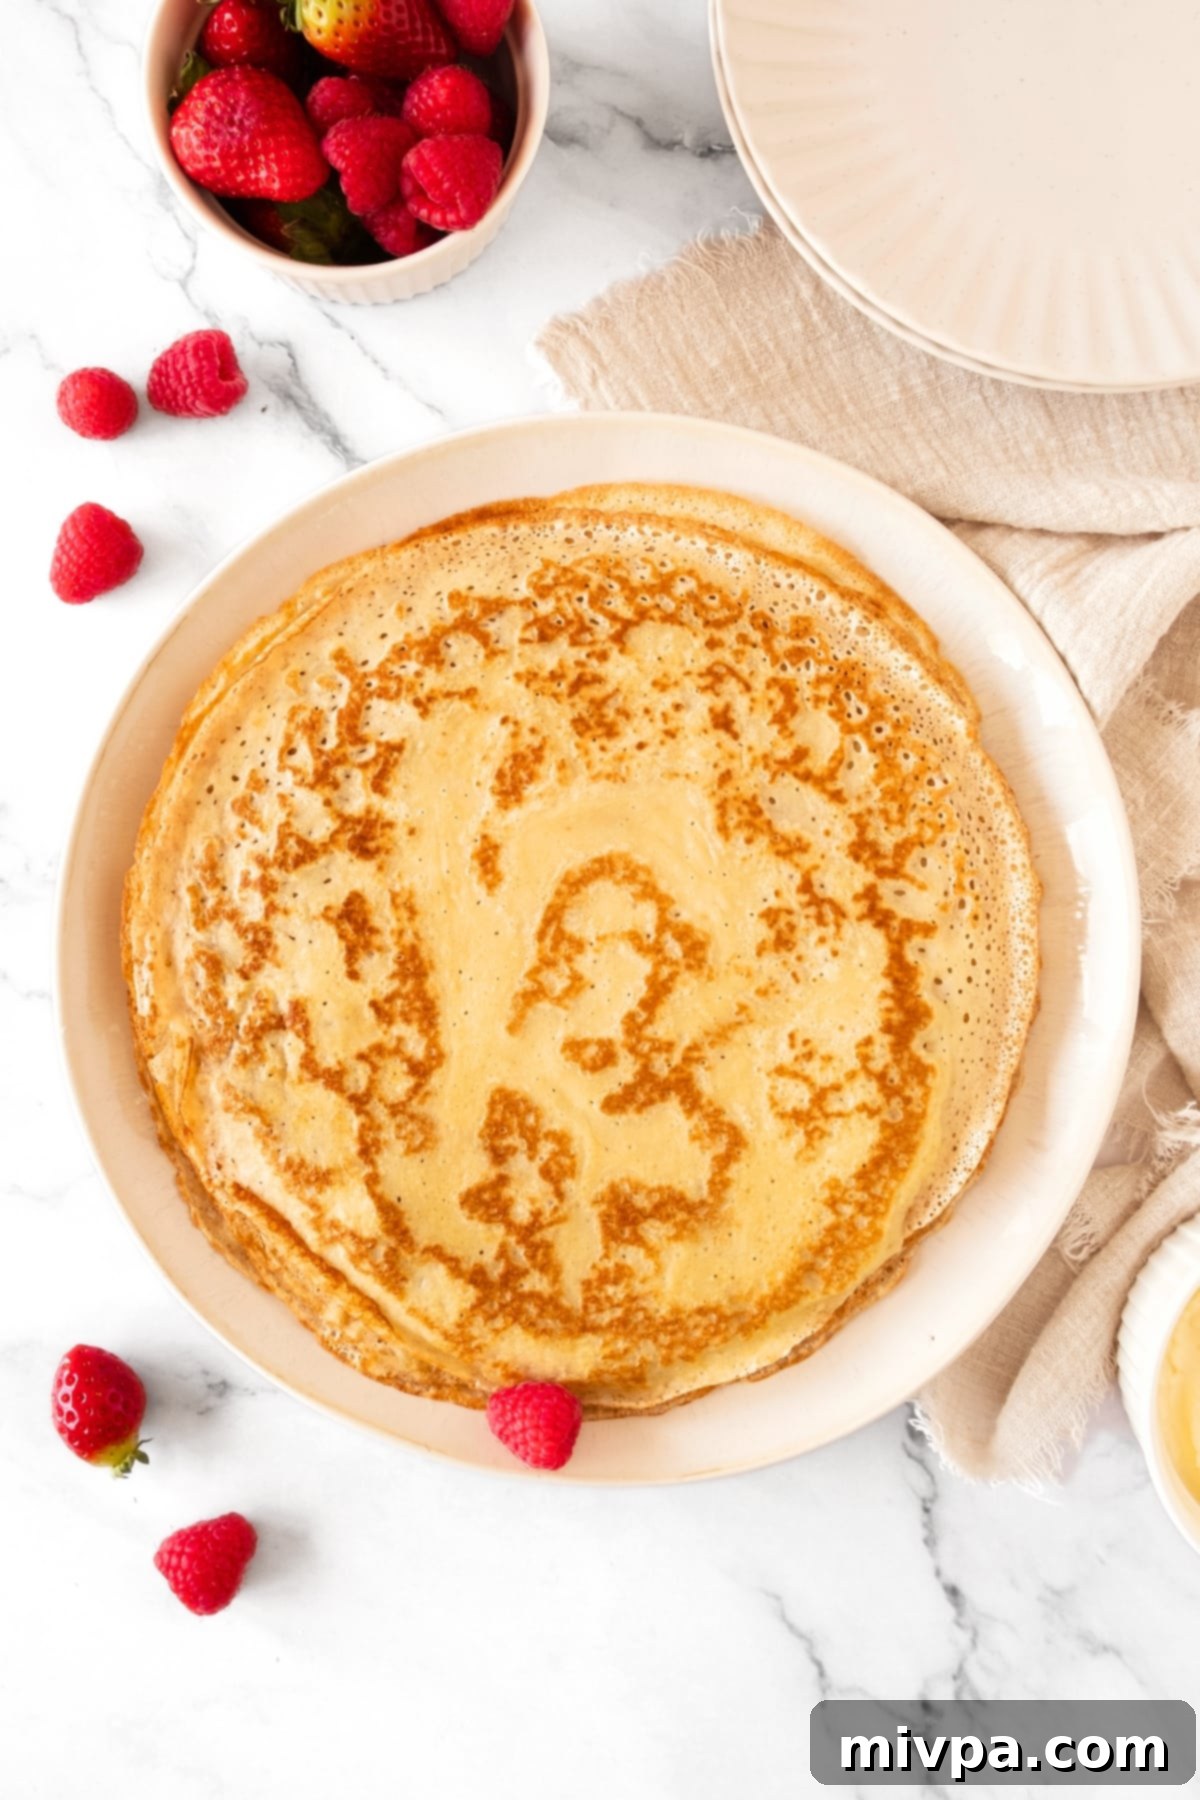
8. Serve Warm & Enjoy Your Delicious Crepes!
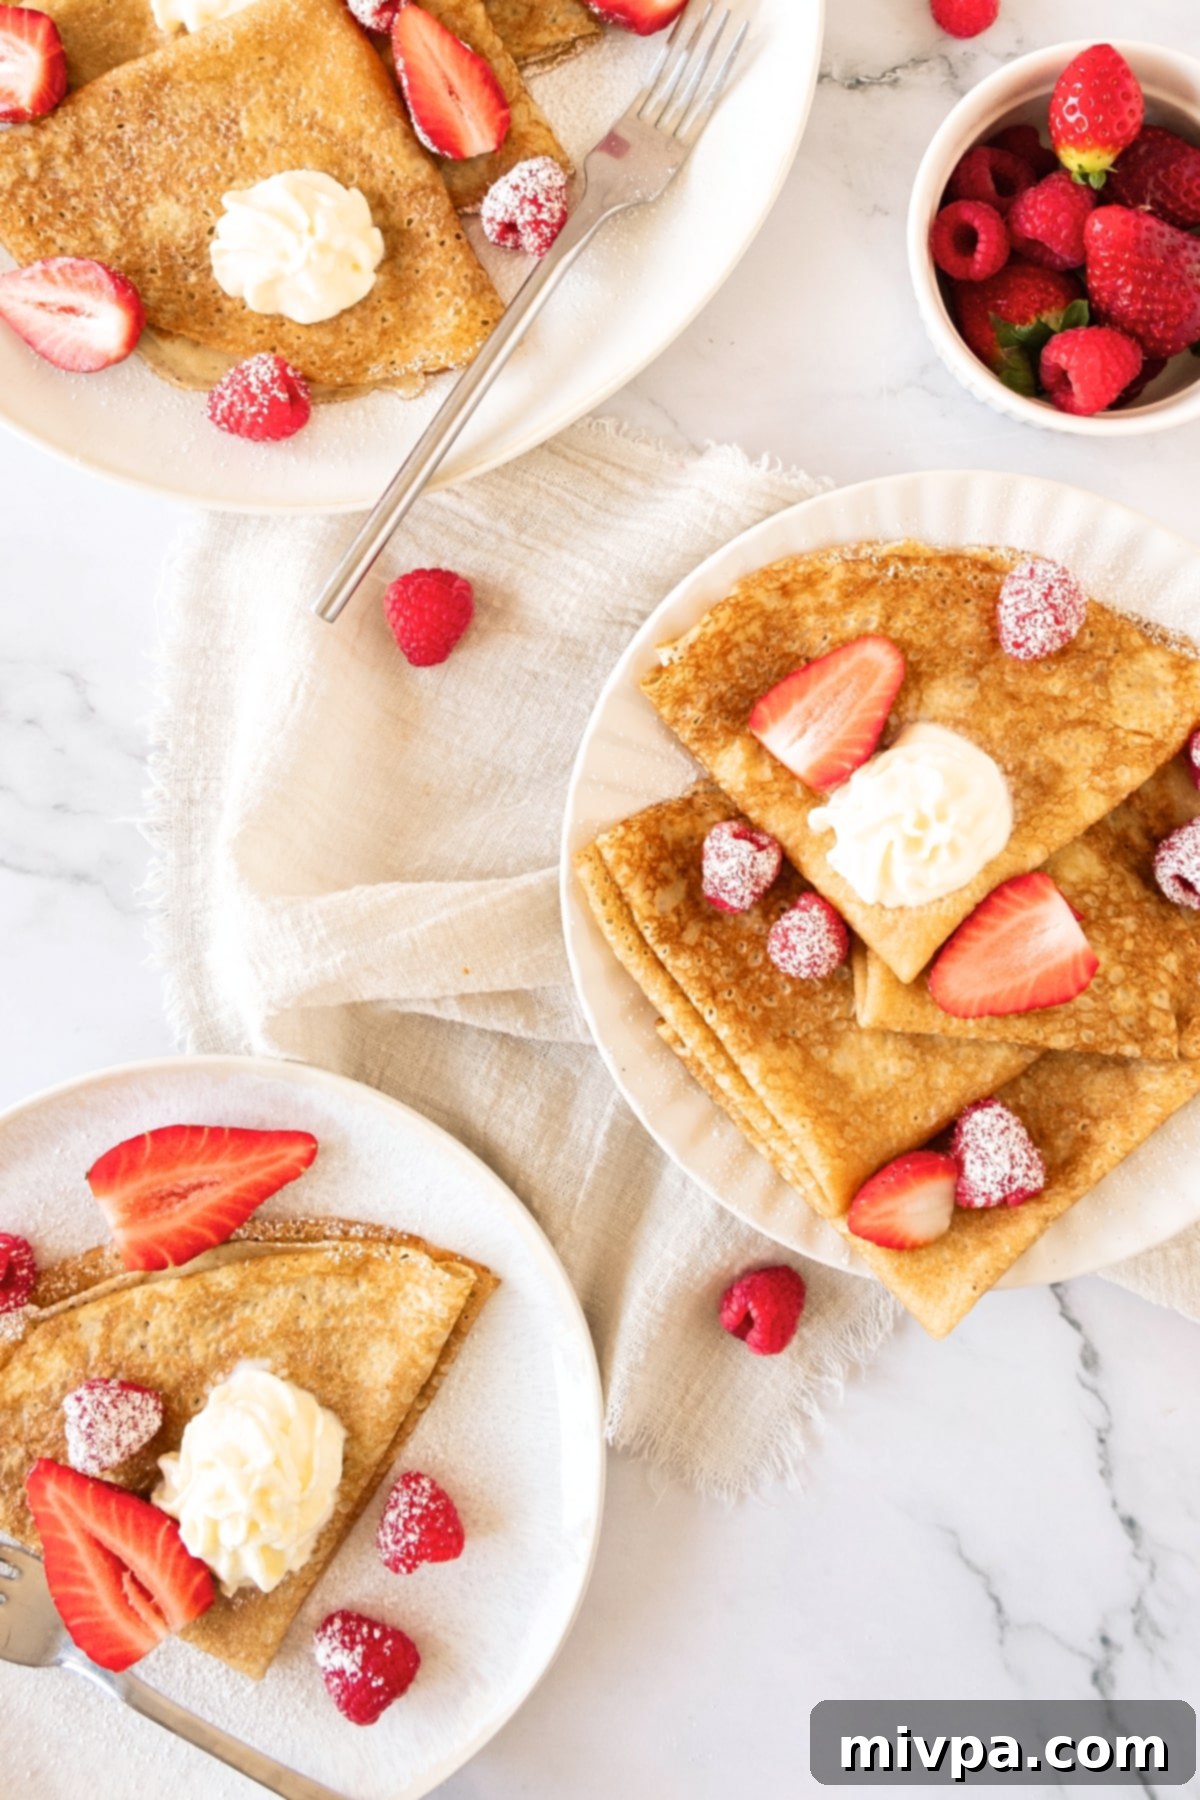
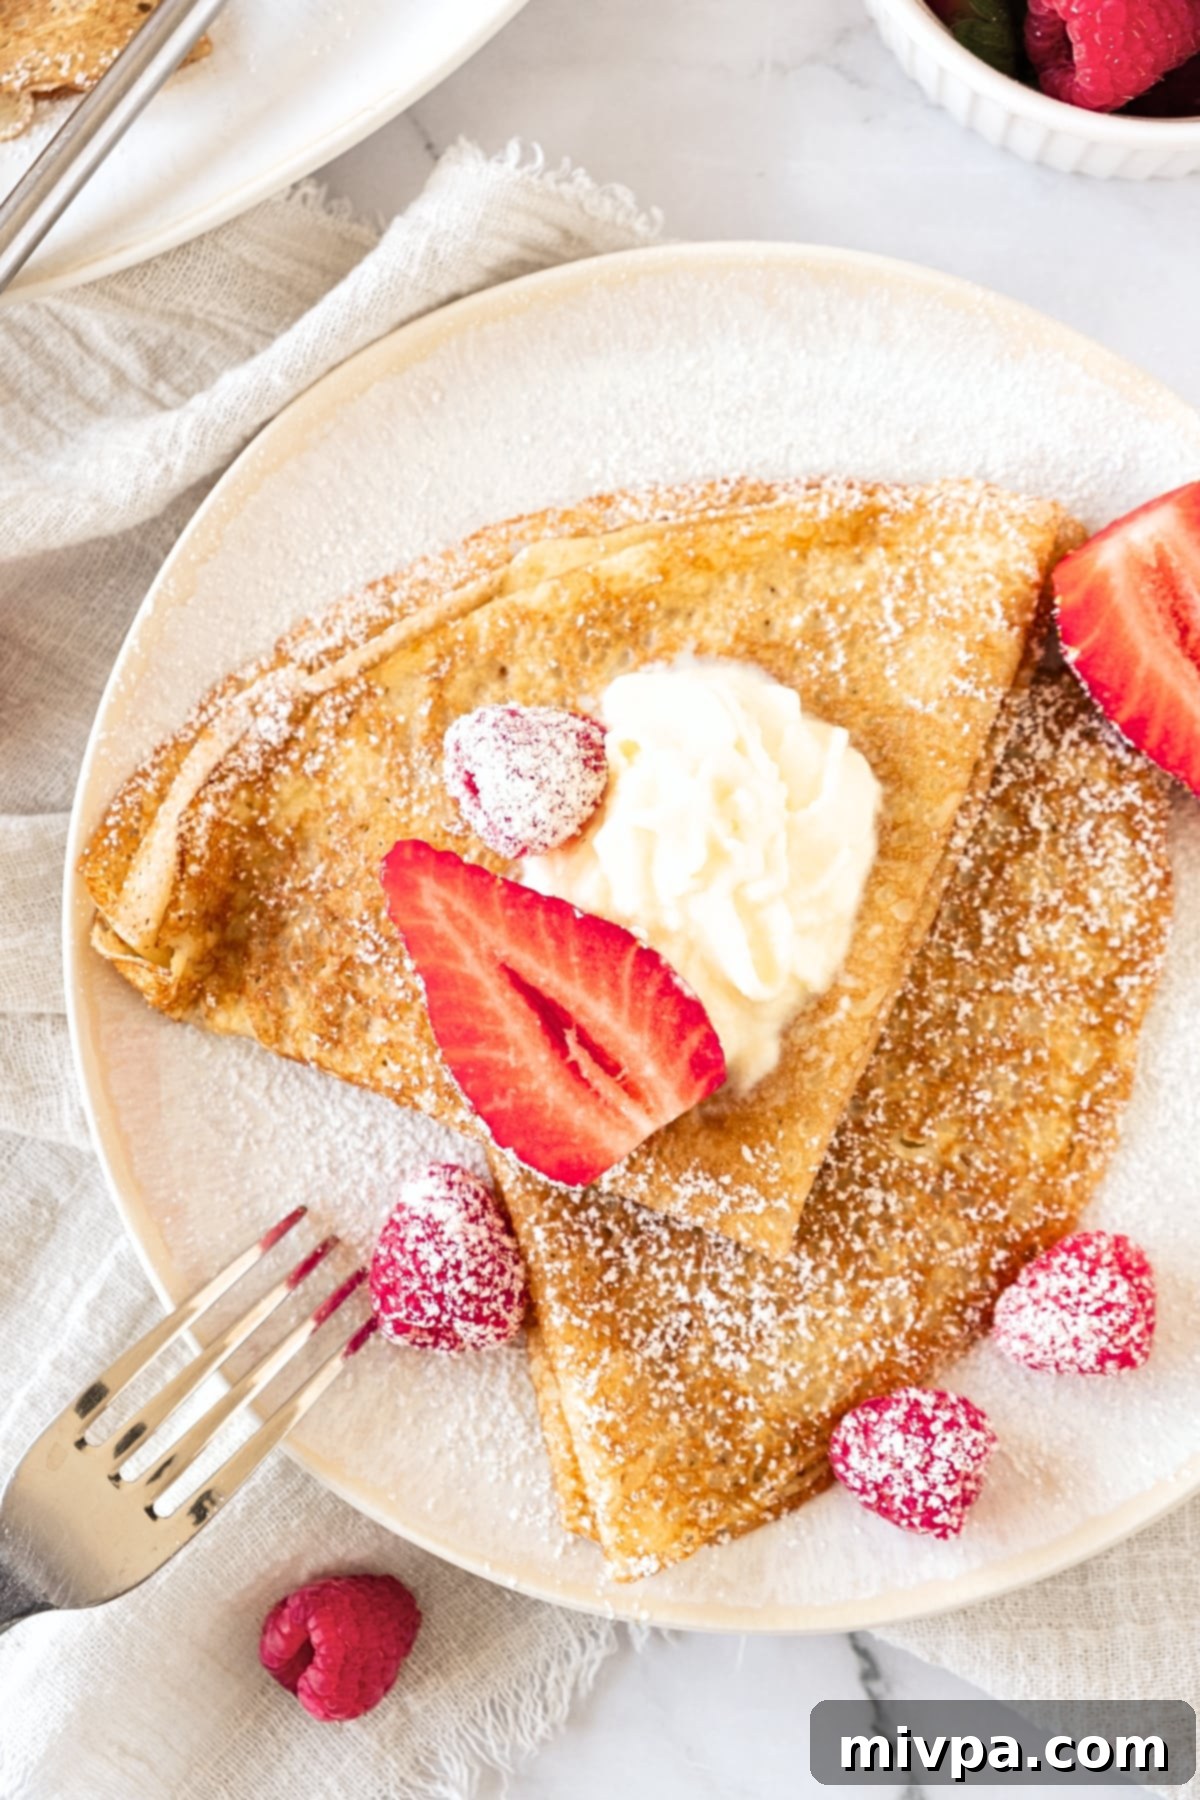
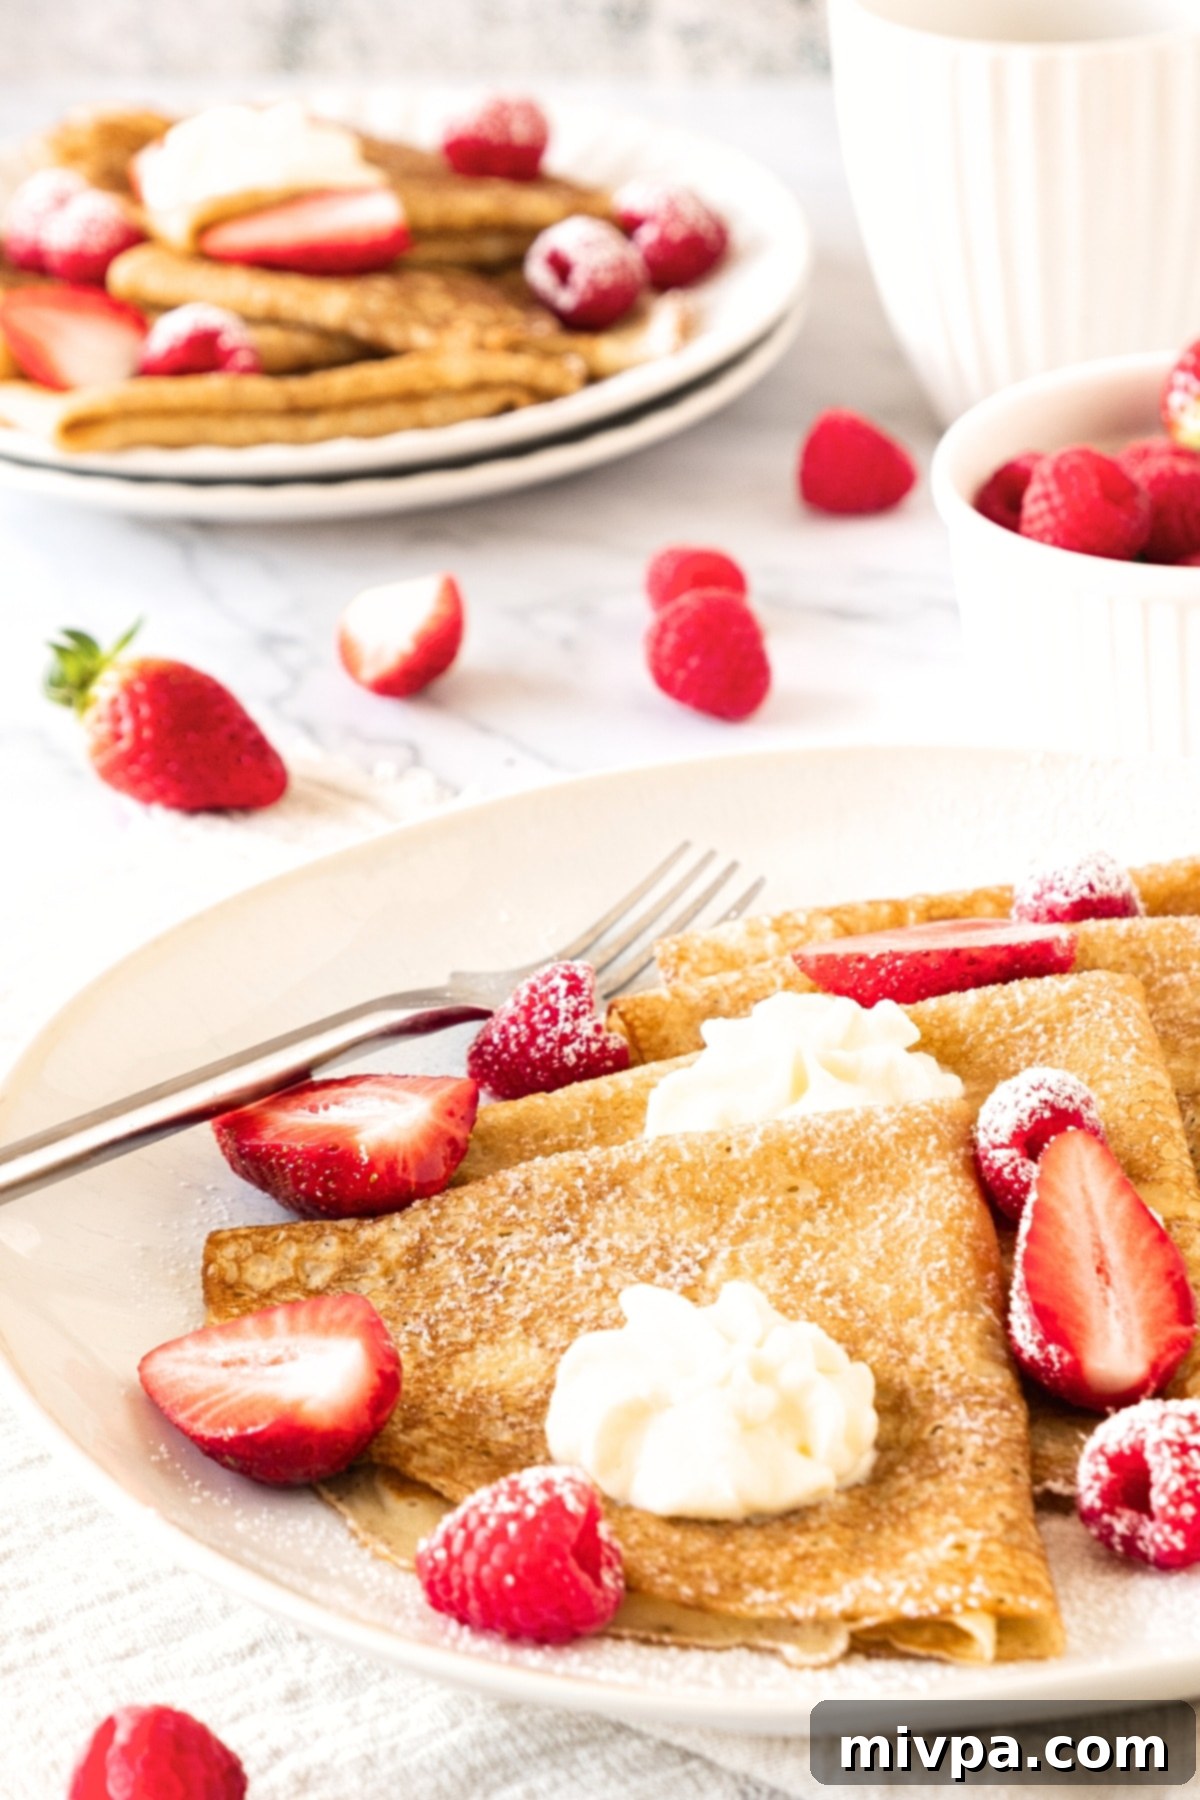
Once all your crepes are cooked, it’s time to serve them warm with your favorite toppings! For a classic sweet treat, I highly recommend garnishing your crepes with a generous dollop of dairy-free whipped cream, an abundance of fresh, colorful berries, and a delicate dusting of powdered sugar. You can either elegantly fold them into quarters or roll them tightly for a different presentation. Get creative with your fillings, whether sweet or savory, and savor every bite of these homemade gluten-free delights!
Expert Tips for Perfect Gluten-Free Crepes Every Time
- Ensure Your Crepes Don’t Stick: The secret to easily flipping crepes without them tearing is a well-seasoned large nonstick skillet or a specialized crepe pan. Crucially, make sure to grease the pan thoroughly with melted butter or cooking spray before adding each new batch of batter. This creates a non-stick barrier.
- Mastering the Gentle Flip: Crepes are delicate! To prevent breakage, use a wide, thin spatula. Gently loosen all the edges of the crepe from the pan first, then carefully slide the spatula underneath and flip it over in one swift, confident motion. Practice makes perfect!
- Achieving the Ideal Batter Consistency: The perfect crepe batter should be thin, like heavy cream, but not watery. If your batter seems too thick, add a tablespoon of almond milk at a time until you reach the desired consistency. If it’s too thin, you can add a tiny bit more gluten-free flour (a teaspoon at a time) and whisk well.
- Rest Your Batter for Best Results: For gluten-free flours, allowing the batter to rest for at least 10-15 minutes (or even up to 30 minutes) at room temperature is highly beneficial. This resting period gives the flours time to fully hydrate, resulting in a more pliable and less fragile crepe.
- Optimal Pan Temperature is Key: Cook your crepes over medium heat. If the pan isn’t hot enough, your crepes will be pale, rubbery, and may stick. If it’s too hot, they’ll burn quickly before cooking through. A consistent medium heat ensures beautiful golden-brown crepes.
- Savory Gluten-Free Crepes Variation: This recipe is designed for sweet crepes, but easily adapts to savory! Simply omit the sugar and vanilla extract, and add a pinch more salt to the batter. You can also incorporate savory seasonings like garlic powder, onion powder, or ground black pepper, along with fresh or dried herbs such as parsley, thyme, or rosemary. Then, fill them with your favorite savory combinations like cheese, ham, mushrooms, spinach, or chicken.
Frequently Asked Questions About Gluten-Free Crepes
To maintain their freshness and prevent them from drying out, it’s best to store cooked crepes in an airtight container in the refrigerator. They will keep well for up to 2 days. While they are still delicious, crepes tend to lose some moisture over time, so for the absolute best experience, I recommend enjoying them as soon as possible after preparation.
Absolutely! These homemade crepes freeze beautifully. To freeze, stack the cooled crepes with small pieces of parchment paper or plastic separators between each one to prevent sticking. Then, place the stack in a freezer bag or a freezer-safe container. They can be frozen for up to 2 months. When you’re ready to enjoy them, simply let the crepes thaw completely overnight in the refrigerator. You can then gently reheat them in a lightly greased skillet for a minute or two on each side until warm and pliable.
Yes, you can! Preparing the batter in advance can be a fantastic time-saver. Once you’ve mixed your batter until smooth, cover the bowl tightly with plastic wrap and refrigerate it for up to 24 hours. When you’re ready to cook, give the batter a good whisk again, as it may have thickened slightly, and proceed with the cooking instructions. This allows the flavors to meld and the flours to hydrate even more, sometimes leading to even better crepes!

More Delicious Gluten-Free Crepe Recipes to Explore:
- Millet Crepes (Gluten-Free, Dairy-Free)
- Buckwheat Crepes (Gluten-Free, Dairy-Free)
Gluten-Free Pancake Recipes You’ll Adore:
- Fluffy Gluten-Free Pancakes (Dairy-Free)
- Easy Banana Pancakes (Gluten-Free, Dairy-Free)
- Corn Flour Pancakes (Gluten-Free, Dairy-Free)
- Buttermilk Pancakes (Gluten-Free, Dairy-Free)
- Coconut Flour Pancakes (Gluten-Free, Dairy-Free)
- Sweet Potato Pancakes (Gluten-Free, Dairy-Free)
Irresistible Gluten-Free Desserts to Indulge In:
- Gluten-Free Pumpkin Banana Muffins (Dairy-Free)
- 126 Gluten-Free Desserts and Sweet Treats for Labor Day
- Mini Pumpkin Cheesecakes (Gluten-Free, Dairy-Free Option)
- Gluten-Free Pecan Pie Bars (Dairy-Free)
P.S. If you try this incredible gluten-free crepe recipe, I’d be absolutely delighted if you could leave a star rating below and/or share your thoughts in the comment section further down the page. Your feedback is invaluable and always appreciated. Be sure to explore my entire Recipe Index for a treasure trove of delicious recipes on the blog. You can also connect with me on Pinterest, Facebook or Instagram! Don’t forget to sign up for my Email List to receive fresh, delectable recipes directly in your inbox each week!
Print

Easy Gluten-Free Crepes (Dairy-Free)
5 Stars 4 Stars 3 Stars 2 Stars 1 Star
5 from 1 review
Author: Felicia Lim
Total Time: 29 minutes
Yield: 12 crepes
Diet: Gluten Free
Description
These gluten-free crepes come together easily, are light, thin and flexible. Perfect with whipped cream and fresh berries, you can either roll them or fold them (they don’t break easily)! Great for a fancy breakfast or weekend brunch, a sweet snack or a delicious dessert. Totally dairy-free too!
Ingredients
Scale
- 1 1/2 cup unsweetened almond milk
- 1/2 cup unsalted dairy-free butter, melted
- 2 tablespoons sugar
- 2 large eggs
- 1 1/2 teaspoons vanilla extract
- 1 cup gluten-free all-purpose flour
- 1/4 teaspoon xanthan gum (omit if gluten-free flour blend already includes it)
- 1/4 teaspoon salt
For the Filling/Toppings (optional):
- Fresh berries
- Dairy-free whipped cream
- Powdered sugar
Instructions
- Mix Wet Ingredients and Sugar: In a large mixing bowl, combine the almond milk, melted dairy-free butter, sugar, eggs and vanilla extract. Whisk thoroughly until smooth.
- Add Dry Ingredients: In a medium bowl, whisk the gluten-free all-purpose flour, xanthan gum (if using), and salt until combined. Add the flour mixture to the bowl with the wet ingredients and whisk until you get a smooth batter without any lumps. Allow the batter to rest for 10-15 minutes to hydrate the flours.
- Heat Skillet: Heat up a large nonstick skillet or crepe pan over medium heat and lightly grease with butter or cooking spray.
- Pour Batter into Skillet: Pour ¼ cup of the gluten-free crepe batter in the middle of the greased skillet. Immediately swirl the skillet in a circular motion to gently spread the batter out into a larger, thin, even circle, coating the surface of the skillet all the way to the edges.
- Cook Batter: Cook crepe for approximately 1 minute on the first side, until the edges turn golden brown and lift easily from the pan. Use a spatula to gently loosen the edges, then flip the crepe to the other side. Cook for another 1 minute until lightly browned. Once cooked, transfer the crepe to a plate and cover with a clean kitchen towel to keep warm.
- Repeat: Repeat the process with the remaining crepe batter, lightly greasing the pan between each crepe.
- Serve: Serve the gluten-free crepes warm with your chosen toppings, such as dairy-free whipped cream, fresh berries, and a dusting of powdered sugar. You can either fold them into quarters or roll them.
Notes
Milk: I like using an unsweetened version of my homemade almond milk. You can also use another non-dairy milk (such as cashew milk, rice milk, oat milk, tigernut milk etc) if you prefer. Alternatively, if you are not lactose-intolerant, go ahead and use regular milk instead.
Butter: I used unsalted dairy-free butter to keep this recipe dairy-free. However, if you are not lactose-intolerant, go ahead and use regular unsalted butter instead.
Sugar: I used white sugar, but cane sugar, light brown sugar, dark brown sugar or coconut sugar will work just as well. (Just note that the darker the sugar used, the darker the crepe batter and the darker the final color of the crepes.) If you are diabetic or insulin-resistant, I highly recommend using granulated monkfruit sweetener (a 1:1 sugar substitute that is zero glycemic index and will not raise your blood sugar).
Eggs: Eggs help to bind the ingredients together, so make sure you include them in. I have not tried making this recipe without eggs, but if you are allergic to eggs, or would simply prefer to keep this recipe egg-free, you can try using acquafaba or an egg-replacer instead. (If you do make this gf crepe recipe without eggs, please let me know how it goes in the comments below, I’d love to know!).
Vanilla Extract: I like adding a bit of vanilla extract to add extra flavor.
Gluten-Free Flour: I recommend using a good-quality gluten-free all-purpose flour that is made up of lighter flours/starches (such as rice flour, tapioca starch, corn starch or potato starch) to ensure a lighter final texture. I do not recommend using a gluten-free flour blend that is made up of heavier flours (such as garbanzo bean flour) as that will result in a denser crepe.
Xanthan Gum: Xanthan gum is the replacement for gluten in gluten-free flours, and helps the ingredients to bind better together. If your gluten-free flour blend does not already include xanthan gum, make sure to add it in.
Berries: I like topping these gluten-free crepes with fresh berries such as raspberries, strawberries, blackberries or blueberries, but honestly you can use any fresh fruit of your choice!
Whipped Cream: I used a dairy-free whipped cream to keep this recipe dairy-free. However, if you are not lactose-intolerant, go ahead and use regular whipped cream instead.
Powdered Sugar: I like to finish off these dairy-free gluten-free crepes with a very light dusting of powdered sugar. Powdered sugar (also known as confectioner’s sugar) is basically sugar that has been processed until it has a super fine powder-like texture. If you are diabetic or insulin-resistant, I highly recommend using powdered monkfruit sweetener (a 1:1 powdered sugar substitute that is zero glycemic index and will not raise your blood sugar).
Storing/Freezing: To store, place the crepes in an airtight container and store for up to 2 days in the refrigerator. The crepes will dry up over time, so I recommend eating them as soon as you make them. To freeze, separate the crepes with plastic separators before placing them in a freezer bag or freezer-safe container and freezing for up to 2 months. Let the crepes thaw completely overnight in the refrigerator before heating up light in the skillet and enjoying!
- Prep Time: 5 mins
- Cook Time: 24 mins
- Category: Desserts
- Method: Stovetop
- Cuisine: French
