Effortlessly Soft & Fluffy Buckwheat Bread: Your Go-To Gluten-Free & Dairy-Free Recipe
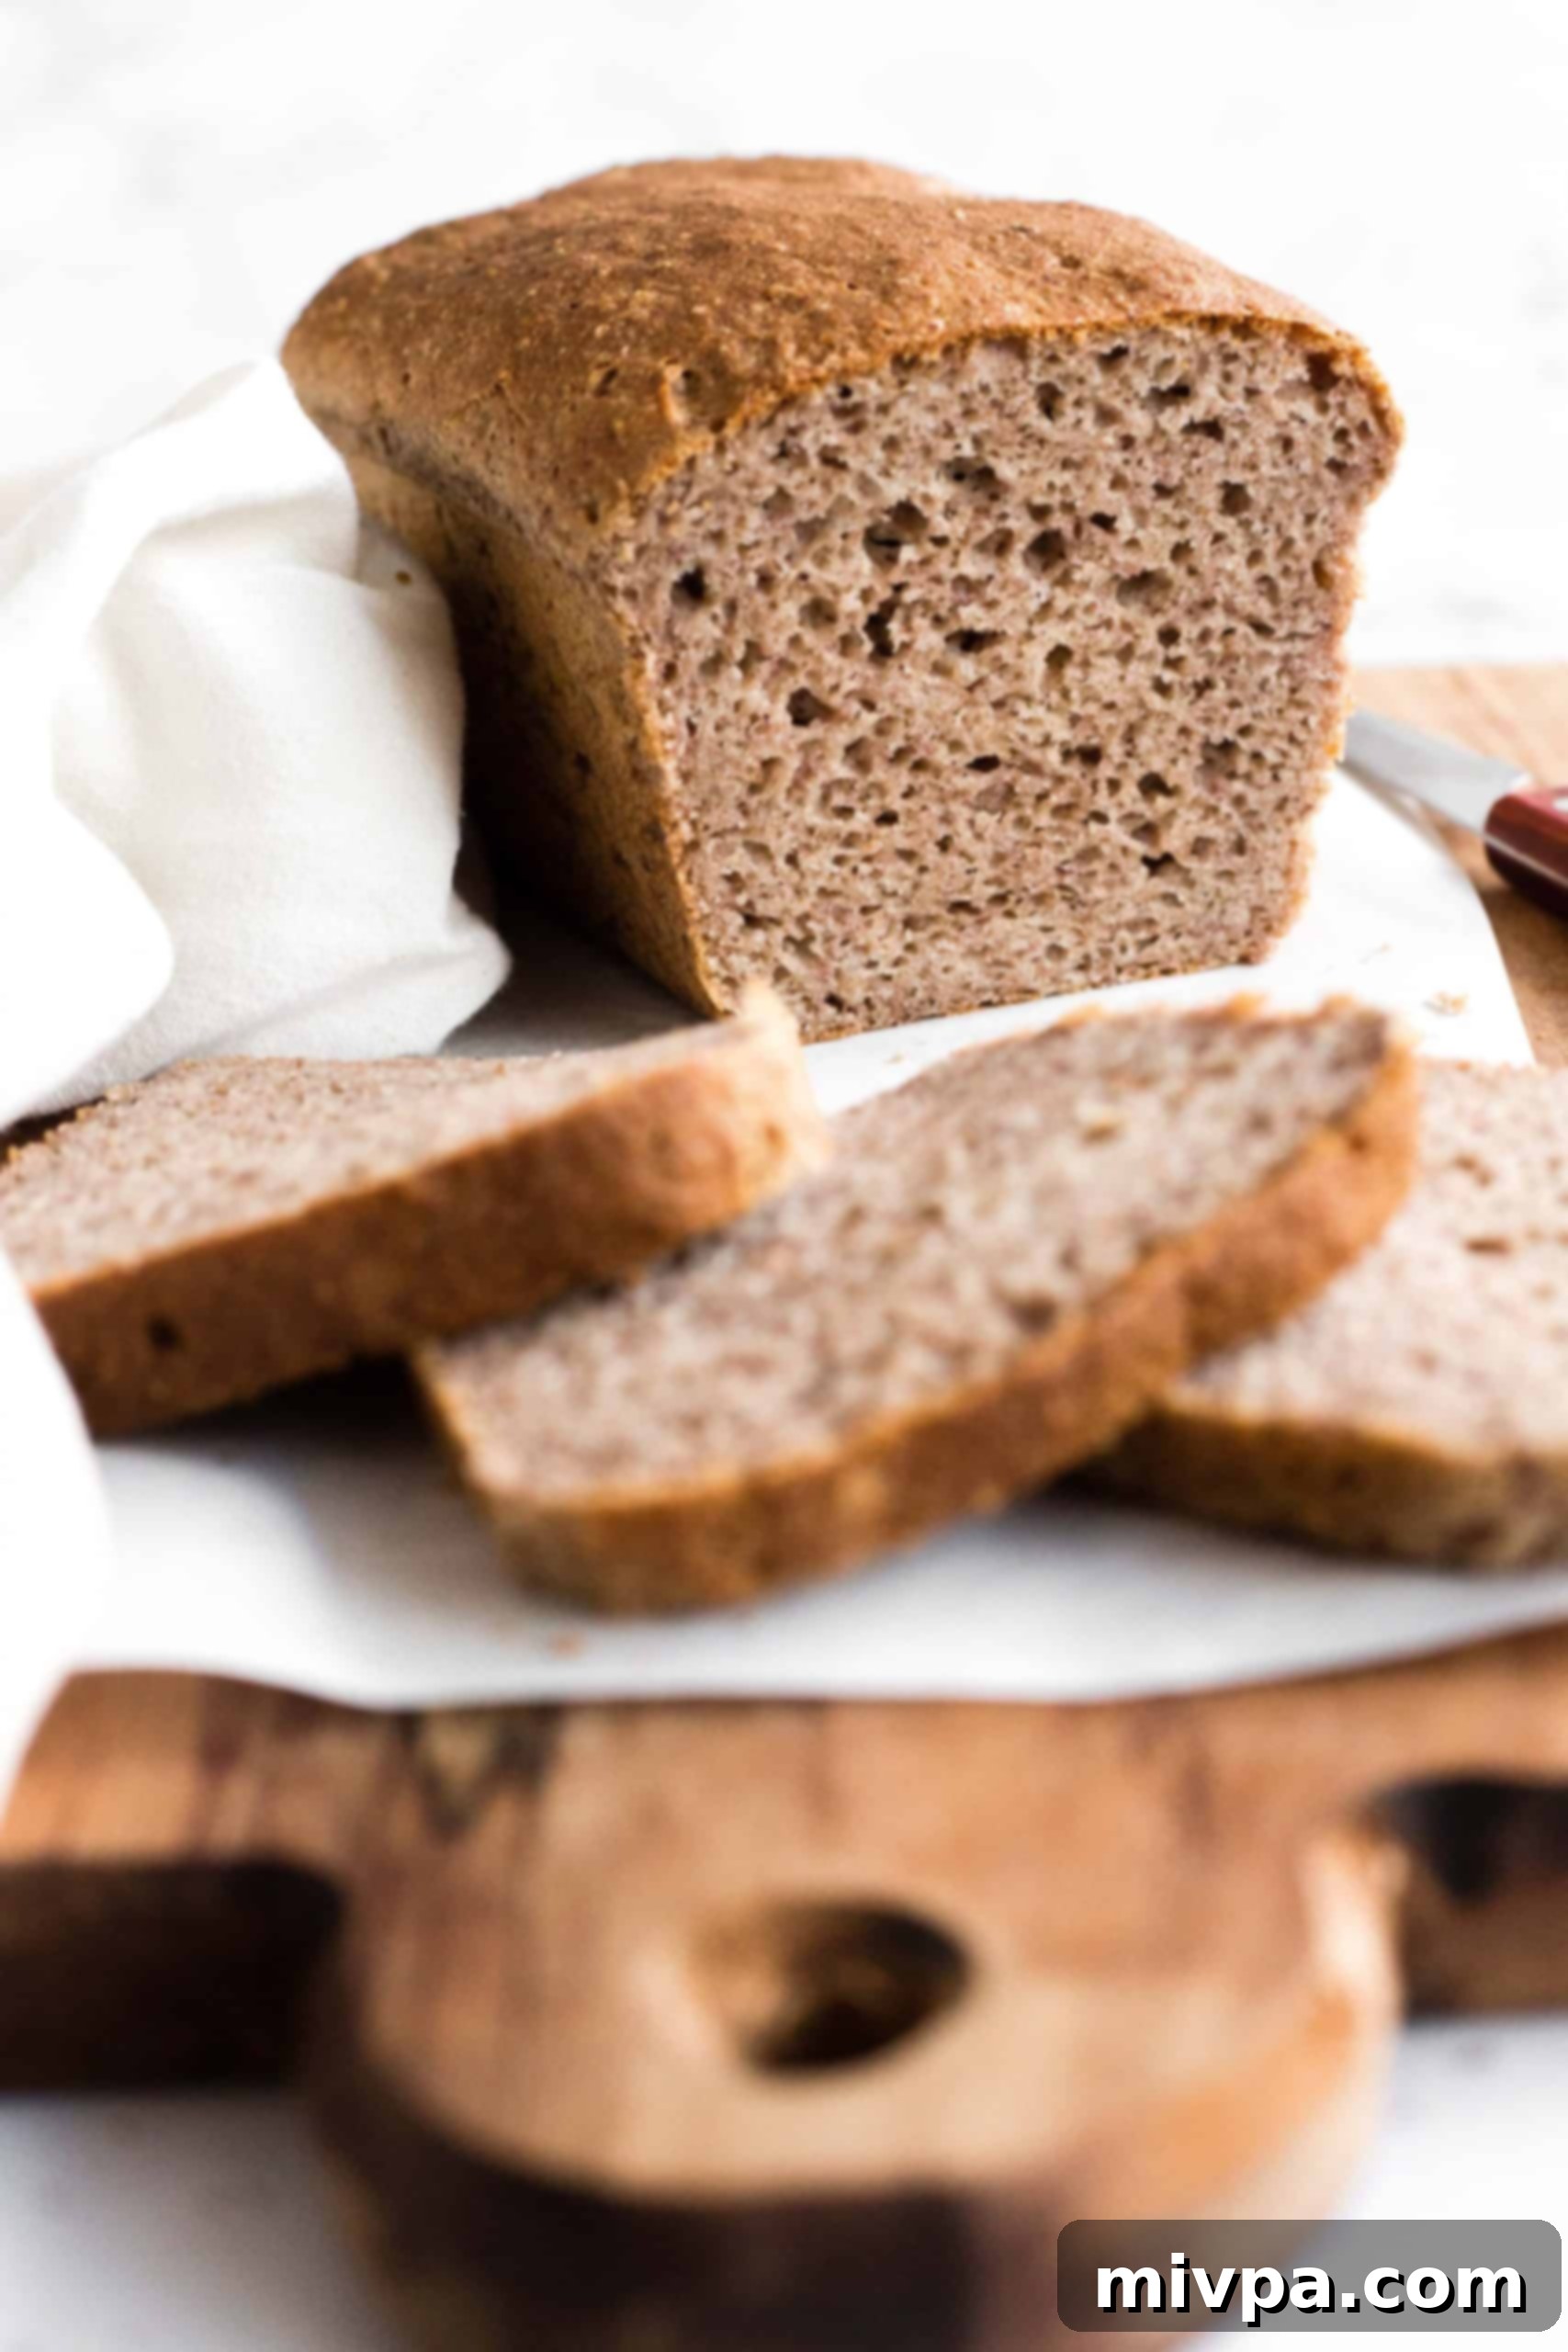
Imagine a bread that’s so incredibly soft, light, and tender, it could easily pass for traditional whole wheat bread, yet is entirely gluten-free and dairy-free. This super easy buckwheat bread recipe delivers just that – a delightful loaf with a perfect crumb and delicious flavor that will surprise even the most discerning bread lovers. Whether you enjoy it as a base for creamy avocado toast, slathered with your favorite jam, or drizzled with golden honey, this gluten-free brown bread is destined to become a staple in your kitchen.
The Unmatched Joy of Baking Homemade Bread
There’s something uniquely satisfying about baking bread from scratch. Of all the culinary delights one can create in the kitchen, homemade bread holds a special place in my heart. The magic of combining simple ingredients to produce a warm, fragrant loaf is an experience that truly nourishes the soul. It doesn’t matter if it’s a quick bread that comes together in minutes or a yeasted bread requiring a bit more patience; the outcome is always rewarding. And whether shaped freeform into an artisan loaf or baked in a classic loaf pan, the result is pure comfort.
It seems many of you share this deep appreciation for homemade, especially gluten-free bread recipes. From your wonderful feedback, I know how much you enjoy quick breads leavened with baking powder, such as my popular easy honey oat bread, the wholesome low-carb almond flour bread, and the nourishing coconut flaxseed bread. Beyond that, the enthusiasm for yeast-leavened delights like our beloved soft and fluffy gluten-free bread, tender dinner rolls, and aromatic rosemary focaccia bread confirms that the love for delicious bread knows no bounds.
For me, the process of baking yeast breads, in particular, has become a cherished form of therapy. There’s an undeniable thrill in combining the ingredients, watching the dough transform and miraculously double in size, and then anticipating its golden transformation in the oven. The moment I open the oven door and am greeted by the comforting warmth and intoxicating aroma of freshly baked bread is nothing short of bread heaven. It’s a sensory experience that brings immense joy and a profound sense of accomplishment.
Discovering the Magic of Buckwheat Flour in Baking
If you’re new to the world of buckwheat, you might be surprised to learn that despite its name, it’s not actually a type of wheat. Buckwheat is a highly nutritious grain-like seed, botanically classified as a pseudocereal, making it naturally 100% gluten-free. This ancient “grain” has been cultivated for centuries and is prized for its earthy flavor, robust nutritional profile, and versatility in both savory and sweet dishes. Rich in fiber, protein, and essential minerals like magnesium and manganese, buckwheat offers a healthier alternative to many traditional flours, making it an excellent choice for gluten-free baking.
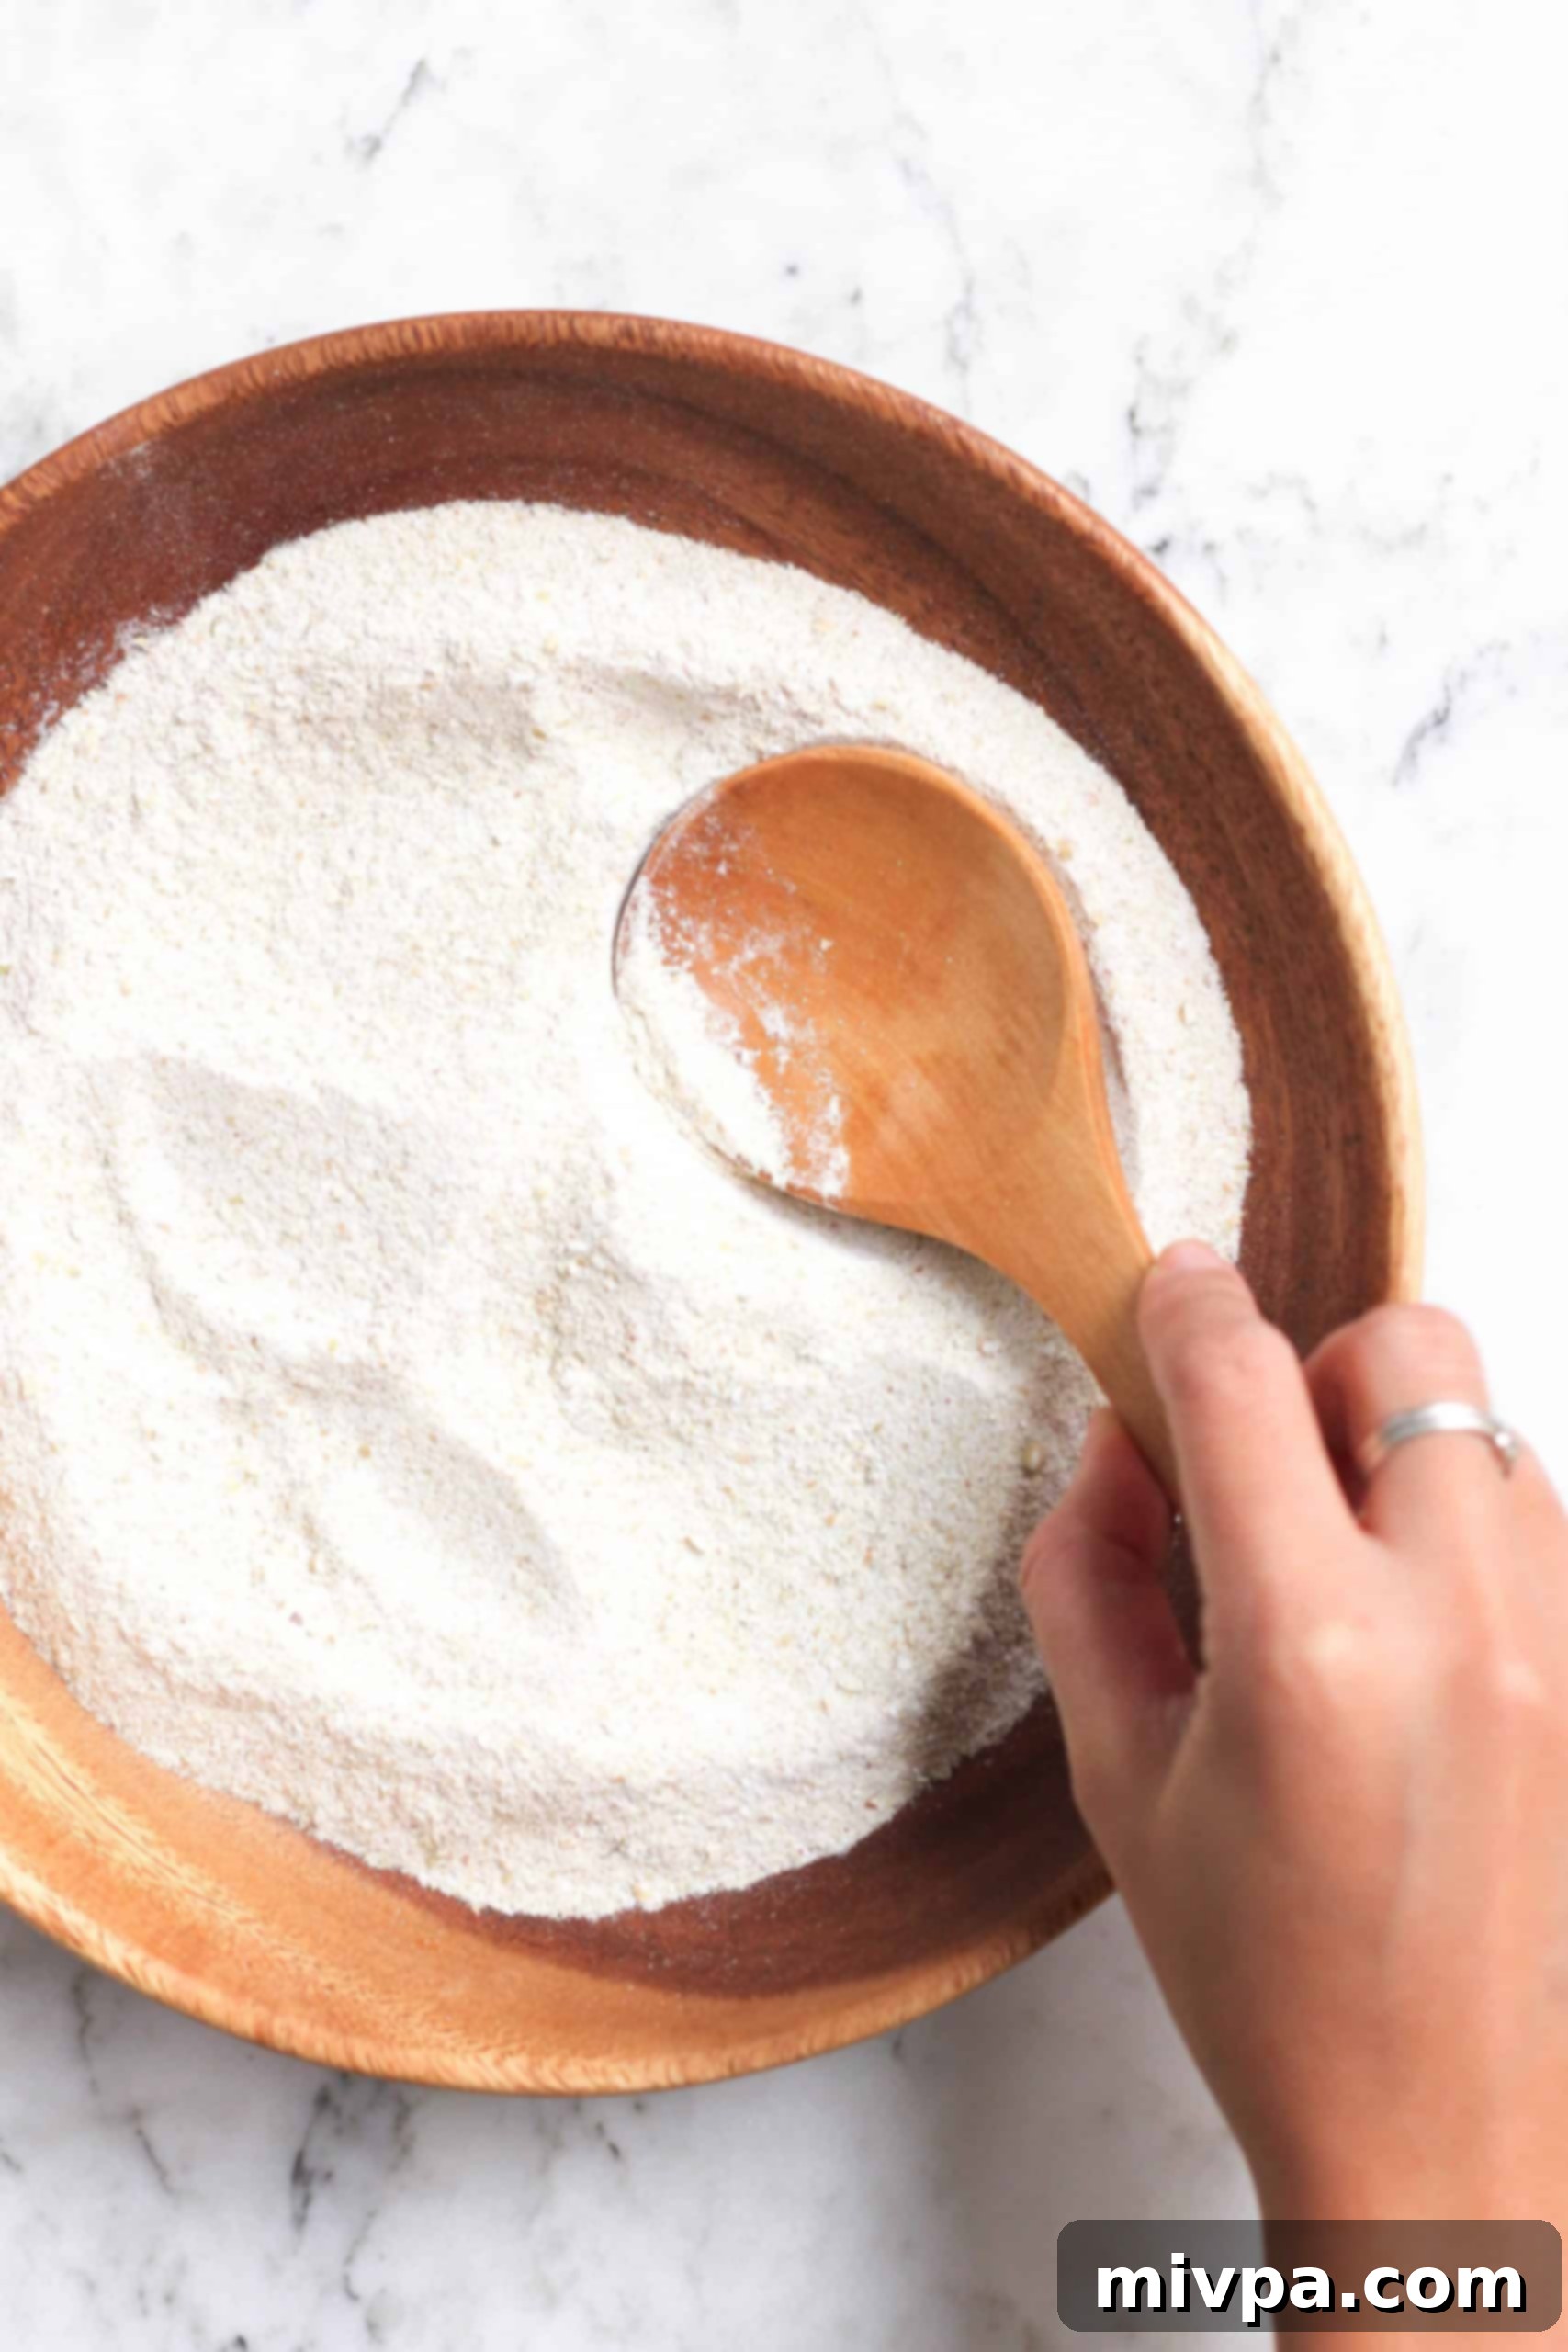
I’ve recently found myself experimenting extensively with buckwheat flour, and one of the most exciting discoveries is how simple and cost-effective it is to make at home. Buying pre-made buckwheat flour can be expensive, but with just 5 minutes and a high-speed blender, you can easily mill your own from whole buckwheat groats. If you’re keen to try this, I’ve prepared a quick tutorial on homemade buckwheat flour to get you started! The fresh flavor and superior texture of freshly ground flour truly make a difference in your baked goods.
Our easy buckwheat cookies have already garnered immense popularity on the blog, proving just how much potential this incredible pseudocereal holds. Given their success, it was only a matter of time before I embarked on creating the perfect loaf of buckwheat bread – a recipe that truly showcases the best of this unique flour.
Achieving the Ultimate Soft and Fluffy Buckwheat Loaf
One common challenge with many gluten-free and buckwheat flour bread recipes is their tendency to turn out dry, dense, and heavy. My goal was to develop a gluten-free brown bread that not only tasted incredible but also mirrored the appearance and desirable texture of a classic whole wheat loaf – moist, tender, and, most importantly, soft and fluffy. I was determined to defy the stereotypes of “doorstop” gluten-free bread.
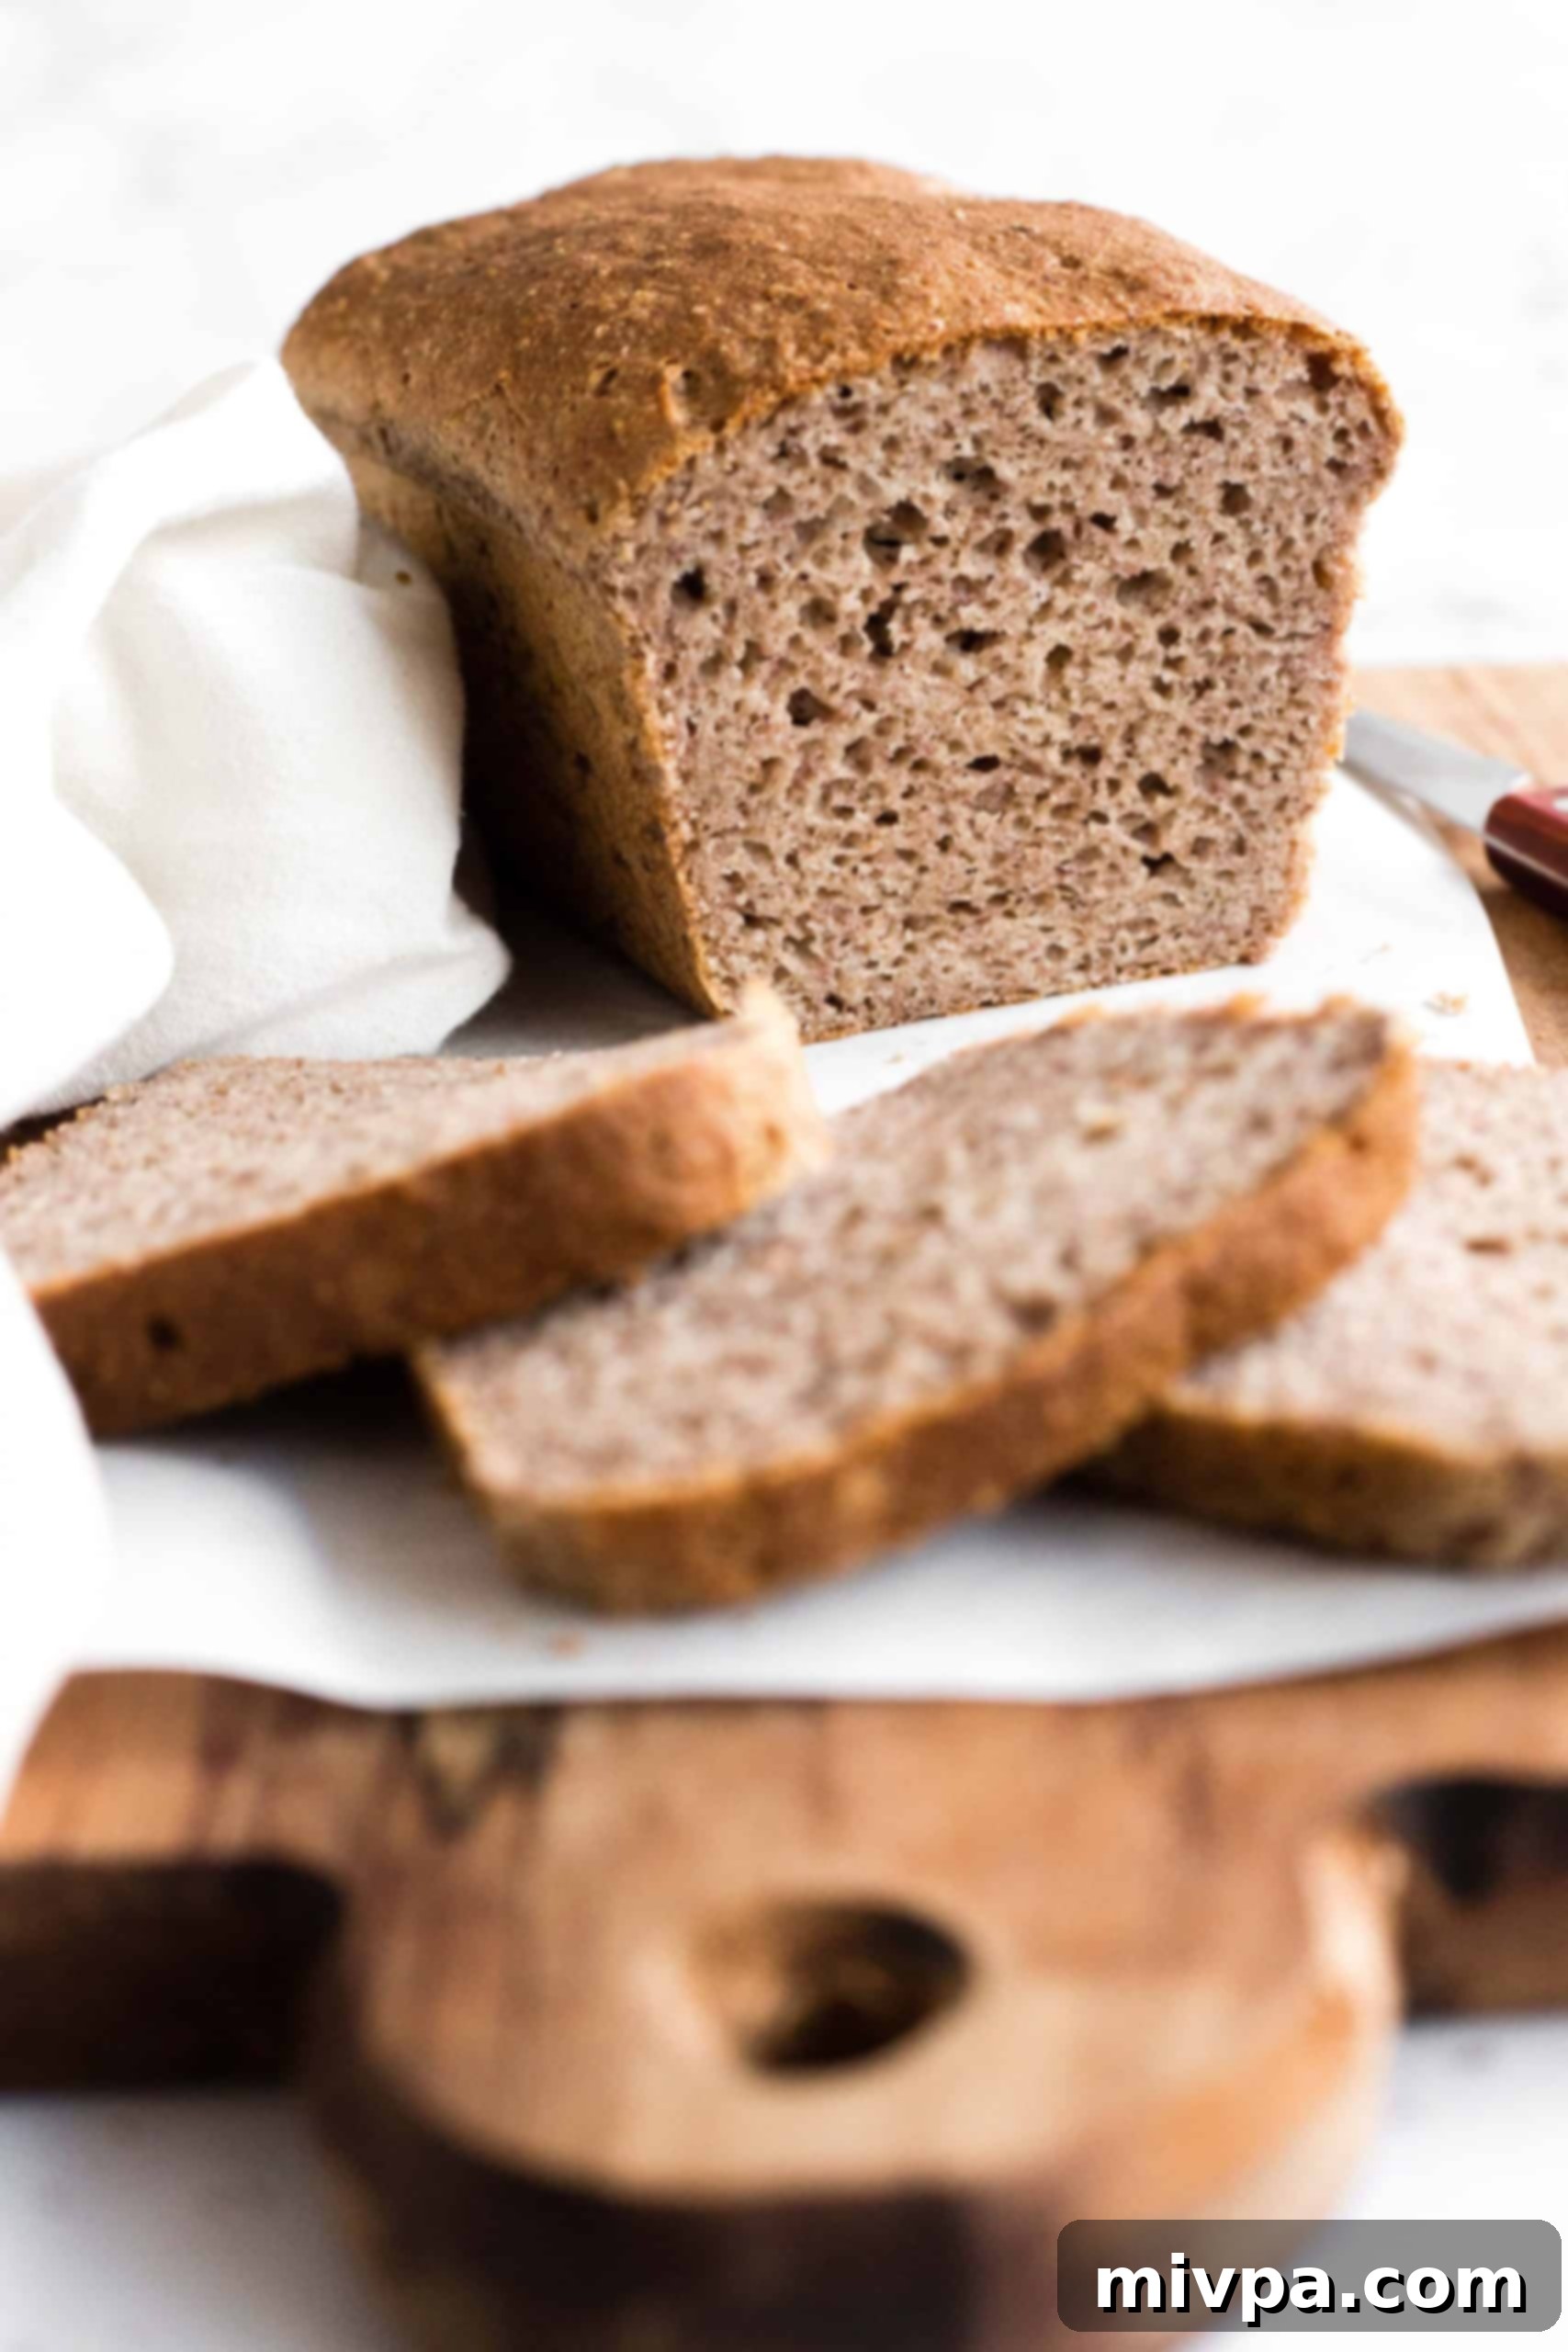
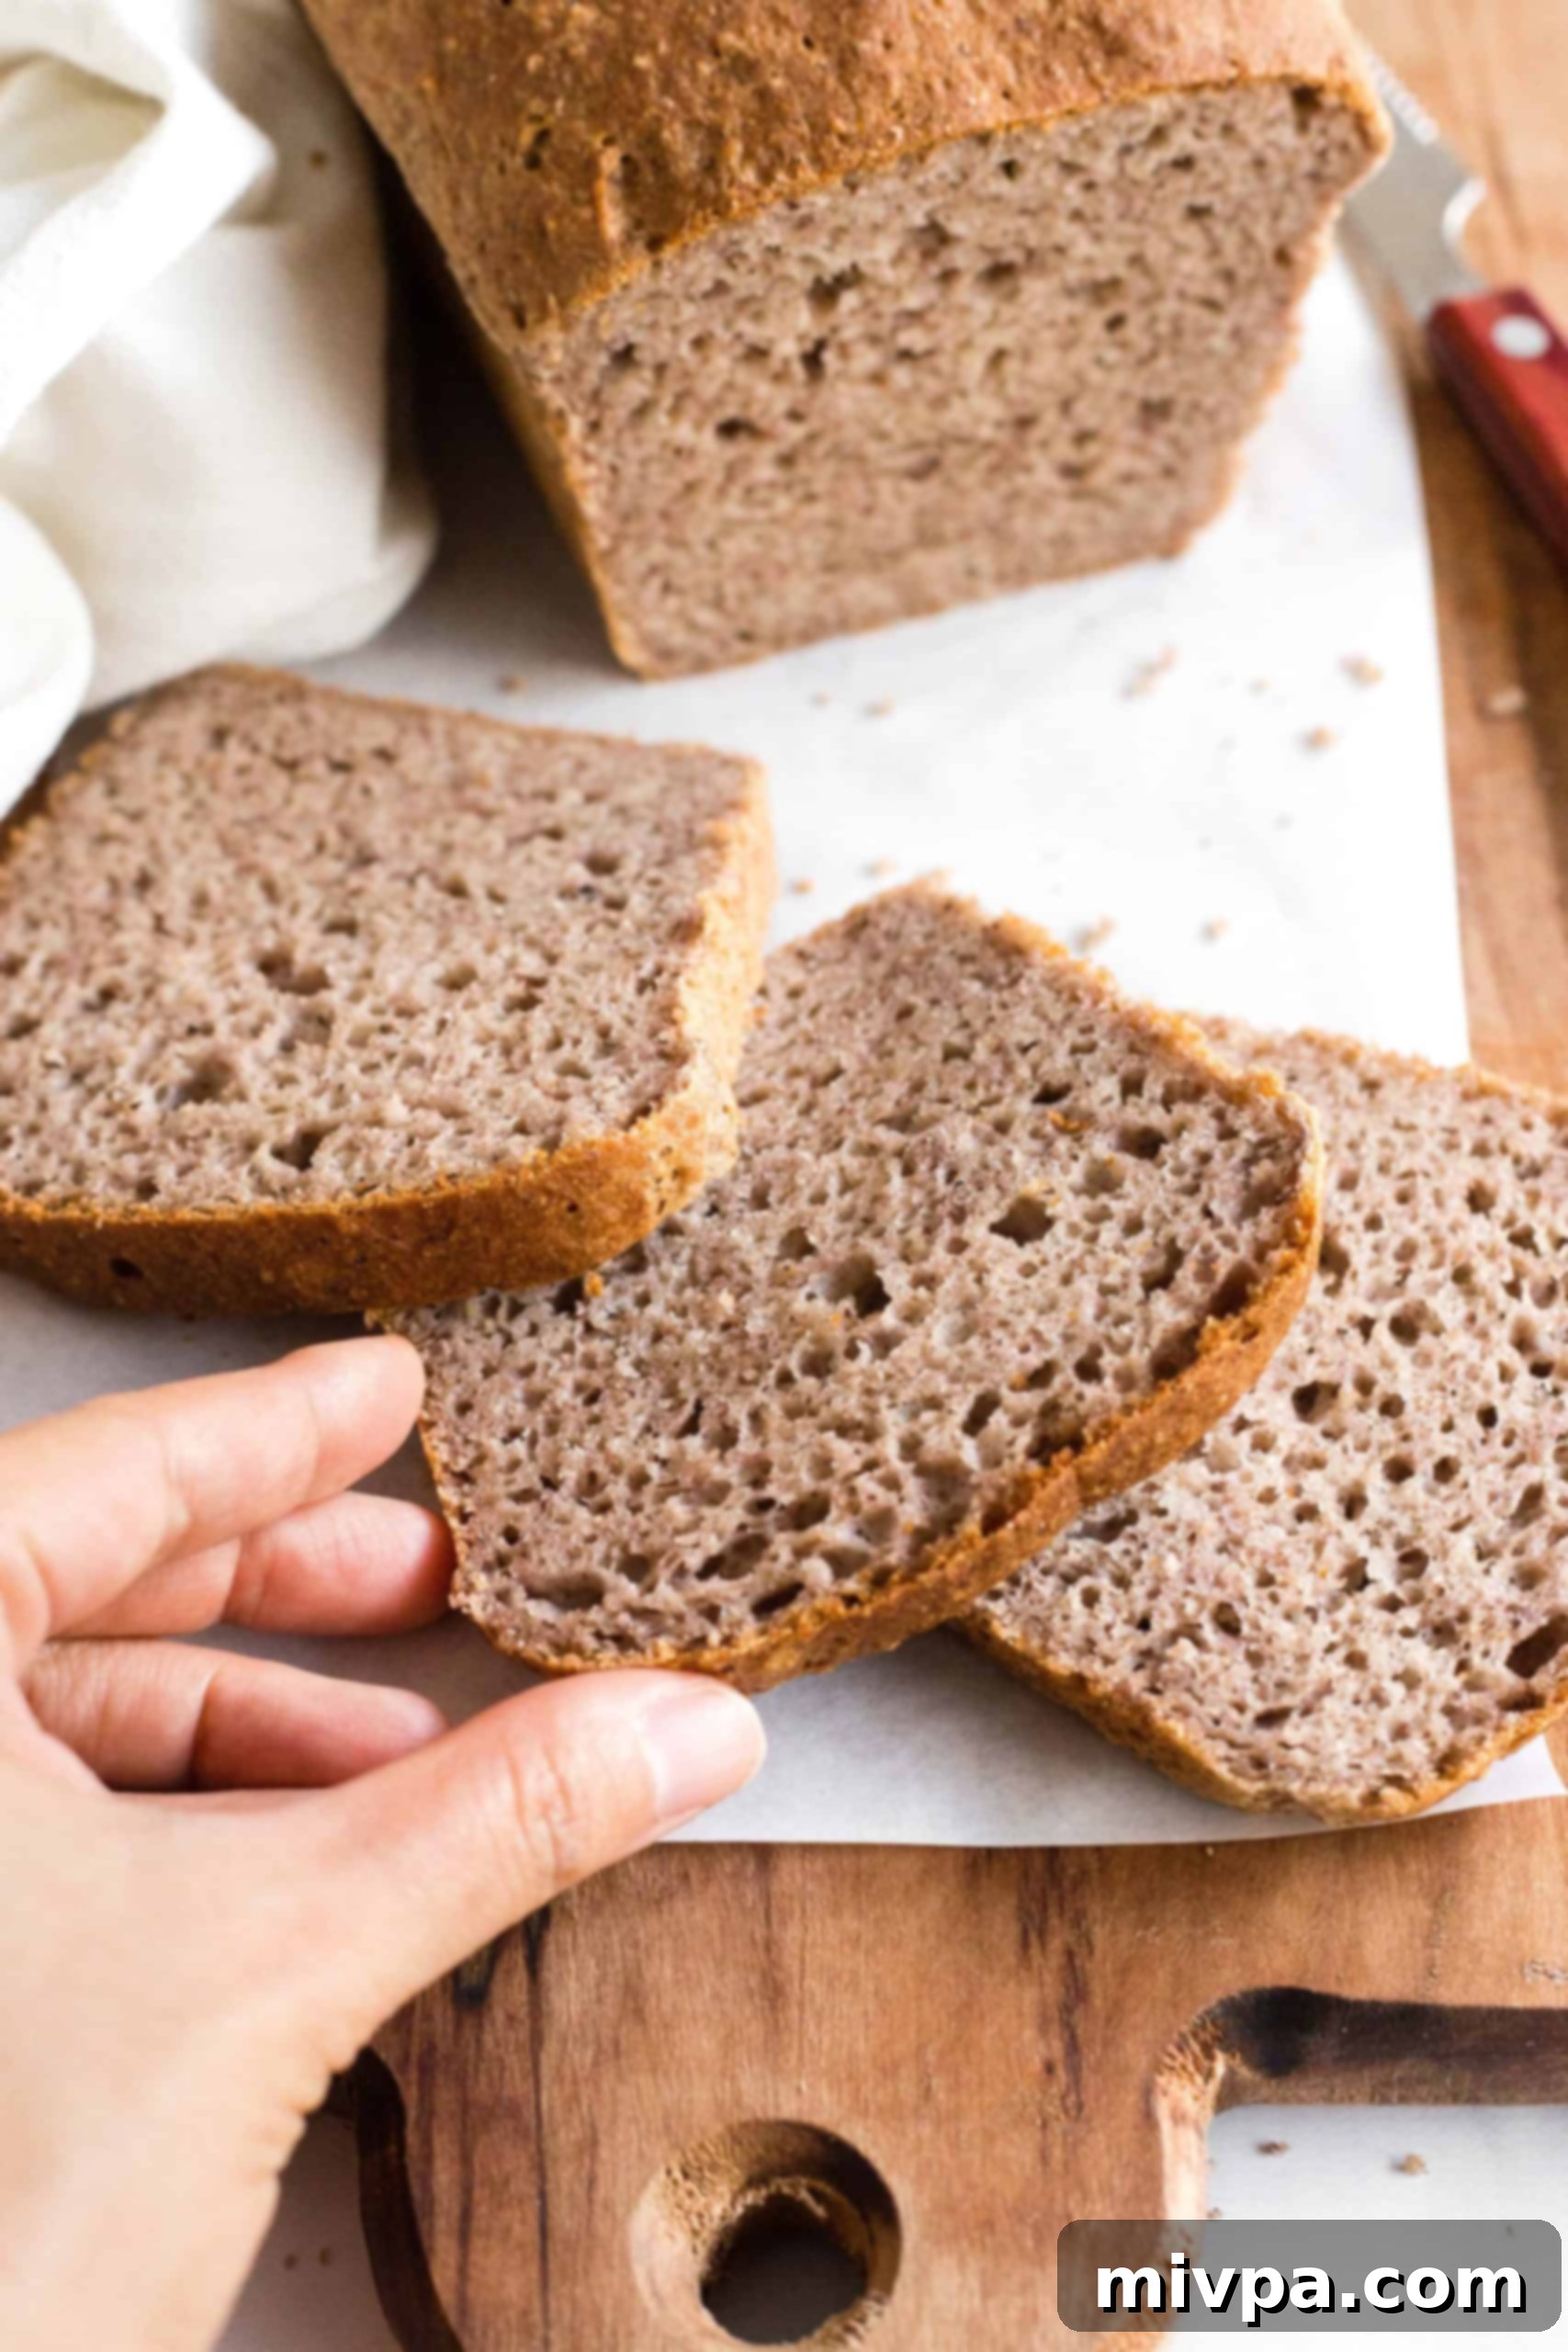
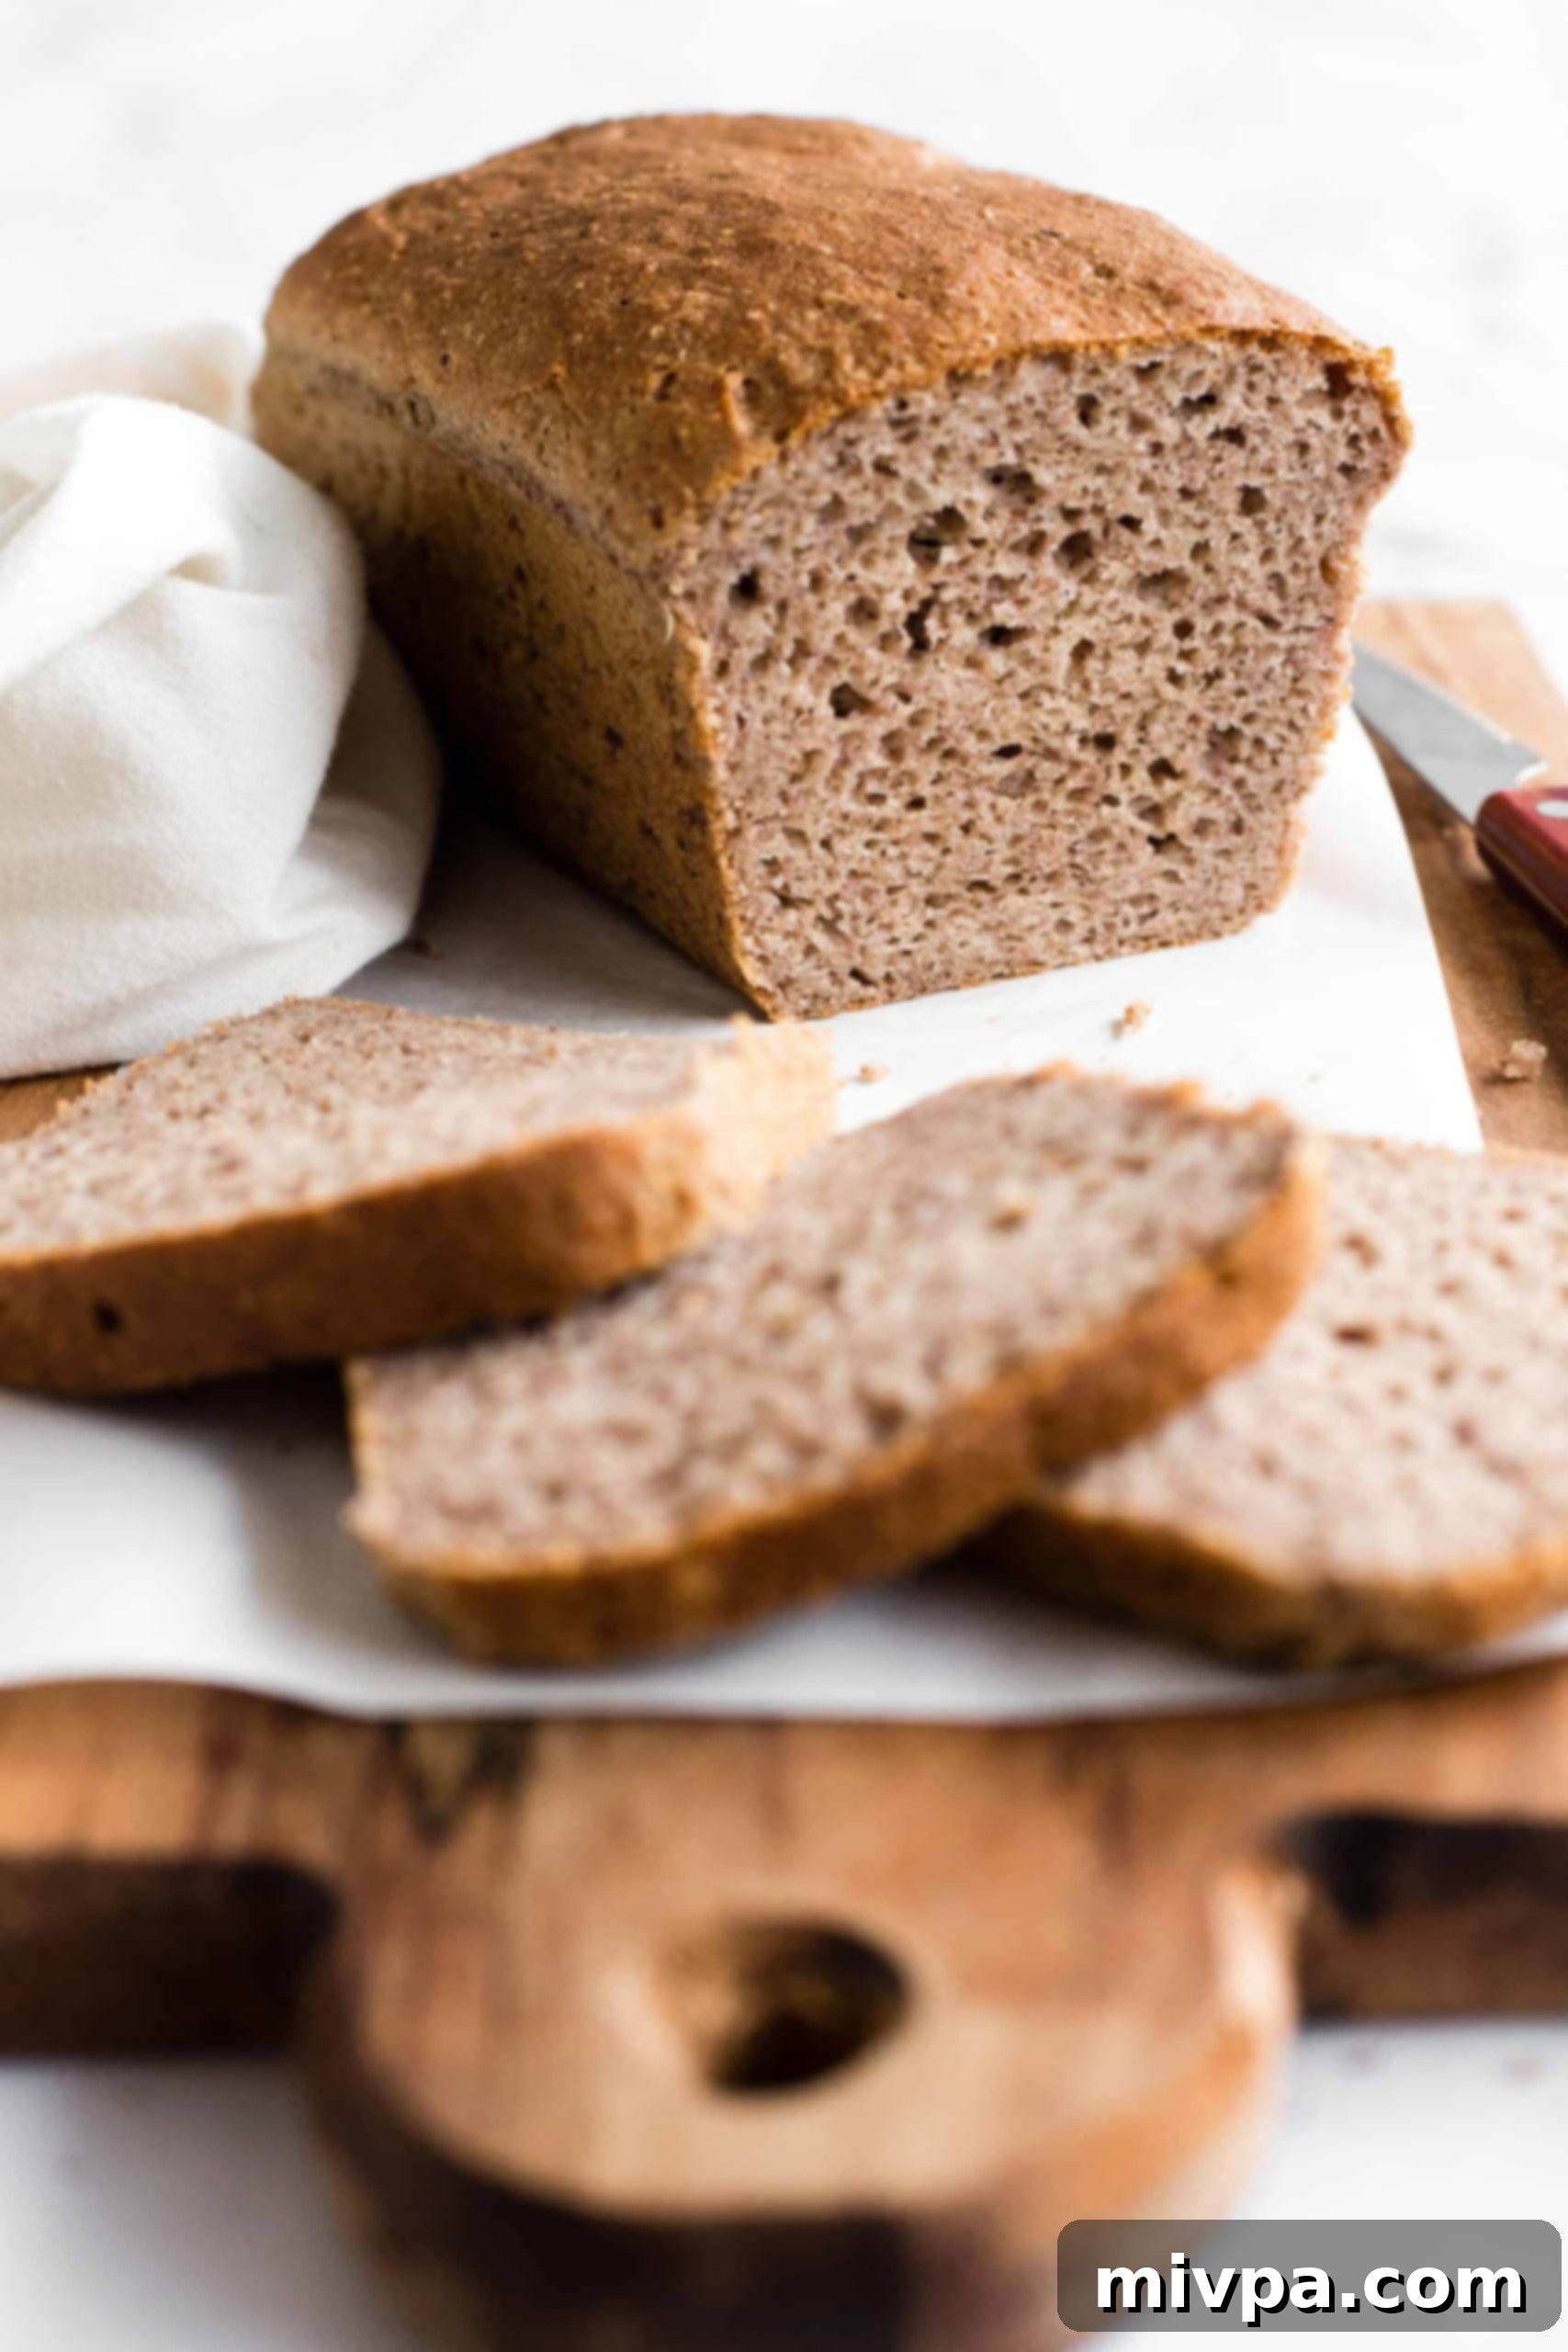
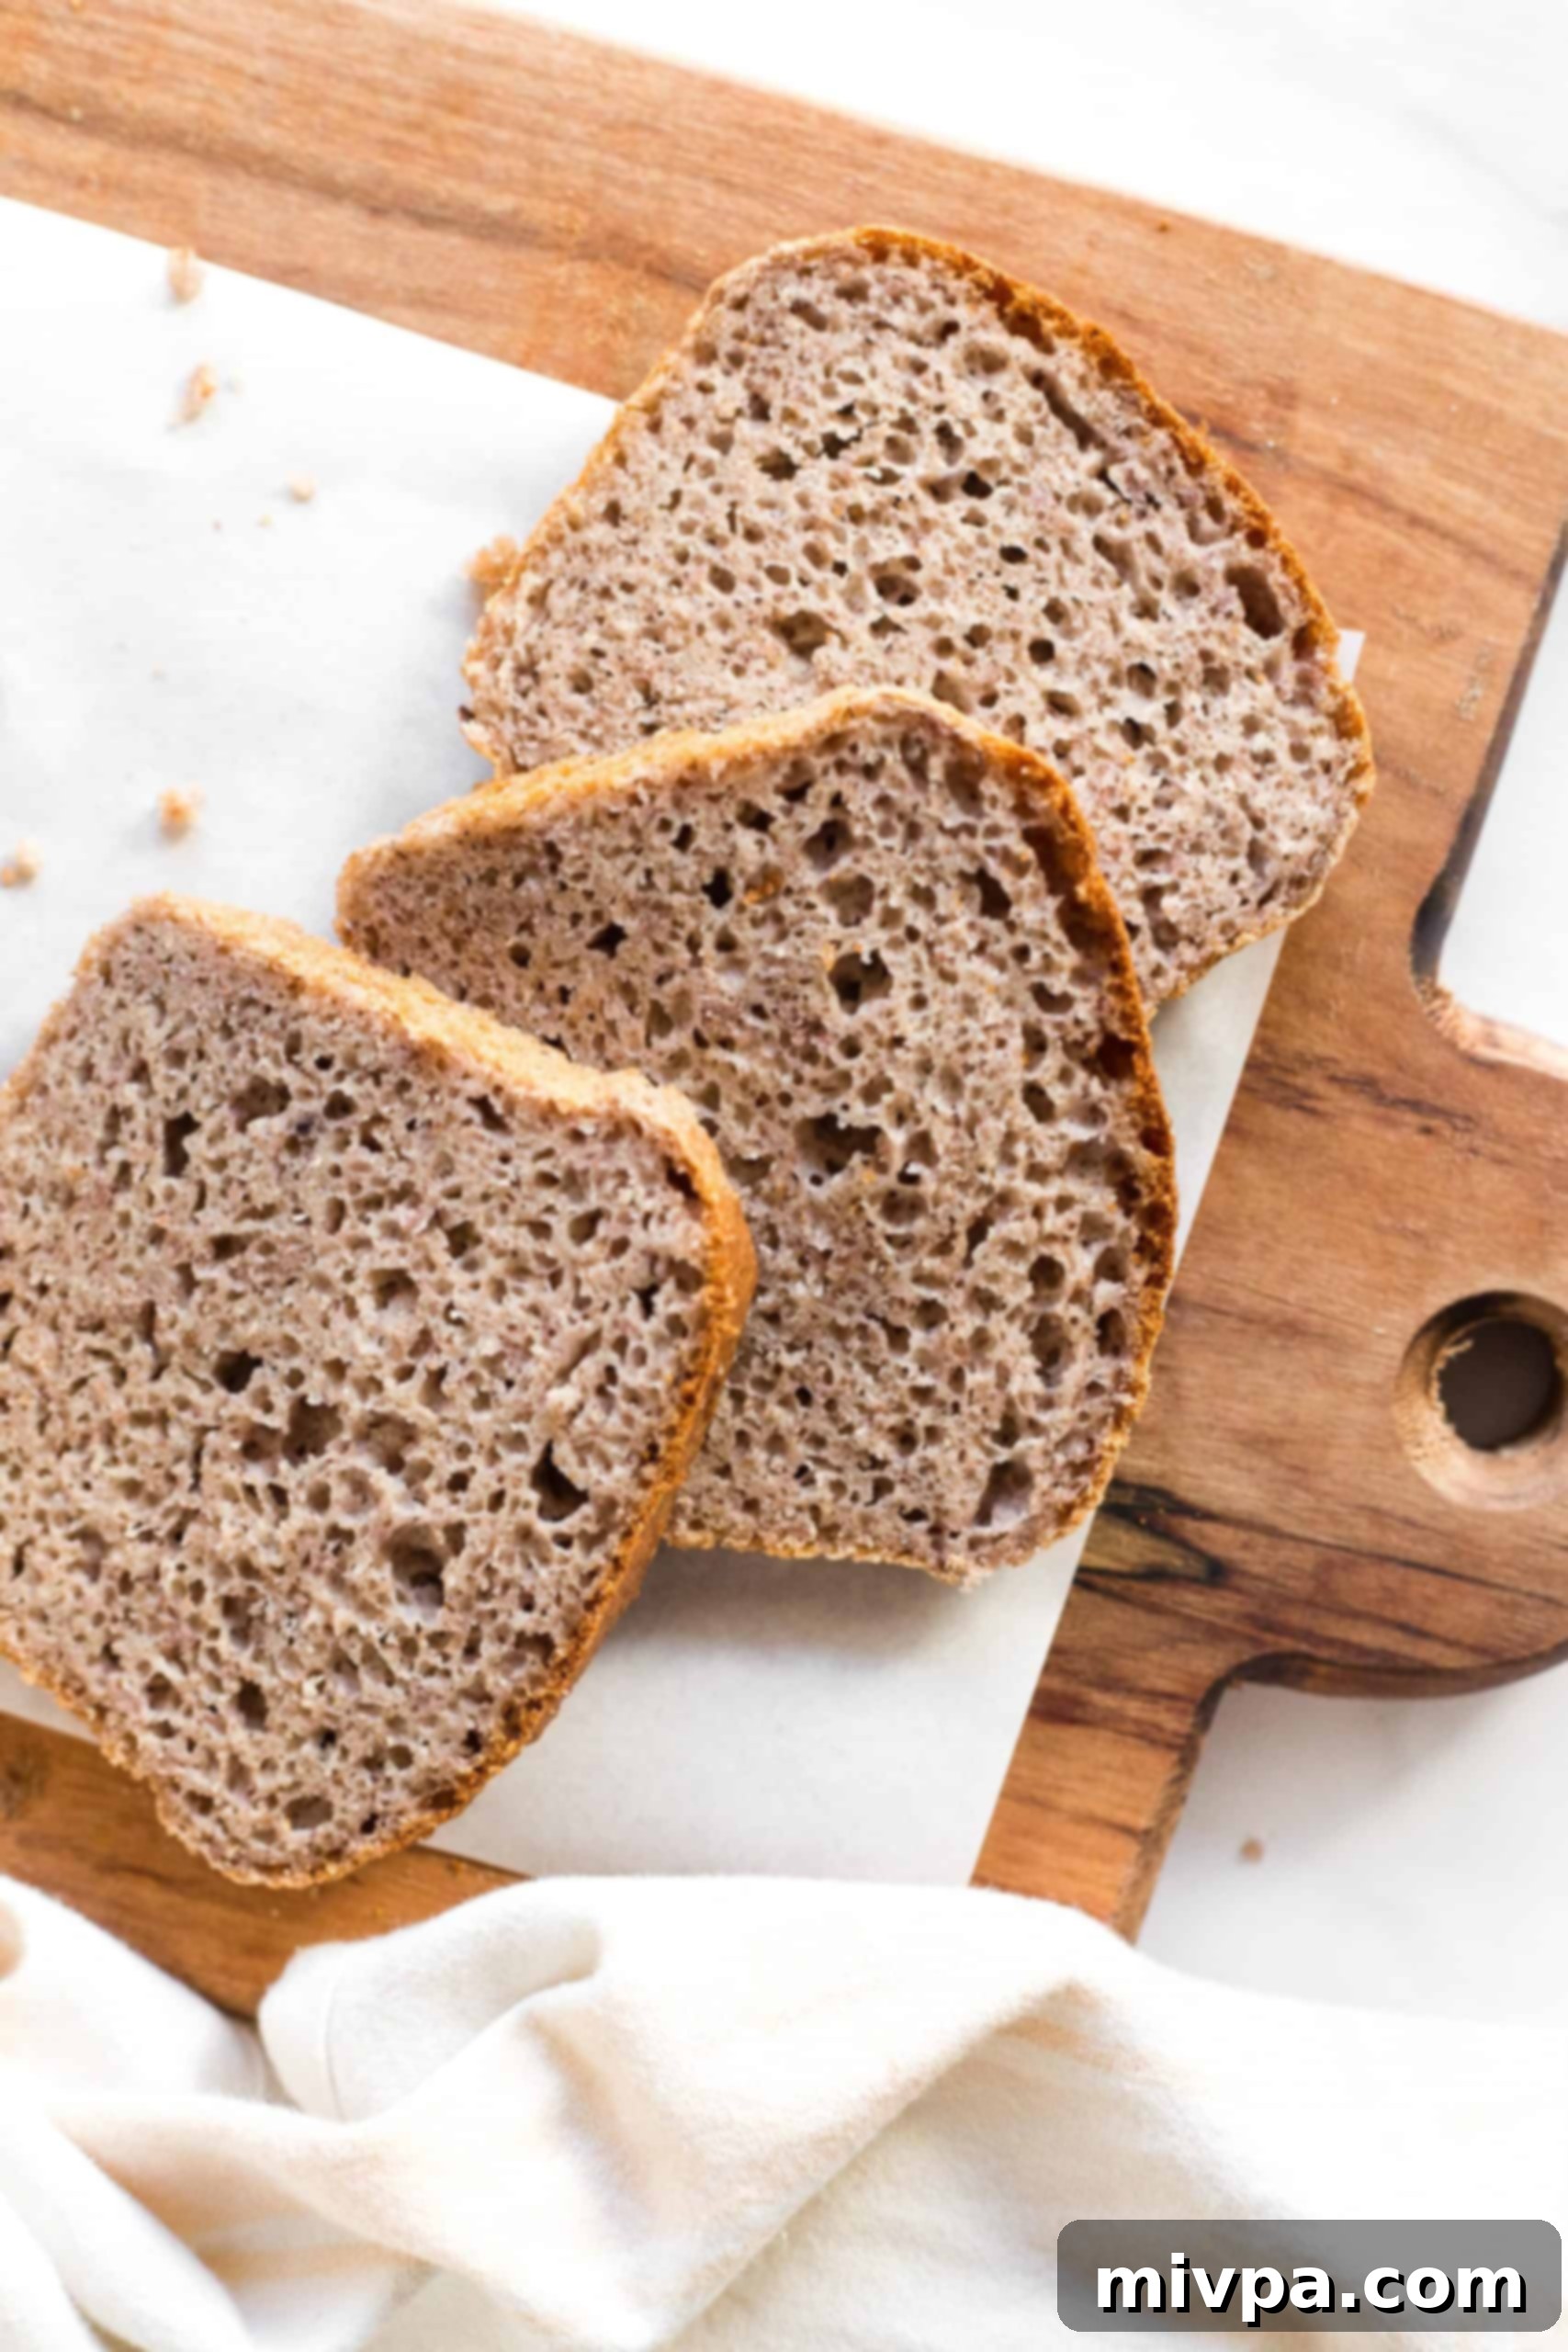
After several iterations and much testing, I am absolutely thrilled to finally share this magnificent buckwheat bread recipe with you. This isn’t just another gluten-free bread; it’s a revelation. With its beautifully browned, inviting crust, an impressive rise, and that coveted open, tender crumb characteristic of well-made bread, this loaf is wonderfully moist and tender. You would genuinely never guess that it’s both entirely gluten-free and dairy-free! Gone are the days when gluten-free meant sacrificing taste or texture. This recipe proves that delicious, light, and airy bread is not only possible but easily achievable for everyone.
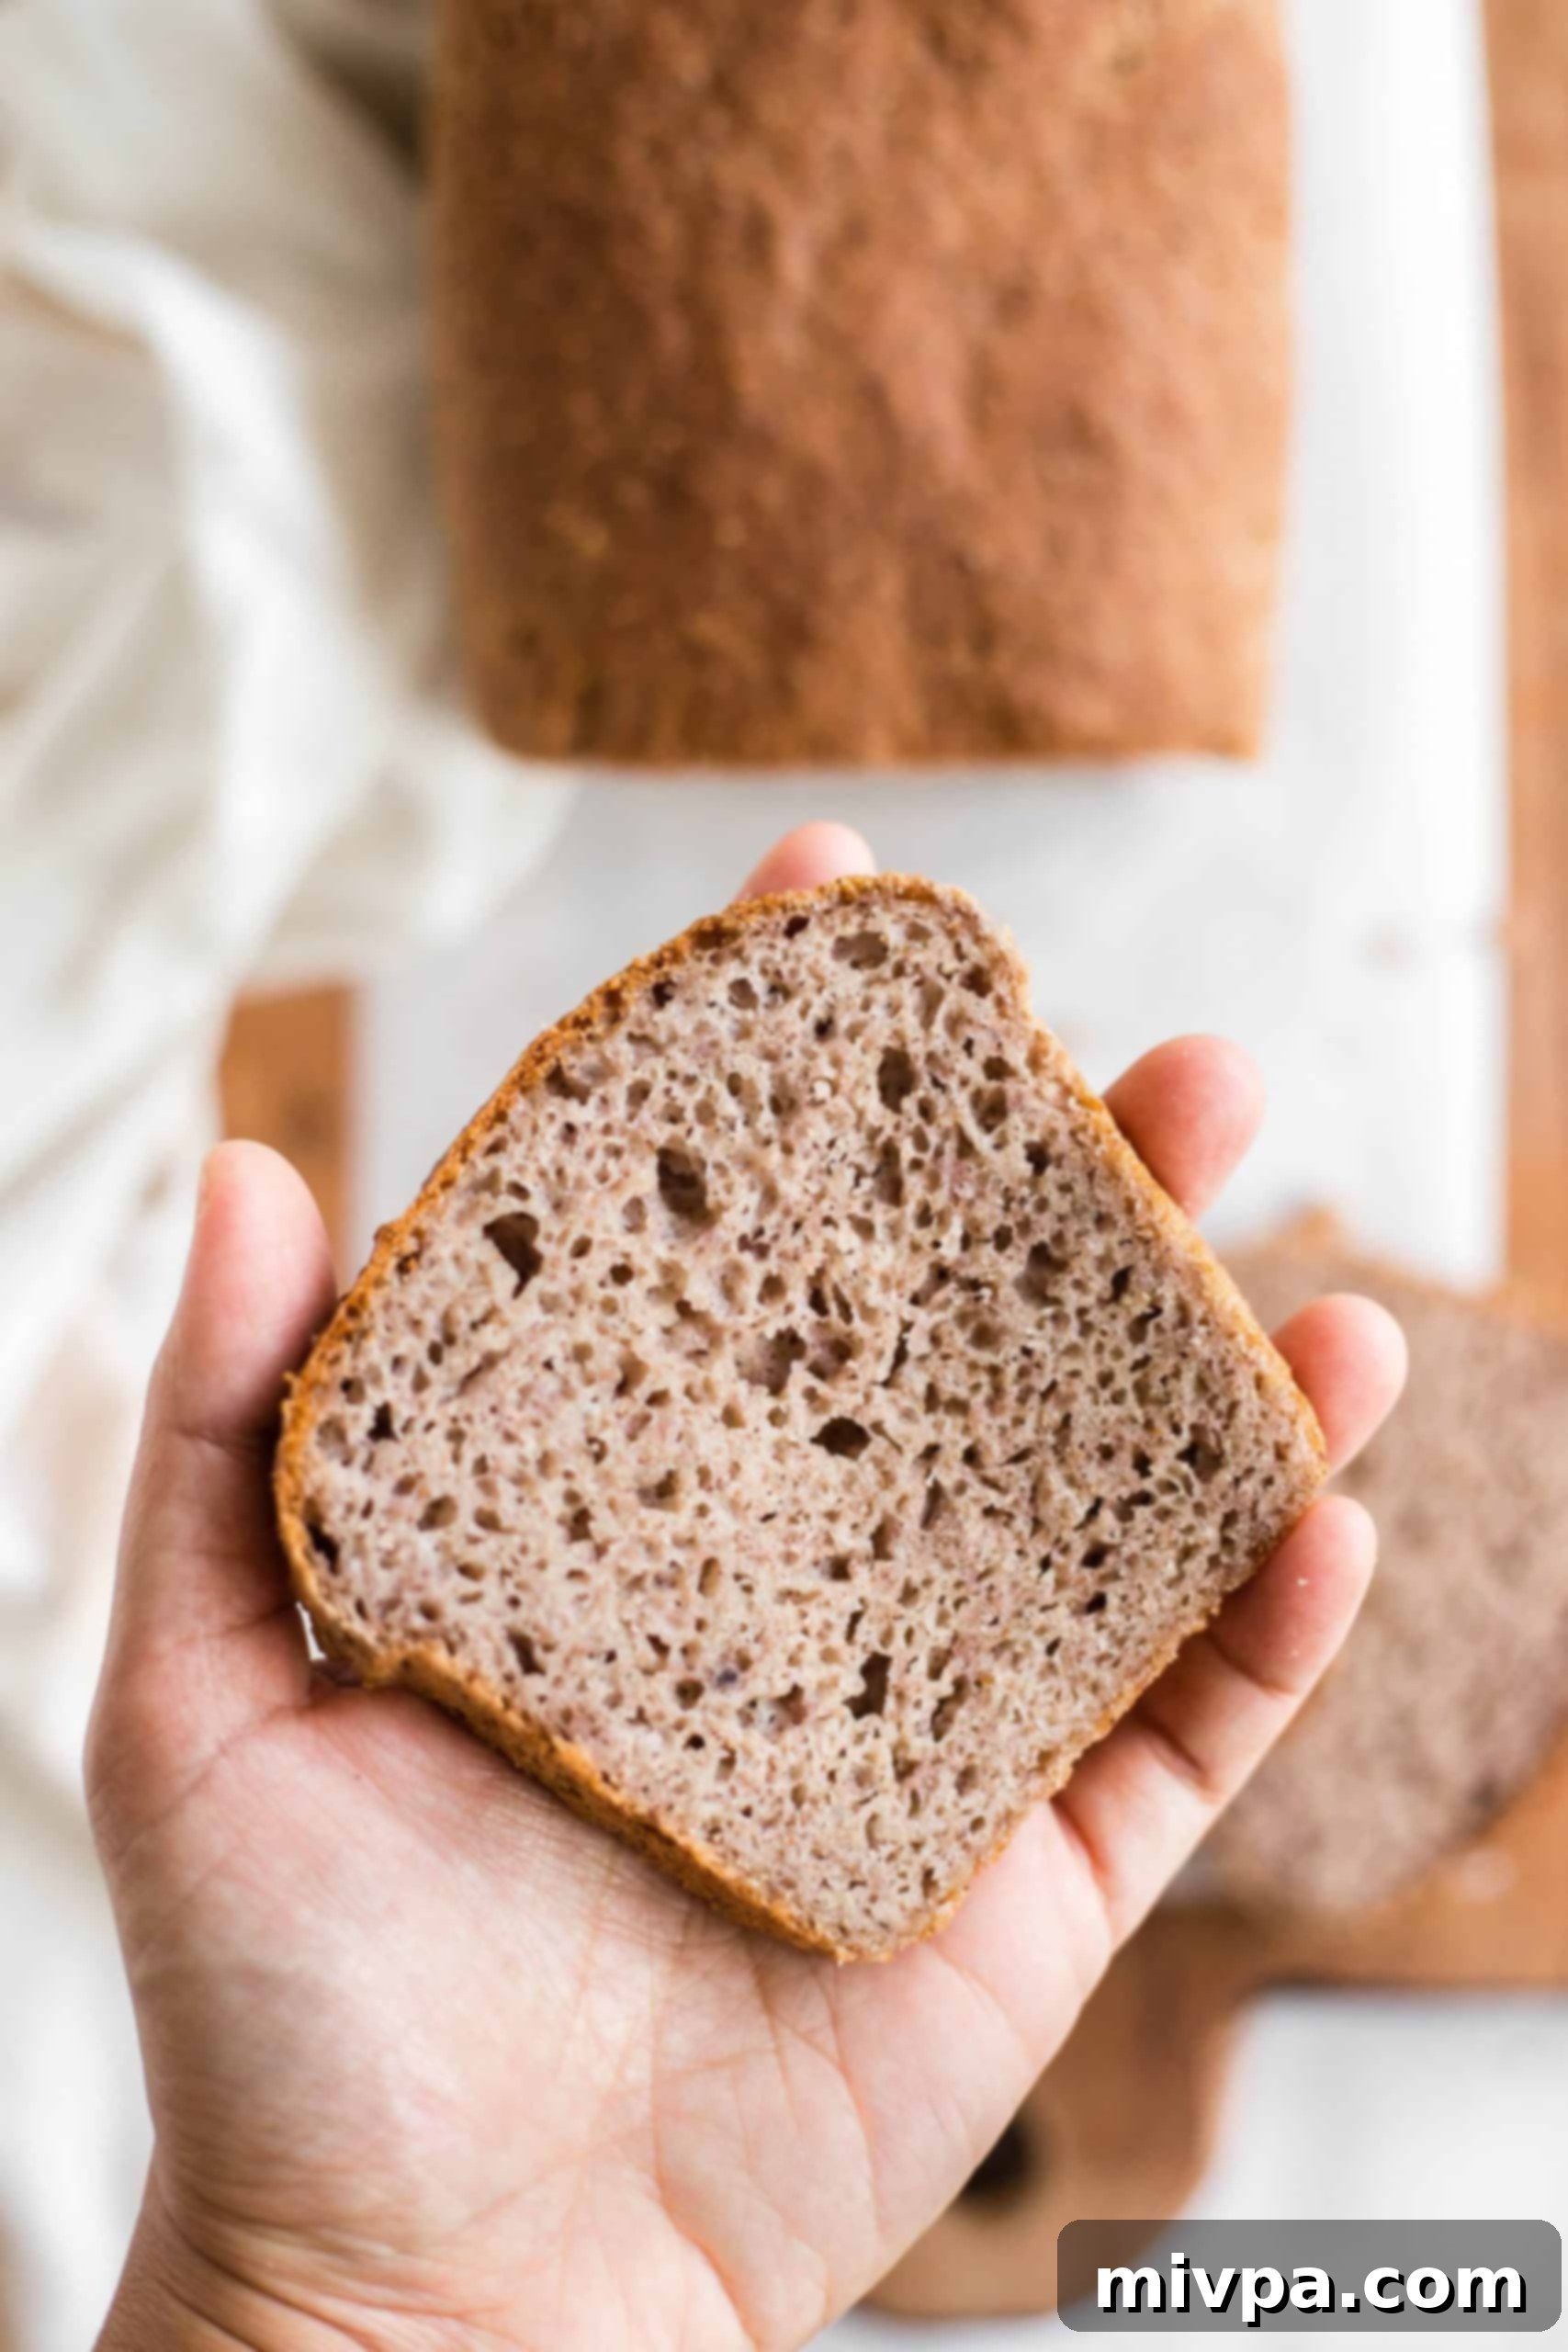
The Secret to a Foolproof & Delicious Buckwheat Bread
My philosophy in the kitchen has always leaned towards simplicity and effectiveness. Complicated recipes often deter home bakers, and this buckwheat bread recipe is a testament to that principle. It stands proudly alongside other easy bread recipes on the blog, particularly inspired by the widespread success and adoration for my soft fluffy gluten-free bread. The excitement to share this innovative recipe with you is immense.
What makes this recipe truly exceptional is its incredible ease and efficiency. You’ll only need about 5 minutes of active, hands-on time to mix the dough. After that, a quick 30-minute rise is all it takes before this beautiful loaf is ready to bake. It’s a truly foolproof recipe designed to consistently give you a perfectly soft, fluffy, and beautifully dome-shaped loaf every single time. This is a bread so good, even those without celiac disease or gluten intolerance will happily reach for a second slice!
Essential Ingredients for Your Buckwheat Bread
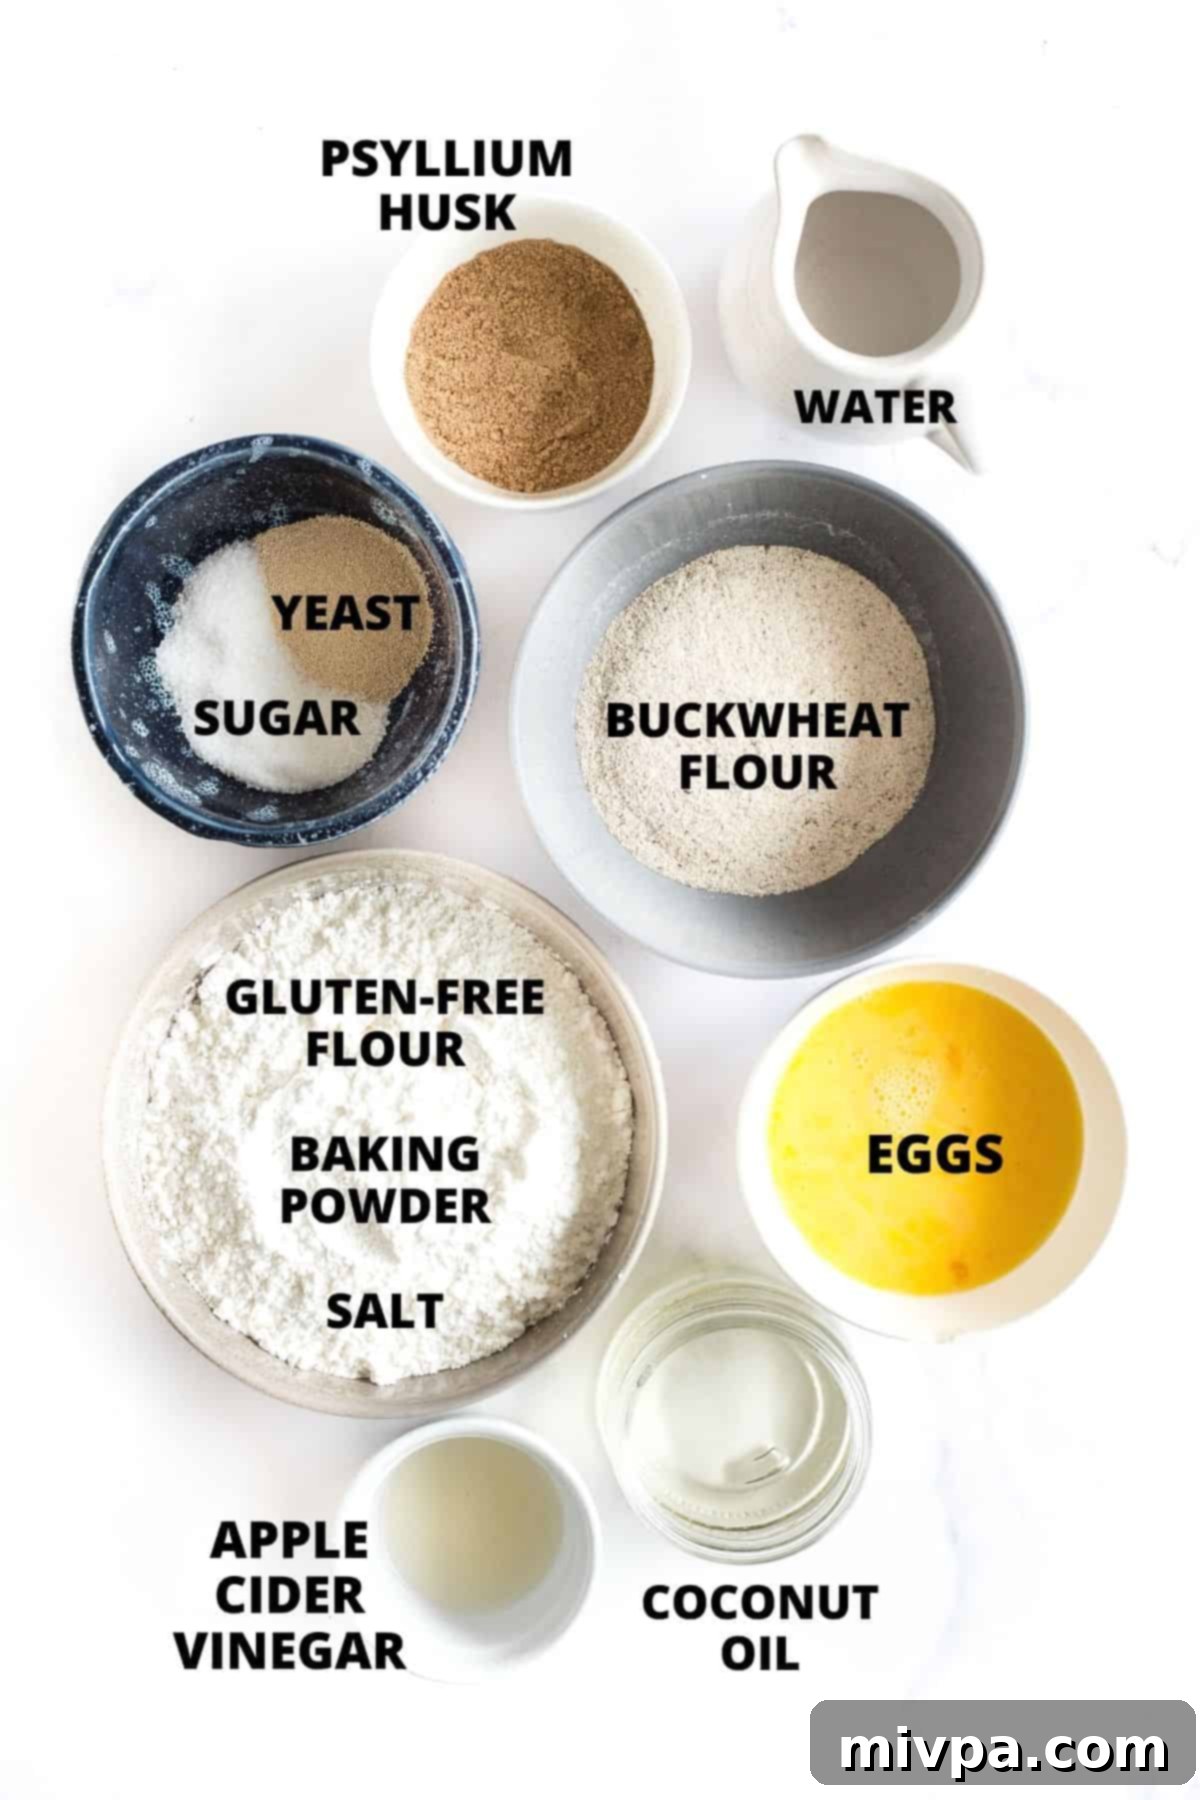
Ingredient Notes and Key Substitutions for Best Results
- Gluten-Free All-Purpose Flour: The foundation of this recipe relies on a high-quality gluten-free flour blend. I strongly recommend choosing a blend composed of lighter flours and starches, such as rice flour, corn starch, or tapioca starch. Crucially, ensure your chosen blend either already contains xanthan gum or you plan to add it separately. Avoid blends that feature heavier flours like garbanzo bean flour, as these can lead to a noticeably denser and less appealing final texture in your bread.
- Xanthan Gum: This ingredient is a true MVP in gluten-free baking. Xanthan gum acts as a vital gluten replacement, providing elasticity and structure that binds the ingredients together and prevents your bread from crumbling. If your gluten-free flour blend doesn’t already list it as an ingredient, make sure to include the specified amount; it’s essential for a successful loaf.
- Buckwheat Flour: As the star of this recipe, buckwheat flour is non-negotiable. Its unique earthy flavor and nutritional benefits are what define this bread. For the freshest taste and best results, you can either prepare your own 5-minute homemade buckwheat flour from groats or purchase it online. If you’re keen to explore other whole grain gluten-free options, you can experiment by replacing the buckwheat flour with equal amounts of millet flour, amaranth flour, or quinoa flour. Just be aware that the flavor and texture will vary slightly with these substitutions.
- Psyllium Husk Powder: This powerful binder plays a dual role in our gluten-free brown bread. Psyllium husk powder not only helps to bind the ingredients more effectively, giving the bread structure, but it also contributes a desirable, wholesome “whole wheat” like flavor. Due to its unique properties, I strongly advise against swapping out psyllium husk powder with any other ingredient for this recipe.
- Apple Cider Vinegar: Don’t skip the apple cider vinegar! It’s a crucial component that reacts with the baking powder, providing an extra boost to the bread’s rise and contributing to its light and airy texture. If ACV isn’t available, white vinegar or wine vinegar can be used in the same quantity without significantly altering the outcome.
- Warm Water: While water is the simplest and most accessible liquid, you can certainly elevate the flavor profile by using warm non-dairy milk. Options like almond milk or cashew milk add a subtle richness. If you don’t have lactose intolerance concerns, warm dairy milk works equally well. The critical factor is temperature: ensure your liquid is between 105°F and 110°F. This warmth is essential to activate the yeast; if it’s too hot, it will unfortunately kill the yeast, preventing your bread from rising.
- Eggs: Eggs are integral to this recipe, contributing to a better rise, richer flavor, and overall structure of the bread. They act as a binding agent and add moisture. I haven’t personally tested this recipe with an egg replacer, so I can’t guarantee the results of a vegan version. However, if you do experiment with an egg substitute, I would love to hear about your experience in the comments!
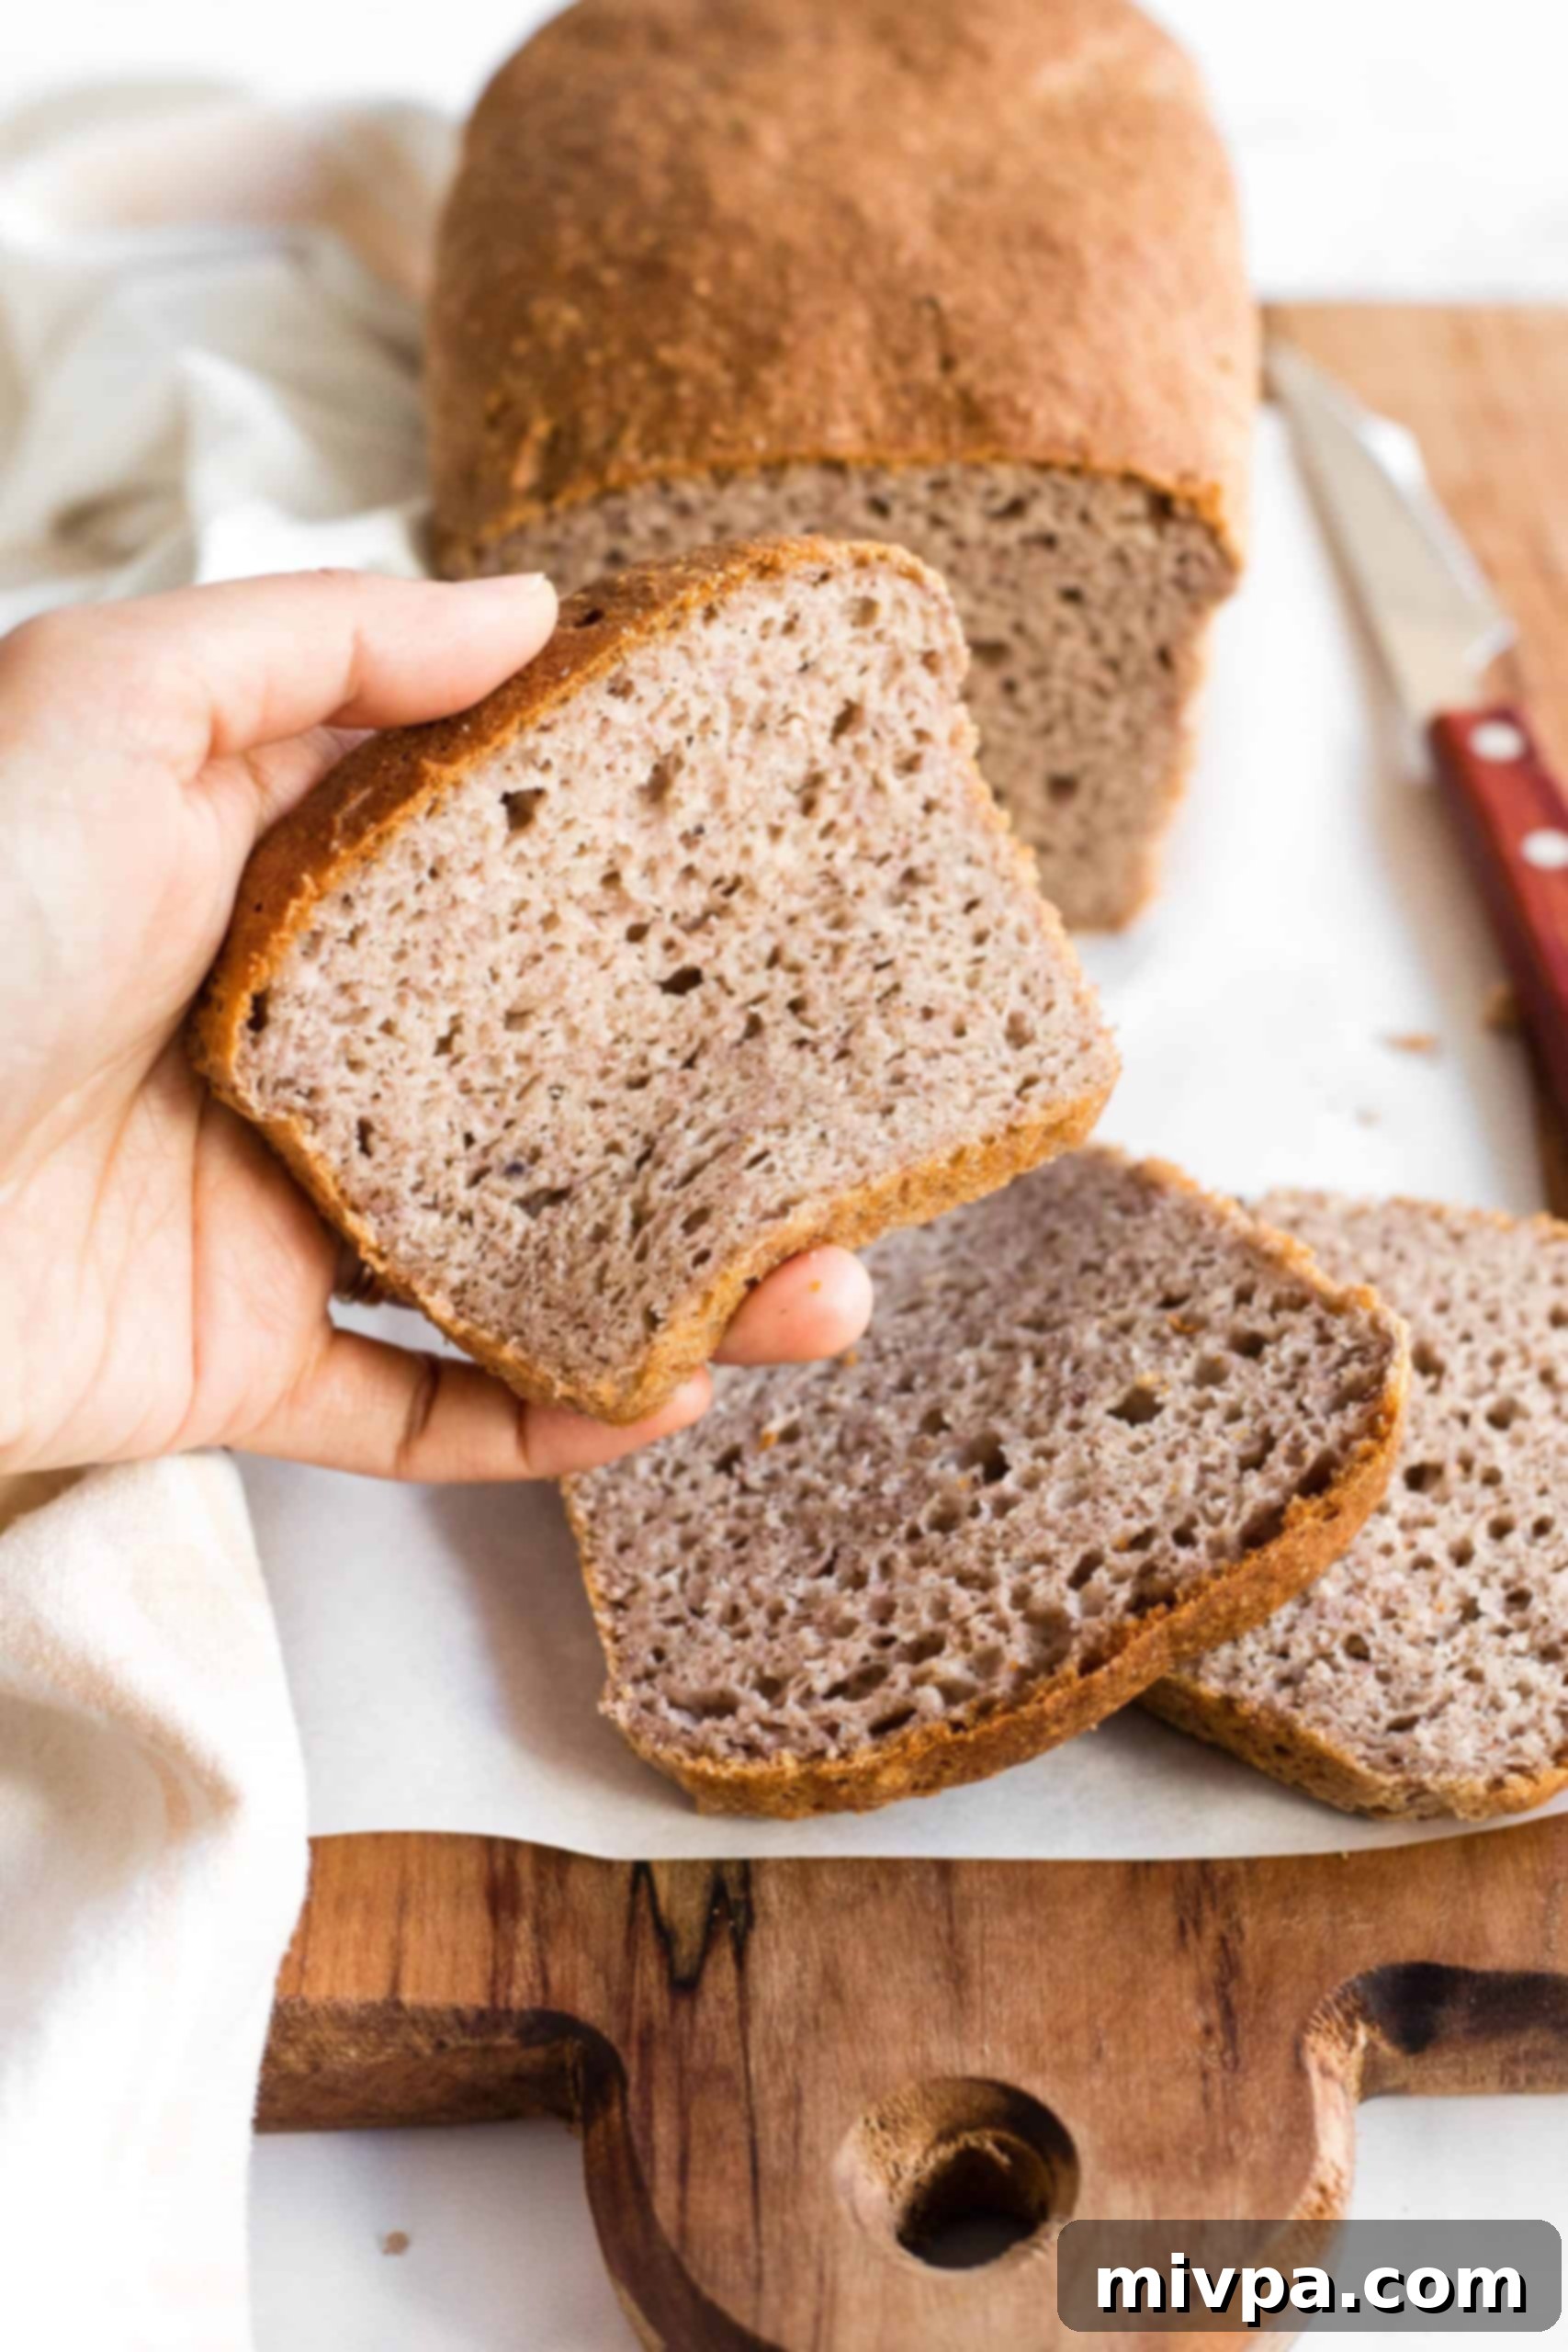
Step-by-Step Guide: How to Bake This Incredible Gluten-Free Buckwheat Bread
Baking this soft and fluffy buckwheat bread is an incredibly straightforward process, even for beginner bakers. Follow these simple steps to achieve a perfect loaf every time.
1. Prepare Your Pan & Oven
Begin by generously greasing a 9″x4″ nonstick metal loaf pan with oil. This ensures easy removal of your baked bread. Then, preheat your oven to 350°F (175°C) and position the oven rack in the middle for even baking.

2. Whisk the Dry Ingredients
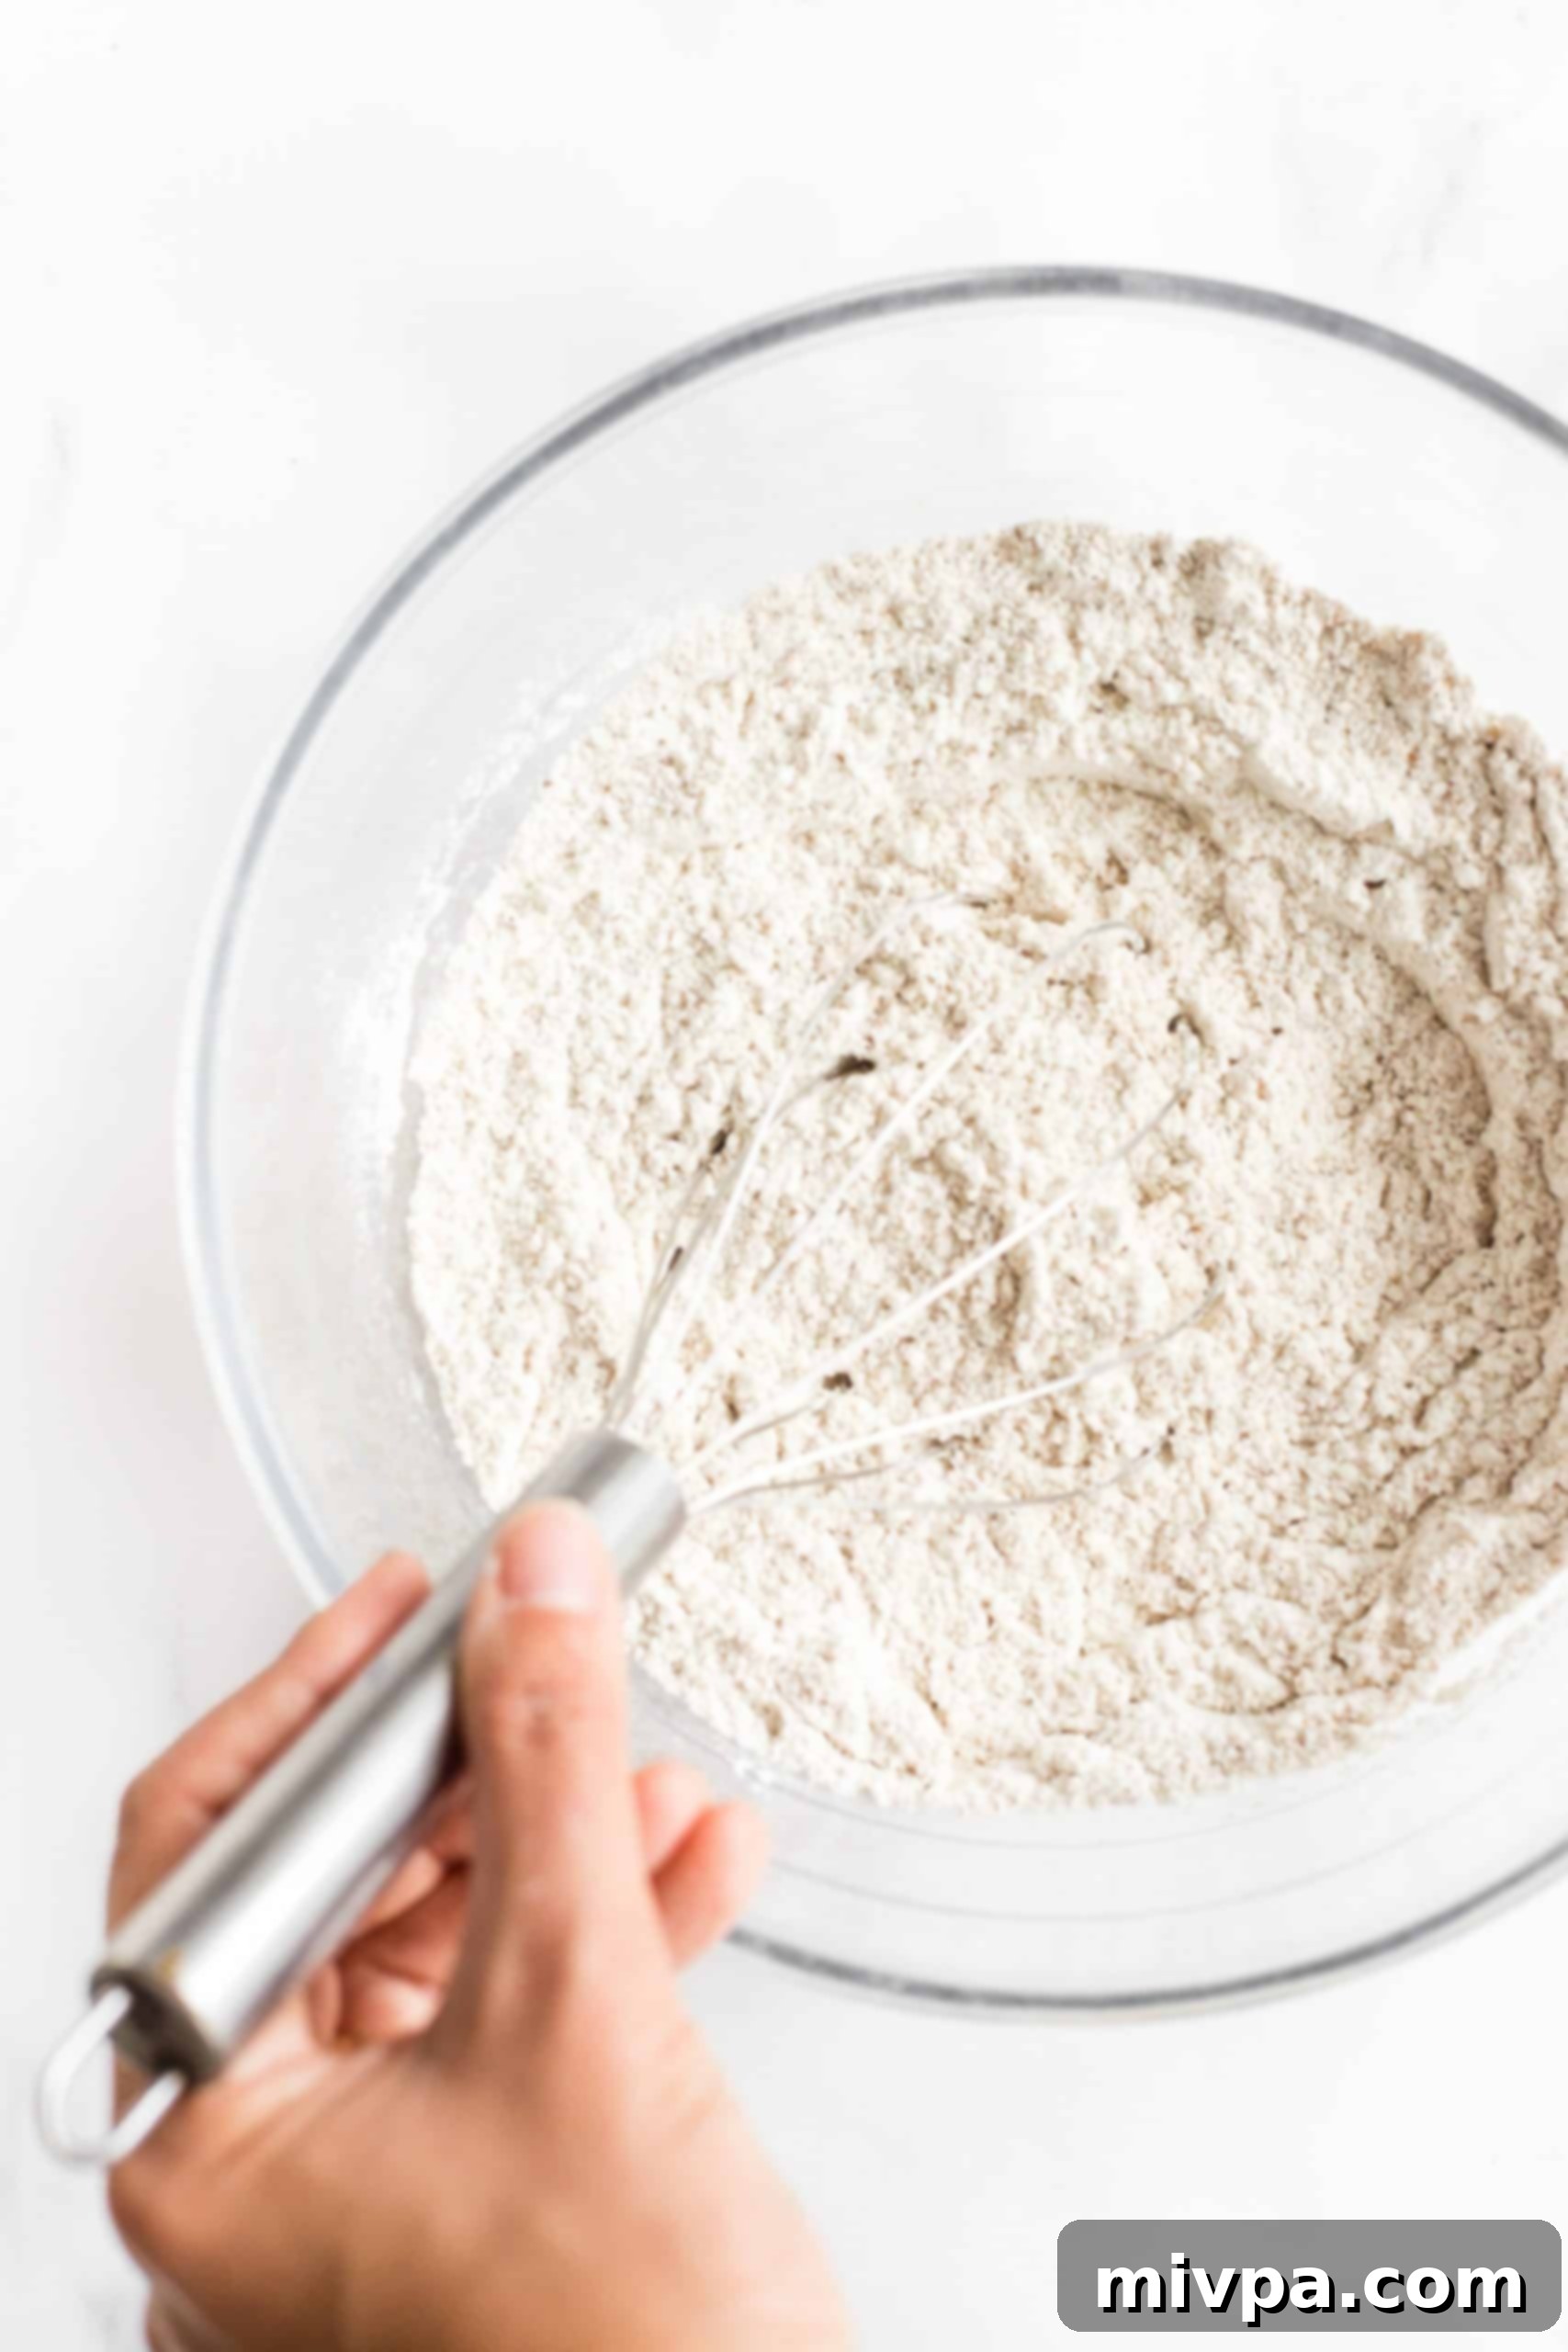
In a large mixing bowl, combine all your dry ingredients: the gluten-free all-purpose flour, xanthan gum (if your blend doesn’t already contain it), buckwheat flour, psyllium husk powder, baking powder, salt, instant yeast, and sugar. Whisk them together thoroughly to ensure they are well distributed and aerated, which is key for a light texture.
3. Incorporate the Wet Ingredients
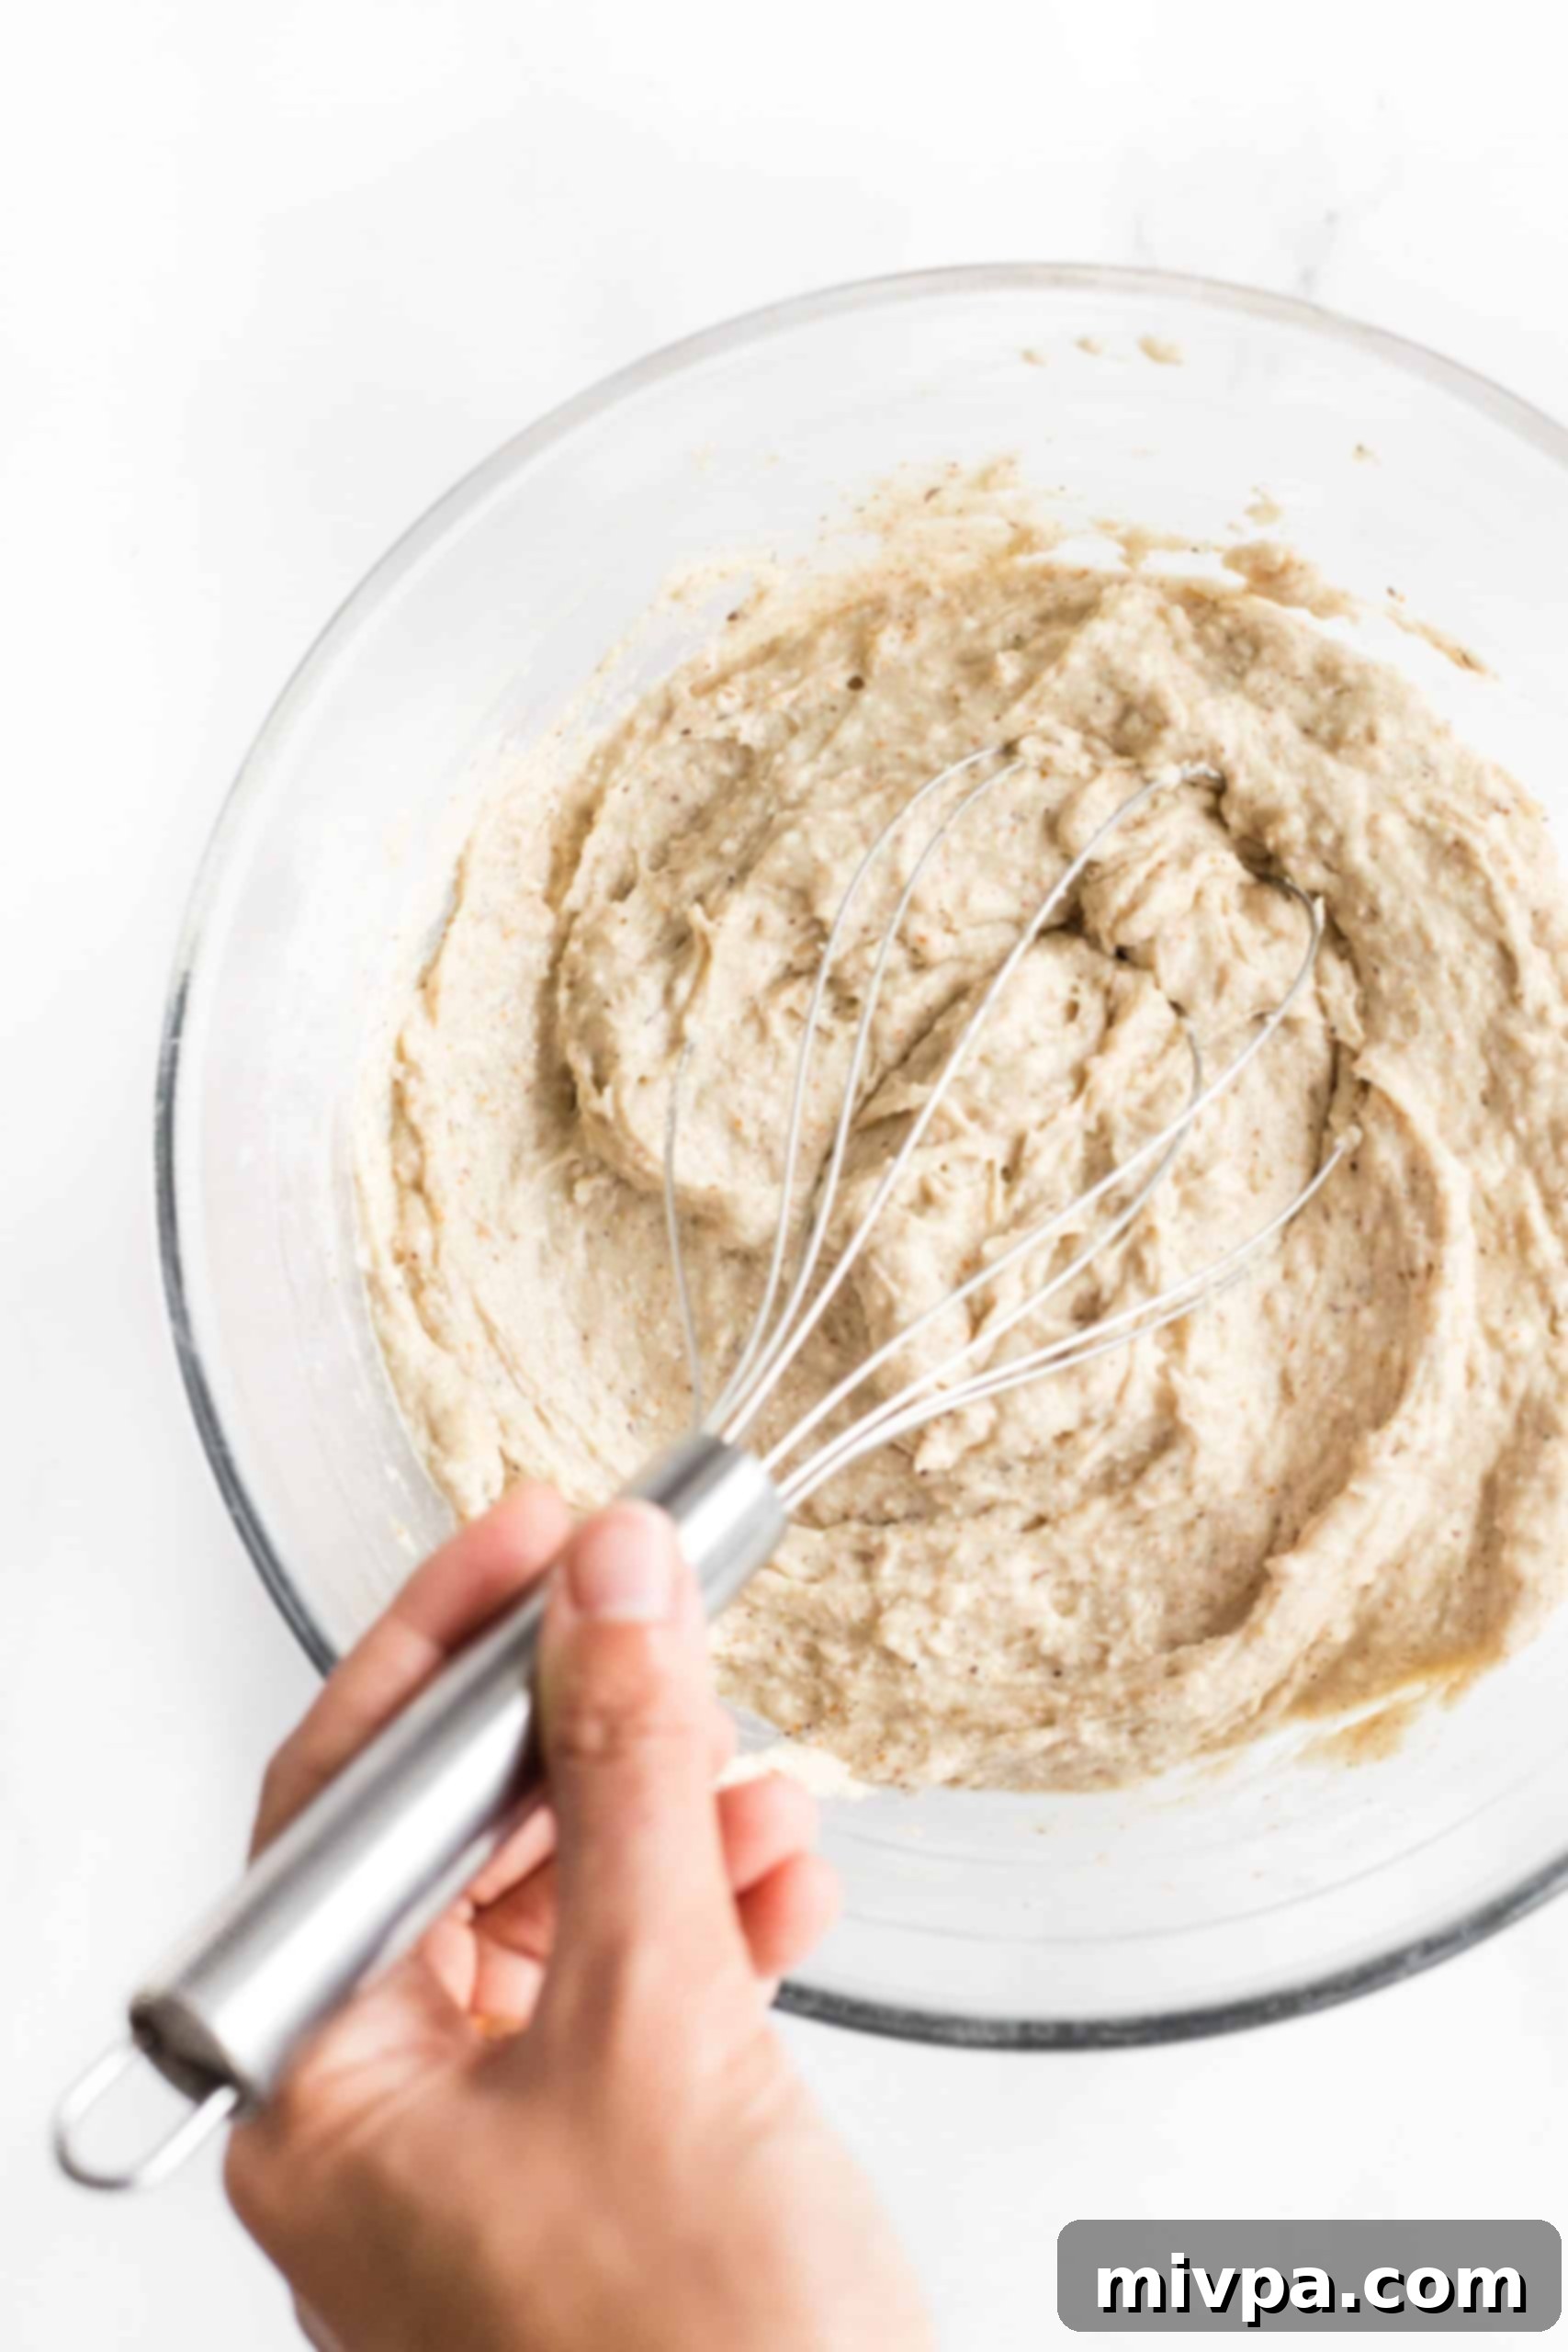
Pour the vegetable oil, apple cider vinegar, and warm water into the dry mixture. Mix these ingredients thoroughly until they are just combined. Next, add the beaten eggs and continue mixing for approximately one minute. The goal is to achieve a dough that has the consistency of a thick cake batter. Don’t be alarmed if the dough appears sticky and wet; this is perfectly normal and contributes to the bread’s moistness.
4. Prepare for Rising
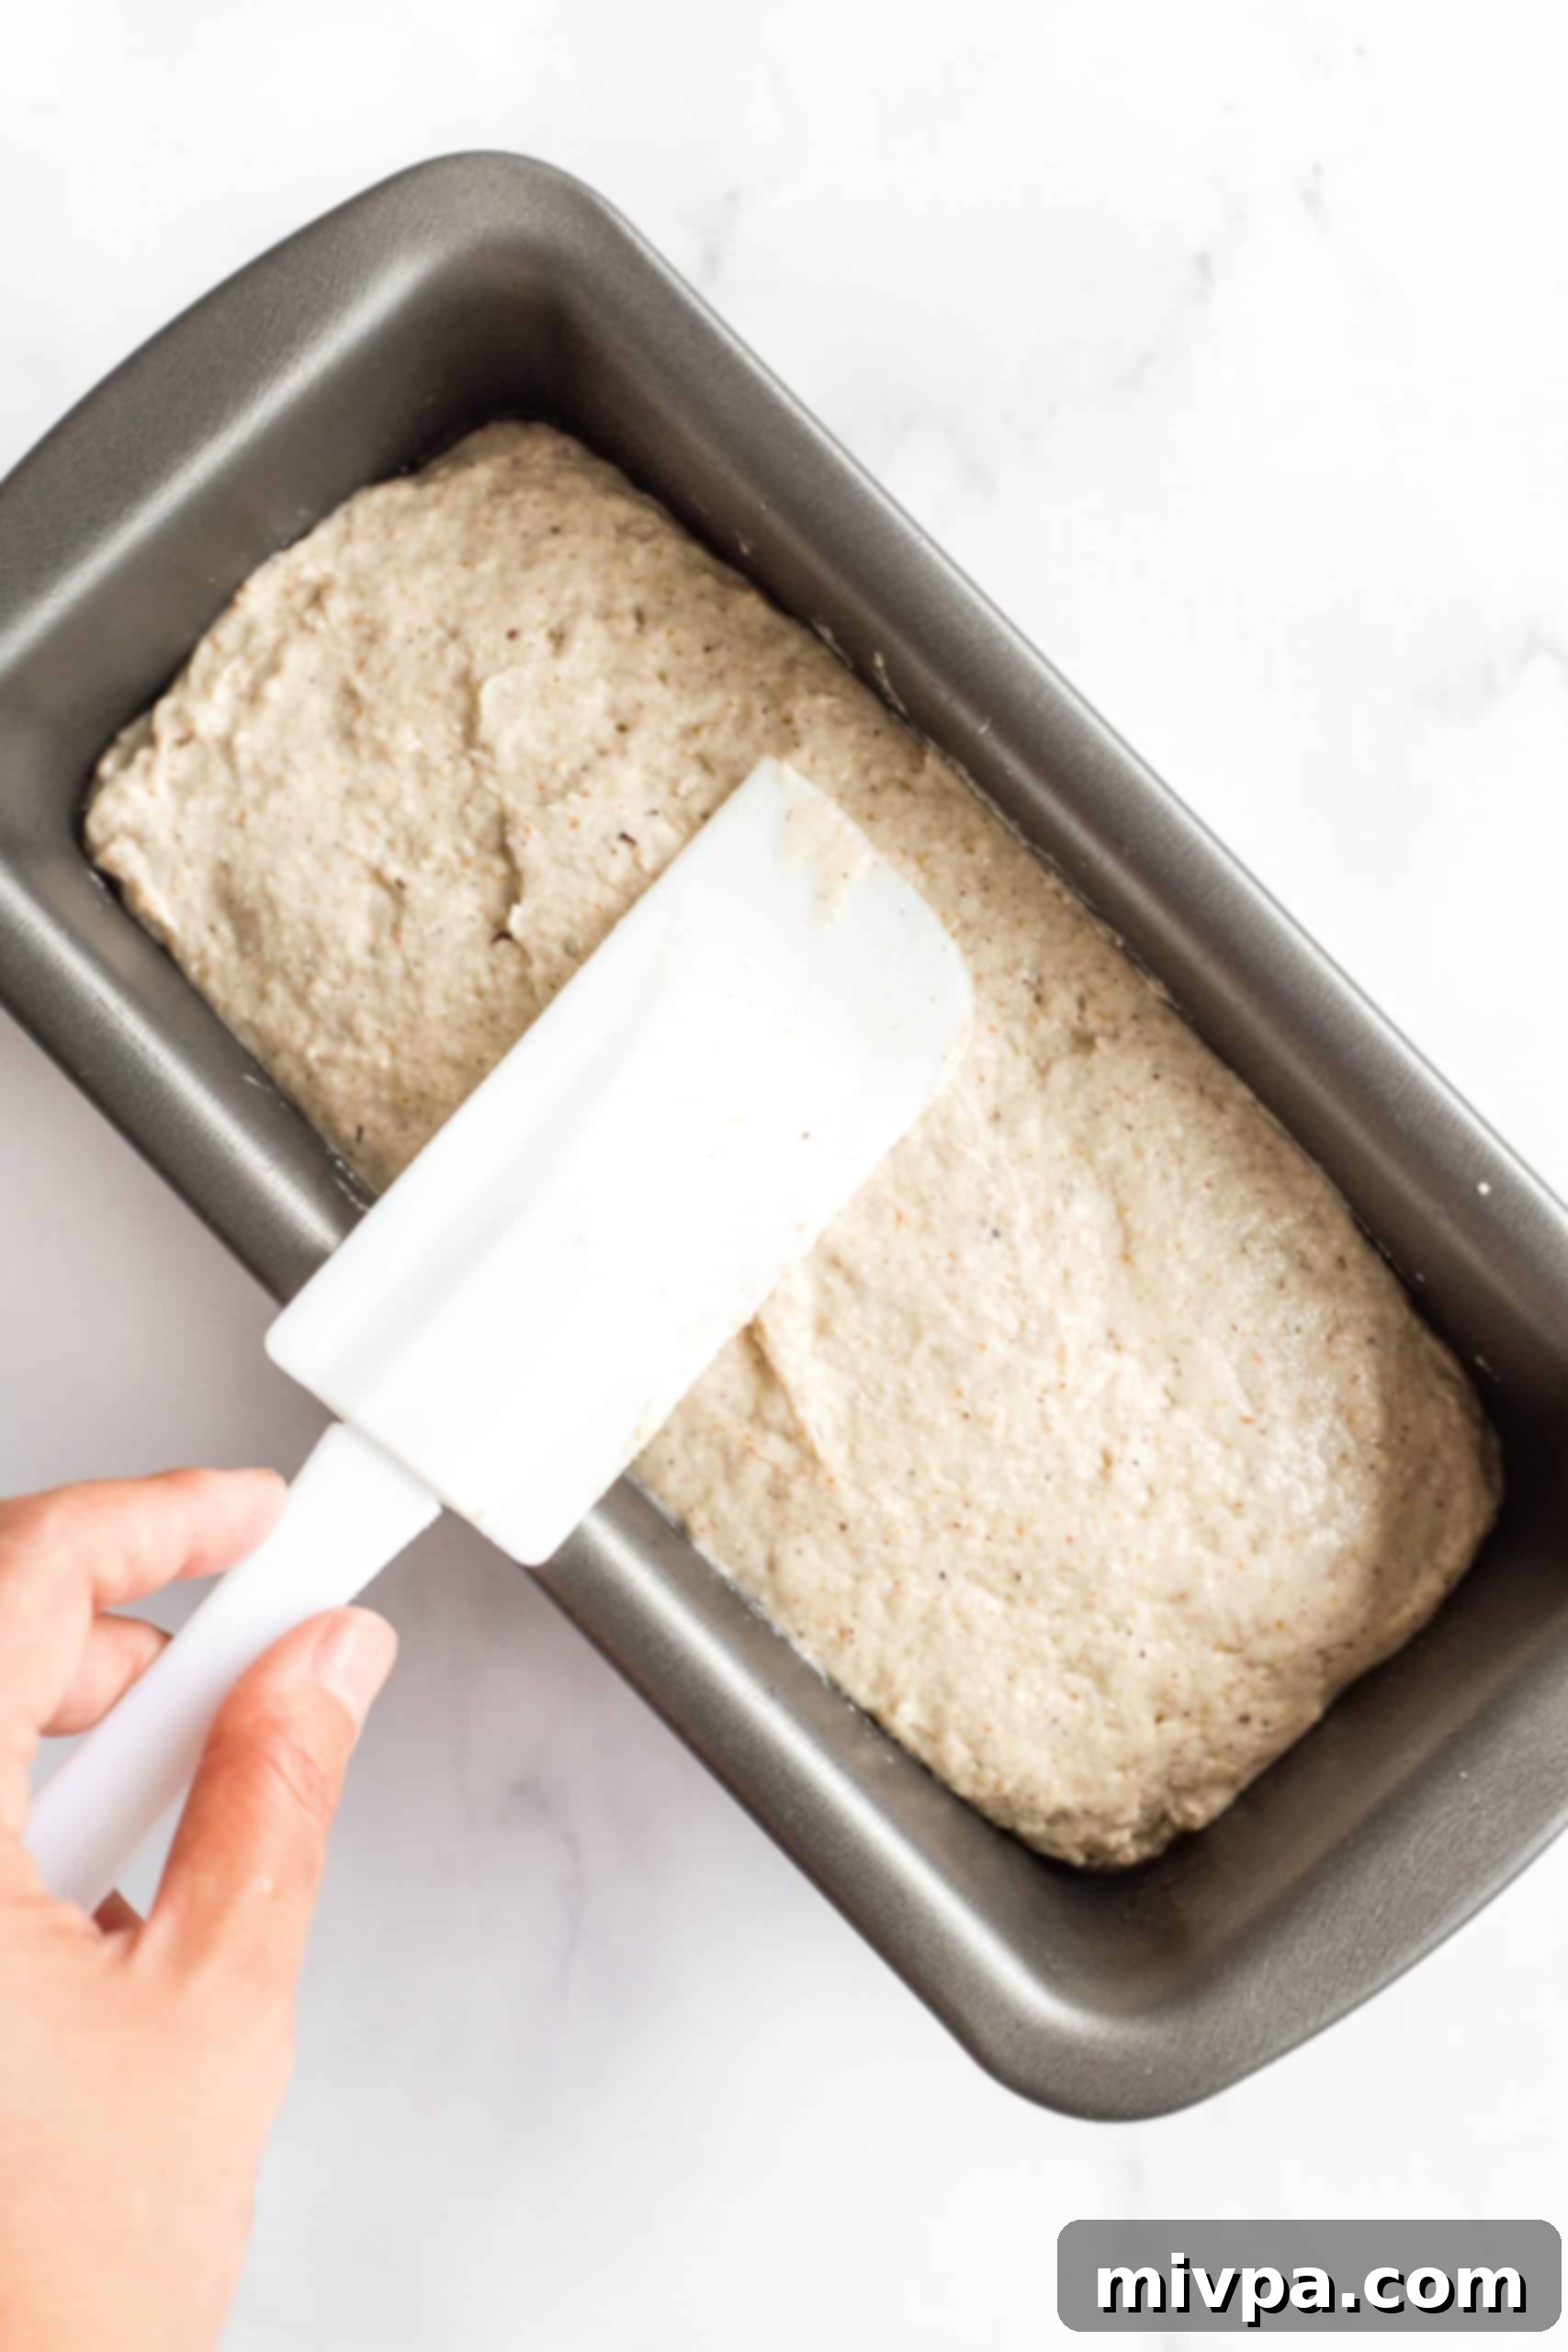
Carefully transfer the sticky buckwheat bread dough into your greased loaf pan. Use a wet spatula to gently smooth out the top surface of the dough. This step helps create a uniform crust and an even rise.
5. Allow the Dough to Rise
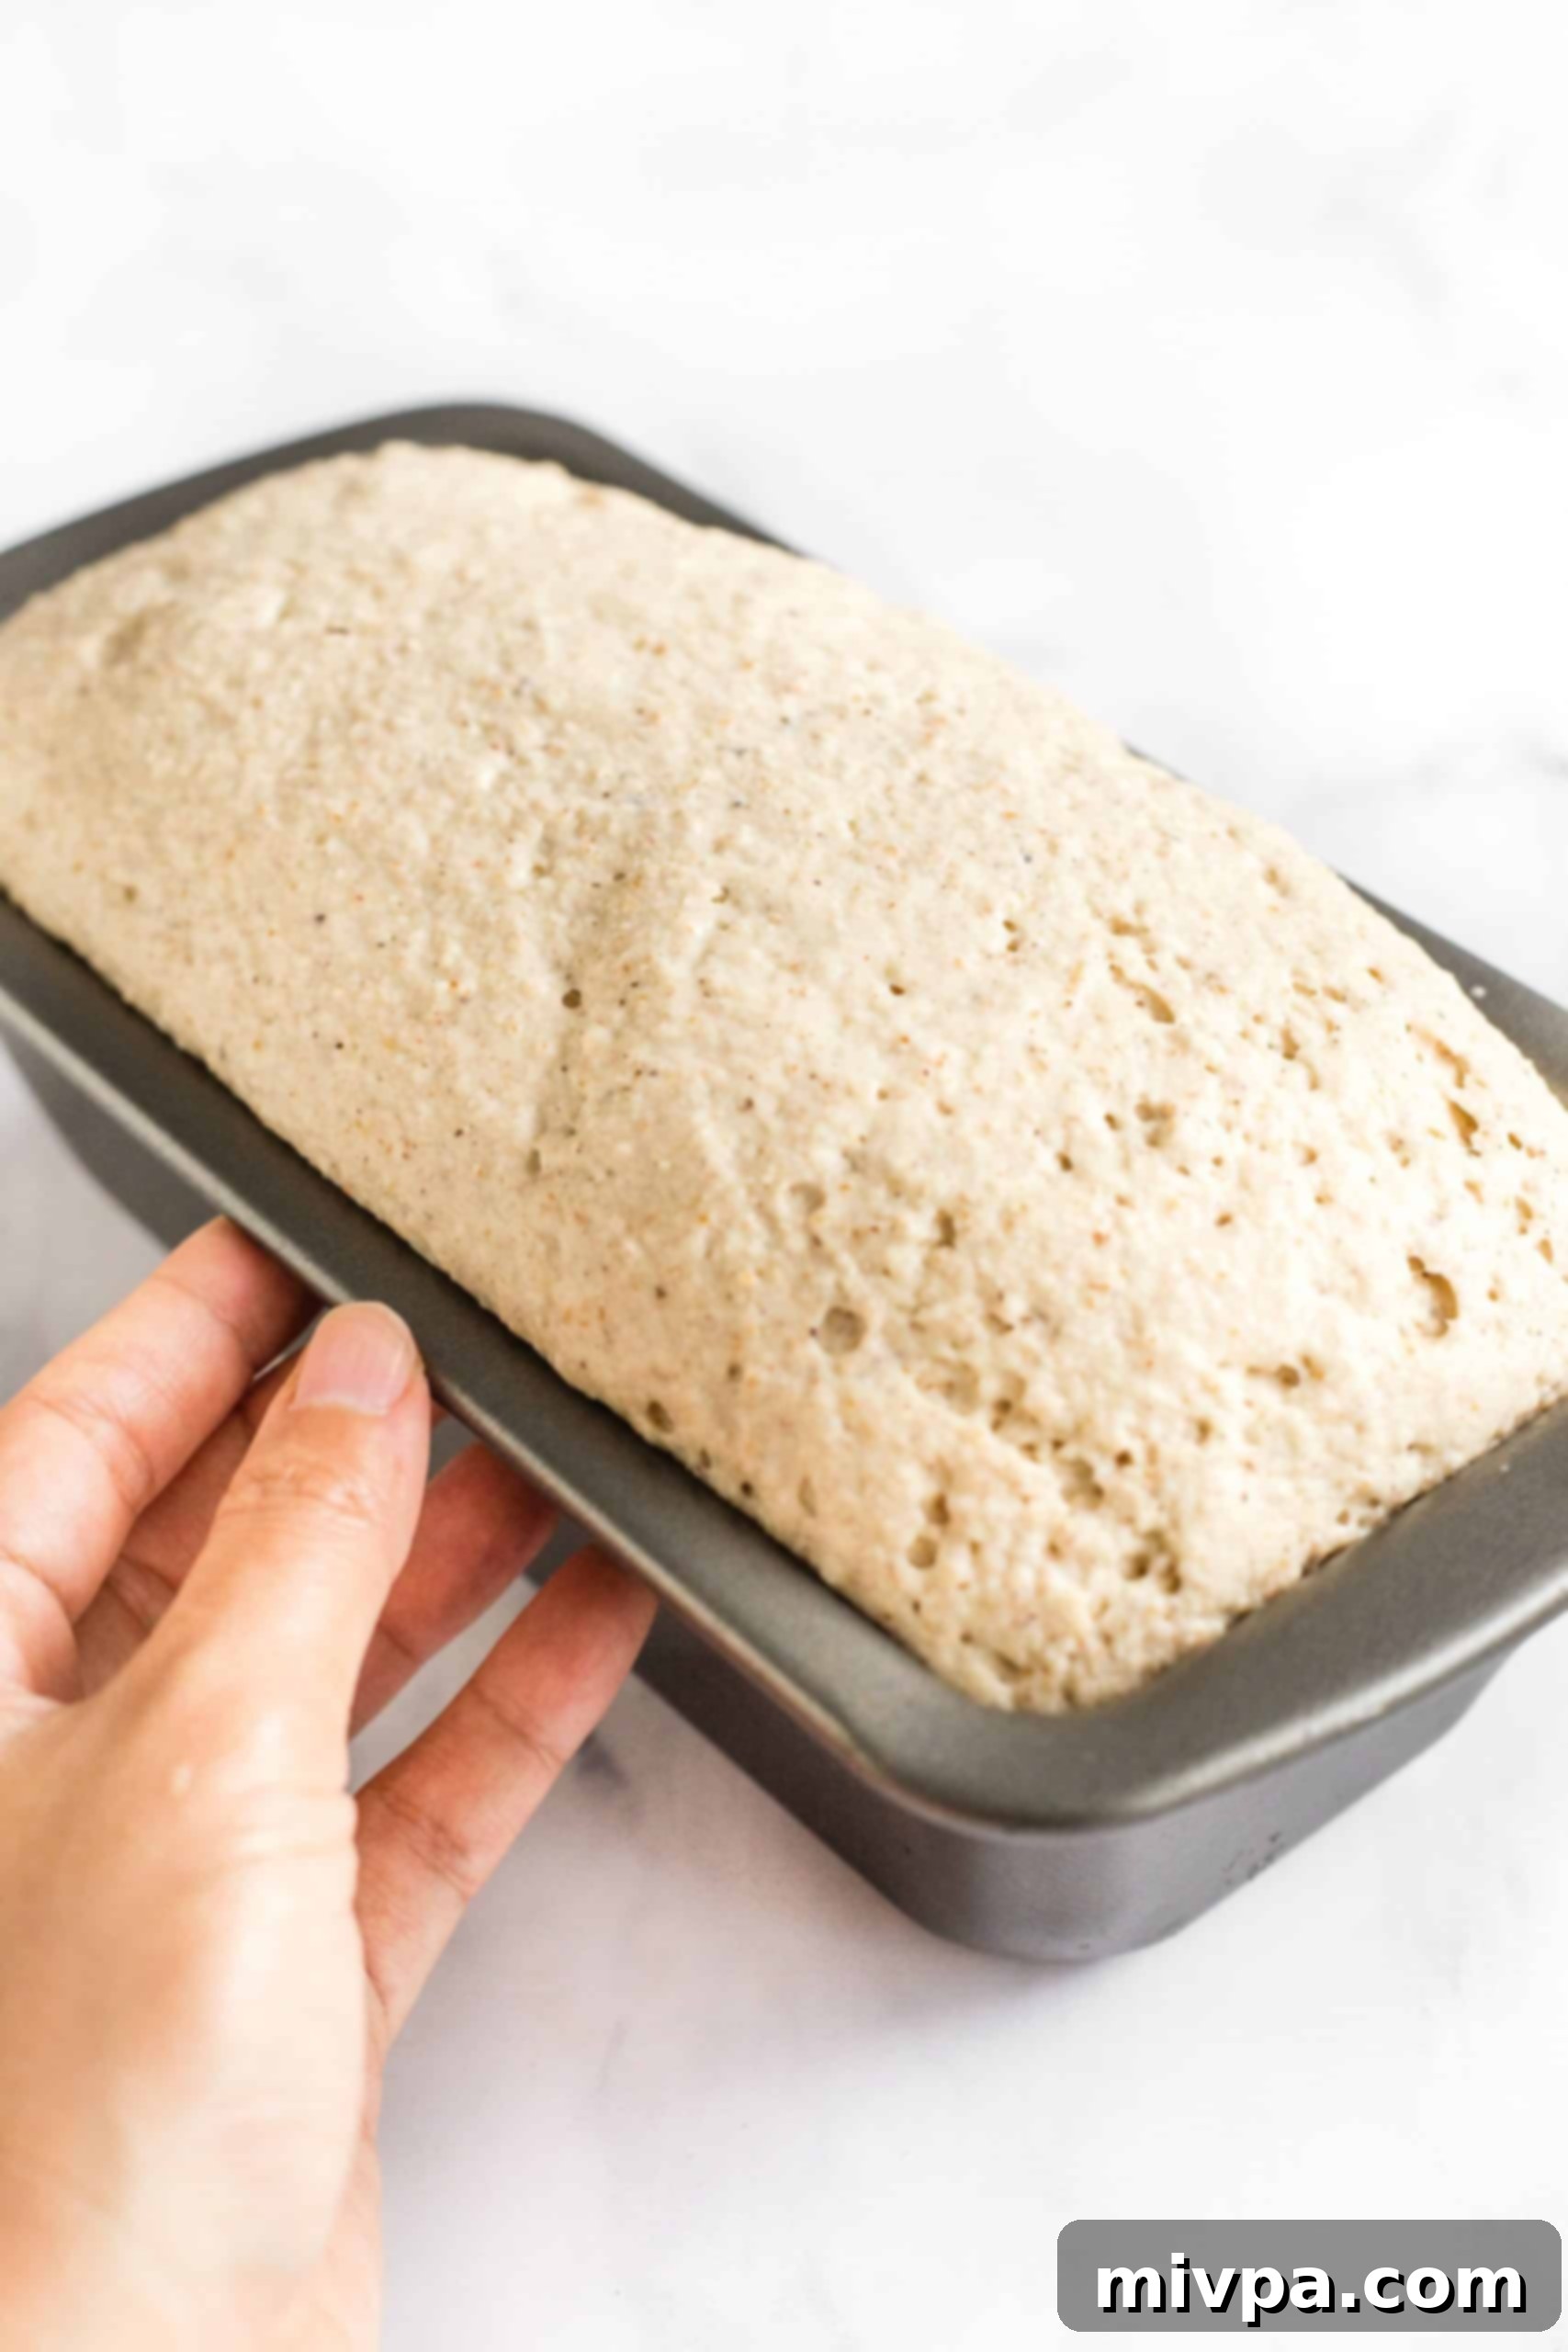
Cover the loaf pan with a clean kitchen towel and place it in a warm, draft-free location. Let the dough rise for about 30 minutes, or until it has noticeably doubled in size. This crucial step allows the yeast to work its magic, creating a light and airy texture.
6. Bake to Perfection
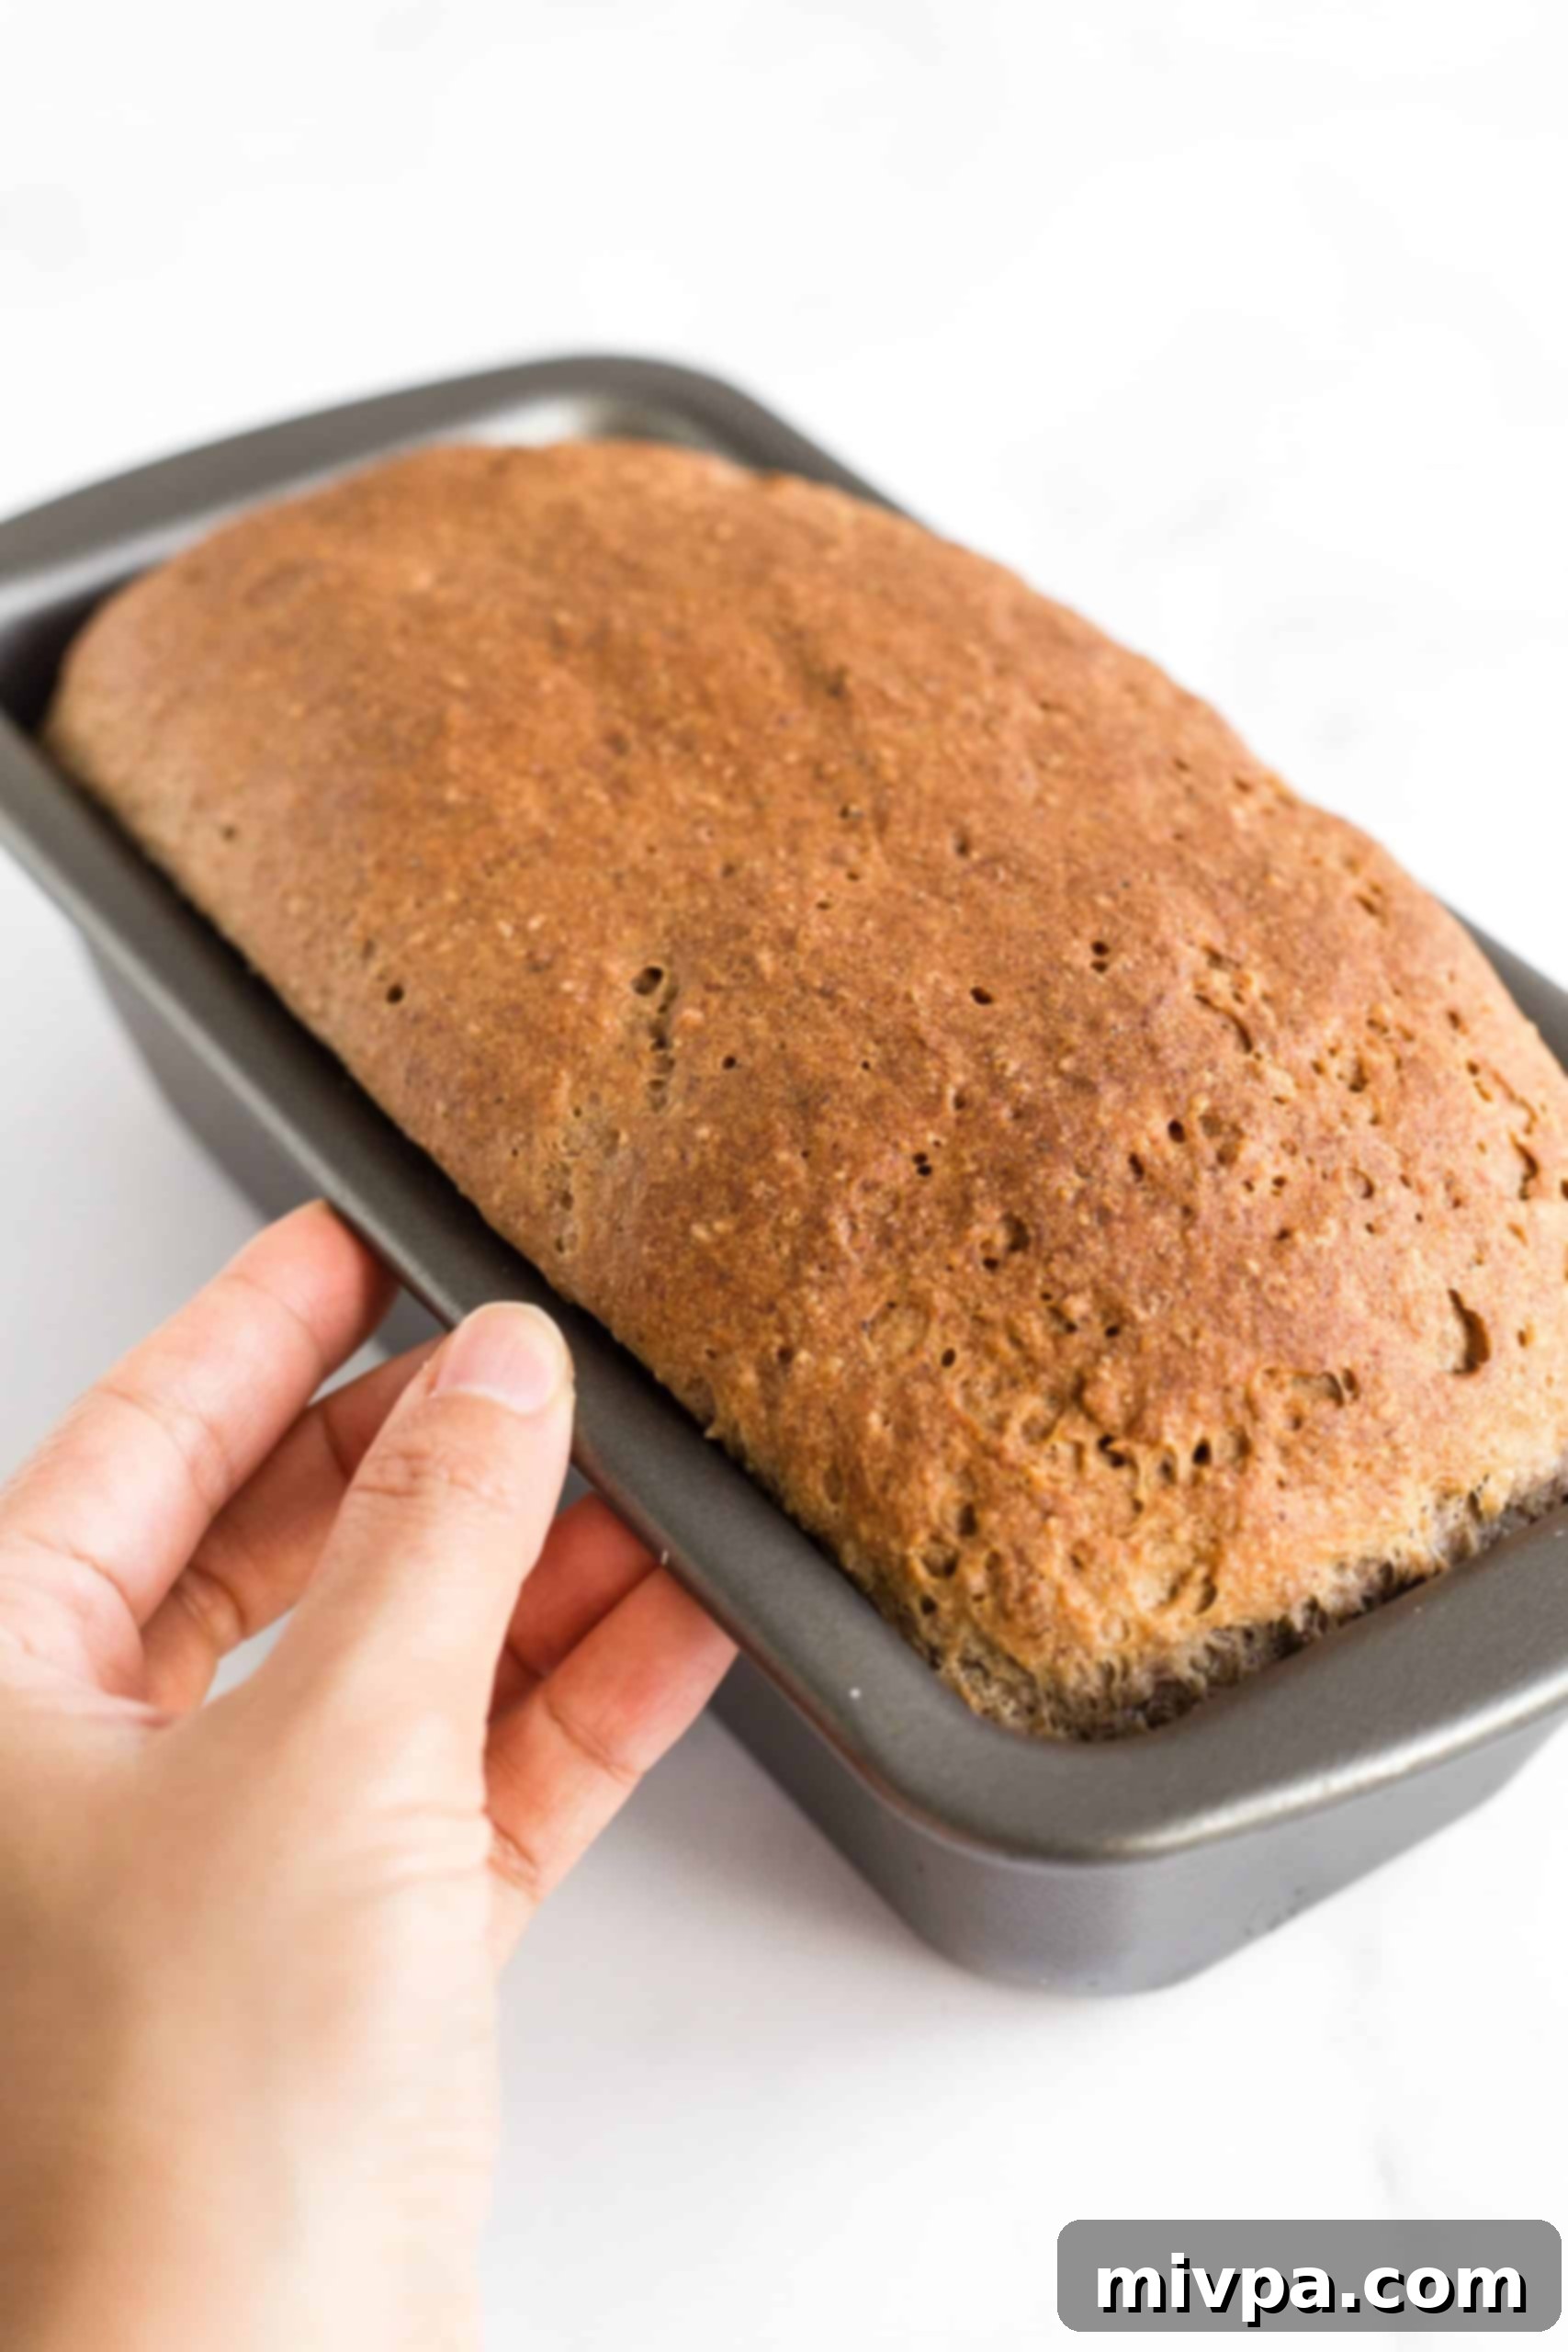
Transfer the risen loaf to your preheated oven and bake for 40 to 50 minutes. The bread is done when its top is a beautiful dark brown and it sounds hollow when gently tapped. This indicates it’s cooked through and has developed a sturdy crust.
7. Cool Thoroughly
Once baked, remove the loaf from the oven and let it cool in the pan for at least 10 minutes. This initial cooling period helps the bread set. Then, carefully transfer it to a wire rack to cool completely. This full cooling process is essential for the bread’s internal structure to stabilize and for the crust to soften to the perfect texture.
8. Slice and Savor!
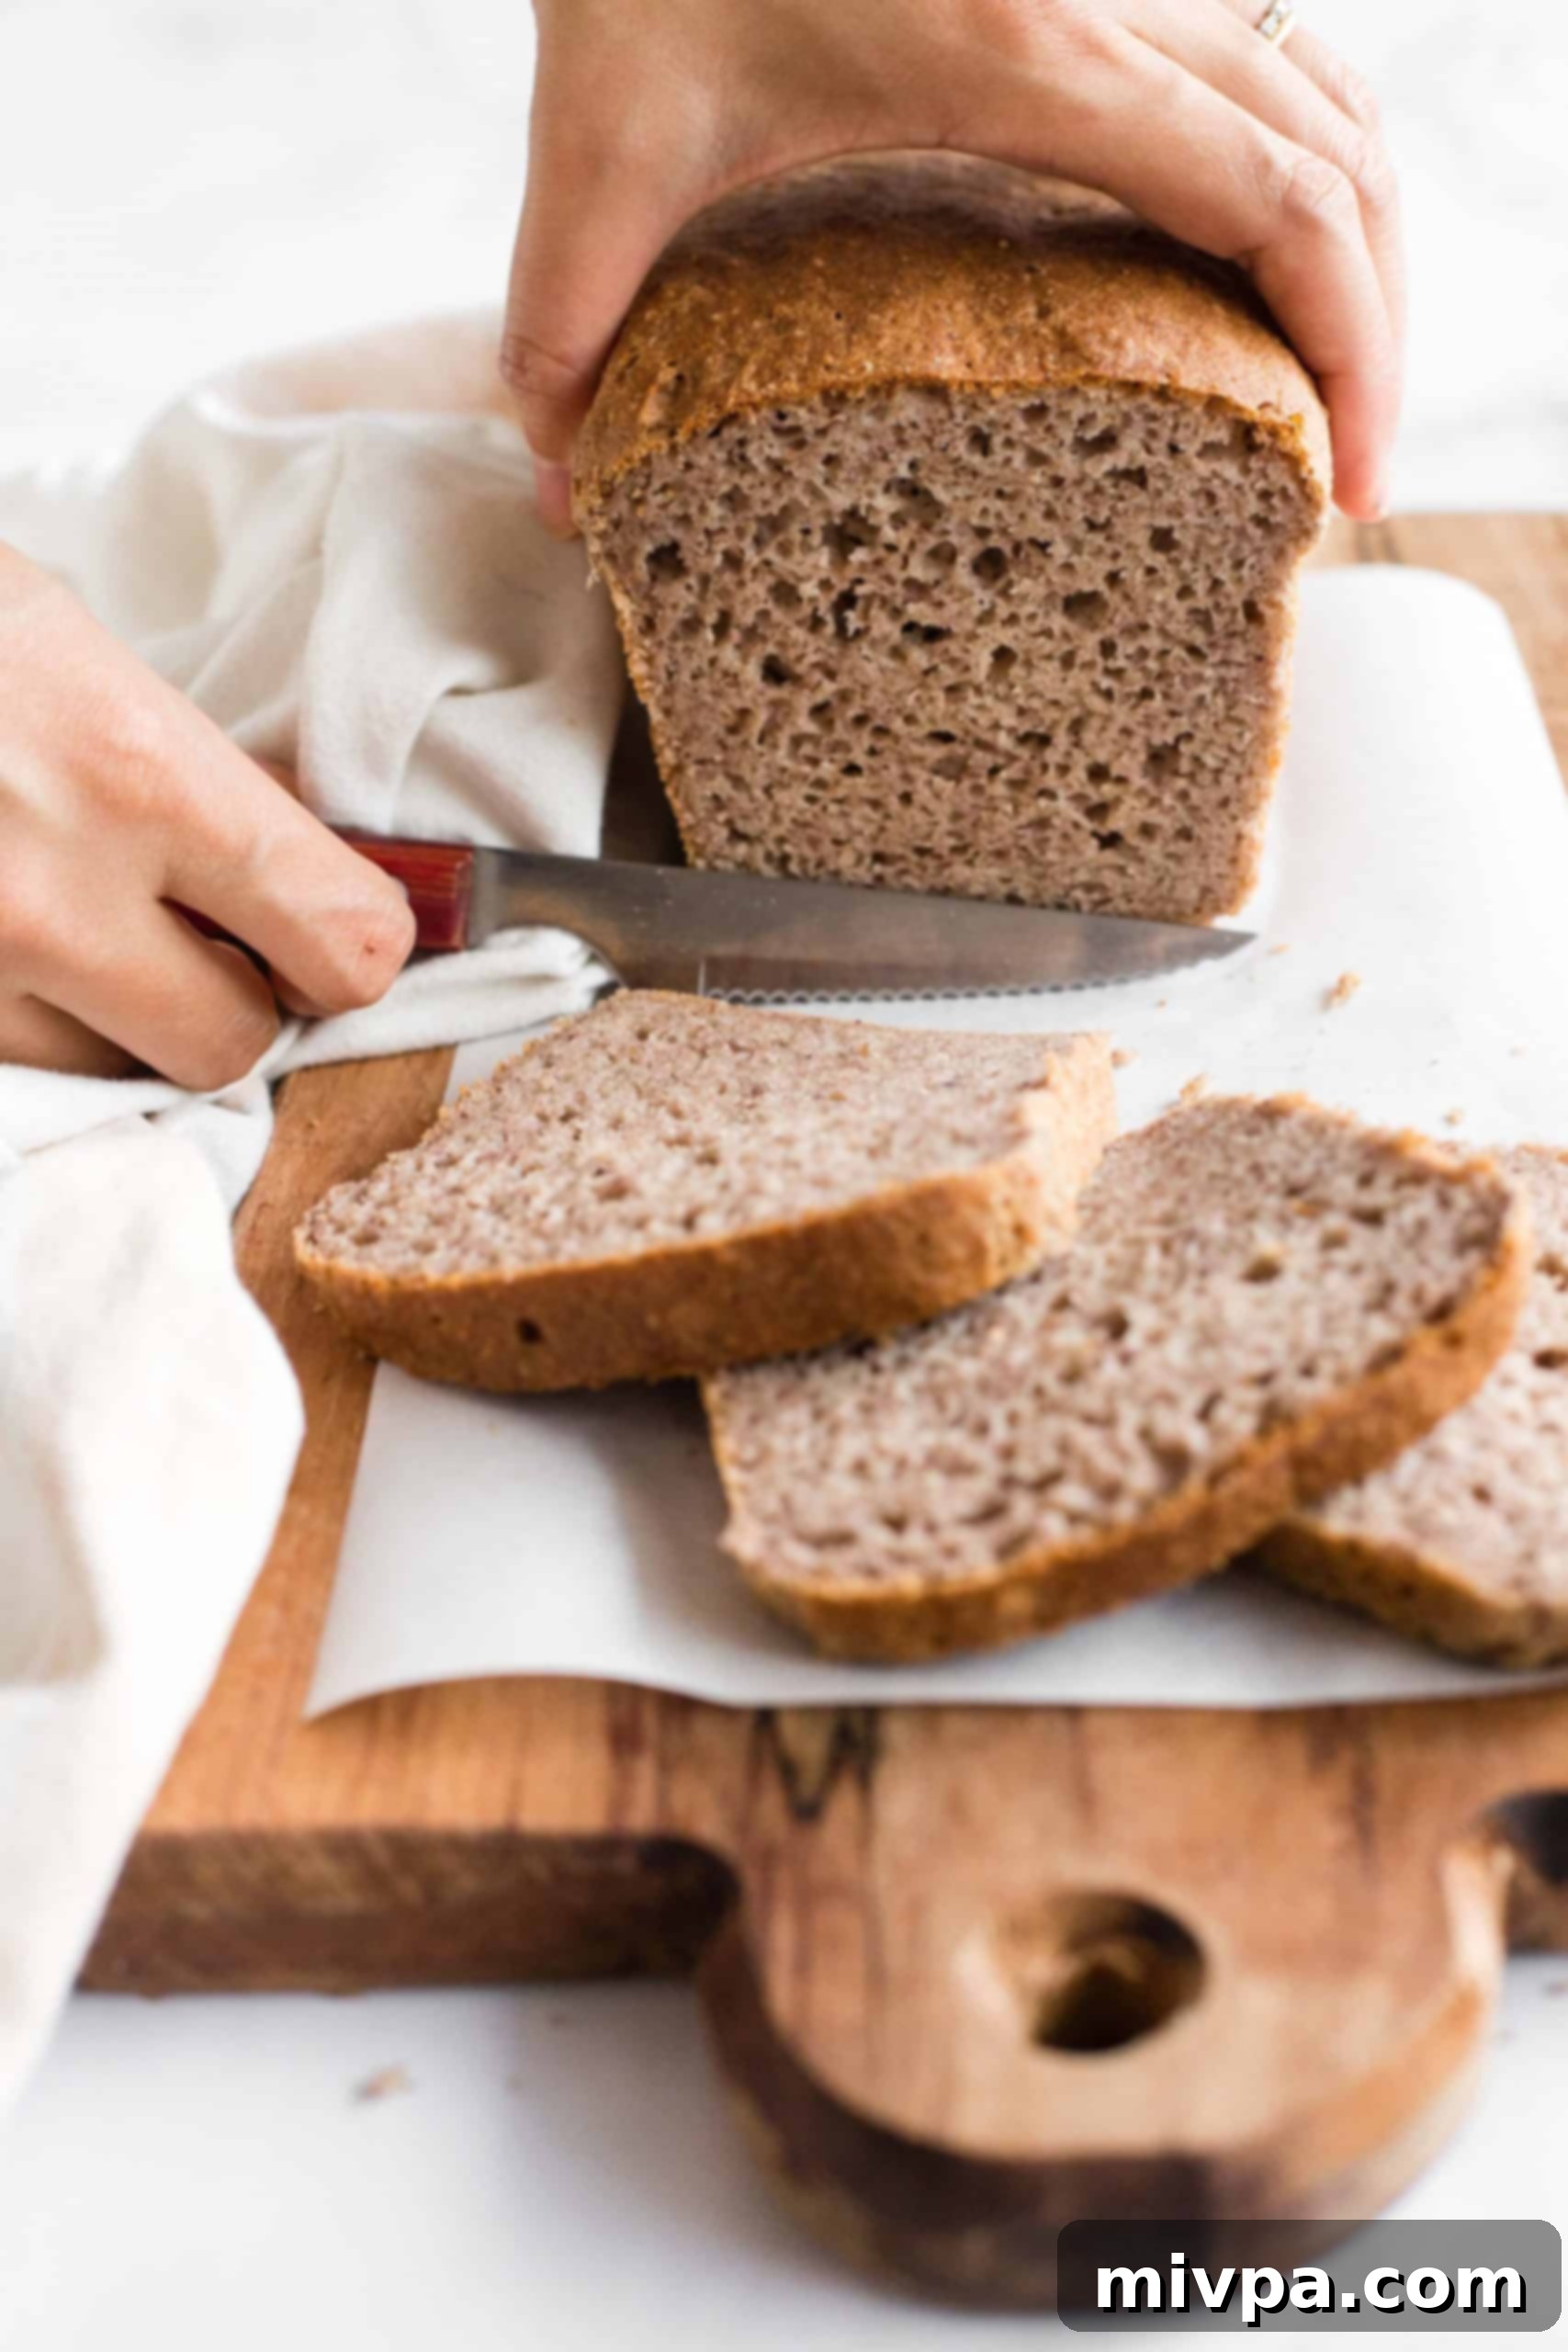
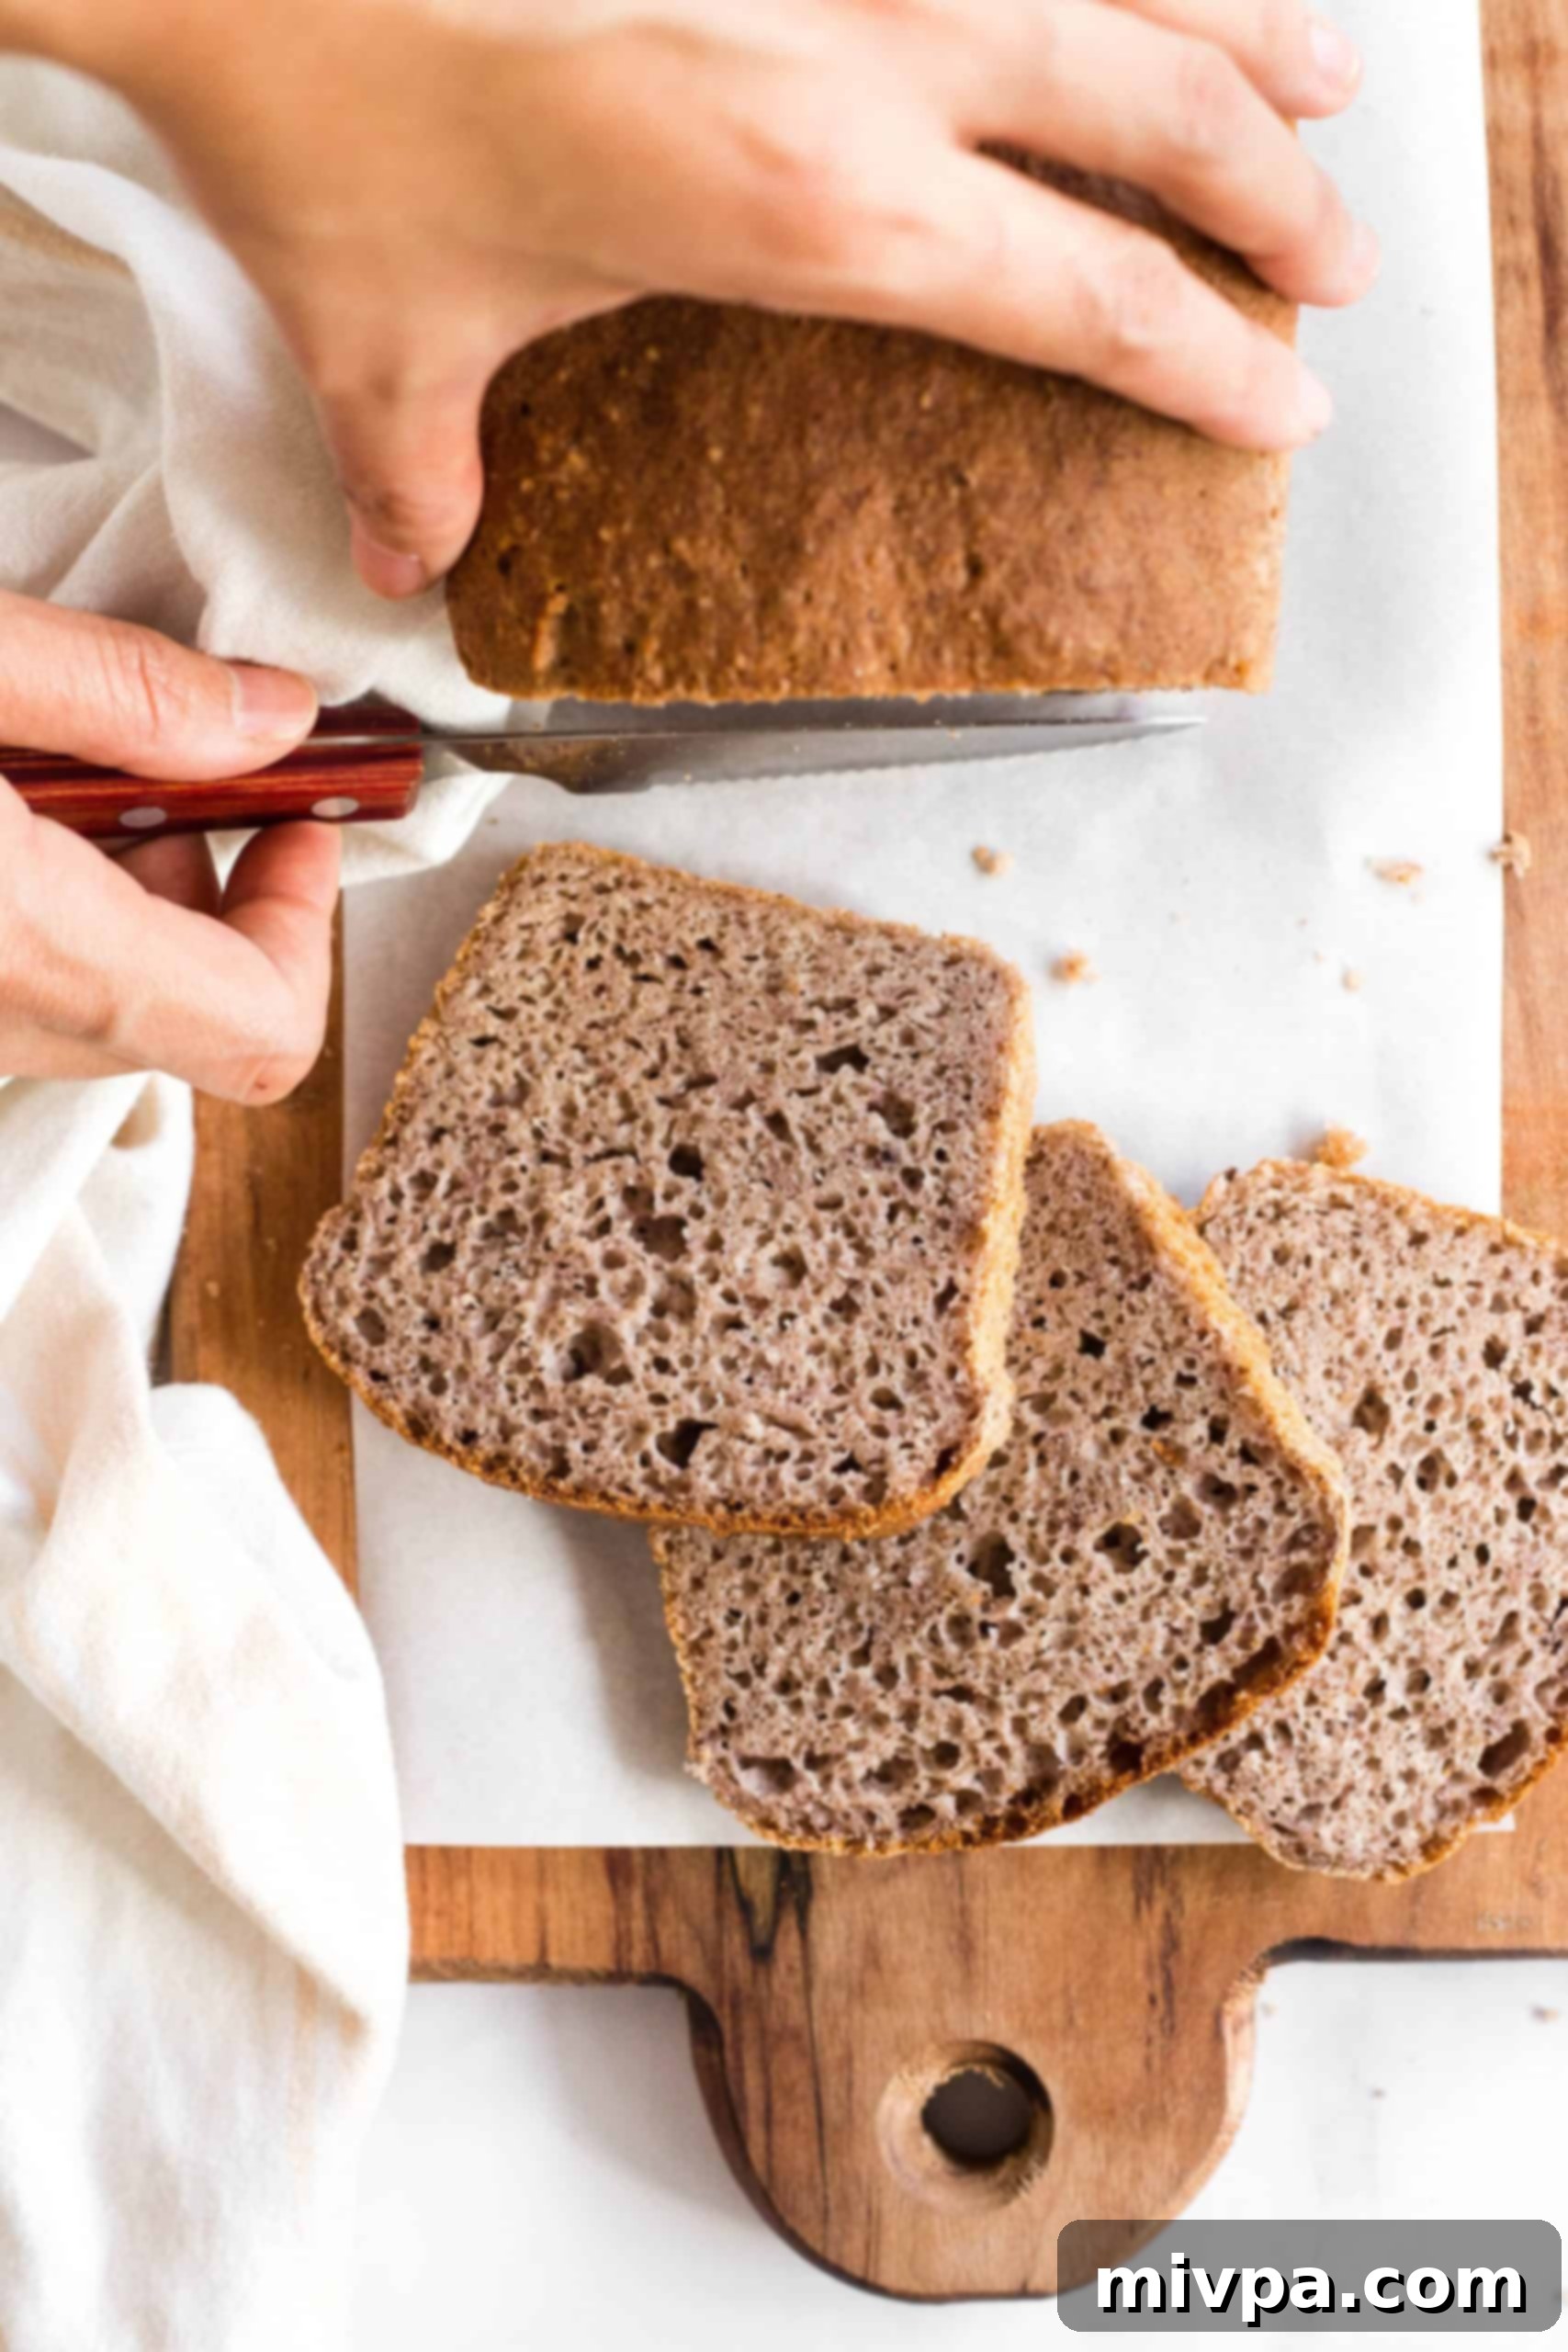
Only slice into your delicious buckwheat bread once it has cooled entirely. Using a serrated knife will give you clean, even slices without squishing the tender crumb. Now, it’s time to enjoy your homemade gluten-free masterpiece!
Dish by Dish Tips & Tricks for Perfect Buckwheat Bread
- Patience is Key: Cool Completely: This is perhaps the most important tip for any homemade bread, especially gluten-free varieties. Allowing the buckwheat bread to cool completely before slicing is crucial. The bread continues to “cook” with residual heat inside the loaf even after it’s removed from the oven. Slicing too early can result in a gummy texture and crumbly slices. While the crust might feel hard right out of the oven, it will soften beautifully as it cools, making it much easier to slice neatly.
- The Right Tool: Use a Serrated Knife: To achieve perfectly clean slices without compressing your delicate gluten-free buckwheat bread, always use a serrated bread knife with ridged edges. A smooth-edged knife will tend to flatten and tear the bread, especially while it’s still slightly warm.
- Optimal Storage for Freshness: Once your loaf has completely cooled, store it in an airtight container at room temperature for up to 3 days, or in the refrigerator for up to a week. For longer storage, see our freezing tips below. You can also pre-slice the loaf and store slices in a freezer-safe bag, making it easy to grab and toast individual portions.
- Reheating & Serving Suggestions: This bread is fantastic toasted! A quick toast brings out its flavor and restores a lovely crispness to the crust. Serve it simply with butter or your favorite spreads. It also makes an excellent base for savory sandwiches or sweet treats like cinnamon toast.
Frequently Asked Questions About Buckwheat Bread
To maintain the freshness and texture of your delicious buckwheat bread, ensure the loaf is completely cooled before storing. Place the cooled loaf in an airtight container or a bread bag to prevent it from drying out, then store it in the refrigerator for up to a week. For best results, avoid storing it in overly humid environments.
Absolutely! This gluten-free buckwheat flour bread freezes beautifully, allowing you to enjoy homemade goodness whenever you wish. Once the loaf has cooled completely, wrap it tightly in plastic wrap, then place it in a freezer-safe bag or aluminum foil. It can be frozen for up to 3 months. When you’re ready to enjoy it, simply let the loaf thaw completely overnight in the refrigerator. After thawing, you can slice and toast it, or gently warm it in the oven for that “freshly baked” experience.
Several factors can lead to a dense loaf. Ensure your yeast is fresh and active, and that your water temperature is correct (105-110F). Too hot will kill the yeast, too cold won’t activate it. Also, make sure to measure your flours accurately, preferably by weight, as too much flour can make the dough heavy. Lastly, avoid overmixing the dough after adding wet ingredients; mix until just combined.
More Irresistible Yeast Bread Recipes You’ll Love
- Soft Fluffy Gluten-Free Bread (Dairy-Free)
- Soft Fluffy Dinner Rolls (Gluten-Free, Dairy-Free)
- Rosemary Focaccia Bread (Gluten-Free, Dairy-Free)
- Easy Gluten-Free Pizza Crust (Dairy-Free)
- Gluten-Free No Knead Bread (Dairy-Free)
Even More Delightful Bread Recipes to Explore
- Gluten-Free Chocolate Chip Pumpkin Bread (Dairy-Free)
- Easy Gluten-Free Drop Biscuits (Dairy-Free)
- Gluten-Free Vegan Bagels (Chewy and Tender!)
- Egg-Free Gluten-Free Bread (So Tender!)
P.S. If you bake this incredibly soft and fluffy buckwheat bread, I would absolutely love to hear from you! Please consider leaving a star rating below and/or sharing your thoughts in the comment section further down the page. Your feedback is invaluable and always appreciated. Don’t forget to explore my entire Recipe Index for more delicious inspiration. You can also connect with me on Pinterest, Facebook, or Instagram! Sign up for my Email List to receive fresh, new recipes directly in your inbox each week!
Print

Soft, Fluffy Buckwheat Bread (Gluten-Free, Dairy-Free)
5 Stars 4 Stars 3 Stars 2 Stars 1 Star
4.7 from 43 reviews
Author: Felicia Lim
Total Time: 1 hour 20 minutes
Yield: 1 loaf
Diet: Gluten Free
Description
This super easy buckwheat bread is incredibly soft, fluffy and tender, and tastes delicious with a texture and look that’s uncannily similar to whole wheat bread! Totally gluten-free and dairy-free too, but you wouldn’t even know! We love making avocado toast with it, or spreading plenty of jam or honey all over. No matter how you eat it, it’s sure to be a favorite!
Ingredients
Units
Scale
- 1 3/4 cup gluten-free all-purpose flour
- 1 teaspoon xanthan gum (leave this out if your flour blend already includes it)
- 1/2 cup buckwheat flour
- 1/4 cup psyllium husk powder
- 1 teaspoon baking powder
- 2 1/4 teaspoons instant yeast
- 2 tablespoons sugar
- 1 teaspoon salt
- 1/3 cup vegetable oil
- 1 teaspoon apple cider vinegar
- 1 1/2 cups warm water (approx. 105 to 110F)
- 2 large eggs, beaten (room temperature)
Instructions
- Grease and Preheat: Grease a 9″x4″ nonstick metal loaf pan with oil and preheat the oven to 350F. Arrange the oven rack to the middle position.
- Combine Dry Ingredients: In a large mixing bowl, whisk the gluten-free all-purpose flour, xanthan gum (if using), buckwheat flour, psyllium husk, baking powder, salt, instant yeast, and sugar together.
- Add Wet Ingredients: Add the vegetable oil, apple cider vinegar, warm water, and mix well until combined. Add the beaten eggs and mix for another minute until you get a dough that resembles thick cake batter (the dough will be sticky and wet, but that’s perfectly fine).
- Transfer Dough to Pan: Transfer the dough to the prepared loaf pan and smooth out the top with a wet spatula.
- Let Dough Rise: Cover the pan with a kitchen towel and let it rise for the next 30 minutes in a warm, draft-free place until it has roughly doubled in size.
- Bake: Bake for 40 to 50 minutes until the bread is dark brown on top and sounds hollow when tapped.
- Cool Completely: Let the loaf cool for at least 10 minutes in the pan, before removing and cooling fully on a wire rack.
- Slice and Enjoy: Use a serrated knife to slice once the bread is totally cool and enjoy!
Notes
Gluten-Free All-Purpose Flour: I highly recommend that you use a good quality gluten-free all-purpose flour blend that is made of lighter flours and starches such as rice flour, corn starch, or tapioca starch and that includes xanthan gum. I do NOT recommend using flour blends that include heavier flours such as garbanzo bean flour which tend to result in a denser final texture.
Xanthan Gum: Xanthan gum acts as a replacement for gluten in many gluten-free recipes, and is necessary for binding the ingredients together. If your gluten-free flour blend does not include it, make sure you add this in.
Buckwheat Flour: Since this is a buckwheat bread recipe, buckwheat flour is essential. You can either make your own 5-minute homemade buckwheat flour, or buy it online. If you would like to make this bread with another type of whole grain flour such as millet flour, amaranth flour, or quinoa flour, feel free to replace the buckwheat flour in a 1:1 ratio of the flour you wish to replace it with.
Psyllium Husk Powder: In this recipe, the psyllium husk powder helps to better bind the ingredients as well as give the bread a whole wheat flavor. I do NOT recommend that you swap out the psyllium husk powder with any other ingredient.
Apple Cider Vinegar: The apple cider vinegar reacts with the baking powder in this recipe to help the bread rise even more. If you don’t have ACV on hand, you can also use white vinegar or wine vinegar in equal quantities.
Warm Water: I use water in this case because I find it easiest. But you can also use warm non-dairy milk such as almond milk or cashew milk if you want to add more flavor. If you are not lactose-intolerant, go ahead and use warm dairy milk instead. Make sure that the temperature is between 105 – 110F (the yeast requires the warmth to be activated, but if the liquid is too hot it may kill the yeast).
Eggs: Eggs give the bread more rise and taste. I personally haven’t tried making this bread with an egg-replacer, so I don’t know how that will go. However, if you do try it, I’d love to hear your thoughts!
Cool Completely: Allow the bread to cool completely before slicing into it as the bread will continue cooking with the residual heat in the loaf even after you remove it from the oven. When the bread is just baked, the crust will be hard, but after cooling down, it will be soft and easy to slice into.
Use a Serrated Knife: Make sure you use a serrated bread knife with ridged edges to slice the bread as a smooth-edged knife will cause the bread to be flattened.
Storing/Freezing: To store the bread, place the cooled loaf in an airtight container and store in the refrigerator for up to a week. To freeze, let the loaf cool completely and then wrap in plastic wrap and freeze for up to 3 months. Before using, let the loaf thaw completely overnight in the refrigerator before slicing and toasting.
- Prep Time: 35 mins
- Cook Time: 45 mins
- Category: Bread
- Method: Baking
- Cuisine: American
