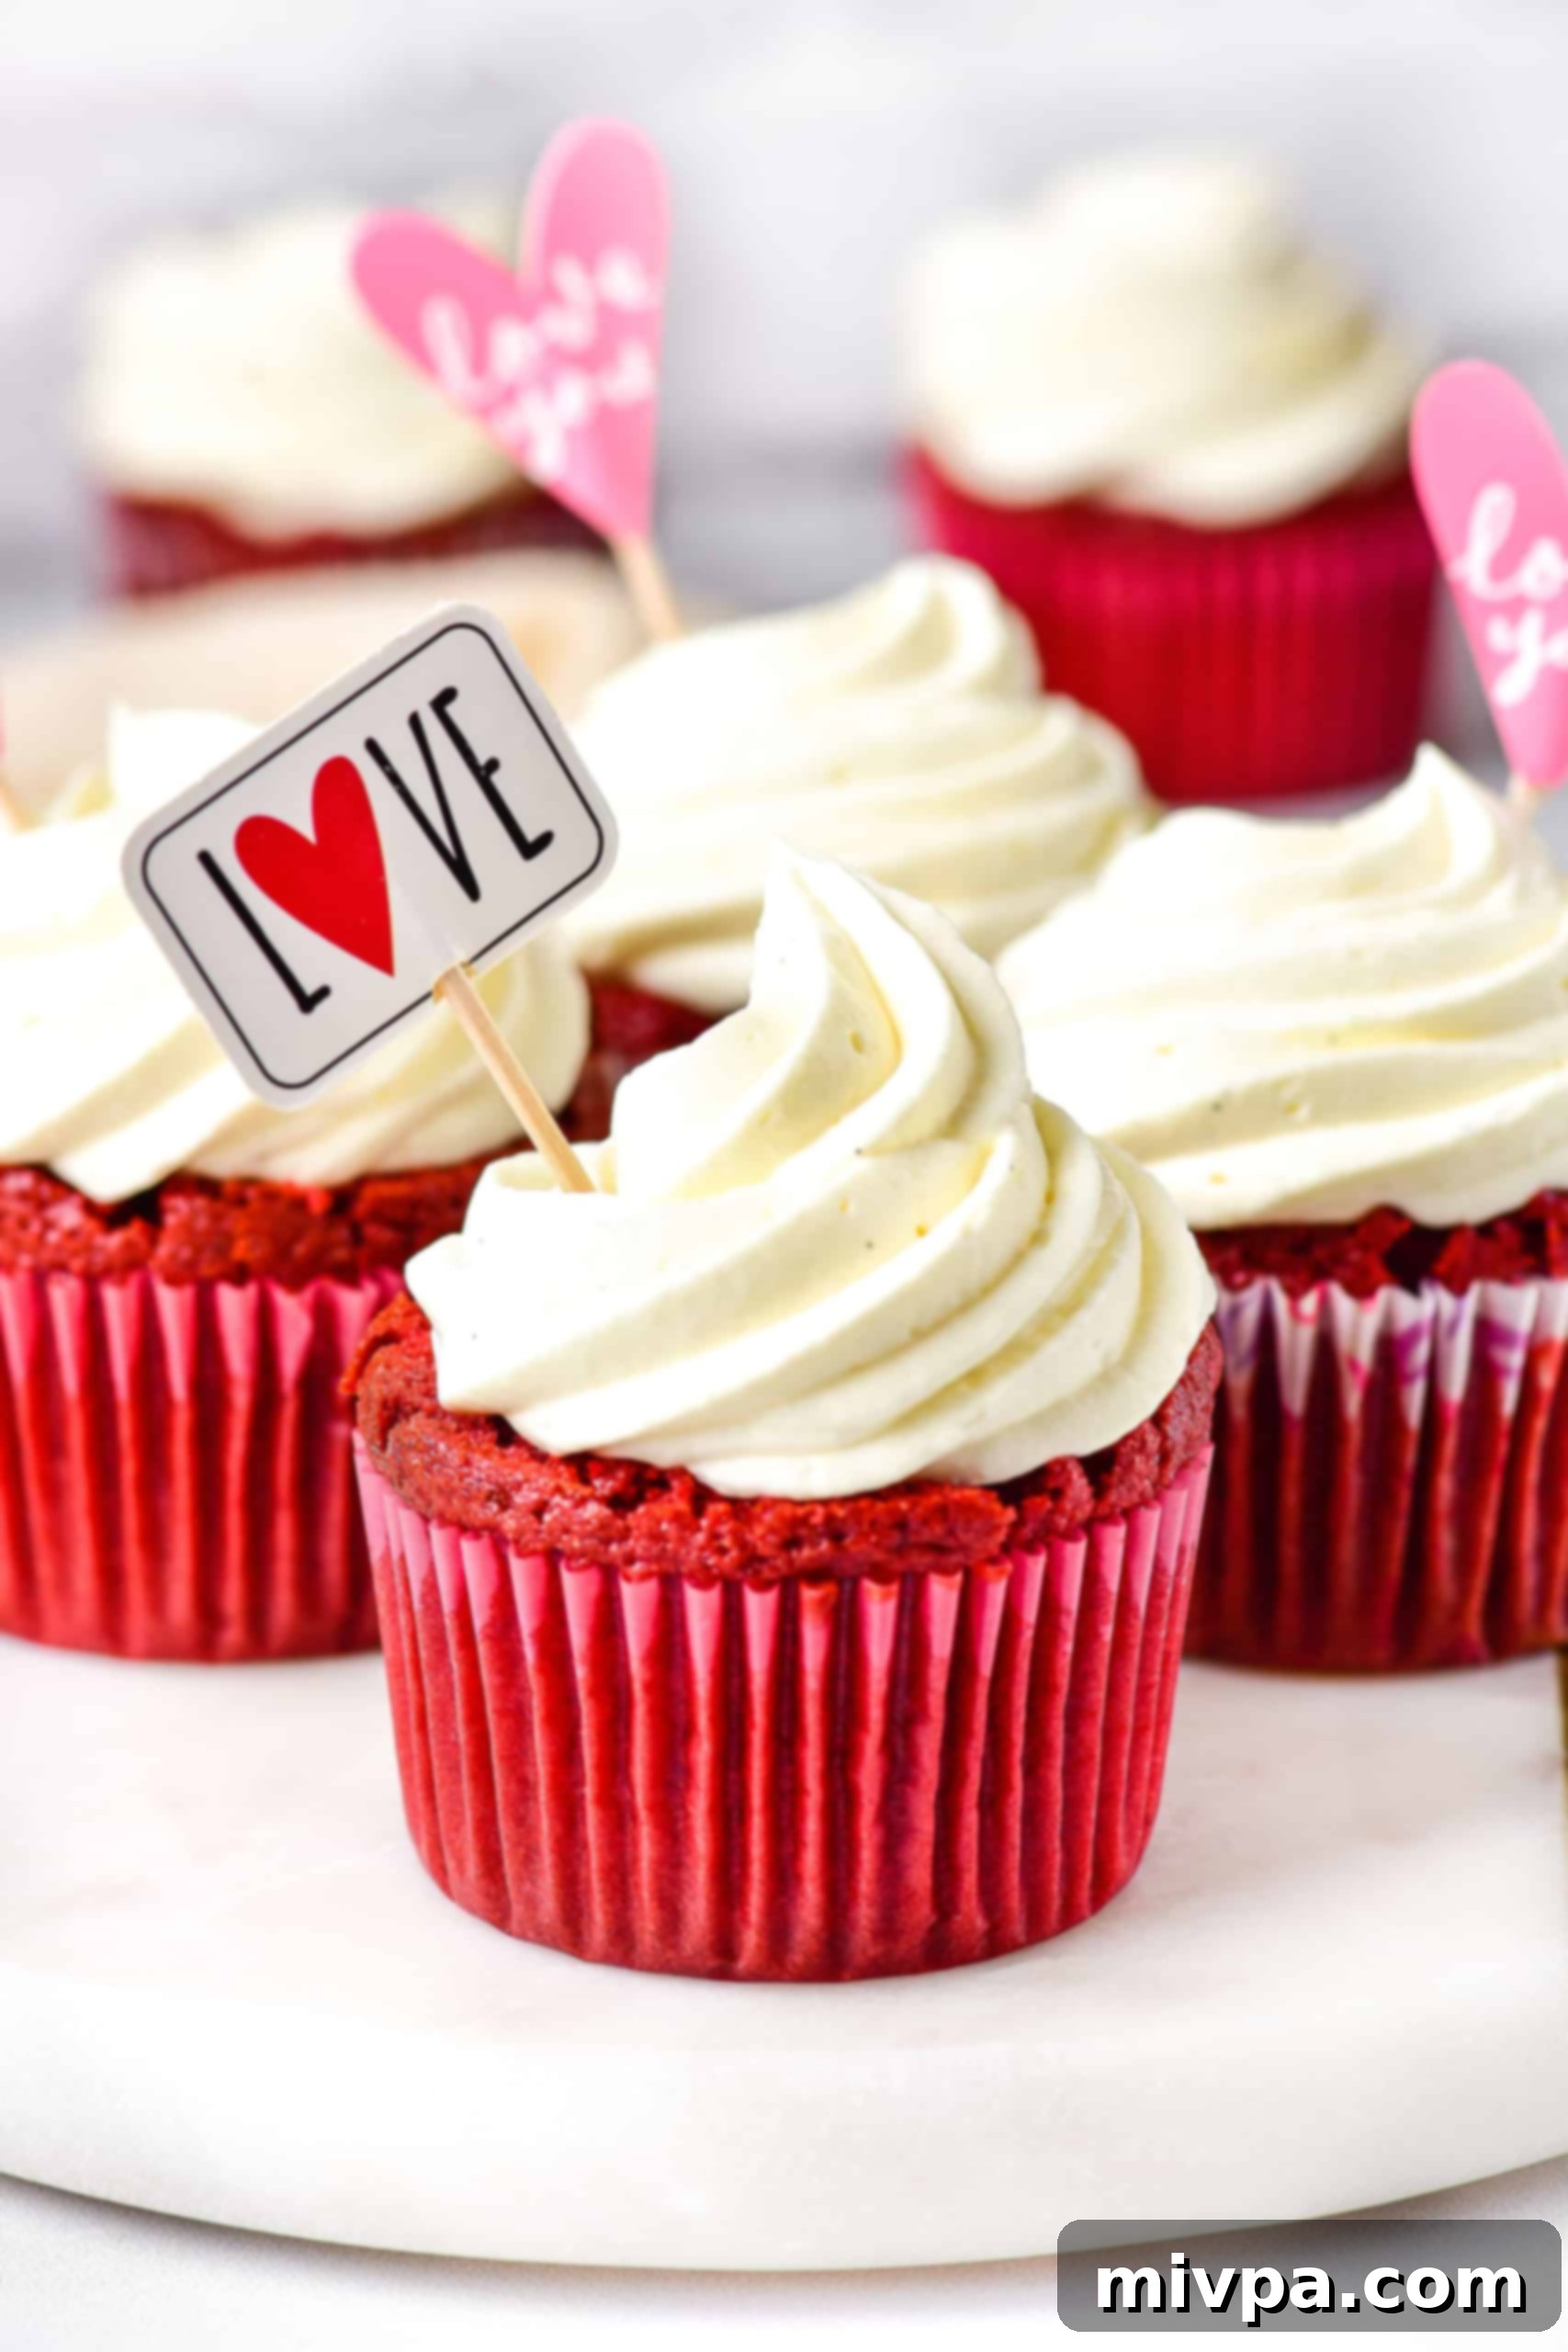
Indulge Guilt-Free: The Best Gluten-Free & Dairy-Free Red Velvet Cupcakes with Caramel Filling
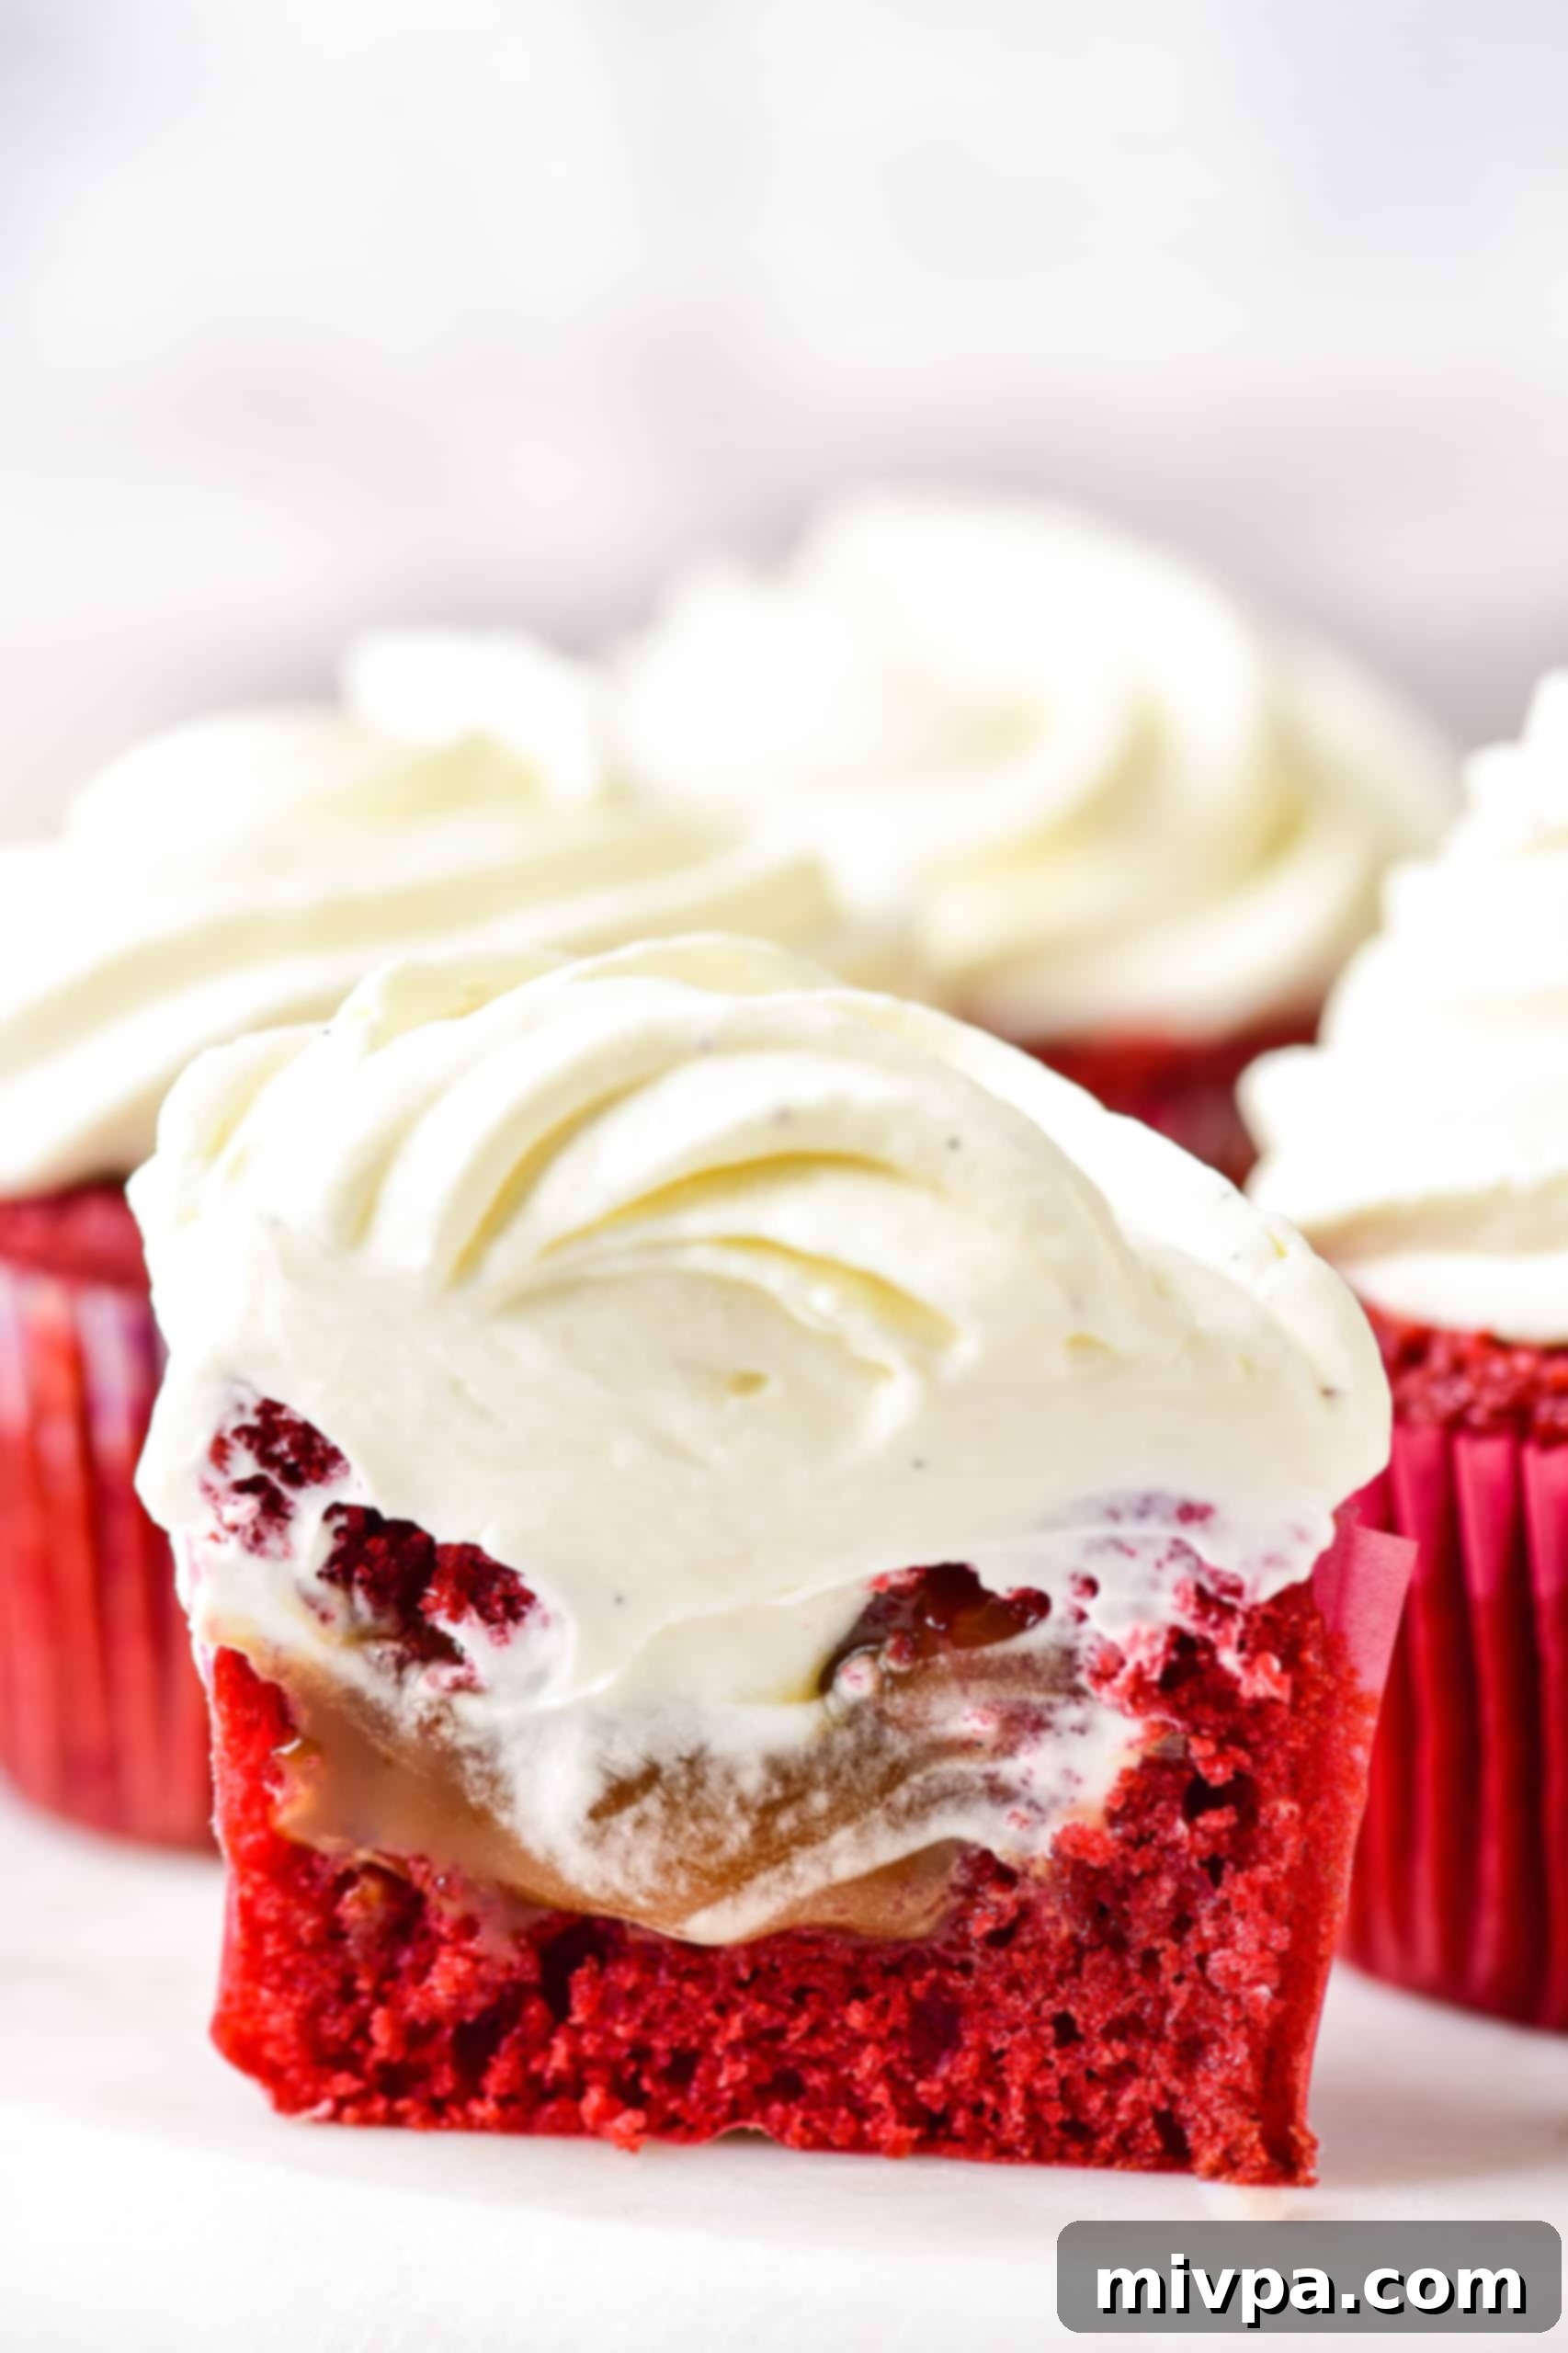
Prepare to be enchanted by these exceptionally tender and irresistibly fluffy gluten-free red velvet cupcakes. Each decadent treat features a luscious caramel filling and is crowned with a light, creamy dairy-free cream cheese frosting. The best part? They’re completely dairy-free, but you’d never guess it! These vibrant red beauties are the perfect dessert or delightful snack for any special occasion, from Valentine’s Day and Easter to Mother’s Day, Christmas, birthdays, or even baby showers. Don’t wait—bake a batch (or two!) today and savor every delicious bite.
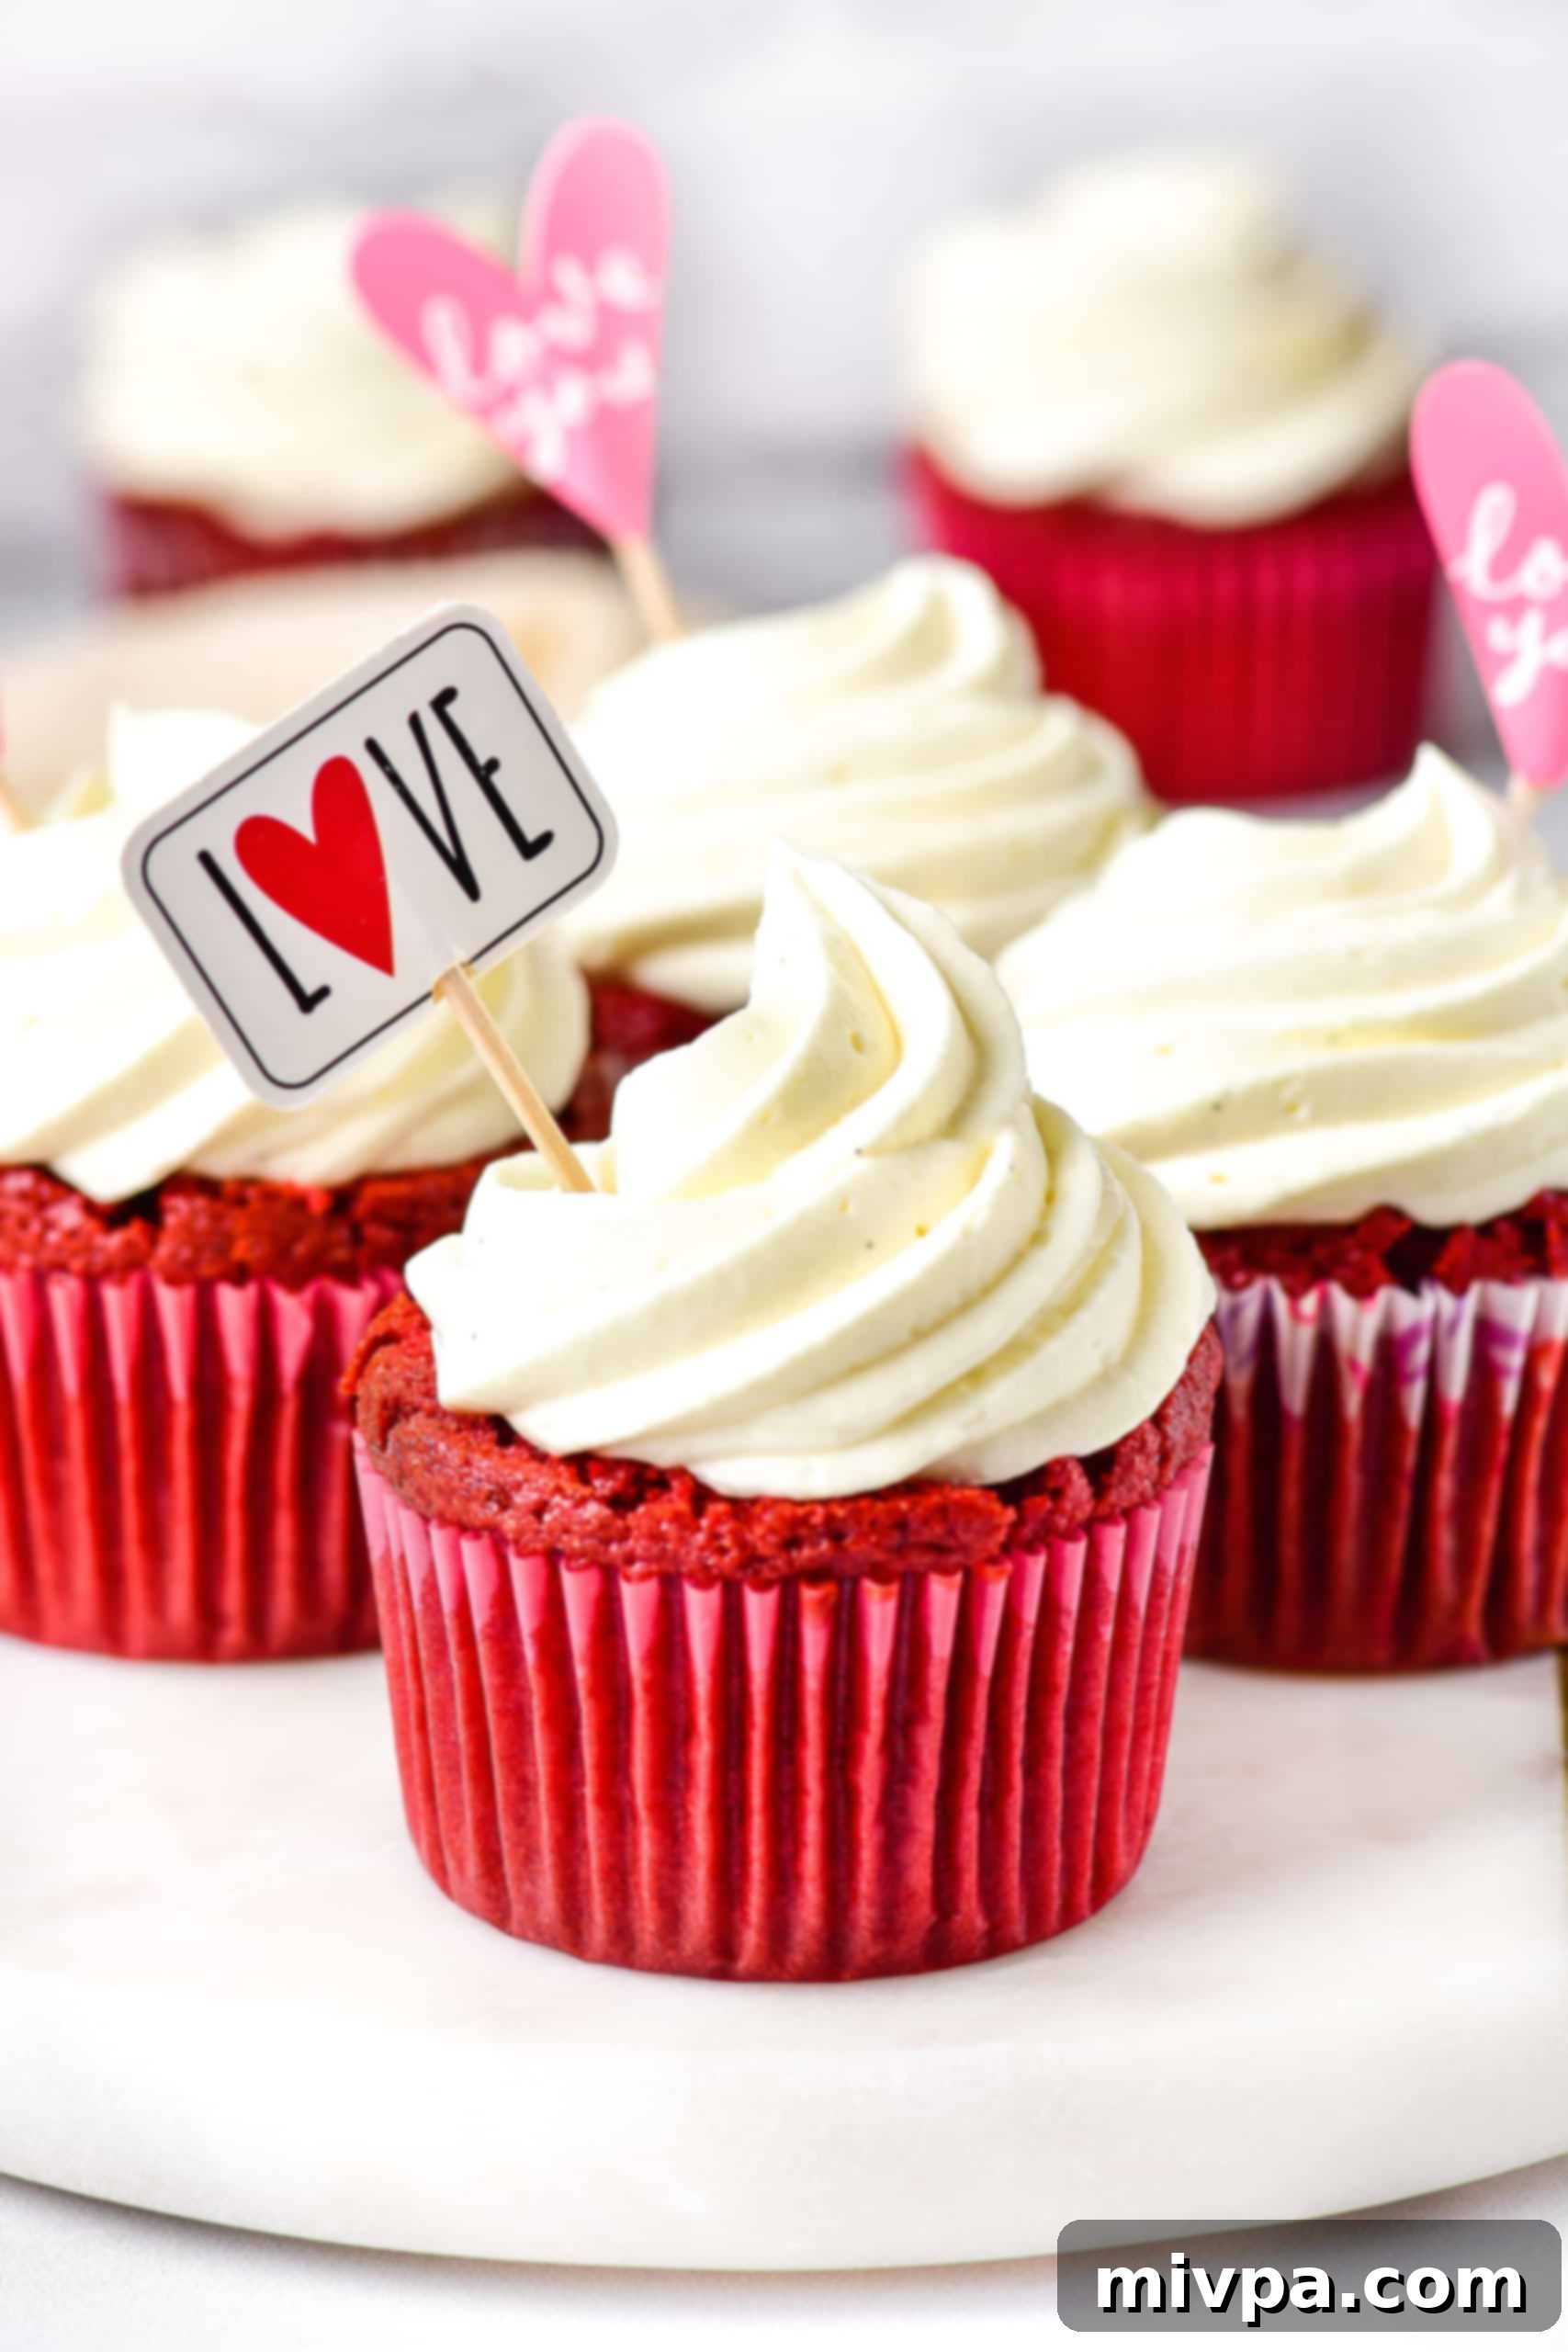
Why These Red Velvet Cupcakes are Perfect for Any Special Occasion
There’s something truly magical about red velvet cake and cupcakes – the deep crimson hue, the subtle cocoa notes, and the iconic tangy cream cheese frosting. For years, I cherished indulging in classic red velvet cupcakes from places like Magnolia Bakery during my time in New York City. However, my husband, Juan, who lives with Celiac disease, could only watch, unable to enjoy these delightful treats due to their gluten content. This constant longing inspired me to create a version that everyone, especially those with gluten or dairy sensitivities, could savor without compromise.
That’s precisely why I am overjoyed to share this incredible recipe for gluten-free and dairy-free red velvet cupcakes! Now, Juan and countless others with similar dietary needs can experience the joy of biting into a perfectly tender red velvet cupcake. These aren’t just “free-from” cupcakes; they are genuinely delicious, boasting a rich flavor and moist texture that stands up to any traditional recipe. The added bonus of being dairy-free means even more people can enjoy them, making them ideal for gatherings where various dietary requirements might be present.
Beyond their inclusive nature, these red velvet cupcakes are inherently celebratory. Their striking, vibrant red color naturally makes them a showstopper, perfect for special days throughout the year. Imagine them gracing your table on Valentine’s Day, spreading love and warmth; as a cheerful centerpiece for Mother’s Day brunch; adding a festive touch to your Christmas dessert spread; or as an adorable and thoughtful treat for baby showers, gender reveal parties, or any birthday celebration. They bring a touch of elegance and joy to every event, ensuring no one feels left out from the dessert table.
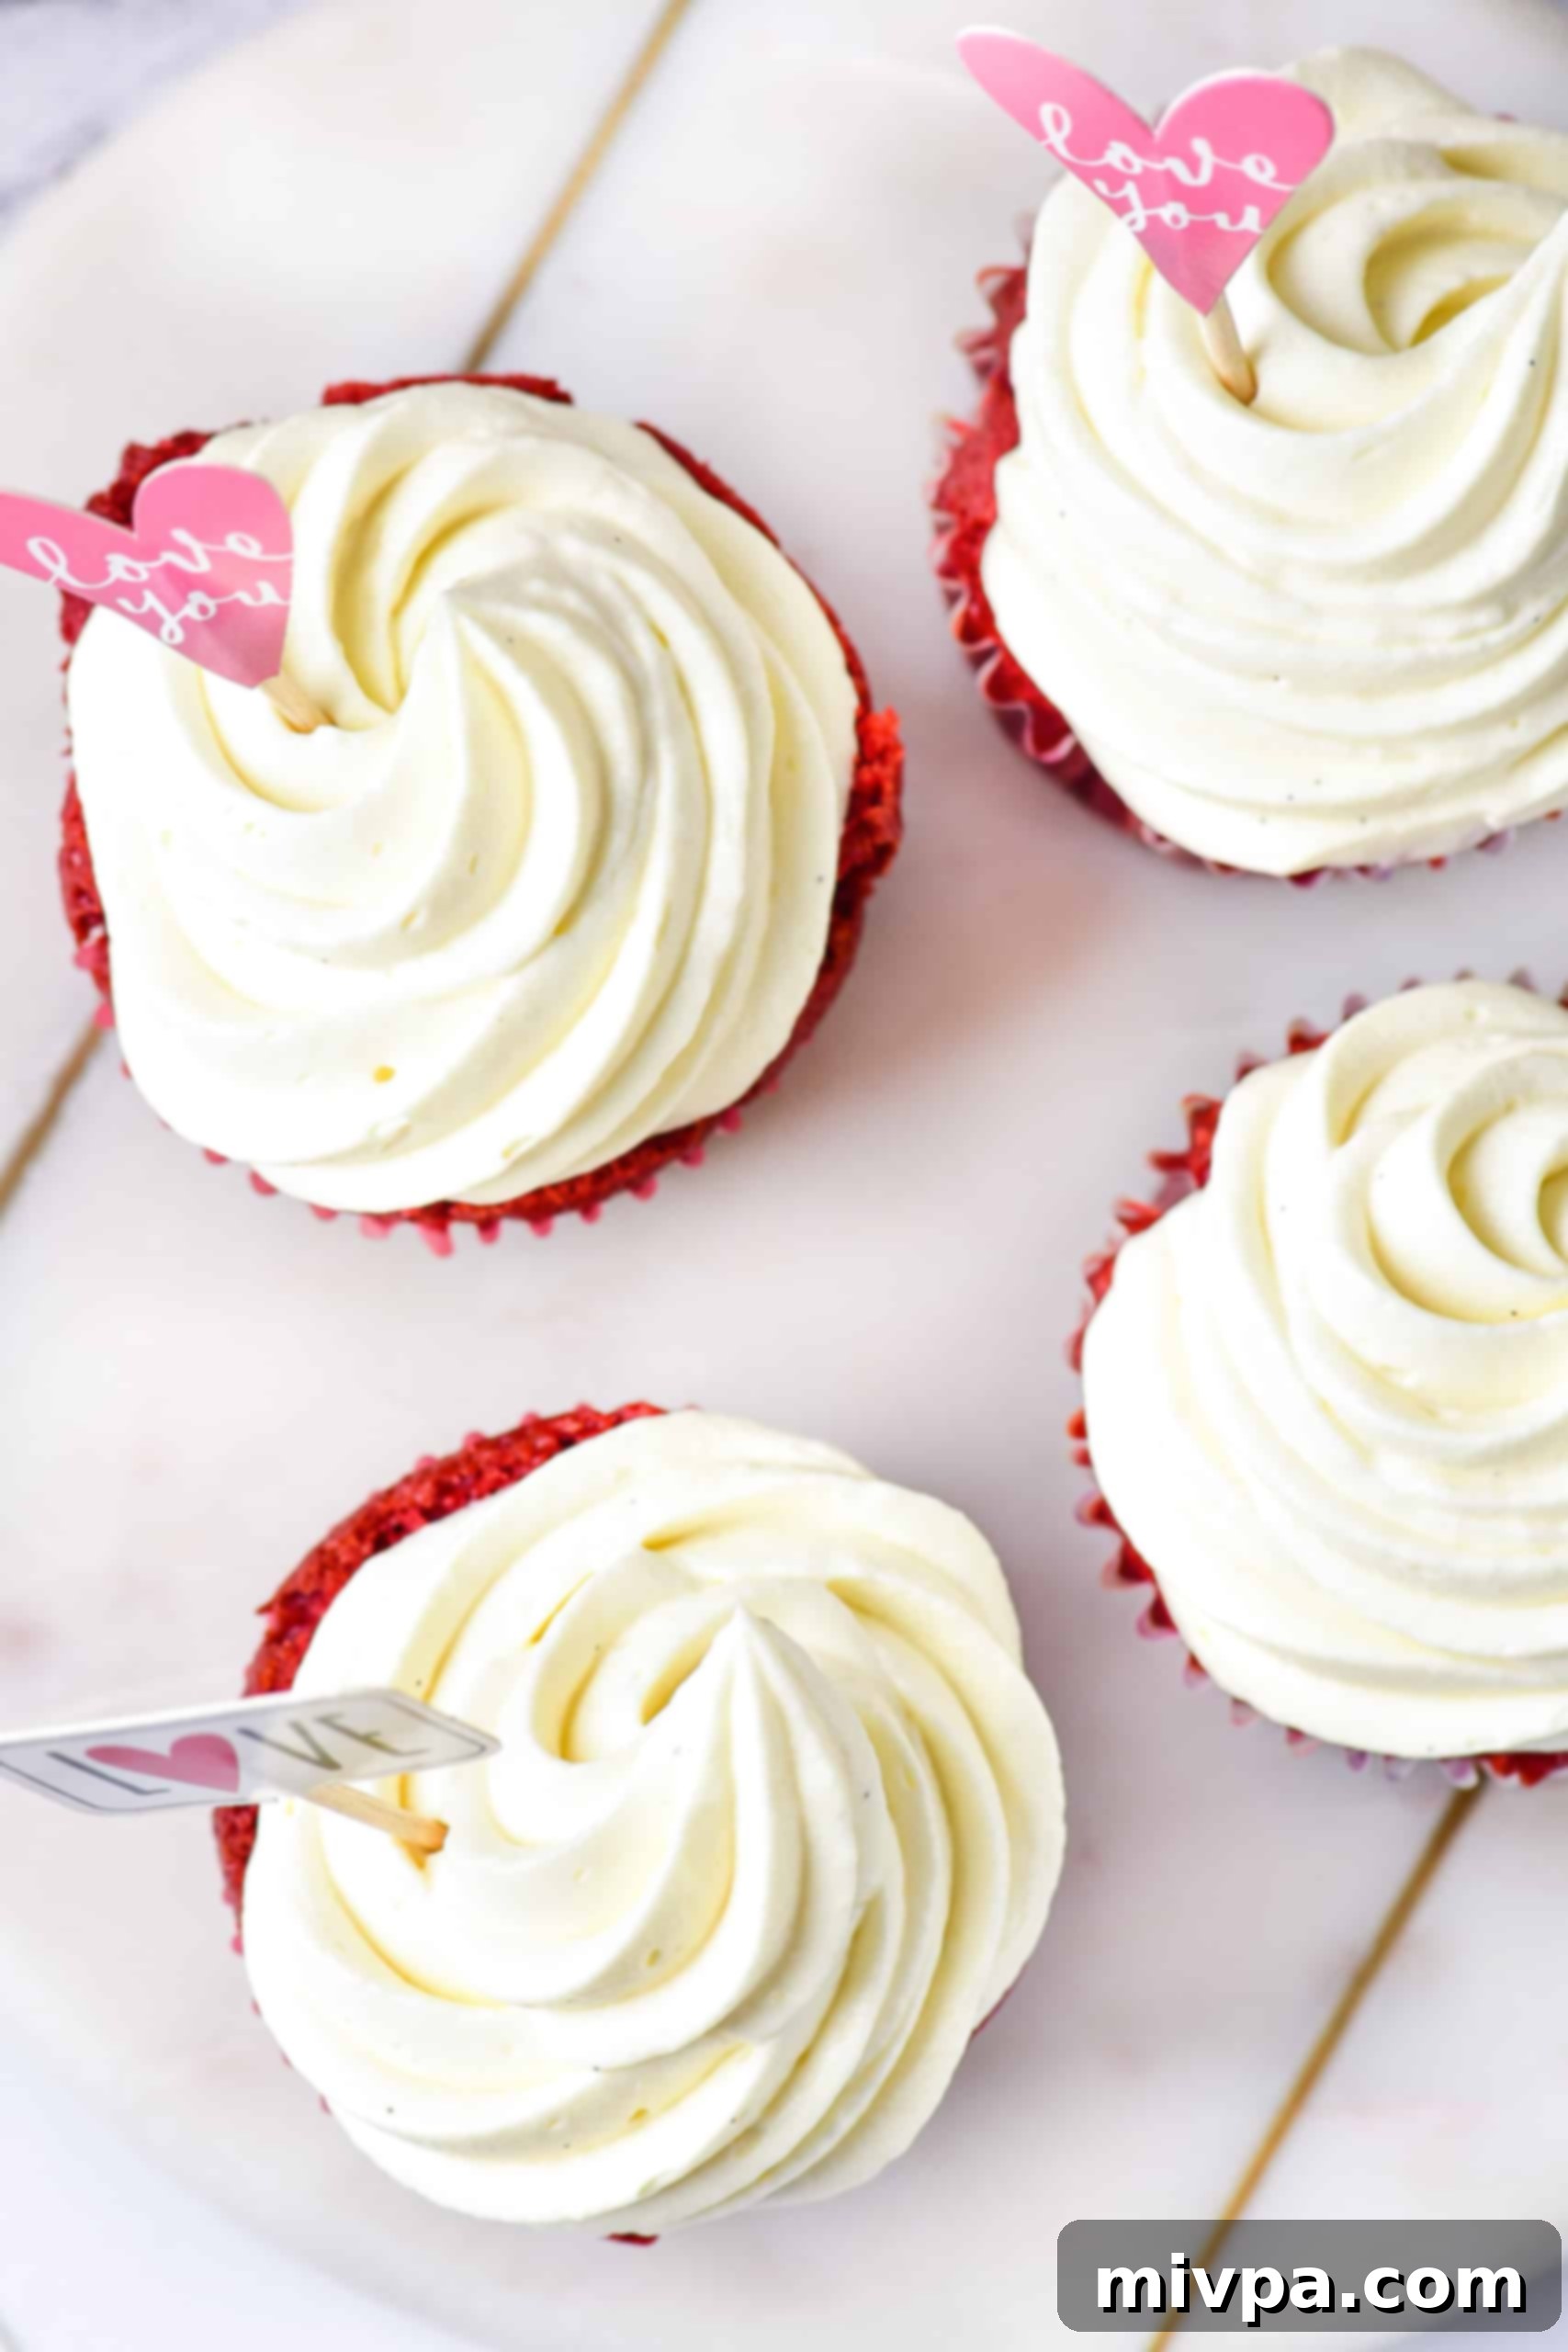
Why You’ll Love This Gluten-Free & Dairy-Free Red Velvet Cupcake Recipe
This recipe isn’t just a dietary alternative; it’s a stellar recipe in its own right, designed for maximum enjoyment and ease. Here’s why these caramel-filled red velvet cupcakes will become your new favorite:
- Simple and Accessible Ingredients: You won’t need to embark on a scavenger hunt for obscure items. The core ingredients for these delightful gluten-free red velvet cupcakes are readily available at most local grocery stores. We focus on common pantry staples, meaning you can whip up a batch without special trips or expensive purchases. This simplicity ensures that anyone, regardless of their baking experience, can gather what they need with ease.
- Surprisingly Easy to Make: Don’t let the elegant appearance fool you—these homemade red velvet cupcakes are incredibly straightforward to prepare. The instructions are clear, concise, and designed to guide even first-time bakers through each step with confidence. From mixing the dry and wet ingredients to assembling the decadent frosting, you’ll find the process enjoyable and rewarding, resulting in bakery-quality cupcakes right from your own kitchen.
- Truly 100% Gluten-Free and Dairy-Free: This is where this recipe truly shines. Crafted specifically to be free from both gluten and dairy, these cupcakes open up a world of deliciousness for those with Celiac disease, gluten intolerance, lactose intolerance, or dairy allergies. We’ve meticulously chosen and tested ingredients to ensure that the texture and flavor are not compromised, allowing everyone to indulge without the worry of digestive discomfort. It’s about enjoying a classic treat that truly caters to diverse dietary needs, making celebrations more inclusive and delicious for all.
- Decadent Caramel Filling: While optional, the inclusion of a rich, gooey dairy-free caramel filling takes these red velvet cupcakes to an extraordinary level. The sweet, buttery notes of the caramel perfectly complement the subtle cocoa and tang of the red velvet cake, creating a delightful surprise in every bite. It adds an extra layer of luxury and flavor that elevates these from simple cupcakes to a truly gourmet experience.
- Light & Tangy Cream Cheese Frosting: A red velvet cupcake isn’t complete without its signature cream cheese frosting. Our dairy-free version is exceptionally light, fluffy, and perfectly balanced with a tangy sweetness. It’s designed to be easily pipeable, allowing for beautiful decoration, and provides the ideal counterpoint to the rich cake and caramel filling. This frosting melts in your mouth and ties all the flavors together harmoniously.
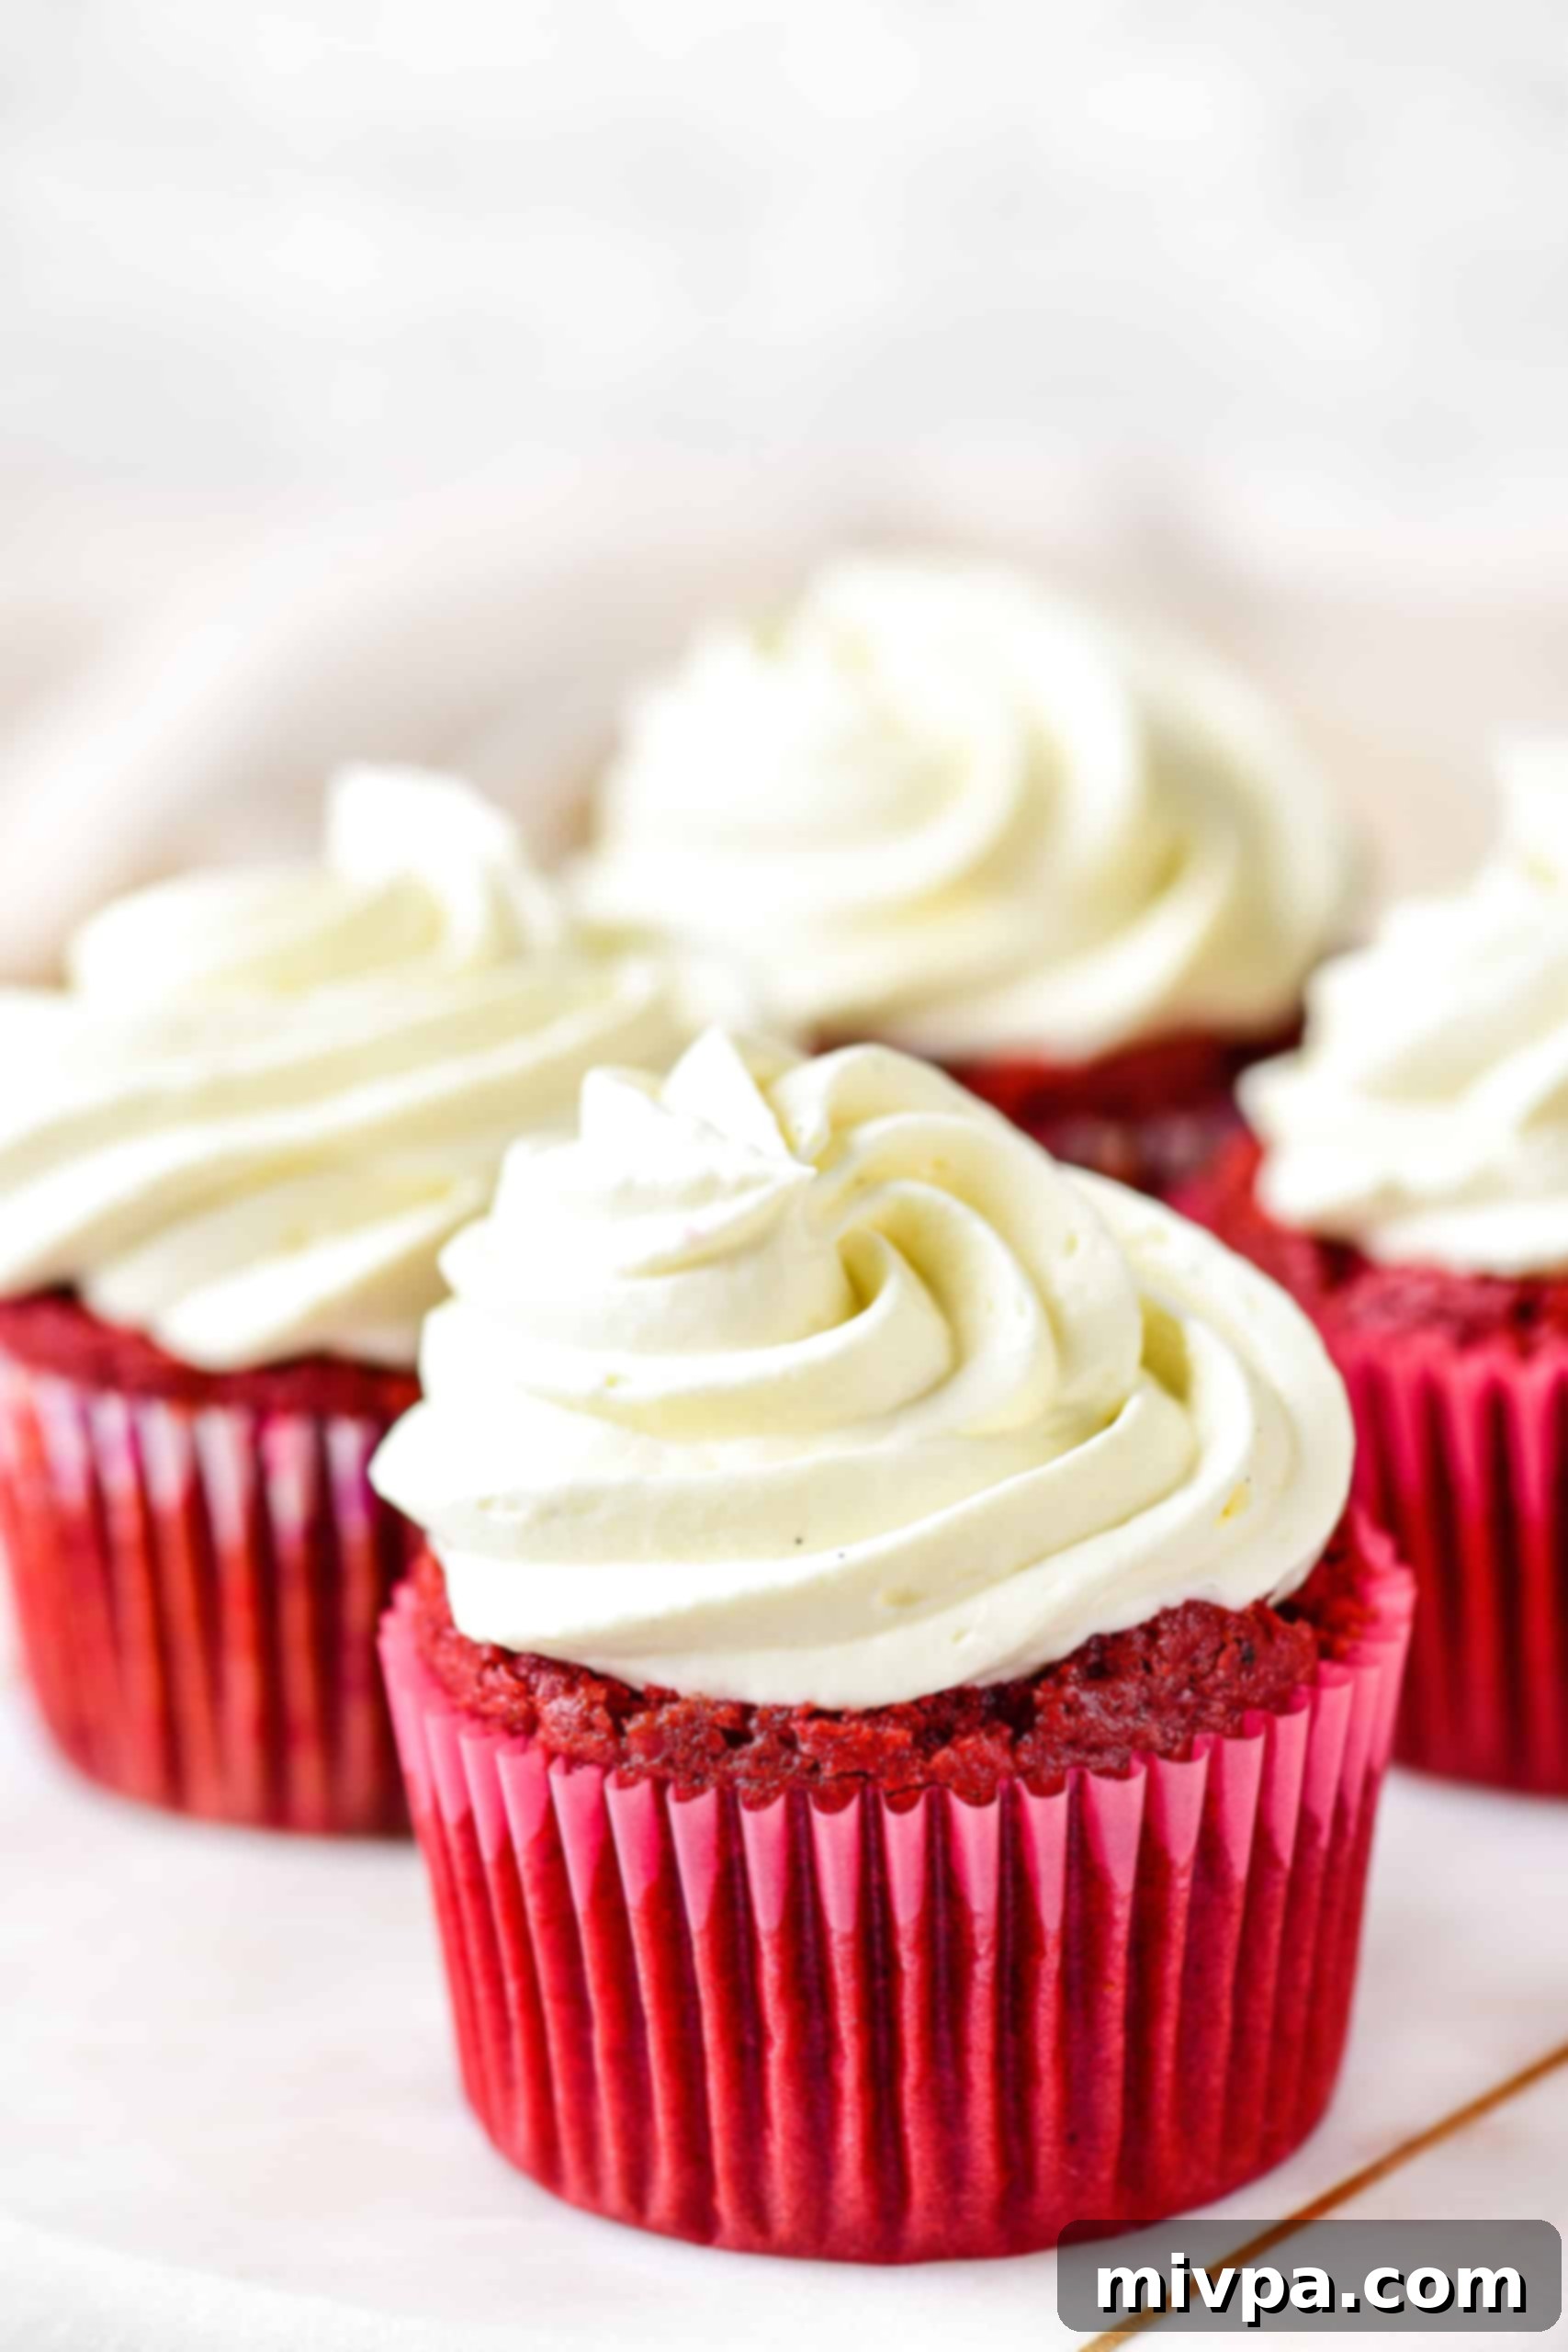
Essential Ingredients for Your Gluten-Free Red Velvet Cupcakes
To help you gather everything you’ll need, here’s a clear overview of the key ingredients for both the moist gluten-free red velvet cupcakes and the decadent dairy-free cream cheese frosting. Rest assured, we focus on easily found items to make your baking experience as smooth as possible.
(For the precise measurements and quantities, please refer to the detailed recipe card conveniently located at the very bottom of this post.)
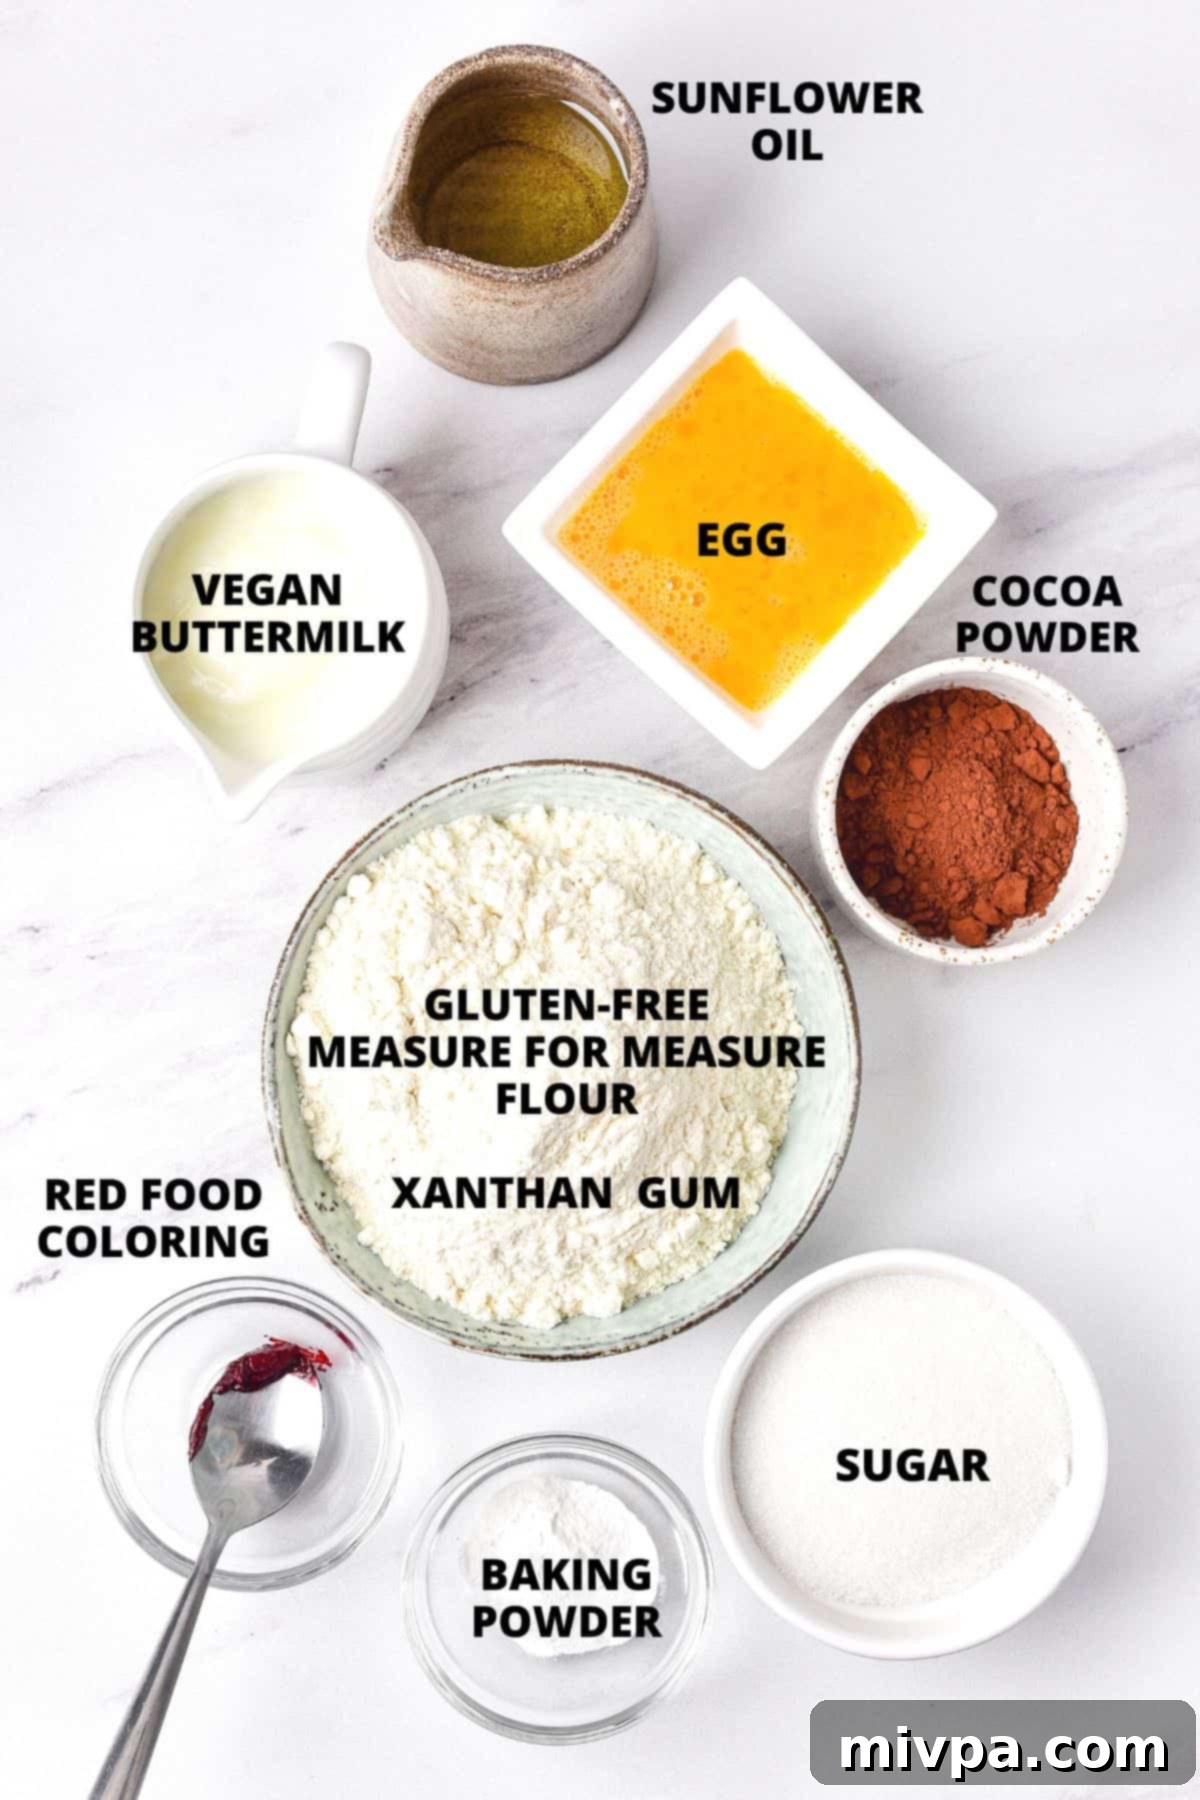
Ingredients for the Cupcakes:
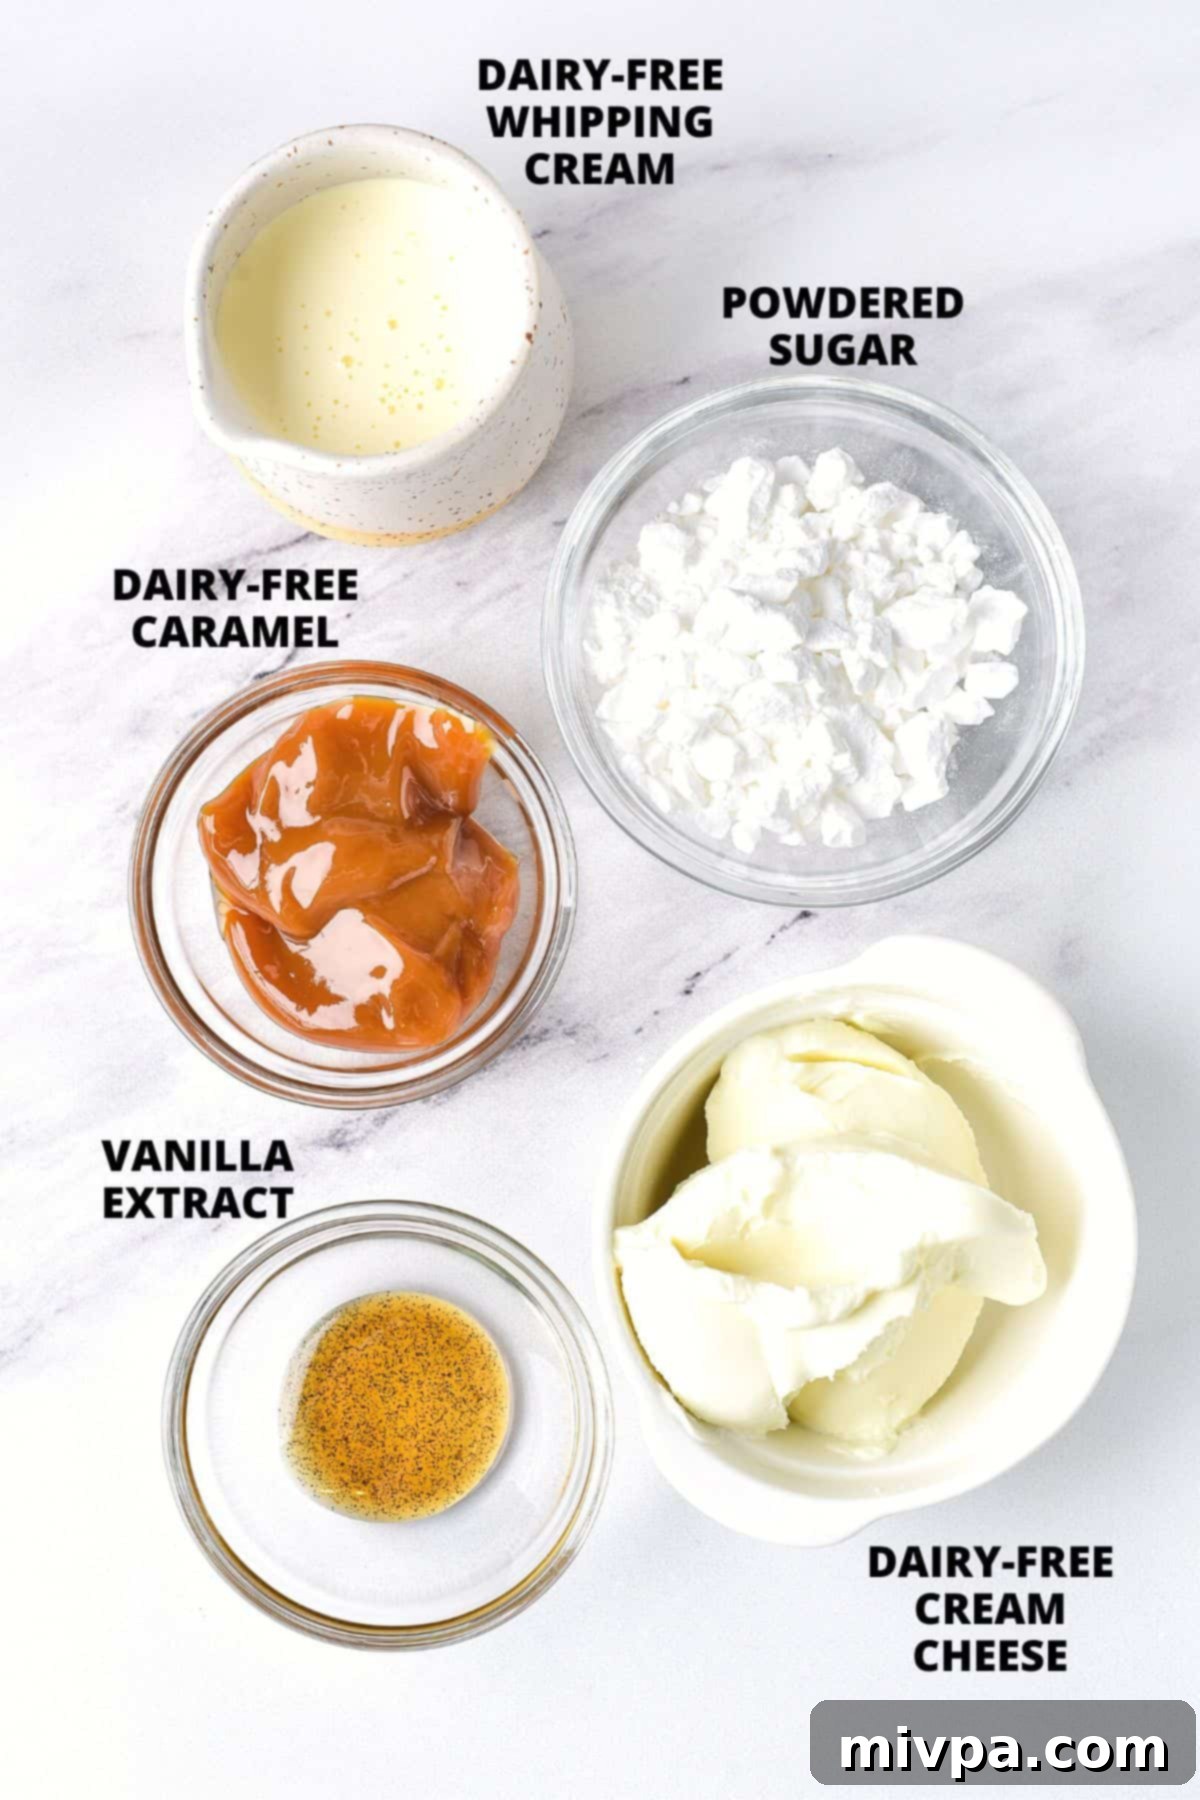
Ingredients for the Filling & Homemade Cream Cheese Frosting:
Recipe Notes & Essential Substitutions for Perfect Baking
Understanding your ingredients is key to successful baking, especially when dealing with dietary restrictions. Here are some detailed notes and substitution suggestions to ensure your gluten-free and dairy-free red velvet cupcakes turn out perfectly every time:
- Gluten-Free Flour Blend: It’s crucial to use a good quality gluten-free measure-for-measure flour blend (also known as 1:1 gluten-free flour). These blends are specifically formulated to substitute traditional wheat flour in recipes at a 1:1 ratio, often containing a mix of different gluten-free flours and starches, along with binders. Do NOT use a single gluten-free flour (like almond flour or oat flour) or a general “gluten-free all-purpose flour” unless it explicitly states it’s a 1:1 blend. If you are not Celiac or gluten intolerant, feel free to use regular all-purpose wheat flour in the same quantity.
- Xanthan Gum: Xanthan gum plays a vital role in gluten-free baking by mimicking the elasticity and binding properties of gluten. It helps prevent crumbly textures and gives the cupcakes a desirable structure. Many commercial 1:1 gluten-free flour blends already include xanthan gum, so always check the ingredient list on your flour package. If your blend does not contain it, it’s essential to add the specified amount to achieve the correct texture.
- Unsweetened Cocoa Powder: For that signature subtle chocolate flavor in red velvet, use unsweetened cocoa powder (or cacao powder). This ensures you control the sweetness level, as the recipe already calls for sugar. Avoid using sweetened cocoa mixes, which would make the cupcakes overly sweet and alter the balance of flavors. The acidity of natural cocoa powder also reacts with baking soda to create lift.
- Sugar Options: I typically use standard white granulated sugar for consistency. However, you have several options to customize the flavor and health profile. You can opt for light brown sugar or dark brown sugar for a deeper, molasses-like flavor and added moisture, or coconut sugar for a caramel-like note and slightly lower glycemic impact. If you are diabetic, insulin-resistant, or simply prefer to reduce sugar intake, I highly recommend using a 1:1 granulated monk fruit sweetener. Monk fruit is a natural, zero-glycemic index sugar substitute that tastes remarkably similar to sugar without raising blood glucose levels.
- Baking Powder: As the primary leavening agent in this recipe, baking powder is essential for giving the cupcakes their rise and fluffy texture. Ensure your baking powder is fresh and active for best results (you can test it by adding a teaspoon to hot water – it should bubble vigorously). For those with Celiac disease or severe gluten intolerance, always choose a certified gluten-free baking powder to avoid any hidden gluten.
- Oil Choices: I personally prefer sunflower oil for its neutral flavor and accessibility. However, this recipe is quite versatile when it comes to fats. You can easily substitute with other mild-flavored vegetable oils such as corn oil, avocado oil, light olive oil (ensure it’s not too strong in flavor), or melted coconut oil. For a richer, buttery taste while keeping it dairy-free, melted vegan butter is an excellent choice. If dairy is not an issue for you, melted unsalted butter or ghee can also be used.
- Egg: The egg provides structure, moisture, and helps bind all the ingredients together for a tender crumb. I have not specifically tested this recipe with egg substitutes, so I cannot guarantee the results. However, if you have an egg allergy or wish to make these cupcakes fully vegan, you could try using aquafaba (the liquid from a can of chickpeas) or a commercial egg replacer. If you do experiment with an egg-free version, please share your experience in the comments below – I’d love to hear how it turns out!
- Vegan Buttermilk: A key component for moist and tender red velvet, buttermilk reacts with the cocoa powder and baking powder to create the classic texture and lift. To make your own dairy-free buttermilk, simply combine 1/2 tablespoon of lemon juice (or apple cider vinegar) with 1/2 cup of your preferred non-dairy milk. Good options include unsweetened almond milk, cashew milk, tigernut milk, rice milk, soy milk, or oat milk. Let it sit for 5-10 minutes until it slightly curdles, then it’s ready to use.
- Red Food Coloring: The vibrant red color is synonymous with red velvet. For the classic look, red food coloring is essential. If you are Celiac or gluten-intolerant, always ensure you use a certified gluten-free food coloring. If artificial colors are a concern, natural alternatives like beet powder or beet juice can be used, though they may yield a more subtle, earthy red or maroon hue. Of course, if you don’t mind skipping the color and prefer chocolate cupcakes with a brown tint, feel free to omit the coloring altogether!
- Dairy-Free Caramel: The optional caramel filling adds a delightful burst of sweetness and gooey texture. To maintain the dairy-free nature of this recipe, I use a store-bought dairy-free caramel sauce. These are often made with coconut cream or other plant-based ingredients. If dairy is not a concern for you, a regular caramel sauce will work perfectly.
- Dairy-Free Cream Cheese: The iconic tangy flavor of red velvet frosting comes from cream cheese. For our dairy-free version, a high-quality dairy-free cream cheese alternative is used. Make sure it’s firm enough for frosting. Brands vary, so choose one you trust for flavor and consistency. If you can consume dairy, traditional cream cheese can be used.
- Dairy-Free Whipping Cream: To achieve a light, airy, and fluffy frosting, dairy-free whipping cream is key. Coconut cream (the thick part from a can of full-fat coconut milk, chilled overnight) or commercial plant-based whipping creams are good options. Again, if dairy is fine for you, regular heavy whipping cream will work.
- Powdered Sugar: Also known as confectioners’ sugar or icing sugar, powdered sugar is essential for a smooth, lump-free frosting. Its fine texture dissolves easily, creating a silky finish. For those managing blood sugar, a powdered monk fruit sweetener is an excellent 1:1 sugar substitute that provides sweetness without affecting glycemic levels.
- Vanilla Extract: A touch of pure vanilla extract enhances the overall flavor profile of both the cupcakes and the frosting, adding warmth and depth. While optional, it’s highly recommended for a truly delicious result.
How to Make Gluten-Free & Dairy-Free Red Velvet Cupcakes (Step by Step Guide):
Follow these easy steps to create beautiful and delicious red velvet cupcakes from scratch!
1. Prepare Your Oven and Muffin Pan
Begin by preheating your oven to 360°F (180°C). This ensures the oven is at the correct temperature when your batter is ready, promoting an even bake. Next, line a standard 12-cup muffin pan with paper cupcake liners. This prevents sticking and makes for easy serving.
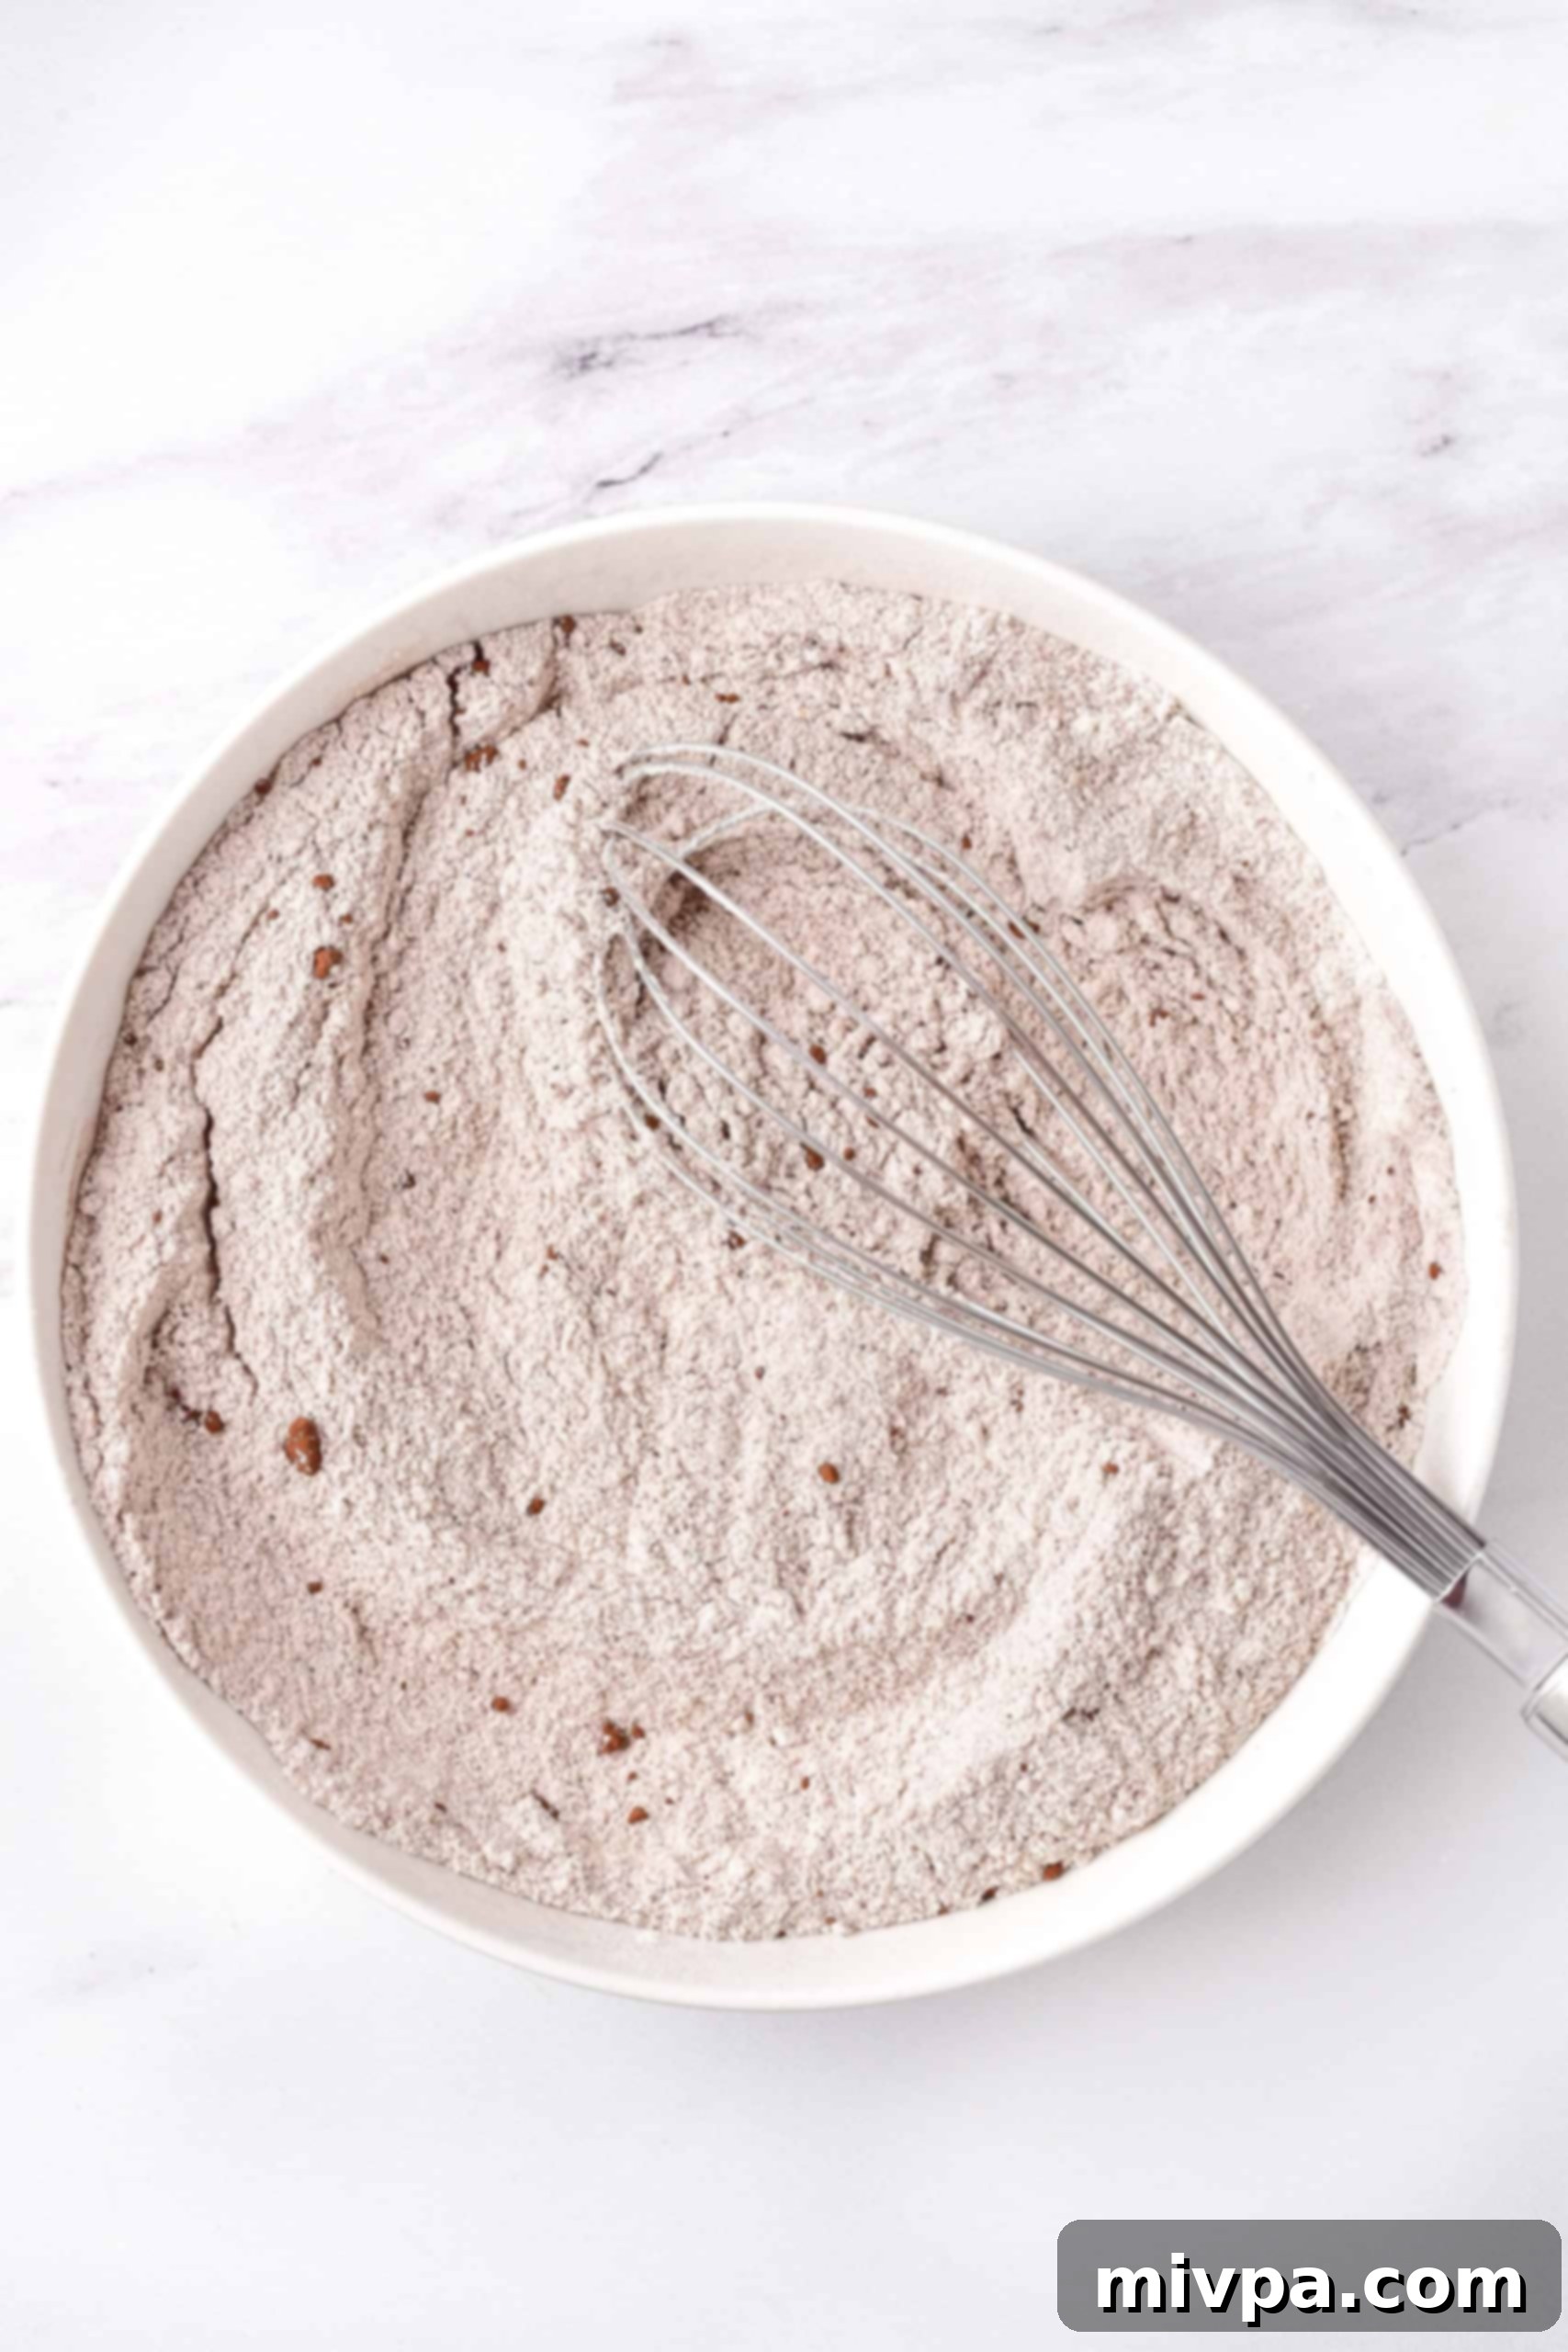
2. Whisk the Dry Ingredients Thoroughly
In a large mixing bowl, combine your gluten-free measure-for-measure flour, xanthan gum (only if your flour blend does not already include it), unsweetened cocoa powder, sugar, and baking powder. Use a whisk to thoroughly combine these ingredients, ensuring there are no clumps and that the cocoa powder and baking powder are evenly distributed throughout the flour mixture. This step is crucial for consistent flavor and rise.
3. Combine the Wet Ingredients
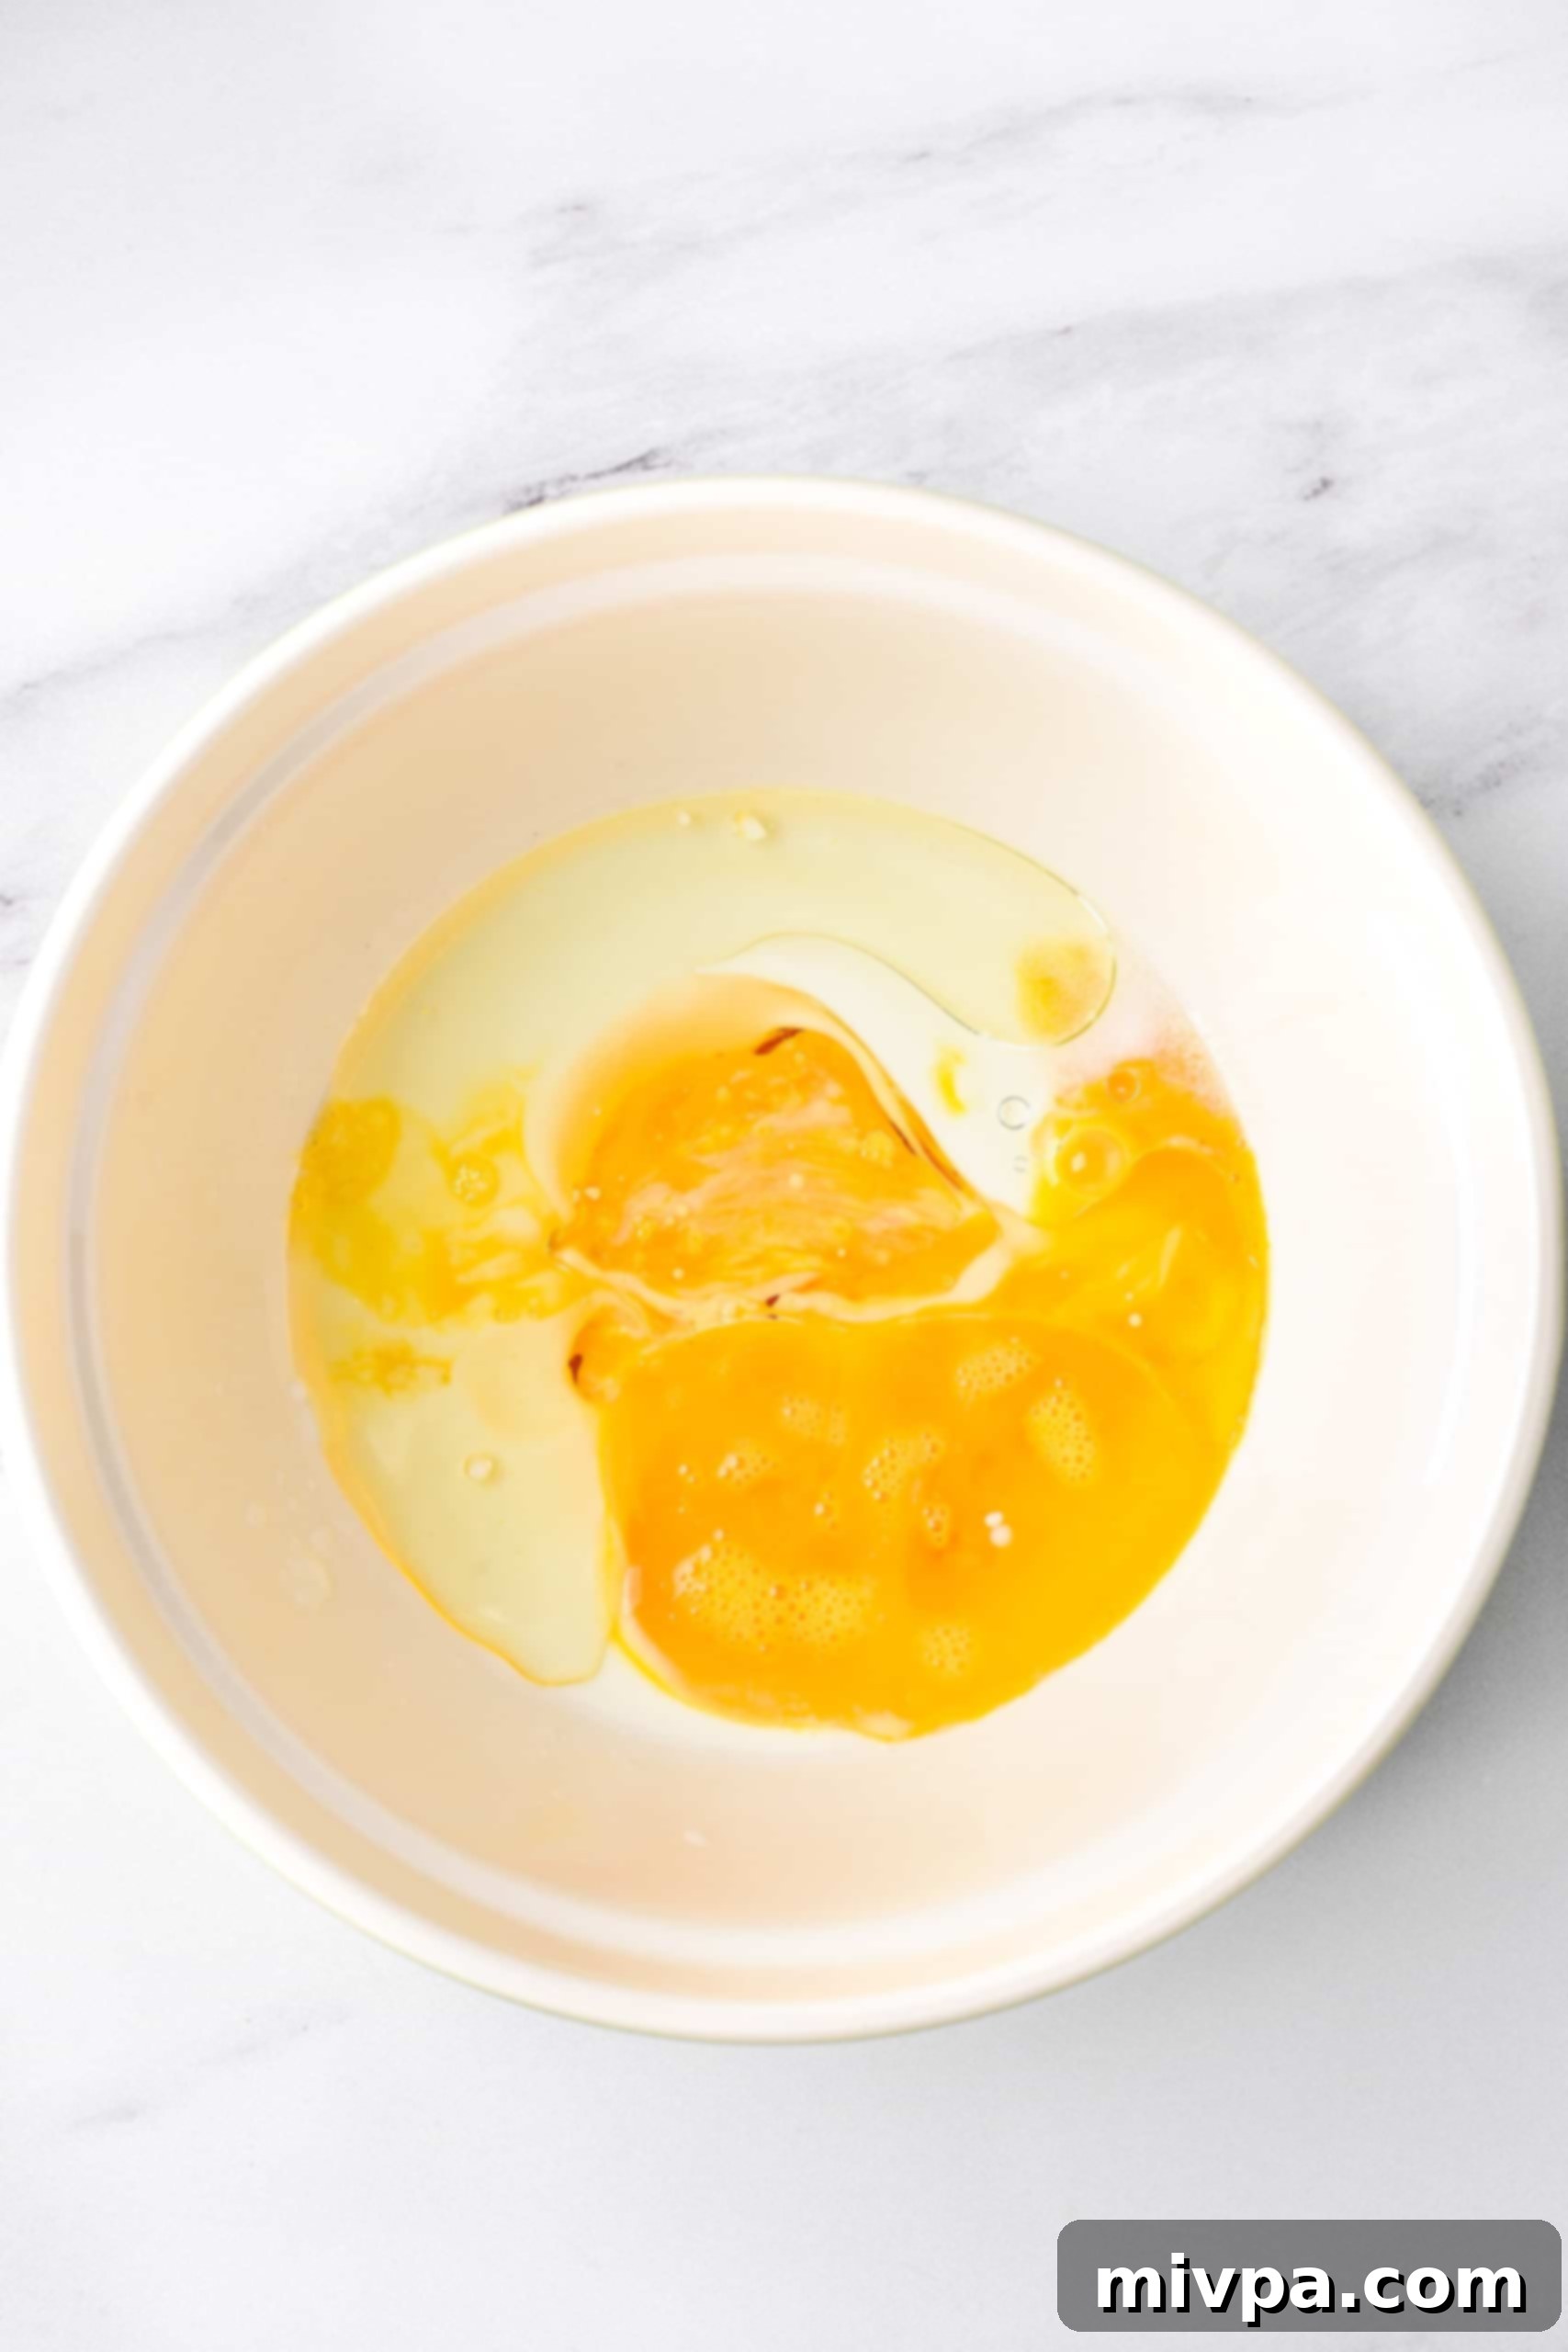
In a separate medium-sized bowl, pour your homemade vegan buttermilk (prepared earlier as per the notes), sunflower oil (or your chosen oil), and the beaten egg. Whisk these wet ingredients together until they are well incorporated and smooth. This creates a uniform base for your batter.
4. Achieve the Iconic Red Hue
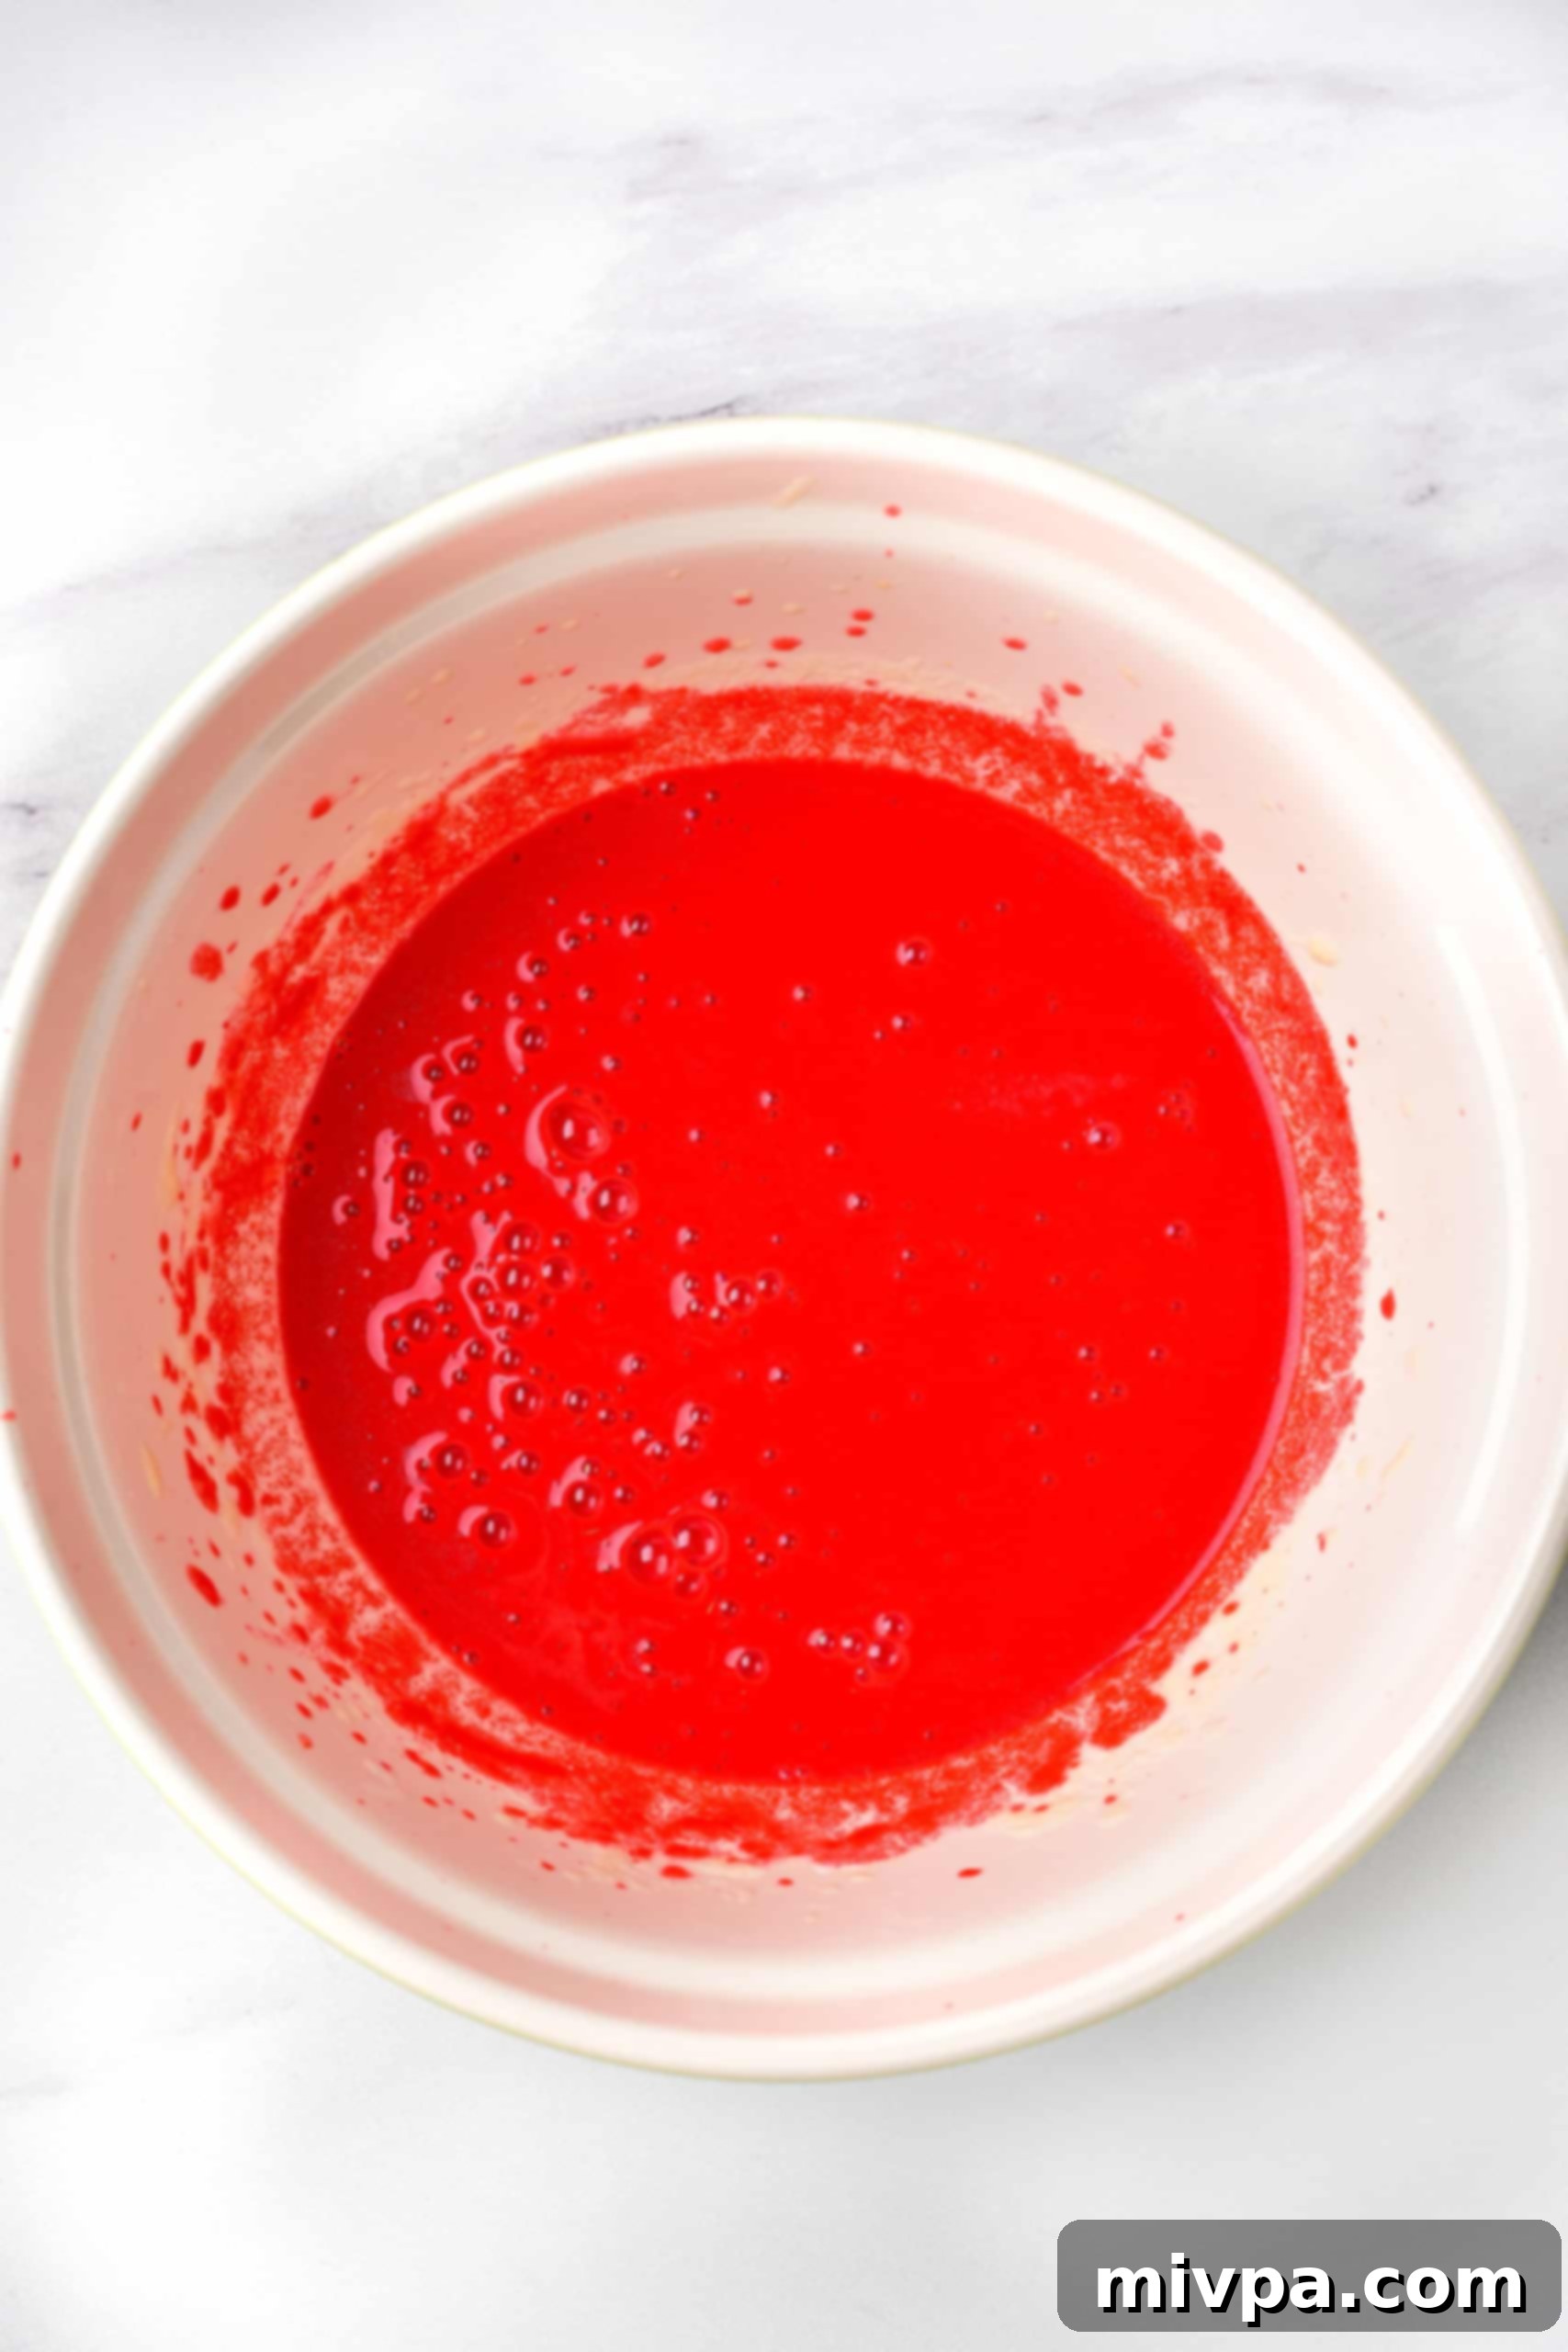
Now, it’s time for the signature red color! Add the red food coloring directly to the bowl of wet ingredients. Mix thoroughly until the liquid achieves a vibrant, consistent red color with no streaks or undissolved clumps of coloring. The intensity of the red can be adjusted to your preference by adding a little more or less food coloring.
5. Combine Wet and Dry to Form a Smooth Batter
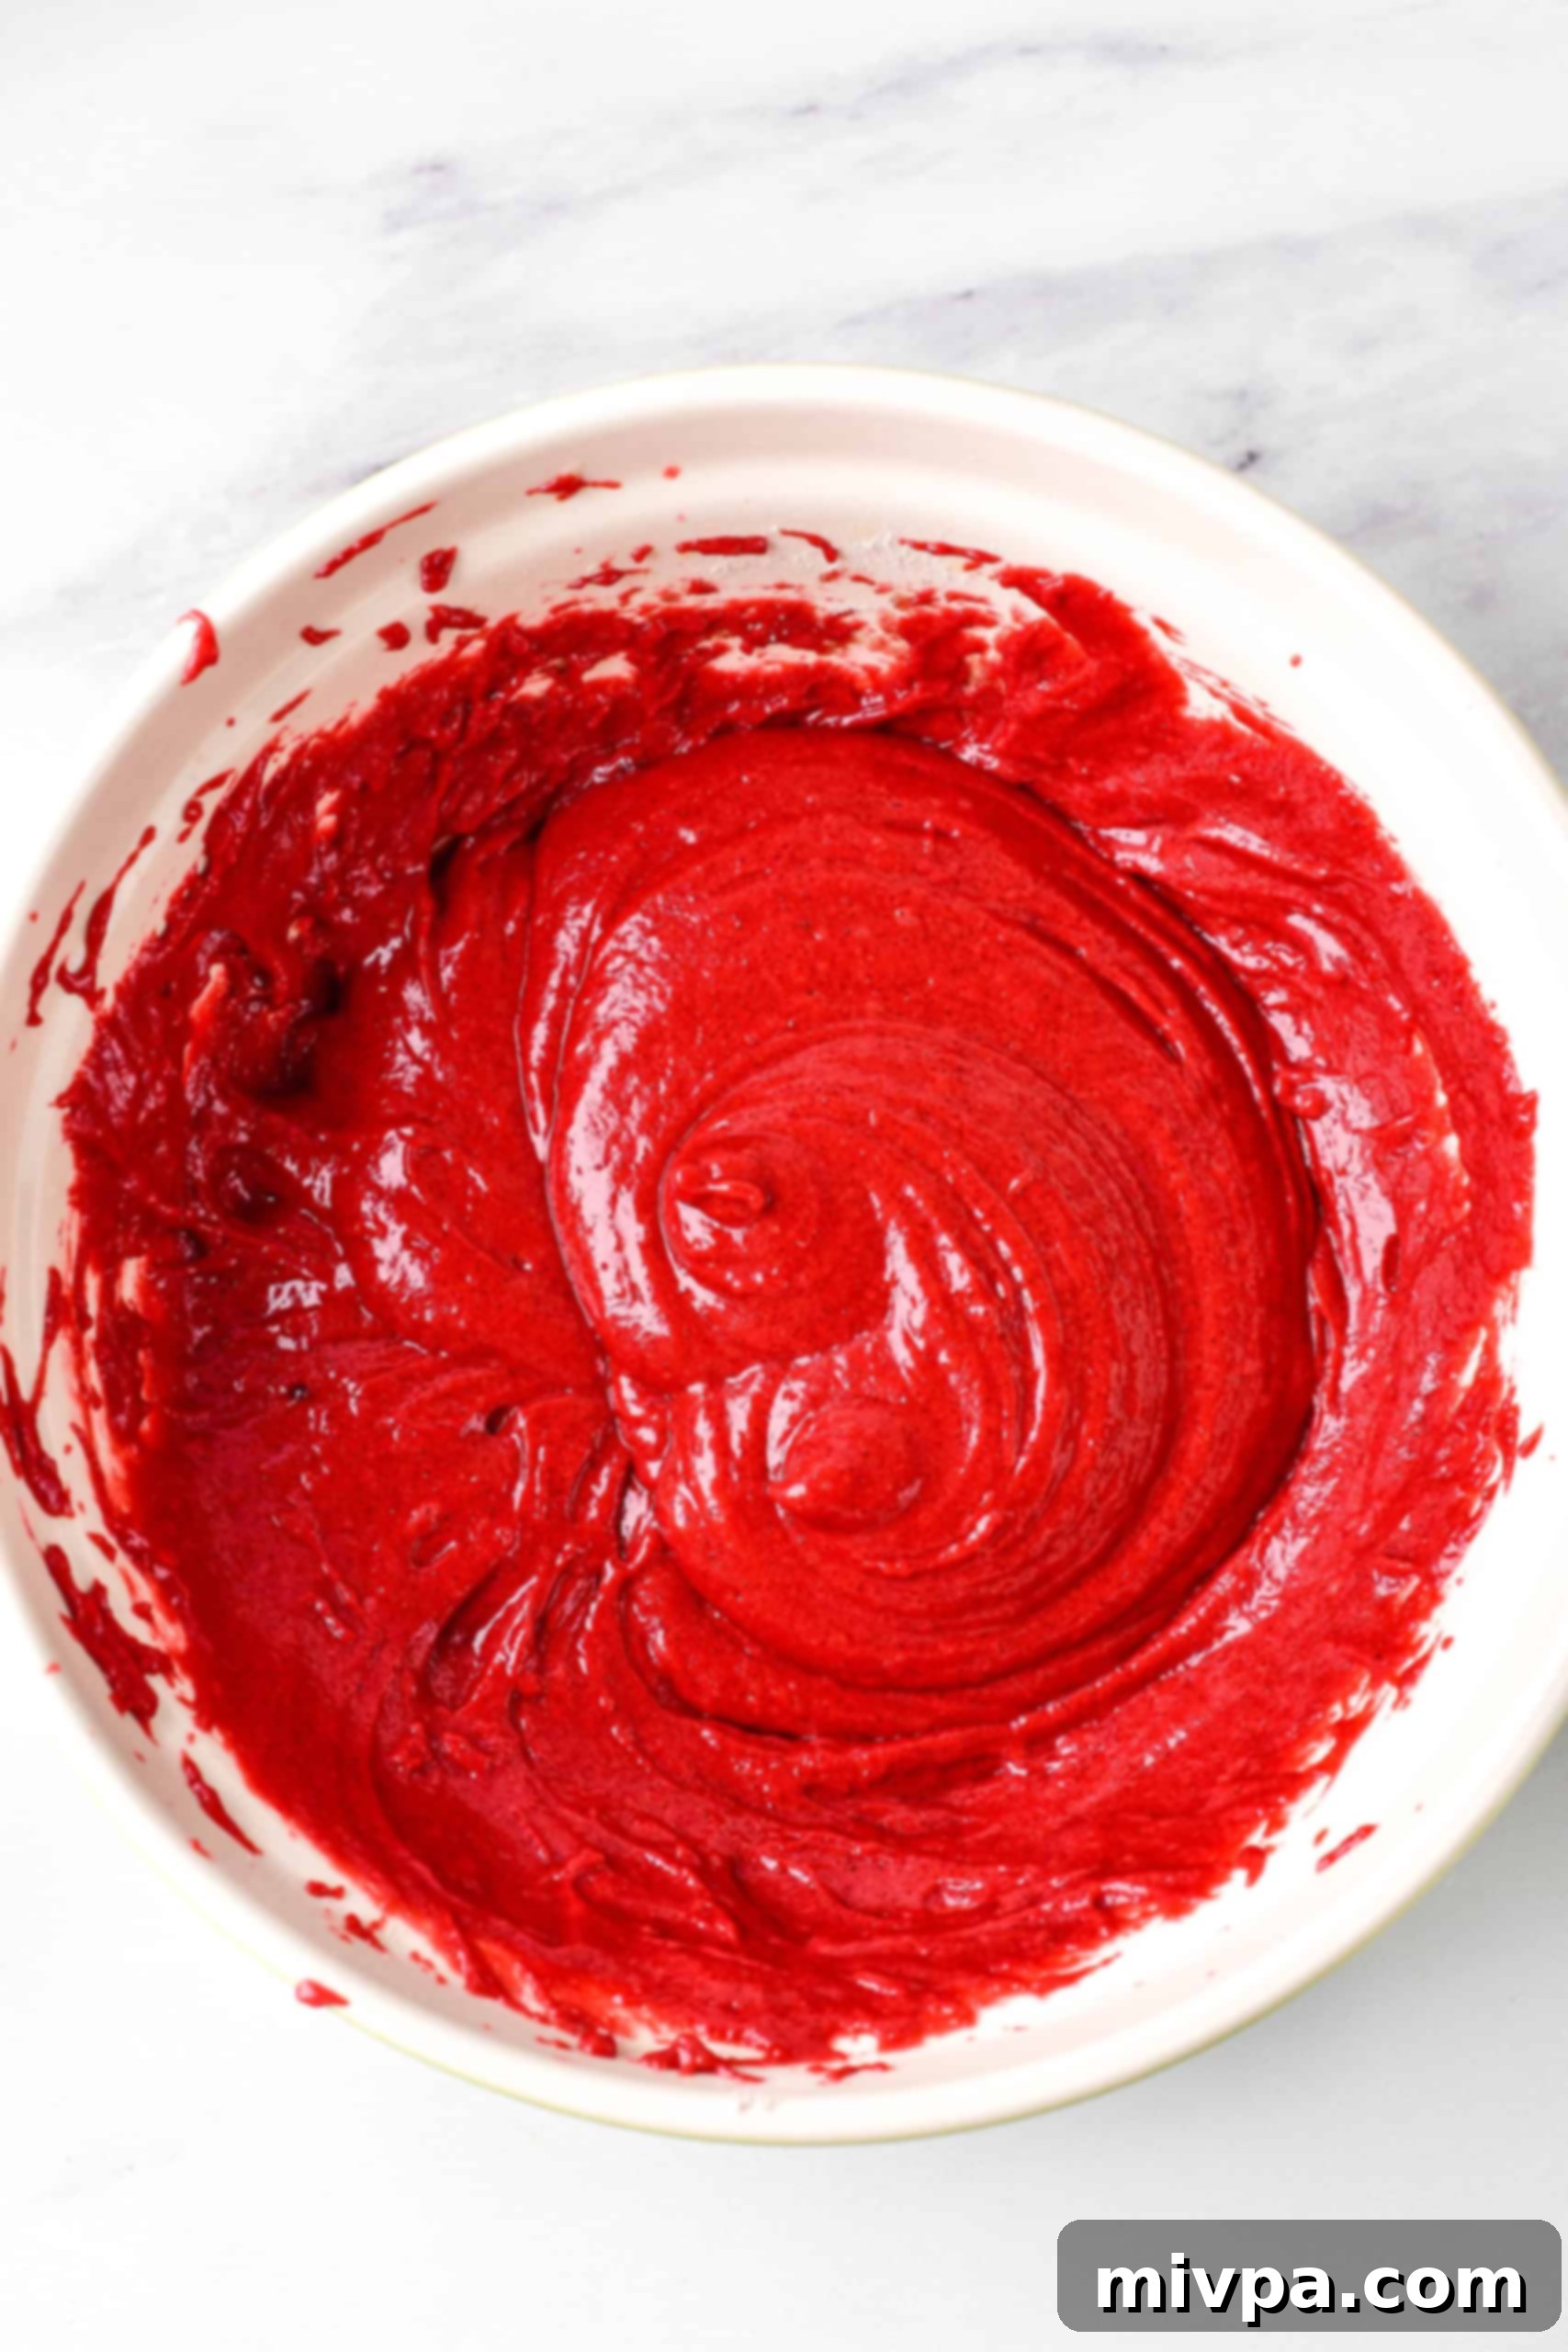
Gently pour the red liquid mixture from the medium bowl into the large bowl containing your whisked dry ingredients. Using a whisk or a rubber spatula, mix until just combined. Be careful not to overmix; stop as soon as you achieve a homogeneous, vibrant red batter. Overmixing can lead to tough cupcakes.
6. Fill the Muffin Tin Evenly
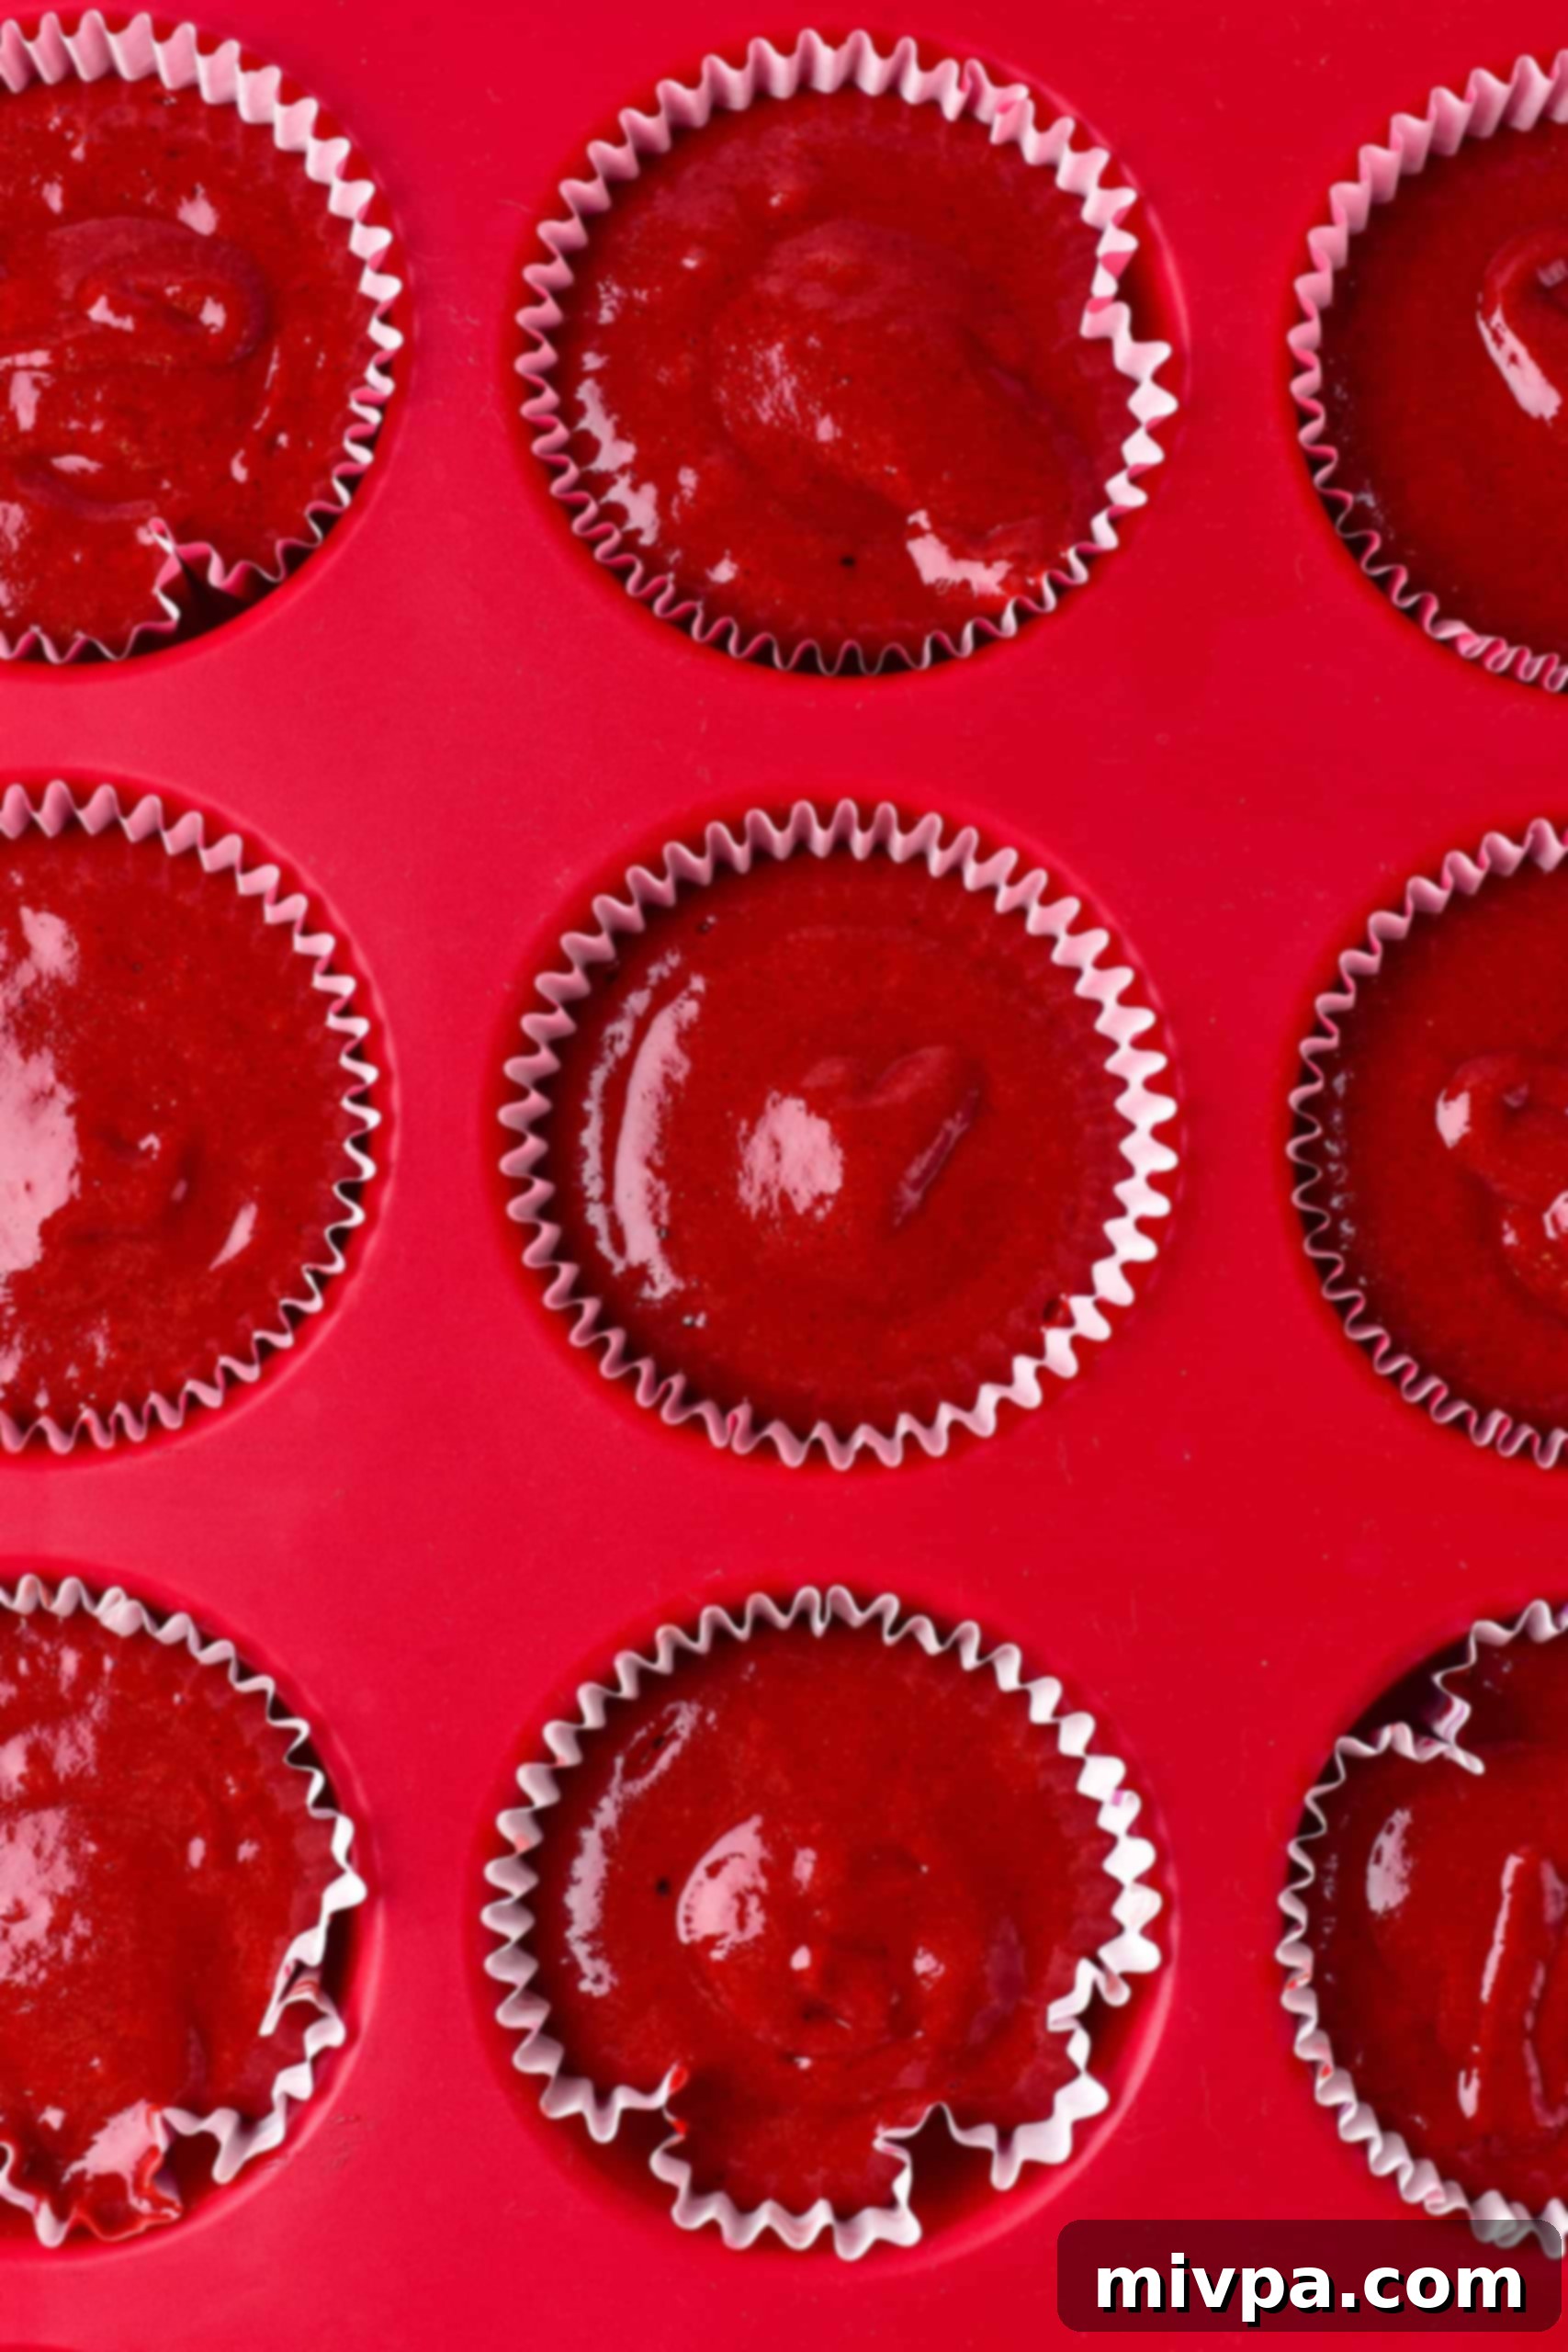
Carefully spoon or scoop the prepared red velvet batter into each paper-lined muffin cavity. Fill each liner to about half an inch from the top. This allows enough room for the cupcakes to rise without overflowing, ensuring beautiful, domed tops.
7. Bake to Golden Perfection
Transfer the muffin pan to your preheated oven and bake at 360°F (180°C) for approximately 20 minutes. Baking times can vary slightly depending on your oven, so keep an eye on them. The cupcakes are ready when a toothpick inserted into the center of one comes out clean, with no wet batter attached. They should be lightly golden at the edges and spring back when gently pressed.
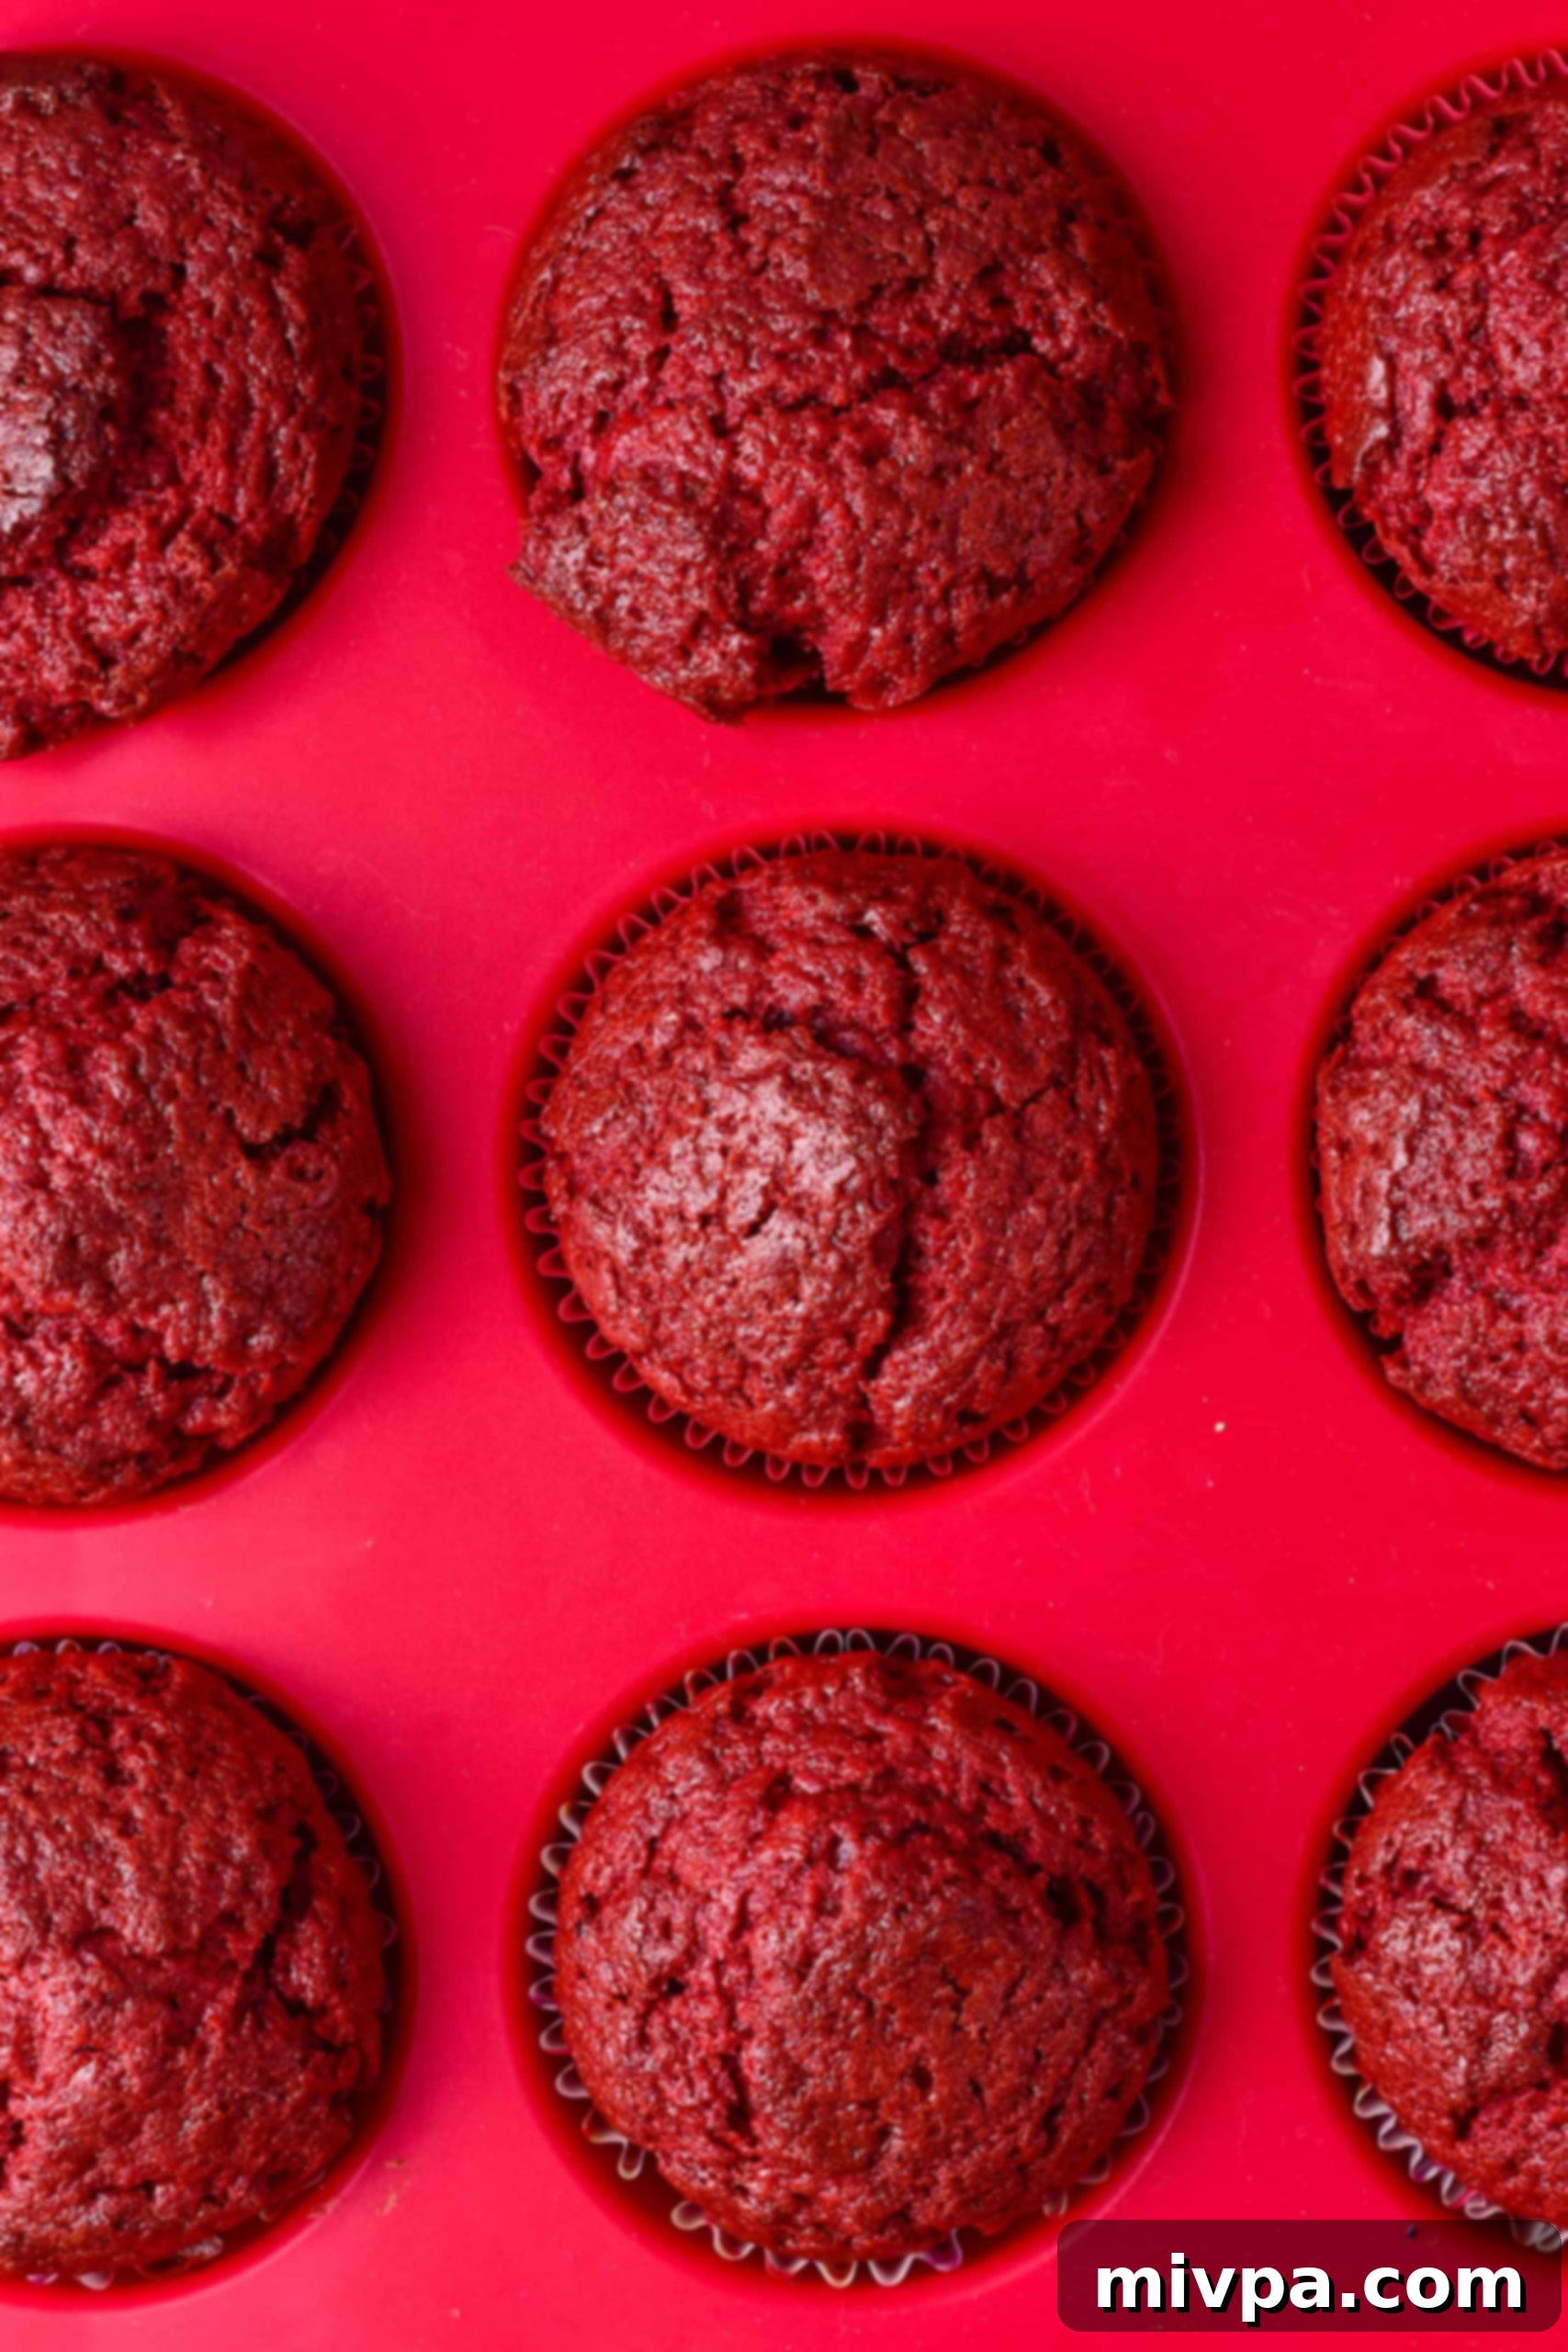
8. Cool and Prepare for Filling (Optional)
Once baked, carefully remove the cupcakes from the oven. Let them cool in the muffin tin for a few minutes before transferring them to a wire rack to cool completely to room temperature. This prevents them from becoming soggy. Once fully cooled, use a small knife or a cupcake corer to carefully cut off the tops and remove a small portion from the middle of each cupcake, creating a perfect cavity for your filling. If you prefer unfilled cupcakes, you can entirely skip this step and the next one.
(TIP: Save the removed cupcake tops and crumbs! You can crumble them and use them as a delightful decoration sprinkled over the frosting.)
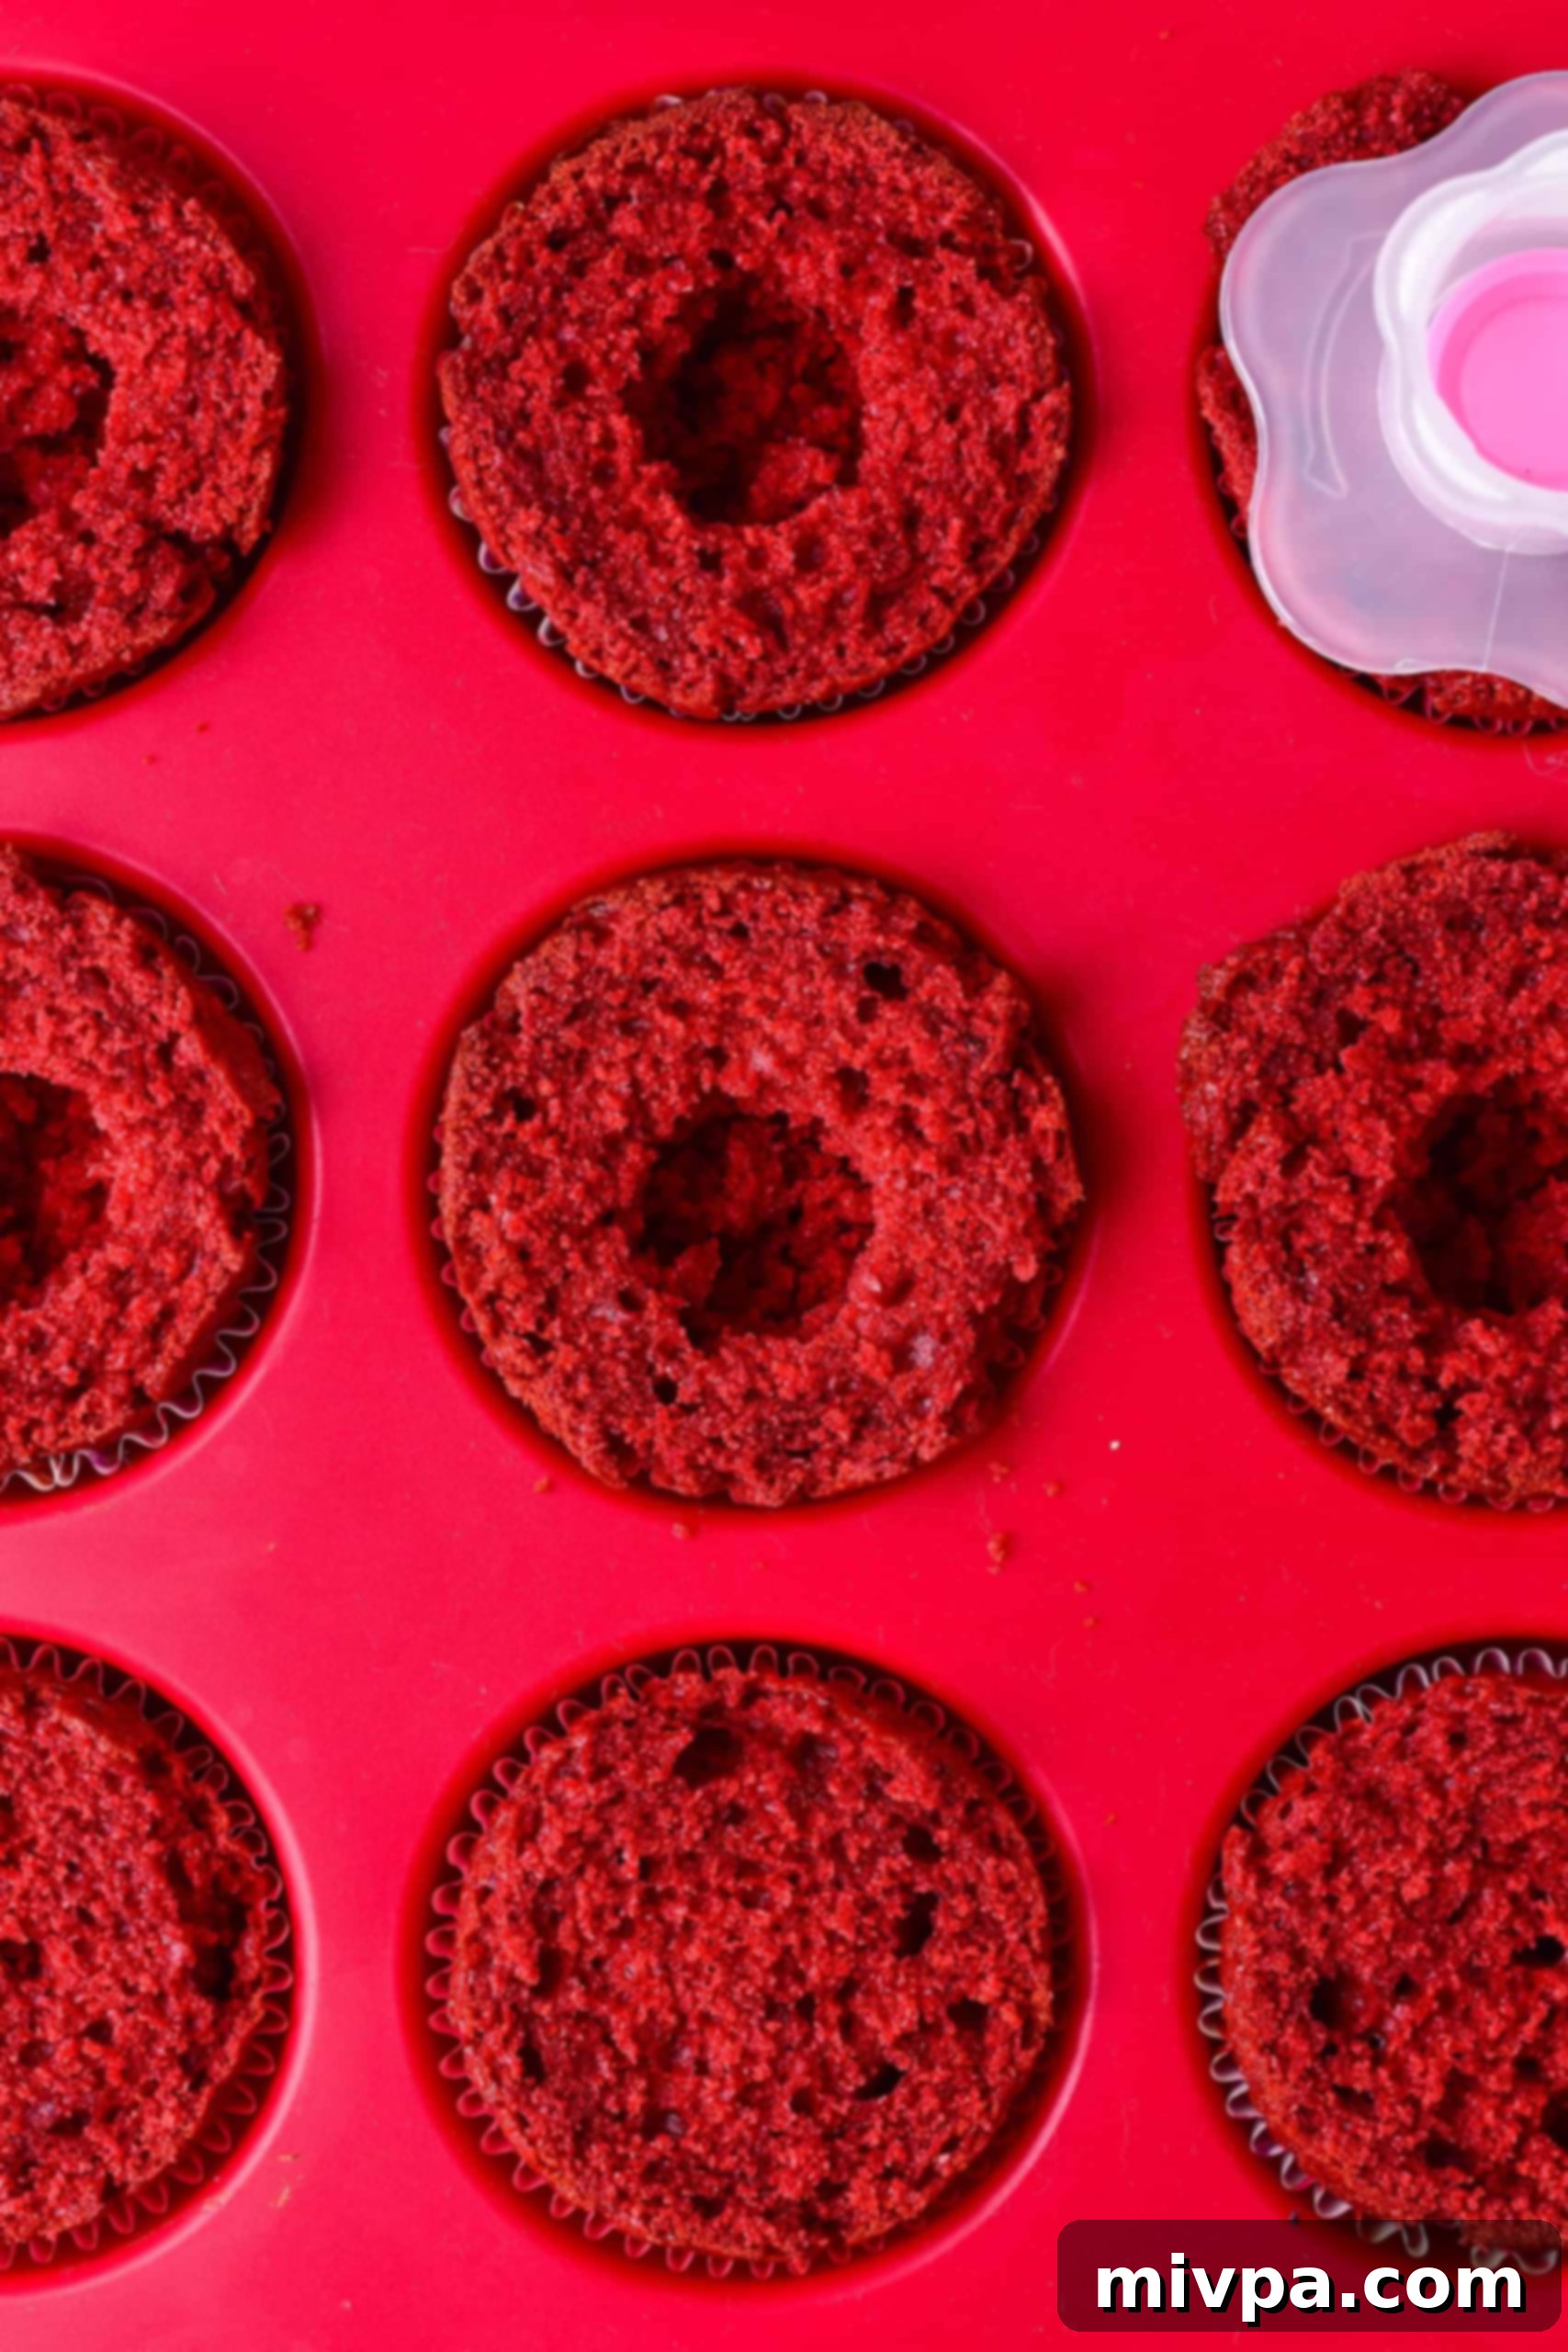
9. Pipe in the Caramel Filling
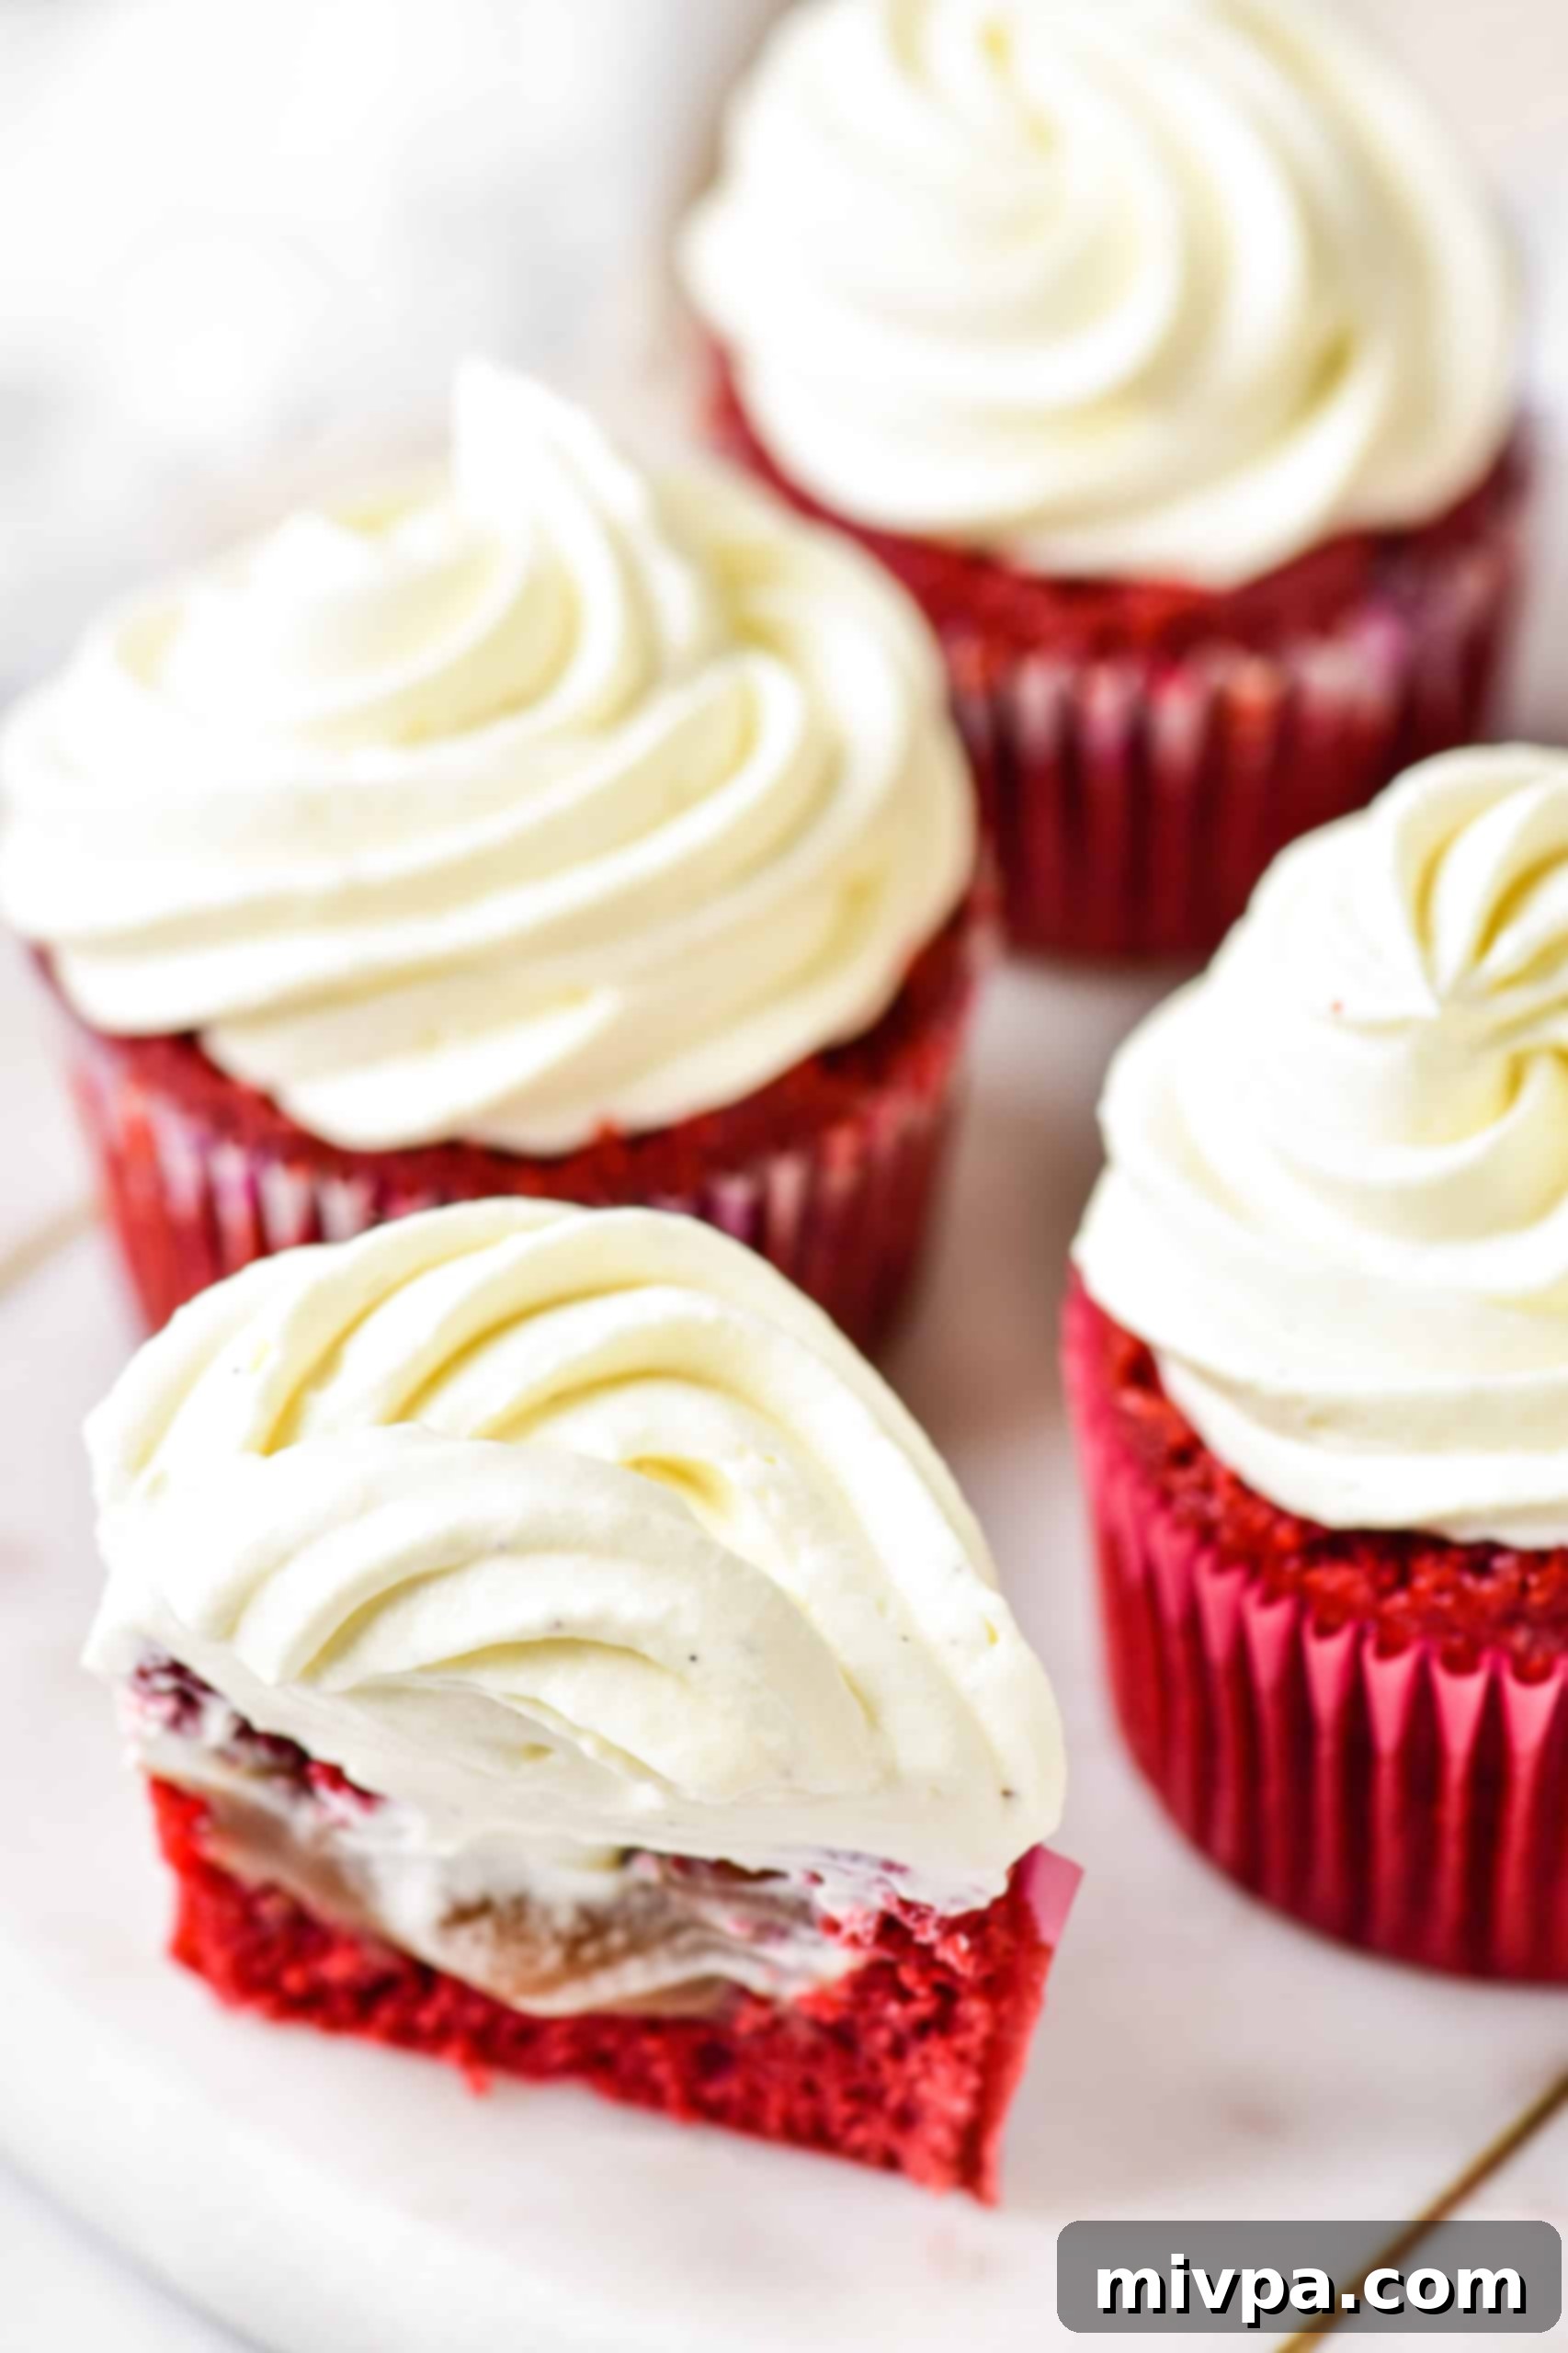
If you’re opting for a filled cupcake, carefully spoon the dairy-free caramel into a piping bag. Gently pipe the caramel into the small holes you created in the center of each cooled cupcake. Fill them generously but leave a small margin at the top for the frosting. The rich caramel will add an exquisite surprise to every bite.
(TIP: No piping bag? No problem! You can achieve the same result by placing the caramel in a sturdy ziplock bag, snipping off one corner, and using it as a makeshift piping bag.)
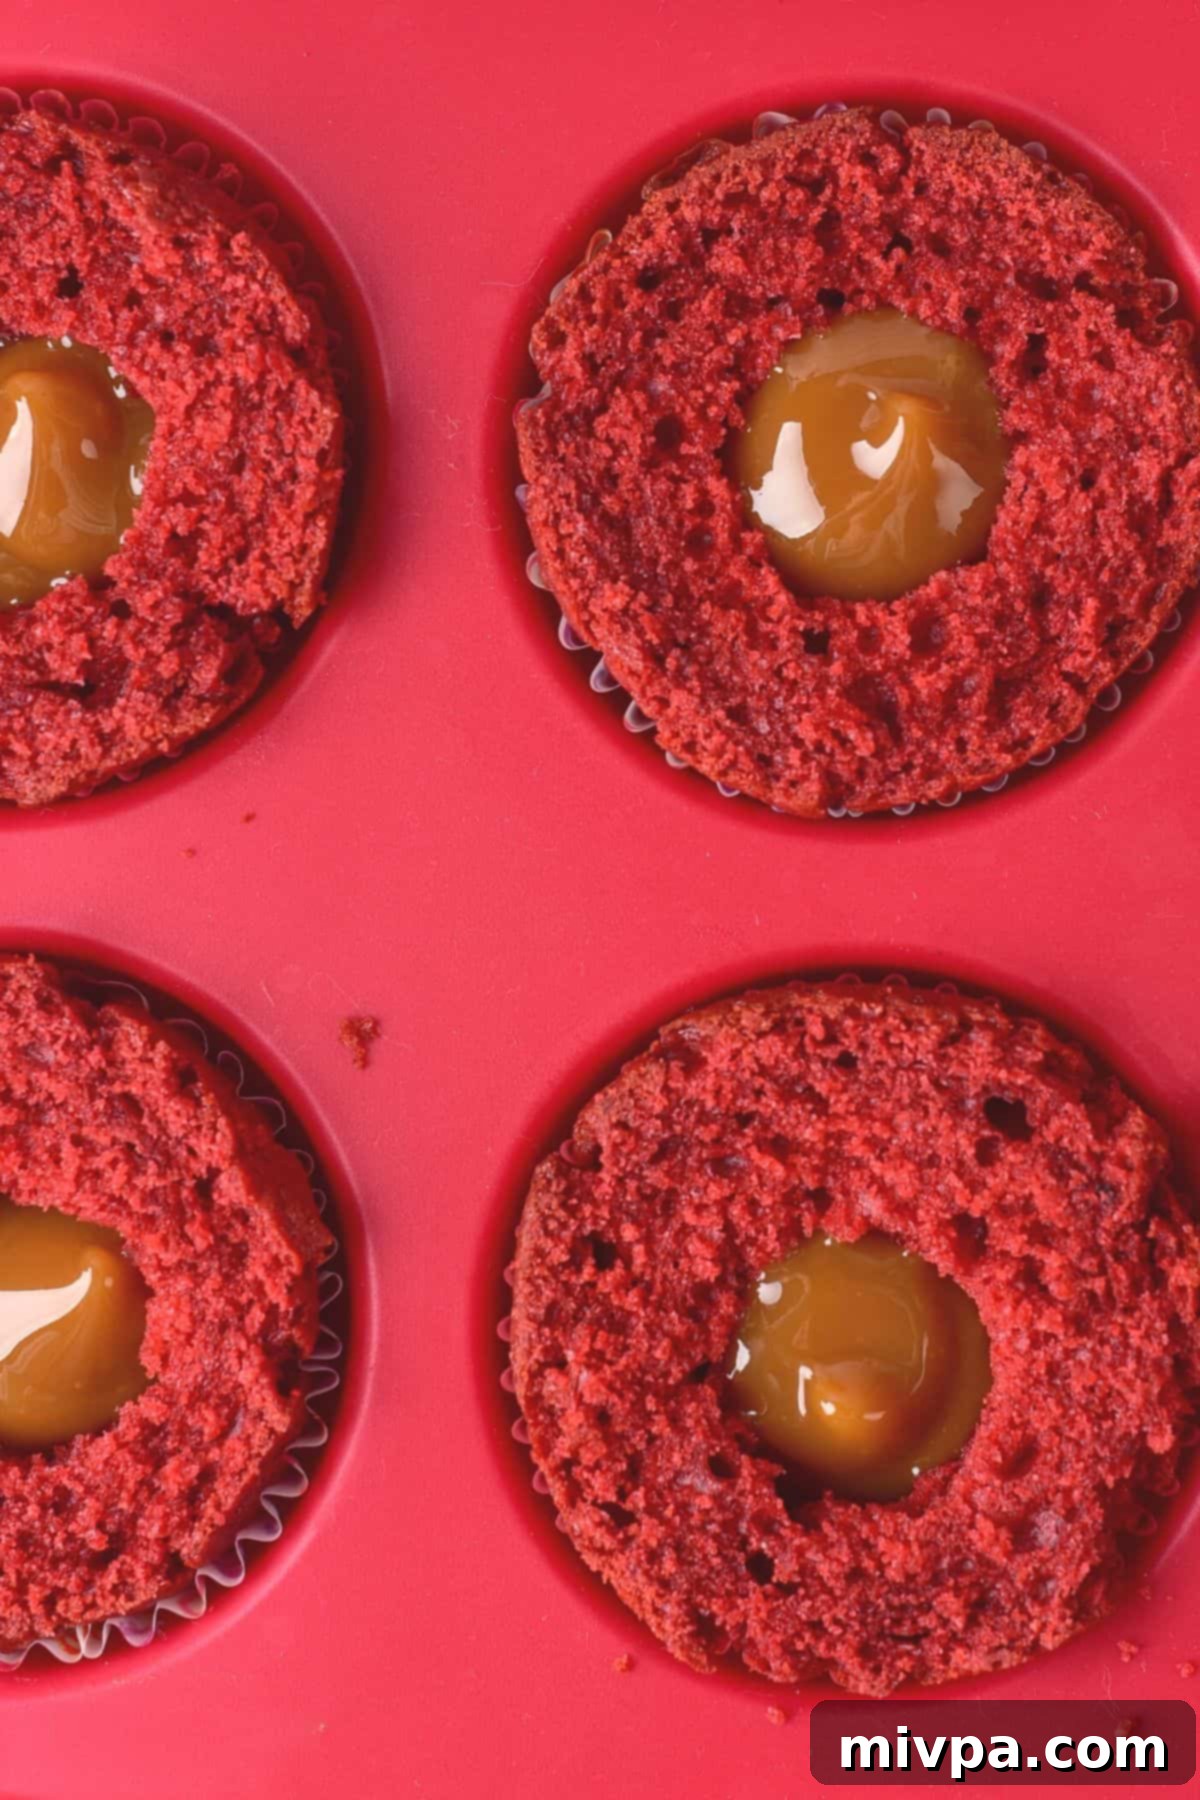
10. Prepare the Fluffy Dairy-Free Cream Cheese Frosting
To make the glorious dairy-free cream cheese frosting, combine the softened dairy-free cream cheese, chilled dairy-free whipping cream, powdered sugar, and vanilla extract in a large mixing bowl. Using an electric mixer (handheld or stand mixer), beat the ingredients on medium-high speed until the mixture becomes thick, fluffy, and completely homogeneous. Continue beating until stiff peaks form, indicating a perfectly stable and pipeable frosting. Ensure the cream cheese is at room temperature to prevent lumps, and the whipping cream is very cold for best results.
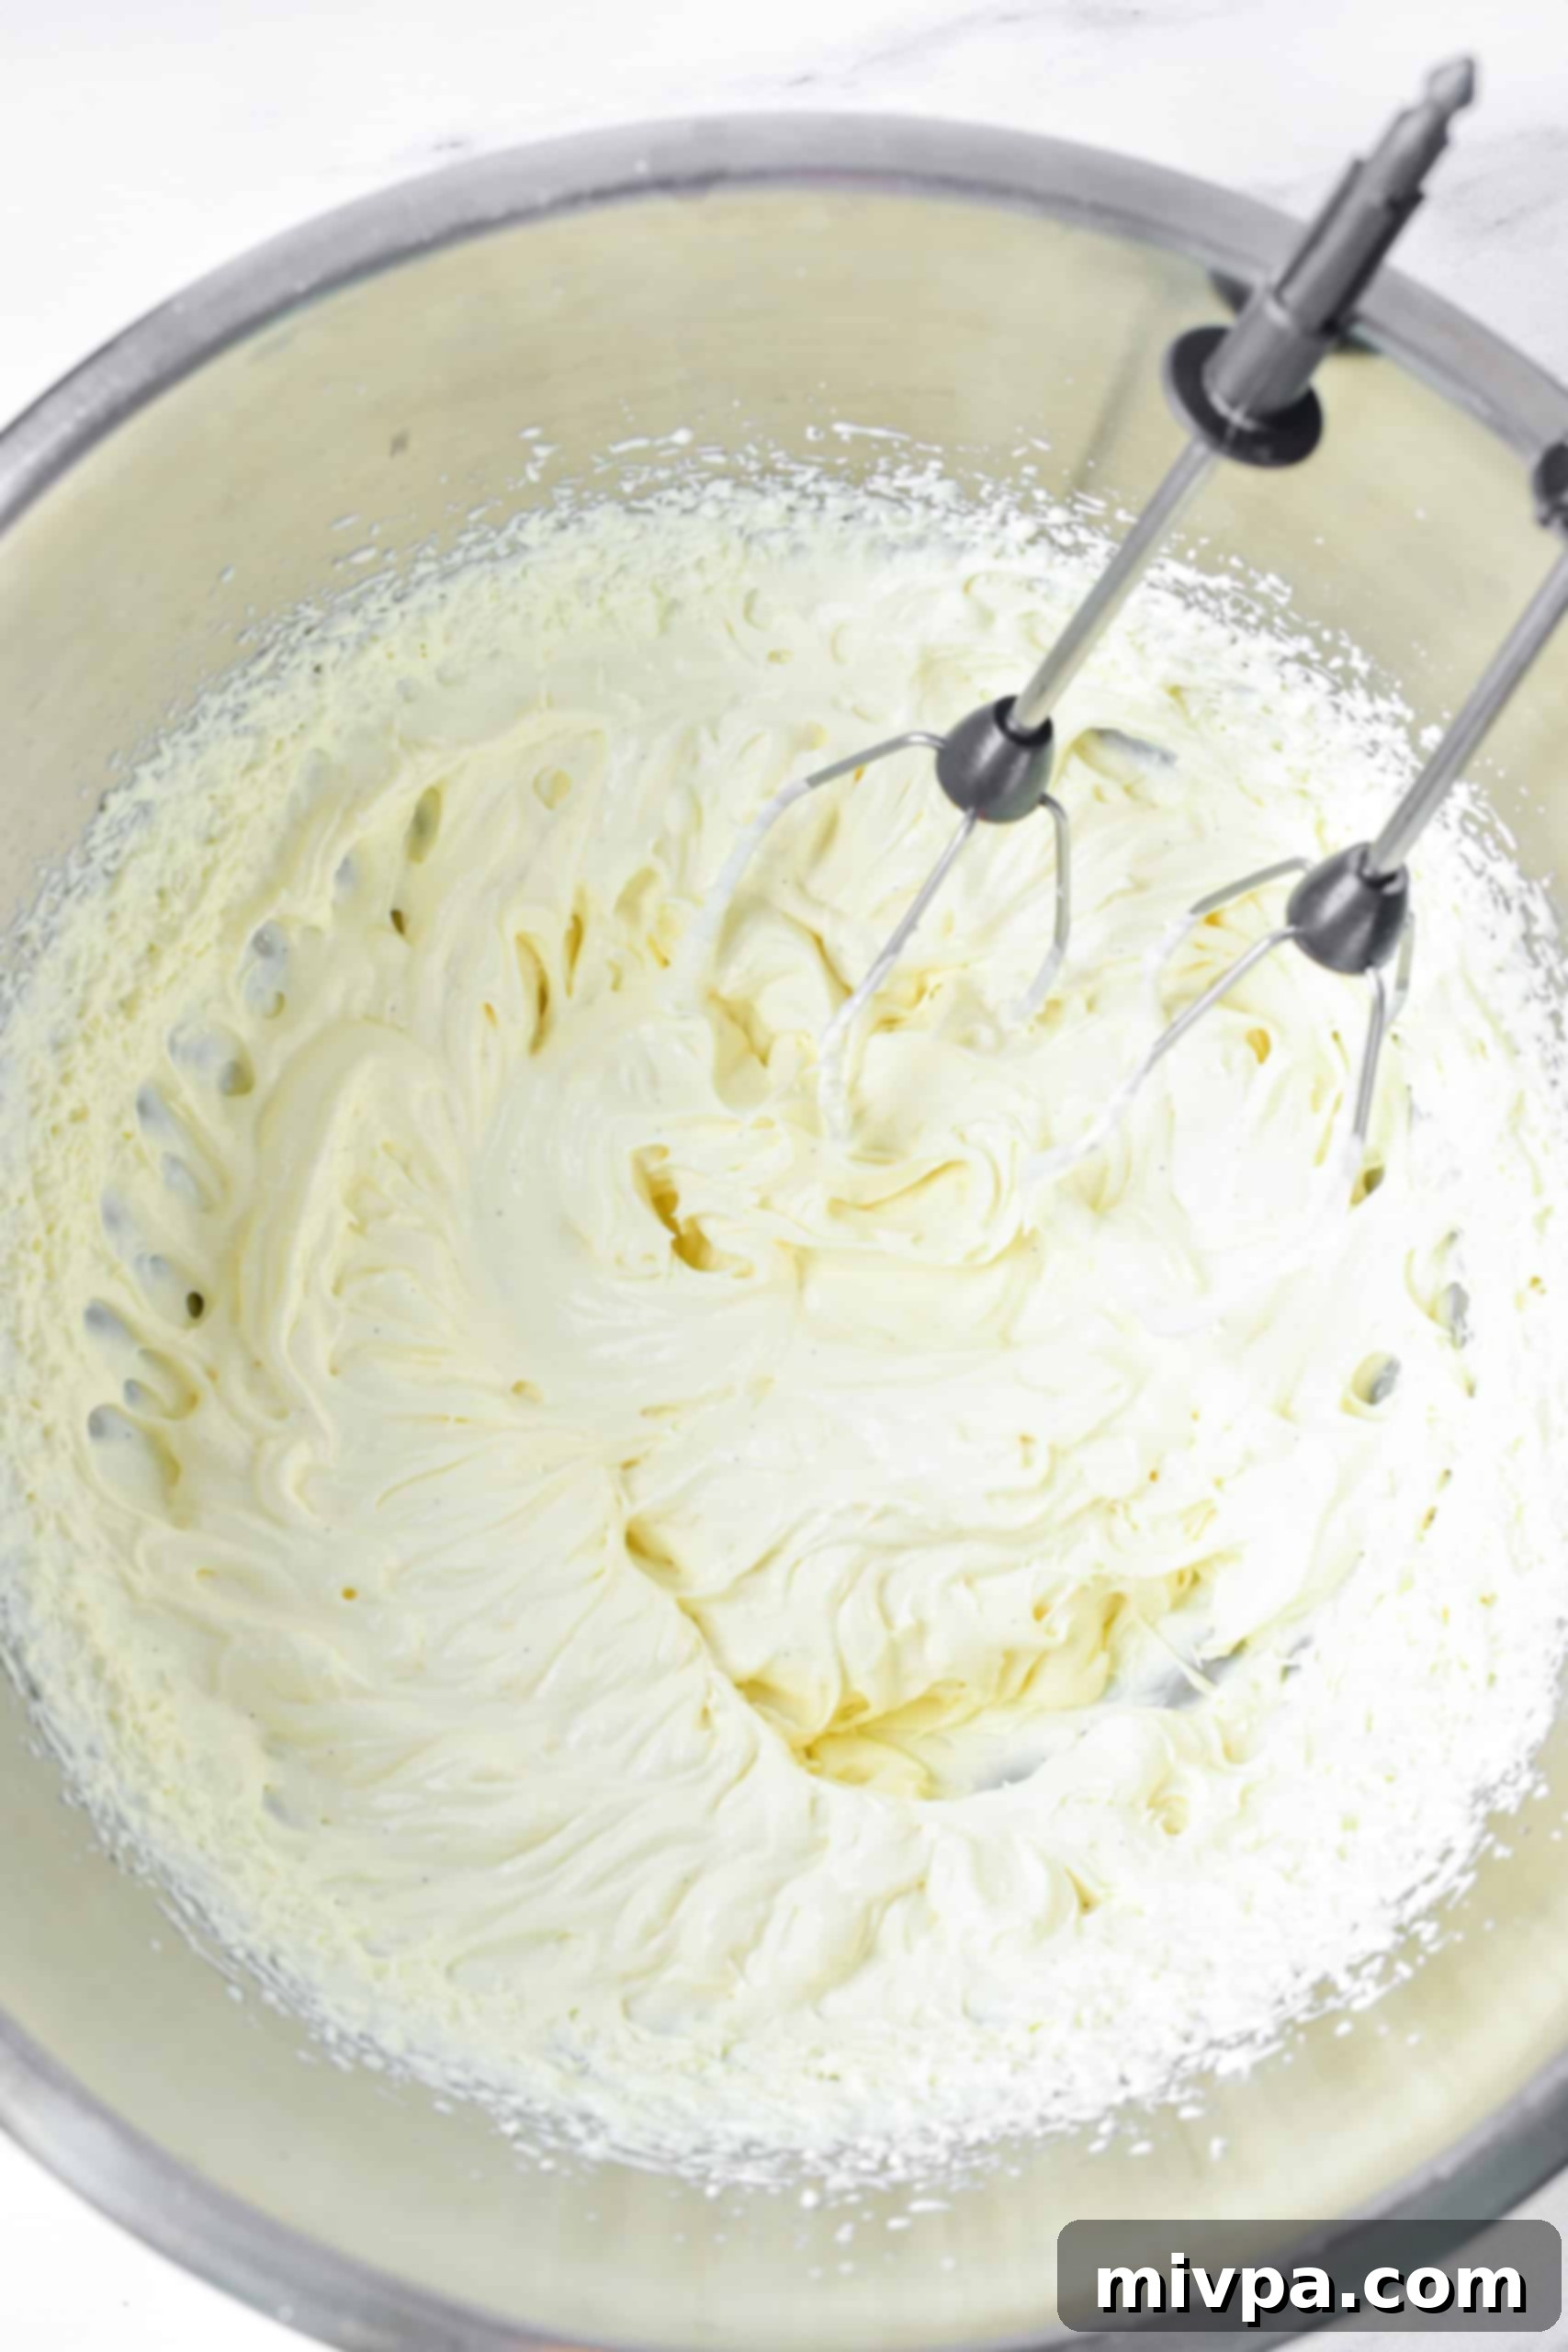
11. Decorate Your Masterpieces
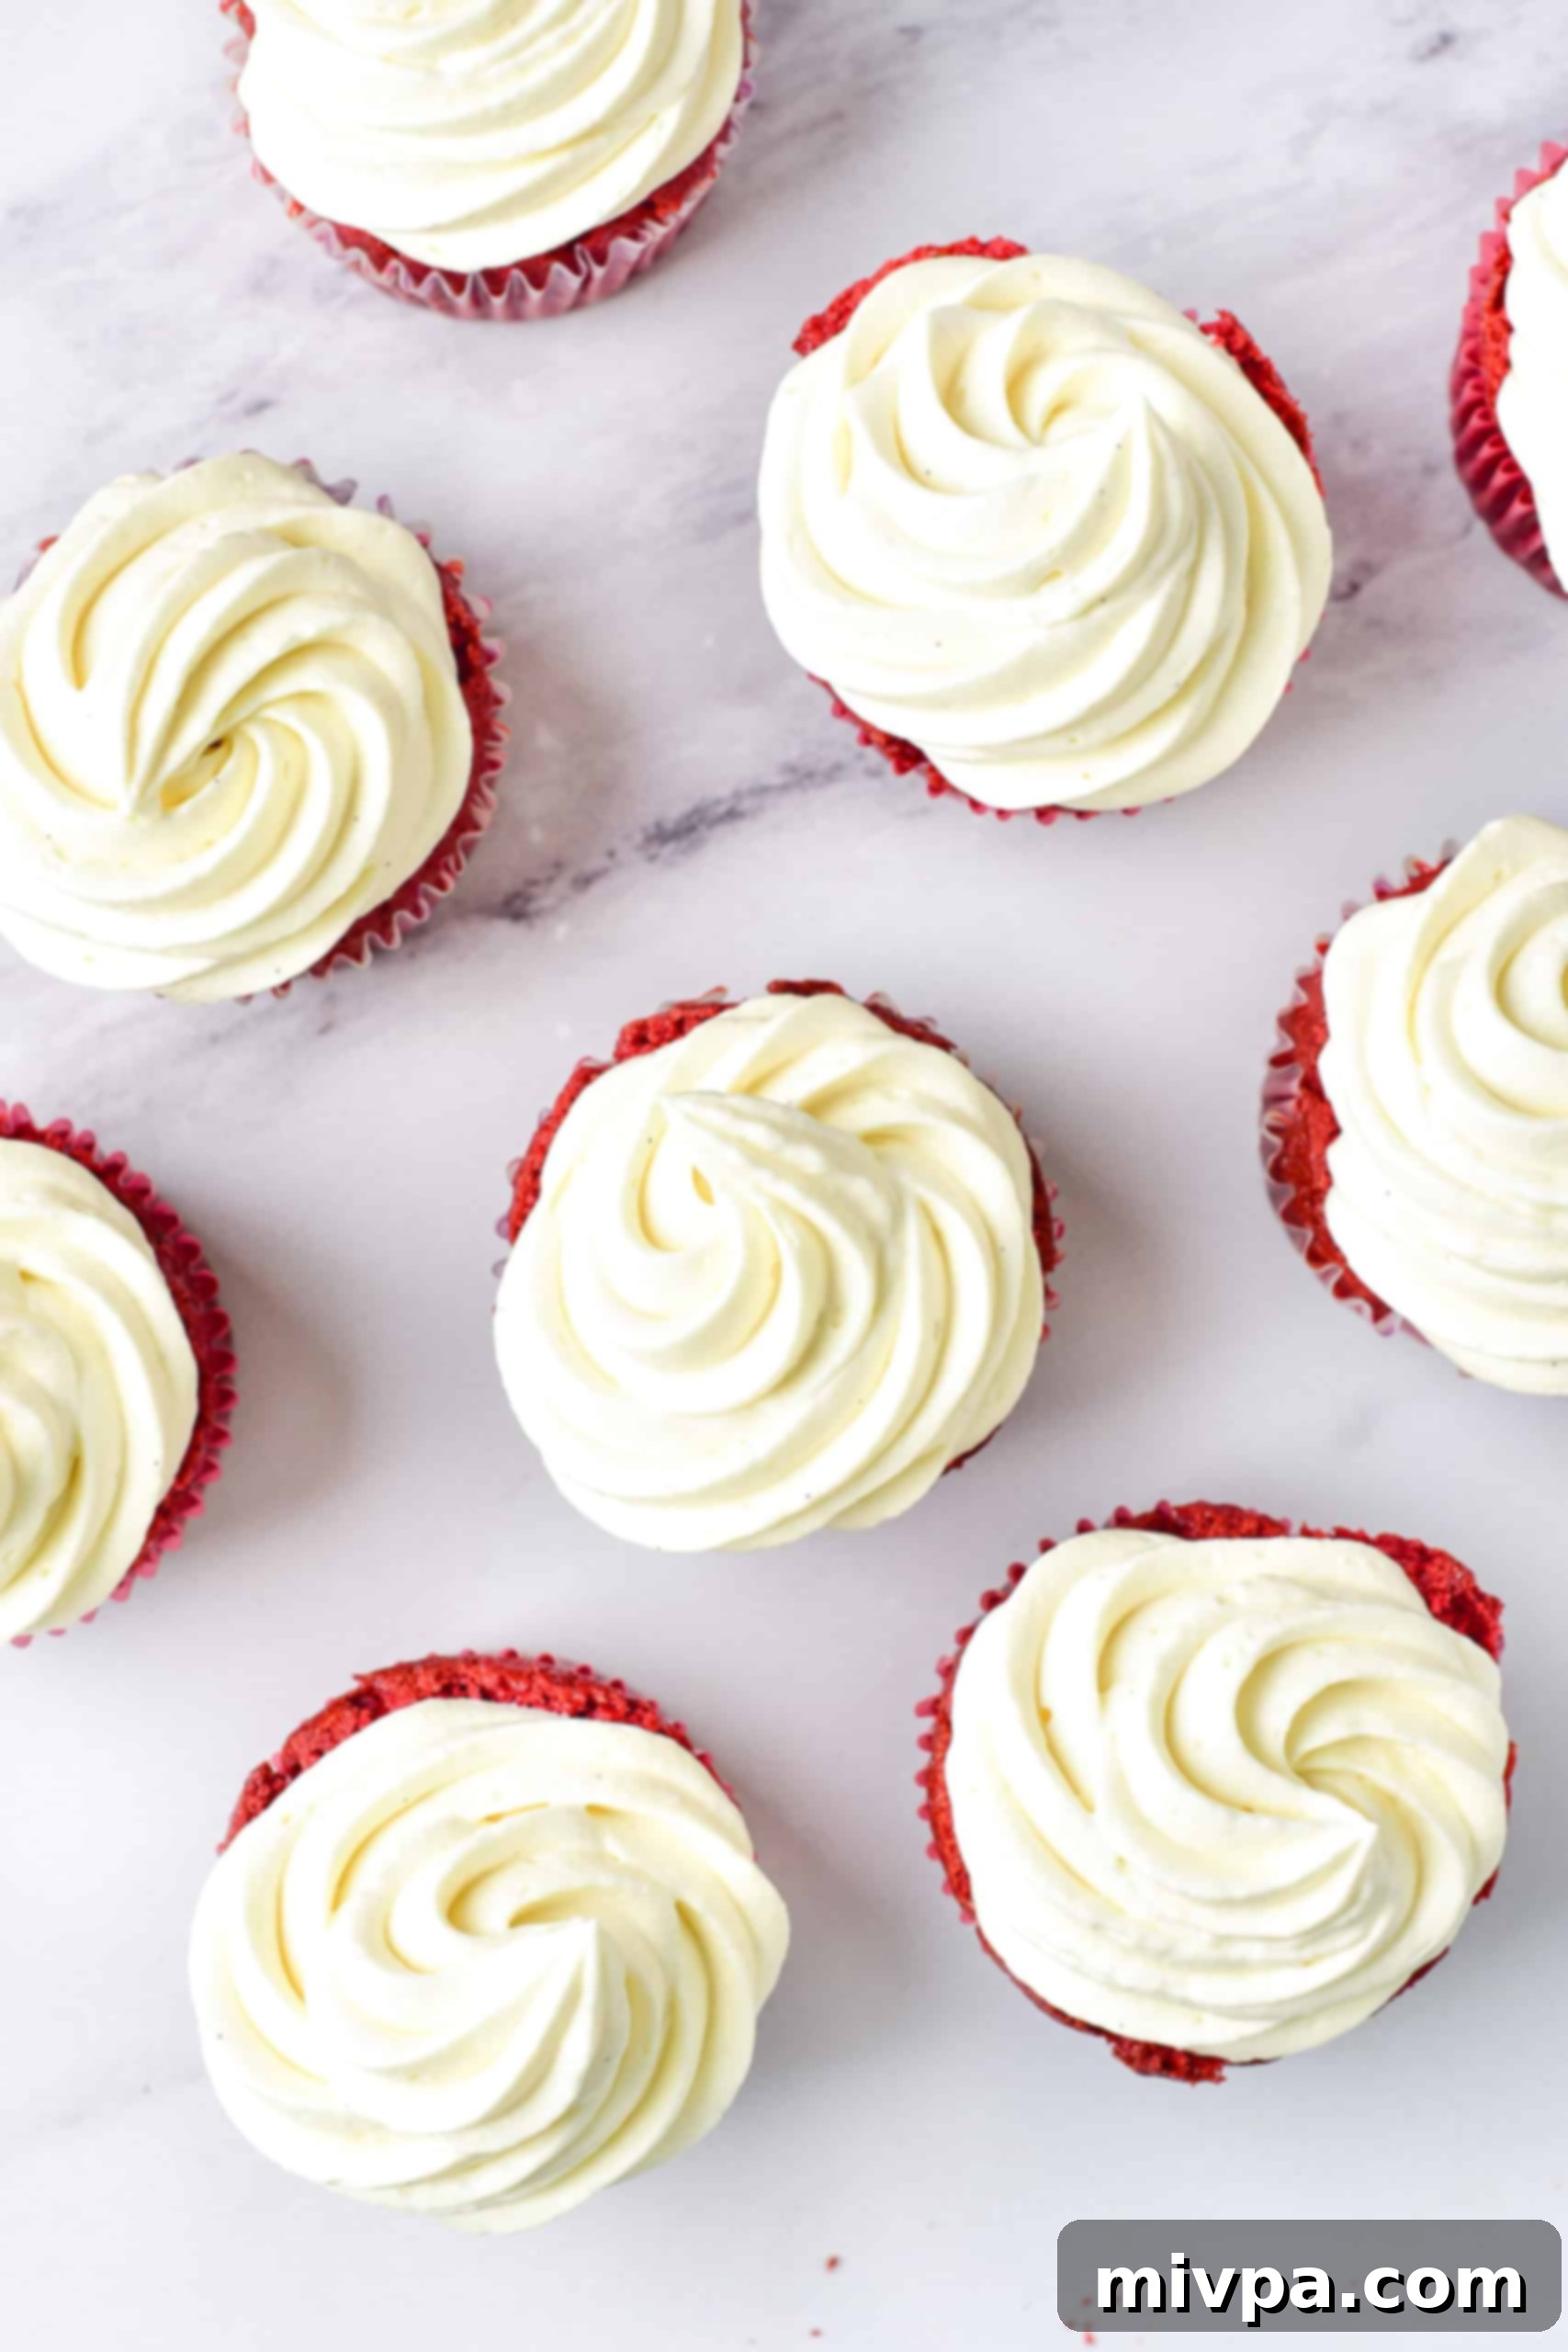
Transfer the luscious cream cheese frosting to a piping bag fitted with your favorite star tip (or any decorative tip you prefer). Pipe the frosting artfully on top of each caramel-filled red velvet cupcake. For an extra festive touch, decorate additionally with candy sprinkles or the reserved cupcake crumbs, if desired. Serve immediately and enjoy the cheers!
Dish by Dish Pro Tips & Tricks for the Best Red Velvet Cupcakes
Elevate your baking game with these extra tips and creative ideas to make your gluten-free red velvet cupcakes truly unforgettable:
- Creative Toppings: Don’t limit yourself to just sprinkles! For a classic look, crumble the removed cupcake tops (from step 8) and sprinkle them over the frosting for a delightful texture and visual appeal. You can also use finely chopped nuts like pecans or walnuts, a dusting of extra cocoa powder, or even small chocolate shavings to add elegance. For seasonal flair, consider themed sprinkles (e.g., heart sprinkles for Valentine’s, green/red for Christmas).
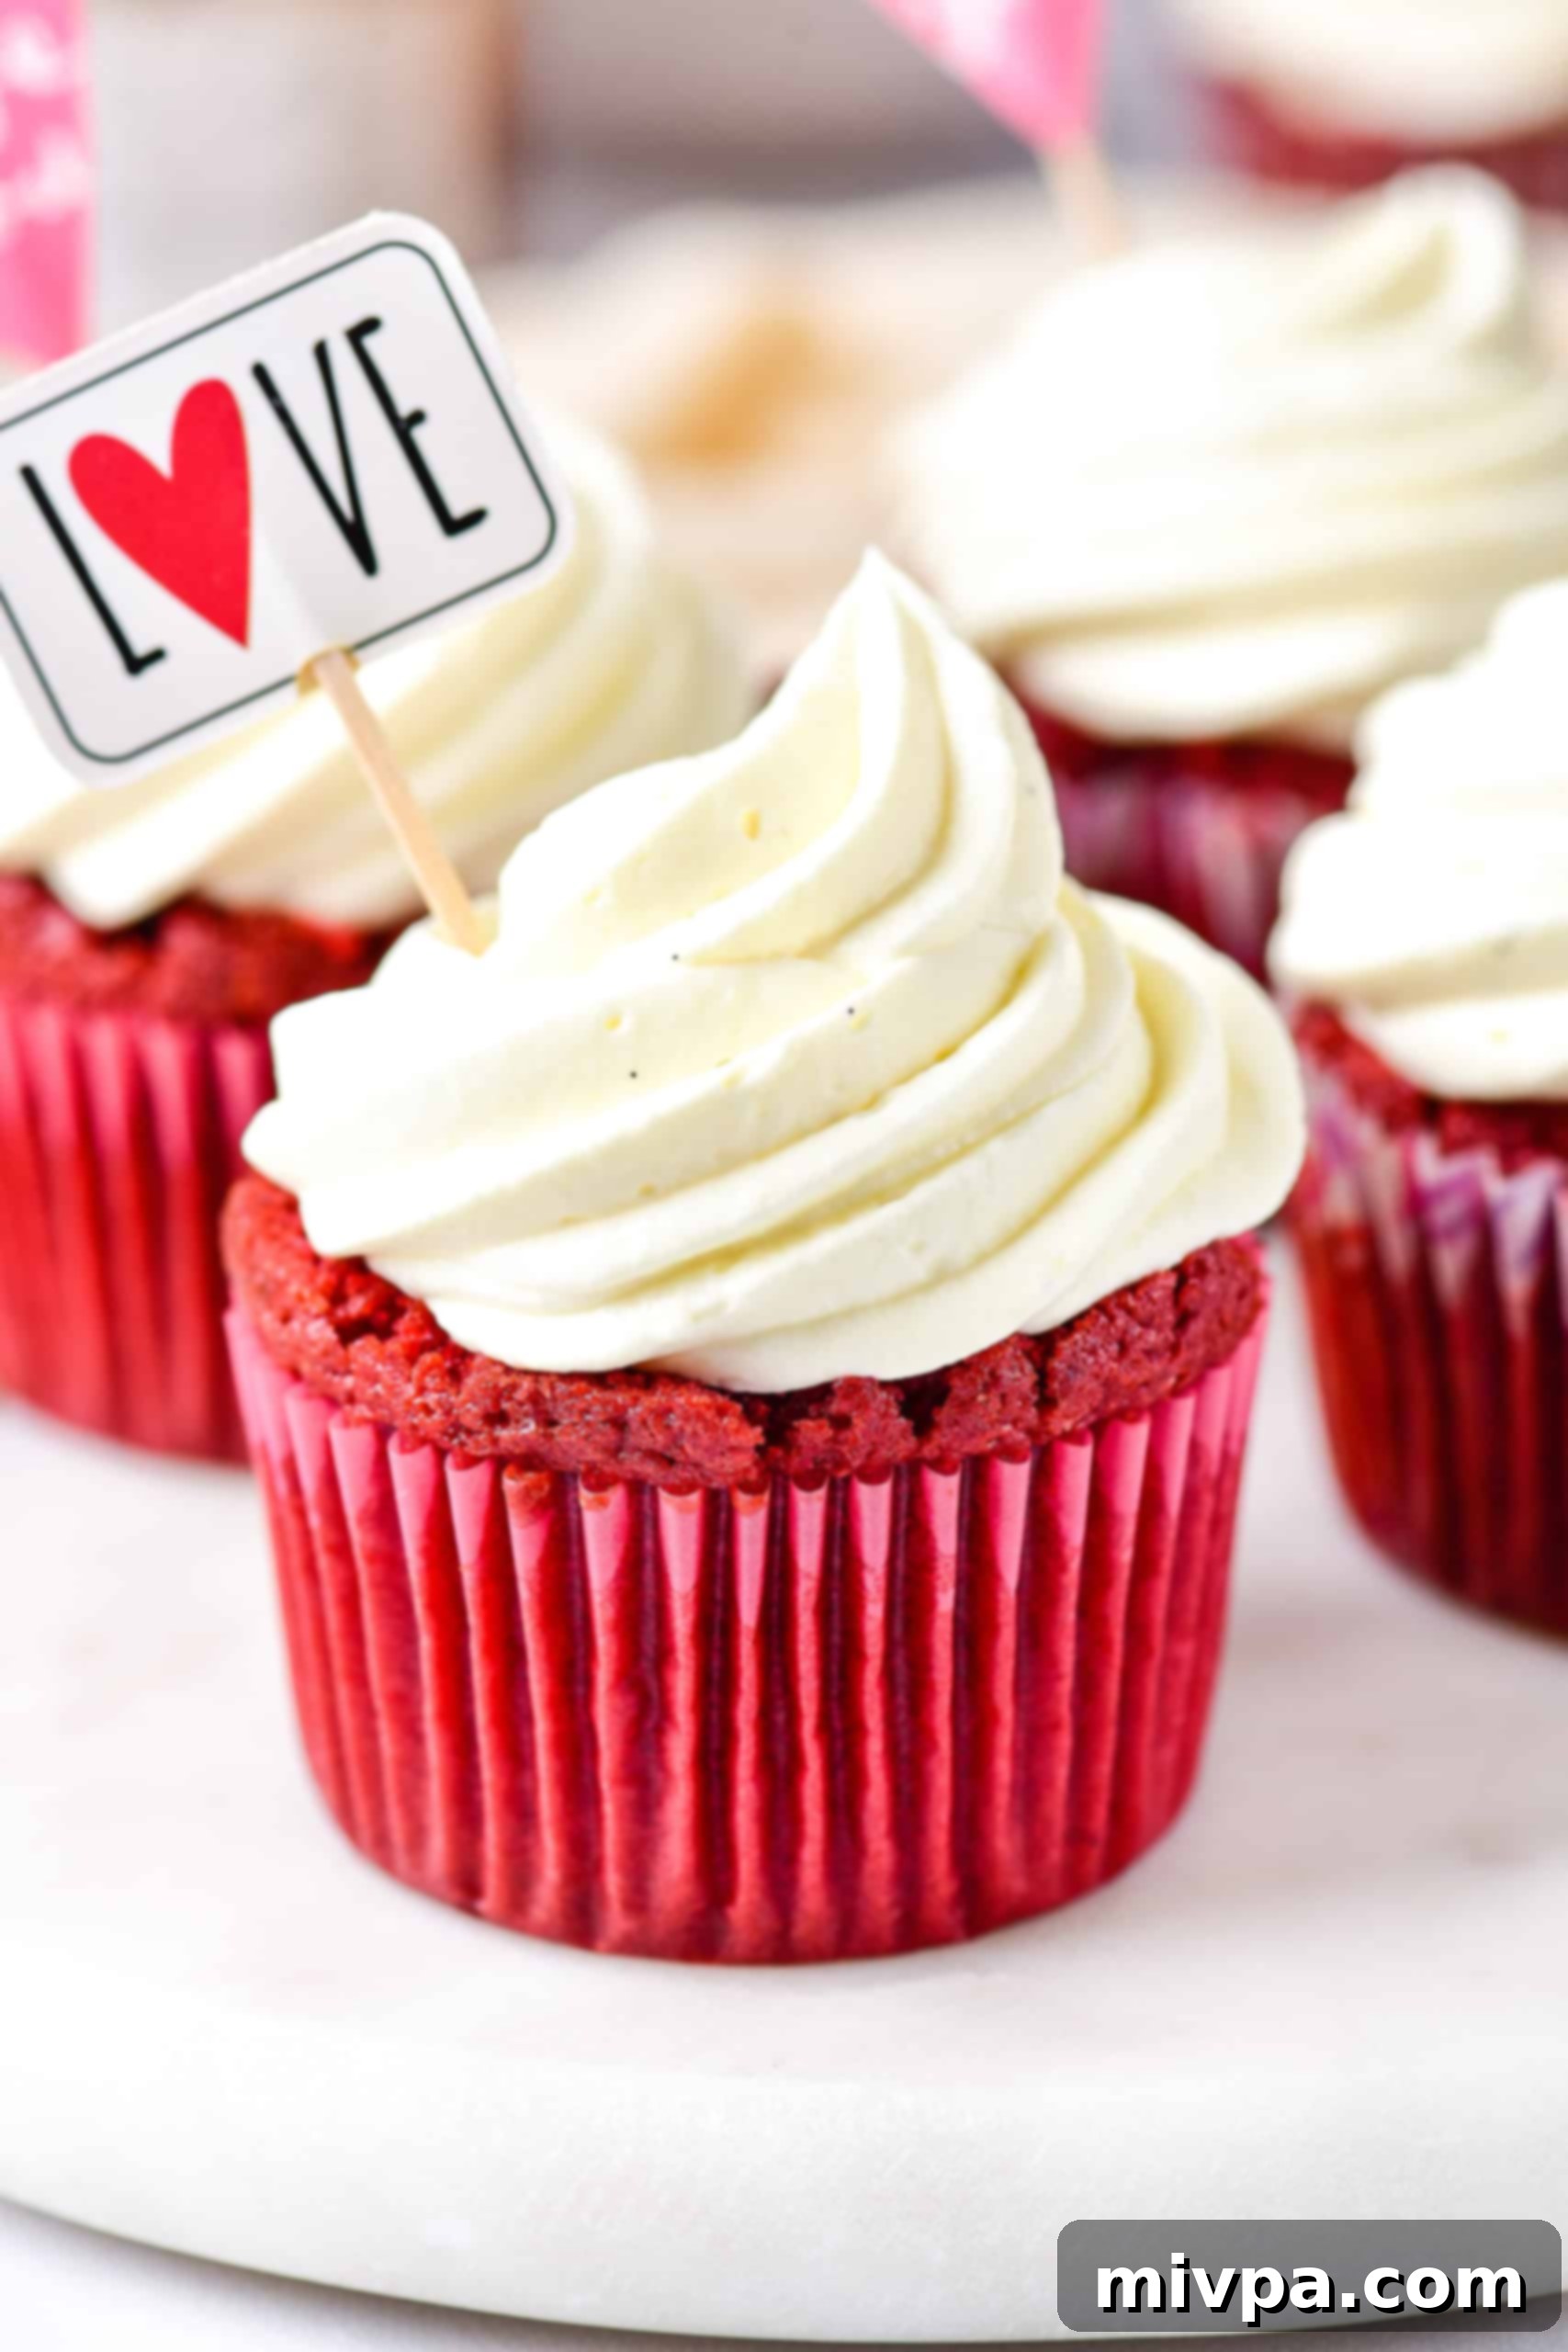
- Seasonal & Occasional Decorations: These versatile gluten-free cupcakes can be easily customized for any event! In the photos, you see them adorned for Valentine’s Day, but with a few changes, they can fit any celebration. For Easter, use pastel sprinkles or small chocolate eggs. For Mother’s Day, add edible flowers or delicate edible glitter. During Christmas, opt for red and green sprinkles, crushed candy canes, or tiny gingerbread cutouts. For birthdays, customize with candles, edible glitter, or small fondant shapes. The possibilities are endless!
- Experiment with Fillings (or Go Without!): While the dairy-free caramel filling is divine, feel free to get creative! Other delicious dairy-free filling options include rich chocolate fudge, tangy raspberry jam, zesty lemon curd, or even a simple strawberry puree. If you prefer a simpler cupcake, you can absolutely skip the filling altogether. In this case, there’s no need to core the cupcakes—just frost them directly after they cool. The flavor and texture are fantastic even without a filling.
- Room Temperature Ingredients: For the best results, ensure your wet ingredients like the egg, vegan buttermilk, and dairy-free cream cheese (for the frosting) are at room temperature. This helps them emulsify better, creating a smoother batter and a creamier, lump-free frosting.
- Don’t Overmix: When combining wet and dry ingredients, mix just until no dry streaks remain. Overmixing can develop the gluten in regular flour (not an issue here) but more importantly, it can overwork the starches in gluten-free flour, leading to dense or tough cupcakes. A light hand will ensure a tender, fluffy crumb.
- Storage for Freshness: While the FAQ covers basic storage, remember that cream cheese frosting is best kept chilled. Store your frosted cupcakes in an airtight container in the refrigerator to keep the frosting firm and fresh. They are best enjoyed within 2-3 days.
Recipe FAQs: Your Top Questions Answered
To maintain their delicious taste and texture, especially with the dairy-free cream cheese frosting, it’s best to store these gluten-free red velvet cupcakes in an airtight container in the refrigerator. Arranging them in a single layer, if possible, helps prevent the frosting from getting smushed. They will stay fresh and delightful for up to 3 days. I highly recommend against freezing these particular cupcakes, as the delicate texture of both the cake and the dairy-free frosting can suffer upon thawing, becoming watery or crumbly.
Most conventional red velvet cake mixes found in grocery stores are unfortunately NOT gluten-free. They primarily use wheat flour, which contains gluten. This means they are unsuitable for individuals with Celiac disease or gluten intolerance. While there are some specialized gluten-free red velvet cake mixes available, it’s crucial to read labels carefully. Many of these gluten-free options may still contain dairy ingredients, making them unsuitable for those with lactose intolerance or dairy allergies. Always double-check ingredient lists for both gluten and dairy certifications if you have specific dietary needs.
Yes, you can certainly prepare parts of these red velvet cupcakes in advance. You can bake the cupcakes a day before, let them cool completely, and store them in an airtight container at room temperature. The dairy-free cream cheese frosting can also be made a day in advance and stored in the refrigerator. Just before serving, bring the frosting to room temperature (or slightly softened) and re-whip it briefly before piping onto the cooled cupcakes. If filling with caramel, do so closer to serving for the best texture.
Several factors can contribute to dense or crumbly gluten-free cupcakes. Overmixing the batter can lead to a dense texture, as it overdevelops starches in the flour. Ensure you mix just until the ingredients are combined. Conversely, too little liquid or too much flour can also make them dry and crumbly. Always measure your ingredients precisely, ideally using a kitchen scale for flour. Lastly, ensure your gluten-free flour blend contains xanthan gum (or add it separately) as it’s vital for structure and binding in gluten-free baking.
Other Delicious Gluten-Free Cake Recipes You’ll Love
If you enjoyed these delightful red velvet cupcakes, you’ll be thrilled to discover more of our amazing gluten-free cake recipes that cater to various tastes and dietary needs. Perfect for any celebration or a simple sweet craving!
- Gluten-Free Mini Bundt Cakes (Vegan)
- Amazing Flourless Almond Cake (Gluten-Free, Dairy-Free)
- 31 Gluten-Free Cake Recipes for Any Ocassion
- Gluten-Free Pistachio Cake (Dairy-Free)
More Irresistible Gluten-Free Desserts to Sweeten Your Day
Craving more sweet, gluten-free treats? Explore these other delightful dessert recipes that are perfect for any time of year!
- Gluten-Free Pumpkin Banana Muffins (Dairy-Free)
- 126 Gluten-Free Desserts and Sweet Treats for Labor Day
- Mini Pumpkin Cheesecakes (Gluten-Free, Dairy-Free Option)
- Gluten-Free Pecan Pie Bars (Dairy-Free)
P.S. If you try this recipe, I’d love for you to leave a star rating below, and/or a review in the comment section further down the page. I always appreciate your feedback. Be sure to check out my entire Recipe Index for all the recipes on the blog. You can also follow me on Pinterest, Facebook or Instagram! Sign up for my Email List to get fresh recipes in your inbox each week!
Print

Gluten-Free Red Velvet Cupcakes (Dairy-Free)
5 Stars 4 Stars 3 Stars 2 Stars 1 Star
5 from 1 review
Author: Felicia Lim
Total Time: 50 minutes
Yield: 10 cupcakes
Diet: Gluten Free
Description
These exquisite gluten-free red velvet cupcakes are incredibly tender and perfectly fluffy, each featuring a delightful caramel center and crowned with a deliciously light and tangy dairy-free cream cheese frosting. They are completely dairy-free, but so rich and flavorful, no one will even notice! This recipe creates the perfect dessert or a special snack for any special occasion you can imagine – think romantic Valentine’s Day treats, festive Easter delights, a sweet gesture for Mother’s Day, joyous Christmas desserts, memorable birthday celebrations, or even elegant baby showers. Don’t hesitate – bake a batch (or even two!) today and bring a smile to everyone’s face!
Ingredients
Units
Scale
- 3/4 cup gluten-free measure for measure flour blend (ensure it’s a 1:1 substitute)
- 1/4 teaspoon xanthan gum (omit if your GF flour blend already includes it)
- 1 tablespoon unsweetened cocoa powder
- 1/2 cup granulated sugar (or monk fruit sweetener)
- 1 teaspoon gluten-free baking powder
- 1/3 cup neutral-flavored oil (e.g., sunflower, corn, or melted vegan butter)
- 1 large beaten egg (at room temperature, see notes for egg-free option)
- 1/2 cup dairy-free buttermilk (1/2 cup dairy-free milk + 1/2 tbsp lemon juice, see notes)
- 1/4 teaspoon gluten-free red food coloring (optional, or natural alternative)
Filling (Optional):
- 4 tablespoons dairy-free caramel sauce
For Dairy-Free Cream Cheese Frosting:
- 1 cup dairy-free cream cheese (softened to room temperature)
- 2/3 cup dairy-free whipping cream (very cold)
- 3 tablespoons powdered sugar (or powdered monk fruit sweetener)
- 1 teaspoon pure vanilla extract
Instructions
- Preheat Oven & Line Pan: Preheat your oven to 360°F (180°C). Line a standard muffin pan with paper muffin liners, preparing for your delicious cupcakes.
- Whisk Dry Ingredients: In a large mixing bowl, combine the gluten-free flour blend, xanthan gum (if needed), unsweetened cocoa powder, granulated sugar, and baking powder. Whisk everything thoroughly until all dry ingredients are perfectly combined and uniform.
- Mix Wet Ingredients: In a separate medium bowl, whisk together the dairy-free buttermilk, sunflower oil, and the beaten egg until well combined and smooth.
- Add Food Coloring: Incorporate the red food coloring into the liquid ingredients from step 3. Mix vigorously until the color is vibrant, consistent, and completely lump-free.
- Combine Wet and Dry Ingredients: Pour the red liquid mixture into the bowl of dry ingredients. Mix gently with a whisk or rubber spatula until a homogeneous, bright red batter forms. Be careful not to overmix.
- Transfer Batter to Muffin Tin: Evenly distribute the red velvet batter among the lined muffin cavities, filling each to about half an inch from the top to allow for proper rising.
- Bake Cupcakes: Bake in the preheated oven at 360°F (180°C) for approximately 20 minutes, or until a toothpick inserted into the center of a cupcake comes out clean.
- Cool and Core Cupcakes (Optional): Remove the baked cupcakes from the oven and transfer them to a wire rack to cool completely. Once cooled, if you plan to add filling, carefully cut off the tops and remove a small portion from the middle of each cupcake to create a cavity.
- Pipe Caramel Filling (Optional): If desired, spoon the dairy-free caramel into a piping bag (or ziplock bag with a snipped corner). Pipe the caramel generously into the prepared cavities of the cooled cupcakes.
- Prepare Frosting: In a large mixing bowl, combine the softened dairy-free cream cheese, very cold dairy-free whipping cream, powdered sugar, and vanilla extract. Beat with an electric mixer on medium-high speed until the mixture is thick, fluffy, and forms stiff peaks.
- Pipe Cream Cheese Frosting & Decorate: Transfer the prepared frosting to a piping bag fitted with a star tip. Pipe the luscious cream cheese frosting on top of each cupcake. Finish by decorating with candy sprinkles or reserved cupcake crumbs, if desired. Serve and enjoy!
Notes
Gluten-Free Flour: This recipe is specifically designed for a gluten-free measure-for-measure flour blend, which is formulated to be a direct 1:1 substitute for normal wheat flour. Using other types of gluten-free flours (like almond, coconut, or single-grain flours) or a general gluten-free all-purpose flour that isn’t a 1:1 blend may drastically alter the texture and outcome. If you do not have Celiac disease or gluten intolerance, you can use regular all-purpose wheat flour in the same quantity.
Xanthan Gum: Xanthan gum acts as a binder in gluten-free baking, replacing the elasticity and structure normally provided by gluten. It’s crucial for preventing a crumbly texture and giving your cupcakes a pleasant chewiness. Always check your gluten-free flour blend’s ingredients; if xanthan gum is not listed, make sure to add the specified amount.
Cocoa Powder: For the characteristic subtle chocolate flavor and color of red velvet, use unsweetened cocoa powder (or cacao powder). This gives you control over the sweetness. Avoid Dutch-processed cocoa unless specifically noted, as its different acidity can affect the leavening process.
Sugar: While I used standard white granulated sugar, you have flexibility. Light brown sugar or dark brown sugar can add a deeper, more caramel-like flavor and extra moisture. Coconut sugar offers a similar flavor profile. For a sugar-free option suitable for diabetics or those managing insulin levels, granulated monk fruit sweetener is an excellent 1:1 substitute that won’t raise blood sugar.
Baking Powder: This is the sole chemical leavening agent responsible for the cupcakes’ rise. Ensure your baking powder is fresh for optimal results. For Celiac individuals, always choose a certified gluten-free baking powder to avoid cross-contamination.
Oil: I favor sunflower oil for its neutral flavor, but other vegetable oils like corn oil, avocado oil, or light olive oil work well. Melted coconut oil or vegan butter are also great dairy-free alternatives. If dairy isn’t an issue, melted butter or ghee can be used.
Egg: The egg binds the ingredients, adds moisture, and contributes to the structure. I haven’t tested egg-free versions extensively. However, if you’re allergic to eggs or making this fully vegan, you might try aquafaba (3 tbsp per egg) or a commercial egg-replacer. If you experiment, please share your results in the comments!
Vegan Buttermilk: This provides the classic tang and moisture in red velvet. To make it dairy-free, simply combine 1/2 tablespoon of lemon juice or apple cider vinegar with 1/2 cup of your preferred non-dairy milk (such as almond milk, cashew milk, tigernut milk, rice milk, soy milk, or oat milk). Let it sit for 5-10 minutes to curdle slightly before use.
Red Food Coloring: The iconic red color is achieved with red food coloring. If you have Celiac disease, ensure it’s gluten-free. For a natural alternative, beet powder can provide a lovely hue. If color isn’t a priority, you can omit it for delicious chocolate cupcakes.
Dairy-Free Caramel: The optional filling is made with dairy-free caramel sauce. If you don’t have dairy restrictions, regular caramel can be used.
Dairy-Free Cream Cheese: For the frosting, use a firm dairy-free cream cheese alternative. Brands vary, so choose one known for its good texture and flavor. Regular cream cheese works if dairy is not an issue.
Dairy-Free Whipping Cream: To create a light and fluffy frosting, dairy-free whipping cream is essential. Chilled full-fat coconut cream (the thick part from a can of coconut milk) is a common substitute, or use a commercial plant-based whipping cream. Standard heavy whipping cream can be used for non-dairy-free versions.
Powdered Sugar: Powdered sugar (confectioners’ sugar) ensures a smooth frosting texture. For a sugar-free alternative, powdered monk fruit sweetener is recommended, offering sweetness without affecting blood sugar levels.
Vanilla Extract: A dash of pure vanilla extract significantly enhances the overall flavor of both the cupcakes and frosting. It’s optional but highly recommended for depth of flavor.
Storing: To preserve the freshness and frosting texture, store the frosted gluten-free red velvet cupcakes in an airtight container in the refrigerator for up to 3 days. Freezing is not recommended as it can negatively impact the texture of the frosting and cake.
- Prep Time: 10 mins
- Assembly Time: 20 mins
- Cook Time: 20 mins
- Category: Desserts
- Method: Baking
- Cuisine: American
