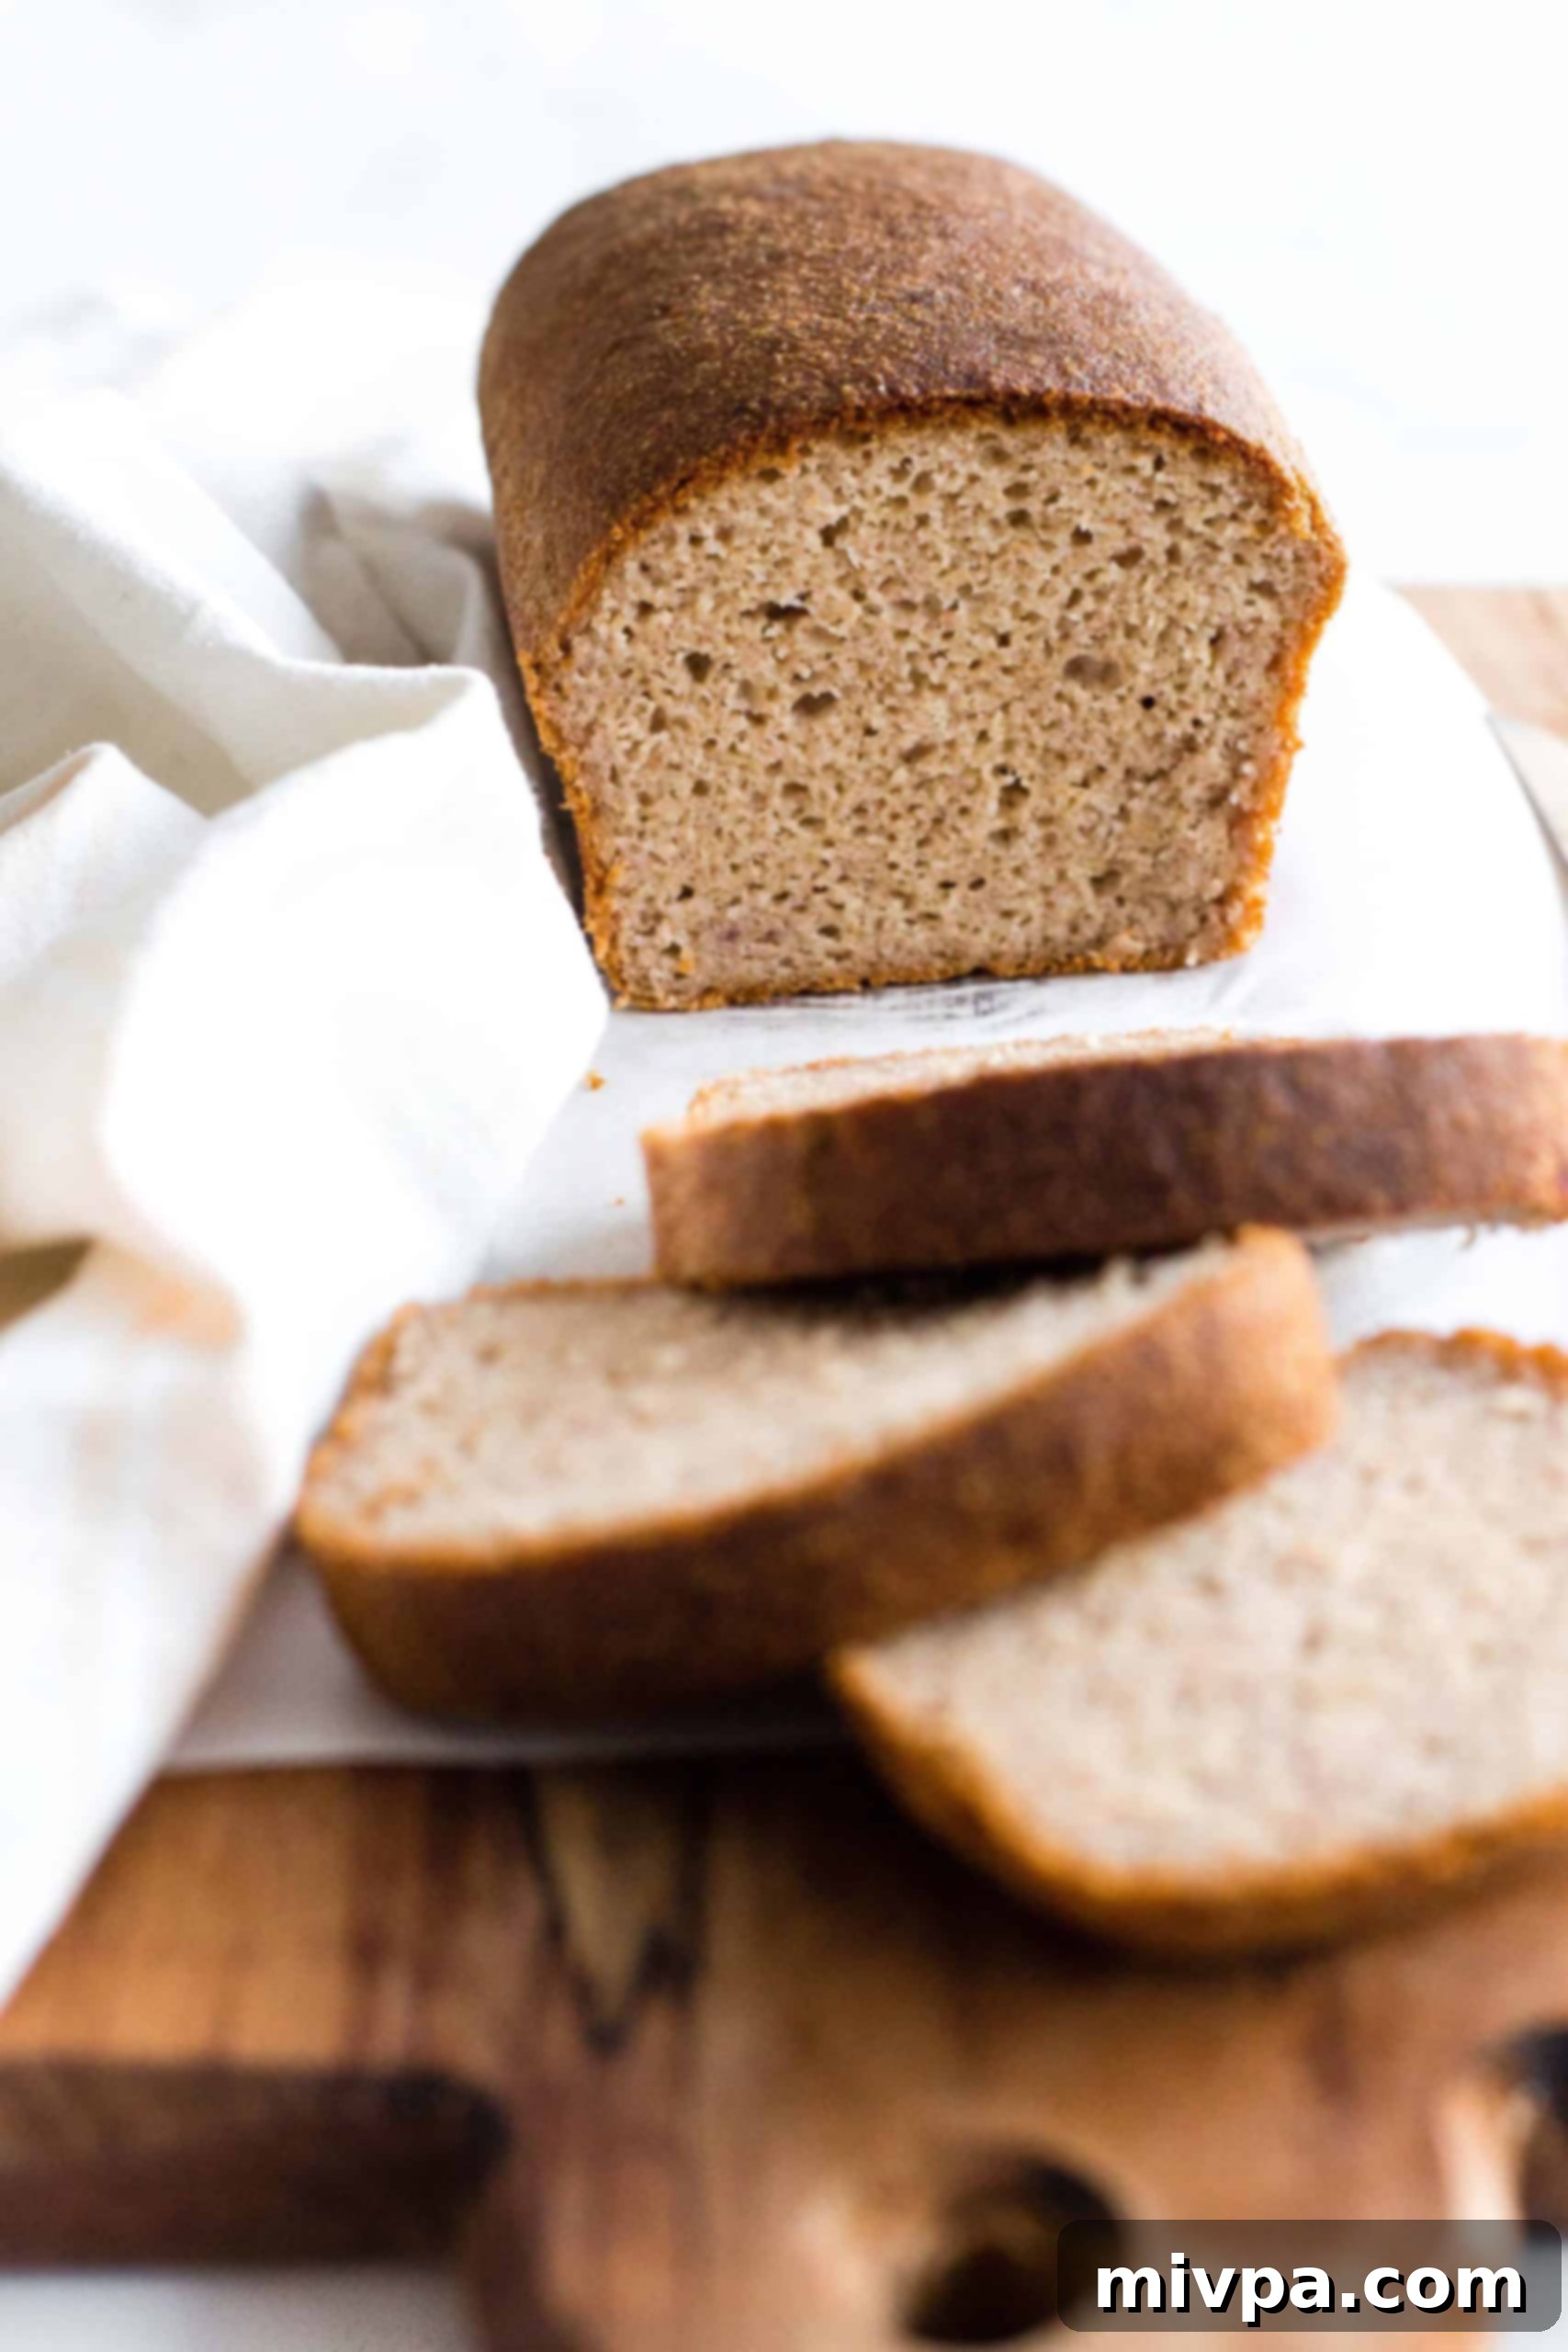
Soft & Fluffy Gluten-Free Brown Rice Bread: An Easy & Delicious Dairy-Free Recipe
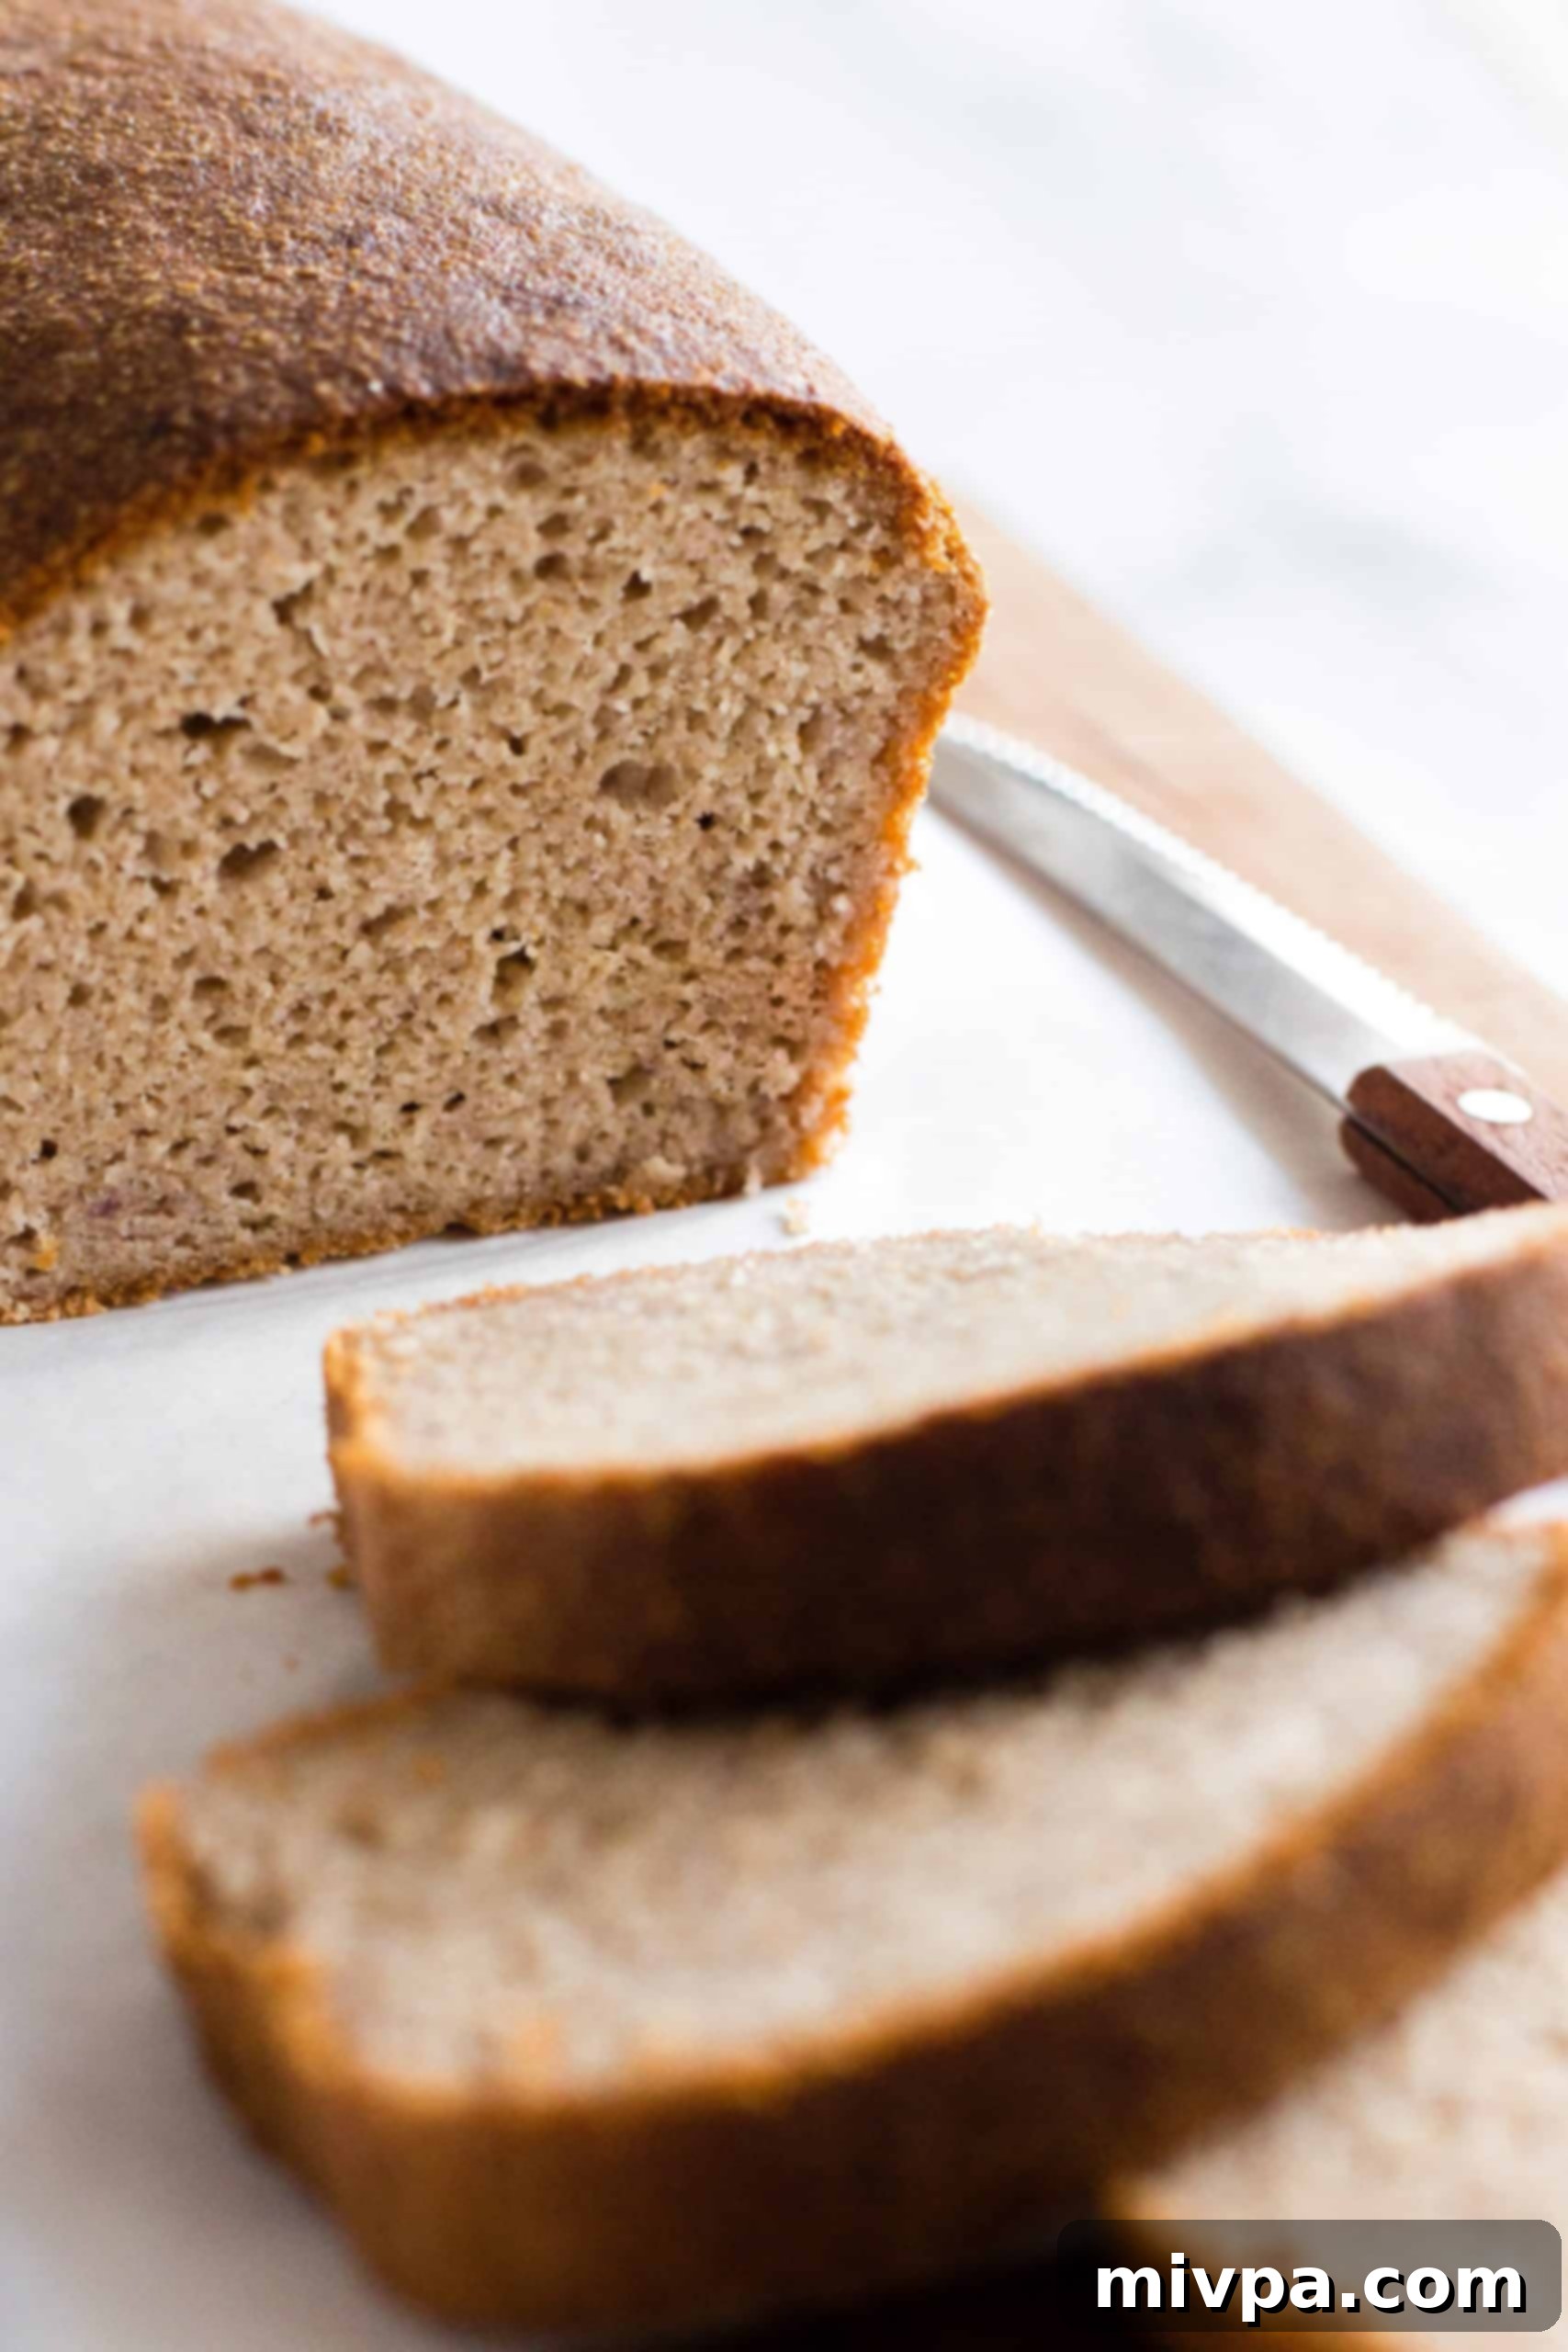
Discover the joy of baking your own homemade bread, a truly satisfying experience that fills your kitchen with an irresistible aroma. This recipe for soft and fluffy brown rice bread is designed to be incredibly simple, yielding a loaf that’s perfect for a multitude of uses. Whether you’re crafting delicious sandwiches, enjoying it toasted with a generous spread of butter and jam, or simply savoring a slice on its own, this brown rice bread delivers on texture and taste. What makes this recipe truly special is its commitment to inclusivity: made with nutritious brown rice flour, it’s not only packed with extra fiber but is also entirely gluten-free and dairy-free, making it accessible for those with dietary restrictions or anyone looking for a healthier alternative to traditional wheat bread. Prepare to be amazed by how easily you can achieve a perfectly risen, tender, and flavorful easy yeast bread from scratch.
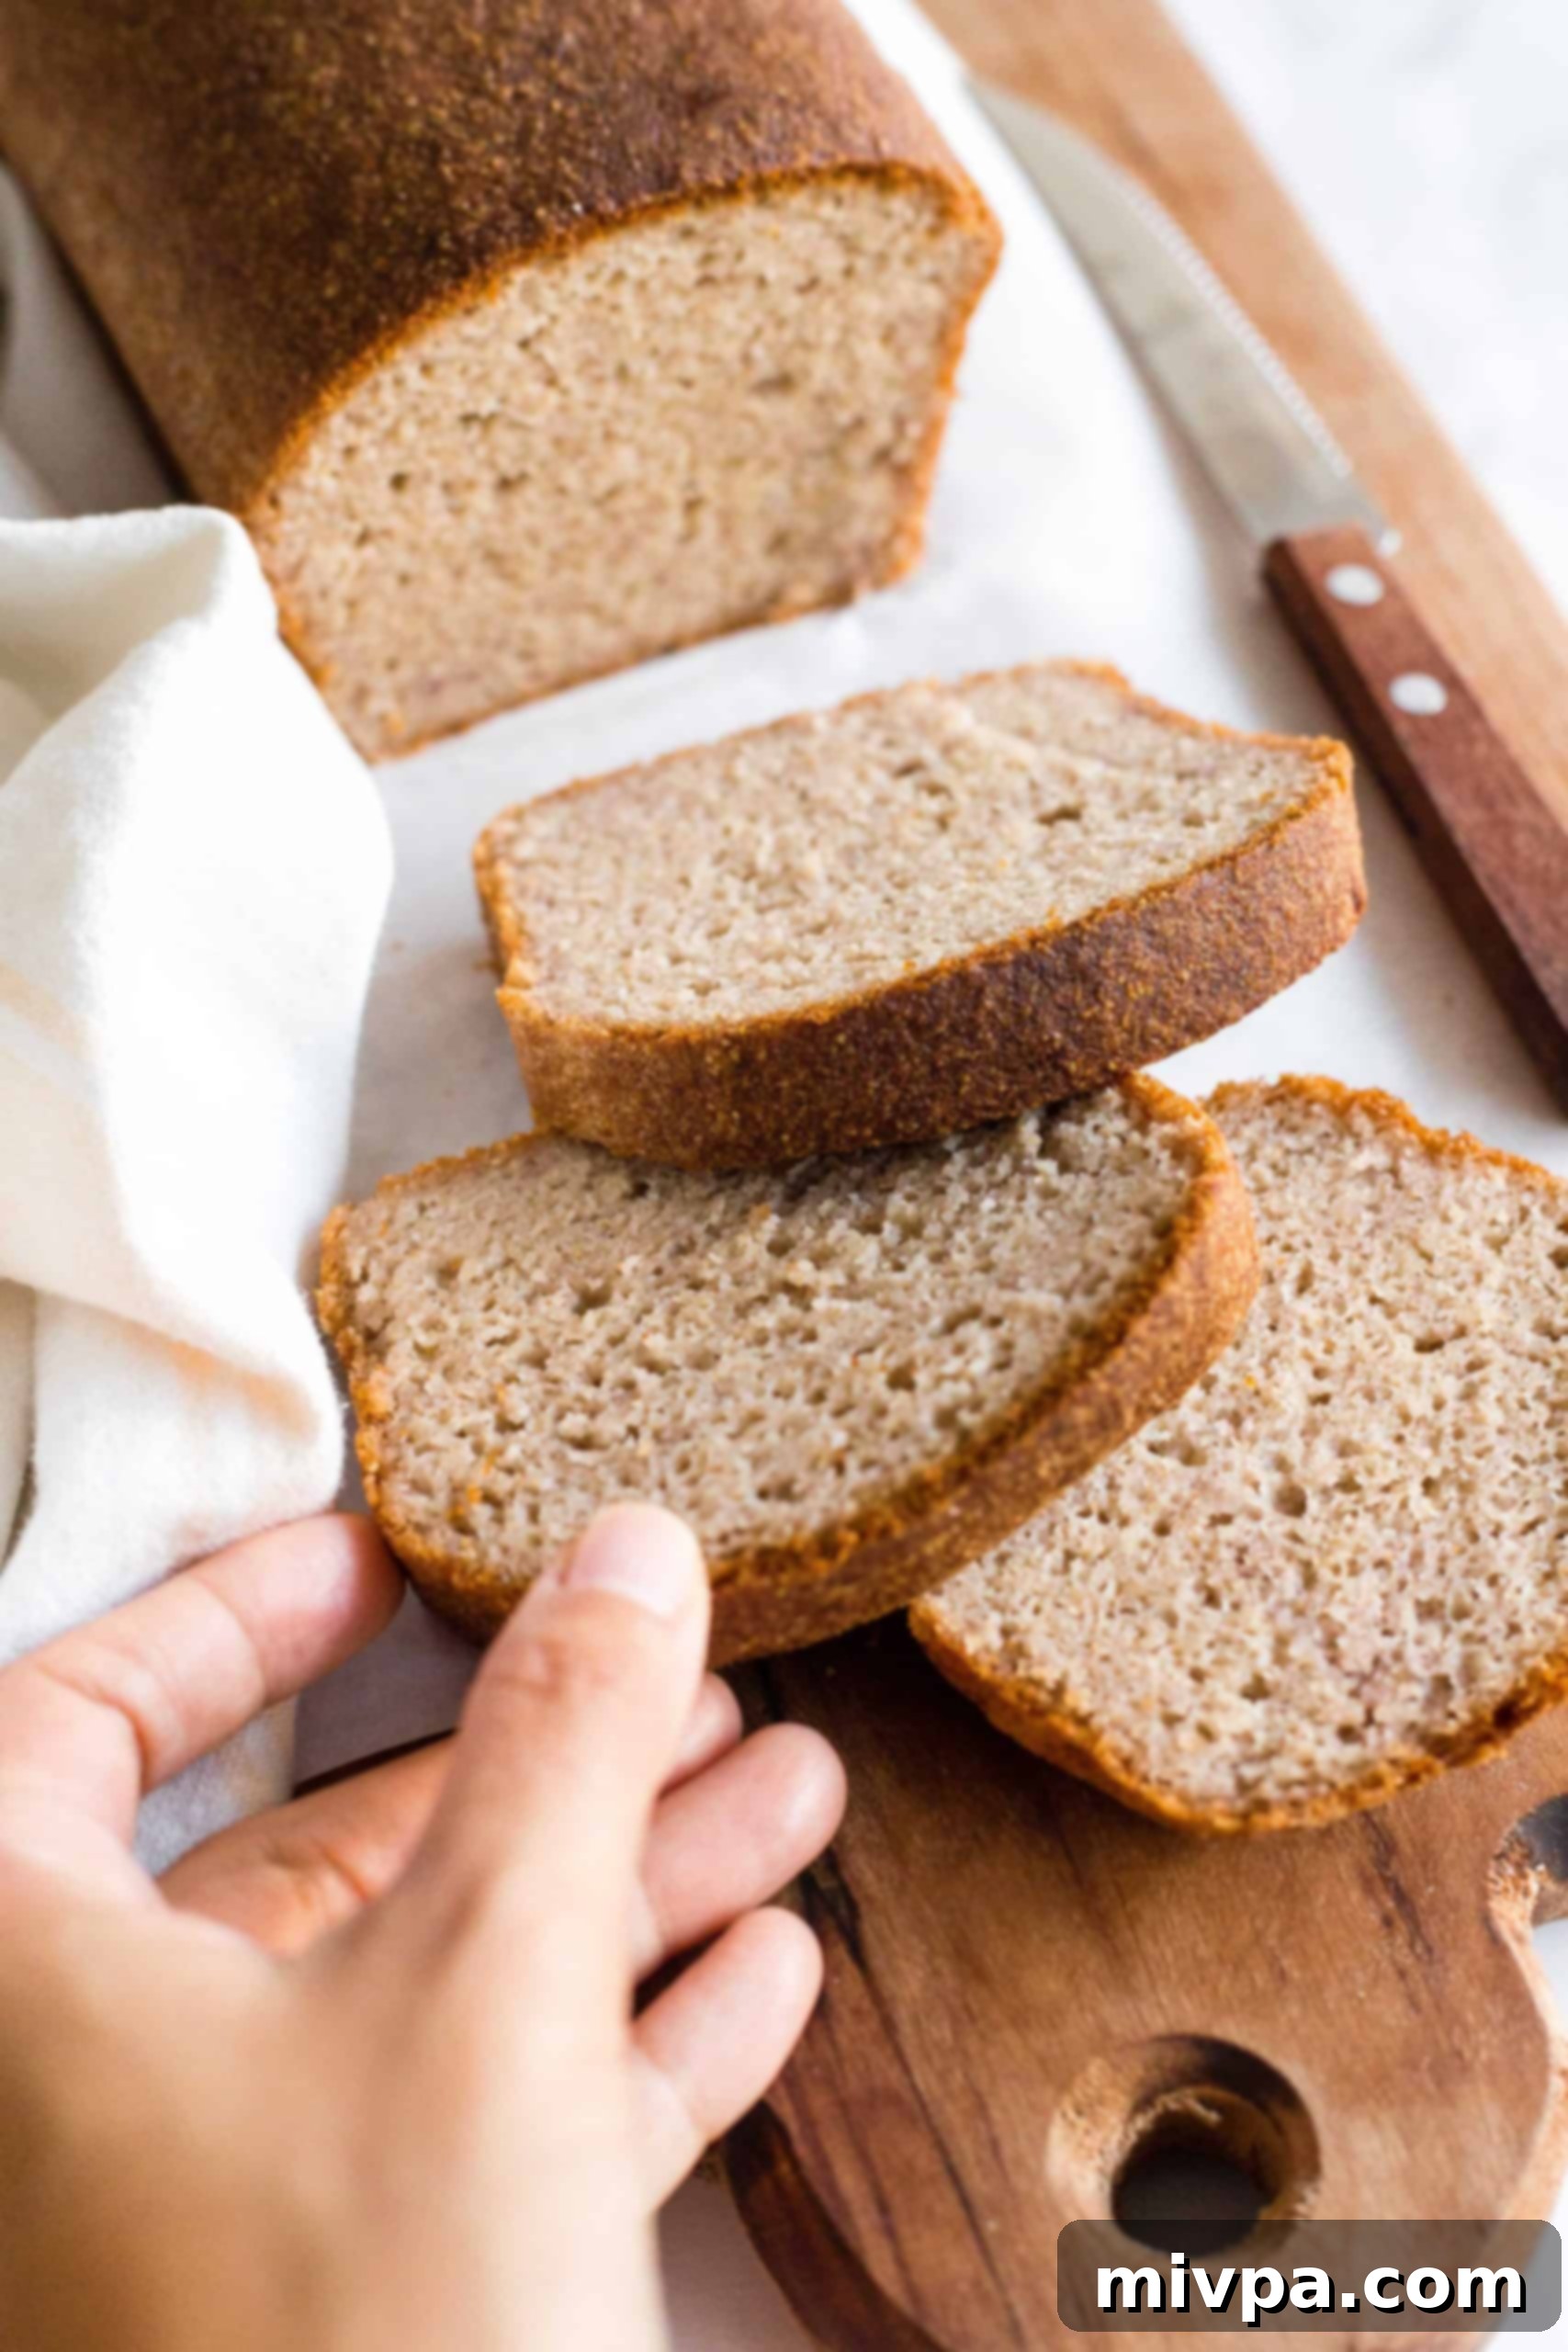
The Unbeatable Joy of Baking Homemade Bread
Of all the delightful creations that emerge from an oven, homemade bread undoubtedly holds a special place in my heart. The entire process, from mixing ingredients to watching the dough rise and finally pulling out a warm, fragrant loaf, is incredibly rewarding. While quick breads, such as this wildly popular easy honey oat bread or this low-carb coconut flour bread, offer a simpler, faster route to freshly baked goodness, the act of baking yeast breads has become a truly therapeutic ritual for me. There’s a certain magic in observing the yeast diligently work its wonders, transforming a humble mixture into a beautifully puffed dough, doubling in size right before your eyes. This transformation never ceases to amaze me and reinforces my deep appreciation for the art of bread making.
My husband Juan and I share a deep affection for toast with jam in the mornings, which has led me to bake a fresh loaf of bread almost every single week. This consistent baking journey has allowed me to perfect various recipes and discover new favorites. Sometimes, it’s the foolproof and comforting soft, fluffy gluten-free bread that graces our breakfast table. Other times, we opt for a more fiber-rich option like my soft, fluffy buckwheat bread. Most recently, this incredibly easy and versatile brown rice bread has become our go-to choice, offering a delightful texture and wholesome flavor that everyone loves.
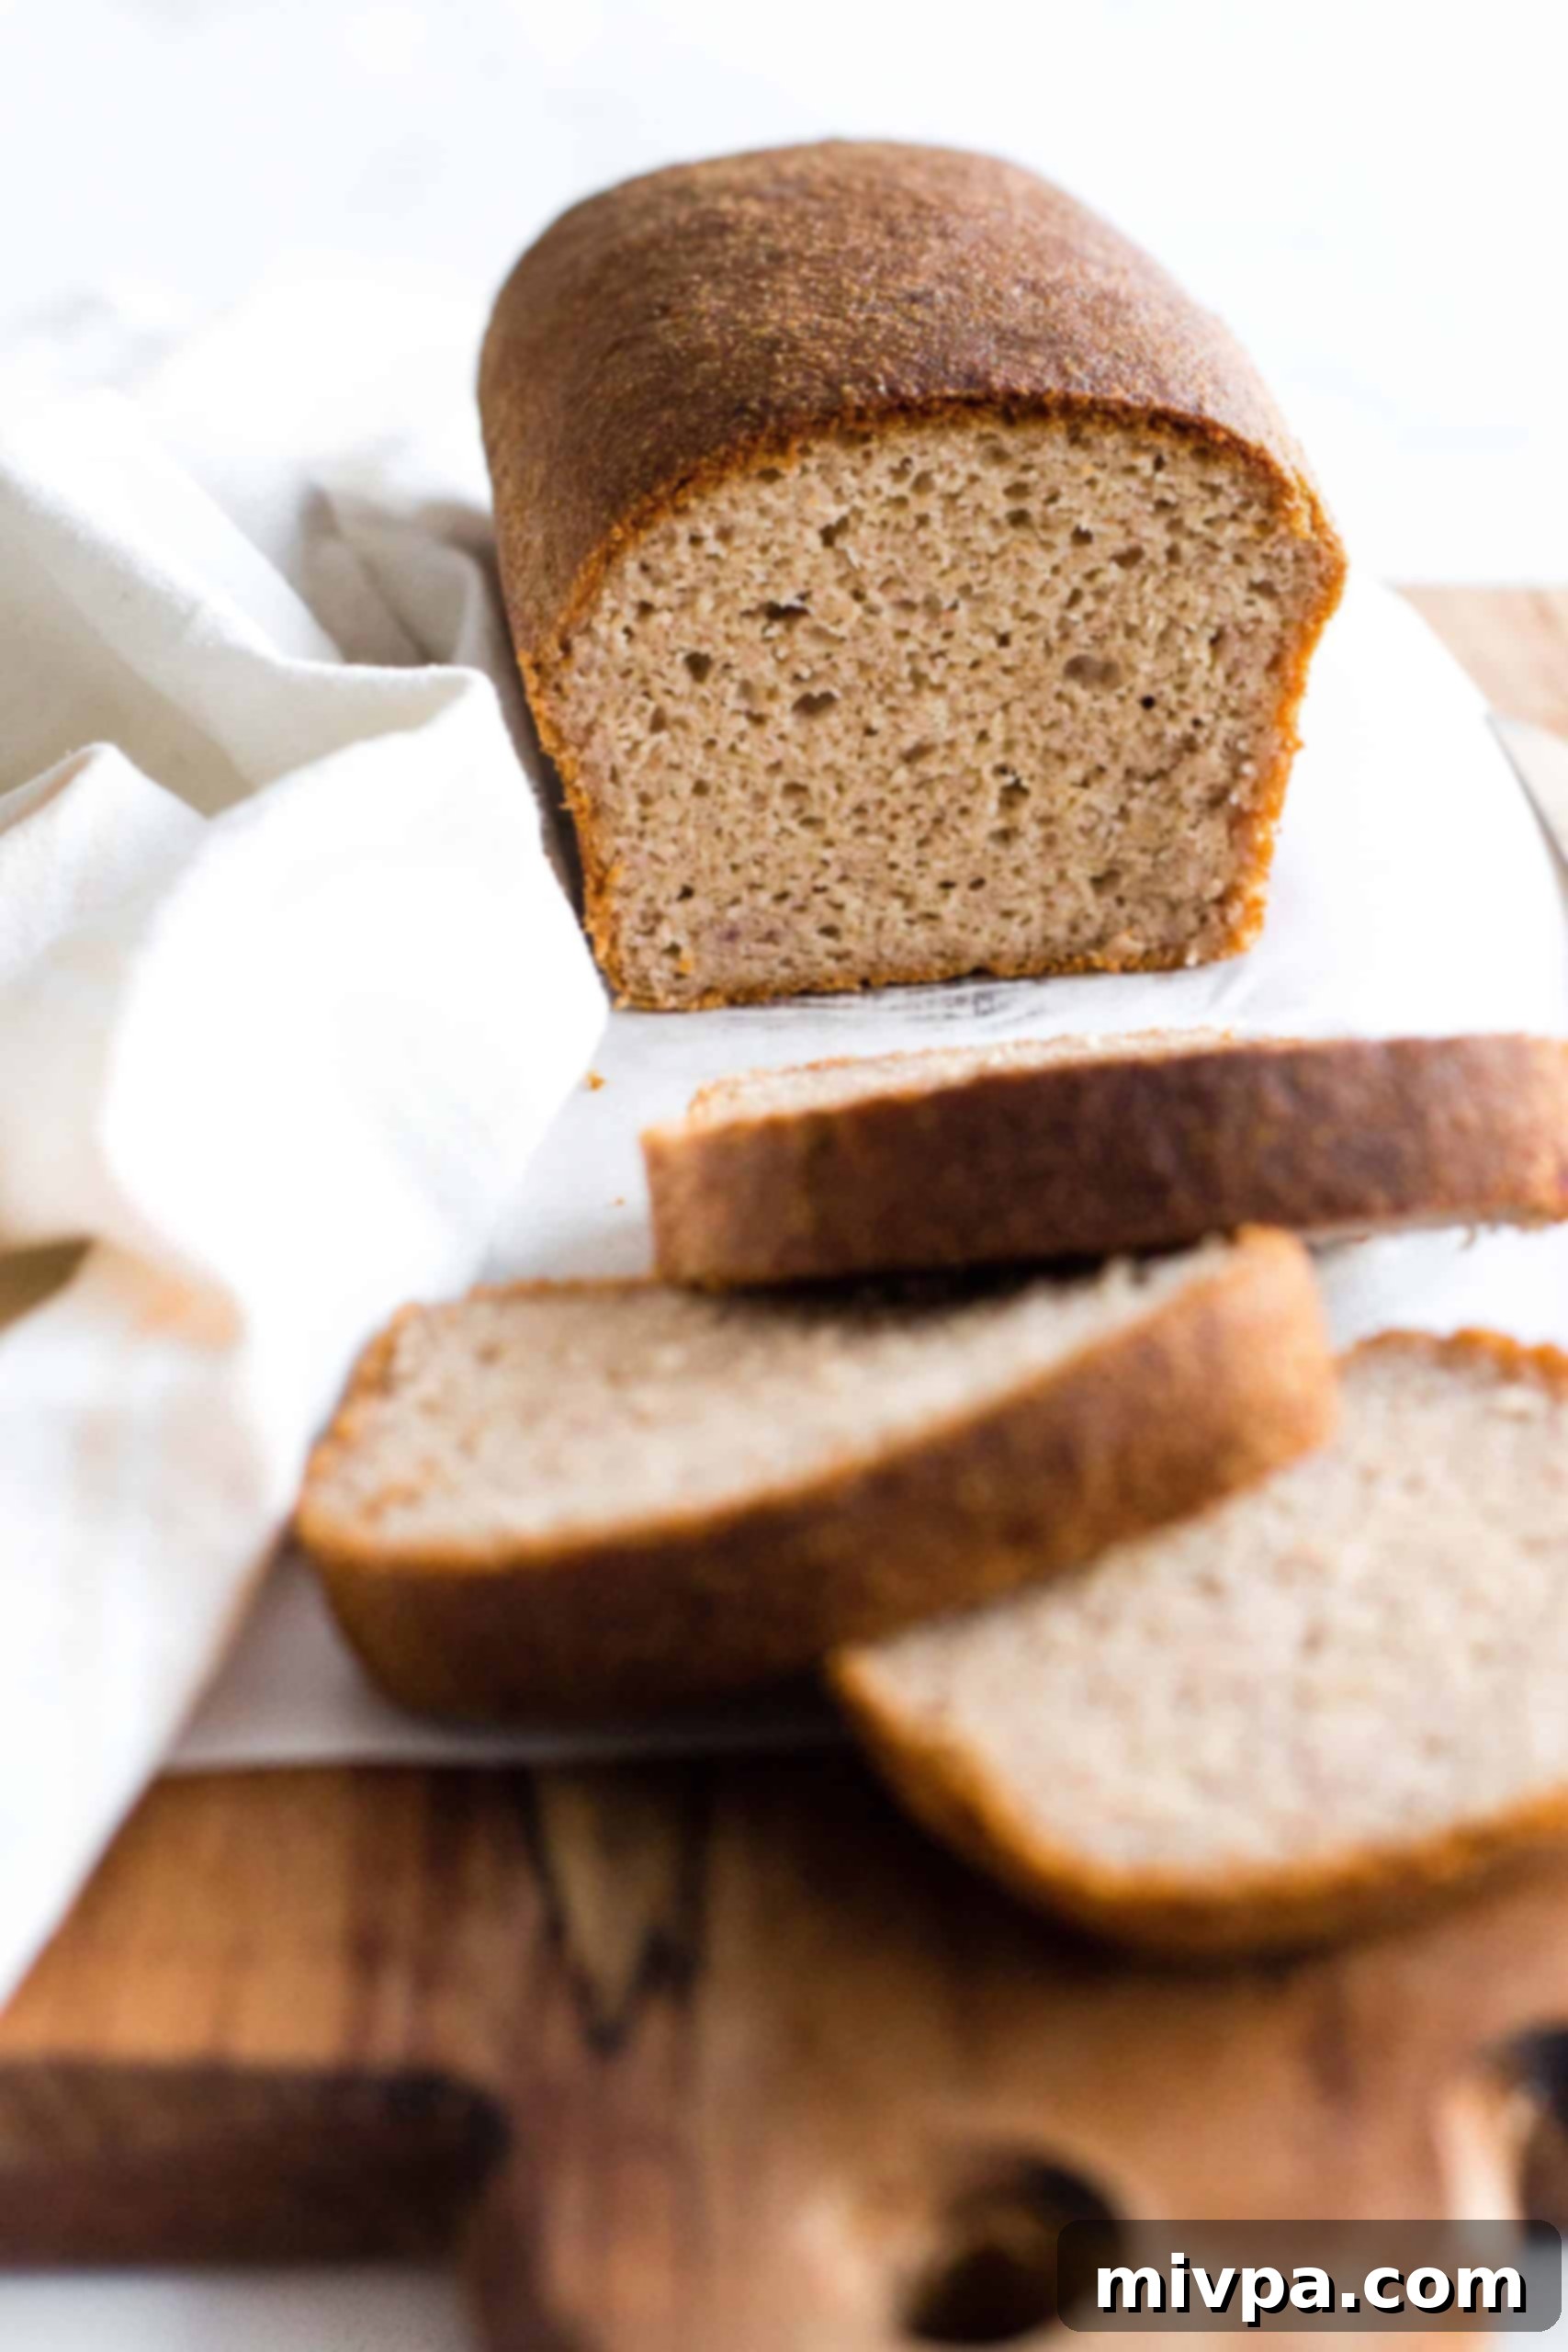
Super Easy Gluten-Free Brown Rice Bread: Effortless Baking for Everyone
When I describe this loaf of gluten-free bread as “super easy to make,” I truly mean it. This recipe strips away the complexities often associated with traditional bread making, making it approachable even for novice bakers. The entire process is refreshingly straightforward: it’s simply a matter of combining the wet and dry ingredients, forming a cohesive dough, and then allowing it sufficient time to rise before baking it to golden perfection. There’s no complicated kneading or multiple proofing steps involved, which significantly reduces the effort and time required.
Beyond its simplicity, this gluten-free bread recipe is also completely dairy-free, ensuring that it caters to a wide range of dietary needs. This means that individuals with Celiac disease, gluten intolerance, or lactose intolerance can safely and joyfully indulge in a generous slice of homemade, wholesome bread. It’s a fantastic option for families where various dietary requirements need to be met, offering a delicious solution without compromising on flavor or texture. This soft, fluffy brown rice bread makes homemade goodness accessible to all.
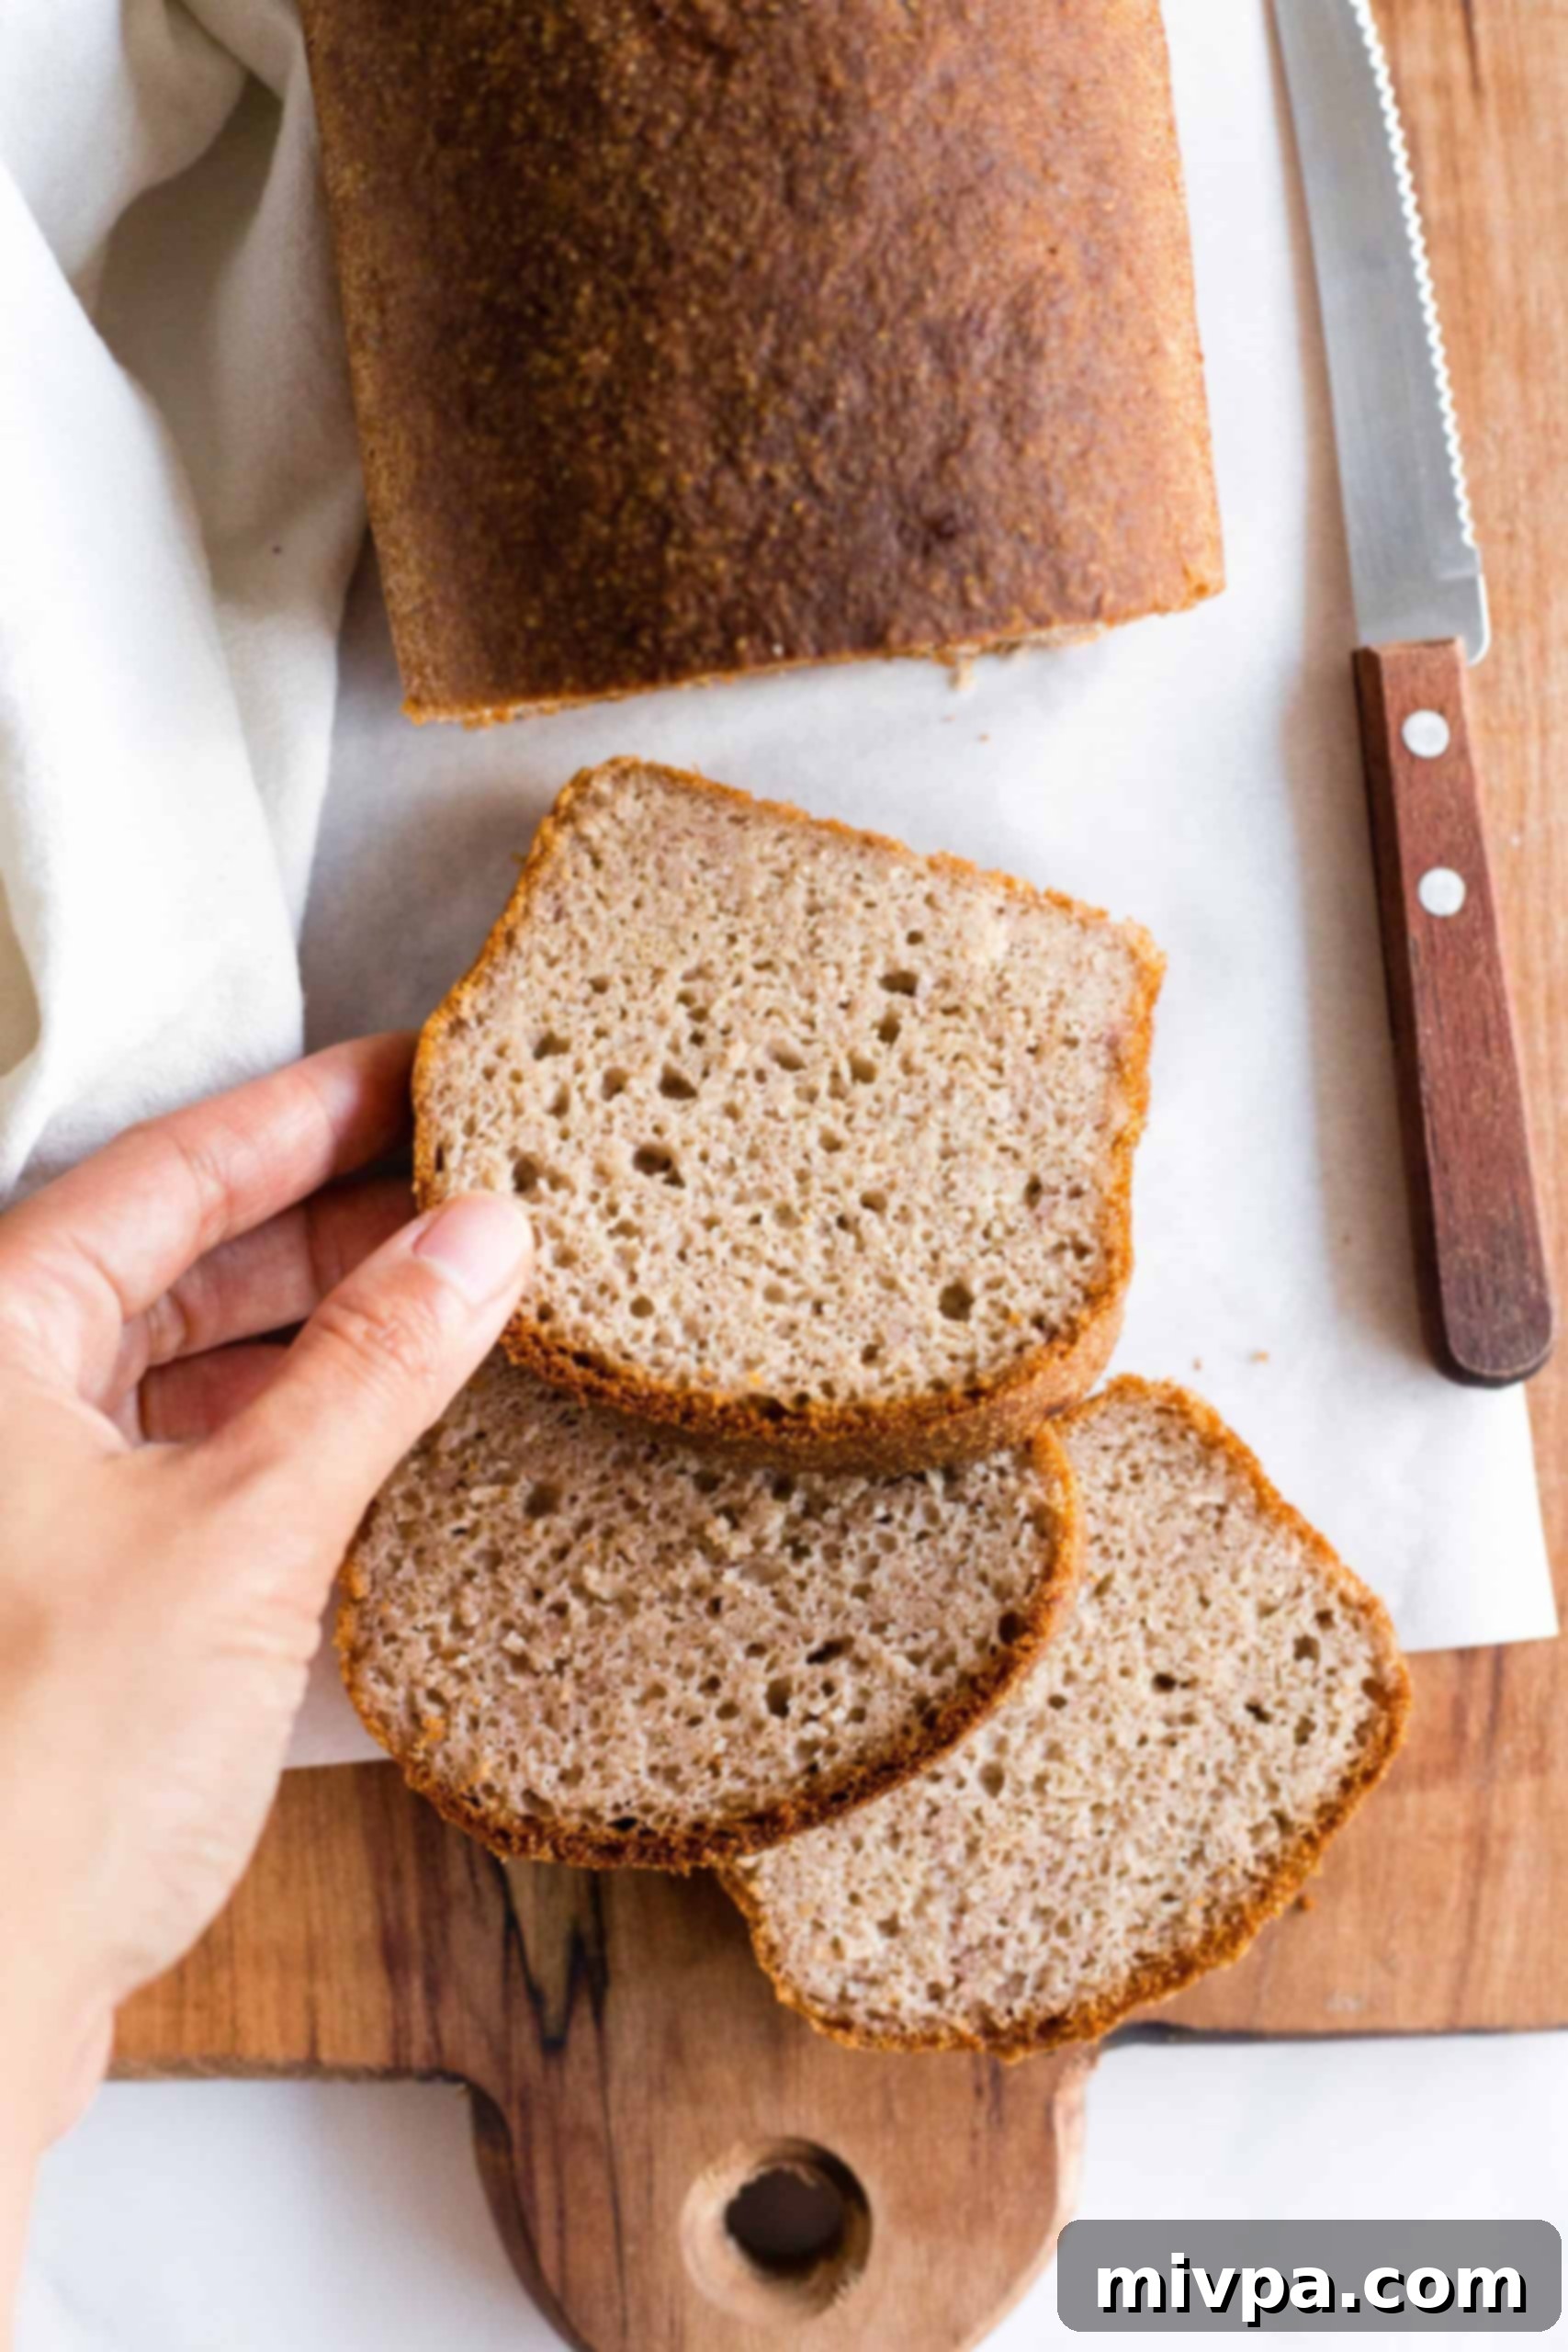
The Magic Behind This Gluten-Free Brown Rice Bread Recipe
One of the most common misconceptions about gluten-free baking is that it’s inherently difficult or yields inferior results. This soft and fluffy brown rice bread recipe defies those expectations by delivering consistently excellent results with minimal effort. Unlike traditional wheat-based breads, which rely on gluten development for structure and require extensive kneading, this gluten-free yeast bread demands no kneading at all. The absence of gluten means there’s no need to develop it, simplifying the process tremendously. Furthermore, there’s no double rise required; a single proof is all it takes to achieve a wonderfully airy texture. Trust me when I say, this brown rice bread always comes out perfectly, boasting a beautifully domed top that is truly a delight to behold.
Another fantastic aspect of this recipe is its accessibility regarding ingredients. You don’t need to hunt for expensive or specialized gluten-free flour blends. This recipe is specifically formulated to use just one primary flour: brown rice flour. This not only makes the ingredient list simpler but also often more cost-effective. Even if commercial gluten-free flour blends are hard to find or too pricey in your area, you can still confidently bake this delicious loaf. Brown rice flour is widely available and provides a wholesome, slightly nutty flavor that complements the bread perfectly. It’s a truly straightforward approach to baking exceptional gluten-free bread.
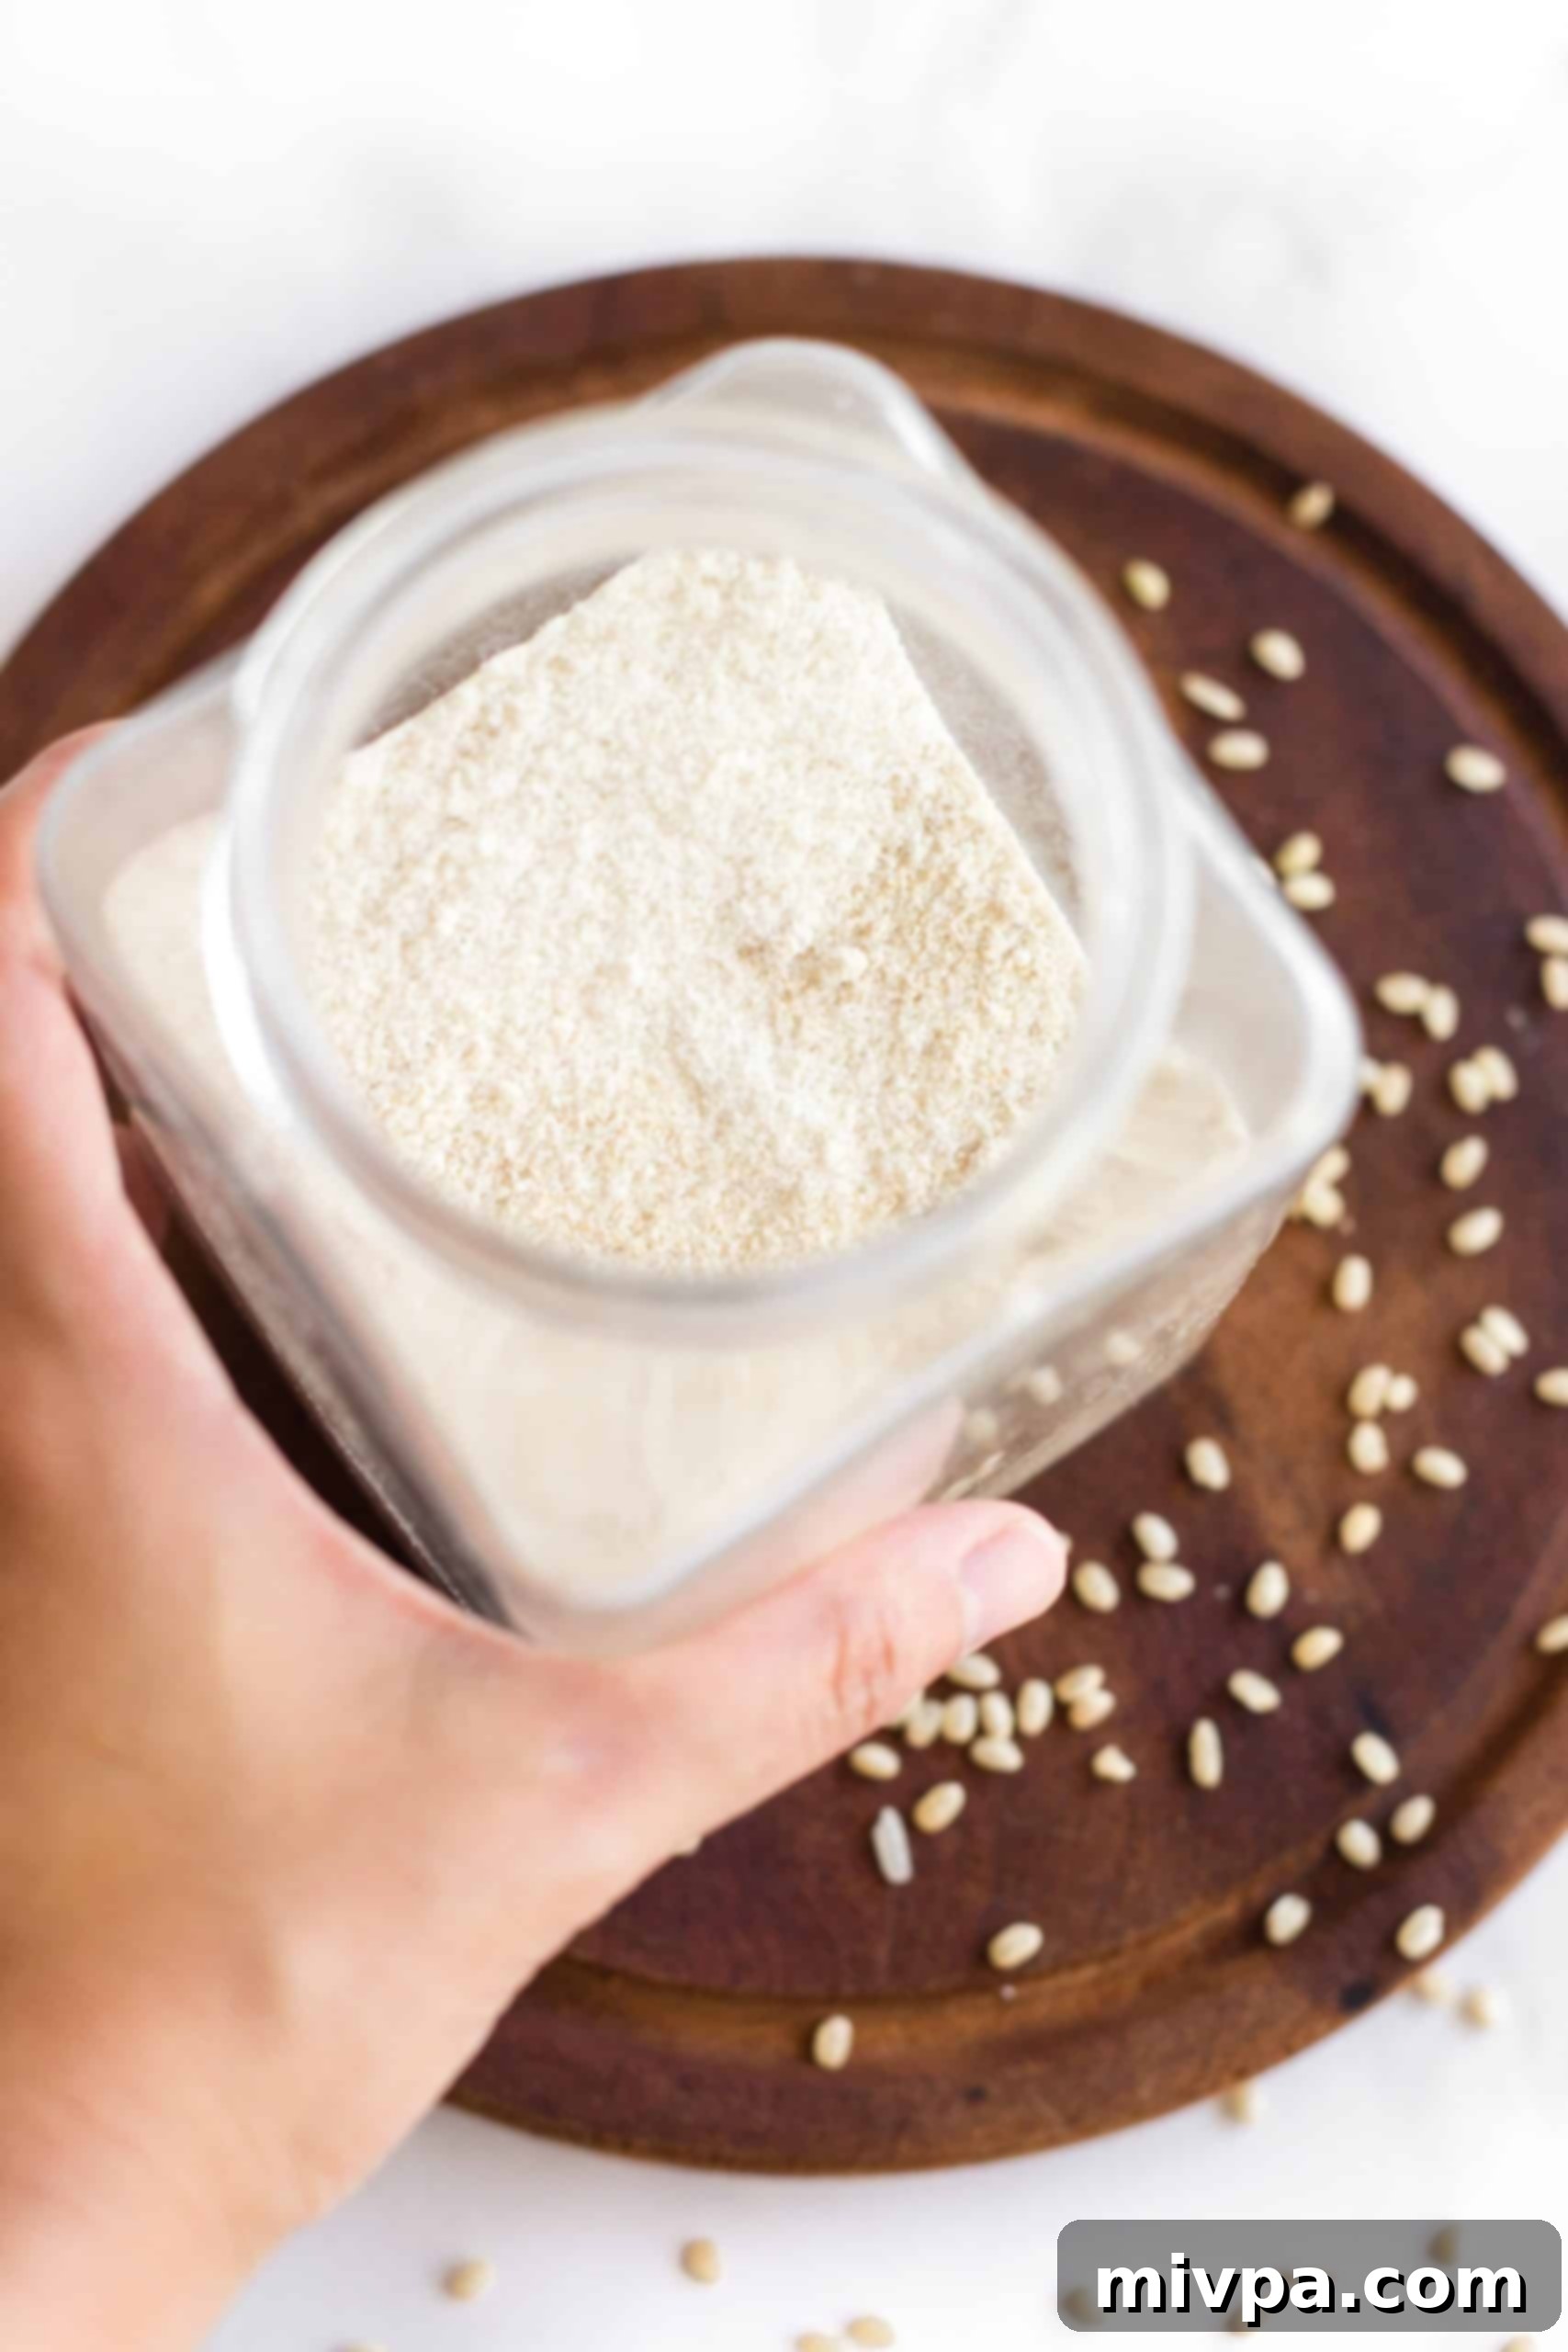
Unlock Freshness: Make Your Own Brown Rice Flour at Home
While readily available in many stores, one of the key ingredients in this soft and fluffy brown rice bread recipe – brown rice flour – is surprisingly simple to make yourself. Crafting your own flour ensures peak freshness and can often be more economical. All you need are a few basic tools: whole grain brown rice, a high-speed blender capable of grinding grains, and a fine-mesh sieve to achieve a smooth, consistent texture. Making your own flour takes just minutes and gives you complete control over the quality of your ingredients.
Check out my easy tutorial on how to make brown rice flour. Learn to create your own homemade brown rice flour today and elevate your gluten-free baking!
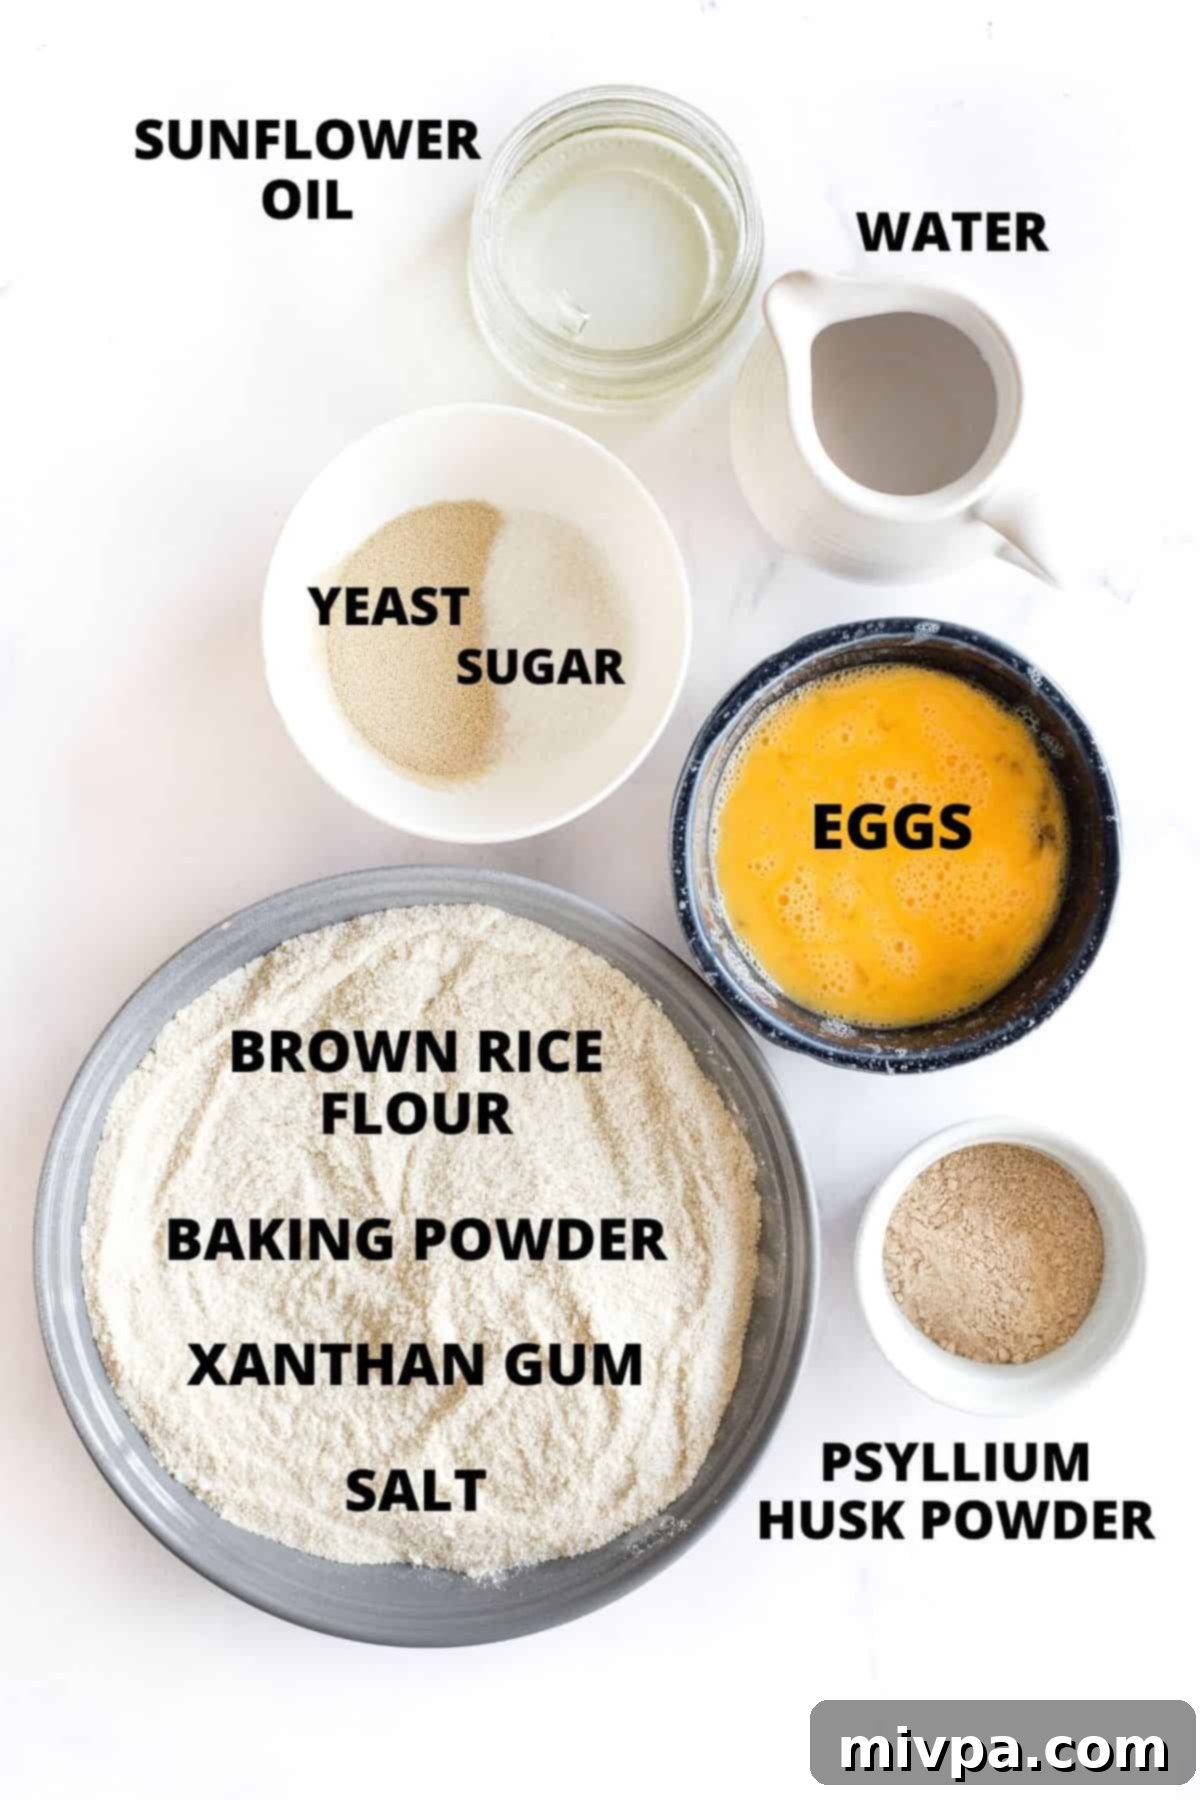
Essential Ingredients for Your Gluten-Free Brown Rice Bread
Baking this delicious gluten-free brown rice bread requires a selection of readily available ingredients, each playing a crucial role in achieving its soft, fluffy texture and delightful flavor. This section provides a visual overview to help you gather everything you need. For precise quantities and measurements, please refer to the comprehensive recipe card located at the bottom of this post.
Ingredient Deep Dive: Understanding Each Component for Perfect Brown Rice Bread
To ensure the best possible results for your gluten-free brown rice bread, it’s important to understand the role each ingredient plays. Gluten-free baking often requires specific ingredients that mimic the properties of gluten, and precise measurements are key.
- Brown Rice Flour: This is the star of our show, providing a wholesome, slightly nutty flavor and a good source of fiber. I personally love making my own 5-minute homemade brown rice flour for ultimate freshness, but high-quality store-bought brown rice flour works just as well. It’s important to note that because this recipe is specifically designed to create brown rice bread, I do not recommend substituting it with white rice flour. White rice flour has a different texture and a higher starch content, which would alter the final consistency of your bread. However, if you’re looking for other gluten-free flour options with similar textural properties, millet flour or sorghum flour can be used in equal quantities as a substitute for brown rice flour, offering delicious results.
- Warm Water: The temperature of your water is critical for activating the yeast. It needs to be warm enough to awaken the yeast (approximately 105F – 115F or 40C – 46C) but not so hot that it kills the active cultures. Think of it as bathwater – comfortably warm, not scalding. This ensures your yeast can thrive and contribute to a good rise.
- Sunflower Oil: Fat is essential in bread making for moisture, tenderness, and a rich crumb. I prefer using sunflower oil because it’s a neutral-flavored oil I always have on hand. Feel free to use any other neutral-tasting vegetable oil you prefer, such as canola oil or light olive oil. The goal is to add moisture and a tender crumb without imparting a strong flavor to the bread.
- Psyllium Husk Powder: This ingredient is absolutely crucial in gluten-free baking, particularly for achieving the structure and beautiful dome shape of this loaf. Psyllium husk powder acts as a binding agent, mimicking the elasticity and binding power of gluten by absorbing a significant amount of water and forming a gel. It’s what gives the bread its structural integrity and helps prevent it from crumbling. I do NOT recommend substituting psyllium husk powder with any other ingredient, as it will drastically alter the outcome. If you only have whole psyllium husks, you can grind them very finely in a coffee grinder or high-speed blender to achieve a powder consistency.
- Sugar: While it contributes a touch of sweetness, the primary role of sugar in this recipe is to act as food for the yeast. The yeast consumes the sugar, producing carbon dioxide that makes the bread rise and gives it its airy texture. Therefore, sugar is not just for flavor; it’s essential for yeast activation and leavening. Do not leave it out, or your bread may not rise properly.
- Instant Yeast: I opt for instant yeast because of its convenience – it doesn’t require activation in warm water beforehand and can be mixed directly with the dry ingredients. This simplifies the process and reduces a step. If you’re using active dry yeast, you would need to activate it in the warm water with a pinch of sugar for about 5-10 minutes until foamy before combining with other wet ingredients.
- Xanthan Gum: As this is a gluten-free recipe, xanthan gum is indispensable. It works synergistically with psyllium husk powder to replace the elasticity and binding properties that gluten provides in traditional bread. Xanthan gum helps to bind the ingredients together, preventing a crumbly texture and improving the overall structure and elasticity of the dough, leading to a better crumb and chew in your finished bread.
- Baking Powder: In addition to the yeast, baking powder serves as a secondary leavening agent. It provides a little extra lift and rise to the loaf, contributing to a lighter, fluffier texture. This helps ensure that your gluten-free bread is not too dense.
- Eggs: Eggs play multiple roles: they act as binders, add richness to the flavor, and contribute to the structure of the bread. I have not thoroughly tested this recipe with an egg-replacer, so I cannot guarantee the outcome. Egg substitutes can behave differently in gluten-free recipes, which already rely heavily on specific binders. If you do experiment with an egg-replacer, please be sure to leave a comment letting me know how it goes; your feedback would be greatly appreciated by the community!
- Salt: Essential for flavor balance, salt also helps to control yeast activity and strengthen the dough structure.
How to Bake Your Own Soft & Fluffy Brown Rice Bread (Step-by-Step Guide)
Follow these easy steps to create your perfect loaf of gluten-free, dairy-free brown rice bread. Precision in gluten-free baking is key, so pay attention to each instruction for the best results.
1. Prepare Your Loaf Pan
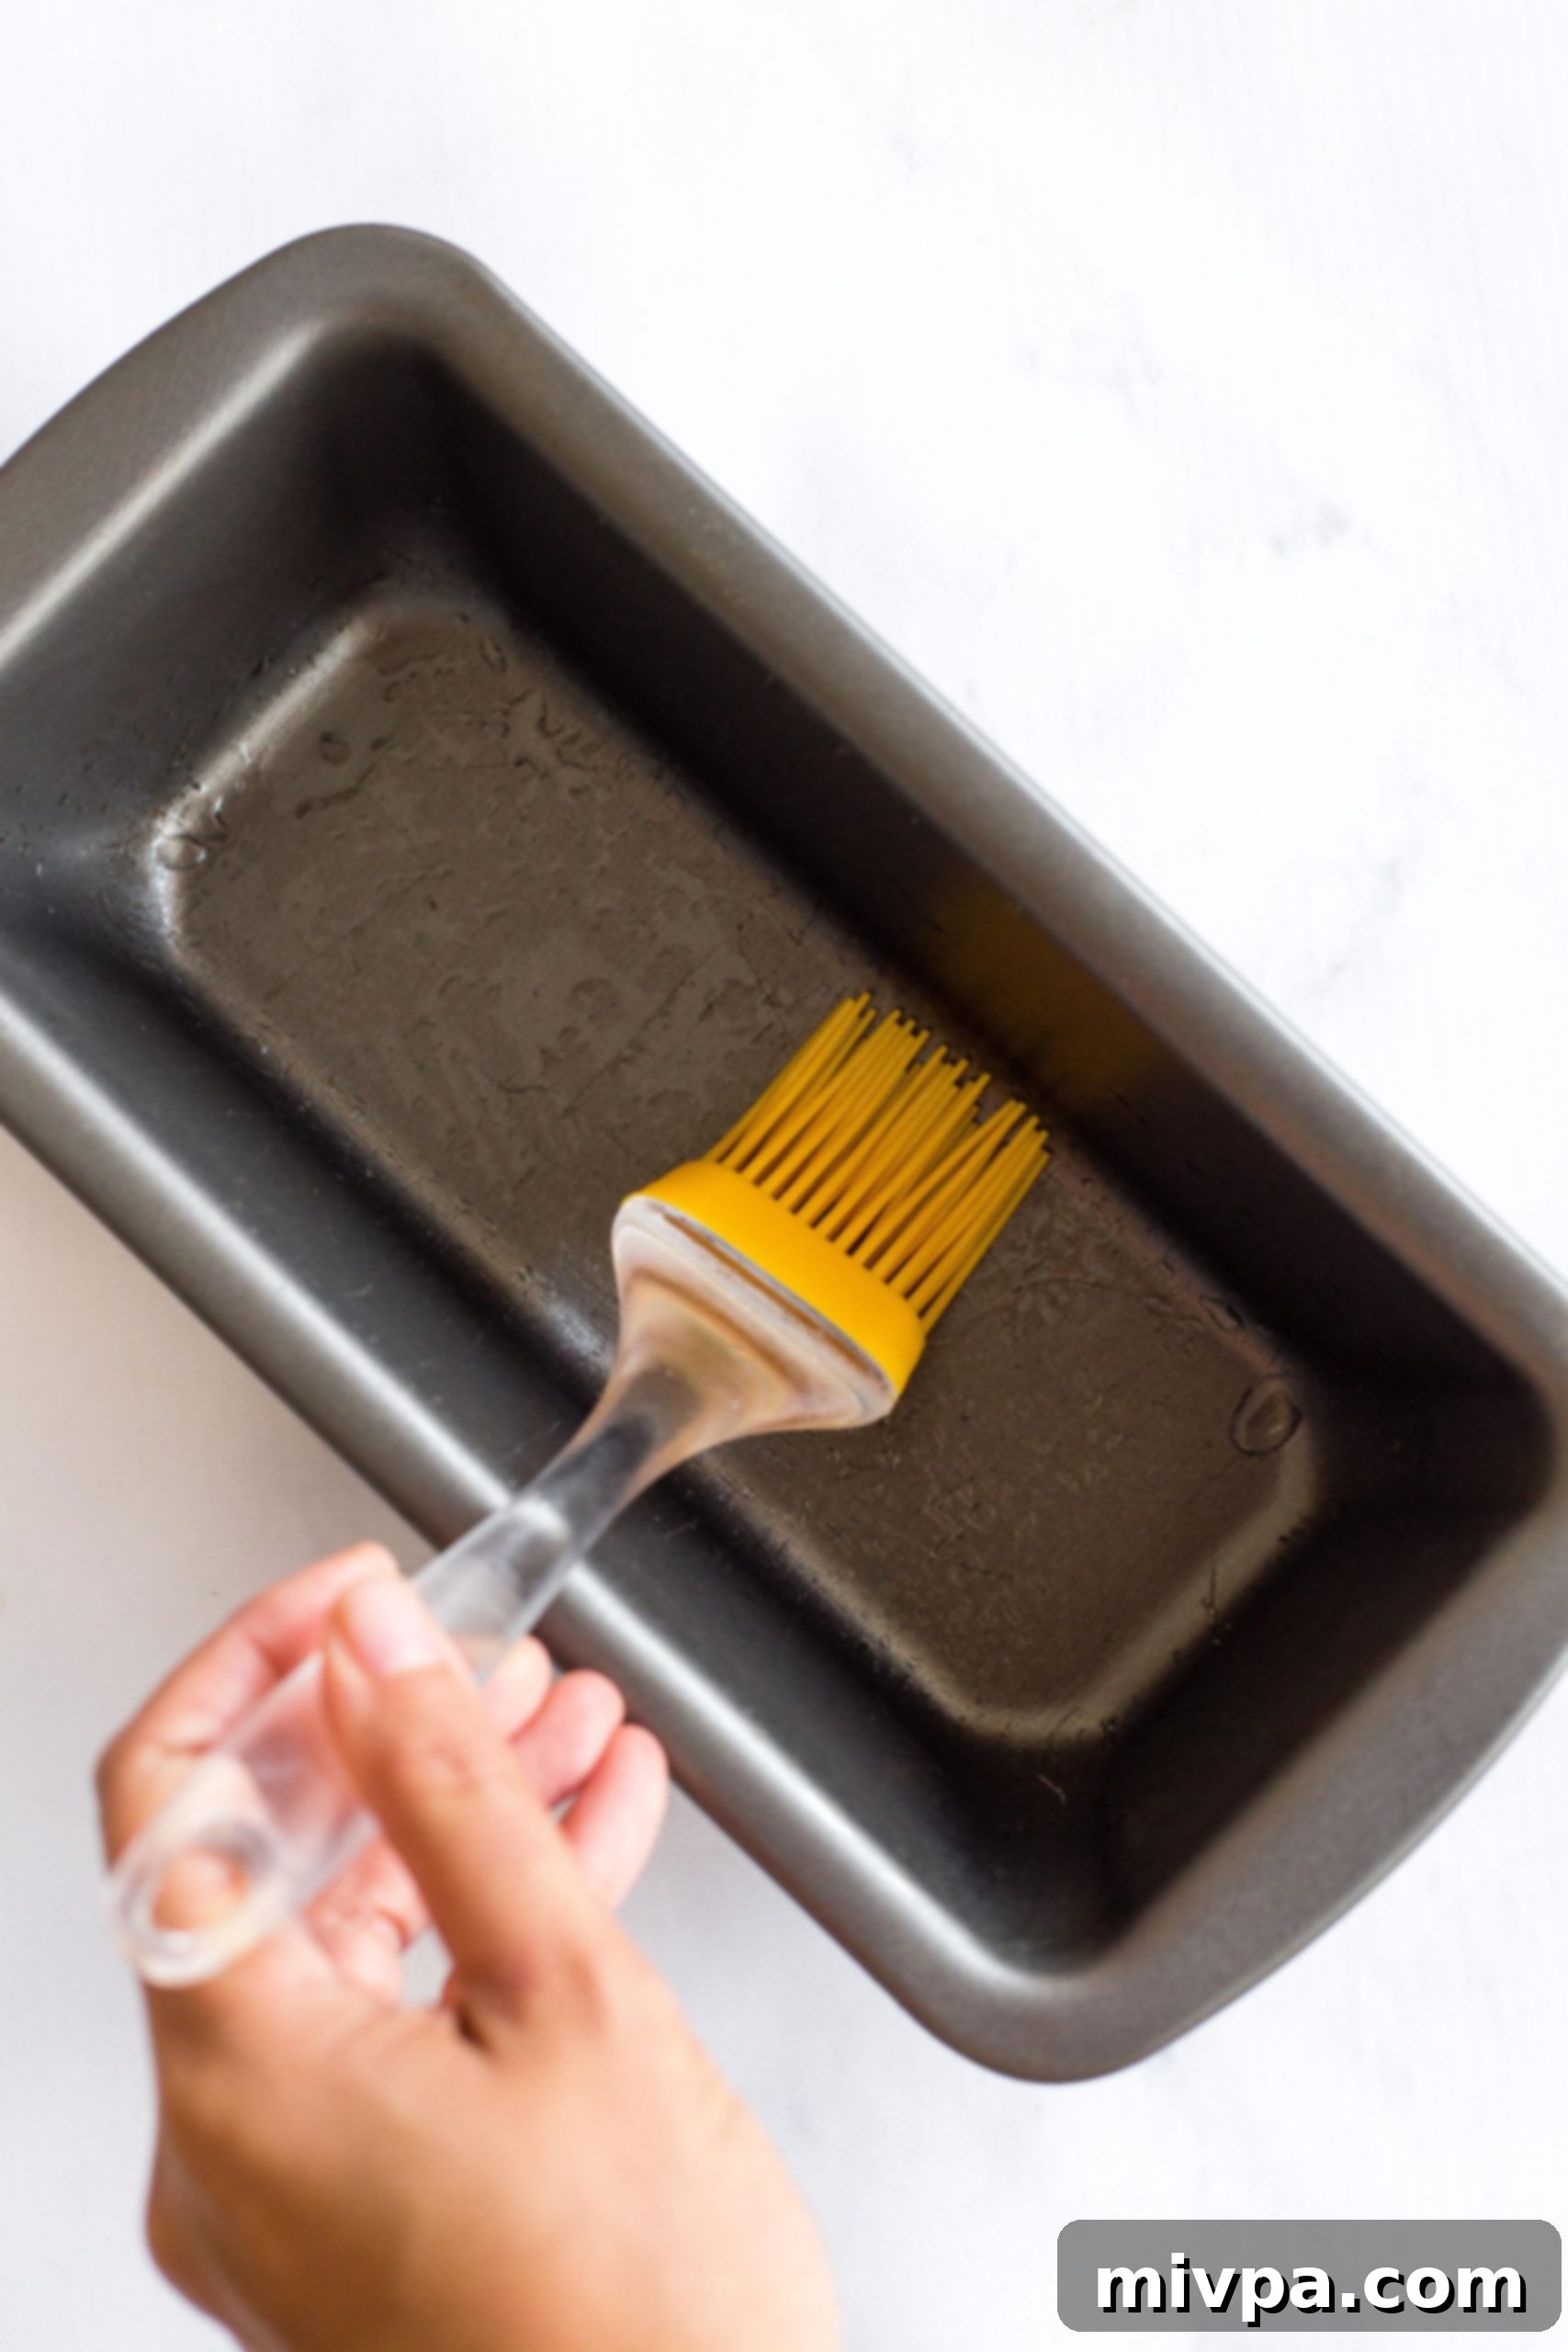
Begin by thoroughly greasing an 8″x4″ metal loaf pan. This crucial step prevents the bread from sticking and ensures a clean release after baking. You can use cooking spray, butter (if dairy is not an issue), or a neutral oil to grease the pan, making sure to cover all sides and corners.
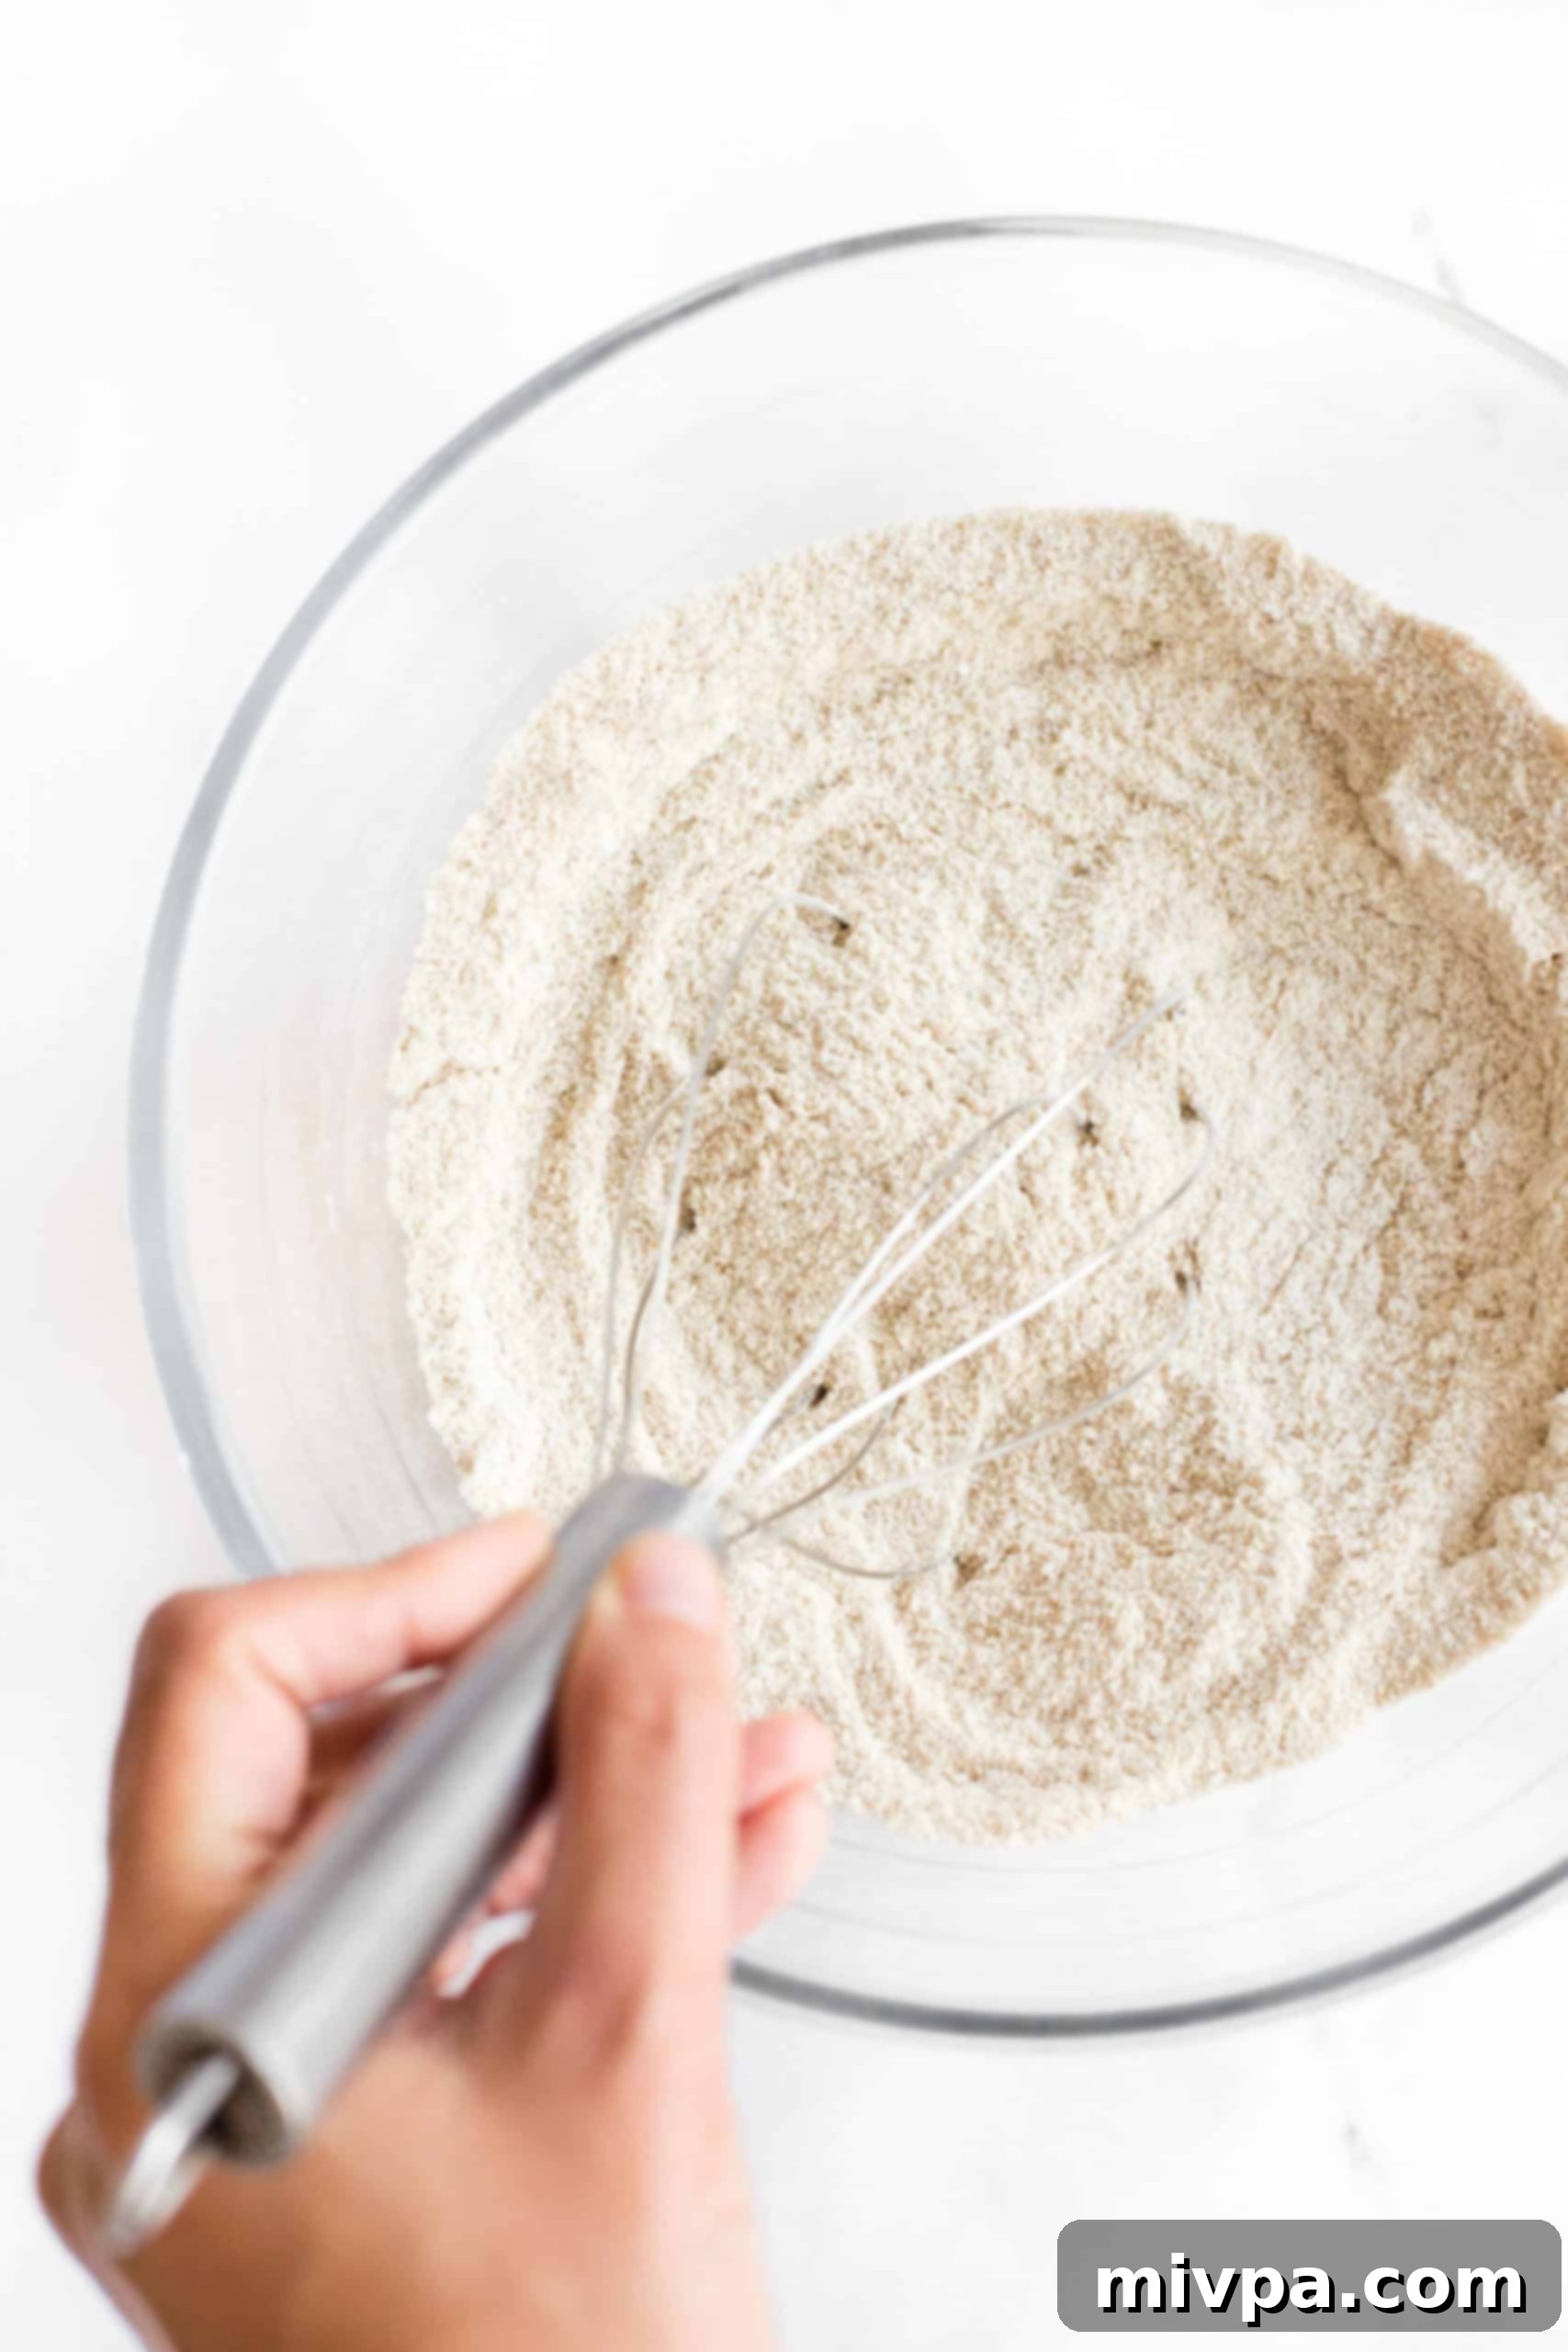
2. Whisk the Dry Ingredients
In a large mixing bowl, combine all the dry ingredients: brown rice flour, psyllium husk powder, instant yeast, sugar, baking powder, xanthan gum, and salt. Use a whisk to thoroughly mix them together. This ensures that all the leavening agents and binders are evenly distributed, which is vital for a uniform rise and texture in gluten-free bread.
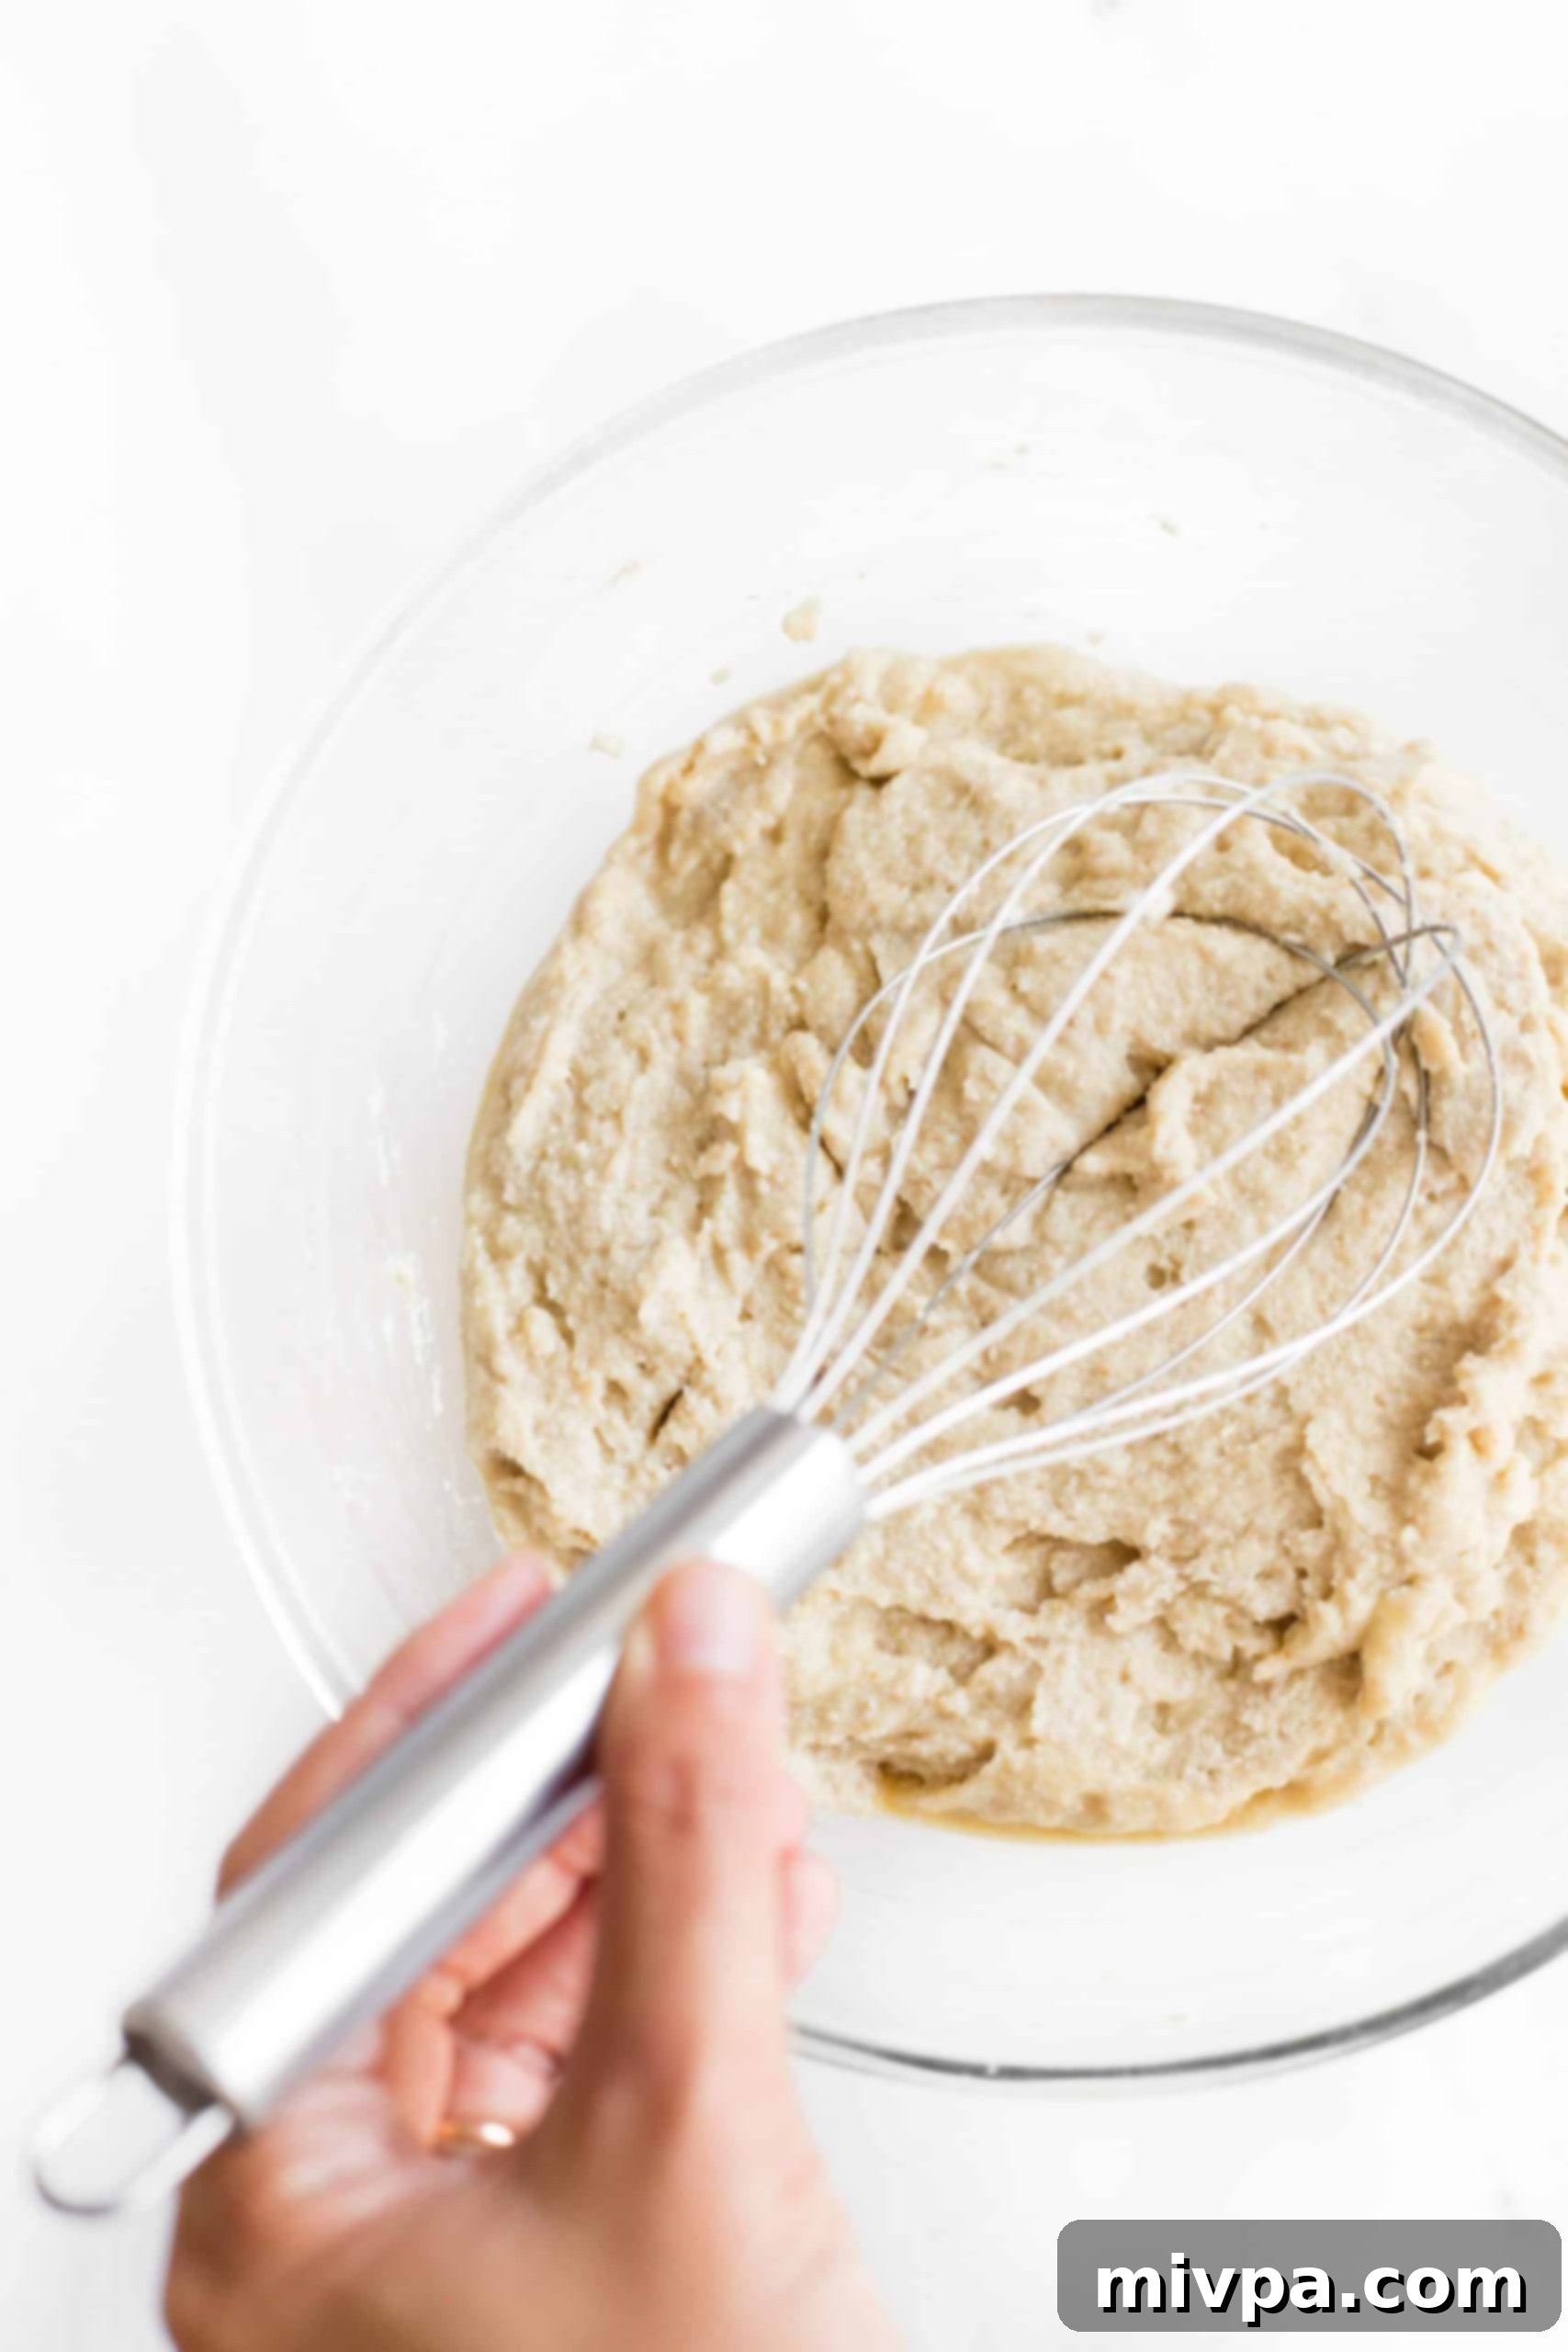
3. Combine Wet and Dry to Form Dough
Pour the warm water, sunflower oil, and eggs into the bowl with the whisked dry ingredients. Mix everything thoroughly using a sturdy spoon or a stand mixer with a paddle attachment. The dough will be quite wet and shaggy – don’t worry, this is exactly the intended consistency for gluten-free yeast bread. Unlike traditional bread, it won’t form a smooth, elastic ball.
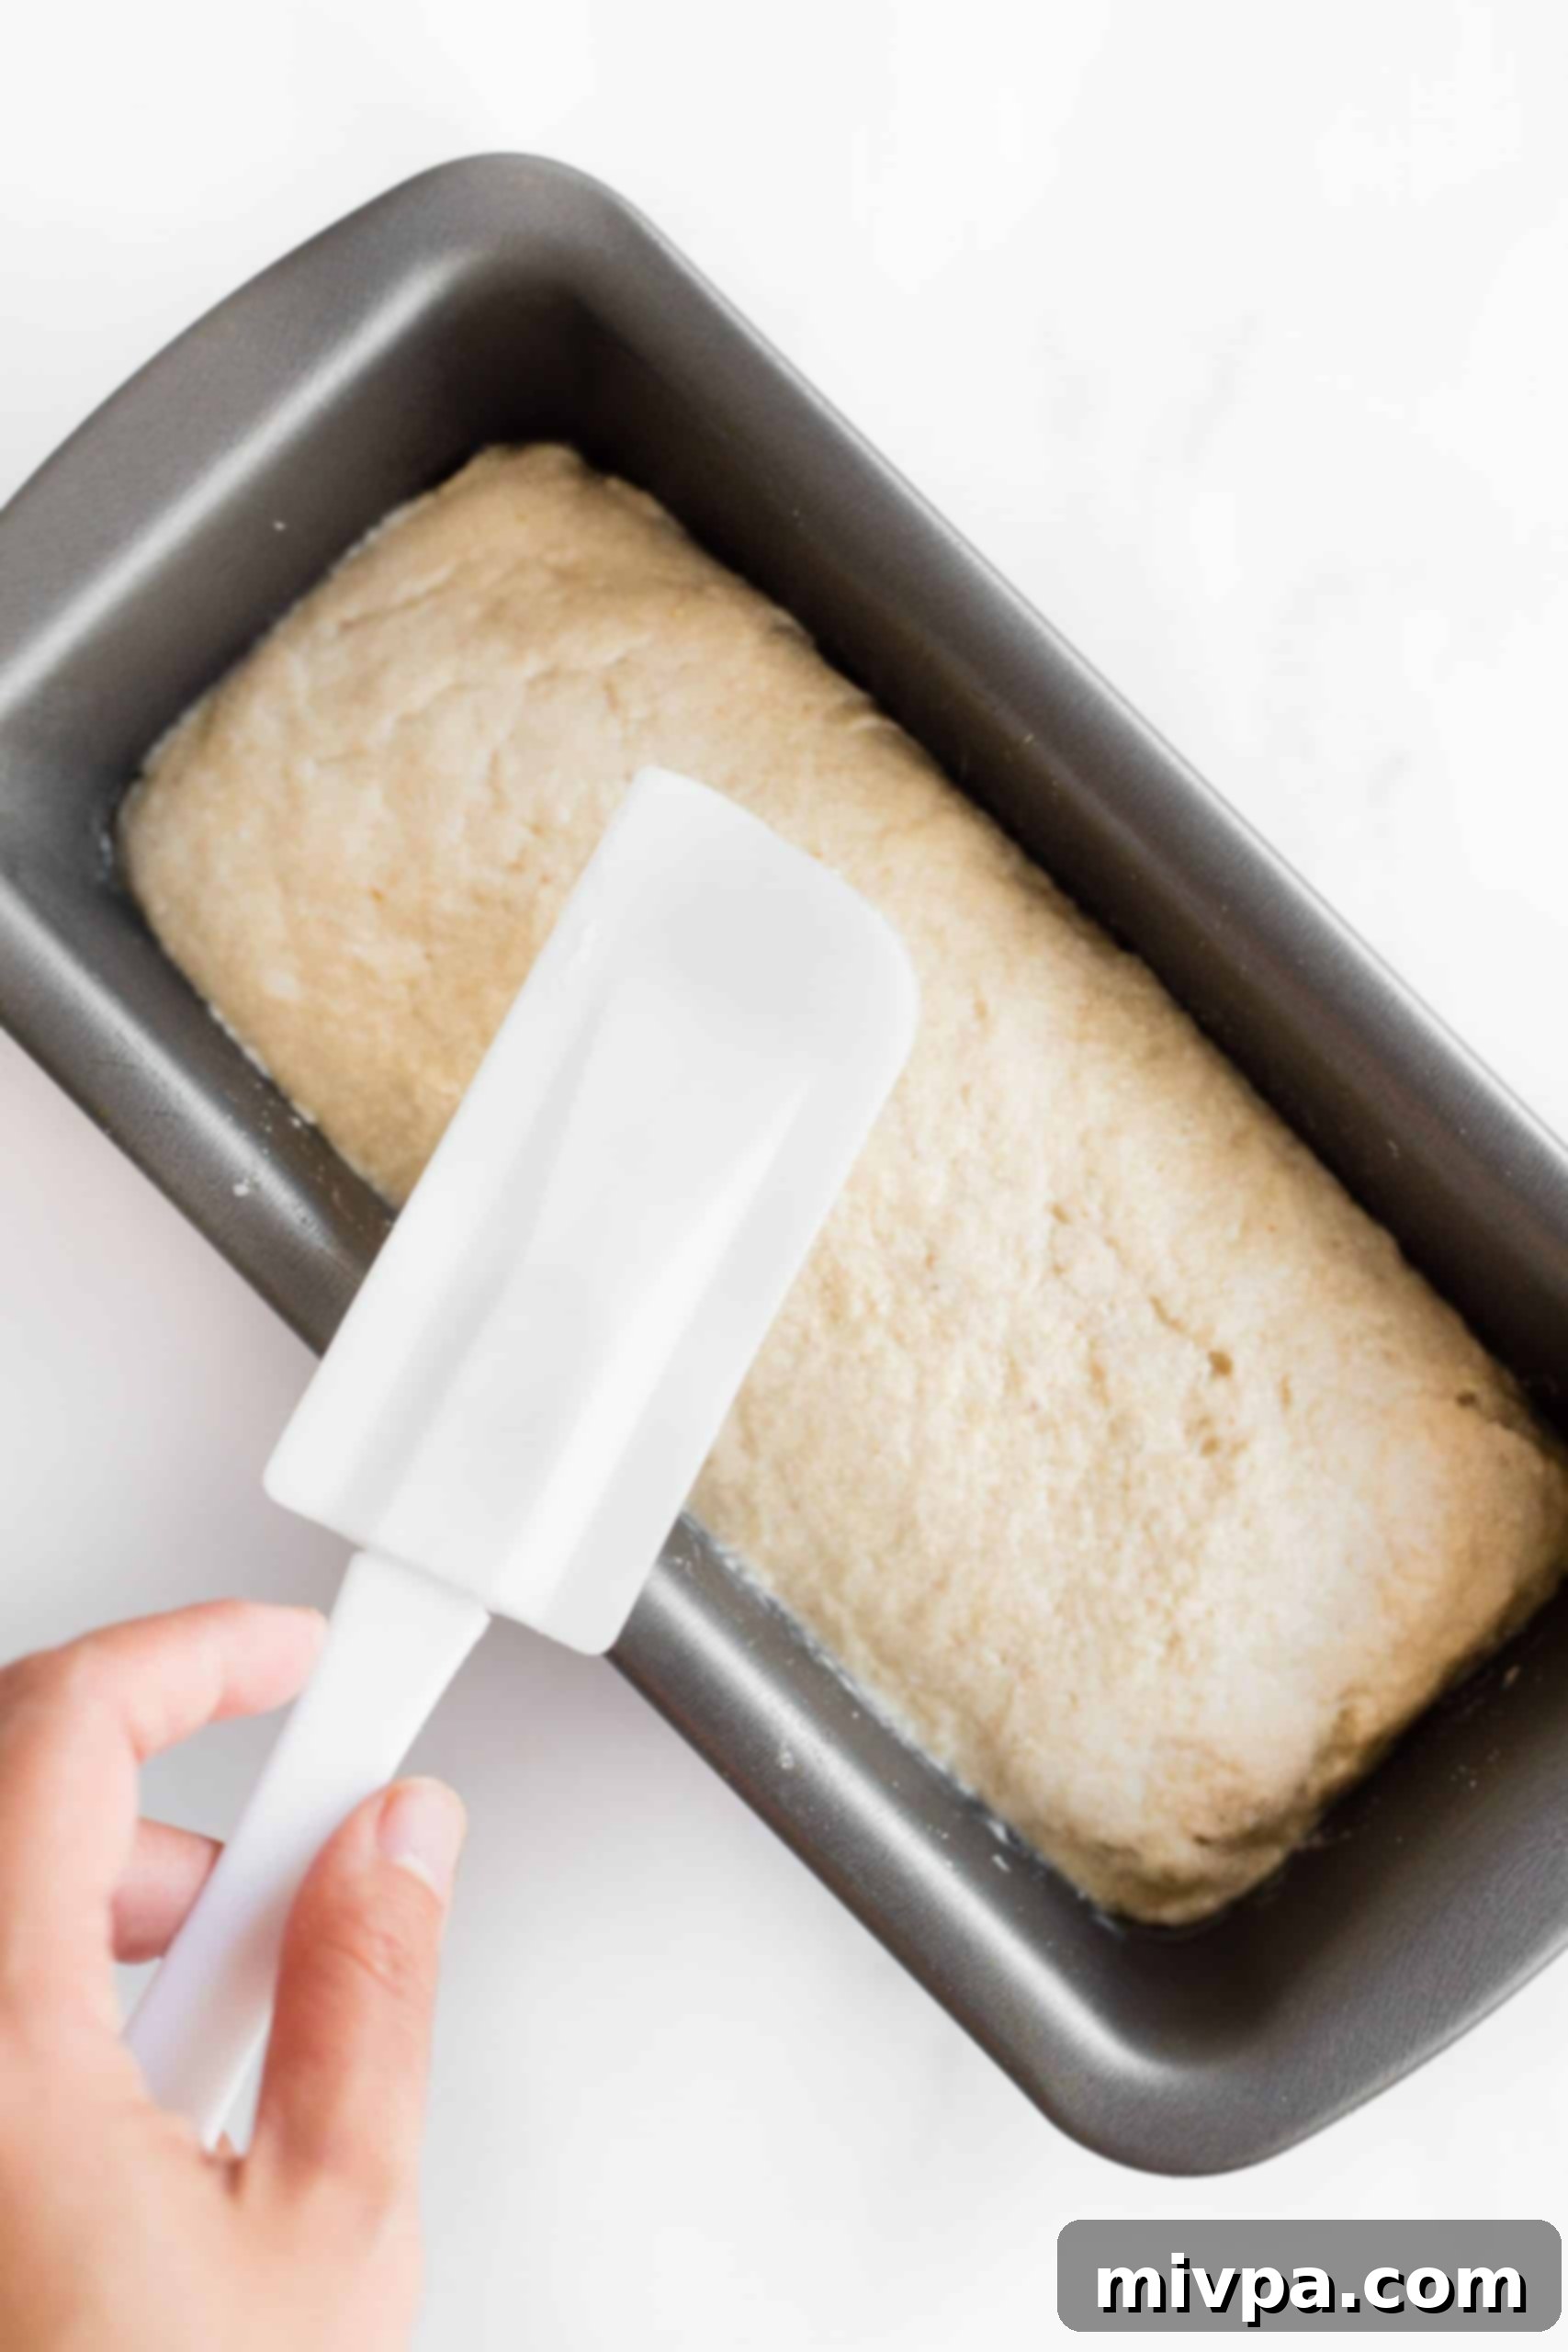
4. Transfer Dough to Loaf Pan
Carefully transfer the wet, shaggy dough into the greased loaf pan you prepared earlier. Use a wet spatula to gently spread and smooth out the top surface of the dough. A wet spatula helps prevent the sticky dough from adhering to the utensil, allowing you to create an even top that will rise beautifully.
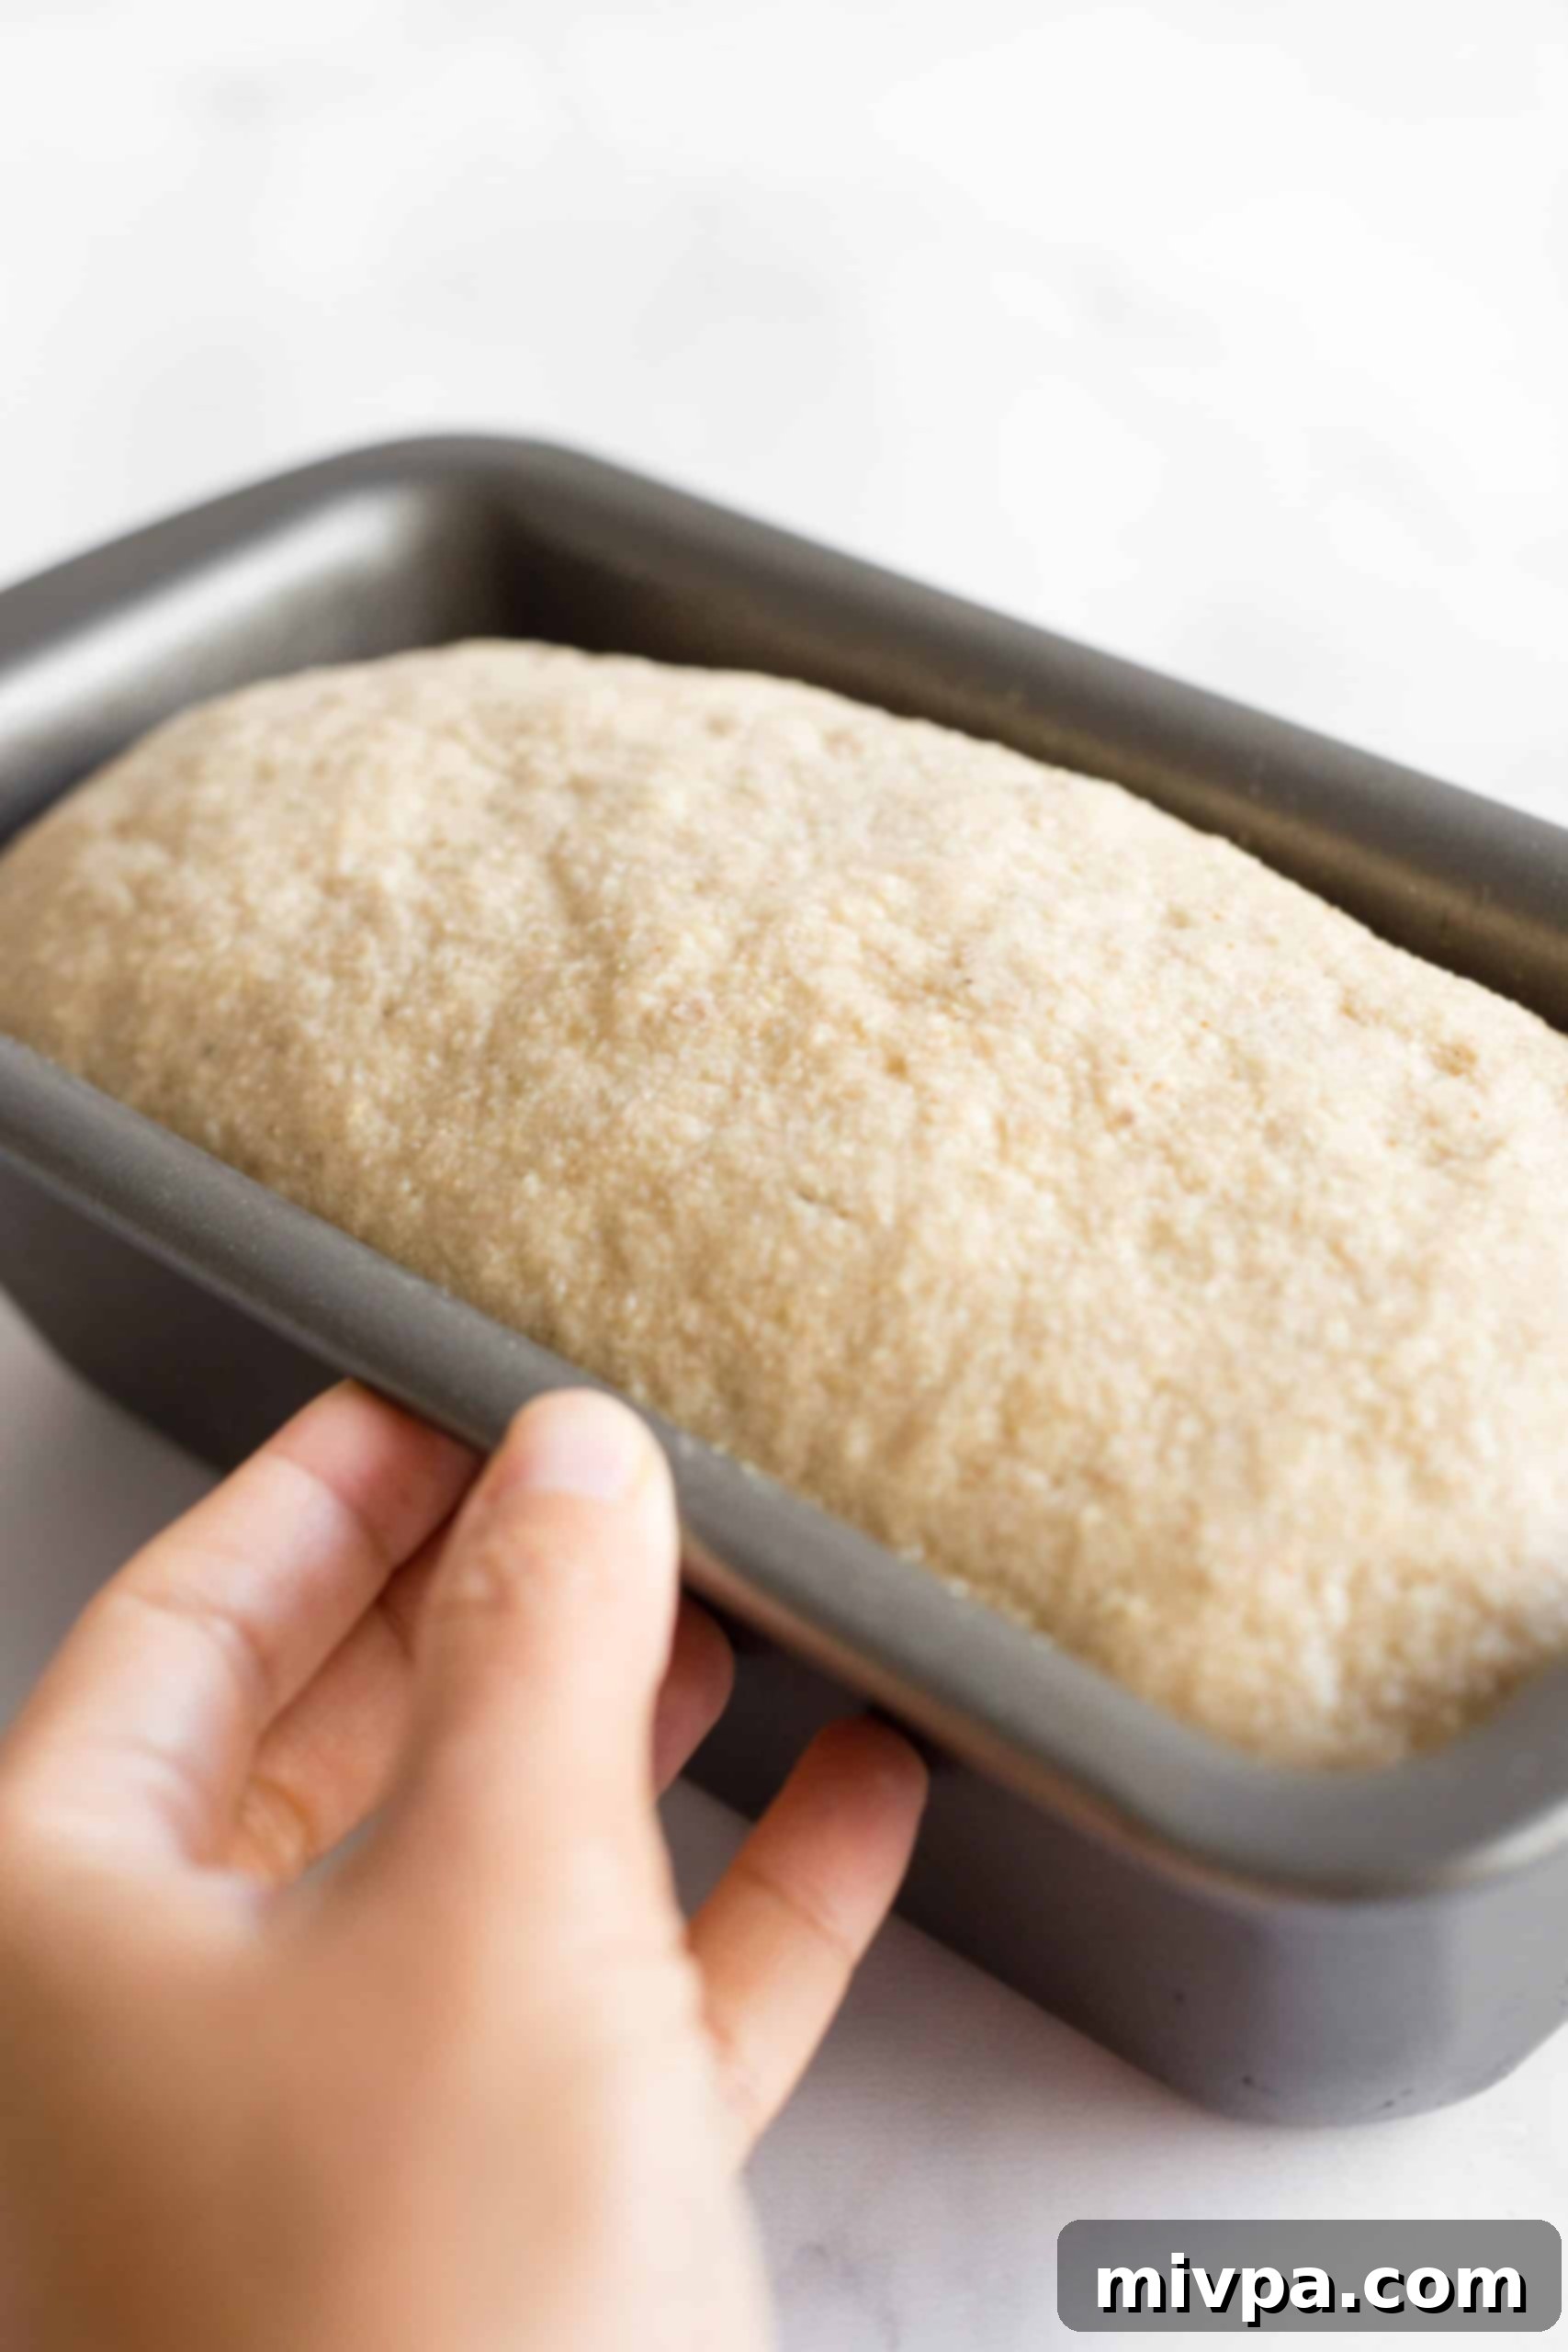
5. Allow the Dough to Rise
Cover the loaf pan with a clean kitchen towel or plastic wrap. Place the dough in a warm, draft-free environment to rise for approximately 30 to 40 minutes, or until it has nearly doubled in size. The warmth is essential for yeast activation, and a draft-free spot ensures an even rise. (Pro Tip: My favorite trick is to place the loaf pan in my microwave with the power off – it creates an ideal warm and still environment perfect for dough rising. Alternatively, a slightly warm, turned-off oven can also work.)
6. Preheat Your Oven
During the final 10 minutes of the dough rising time, preheat your oven to 350°F (175°C). Adjust the oven rack to the middle position. This ensures the oven reaches the correct temperature and provides even heat distribution for optimal baking of your gluten-free brown rice bread.
7. Bake to Perfection
Once the oven is preheated and the dough has sufficiently risen, carefully place the loaf pan into the oven. Bake for 40 to 50 minutes. The bread is done when the top has turned a rich dark brown, and when tapped gently, the loaf sounds hollow. This indicates it’s cooked through. Remove the golden-brown loaf from the oven.
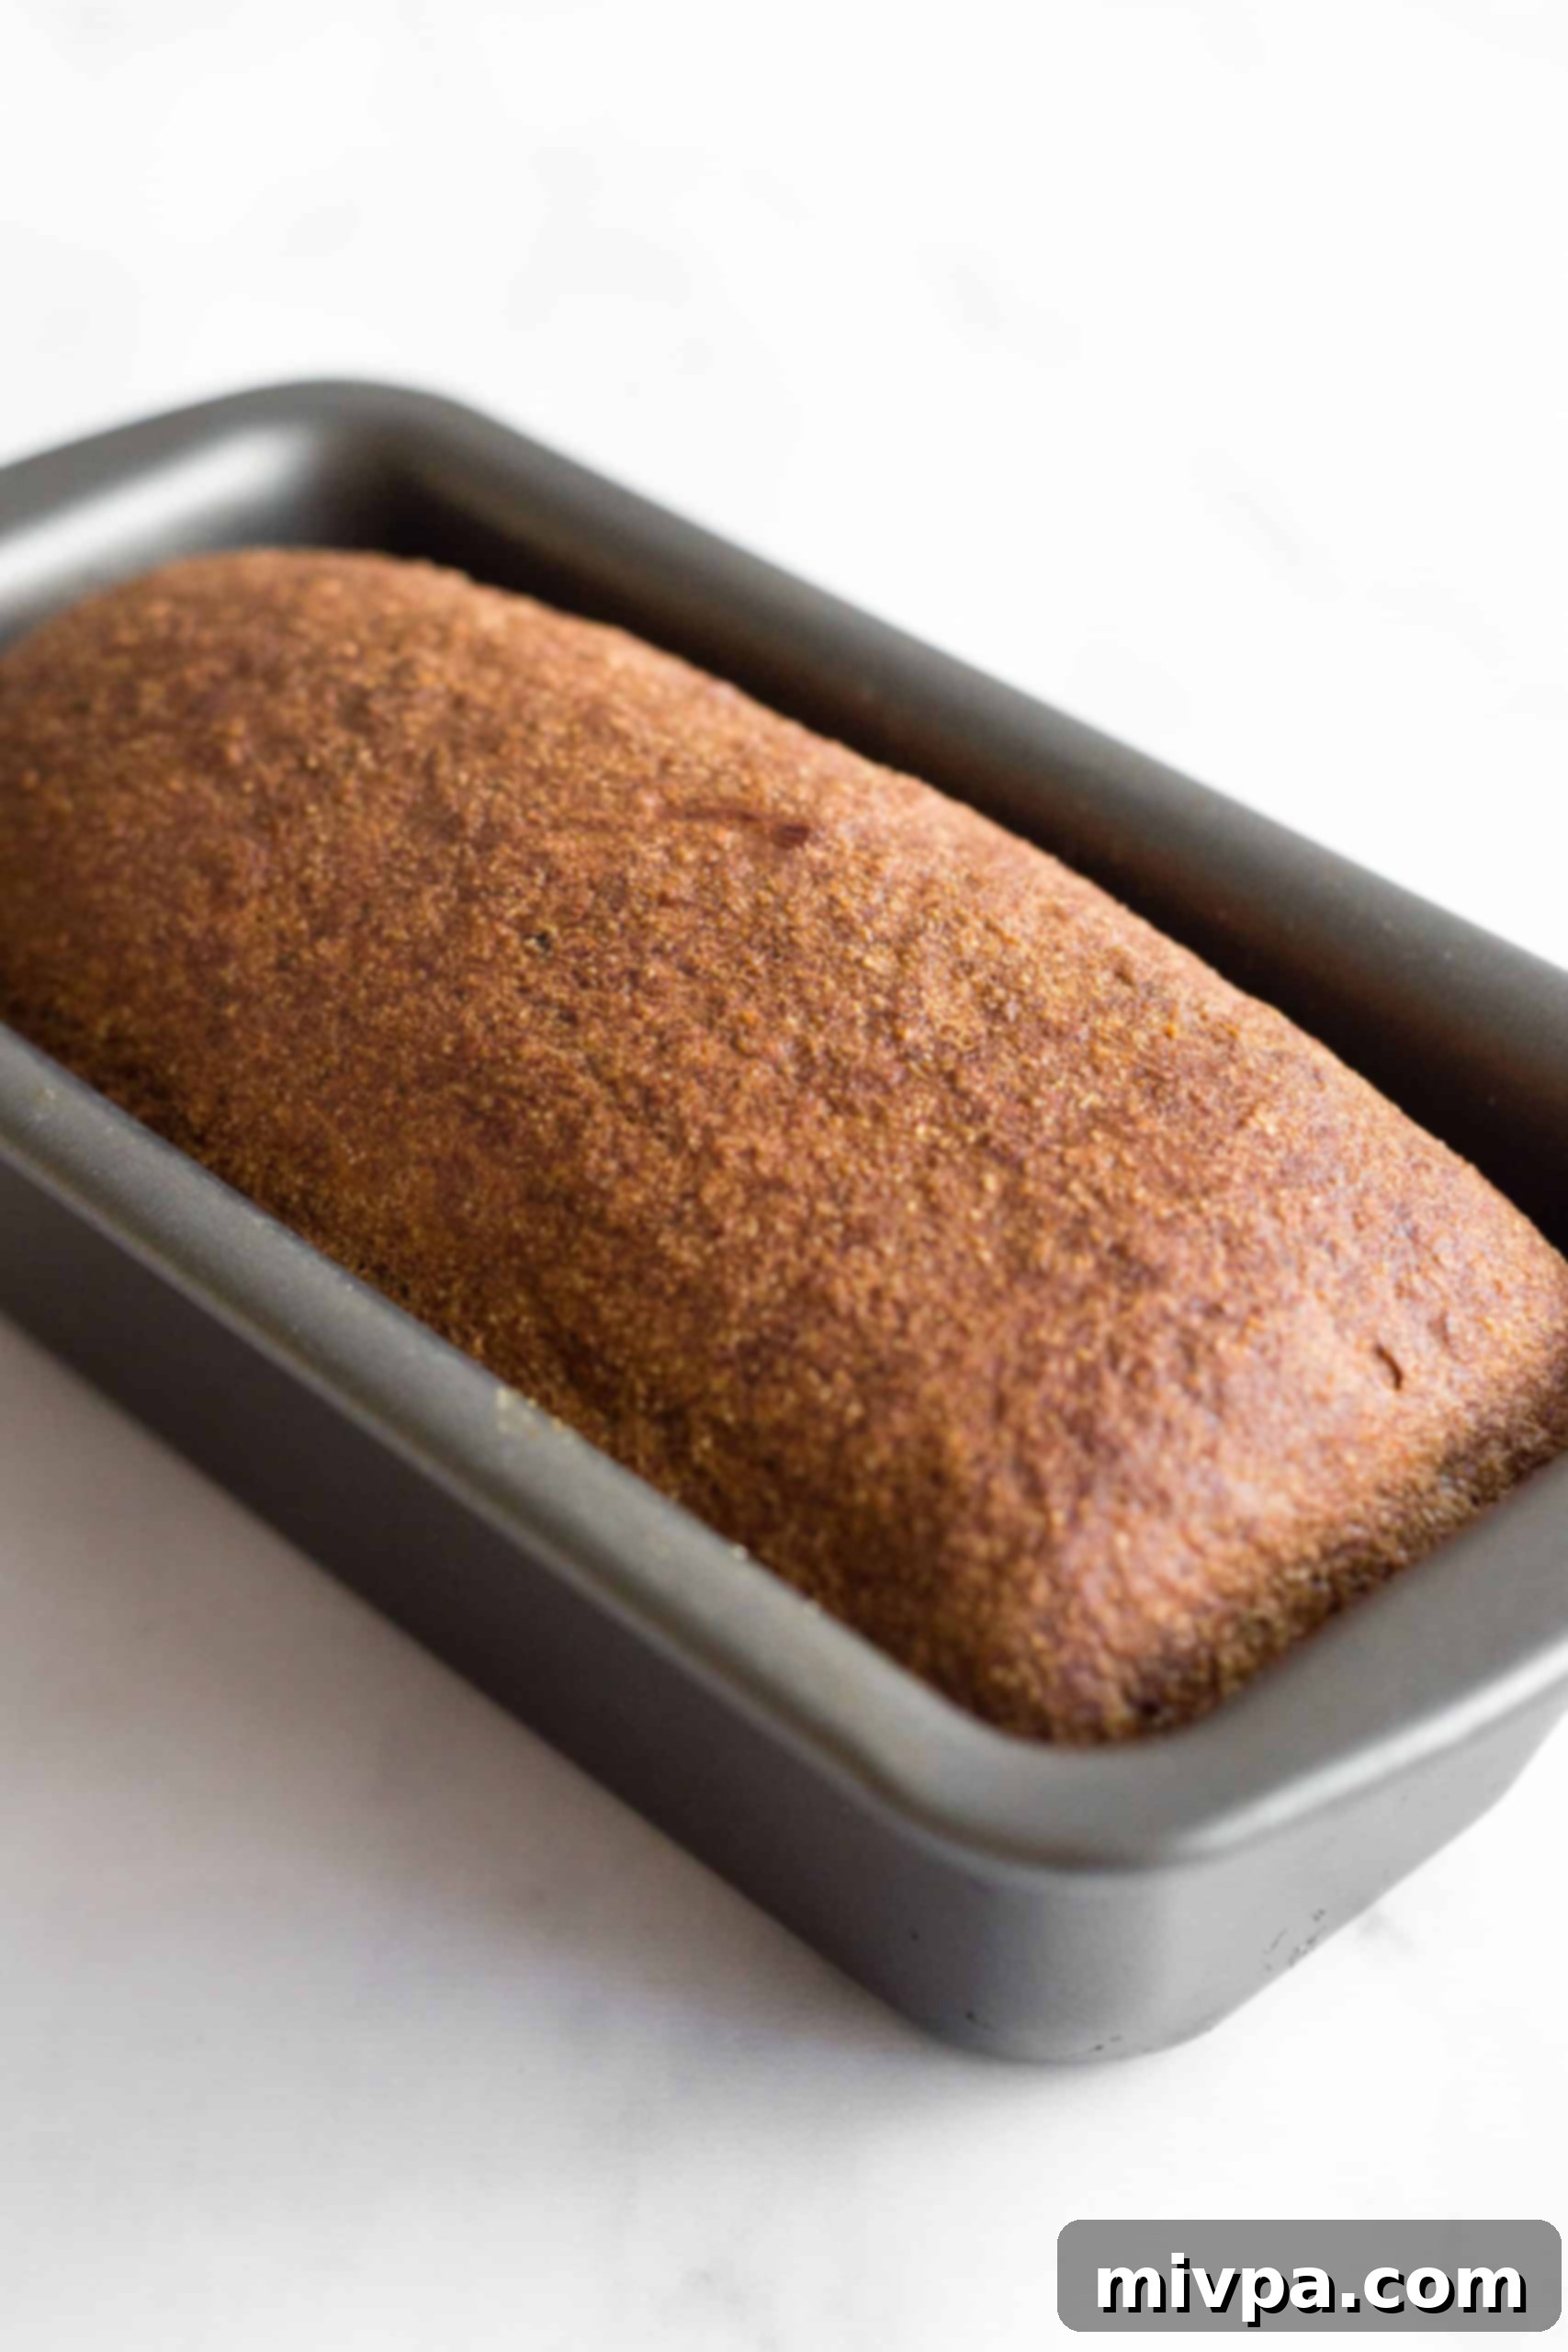
8. Cool Completely Before Slicing
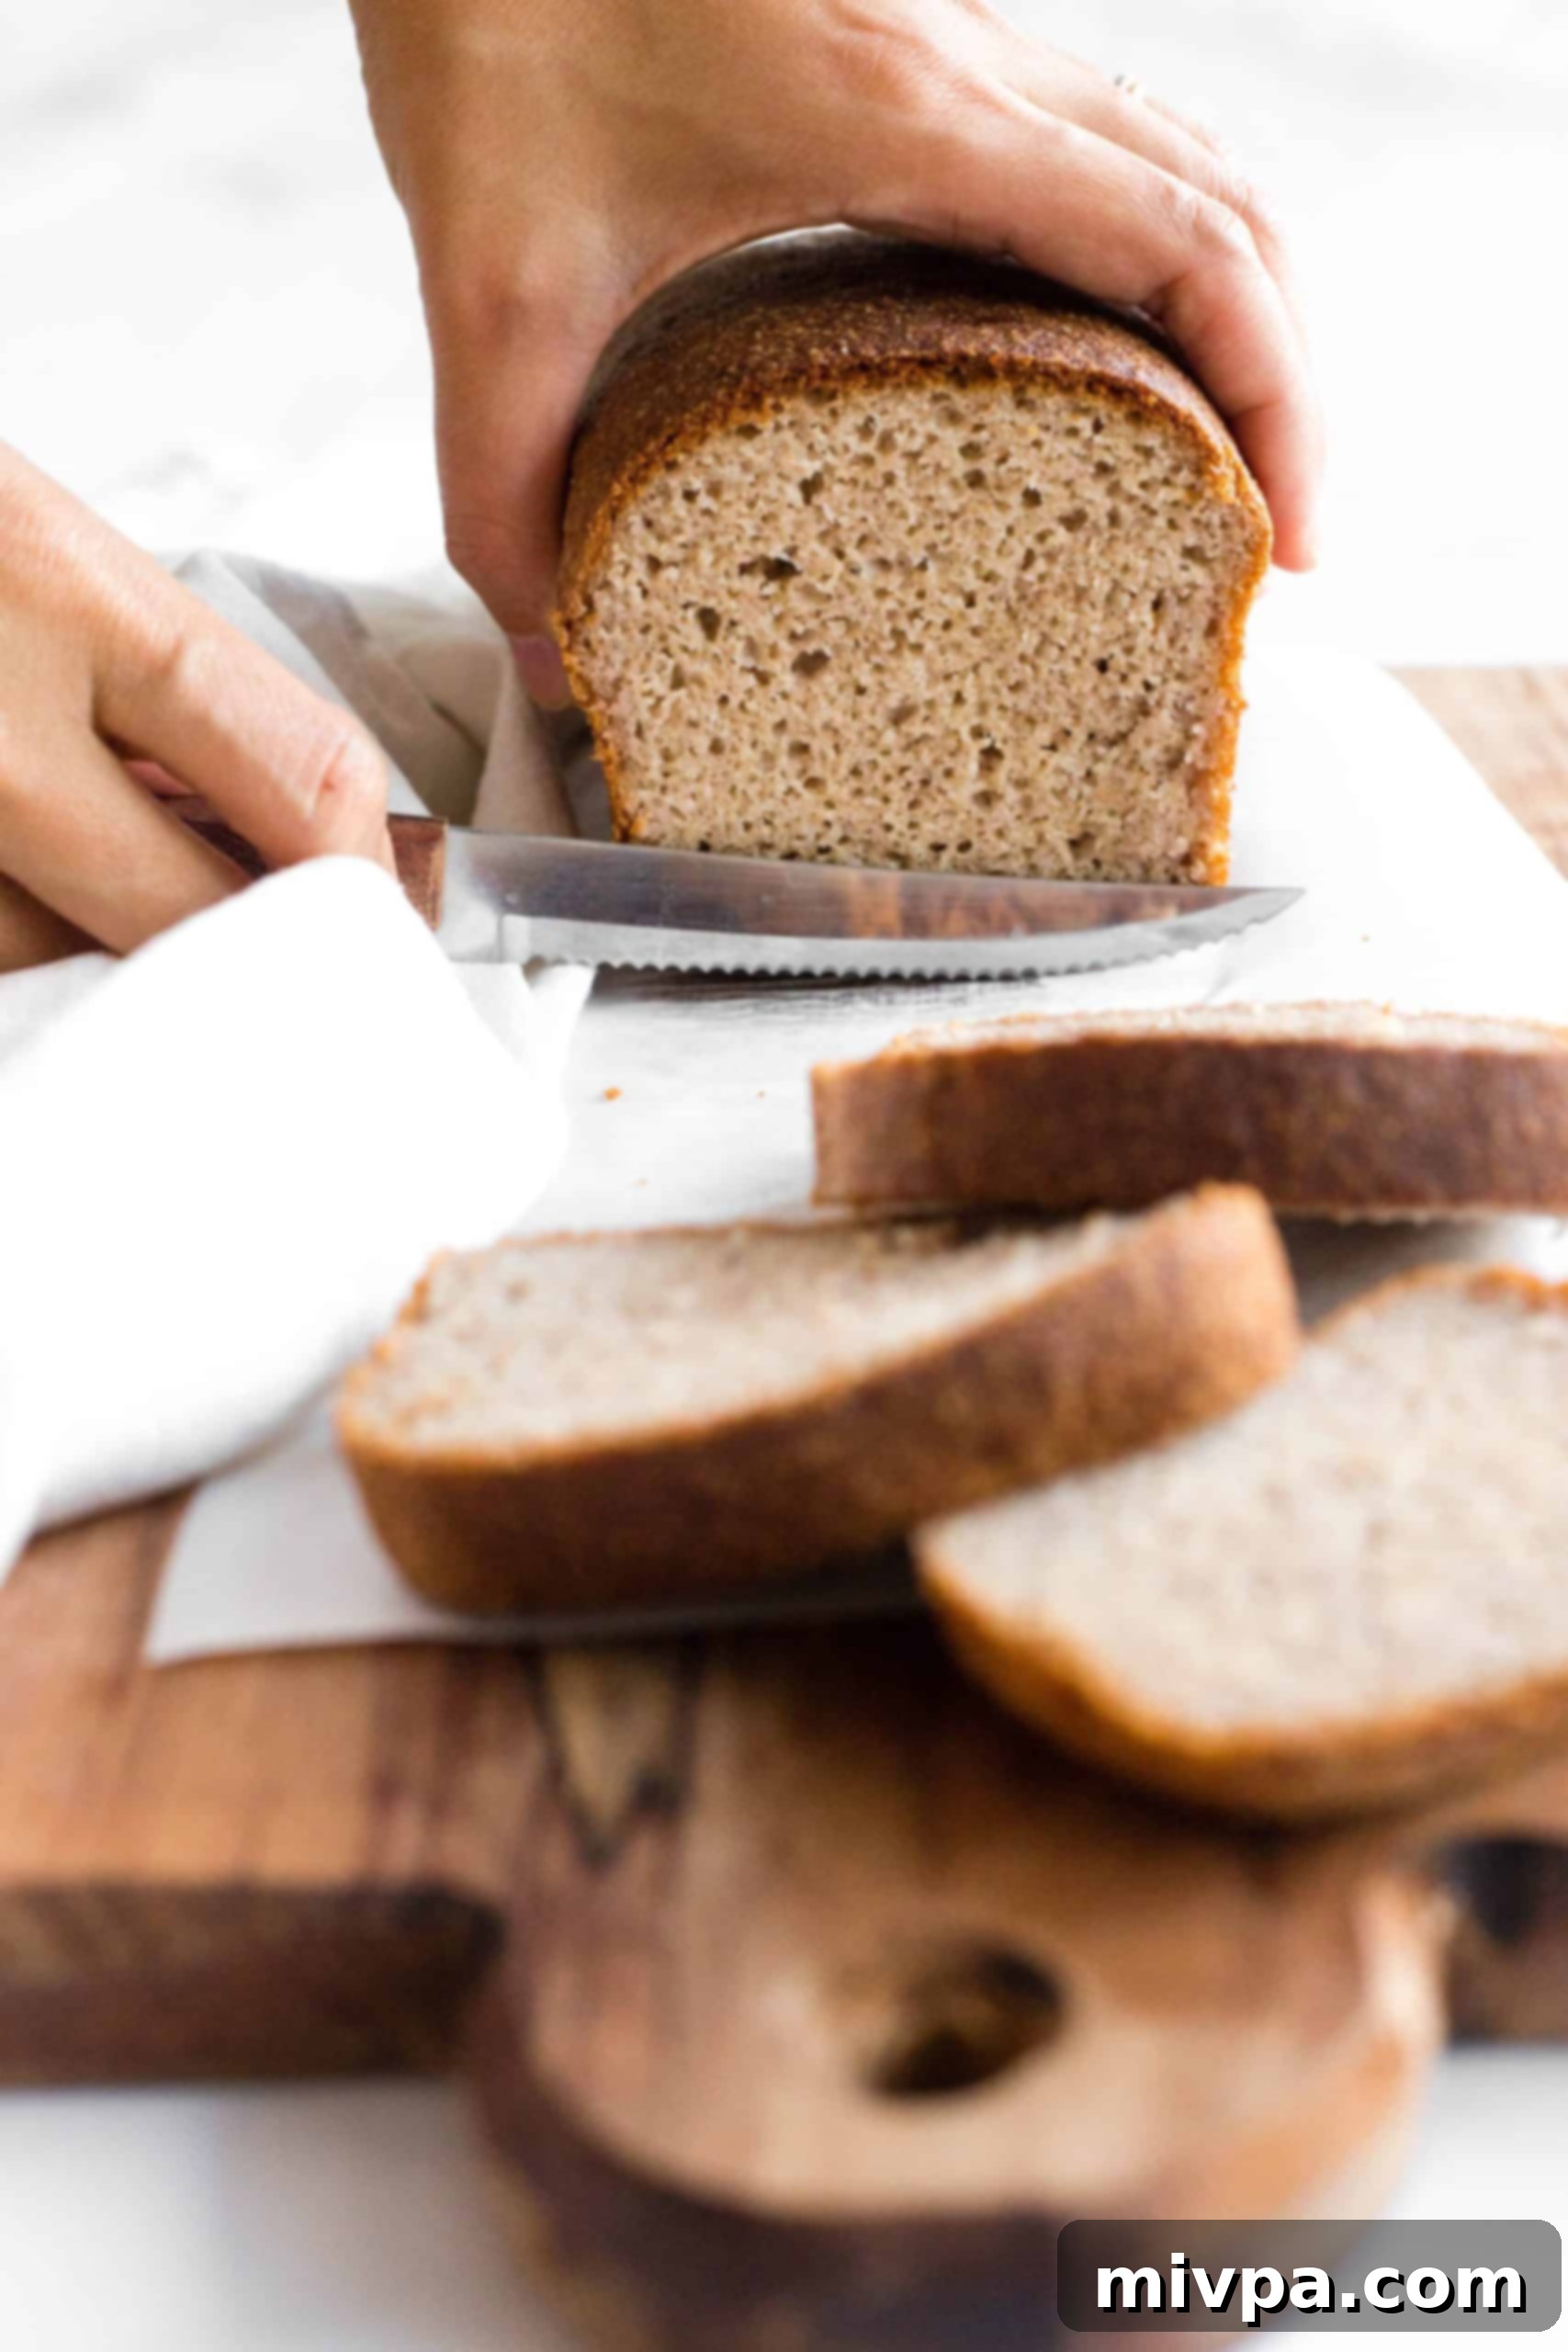
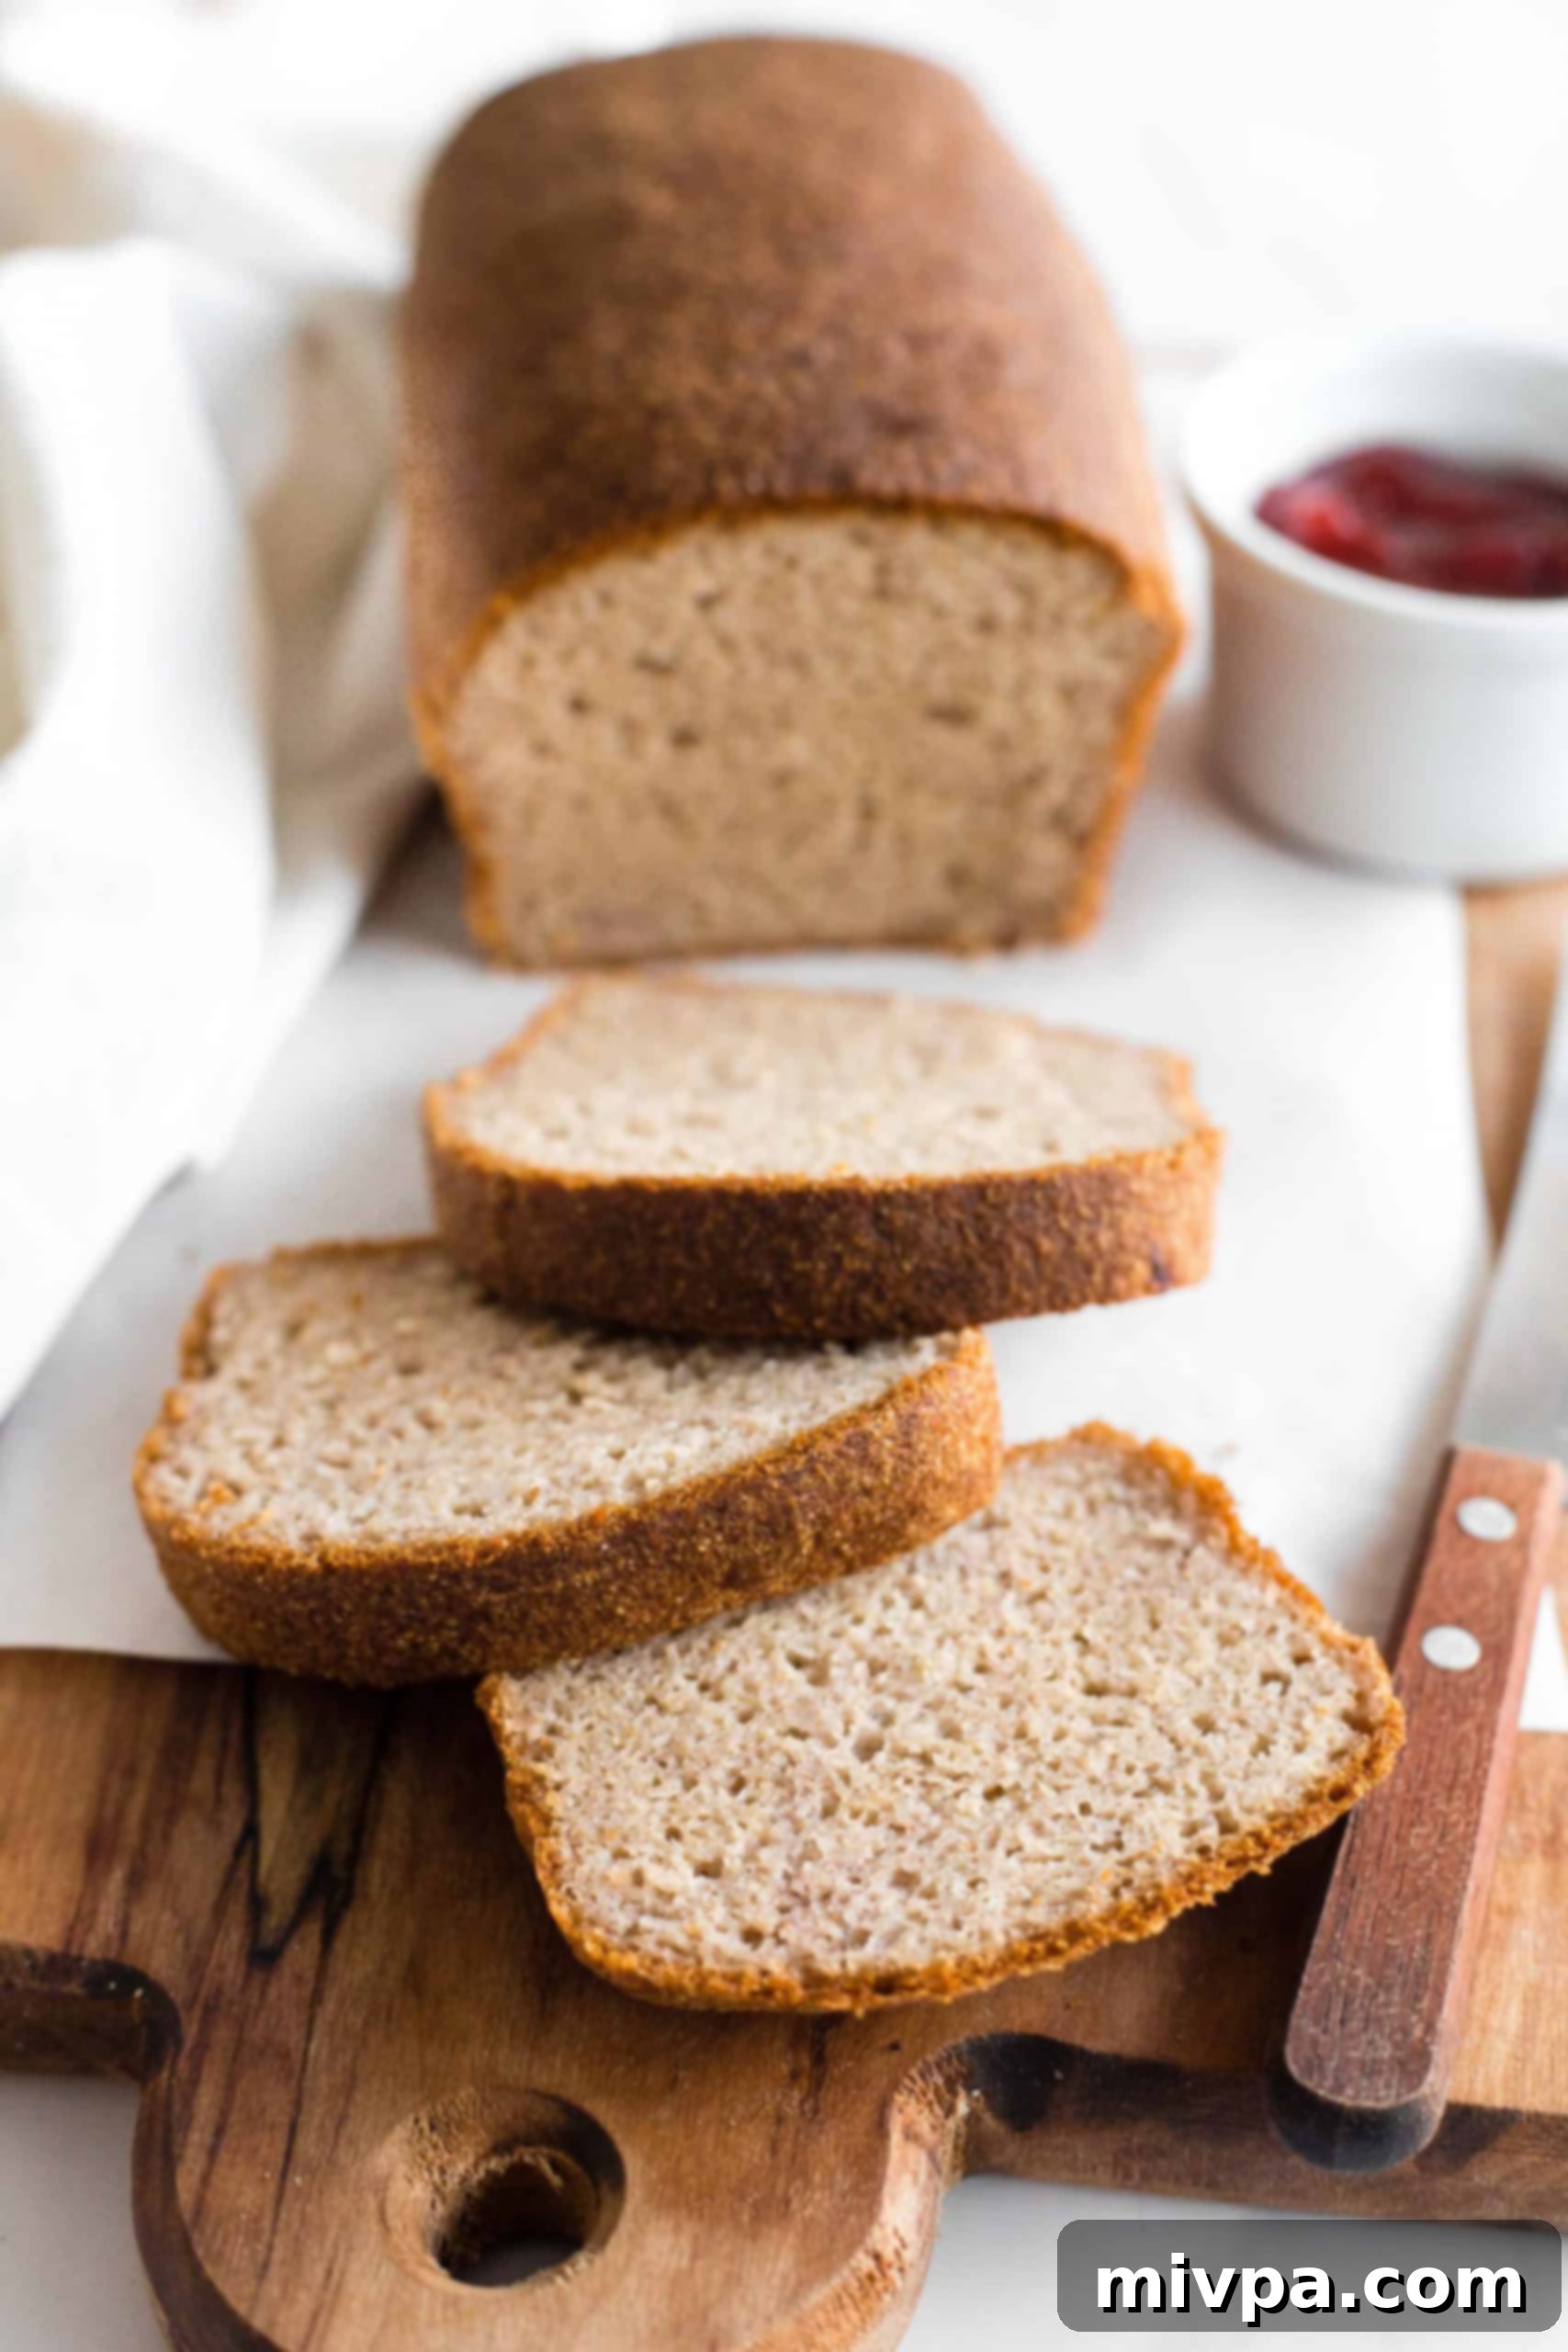
Allow the freshly baked loaf to cool in its pan for about 10 minutes. This helps the bread set its structure. After 10 minutes, carefully remove the loaf from the pan and transfer it to a wire rack to cool completely. It is crucial to let gluten-free bread cool entirely before slicing. Slicing warm gluten-free bread can result in a gummy texture or cause it to crumble. Patience is a virtue here, as a fully cooled loaf will yield perfectly structured, clean slices.
Dish by Dish Tips and Tricks for the Best Gluten-Free Brown Rice Bread
Achieving a perfect loaf of gluten-free brown rice bread is made even easier with these additional tips and tricks, designed to help you avoid common pitfalls and enhance your baking experience.
- Opt for a Metal Loaf Pan: I cannot emphasize enough the importance of using a metal loaf pan. Metal pans conduct heat more efficiently and evenly than glass or ceramic alternatives. This ensures that the bottom and sides of your loaf achieve a uniform golden-brown crust and are thoroughly cooked. Using a glass pan, for instance, might result in a less browned bottom or a slightly undercooked base due to poorer heat transfer, and can also lead to sticking.
- Employ a Serrated Knife for Slicing: Once your gluten-free brown rice bread has cooled completely (and only then!), reach for a serrated bread knife, which has ridges along its edge. This type of knife is designed to saw through bread without compressing or squashing the delicate crumb. Using a knife with a smooth edge on soft gluten-free bread can easily flatten the loaf and ruin its light, fluffy texture.
- Slice and Freeze for Ultimate Convenience: A fantastic strategy to always have homemade bread on hand is to pre-slice your cooled loaf, then wrap the individual slices or the entire sliced loaf securely in plastic wrap, followed by aluminum foil. Freeze it for up to 3 months. Whenever a craving strikes for fresh toast or a quick sandwich, simply remove a slice or two from the freezer and toast them directly. There’s no need to thaw completely if you’re toasting, making for a super convenient and delicious treat anytime!
Common Questions About Gluten-Free Brown Rice Bread
While this recipe is specifically formulated for brown rice bread, using brown rice flour provides its unique flavor, fiber content, and texture. I do not recommend substituting it with white rice flour due to their distinct textural differences (white rice flour is starchier). However, if you’re looking for other gluten-free flour alternatives with similar properties to brown rice flour, millet flour or sorghum flour can be used in equal quantities to achieve comparable results.
To keep your freshly baked brown rice bread at its best, store the cooled loaf in an airtight container at room temperature for up to 2-3 days, or in the refrigerator for up to 5 days. Storing it in the fridge can help extend its shelf life, though it might become slightly firmer.
Absolutely! Freezing is an excellent way to preserve this gluten-free brown rice bread. Once the loaf has completely cooled, wrap it tightly in plastic wrap, then an additional layer of aluminum foil, and freeze for up to 3 months. To enjoy, simply let the bread thaw completely overnight in the refrigerator or at room temperature before slicing and serving. For quick toast, slices can be toasted directly from frozen.
Several factors can affect the rise of gluten-free yeast bread. Ensure your warm water is within the ideal temperature range (105F – 115F) to activate the yeast without killing it. Check that your yeast is fresh and active. Also, make sure your rising environment is warm and draft-free, as cold temperatures can inhibit yeast activity.
This recipe currently includes eggs, which play a crucial role in binding and structure. While some readers have experimented with egg replacers, I haven’t officially tested a vegan version myself. Gluten-free baking is often sensitive to egg substitutions. If you attempt it, please share your results! You might try a flax egg or a commercial egg replacer, but be aware that the texture may vary.
Explore More Delicious Gluten-Free Bread Recipes!
If you’ve enjoyed baking this soft and fluffy brown rice bread, you’ll love exploring other delightful gluten-free and dairy-free bread recipes on the blog. There’s a world of wholesome baked goods waiting for you to discover!
- Gluten-Free Chocolate Chip Pumpkin Bread (Dairy-Free)
- Easy Gluten-Free Drop Biscuits (Dairy-Free)
- Gluten-Free Vegan Bagels (Chewy and Tender!)
- Egg-Free Gluten-Free Bread (So Tender!)
P.S. If you try this incredible Soft & Fluffy Gluten-Free Brown Rice Bread recipe, I’d be absolutely delighted for you to leave a star rating below, and/or a review in the comment section further down the page. Your feedback is always invaluable to me and helps others discover this delicious recipe! Be sure to explore my entire Recipe Index for all the wholesome and gluten-free recipes available on the blog. You can also connect with me on Pinterest, Facebook, or Instagram for daily inspiration and updates! Don’t forget to sign up for my Email List to receive fresh recipes directly in your inbox each week!
Print

Soft, Fluffy Brown Rice Bread (Gluten-Free, Dairy-Free)
5 Stars
4 Stars
3 Stars
2 Stars
1 Star
4.6 from 33 reviews
- Author: Felicia Lim
- Total Time: 1 hour 40 minutes
- Yield: 12 servings
- Diet: Gluten Free
Description
This incredibly soft and fluffy brown rice bread is wonderfully simple to prepare, making it an ideal choice for homemade sandwiches or delightful toast spreads with butter and jam. Crafted with wholesome brown rice flour for an extra boost of fiber, this easy yeast bread is completely gluten-free and dairy-free, ensuring everyone can enjoy a slice!
Ingredients
Units
Scale
- 2 cups brown rice flour
- 1 3/4 cups warm water (approximately 105F – 115F)
- 1/4 cup sunflower oil
- 1/4 cup psyllium husk powder
- 1 tablespoon instant yeast
- 2 tablespoons sugar
- 3/4 teaspoons xanthan gum
- 2 eggs, room temperature
- 1 teaspoon baking powder
- 1/2 teaspoon salt
Instructions
- Grease: Grease an 8″x4″ metal loaf pan thoroughly to prevent sticking and ensure easy release of your loaf.
- Whisk Dry Ingredients: In a large mixing bowl, whisk together the brown rice flour, psyllium husk powder, instant yeast, sugar, baking powder, xanthan gum, and salt until they are well combined and evenly distributed.
- Add Liquid Ingredients: Add the warm water, sunflower oil, and eggs to the dry ingredients. Mix well with a sturdy spoon or a stand mixer until a wet and shaggy dough forms. Do not overmix; the dough is meant to be wet and sticky, unlike traditional wheat dough.
- Transfer to Pan: Transfer the dough into the greased loaf pan. Use a spatula dampened with a little water to gently smooth out the top surface of the dough, creating an even layer.
- Let Dough Rise: Cover the dough pan with a clean kitchen towel. Allow the dough to rise in a warm, draft-free place for approximately 30 to 40 minutes, or until it has almost doubled in size. (Tip: A turned-off microwave offers a perfect warm, draft-free environment for rising dough.)
- Preheat Oven: During the last 10 minutes of the dough’s rising time, preheat your oven to 350°F (175°C) and adjust an oven rack to the middle position.
- Bake: Bake the dough for 40 to 50 minutes. The bread is fully baked when the top is dark brown and sounds hollow when gently tapped. Carefully remove the loaf from the oven.
- Cool Completely: Let the loaf cool in the pan for 10 minutes. Then, remove it from the pan and transfer it to a wire rack to cool completely before slicing. Use a serrated bread knife for clean slices once the loaf is entirely cool.
Notes
- Brown Rice Flour: I like making my own 5-minute homemade brown rice flour for freshness, but store-bought works. Avoid white rice flour due to different textures. Millet or sorghum flour can be used as alternatives in equal quantities.
- Warm Water: Crucial for yeast activation. Ensure water temperature is between 105F – 115F (40C – 46C) to avoid killing the yeast or hindering its activity.
- Sunflower Oil: Provides moisture and tenderness. Any neutral vegetable oil, such as canola or light olive oil, can be used as a substitute.
- Psyllium Husk Powder: Essential for structure and binding in gluten-free bread, mimicking gluten. Do NOT substitute this ingredient. If using whole husks, grind them to a fine powder.
- Sugar: Not just for sweetness, sugar feeds the yeast, allowing it to activate and make the bread rise. It is an indispensable ingredient.
- Instant Yeast: Chosen for its convenience, it can be mixed directly with dry ingredients without prior activation.
- Xanthan Gum: A vital binder in gluten-free baking, it provides elasticity and prevents crumbling, giving the bread a better texture.
- Baking Powder: Works with yeast as a secondary leavening agent, contributing to a lighter and fluffier crumb.
- Eggs: Provide binding, richness, and structure. This recipe has not been tested with egg replacers, so results may vary.
- Use a Serrated Knife to Slice: A serrated bread knife prevents squashing the soft loaf, ensuring clean, even slices once the bread is completely cool.
- Storing/Freezing: Store the cooled loaf in an airtight container in the refrigerator for up to 5 days. For longer storage, wrap the cooled loaf in plastic wrap and freeze for up to 3 months. Thaw completely in the refrigerator overnight before slicing.
- Adapted from: Eat Beautiful
- Prep Time: 10 mins
- Rising Time: 40 mins
- Cook Time: 50 mins
- Category: Bread
- Method: Baking
- Cuisine: American
