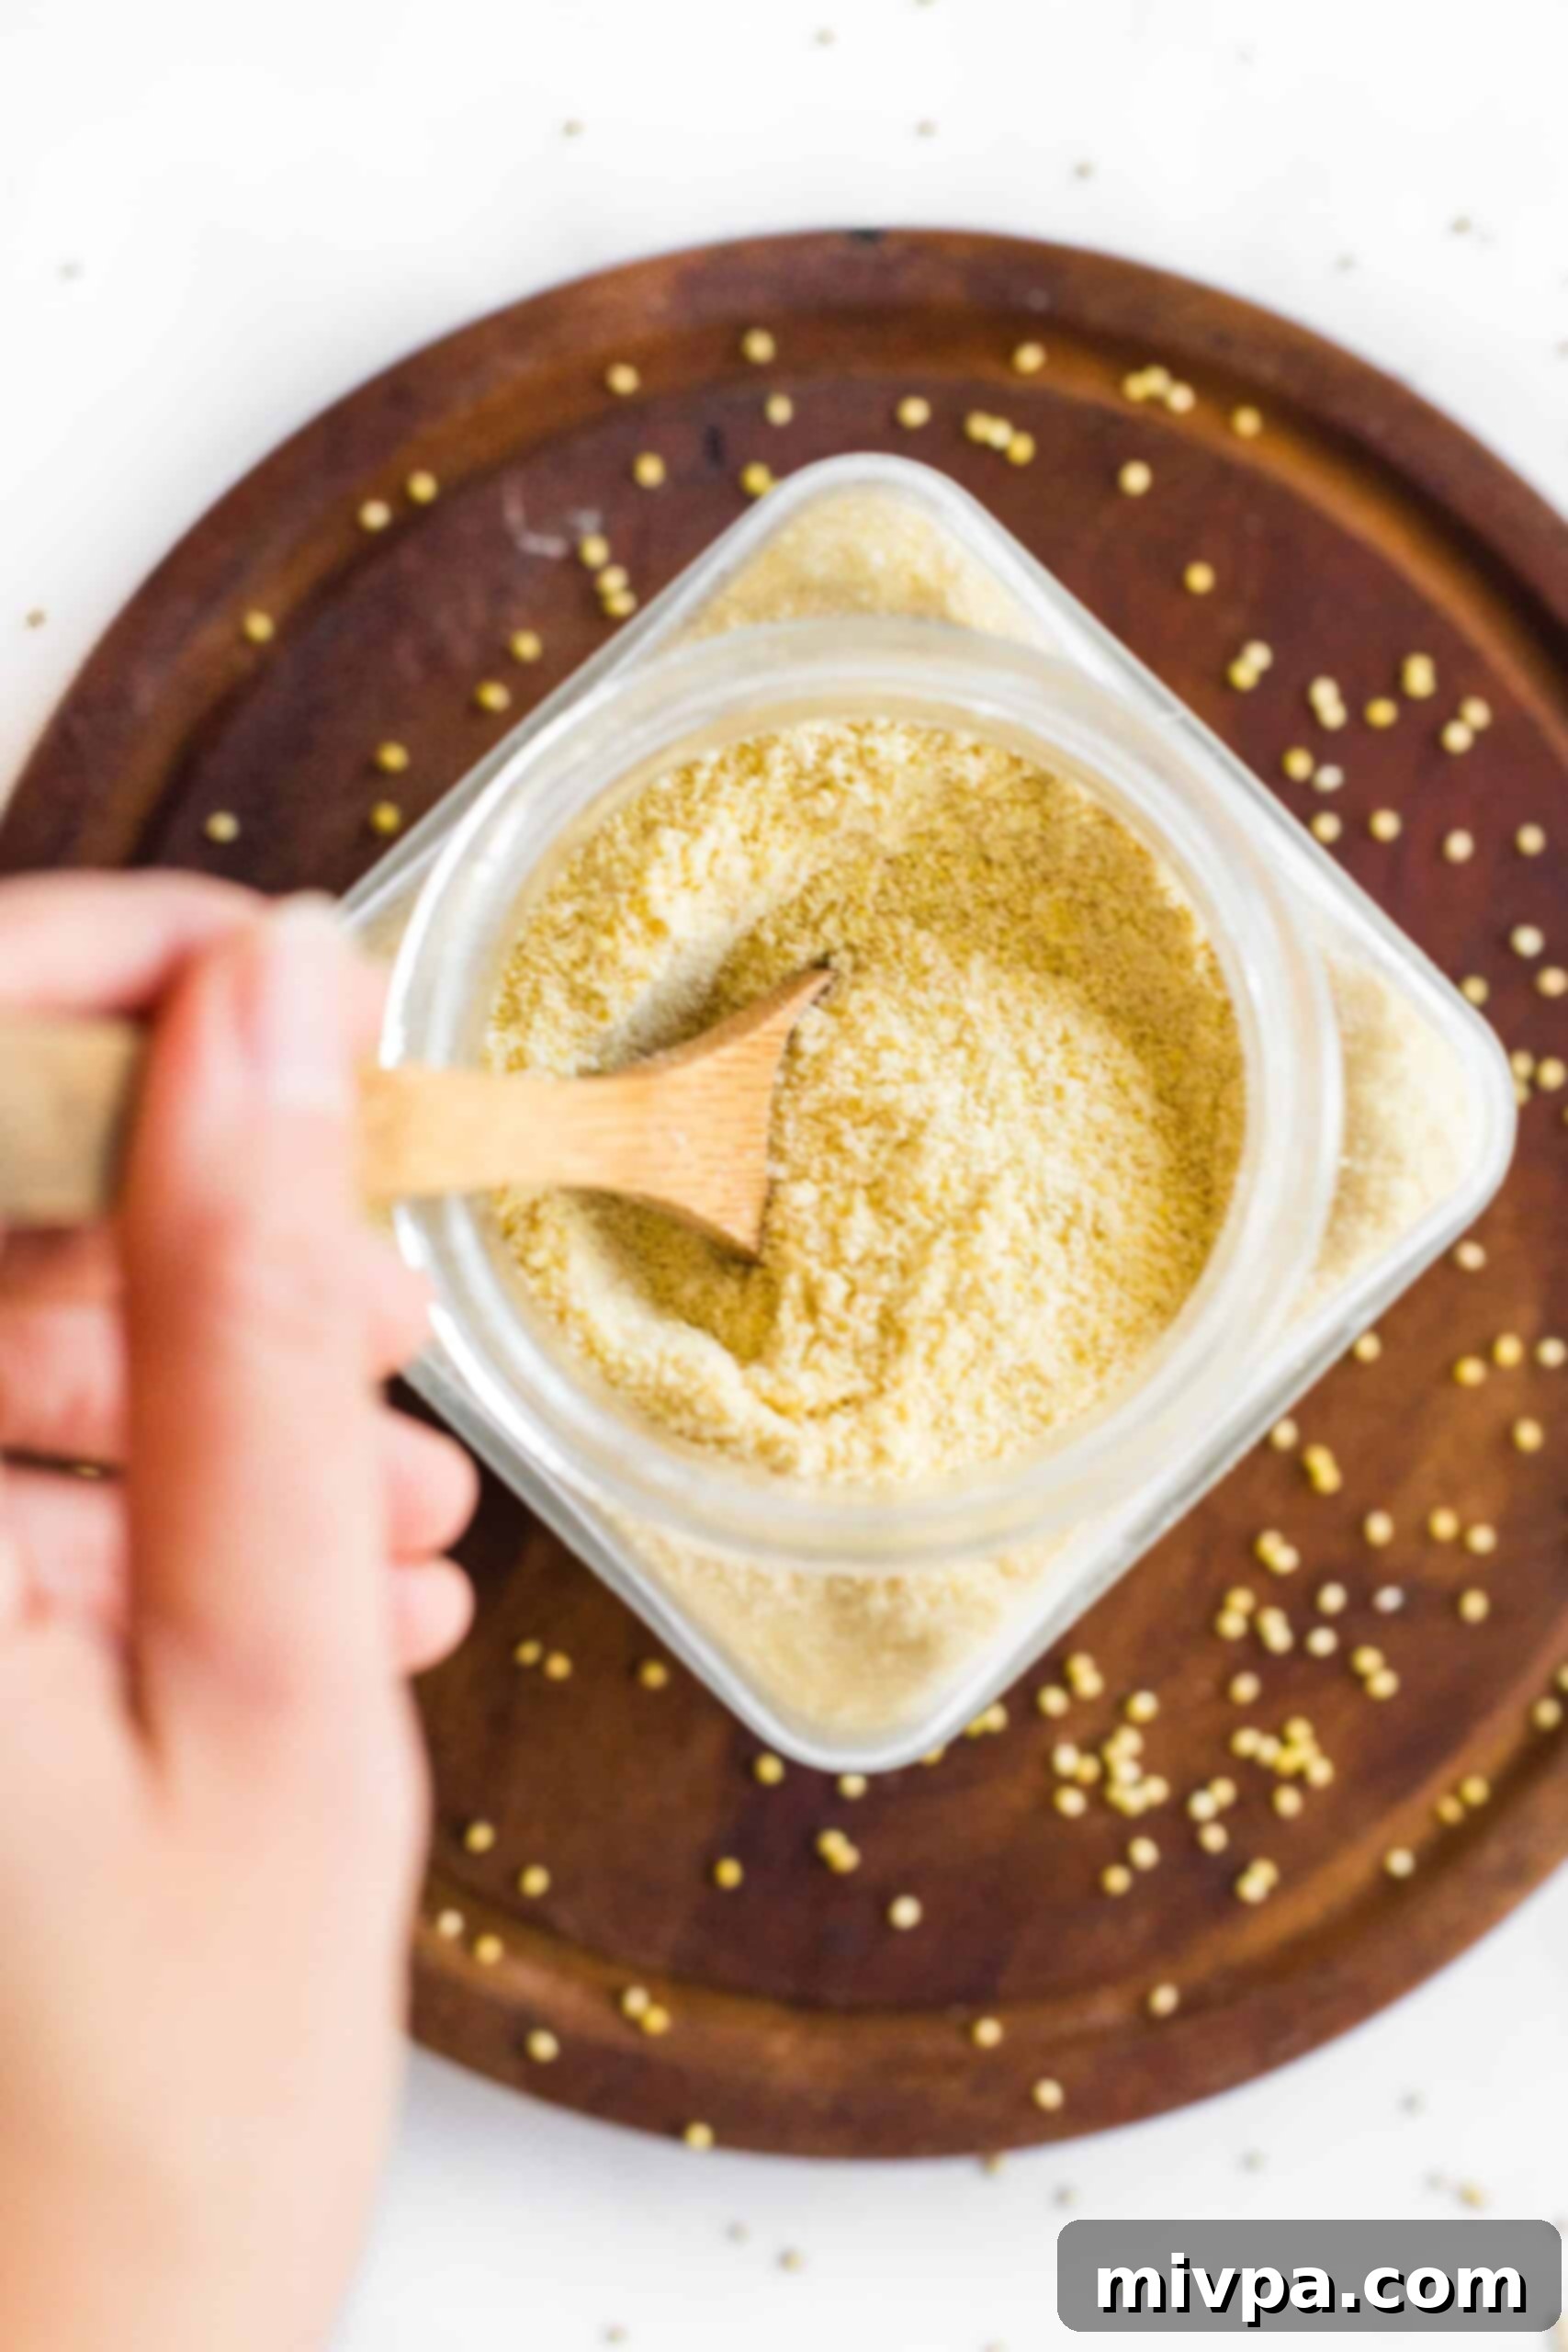
Easy Homemade Millet Flour: Your Guide to Gluten-Free Baking (Vegan & Dairy-Free)
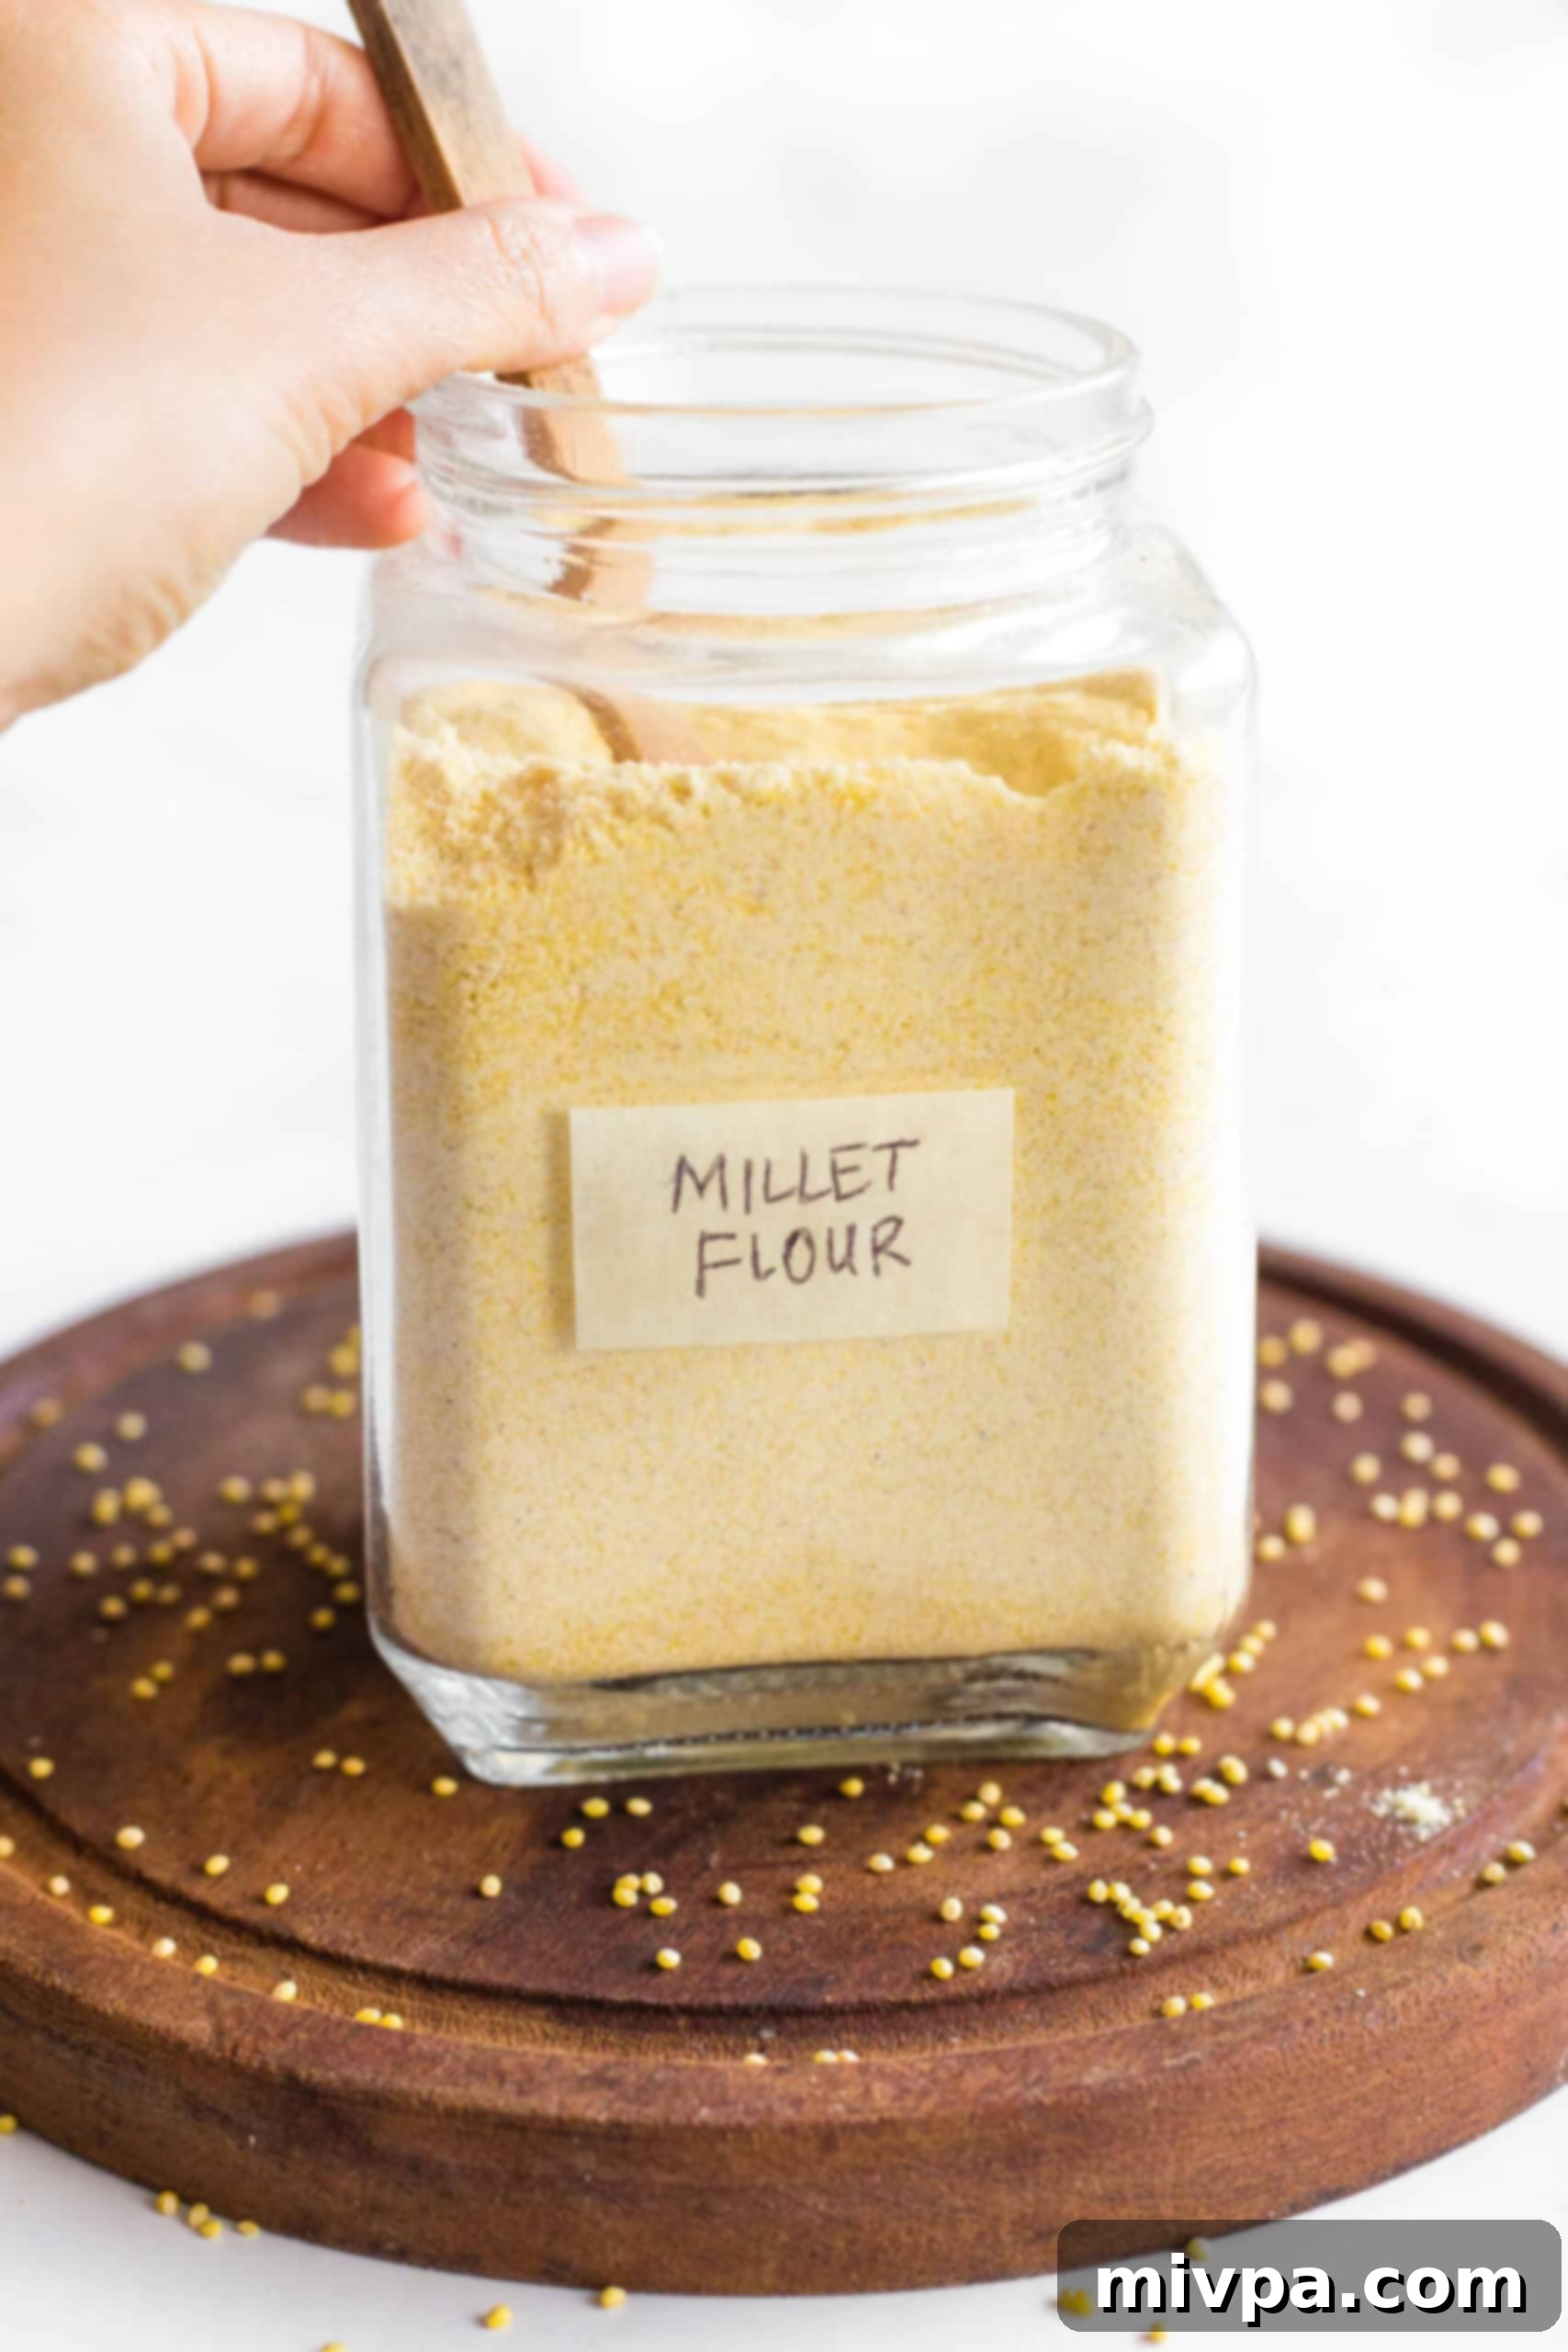
Unlock the secret to healthier, more versatile baking with our simple guide to making your own millet flour at home! Forget about specialized equipment or hard-to-find ingredients. All you need is hulled millet, a high-speed blender, and a fine-mesh sieve, and you’ll have a finely ground, fresh flour ready in minutes. This homemade millet flour is not only incredibly easy to prepare but also naturally gluten-free, dairy-free, and vegan, making it an ideal choice for anyone with dietary restrictions or those simply looking to explore new, nutritious baking options. Perfect for crafting delicious baked goods and breads with a delightful, slightly sweet, and nutty flavor.
[feast_advanced_jump_to]
What is Millet? Understanding This Ancient Grain
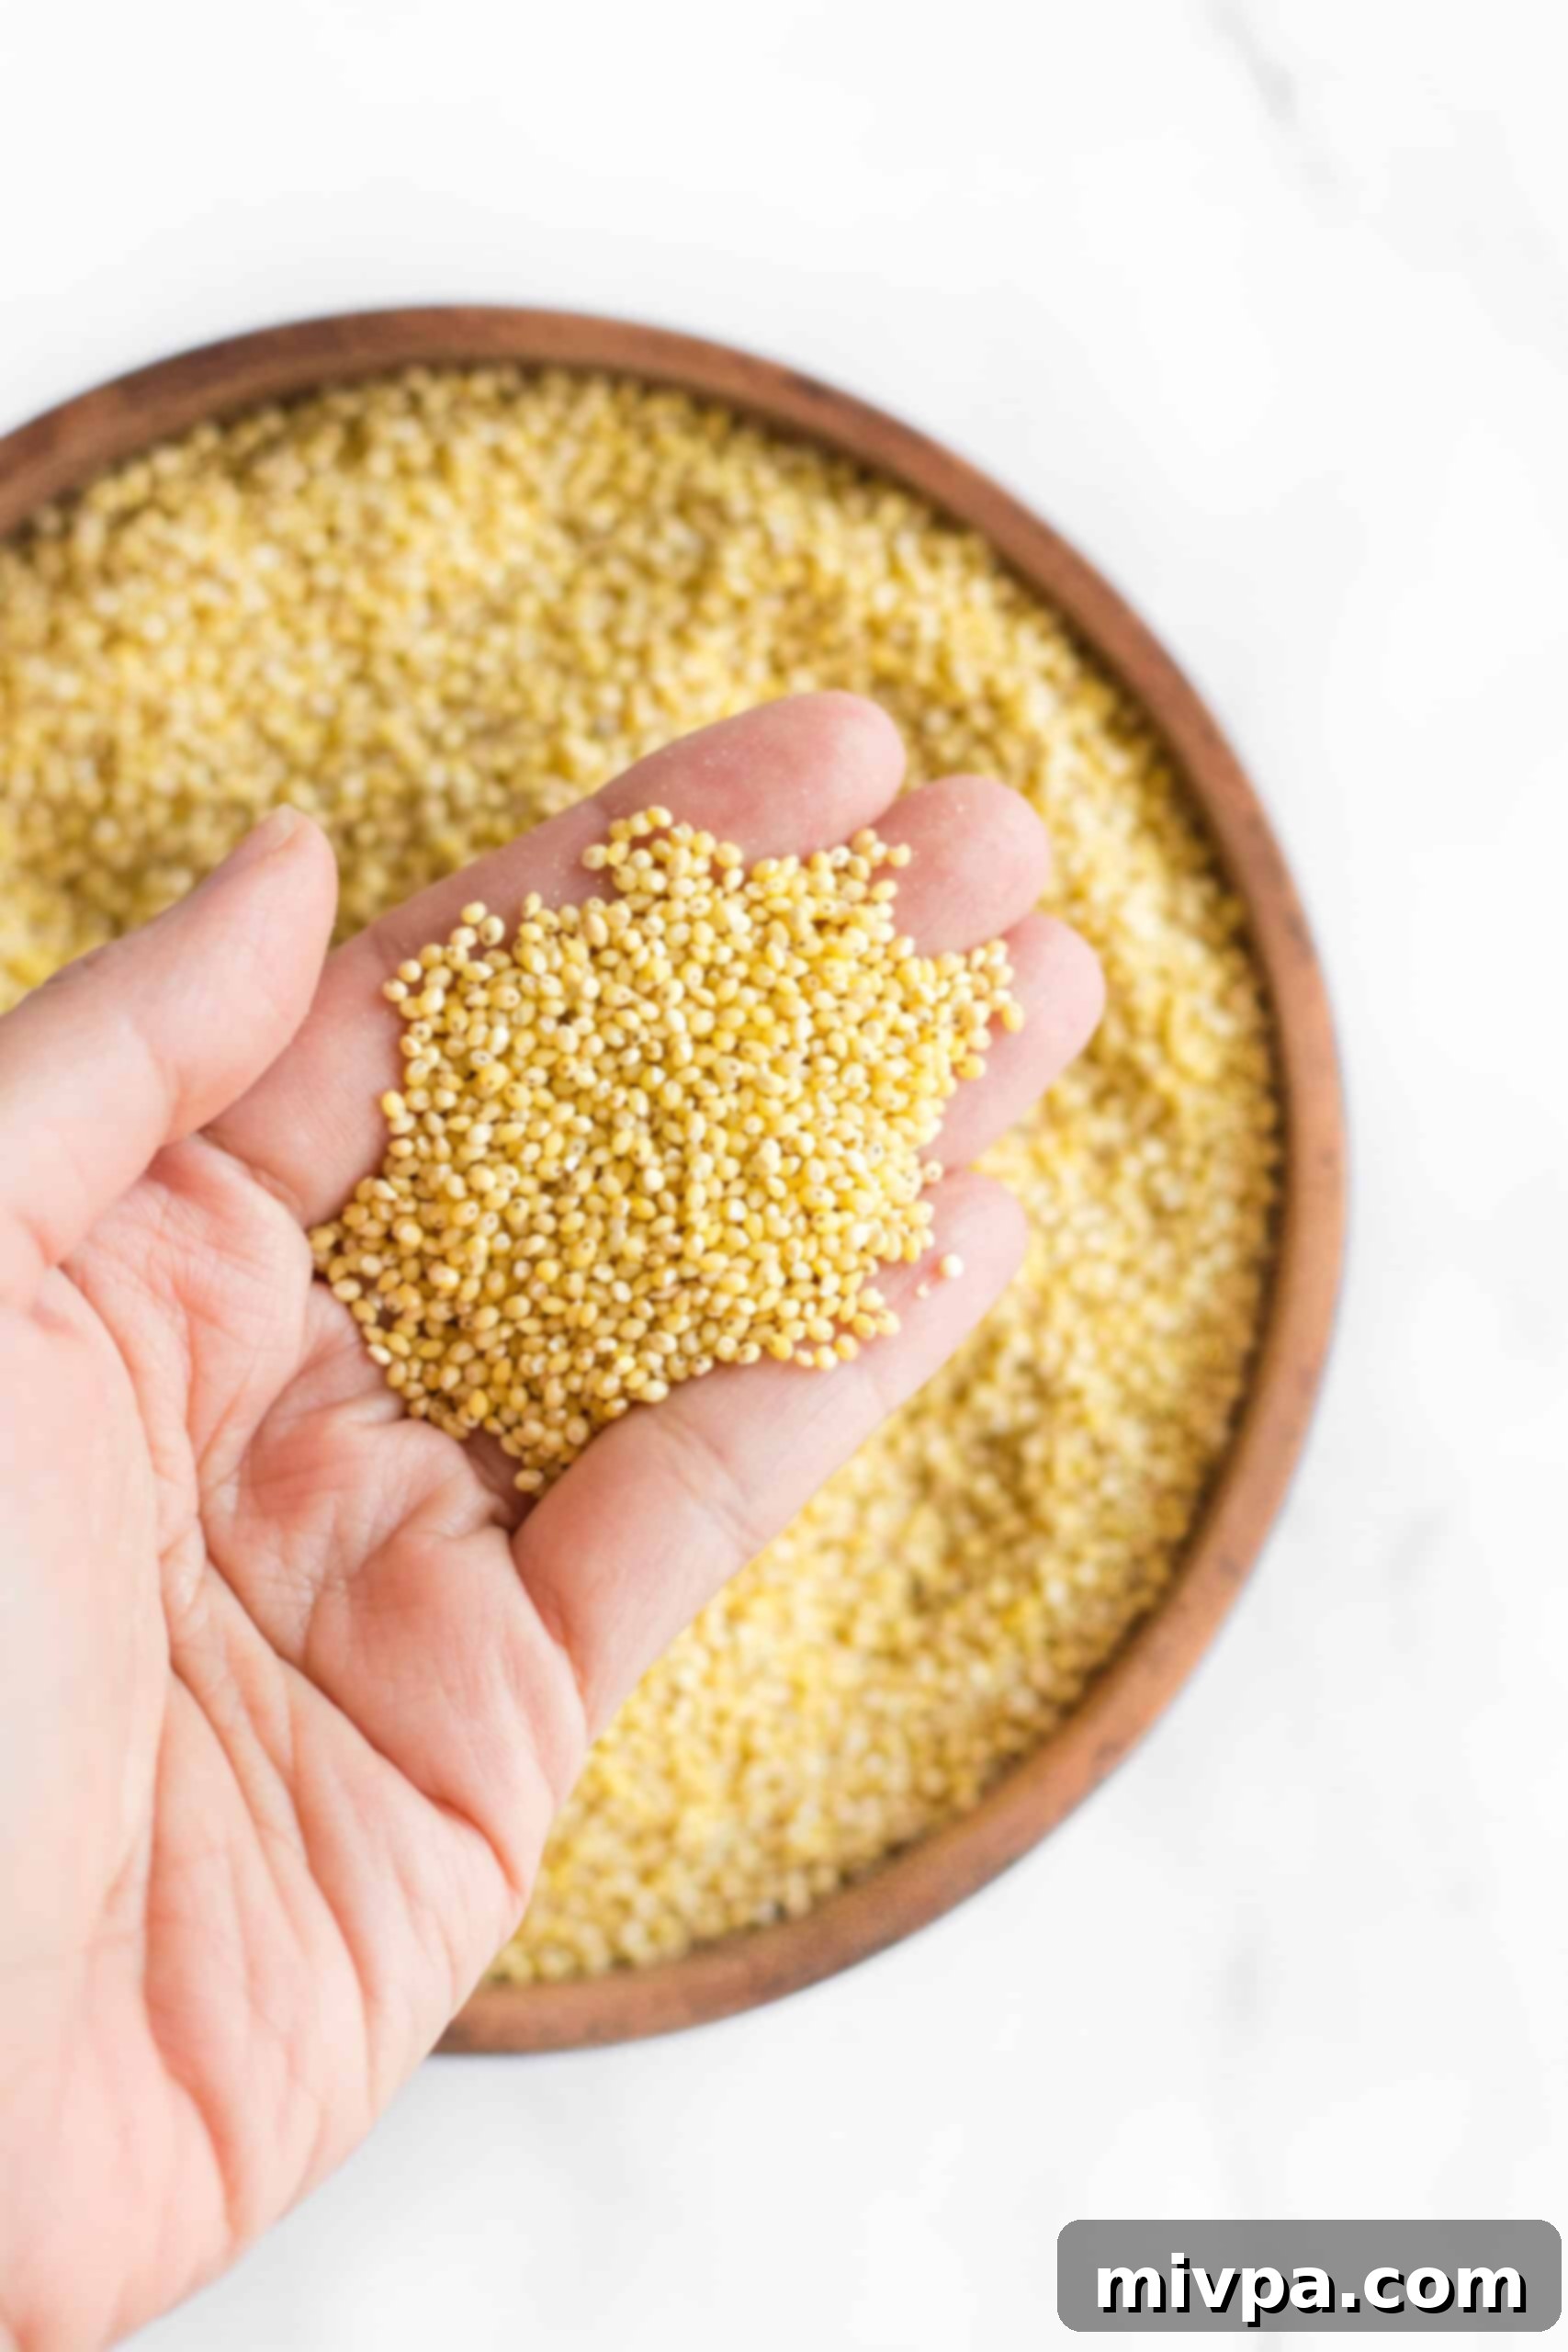
“Millet” is a general term referring to a diverse group of small-seeded grasses, primarily cultivated worldwide as cereal crops for human consumption and animal feed. Though botanically a seed, millet functions very much like a whole grain in culinary applications, similar to how quinoa is used. It can be cooked whole like rice or ground into flour.
Considered an ancient grain, millet boasts a rich history of cultivation across Asia and Africa, serving as a staple food for centuries. Its natural resilience and ability to grow in harsh conditions make it a sustainable and valuable crop. Millet has a wonderfully mild, sweet, and nutty flavor profile, which makes it incredibly versatile. Crucially for many, millet is naturally gluten-free, providing a safe and delicious option for individuals managing Celiac disease, gluten sensitivities, or those simply choosing a gluten-free lifestyle. It also makes an excellent, often more affordable, alternative to other popular pseudo-grains like quinoa, offering a similar nutritional punch without the higher price tag.
Unlocking the Health Benefits of Millet
Beyond its delicious flavor and gluten-free status, millet is a nutritional powerhouse offering a wide array of health benefits that make it a valuable addition to any diet:
- Low Glycemic Index: Millet stands out for its low glycemic index (GI). According to WebMD, it’s low in simple carbohydrates and rich in complex carbohydrates and fiber. This means that consuming millet leads to a slower, more gradual rise in blood sugar levels compared to high-GI foods. This makes it an excellent choice for individuals managing diabetes, insulin resistance, or anyone looking to maintain stable energy levels throughout the day.
- Improves Digestion & Gut Health: Millet is an exceptional source of dietary fiber, encompassing both soluble and insoluble types. The insoluble fiber acts as a “prebiotic,” feeding the beneficial bacteria in your gut. A healthy gut microbiome is crucial for optimal digestion, nutrient absorption, and even immune function. Regular consumption of millet can promote bowel regularity, prevent constipation, and support overall digestive wellness.
- Highly Nutritious Profile: This ancient grain is packed with essential vitamins and minerals. It’s a good source of potassium, important for blood pressure regulation, and B vitamins (like niacin), vital for energy metabolism. Millet also provides Vitamin A, antioxidants that combat oxidative stress, calcium for bone health, and iron, crucial for oxygen transport in the blood. Incorporating millet into your diet is a simple way to boost your intake of these vital nutrients.
- Rich in Protein: Millet contains a decent amount of protein, making it a valuable plant-based protein source for vegetarians, vegans, and anyone looking to increase their protein intake. Protein is essential for muscle repair, growth, and overall body function.
- Heart Health: The fiber, magnesium, and potassium found in millet contribute to cardiovascular health. Fiber helps lower cholesterol, while magnesium and potassium play roles in maintaining healthy blood pressure and heart rhythm.
Versatile Ways to Cook Whole Millet
Given its pseudo-grain nature and its behavior similar to a grain when cooked, whole millet is incredibly versatile in the kitchen. It can be used in both sweet and savory dishes, offering a delightful texture and nutty flavor. Some of our favorite ways to enjoy whole millet include:
- Breakfast Porridge: Just like oatmeal, millet makes a wonderfully creamy and satisfying breakfast porridge. Try our creamy millet breakfast porridge recipe, perfect with fruits and nuts.
- Savory Bowls: Millet can be the hearty base for any nourishing meal bowl. Our warm millet bowl with mushrooms and kale is a perfect example of a balanced and flavorful lunch or dinner.
- Salad Component: Cooked millet adds a pleasant texture and nutritional boost to cold salads. It absorbs dressings well and complements a variety of vegetables and proteins.
- Side Dish: Serve it as an alternative to rice or quinoa alongside your favorite curries, stews, or roasted vegetables.
- Binding Agent: Its slightly sticky texture when cooked can make it useful in veggie burgers or as a binder in other recipes.
- Pilafs and Stir-Fries: Use it in place of rice for a unique and nutritious pilaf or add it to stir-fries for extra bulk and texture.
Why Millet Flour is a Game-Changer for Gluten-Free Baking
While whole millet is excellent, its true potential for many lies in its ability to be ground into a fine flour. Millet flour is a fantastic gluten-free alternative that performs exceptionally well in a wide range of baked goods, often providing a lighter texture and a subtle, pleasant flavor that doesn’t overpower other ingredients. Its mildness makes it a preferred choice over some other gluten-free flours that can have a stronger, more distinctive taste.
I’ve personally fallen in love with millet flour, using it to create delicious loaves of gluten-free bread that are both tender and flavorful. But its applications don’t stop there! Millet flour is incredibly versatile and can be incorporated into recipes for brownies, muffins, cakes, quick breads, cookies, pancakes, and even as a thickener for sauces and gravies. Its fine texture helps create a delicate crumb in baked goods, making it a valuable addition to any gluten-free baker’s pantry, often blended with other gluten-free flours for optimal results.
While you certainly have the option to buy millet flour from specialty stores, it might not always be as readily available as more common gluten-free flours, and store-bought versions can sometimes be more expensive or less fresh. However, this is easily remedied! You’ll be pleasantly surprised at how incredibly simple it is to produce your own high-quality millet flour right at home. The best part? You don’t need any expensive, sophisticated flour mills or special equipment. All you truly require is a reliable high-speed blender and a fine-mesh sieve. It’s an incredibly cost-effective and convenient way to ensure you always have fresh, finely ground millet flour on hand!
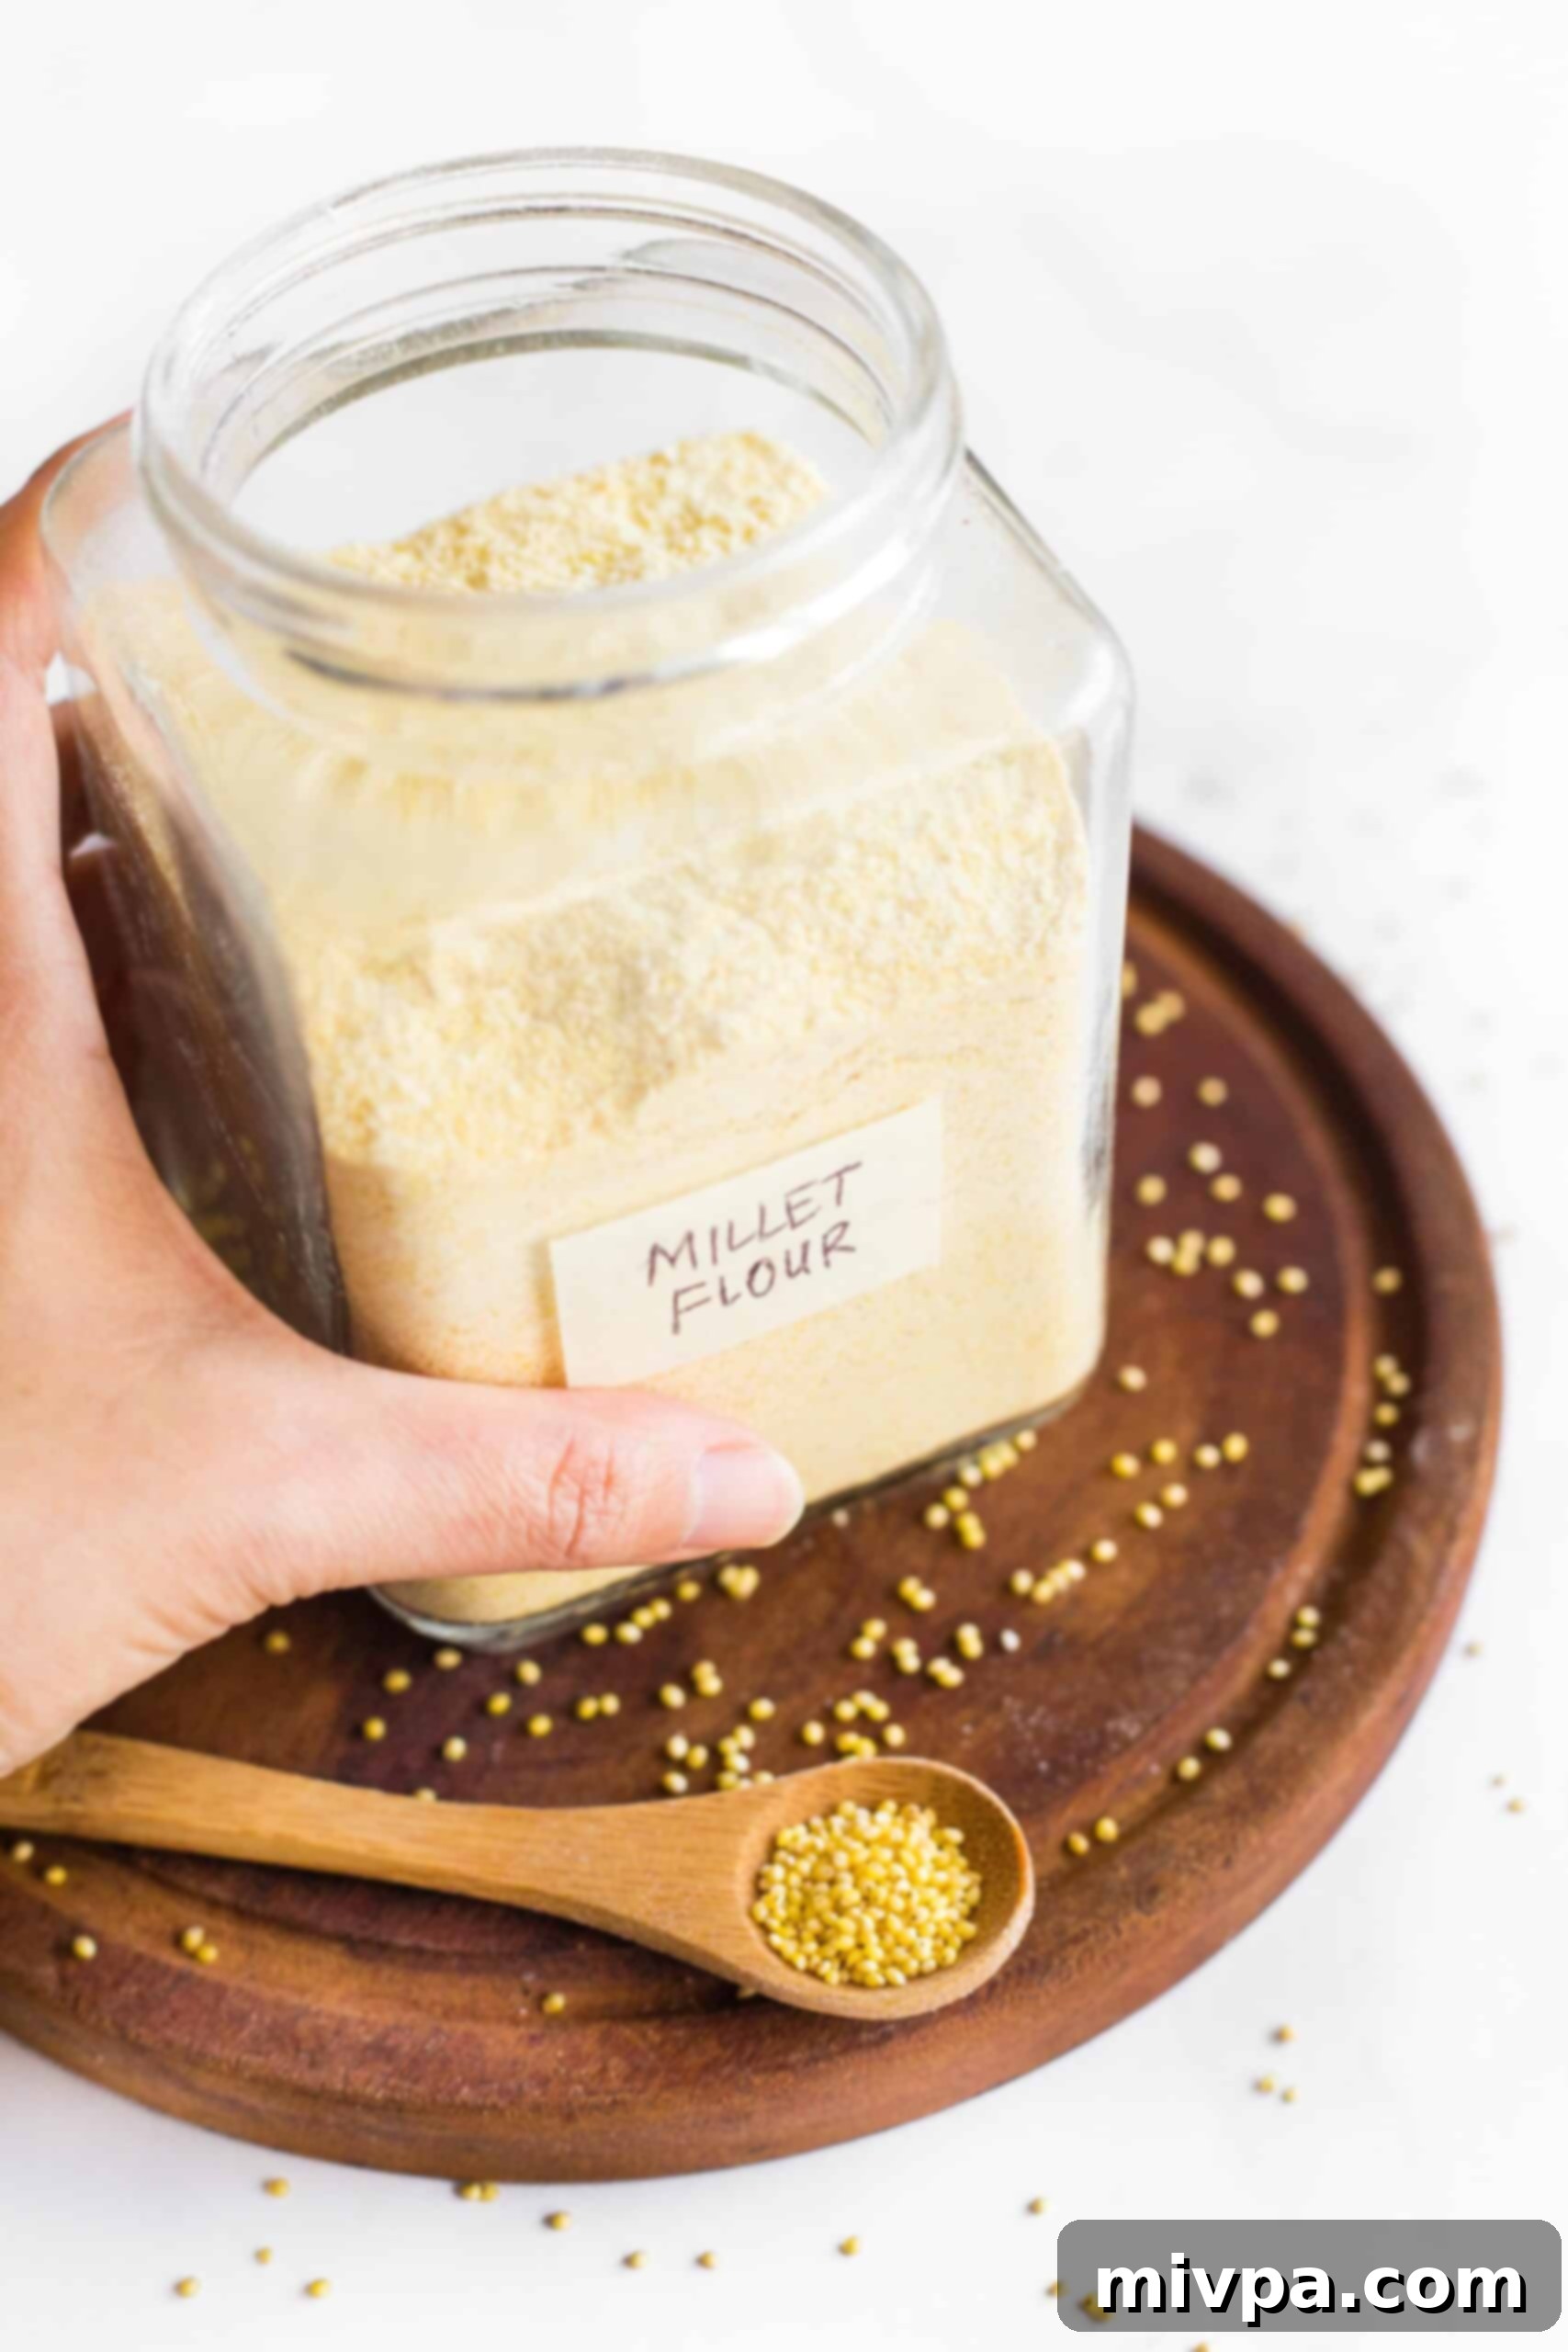
Ingredients and Essential Equipment You’ll Need:
Making your own millet flour is wonderfully straightforward, requiring minimal ingredients and equipment:
- Hulled Millet: The primary ingredient! You’ll need hulled millet. It’s crucial to use hulled millet, which means the inedible outer husk has been removed. Millet naturally has a hard, indigestible husk, similar to rice paddy, which must be removed before consumption. Hulled millet is what you typically find sold in stores for cooking and is much easier to grind into a fine flour than unhulled (pearled) millet. Always opt for hulled millet for the best results.
And for equipment:
- High-Speed Blender: A powerful blender is key to achieving a fine flour. While a regular blender might work, a high-speed model (like a Vitamix or Blendtec) will produce a much finer, more consistent flour more quickly, preventing the motor from overheating.
- Fine-Mesh Sieve: Essential for sifting out any larger, unground pieces of millet, ensuring your flour has a super fine, smooth texture perfect for baking. Don’t skip this step!
- Airtight Container: For proper storage of your freshly ground flour.
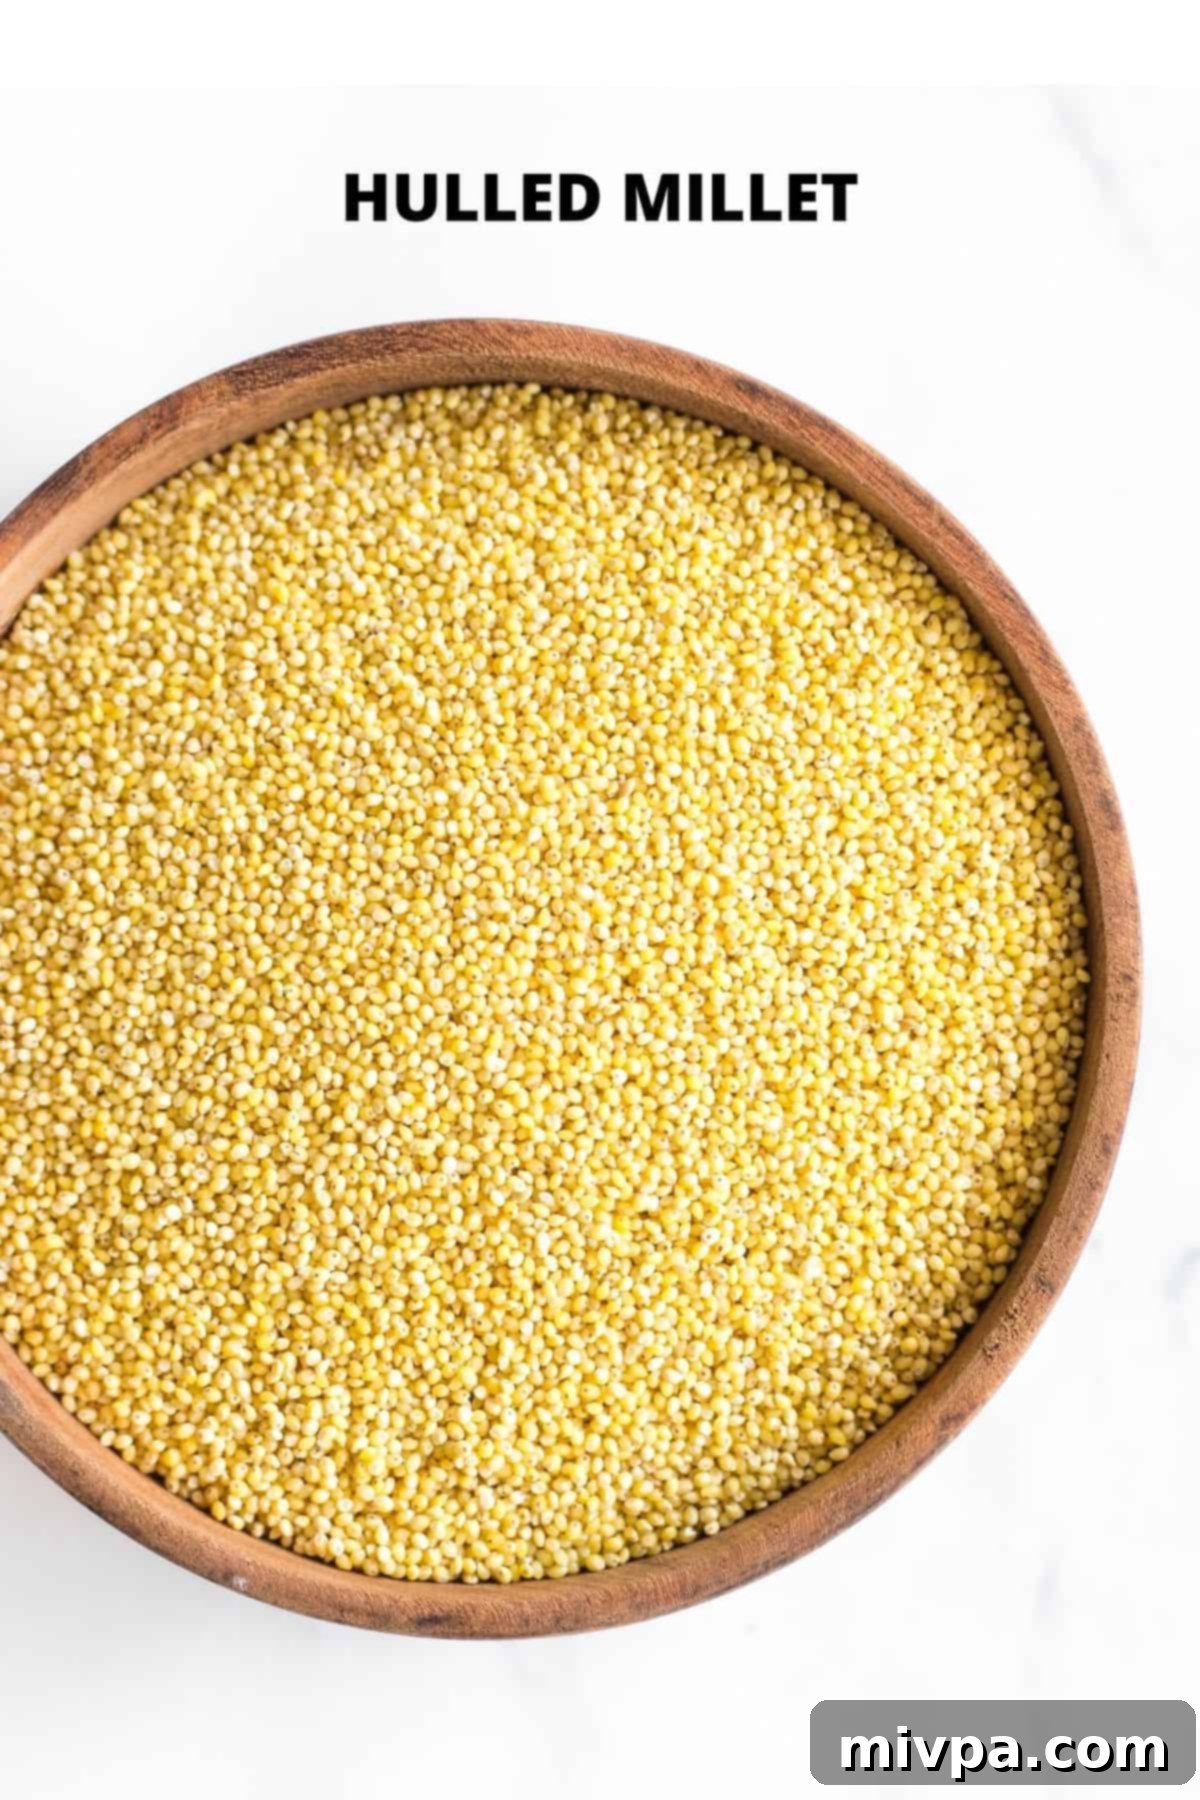
How to Make Homemade Millet Flour (Step by Step Guide):
Follow these simple steps to create your own perfectly ground millet flour:
1. Prepare Your Blender with Millet
Start by placing about 1 cup of the hulled millet into the dry container attachment of your high-speed blender. Processing in smaller batches is crucial to avoid overheating your blender’s motor and to ensure a more consistent grind. Do not fill the blender container more than halfway, especially if it’s your first time or your blender isn’t exceptionally powerful.
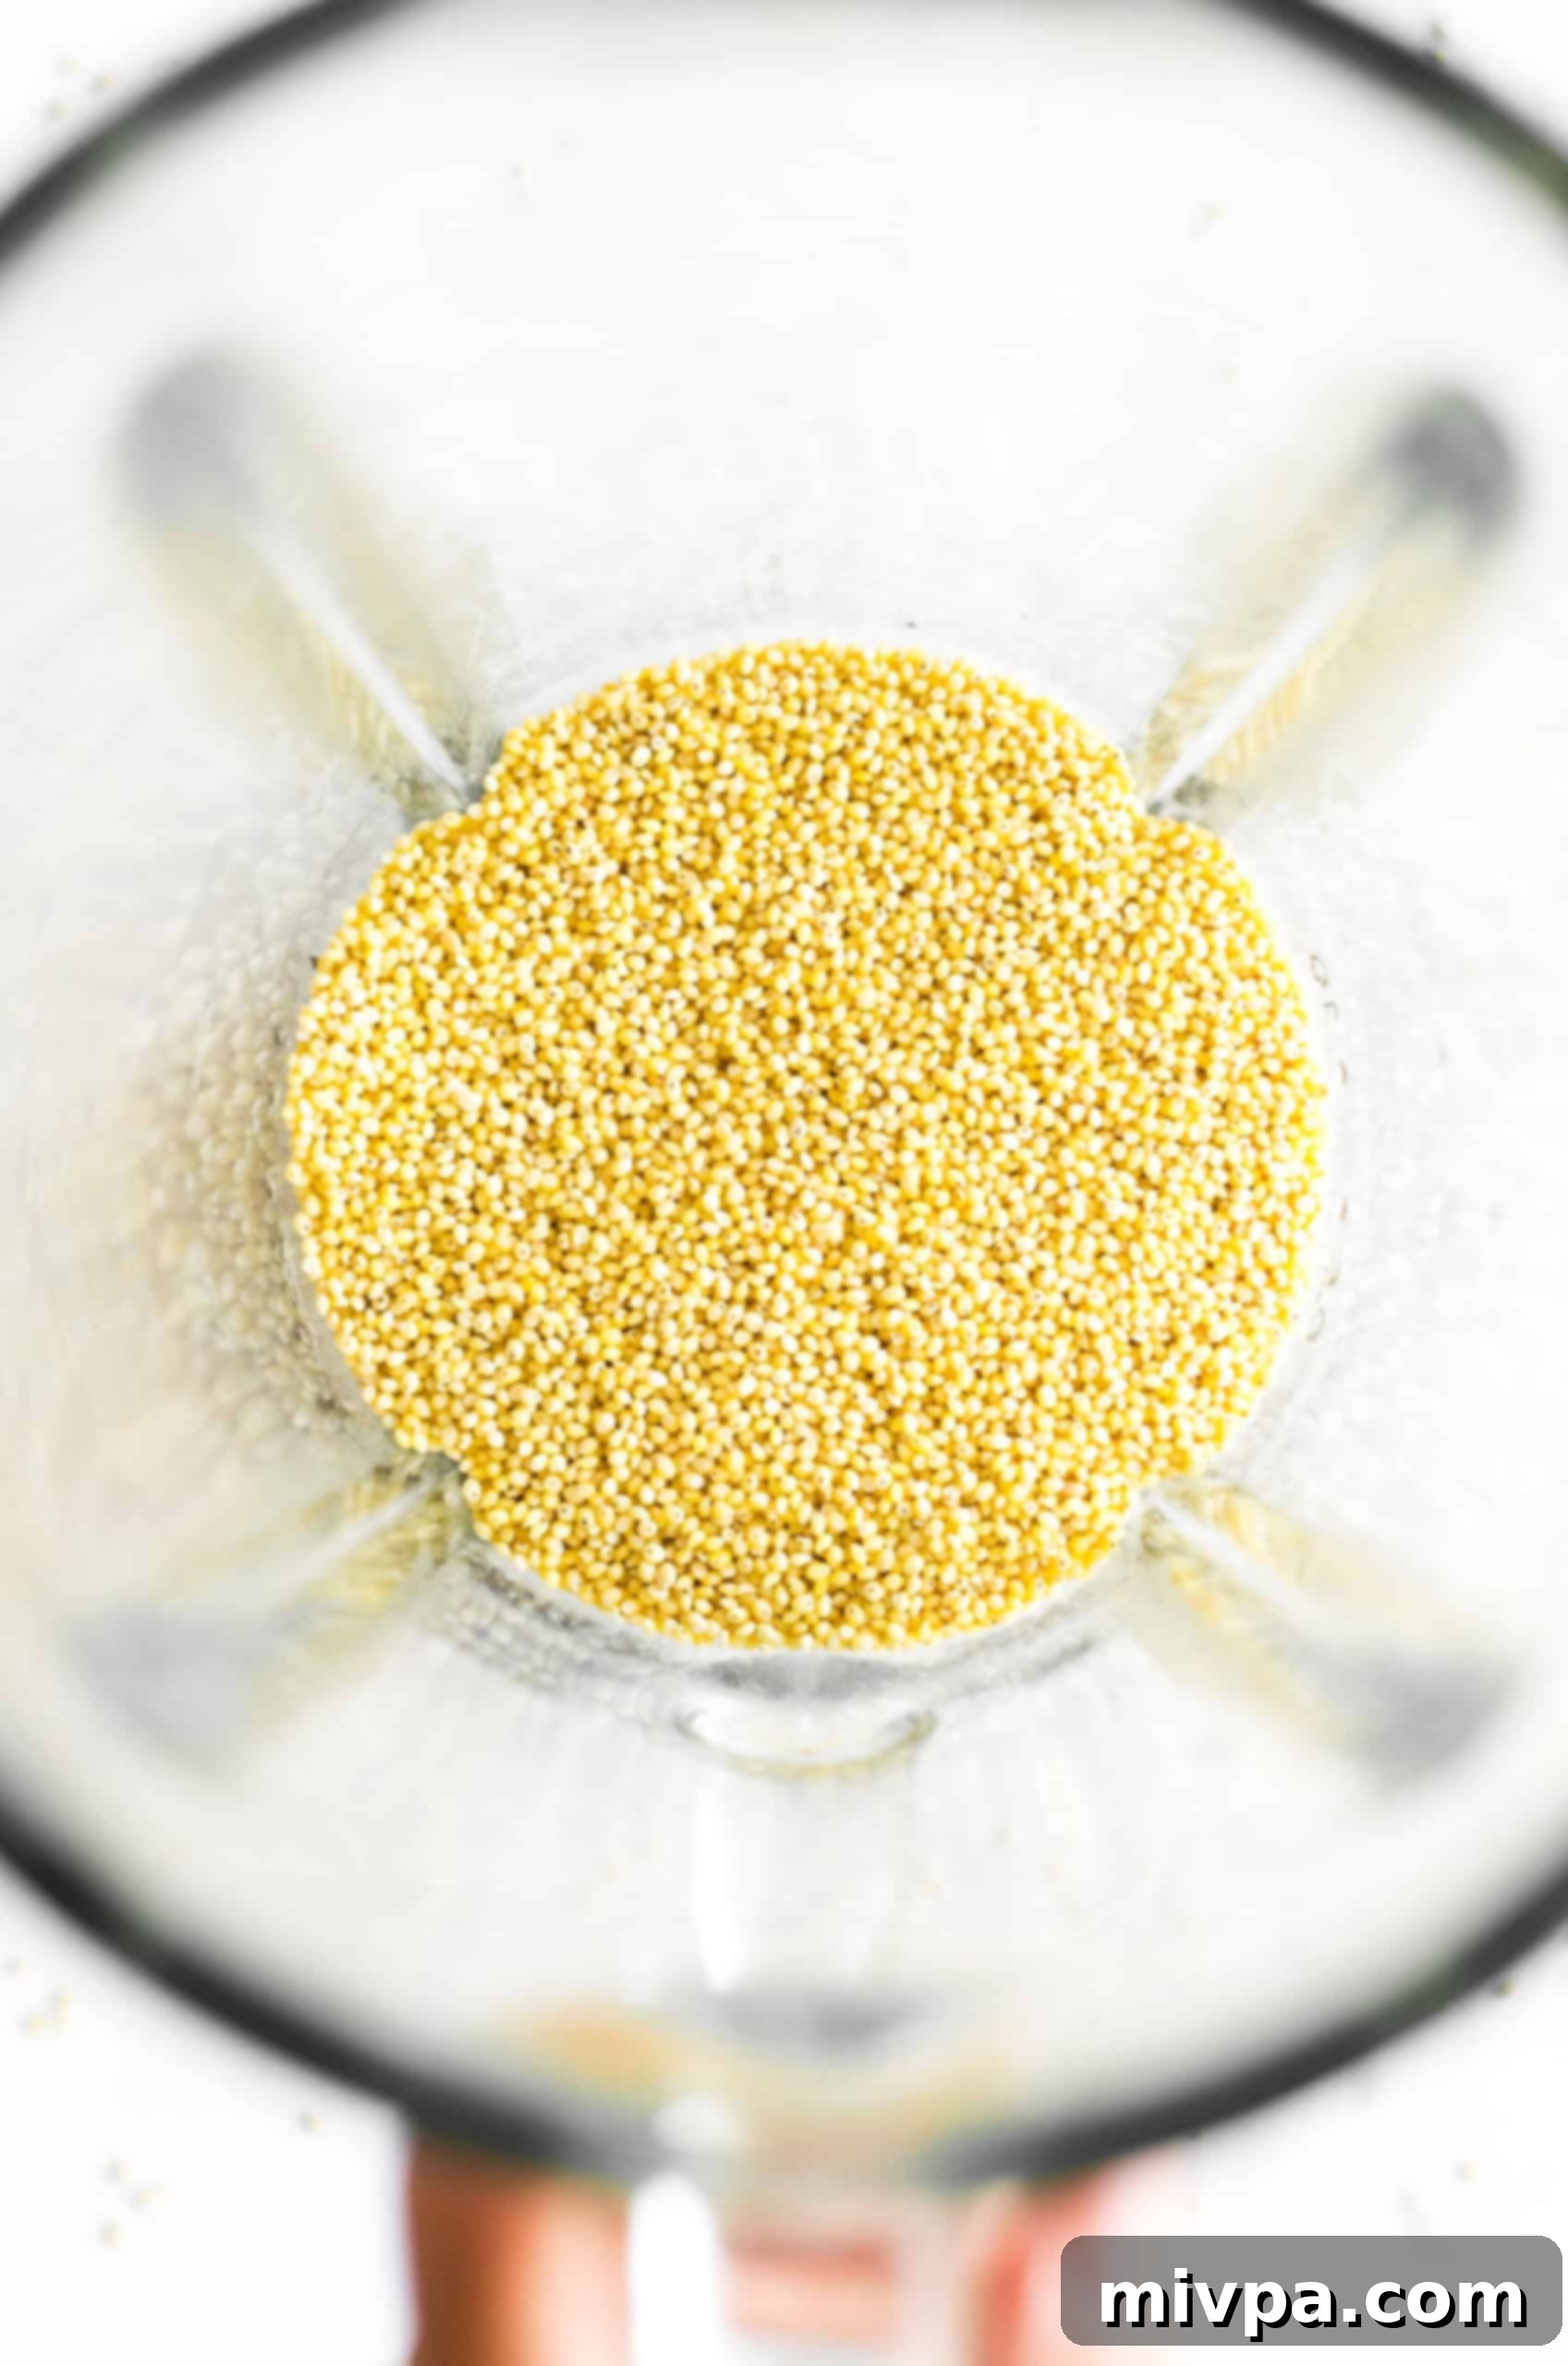
2. Initial Grinding Process
Secure the lid and blend the millet on high speed for approximately 30 seconds. Turn off the blender, then open it and use a spatula to scrape down any millet clinging to the sides of the container. This ensures all the millet gets evenly ground. Repeat this blending and scraping process for another 30 seconds, and continue a couple more times until the millet is finely ground into a flour-like consistency. The total blending time for this first batch might be around 1-2 minutes, depending on your blender’s power.
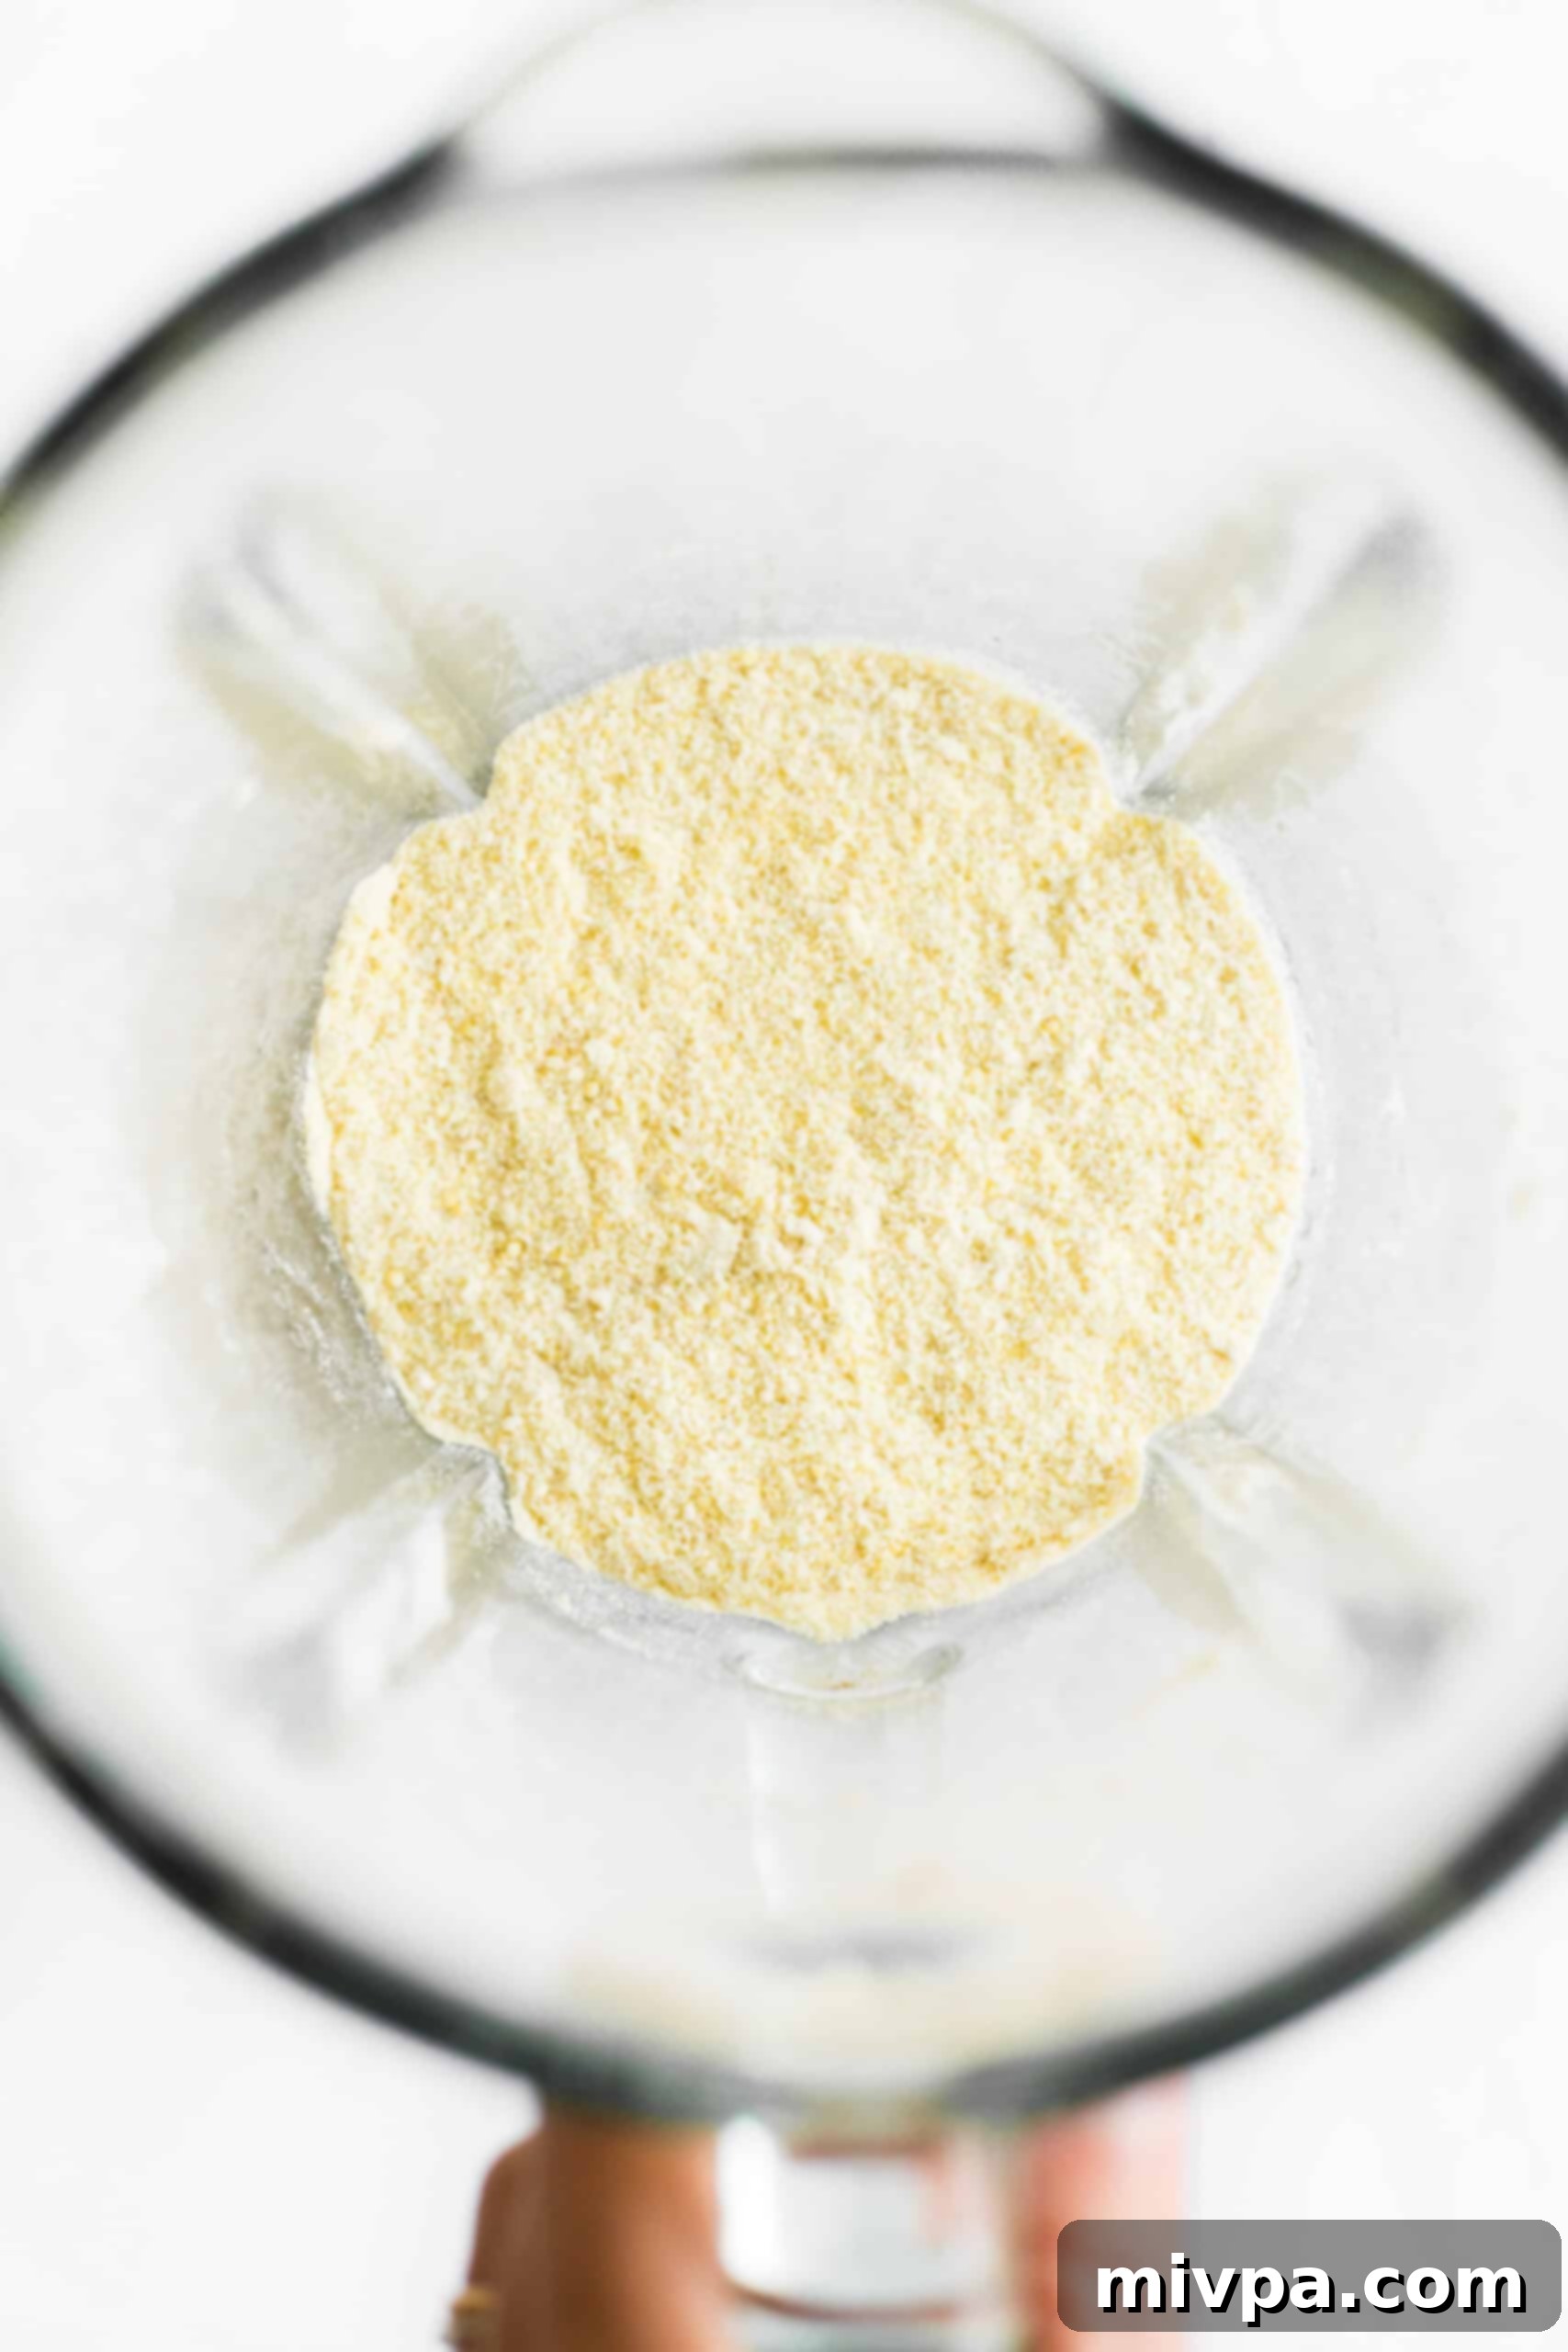
3. Sifting for a Fine Texture
Once you have your first batch of ground millet, pour it through a fine-mesh sieve placed over a large bowl. Gently shake and tap the sieve, allowing the fine flour to pass through. This crucial step separates the super fine flour from any larger, coarser pieces that didn’t get fully ground. For truly smooth, consistent flour, this step is absolutely vital – do not skip it!
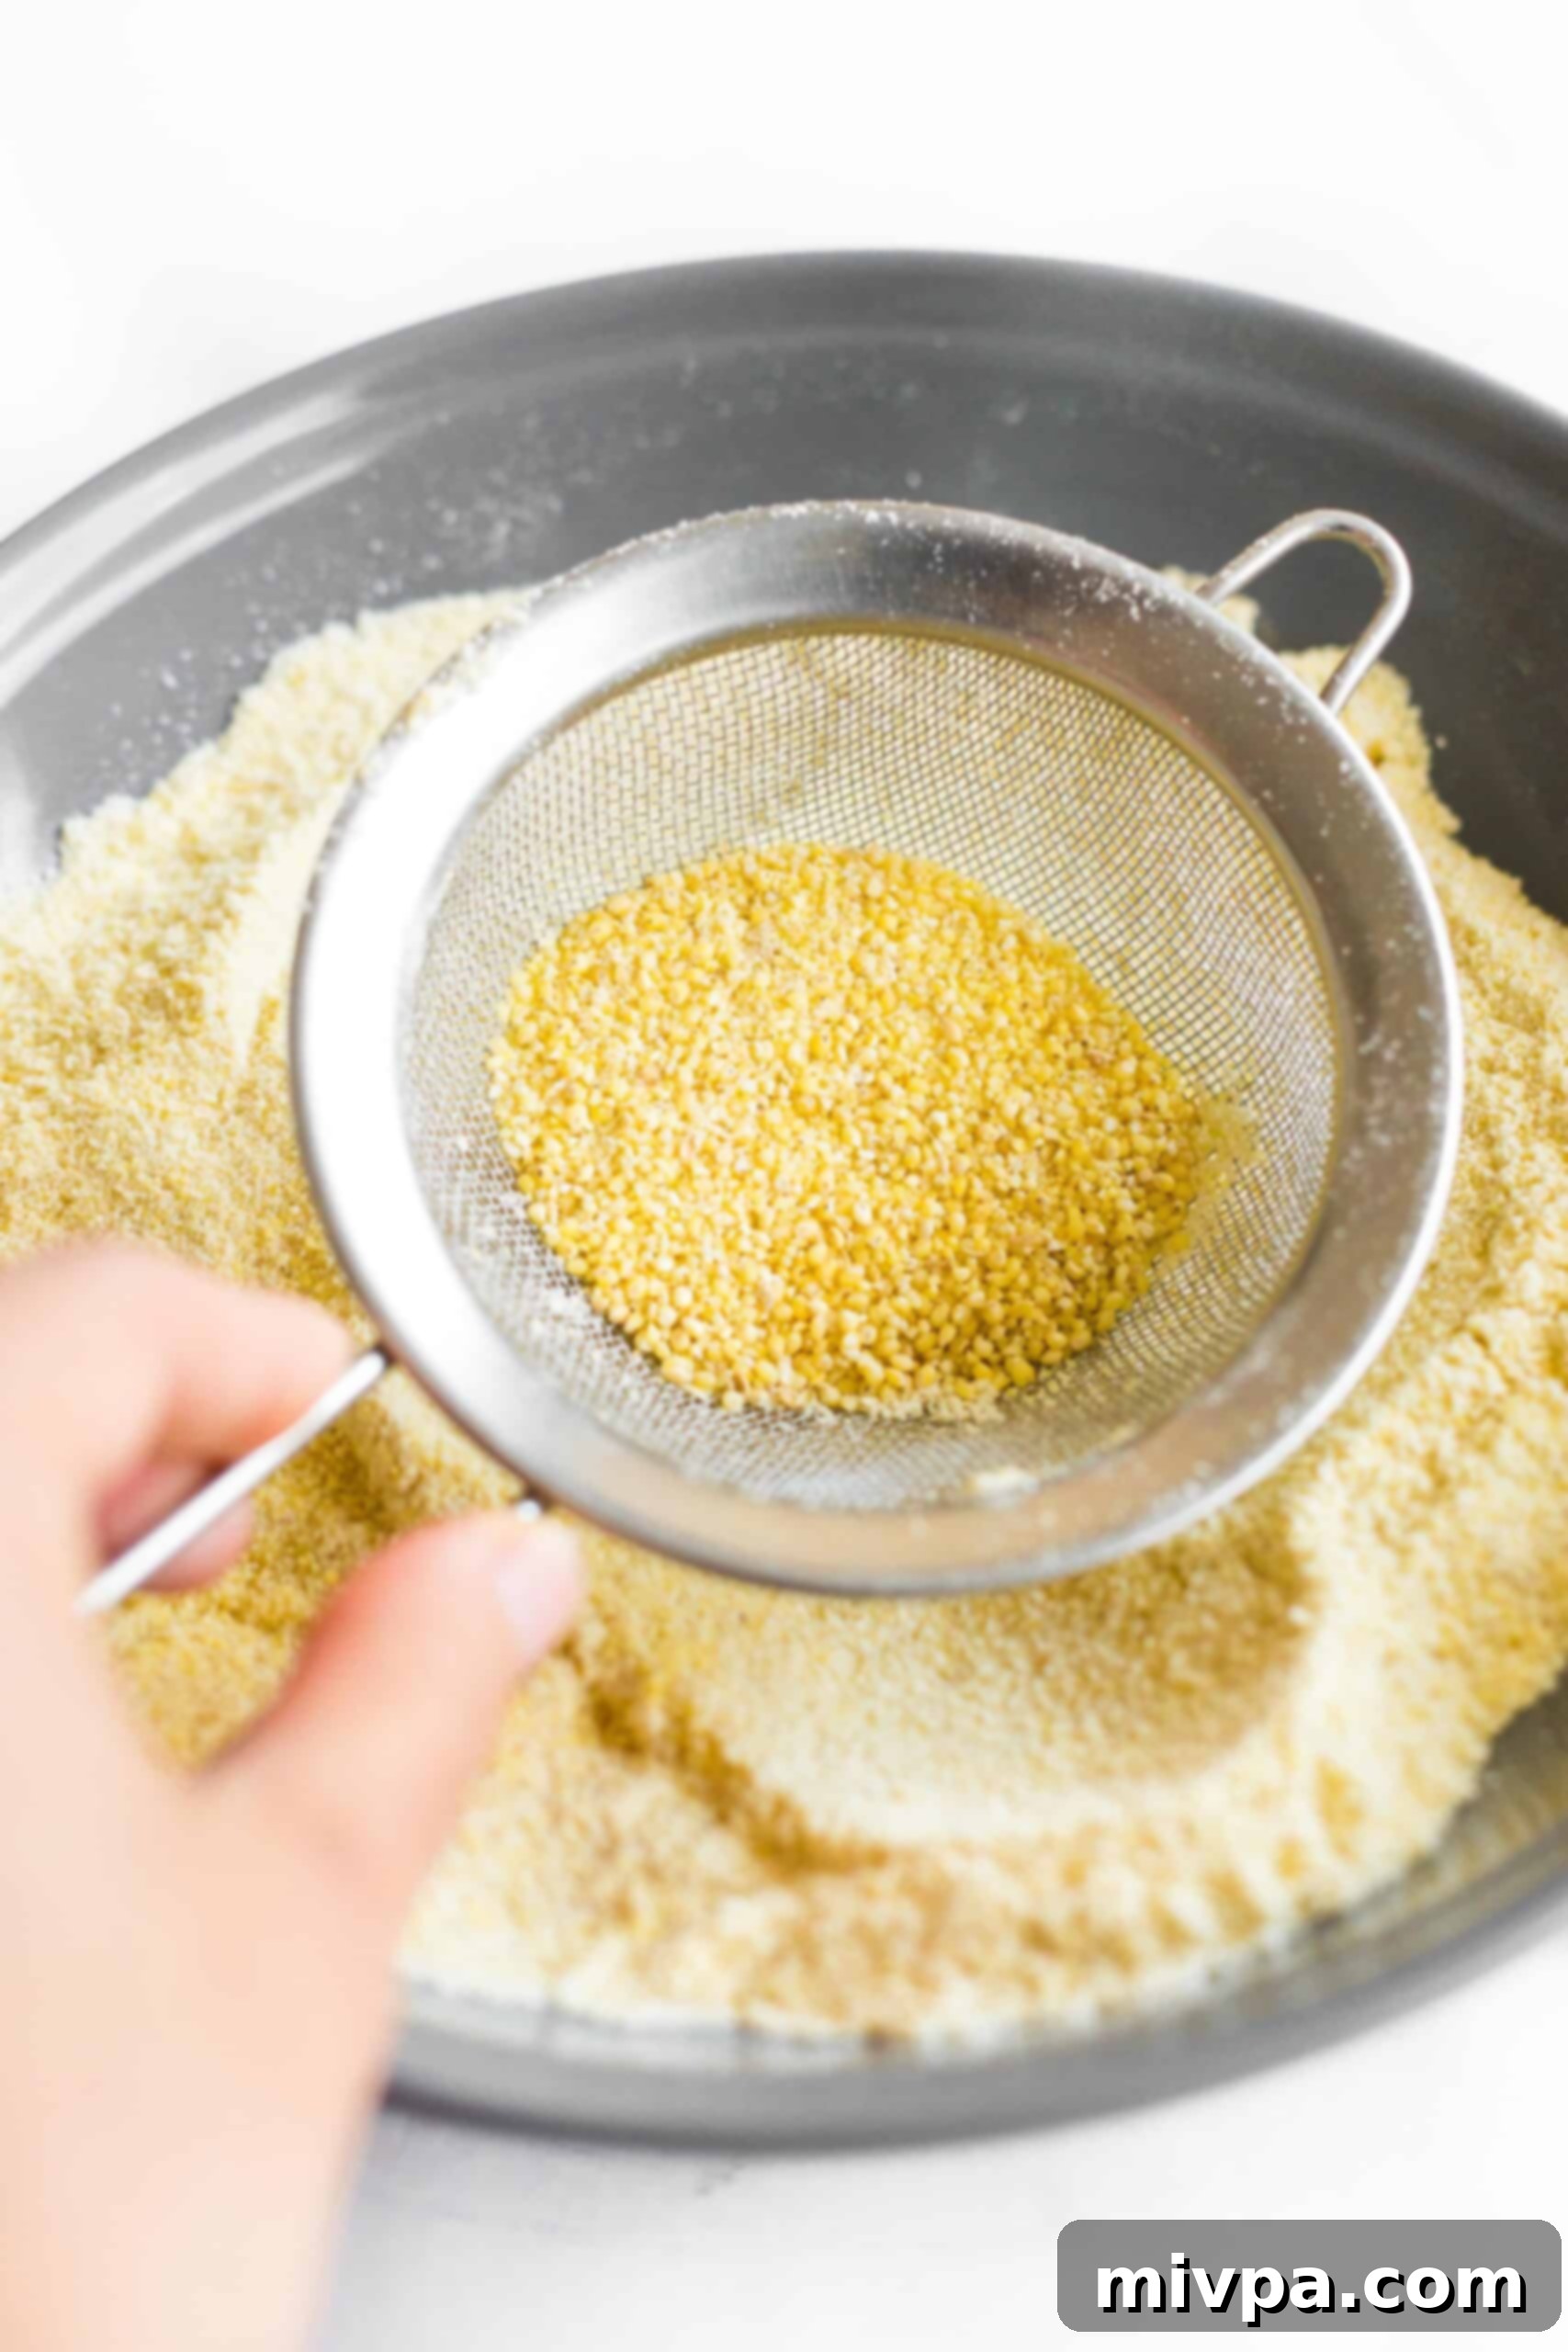
4. Second Round Processing for Remaining Grains
Gather the larger pieces of millet that remained in the sieve. Return these coarser grains to the blender. Blend them again on high speed until they are as finely ground as possible. This ensures you utilize all your millet and achieve maximum yield of fine flour.
5. Repeat Sifting and Blending
Sift the newly ground batch through the fine-mesh sieve once more to catch any stubborn large pieces. Continue this process of blending and sifting the coarser bits until nearly all the millet has been transformed into a fine flour. For the absolute finest flour, you may even consider sifting the entire batch a second time.
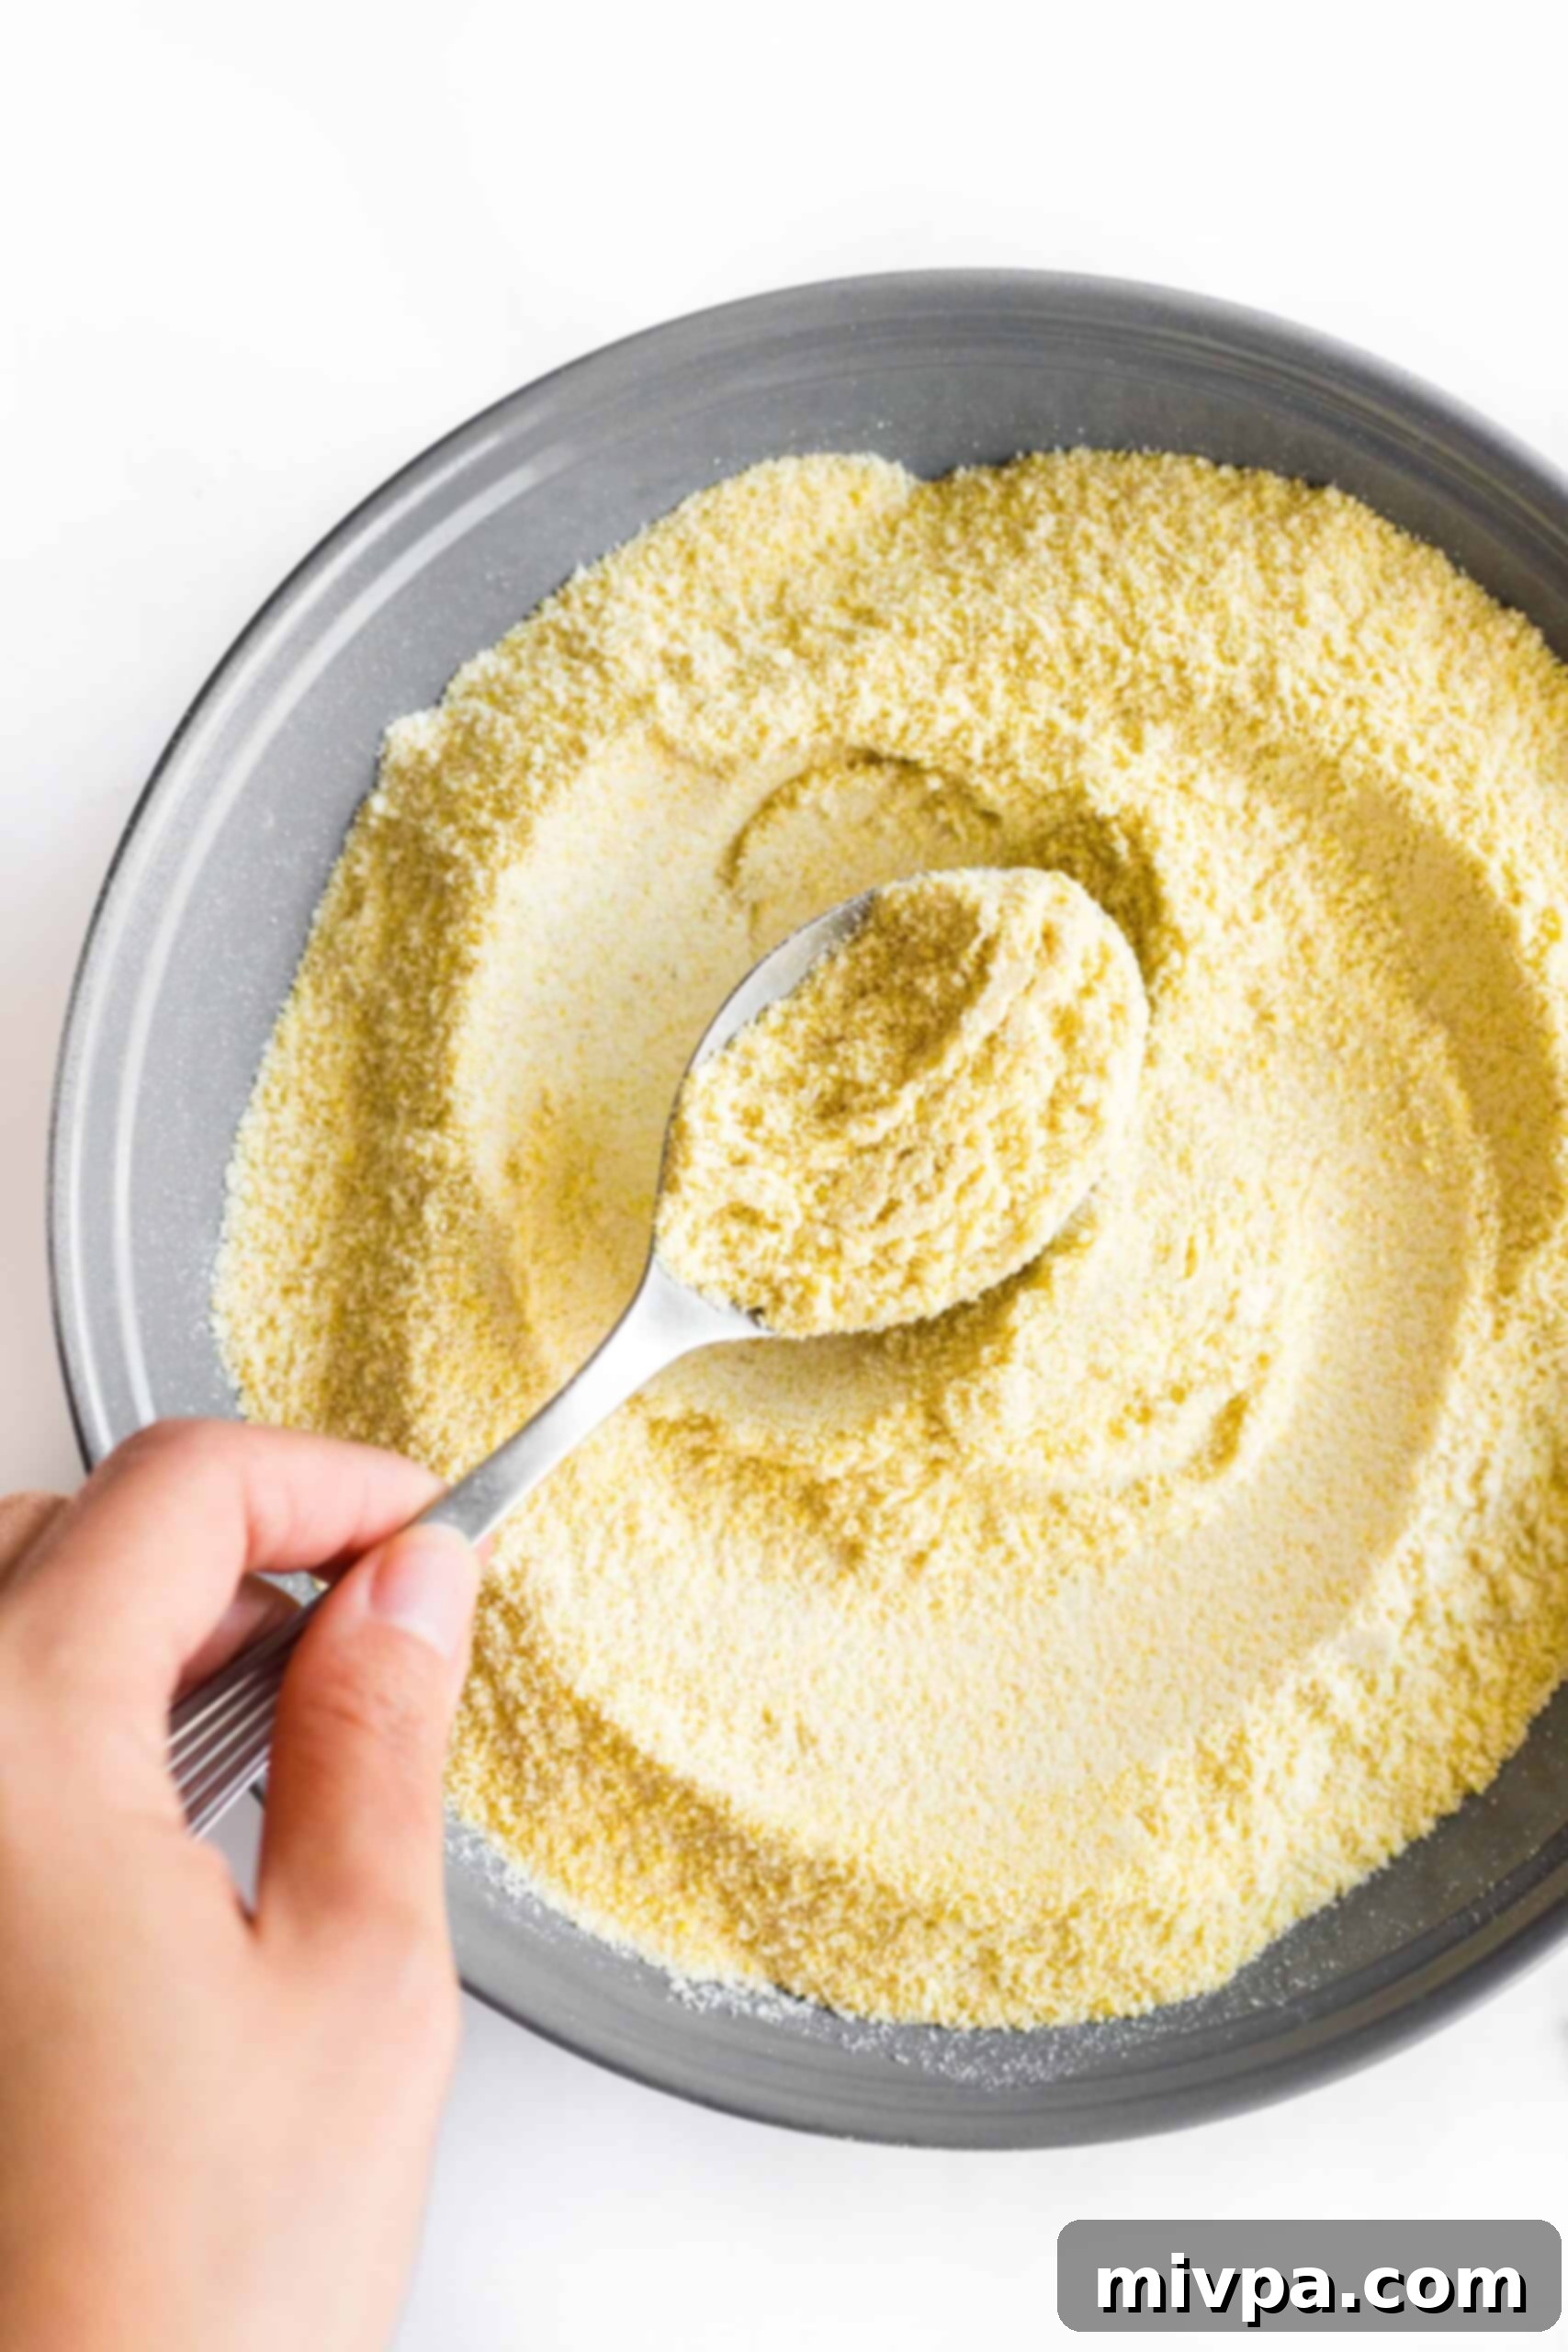
6. Store Your Fresh Millet Flour
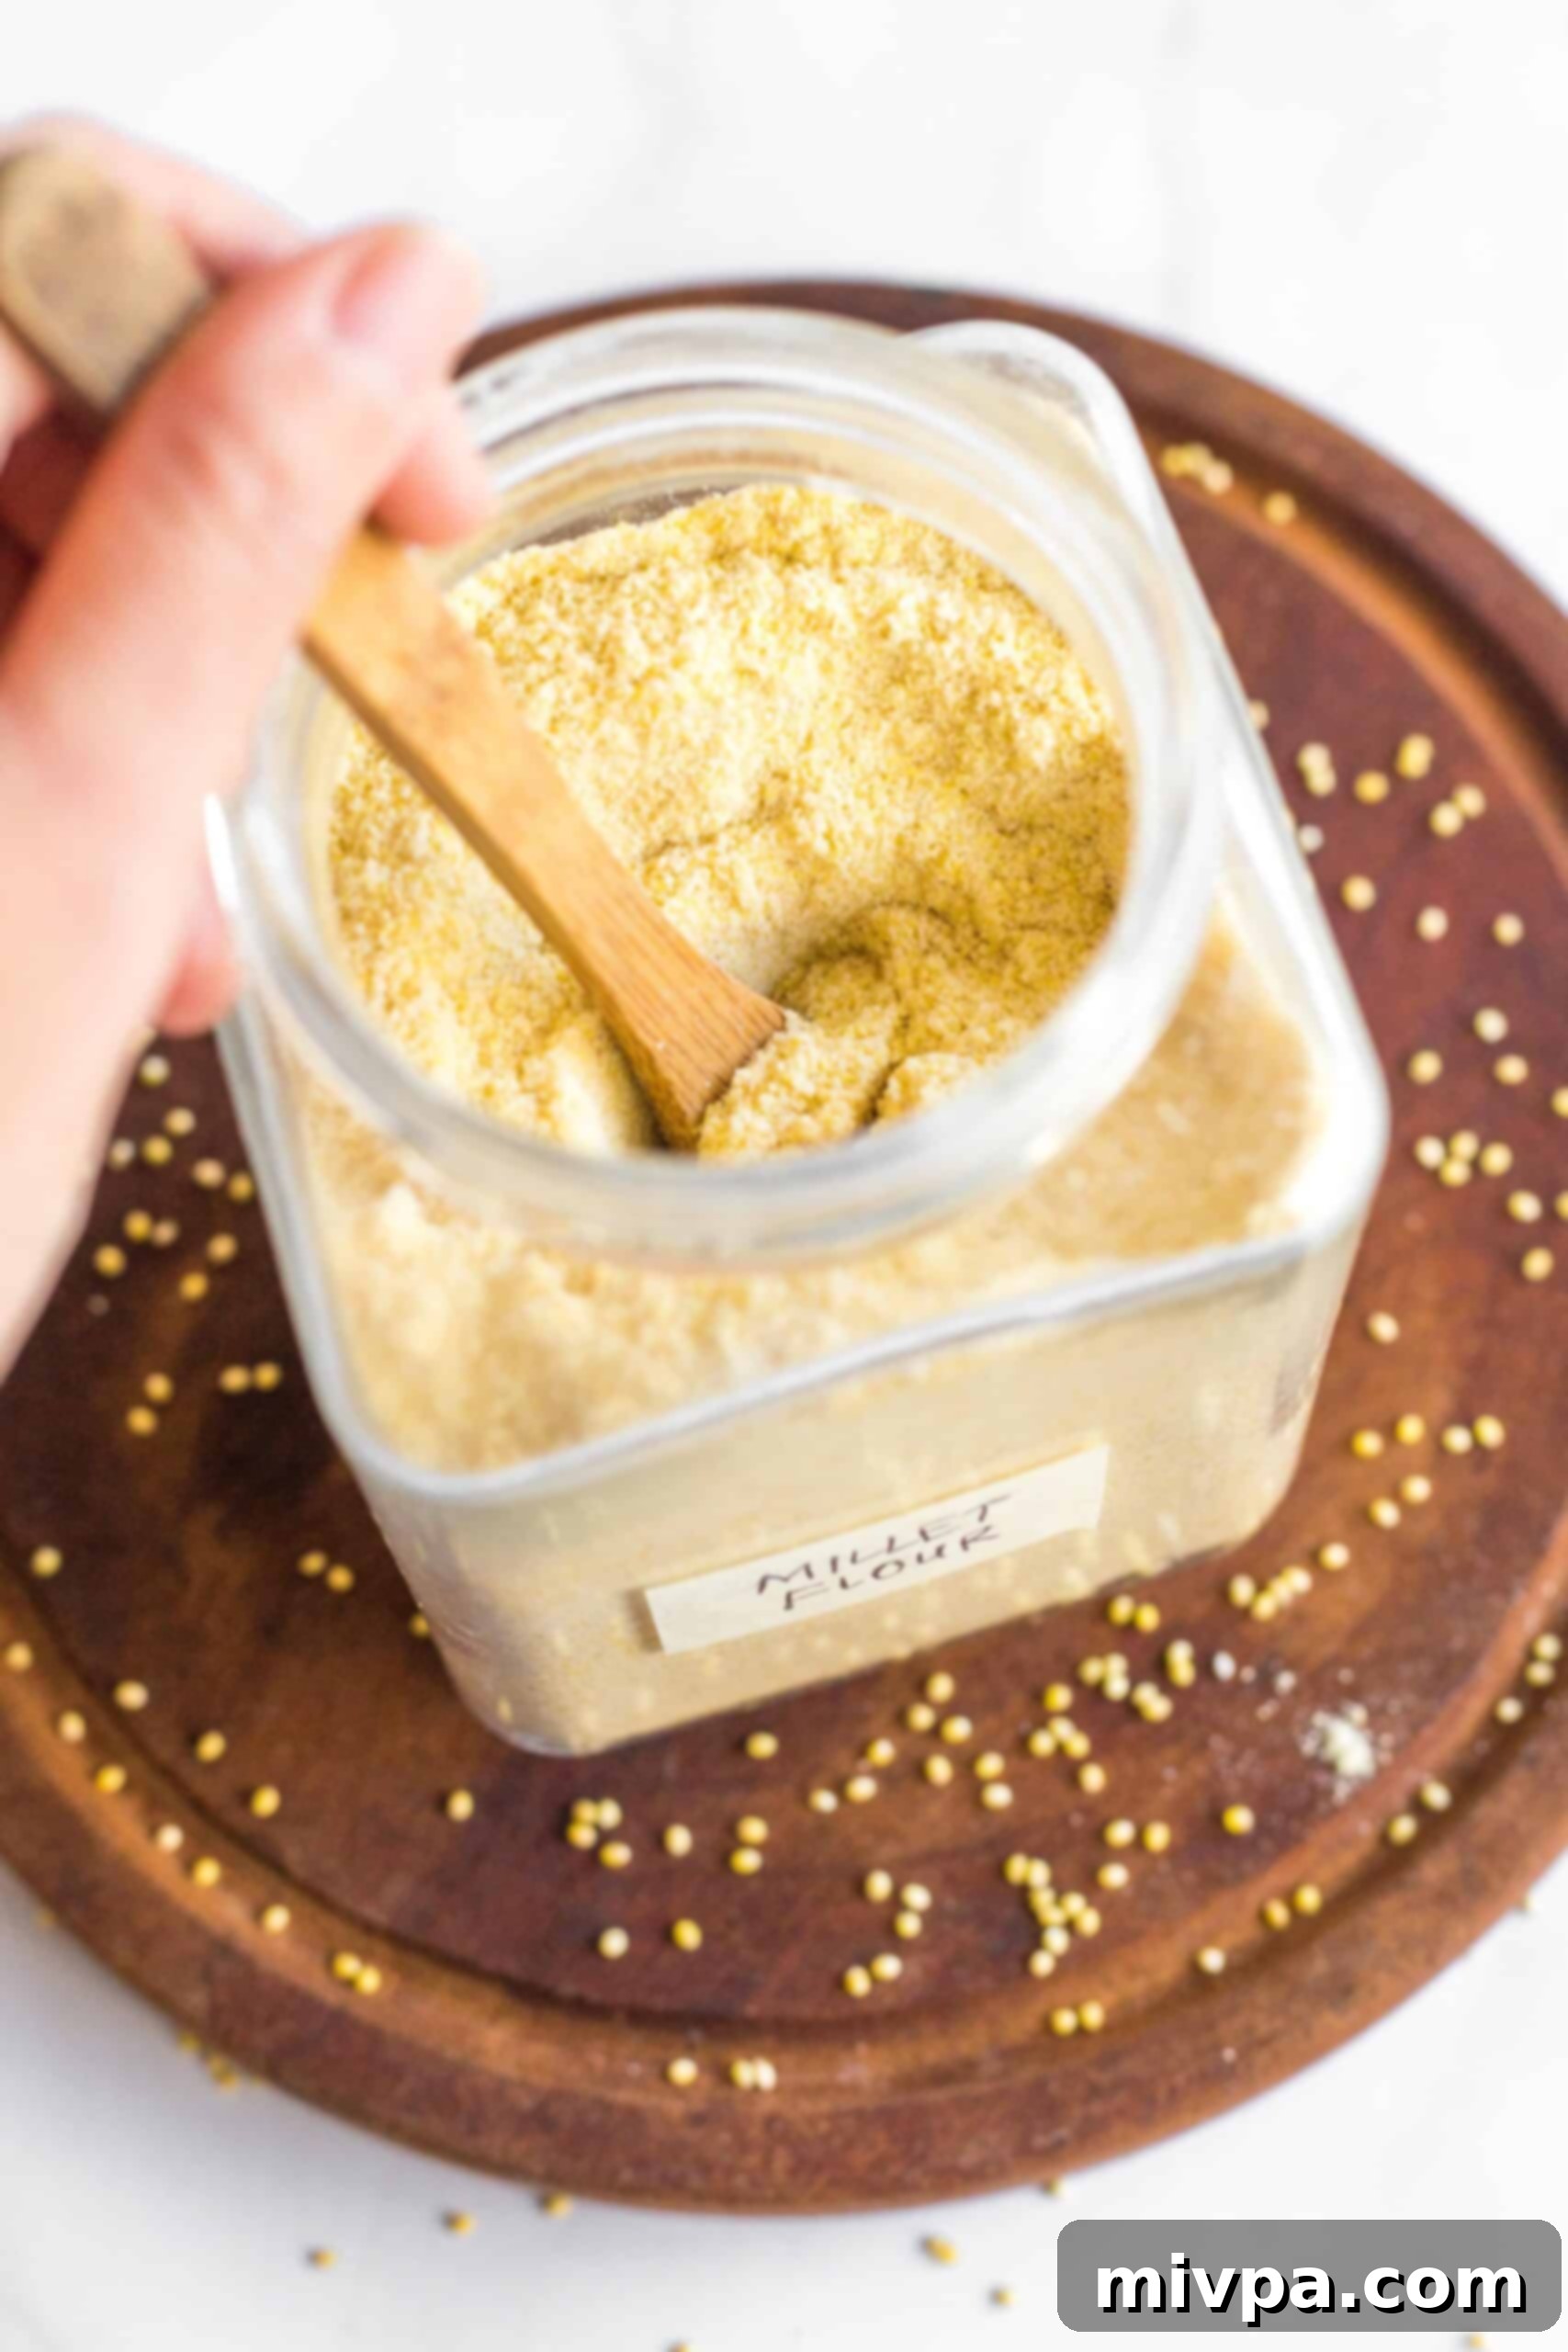
Once all your millet has been processed into a fine flour, transfer it to an airtight container. Store it in a cool, dark place, such as your pantry, until you’re ready to use it in your favorite gluten-free recipes. Proper storage will maintain its freshness and extend its shelf life.
Dish by Dish Tips for Perfect Homemade Millet Flour:
Achieving the best homemade millet flour is easy with a few simple tips:
- Process Millet in Small Batches: To prevent your high-speed blender from overheating and to ensure an even, fine grind, always process the millet in small quantities, typically no more than 1-2 cups at a time. This allows the blades to work efficiently and prevents chunky results.
- Don’t Skimp on Sifting: This is arguably the most critical step for achieving professional-quality flour. To ensure the finest texture possible, I strongly recommend sifting your homemade millet flour after each grinding pass. If time permits, sifting the entire batch at least twice will yield an exceptionally smooth flour, eliminating any unwanted grainy texture that could impact your baked goods.
- Monitor Blender Temperature: If you’re making a large quantity, allow your blender to cool down between batches. Overheating can damage the motor and potentially affect the quality of your flour.
- Ensure Millet is Dry: Before grinding, ensure your hulled millet is completely dry. Any moisture can cause the flour to clump and negatively affect the grinding process and the flour’s shelf life.
- Storing for Longevity: Store your freshly made millet flour in an airtight container in a cool, dark pantry for up to 3 months. For extended freshness, especially in warmer climates or if you make a larger batch, consider storing it in the refrigerator for up to 6 months or even in the freezer for up to a year. This helps preserve its delicate flavor and prevents it from going rancid.
Homemade Millet Flour: Your Questions Answered
Yes, millet is naturally gluten-free. This makes it a safe and excellent choice for individuals with Celiac disease, gluten intolerances, or anyone following a gluten-free diet, allowing them to enjoy delicious baked goods and meals without worry.
Absolutely. While millet can be found in both pearled (unhulled) and hulled forms, it is essential to use hulled millet for consumption, especially when making flour. Millet naturally possesses a hard, indigestible outer husk that must be removed. Hulled millet is not only easier for your body to digest but also significantly simpler to grind into a fine flour compared to its unhulled counterpart.
While a regular blender might work for small quantities, a high-speed blender is highly recommended for achieving the finest, most consistent flour. Regular blenders may struggle to get the millet finely ground and can overheat more easily. If using a regular blender, you may need to process in even smaller batches and for longer periods, with more frequent sifting, to reach the desired texture.
Explore More Homemade Gluten-Free Flour Recipes:
If you enjoyed making your own millet flour, you might love trying these other easy homemade flour recipes:
- Homemade Buckwheat Flour (Gluten-Free, Vegan)
- Homemade Brown Rice Flour (Gluten-Free, Vegan)
- Homemade Cashew Flour (Gluten-Free, Vegan)
- Homemade Almond Meal (Gluten-Free, Vegan)
- Homemade Flaxseed Meal (Gluten-Free, Vegan)
- Homemade Cornmeal (Gluten-Free, Vegan)
Other Basic Recipes to Love:
- Easy 10-Minute Blueberry Glaze (Gluten-Free, Vegan)
- 5-Minute Gluten-Free Chicken Marinade (3 Ways!)
- Easy Homemade Chicken Stock (Gluten-Free, Dairy-Free)
- Easy Gluten-Free Apple Pie Filling (Vegan)
P.S. If you try this recipe, I’d love for you to leave a star rating below, and/or a review in the comment section further down the page. I always appreciate your feedback. Be sure to check out my entire Recipe Index for all the recipes on the blog. You can also follow me on Pinterest, Facebook or Instagram! Sign up for my Email List to get fresh recipes in your inbox each week!
Print
How to Make Millet Flour (Gluten-Free, Vegan)
5 Stars 4 Stars 3 Stars 2 Stars 1 Star
5 from 3 reviews
Author: Felicia Lim
Total Time: 15 minutes
Yield: 2 1/2 cups
Diet: Gluten Free
Description
Learn how to make your own millet flour at home! It’s super easy, ready in minutes, and comes out finely ground, making it perfect for baked goods and breads. All your need to make homemade millet flour is hulled millet, a high-speed blender, and a sieve (no special equipment required)! Totally gluten-free, dairy-free, and vegan too.
Ingredients
Scale
- 2 cups hulled millet
Instructions
- Place Millet in Blender: Place 1 cup of the millet in the dry container of your high-speed blender. Work in small batches for best results.
- First Round Processing: Blend millet on high speed for 30 seconds. Scrape down the sides of the blender with a spatula and blend for another 30 seconds. Repeat this process a couple of times until you achieve a fine flour consistency.
- Sift: Sift the ground millet through a fine-mesh sieve into a large bowl. This step is crucial to filter out any larger pieces that were not ground finely enough. Gently shake and tap the sieve to encourage the fine flour to pass through.
- Second Round Processing: Return any larger, coarser pieces remaining in the sieve to the blender. Blend them again on high speed until they are finely ground.
- Repeat: Sift the newly ground millet again through the fine mesh sieve. Repeat this entire process (grinding and sifting) with the rest of your hulled millet until all of it has been transformed into fine flour.
- Store: Transfer the finely ground millet flour into an airtight container. Store it in a cool, dark place, such as your pantry, for up to 3 months, or in the refrigerator/freezer for longer freshness.
Notes
Millet: Always use hulled millet. The inedible husk needs to be removed for digestibility and for proper grinding into flour. Hulled millet is standard for cooking and baking.
Process in Small Batches: To protect your high-speed blender’s motor and ensure a consistent, fine flour, grind the millet in small batches (e.g., 1-2 cups at a time).
Make Sure to Sift the Flour: For the best, smoothest flour texture for baking, always sift the homemade millet flour after grinding. Sifting it at least two times, if possible, will help eliminate any unwanted grainy texture and ensure superior results.
Storing: Store the freshly ground millet flour in an airtight container at room temperature for up to 3 months. For extended shelf life, it can be kept in the refrigerator for up to 6 months or in the freezer for up to a year.
- Prep Time: 15 mins
- Category: Basics
- Method: Blender
- Cuisine: American
