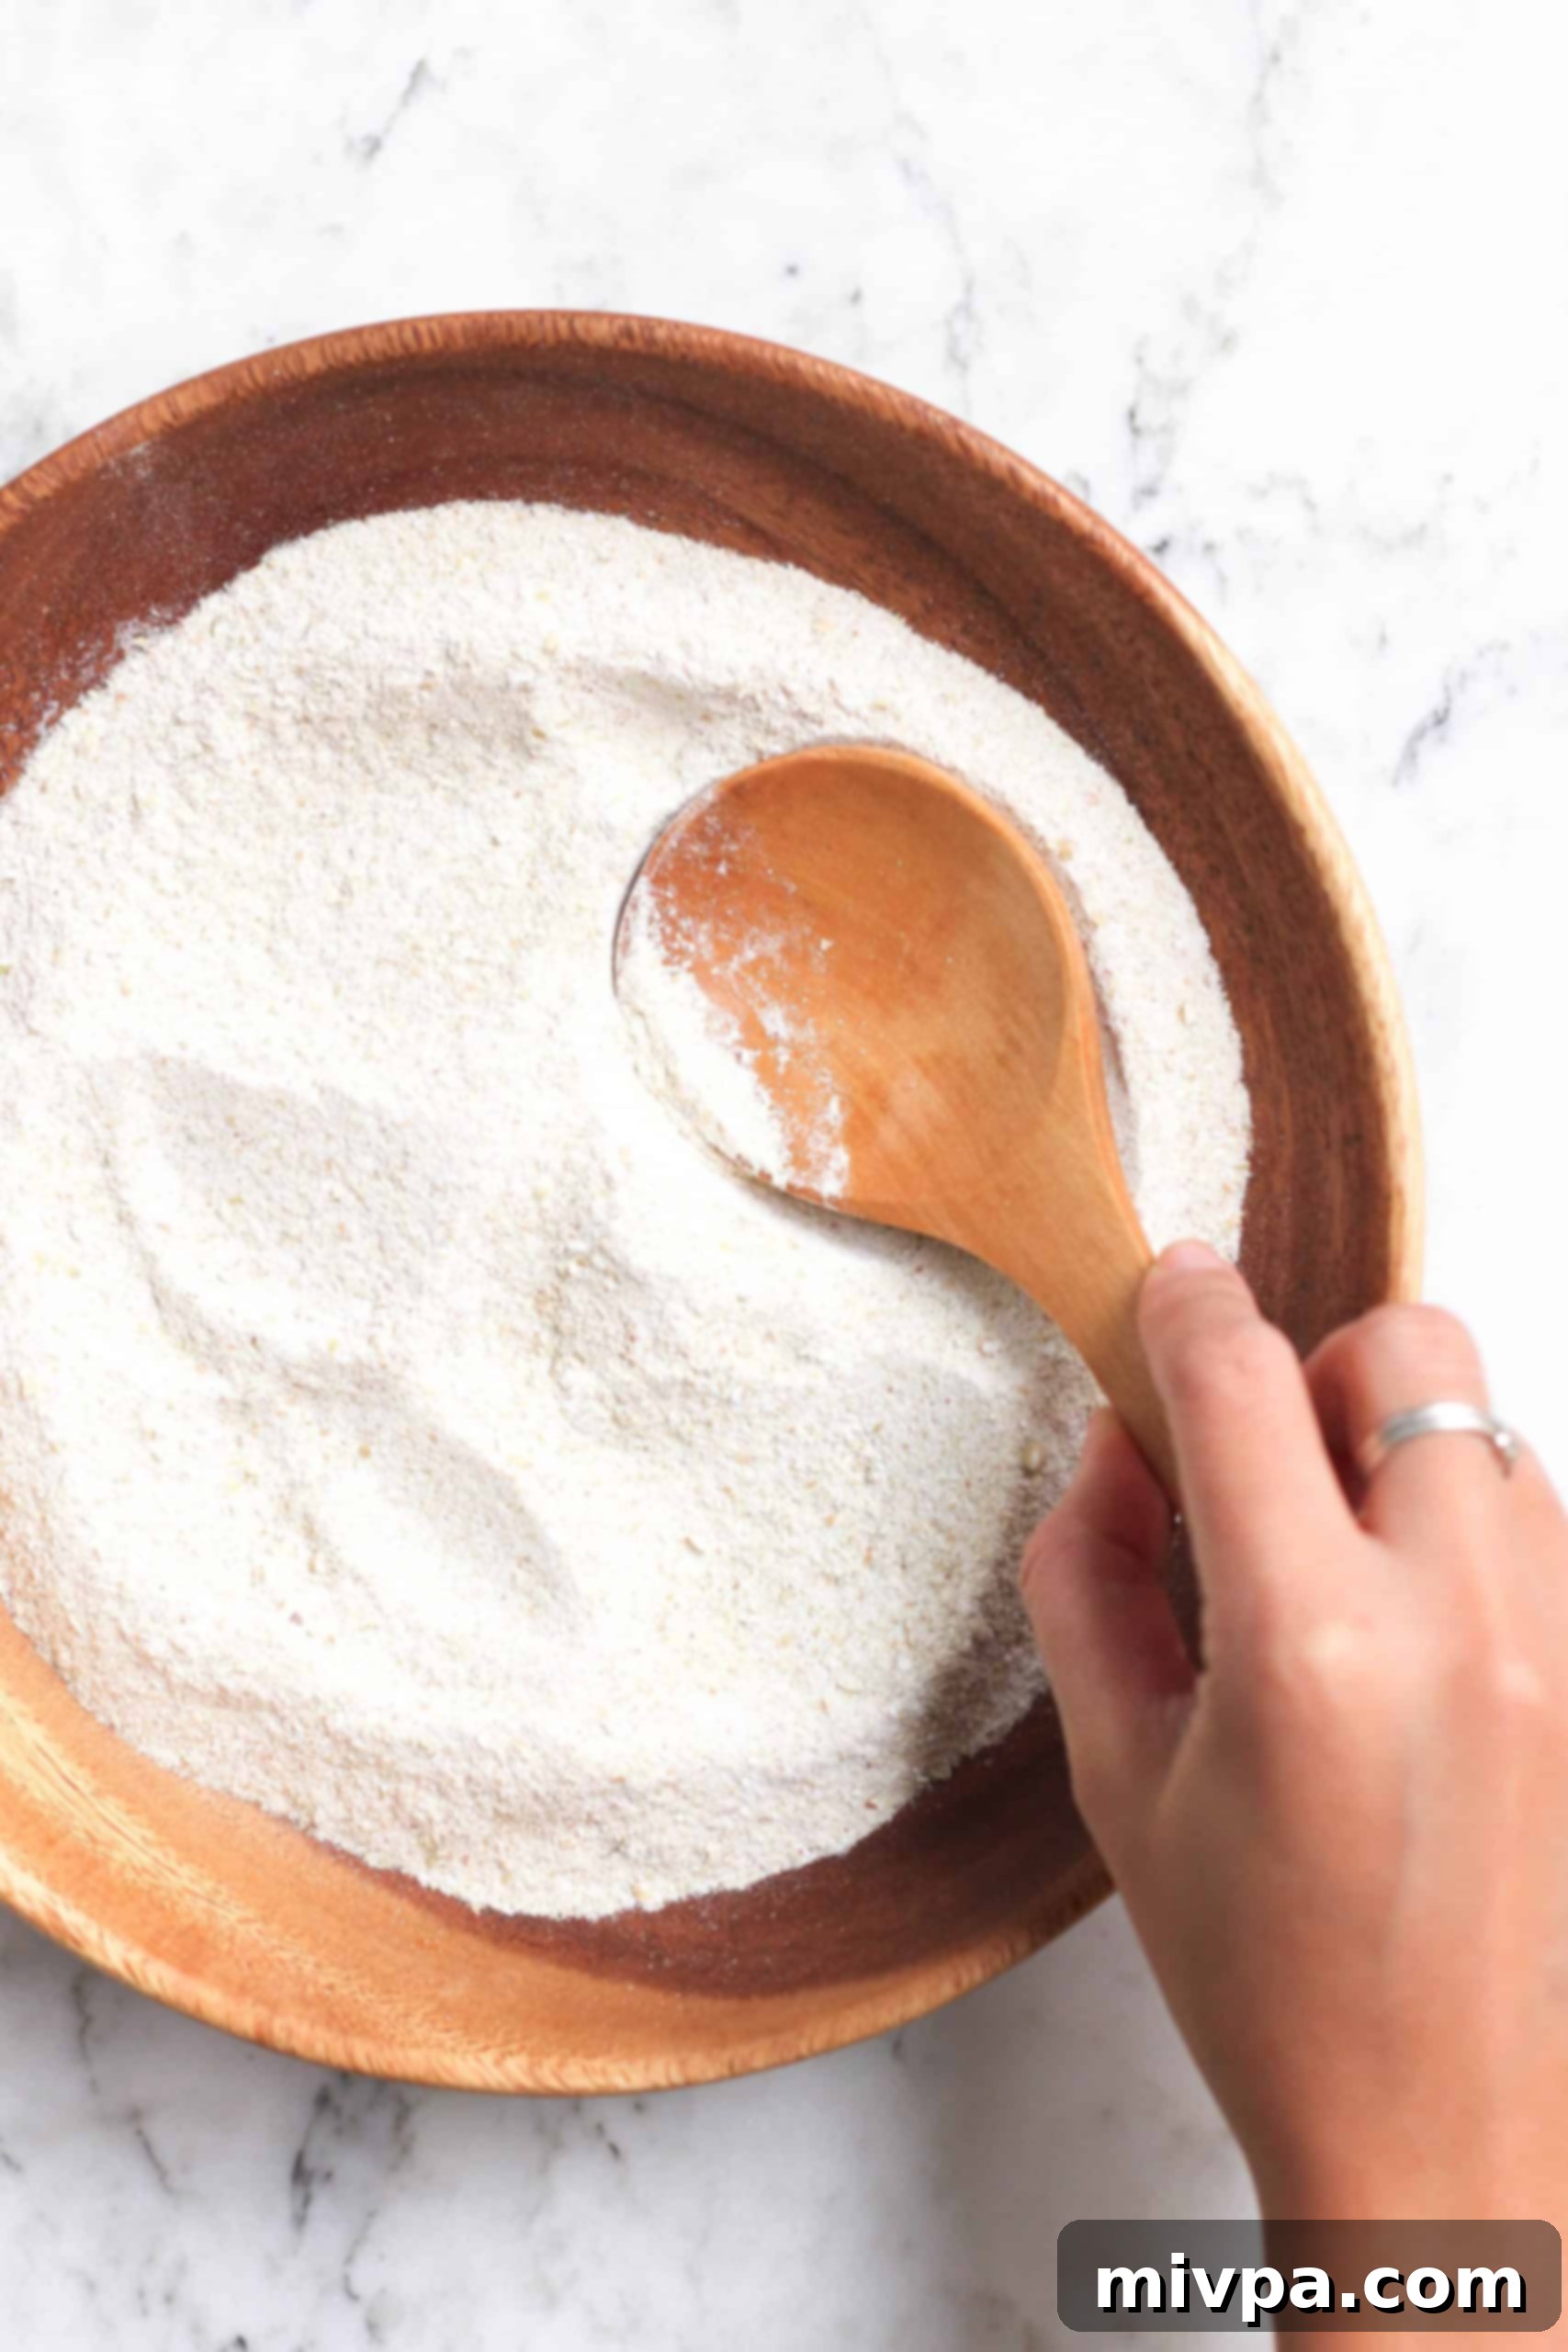
Homemade Buckwheat Flour: Your Easy 5-Minute Guide to Gluten-Free Baking
Unlock the secret to healthier, more affordable baking by learning how to make your own fresh buckwheat flour right at home. With just 5 minutes and a high-speed blender, you can transform simple buckwheat groats into versatile, gluten-free, and vegan flour. Once you experience the ease and cost savings of homemade buckwheat flour, you’ll never consider buying it from the store again! This comprehensive guide will walk you through every step, ensuring perfect results every time.
[feast_advanced_jump_to]
What is Buckwheat? Understanding This Unique Pseudocereal
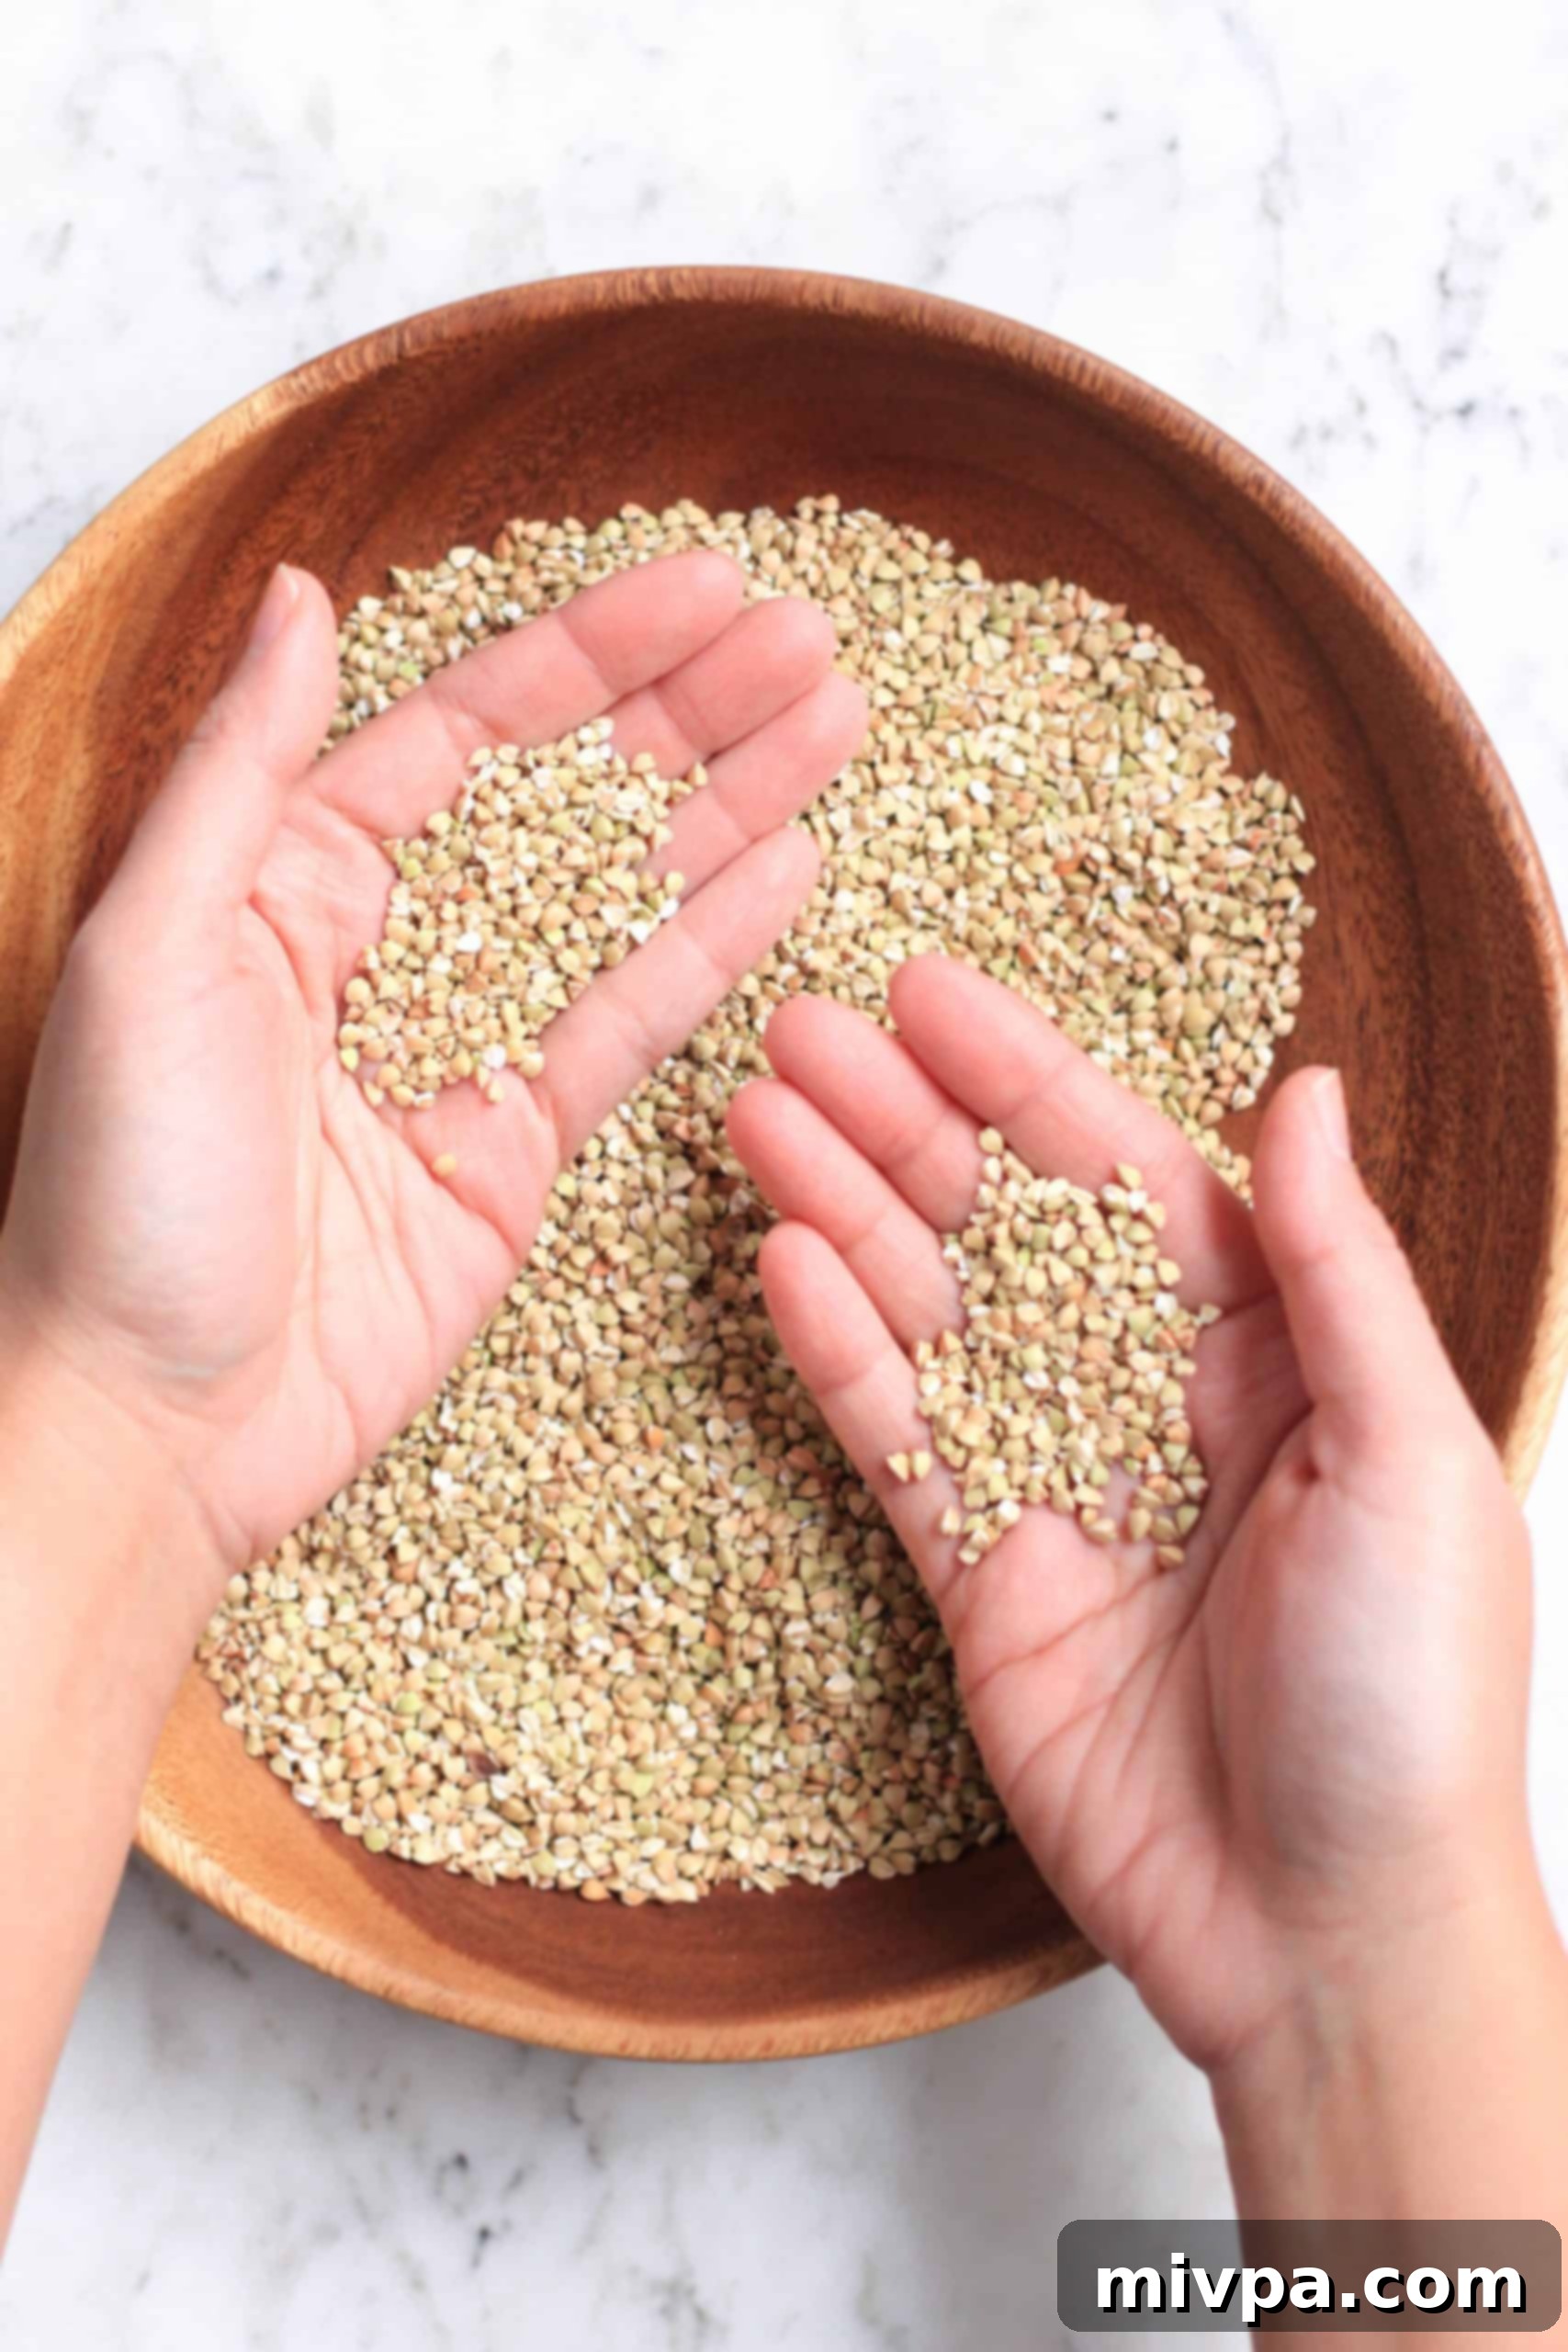
Buckwheat, scientifically known as Fagopyrum esculentum, is often referred to as “common buckwheat.” Despite its name, it’s not a type of wheat at all. Instead, it’s a plant cultivated for its nutrient-rich, grain-like seeds. While technically classified as a fruit seed from the Polygonaceae family (related to rhubarb and sorrel), buckwheat is widely regarded as a pseudocereal.
This classification comes from the fact that, much like true cereals (such as wheat, oats, or rice), buckwheat seeds are rich in complex carbohydrates and can be cooked and consumed in similar ways. Originating in Asia, buckwheat has been a staple in many cultures for centuries, prized for its robust nutritional profile and versatility. It boasts an earthy, slightly nutty flavor that adds a distinct character to both sweet and savory dishes, from hearty breakfast porridges (a fantastic alternative to oatmeal!) to traditional soba noodles.
Beyond its culinary appeal, buckwheat is a powerhouse of essential nutrients. It’s an excellent source of dietary fiber, protein (including all nine essential amino acids), potassium, iron, magnesium, phosphorus, and B vitamins like B6. These components make it a superb and highly beneficial alternative to conventional grains for anyone looking to diversify their diet or enhance their nutritional intake. Incorporating buckwheat into your meals can support digestive health, provide sustained energy, and contribute to overall well-being.
Is Buckwheat Gluten-Free? A Safe Choice for Celiacs
Despite the confusing “wheat” in its name, buckwheat is entirely unrelated to traditional wheat. Wheat is a grass, while buckwheat belongs to a different botanical family, meaning it naturally contains no gluten. This makes buckwheat a completely safe and highly recommended option for individuals with celiac disease, gluten intolerance, or those following a gluten-free diet for other health reasons.
For anyone seeking to avoid gluten without compromising on flavor or nutritional value, buckwheat flour serves as an excellent, wholesome alternative to wheat flour in a wide array of recipes. Its unique characteristics allow it to be used in various baked goods and dishes, providing structure, flavor, and a wealth of nutrients that many gluten-free flours might lack. So, rest assured, you can enjoy buckwheat and its delicious derivatives with complete peace of mind.
Why Make Your Own Buckwheat Flour? Benefits of DIY
While commercially produced buckwheat flour is readily available in supermarkets and online, there are compelling reasons to consider making your own. Buckwheat flour is simply ground buckwheat groats (the hulled seeds of the buckwheat plant). Grinding your own offers several significant advantages:
- Cost Savings: Perhaps the most immediate benefit is the economic advantage. Raw buckwheat groats are often significantly cheaper than pre-packaged buckwheat flour. You’ll find that making your own can be almost half the price, leading to substantial savings over time, especially if you use buckwheat flour frequently.
- Unbeatable Freshness: Flour begins to oxidize and lose nutritional value once it’s ground. By making your own buckwheat flour on demand or in small batches, you ensure maximum freshness, flavor, and nutritional potency. The earthy, nutty notes are much more pronounced in freshly ground flour compared to store-bought versions that may have sat on shelves for weeks or months.
- Purity and Control: When you grind your own flour, you know exactly what goes into it – just 100% pure buckwheat groats. This eliminates concerns about additives, anti-caking agents, or potential cross-contamination with gluten-containing grains that can sometimes occur in commercial milling facilities. This is particularly important for individuals with severe gluten sensitivities or celiac disease.
- Simplicity and Speed: As you’ll discover, the process is incredibly fast and straightforward, requiring minimal effort and time. With a suitable blender or grinder, you can go from whole groats to fine flour in mere minutes.
- Environmental Impact: Choosing to buy whole groats and grind your own flour can also reduce packaging waste, contributing to a more sustainable kitchen practice.
Why This Recipe Works: Simple, Healthy & Convenient
- Just 1 Ingredient: You literally only need one simple ingredient – raw hulled buckwheat groats – which can be easily found at your local grocery store, natural foods store, or online. No complicated list of components here!
- Super Simple to Make: Forget complex machinery. Using a food processor, high-speed blender, or even a coffee grinder, this DIY buckwheat flour recipe comes together effortlessly in just minutes. It’s a quick win for your kitchen!
- Totally Gluten-Free and Vegan: The core of this recipe is naturally 100% gluten-free and vegan. This means individuals with celiac disease, gluten or lactose intolerances, or those adhering to a gluten-free or vegan lifestyle can enjoy this versatile flour without any concerns or dietary restrictions.
- Economical Choice: Making your own flour is significantly cheaper than buying pre-ground versions, allowing you to stretch your grocery budget further while still enjoying high-quality, fresh ingredients.
The Only Ingredient You’ll Need: Raw Hulled Buckwheat Groats
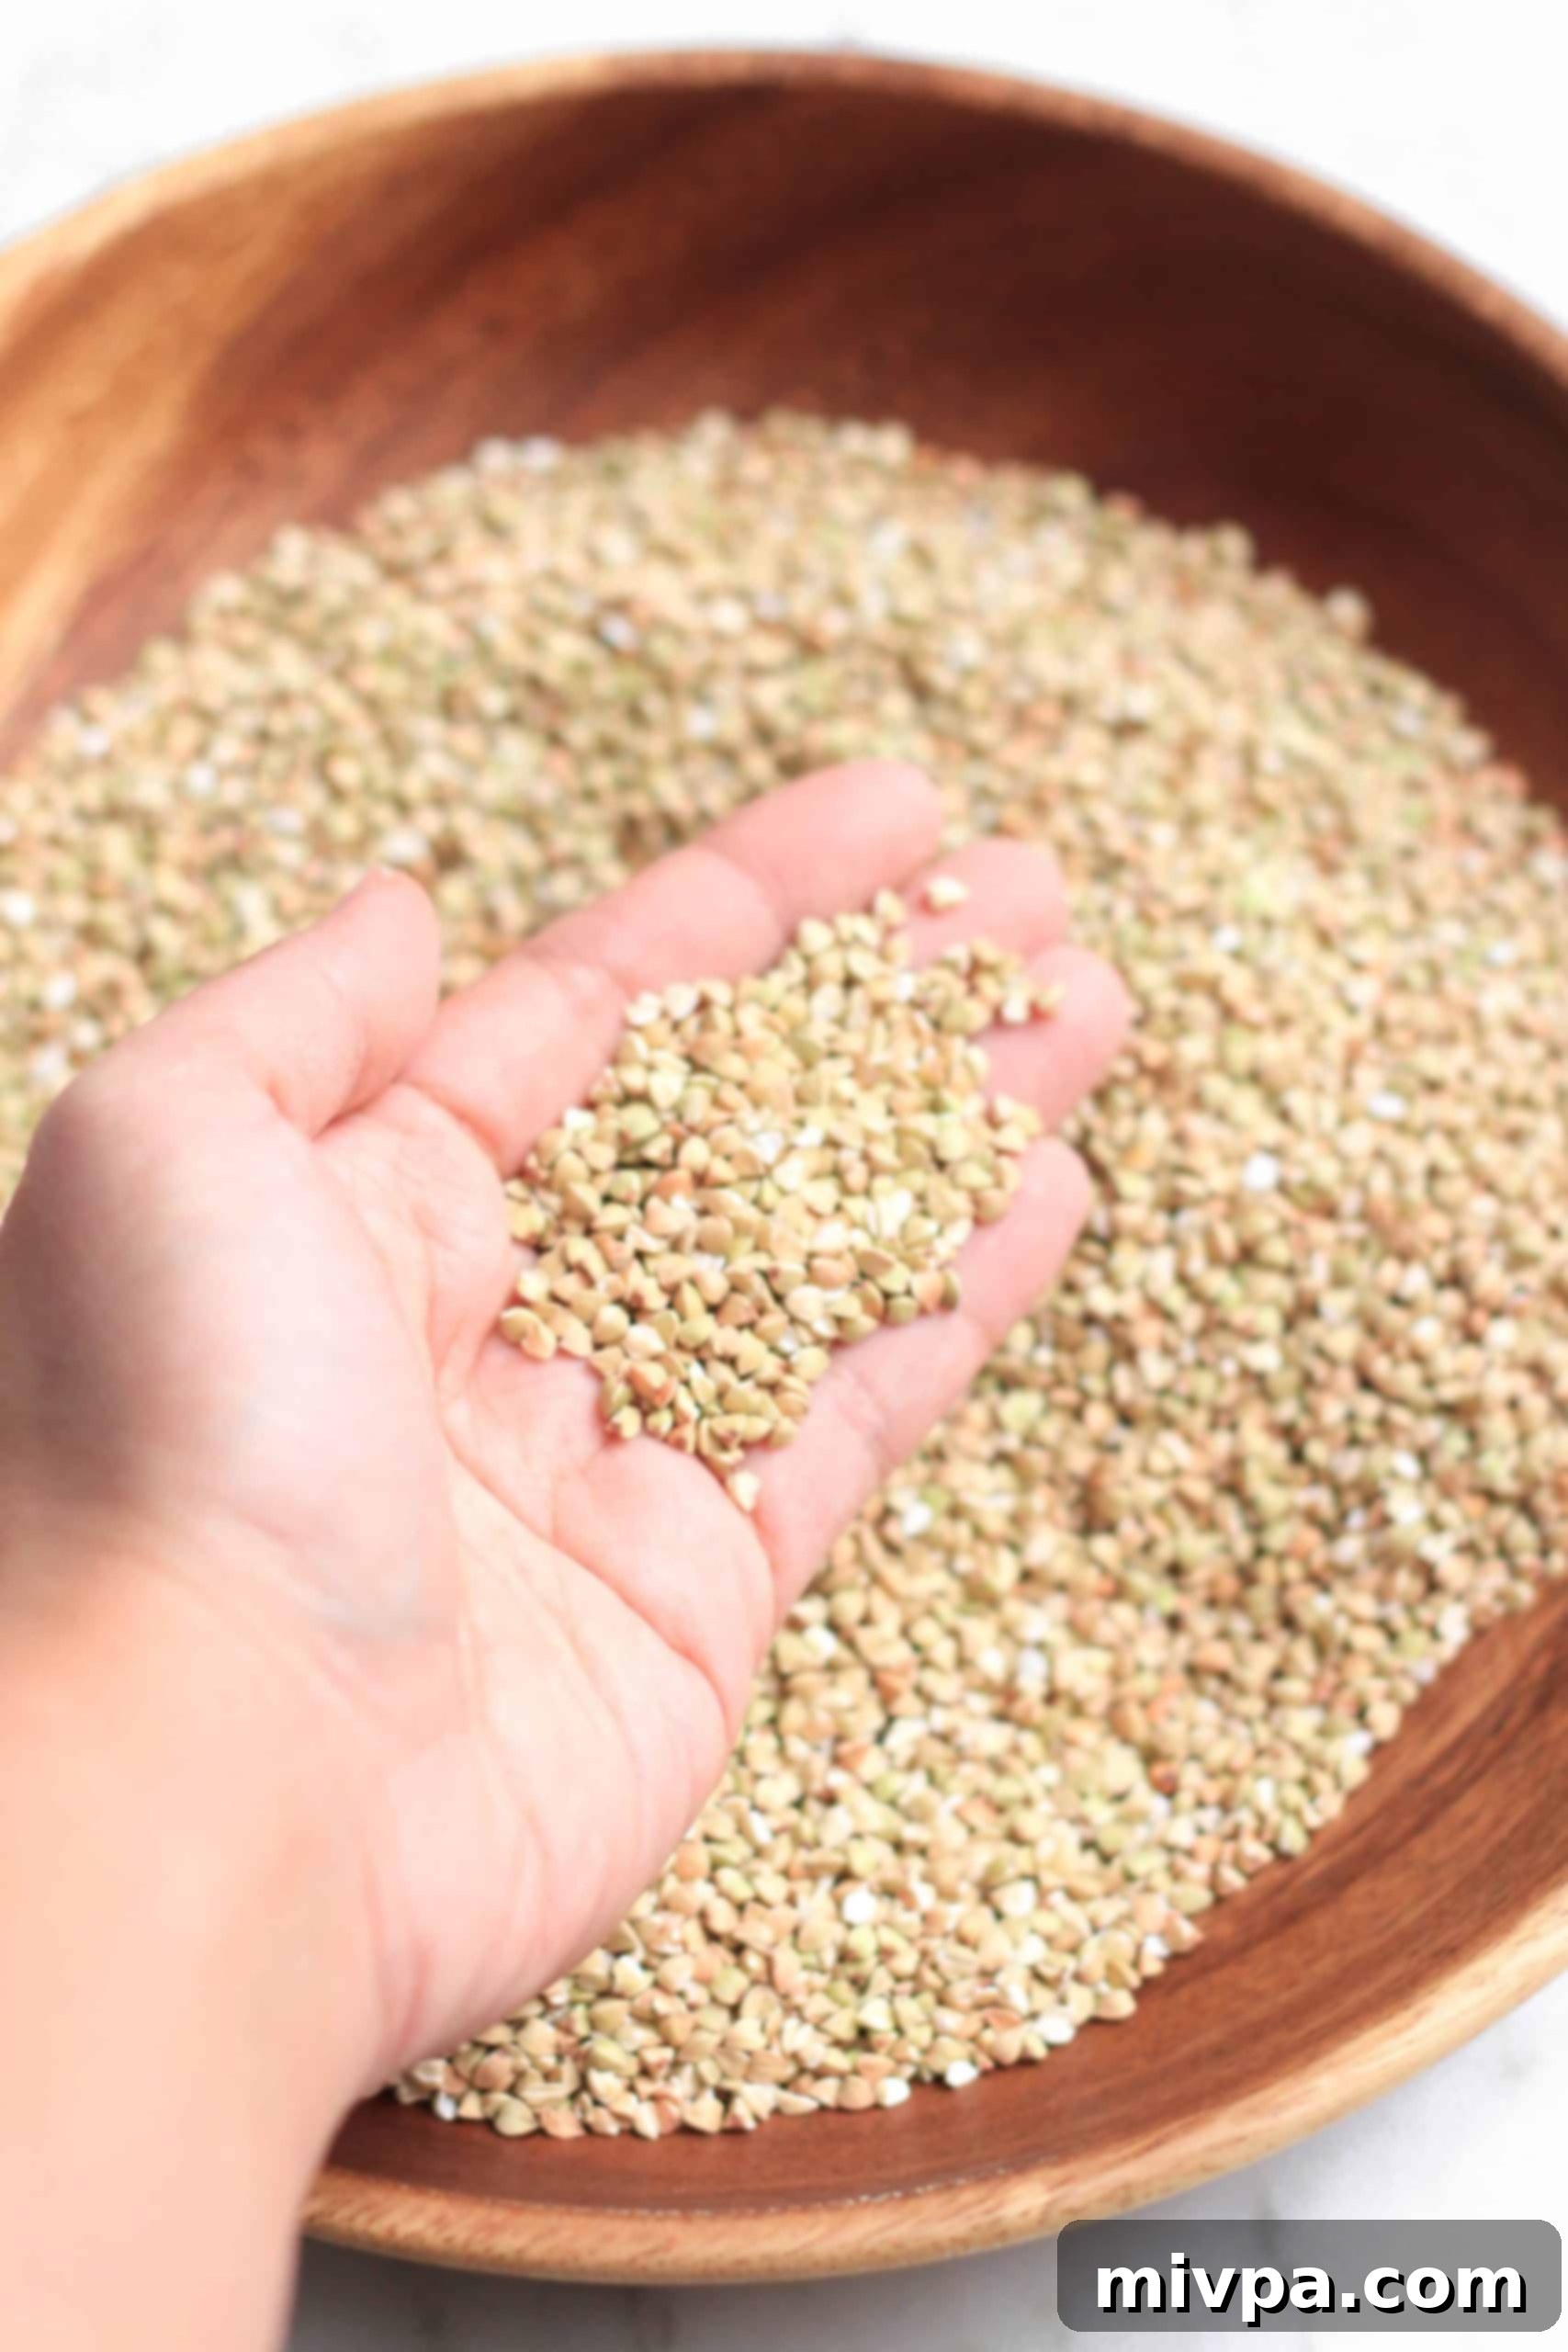
To embark on your homemade buckwheat flour journey, you only need one essential ingredient: hulled buckwheat groats. These are the kernels of the buckwheat plant from which the outer husks have been removed.
What to look for:
- Hulled vs. Unhulled: For a lighter-colored, milder flour ideal for baking, opt for hulled groats. Unhulled groats, which retain the dark outer husk, will produce a darker, more intensely flavored flour.
- Raw vs. Roasted (Kasha): Ensure you purchase raw buckwheat groats, not roasted (which are known as kasha). Kasha has a much stronger, toasted flavor and a different texture that isn’t typically desired for making flour used in most baking recipes.
- Source: You can find raw hulled buckwheat groats in the bulk section of health food stores, well-stocked supermarkets, or conveniently online from various organic suppliers. Look for organic and non-GMO options for the highest quality.
How to Make Buckwheat Flour (Step-by-Step Guide):
Making buckwheat flour is incredibly straightforward. Follow these simple steps for perfectly ground flour every time:
1. Prepare and Place Groats in Blender
Start by measuring out your raw hulled buckwheat groats. For optimal blending and to prevent your blender from overheating, it’s best to process them in small batches. Place approximately 1/2 cup of buckwheat groats into your high-speed blender. Ensure the blender is clean and completely dry to avoid clumping.
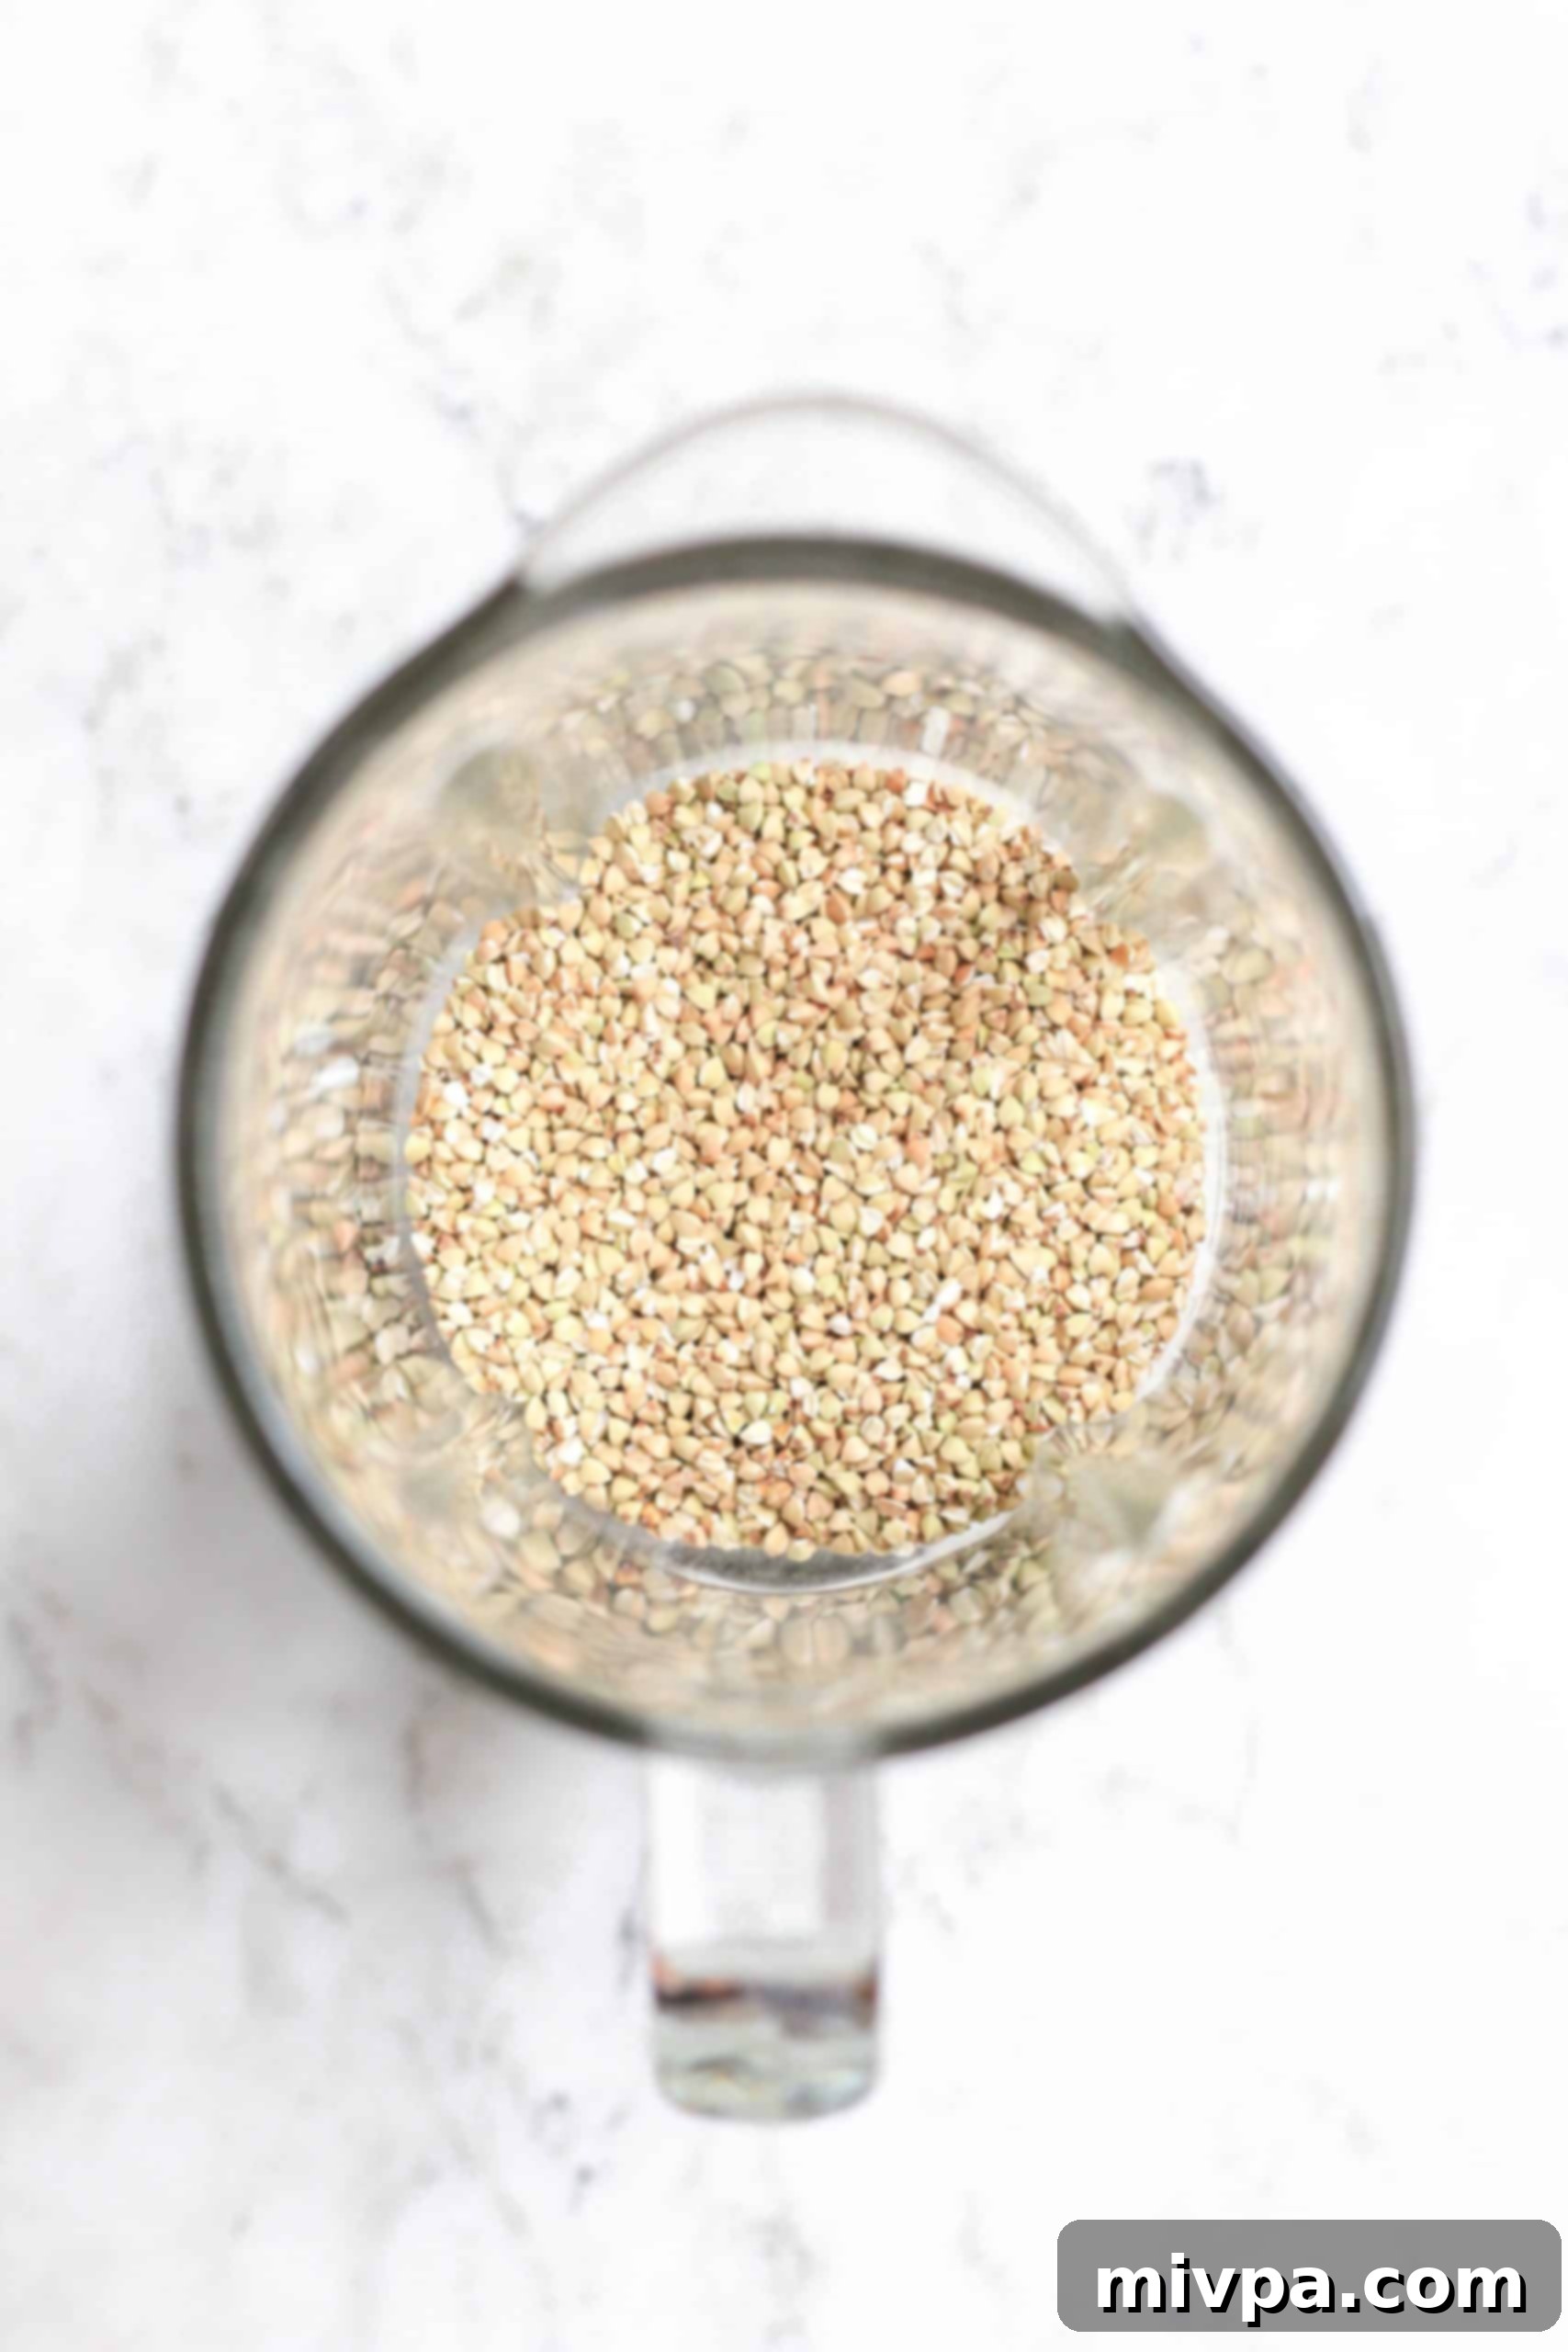
2. Blend Until Super Fine
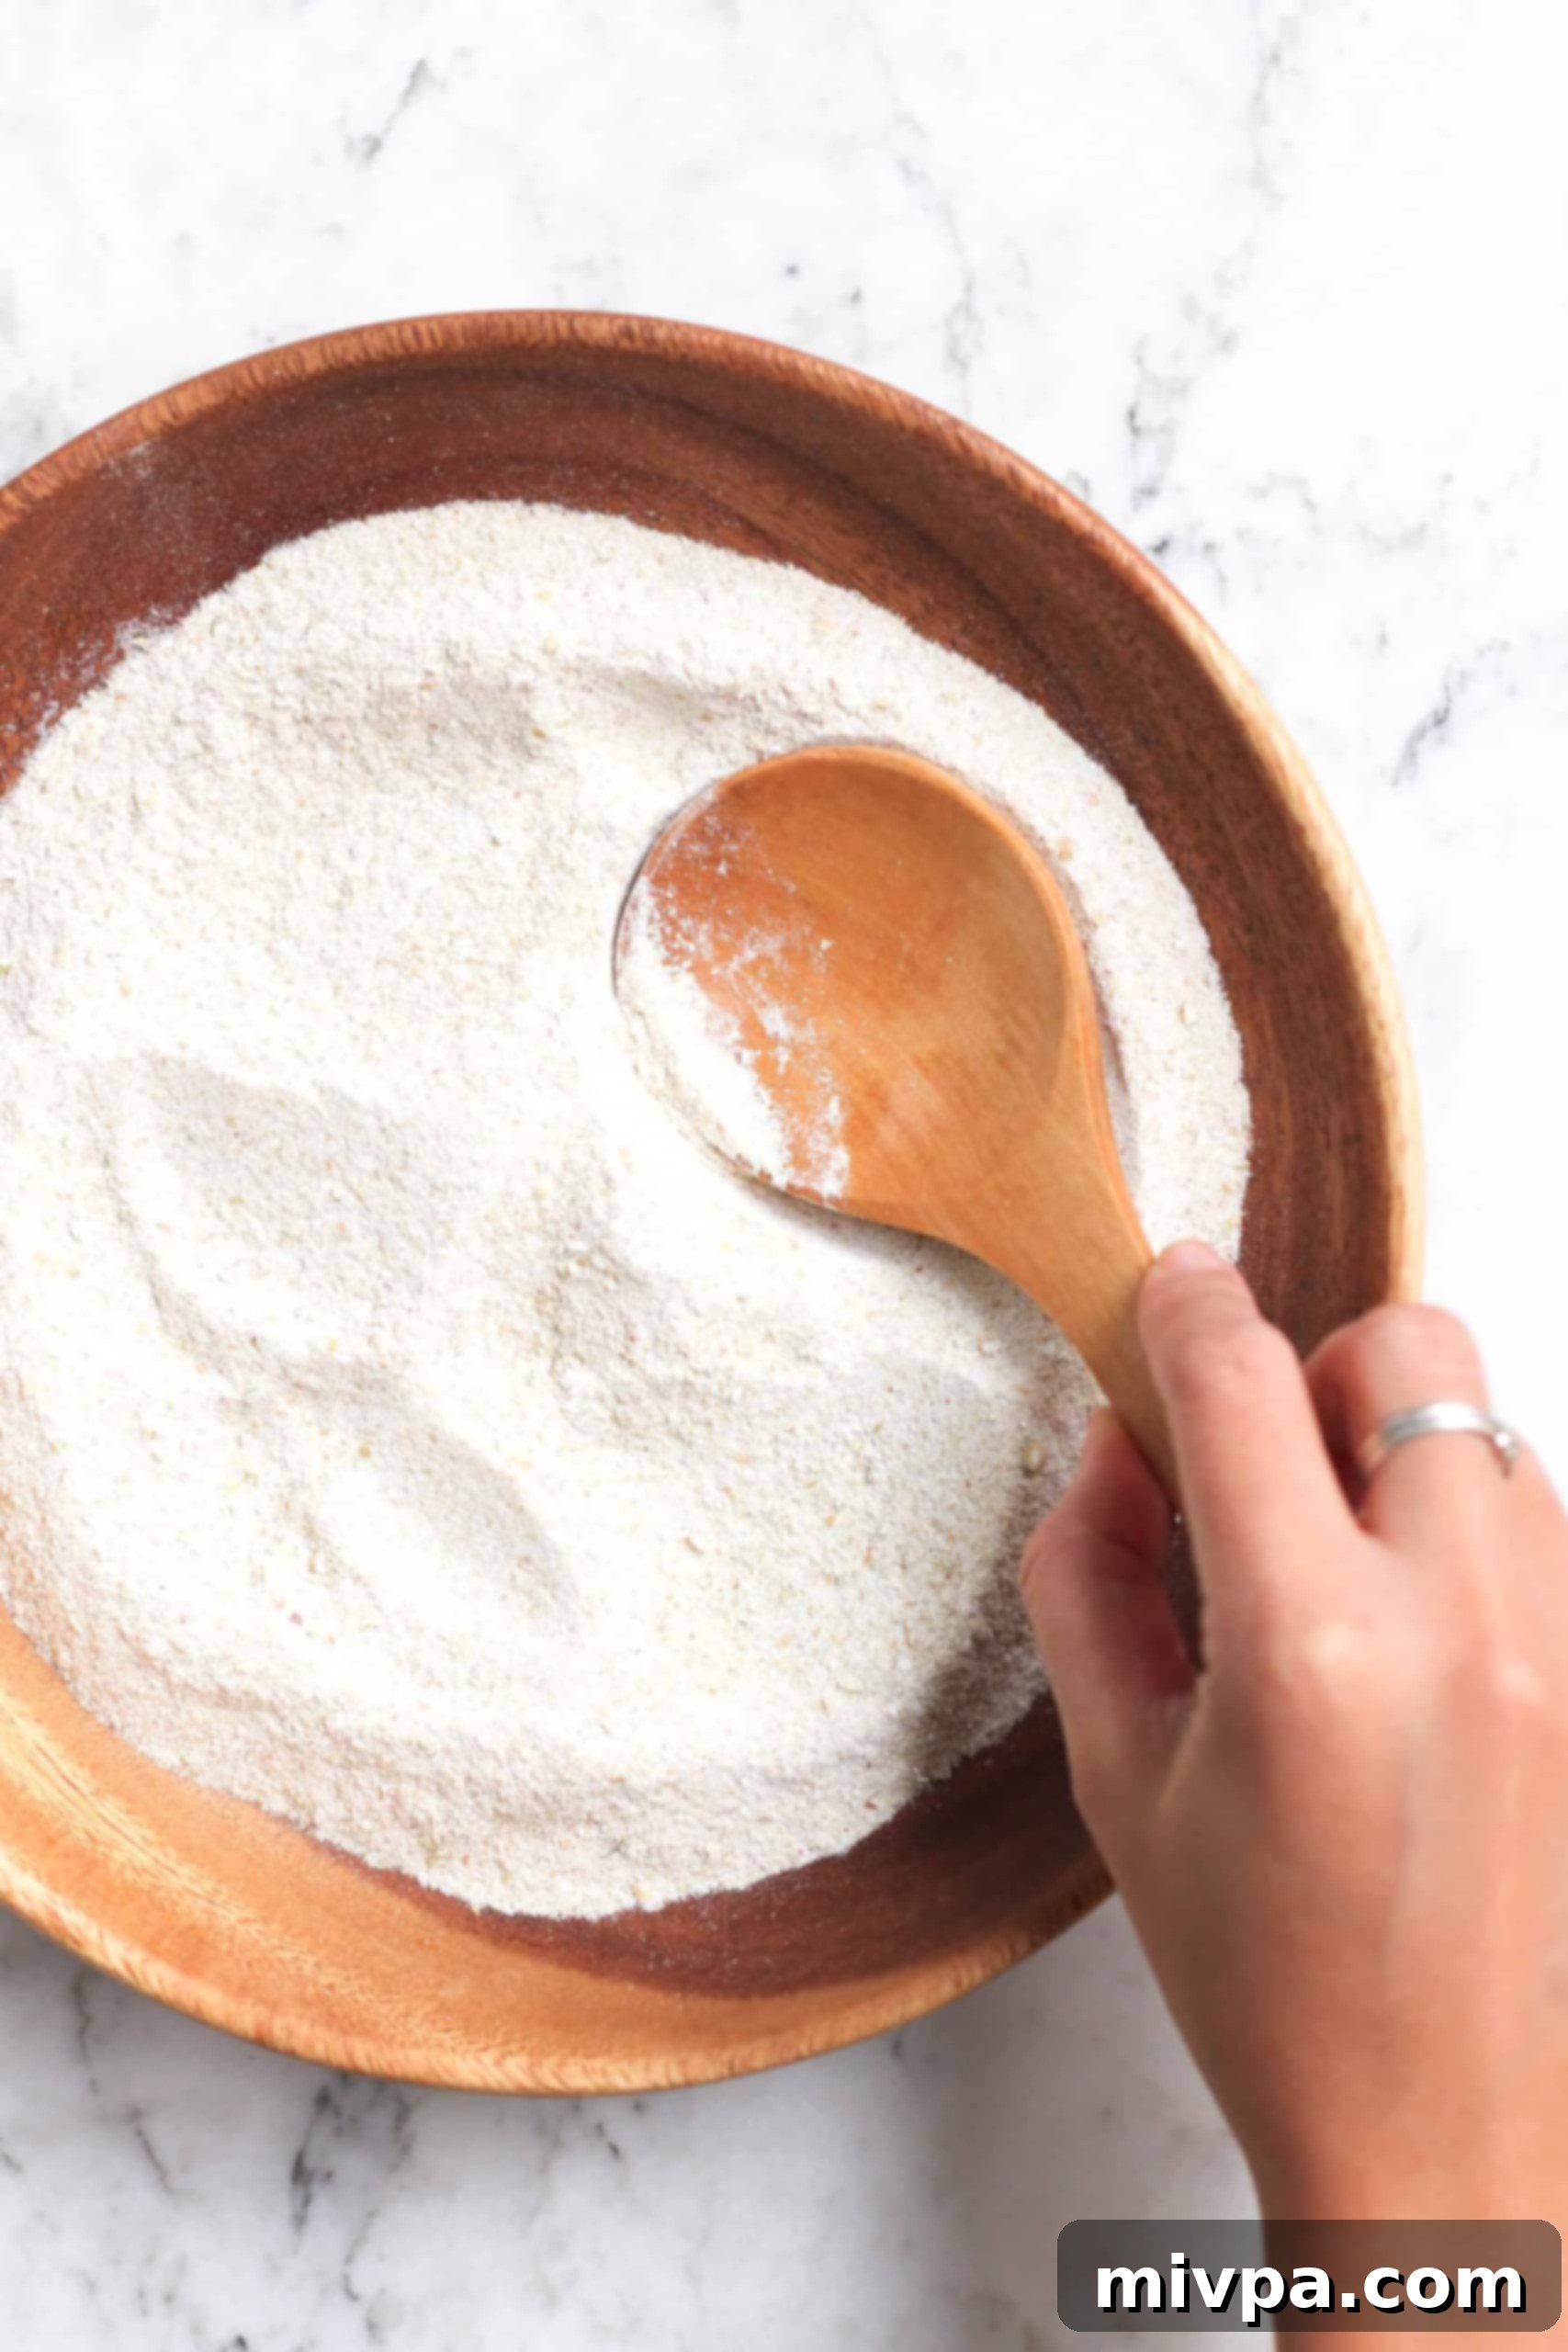
Secure the lid on your blender and blend the groats on high speed. The duration will depend on your blender’s power, but typically, it takes about 45 seconds to 1 minute to achieve a super fine, powdery consistency. You’ll know it’s ready when the texture is smooth and resembles commercial flour.
(TIP for Extra Fine Flour: If you desire an exceptionally fine flour, free of any larger bits, consider passing the freshly ground flour through a fine-mesh sieve. This extra step ensures a consistent, smooth texture, which can be beneficial for delicate baking recipes.)
Once ground, transfer the buckwheat flour to an airtight jar or bowl. Proceed to repeat this process with the remaining buckwheat groats until all of them have been transformed into beautiful, fresh flour. Remember to work in batches for the best results and to prevent strain on your appliance.
Expert Tips & Tricks for Perfect Buckwheat Flour:
- Choosing Your Appliance: The right tool makes all the difference!
- High-Speed Blender: I personally rely on a high-speed blender. It’s incredibly efficient and yields a consistently fine flour. If you have one, this is your best bet.
- Food Processor: A food processor can also work well, especially for larger quantities. Pulse the groats repeatedly until you reach the desired fineness.
- Coffee Grinder: For smaller batches or if you don’t have a blender or food processor, a dedicated coffee grinder is a fantastic option. Just ensure it’s clean and doesn’t retain any coffee residue that could impart unwanted flavors.
- Storing for Freshness: Proper storage is key to extending the shelf life of your homemade flour. Transfer the freshly ground buckwheat flour to an airtight container immediately. Store it at room temperature in a cool, dark pantry for up to 3 months. For even longer freshness (up to 6 months to a year), you can store it in the refrigerator or freezer. This prevents oxidation and rancidity, preserving its flavor and nutritional value.
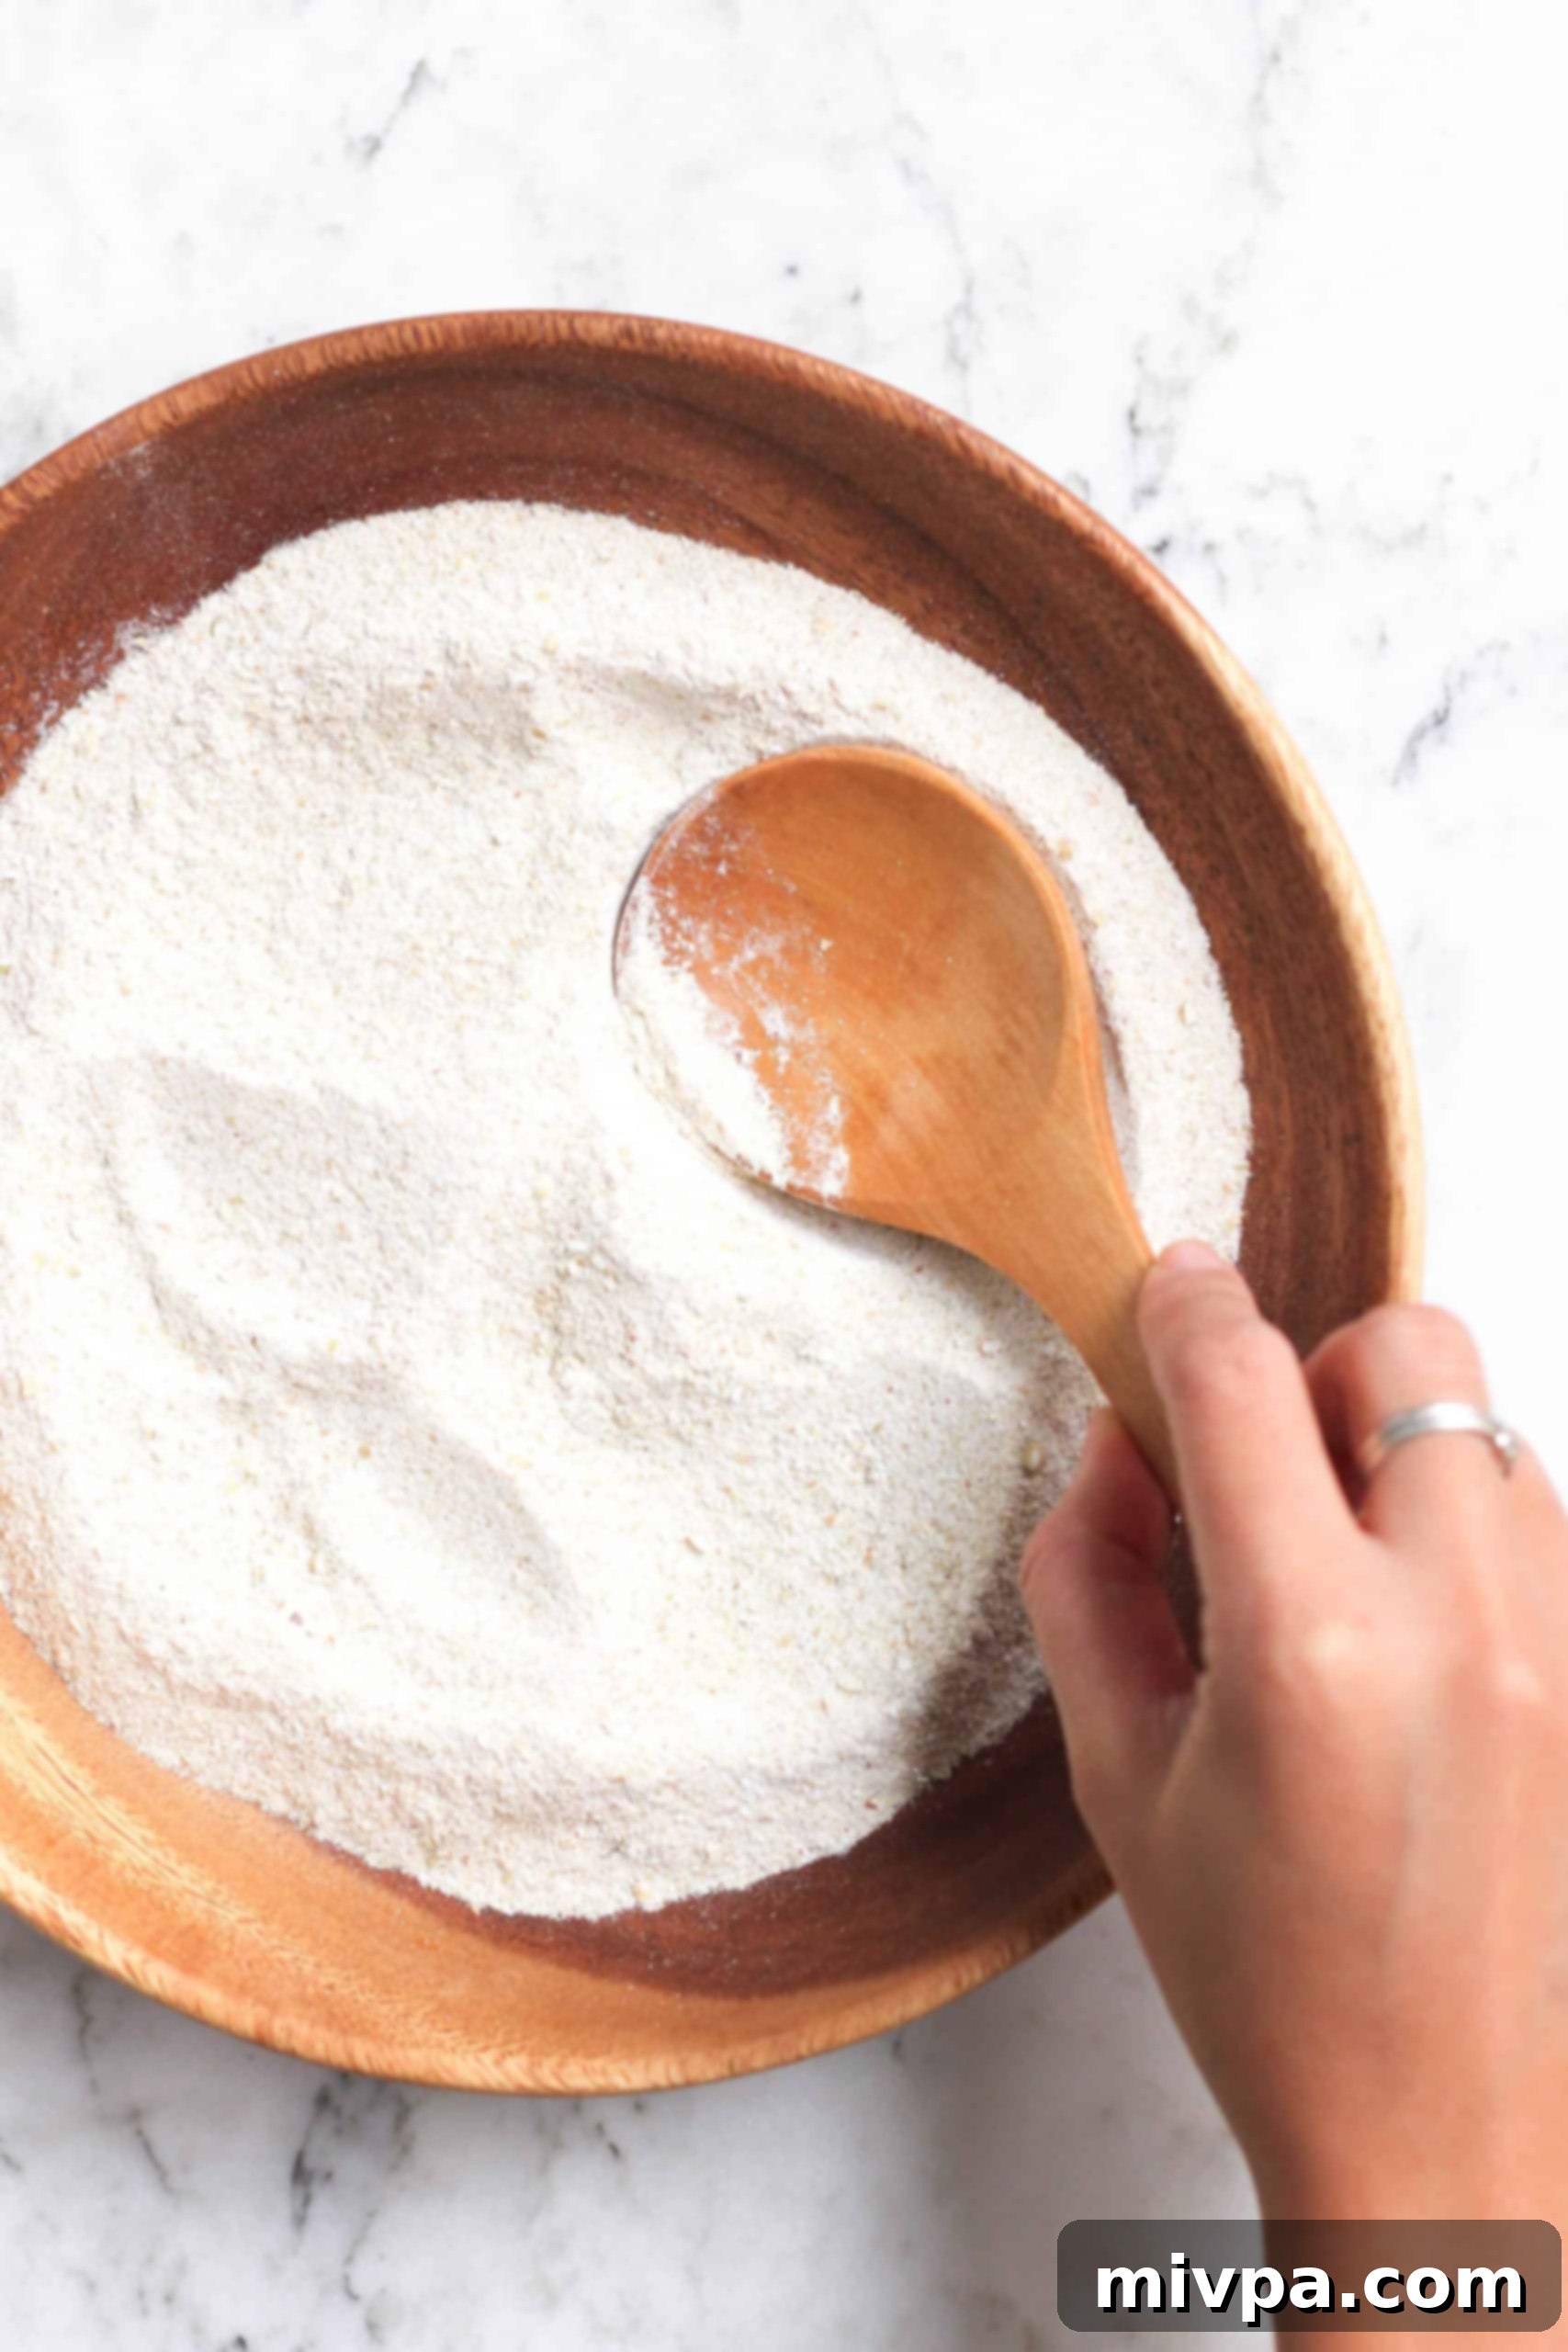
- Understanding DIY Buckwheat Flour Color: Don’t be surprised if the color of your homemade flour varies. The final shade of your ground flour will depend entirely on the type of buckwheat groats you use. For this recipe, I used hulled buckwheat groats, which have had their dark outer husk removed. These yield a beautiful, lighter-colored flour, perfect for delicate baking. If you were to use unhulled buckwheat groats (which still have their husks), the resulting flour would be significantly darker and possess a stronger, more intense flavor. Both are great, but knowing the difference helps you choose for your specific recipe needs.
- Don’t Skip the Sieve (Optional but Recommended): For the smoothest, most consistent flour, especially for delicate pastries or batters, don’t hesitate to sift your freshly ground flour through a fine-mesh sieve. This removes any larger, unground pieces, ensuring a uniform texture in your final product.
Homemade Buckwheat Flour FAQs:
Yes, absolutely! Buckwheat flour is quite simply ground raw buckwheat groats. It’s important to use raw groats, not roasted ones (kasha), as roasting alters the flavor and texture significantly, making it less suitable for most baking applications where a neutral flavor is desired.
Generally, 1 cup of whole buckwheat groats will yield approximately 1 1/3 cups of ground flour. This expansion in volume is due to the groats being broken down into finer particles. You can easily adjust the quantity of groats you use based on how much flour you need for your recipe, maintaining this ratio.
No, typically you do not need to wash buckwheat groats before grinding them into flour. They are usually clean enough for direct use. Washing would introduce moisture, which can cause clumping during grinding and reduce the shelf life of your flour.
The difference lies in the type of groats used. Light buckwheat flour is made from hulled groats (where the dark outer husk is removed), resulting in a milder flavor and lighter color. Dark buckwheat flour (sometimes labeled “whole buckwheat flour”) is made from unhulled groats, including the husk. This gives it a darker color, a more intense, earthy flavor, and a slightly higher fiber content.
How to Use Your Freshly Made Buckwheat Flour: Versatile & Delicious
Now that you’ve got your beautifully ground, fresh buckwheat flour ready, the culinary possibilities are endless! Buckwheat flour’s unique, earthy, and nutty flavor profile, combined with its gluten-free properties, makes it a fantastic ingredient for both sweet and savory dishes. Here are some of our favorite ways to incorporate this wholesome flour into your cooking and baking:
- Soft, Fluffy Buckwheat Flour Bread (Gluten-Free, Dairy-Free): Experience the joy of homemade bread that’s both light and satisfying, with the distinct flavor of buckwheat.
- Easy Buckwheat Cookies (Gluten-Free, Dairy-Free): Perfect for a delightful snack, these cookies offer a unique taste and texture.
- Buckwheat Crepes (Gluten-Free, Dairy-Free): Master the art of delicate French crepes with a wholesome twist. Serve them sweet with fruit or savory with cheese and ham.
- Buckwheat Banana Bread (Gluten-Free, Dairy-Free): A moist and flavorful classic, elevated by the nutritional benefits and subtle earthiness of buckwheat.
- Buckwheat Cake: Create rich, tender cakes with a wonderfully complex flavor that pairs well with berries or chocolate.
- Buckwheat Muffins: Whip up healthy, energizing muffins for breakfast or a snack.
- Chocolate Buckwheat Brownies: The nutty notes of buckwheat surprisingly complement rich chocolate for an unforgettable dessert.
- Buckwheat Pancakes: Start your day with fluffy, nutritious pancakes that are far more interesting than traditional wheat versions.
- Thicken Soups and Sauces: Its natural properties make it an excellent gluten-free thickener.
- Homemade Noodles: Experiment with making your own soba noodles for an authentic Japanese experience.
Buckwheat flour adds depth and nutrition to virtually any recipe, making it a valuable staple in any health-conscious kitchen. Don’t be afraid to experiment and discover your own favorite ways to use it!
Other Homemade Gluten-Free Flours You’ll Love:
Once you’ve mastered homemade buckwheat flour, you might be inspired to explore other DIY gluten-free flours. Making your own flours at home is not only cost-effective but also ensures the freshest ingredients for your baking and cooking. Here are a few more easy-to-make gluten-free flour recipes to expand your pantry:
- Homemade Brown Rice Flour (Gluten-Free, Vegan)
- Homemade Almond Flour (Gluten-Free, Vegan)
- Homemade Cashew Flour (Gluten-Free, Vegan)
- Homemade Chickpea Flour (Gluten-Free, Vegan)
Recipes for Other Gluten-Free Kitchen Staples:
Beyond flours, mastering other basic gluten-free recipes can elevate your homemade meals. These staples are easy to prepare and will ensure your pantry is always stocked with wholesome, dietary-friendly options:
- Easy 10-Minute Blueberry Glaze (Gluten-Free, Vegan)
- 5-Minute Gluten-Free Chicken Marinade (3 Ways!)
- Easy Homemade Chicken Stock (Gluten-Free, Dairy-Free)
- Easy Gluten-Free Apple Pie Filling (Vegan)
P.S. If you try this simple and rewarding recipe for homemade buckwheat flour, I’d absolutely love for you to leave a star rating below! Your feedback is invaluable, so please also share your thoughts or any tips you discover in the comment section further down the page. Don’t forget to explore my entire Recipe Index for more delicious inspiration. You can also connect with me on Pinterest, Facebook or Instagram! And for a weekly dose of fresh, wholesome recipes delivered straight to your inbox, be sure to sign up for my Email List!
Print

5-Minute Homemade Buckwheat Flour (Gluten-Free, Vegan)
5 Stars 4 Stars 3 Stars 2 Stars 1 Star
5 from 2 reviews
Author: Felicia Lim
Total Time: 5 minutes
Yield: 2 cups of buckwheat flour
Diet: Gluten Free
Description
Discover the incredible ease of making your own buckwheat flour at home! In this comprehensive guide, I’ll teach you how to create fresh, versatile buckwheat flour using just 5 minutes and a blender. This simple process is not only incredibly cheap compared to store-bought options, but it also ensures maximum freshness and purity. Once you experience the convenience and quality of DIY buckwheat flour, you’ll be hooked! This recipe is naturally gluten-free and vegan, making it suitable for a wide range of dietary needs.
Ingredients
Scale
1 1/2 cups raw hulled buckwheat groats
Instructions
- Place Groats in Blender: Place approximately 1/2 cup of raw hulled buckwheat groats into your high-speed blender. It’s important not to overfill the blender for optimal grinding results.
- Blend Until Super Fine: Secure the lid and blend the groats on high speed for about 45 seconds to 1 minute, or until you achieve a consistently super fine flour texture, completely free of large chunks.
- Repeat & Store: Carefully transfer the freshly ground buckwheat flour into an airtight jar or bowl. Repeat steps 1 and 2 with the remaining buckwheat groats until all are processed into flour. Ensure your flour is stored in a cool, dark place.
Notes
Blender Options: While a high-speed blender is highly recommended for the finest flour, you can also achieve good results using a food processor for larger batches or a dedicated coffee grinder for smaller quantities. Always ensure your appliance is completely dry before grinding.
For the Finest Texture, Sieve: If you desire an exceptionally smooth flour for delicate recipes, simply pass your freshly ground buckwheat flour through a fine-mesh sieve. This will remove any larger, unprocessed bits, ensuring a silky consistency.
Optimal Storage: To maintain the freshness and nutritional value of your homemade buckwheat flour, store it in an airtight container in a cool, dark pantry for up to 3 months. For extended shelf life, refrigerate for up to 6 months or freeze for up to 1 year.
Color Variation: The color of your DIY buckwheat flour will depend on the type of groats used. Using hulled buckwheat groats (as in this recipe) will result in a lighter-colored flour. If you opt for unhulled buckwheat groats, the flour will be darker and typically have a more robust, earthy flavor due to the presence of the outer husk.
This recipe was initially published in 2021 and has been thoroughly revised and republished to provide clearer, more detailed step-by-step instructions and expanded helpful tips for the best homemade buckwheat flour experience.
- Prep Time: 5 mins
- Category: Basics
- Method: Blender
- Cuisine: American
