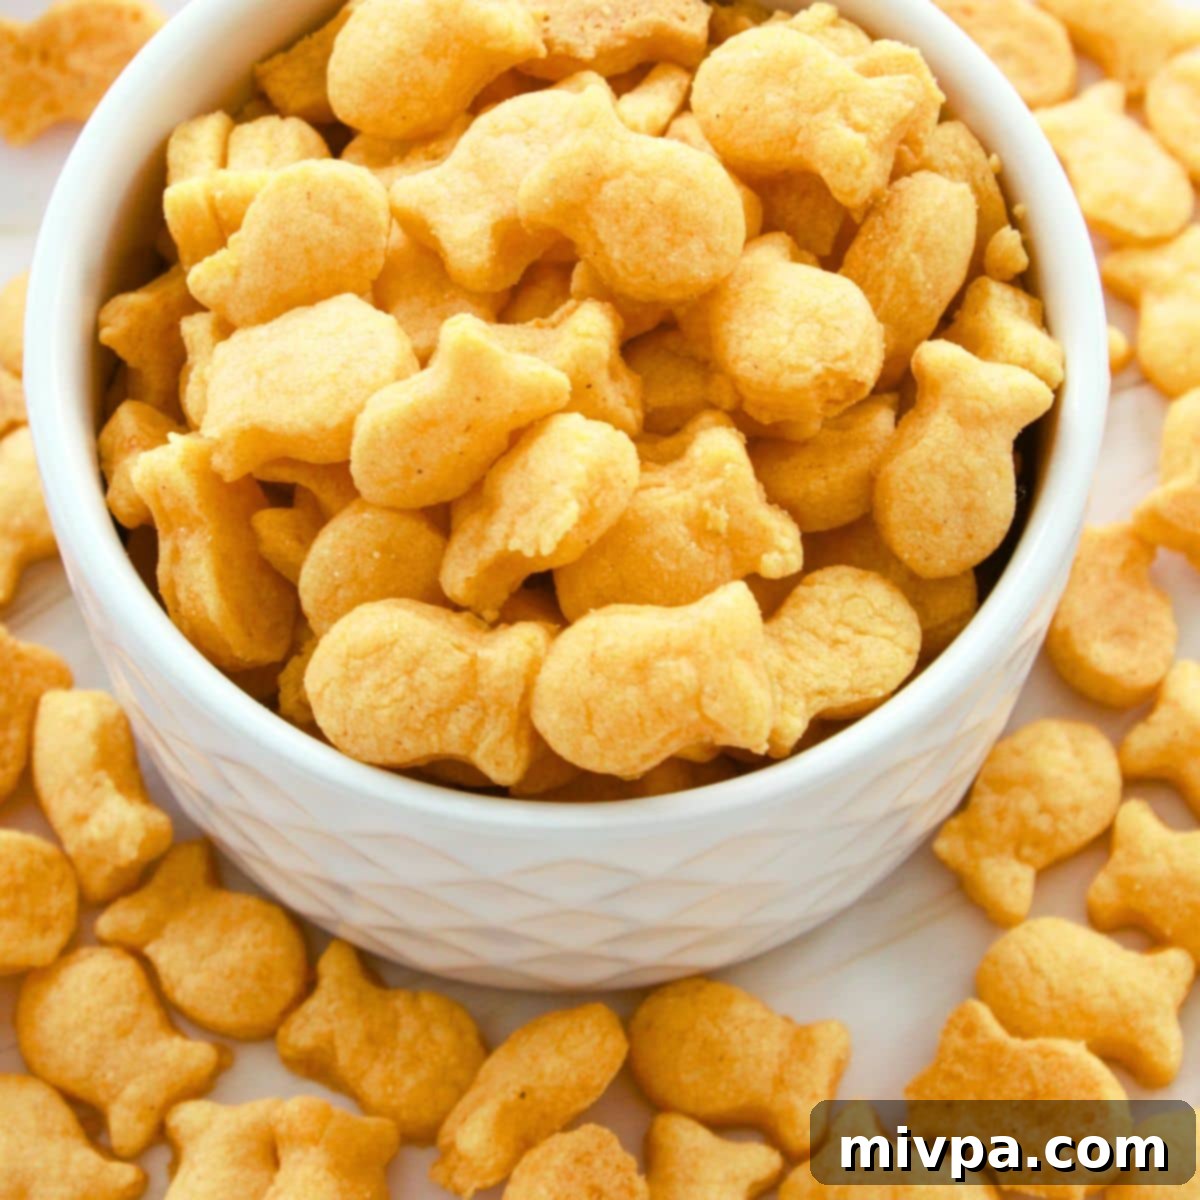
The Best Homemade Gluten-Free Goldfish Crackers (Copycat Recipe with Dairy-Free Option)
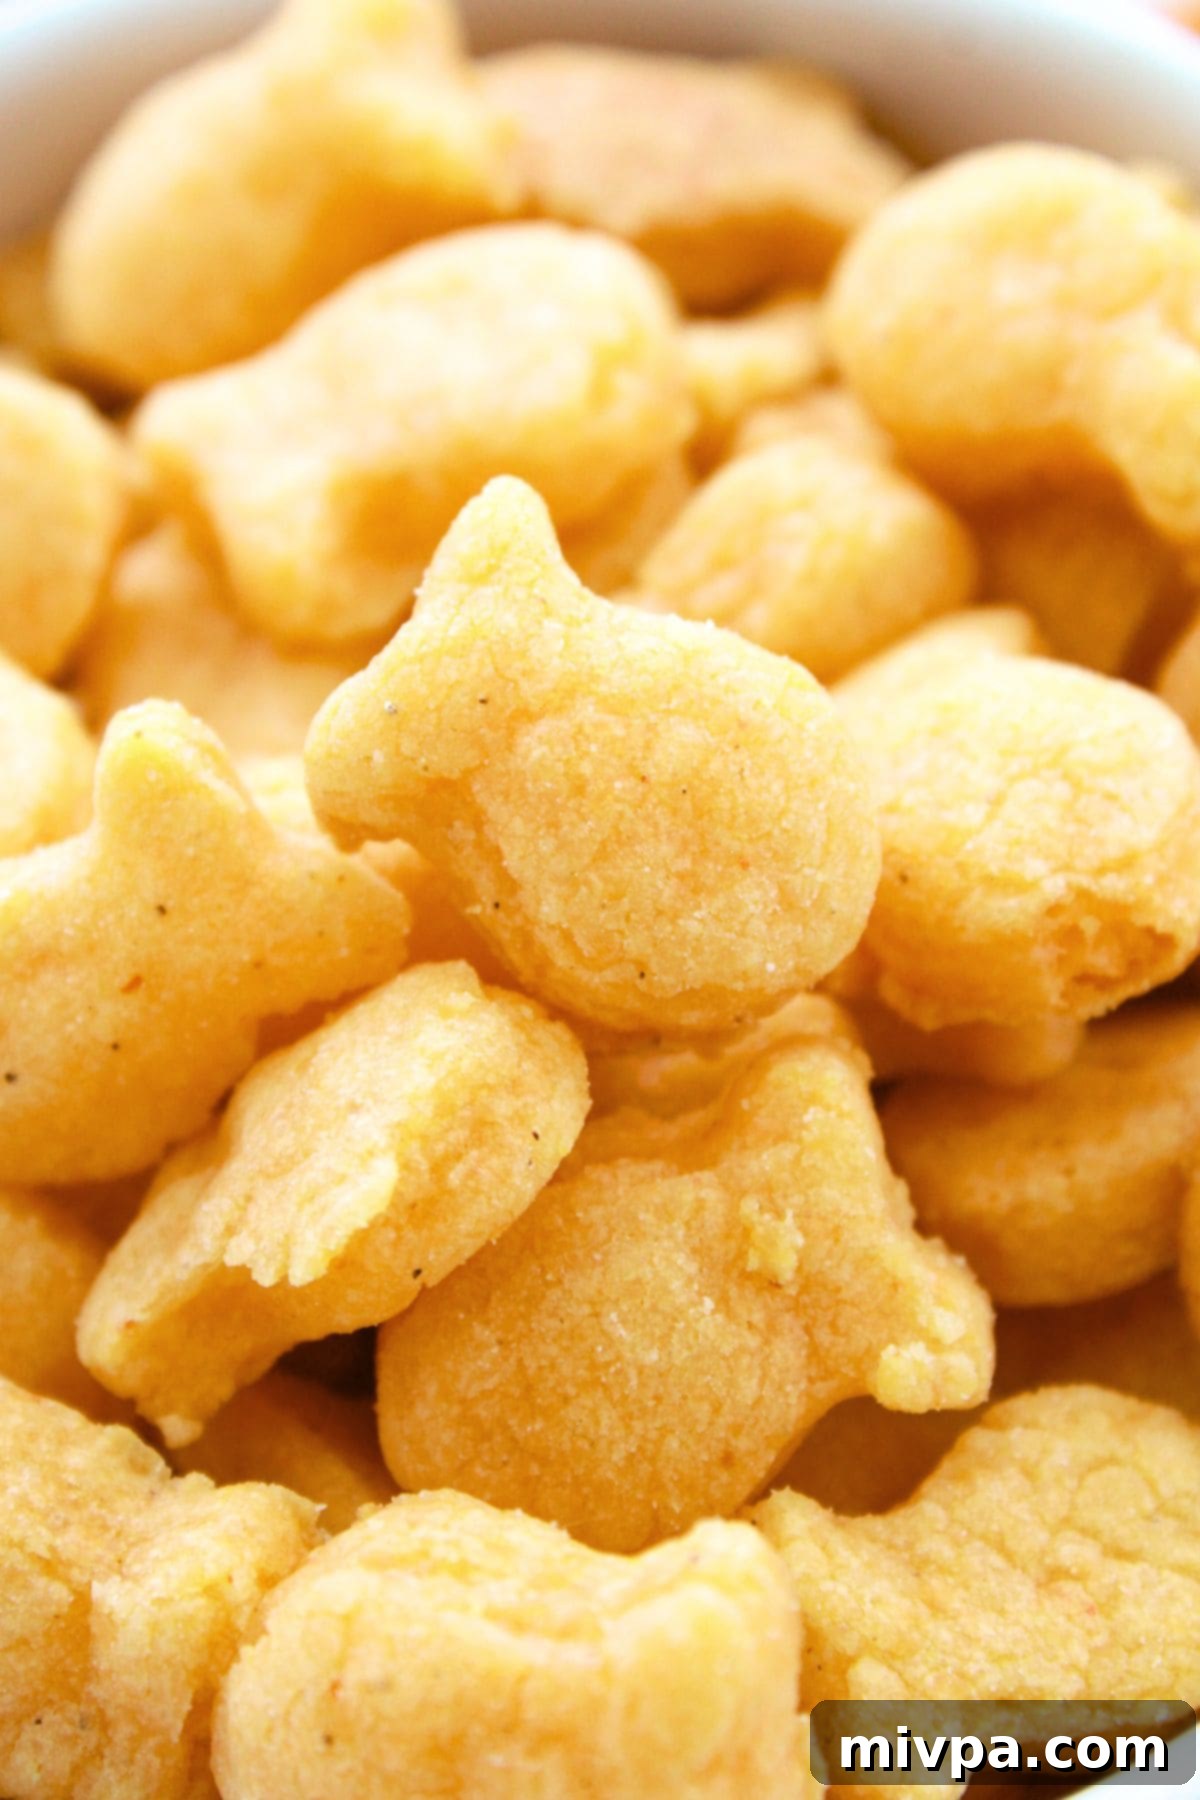
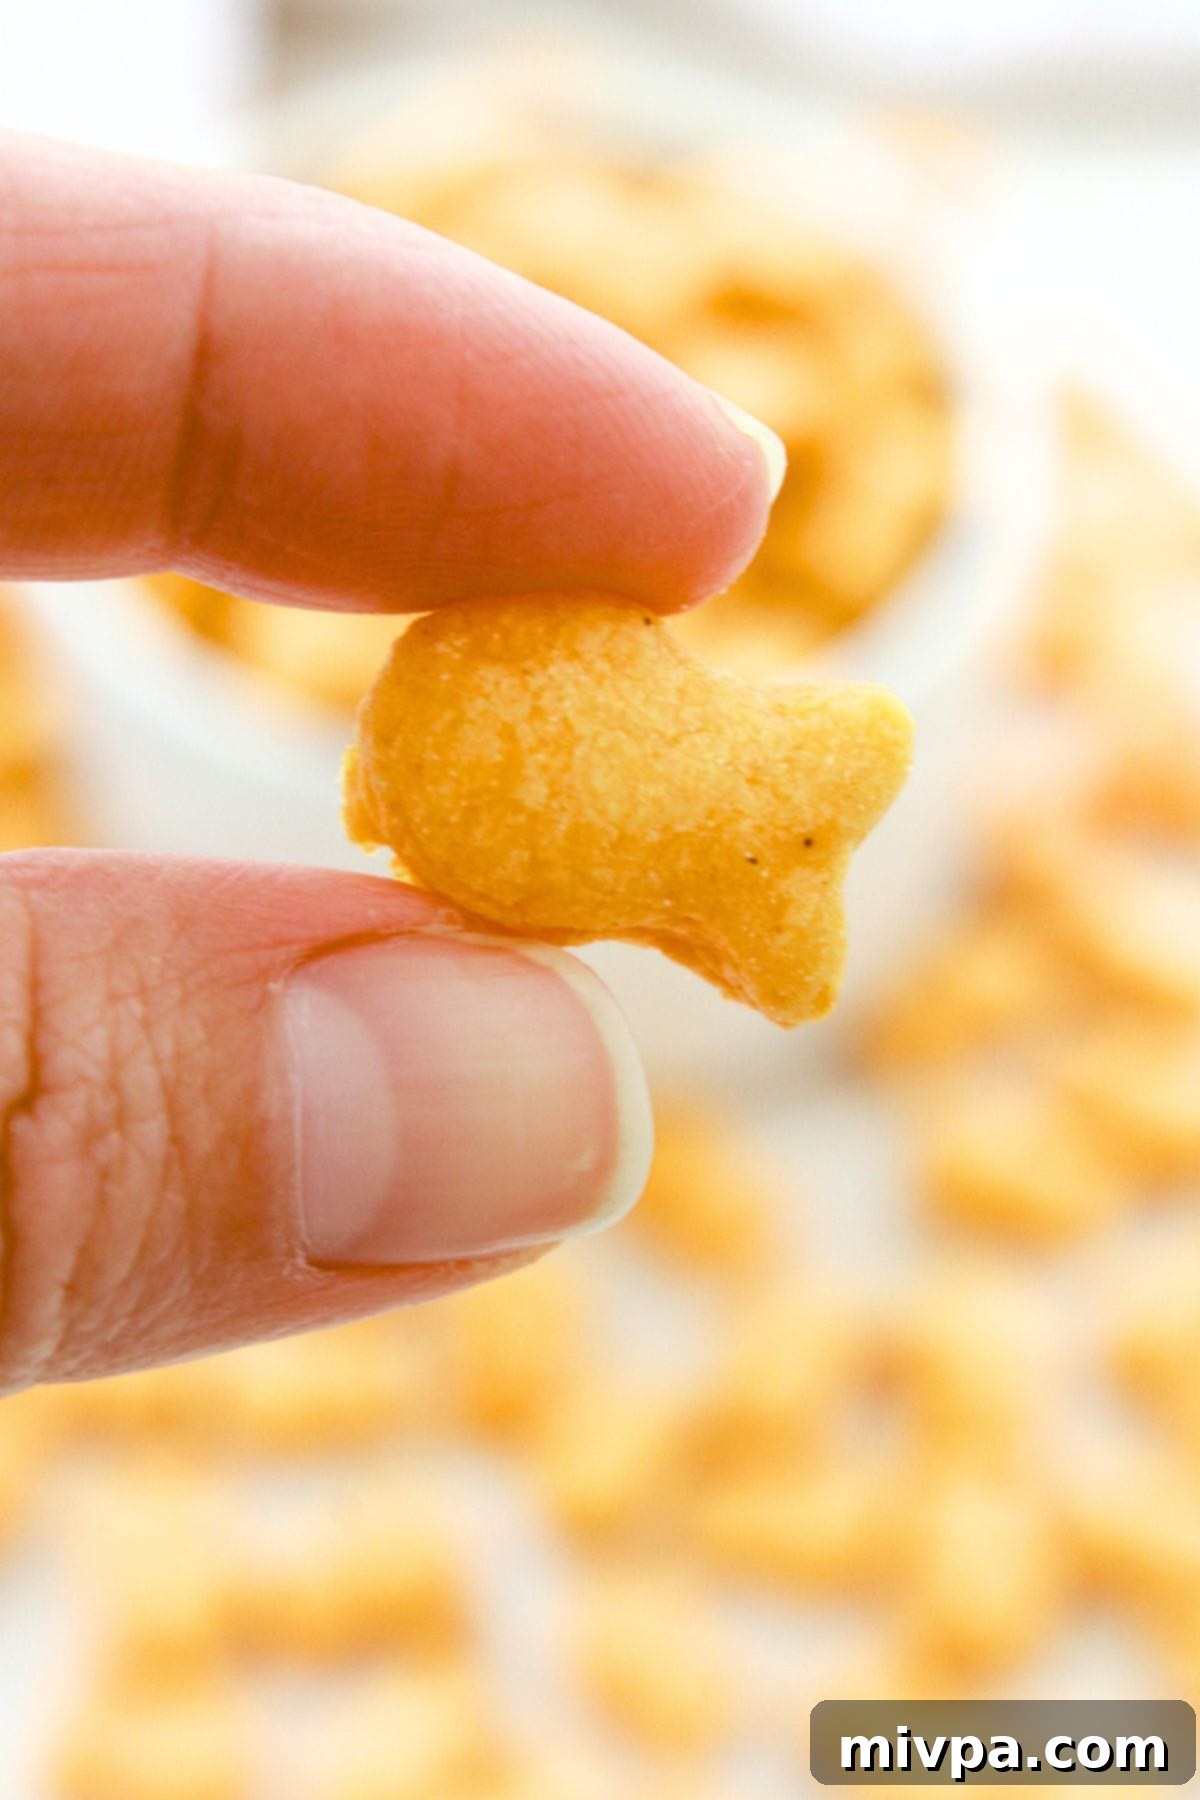
Craving that classic cheesy crunch? These super cute homemade gluten-free goldfish crackers are a perfect copycat version of our beloved childhood snack. Get ready for a light, airy, and incredibly crispy texture, absolutely packed with rich cheddar flavor, all without a trace of gluten! Plus, we’ve made it super easy to prepare them dairy-free too. Say goodbye to store-bought and hello to your new favorite homemade snack. Go bake a batch today and rediscover the joy of these iconic fish-shaped treats!
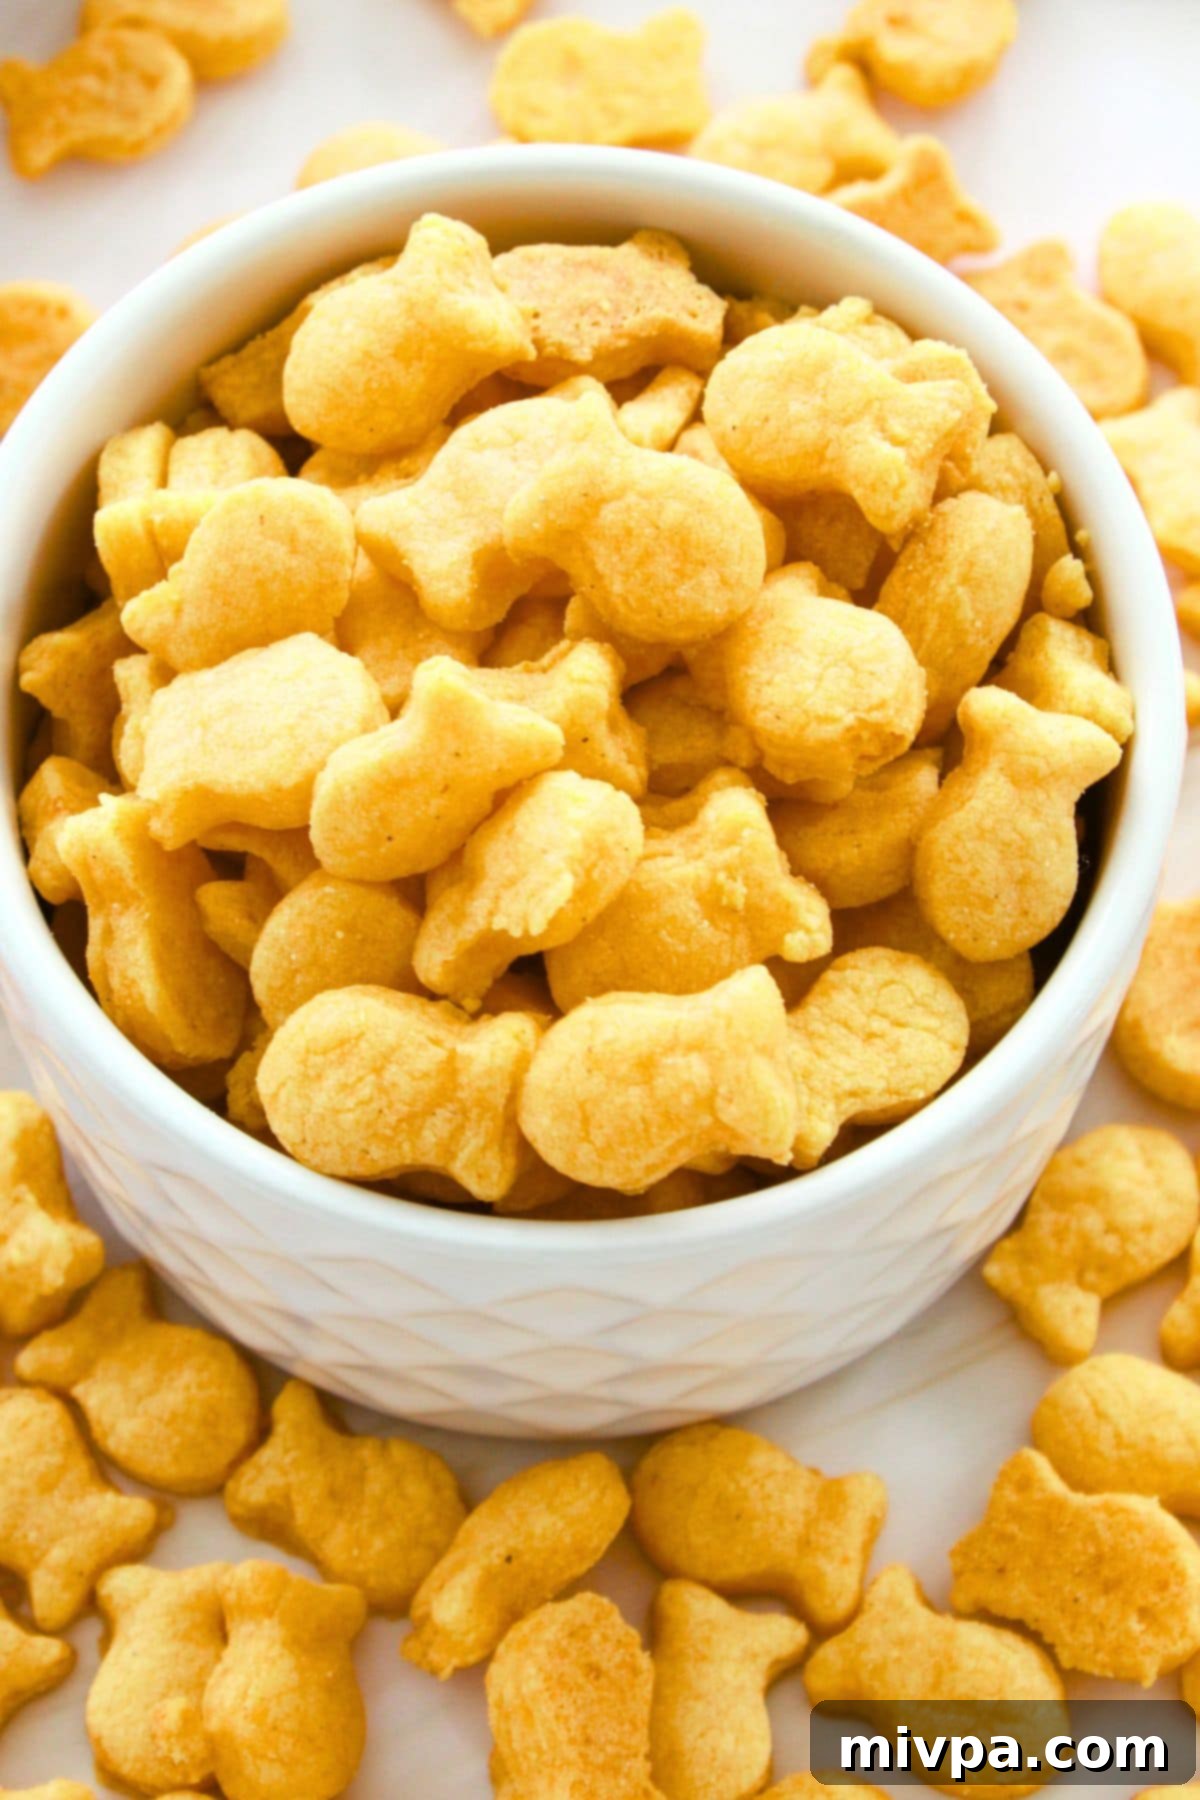
Recreating a Childhood Classic: Gluten-Free Goldfish Crackers!
Few snacks evoke the warm nostalgia of childhood quite like a handful of cheesy goldfish crackers. I distinctly remember the pure joy of grabbing those tiny, smiling fish with my eager little fingers and munching away. The iconic Pepperidge Farm goldfish crackers were a staple in lunchboxes and after-school routines for so many of us, creating fond memories that truly stand the test of time.
However, for those navigating a gluten-free diet, this beloved classic has been off-limits. The original recipe relies on wheat flour, making it impossible for individuals with Celiac disease, gluten sensitivity, or those simply choosing a gluten-free lifestyle to enjoy this perfect snack. This can often lead to a feeling of missing out on simple pleasures.
But today, that changes! I’m thrilled to share a fantastic homemade gluten-free copycat recipe for these cheesy cheddar goldfish crackers that everyone can finally enjoy. This recipe allows you to recreate that same crispy texture, savory flavor, and undeniable cuteness right in your own kitchen. Prepare to take a delicious trip down memory lane and enjoy a snack that truly brings smiles to all faces, without any dietary worries!
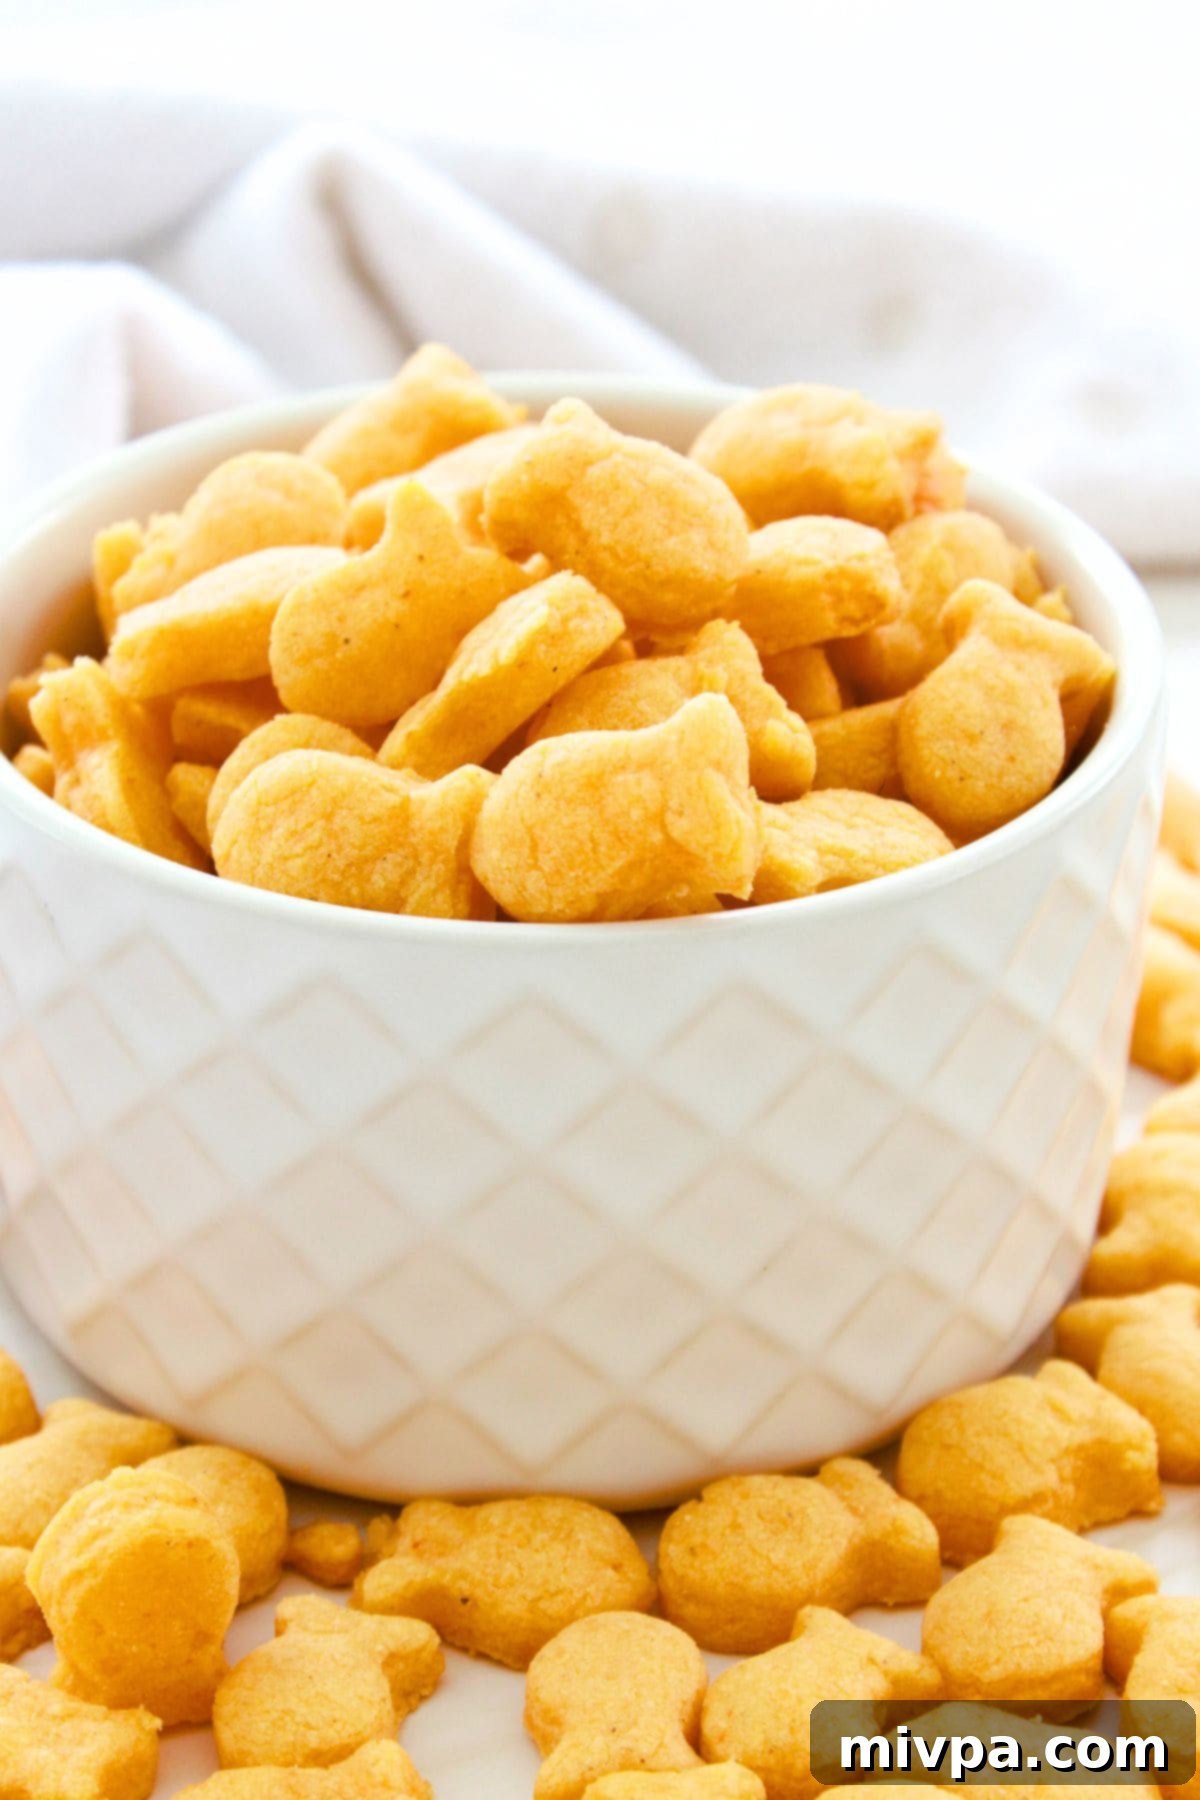
Why You’ll Adore These Homemade Gluten-Free Goldfish Crackers:
- Simple, Wholesome Ingredients: You’ll be amazed at how easily these delectable gluten-free goldfish puffs come together with ingredients you can find at any local grocery store. Forget obscure specialty items – we keep it simple and accessible, ensuring you can whip up a batch whenever the craving strikes without a scavenger hunt for exotic flours or cheeses. Every ingredient plays a crucial role in delivering that authentic, cheesy flavor and perfectly crisp texture.
- Effortlessly Easy to Make: Don’t be intimidated by the idea of homemade crackers! Preparing the dough is a breeze, especially with the help of an electric blender or a food processor – making it a quick and mess-free process. The best part? There’s absolutely no lengthy dough-chilling time required, which means you can go from mixing bowl to baked crackers in record time. Just roll out the dough, cut your shapes, and bake! While a goldfish-shaped cutter adds to the fun, if you don’t have one or prefer a different look, any small cookie cutter or even a knife for squares works beautifully.
- Completely Gluten-Free with Delicious Dairy-Free Options: This is where this recipe truly shines! Our homemade goldfish cracker recipe is 100% gluten-free, making it a safe and delicious choice for anyone with Celiac disease or gluten sensitivities. But we didn’t stop there – we’ve also included easy dairy-free options, allowing those with lactose intolerance or a vegan diet to savor every cheesy bite. This ensures that everyone, regardless of their dietary needs, can enjoy this fantastic, flavorful snack without compromise.
- Irresistible Taste and Texture: Beyond just being gluten-free, these crackers deliver on taste and texture. They’re light, airy, and boast that satisfying crispy crunch that makes store-bought goldfish so addictive. The rich cheddar flavor shines through, making them an incredible snack on their own, or perfect for dipping.
- Customizable for Your Preference: Want to add a little spice? A hint of garlic? This recipe is incredibly versatile. We’ll share tips on how to adapt the flavors to your liking, ensuring you can make these crackers uniquely yours.
Essential Ingredients for Your Gluten-Free Goldfish Crackers:
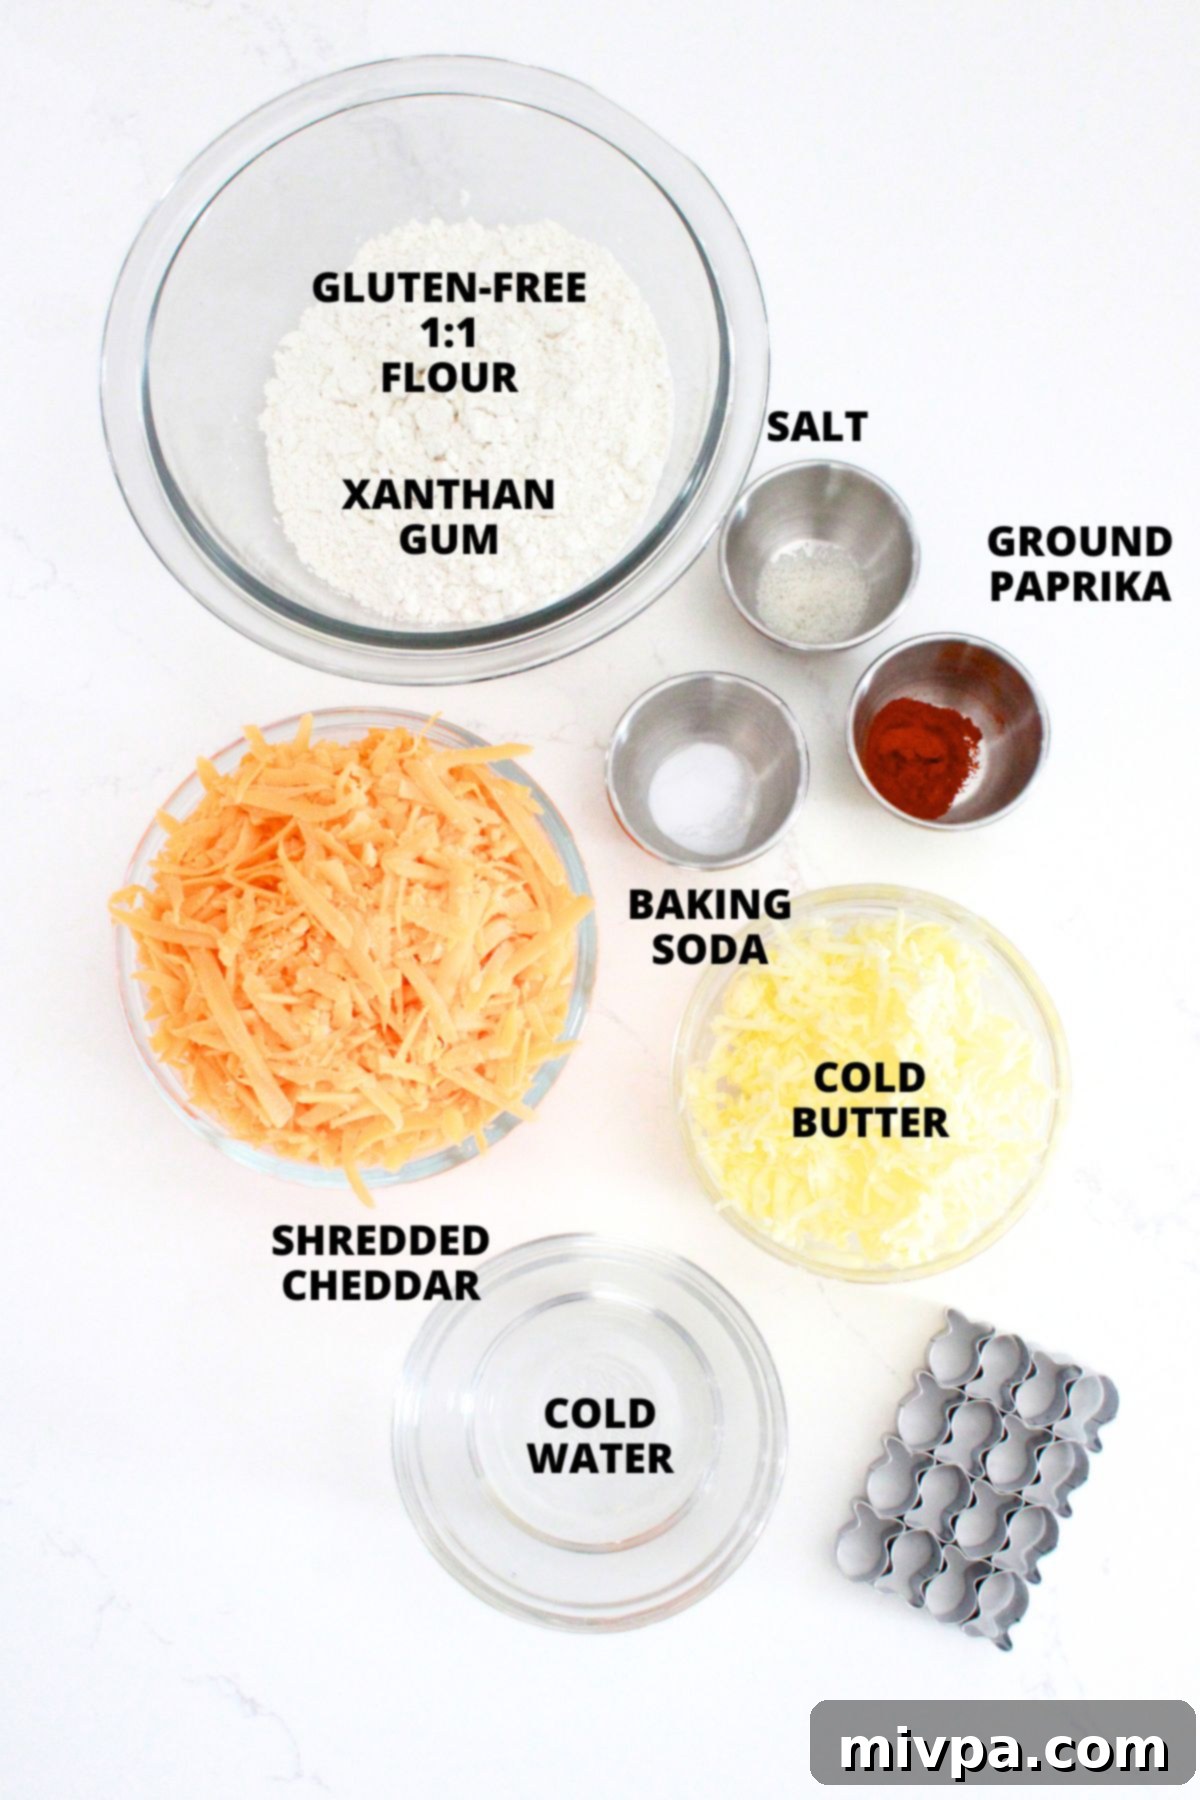
Gathering your ingredients is the first exciting step to making these delightful homemade goldfish crackers. Here’s a visual overview of everything you’ll need to create this cheesy, crispy snack right in your kitchen. Rest assured, all these items are commonly available at most grocery stores, making your baking journey smooth and stress-free.
(For precise measurements and a detailed ingredient list, please scroll down to the printable recipe card at the bottom of this post.)
Important Recipe Notes and Savvy Substitutions:
To ensure your gluten-free goldfish crackers turn out perfectly crispy, cheesy, and utterly delicious, pay close attention to these important notes and potential substitutions:
- Gluten-Free Flour Blend: The type of gluten-free flour you use significantly impacts the final texture. For this gluten-free version of goldfish, I highly recommend opting for a good-quality gluten-free 1:1 baking flour blend. Look for blends that are specifically formulated as a 1:1 substitute for regular wheat flour and are primarily made up of lighter flours and starches. Think ingredients like rice flour, tapioca starch, corn starch, or potato starch. These lighter components are crucial for achieving that desirable light, airy, and crispy texture we all love in a cracker. Avoid blends that prominently feature heavier flours such as garbanzo bean flour (chickpea flour), as these tend to result in a much denser, less appealing cracker.
- Xanthan Gum: This ingredient is a game-changer for gluten-free baking. Xanthan gum acts as a replacement for the gluten that would normally be present in wheat flour, providing essential binding properties. It helps to hold the cracker dough together, preventing it from crumbling and ensuring a cohesive texture. If your chosen gluten-free flour blend already lists xanthan gum in its ingredients, you can confidently omit adding it separately. However, if it’s not present, including it is vital for the success of your crackers.
- Baking Soda: In this recipe, baking soda is the sole leavening agent responsible for giving our crackers their delicate lift and airy quality. It reacts with the acidic components in the cheese and other ingredients to create small pockets of air within the dough. This reaction contributes significantly to the light and crispy texture we’re aiming for. Ensure your baking soda is fresh and active for the best results.
- Ground Paprika: Beyond just flavor, ground paprika plays a key role in achieving that signature orange-yellow hue that makes goldfish crackers so recognizable. You don’t need a lot – just a small amount is enough to impart a beautiful, inviting color to the dough. While it adds a subtle, earthy undertone, its primary purpose here is aesthetic, mimicking the classic look.
- Cold Butter (and Dairy-Free Option): The temperature of your butter is paramount for achieving a flaky, airy texture. It is absolutely essential that your butter is very cold and grated using the smallest holes on a box grater. The cold butter will remain in tiny pieces within the dough during mixing, creating steam pockets as it bakes. This steam is what gives the crackers their delightful layers and crispness. If the butter melts into the dough prematurely, your crackers will be dense and hard. For those who are lactose-intolerant or prefer a plant-based option, feel free to use a good-quality dairy-free butter (vegan butter) substitute, ensuring it’s also very cold.
- Cold Cheddar Cheese (and Dairy-Free Option): Just like the butter, the shredded cheddar cheese must be kept cold. Cold cheese helps maintain the overall low temperature of the dough, which is vital for the butter to stay in its solid state. You can use pre-shredded cheese for convenience, or shred your own block of cheese right before use. For individuals with dairy intolerance or those following a vegan diet, a high-quality dairy-free cheddar cheese alternative works wonderfully here, contributing that essential cheesy flavor.
- Ice-Cold Water: This is another critical component for maintaining the coldness of your dough. Using ice-cold water (you can even add a small ice cube to your measuring cup before adding water to ensure it’s super chilly) helps prevent the butter from melting as you pulse and knead the dough. The exact amount of water can vary slightly depending on the specific gluten-free flour blend you use, as different blends absorb liquids differently. For instance, when I used Bob’s Red Mill 1:1 Baking Flour, I found an extra tablespoon of cold water was necessary to achieve the perfect dough consistency. Start with the recommended amount and add more in small increments if the dough appears too dry.
How to Make Perfect Gluten-Free Goldfish Crackers (A Step-by-Step Guide):
Making these homemade gluten-free goldfish crackers is a fun and rewarding process. Follow these detailed steps to achieve crispy, cheesy perfection every time!
Phase 1: Prepare the Cracker Dough
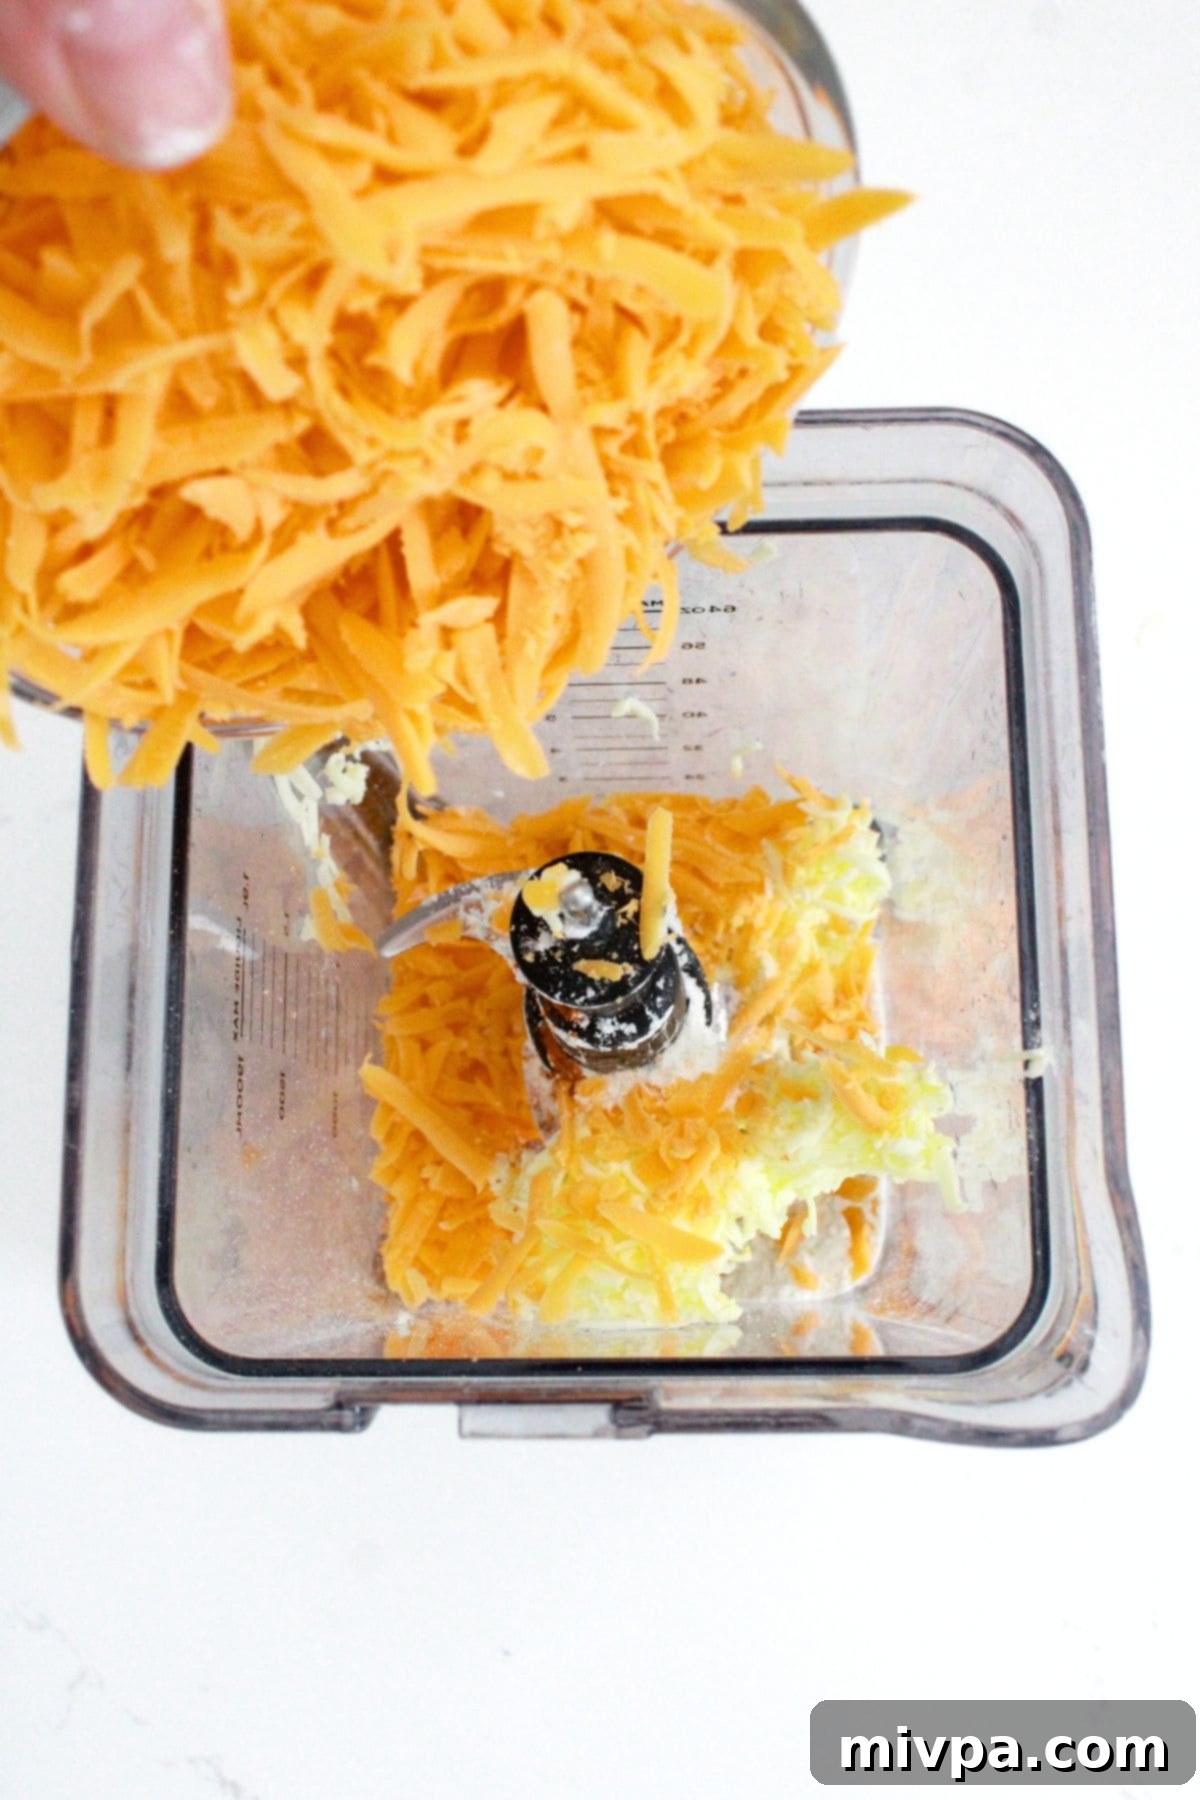
Step 1: Process Dry Ingredients & Butter. Start by combining all your dry ingredients (gluten-free flour, xanthan gum, salt, baking soda, and ground paprika), along with the grated cold butter and cold shredded cheddar cheese, in a high-speed blender or food processor. Pulse these ingredients together until the mixture resembles coarse crumbs. Ensure the butter and cheese remain distinct, small pieces; avoid over-processing at this stage.
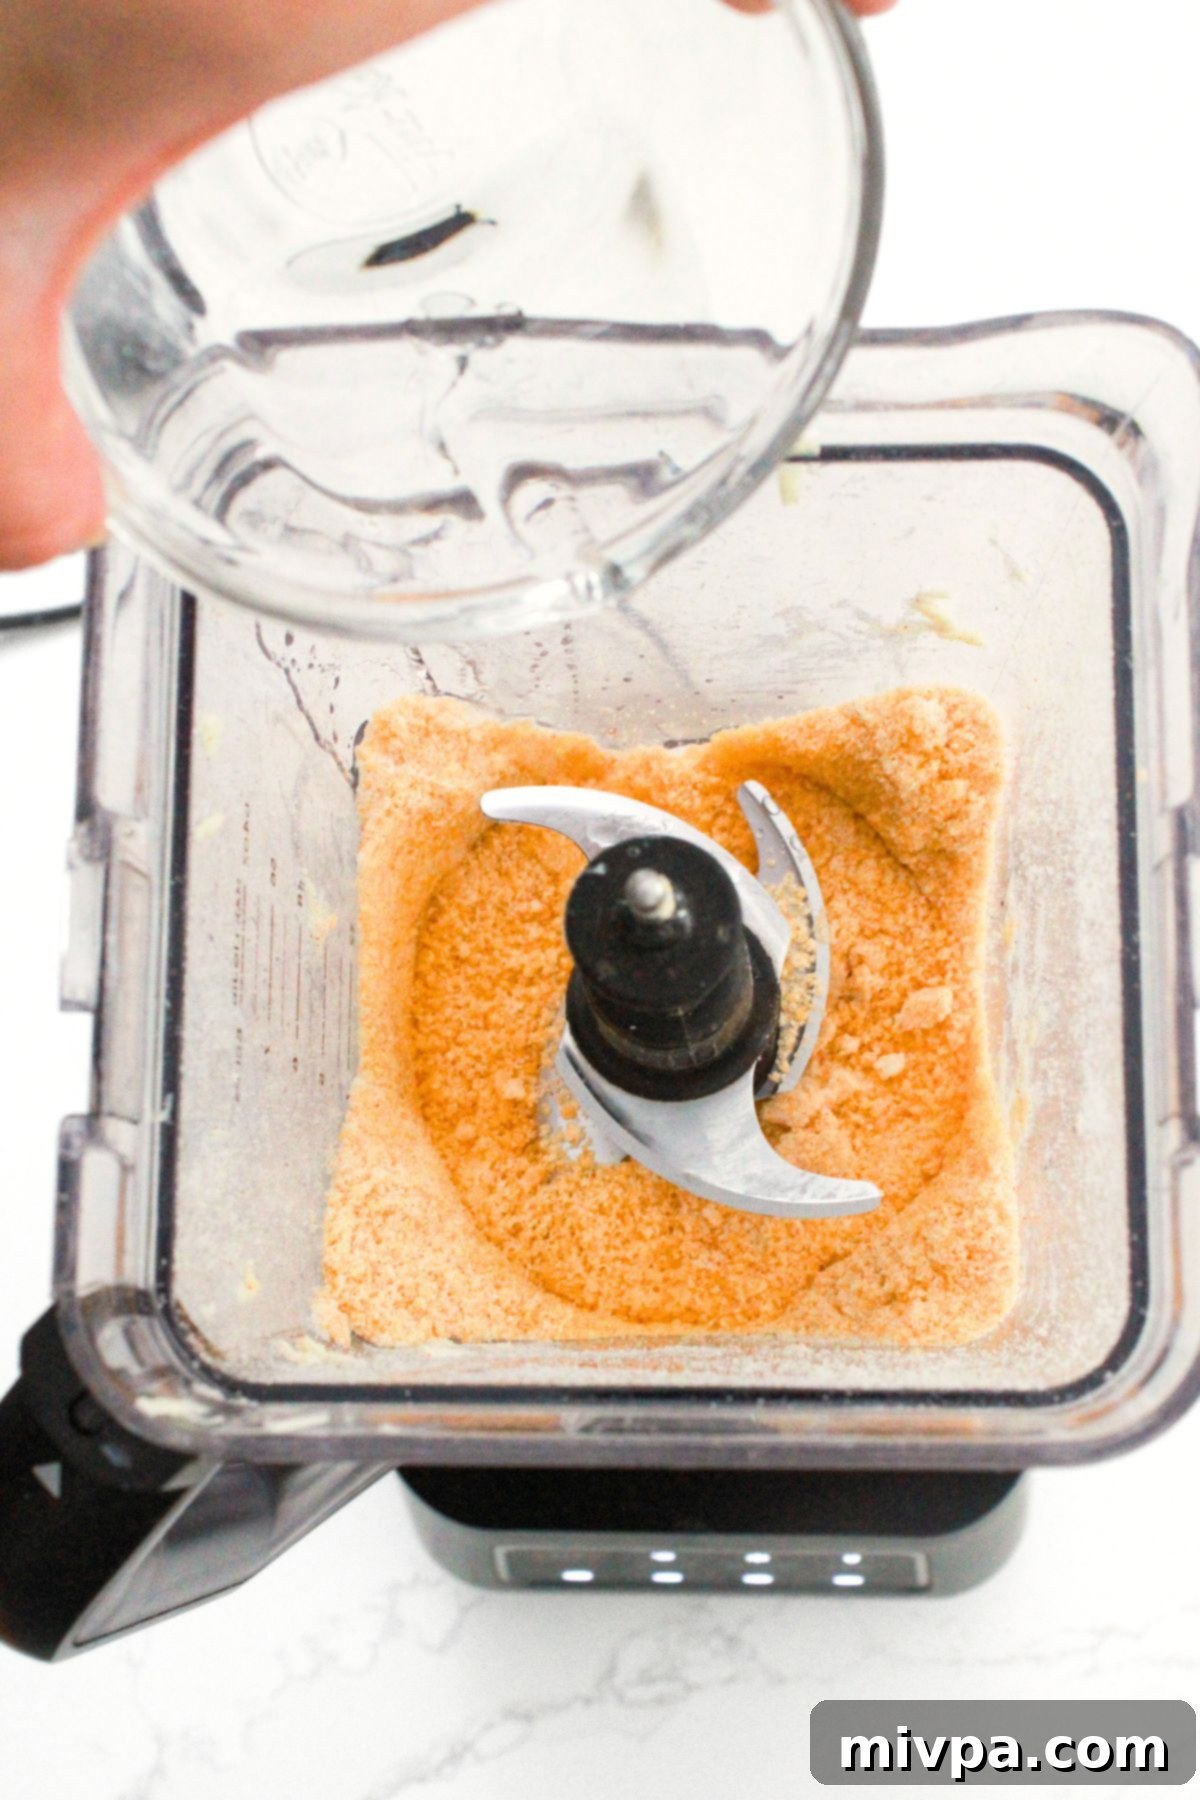
Step 2: Incorporate Ice-Cold Water. Now, add in 2 tablespoons of ice-cold water. Continue to blend or process the mixture (or pour it onto a work surface and knead if using a blender). The mixture should gradually begin to stick together, forming a cohesive, orange-yellow dough. It’s crucial not to add too much water at once. If the dough still appears too dry and crumbly, create a small well in the center and add additional small amounts of ice-cold water, perhaps a teaspoon at a time, until the dough comes together and holds its shape.
Phase 2: Roll Out the Dough to Perfection
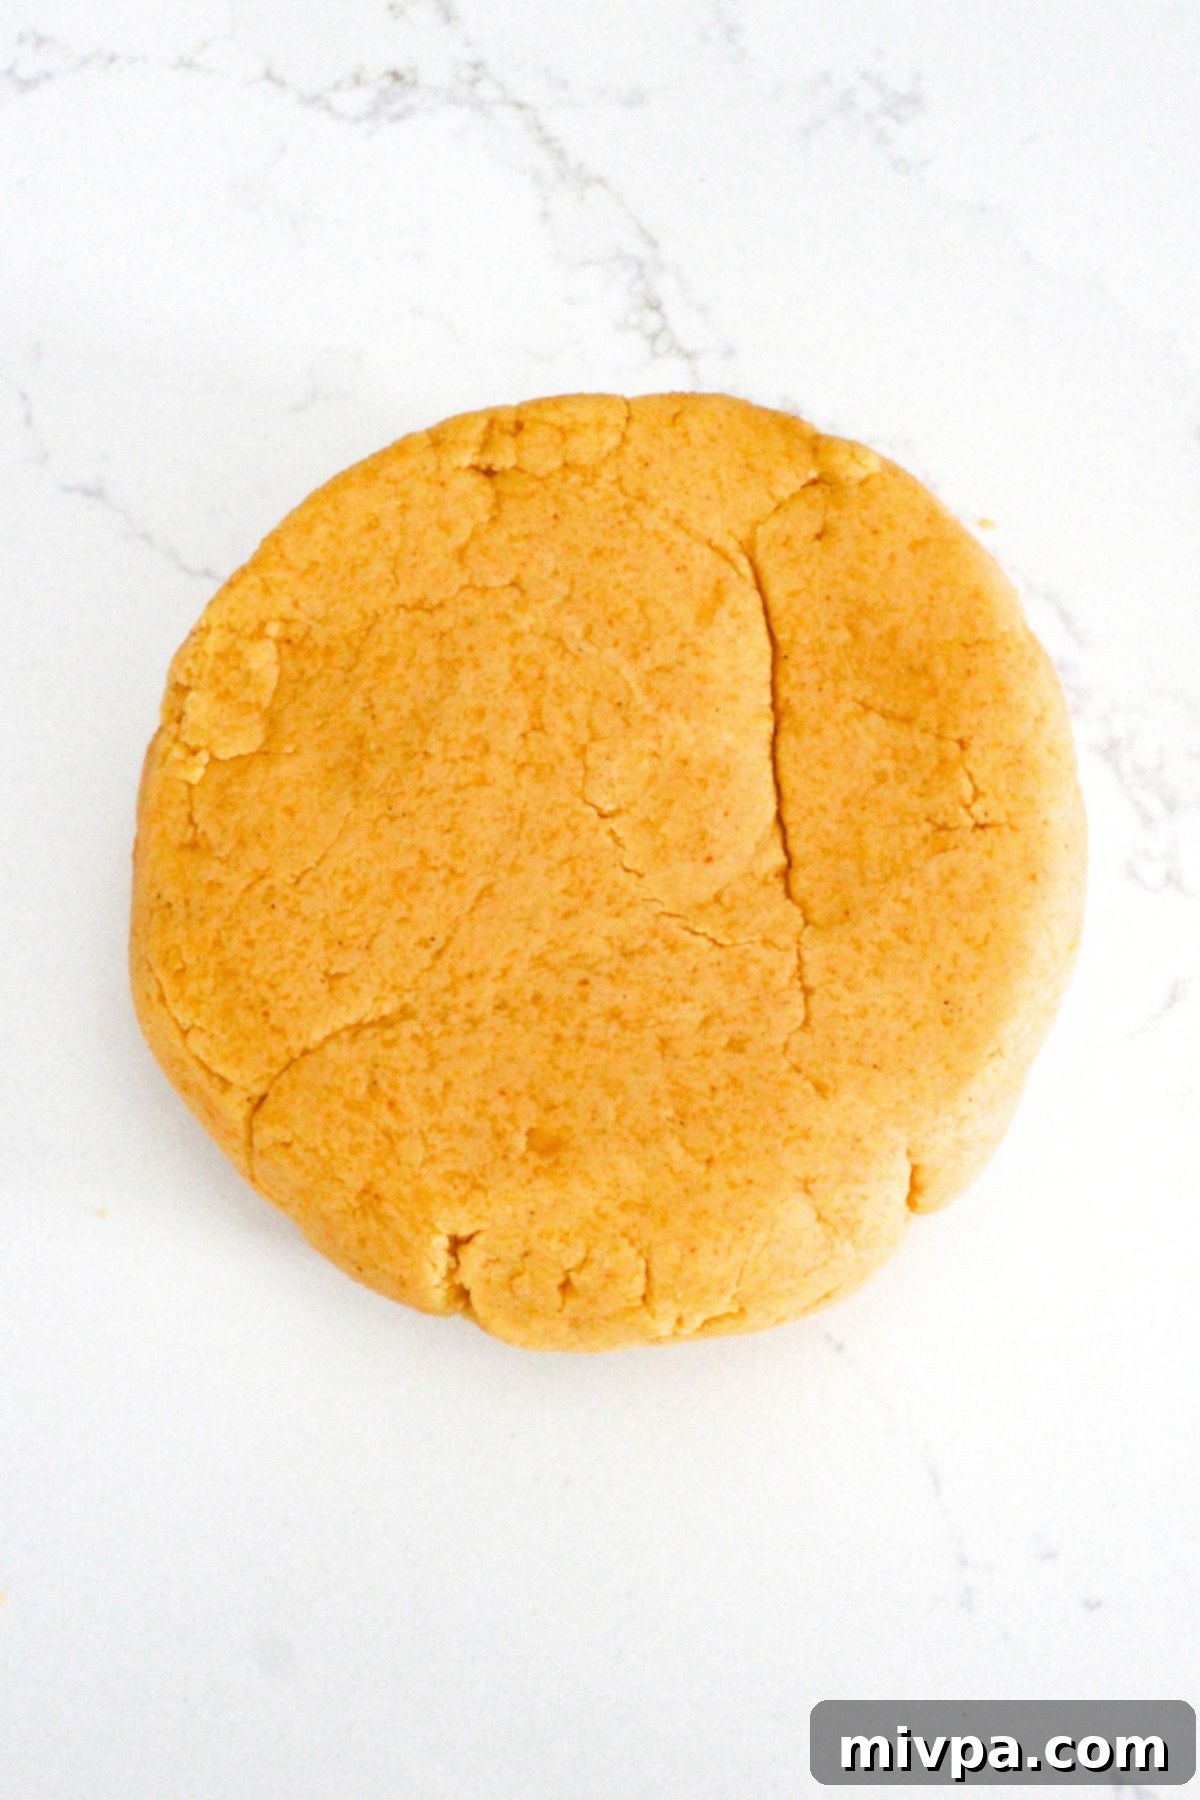
Step 3: Form into a Disc. Once your dough has formed into a pliable, uniform ball, transfer it to a clean work surface. Lightly sprinkle the surface with a small amount of gluten-free flour to prevent sticking. Gently shape the dough into a flat, round disc – this will make it easier to roll out evenly in the next step.
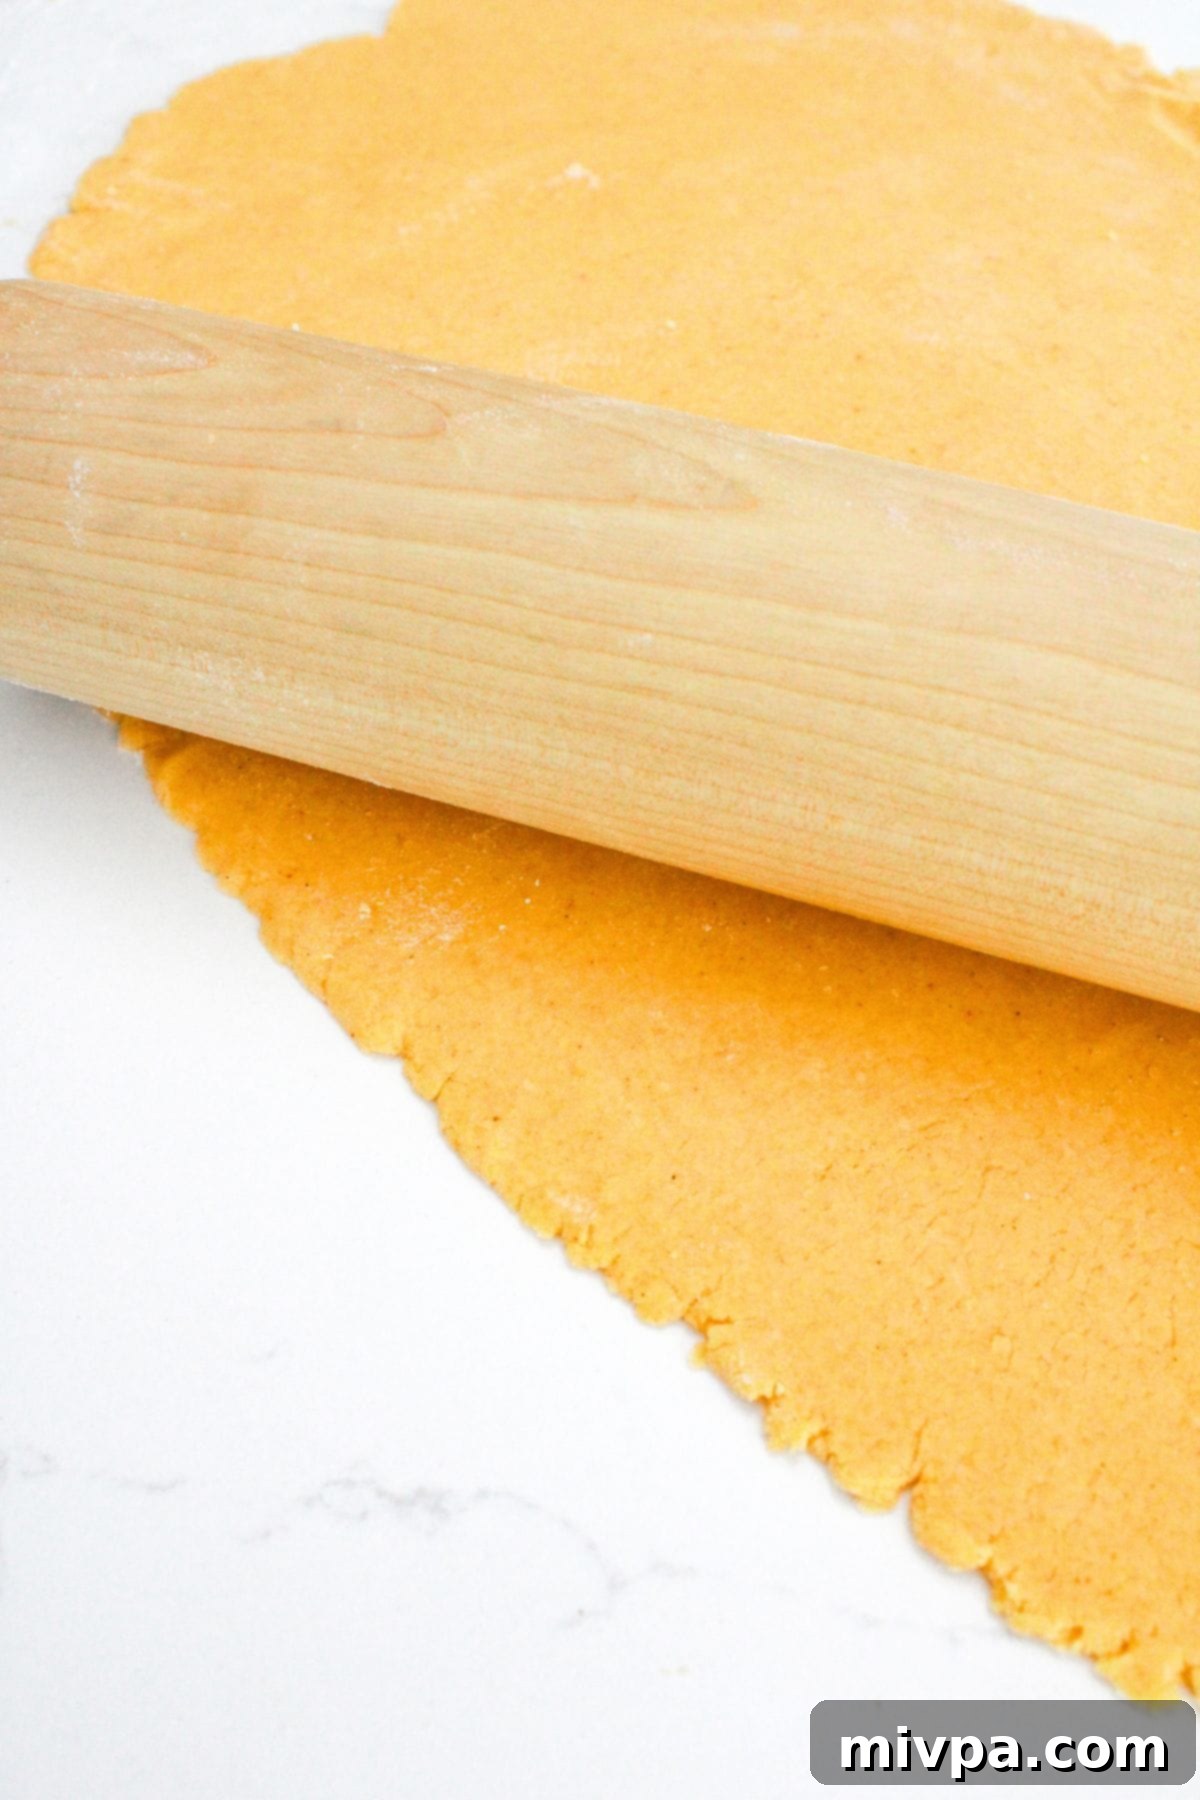
Step 4: Roll the Dough Evenly. Using a rolling pin, carefully roll the goldfish cracker dough out to an even thickness of approximately ¼-inch. Consistency in thickness is key for even baking and a uniform crispness. If the dough starts to stick to your rolling pin or work surface, lightly dust them with a little extra gluten-free flour, but use sparingly to avoid drying out the dough.
Phase 3: Cut & Bake Your Goldfish Crackers
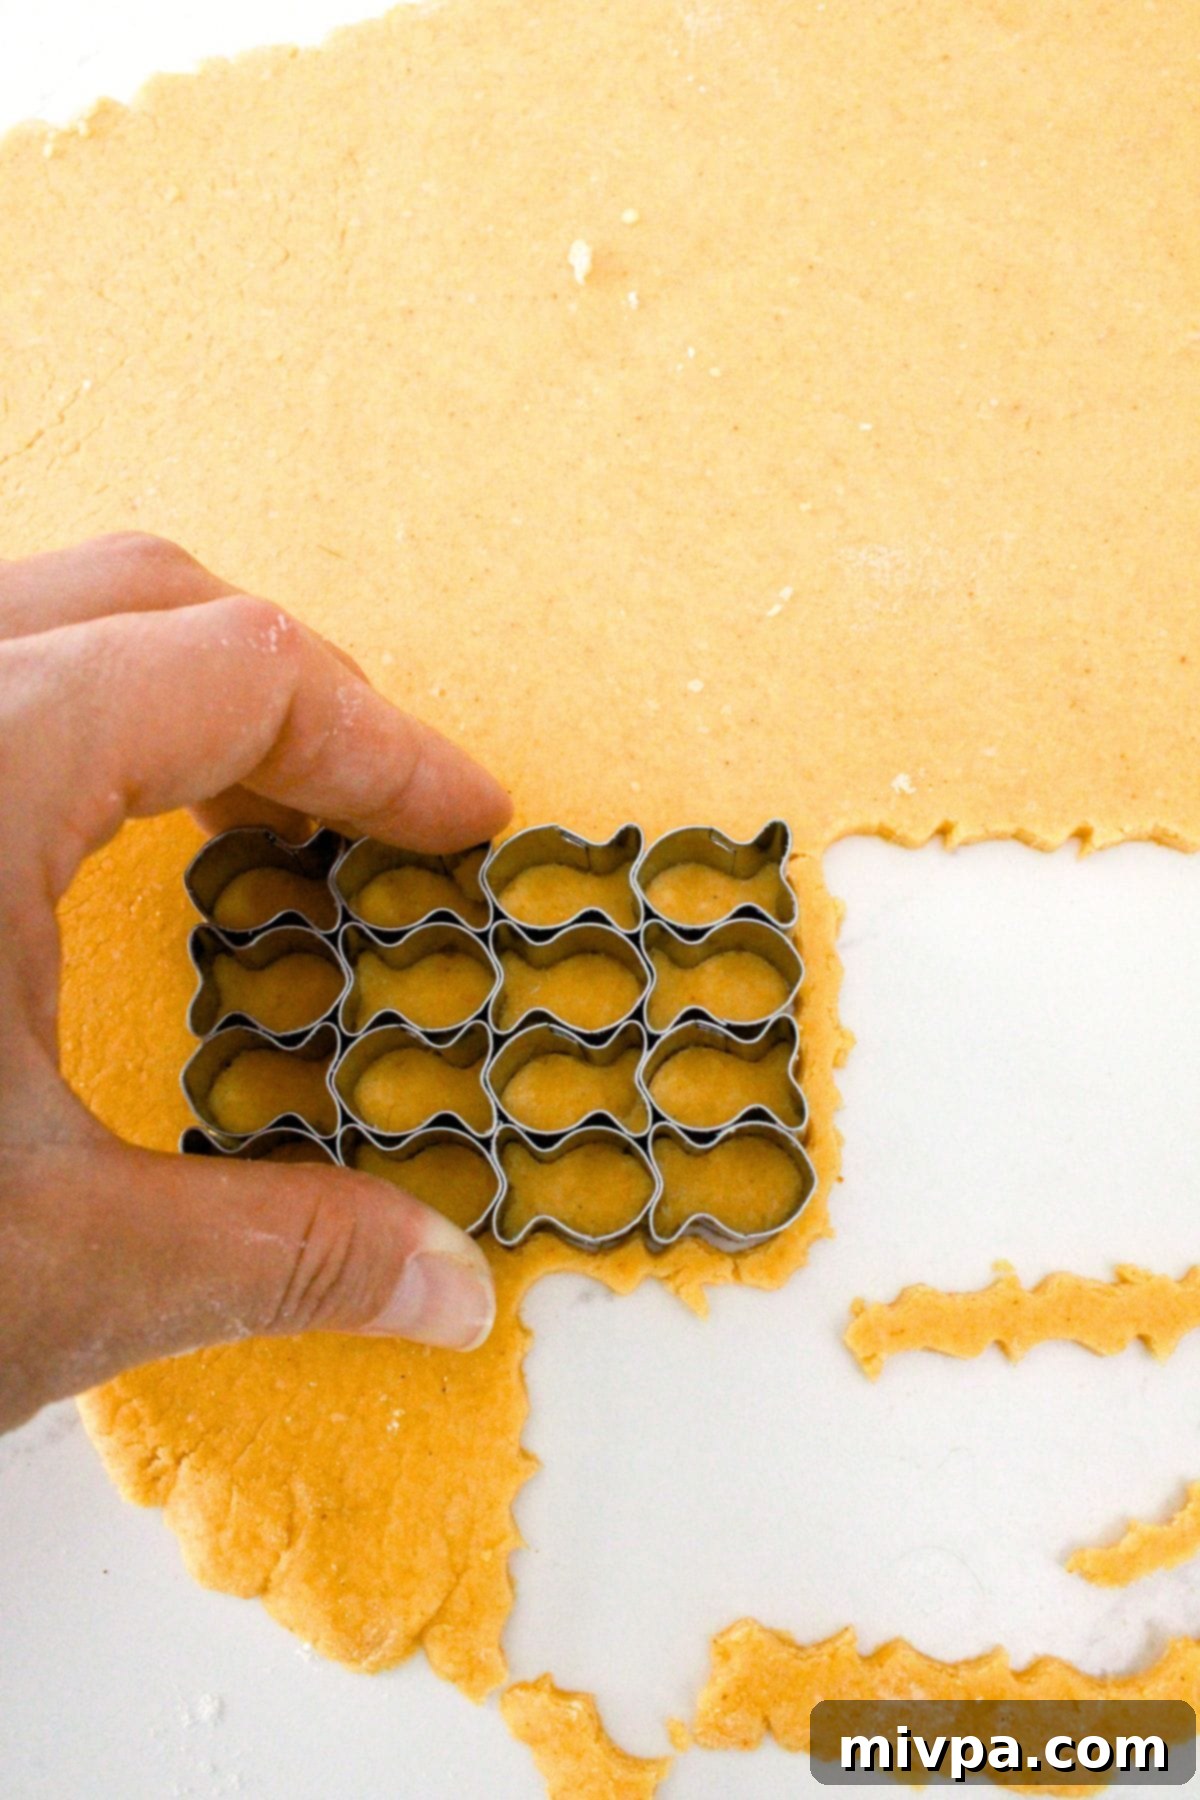
Step 5: Preheat Oven & Cut Shapes. First, preheat your oven to 350°F (175°C) and line two large baking sheets with parchment paper. This prevents sticking and makes cleanup easy. Once the dough is rolled out, use your goldfish cookie cutter to cut out the adorable fish shapes. Carefully transfer these cutouts to your prepared baking sheets, arranging them about ½ inch to 1 inch apart to allow for even airflow and baking. Don’t discard the dough scraps! Gather any remaining pieces, gently re-roll them, and continue cutting out more shapes until all the dough is utilized.
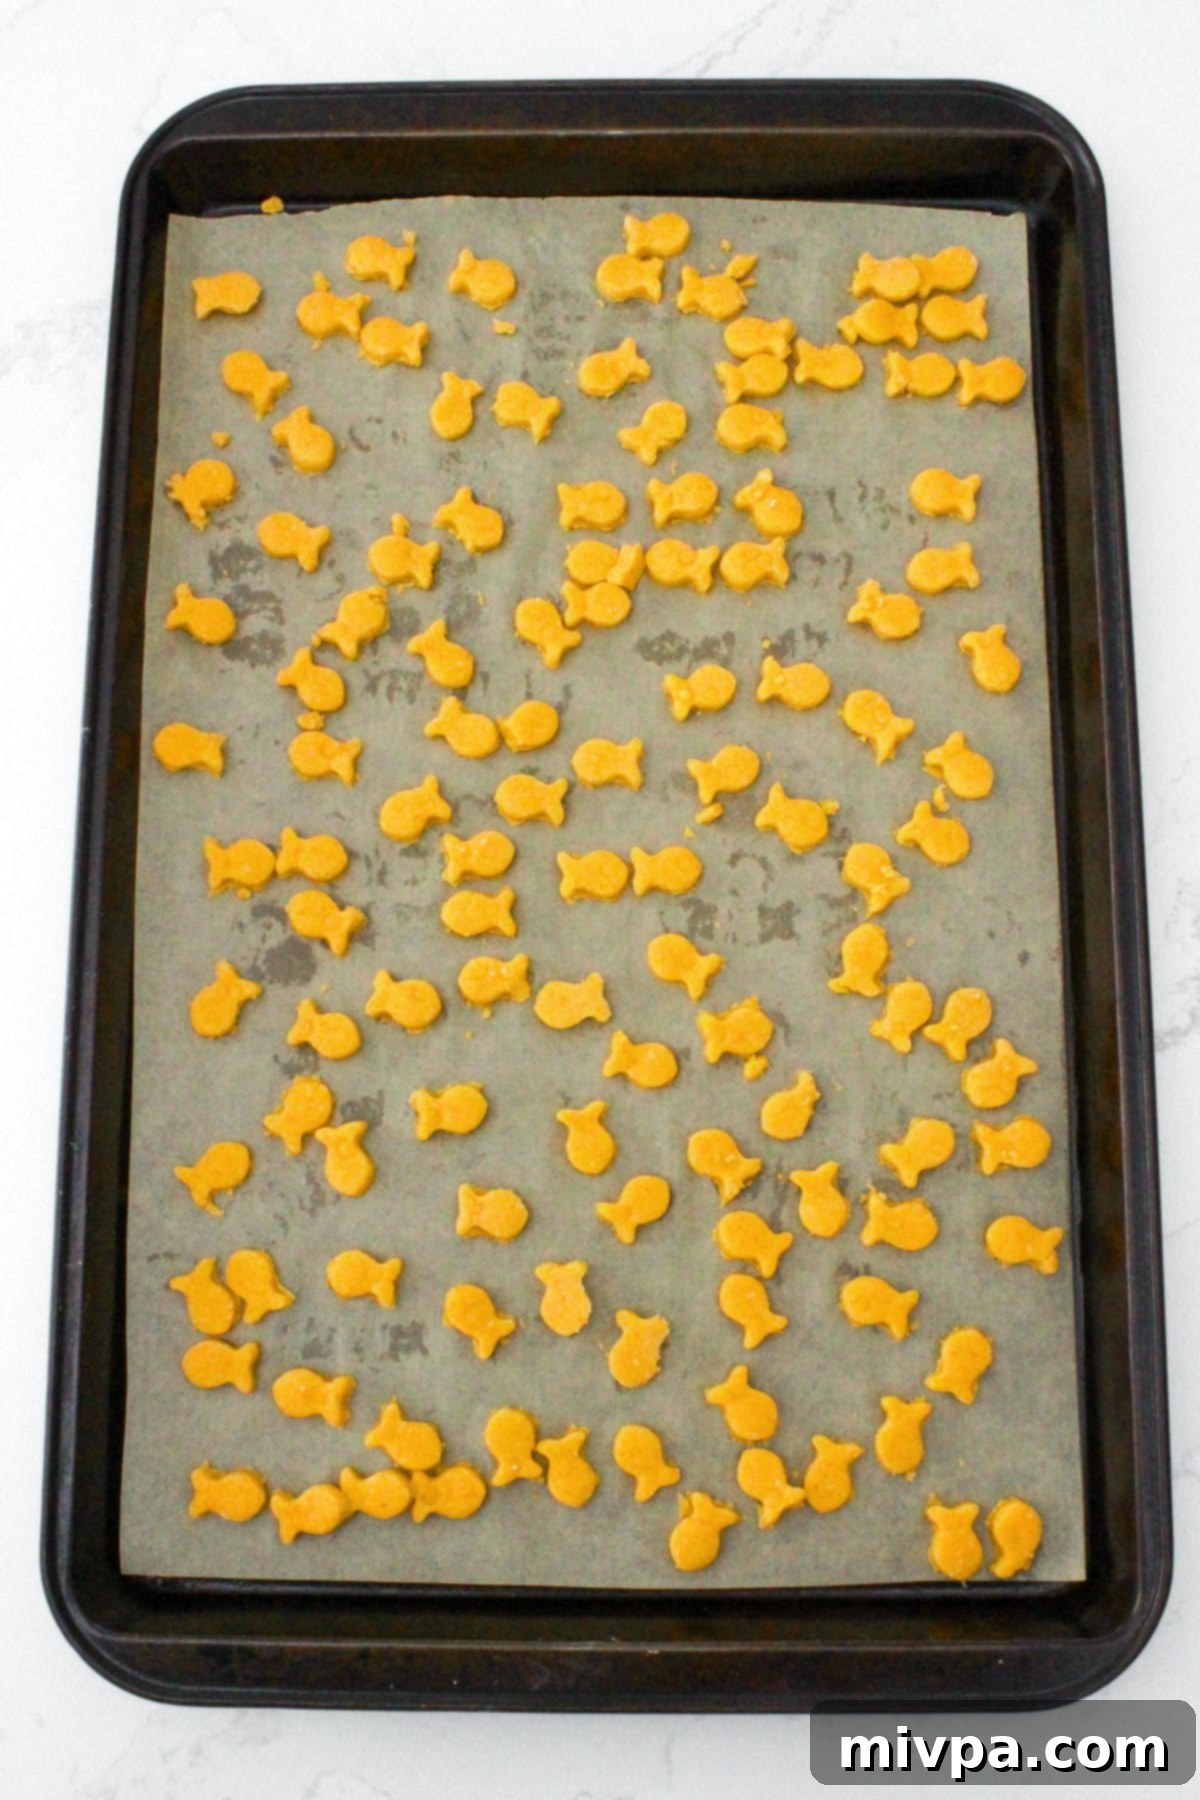
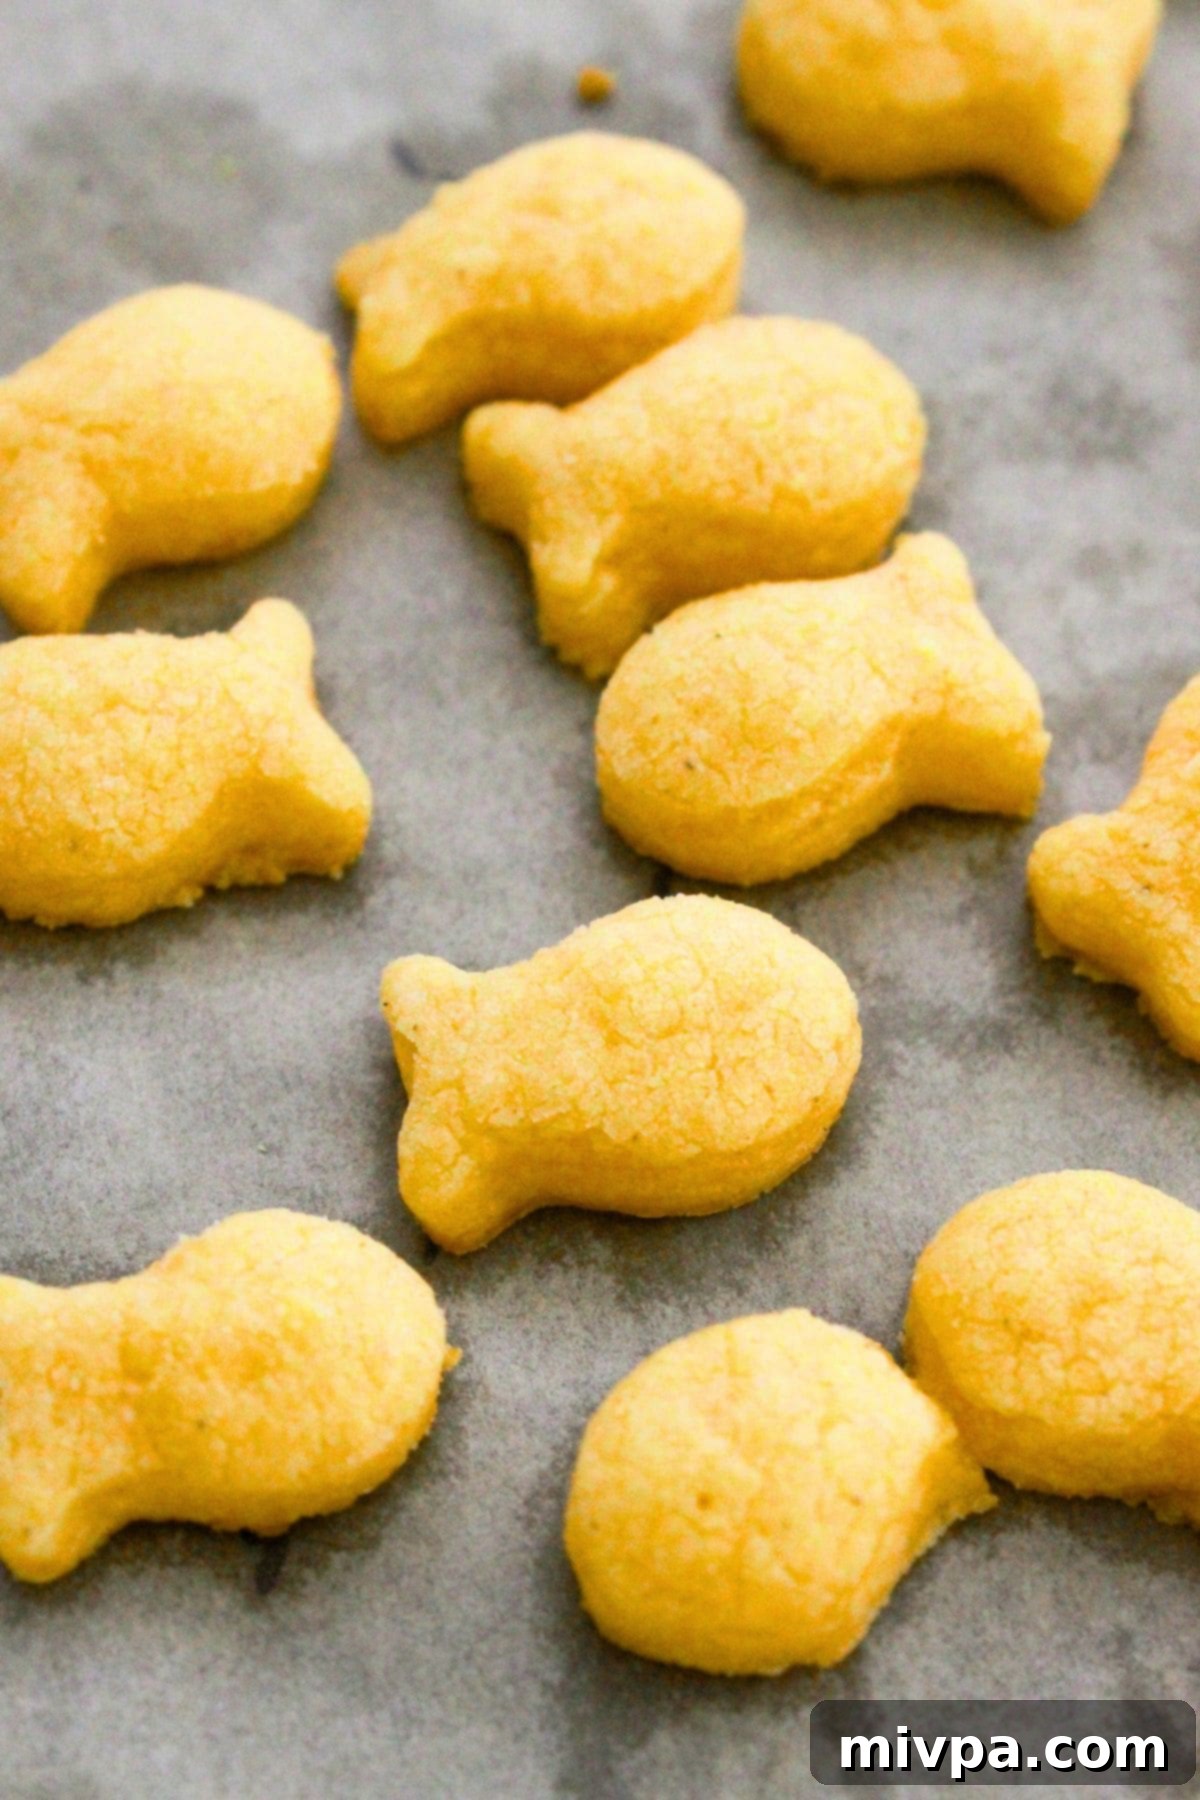
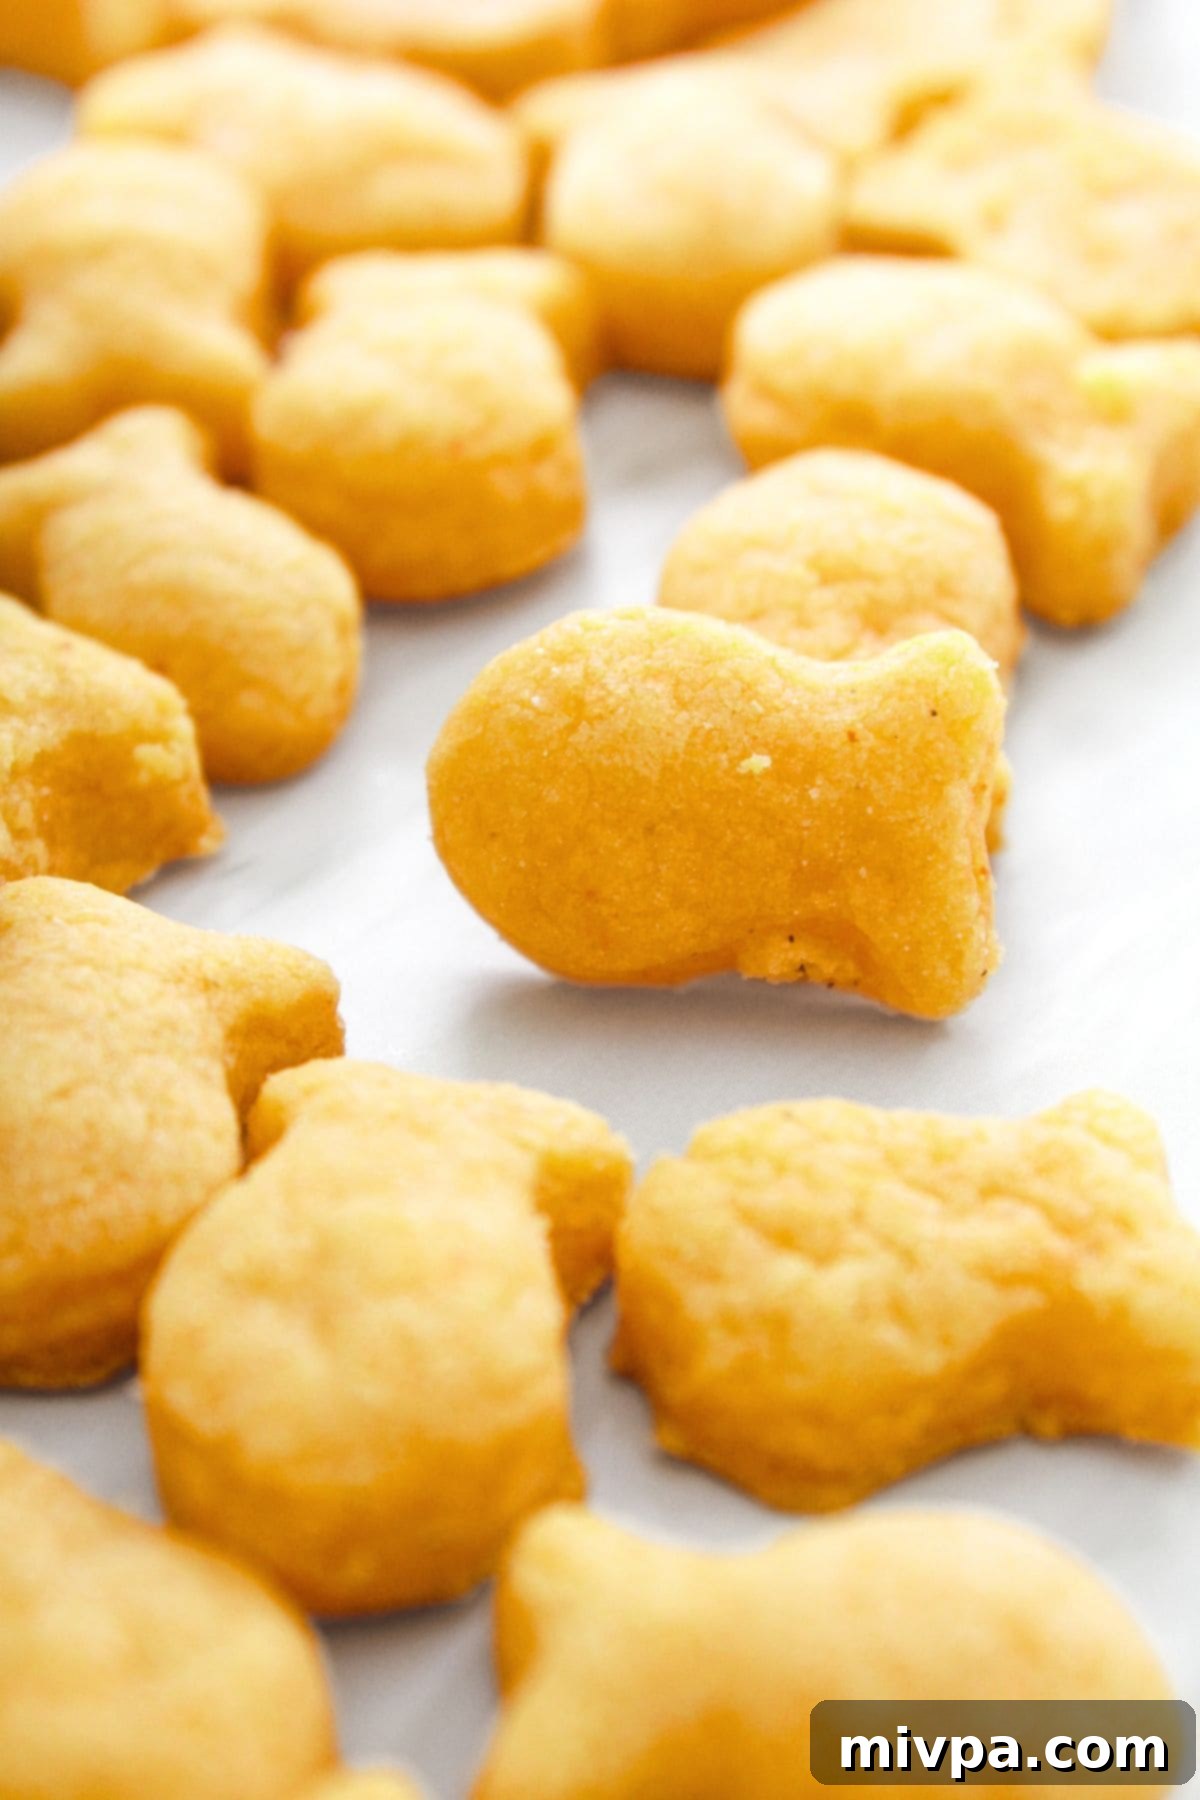
Step 6: Bake to Golden Perfection. Place your baking sheets in the preheated oven and bake at 350°F (175°C) for approximately 12 minutes, or until the crackers are beautifully golden brown and firm to the touch. Keep in mind that baking times can vary slightly depending on your oven’s calibration and how thick you rolled your dough; it might take anywhere from 10 to 14 minutes. A good rule of thumb is: the longer you bake them without burning, the crisper they will become. Don’t worry if they feel a little soft right out of the oven – these little fish crackers will continue to crisp up as they cool on the baking sheet and then on a wire rack.
Dish by Dish Tips for Ultimate Gluten-Free Goldfish Success:
- Adjusting Cold Water Amount: The amount of ice-cold water needed can indeed vary. Different gluten-free flour blends have varying absorption rates. Start with the recommended 2 tablespoons, but be prepared to add a little more if your dough seems too dry and isn’t coming together. I personally found that with Bob’s Red Mill 1:1 Baking Flour, an extra tablespoon was perfect to achieve a pliable, cohesive dough without making it sticky. Trust your instincts – the dough should be firm but manageable.
- No Cracker Cutter? No Problem! While a goldfish cracker cutter is fun for creating that iconic shape, it’s certainly not essential. If you don’t have one, or simply don’t mind a different look for your cheesy snack crackers, you have options! You can easily use a smooth-edged knife or a pizza cutter to slice the rolled-out dough into small, uniform squares or rectangles. Alternatively, get creative with any other small cookie cutters you might have on hand – stars, circles, or even tiny hearts would be adorable and equally delicious!
- Optional Flavor Enhancements: Want to kick up the flavor a notch? These crackers are a fantastic canvas for additional seasonings. Consider adding a pinch of garlic powder or onion powder to the dry ingredients for an extra savory depth. A tiny bit of cayenne pepper or a sprinkle of chili flakes could also add a subtle kick if you enjoy a touch of heat. Feel free to experiment with your favorite spices!
- Achieving the Perfect Color: The vibrant orange-yellow color of your baked goldfish crackers will primarily depend on two factors: the natural color of the cheddar cheese you use (some are naturally more orange than others) and the amount of ground paprika added. If you desire a deeper, more pronounced orange, you can slightly increase the paprika, but be mindful not to overpower the cheesy flavor.
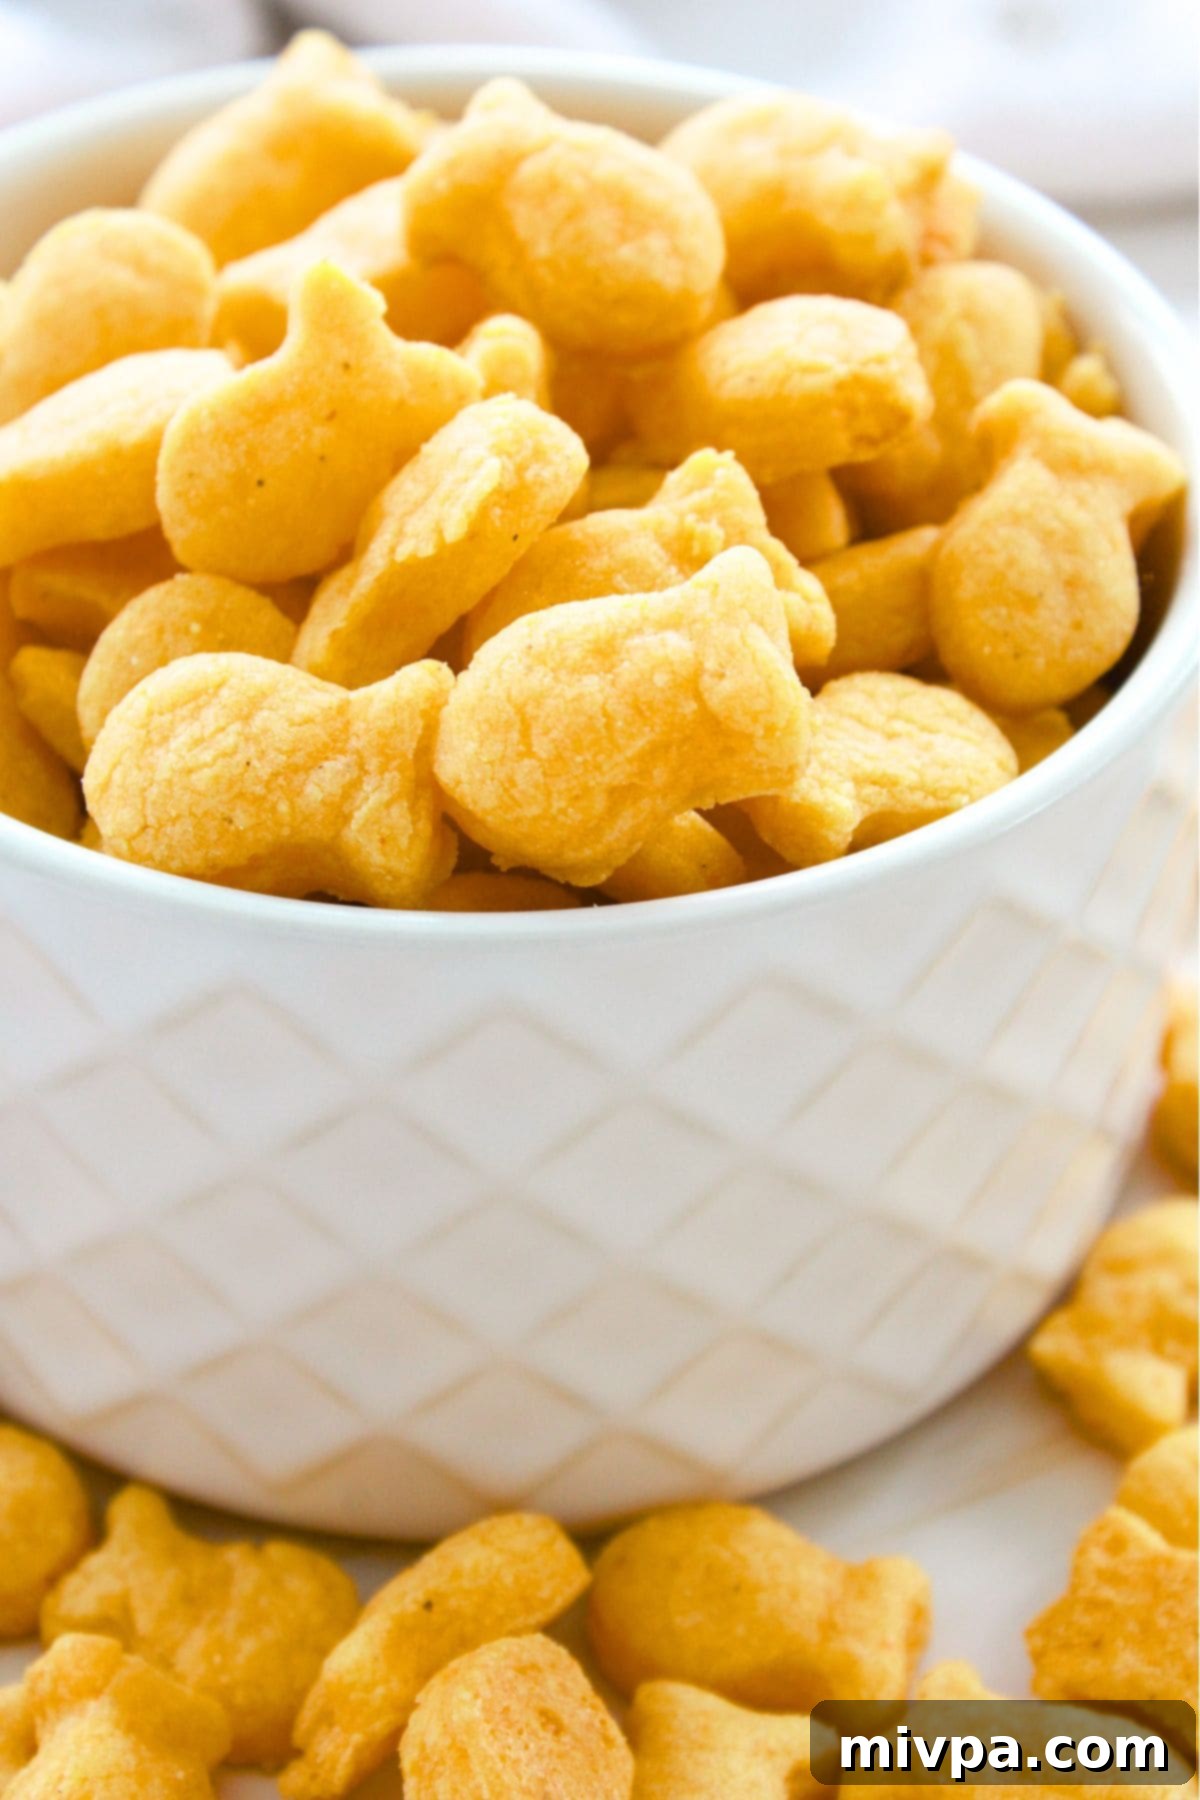
- Proper Storage for Lasting Crispness: To keep your homemade gluten-free goldfish crackers at their absolute crispiest and best, ensure they are completely cool before storing. Once cooled, transfer them to an airtight container. Stored properly at room temperature, they will maintain their freshness and delightful crunch for up to 5 days. These make a wonderful meal prep snack for the week!
- Serving Suggestions: These crackers are incredibly versatile! Enjoy them straight from the bowl as a satisfying snack, pack them in lunchboxes for a wholesome treat, or serve them with your favorite dips like hummus, salsa, or a creamy spinach dip. They’re also fantastic crumbled over salads for an extra cheesy crunch!
More Delicious Gluten-Free Crackers to Bake:
If you loved making these goldfish crackers, you’re in for a treat! Here are more fantastic gluten-free cracker recipes to expand your homemade snack repertoire:
- Easy Gluten-Free Crackers (Vegan Option)
- Homemade Almond Flour Graham Crackers (Gluten-Free, Dairy-Free)
- Savory Almond Flour Crackers (Gluten-Free, Dairy-Free)
- Copycat Ritz Crackers (Gluten-Free, Dairy-Free Option)
Satisfy Your Cravings with These Gluten-Free Snacks You’ll Love:
Looking for more gluten-free deliciousness? Explore these other wonderful snack recipes that are perfect for any time of day:
- Gluten-Free Pumpkin Banana Muffins (Dairy-Free)
- 25 Easy Gluten-Free Muffin Recipes for Anytime
- Gluten-Free Pumpkin Chocolate Chip Muffins (Dairy-Free)
- Easy Chicken Satay with Peanut Sauce (Gluten-Free, Dairy-Free)
P.S. If you try this amazing recipe for homemade gluten-free goldfish crackers, I’d absolutely love to hear from you! Please leave a star rating below and/or a thoughtful review in the comment section further down the page. Your feedback is incredibly valuable and helps others discover these delicious treats. Don’t forget to check out my entire Recipe Index for all the other wonderful recipes on the blog. You can also follow me for daily inspiration and new recipes on Pinterest, Facebook or Instagram! And for fresh recipes delivered straight to your inbox each week, simply sign up for my Email List!
Print
Crispy Gluten-Free Goldfish Crackers (Dairy-Free Option)
5 Stars 4 Stars 3 Stars 2 Stars 1 Star
No reviews
Author: Felicia Lim
Total Time: 37 minutes
Yield: 72 crackers
Diet: Gluten Free
Description
Recreate your favorite childhood snack with these delightful homemade gluten-free goldfish crackers! This perfect copycat recipe yields light, airy, and incredibly crispy crackers, bursting with savory cheesy flavor – all completely gluten-free. With easy-to-follow steps and options to make them dairy-free, everyone can enjoy this classic snack. Get ready to bake a batch today and savor the nostalgic taste and satisfying crunch!
Ingredients
Units
Scale
- 1 cup gluten-free 1:1 baking flour blend (ensure it’s a lighter blend, e.g., rice, tapioca, corn, potato starches)
- 1/2 teaspoon xanthan gum (omit if your gluten-free flour blend already includes it for proper binding)
- 1/2 teaspoon fine sea salt
- 1/8 teaspoon baking soda (for that airy texture)
- 1/4 teaspoon ground paprika (for color and a subtle earthy note)
- 4 tablespoons very cold unsalted butter, grated (or dairy-free butter for a vegan option)
- 8 ounces very cold shredded cheddar cheese (or dairy-free cheddar cheese for a lactose-free alternative)
- 2 tablespoons ice-cold water, plus 1-2 tablespoons more as needed (depending on your flour blend)
Instructions
- Preheat Oven & Prepare Baking Sheets: Begin by preheating your oven to a precise 350°F (175°C). While the oven heats up, take two large baking sheets and line them meticulously with parchment paper. This crucial step ensures your crackers won’t stick and makes for effortless cleanup.
- Process Dry Ingredients & Cold Fats: In the bowl of your high-speed blender or food processor, combine the gluten-free flour blend, xanthan gum (if not in your blend), salt, baking soda, and ground paprika. Add the finely grated cold butter and cold shredded cheddar cheese. Pulse these ingredients vigorously until the mixture transforms into fine, coarse crumbs. The goal here is to keep the butter and cheese as distinct, small pieces, which will contribute to the crackers’ flaky texture. Avoid over-mixing.
- Form the Dough with Ice-Cold Water: With the processor running (or if using a blender, transfer to a work surface), gradually add 2 tablespoons of ice-cold water. Continue to process or knead until the mixture starts to come together and forms a cohesive, slightly orange-yellow dough. If your dough feels too dry or doesn’t bind sufficiently after the initial water, add an additional tablespoon of ice-cold water at a time, very slowly, until a pliable dough forms. The exact amount of water can vary based on your specific gluten-free flour blend.
- Shape the Dough for Rolling: Once your cracker dough is beautifully pliable and uniform, gently transfer it to a clean work surface. Lightly dust your hands and the surface with a small amount of gluten-free flour to prevent any sticking. Carefully shape the dough into a smooth, round disc; this preparation will make the subsequent rolling process much easier and more uniform.
- Roll Out for Even Crispness: Using your rolling pin, roll the dough out evenly to a thickness of approximately ¼-inch (about 6mm). Achieving a consistent thickness across the entire sheet of dough is key for ensuring all your goldfish crackers bake at the same rate and achieve a uniformly crispy texture. If needed, sparingly dust your rolling pin and the top of the dough with gluten-free flour to prevent sticking.
- Cut Out Goldfish Shapes: Now for the fun part! Take your goldfish cookie cutter and begin cutting out the iconic fish shapes from your rolled-out dough. Carefully transfer these delicate cutouts to your prepared parchment-lined baking sheets, leaving about ½ inch to 1 inch of space between each cracker to allow for even heat distribution during baking. Collect all the dough scraps, gently press them together, re-roll, and cut out more shapes until every last bit of dough has been used.
- Bake Until Golden & Crispy: Place the baking sheets with your cut crackers into the preheated oven. Bake for approximately 12 minutes, or until the edges are golden brown and the crackers feel firm. Remember, oven temperatures can vary, so keep a close eye on them from 10-14 minutes. The longer you bake them without burning, the crisper they will become. Don’t be alarmed if they seem a little soft immediately after baking; they will firm up and become delightfully crispy as they cool down completely on the baking sheets and then on a wire rack.
- Cool and Store: Allow the freshly baked gluten-free goldfish crackers to cool completely on the baking sheets. Once fully cooled, transfer them to an airtight container. When stored properly at room temperature, these delicious crackers will maintain their optimal crispness and flavor for up to 5 days, making them a perfect make-ahead snack.
Notes
Gluten-Free Flour Blend Selection: For achieving the lightest and airiest texture reminiscent of traditional goldfish, it’s crucial to select a high-quality gluten-free 1:1 baking flour blend. Prioritize blends that list lighter starches and flours, such as rice flour, tapioca starch, corn starch, or potato starch, as their primary components. These create a delicate crumb. Steer clear of blends that contain heavier flours like garbanzo bean flour (chickpea flour), as these can result in a dense, gritty, and less desirable cracker. The right flour blend is foundational to the cracker’s overall success.
The Role of Xanthan Gum: Xanthan gum is an indispensable ingredient in many gluten-free recipes, serving as the critical binder that gluten would otherwise provide. It prevents the dough from becoming crumbly and helps achieve a cohesive, workable texture. Always check your gluten-free flour blend’s ingredient list; if it already includes xanthan gum, you do not need to add it separately. If it doesn’t, ensure you incorporate the specified amount for optimal dough structure.
Baking Soda for Lift: Despite their thinness, crackers benefit from a leavening agent. Baking soda is the key player here, reacting during baking to create small air pockets. This process is essential for transforming a flat dough into a light, crisp, and airy cracker. Ensure your baking soda is fresh to guarantee its full leavening power.
Paprika for Color and Hint of Flavor: Ground paprika is included not just for its subtle, warm flavor but, more importantly, to give these homemade goldfish crackers their iconic orange hue. A little goes a long way in achieving a natural, appealing color. You can adjust the amount slightly based on your preferred color intensity, but typically a quarter teaspoon is sufficient to mimic the classic look without overpowering the cheddar flavor.
Importance of Cold Butter: This cannot be overstated. Using very cold, grated butter is fundamental for a flaky and airy cracker. As the cold butter pieces melt in the oven, they release steam, creating tiny pockets and layers within the dough. This process yields that coveted crispy, tender texture. If your butter is too warm, it will melt into the dough too early, resulting in dense, hard crackers. For dairy-free versions, ensure your chosen dairy-free butter is equally cold.
Cold Cheddar Cheese is Key: Similar to butter, ensure your shredded cheddar cheese is cold. Cold cheese helps maintain the overall low temperature of the dough mixture, which is crucial for keeping the grated butter from melting prematurely during the mixing process. You can use either pre-shredded cheese or grate a block of cheese yourself; just ensure it’s kept chilled until you’re ready to add it. Dairy-free cheddar cheese works just as effectively when kept cold.
Using Ice-Cold Water Strategically: The temperature of the water used in the dough is just as important as the coldness of the butter and cheese. Ice-cold water helps to further inhibit the butter from melting during processing, ensuring the best possible texture. Be mindful that the hydration needs of gluten-free flours can differ. Start with the recommended amount and incrementally add more water, if necessary, until your dough comes together smoothly without being overly sticky. Bob’s Red Mill 1:1 Baking Flour, for example, often benefits from an extra tablespoon.
Customizing Flavors: Don’t hesitate to personalize your crackers! A pinch of garlic powder or onion powder can deepen the savory profile. For a bit of heat, a tiny dash of cayenne pepper can be a delightful addition. Always start with a small amount and taste the dough (before baking!) if you’re experimenting with stronger spices.
Achieving Uniform Thickness: Rolling the dough to an even ¼-inch thickness is vital for consistent baking. If some parts are thicker than others, you’ll end up with some crackers over-baked and others under-baked. Using a ruler or even rolling between two thin guides can help achieve this uniformity.
- Prep Time: 25 mins
- Cook Time: 12 mins
- Category: Snacks
- Method: Baking
- Cuisine: American
