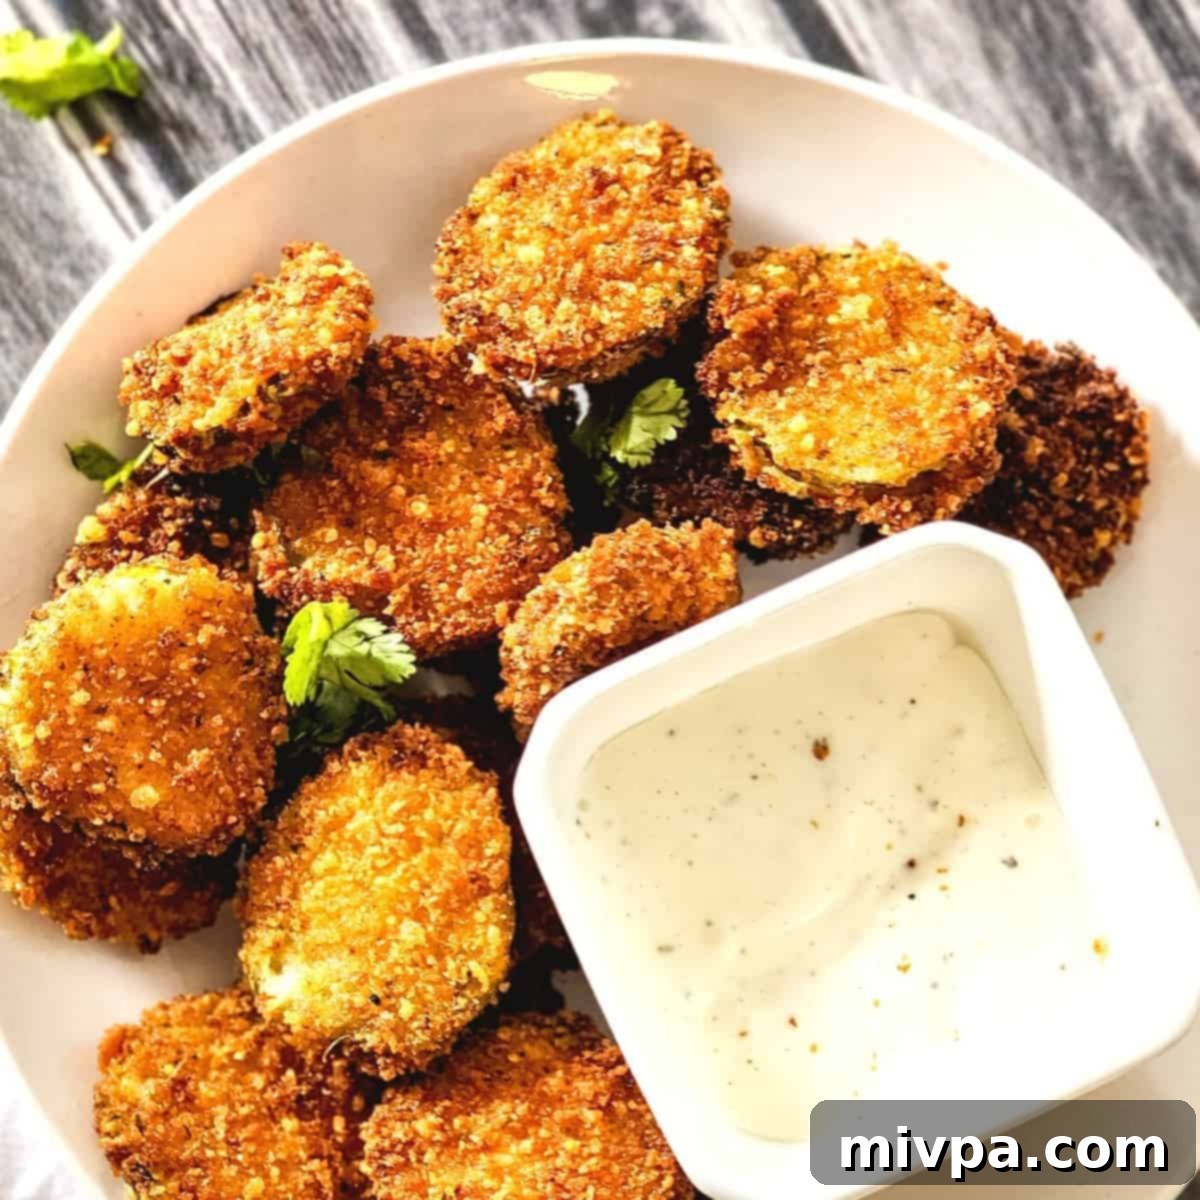
Crispy Gluten-Free Fried Pickles (Dairy-Free): Your Ultimate Appetizer & Snack Recipe
Experience the ultimate crunch with these irresistibly crispy and gloriously golden-brown gluten-free fried pickles. Whether you’re seeking a delightful snack to curb your cravings or a perfect appetizer to wow your guests, this recipe delivers on all fronts. Serve them alongside your favorite creamy dip during lively game day parties, casual get-togethers, or simply as a treat for yourself. The best part? They’re entirely dairy-free, ensuring everyone can enjoy this classic Southern delight without compromise!
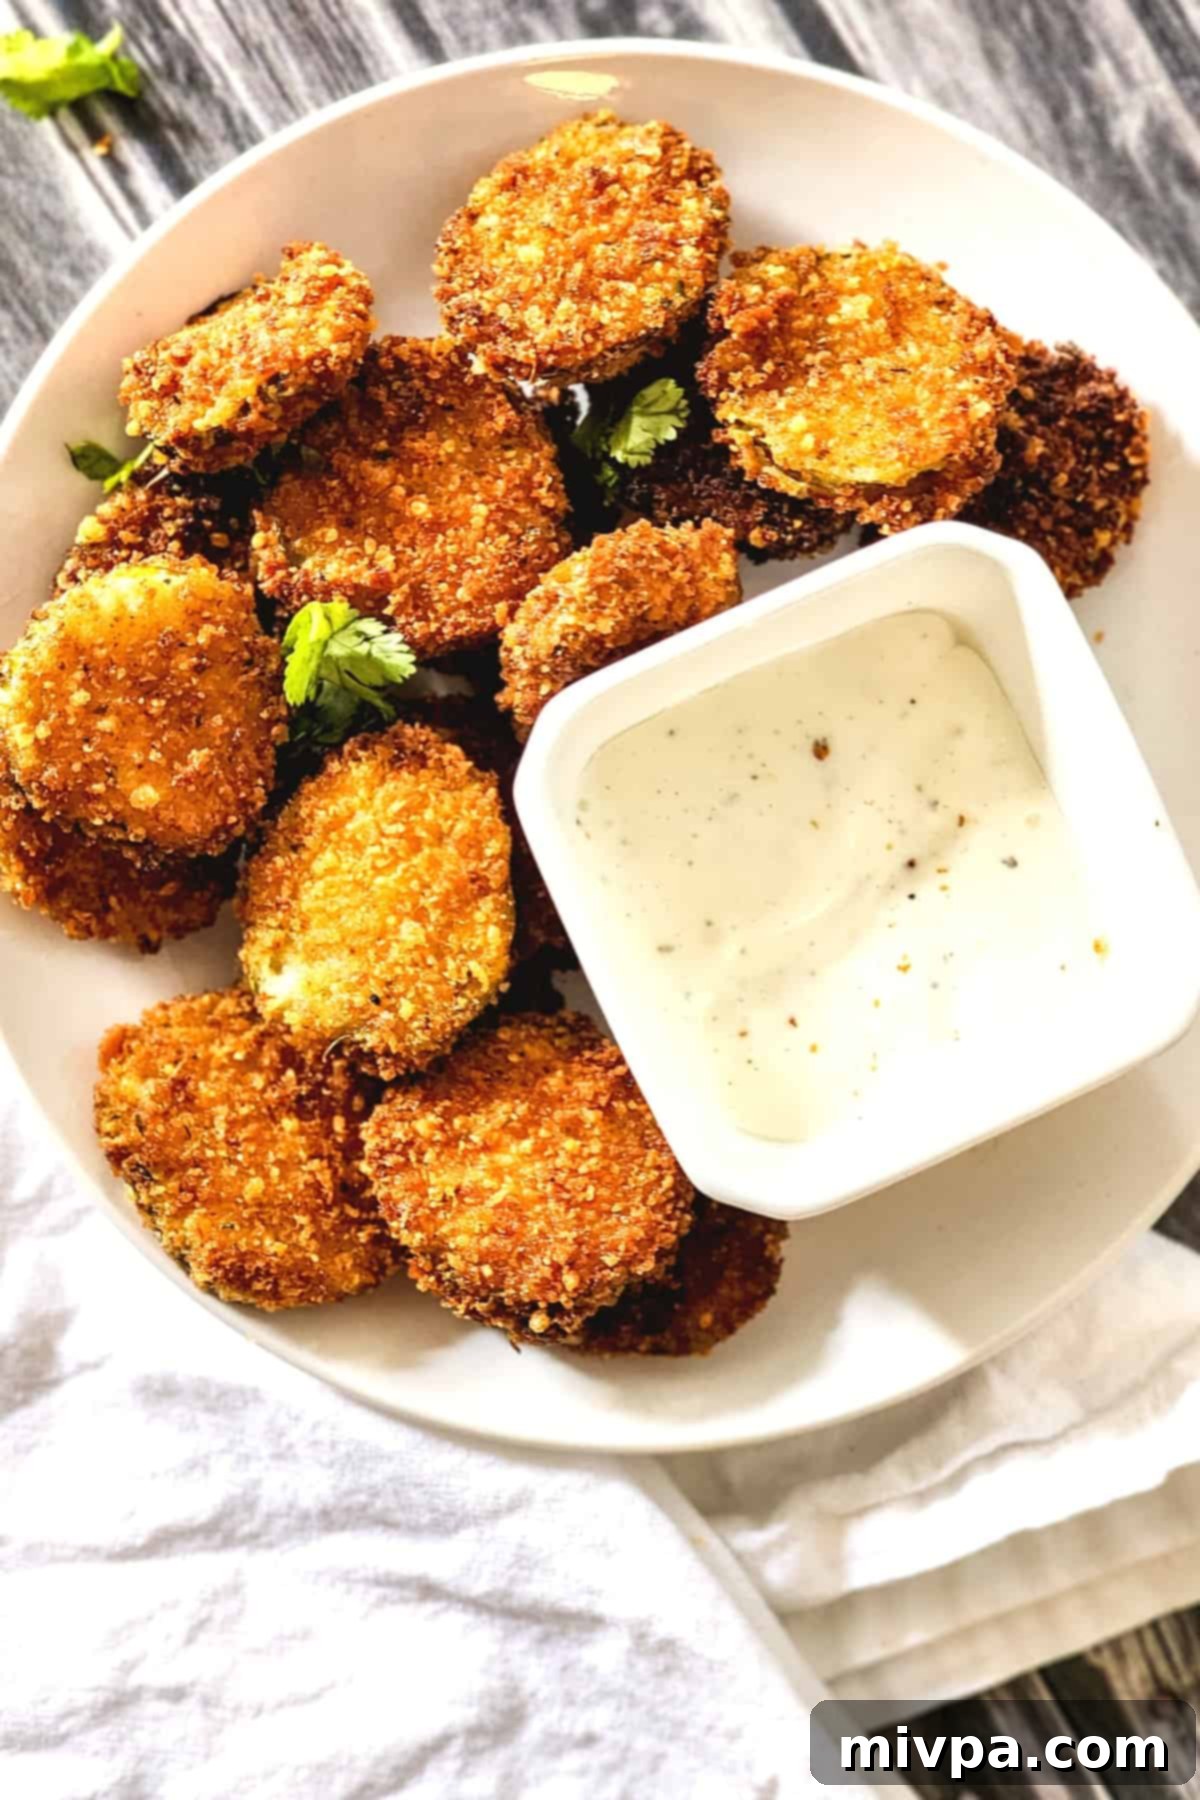
What Exactly Are Fried Pickles?
There’s an undeniable joy in biting into a perfectly crispy appetizer or snack, especially when hunger strikes or you’re cheering on your favorite team. If you’re new to the world of fried pickles, prepare yourself for an utterly delicious revelation!
Sometimes affectionately called ‘frickles‘, fried pickles are a celebrated appetizer and side dish deeply rooted in Southern US cuisine, making their flavorful debut in the 1960s. This beloved treat involves thinly sliced dill pickles, typically rounds or spears, which are meticulously coated in a seasoned batter and then deep-fried to golden perfection. The batter usually consists of a blend of flour, beaten eggs, and often breadcrumbs, creating a wonderfully crunchy exterior.
The magic of fried pickles lies in their delightful contrast: the tangy, briny flavor of the warm pickle on the inside, encased in a remarkably crispy, savory crust. They are almost always served with a cool, creamy dipping sauce, such as ranch dressing, blue cheese dressing, or a spicy aioli, which complements their rich crunch and zestiness beautifully.
Are Pickles Naturally Gluten-Free?
The good news is that most pickles, in their natural state, are indeed gluten-free. This is particularly true for pickles brined in distilled vinegars such as corn vinegar or apple cider vinegar. These vinegars do not contain gluten, making them safe for individuals with celiac disease or gluten intolerance.
However, vigilance is key. If you are celiac or highly sensitive to gluten, it is crucial to always check the ingredient list on pickle jars. Some pickles may be brined in malt vinegar, which is derived from barley and therefore contains gluten. To ensure complete safety and peace of mind, always opt for pickles that are explicitly labeled “gluten-free.” This certification guarantees that the product has met stringent standards for gluten content.
Are Traditional Fried Pickles Gluten-Free?
While pickles themselves are generally gluten-free, the story changes dramatically once they are fried. The vast majority of fried pickles served in restaurants or sold in stores are prepared using traditional wheat flour or breadcrumbs made from wheat or other gluten-containing grains. This means that, unfortunately, these versions are typically unsafe for anyone with celiac disease or gluten intolerance, unless the establishment or product specifically states they are gluten-free.
This is precisely why I’m thrilled to share this incredible recipe for homemade gluten-free and dairy-free fried pickles! You’ll be able to enjoy that classic crispy texture and tangy flavor without any worries about hidden gluten or dairy ingredients. This recipe opens up a world of delicious possibilities for those with dietary restrictions, proving that you don’t have to miss out on your favorite comfort foods.
Why You’ll Love This Gluten-Free Fried Pickle Recipe:
- Simple, Accessible Ingredients: You won’t need to hunt for obscure items. The main ingredients required for these gluten-free fried pickles are readily available at any local grocery store, making this recipe convenient for anyone to try.
- Remarkably Easy to Make: Don’t let the idea of frying intimidate you! These gluten-free fried pickle chips are surprisingly straightforward to prepare. While there are a few hands-on steps involved in creating this crispy, delicious appetizer, the process is not complicated at all. With a simple assembly line approach, you’ll have perfect fried pickles in no time.
- 100% Gluten-Free and Dairy-Free: This is truly the best part for many! Our fried dill pickle chips are completely gluten-free and dairy-free. This means that even those with celiac disease, gluten sensitivity, or lactose intolerance can indulge in these delightful snacks without any concerns or discomfort. It’s a truly inclusive treat for everyone to enjoy!
- Perfect Texture Every Time: This recipe is designed to give you that ideal crunchy exterior and tender, flavorful pickle interior, just like the best classic fried pickles, but without the gluten or dairy.
- Versatile Serving Options: These fried pickles are fantastic on their own, but truly shine when paired with a variety of dips, making them adaptable for any occasion or personal preference.
Essential Ingredients for Your Gluten-Free Fried Pickles:
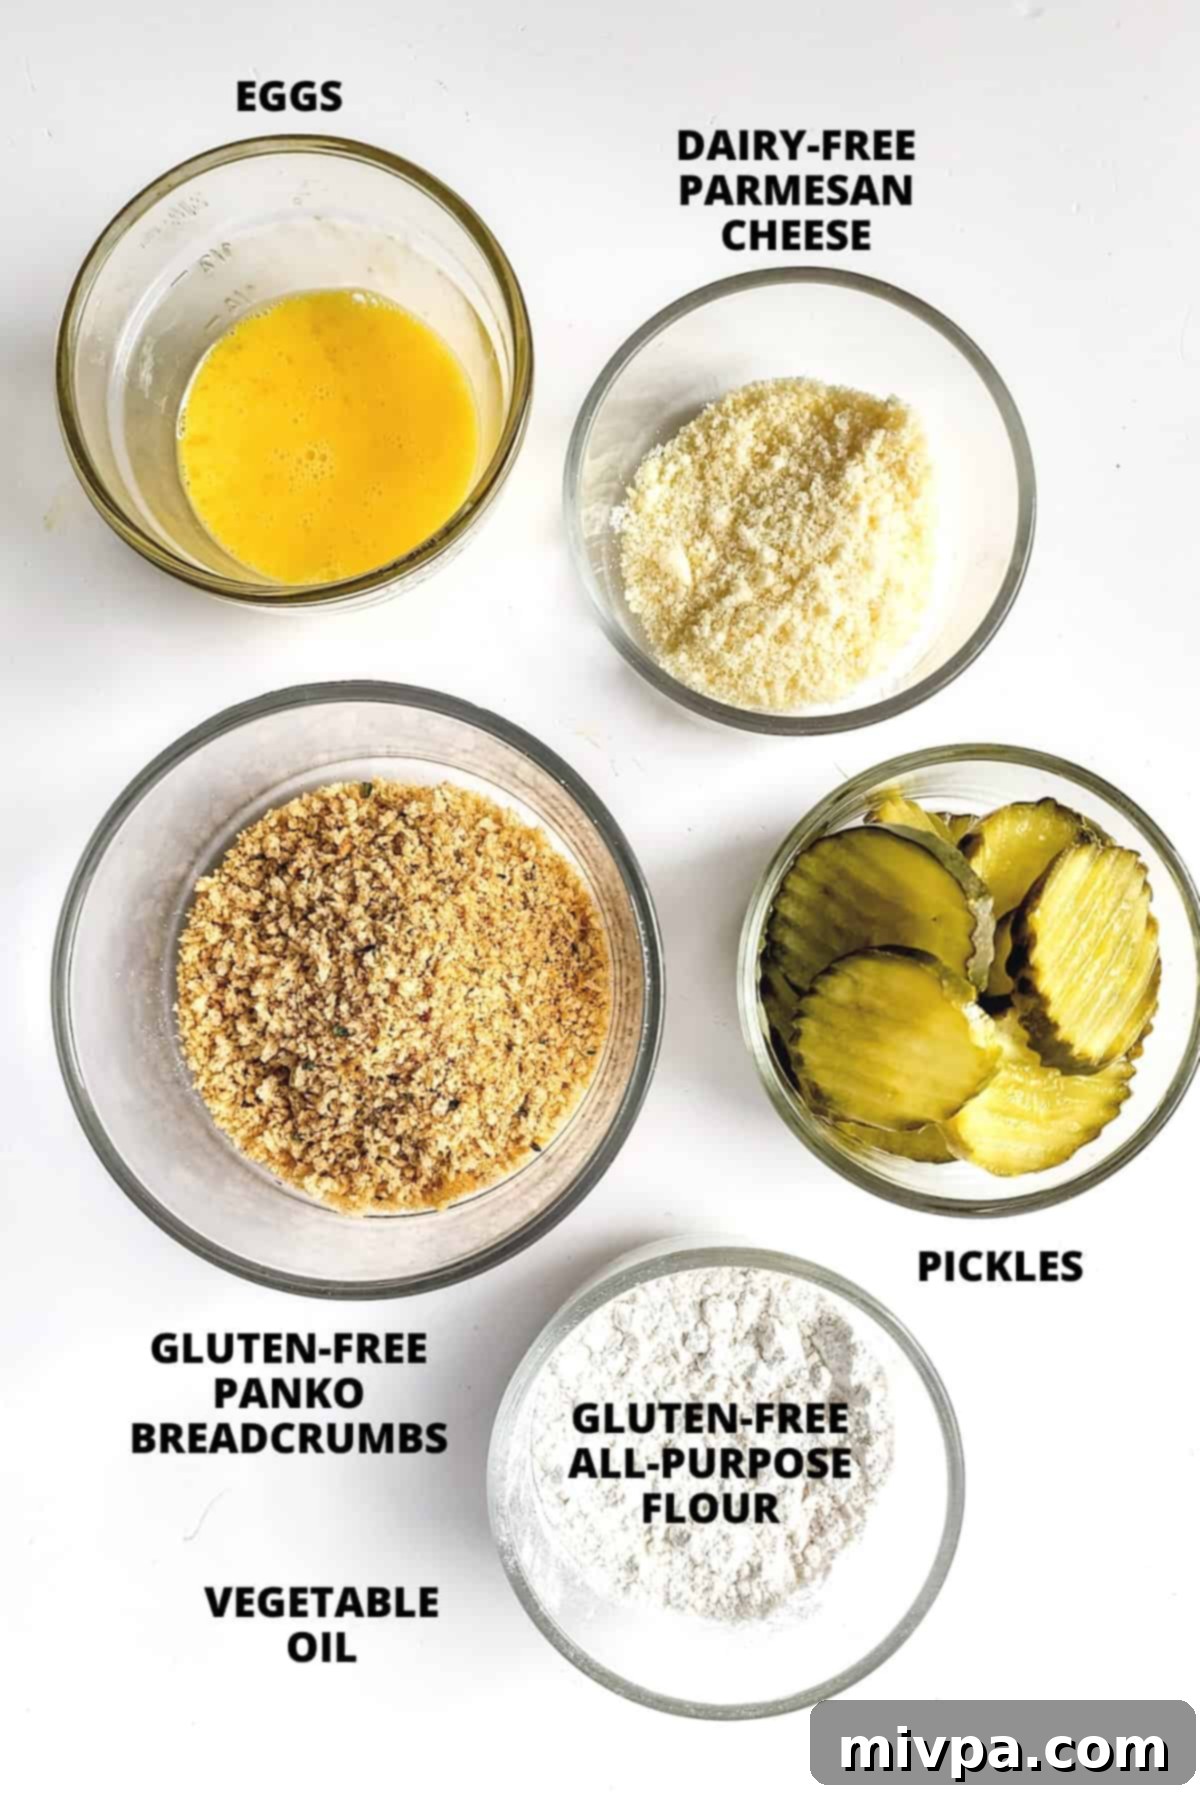
Preparing these delicious gluten-free fried pickles requires a handful of common ingredients. Here’s a visual overview to help you gather everything you need.
(For the precise measurements and a printable version of the recipe, please scroll down to the printable recipe card located at the very bottom of this post.)
Recipe Notes & Easy Substitutions:
Here are some detailed tips and potential substitutions to help you tailor this recipe to your specific dietary needs or preferences:
- Gluten-Free Panko Breadcrumbs: To ensure these fried pickles are truly gluten-free, I highly recommend using plain gluten-free panko breadcrumbs. Panko breadcrumbs are known for their lighter, flakier texture, which results in a superior crispiness compared to regular breadcrumbs. If you don’t have celiac disease or gluten intolerance, you are welcome to use normal panko or even regular breadcrumbs.
- Dairy-Free Parmesan Cheese: To maintain the dairy-free status of this recipe, I’ve used dairy-free Parmesan cheese. This adds a wonderful savory depth without any dairy. An excellent alternative if you prefer is nutritional yeast, which offers a similar cheesy flavor. For those without lactose intolerance, traditional grated Parmesan cheese will work perfectly.
- Gluten-Free All-Purpose Flour: This recipe utilizes gluten-free all-purpose flour for dredging the pickle slices. This initial coating helps absorb excess moisture from the pickles and provides a better surface for the egg and breadcrumbs to adhere to, ensuring a thick, crispy crust. If gluten isn’t a concern for you, standard wheat flour can be used as a direct substitute.
- Egg: The egg acts as a crucial binder, helping the flour and breadcrumb mixture adhere firmly to the pickles. If you have an egg allergy or are preparing a vegan version, fear not! Aquafaba (the liquid from a can of chickpeas) or a commercial egg replacer (prepared according to package instructions) are excellent plant-based alternatives that will achieve a similar binding effect.
- Pickles: The star of the show! Pickles are non-negotiable here. I typically use dill pickle slices because their tangy, savory flavor pairs perfectly with the crispy coating. However, feel free to experiment with any type of pickle you enjoy – bread and butter pickles for a sweeter profile, or even pickle spears if you prefer a heartier bite. Whether you use pre-sliced chips or slice a whole pickle yourself, the key is consistency in thickness for even cooking.
- Oil for Frying: For best results when deep-frying, I recommend using a neutral-flavored vegetable oil with a high smoke point. Good options include sunflower oil, corn oil, peanut oil, or avocado oil. While olive oil can be used, ensure it’s a light or refined olive oil, as extra virgin olive oil has a lower smoke point and a stronger flavor that might overpower the pickles.
How to Make Perfect Gluten-Free Fried Pickles (Step-by-Step Guide):
Follow these simple steps to create your own batch of wonderfully crispy fried pickles:
1. Prepare Your Parmesan & Panko Mixture
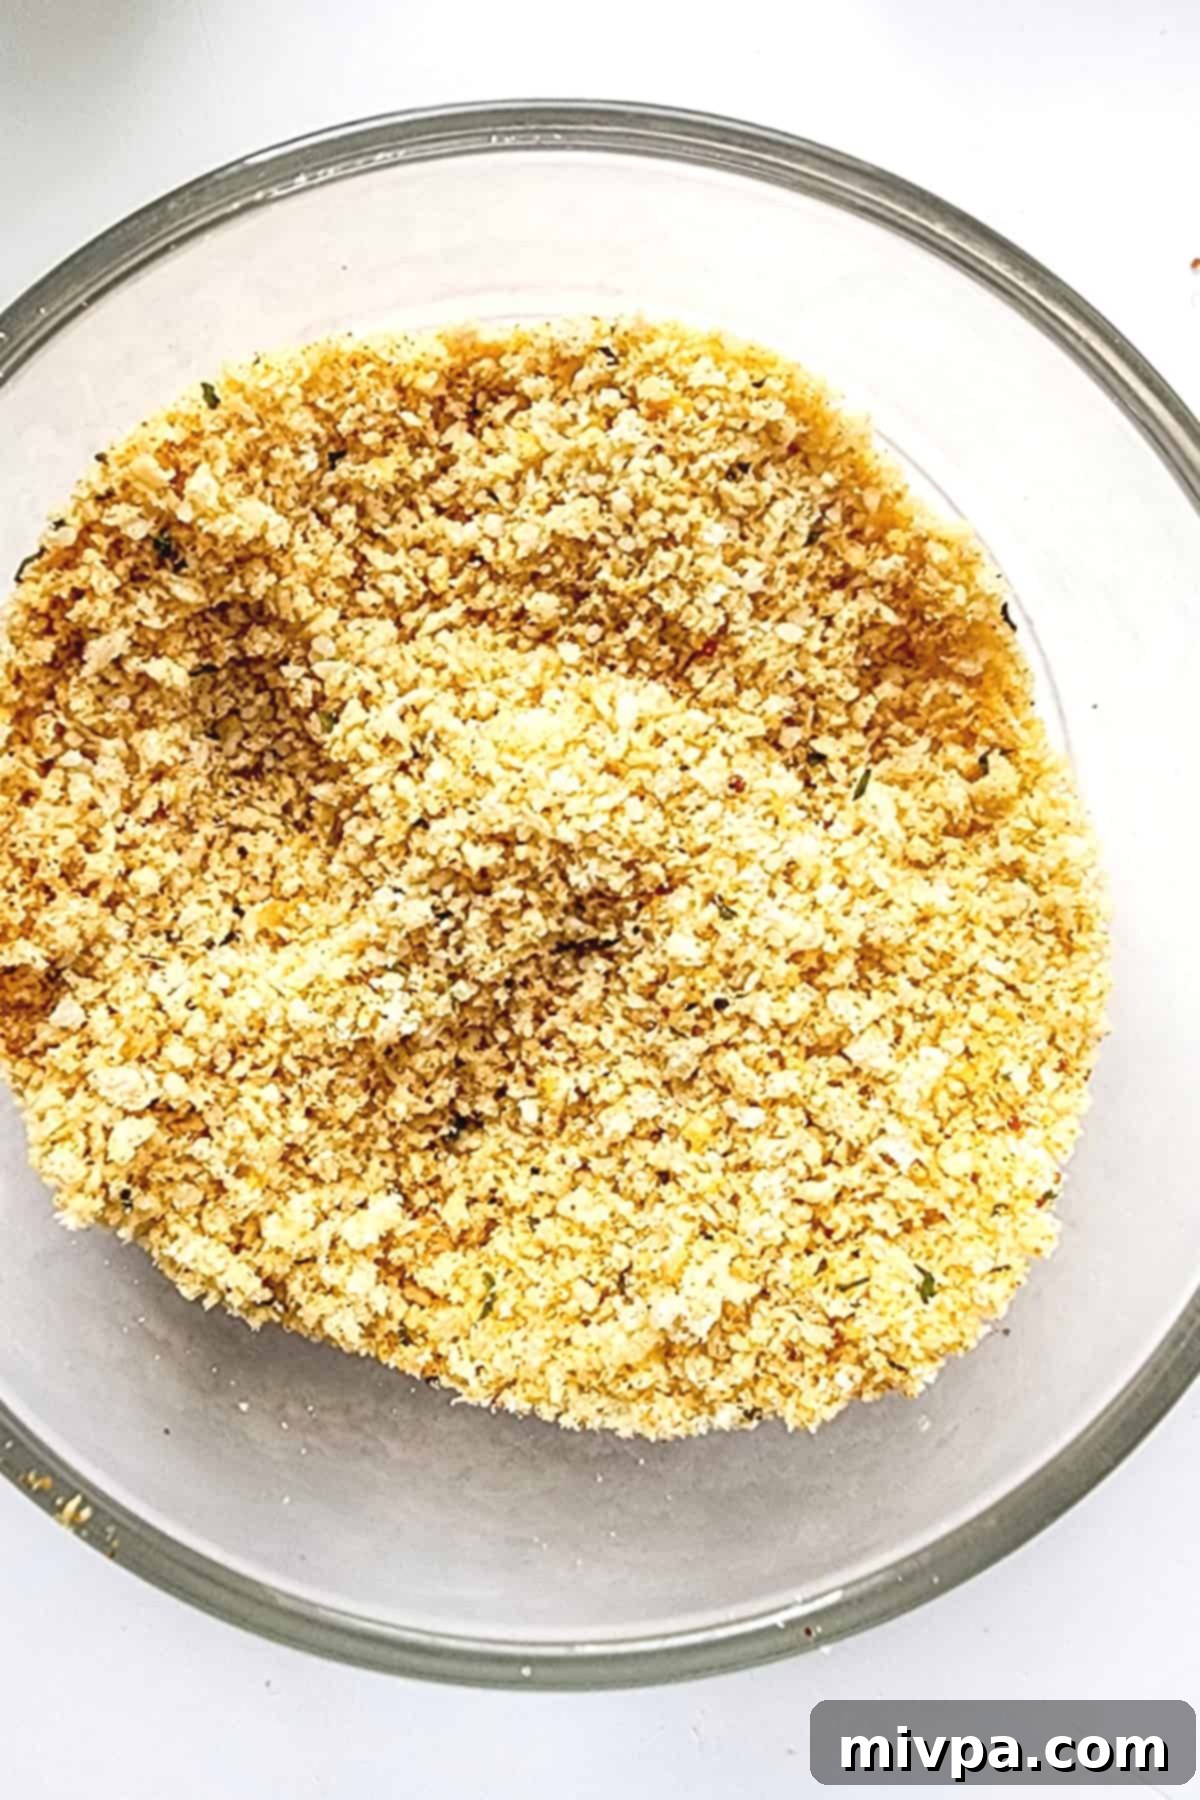
In a small bowl, combine the dairy-free Parmesan cheese and gluten-free panko breadcrumbs. Mix them thoroughly until evenly distributed. This will be the final, delicious coating for your pickles.
2. Thoroughly Dry Pickle Slices
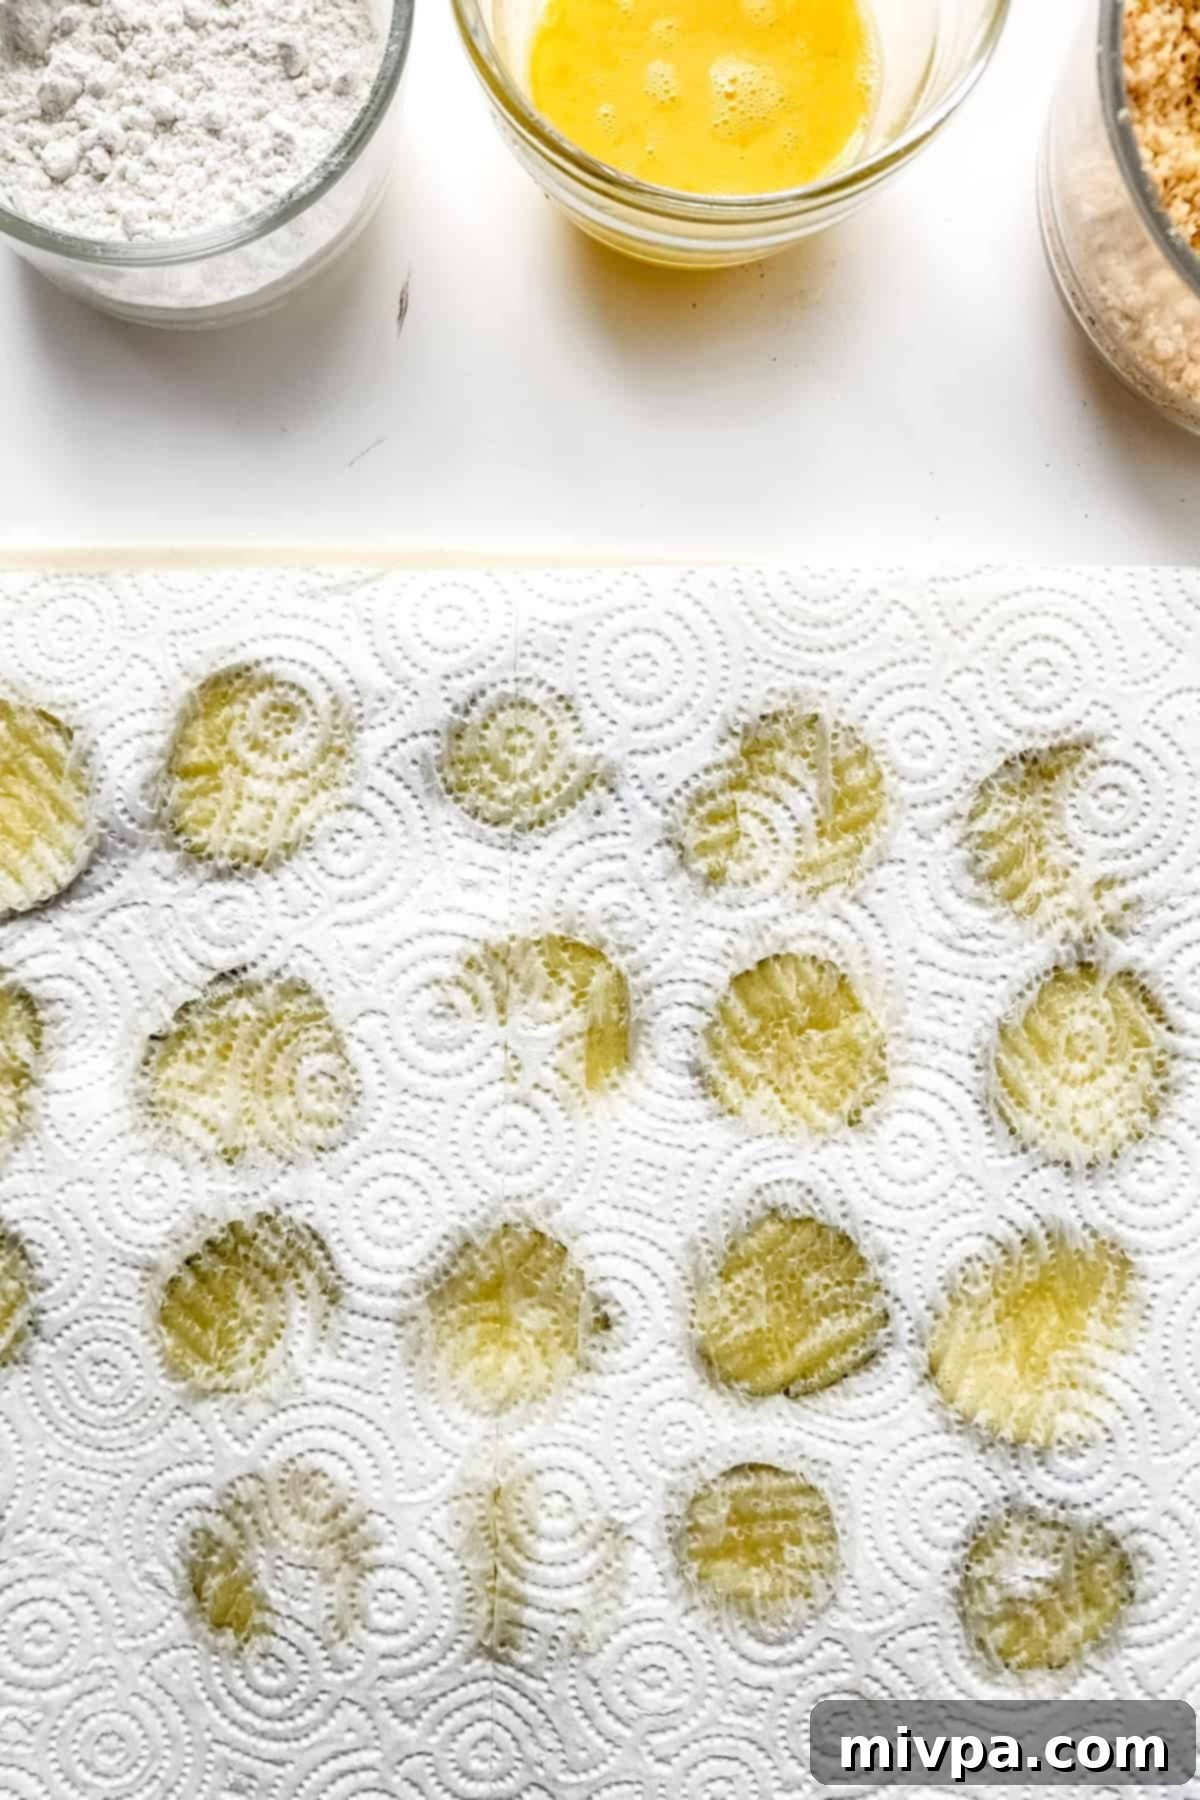
This step is absolutely critical for crispy fried pickles! Lay your pickle slices out in a single layer on a stack of paper towels. Gently but firmly pat them dry, removing as much excess moisture as possible. You might need to use a second layer of paper towels to ensure they are very dry. Moisture is the enemy of crispiness!
3. Set Up Your Dipping Stations (Assembly Line)
To make the coating process efficient and mess-free, set up three separate shallow dishes or bowls in an assembly line fashion. The order should be: first, the gluten-free all-purpose flour; second, the whisked egg; and third, your Parmesan-panko mixture. This organized setup will make coating each pickle a breeze.
4. Dip Pickle in Flour First
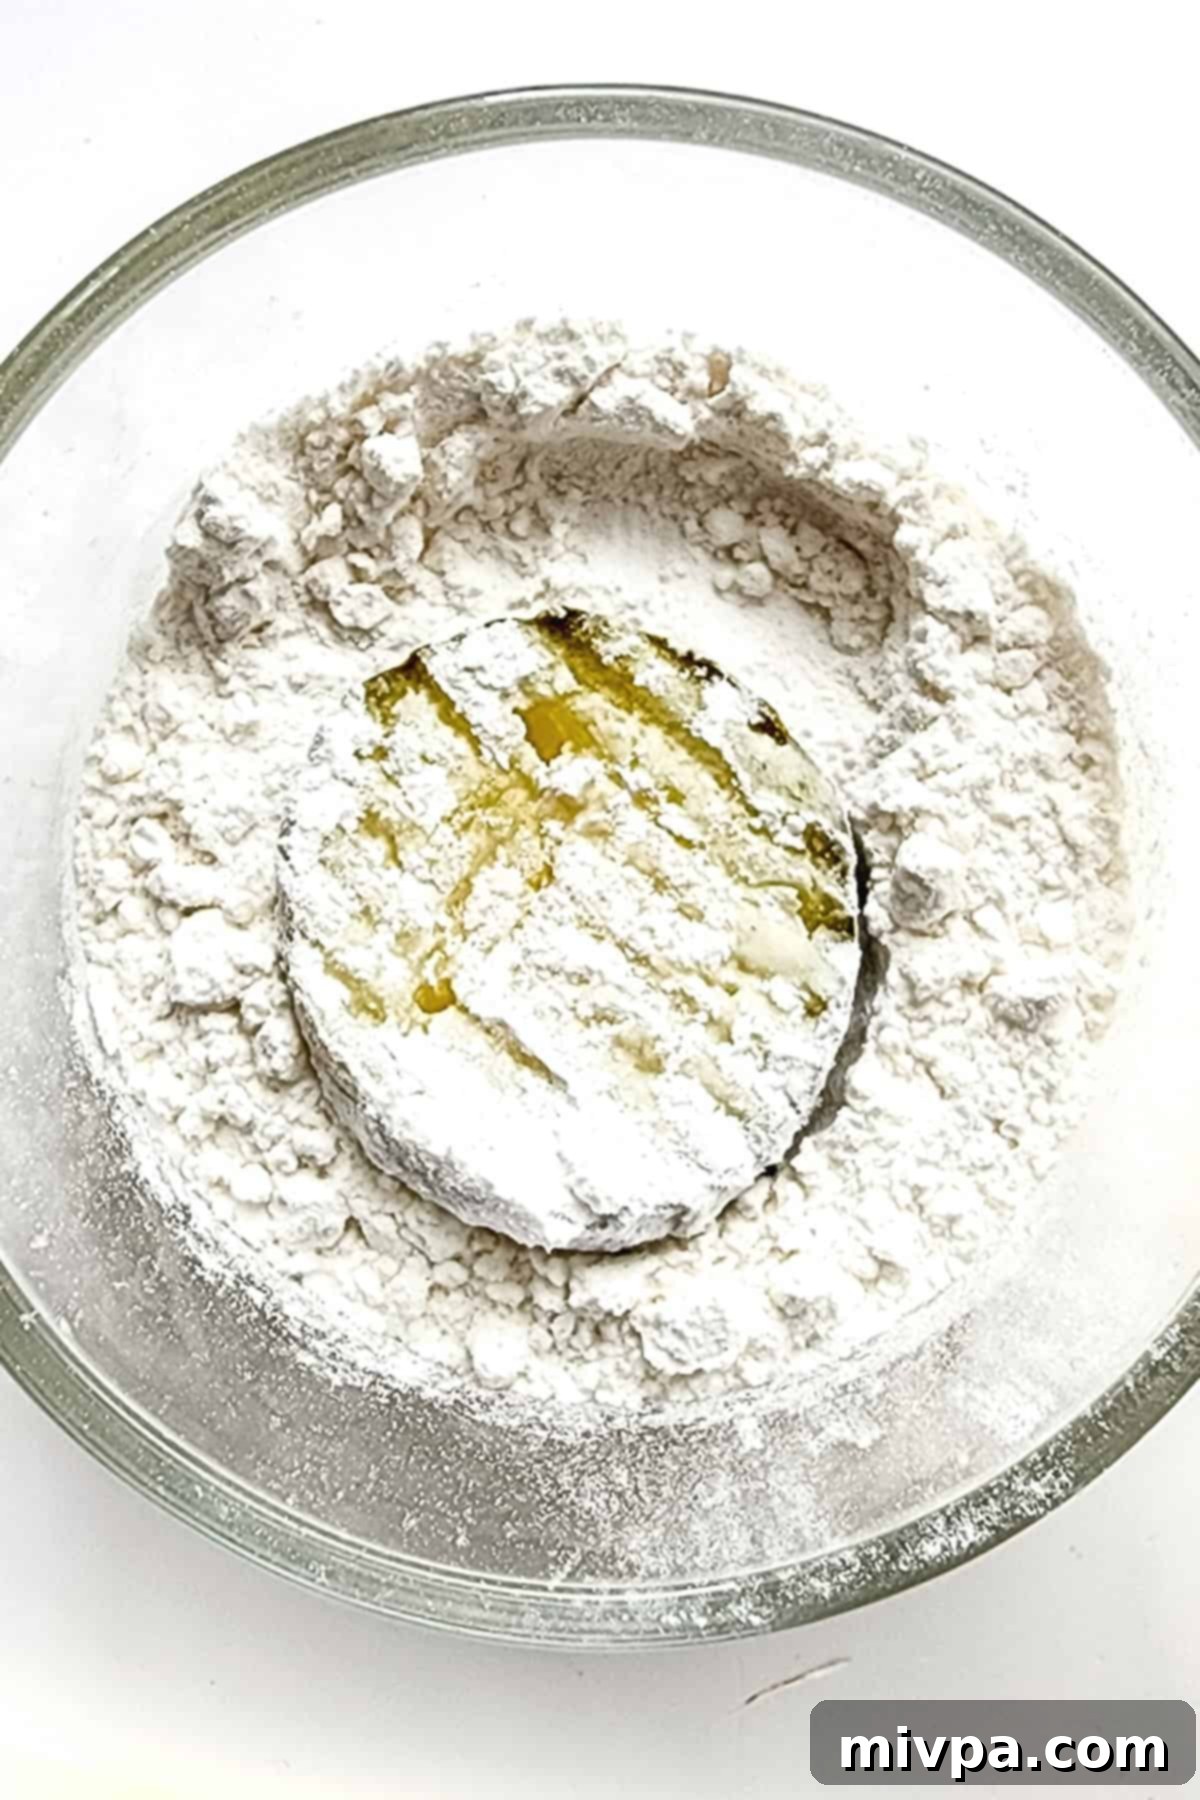
Take one pickle slice and dip it completely into the gluten-free flour, ensuring both sides are fully coated. Shake off any excess flour gently. This flour layer acts as a primer, helping the egg adhere better.
5. Next, Dip in Egg
Carefully transfer the flour-coated pickle slice into the bowl of beaten egg. Ensure both sides are thoroughly coated with the egg mixture. The egg acts as the glue that will hold the final breadcrumb coating in place.
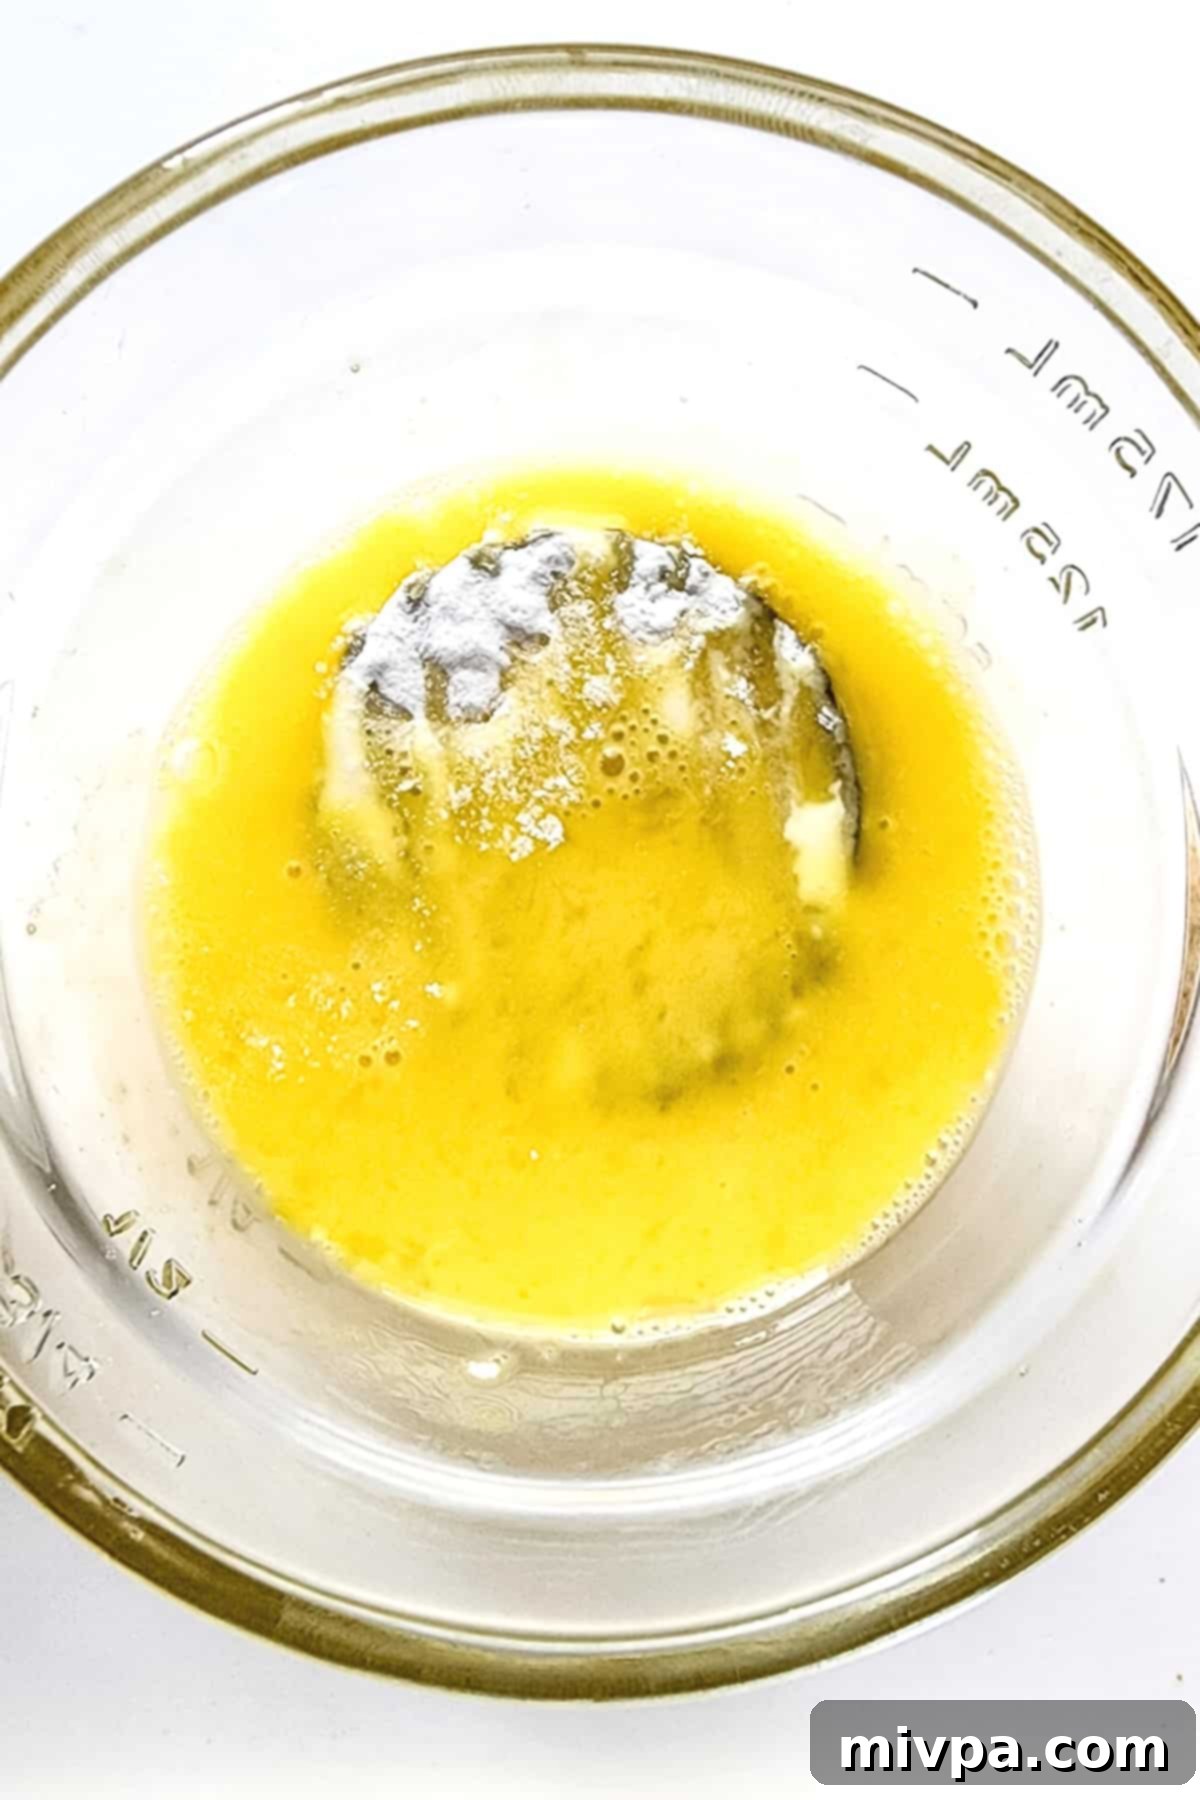
6. Finally, Coat with Parmesan-Panko Mixture
Place the egg-dipped pickle slice into the Parmesan-panko mixture. Gently press and pat the breadcrumb mixture onto both sides of the pickle to create a thick, even coating. This firm patting ensures maximum crispiness. Once coated, place the pickle back on a clean plate or cutting board, ready for frying.
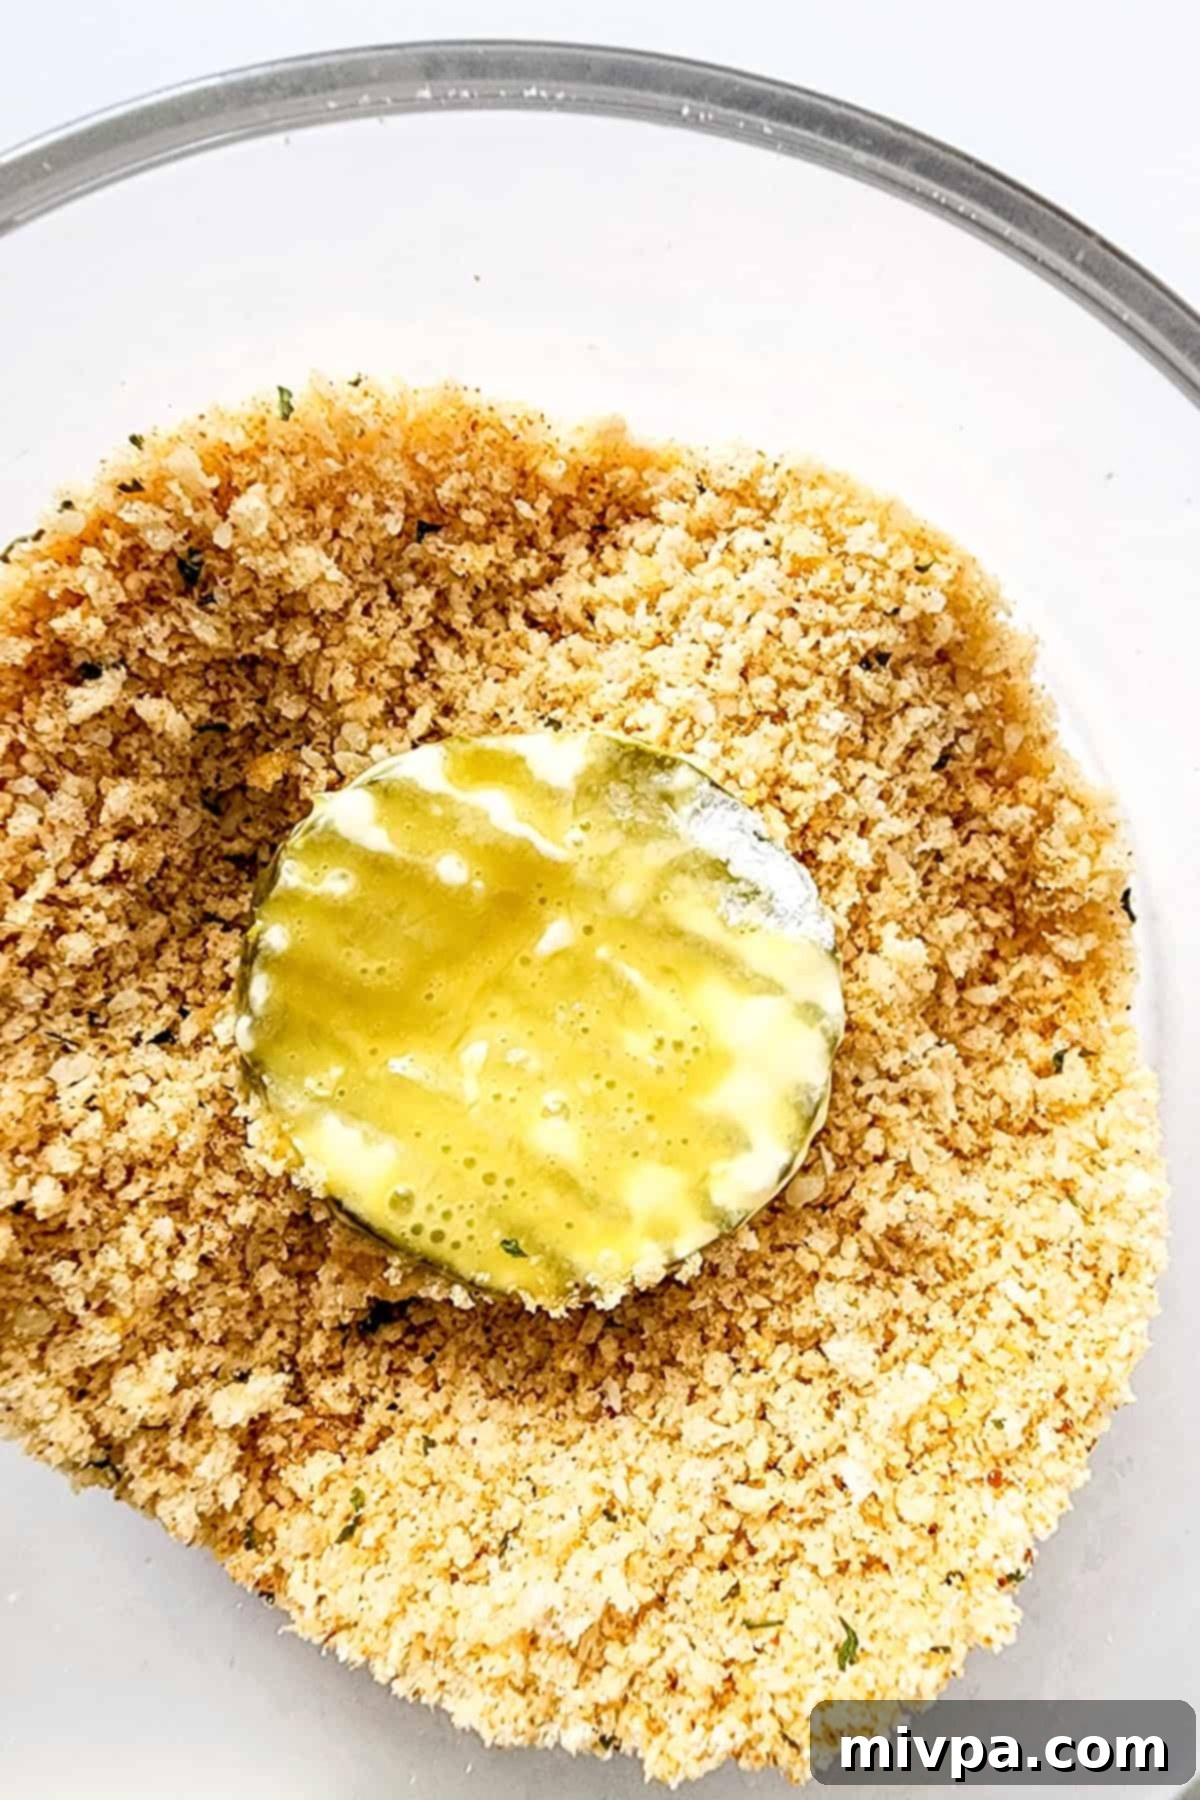
7. Repeat the Coating Process
Continue this breading process (steps 4, 5, and 6) for all remaining pickle slices. As you finish coating each pickle, lay them out in a single layer on a parchment-lined baking sheet or another clean plate. This prevents them from sticking together and keeps their coating intact before frying.
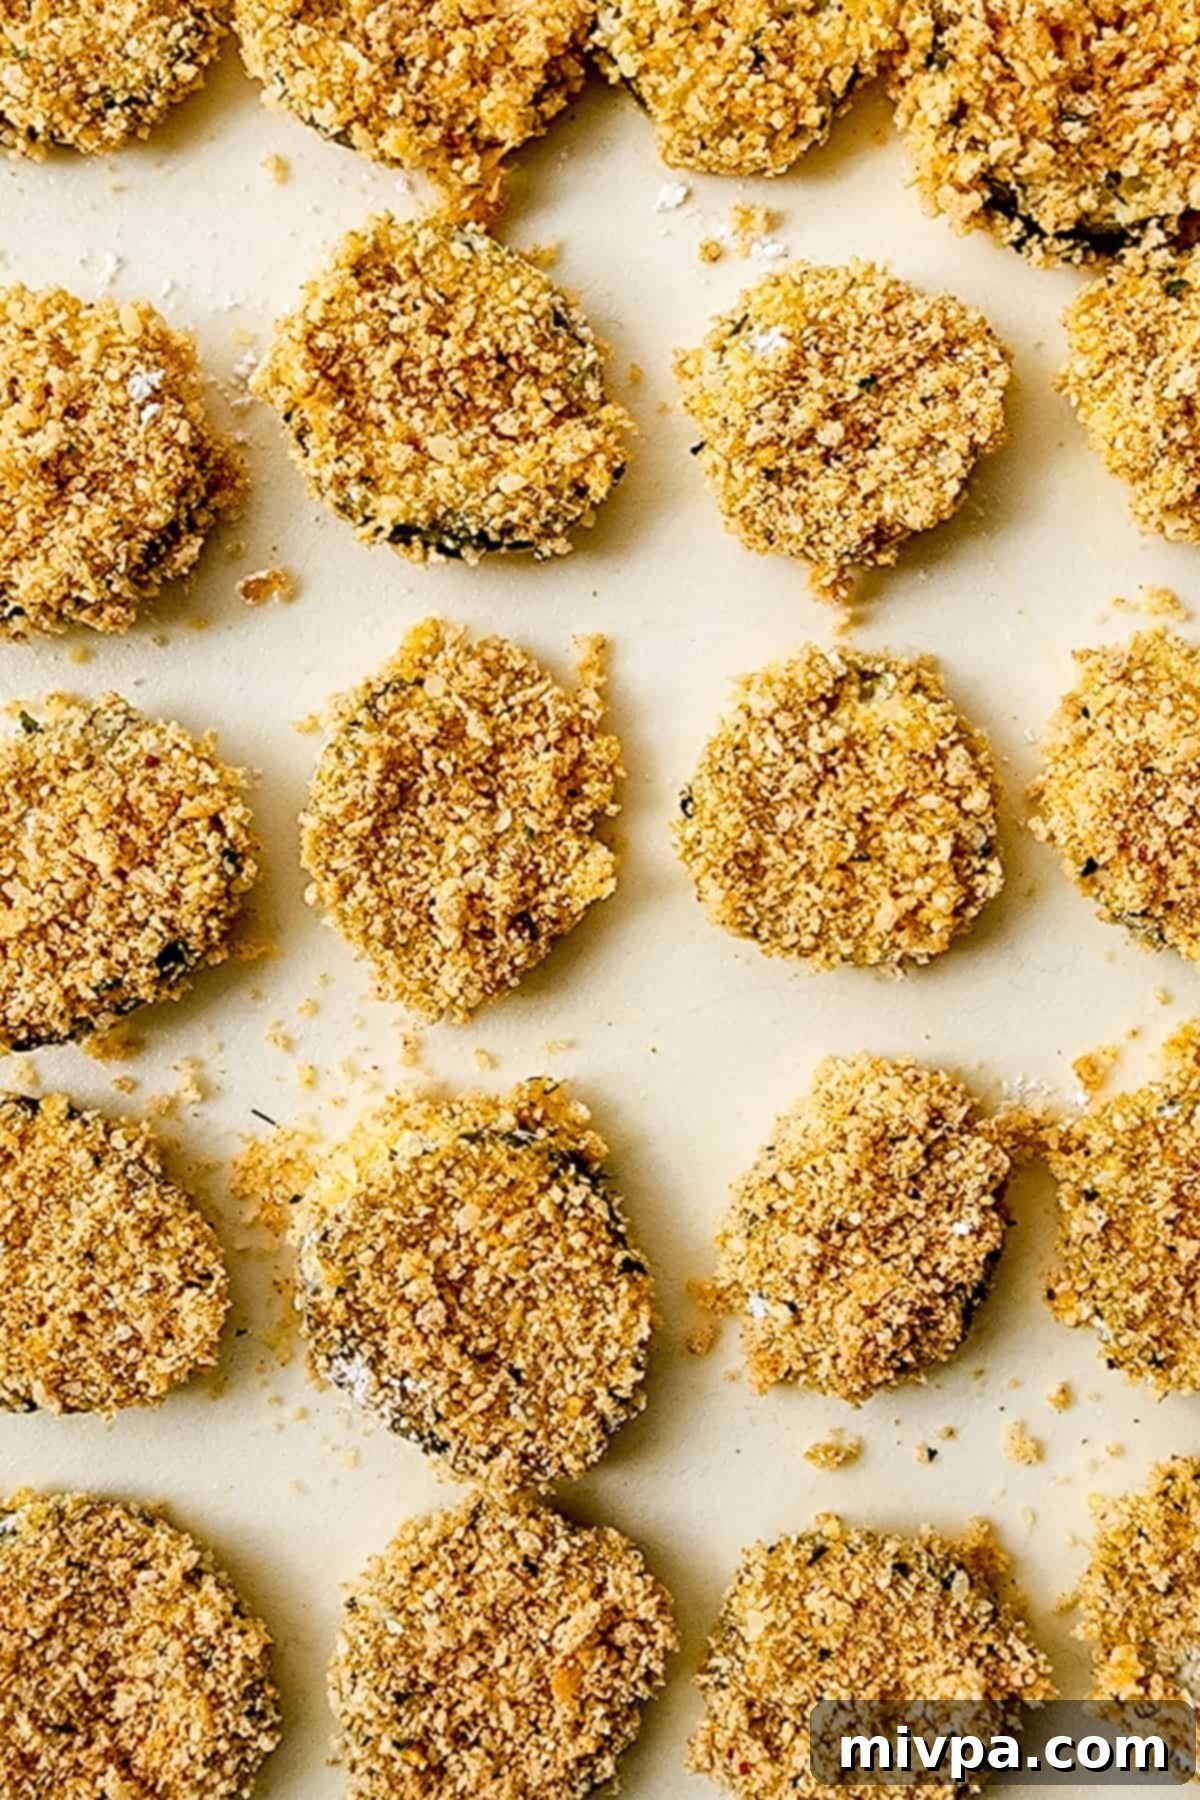
8. Heat Up Your Frying Oil
Pour enough vegetable oil into a sturdy frying pan or Dutch oven to reach about 1-2 inches in depth. Heat the oil over medium heat. It’s crucial to get the oil to the right temperature (around 350-375°F or 175-190°C) for crispy, non-greasy pickles. You can test the oil by dropping a tiny pinch of the Parmesan-panko mixture into it; if it immediately sizzles and floats to the top, the oil is ready. If it browns too quickly, the oil is too hot; if it just sits there, it’s not hot enough.
9. Fry Pickles Until Golden Brown
Once your oil is at the correct temperature, carefully place the coated pickles into the pan in a single layer, ensuring you don’t overcrowd them. Fry in batches if necessary. Cook for approximately 2-3 minutes total, or until they achieve a beautiful, even golden-brown color on all sides. Be sure to move the pickles around gently with tongs and flip them over halfway through to ensure even browning and crispiness.
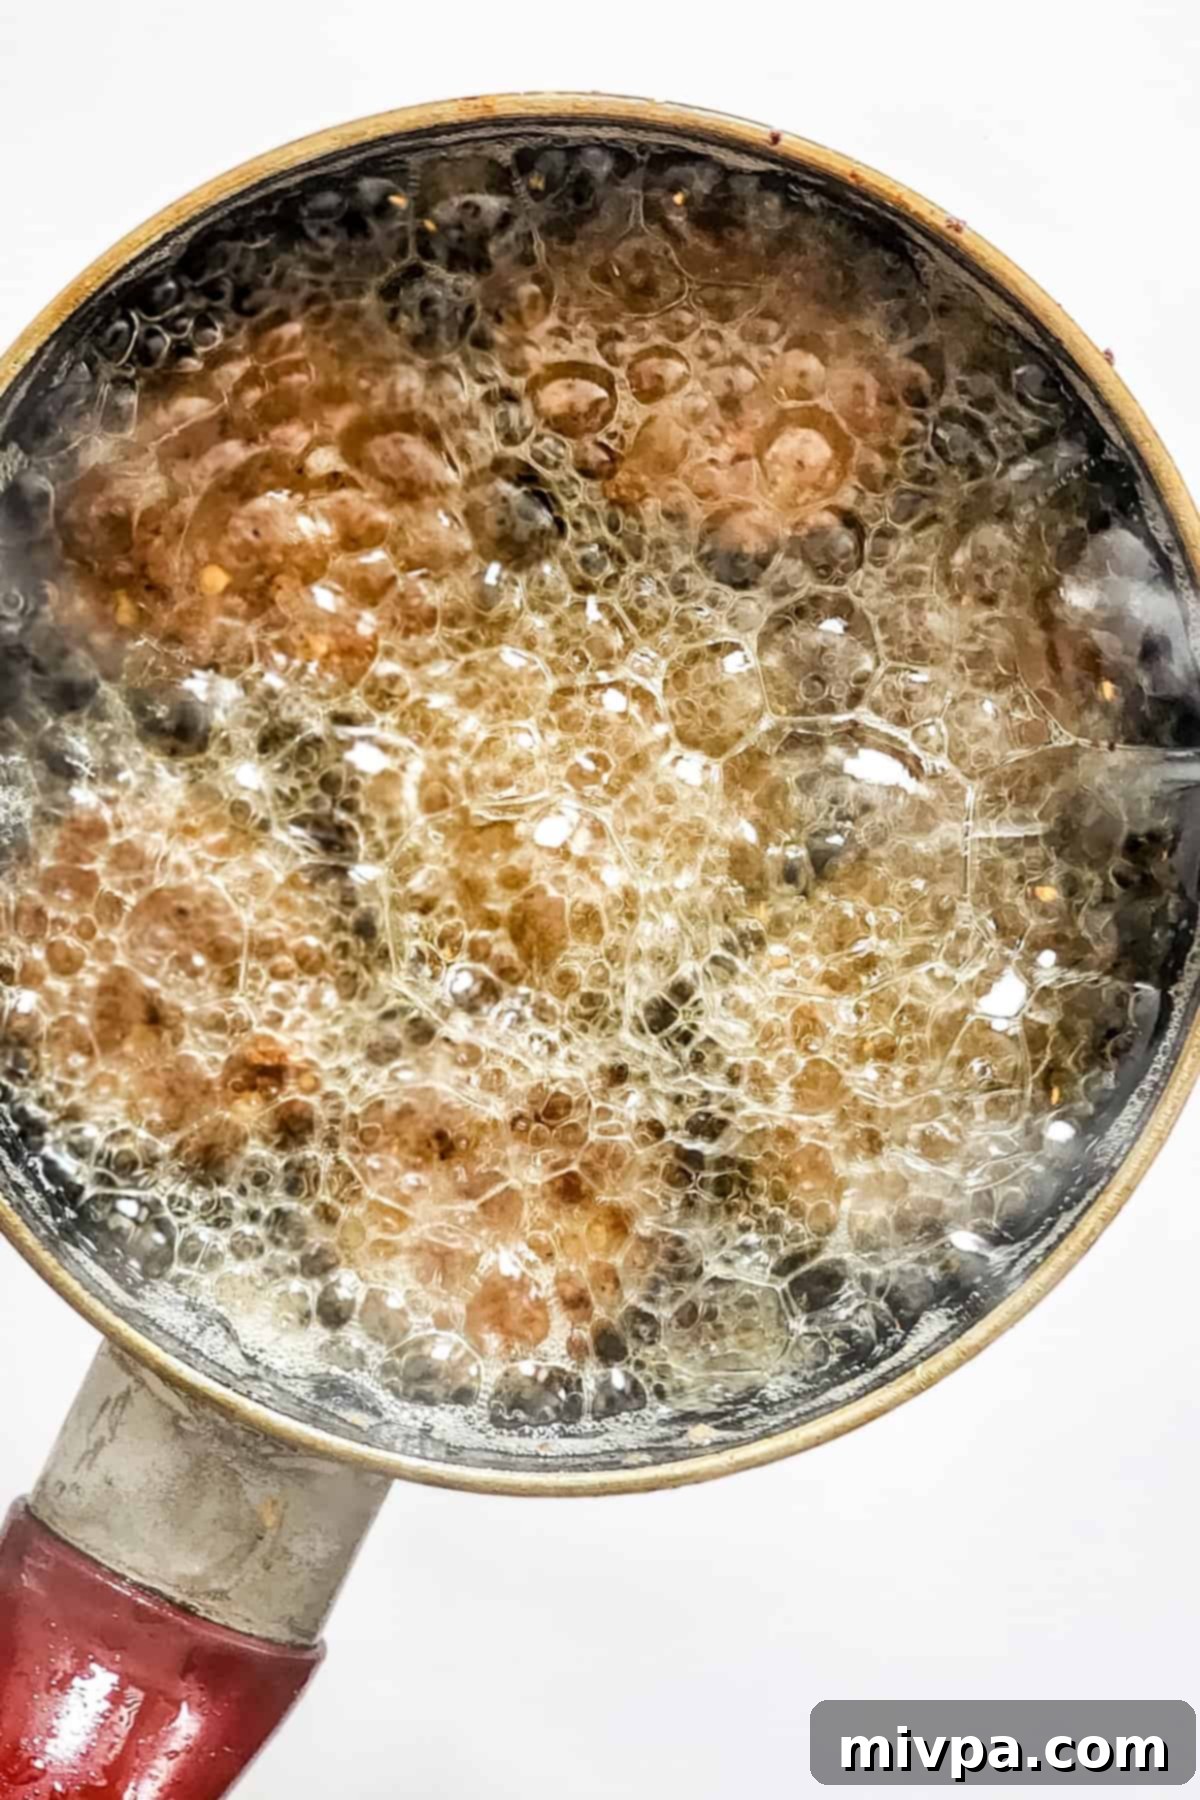
10. Remove from Pan & Drain Excess Oil
Using a slotted spoon or tongs, carefully remove the cooked fried pickles from the oil. Immediately transfer them to a plate lined with fresh paper towels or, even better, a wire rack set over a baking sheet. This allows any excess oil to drain off, which is crucial for maintaining their crispiness and preventing them from becoming soggy.
11. Serve Warm and Enjoy!
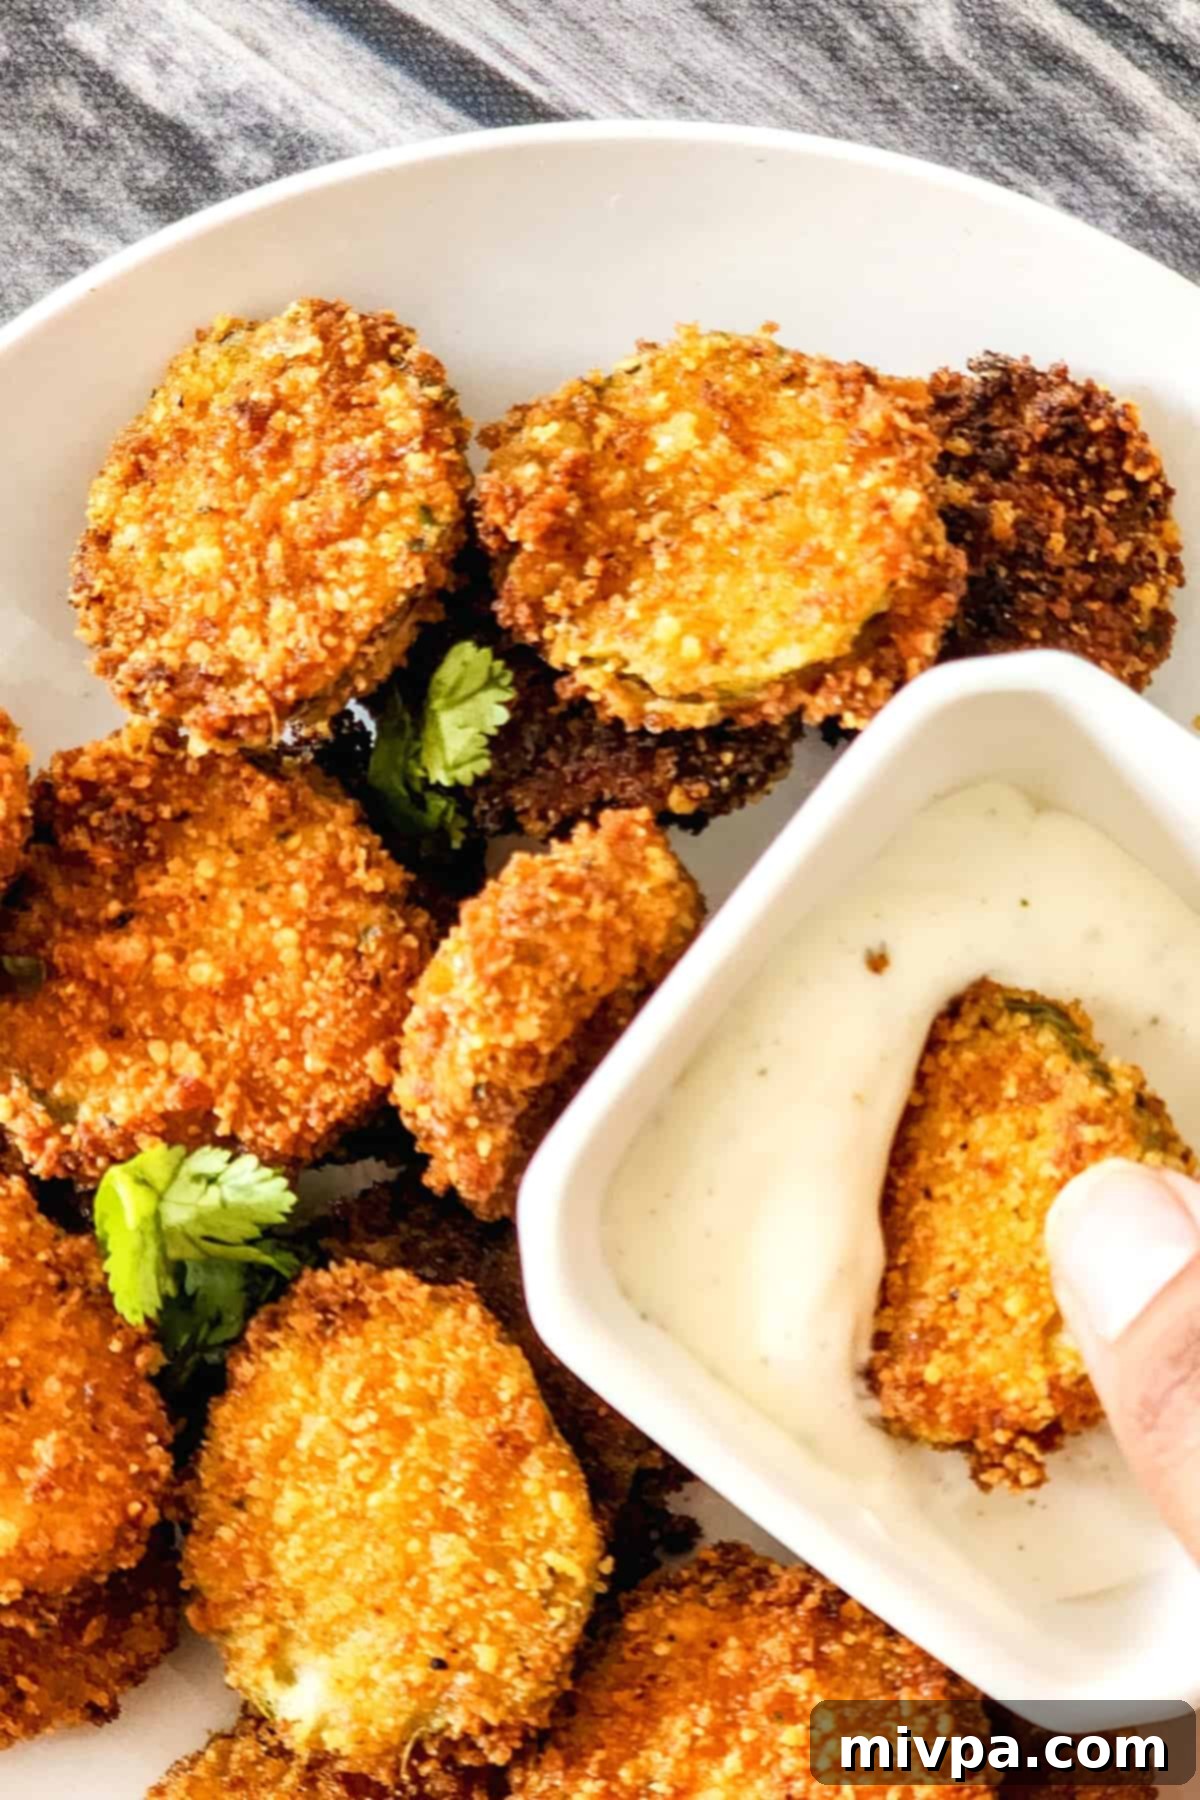
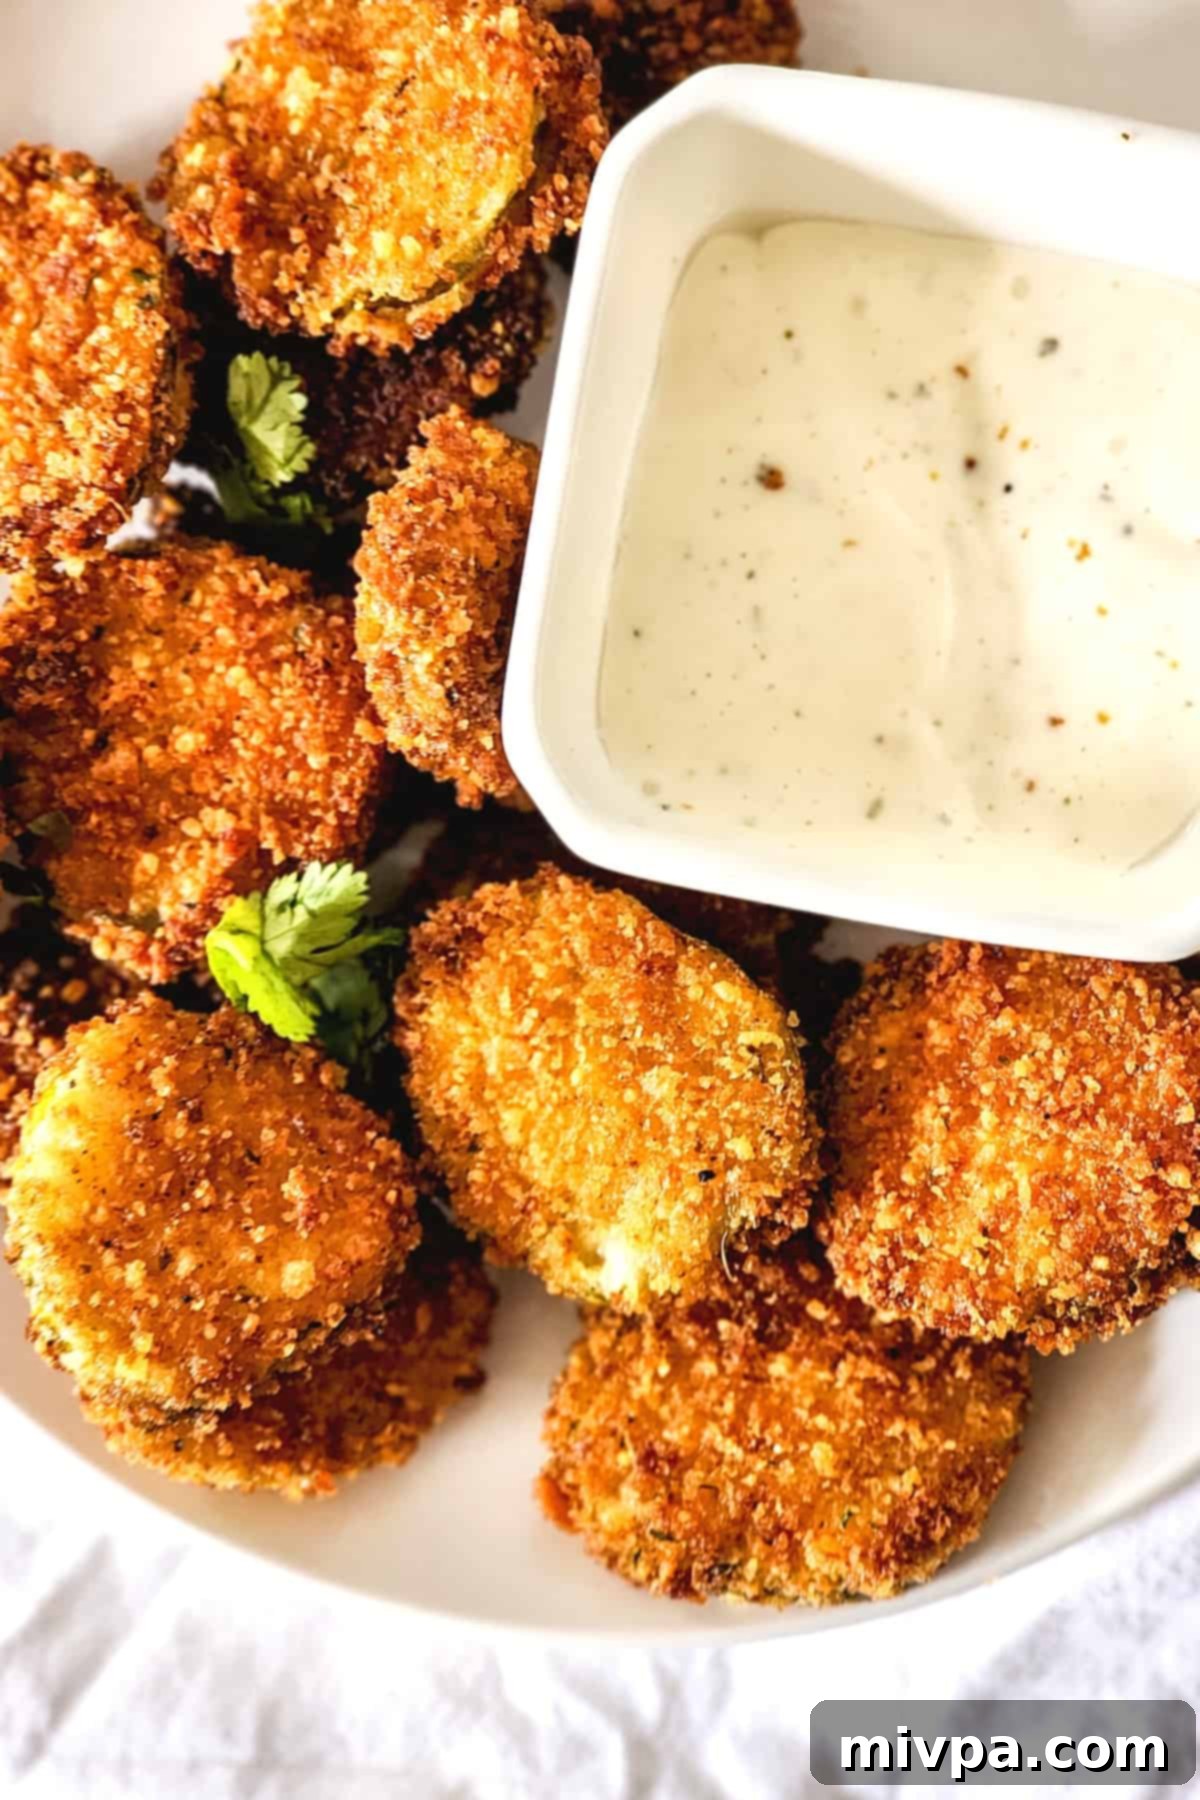
Serve your perfectly crispy, gluten-free fried pickles immediately while they are still warm and at their peak crispiness. They are fantastic on their own, but truly shine when accompanied by your favorite creamy, tangy, or spicy dipping sauce.
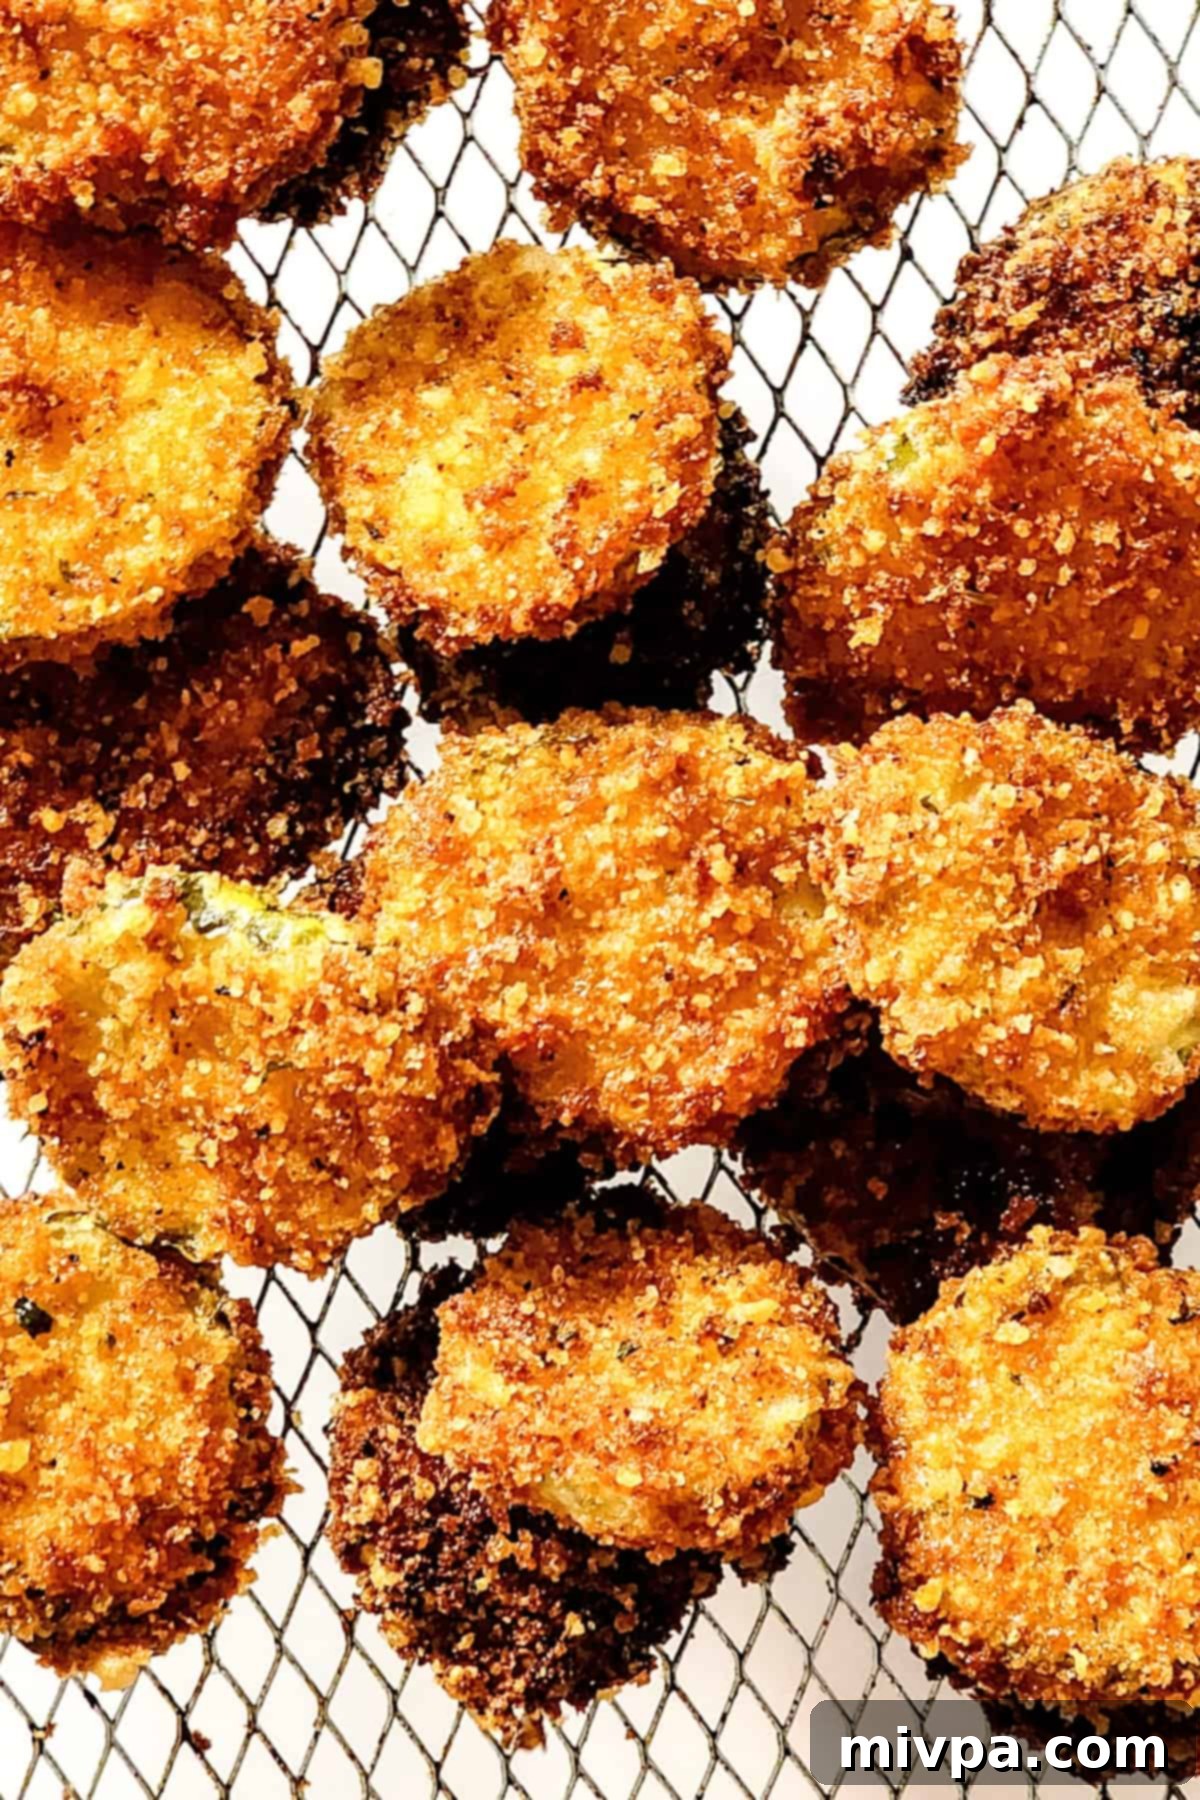
Dish by Dish Tips & Tricks for the Best Fried Pickles:
- Make Your Own Gluten-Free Breadcrumbs: For the freshest taste and control over ingredients, consider making your own gluten-free breadcrumbs at home! It’s simpler than you think and can elevate your fried pickles even further.
- Make Them Low Carb: To transform these crispy fried pickles into a low-carb friendly option, simply swap out the gluten-free all-purpose flour for an equal amount of coconut flour or almond flour. Then, substitute the gluten-free panko breadcrumb mixture with an almond flour or crushed pork rinds mixture. These alternatives maintain a satisfying crunch while significantly reducing the carbohydrate content.
- Optional Seasonings for Extra Flavor: Don’t be afraid to customize the flavor profile of your fried pickles! You can easily enhance the breadcrumb mixture by stirring in your favorite seasonings. Popular choices include a pinch of ground cayenne pepper or ground red chili powder for a spicy kick, garlic powder and onion powder for savory depth, or a blend of Cajun seasoning for a Southern-inspired zing. A dash of ground black pepper always enhances the overall taste.
- Fried Pickles Without Eggs (Vegan Option): If you’re looking to make gluten-free and vegan fried pickles, simply substitute the egg with an equivalent amount of aquafaba (the liquid from a can of chickpeas, about 3 tablespoons per egg) or a commercial egg replacer, prepared according to its package instructions. These alternatives work wonderfully as binders.
- Proper Storage and Reheating: While these are best enjoyed fresh, any rare leftovers can be stored. Place the cooled gluten-free fried pickles in an airtight container and refrigerate for up to 4 days. To bring them back to their crispy glory, reheat them in a preheated oven (at 375°F/190°C) or an air fryer (at 380°F/195°C) for a few minutes until they are hot and crispy once more. Avoid the microwave, as it will make them soggy.
- Make Air Fryer Pickles (Healthier Alternative): Prefer not to deep-fry? You can absolutely make these in an air fryer for a lighter option! After coating the pickles, generously spray the air fryer basket with nonstick cooking spray. Preheat the air fryer to 400°F (200°C). Lightly brush the coated pickles with oil on both sides, then arrange them in a single layer in the preheated basket. Cook for 8 to 10 minutes, making sure to flip the pickles halfway through, until they are beautifully crispy and golden brown on all sides.
- Experiment with Fried Jalapeños: For a spicy twist, consider using pickled jalapeños instead of pickles! Follow the same breading and frying process for a fiery appetizer that’s sure to impress.
- Choose the Right Pickles: While dill pickles are traditional, the type of pickle matters. Ensure your pickles are firm and not too soft, as softer pickles can become soggy when fried. Consider using “kosher dill” or “dill chips” for the best flavor and texture.
- Maintain Oil Temperature: Consistency in oil temperature is paramount for perfect fried pickles. Too low, and they’ll soak up too much oil and be greasy. Too high, and the coating will burn before the pickle heats through. Using a kitchen thermometer can help maintain the ideal temperature of 350-375°F (175-190°C).
Common Questions About Gluten-Free Fried Pickles:
Yes, most pickles are naturally gluten-free, particularly those brined in distilled vinegars like corn or apple cider vinegar. However, it’s essential for individuals with celiac disease or gluten intolerance to always check the ingredient label. Avoid pickles brined in malt vinegar, as it contains gluten. Look for brands specifically labeled “gluten-free” for complete assurance.
No, traditional fried pickles found in most restaurants or grocery stores are generally not gluten-free. They are typically made with wheat flour or breadcrumbs that contain gluten. If you have celiac disease or gluten sensitivity, always confirm with the restaurant or check product labels for explicit “gluten-free” certification to ensure they are safe for consumption.
The most common reason for batter not sticking is excess moisture on the pickles. It is absolutely crucial to pat your pickle slices thoroughly dry with paper towels before you begin the coating process. Another tip is to ensure your first coating of gluten-free flour is ample enough to absorb any residual moisture. This creates a dry surface for the egg to adhere to, which then allows the breadcrumbs to stick firmly. Don’t be shy about pressing the breadcrumb mixture onto the pickle to create a thick, secure coating.
Yes, you can! For a baked version, preheat your oven to 400°F (200°C). After coating the pickles, arrange them in a single layer on a parchment-lined baking sheet. Lightly spray them with cooking oil. Bake for 15-20 minutes, flipping halfway through, until they are golden brown and crispy. Keep in mind that the texture will be slightly different from deep-frying but still delicious!
Dill pickle chips or thin-sliced dill spears are generally preferred due to their classic tangy flavor and consistent size. Look for firm, crisp pickles rather than softer varieties, as they hold up better during the frying process. Ensure they are uniform in thickness for even cooking.
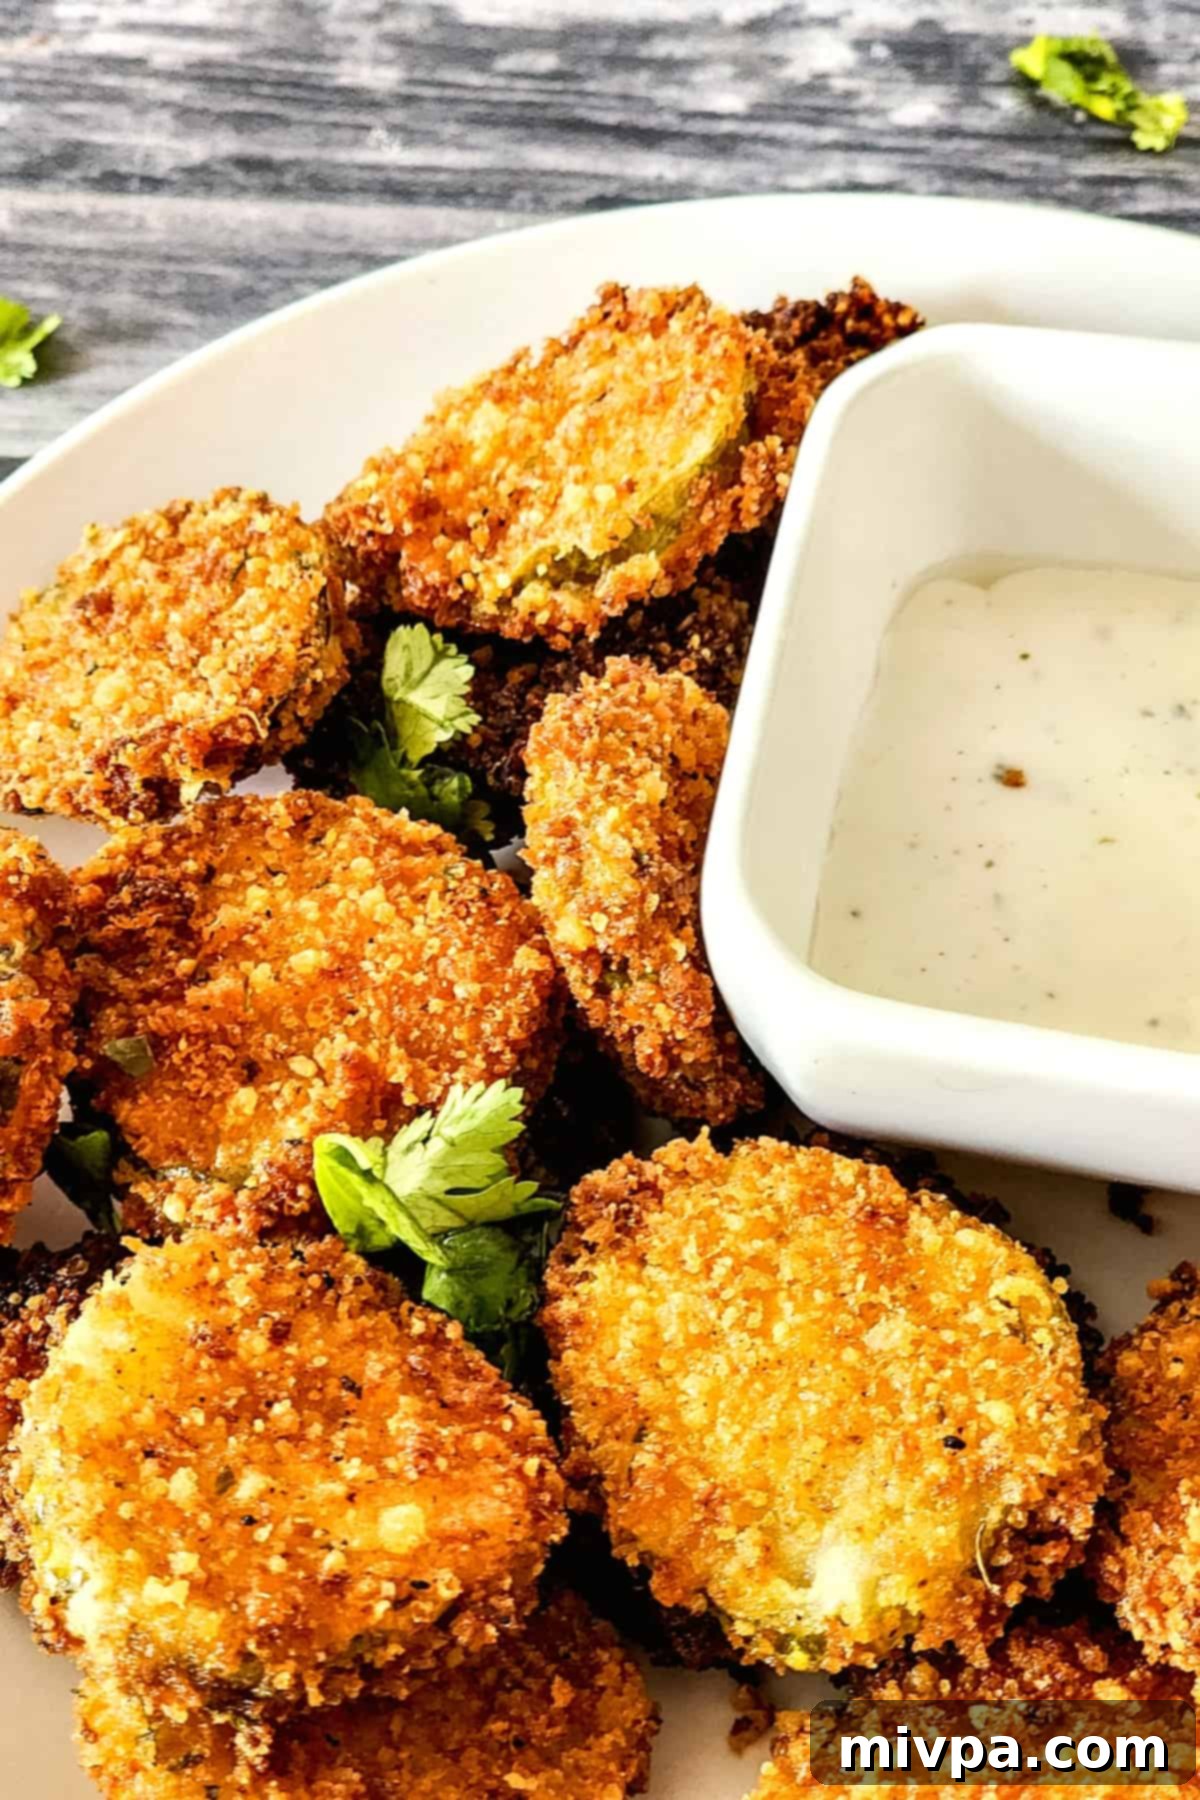
Favorite Dips to Accompany Gluten-Free Fried Pickle Chips:
These crispy delights pair wonderfully with a variety of dips. Here are some of our top recommendations, all gluten-free and dairy-free:
- Easy Garlic Aioli (Gluten-Free, Dairy-Free)
- Creamy Hummus (Gluten-Free, Dairy-Free, Vegan)
- Baba Ganoush (Gluten-Free, Dairy-Free, Vegan)
- Homemade Sriracha Chili Sauce (Gluten-Free, Vegan)
- Spicy Salsa Fresca (Pico de Gallo)
- Spinach Dip (Gluten-Free, Vegan)
- Classic dairy-free ranch dressing
- Spicy ketchup or a homemade chili-lime mayo
Other Delicious Gluten-Free Appetizers You’ll Love:
- Easy Chicken Satay with Peanut Sauce (Gluten-Free, Dairy-Free)
- Crispy Cornflake Chicken Strips (Gluten-Free, Dairy-Free)
- Caprese Pesto Pasta Salad (Gluten-Free)
- Crunchy Cabbage Salad with Peanut Dressing (Gluten-Free, Vegan)
P.S. If you try this fantastic recipe, I’d absolutely love for you to leave a star rating below and/or a review in the comment section further down the page. Your feedback is always greatly appreciated and helps others discover these delicious treats. Be sure to explore my entire Recipe Index for more incredible recipes on the blog. You can also follow my culinary adventures on Pinterest, Facebook, or Instagram! Don’t forget to sign up for my Email List to receive fresh recipes directly in your inbox each week!
Print Recipe

Gluten-Free Fried Pickles (Dairy-Free)
★★★★★
5 from 1 review
- Author: Felicia Lim
- Total Time: 25 minutes
- Yield: 4 servings
- Diet: Gluten Free, Dairy Free
Description
Crispy and gloriously golden brown, these gluten-free fried pickles are the perfect snack or appetizer. Accompany them with your favorite dip and serve these gf fried pickles during your game day parties or any gathering! Totally dairy-free too!
Ingredients
Scale
- 1/2 cup gluten-free Panko breadcrumbs
- 1/2 cup dairy-free parmesan cheese, grated
- 1/4 cup gluten-free all-purpose flour
- 1 egg, whisked (or egg replacer for vegan)
- 20 pickle slices (dill pickles recommended)
- Vegetable oil, for frying (e.g., sunflower, corn, peanut, avocado oil)
Instructions
- Mix Parmesan and Panko: Combine the dairy-free parmesan cheese and gluten-free panko bread crumbs together in a small bowl and mix well.
- Dry Pickle Slices: Lay out the pickle slices on paper towels and pat them thoroughly dry, removing any excess pickle juice. This step is crucial for crispiness.
- Prepare Dipping Station: Set up your dipping stations in this order: gluten-free flour in the first shallow dish, whisked egg in the second, and the Parmesan-panko mixture in the third.
- Coat Pickles: Dip one pickle slice into the flour, coating both sides. Shake off excess. Then, dip the flour-coated pickle into the beaten egg, ensuring both sides are covered.
- Final Coating: Transfer the egg-dipped pickle to the parmesan-panko mixture. Press and pat the mixture firmly onto the pickle to create a thick, even coating on both sides. Place on a clean plate or cutting board.
- Repeat: Repeat steps 4 and 5 for the rest of the pickle slices, working in batches as needed.
- Heat Up Oil: Heat about 1-2 inches of vegetable oil in a sturdy frying pan or Dutch oven over medium heat to 350-375°F (175-190°C). Test with a pinch of breadcrumb mixture to ensure it sizzles immediately.
- Cook Pickles Until Golden Brown: Carefully place the coated pickles into the hot oil, without overcrowding the pan. Fry for about 2-3 minutes total, flipping halfway through, until they are golden brown and crispy on all sides.
- Remove From Pan: Using a slotted spoon or tongs, remove the fried pickles from the oil and place them on paper towels or a wire rack to drain any excess oil.
- Serve and Enjoy: Serve immediately with your favorite dipping sauce while still warm and crispy.
Notes
Gluten-Free Panko Breadcrumbs: I used plain gluten-free panko bread crumbs for the crispiest result. Regular panko or breadcrumbs can be used if gluten is not a concern.
Parmesan Cheese: For a dairy-free option, use dairy-free Parmesan cheese or nutritional yeast. Regular Parmesan works if you’re not lactose-intolerant.
Gluten-Free All-Purpose Flour: This recipe uses gluten-free all-purpose flour for dredging. Standard wheat flour can be used if not avoiding gluten.
Egg: The egg binds the coating. For an egg-free or vegan version, use aquafaba or an egg-replacer.
Pickles: Dill pickle slices are highly recommended for their classic flavor. Ensure they are well-dried before coating.
Oil: Use a neutral vegetable oil with a high smoke point for frying, such as sunflower oil, corn oil, peanut oil or light olive oil.
Storing: Store cooled leftovers in an airtight container in the refrigerator for up to 4 days. Reheat in the oven or air fryer to restore crispiness.
- Prep Time: 15 mins
- Cook Time: 10 mins
- Category: Snacks, Appetizers
- Method: Stovetop (Deep-Fry) or Air Fryer
- Cuisine: American
