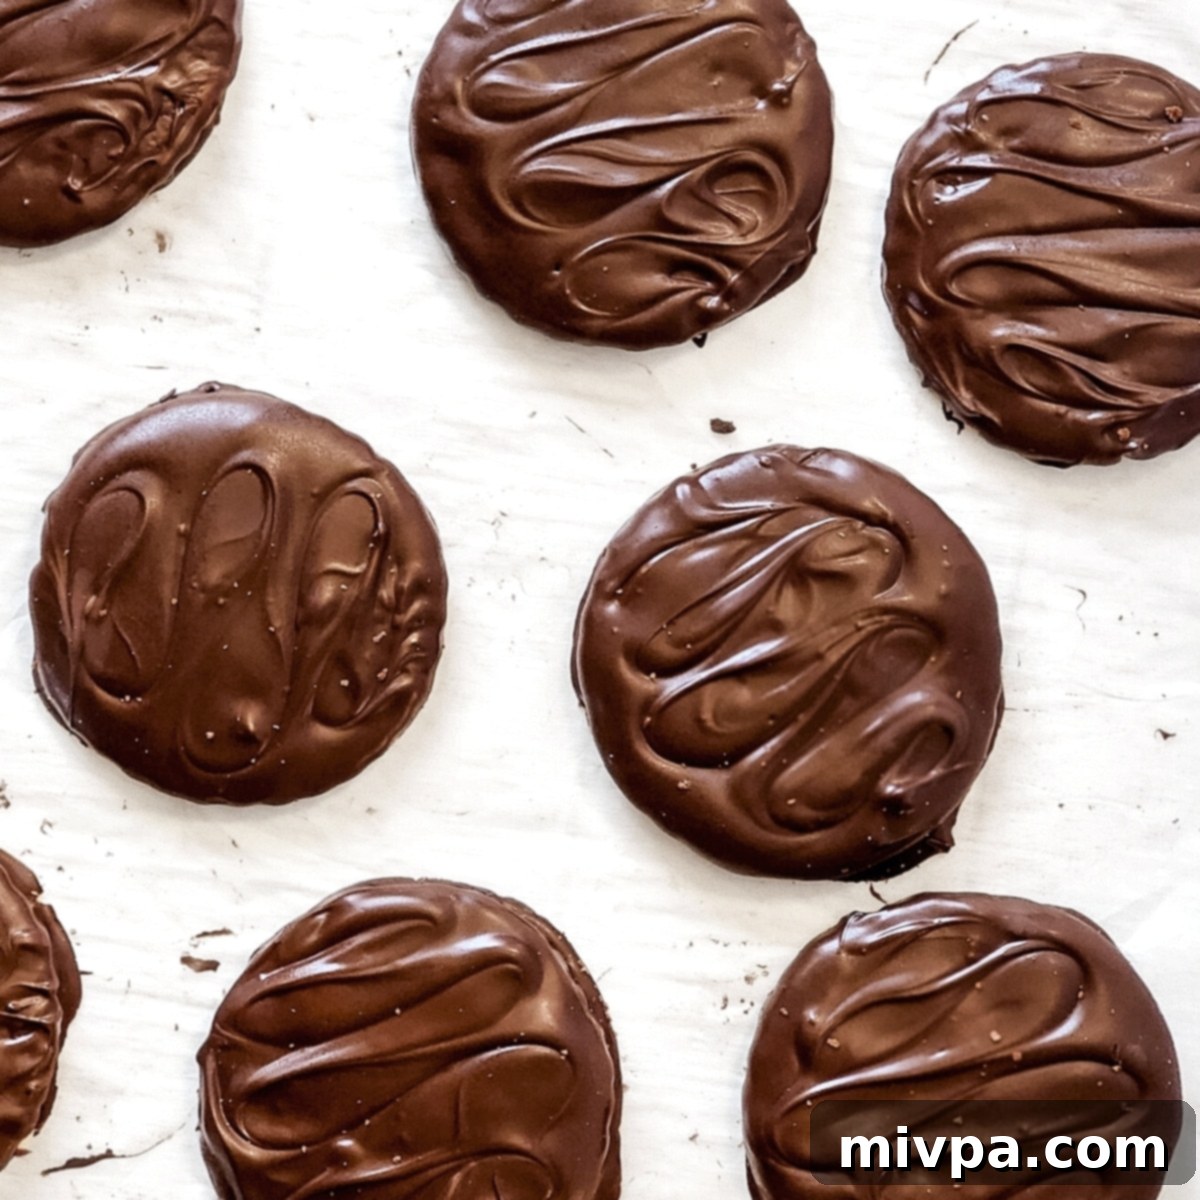
Homemade Gluten-Free Thin Mints: Delicious Dairy-Free Copycat Girl Scout Cookies
Welcome to a delightful journey back to childhood, reimagined for today’s dietary needs! These **copycat gluten-free Thin Mints** are more than just a recipe; they’re a ticket to nostalgia, offering a perfectly crisp texture and that iconic minty chocolate coating we all adore. Whether you’re navigating Celiac disease, managing a gluten intolerance, or simply choosing a dairy-free lifestyle, these homemade treasures ensure everyone can enjoy their favorite Girl Scout cookie. Get ready to bake a big batch of these incredibly delicious, totally dairy-free and gluten-free delights today!
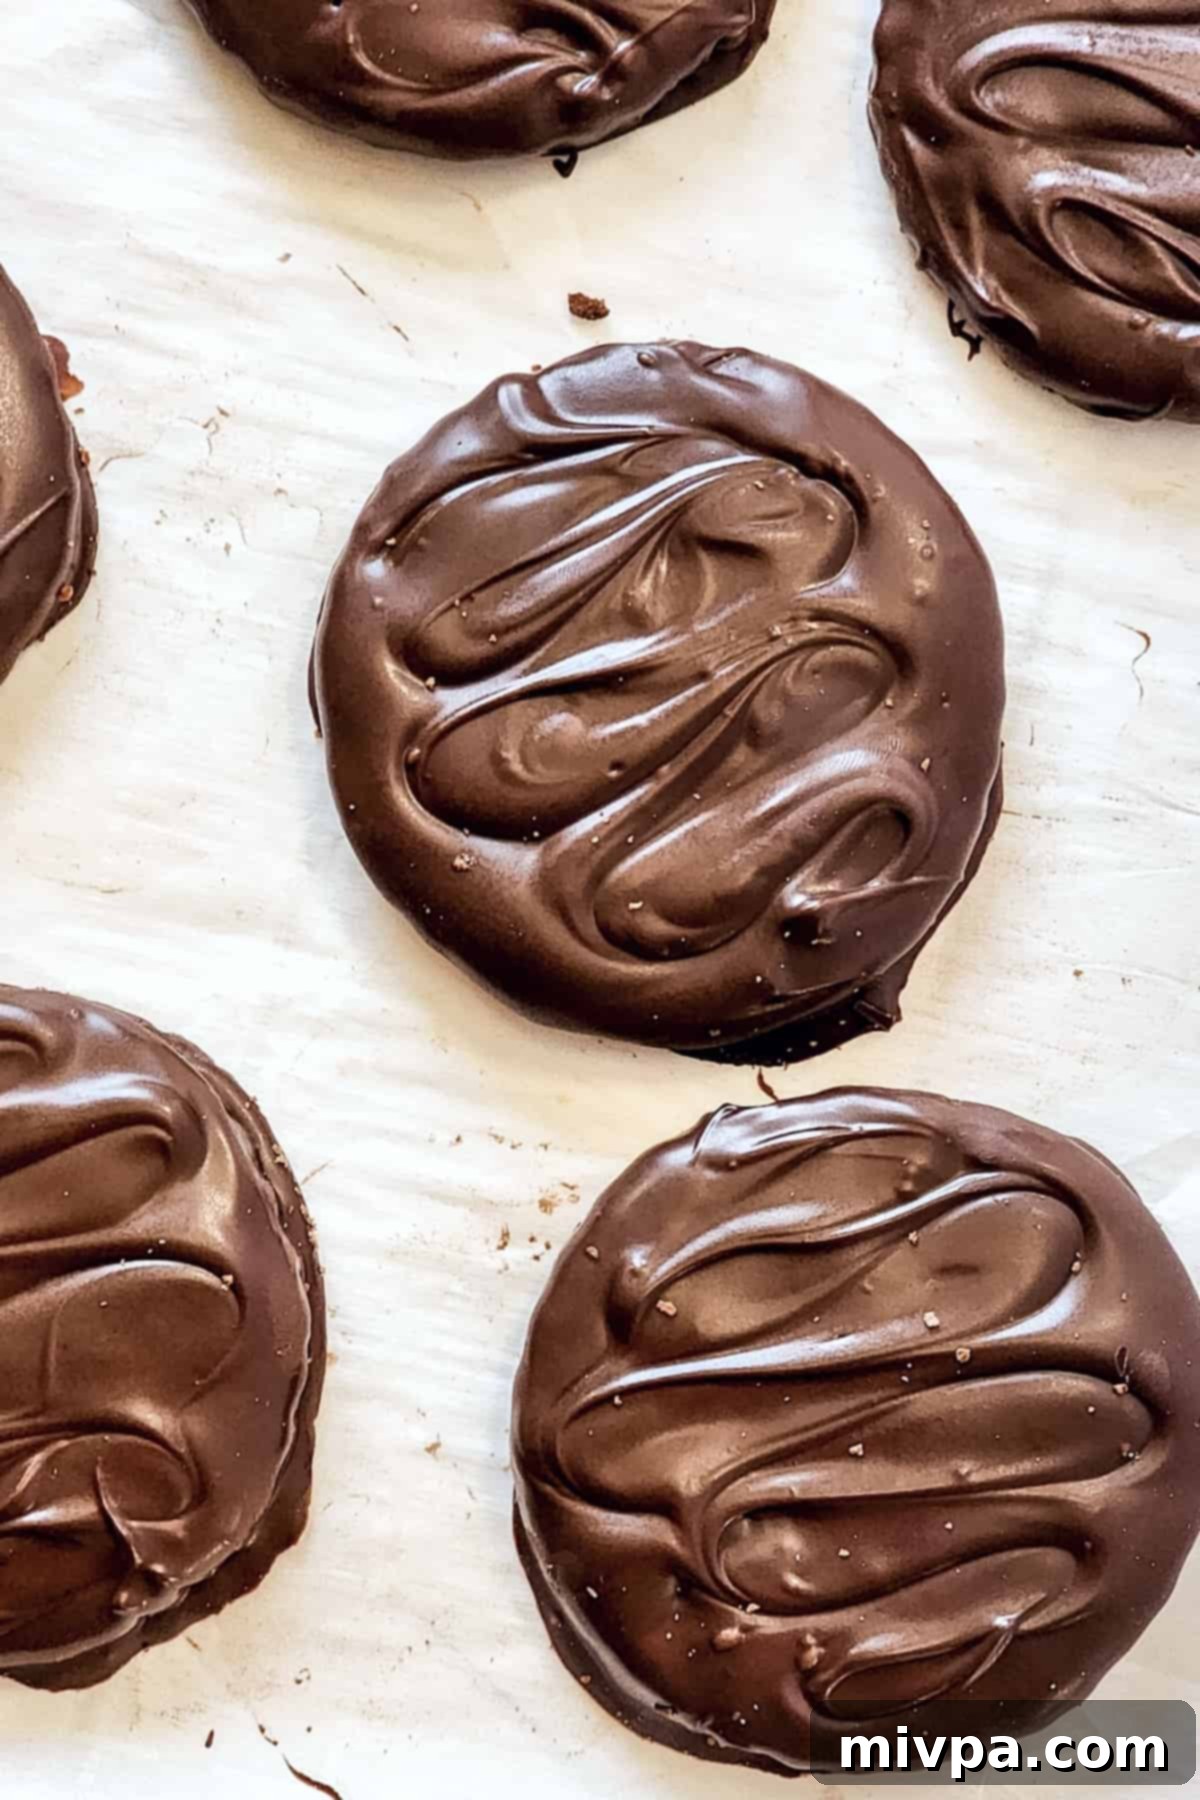
The Irresistible Allure of Thin Mints: Our Favorite Girl Scout Cookie
For many of us, the arrival of Girl Scout cookie season was a highly anticipated annual event. Among the tempting array of choices, the Thin Mint always stood out as a true icon. Its distinctive appeal lies in a harmonious blend of textures and flavors: a wonderfully crisp, chocolatey wafer paired with a refreshing, cool peppermint layer, all encased in a smooth, dark chocolate coating. It’s a sensory experience that’s hard to beat, perfect for enjoying chilled, straight from the freezer, or at room temperature. While other classics like the Samoas (or Caramel deLites) hold a special place in our hearts, the Thin Mint remains the undisputed champion for many, always making mouths water at the mere mention.
Are Thin Mints Gluten-Free and Dairy-Free? Understanding the Original
The unfortunate truth for those with dietary restrictions is that the traditional Girl Scout Thin Mints are typically made with wheat flour, meaning they contain gluten. This makes them unsuitable for individuals with Celiac disease or gluten intolerance. Furthermore, they often contain dairy ingredients, excluding those with lactose intolerance or dairy allergies. This can be a real disappointment when cookie season rolls around, limiting options for enjoying these beloved treats. Our mission with this recipe is to bridge that gap, providing a delicious, safe, and equally satisfying alternative that everyone can enjoy without compromise.
Celebrating Girl Scout Cookie Season with a Twist
Girl Scout cookie season, typically spanning from January to April in the United States, is a cherished tradition. It’s a time when communities come together to support young girls and their entrepreneurial spirit, all while indulging in irresistible cookies. In fact, did you know that in the United States, Girl Scout Cookie Weekend is officially celebrated on the third weekend of February every year? It’s a fantastic opportunity to stock up on favorites and share joy. This year, we’re thrilled to bring a homemade version to your table that caters to gluten-free and dairy-free diets, ensuring no one misses out on the fun. This recipe captures the spirit of the season, allowing everyone to participate in the cookie craze!
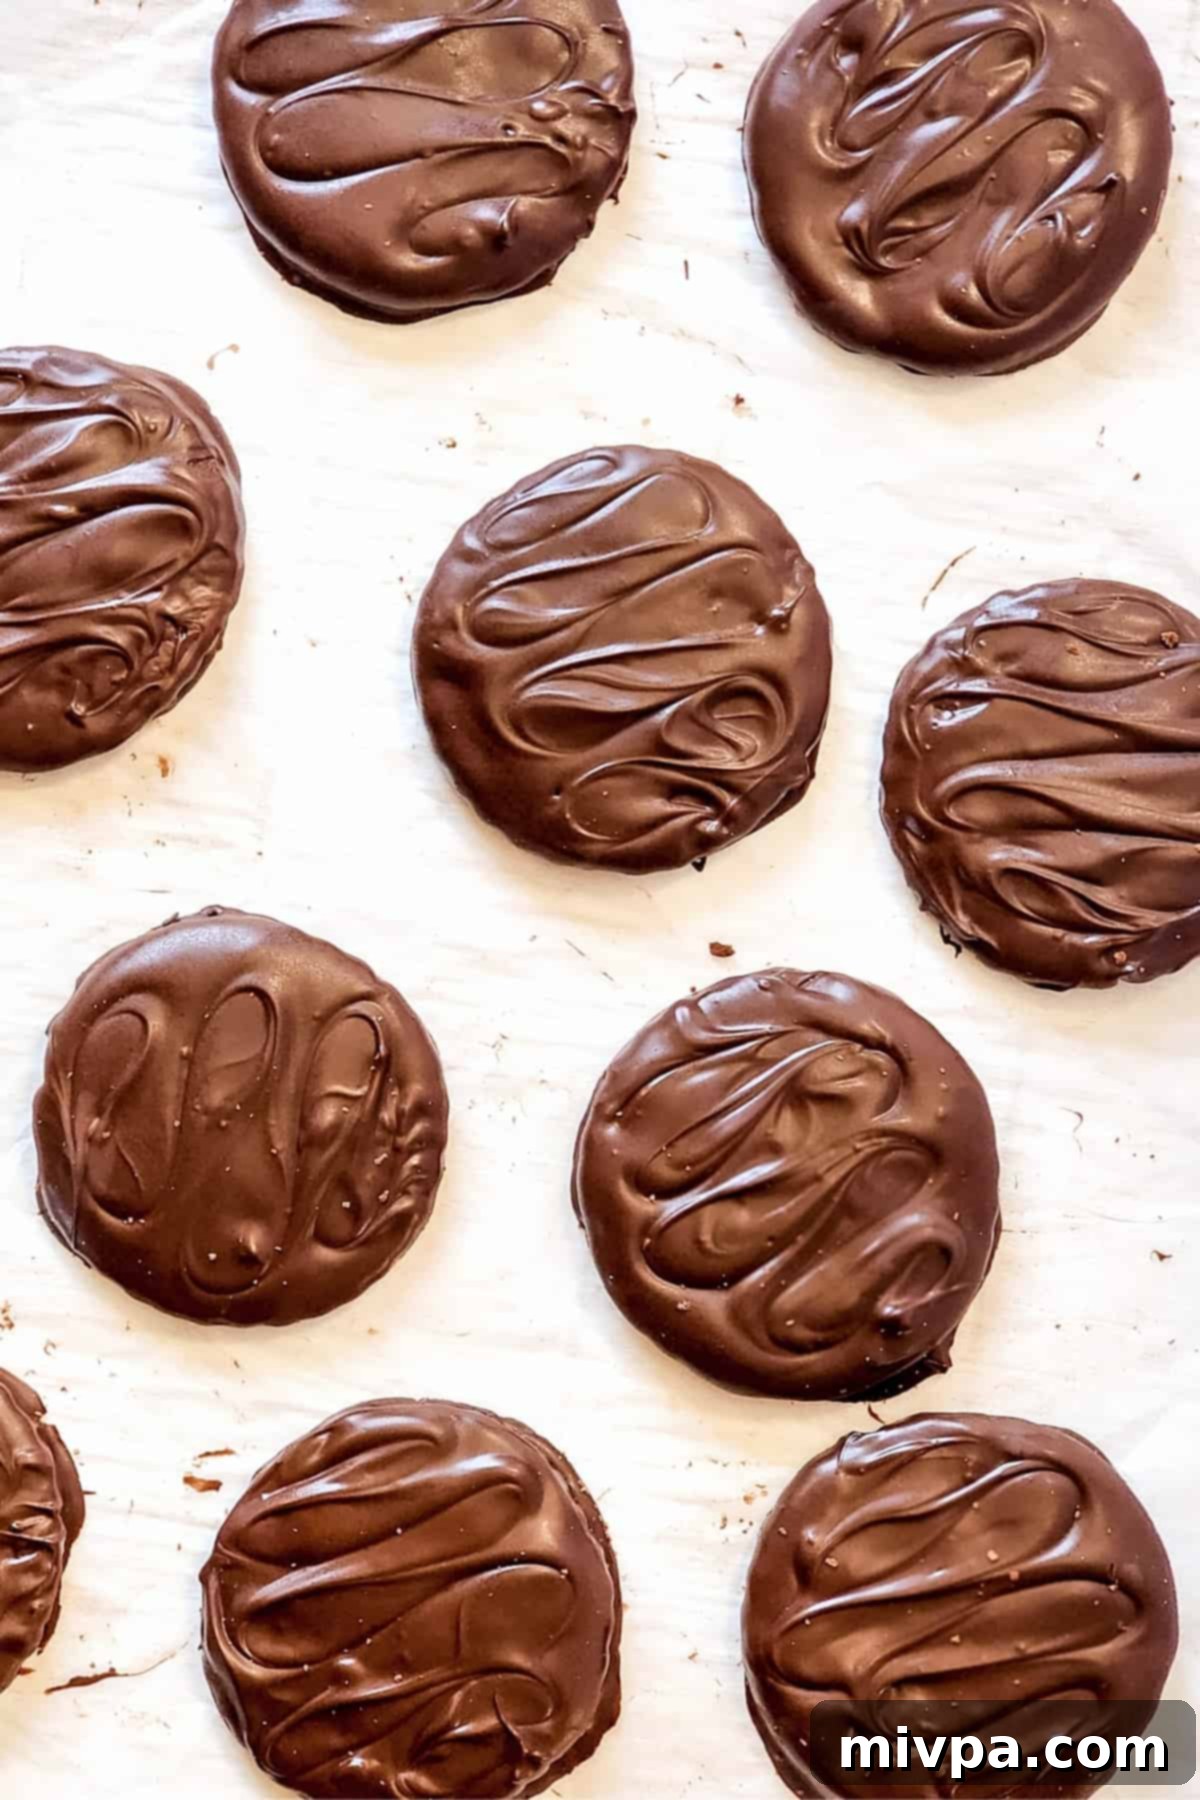
Why This Recipe Is Your New Favorite: The Benefits of Our Gluten-Free Thin Mints
This homemade gluten-free and dairy-free Thin Mint recipe isn’t just a substitute; it’s a superior way to enjoy this classic cookie. Here’s why it stands out:
- Simple, Accessible Ingredients: You won’t need to hunt for obscure items. All the components for these copycat gluten-free Thin Mints are readily available at most local grocery stores, making your baking experience straightforward and stress-free.
- Remarkably Easy to Make: Don’t be intimidated by the idea of homemade cookies! The process for these Thin Mints is incredibly uncomplicated. You’ll simply mix the dough ingredients, roll it out, cut your cookie shapes, and bake. Once cooled, a quick dip in the luscious chocolate coating, followed by a chill, and they’re ready to enjoy. It’s a fun and rewarding baking project suitable for all skill levels.
- 100% Gluten-Free and Dairy-Free: This is the cornerstone of our recipe. We’ve meticulously crafted these Thin Mint cookies to be completely gluten-free and dairy-free. This means individuals with Celiac disease, gluten sensitivities, or lactose intolerances can indulge without any worries. Finally, you can enjoy that familiar, comforting flavor without the unwelcome digestive discomfort.
- Customizable and Fresh: Baking at home gives you complete control over the quality of your ingredients. You can choose organic options, adjust sweetness, or even experiment with different chocolate types to perfectly match your preferences. Plus, nothing beats the taste and aroma of freshly baked cookies!
Essential Ingredients for Your Copycat Girl Scout Thin Mints
Gathering your ingredients is the first exciting step to creating these incredible Thin Mints. Below is a visual overview, but for precise measurements and the full recipe, please refer to the **printable recipe card** at the bottom of this post.
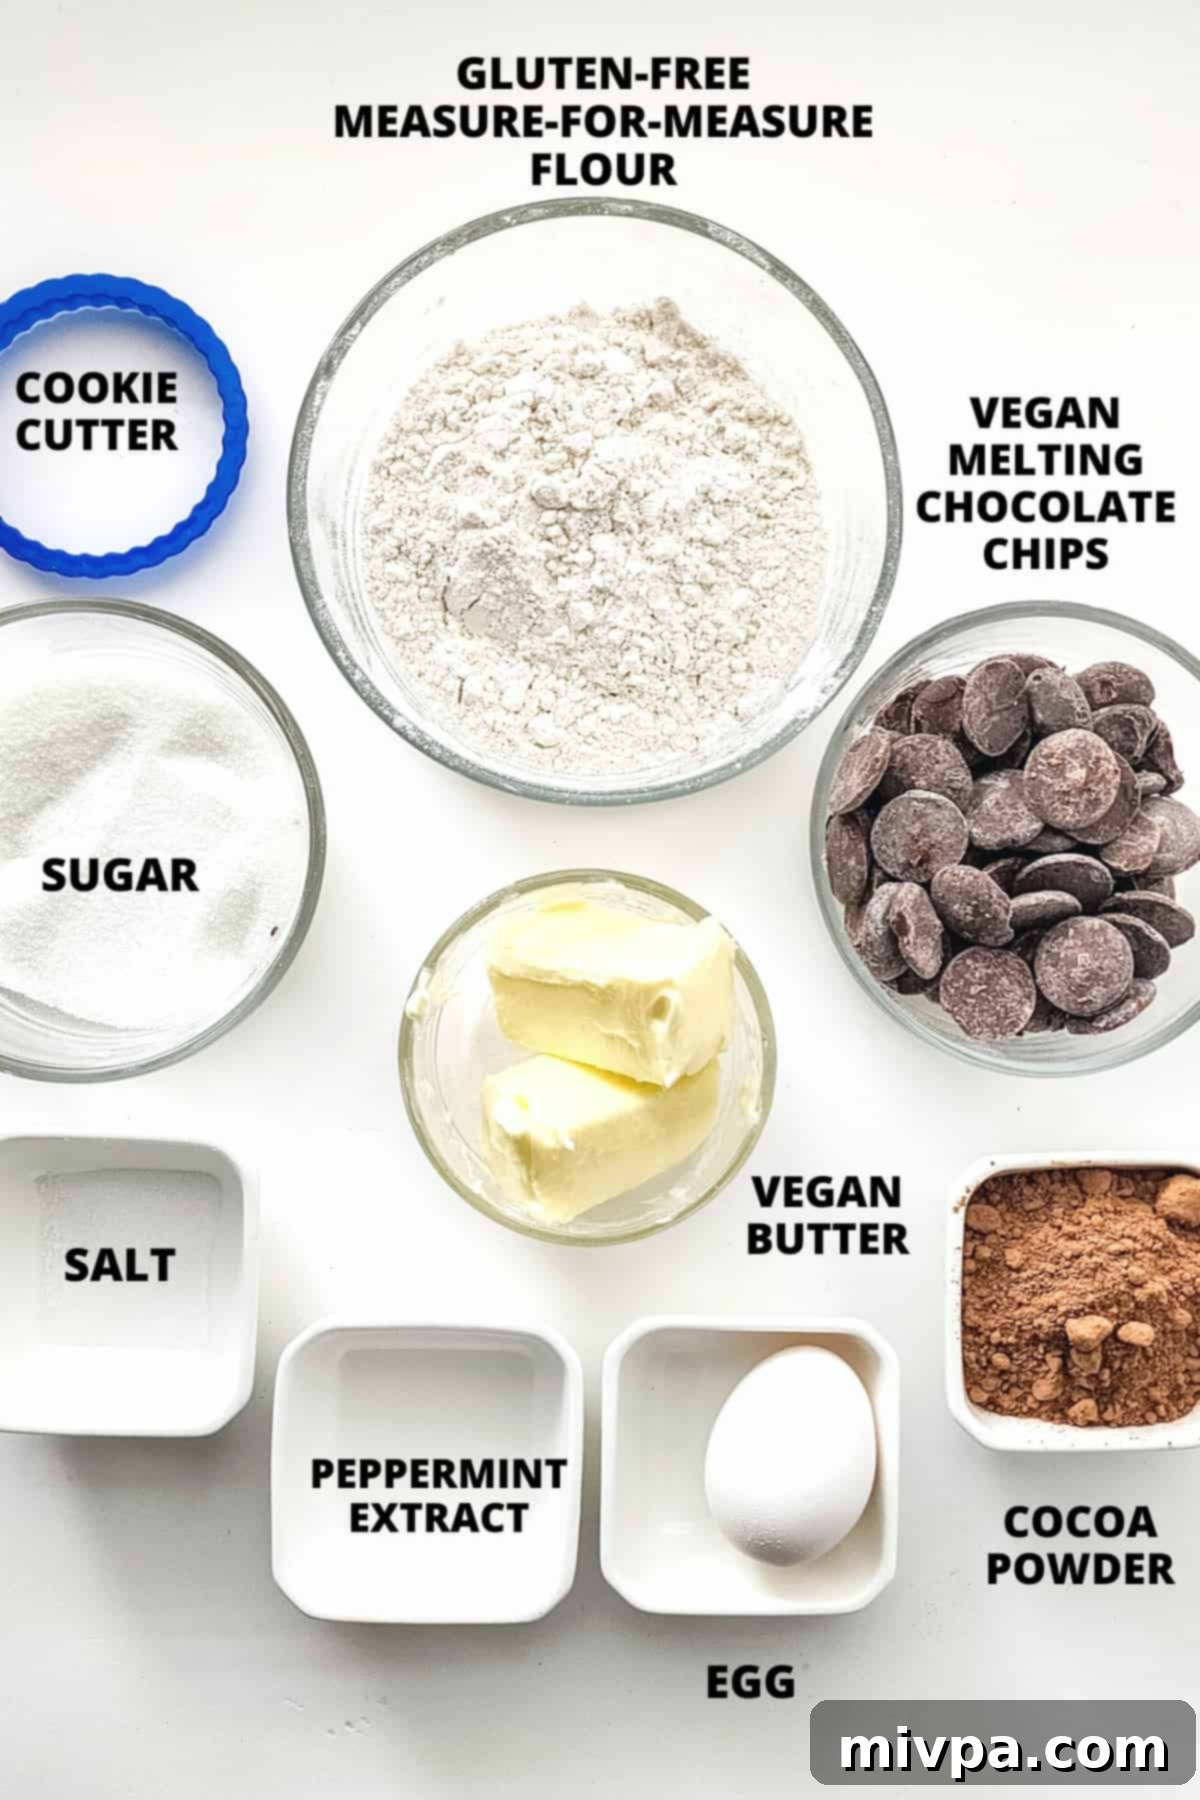
Recipe Notes & Smart Substitutions for Perfect Results
Achieving the perfect gluten-free and dairy-free Thin Mints involves understanding your ingredients and knowing when to make smart substitutions. Here’s a detailed breakdown:
- Vegan Butter: To ensure this recipe remains truly dairy-free, unsalted vegan butter is our go-to. It provides the richness and texture of traditional butter without any dairy. If vegan butter isn’t available or preferred, refined coconut oil is an excellent alternative, offering a neutral flavor profile ideal for baking. Avoid extra virgin coconut oil, which carries a more distinct coconut aroma and taste. For those without lactose intolerance, feel free to use regular unsalted butter.
- Sugar: We use granulated white sugar for its classic sweetness and fine texture. However, you have options! For a deeper, richer flavor, consider light brown sugar or dark brown sugar. Coconut sugar also works well, offering a slightly caramel-like note. If you’re managing diabetes or insulin resistance, a 1:1 sugar substitute like granulated monk fruit sweetener is highly recommended, as it has a zero glycemic index and won’t spike blood sugar levels.
- Egg: The egg serves as a vital binding agent, helping to hold the cookie dough together and contribute to its structure. While I haven’t personally tested an egg-free version for this specific recipe, if you have an egg allergy or are aiming for a fully vegan cookie, you might experiment with alternatives like aquafaba (the liquid from a can of chickpeas) or a commercial egg replacer. Please share your results in the comments if you try an egg-free variation!
- Peppermint Extract: This ingredient is absolutely crucial for imparting the signature refreshing mint flavor of Thin Mints. Quality matters here! If you are Celiac or gluten-intolerant, always double-check to ensure you’re using a gluten-free peppermint extract. Some extracts can contain hidden gluten, so a quick label check is always wise.
- Cocoa Powder: For the best results and to control sweetness, always opt for unsweetened cocoa powder. The sugar in the recipe provides sufficient sweetness, and unsweetened cocoa ensures a deep, rich chocolate flavor without being overly cloying.
- Gluten-Free Flour Blend: The success of gluten-free baking often hinges on a good flour blend. This recipe is designed for a gluten-free measure-for-measure flour blend, which means it can directly replace regular wheat flour in a 1:1 ratio. These blends typically contain a mix of different gluten-free flours (like rice flour, tapioca starch, potato starch) and often include xanthan gum. If you are not gluten-intolerant, you can simply substitute with all-purpose wheat flour.
- Xanthan Gum: This is a powerful ingredient in gluten-free baking, acting as a substitute for the elasticity and binding properties of gluten. If your chosen gluten-free flour blend does *not* already contain xanthan gum, it’s essential to add 1/4 teaspoon of xanthan gum for every cup of gluten-free flour used to achieve the correct dough consistency and cookie structure.
- Vegan Chocolate Chips: To keep the entire recipe dairy-free, we use vegan semi-sweet chocolate chips for the coating. There are many excellent brands available now that melt beautifully. If dairy is not an issue for you, feel free to use your favorite regular semi-sweet or dark chocolate chips.
How to Make Thin Mints: A Step-by-Step Guide for Delicious Results
Creating these delightful Thin Mints is a straightforward process. Follow these detailed steps to ensure perfectly crisp, minty chocolate cookies every time.
1. Prepare Your Oven and Baking Sheet
Begin by preheating your oven to 350°F (175°C). While the oven heats up, prepare a large baking sheet by lining it with parchment paper. This prevents sticking and makes for easy cleanup.
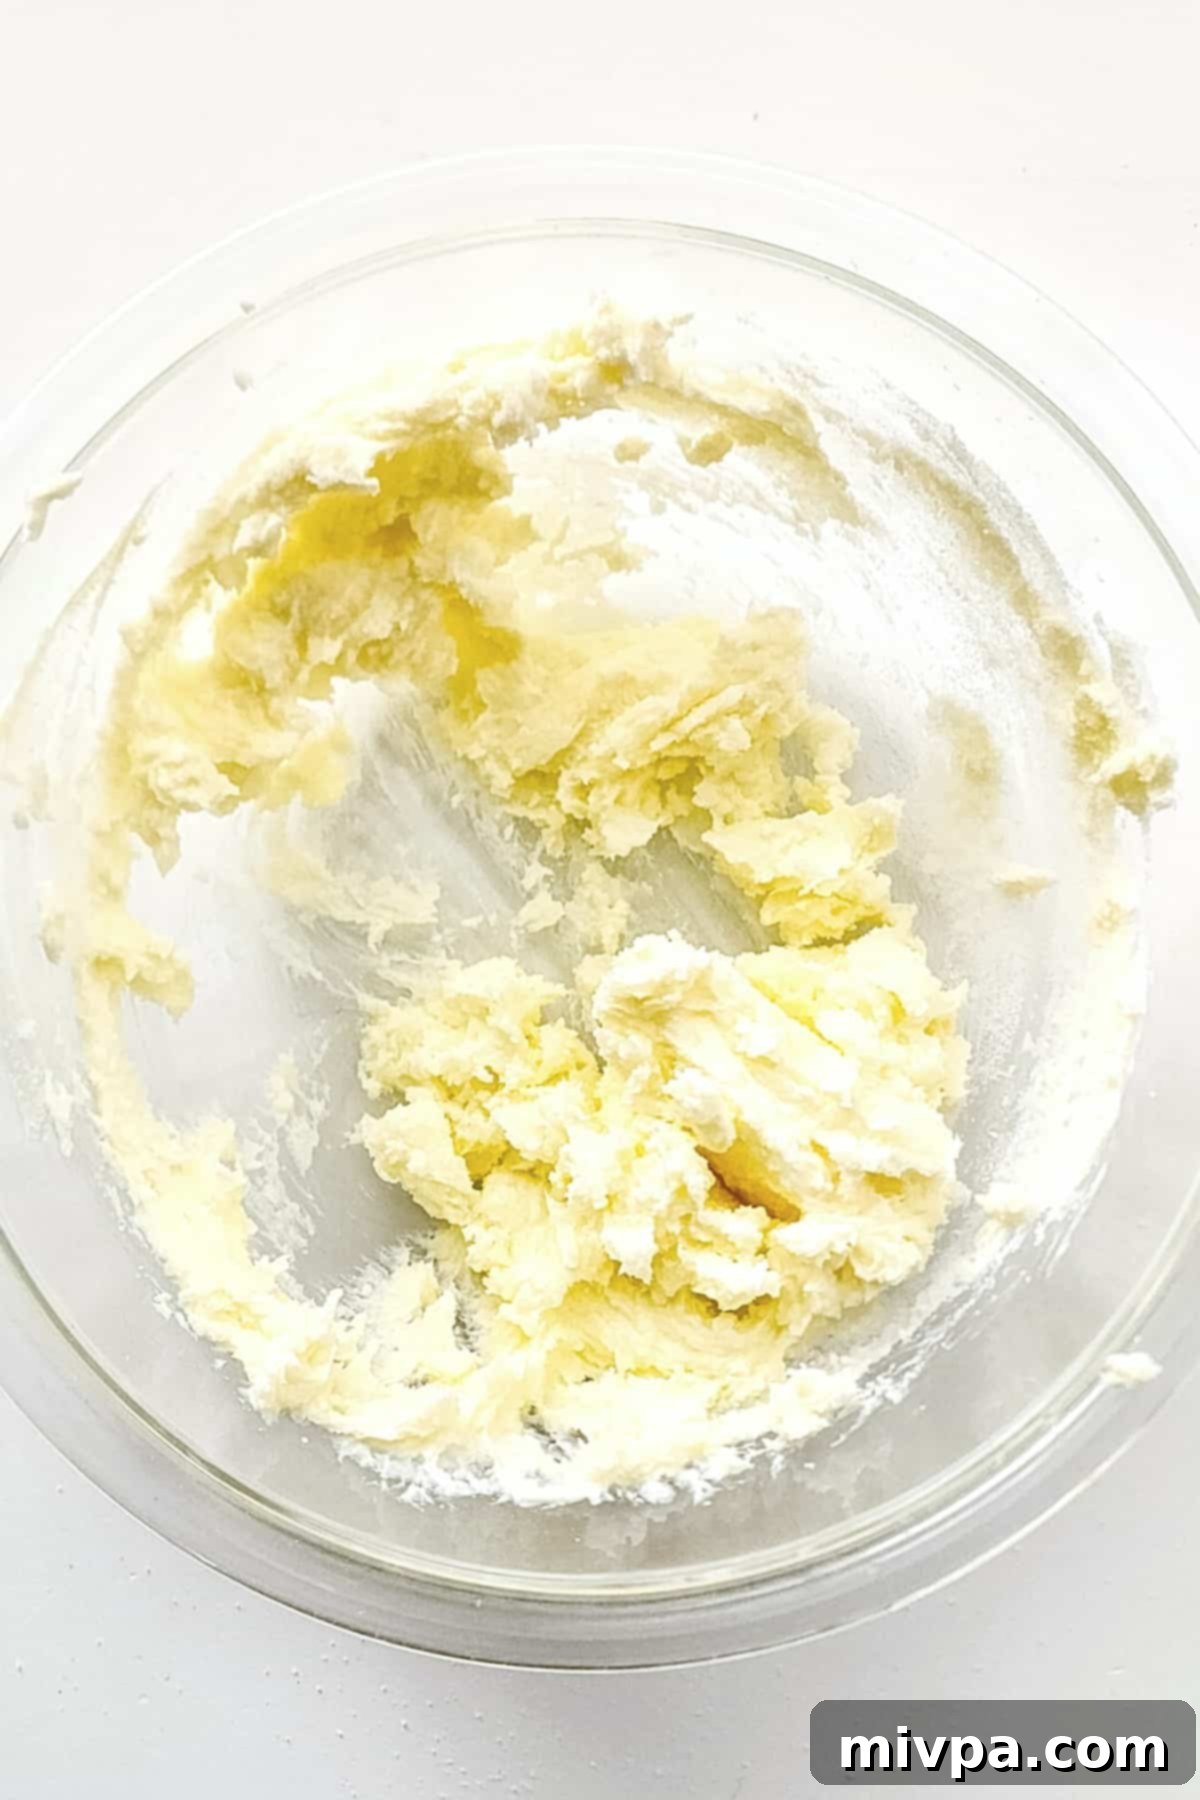
2. Cream the Vegan Butter and Salt
In a spacious mixing bowl, combine the softened vegan butter and salt. Using an electric mixer or whisk, beat them together for approximately one minute until light and creamy. This initial step ensures a well-incorporated base for your cookie dough.
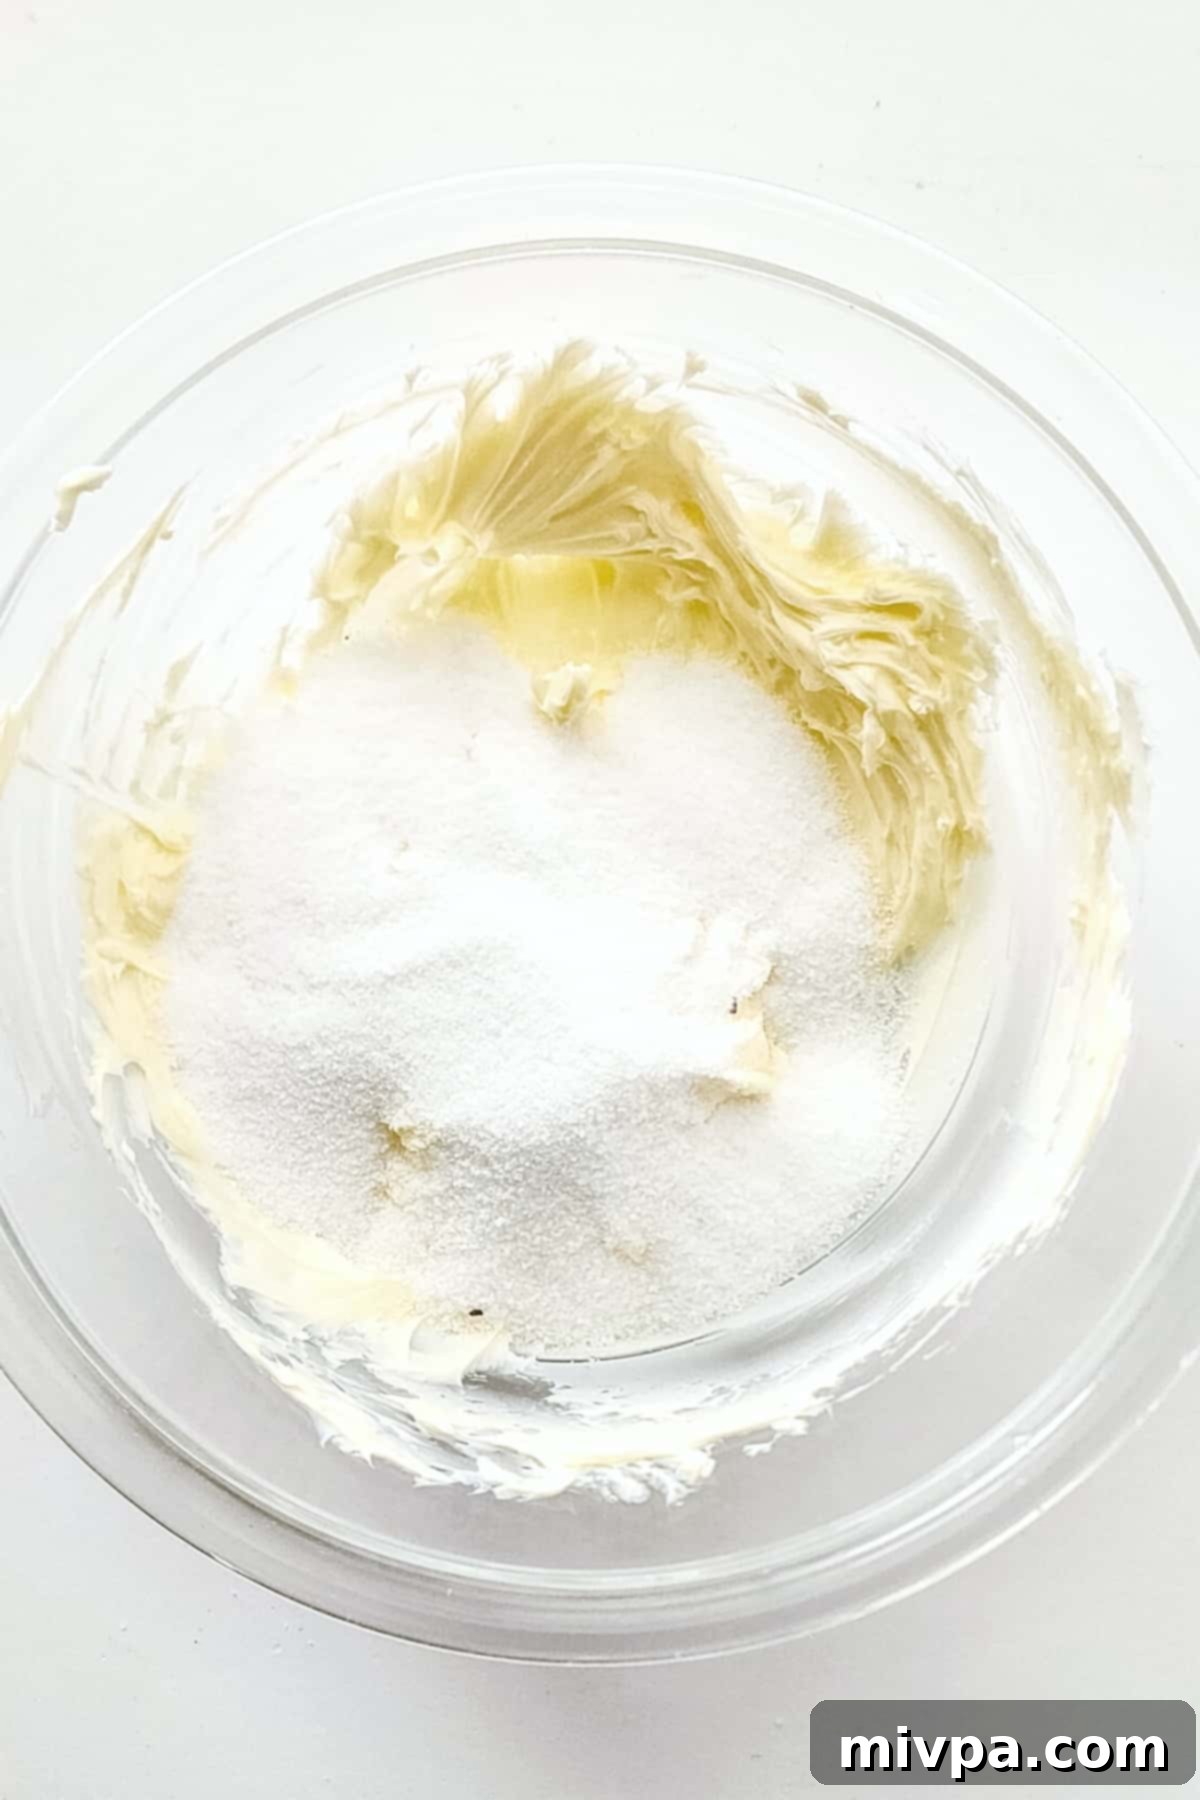
3. Incorporate the Sugar
Add the granulated white sugar to the butter and salt mixture. Continue to mix or whisk until the sugar is fully combined, creating a smooth and uniform mixture. This step is crucial for the cookies’ texture and sweetness.
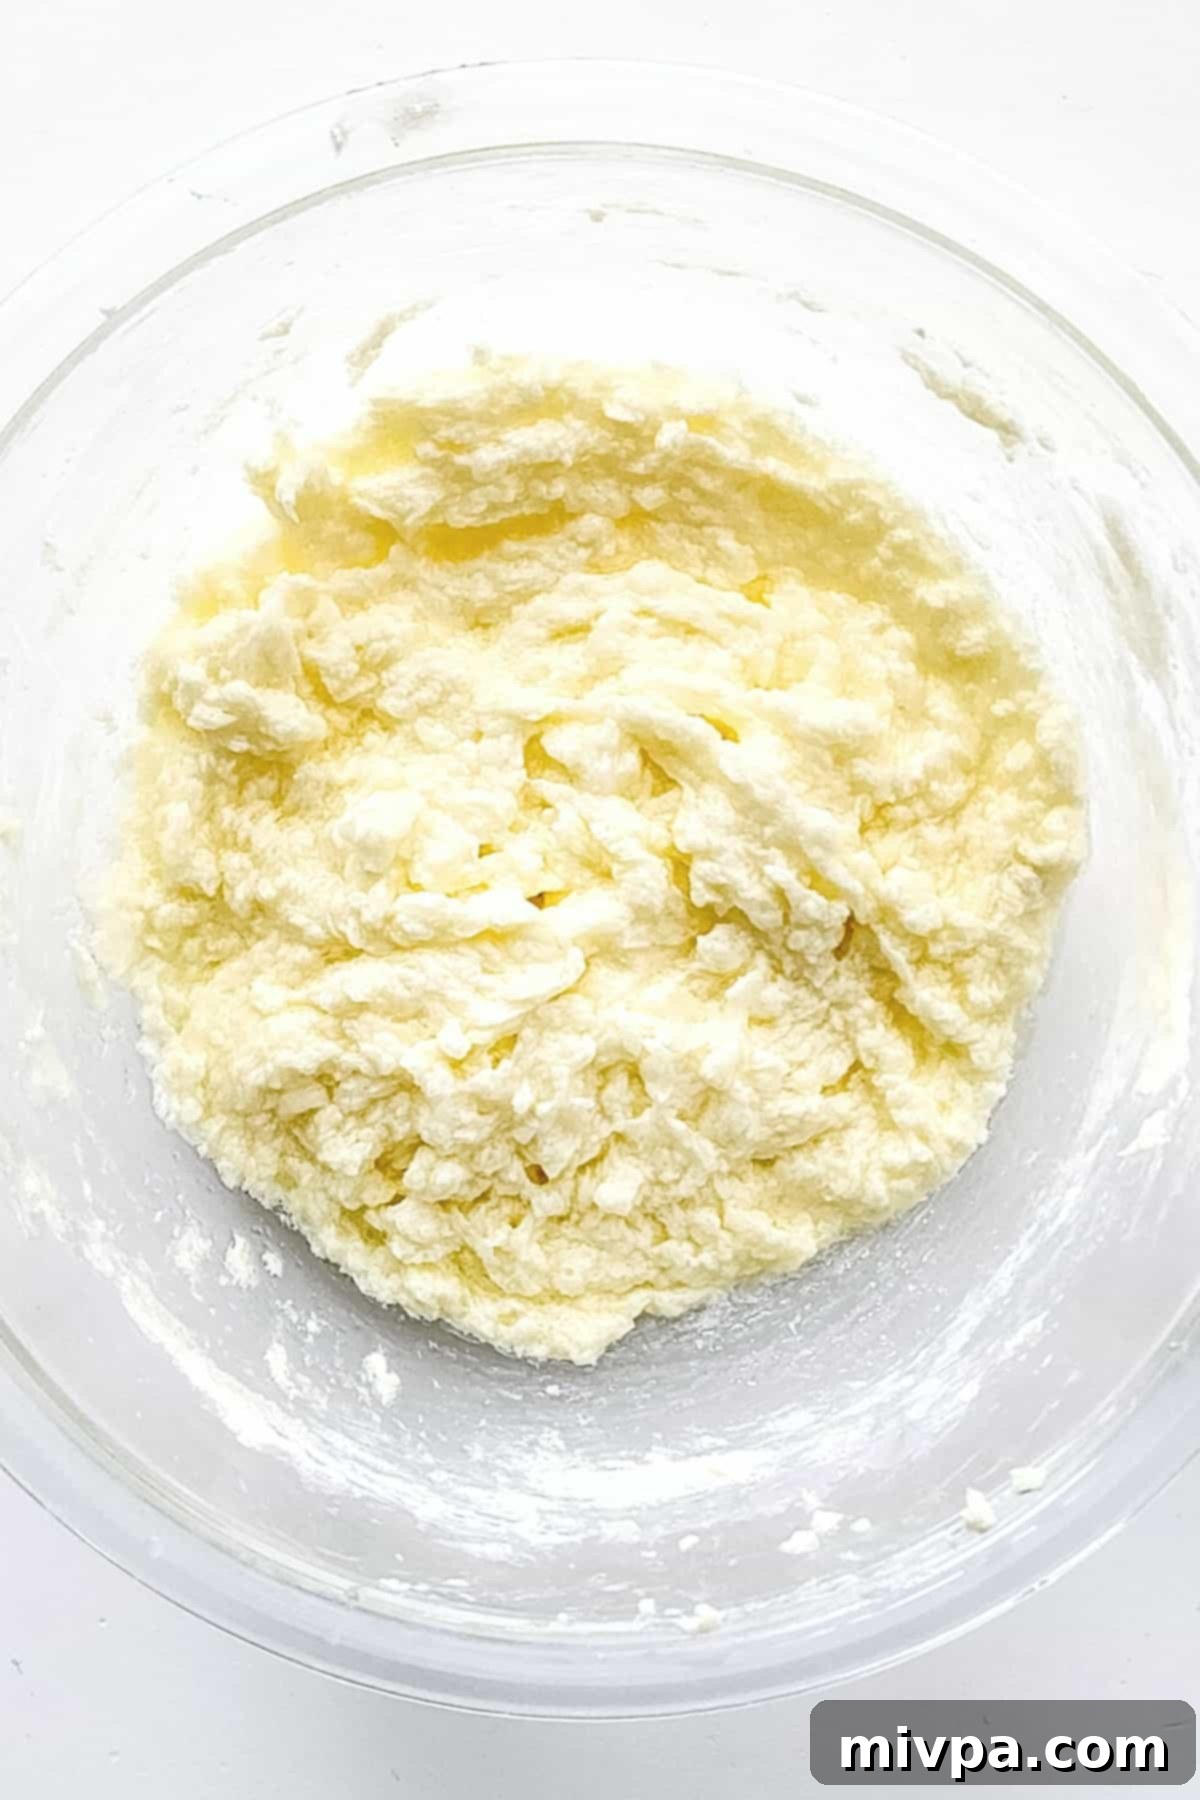
4. Add Egg and Flavor Extracts
Next, crack in the egg and add the peppermint extract (and vanilla extract, if using) to the creamed mixture. Mix everything thoroughly once again until all the wet ingredients are well-integrated. The peppermint extract is key here for that iconic mint flavor!
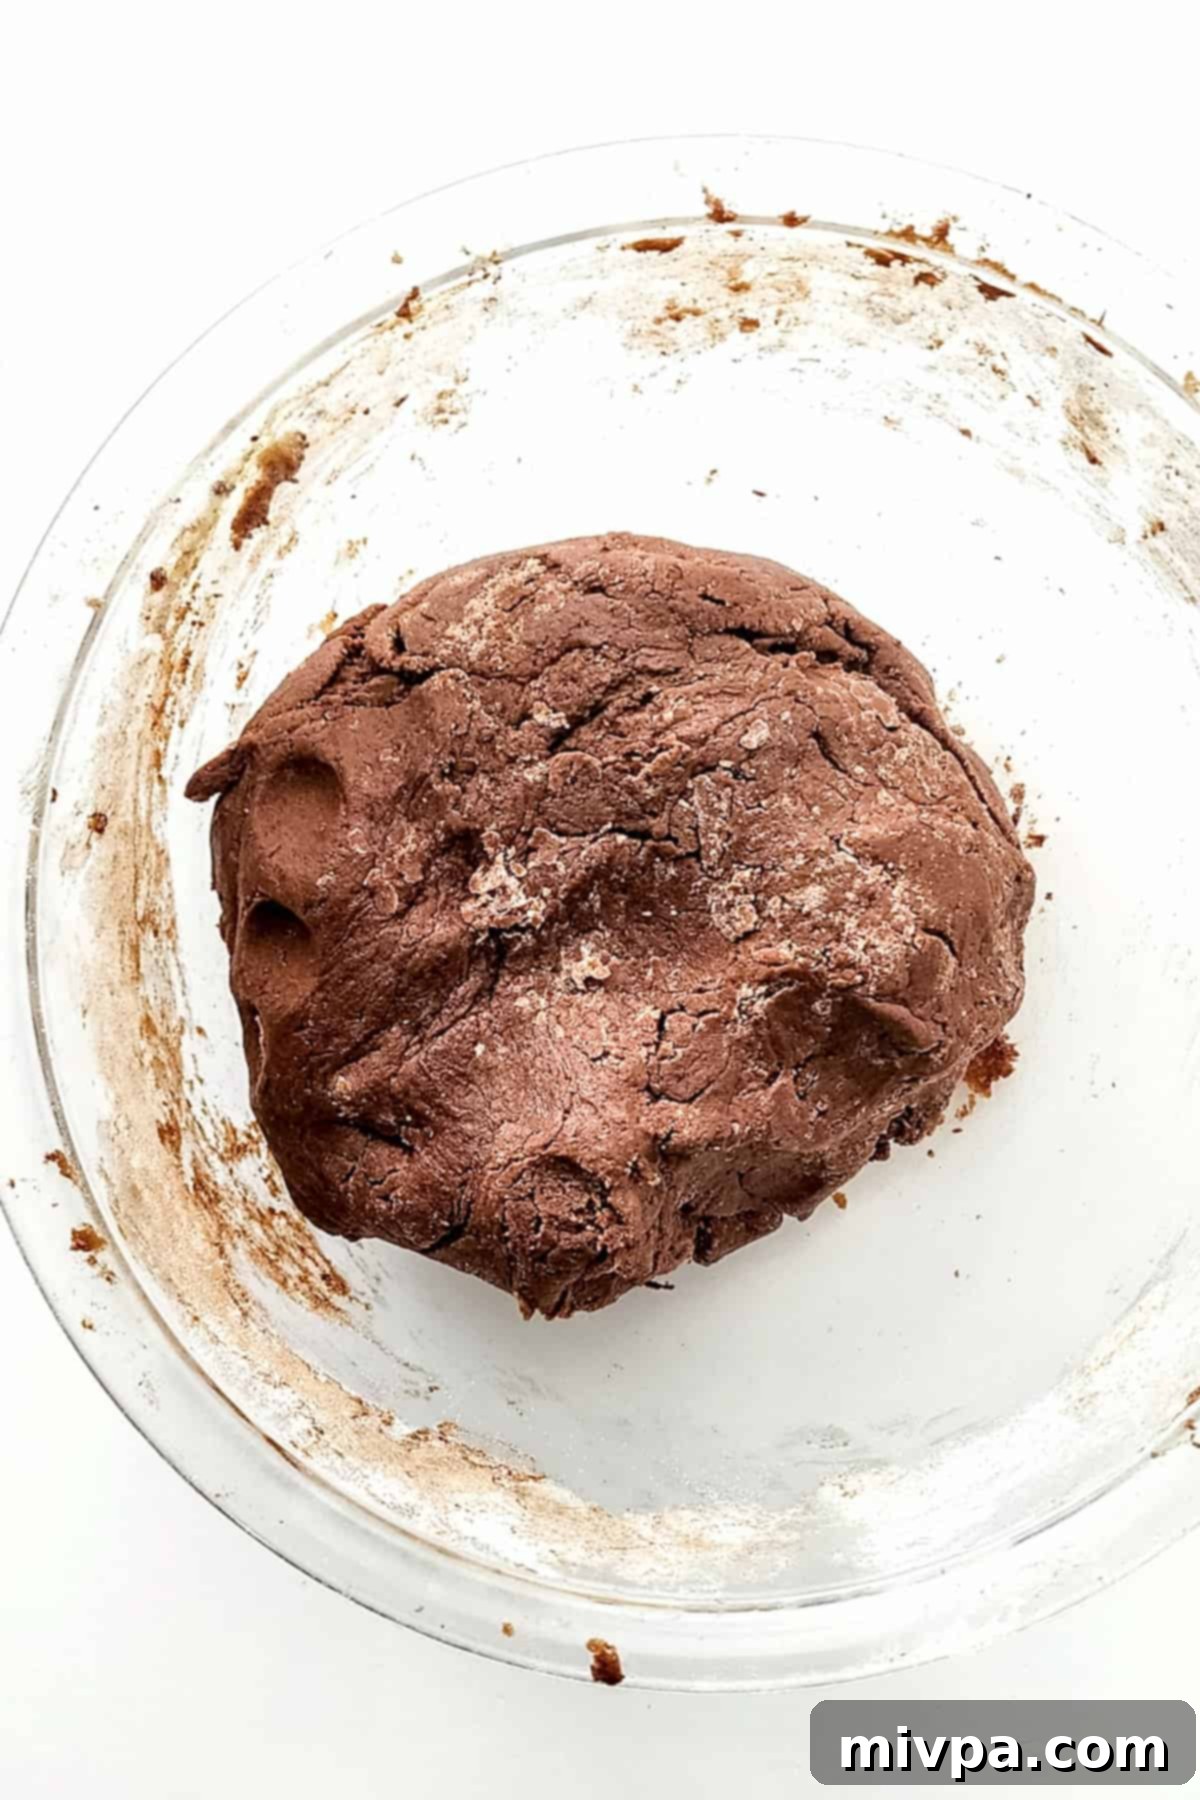
5. Mix in Dry Ingredients to Form Dough
Carefully measure your gluten-free flour blend and unsweetened cocoa powder. Add these dry ingredients into the bowl with the wet mixture. Mix well, starting on low speed to avoid a “flour cloud,” until a cohesive dough forms. The ideal consistency should be pliable, not overly stiff, and definitely not sticky to the touch. If it feels too sticky, you can add a tiny bit more flour, a teaspoon at a time. If it’s too dry, a few drops of plant-based milk can help.
6. Roll and Cut the Cookie Dough
Lightly flour your work surface and a rolling pin with gluten-free flour. Roll out the cookie dough evenly to approximately 1/4-inch thickness. Then, use a 2-inch round cookie cutter to cut out as many circles as possible. Work efficiently to keep the dough cool.
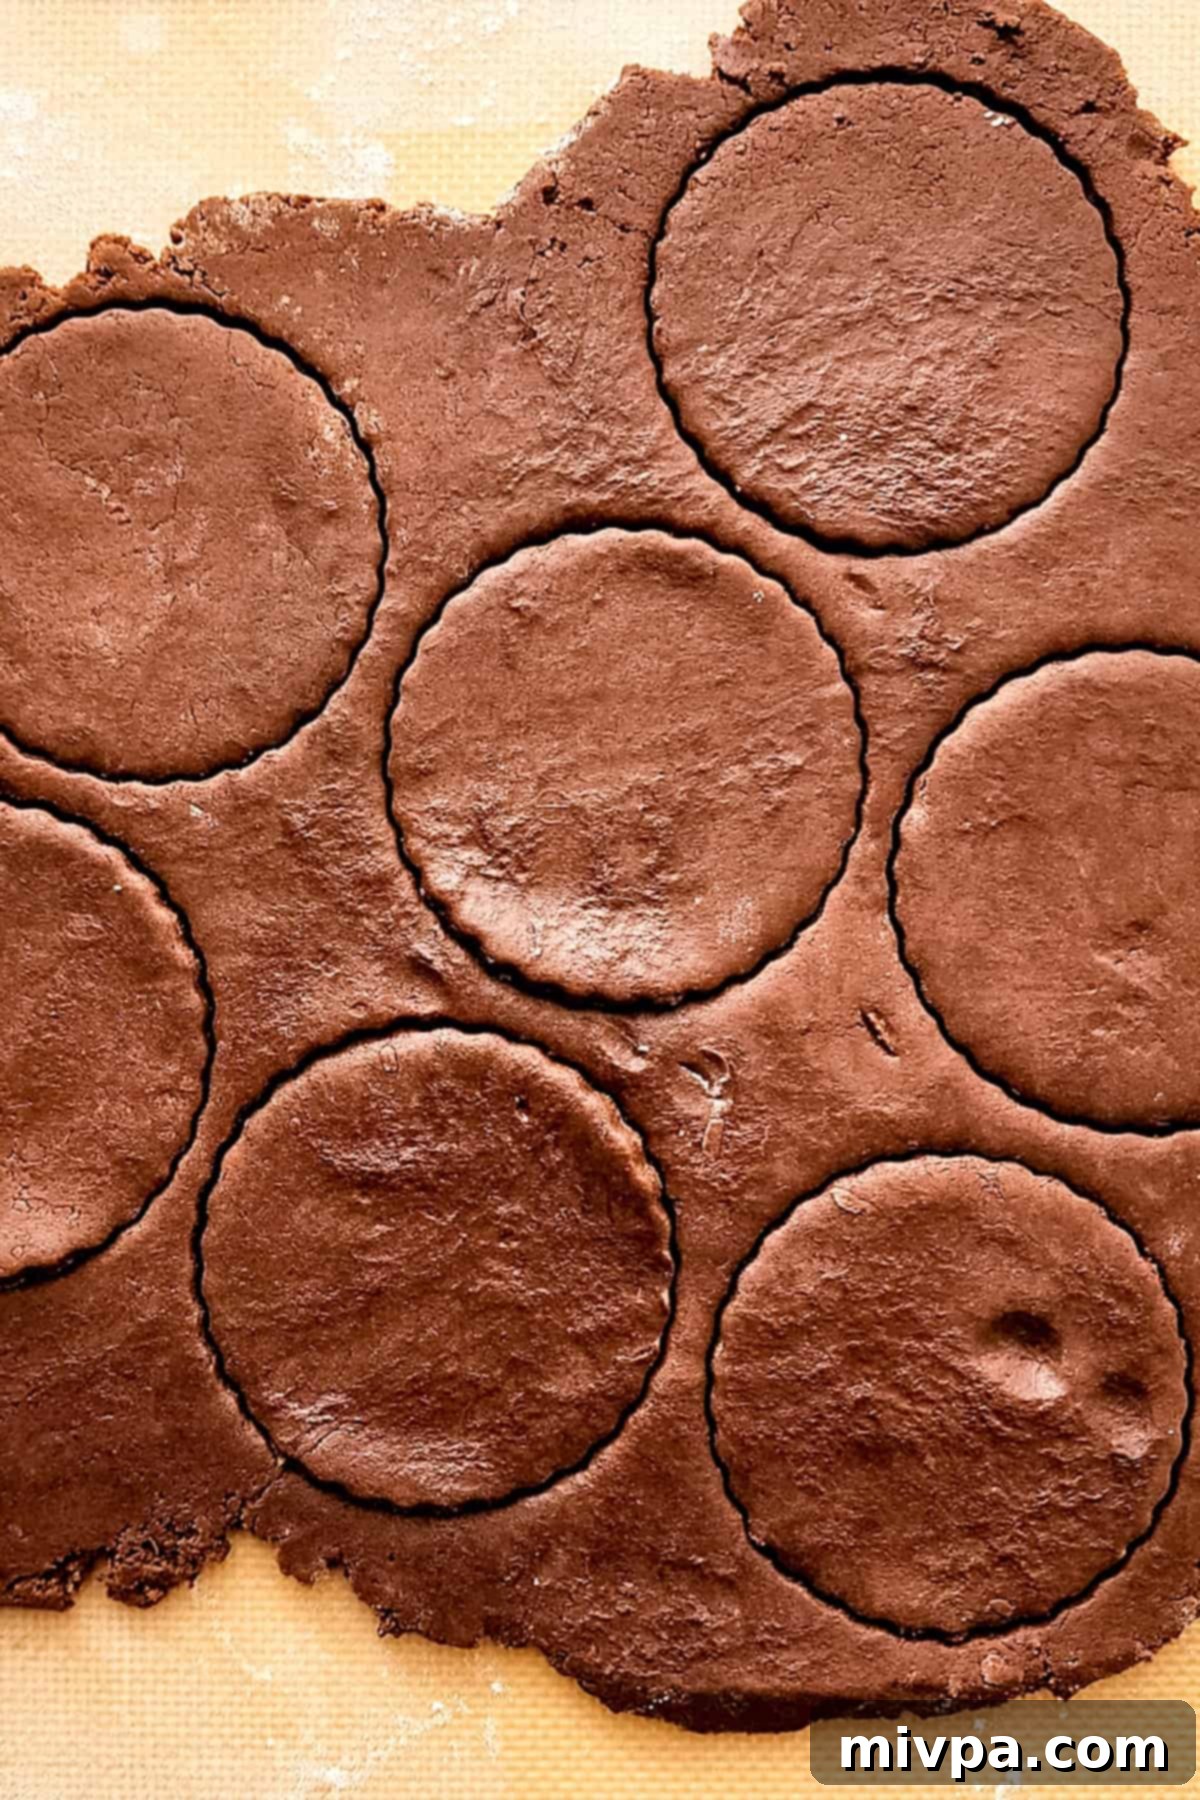
7. Arrange on Baking Sheet
Carefully transfer the cut-out dough circles to your prepared baking sheet, leaving a little space between each cookie. Gather the excess dough, gently re-roll it, and cut out additional circles until all the dough is used. This ensures minimal waste and maximum deliciousness!
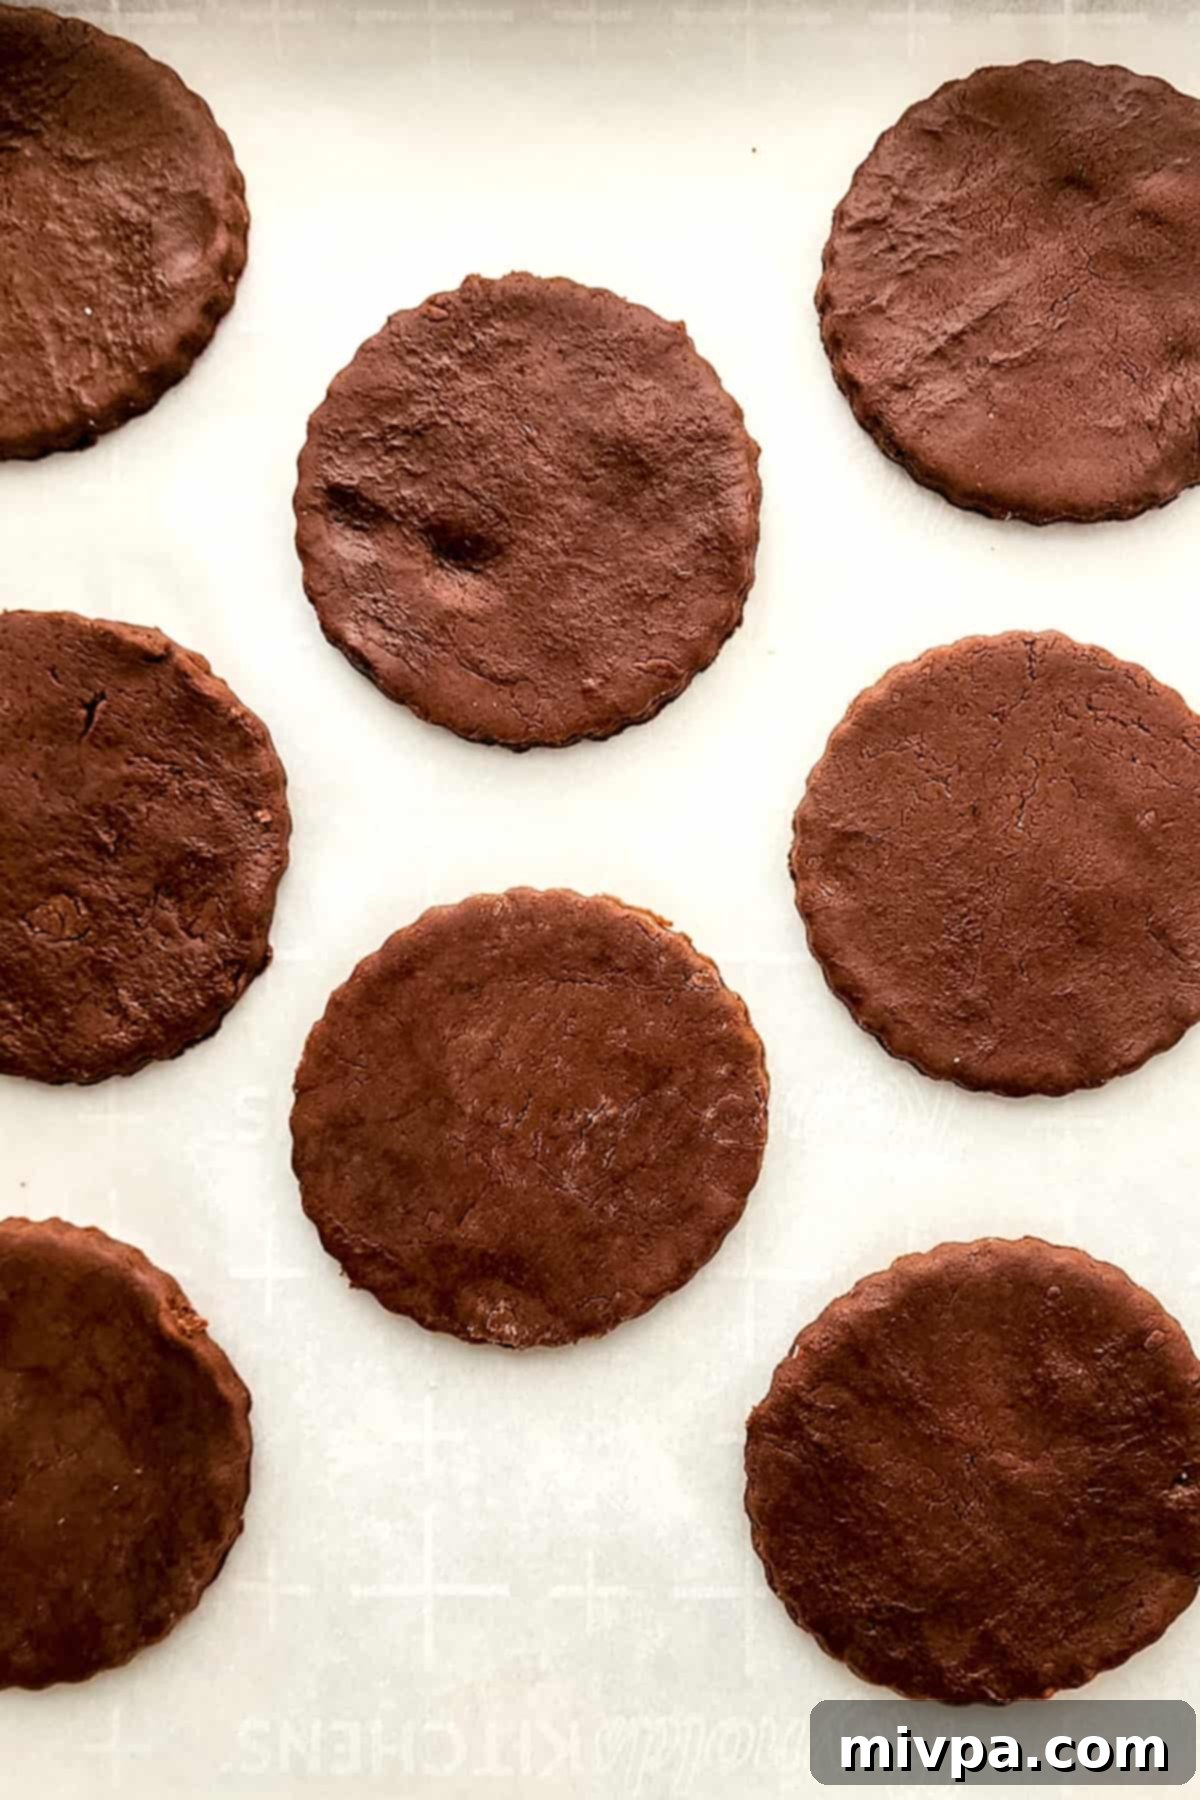
8. Bake to Perfection
Adjust the oven rack to the center position. Bake the cookies in the preheated oven for approximately 12 minutes at 350°F (175°C). Keep an eye on them towards the end of baking; they should be firm to the touch but not overly browned.
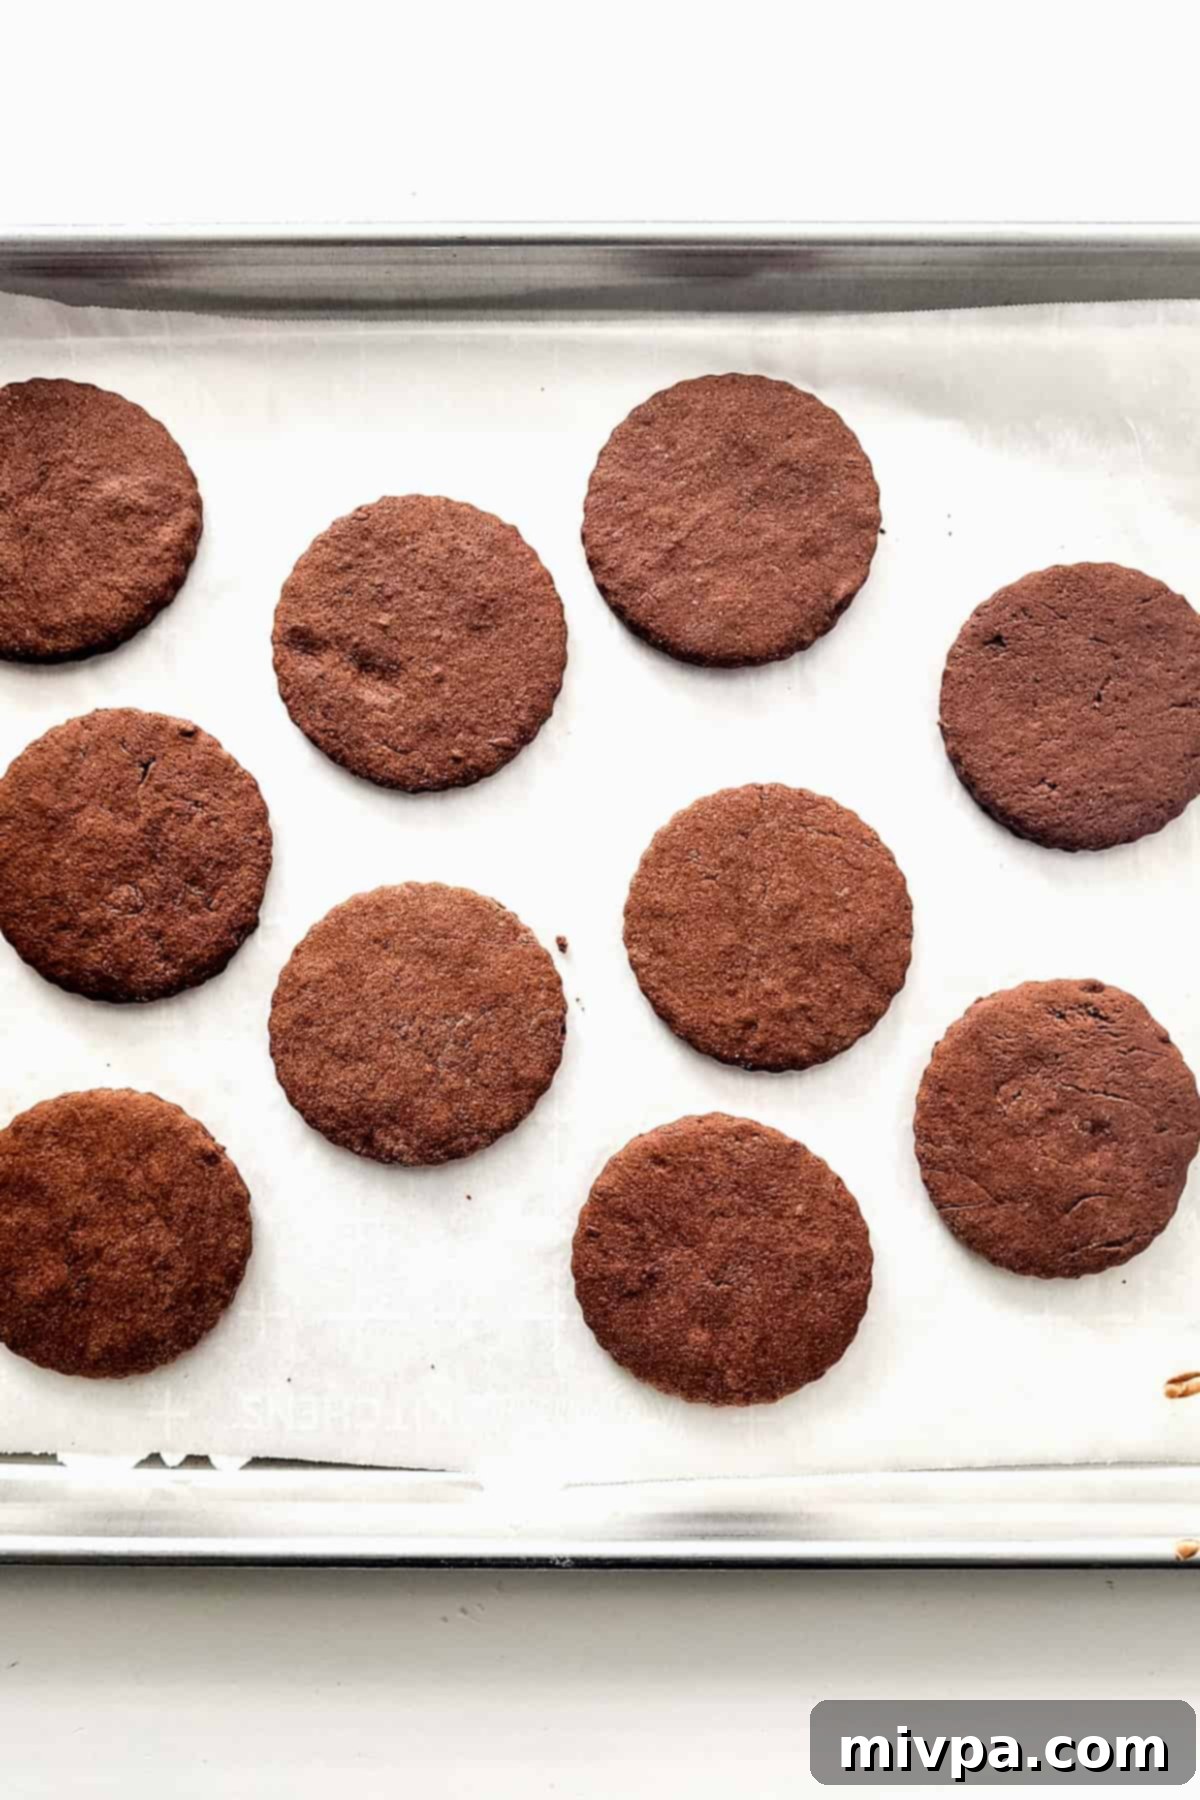
9. Prepare the Peppermint Chocolate Coating
While your cookies are baking, it’s time to prepare the luscious peppermint chocolate coating. In a microwave-safe bowl, combine the vegan chocolate chips and a teaspoon of vegan butter. Heat in the microwave in 30-second intervals, stirring thoroughly after each interval, until the chocolate is completely melted and smooth. Stir in the peppermint extract until well combined. This ensures an even distribution of flavor.
10. Allow Cookies to Cool
Once the cookies are removed from the oven, let them cool on the baking sheet for about 10 minutes. They will continue to crisp up as they cool, making them perfect for dipping. Transferring them too soon might cause them to break.
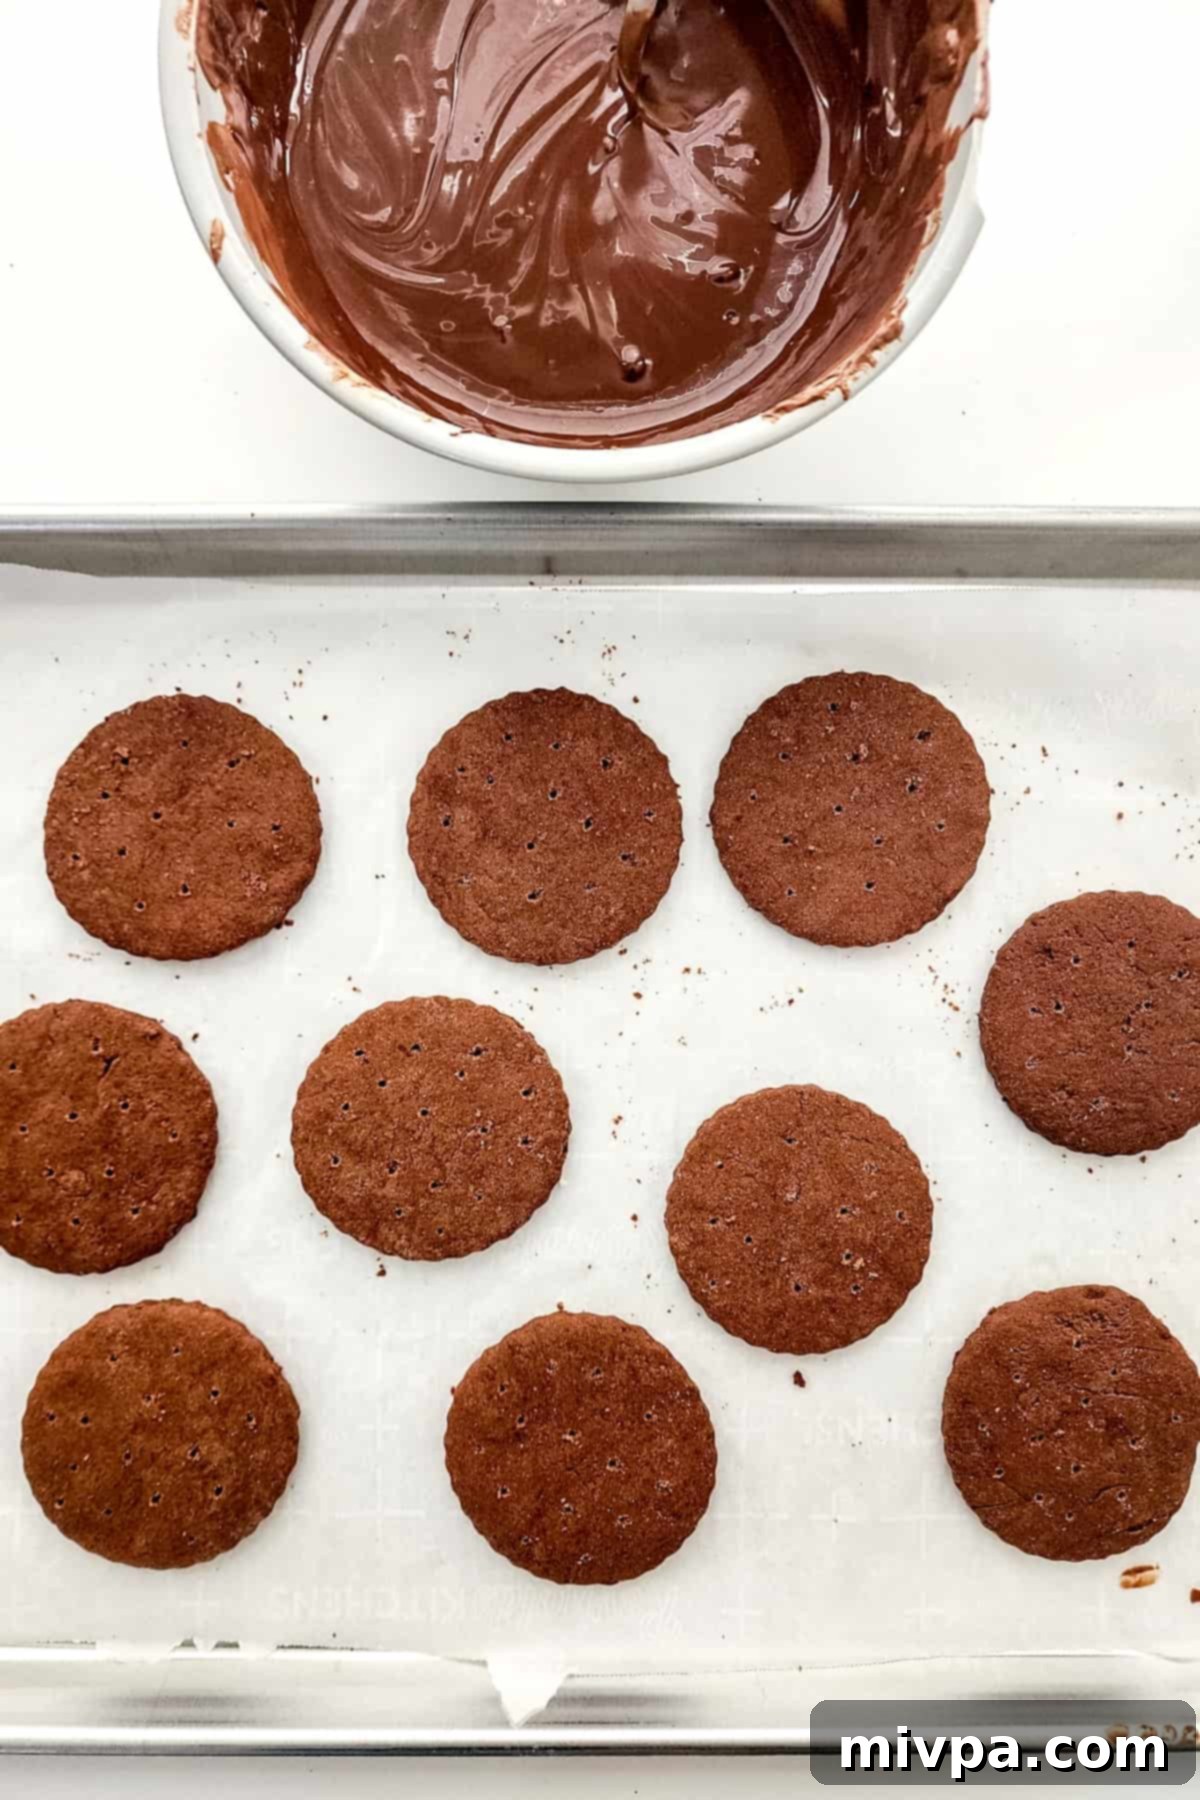
11. Dip Cookies in Chocolate Coating
Carefully dip each cooled cookie into the melted peppermint chocolate. Use a fork or a dipping tool to fully coat each side, ensuring an even layer. Gently tap the fork against the side of the bowl to allow any excess chocolate to drip off. Place the dipped cookies back on the parchment paper-lined baking sheet.
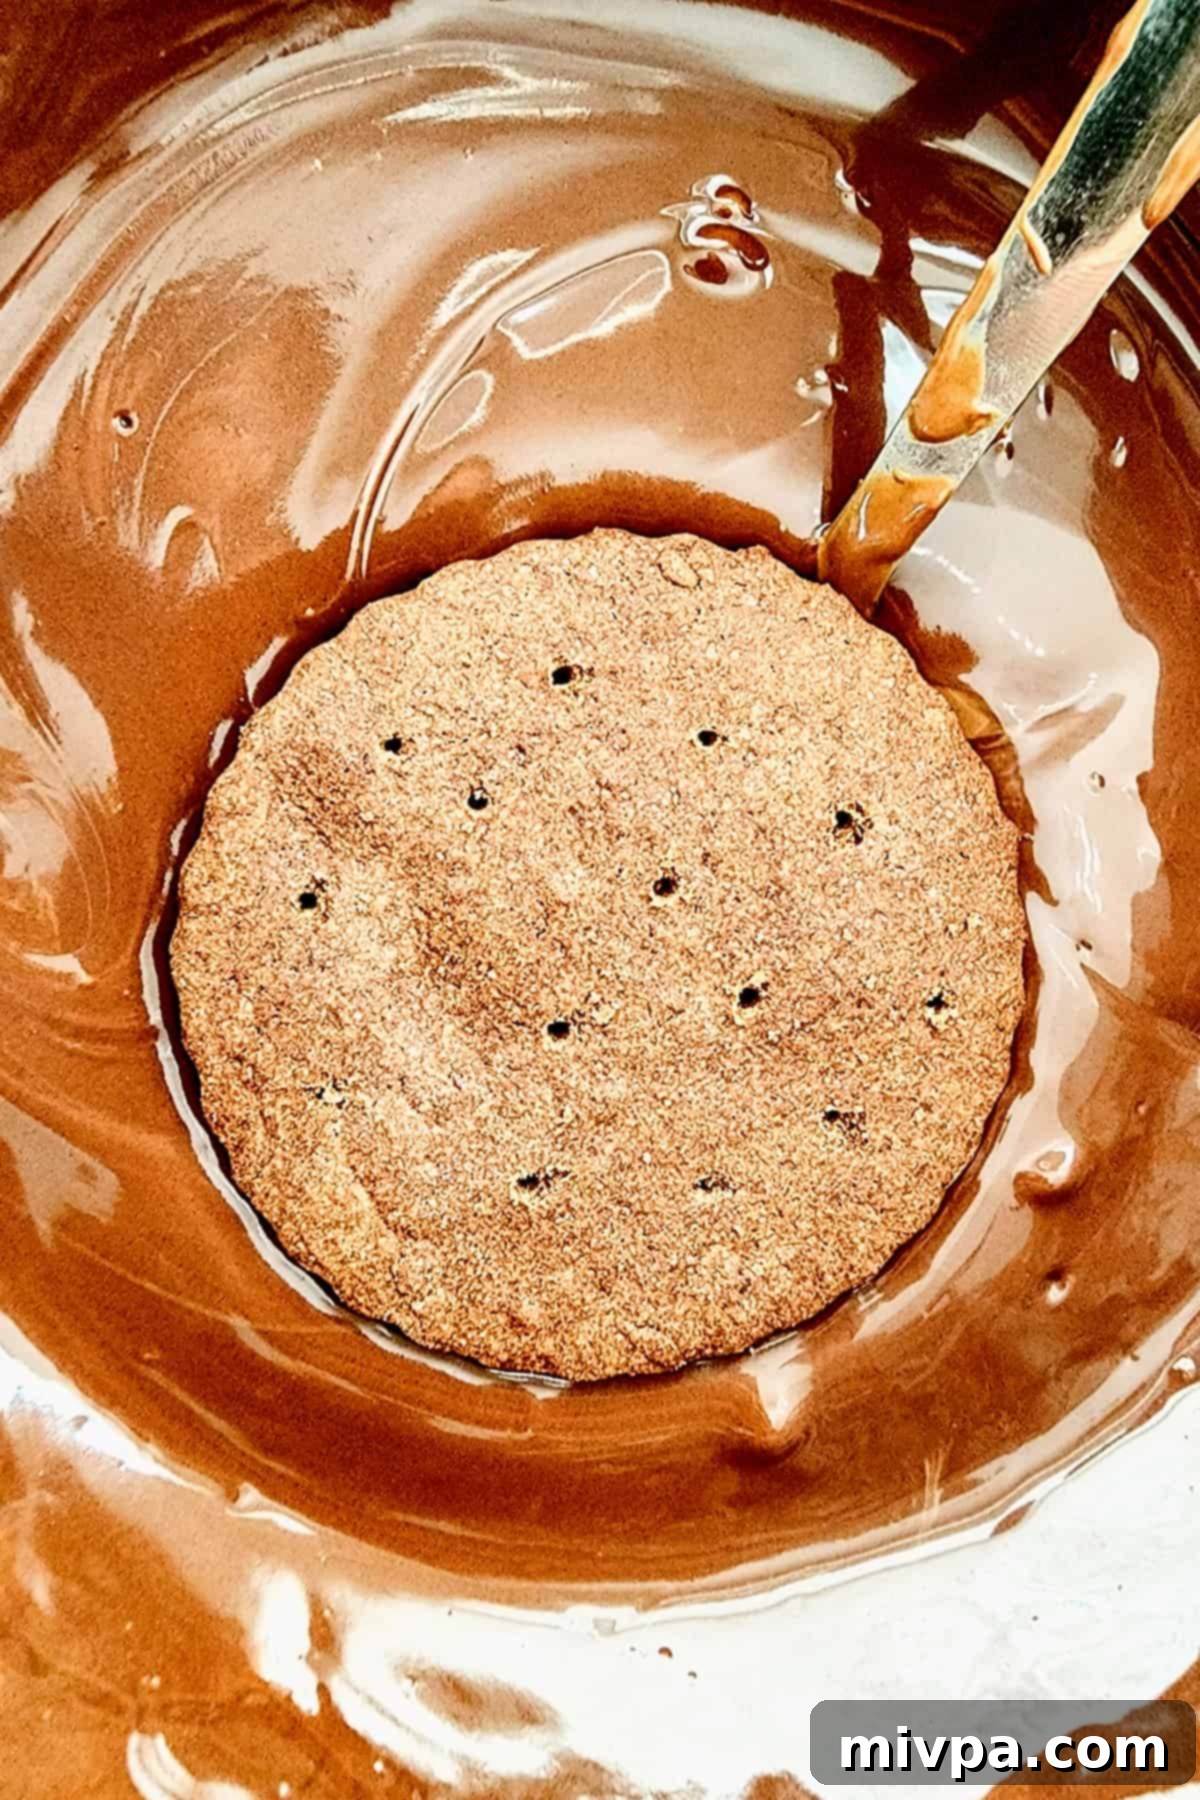
12. Optional: Create Designs or Add Toppings
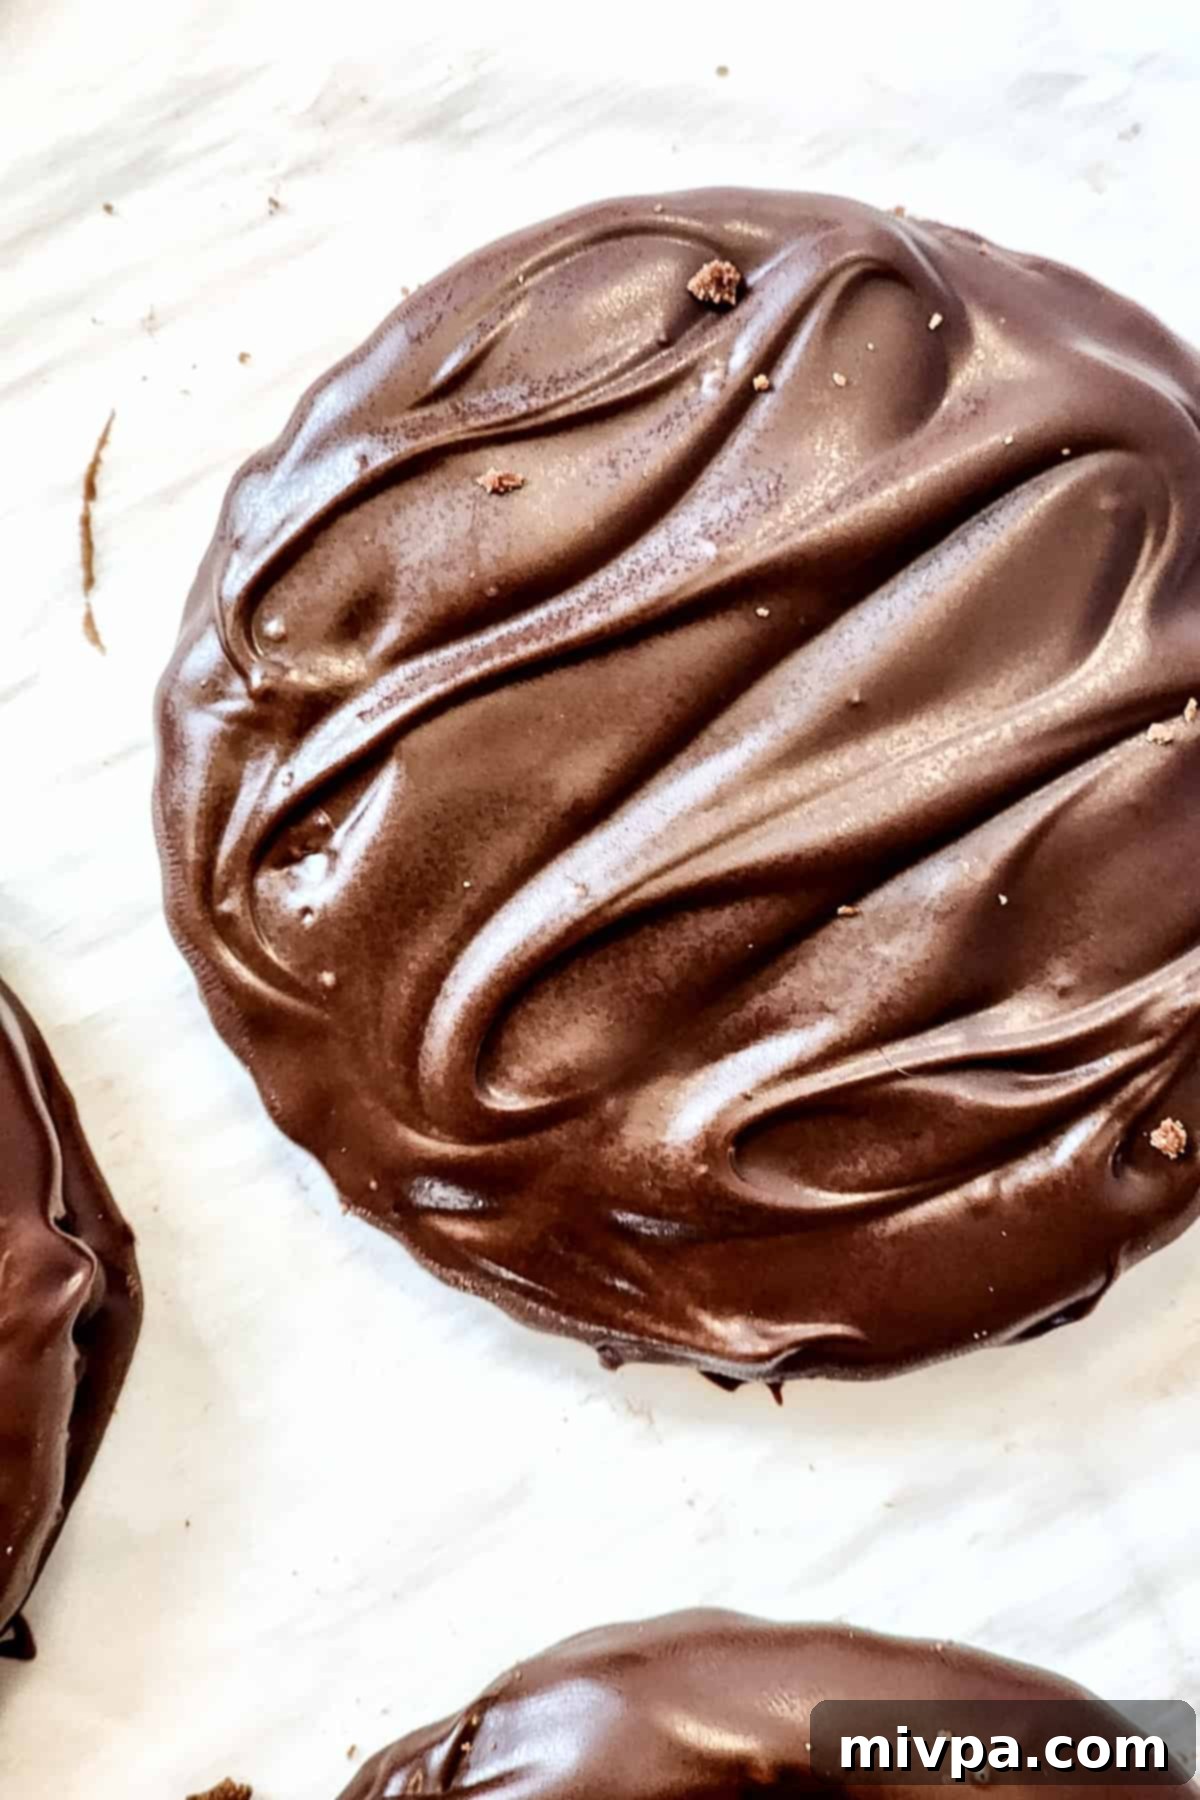
While the chocolate coating is still wet, you have the option to add a decorative touch. Use a spoon or a toothpick to create swirling patterns, or sprinkle on some finely chopped mints, chocolate sprinkles, or a pinch of sea salt for an elevated gourmet look and taste. This step is entirely optional but adds a lovely personal touch.
13. Chill to Set
Once all the cookies are dipped and optionally decorated, place the baking sheet in the refrigerator for about 5 minutes. This quick chill allows the chocolate coating to harden beautifully, giving the Thin Mints their signature snap and preventing smudging.

14. Serve and Savor
Once the chocolate has fully set, your homemade gluten-free Thin Mint cookies are ready! Arrange them on a platter and share them with your family and friends. They are best enjoyed slightly chilled, perfectly capturing the classic Thin Mint experience.
Dish by Dish Pro Tips & Tricks for Thin Mint Perfection
Elevate your gluten-free Thin Mint baking with these expert tips and creative ideas:
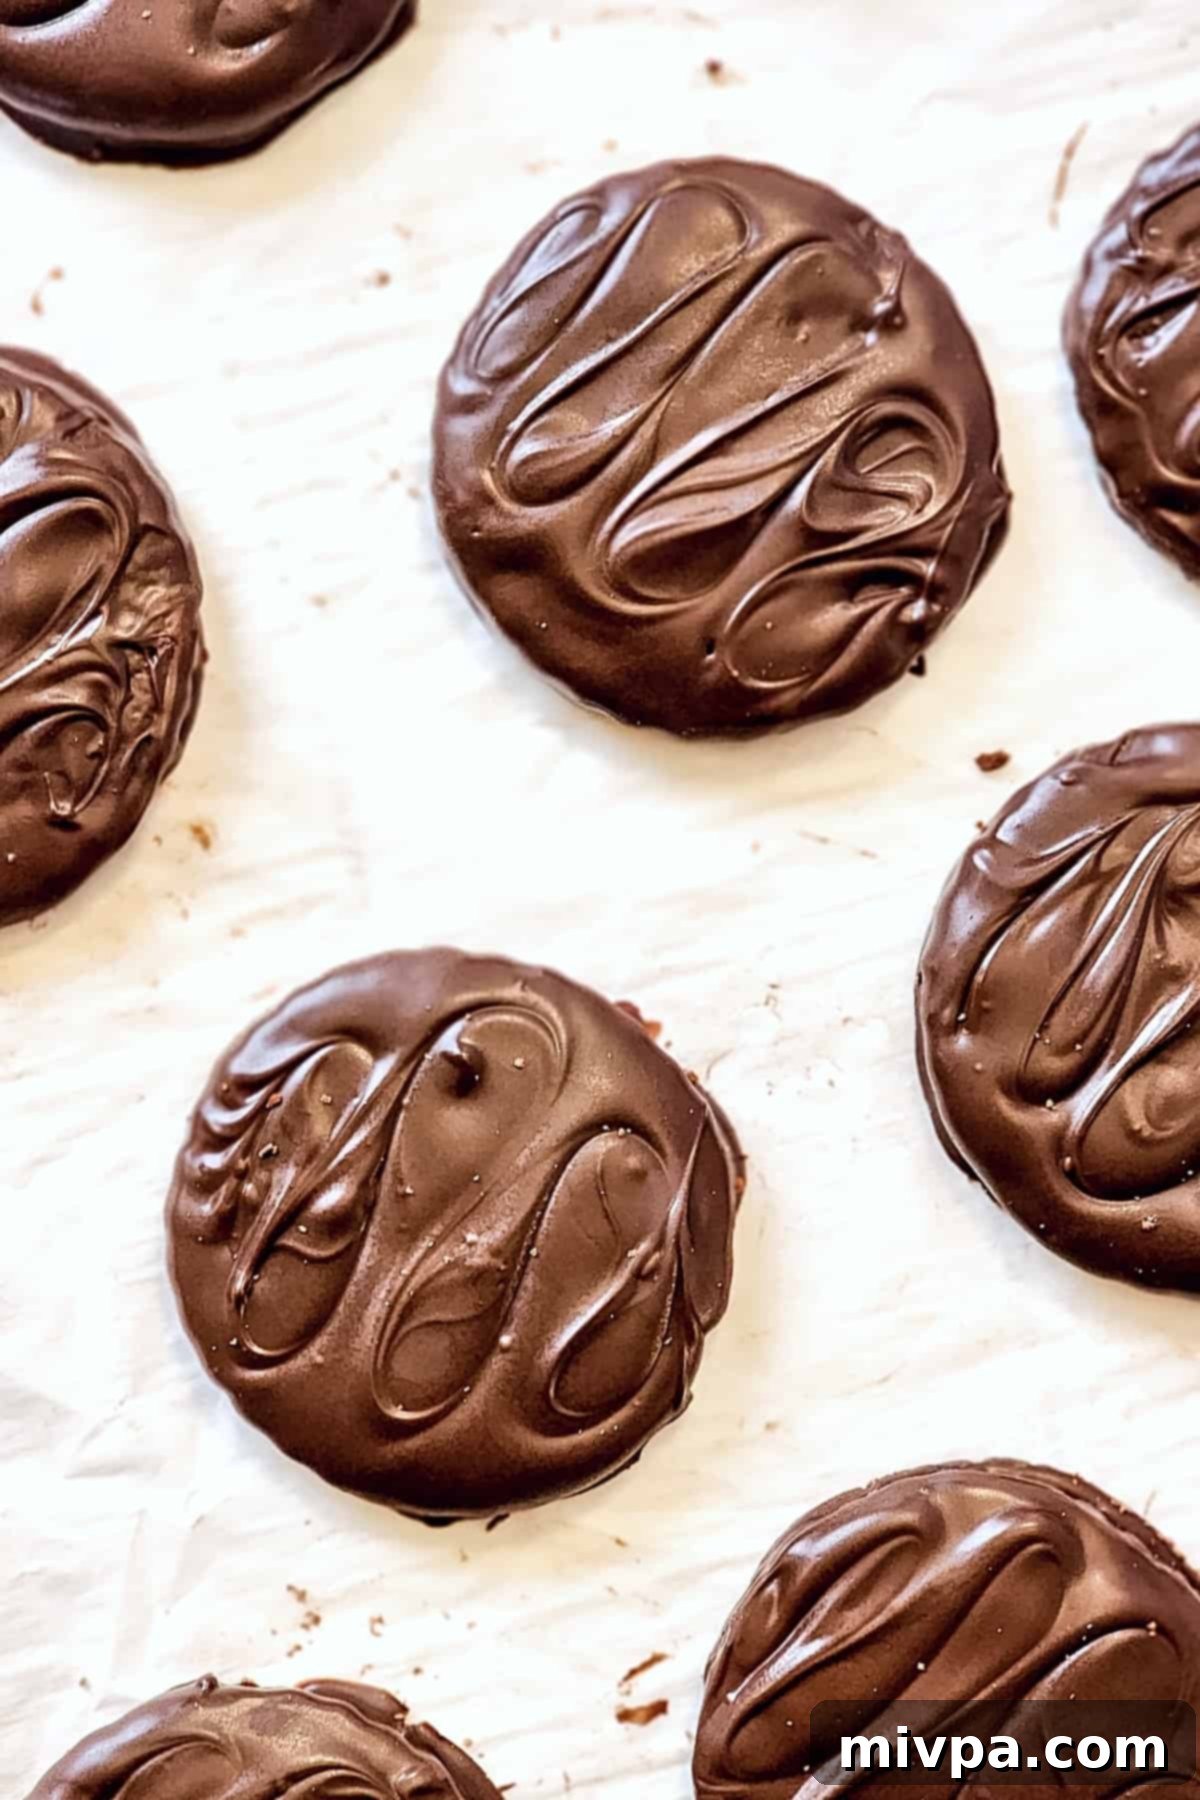
- Creative Chocolate Designs: Before the chocolate coating completely sets, use a small spoon, a toothpick, or even the tines of a fork to create delicate swirls, zigzags, or classic parallel lines on the surface. This not only adds visual appeal but also mimics the texture of authentic Thin Mints. For an even more authentic look, you can carefully poke tiny holes into the chocolate once it’s just set but not fully hardened.
- Optional Toppings for Extra Flair: Unleash your creativity! While the chocolate is still melted, sprinkle your cookies with a variety of toppings. Consider finely chopped fresh mint leaves for an intensified mint flavor, a dash of colorful chocolate sprinkles for a festive touch, or a pinch of flaky sea salt to beautifully contrast the sweet chocolate and mint.
- Not a Fan of Mint? No Problem!: If the refreshing kick of peppermint isn’t your preference, you can easily adapt this recipe. Simply omit the peppermint extract from both the cookie dough and the chocolate coating. You’ll be left with a delicious, crisp, chocolate wafer cookie enrobed in rich, plain chocolate – a fantastic treat in its own right!
- Explore Other Mint & Chocolate Delights: If you’re a true fan of the classic mint and chocolate combination, don’t stop here! Be sure to try our homemade peppermint patties. They offer a different but equally satisfying experience with their creamy mint center and smooth chocolate shell.
- Chill the Dough: If your dough feels too soft or sticky after mixing, wrap it in plastic wrap and chill it in the refrigerator for 20-30 minutes. This makes it much easier to roll out and cut, resulting in cleaner cookie shapes.
- Optimal Cooling for Dipping: Ensure your baked cookies are completely cool before dipping them in chocolate. Warm cookies will cause the chocolate to melt and run, leading to a messy and uneven coating.
Recipe FAQs: All Your Thin Mint Questions Answered
Here are some common questions about making and storing these delicious gluten-free Thin Mints:
Once the chocolate coating has fully set, arrange these homemade Thin Mints in single layers within an airtight container. To prevent sticking and preserve their delicate coating, separate each layer with parchment paper or wax paper. Store them in the refrigerator for up to 2 weeks. For the best enjoyment, allow the gluten-free chocolate mint cookies to rest at room temperature for a few minutes before eating to soften slightly.
Absolutely, these gluten-free Thin Mints freeze beautifully! To freeze, place the cookies in single layers, separated by parchment paper or wax paper, in a freezer-safe, airtight container. They can be frozen for up to 3 months. When you’re ready to enjoy them, simply let them thaw at room temperature for at least 15 minutes to reach optimal texture and flavor.
The original, commercially produced Girl Scout Thin Mint cookies are made with wheat flour and, therefore, contain gluten. This means they are not suitable for individuals with Celiac disease or gluten intolerance. Our recipe provides a delicious and safe homemade alternative that is completely gluten-free.
Yes, you can! While semi-sweet vegan chocolate chips are recommended for a classic taste, feel free to experiment. Dark chocolate (ensure it’s dairy-free if needed) will yield a more intense chocolate flavor, while a vegan milk chocolate alternative could offer a creamier, sweeter coating. Just make sure your chosen chocolate melts smoothly.
If your dough is too crumbly, add a teaspoon of plant-based milk or water at a time until it comes together. If it’s too sticky, incorporate a tiny bit more gluten-free flour (1/2 teaspoon at a time) until it’s pliable and easy to handle without sticking. Dough consistency can sometimes vary slightly depending on your specific brand of gluten-free flour blend.
Discover More Gluten-Free & Dairy-Free Cookie Recipes to Love:
If you’ve enjoyed these delectable Thin Mints, you’re in for a treat! Our kitchen is filled with more amazing gluten-free and dairy-free cookie recipes that are sure to satisfy your sweet tooth. Explore these other fantastic options:
-
Tahini Chocolate Chip Cookies (Gluten-Free, Dairy-Free)
Experience a unique twist on a classic with our Tahini Chocolate Chip Cookies. They boast crispy edges, a wonderfully chewy interior, and a delightful richness from the tahini, perfectly complemented by generous chocolate chips.
-
Gluten-Free Linzer Cookies (Dairy-Free)
Perfect for holidays or special occasions, these beautiful Gluten-Free Linzer Cookies feature two tender butter cookie layers embracing a sweet, vibrant jam filling. They are as delightful to look at as they are to eat!
-
Heart Jam Cookies (Gluten-Free, Dairy-Free)
Show your love with these charming Heart Jam Cookies. These are essentially heart-shaped thumbprint cookies, bursting with a sweet jam center, ideal for Valentine’s Day or any moment you want to share a little joy.
-
Gluten-Free Christmas Sugar Cookies (Dairy-Free)
Get into the holiday spirit with our Gluten-Free Christmas Sugar Cookies. Easy to decorate and wonderfully festive, these dairy-free cookies are perfect for gifting or enjoying with a cup of hot cocoa.
P.S. If you try this recipe, I’d love for you to leave a star rating below, and/or a review in the comment section further down the page. I always appreciate your feedback. Be sure to check out my entire Recipe Index for all the recipes on the blog. You can also follow me on Pinterest, Facebook or Instagram! Sign up for my Email List to get fresh recipes in your inbox each week!
Print Recipe

Gluten-Free Thin Mints (Dairy-Free)
5 Stars
4 Stars
3 Stars
2 Stars
1 Star
5 from 1 review
- Author: Felicia Lim
Total Time: 42 minutes
Yield: 12 cookies
Description
These copycat gluten-free Thin Mints are a delicious, dairy-free version of our beloved Girl Scout cookies! They will transport you down memory lane with every minty, chocolatey bite. Perfectly crisp and refreshing, these are a must-bake for anyone craving that classic flavor without gluten or dairy.
Ingredients
Scale
For the Cookie Dough:
- 1 stick unsalted vegan butter, softened
- 1/4 teaspoon salt
- 2 1/4 tablespoons white granulated sugar
- 1 large egg
- 3/4 teaspoon peppermint extract
- 2 1/4 tablespoons unsweetened cocoa powder
- 1 cup gluten-free measure-for-measure flour blend
- 1/4 teaspoon xanthan gum (omit if your GF flour blend already includes it)
For the Peppermint Chocolate Coating:
- 2 1/2 cups vegan semi-sweet chocolate chips
- 1 teaspoon melted vegan butter (or refined coconut oil)
- 1/4 teaspoon peppermint extract
Instructions
- Preheat Oven and Line: Preheat your oven to 350°F (175°C) and line a large baking sheet with parchment paper.
- Blend Butter and Salt: In a large mixing bowl, cream the vegan butter and salt together for about a minute until smooth.
- Add Sugar and Whisk: Add the granulated sugar and mix until well combined and fluffy.
- Add Egg and Peppermint Extract: Incorporate the egg and peppermint extract (and vanilla, if using) into the mixture, beating until fully integrated.
- Mix in Gluten-Free Flour and Cocoa Powder to Form Dough: Add the gluten-free flour blend and cocoa powder. Mix on low speed until a cohesive, non-sticky dough forms.
- Roll and Cut Dough into Circles: On a lightly floured surface, roll the dough to 1/4-inch thickness. Use a 2-inch round cookie cutter to cut out circles.
- Place Cut Dough Circles on Baking Sheet: Arrange the cut-out cookies on the prepared baking sheet. Re-roll and cut any excess dough.
- Bake Until Ready: Bake in the preheated oven for 12 minutes until firm at 350°F (175°C).
- Prepare Peppermint Chocolate Coating: While cookies bake, melt vegan chocolate chips and vegan butter in a microwave-safe bowl in 30-second intervals, stirring until smooth. Stir in peppermint extract.
- Let Cookies Cool: Once baked, let cookies cool on the baking sheet for about 10 minutes.
- Dip Cookies in Peppermint Chocolate Coating: Dip each cooled cookie into the melted peppermint chocolate, ensuring full coverage. Let excess drip off, then return to parchment paper.
- Create Design on Top: Optionally, create patterns in the wet chocolate with a spoon or sprinkle with toppings before it sets.
- Chill to Set: Place the cookies in the refrigerator for about 5 minutes to allow the chocolate to harden.
- Serve and Enjoy: Serve your homemade gluten-free Thin Mints and savor this delightful treat with loved ones!
Notes
Vegan Butter: Use unsalted vegan butter or refined coconut oil (for neutral flavor). Regular butter can be used if not dairy-free.
Sugar: Granulated white sugar is used, but light brown sugar, dark brown sugar, coconut sugar, or a 1:1 monk fruit sweetener are suitable substitutes.
Egg: The egg binds the dough. For a vegan option, try aquafaba or an egg replacer (results may vary).
Peppermint Extract: Essential for mint flavor. Ensure you use gluten-free peppermint extract if intolerant.
Cocoa Powder: Use unsweetened cocoa powder to control sweetness.
Gluten-Free Flour: This recipe calls for a gluten-free measure-for-measure flour blend. Regular all-purpose flour can be substituted if gluten is not an issue.
Xanthan Gum: If your GF flour blend doesn’t include it, add 1/4 teaspoon of xanthan gum per cup of flour for structure.
Chocolate Chips: Use vegan semi-sweet chocolate chips for dairy-free. Regular chocolate chips work if not dairy-intolerant.
Storing/Freezing: Store set cookies in an airtight container, separated by parchment or wax paper, in the refrigerator for up to 2 weeks. Thaw briefly at room temperature before eating. To freeze, store similarly in a freezer-safe container for up to 3 months, then thaw for 15 minutes at room temp.
- Prep Time: 15 mins
- Cooling/Chilling Time: 15 mins
- Cook Time: 12 mins
- Category: Cookies
- Method: Baking
- Cuisine: American
