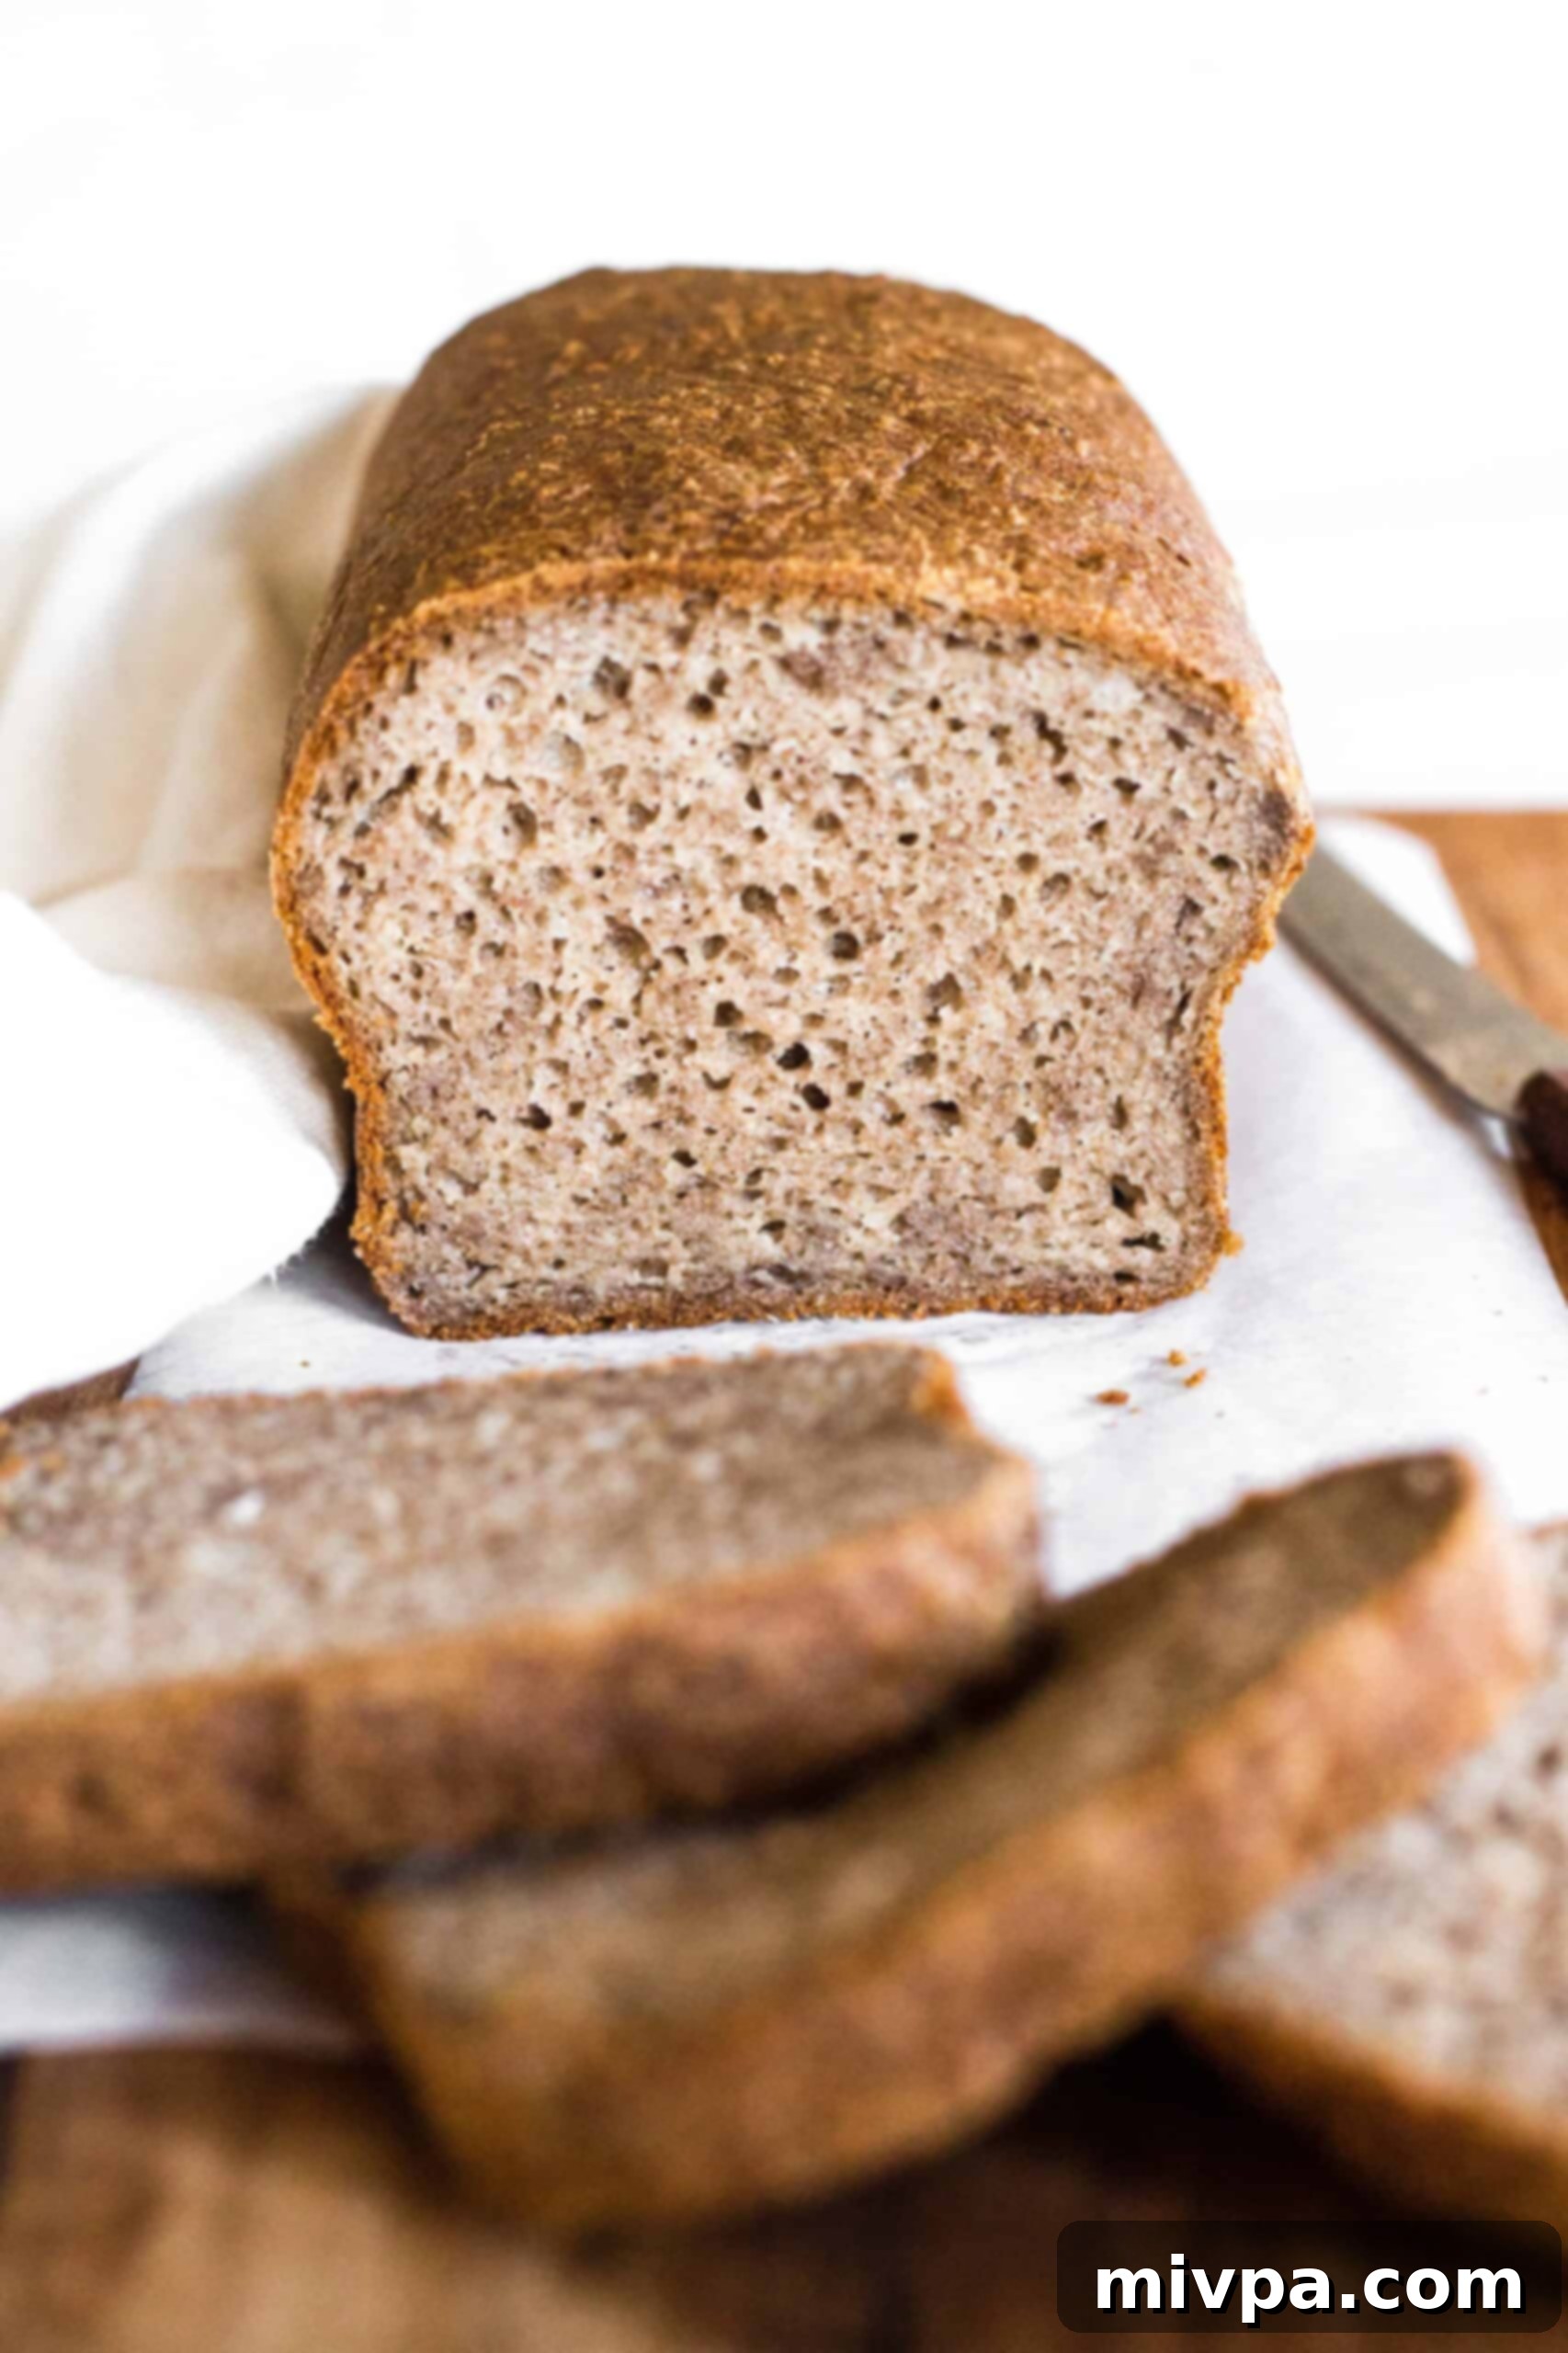
Soft & Fluffy Gluten-Free Teff Bread: A Wholesome Dairy-Free Recipe
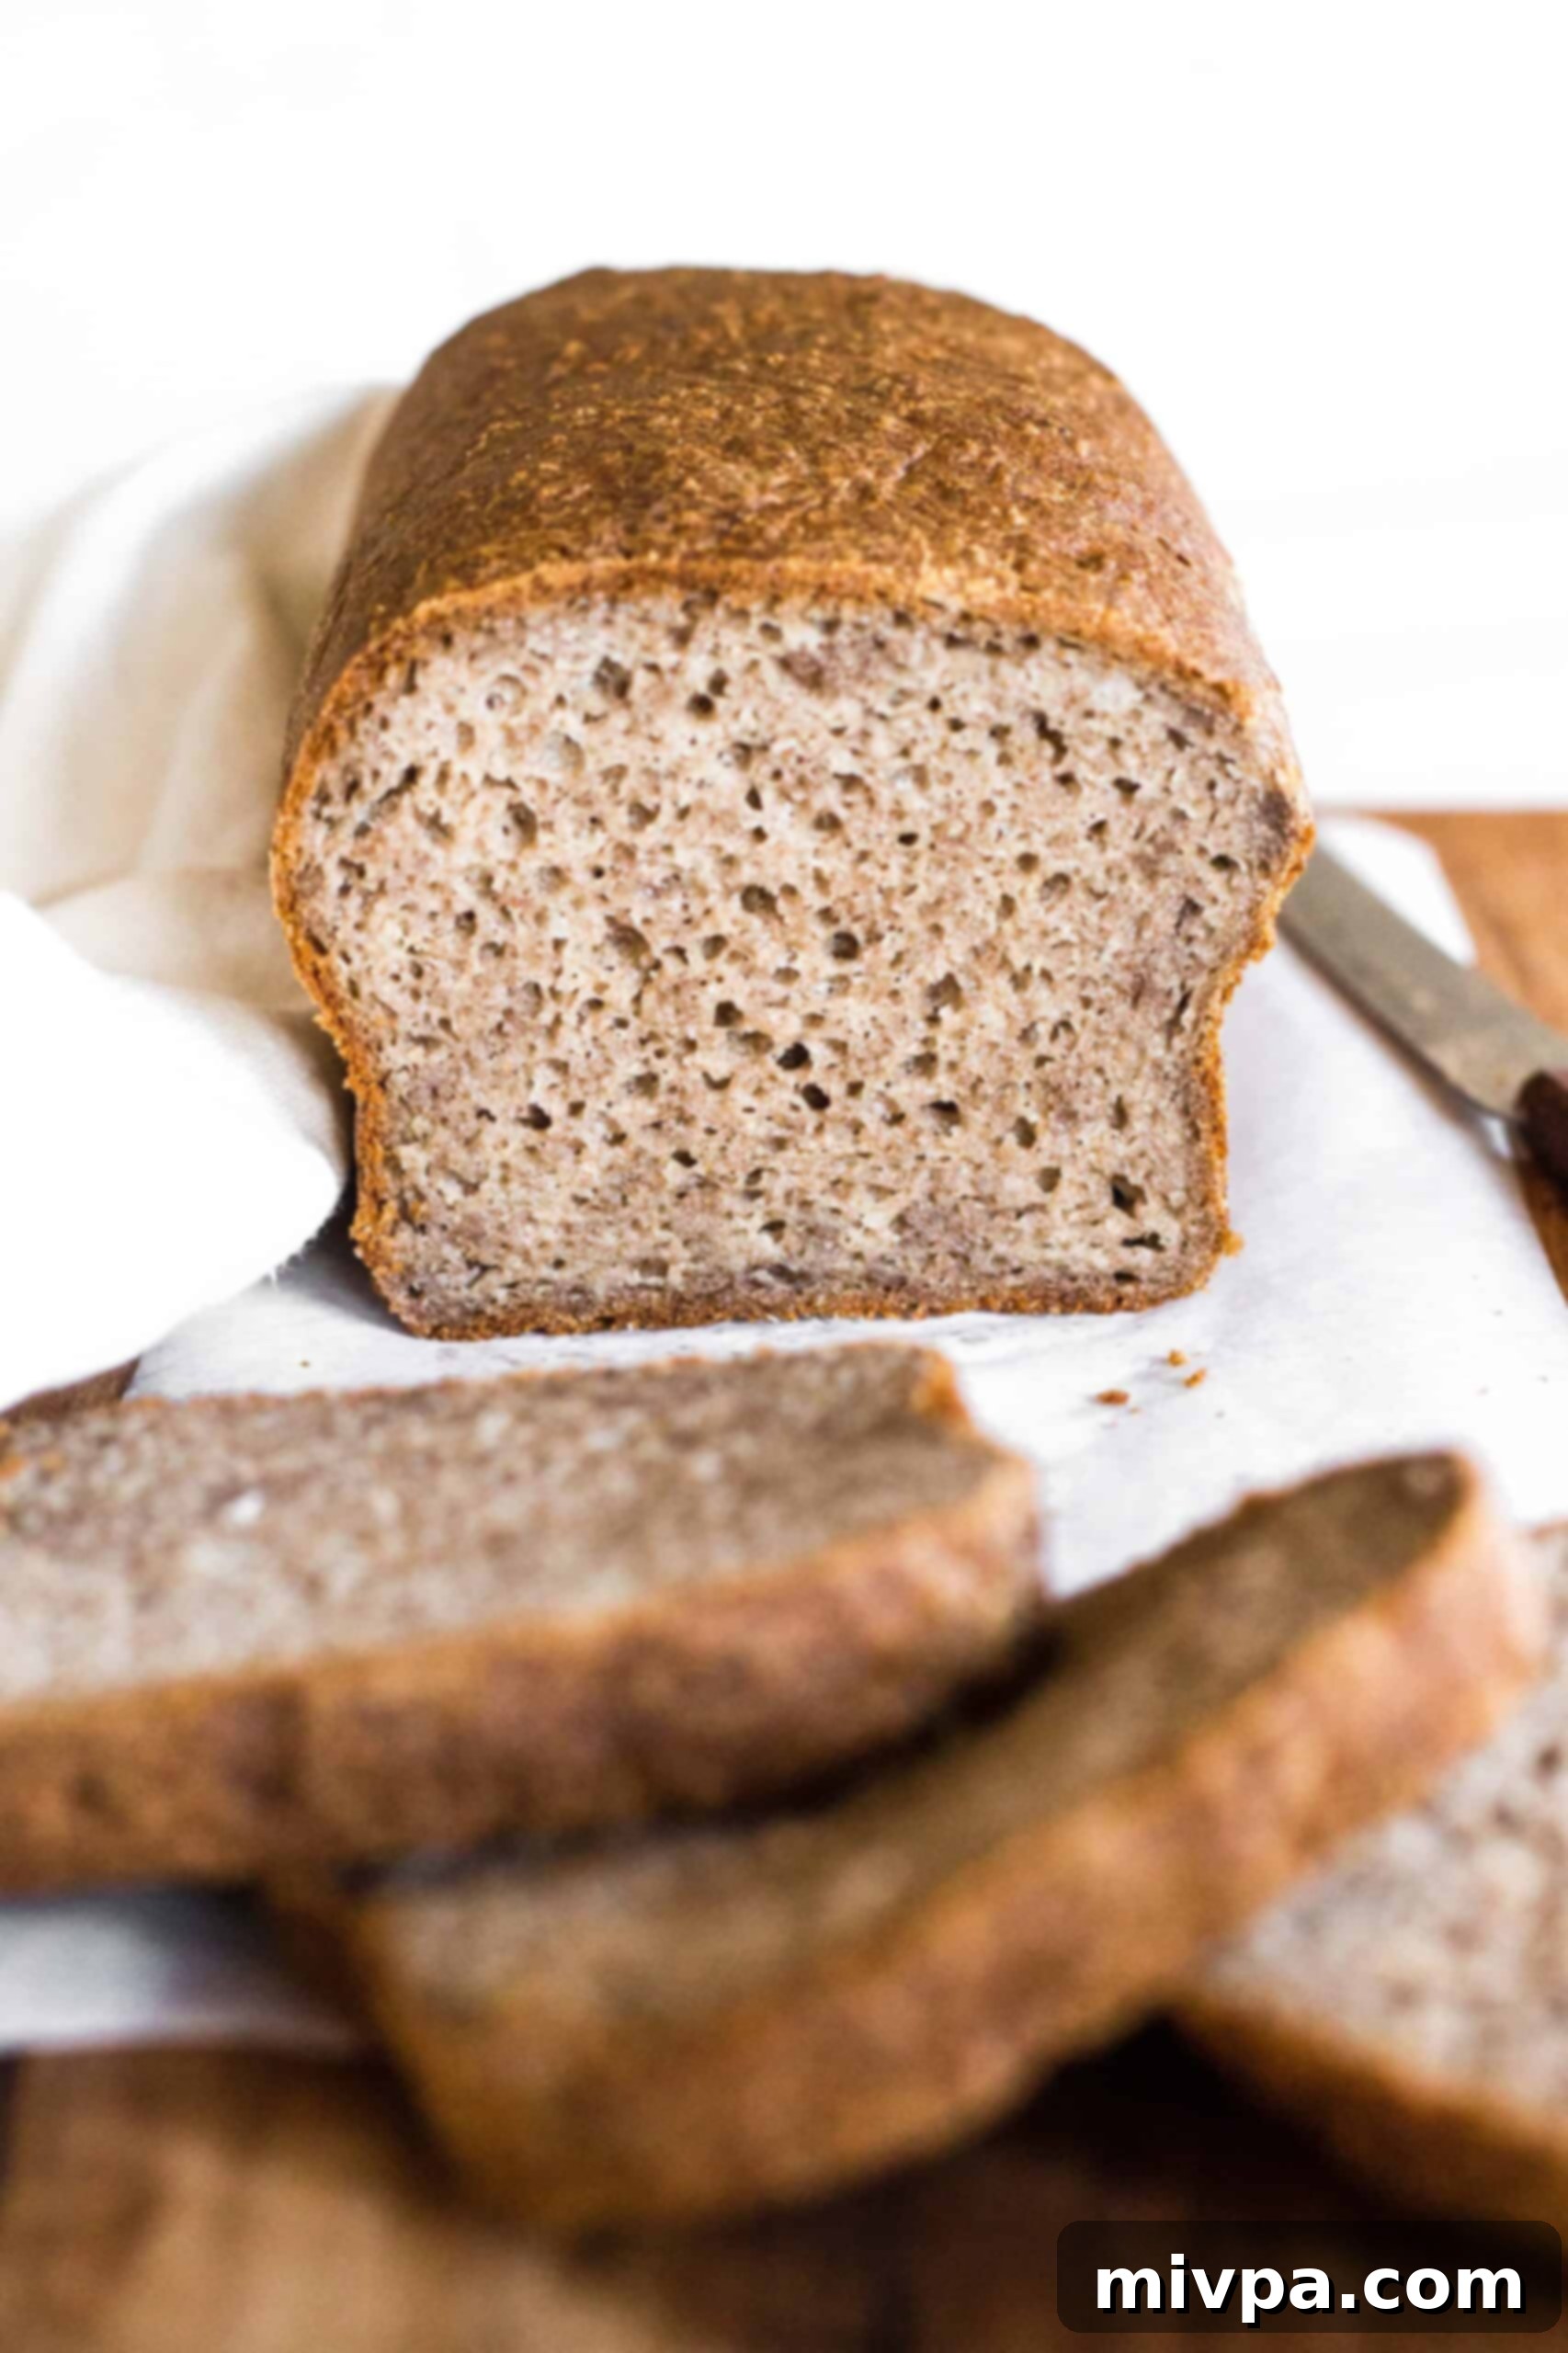
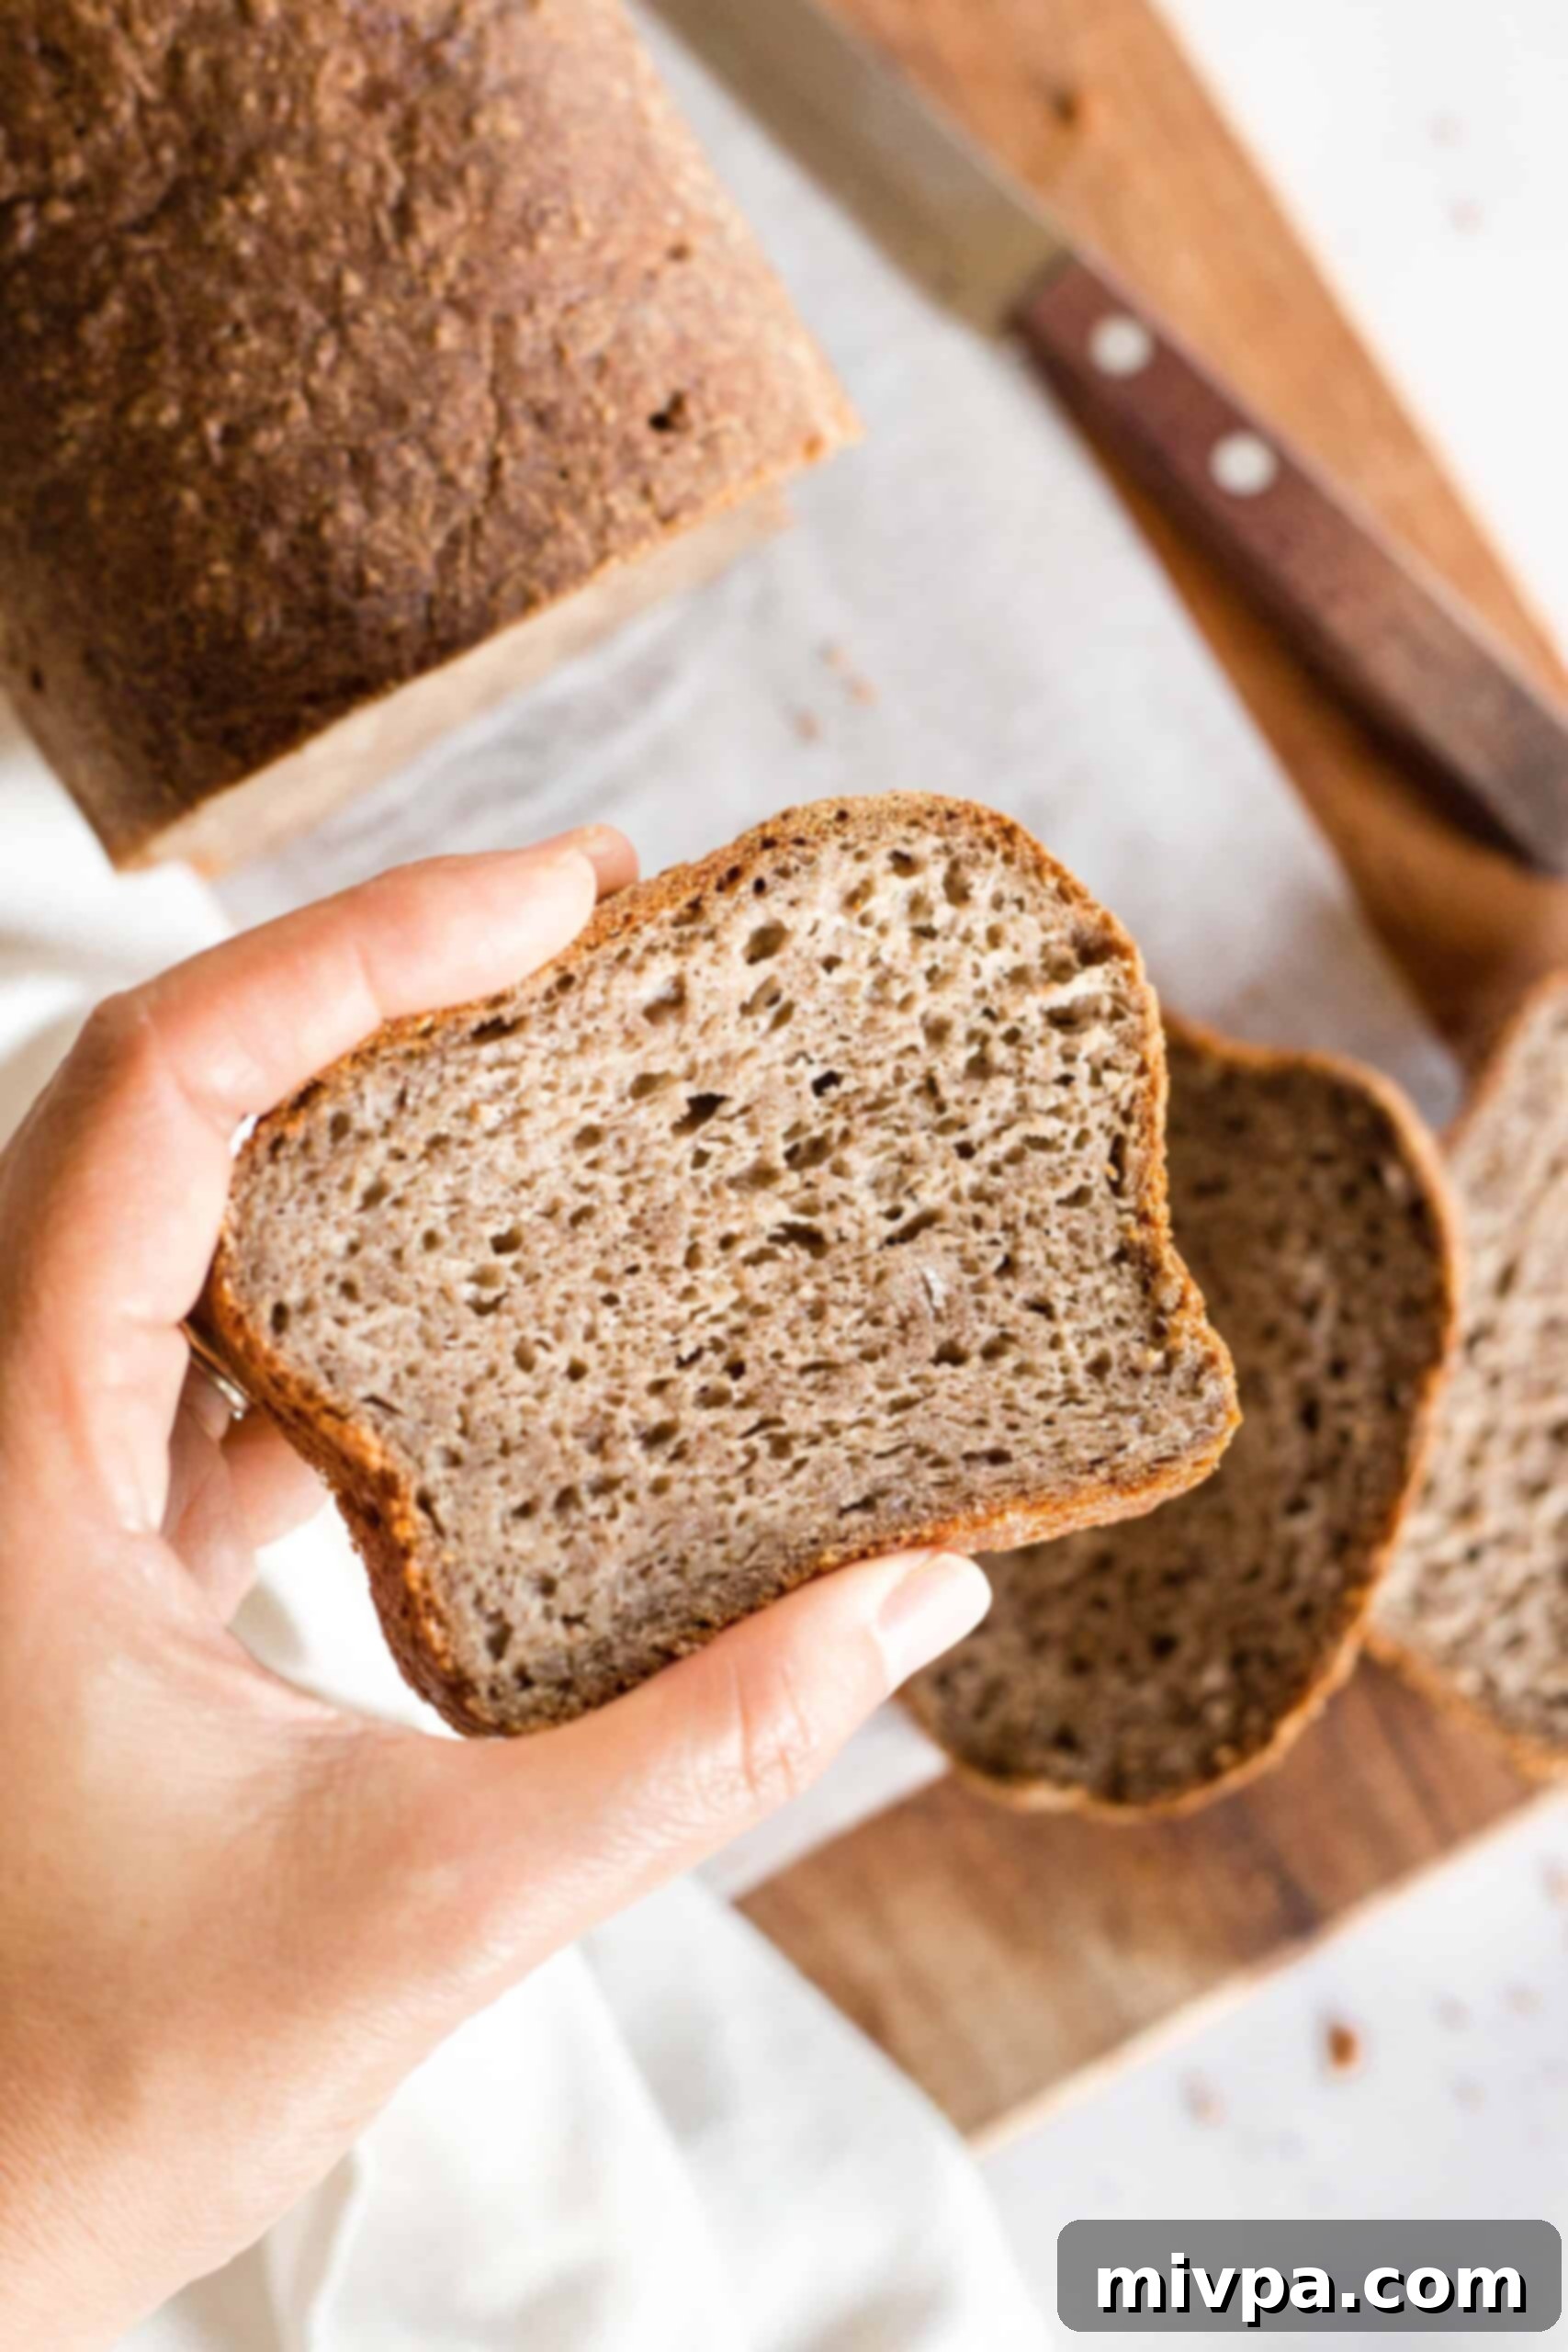
Discover the ultimate gluten-free bread experience with our incredibly soft and fluffy teff bread. This recipe delivers a deliciously nutty and earthy flavor, remarkably similar in texture and appearance to traditional whole wheat bread. Best of all, it comes together with surprising ease, proving that delicious, homemade, dietary-friendly bread is within everyone’s reach. Perfect for a hearty sandwich, a gourmet avocado toast, or simply enjoyed toasted with a generous spread of homemade jam. This recipe is entirely gluten-free and dairy-free, yet so remarkably good that even those without dietary restrictions will adore it!
[feast_advanced_jump_to]
The Therapeutic Joy of Homemade Bread Baking
There’s an unparalleled satisfaction that comes with baking a fresh loaf of homemade bread. The process itself is deeply meditative and therapeutic, often likened to the calming comfort of curling up with a captivating book and a warm cup of tea. For me, it’s more than just creating food; it’s a ritual, a moment of mindful creation that nourishes both body and soul. The simple act of mixing, kneading (or in this case, simply combining!), and watching dough transform is profoundly rewarding.
While I enjoy experimenting with all sorts of bread, yeast breads hold a particularly cherished spot in my culinary heart. There’s something truly magical about the transformation that occurs when yeast, water, and flour combine. Witnessing the bread dough slowly double in size during proofing is a small miracle that never fails to amaze me. And then, the grand finale: pulling a perfectly golden, freshly baked loaf from the hot oven, feeling the warmth envelop my face, and inhaling the intoxicating aroma that fills the kitchen. It’s a moment that consistently makes me feel like I’m on top of the world, a proud creator of something truly wonderful and comforting.
Over the years, I’ve developed a repertoire of beloved yeast bread recipes, each offering its unique charm and catering to various tastes and dietary needs. Some of my all-time favorites include this widely popular buckwheat bread, renowned for its soft texture and earthy notes, and the equally fluffy millet bread, which offers a delicate flavor. Our reliable gluten-free white bread is a staple, offering a classic taste and texture without the gluten, making it a perfect everyday choice. For those who appreciate artisan quality with minimal effort, this gorgeous no-knead artisan bread is a game-changer, yielding an impressive crust and crumb. And when I’m craving something savory and aromatic, this rosemary focaccia always hits the spot with its herbaceous aroma and soft, airy interior. Each recipe brings its own joy, but they all share the fundamental pleasure of baking from scratch and enjoying the fruits of your labor.
Introducing Our Delightfully Fluffy Teff Bread: A Gluten-Free Marvel
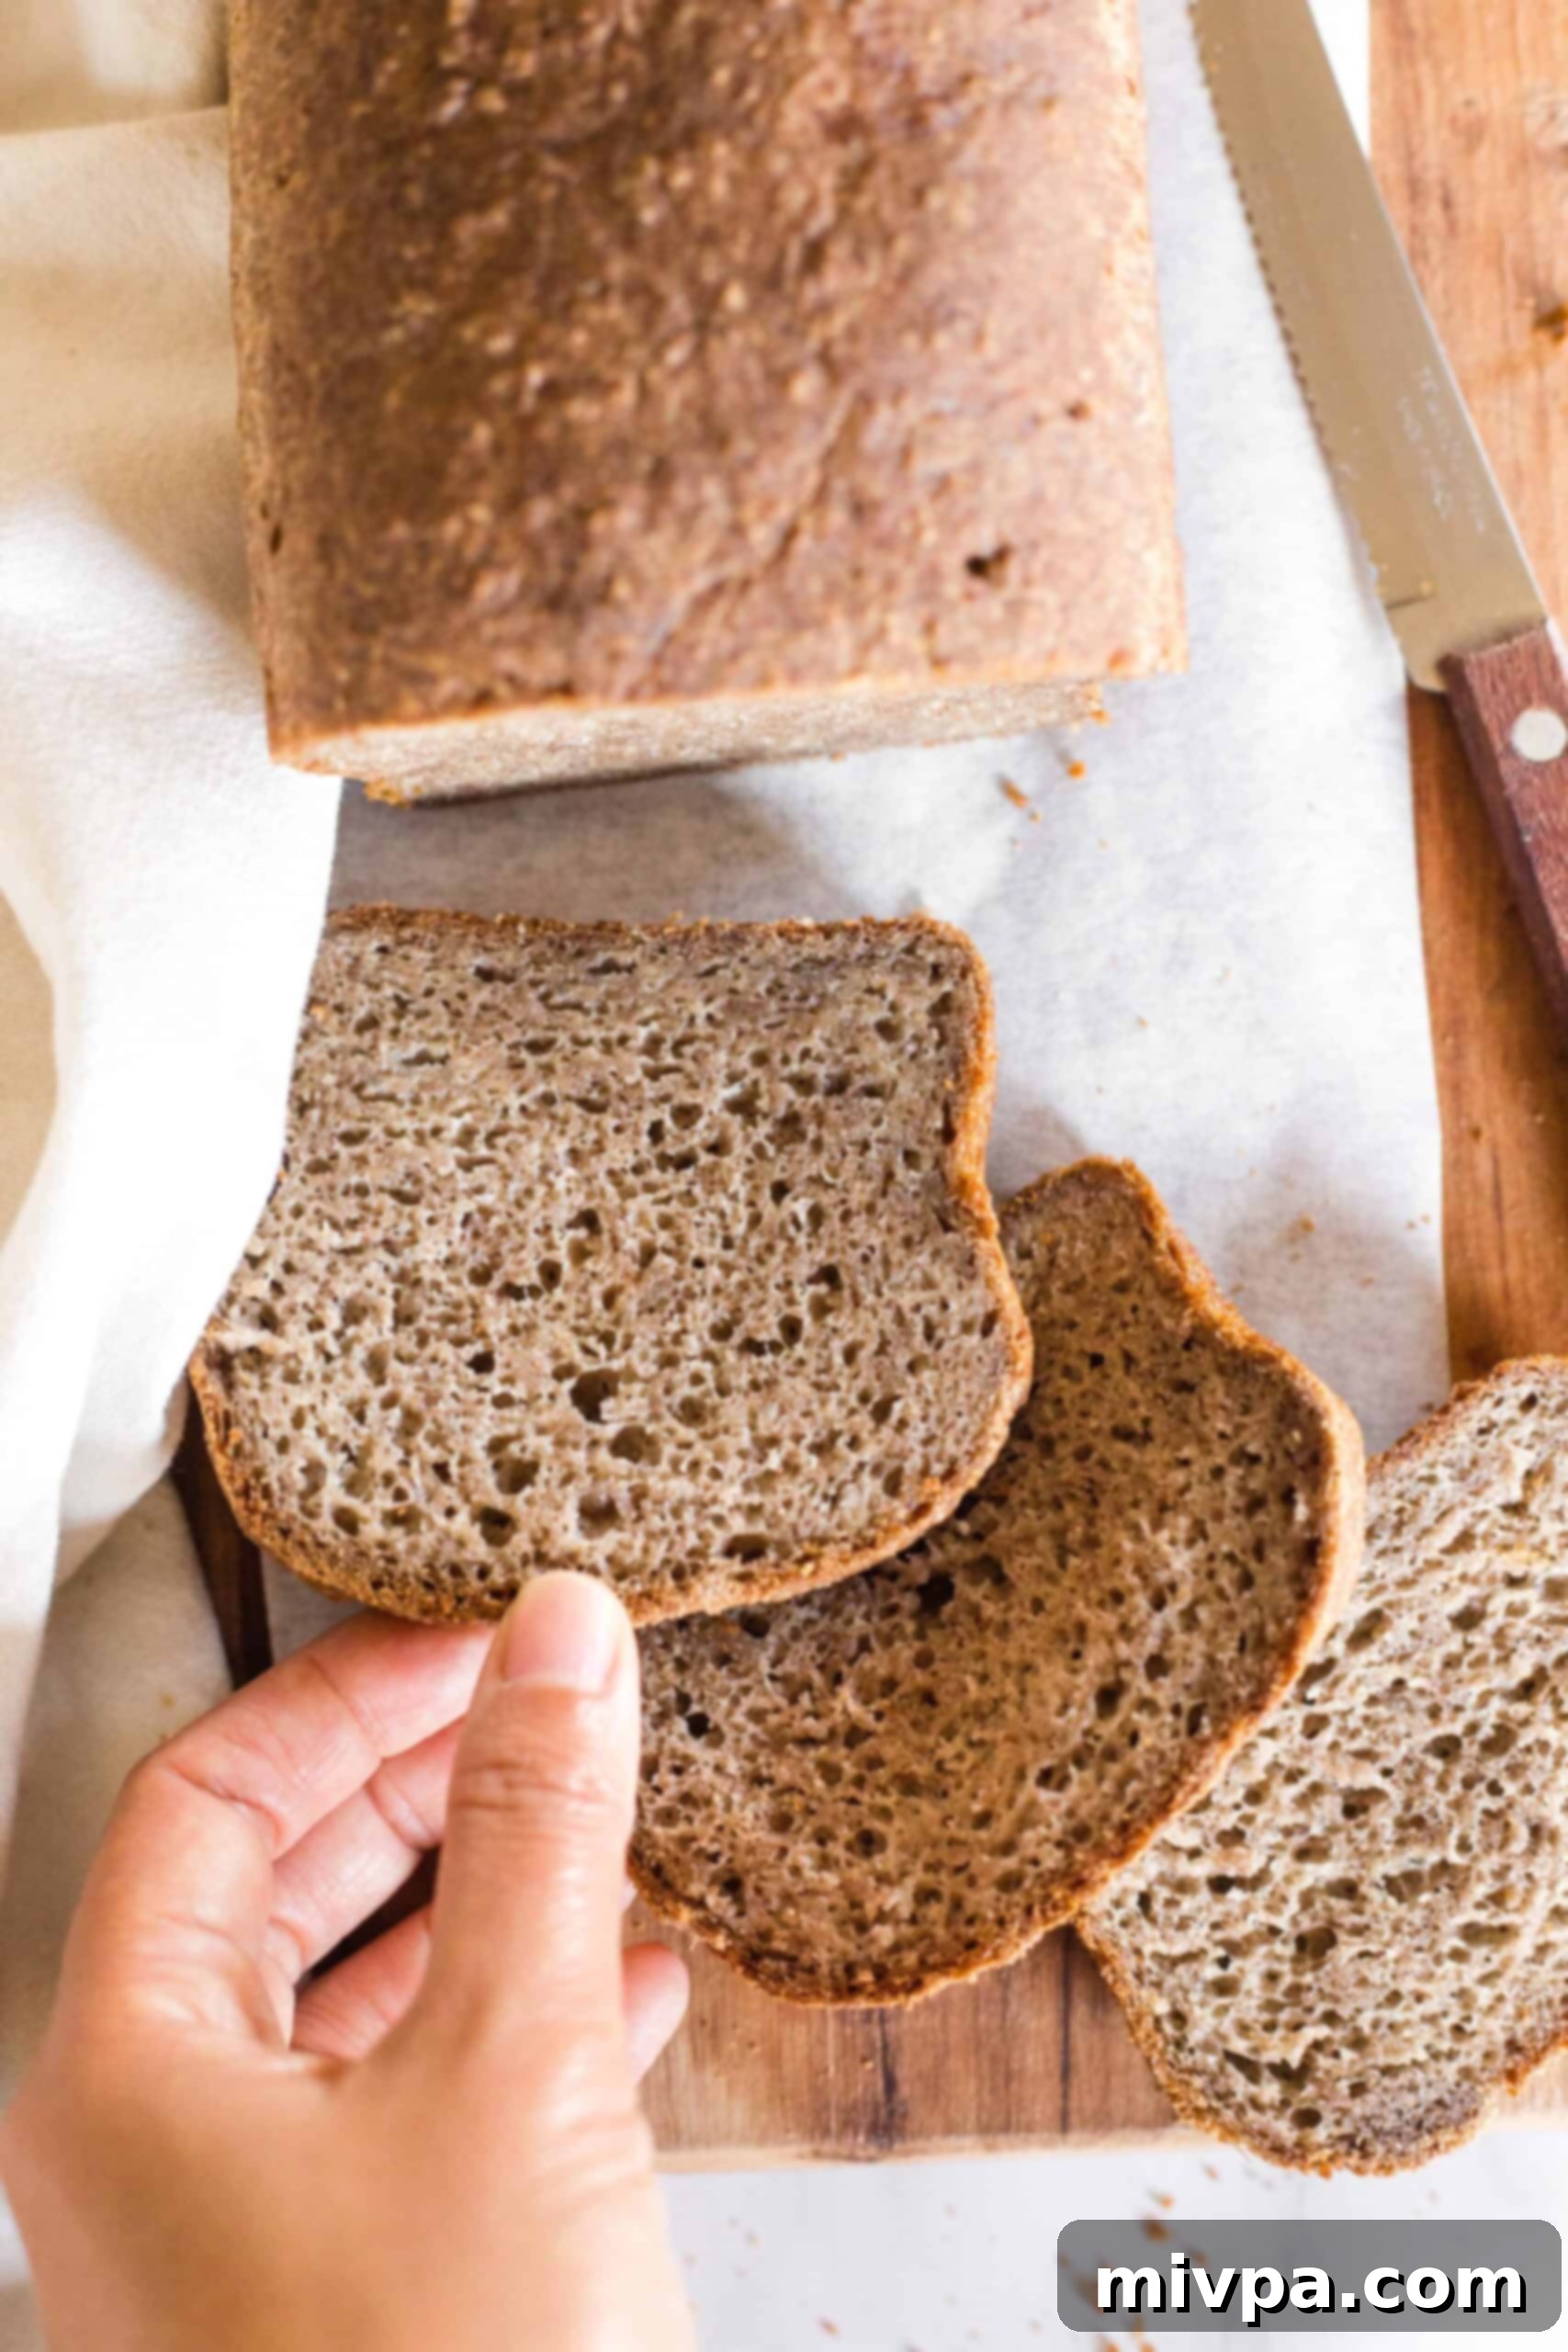
My culinary adventures recently led me to discover the wonders of teff flour at a local natural foods store, and I immediately knew I had to create a new bread recipe with it. My goal was ambitious: to develop a gluten-free loaf that not only tasted exceptional but also visually and texturally mimicked the hearty appeal of traditional whole wheat bread. Many gluten-free breads fall short in achieving this balance, often resulting in dense, crumbly, or dry loaves. After much experimentation, refinement, and a few test batches, this amazingly soft, tender, and incredibly fluffy teff flour bread was born. It’s a true triumph in gluten-free baking, offering a depth of flavor and a satisfying texture that often eludes gluten-free alternatives.
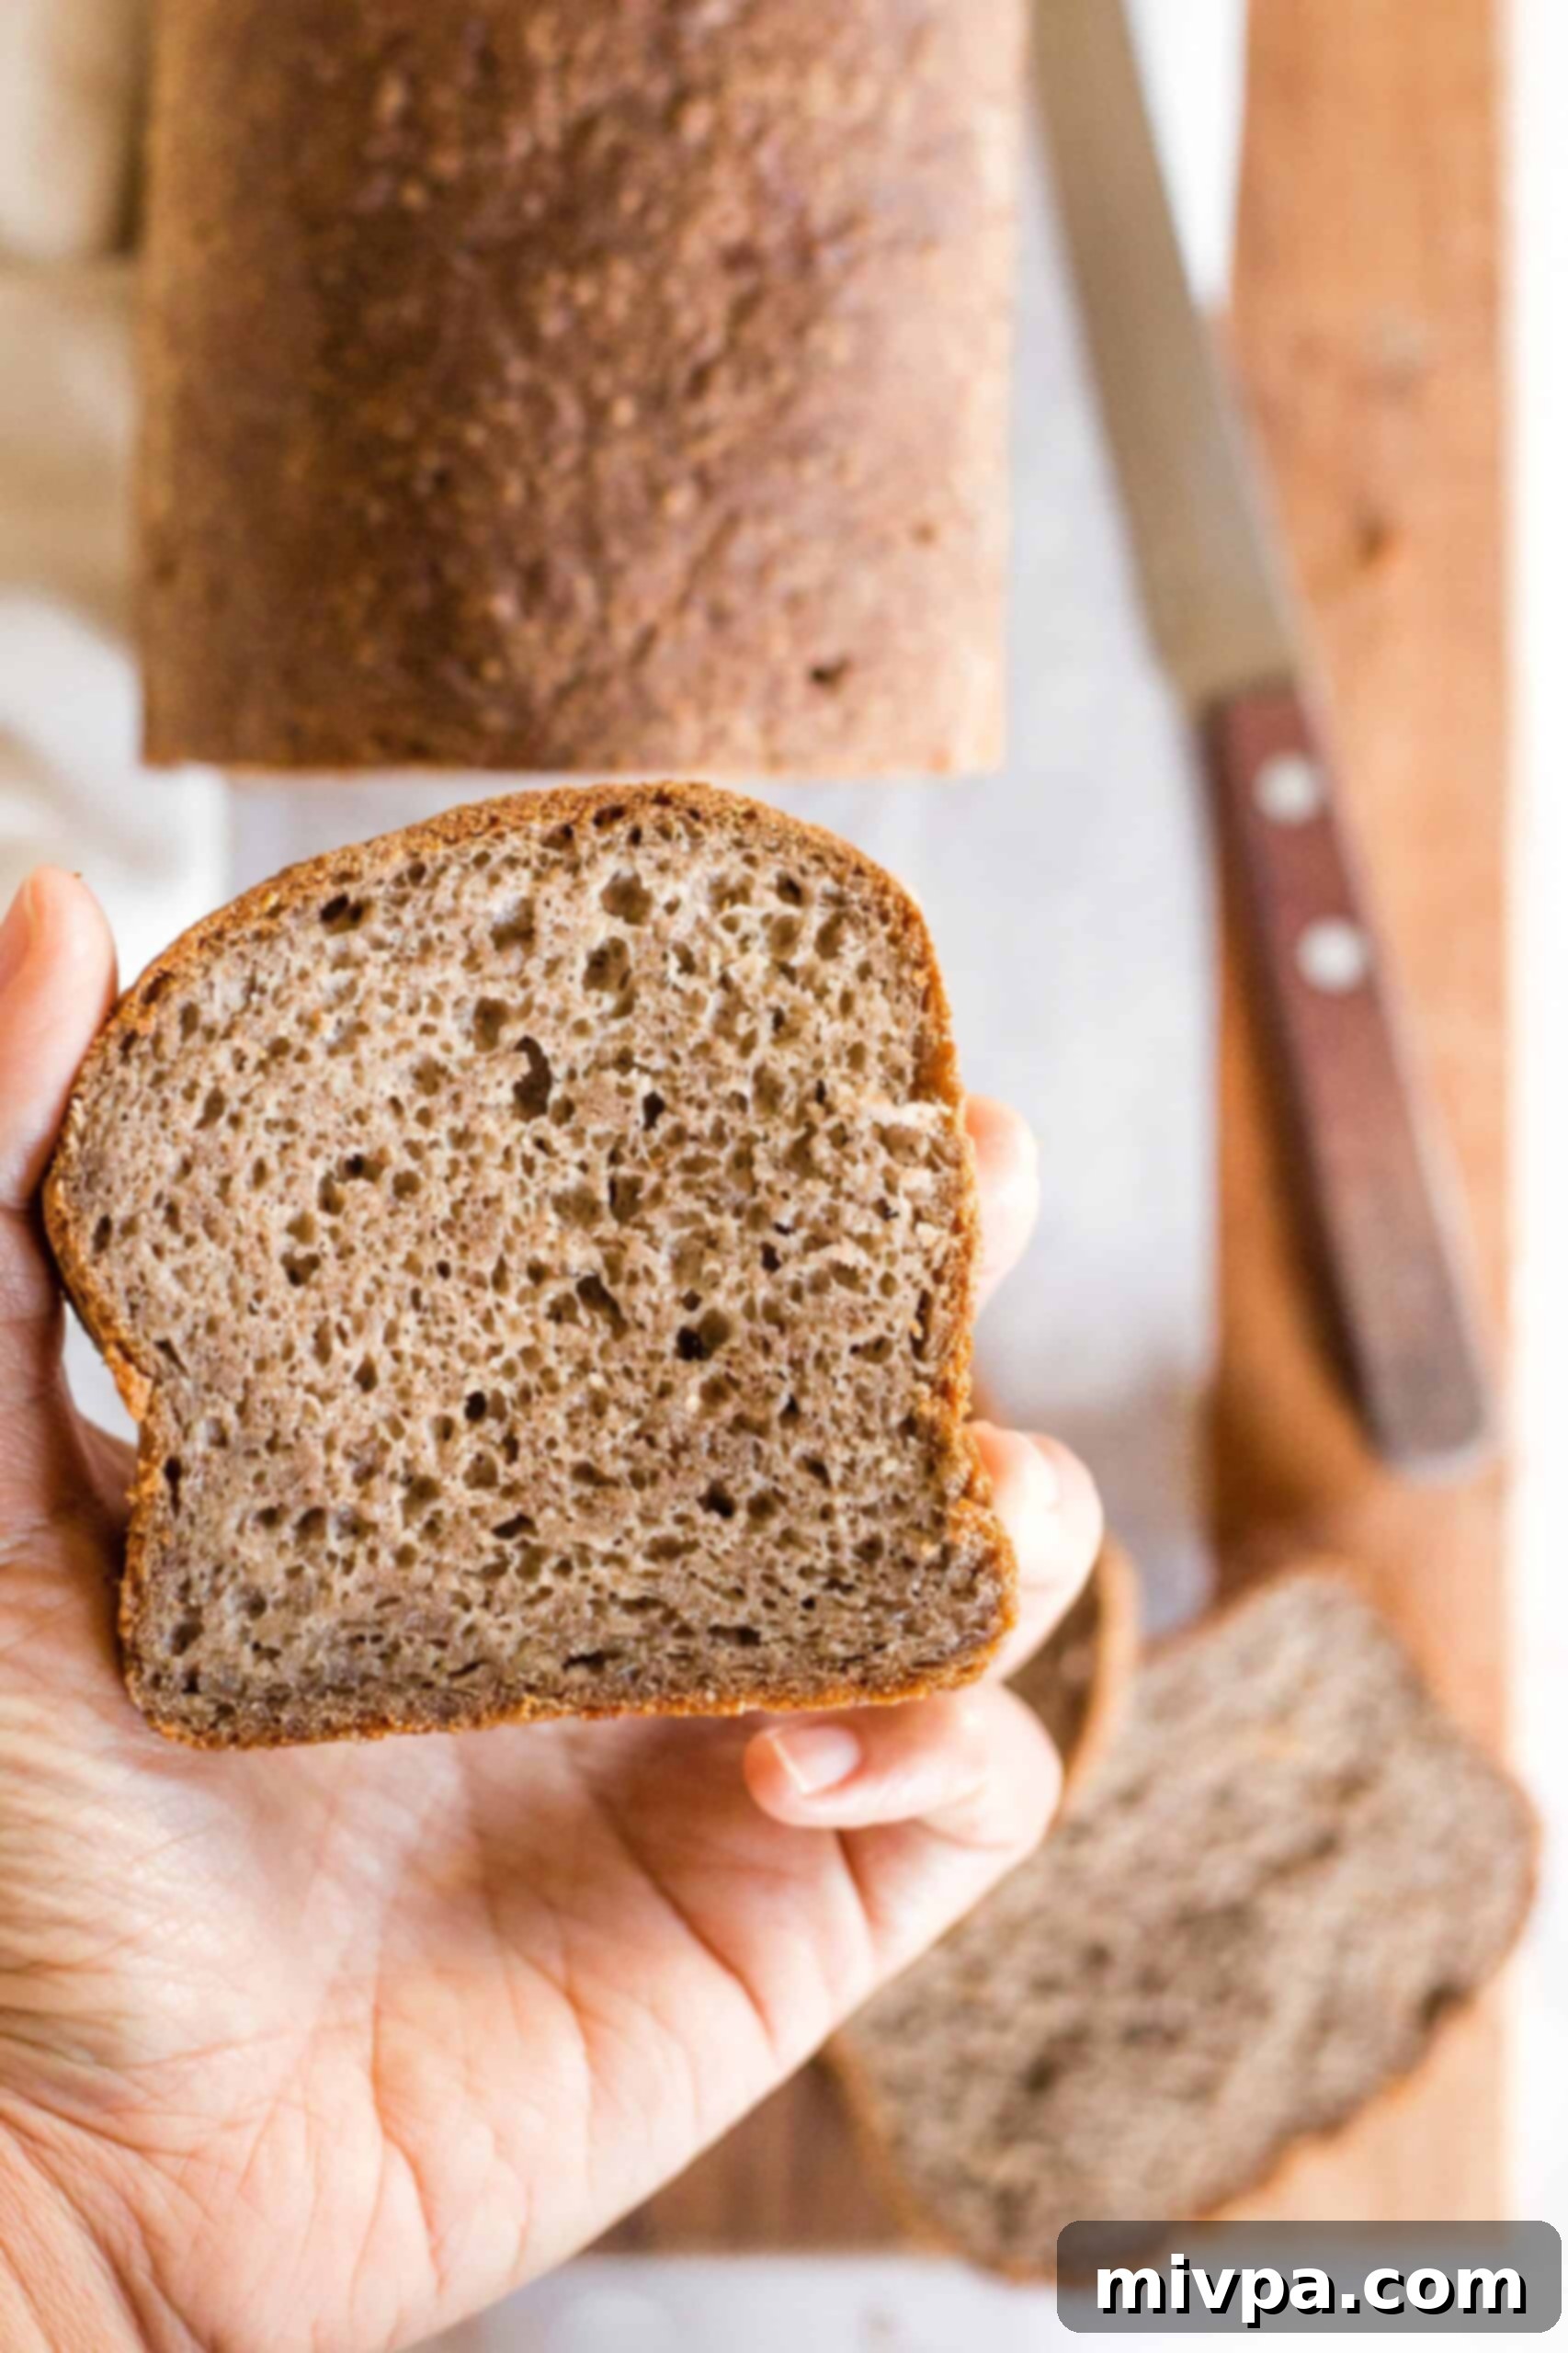
Prepare to bid farewell to those notoriously hard, dry, and crumbly gluten-free loaves that often line store shelves! This homemade teff bread recipe is a game-changer. Its tender crumb and robust structure make it ideal for slicing, toasting, and enjoying in countless ways, from a simple spread of butter to a gourmet sandwich filling. The rich, earthy flavor of teff shines through, complemented by an irresistible fluffiness that will surprise and delight even the most discerning bread lovers. Once you experience the delightful chewiness and subtle nutty notes of this homemade teff loaf, you’ll find yourself eager to bake it again and again. It truly elevates the standard for gluten-free bread, proving that ‘free-from’ doesn’t mean compromising on deliciousness, especially when it comes to a kitchen staple like bread.
What Exactly is Teff? An Ancient Grain Explained
Teff is an ancient grain, originating from the Horn of Africa, primarily cultivated in Ethiopia, where it has been a dietary staple for millennia. In fact, it’s believed to be one of the earliest domesticated plants, with its cultivation dating back thousands of years. This rich history highlights teff’s enduring importance in global cuisine and its role in sustaining communities for generations. One of its most famous culinary uses in Ethiopia is injera, a traditional, spongy, fermented flatbread that forms the base of many Ethiopian meals.
What makes teff particularly unique is its incredibly small size; it’s considered the world’s smallest grain, with individual seeds akin to tiny poppy seeds. Don’t let its diminutive stature fool you, though, as it packs a significant nutritional punch, as we’ll explore shortly. There are various types of teff seeds, ranging in color from white and red to dark brown. These different varieties also present subtle flavor differences: the lighter-colored seeds, such as ivory teff, tend to have a milder, slightly sweeter, and more delicate nutty flavor, while the darker-colored seeds, like brown teff, offer a more pronounced, robust, and earthy taste. Both varieties are nutritious and contribute unique qualities to baked goods.
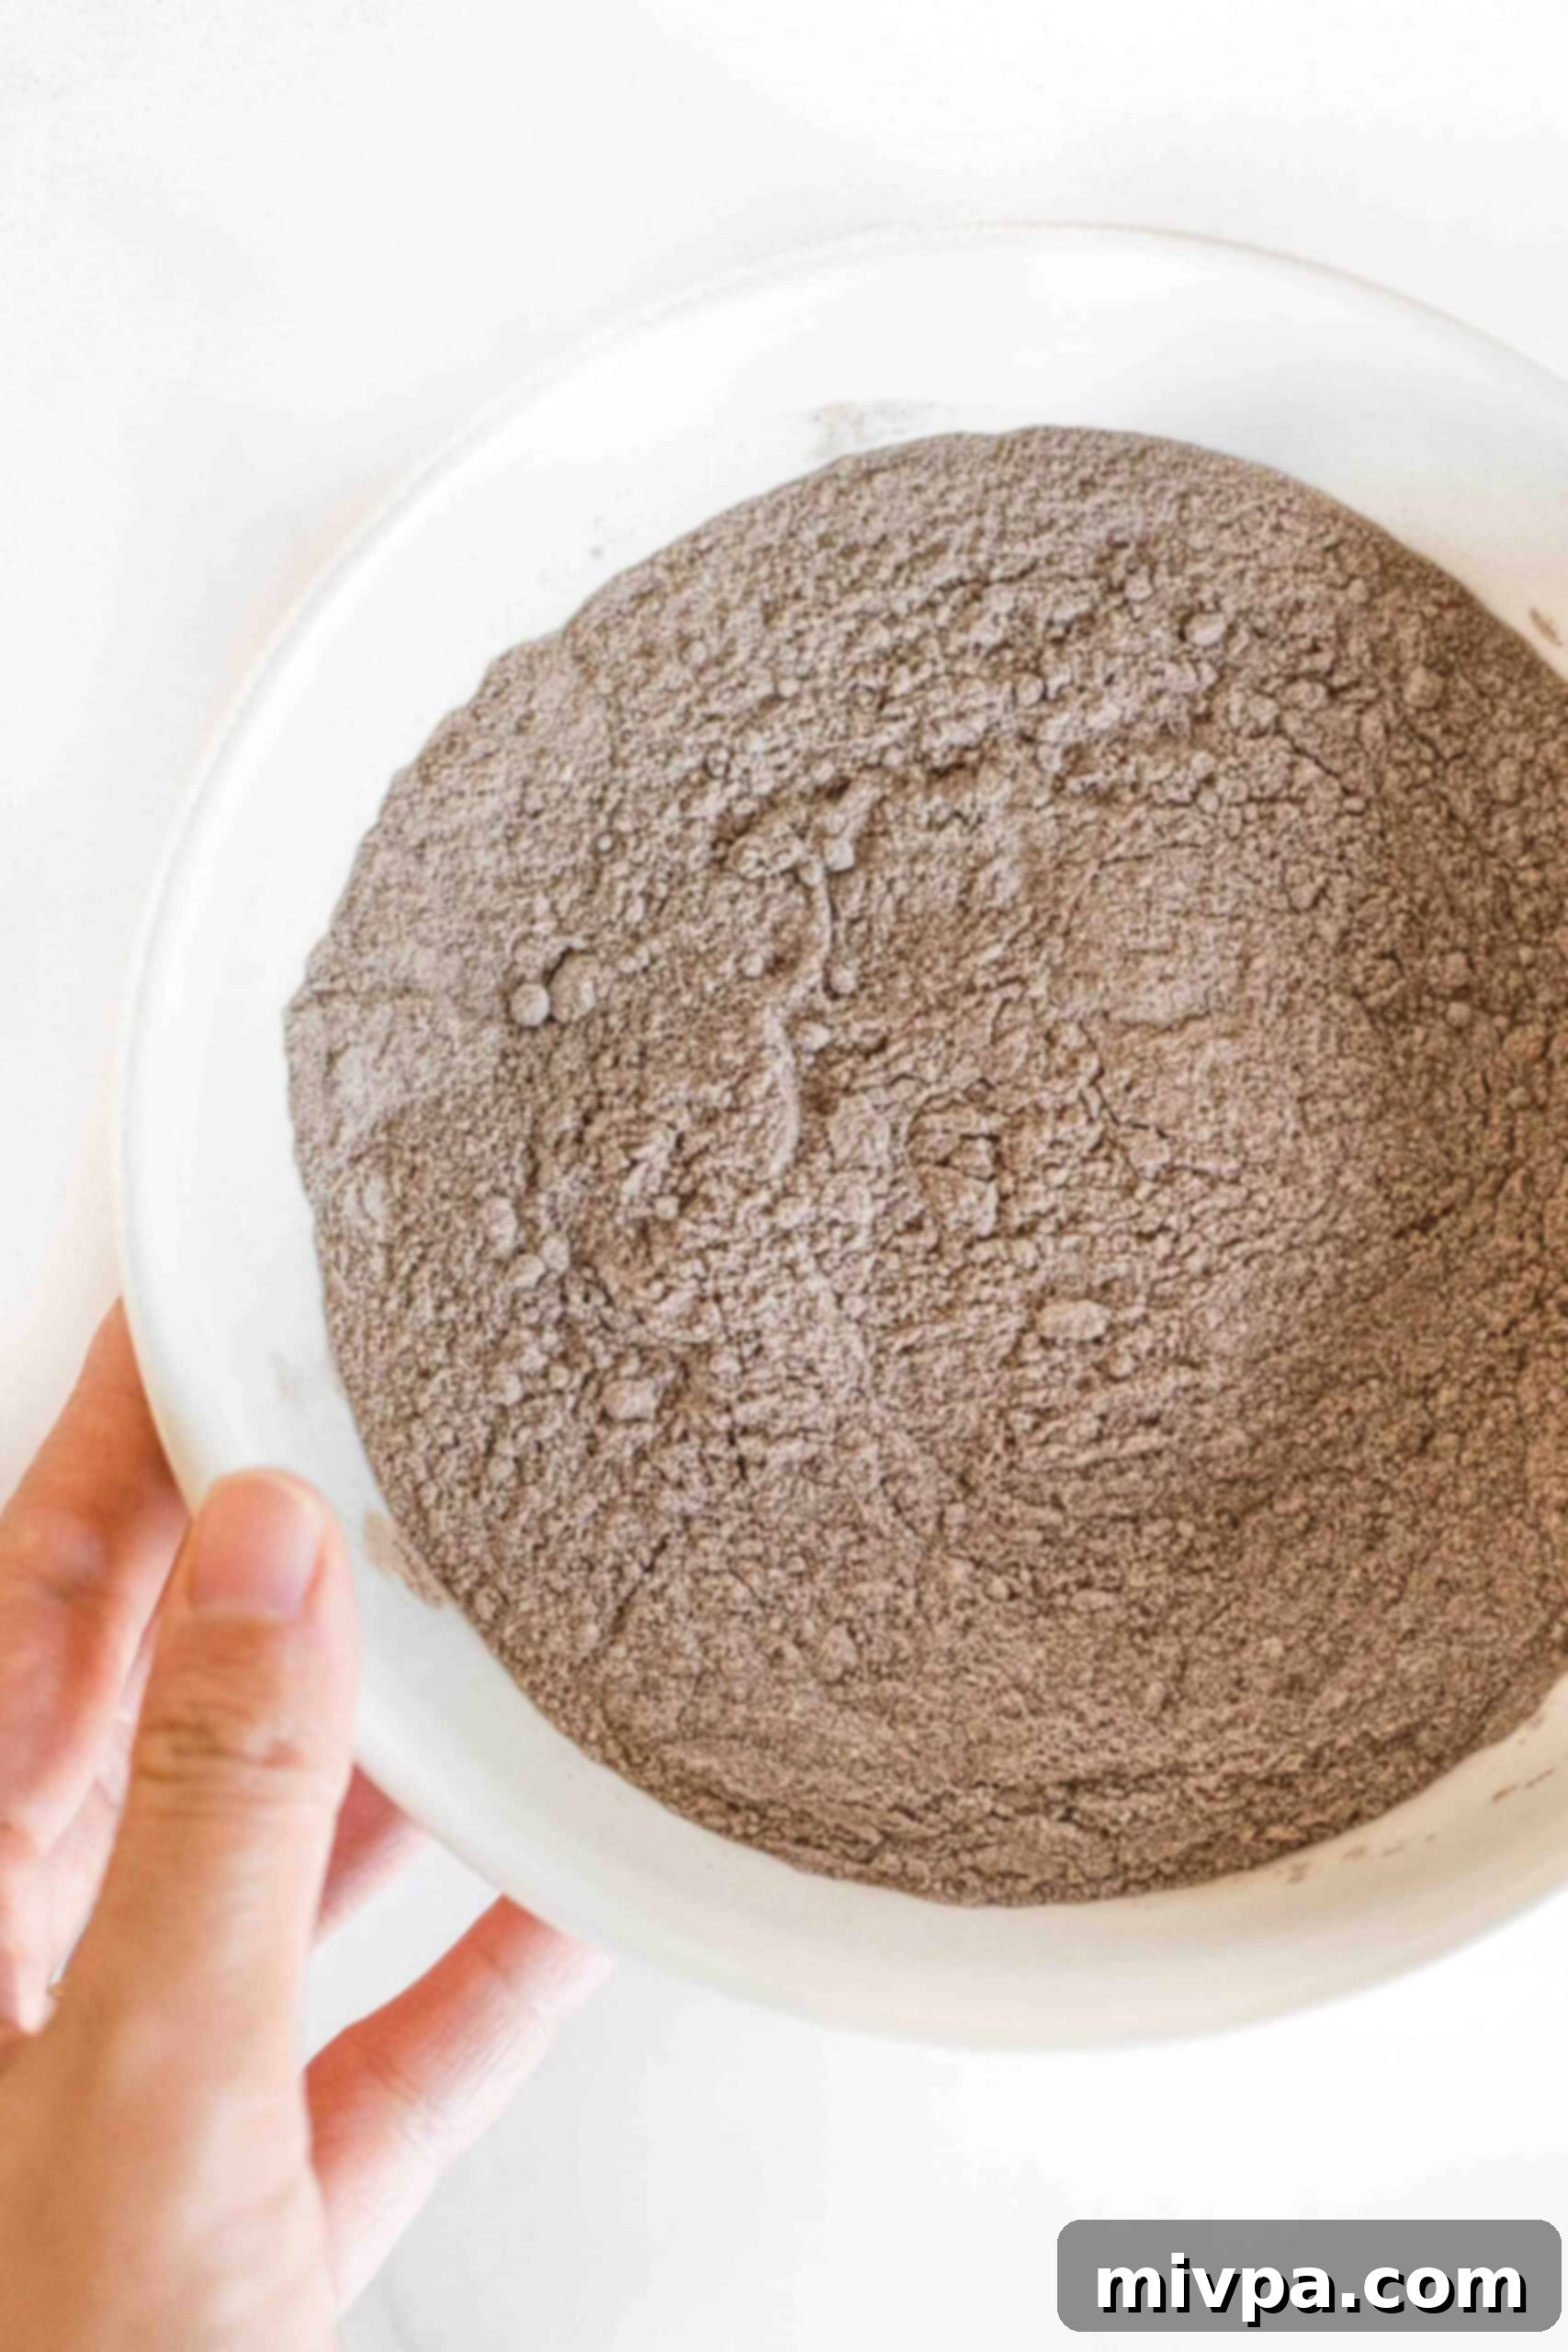
Most commonly, teff seeds are ground into a fine flour, which is precisely what we use in this gluten-free bread recipe. The color of the resulting teff flour will, naturally, depend on the specific variety of teff grains used. The image below proudly displays whole grain brown teff flour, characterized by its darker hue and richer, more intense flavor profile. Keep in mind that white teff flour and ivory teff flour would be significantly lighter in color and might offer a slightly milder taste, though both work wonderfully in baking and contribute to the distinct flavor of teff bread. This fine grind also contributes to the smooth texture of the dough, making it a versatile ingredient for a range of recipes beyond just bread, including pancakes, porridges, and more.
The Impressive Health Benefits of Teff: A Nutritional Powerhouse
Beyond its unique flavor and versatility in baking, teff stands out as a nutritional powerhouse, making it an excellent choice for a health-conscious diet. It’s an exceptional source of both plant-based protein and dietary fiber, two crucial components for a healthy diet. A diet rich in fiber supports optimal digestive health, helps regulate blood sugar levels, and can contribute to a feeling of fullness, aiding in weight management. The significant protein content in teff also makes it a valuable food source, particularly for vegetarians, vegans, and anyone looking to increase their plant-based protein intake, as it provides a good balance of essential amino acids.
Furthermore, teff boasts a remarkably high mineral content compared to many other grains. It’s particularly rich in essential minerals such as iron, which is vital for oxygen transport in the blood and preventing iron-deficiency anemia, a common nutritional deficiency. It also provides a good supply of calcium, essential for strong bones and teeth; magnesium, involved in over 300 biochemical reactions in the body; zinc, important for immune function and wound healing; copper, which aids in iron absorption; and potassium, crucial for maintaining fluid balance and healthy blood pressure. Its impressive nutrient profile, combined with a relatively low glycemic index, positions teff as an excellent choice for anyone looking to enhance the nutritional value of their meals and embrace a more wholesome and balanced diet. For more detailed information on its nutritional value and health impact, you can refer to reputable health resources.
Is Teff Flour Naturally Gluten-Free? Understanding Its Dietary Advantage
One of the most significant advantages and appealing characteristics of teff is that it is a naturally gluten-free grain. This is a crucial distinction from many common grains like wheat, rye, spelt, or barley, which contain gluten – a protein composite that can cause adverse health reactions in certain individuals. This inherent characteristic makes teff flour an outstanding and safe alternative for those following a gluten-free diet, whether for medical reasons or personal preference.
For individuals diagnosed with Celiac disease, even small amounts of gluten can trigger a severe immune response, leading to damage in the small intestine and a wide range of debilitating symptoms. Similarly, those with non-celiac gluten sensitivity experience digestive discomfort, fatigue, and other symptoms after consuming gluten. Teff flour provides a delicious and nutritious solution, allowing these individuals to enjoy a variety of baked goods, including this wholesome teff bread, without worry or adverse effects. It can be seamlessly incorporated into a wide array of gluten-free recipes, offering a robust flavor and appealing texture that closely mimics traditional wheat-based products. You can typically find teff flour readily available at health food stores, specialty grocery stores, or online retailers, making it an accessible and valuable ingredient for your gluten-free pantry. Today, we’re harnessing its unique properties to create this incredibly tender and soft gluten-free teff flour bread that everyone can enjoy, regardless of their dietary restrictions.
Why This Teff Bread Recipe Stands Out From The Rest:
- Simple, Accessible Ingredients: You won’t need to embark on a scavenger hunt for obscure items. All the ingredients required for this teff bread recipe are not only easily understood but also readily available at most major grocery stores or natural food stores. We focus on common pantry staples, ensuring that anyone can whip up a batch of this delicious bread without fuss, making healthy, homemade gluten-free baking more convenient than ever before.
- Effortlessly Easy to Make: Forget complicated kneading, prolonged proofing times, or intricate techniques often associated with traditional bread making. The dough for this teff bread comes together remarkably easily. Simply combine the dry ingredients with the wet ingredients in a single bowl, mix until well-incorporated, transfer the sticky dough to a loaf pan, allow it a single rise to its glorious doubled size, and then bake until golden brown. It’s a straightforward process perfect for beginners and seasoned bakers alike, designed for minimal effort with maximum reward.
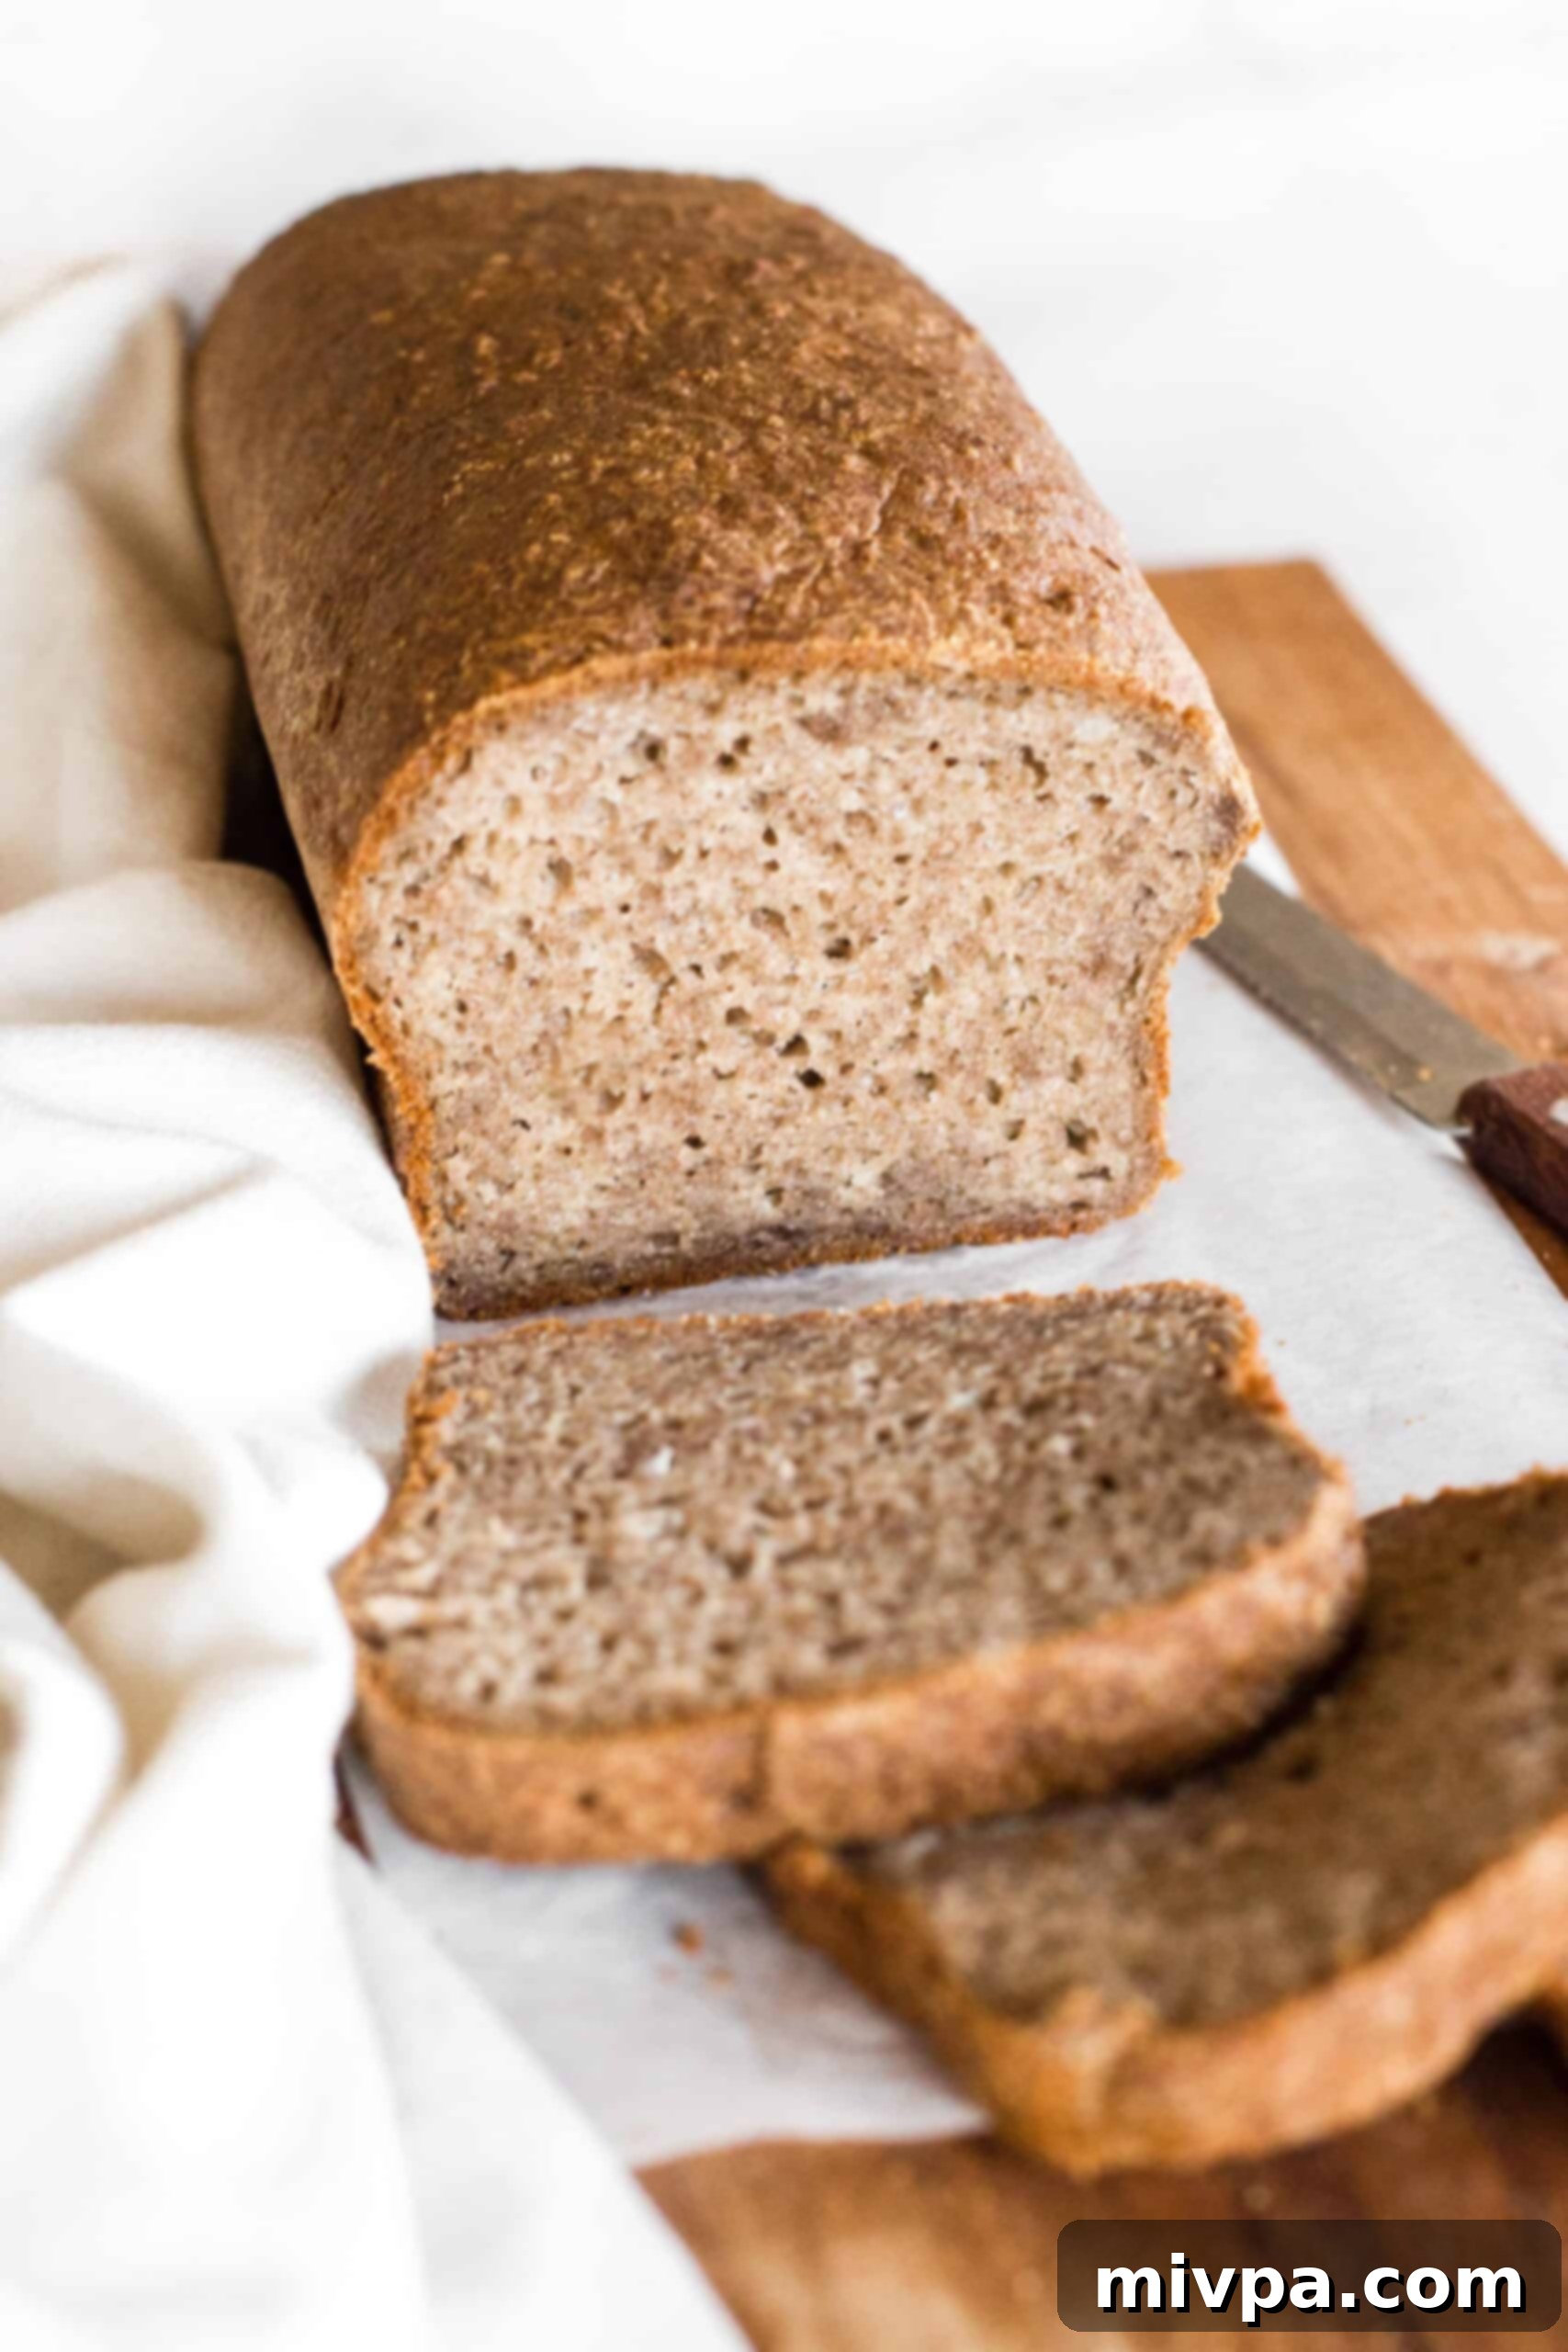
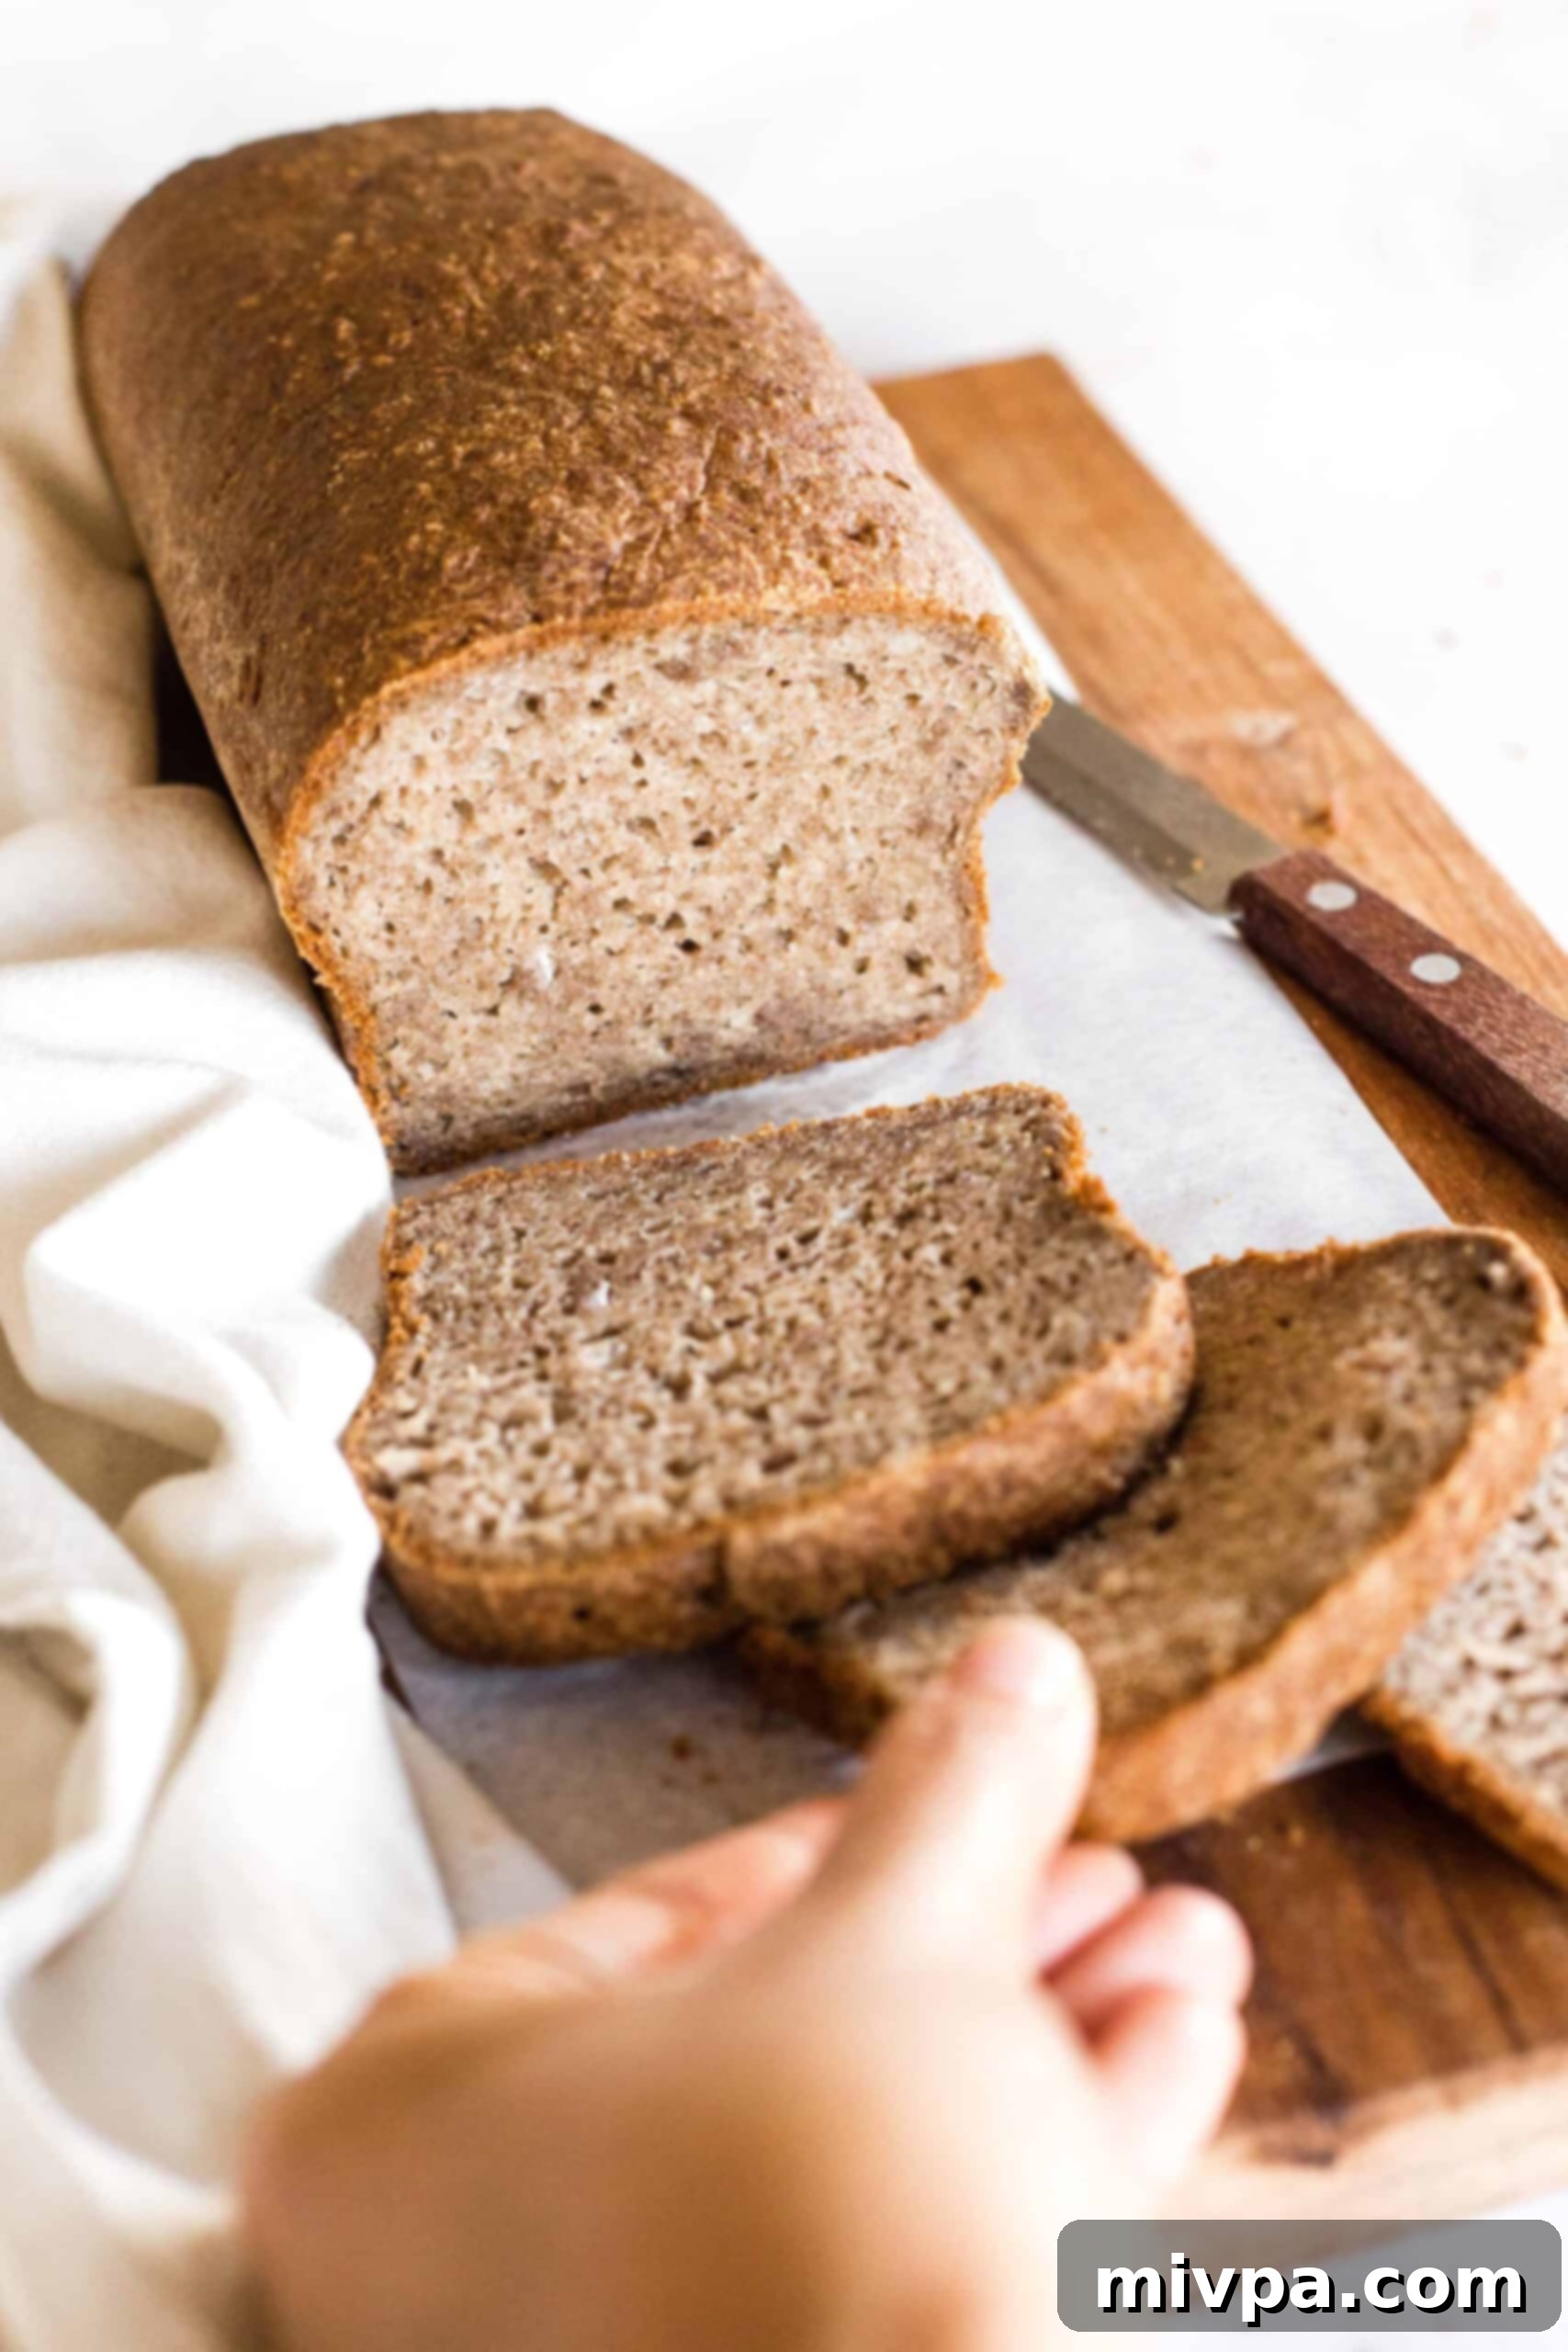
- Unbelievably Soft, Fluffy, and Tender Texture: This is where our teff bread truly shines and distinguishes itself. Unlike many dense, crumbly, or dry gluten-free breads that often disappoint, this recipe yields a loaf with an unbelievably soft, fluffy, and tender crumb that holds together beautifully. Each slice is a delight, providing a satisfying chewiness and robust structure that makes it perfect for sandwiches, toast, or simply tearing apart and enjoying. Prepare to be genuinely surprised by the delightful texture – say goodbye to the hard and disappointing gluten-free loaves of the past!
- 100% Gluten-Free and Dairy-Free: The most significant advantage of this teff bread recipe is its complete freedom from gluten and dairy, without sacrificing flavor or texture. This makes it an ideal choice for individuals with Celiac disease, non-celiac gluten sensitivities, lactose intolerance, dairy allergies, or those simply adhering to a gluten-free or dairy-free lifestyle. Now, everyone at the table can enjoy the comforting taste and texture of delicious homemade bread without any dietary compromises or missing out!
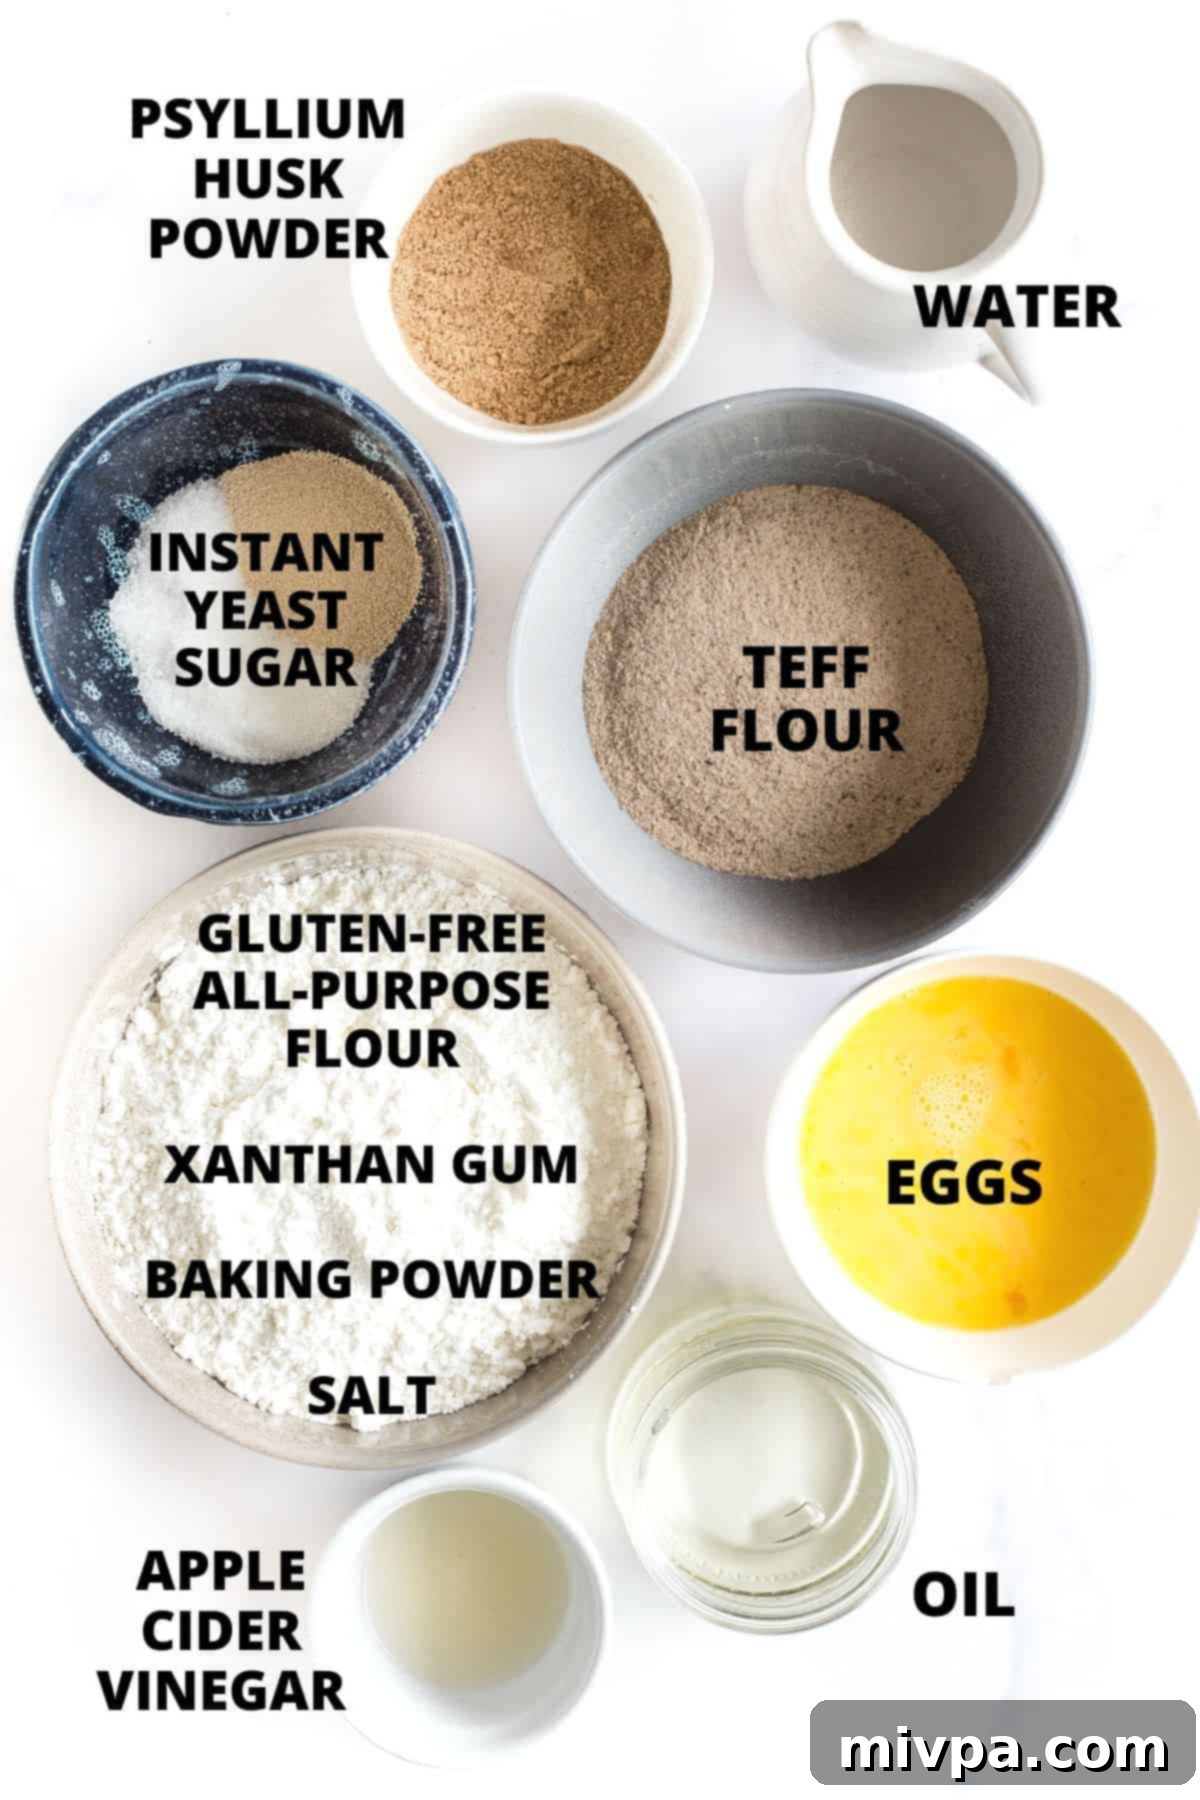
Essential Ingredients You’ll Need:
To embark on your journey to baking this delectable teff bread, here’s a visual overview of the key ingredients you’ll be working with. Each component plays a vital role in achieving the perfect soft, fluffy texture and rich, nutty flavor profile of your homemade loaf. Gather these items to get started:
(For the precise measurements and quantities of each ingredient, please ensure you scroll down to the comprehensive recipe card located at the very bottom of this post.)
Recipe Notes & Smart Substitutions for Best Results:
Understanding the role of each ingredient and knowing potential substitutions can make your baking experience even more successful and adaptable. Here are some detailed notes and alternative options for key components of this teff bread recipe, designed to help you achieve perfect results every time:
- Gluten-Free All-Purpose Flour Blend: The quality and composition of your gluten-free all-purpose flour blend are absolutely paramount for achieving a light and airy texture in your bread. I highly recommend using a blend that predominantly features lighter flours and starches, such as rice flour (white or brown), corn starch, tapioca starch, or potato starch. These lighter components contribute significantly to the desired fluffiness and tender crumb. Conversely, for this particular recipe, I strongly advise against using blends that rely heavily on denser, protein-rich flours like garbanzo bean flour (chickpea flour) or fava bean flour, as these can result in a noticeably heavier, gummier, and more compact final bread texture that deviates from our goal of a soft loaf.
- Xanthan Gum: In the world of gluten-free baking, xanthan gum acts as a crucial hydrocolloid and binder, essentially replacing the elastic and structural properties of gluten found in traditional wheat flour. It helps hold the ingredients together, preventing a crumbly and fragile loaf. Its inclusion ensures the bread maintains its shape and has a pleasant chew. If your chosen gluten-free all-purpose flour blend already lists xanthan gum as an ingredient (which many do), you can safely omit adding it separately. Otherwise, ensure you include the specified amount for optimal structure and texture.
- Teff Flour: As the star ingredient, teff flour is integral to the unique nutty, earthy flavor and distinct texture of this specific bread. While it’s central to this recipe, if teff flour is unavailable, or if you wish to experiment with different flavor profiles, several other gluten-free flours can serve as good alternatives. Consider buckwheat flour, which offers a robust earthy taste; brown rice flour for a milder, slightly sweet flavor; sorghum flour, known for its soft texture; millet flour, which is subtle and slightly sweet; or amaranth flour, which provides a slightly peppery note. Each substitution will impart a slightly different flavor and texture to the final bread, so be prepared for minor variations from the original teff-specific profile.
- Psyllium Husk Powder: Psyllium husk powder is a powerhouse ingredient in gluten-free bread making, acting as a superb natural binder and emulsifier. It significantly enhances the binding power of the dough, creates a desirable elasticity, and is responsible for creating that beautiful, high, domed top on your loaf. For the best and most consistent results, it is absolutely critical to use the finely ground powder version, not whole psyllium husks, and I strongly advise against substituting it with any other ingredient, as its unique properties are hard to replicate. If you only have access to whole psyllium husks, you can easily grind them into a very fine powder using a high-speed blender or a dedicated coffee grinder before adding them to the recipe.
- Baking Powder: Working in conjunction with the yeast, baking powder provides an additional boost of leavening, helping this teff flour bread achieve an even greater rise and a lighter, airier crumb. It’s a chemical leavening agent that reacts with the apple cider vinegar to produce carbon dioxide, contributing to the bread’s volume. For those with Celiac disease or gluten intolerance, always ensure you are using a certified gluten-free baking powder to avoid any potential hidden gluten contamination, which can sometimes occur in conventional brands.
- Instant Yeast: Yeast is absolutely essential for leavening this bread, as it’s a living organism that ferments sugars and produces carbon dioxide gas, creating the air pockets that give bread its characteristic soft and airy texture. I prefer instant yeast because it’s highly active and can be mixed directly with the dry ingredients without needing prior activation (or proofing) in liquid. However, you can certainly use active dry yeast if that’s what you have on hand. The main difference is that active dry yeast typically requires rehydration in a small amount of warm water (or milk) with a pinch of sugar for about 5-10 minutes until it becomes foamy, indicating it’s active, before being added to the rest of the ingredients.
- Sugar: Don’t worry, your bread won’t taste overly sweet! Sugar is a necessary component in this recipe primarily because it serves as the essential food source for the yeast. The yeast consumes the sugar during the fermentation process (rising), producing carbon dioxide gases that cause the dough to rise and create those lovely air pockets and the bread’s structure. By the time the bread is baked, most of the sugar will have been metabolized by the yeast, leaving behind a savory, not sweet, loaf. It also contributes to browning of the crust.
- Sunflower Oil: I commonly use sunflower oil in my baking because it’s a neutral-flavored oil that I always have a bottle of on hand, and it contributes to the bread’s tenderness and moisture. However, you have several excellent alternatives for a neutral-flavored fat. Other suitable vegetable oils include extra virgin olive oil for a slightly fruitier note, melted coconut oil (ensure it’s completely melted if solid, and be aware it might impart a very subtle coconut flavor), or avocado oil. Alternatively, if you are not sensitive to lactose or dairy, melted unsalted butter can also be used, which will add a rich, buttery flavor to the bread.
- Apple Cider Vinegar: Apple cider vinegar (ACV) plays a dual and important role in this recipe. Firstly, it helps create an acidic environment that activates the baking powder, thus contributing to a better and more consistent rise. Secondly, the acidity of the vinegar tenderizes the gluten-free crumb, resulting in a softer and more pleasant texture. If ACV is unavailable, you can substitute it with an equal quantity of white vinegar or fresh lemon juice, as these will provide a similar acidic contribution.
- Warm Water: The temperature of your water is absolutely crucial for activating the yeast properly. It needs to be warm, ideally between 105°F and 115°F (40°C to 46°C). Water that is too cold will fail to activate the yeast, leading to a flat, dense loaf with no rise. Conversely, water that is too hot will kill the yeast entirely, preventing any leavening whatsoever. Using a kitchen thermometer is highly recommended for accuracy. As an alternative to water, you can use warm non-dairy milk like almond milk, cashew milk, rice milk, soy milk, or coconut milk for a slightly richer flavor and added moisture. If dairy isn’t an issue for you, regular cow’s milk can also be used.
- Eggs: Eggs serve as excellent binders in bread recipes, particularly in gluten-free baking where gluten’s binding properties are absent. They help to hold the ingredients together, provide additional structure, and contribute to the bread’s overall lift and richness, resulting in a more tender and moist crumb. If you have an egg allergy, are sensitive to eggs, or prefer to make this recipe completely vegan, you can successfully substitute eggs with aquafaba (the liquid from canned chickpeas, typically 3 tablespoons per egg) or a commercial egg-replacer, meticulously following the product’s instructions for equivalence.
How to Make Gluten-Free Teff Bread (Step-by-Step Guide)
Follow these simple, detailed steps to bake a perfect loaf of soft, fluffy, and delicious gluten-free teff bread right in your own kitchen:
1. Prepare Your Pan and Preheat Oven
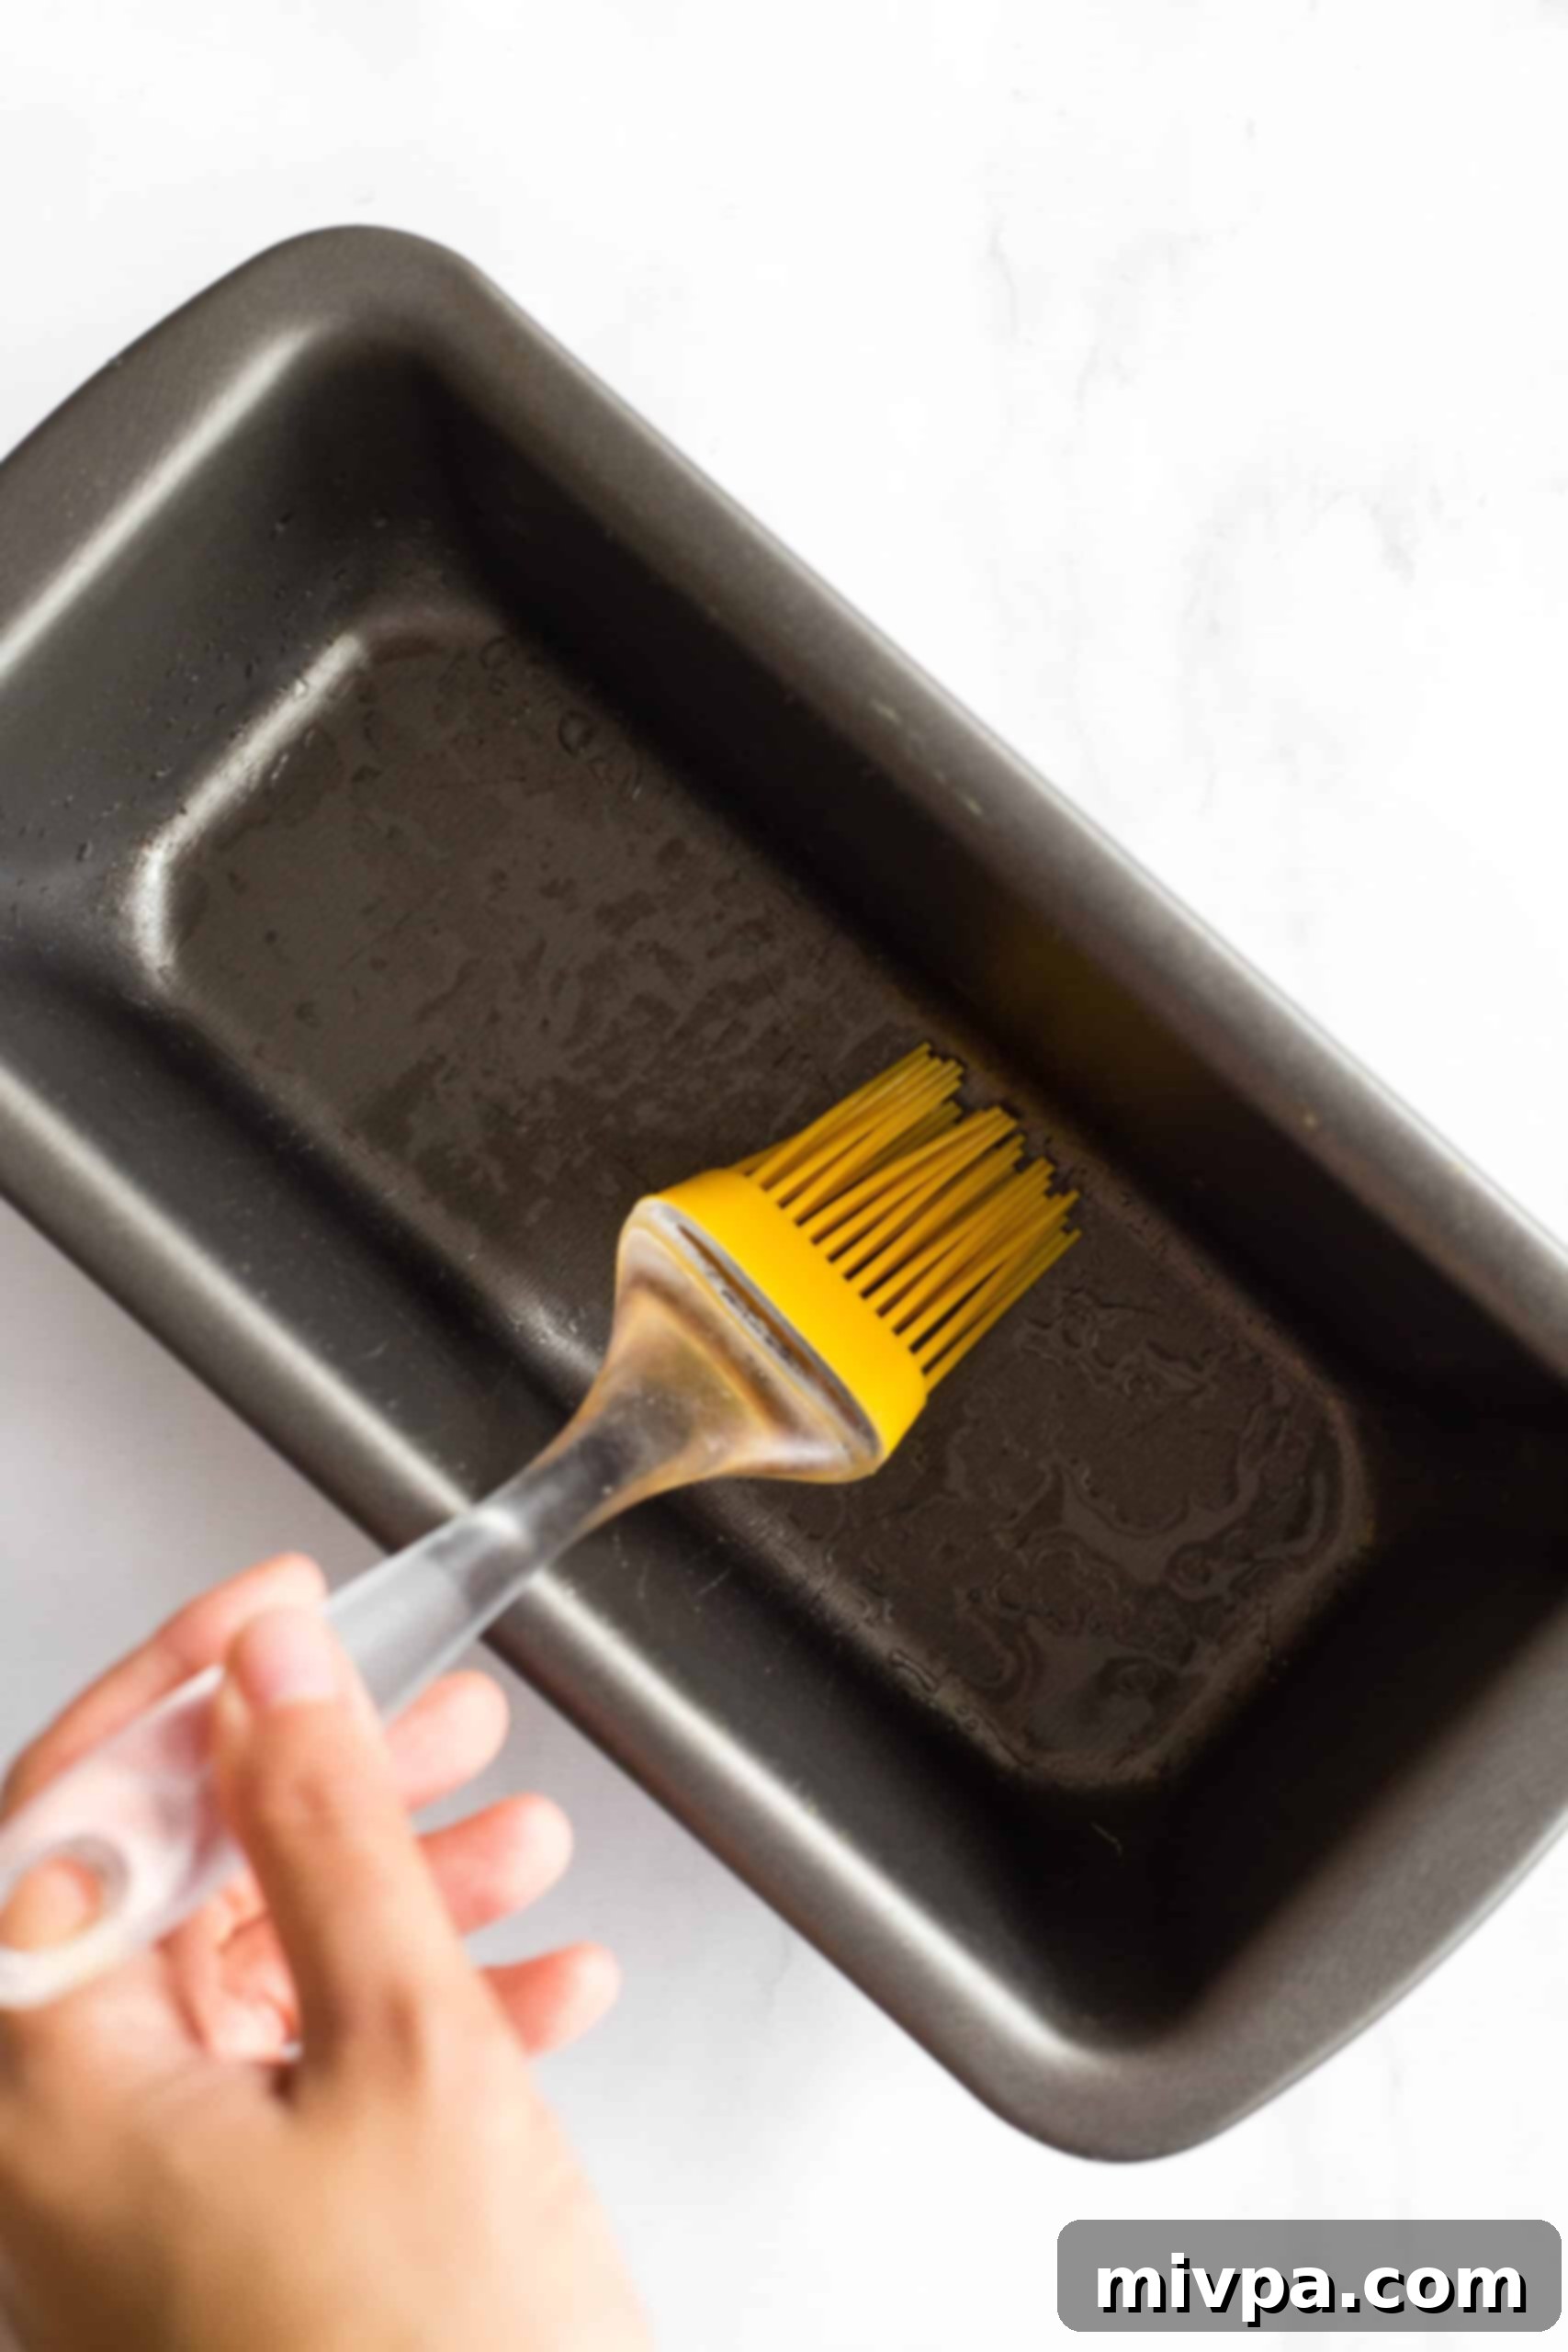
Begin by preheating your oven to 350°F (175°C). While the oven heats, arrange your oven rack to the middle-third position to ensure even baking and optimal browning. Generously grease an 8″ x 4″ nonstick metal loaf pan with a little oil of your choice (sunflower, olive, or avocado oil work well). Greasing prevents the dough from sticking and ensures your beautiful loaf releases easily after baking, preventing any damage to the crust.
2. Combine All Dry Ingredients Thoroughly
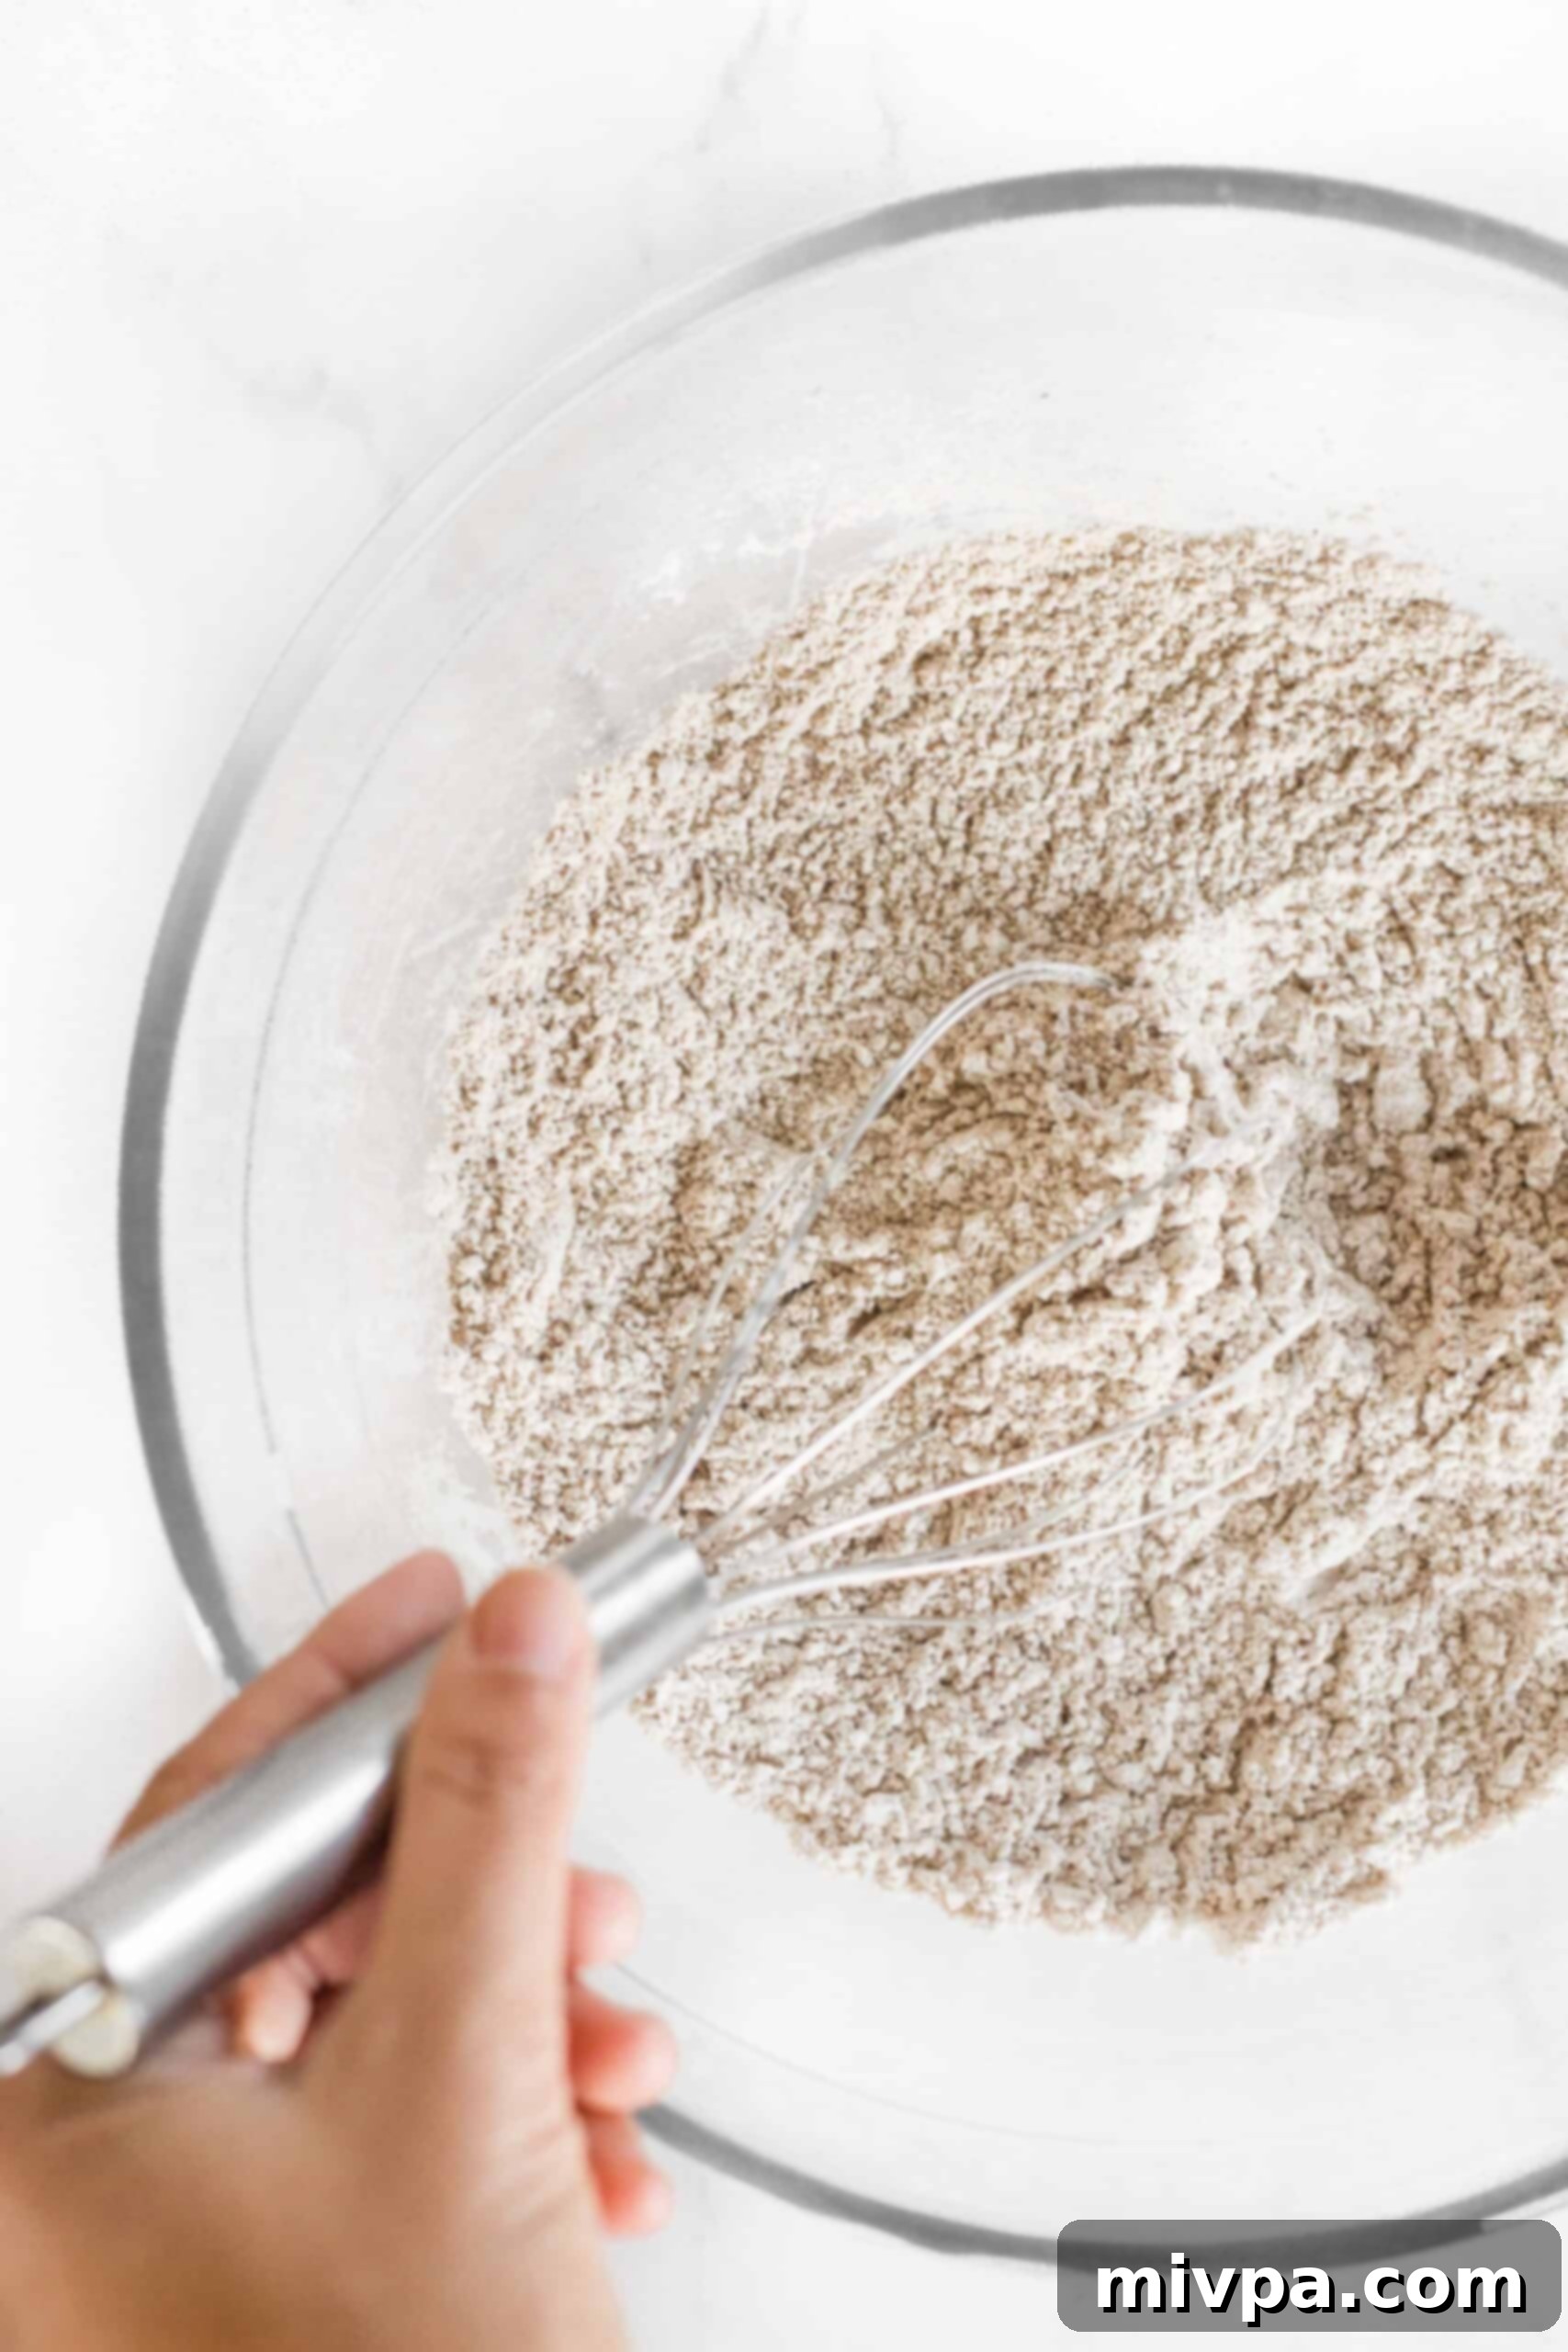
In a spacious large mixing bowl, meticulously whisk together all the dry ingredients: the gluten-free all-purpose flour blend, xanthan gum (remember to only use this if your flour blend doesn’t already contain it), teff flour, psyllium husk powder, baking powder, salt, instant yeast, and sugar. Whisking vigorously for at least 30 seconds ensures that all the leavening agents (yeast and baking powder) and flours are evenly distributed throughout the mixture. This is crucial for a consistent rise and uniform texture in the final bread.
3. Incorporate Wet Ingredients to Form Dough
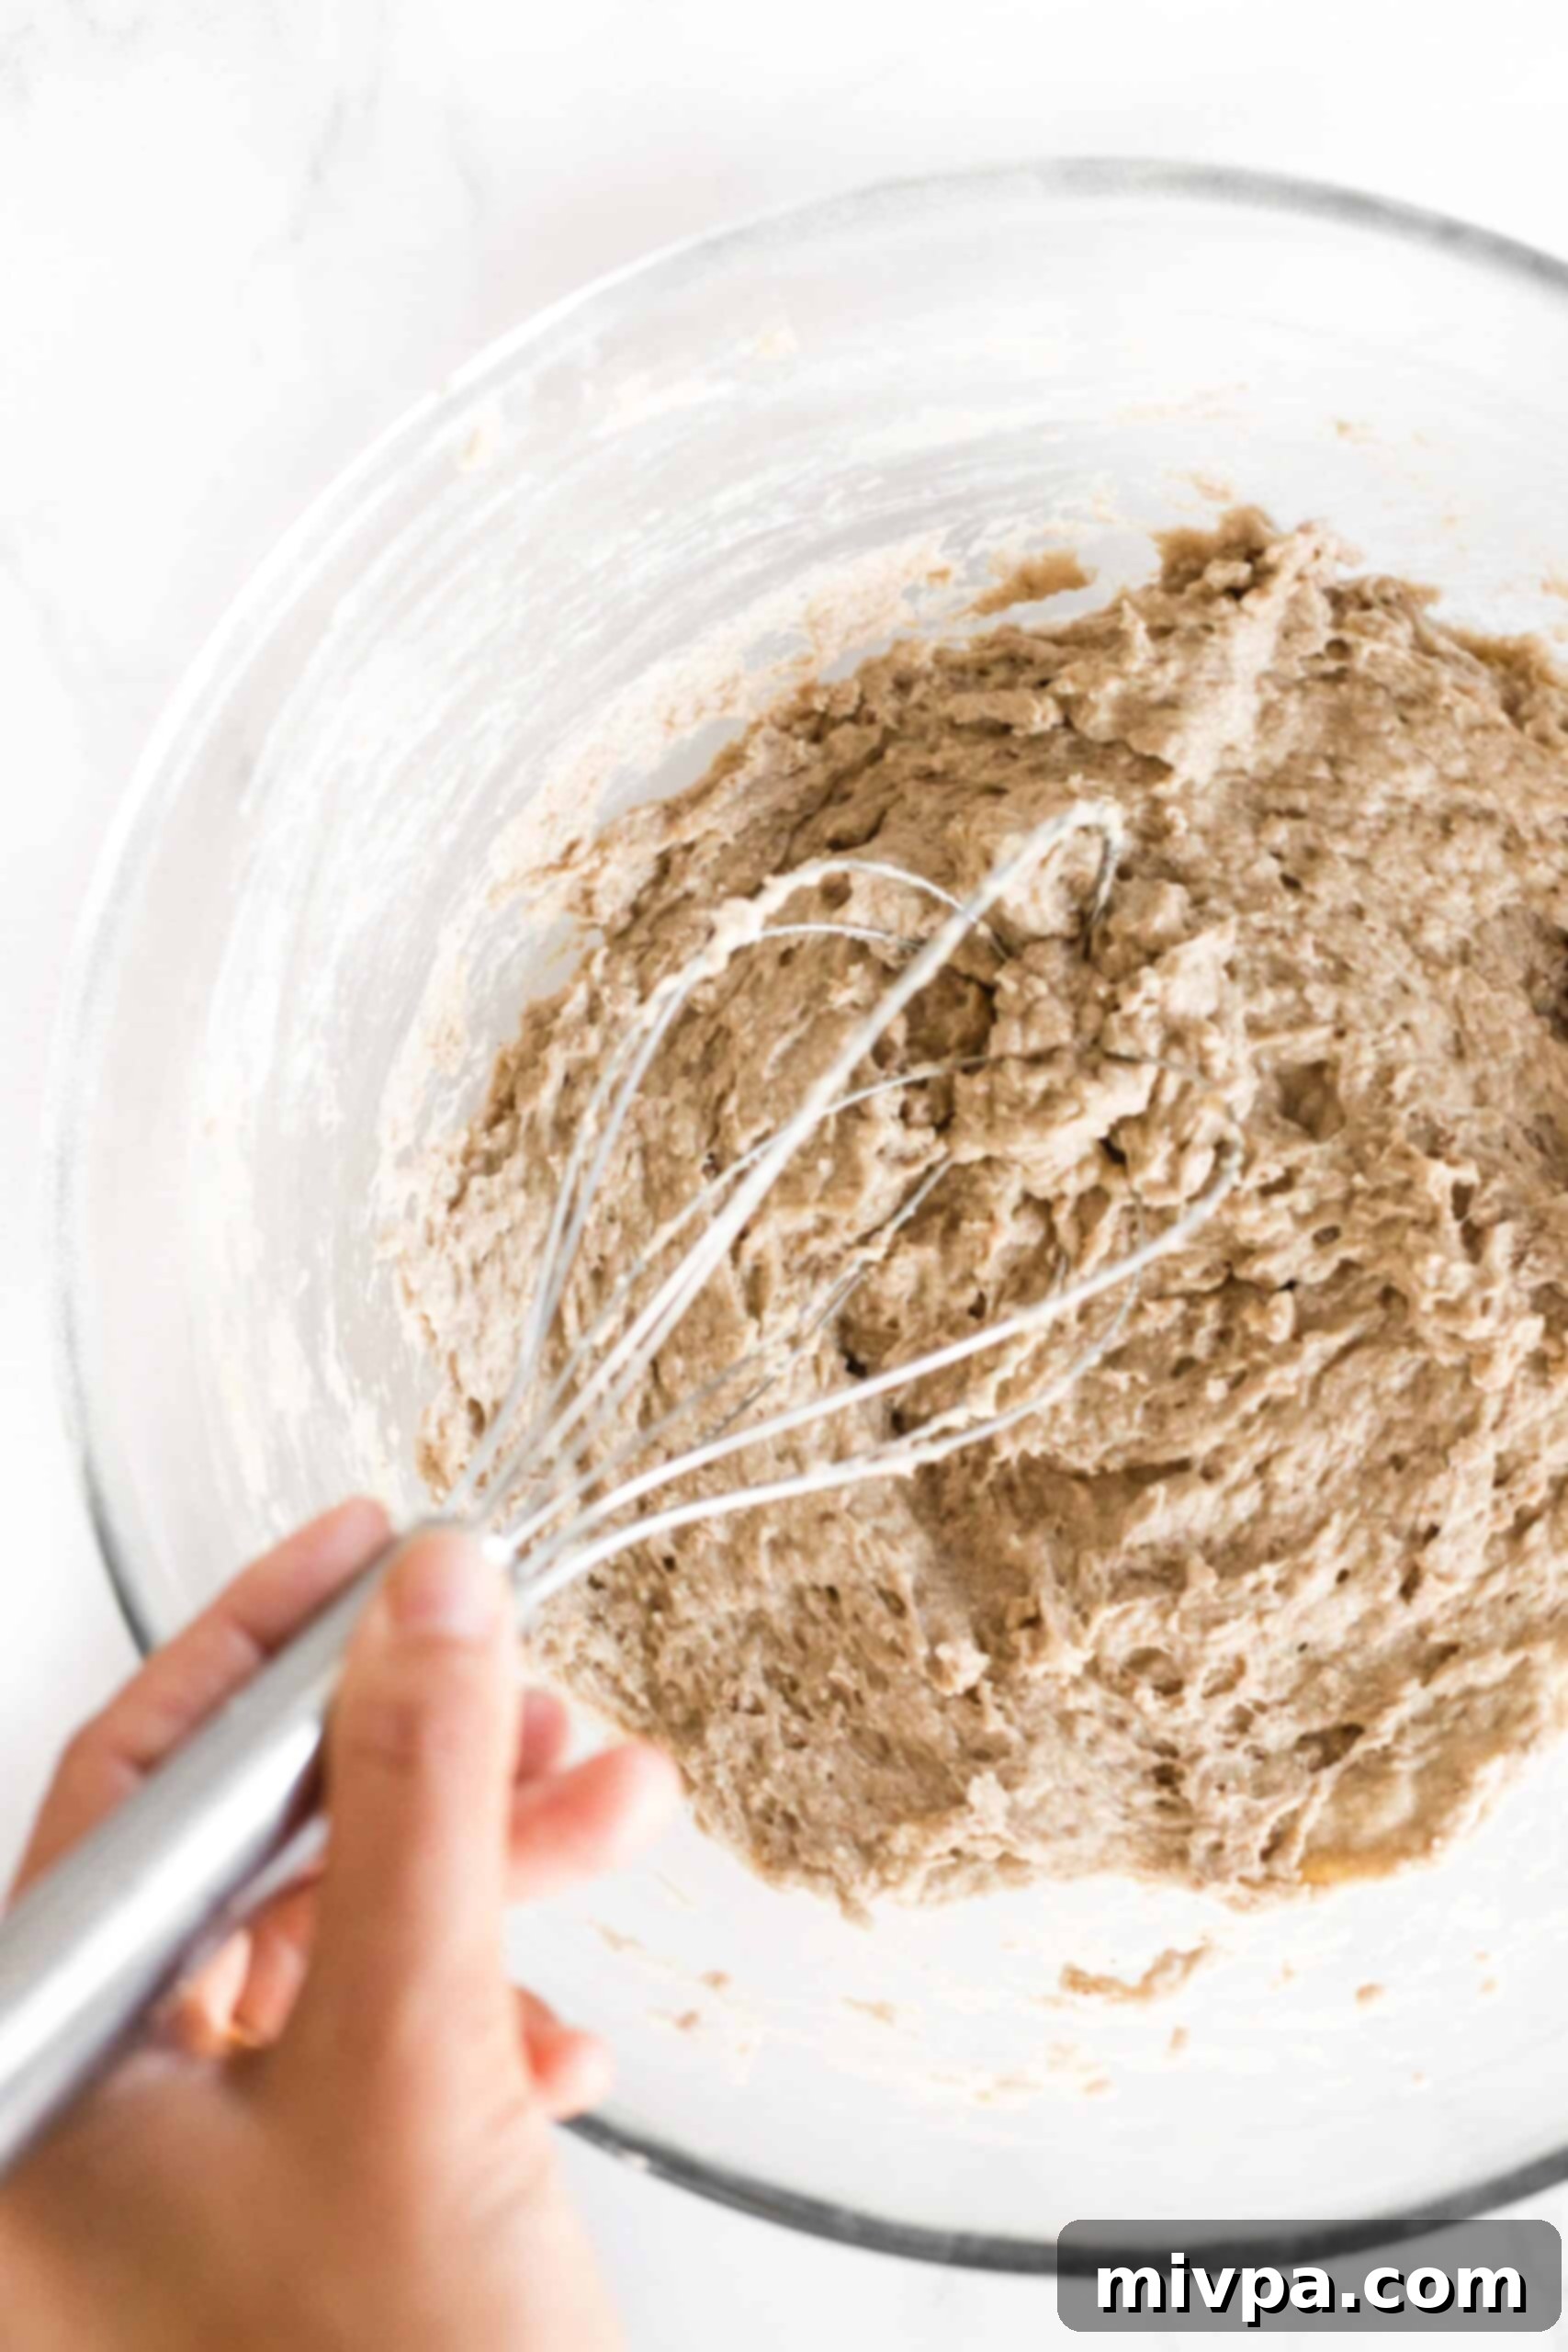
To the bowl containing your thoroughly mixed dry ingredients, add the vegetable oil, apple cider vinegar, and warm water. Mix these wet components well with the dry mix until a thick, somewhat lumpy batter forms. Then, add the lightly beaten eggs and continue to mix for approximately one minute, either with a sturdy spoon or a stand mixer with a paddle attachment. At this stage, you should achieve a dough with a consistency resembling thick cake batter. It’s perfectly normal for this gluten-free dough to be quite sticky and wet – this is the exact texture we are aiming for to ensure a moist, tender, and fluffy loaf, so resist the urge to add more flour.
4. Transfer Dough to Prepared Pan and Smooth Top
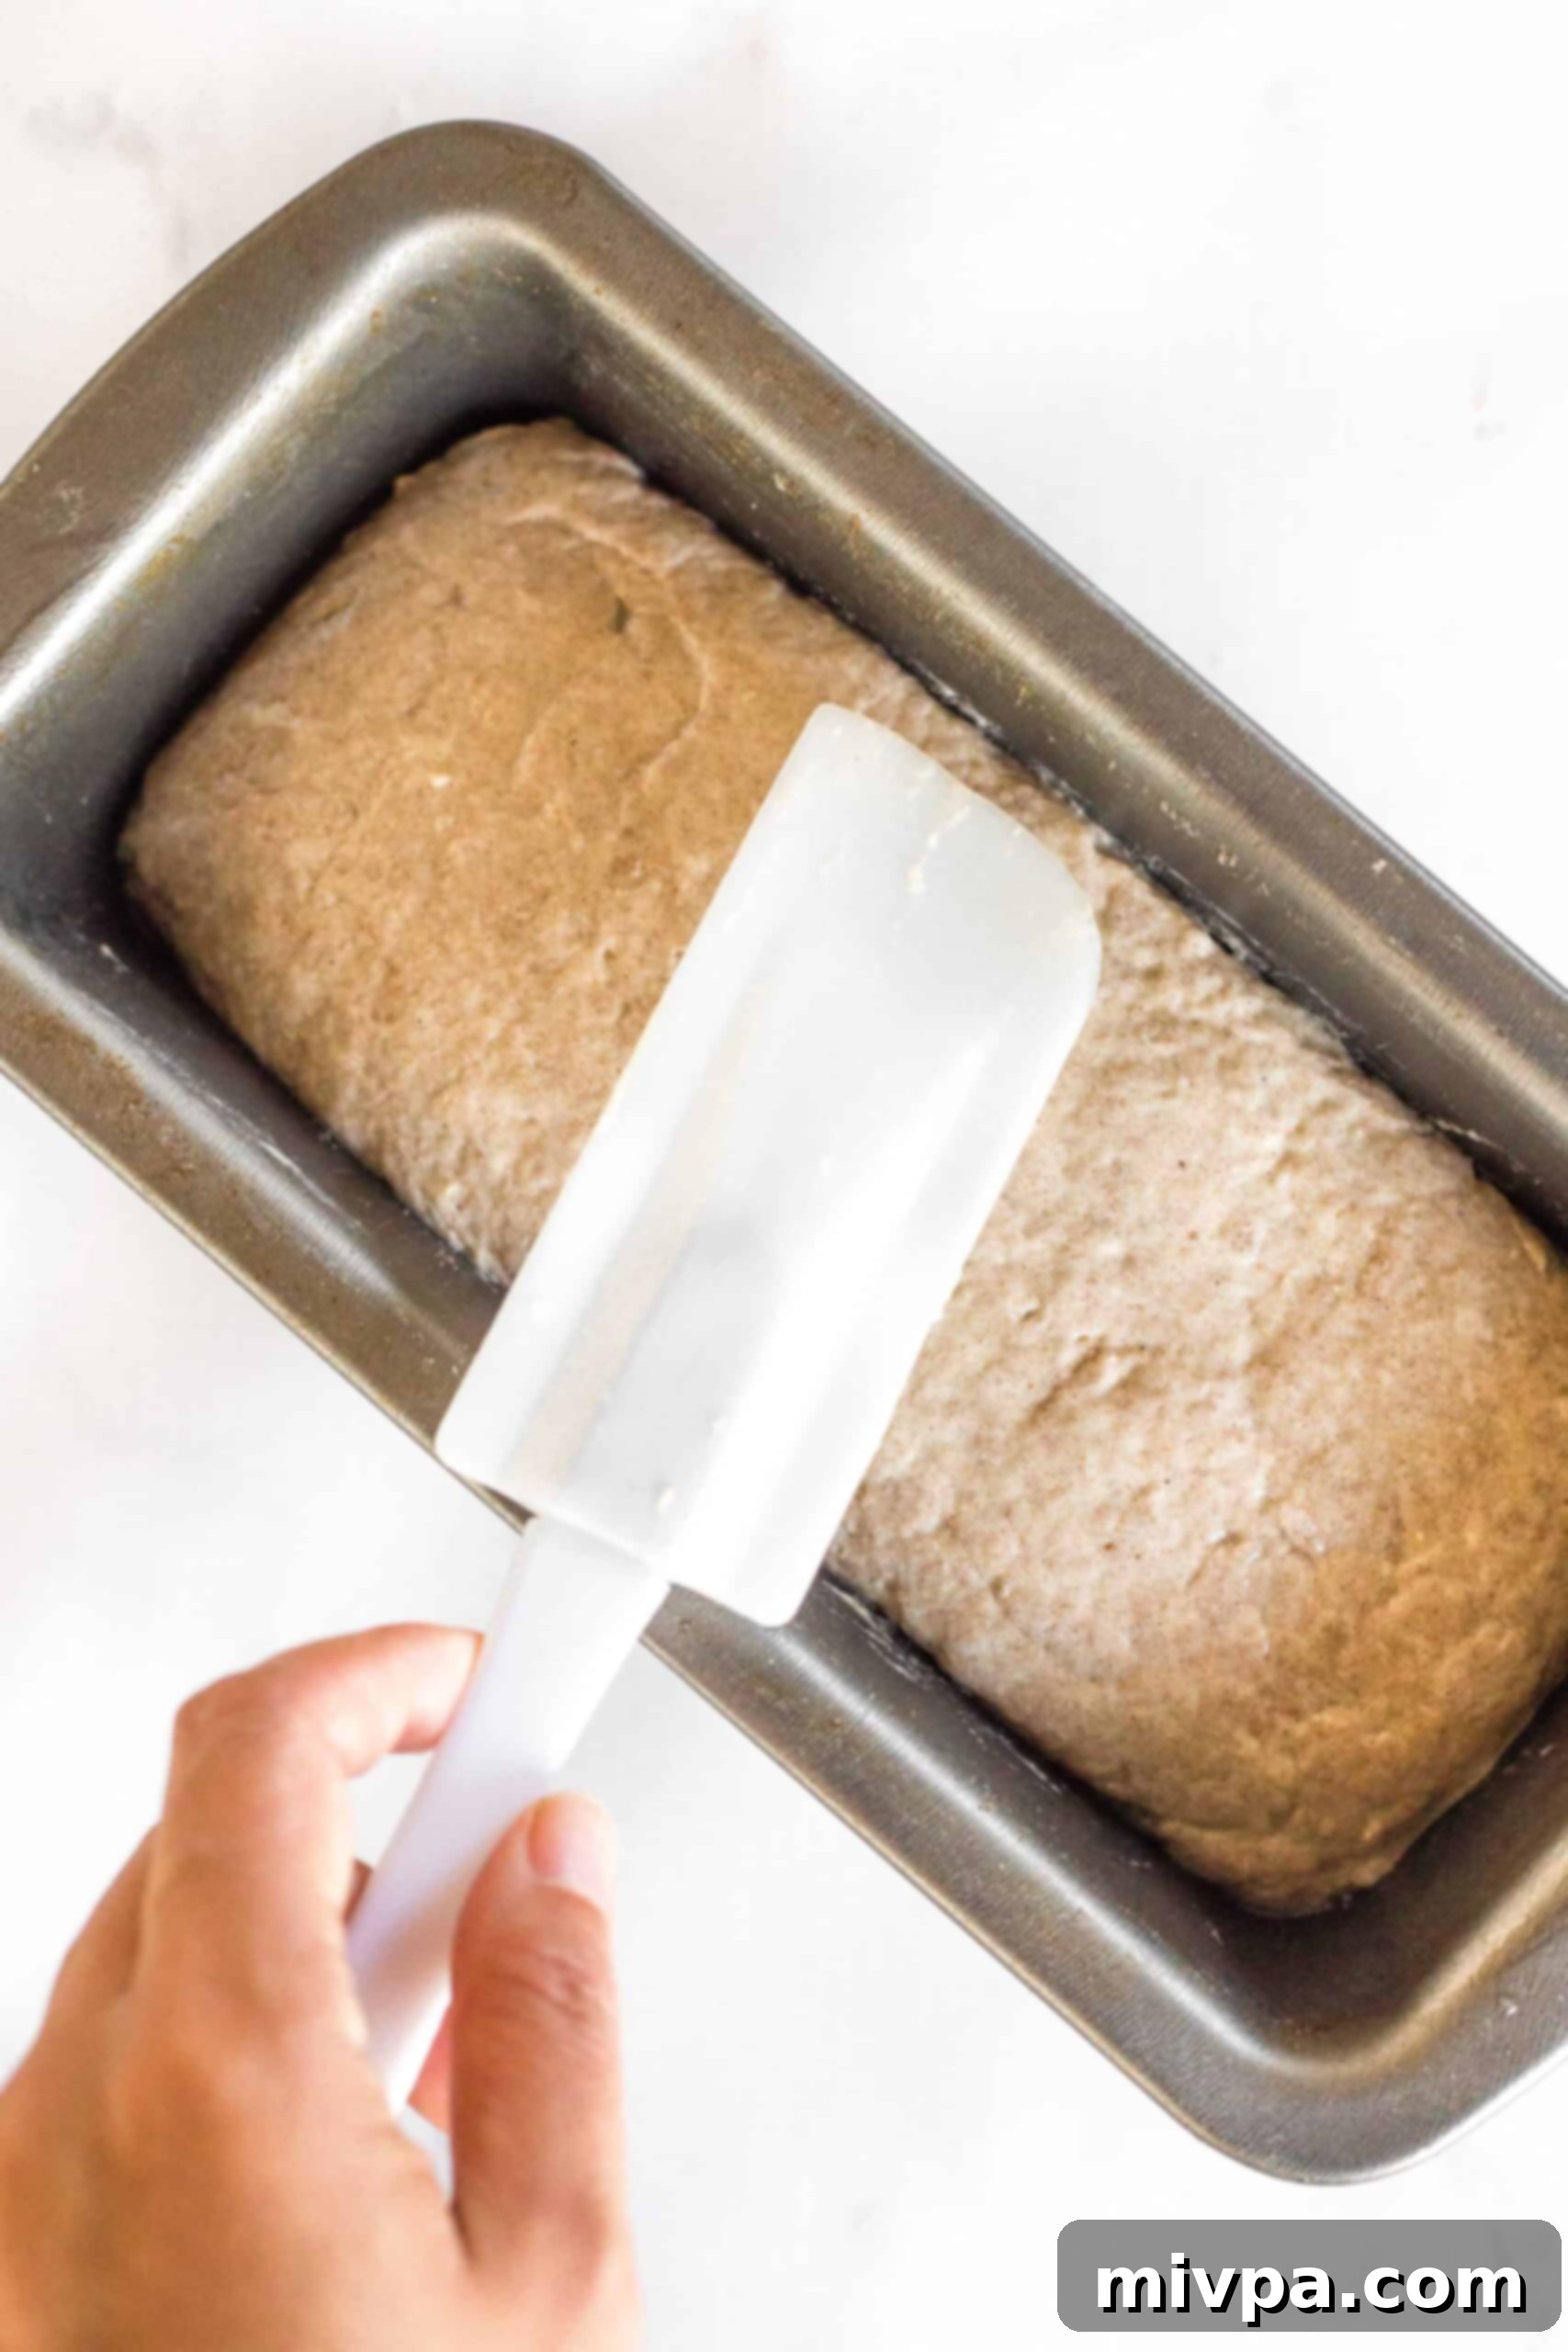
Carefully transfer the sticky teff bread dough from the mixing bowl into your already greased loaf pan. The dough will be thick and somewhat cohesive. Use a wet spatula or the back of a spoon to gently smooth out the top surface of the dough. Dipping your utensil in water periodically will prevent the dough from sticking to it, making it easier to achieve an even and appealing surface for your loaf.
5. Allow the Dough to Rise (Proofing Stage)
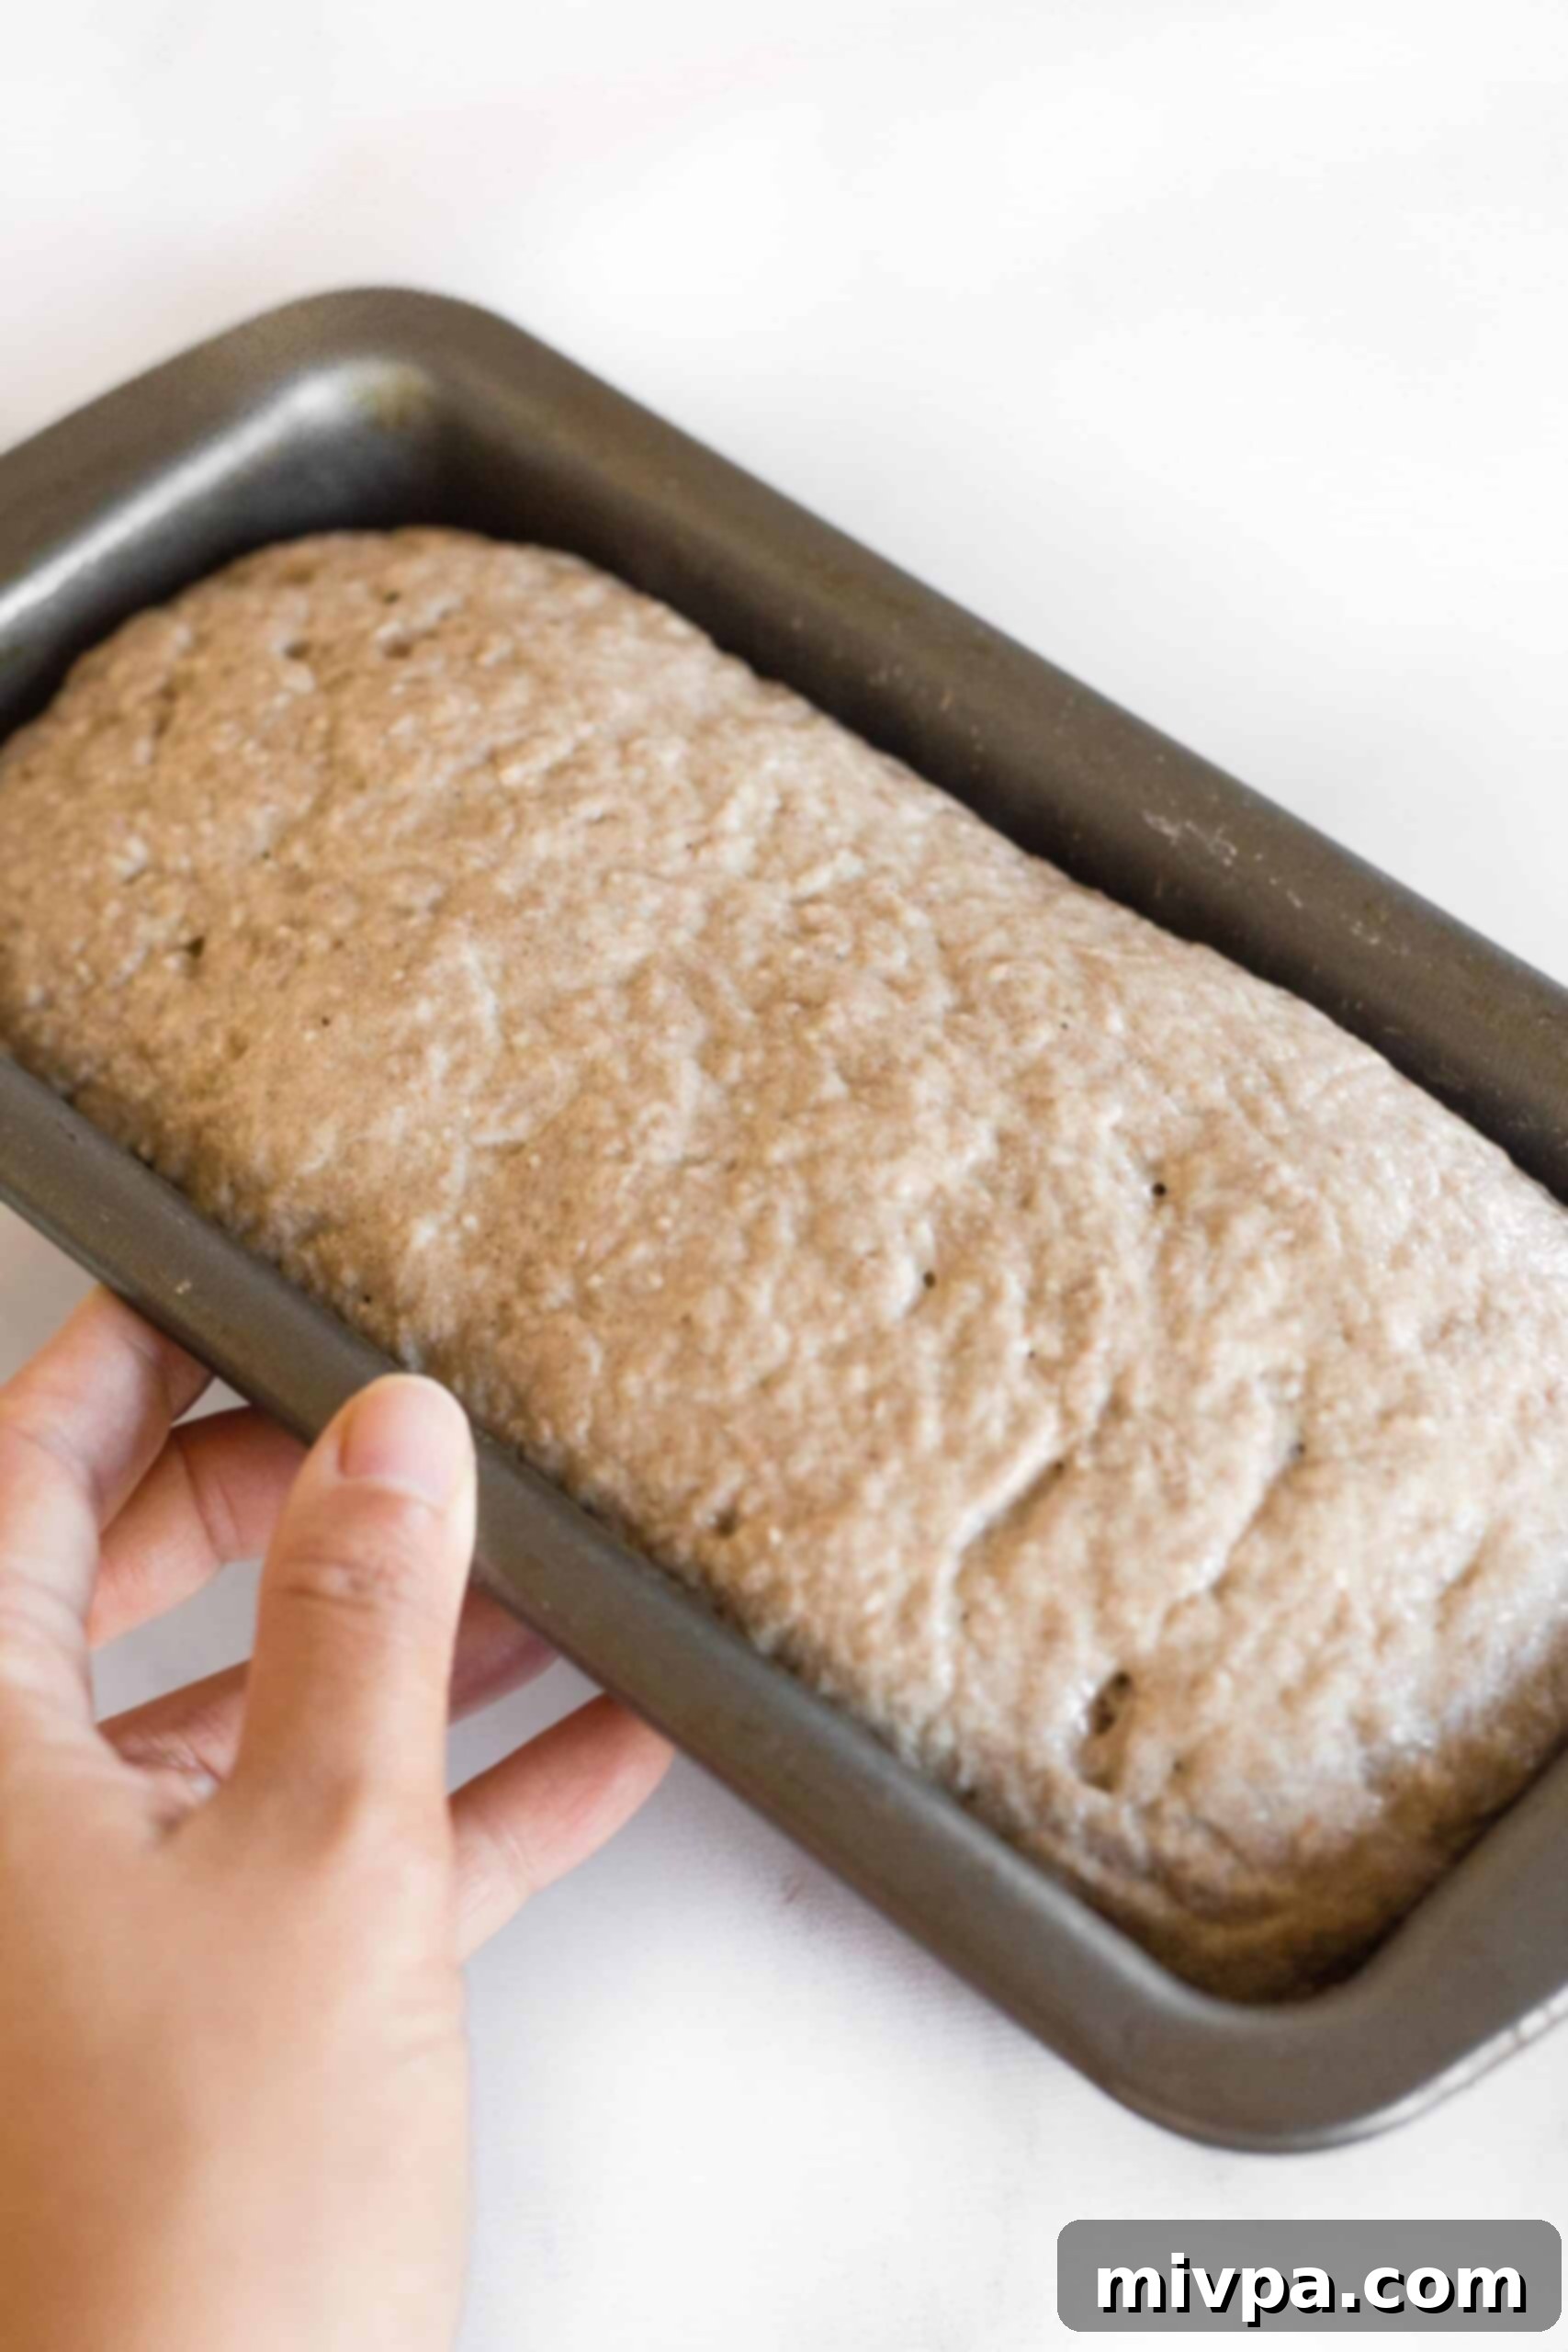
Once the dough is neatly in the pan, loosely cover the pan with a clean kitchen towel. Place it in a warm, draft-free location to rise, also known as proofing. The ideal environment, usually around 75-85°F (24-29°C), helps the yeast activate effectively and encourages the dough to expand. Allow the dough to rise for approximately 30 to 40 minutes, or until it has noticeably doubled in size and nearly reaches the top edge of your loaf pan. This crucial step develops the bread’s flavor and ensures a light, airy texture after baking. (Chef’s Tip for Proofing: A highly effective trick is to place the covered pan inside your microwave – ensuring the microwave is switched OFF – as it provides an excellent warm, enclosed, and perfectly draft-free space for optimal dough proofing.)
6. Bake Until Perfectly Golden Brown and Cooked Through
Once the dough has risen beautifully, transfer the loaf pan to your preheated oven (set to 350°F / 175°C). Bake for approximately 50 to 60 minutes. You’ll know the teff bread is perfectly ready when the top crust has developed a deep, inviting golden-brown color, and when you gently tap the top or bottom of the loaf, it emits a hollow sound. This hollow sound is a key indicator that the bread is fully cooked through and has achieved a perfect internal structure. If it sounds dull or soft, it might need a few more minutes.
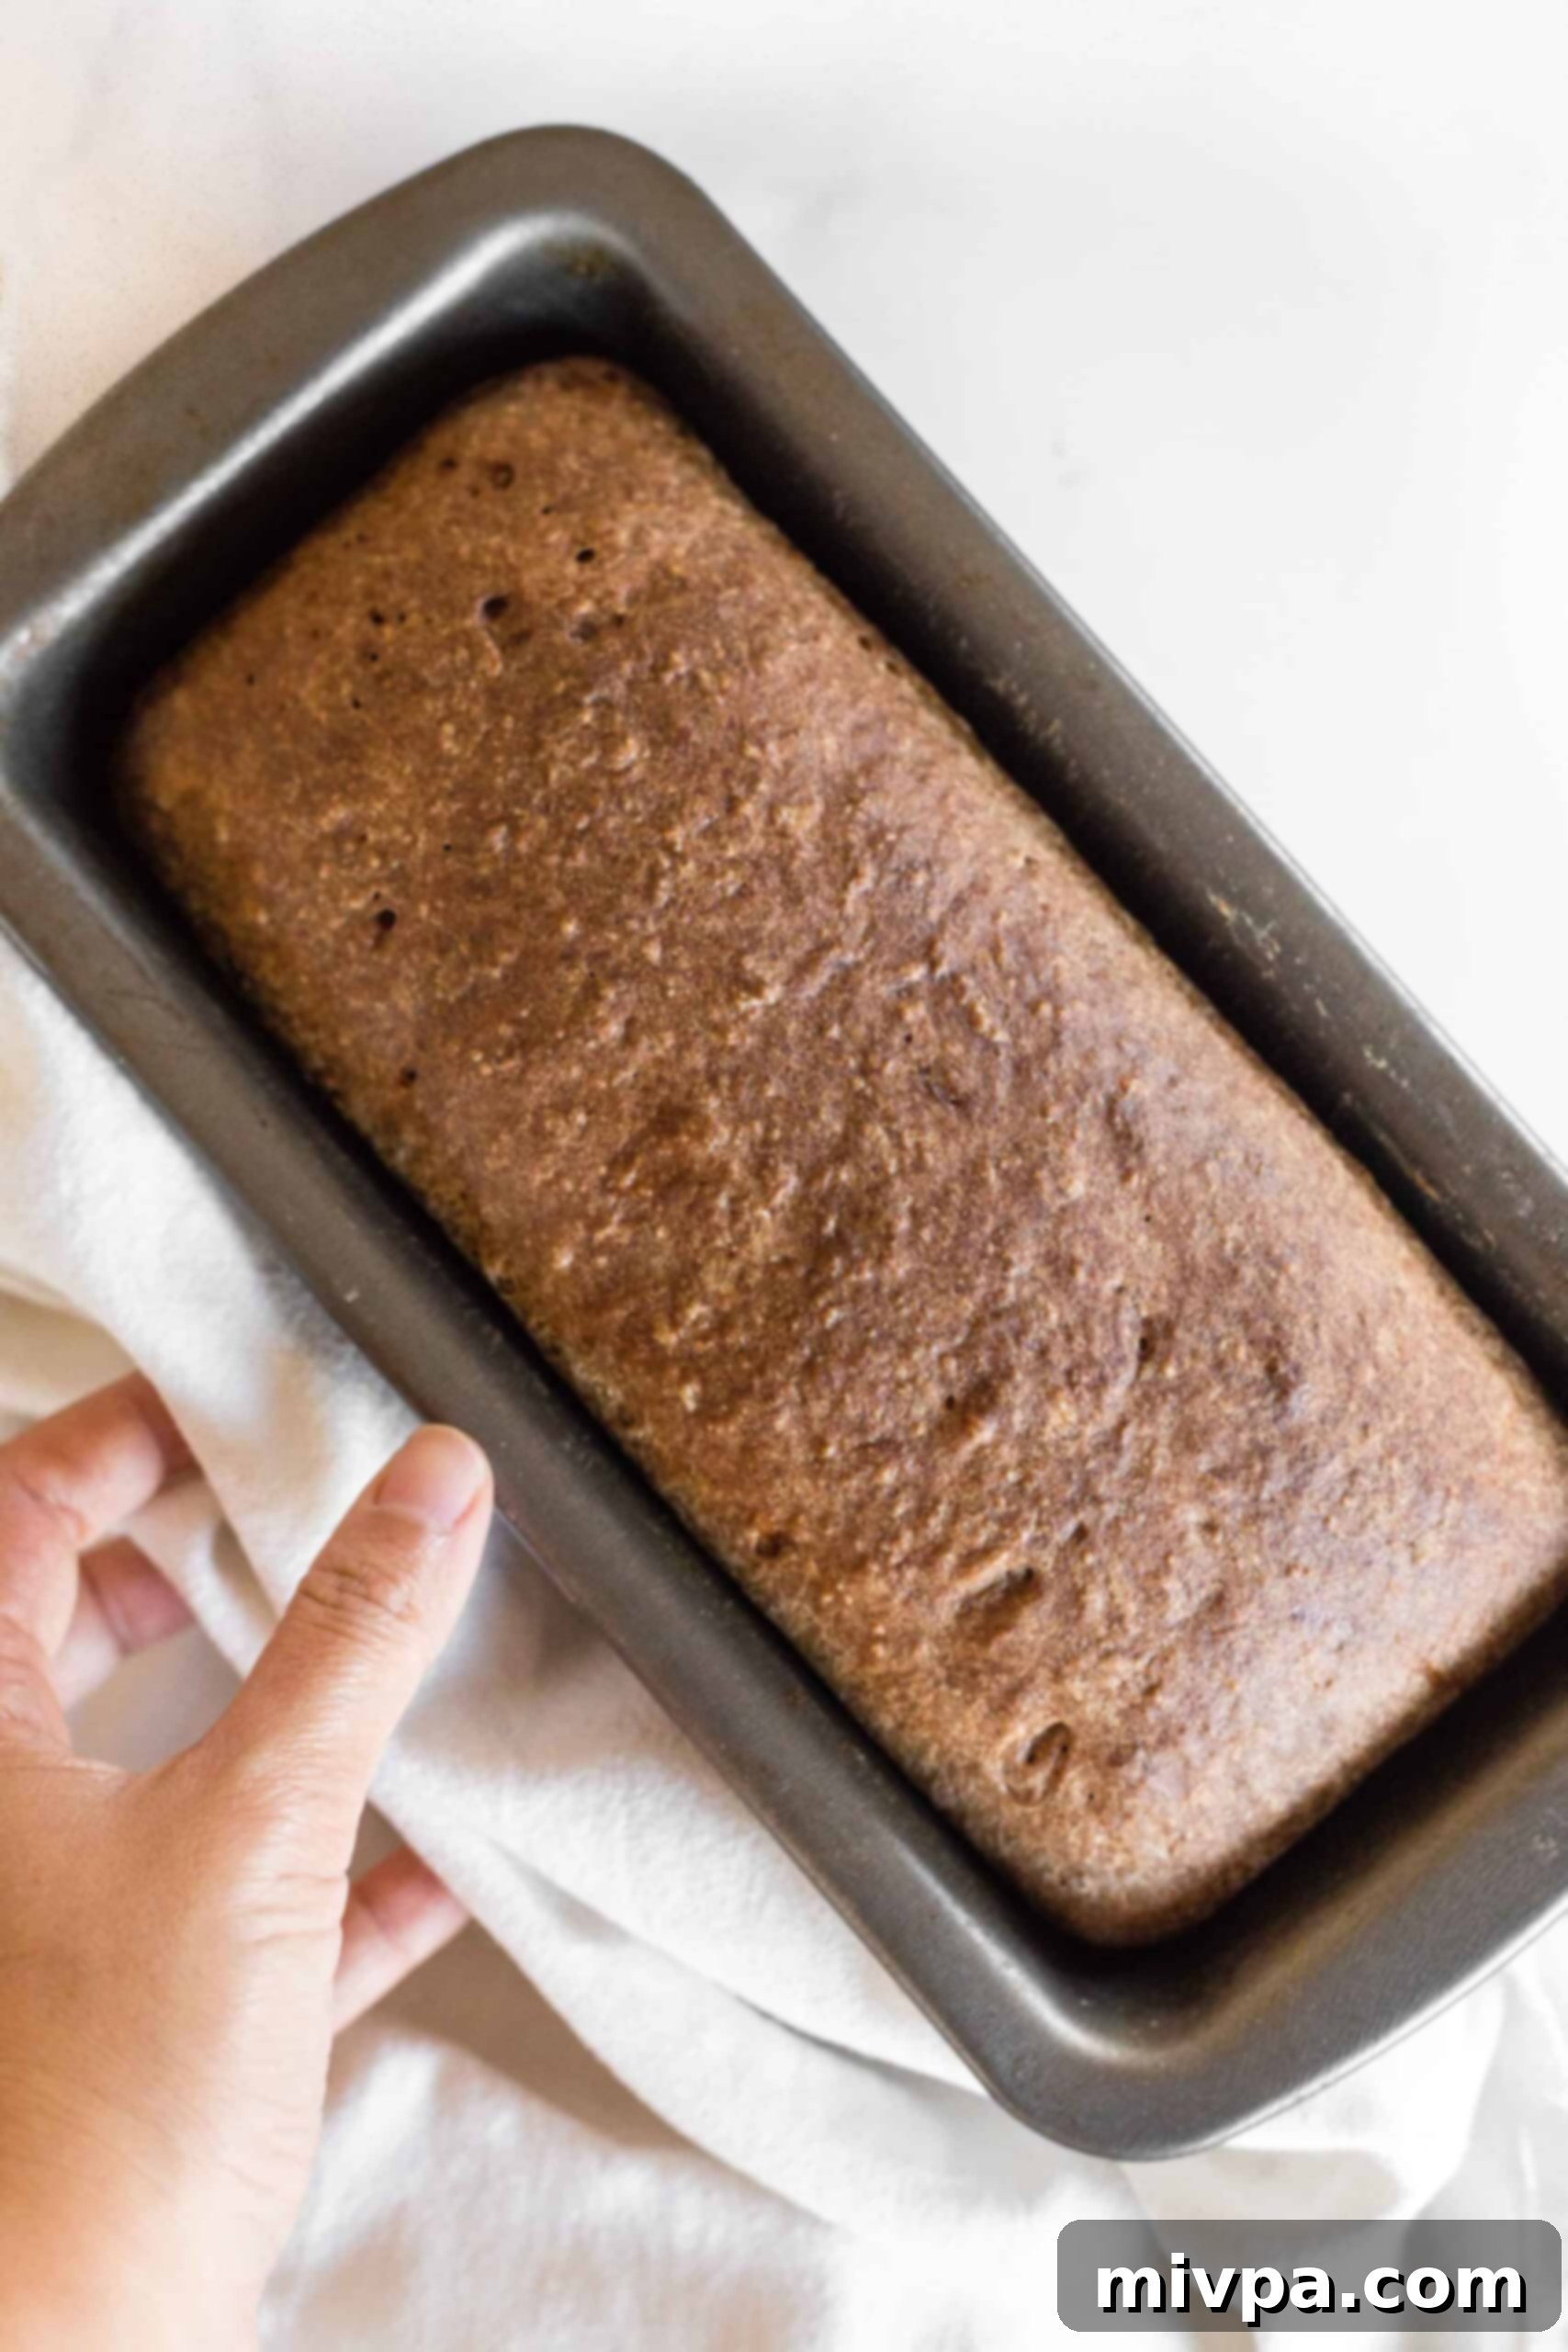
7. Cool Completely Before Slicing (Crucial Step!)
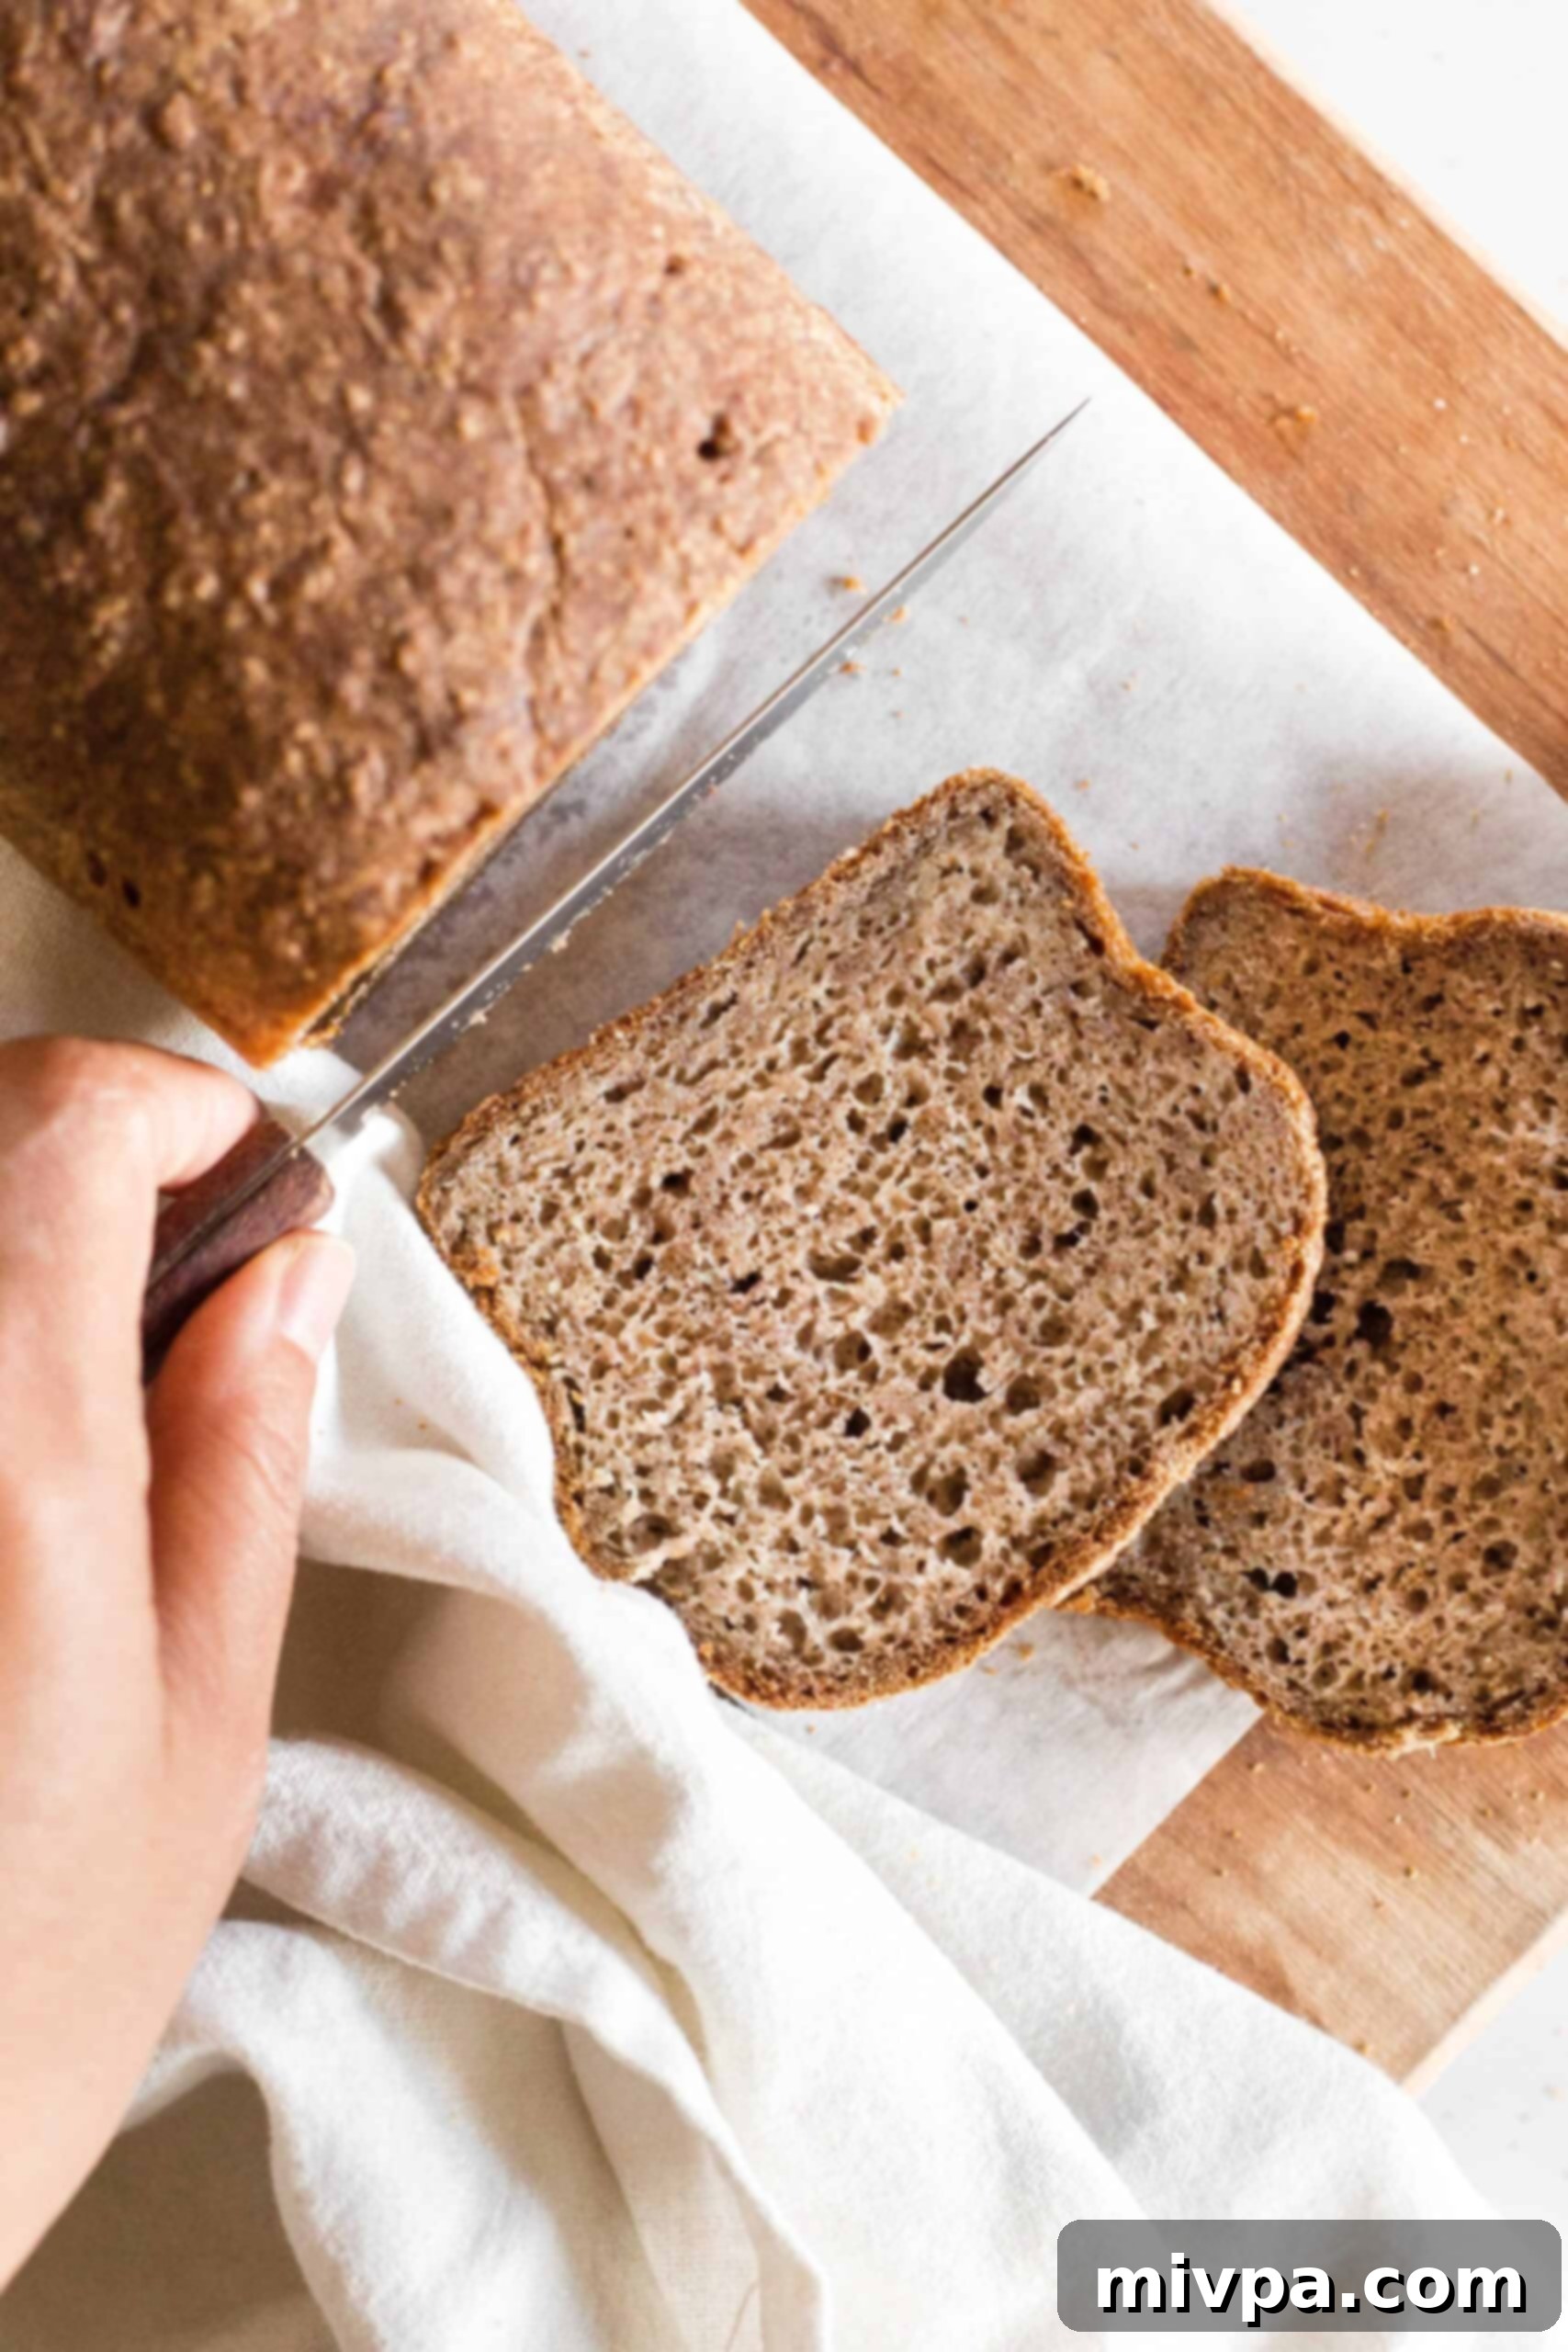
Once baked, resist the immediate urge to slice into your delicious creation! This step is incredibly crucial for the final texture. Allow the freshly baked teff bread to cool in the loaf pan for at least 10 minutes. This initial cooling period allows the bread to set, firm up, and prevents it from collapsing or becoming gummy. After 10 minutes, carefully remove the loaf from the pan and transfer it to a wire rack. It’s absolutely essential to let it cool completely at room temperature, ideally for at least an hour or two (or longer for a very large loaf). This extended cooling process allows the internal cooking to finish from residual heat, and for the starches to fully set, resulting in a firm, sliceable, and perfectly textured loaf. Only slice into the loaf with a sharp serrated knife once it has fully cooled; slicing warm bread, especially gluten-free varieties, can lead to a dense, gummy, and unappealing texture.
Pro Baking Tips for Perfect Teff Bread:
Achieving the best possible results with your homemade teff bread is easier with a few insider tips and tricks that will ensure a consistently delicious outcome:
- Opt for a Metal Loaf Pan: I strongly advocate for using a metal loaf pan for this recipe. Metal is an excellent conductor of heat, meaning it distributes heat more evenly and efficiently throughout the baking process. This ensures that your bread bakes thoroughly from all sides, developing that coveted deep golden-brown crust on the sides and the bottom, as well as the top. In contrast, glass or ceramic pans tend to conduct heat less efficiently and can sometimes result in a less thoroughly cooked interior or a lighter, less crispy bottom crust.
- Pan Size Impacts Loaf Height and Shape: The dimensions of your loaf pan directly influence the final height and overall shape of your baked bread. For this particular teff bread recipe, I specifically use an 8″ x 4″ loaf pan, which consistently yields a beautifully high, proud, and stately loaf with a classic bread shape. If you opt for a larger pan, such as a 9″ x 5″ size, be aware that the same amount of dough will naturally spread out more to fill the wider area, resulting in a loaf that is wider and flatter in appearance. Both will taste equally great, but the aesthetic will differ significantly.
- Always Use a Serrated Knife for Slicing: To maintain the integrity of your soft and fluffy teff bread and prevent it from flattening, squishing, or tearing, it is absolutely essential to use a serrated bread knife (one with ridged, saw-like edges) for slicing. A smooth-edged knife can compress and damage the delicate, airy crumb of fresh bread, especially gluten-free varieties which can be more fragile. The gentle sawing motion of a serrated knife allows for clean, precise cuts without crushing the loaf, preserving its beautiful texture.
Frequently Asked Questions (FAQs):
To maintain its optimal freshness, soft texture, and prevent it from drying out, allow your freshly baked teff flour bread to cool completely to room temperature on a wire rack. This is a critical step before storing. Once fully cooled, place the entire loaf or individual slices in an airtight container, a breathable bread bag, or wrap it tightly in plastic wrap. Store it in the refrigerator, where it will remain wonderfully fresh and delicious for up to 5 days. For best results, avoid storing it on the countertop for extended periods, as gluten-free breads tend to dry out more quickly than their wheat counterparts due to the lack of gluten structure.
Absolutely! This teff bread freezes beautifully, making it an excellent option for meal prep or ensuring you always have delicious homemade bread on hand. To freeze, after the loaf has completely cooled to room temperature (never freeze warm bread as it will create condensation and ice crystals), wrap it tightly in several layers of plastic wrap, ensuring no air can penetrate and cause freezer burn. Then, wrap it again in a layer of heavy-duty aluminum foil or place it in a freezer-safe zip-top bag. This double-layer protection is key. You can freeze the entire loaf for up to 2 months. When you’re ready to enjoy it, simply transfer the frozen loaf to the refrigerator and let it thaw overnight. Once thawed, you can slice it and toast as desired for a quick and easy breakfast or snack. You can also slice it before freezing for individual servings.
Yes, teff is indeed a naturally gluten-free grain. This is a key reason why it’s such a popular and valuable ingredient in gluten-free baking and a staple for those with dietary restrictions. Unlike common grains such as wheat, rye, spelt, or barley, teff does not contain the gluten protein that can cause digestive issues, inflammatory responses, or severe reactions for individuals with Celiac disease or gluten intolerances. Its natural gluten-free status means that it can be safely consumed by these individuals, providing a hearty, nutritious, and delicious base for baked goods. This makes teff flour an excellent and reliable alternative for anyone on a strict gluten-free diet, opening up a world of possibilities for delicious bread that aligns with their health needs.
Perfect Pairings: Delicious Jam Recipes to Enjoy with Your Teff Bread:
What better way to complement a freshly baked, warm, or toasted slice of teff bread than with a generous smear of homemade jam? The nutty, earthy flavors of teff bread provide a wonderful canvas for the sweetness and fruitiness of these delightful spreads. Here are some fantastic, naturally gluten-free and vegan jam recipes that pair beautifully with your teff loaf, elevating your breakfast or snack time:
- Easy Apricot Jam (Gluten-Free, Vegan): A sunny, sweet, and slightly tart option that brightens any slice.
- Simple Plum Jam (Gluten-Free, Vegan): Rich and wonderfully sweet with a hint of tang, perfect for fall flavors.
- Wholesome Mixed Berry Chia Seed Jam (Gluten-Free, Vegan): A quick, healthy, and vibrant burst of berry goodness.
- Rustic Fig Jam (Gluten-Free, Vegan): Earthy and sweet, complementing the teff bread’s natural notes beautifully.
Explore Our Favorite Gluten-Free Yeast Breads:
If you’ve enjoyed the process and delicious results of this teff bread recipe, you’ll love exploring our other incredibly soft and delicious gluten-free yeast bread creations. Each recipe is meticulously developed to be dairy-free and perfect for various dietary needs, proving that gluten-free baking can be truly rewarding:
- Classic Gluten-Free White Bread (Dairy-Free): A versatile staple for everyday use.
- Hearty Buckwheat Bread (Gluten-Free, Dairy-Free): Known for its unique flavor and excellent texture.
- Nutty Brown Rice Bread (Gluten-Free, Dairy-Free): A wholesome and satisfying loaf.
- Versatile Sorghum Bread (Gluten-Free, Dairy-Free): Light and fluffy, perfect for any meal.
- Delicate Millet Bread (Gluten-Free, Dairy-Free): A mild-flavored bread that’s surprisingly tender.
- Protein-Rich Quinoa Bread (Gluten-Free, Dairy-Free): Adds a nutritional boost to your plate.
- Comforting Potato Bread (Gluten-Free, Dairy-Free): Incredibly moist and flavorful.
- Effortless Artisan Bread (Gluten-Free, Dairy-Free): Achieves impressive results with minimal hands-on time.
Discover More Gluten-Free Bread Recipes You’ll Adore:
Beyond the realm of yeast breads, our comprehensive collection of gluten-free recipes offers a diverse range of baked goods to satisfy every craving and occasion. Explore these other fantastic gluten-free bread options that are sure to become new favorites in your kitchen:
- Gluten-Free Chocolate Chip Pumpkin Bread (Dairy-Free)
- Easy Gluten-Free Drop Biscuits (Dairy-Free)
- Gluten-Free Vegan Bagels (Chewy and Tender!)
- Egg-Free Gluten-Free Bread (So Tender!)
P.S. If you try this incredible teff bread recipe, I would be absolutely delighted if you could take a moment to leave a star rating below, or share your thoughts and experiences in the comment section further down the page. Your feedback is invaluable and always deeply appreciated as it helps me improve and create more recipes you’ll love. Don’t forget to explore my entire Recipe Index for a treasure trove of other delicious gluten-free and dairy-free recipes on the blog. You can also stay connected and inspired by following me on Pinterest, Facebook, or Instagram! For a weekly dose of fresh, new recipes delivered straight to your inbox, make sure to sign up for my exclusive Email List and never miss out on delicious inspiration!
Print
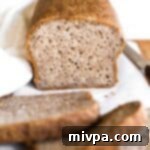
Soft, Fluffy Teff Bread (Gluten-Free, Dairy-Free)
5 Stars 4 Stars 3 Stars 2 Stars 1 Star
5 from 11 reviews
Author: Felicia Lim
Total Time: 1 hour 30 minutes
Yield: 12 servings
Diet: Gluten Free
Description
This incredibly soft and fluffy teff bread has a deliciously nutty and earthy flavor, and comes together very easily. It tastes delicious and looks uncannily similar to whole wheat bread. This teff flour bread is perfect for making sandwiches, avocado toast, or simply toasted and spread with jam. Totally gluten-free and dairy-free too, but no one would care!
Ingredients
Units
Scale
- 1 3/4 cup gluten-free all-purpose flour
- 1 teaspoon xanthan gum (leave out if your flour blend already includes it)
- 1/2 cup teff flour
- 2 tablespoons psyllium husk powder
- 1 teaspoon baking powder
- 2 1/4 teaspoons instant yeast
- 2 tablespoons sugar
- 1 teaspoon salt
- 1/3 cup sunflower oil
- 1 teaspoon apple cider vinegar
- 1 1/2 cups warm water (approx. 105 to 115F)
- 2 large eggs, beaten (room temperature)
Instructions
- Grease and Preheat: Preheat the oven to 350F (175°C) and arrange the oven rack to the middle third position. Generously grease an 8″ x 4″ nonstick metal loaf pan with oil.
- Combine Dry Ingredients: In a large mixing bowl, whisk the gluten-free all-purpose flour, xanthan gum (if using), teff flour, psyllium husk powder, baking powder, salt, instant yeast, and sugar together until well combined.
- Add Wet Ingredients: Add the vegetable oil, apple cider vinegar, and warm water to the dry ingredients, and mix well. Then, add the beaten eggs and mix for another minute until you get a dough that looks like thick cake batter (the dough will be sticky and wet, which is the desired texture).
- Transfer Dough to Pan: Transfer the teff bread dough to the prepared loaf pan and gently smooth out the top with a wet spatula or the back of a spoon.
- Let Dough Rise: Cover the pan with a clean kitchen towel and let the dough rise for approximately 30 to 40 minutes in a warm, draft-free place, until it has roughly doubled in size and almost reaches the top of the pan. (Tip: Placing the pan in an OFF microwave provides an ideal proofing environment.)
- Bake Until Ready: Bake for 50 to 60 minutes until the teff bread is dark brown on top and sounds hollow when gently tapped on the crust.
- Cool Completely: Let the freshly baked loaf cool for at least 10 minutes in the loaf pan, before carefully removing it and letting it cool fully at room temperature on a wire rack. Only slice the loaf with a serrated knife once it has completely cooled down to prevent a gummy texture.
Notes
Gluten-Free All-Purpose Flour Blend: I recommend using a good-quality gluten free all-purpose flour blend that uses lighter flours/starches (such as rice flour, corn starch, tapioca starch or potato starch) to ensure a fluffier final texture. I do NOT recommend using a gluten-free blend with heavier flours (such as garbanzo bean flour) as that will result in a denser final texture.
Xanthan Gum: Xanthan gum is the substitute for gluten in gluten-free flours, and helps to bind the ingredients together. If your gluten-free flour blend does not already include xanthan gum, make sure to add it in.
Teff Flour: Since this is teff bread recipe, teff flour is essential. However, if you would to make this bread but don’t have access to teff flour, a few good alternatives would be buckwheat flour, brown rice flour, millet flour, sorghum flour or amaranth flour.
Psyllium Husk Powder: Psyllium husk powder helps to give the ingredients extra binding power, and it makes to bread dome beautifully. Make sure you use the powder version. For best results, I do NOT recommend substituting this with anything else. (If you only have access to whole psyllium husks, you can use your high-speed blender or a coffee grinder to grind the psyllium husks into a very fine powder.)
Baking Powder: In addition to instant yeast, baking powder will help this teff flour bread rise even more. If you have Celiac disease or are gluten-intolerant, make sure to use certified gluten-free baking powder.
Instant Yeast: Yeast is required for the dough to rise and create beautiful pockets of air in the bread. I like using instant yeast because no prior activation time is required. However you may also use active dry yeast if you prefer (the difference is that instant yeast can be mixed directly with the dry ingredients, while active dry yeast requires rehydration for it to be activated).
Sugar: Sugar is necessary as the food for the yeast to feed on so it can be activated and produce the gases to form air pockets and make the dough rise. The sugar will be consumed by the yeast, so the bread will not be sweet once baked.
Sunflower Oil: I like using sunflower oil because I always have a bottle of it on hand. However, you may also use another vegetable oil such as extra virgin olive oil, melted coconut oil, or avocado oil. Alternatively, if you are not lactose-intolerant, feel free to use melted butter instead.
Apple Cider Vinegar: Apple cider vinegar creates an acidic environment that activates the baking powder to create gases that will help the dough rise more. If you don’t have ACV, you may also use white vinegar or lemon juice in equal quantities.
Warm Water: The water needs to be warm to activate the yeast. Make sure that the water is between 105 to 115F (if it’s too cold, the yeast will not be activated, if it’s too hot, the high temperature will kill the yeast). If you prefer, you may also use warm non-dairy milk (such as almond milk, cashew milk, rice milk, soy milk or coconut milk) instead of water. Alternatively, if you are not lactose-intolerant, feel free to use normal milk instead.
Eggs: The eggs help to bind the ingredients as well as gives the bread more lift. If you are allergic to eggs, or prefer to make this recipe completely vegan, you may use aquafaba or an egg-replacer.
Storing/Freezing: To store, place the cooled teff bread in an airtight container and store in the refrigerator for up to 5 days. To freeze, wrap the cooled loaf in various layers of plastic wrap and freeze for up to 2 months. Let frozen loaf thaw overnight in the refrigerator before slicing.
- Prep Time: 5 mins
- Rising Time: 30 mins
- Cook Time: 55 mins
- Category: Bread
- Method: Baking
- Cuisine: American
