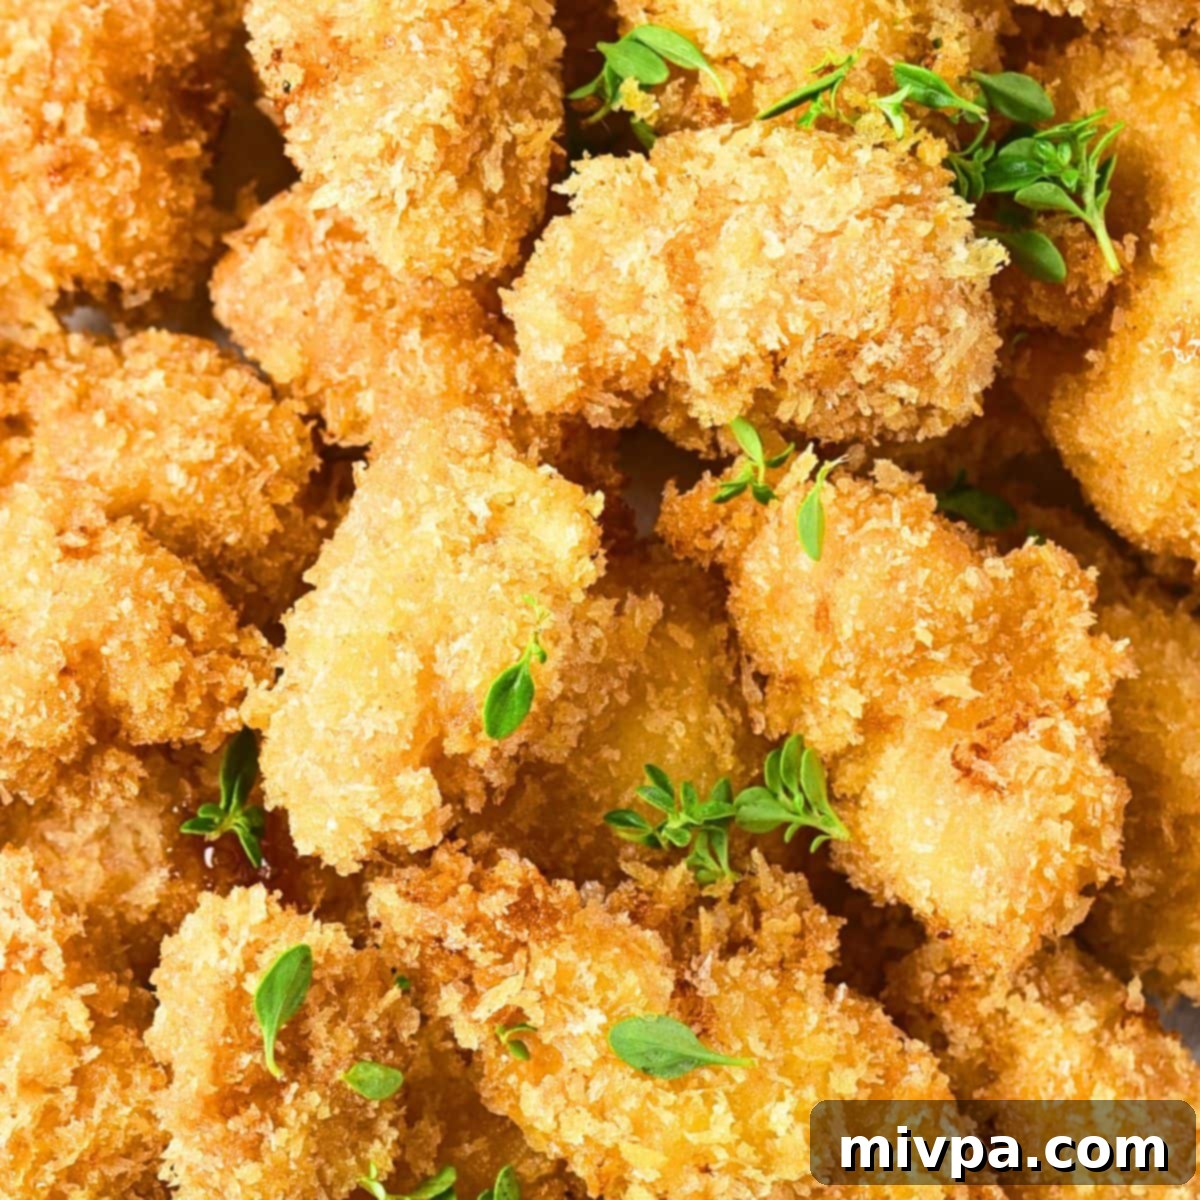
The Ultimate Crispy Gluten-Free Chicken Nuggets: Perfectly Dairy-Free & Deliciously Homemade
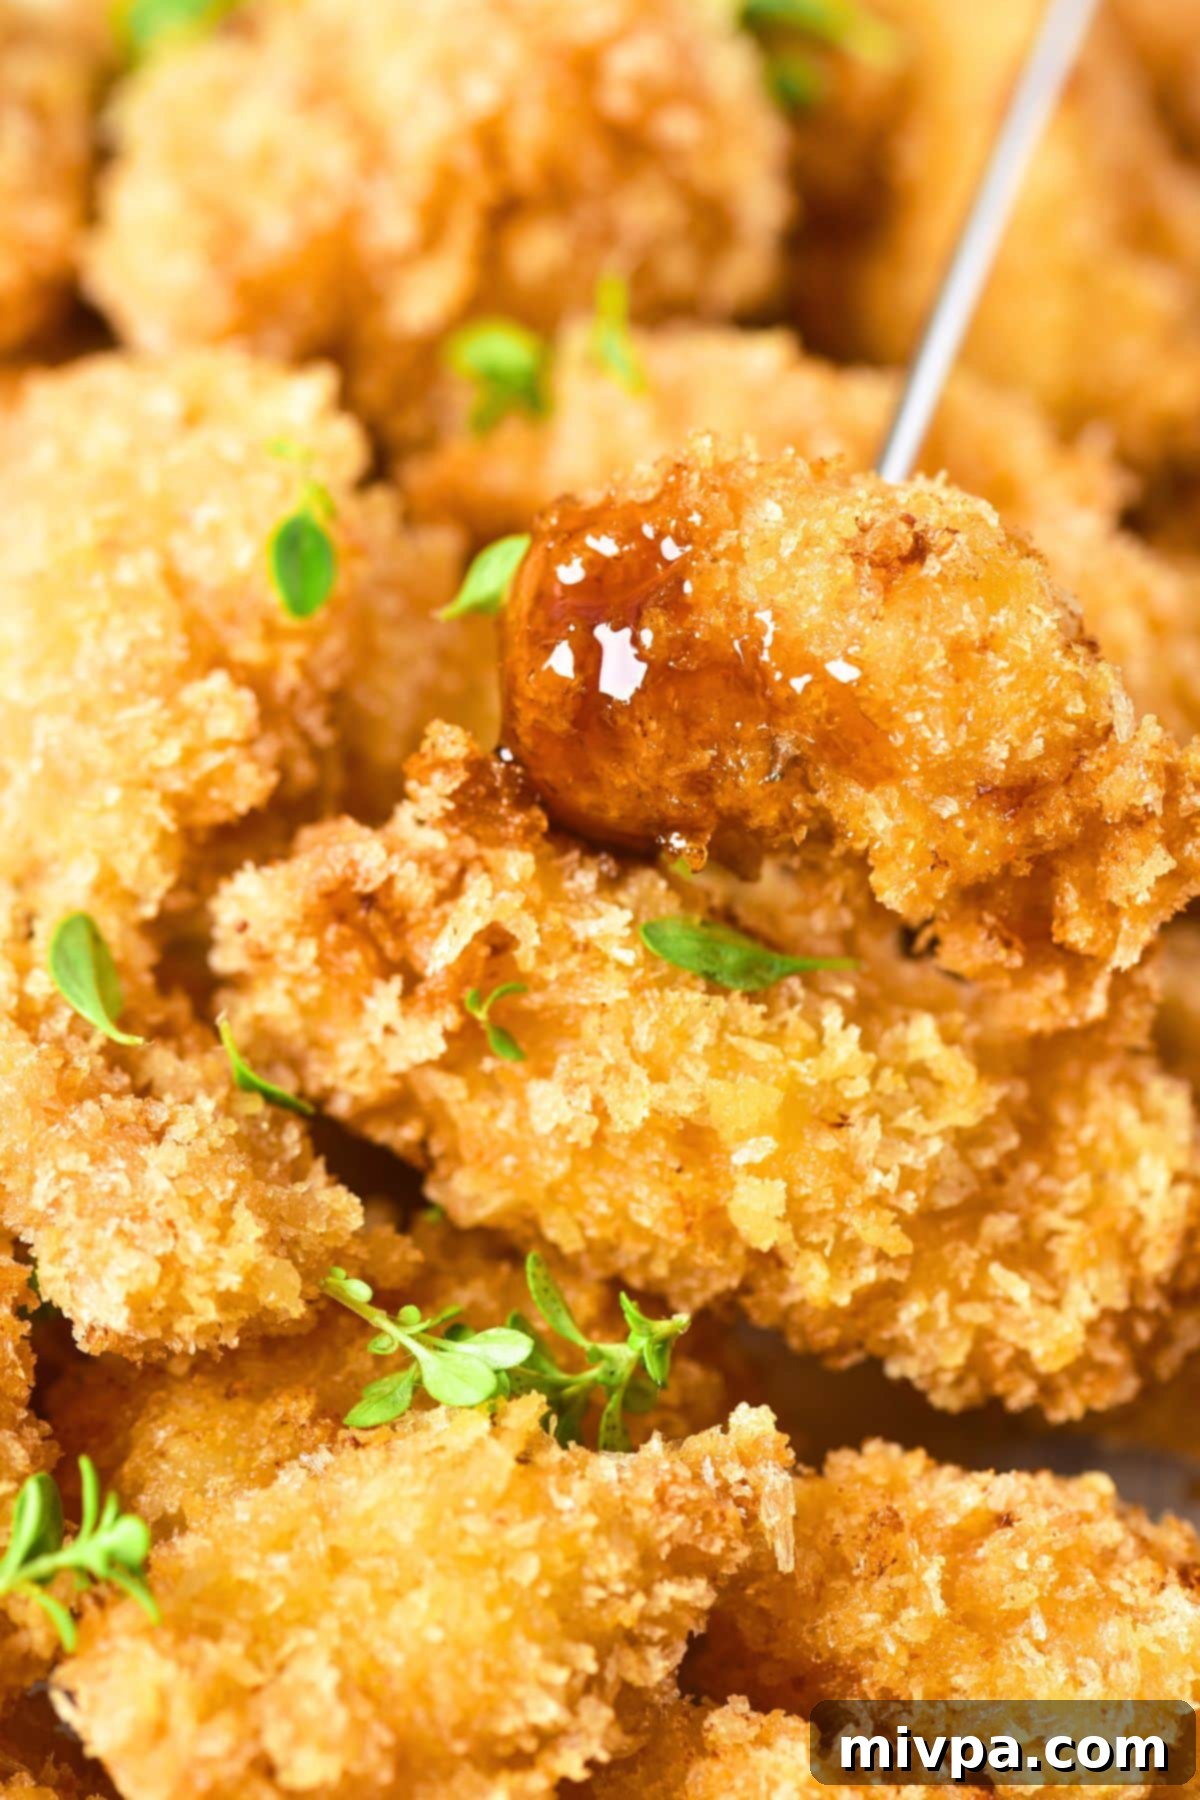
These homemade gluten-free chicken nuggets are incredibly easy to prepare, bursting with flavor, and boast an unbelievably crispy texture that rivals any restaurant. Whether you’re craving a quick snack or a crowd-pleasing appetizer for any occasion, these delightful bites are perfect when paired with your favorite dipping sauce. Plus, they’re completely dairy-free, making them suitable for various dietary needs without compromising on taste!
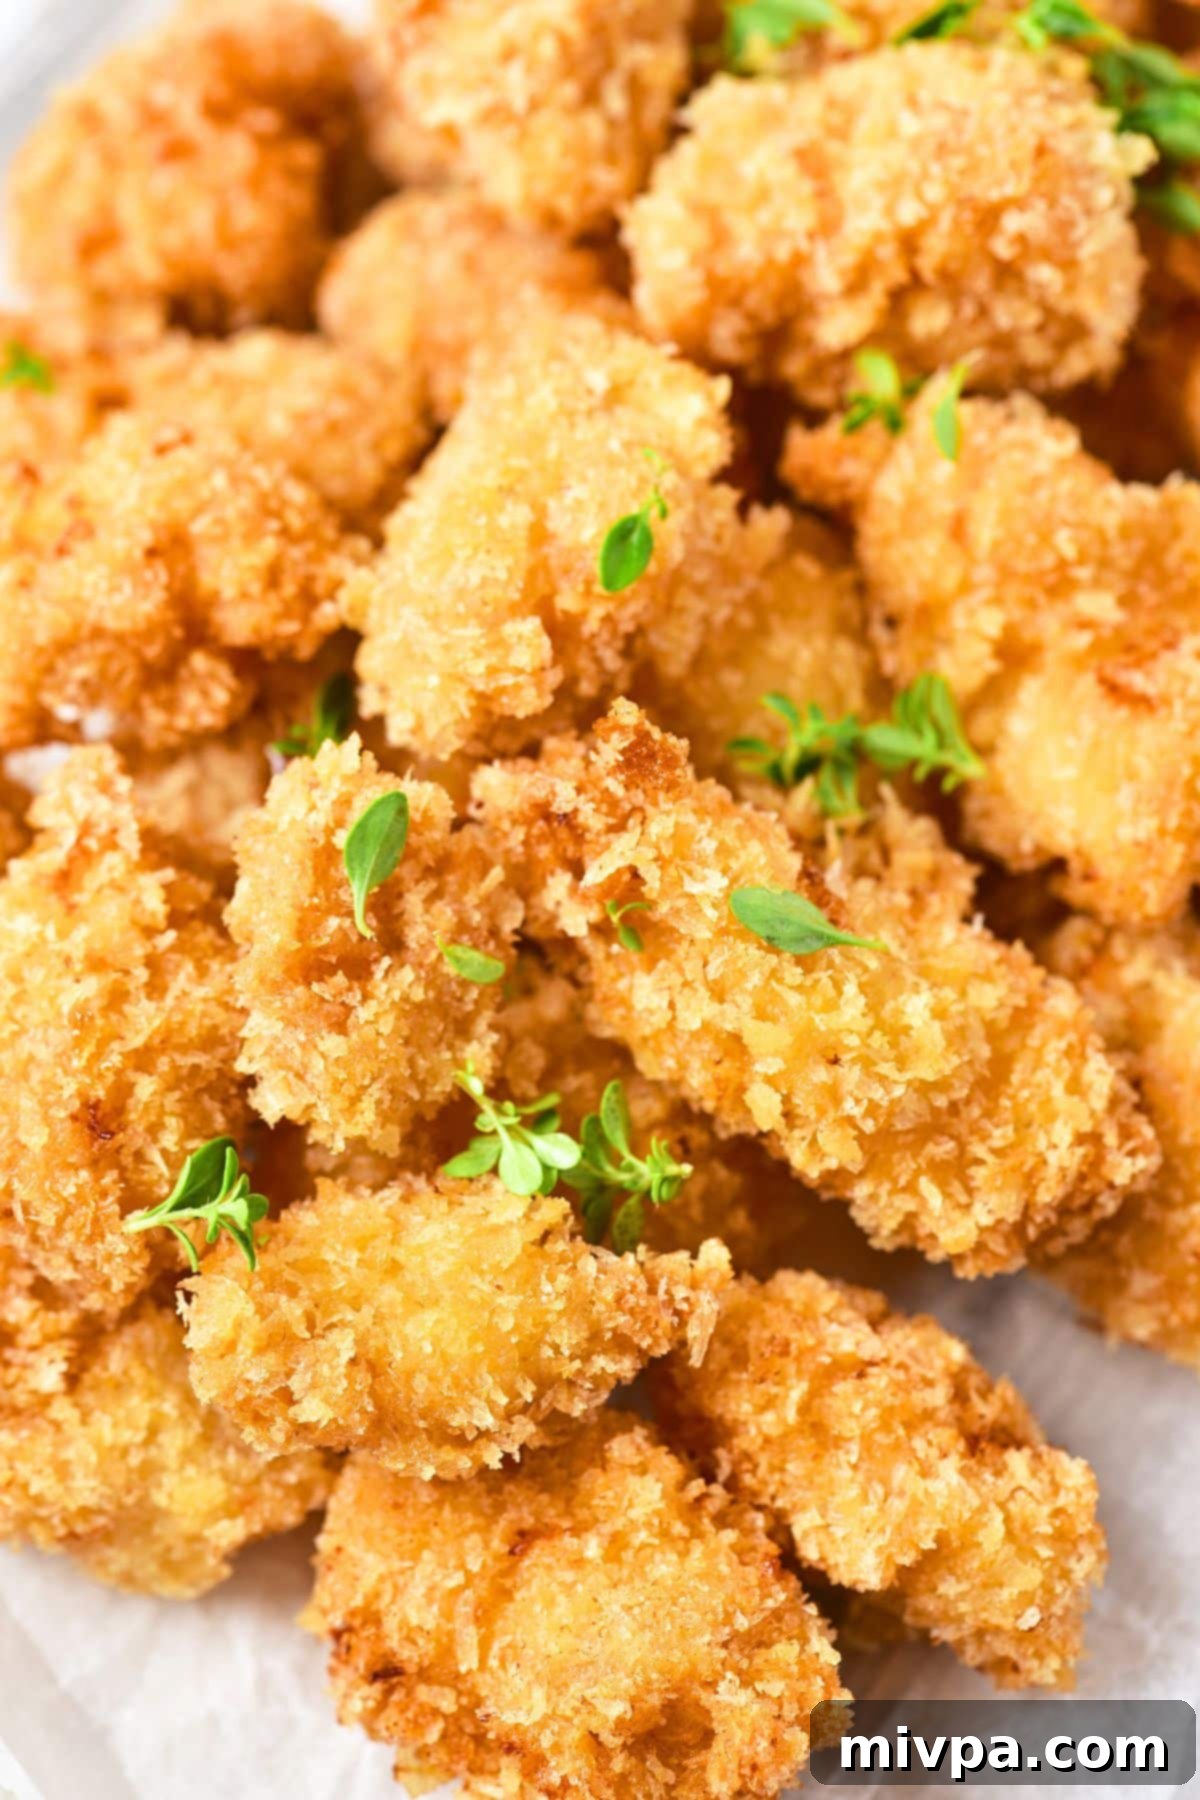
Homemade Gluten-Free Chicken Nuggets: A Healthier, Tastier Alternative
Who doesn’t love chicken nuggets? As a child, I certainly did! There was something incredibly satisfying about those perfectly bite-sized pieces of chicken, ready to be dipped into a pool of ketchup, tangy chili sauce, sweet honey mustard, or smoky BBQ sauce. They were the ultimate comfort food, a go-to treat that always hit the spot. However, as I got older and became more aware of what goes into our food, I realized that most store-bought, processed chicken nuggets often contain a long list of questionable ingredients, including various fillers and allergens.
This realization sparked a mission: to create a homemade version that captures all the deliciousness of classic chicken nuggets but without the guilt. The result? These incredible homemade gluten-free and dairy-free chicken nuggets! This recipe ensures you can enjoy those nostalgic flavors and satisfying crunch in a much healthier, cleaner way, tailored for those with sensitivities or anyone looking for a wholesome alternative.
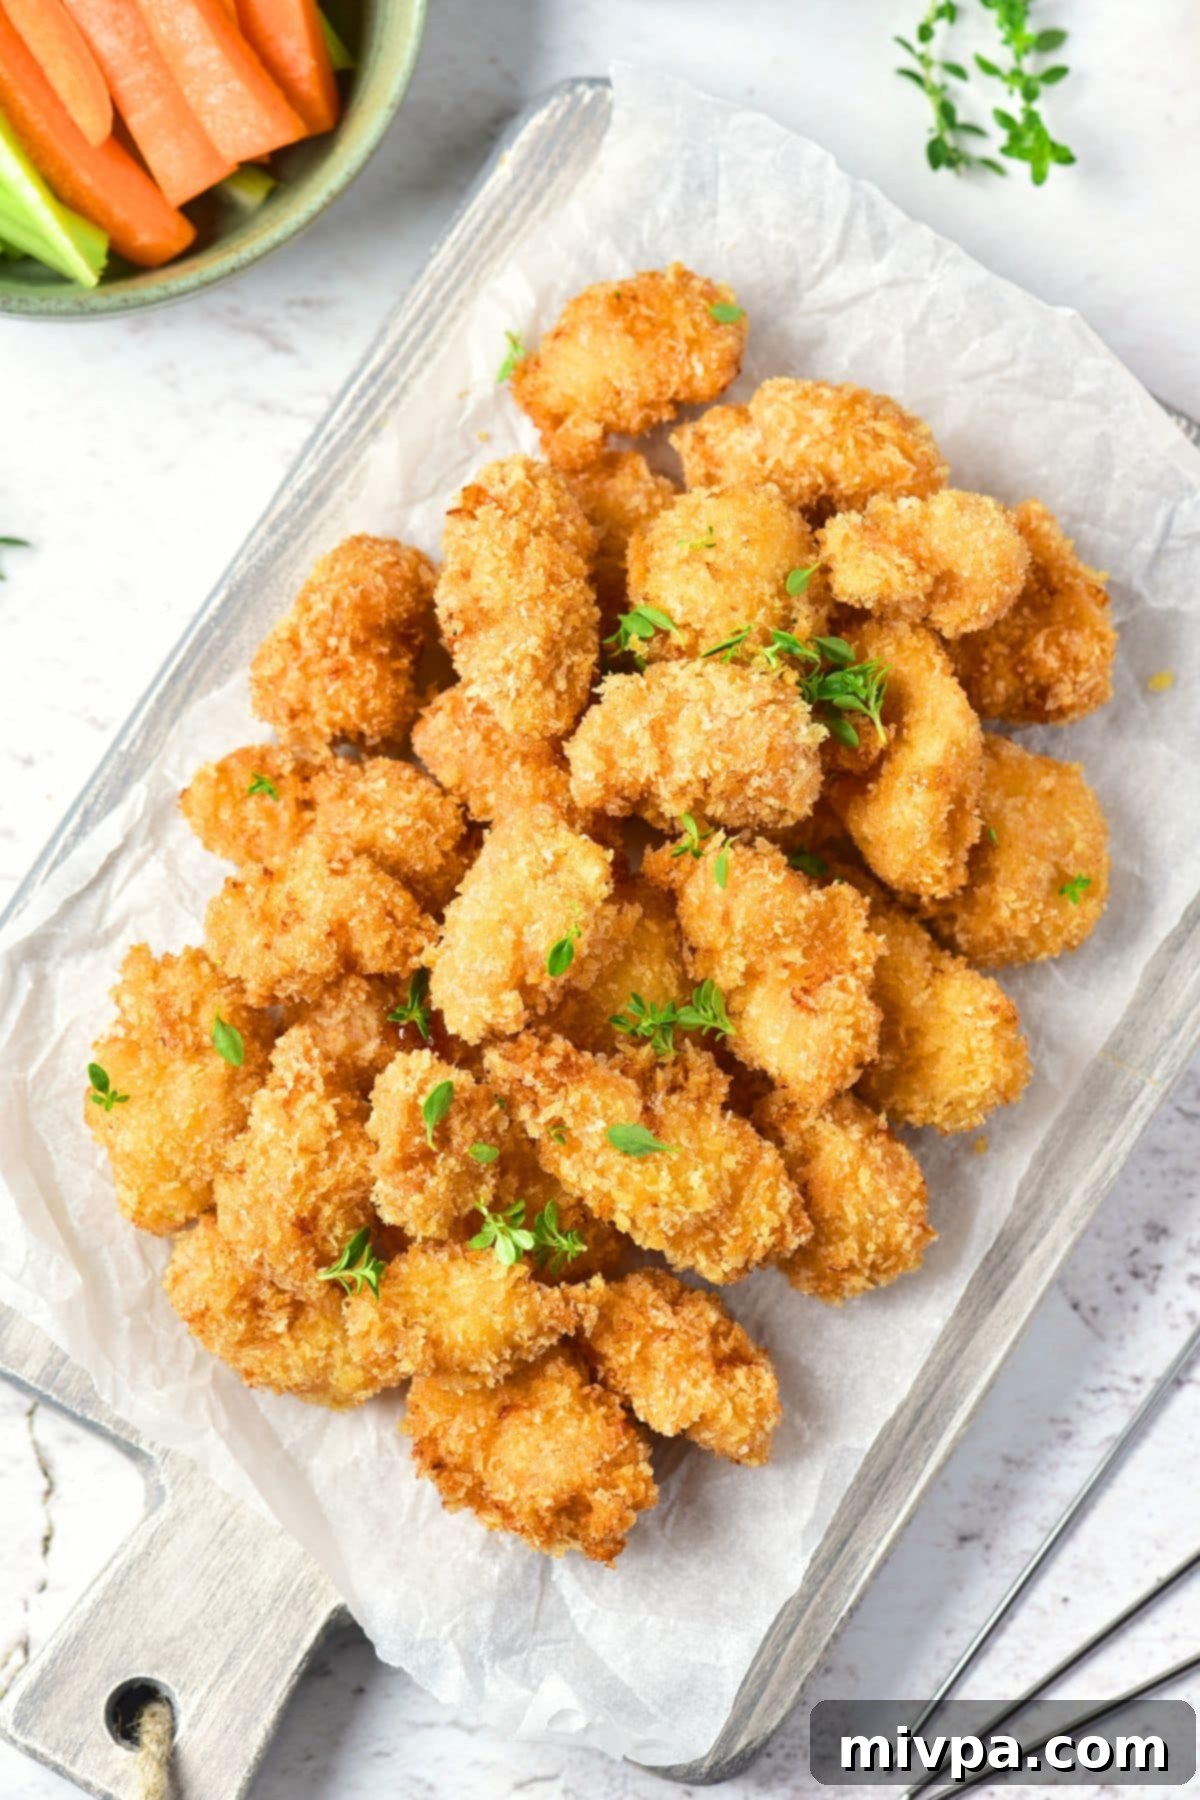
Why This Crispy Chicken Nugget Recipe Will Become a Favorite:
This isn’t just another chicken nugget recipe; it’s a game-changer, especially for those seeking healthier and allergen-friendly options. Here’s why these homemade nuggets are poised to become your new kitchen staple:
- Unbeatable Flavor and Texture: We all love that perfect crisp, golden-brown crust, giving way to tender, juicy chicken inside. This recipe delivers exactly that, ensuring every bite is a delightful experience. The combination of seasoned flour and gluten-free panko breadcrumbs creates a texture that’s incredibly satisfying and truly restaurant-quality.
- Simple, Accessible Ingredients: Forget specialty stores and hard-to-find items! The core ingredients for these gluten-free chicken nuggets are readily available at your local grocery store. We’ve focused on using straightforward components that combine to create something extraordinary, proving that delicious food doesn’t need to be complicated.
- Effortlessly Easy to Make: Don’t be intimidated by homemade frying. Preparing these delicious chicken bites is surprisingly uncomplicated. The process involves a simple three-step coating: first, dredge the chicken pieces in a flavorful gluten-free flour mixture, then dip them in dairy-free buttermilk, and finally, coat them thoroughly in crispy panko breadcrumbs. After that, it’s just a matter of frying them until they’re beautifully golden and perfectly crispy.
- 100% Gluten-Free & Dairy-Free: This is arguably the best part! This chicken nugget recipe is meticulously crafted to be entirely gluten-free and dairy-free. This means that individuals with Celiac disease, gluten intolerance, or lactose intolerance can indulge in these crispy nuggets without any concerns or discomfort. Everyone deserves to enjoy delicious, safe food, and this recipe makes that possible.
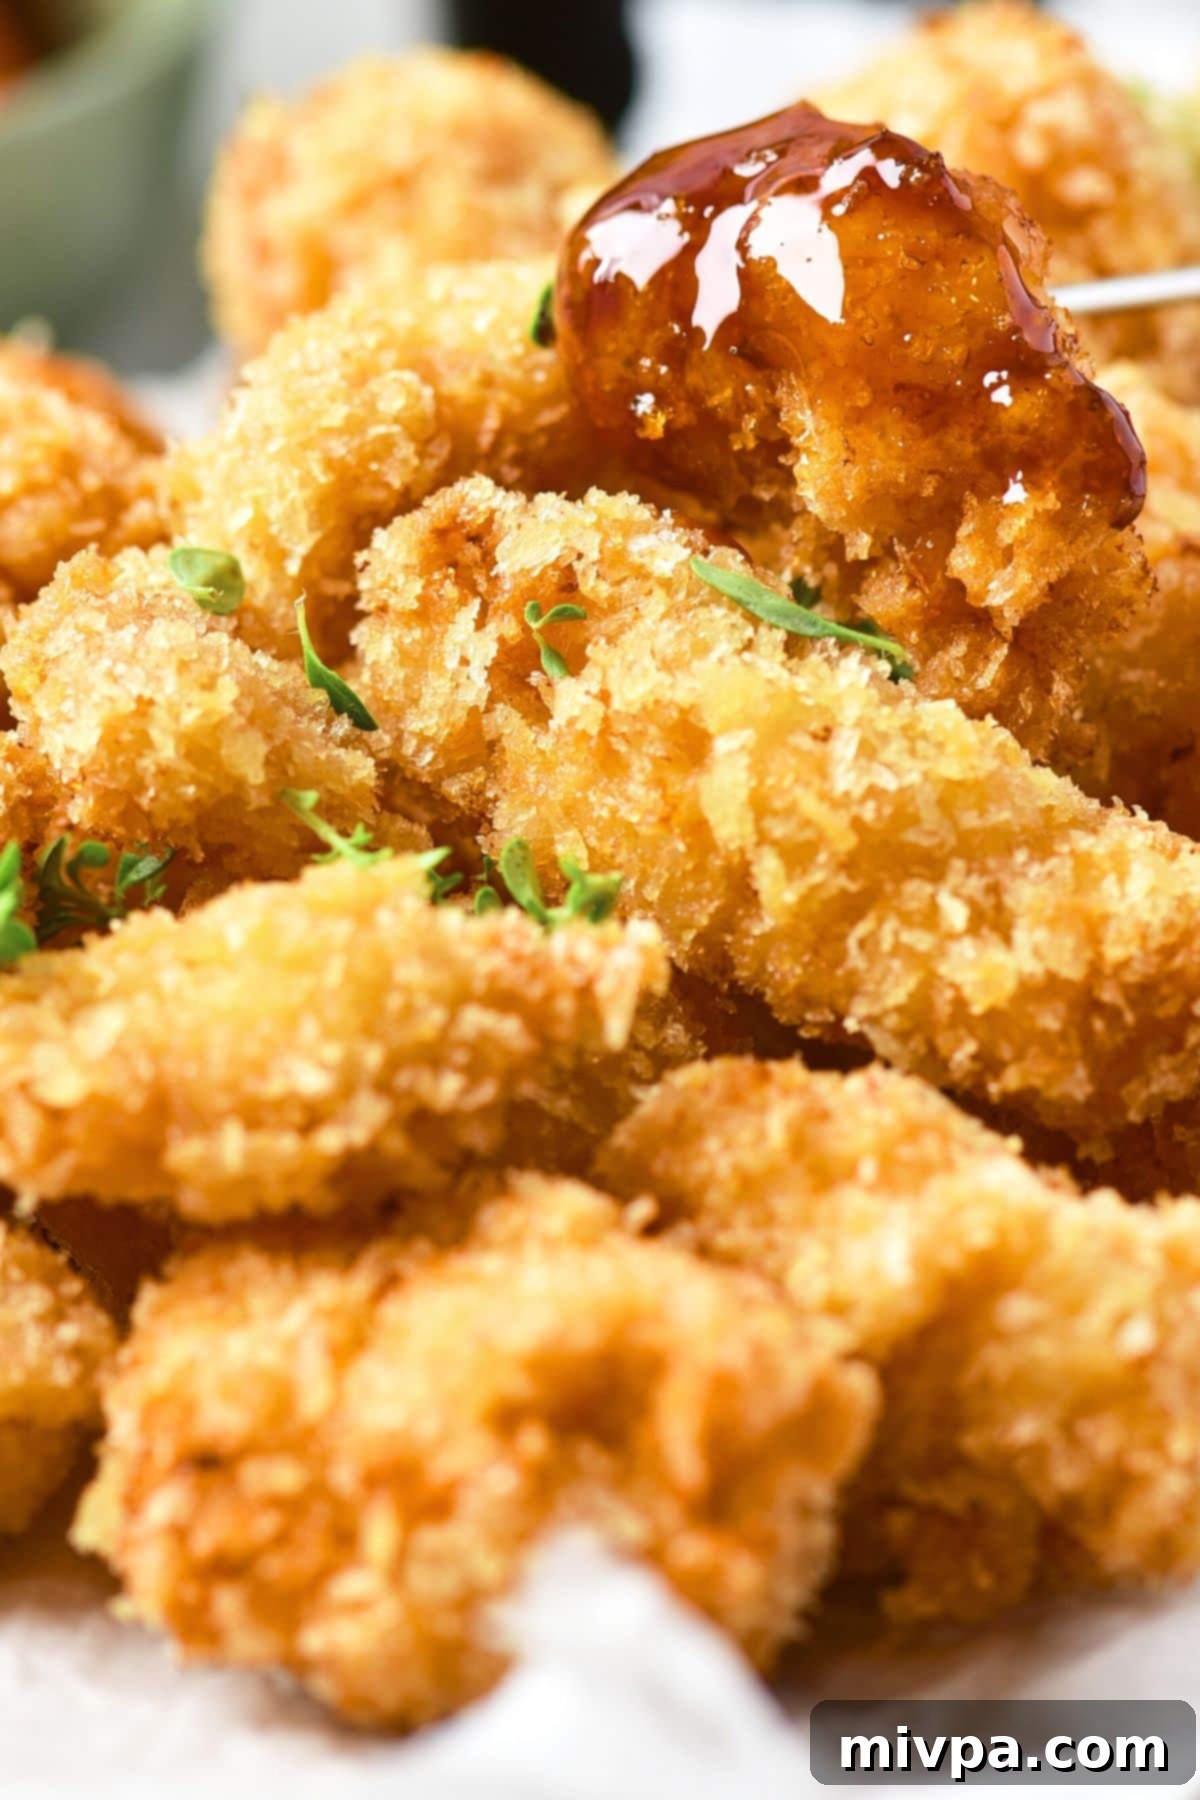
- Versatile for Any Occasion: Whether you need a quick snack, a fun appetizer for a party, a kid-friendly dinner, or a nostalgic treat for yourself, these nuggets fit the bill. They’re incredibly versatile and can be paired with a wide array of dipping sauces to suit any palate.
Essential Ingredients for Your Homemade Nuggets
Crafting these delectable gluten-free chicken nuggets requires a selection of fresh and pantry-friendly ingredients. Here’s a quick visual overview of what you’ll need to gather before you start cooking:
(For the precise measurements and a detailed step-by-step guide, please remember to scroll down to the comprehensive printable recipe card located at the very bottom of this post.)
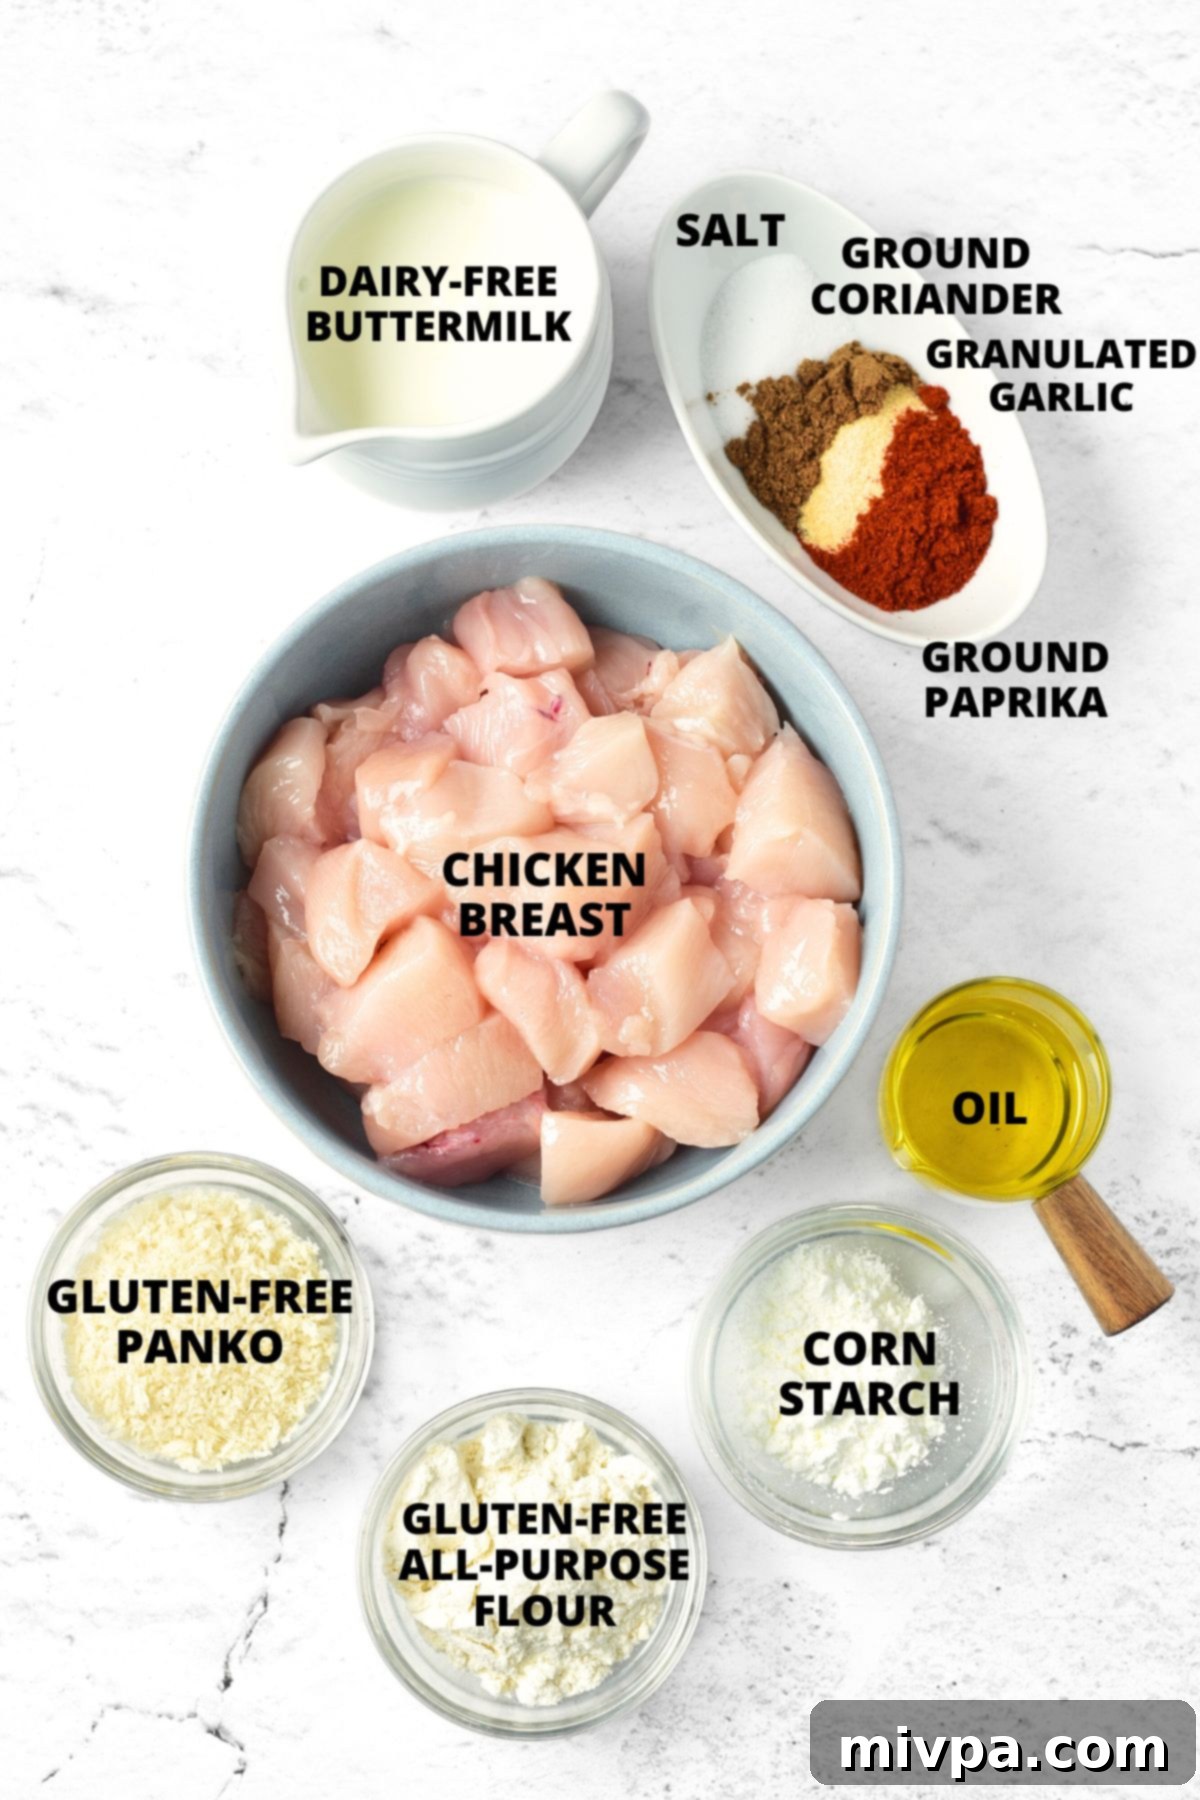
Recipe Notes, Smart Substitutions, and Expert Tips:
Understanding your ingredients and having flexible substitution options can make all the difference in your cooking journey. Here are some key notes and suggestions to ensure your gluten-free chicken nuggets turn out perfectly every time:
- Chicken: For the best results and tender, juicy nuggets, I highly recommend using boneless, skinless chicken breast. It’s lean, cooks quickly, and is easy to cut. Make sure to cut your chicken into evenly-sized 1-inch cubes. This uniformity is crucial for ensuring that all the pieces cook through at the same rate, resulting in consistently perfect nuggets.
- Gluten-Free All-Purpose Flour: The type of gluten-free flour blend you use can significantly impact the texture. For that desired crispy coating, I strongly recommend a good-quality gluten-free all-purpose flour blend that primarily consists of lighter flours or starches. Think along the lines of tapioca starch, rice flour, corn starch, or potato starch. These lighter flours contribute to a crispier finish. On the flip side, I advise against using gluten-free flour blends that are heavily based on denser flours, such as garbanzo bean flour (chickpea flour), as they can result in a heavier, gummier texture that won’t give you the crispiness you’re looking for.
- Cornstarch: This ingredient is key for achieving that extra crispiness. If you have an allergy or sensitivity to corn, don’t worry! You can easily substitute cornstarch with an equal amount of rice starch, arrowroot starch, or tapioca starch. All three will provide a similar crisping effect.
- Spices for Flavor: To infuse these nuggets with a delicious, aromatic flavor, I’ve incorporated a blend of ground coriander, ground paprika, and granulated garlic (also known as garlic powder). However, feel free to customize the spice blend to your preference! Other fantastic additions could include onion powder, a pinch of Italian seasoning for an herbal note, or a dash of ground black pepper for a subtle kick. Don’t be afraid to experiment!
- Dairy-Free Buttermilk: This recipe calls for dairy-free buttermilk to maintain its dairy-free status. The good news is, making your own dairy-free buttermilk at home is incredibly simple! Just combine 1 cup of unsweetened dairy-free milk (such as almond milk or soy milk) with 1 tablespoon of lemon juice or apple cider vinegar. Let it sit for 5-10 minutes until it slightly curdles. If you don’t have lactose intolerance or dairy allergies, you can certainly use regular buttermilk as an alternative.
- Gluten-Free Panko: For that signature extra-crispy crunch, gluten-free panko breadcrumbs are the secret weapon. Panko breadcrumbs are flakier and lighter than traditional breadcrumbs, resulting in a much crispier coating. To keep this recipe strictly gluten-free, ensure you use a certified gluten-free brand. If you are not celiac or gluten-intolerant, regular panko breadcrumbs will work just as well and provide similar crispy results.
- Frying Oil: When it comes to frying, choosing the right oil is essential for both flavor and safety. You’ll want to use any vegetable oil that has a high smoke point and is suitable for deep frying. Excellent options include sunflower oil, canola oil, avocado oil, or even peanut oil. These oils can withstand the high temperatures required for frying without breaking down and imparting off-flavors.
How to Make Crispy Gluten-Free Chicken Nuggets (Step by Step):
Achieving perfectly crispy and tender homemade chicken nuggets is simpler than you might think. Follow these clear steps to create a batch of delicious gluten-free and dairy-free delights:
1. Prepare Your Seasoned Flour Mixture
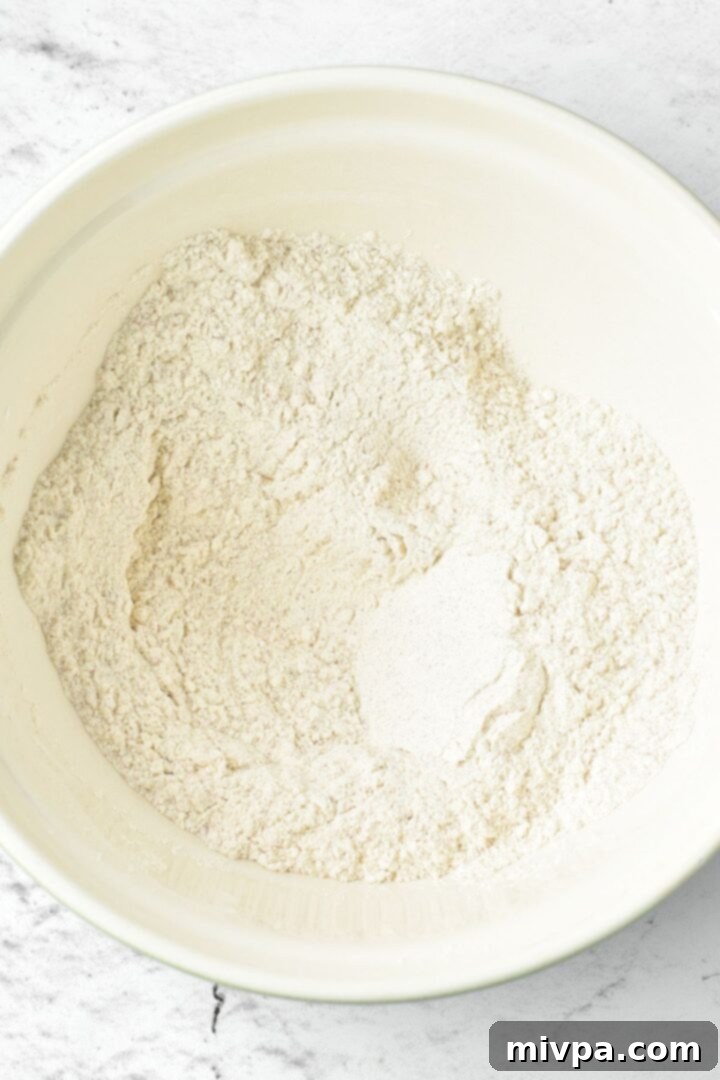
In a medium-sized bowl, combine the gluten-free all-purpose flour, cornstarch, ground coriander, ground paprika, granulated garlic, and a teaspoon of salt. Whisk these dry ingredients together thoroughly until they are well combined. This seasoned flour will be the first layer of flavor and crispiness for your nuggets.
2. Coat the Chicken Evenly with Flour
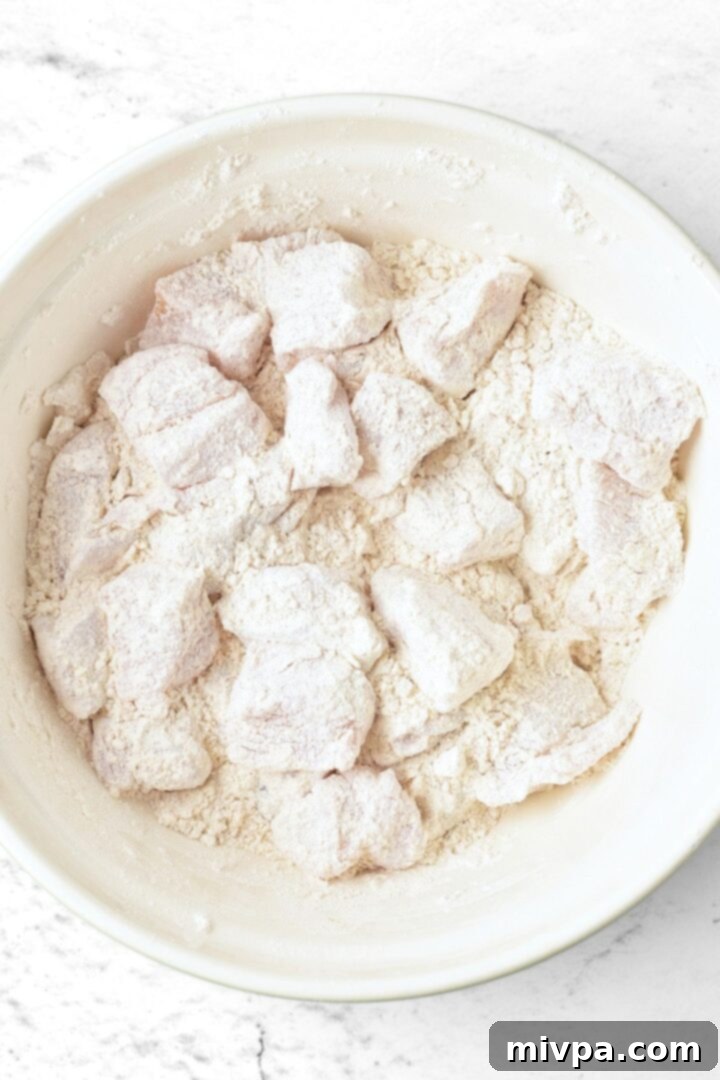
Take your pre-cut chicken pieces and place them into the bowl with the flour mixture. Toss them well, ensuring each chicken piece is completely coated on all sides. A good coating here is crucial for the subsequent layers to adhere properly. Shake off any excess flour.
3. Dredge Chicken in Dairy-Free Buttermilk
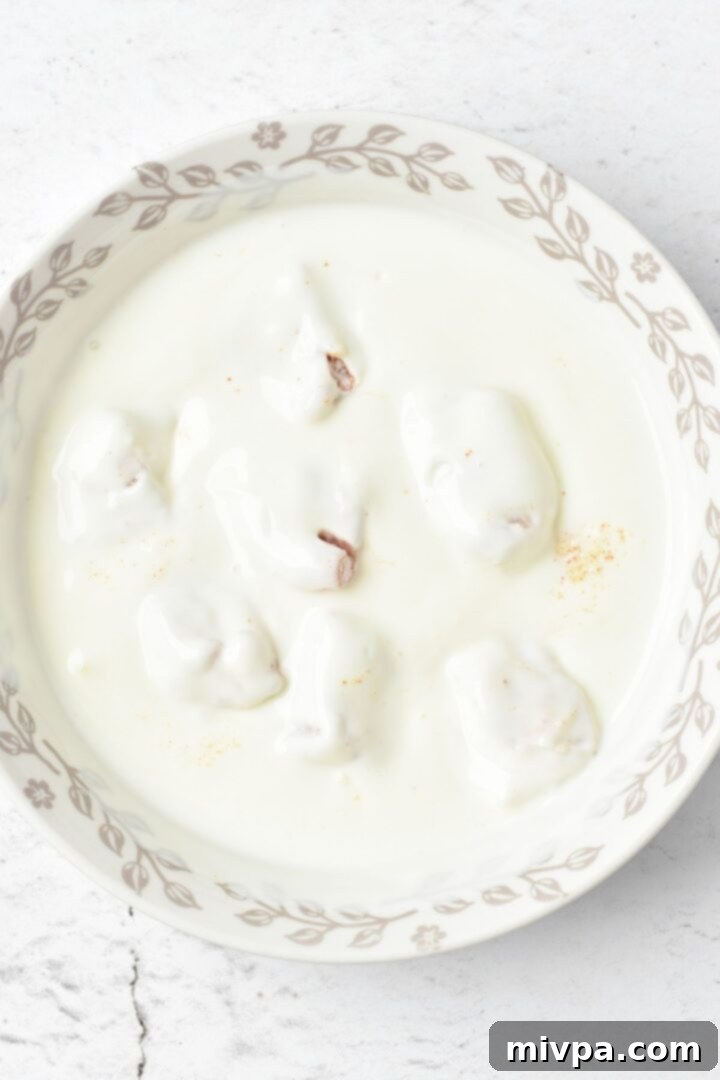
Next, take each flour-coated piece of chicken and dip it into the bowl of dairy-free buttermilk. Ensure the chicken is fully submerged and coated with the liquid. The buttermilk acts as a binder for the panko and also helps tenderize the chicken.
4. Coat with Gluten-Free Panko Breadcrumbs
Immediately after the buttermilk, roll each piece of chicken in the gluten-free panko breadcrumbs. Press gently to ensure the panko adheres well and completely covers all sides of the chicken. This thick, flaky panko coating is what will give your nuggets that irresistible crunch.
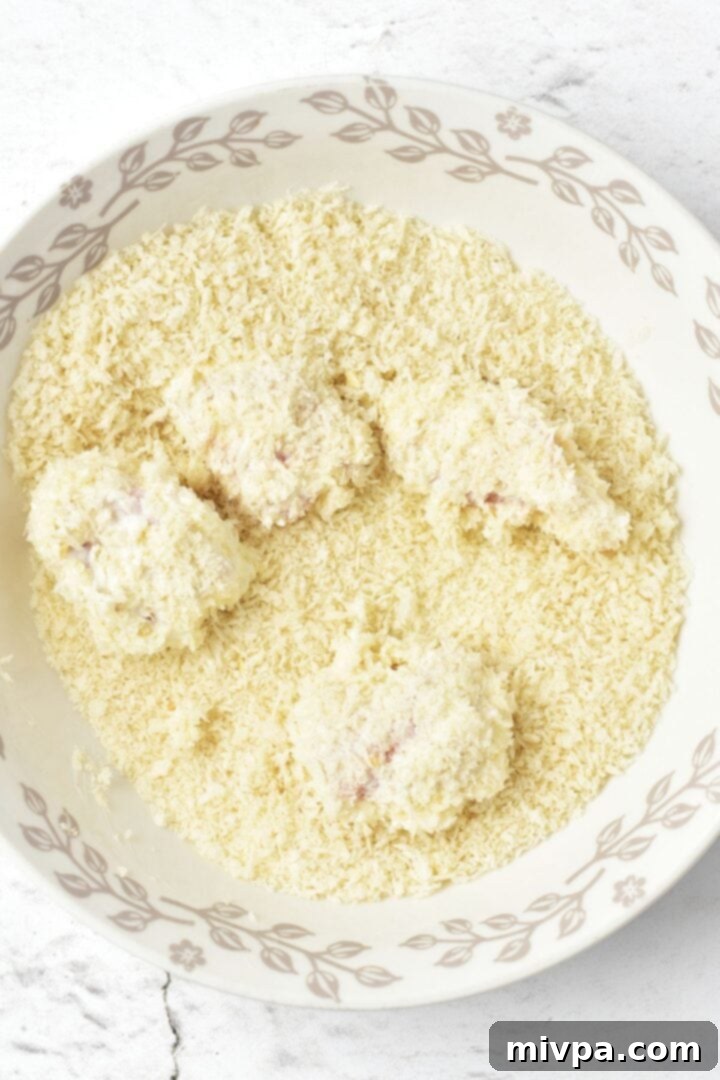
5. Heat the Frying Oil to the Correct Temperature
In a large, heavy-bottomed pot or Dutch oven, heat your chosen frying oil over medium-high heat. The ideal temperature for frying chicken nuggets is 350°F (175°C). Maintaining this temperature is crucial for ensuring crispy results without burning the exterior or leaving the inside undercooked.
(PRO TIP: For accuracy, use a deep fry oil thermometer to monitor the temperature. If you don’t have one, you can test the oil’s readiness by dropping a tiny piece of breaded chicken into it. If it immediately sizzles vigorously and floats to the surface, your oil is ready. If it just sinks or sizzles weakly, allow the oil to heat up a little more before proceeding.)
6. Fry the Nuggets to Golden Perfection
Carefully place 5 to 6 pieces of the breaded chicken into the hot oil. Avoid overcrowding the pot, as this can drop the oil temperature and lead to soggy nuggets. Fry for approximately 6 to 7 minutes, or until they are beautifully golden brown and cooked through. Make sure to turn the chicken nuggets gently with a spatula or tongs every couple of minutes to ensure even cooking and browning on all sides.
7. Transfer to a Paper Towel-Lined Plate
Once your chicken pieces have reached that perfect golden brown hue and are cooked through, carefully remove them from the hot oil using a slotted spoon or a spider strainer. Transfer the freshly fried gluten-free nuggets to a plate generously lined with paper towels. The paper towels will help absorb any excess oil, ensuring your nuggets remain wonderfully crispy and less greasy.
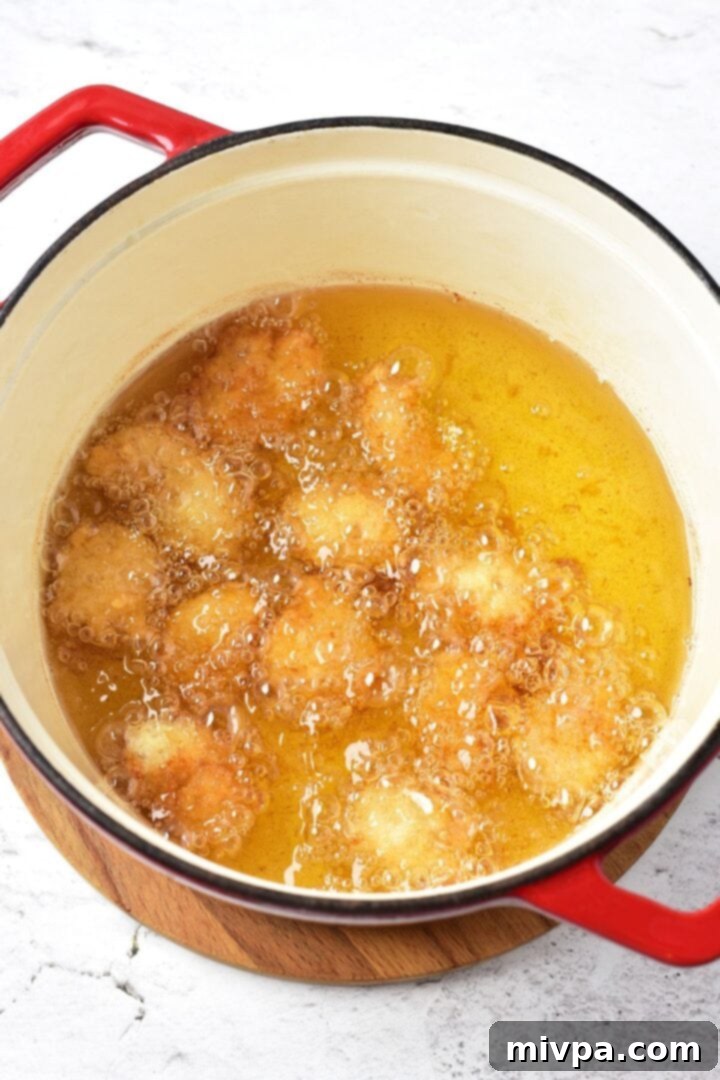
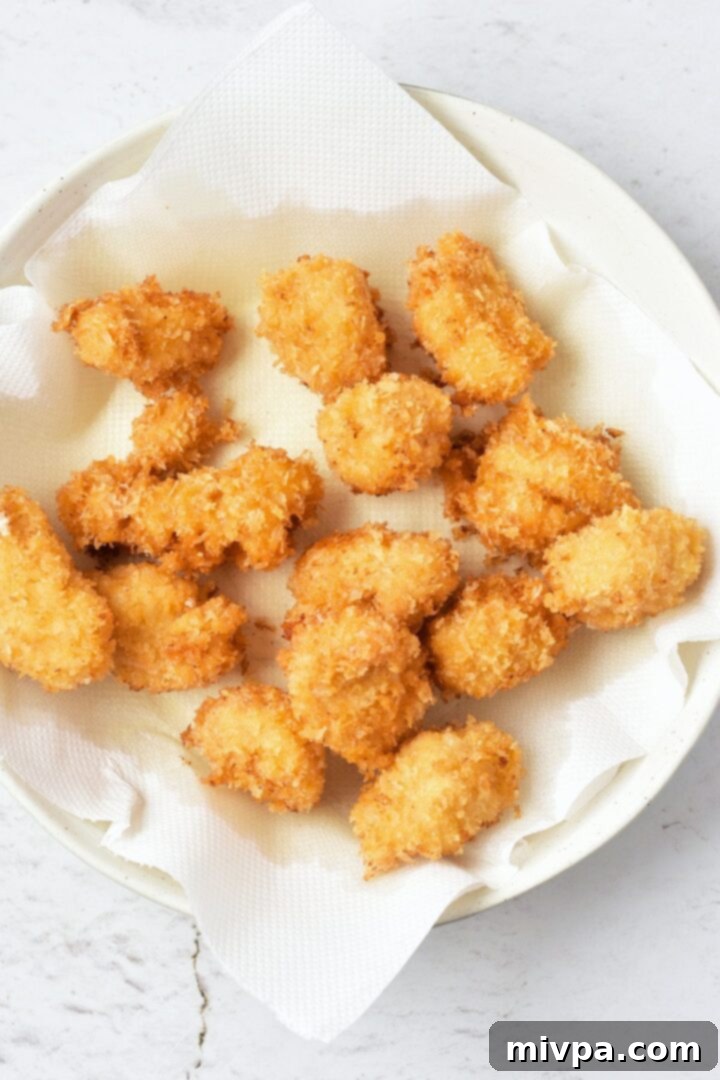
8. Serve Immediately and Savor
The best time to enjoy your homemade gluten-free chicken nuggets is right after they’ve been fried and drained. Serve them piping hot and crispy with your favorite dipping sauces. The perfect blend of tender chicken and crunchy coating is best experienced fresh!
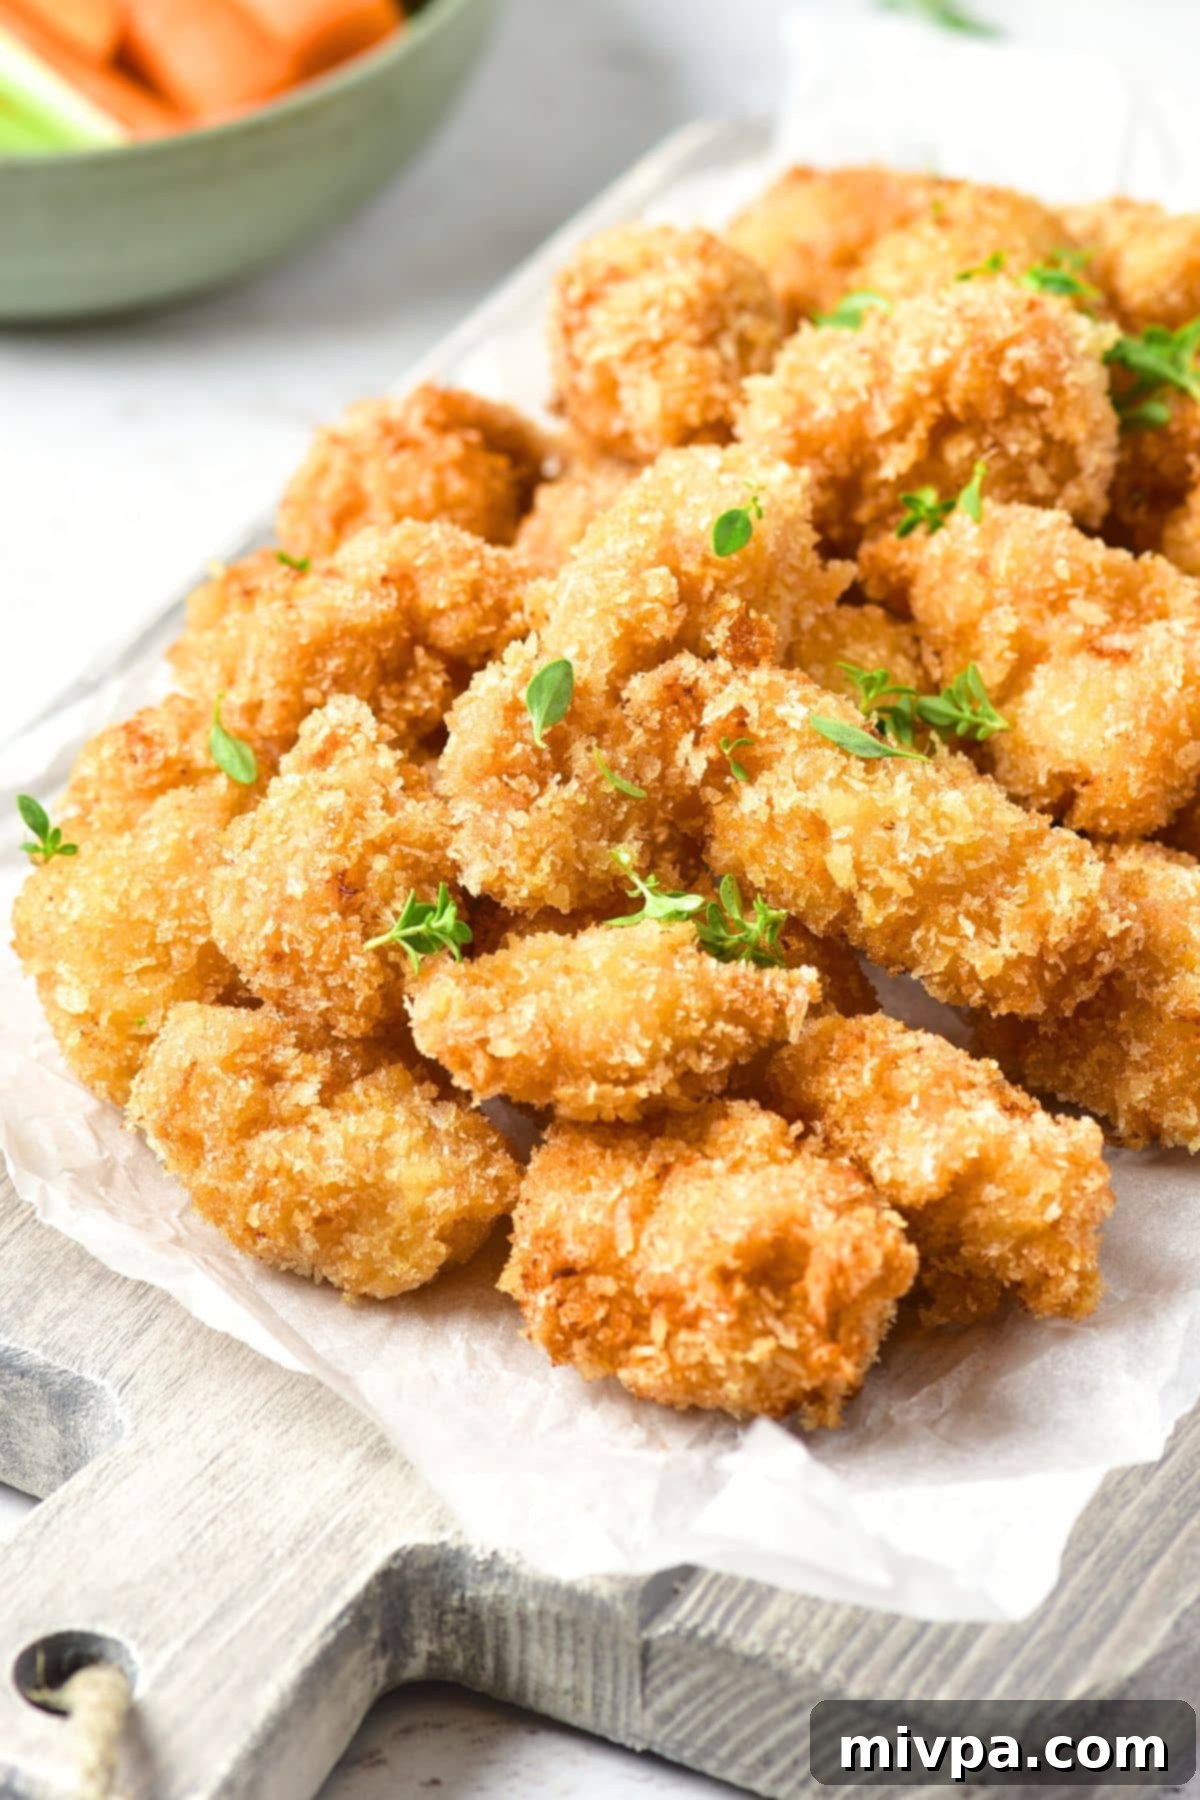
Expert Dish by Dish Tips and Tricks for Perfection:
- Achieving Maximum Crispiness: Don’t skimp on the panko! Press the breadcrumbs firmly onto the chicken pieces to ensure a thick, even coating. Also, maintaining the oil temperature at 350°F (175°C) is key. If the oil is too cold, the nuggets will absorb too much oil and become greasy; if it’s too hot, they’ll burn before cooking through.
- Preventing Soggy Nuggets: After frying, don’t stack your hot nuggets directly on top of each other. This traps steam and makes them soggy. Instead, arrange them in a single layer on the paper towel-lined plate or on a wire rack set over a baking sheet to allow air circulation and keep them crispy.
- Freezing Uncooked Nuggets for Later: These nuggets are excellent for meal prep! To freeze uncooked breaded chicken nuggets, arrange them in a single layer on a parchment-lined baking sheet. Cover the sheet with plastic wrap and freeze for about 2 hours, or until the chicken pieces are partially frozen and firm. This prevents them from sticking together. Once firm, transfer the nuggets to a freezer-safe container or a heavy-duty freezer bag. They can be stored for up to 2 months. When ready to cook, thaw them overnight in the refrigerator before frying as directed.
- Reheating Cooked Nuggets: If you have leftover cooked nuggets, the best way to reheat them to maintain crispiness is in an air fryer (at 350°F / 175°C for 5-8 minutes) or in the oven (at 375°F / 190°C for 10-15 minutes), rather than a microwave. This helps to re-crisp the coating.
Irresistible Sauces to Serve with Your Gluten-Free Chicken Nuggets:
No chicken nugget experience is complete without the perfect dipping sauce! Here are some fantastic gluten-free and dairy-free options from Dish by Dish that pair wonderfully with these crispy bites:
- Homemade Sriracha Chili Sauce (Gluten-Free, Vegan): For those who love a spicy kick, this quick and easy sauce adds a vibrant, zesty heat.
- Easy Garlic Aioli (Gluten-Free, Dairy-Free): A creamy, rich, and garlicky dip that adds a sophisticated touch.
- Sriracha Aioli (Gluten-Free, Dairy-Free): The best of both worlds – creamy aioli with a spicy sriracha twist for a flavorful punch.
- Copycat Raising Cane’s Sauce (Gluten-Free, Dairy-Free): A famous, tangy, and savory sauce that’s universally loved and a perfect match for chicken.
Other Delightful Gluten-Free Chicken Recipes You’ll Love:
If you enjoyed these gluten-free chicken nuggets, you’re in for a treat! Here are more delicious, easy-to-make chicken recipes from our collection that are also gluten-free and dairy-free:
- Easy Chicken Fingers (Gluten-Free, Dairy-Free): Perfect for a quick meal or a family favorite.
- Crispy Popcorn Chicken (Gluten-Free, Dairy-Free): Bite-sized perfection for snacking or appetizers.
- Air Fryer Buffalo Chicken Bites (Gluten-Free, Dairy-Free): Spicy and convenient, made easy in the air fryer.
- Fried Chicken (Gluten-Free, Dairy-Free): The ultimate comfort food, re-imagined without gluten or dairy.
- Gluten-Free Chicken Tenders (Dairy-Free): Quick, healthy, and incredibly versatile for any meal.
More Delicious Gluten-Free Appetizers to Enjoy:
Looking for more gluten-free delights to kick off your meal or serve at your next gathering? Here are some fantastic appetizer ideas that are sure to please everyone:
- Easy Chicken Satay with Peanut Sauce (Gluten-Free, Dairy-Free)
- Crispy Cornflake Chicken Strips (Gluten-Free, Dairy-Free)
- Caprese Pesto Pasta Salad (Gluten-Free)
- Crunchy Cabbage Salad with Peanut Dressing (Gluten-Free, Vegan)
Frequently Asked Questions (FAQs):
- Can I bake these chicken nuggets instead of frying? While frying yields the crispiest results, you can bake them. Preheat your oven to 400°F (200°C). Place the breaded nuggets on a wire rack set over a baking sheet and bake for 20-25 minutes, flipping halfway, until golden brown and cooked through. For an even crispier option, an air fryer at 375°F (190°C) for 12-15 minutes (shaking the basket halfway) works wonderfully.
- Can I use ground chicken for this recipe? This recipe is designed for chicken breast cut into cubes, which gives it the traditional nugget shape and texture. Using ground chicken would result in a different texture, more akin to a chicken patty. While you could adapt it, it wouldn’t be the same classic nugget experience.
- How do I store leftover cooked gluten-free chicken nuggets? Store any leftover cooked nuggets in an airtight container in the refrigerator for up to 3-4 days. As mentioned above, reheat them in an oven or air fryer for the best crispiness.
- Can I make these chicken nuggets spicier? Absolutely! To add more heat, you can increase the amount of paprika or add a pinch of cayenne pepper to the flour mixture. You could also serve them with a spicy dipping sauce.
P.S. If you try this amazing recipe for crispy gluten-free chicken nuggets, I’d be absolutely thrilled if you could leave a star rating below, and/or share your thoughts in a review in the comment section further down the page. Your feedback is invaluable and always appreciated! Don’t forget to check out my entire Recipe Index for a treasure trove of delicious recipes on the blog. You can also follow me on Pinterest, Facebook, or Instagram! Be sure to sign up for my Email List to get fresh, inspiring recipes delivered straight to your inbox each week!
Print Recipe
Gluten-Free Chicken Nuggets (Dairy-Free)
5 Stars
4 Stars
3 Stars
2 Stars
1 Star
No reviews
- Author: Felicia Lim
Total Time: 45 minutes
Yield: 6 servings
Diet: Gluten Free
Description
These homemade gluten-free chicken nuggets are incredibly easy to prepare, bursting with flavor, and boast an unbelievably crispy texture that rivals any restaurant. Enjoy them as a snack or a crowd-pleasing anytime appetizer with your favorite dipping sauce. Totally dairy-free too, making them perfect for those with dietary restrictions.
Ingredients
Units
Scale
- 1 pound boneless, skinless chicken breast, cut into 1-inch cubes
- 1 cup gluten-free all-purpose flour blend
- 2 tablespoons cornstarch
- 1 teaspoon ground coriander
- 1 teaspoon ground paprika
- 1 teaspoon granulated garlic
- 1 teaspoon salt
- 1 cup dairy-free buttermilk (or make your own with 1 cup dairy-free milk + 1 tbsp lemon juice/vinegar)
- 2 cups gluten-free panko breadcrumbs
- 3 cups frying oil (e.g., sunflower, canola, avocado)
Instructions
- Prepare Flour Mixture: In a bowl, thoroughly combine the gluten-free all-purpose flour blend, cornstarch, ground coriander, ground paprika, granulated garlic, and salt. Whisk until well blended.
- Coat Chicken With Flour Mixture: Place your 1-inch chicken cubes in the seasoned flour mixture. Toss them until each piece is completely coated on all sides. Shake off any excess flour.
- Dredge Chicken in Milk: Individually dredge each flour-coated chicken piece in the dairy-free buttermilk, ensuring it’s fully covered.
- Coat with Panko: Roll each buttermilk-dredged chicken piece in the gluten-free panko breadcrumbs. Press firmly to ensure a thick, even coating all around.
- Heat Oil: In a large, heavy-bottomed pot, heat the frying oil to 350°F (175°C). Use a deep fry oil thermometer for accuracy. If you don’t have one, test by dropping a tiny piece of breaded chicken; it should sizzle immediately.
- Fry Nuggets: Carefully place 5 to 6 pieces of the breaded chicken into the hot oil. Fry for 6 to 7 minutes, turning occasionally with a spatula or tongs, until they are golden brown and cooked through. Avoid overcrowding the pot.
- Transfer to Plate: Once golden brown, remove the gluten-free chicken nuggets from the oil using a slotted spoon. Transfer them to a plate lined with paper towels to absorb any excess oil, helping them stay crispy.
- Serve and Enjoy: Serve your delicious gluten-free chicken nuggets immediately while they are still hot and perfectly crispy, ideally with your favorite dipping sauce.
Notes
Chicken: For optimal tenderness and even cooking, always use boneless, skinless chicken breast cut into uniform 1-inch cubes.
Gluten-Free Flour: Opt for a high-quality gluten-free all-purpose flour blend composed of lighter starches (like tapioca, rice, corn, or potato starch) for the best crispy results. Avoid blends heavy in garbanzo bean flour.
Cornstarch: This ingredient is crucial for crispiness. If you have a corn allergy, substitute cornstarch with an equal amount of rice starch, arrowroot starch, or tapioca starch.
Spices: The recipe uses ground coriander, ground paprika, and granulated garlic. Feel free to personalize with additions like onion powder, Italian seasoning, or ground black pepper for enhanced flavor.
Buttermilk: To keep this recipe dairy-free, use dairy-free buttermilk (1 cup unsweetened dairy-free milk + 1 tablespoon lemon juice/vinegar). Regular buttermilk can be used if you are not dairy-intolerant.
Panko: For superior crispiness, use gluten-free panko breadcrumbs. If gluten isn’t an issue, regular panko is a good alternative.
Oil: Select a frying oil with a high smoke point, such as sunflower oil, canola oil, or avocado oil.
Freezing Uncooked Nuggets: To freeze, arrange breaded nuggets in a single layer on a parchment-lined baking sheet, freeze for 2 hours until firm, then transfer to a freezer-safe container or freezer bag for up to 2 months. Thaw overnight in the refrigerator before frying.
- Prep Time: 15 mins
- Cook Time: 30 mins
- Category: Appetizers
- Method: Stovetop
- Cuisine: American
