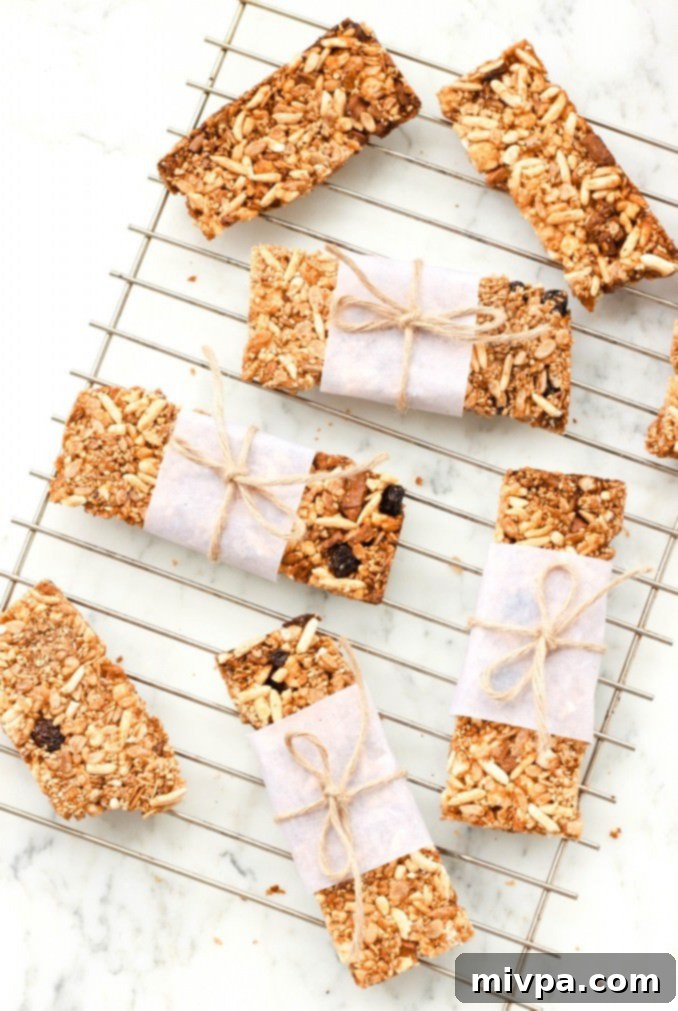
Deliciously Crunchy Homemade Gluten-Free Granola Bars (Vegan & Dairy-Free)
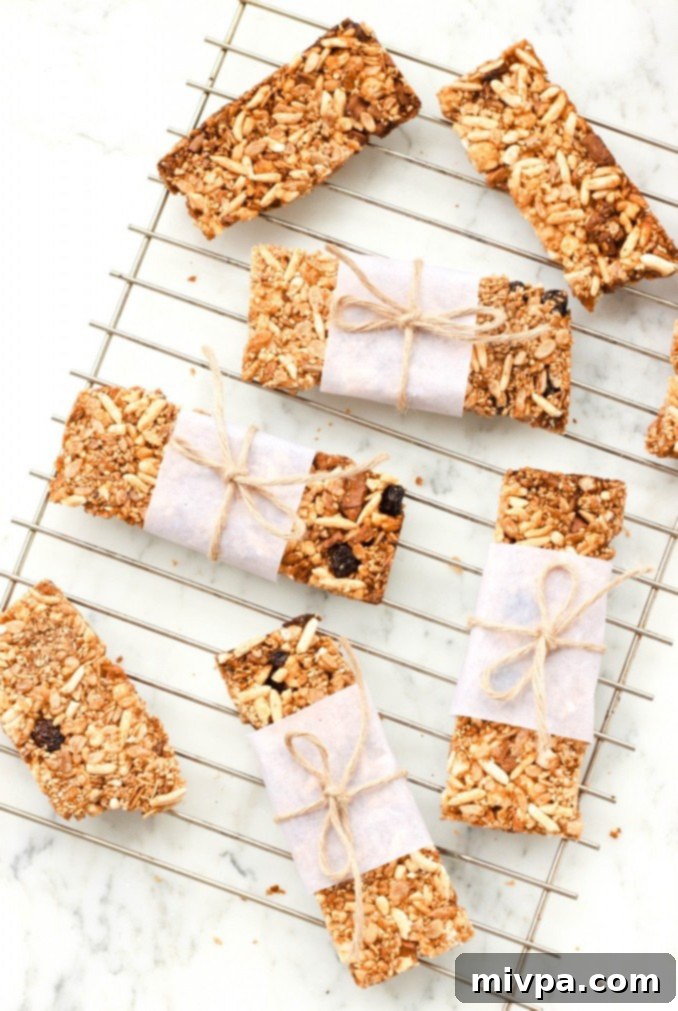
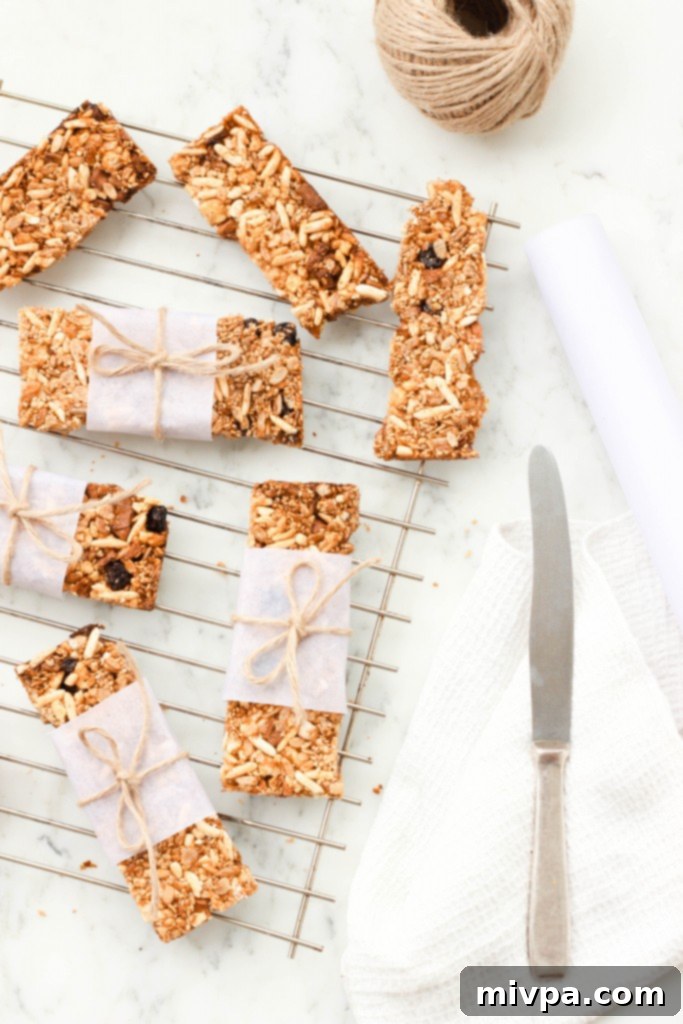
Amazingly crunchy, delightfully sweet, and wonderfully filling, these homemade gluten-free granola bars are the perfect solution for a quick, healthy breakfast or a satisfying on-the-go snack. Crafted with simple, wholesome ingredients, they’re not just incredibly delicious but also completely gluten-free, dairy-free, and vegan. Get ready to ditch those store-bought bars filled with unknown additives and embrace the goodness of homemade!
[feast_advanced_jump_to]
Starting the Day with a Delicious and Energizing Breakfast
There’s truly nothing better than kick-starting your day with a fantastic breakfast, no matter when your morning officially begins. While some of us might not be early risers, the days I do manage to wake up with the sun, I find that nourishing my body with a good breakfast makes all the difference. It provides the essential energy needed to tackle the day’s to-do list, power through work, or simply enjoy moments of quiet reflection.
But let’s be real – not every morning allows for a sit-down meal. Life gets busy, schedules get tight, and sometimes you need something you can grab and go. That’s where these homemade granola bars shine! They offer a convenient, healthy, and incredibly satisfying option that ensures you never have to skip the most important meal of the day. Unlike many processed alternatives, these bars deliver sustained energy without the sugar crash, setting you up for success.
More Favorite Healthy Breakfast Recipes:
If you’re looking for more delicious and wholesome ways to start your day, we’ve got you covered! Here are a few more breakfast recipes from our kitchen that we absolutely adore, and we’re sure you will too:
- Easy Maple Oatmeal Porridge (Gluten-Free, Vegan): A warm, comforting bowl perfect for chilly mornings.
- Creamy Breakfast Polenta Porridge (Gluten-Free, Vegan): A unique and satisfying alternative to traditional oatmeal.
- Easy Flaxseed Muffins (Gluten-Free, Dairy-Free): Light, fluffy, and packed with fiber – great for meal prep.
- Super Moist Banana Bread (Gluten-Free, Dairy-Free): A classic comfort food, perfect with your morning coffee.
In the spirit of easy, delicious mornings, I’m thrilled to share this recipe for crunchy gluten-free granola bars that you can effortlessly whip up at home. They’re a game-changer for busy weeks!
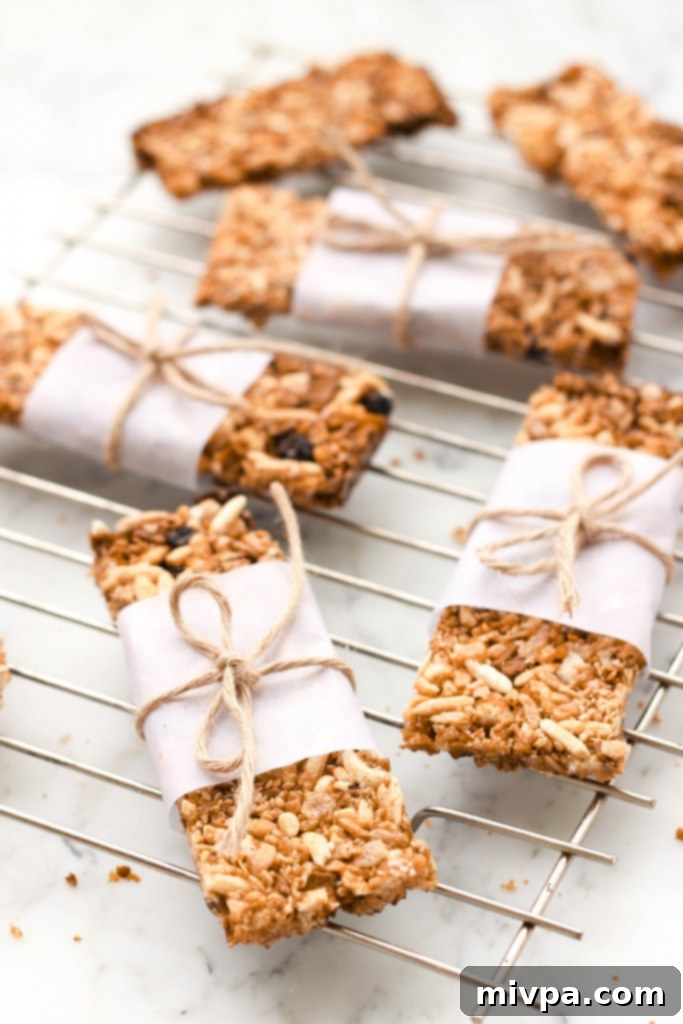
Why You’ll Love This Homemade Granola Bar Recipe:
This recipe for crunchy gluten-free granola bars isn’t just another snack; it’s a testament to how simple ingredients can create something truly extraordinary and wholesome. Here’s why these homemade bars will become your new go-to:
- Simple, Wholesome Ingredients: Forget confusing labels and unpronounceable chemicals. The ingredients required for these delicious homemade granola bars are not only healthy but also incredibly easy to find at your local grocery store. We’re talking about real food, nothing fancy or obscure, ensuring you know exactly what you’re fueling your body with. This focus on natural ingredients means no artificial flavors, preservatives, or unhealthy high-fructose corn syrup often found in store-bought varieties.
- Effortlessly Easy to Make: Don’t let the idea of making your own granola bars intimidate you. Preparing these delicious gluten-free granola bars is far simpler than you might imagine. Even if you’re a beginner in the kitchen, or if this is your very first time making homemade energy bars, you’ll find the process straightforward and enjoyable. With clear, step-by-step instructions, success is virtually guaranteed!
- Irresistibly Crunchy Texture: The highlight of these homemade granola bars is undoubtedly their satisfyingly crunchy texture. Each bite offers a delightful snap, making them an absolute pleasure to eat. This amazing crunch isn’t just a treat for your taste buds; it also contributes to the feeling of satisfaction, making these healthy snacks truly enjoyable and addictive in the best possible way.
- Dietary-Friendly & Inclusive: One of the best aspects of these healthy homemade granola bars is their versatility for various dietary needs. They are 100% gluten-free, making them safe for individuals with Celiac disease or gluten sensitivities. Furthermore, they are completely dairy-free and vegan, ensuring that those with lactose intolerances or following a plant-based diet can enjoy a delicious and satisfying snack bar without any concerns. This inclusivity means everyone can enjoy these wholesome treats!
- Customizable for Any Taste: While the base recipe is fantastic as is, these bars are incredibly flexible. You can easily add your favorite dried fruits, chocolate chips, or different nuts and seeds to tailor them precisely to your taste preferences. This customization makes them perfect for pleasing even the pickiest eaters or for adapting to whatever you have on hand.
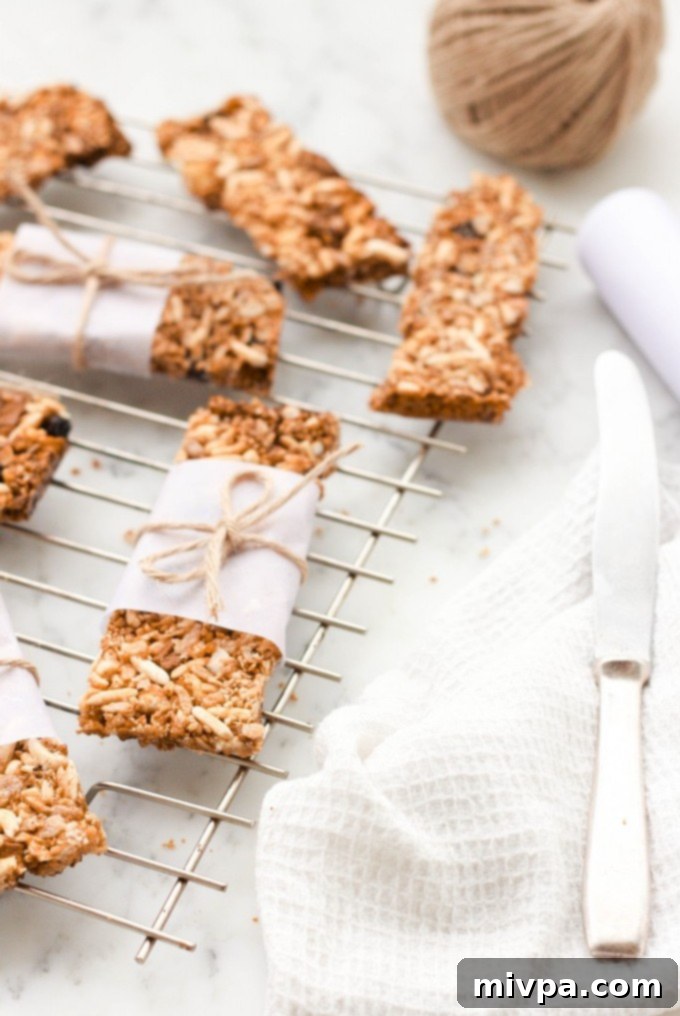
Essential Ingredients & Smart Substitutions:
Crafting these homemade gluten-free granola bars requires a handful of simple, wholesome ingredients. Here’s a closer look at what you’ll need, along with helpful notes and substitution ideas to make this recipe work for you:
(For exact measurements and quantities, please scroll down to the detailed recipe card at the bottom of this post.)
- Puffed Rice Cereal: This is the star for achieving that incredible crunch! I prefer using puffed rice, which provides a light yet satisfying crispy texture. If puffed rice isn’t available or you’d like to experiment, other types of crunchy gluten-free cereals work beautifully, such as puffed quinoa or even rice krispies. For added fiber and a heartier bar, you can also incorporate gluten-free rolled oats into the mix.
- Cashews: I opted for unsalted raw cashews for their mild, buttery flavor and soft texture when chopped. However, unsalted roasted cashews would also be a delicious choice if you prefer a slightly deeper, nutty taste. The beauty of this recipe is its adaptability with nuts! Feel free to substitute with other unsalted varieties like almonds for a firmer crunch, walnuts for an earthy note, peanuts for classic flavor, pistachios for a touch of color, or even creamy macadamias. Ensure they are coarsely chopped for an even distribution in the bars.
- Sesame Seeds: I like to use white sesame seeds for their delicate flavor and visual appeal. For a more dynamic look and slightly different flavor profile, you can definitely use a mix of multi-colored sesame seeds (black and white) or even toasted sesame seeds for an enhanced nutty taste.
- Sunflower Seeds: Unsalted sunflower seeds add a lovely texture and a boost of nutrients to these granola bars. They are also a fantastic option for those with nut allergies if you opt for a nut-free cereal base. If you’re looking to mix things up, consider a blend of other beneficial seeds such as pumpkin seeds (pepitas) for a chewier bite, tiny chia seeds for omega-3s and binding power, flax seeds for added fiber, or hemp seeds for a protein punch.
- Apples: Freshly diced apples contribute a wonderful natural sweetness and a subtle moisture to these granola bars, complementing the dry ingredients beautifully. While apples work perfectly, this recipe is quite forgiving; pears or quinces can be used as equally delicious alternatives, each offering their unique flavor nuances.
- Cinnamon: A touch of ground cinnamon is highly recommended as it imparts a warm, aromatic flavor that elevates the entire batch of gluten-free granola bars. Its comforting spice pairs perfectly with the apples and other ingredients. For a seasonal twist, especially during autumn, you may substitute it with pumpkin pie spice.
- Vegan Butter: To ensure these delicious granola bars remain dairy-free and vegan, I use vegan butter. It provides richness and helps bind the ingredients together. Another excellent alternative is coconut oil. When baking, I generally recommend using refined coconut oil because it has a neutral flavor that won’t compete with the other ingredients. In contrast, extra virgin coconut oil has a more distinct coconut taste and aroma, which you might enjoy if you like that flavor. If you don’t have dietary restrictions, regular unsalted butter or ghee can be used instead.
- Maple Syrup: Maple syrup acts as both a natural sweetener and a binder, crucial for keeping these bars together while maintaining their vegan status. Its distinct, rich flavor is a perfect match. Other liquid sweeteners like brown rice syrup or agave nectar are good substitutes. For those not following a vegan diet, honey is a classic choice. If you are managing blood sugar levels, consider using Lakanto maple-flavored syrup, a low-glycemic index maple syrup substitute.
Step-by-Step Guide: How to Make Homemade Gluten-Free Granola Bars
Making these crunchy gluten-free granola bars at home is a simple and rewarding process. Follow these straightforward steps to create your own batch of delicious, healthy snacks:
1. Preheat Your Oven
Begin by preheating your oven to 350°F (175°C). This ensures the oven is at the correct temperature for even baking, resulting in perfectly crunchy granola bars.
2. Prepare Your Baking Tray
To prevent sticking and ensure easy removal of your granola bars, generously grease a large rectangular baking tray. You can use vegan butter or a nonstick cooking spray. For extra assurance, line the greased tray with a piece of parchment paper or a silicone baking mat (silpat), allowing some overhang on the sides for easy lifting.
3. Combine the Dry Ingredients
In a large mixing bowl, combine all your dry ingredients: the puffed rice cereal, finely chopped cashew nuts, sesame seeds, sunflower seeds, diced apples, and ground cinnamon. Mix everything thoroughly with a spatula or your hands until all the ingredients are homogeneously distributed. This step is crucial for ensuring every bite of your granola bar has a balanced flavor and texture.
4. Integrate the Wet Ingredients
In a separate small bowl, whisk together the melted vegan butter and maple syrup until well combined. Pour this liquid mixture evenly over the dry ingredients in the large mixing bowl. Continue to mix diligently, ensuring that all the dry ingredients are fully coated with the vegan butter-maple syrup mixture. This sticky coating is what will bind your granola bars together and give them their delightful sweetness and crunch.
5. Transfer and Compact the Granola Mixture
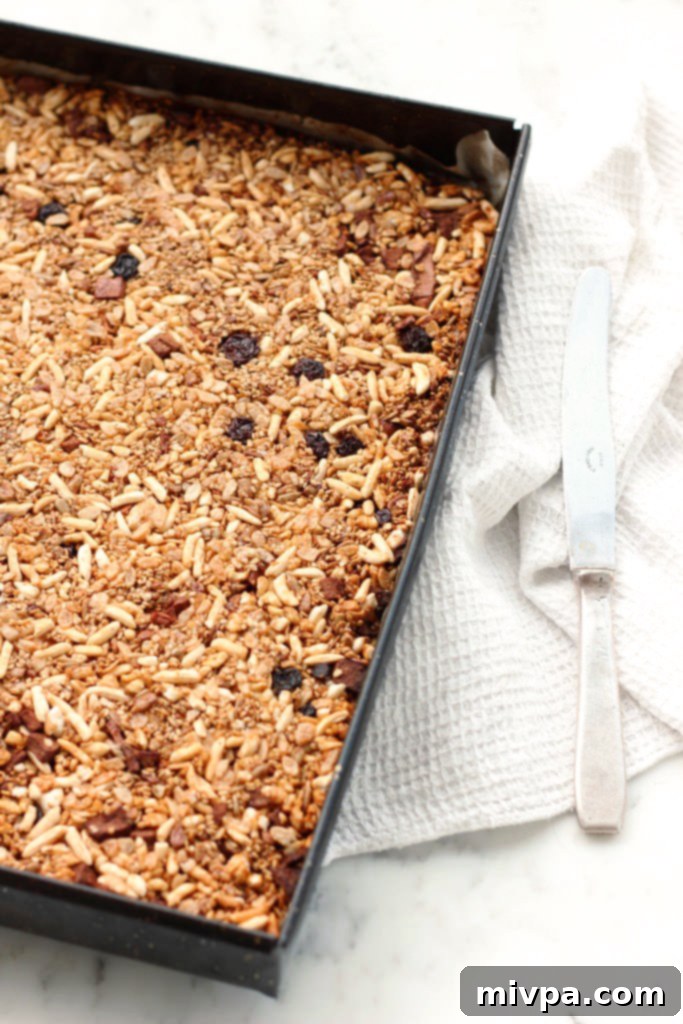
Carefully transfer the entire granola mixture into your prepared baking pan. Spread it out evenly, ensuring the mixture covers the entire surface area of the pan. Now, use the back of a slotted spoon or a flat spatula to press the mixture down firmly and compact it as evenly as possible. The more you compress it at this stage, the more likely your bars will hold their shape when sliced.
6. Bake Until Golden Brown
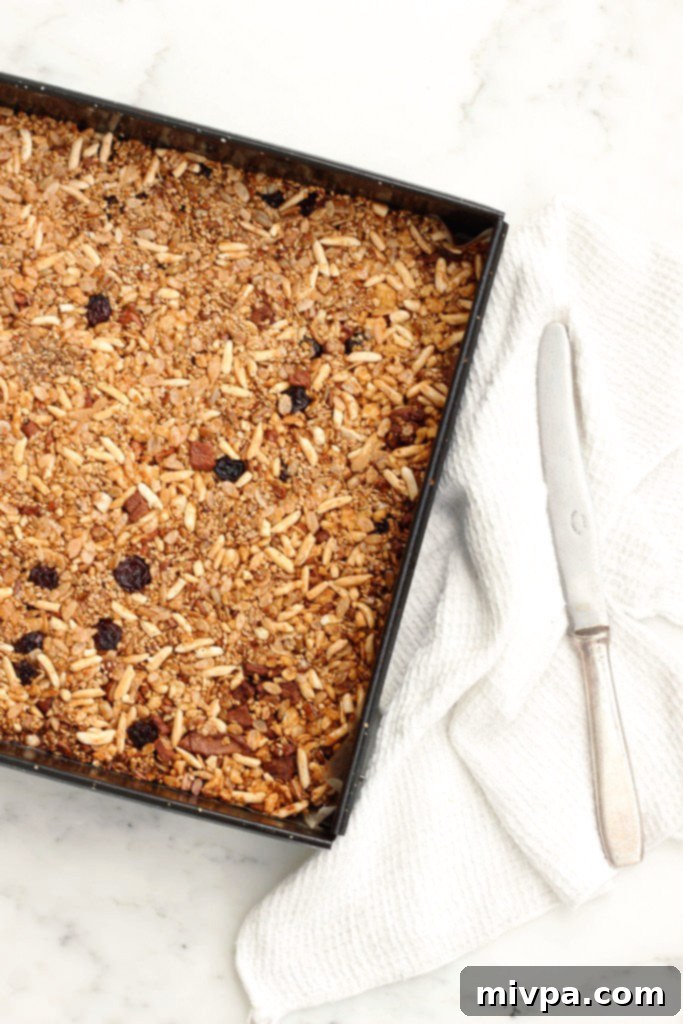
Place the baking tray with the compacted granola mixture into the preheated oven. Bake for approximately 30 to 35 minutes, or until the edges are golden brown and the center appears set. Keep a close eye on it during the last few minutes to prevent over-browning, as ovens can vary.
7. Press Granola After Baking
Immediately after removing the baking tray from the oven, while the mixture is still warm and pliable, use the back of a spoon to compact the mixture even further. This additional pressing step helps to ensure the bars are dense and hold together beautifully once cooled. Don’t skip this, as it significantly impacts the final texture and stability of your granola bars.
8. Cool Completely Before Slicing
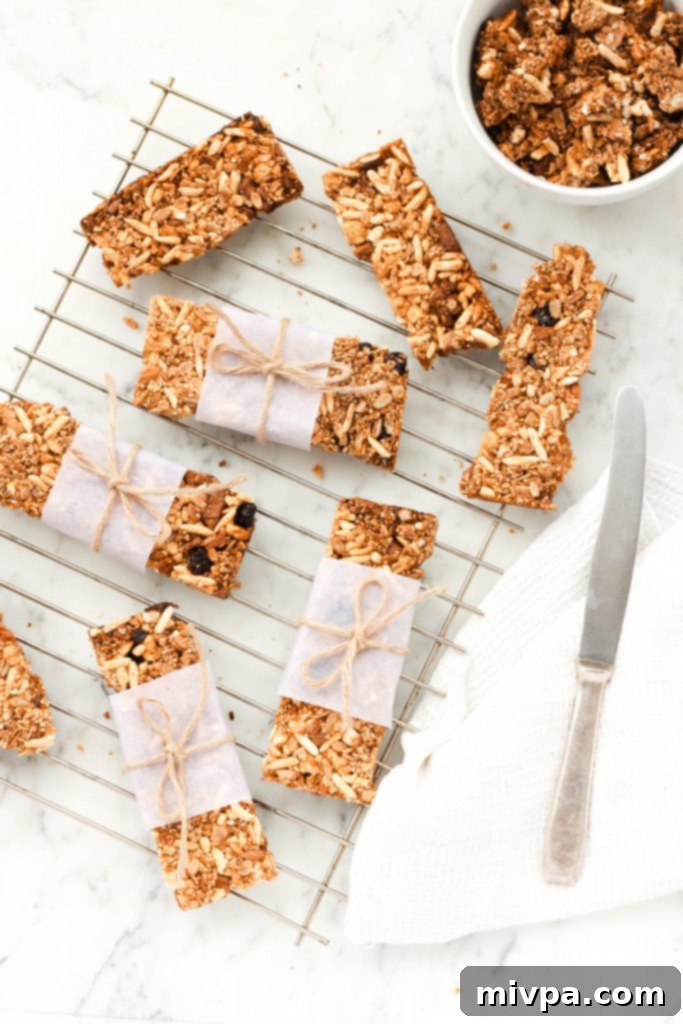
Allow the granola mixture to cool completely in the baking tray. This usually takes about 30 to 40 minutes at room temperature. Patience is key here! Once completely cooled and firm, gently lift the parchment paper or silpat (with the granola mixture) from the baking dish and place it on a cutting board. Use a sharp knife to cut the granola mixture into rectangle bars of your desired size and shape. Enjoy your homemade, crunchy, and delicious gluten-free granola bars!
Dish by Dish Tips & Tricks for Perfect Granola Bars:
To help you achieve the best possible results with your homemade gluten-free granola bars, here are a few extra tips and tricks:
- Always Line Your Tray for Easy Release: This is a crucial step! To guarantee effortless removal of your granola bars without any sticking or breaking, always make sure to line your baking tray. You can use either parchment paper, leaving an overhang on the sides for easy lifting, or a reusable silicone baking mat (silpat). This simple step saves a lot of frustration!
- Customize Your Bar Shapes: While this recipe typically yields rectangular bars, which are perfect for grab-and-go snacks, feel free to get creative! You can easily cut them into squares, triangles, or even use cookie cutters (once cooled and firm) for fun shapes, especially if you’re making them for kids or a party.
- Boost Flavor with Add-ins: The base recipe is fantastic, but it’s also a blank canvas for customization. Elevate your healthy granola bars by incorporating a handful of your favorite dried fruits such as sweet raisins, tangy dried blueberries, or vibrant dried cranberries. For a touch of indulgence, sprinkle in some dark chocolate chips (ensure they are dairy-free for a vegan option) – the contrast between the crunchy bar and melting chocolate is divine!
- Ensure Proper Cooling: As mentioned in the instructions, allowing the granola mixture to cool completely is essential for firm, well-formed bars. Rushing this step will result in crumbly bars that don’t hold their shape. Patience will be rewarded!
Common Questions About Homemade Granola Bars:
To maintain their freshness and crunchy texture, place these gluten-free homemade granola bars in an airtight container. They will keep well at room temperature for up to 5 days. For longer storage, you can refrigerate them for up to 10 days or freeze them for up to 3 months. If freezing, wrap each bar individually in parchment paper before placing them in an airtight freezer bag or container.
Absolutely! While the recipe calls for cashews, you can easily make these bars nut-free. Simply omit the cashews and increase the amount of sunflower seeds, or use other seeds like pumpkin seeds. Always double-check your puffed rice cereal to ensure it is certified nut-free if severe allergies are a concern.
The primary crunch comes from the puffed rice cereal, which retains its crispness during baking. Additionally, the seeds and nuts contribute to the texture. The baking process, combined with firm pressing both before and immediately after baking, helps to achieve that desired firm and crunchy consistency.
More Gluten-Free Breakfast & Snack Recipes to Explore:
If you loved these homemade gluten-free granola bars, you’re in for a treat! We have a wide array of delicious and healthy gluten-free recipes that are perfect for breakfast, brunch, or a satisfying snack. Expand your culinary repertoire with these wholesome options:
- Gluten-Free Chocolate Chip Pumpkin Bread (Dairy-Free)
- 25 Easy Gluten-Free Muffin Recipes for Anytime
- Gluten-Free Pumpkin Chocolate Chip Muffins (Dairy-Free)
- Savory Sweet Potato Toast (Gluten-Free, Dairy-Free)
P.S. If you try this amazingly crunchy gluten-free granola bar recipe, I’d absolutely love to hear from you! Please leave a star rating below and/or a review in the comment section further down the page – your feedback truly helps. Be sure to explore my entire Recipe Index for all the delicious recipes on the blog. You can also follow me on Pinterest, Facebook, or Instagram for daily inspiration! Don’t forget to sign up for my Email List to get fresh, wholesome recipes delivered straight to your inbox each week!
Print Recipe
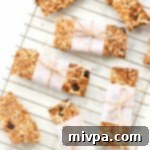
Crunchy Gluten-Free Granola Bars
5 Stars 4 Stars 3 Stars 2 Stars 1 Star
5 from 3 reviews
Author: felicia | Dish by Dish
Total Time: 45 minutes
Yield: 12 granola bars
Diet: Gluten Free
Description
Amazingly crunchy, these gluten-free granola bars are sweet, delicious and filling. These homemade granola bars make a quick breakfast or healthy snack on the go and are a great way to begin the day! Totally gluten-free, dairy-free and vegan too.
Ingredients
Units
Scale
- 5 cups puffed rice
- 1/4 cup raw cashews, chopped into small pieces
- 1/4 cup sesame seeds
- 1/4 cup unsalted sunflower seeds
- 1/2 cup apples, diced
- 1 teaspoon ground cinnamon
- 2/3 cup vegan butter, melted
- 2/3 cup maple syrup
Instructions
- Preheat Oven: Preheat oven to 350F (175C).
- Grease Baking Tray: Grease a large rectangular baking tray with vegan butter or nonstick cooking spray (and line tray with parchment paper or a silpat).
- Mix Dry Ingredients: In a large mixing bowl, place the puffed rice cereal, chopped cashew nuts, sesame seeds, sunflower seeds, diced apples, and ground cinnamon. Mix well until ingredients are homogeneously distributed.
- Add Wet Ingredients: Whisk melted vegan butter and maple syrup together, then pour over the dry ingredients. Mix well until dry ingredients are fully-coated with the vegan butter-maple syrup mixture.
- Transfer Granola Mixture to Baking Tray: Transfer the granola mixture into the previously greased baking tray, and spread it out until the granola mixture covers the entire surface area. Use the back of a slotted spoon to press the mixture down and compact it as evenly as possible.
- Bake Until Golden: Bake the granola mixture in the oven for 30 to 35 minutes.
- Press Granola: Straight after removing the baking tray from the oven, use the back of a spoon to compact the mixture even further.
- Cool Completely Before Slicing: Let granola mixture cool completely (wait 30 to 40 minutes) before cutting with a sharp knife into bars of your liking.
Notes
Puffed Rice Cereal: I like using puffed rice for a crunchy effect, but you can also use other types of crunchy gluten-free cereal (such as puffed quinoa) if you prefer.
Cashews: I used unsalted raw cashews, but you may also use unsalted roasted cashews if you prefer. Alternatively, you can also use other types of unsalted nuts (such as almonds, walnuts, peanuts, pistachios, macadamias, etc.).
Sesame Seeds: I used white sesame seeds, but feel free to go ahead and use a mix of multi-colored sesame seeds if you prefer.
Sunflower Seeds: I like adding unsalted sunflower seeds, but you may substitute it with a mix of other seeds (such as pumpkin seeds, chia seeds, flax seeds, hemp seeds, etc.).
Apples: Apples add a nice sweetness to these granola bars, but this recipe will turn out just as well with pears or quinces too.
Cinnamon: A touch of ground cinnamon always adds a beautiful flavor to these gluten-free granola bars, so I highly recommend including it. Alternatively, you may substitute it with pumpkin pie spice if you prefer.
Vegan Butter: I used vegan butter to keep this recipe dairy-free and vegan, but you may go ahead and use coconut oil if you prefer (for baking, I recommend using refined coconut oil (which has a neutral flavor), as opposed to extra virgin coconut oil (which has a more pronounced taste and flavor). Alternatively, if you are not lactose-intolerant, feel free to use normal butter or ghee instead.
Maple Syrup: I used maple syrup as a natural sweetener and to keep the recipe vegan. You may also use agave nectar if you prefer. Alternatively, if you are not vegan, feel free to use honey instead. If you are diabetic or insulin-resistant, I highly recommend using Lakanto maple-flavored syrup (a maple syrup substitute that is low glycemic index).
Storing: To store, place these gluten-free homemade granola bars in an airtight container at room temperature for up to 5 days.
This recipe was originally posted in 2015, but has since been republished to include clearer step-by-step instructions, as well as updated recipe notes, and comprehensive substitution suggestions to better serve our readers.
- Prep Time: 10 mins
- Cook Time: 35 mins
- Category: Breakfast
- Method: Baking
- Cuisine: Western
