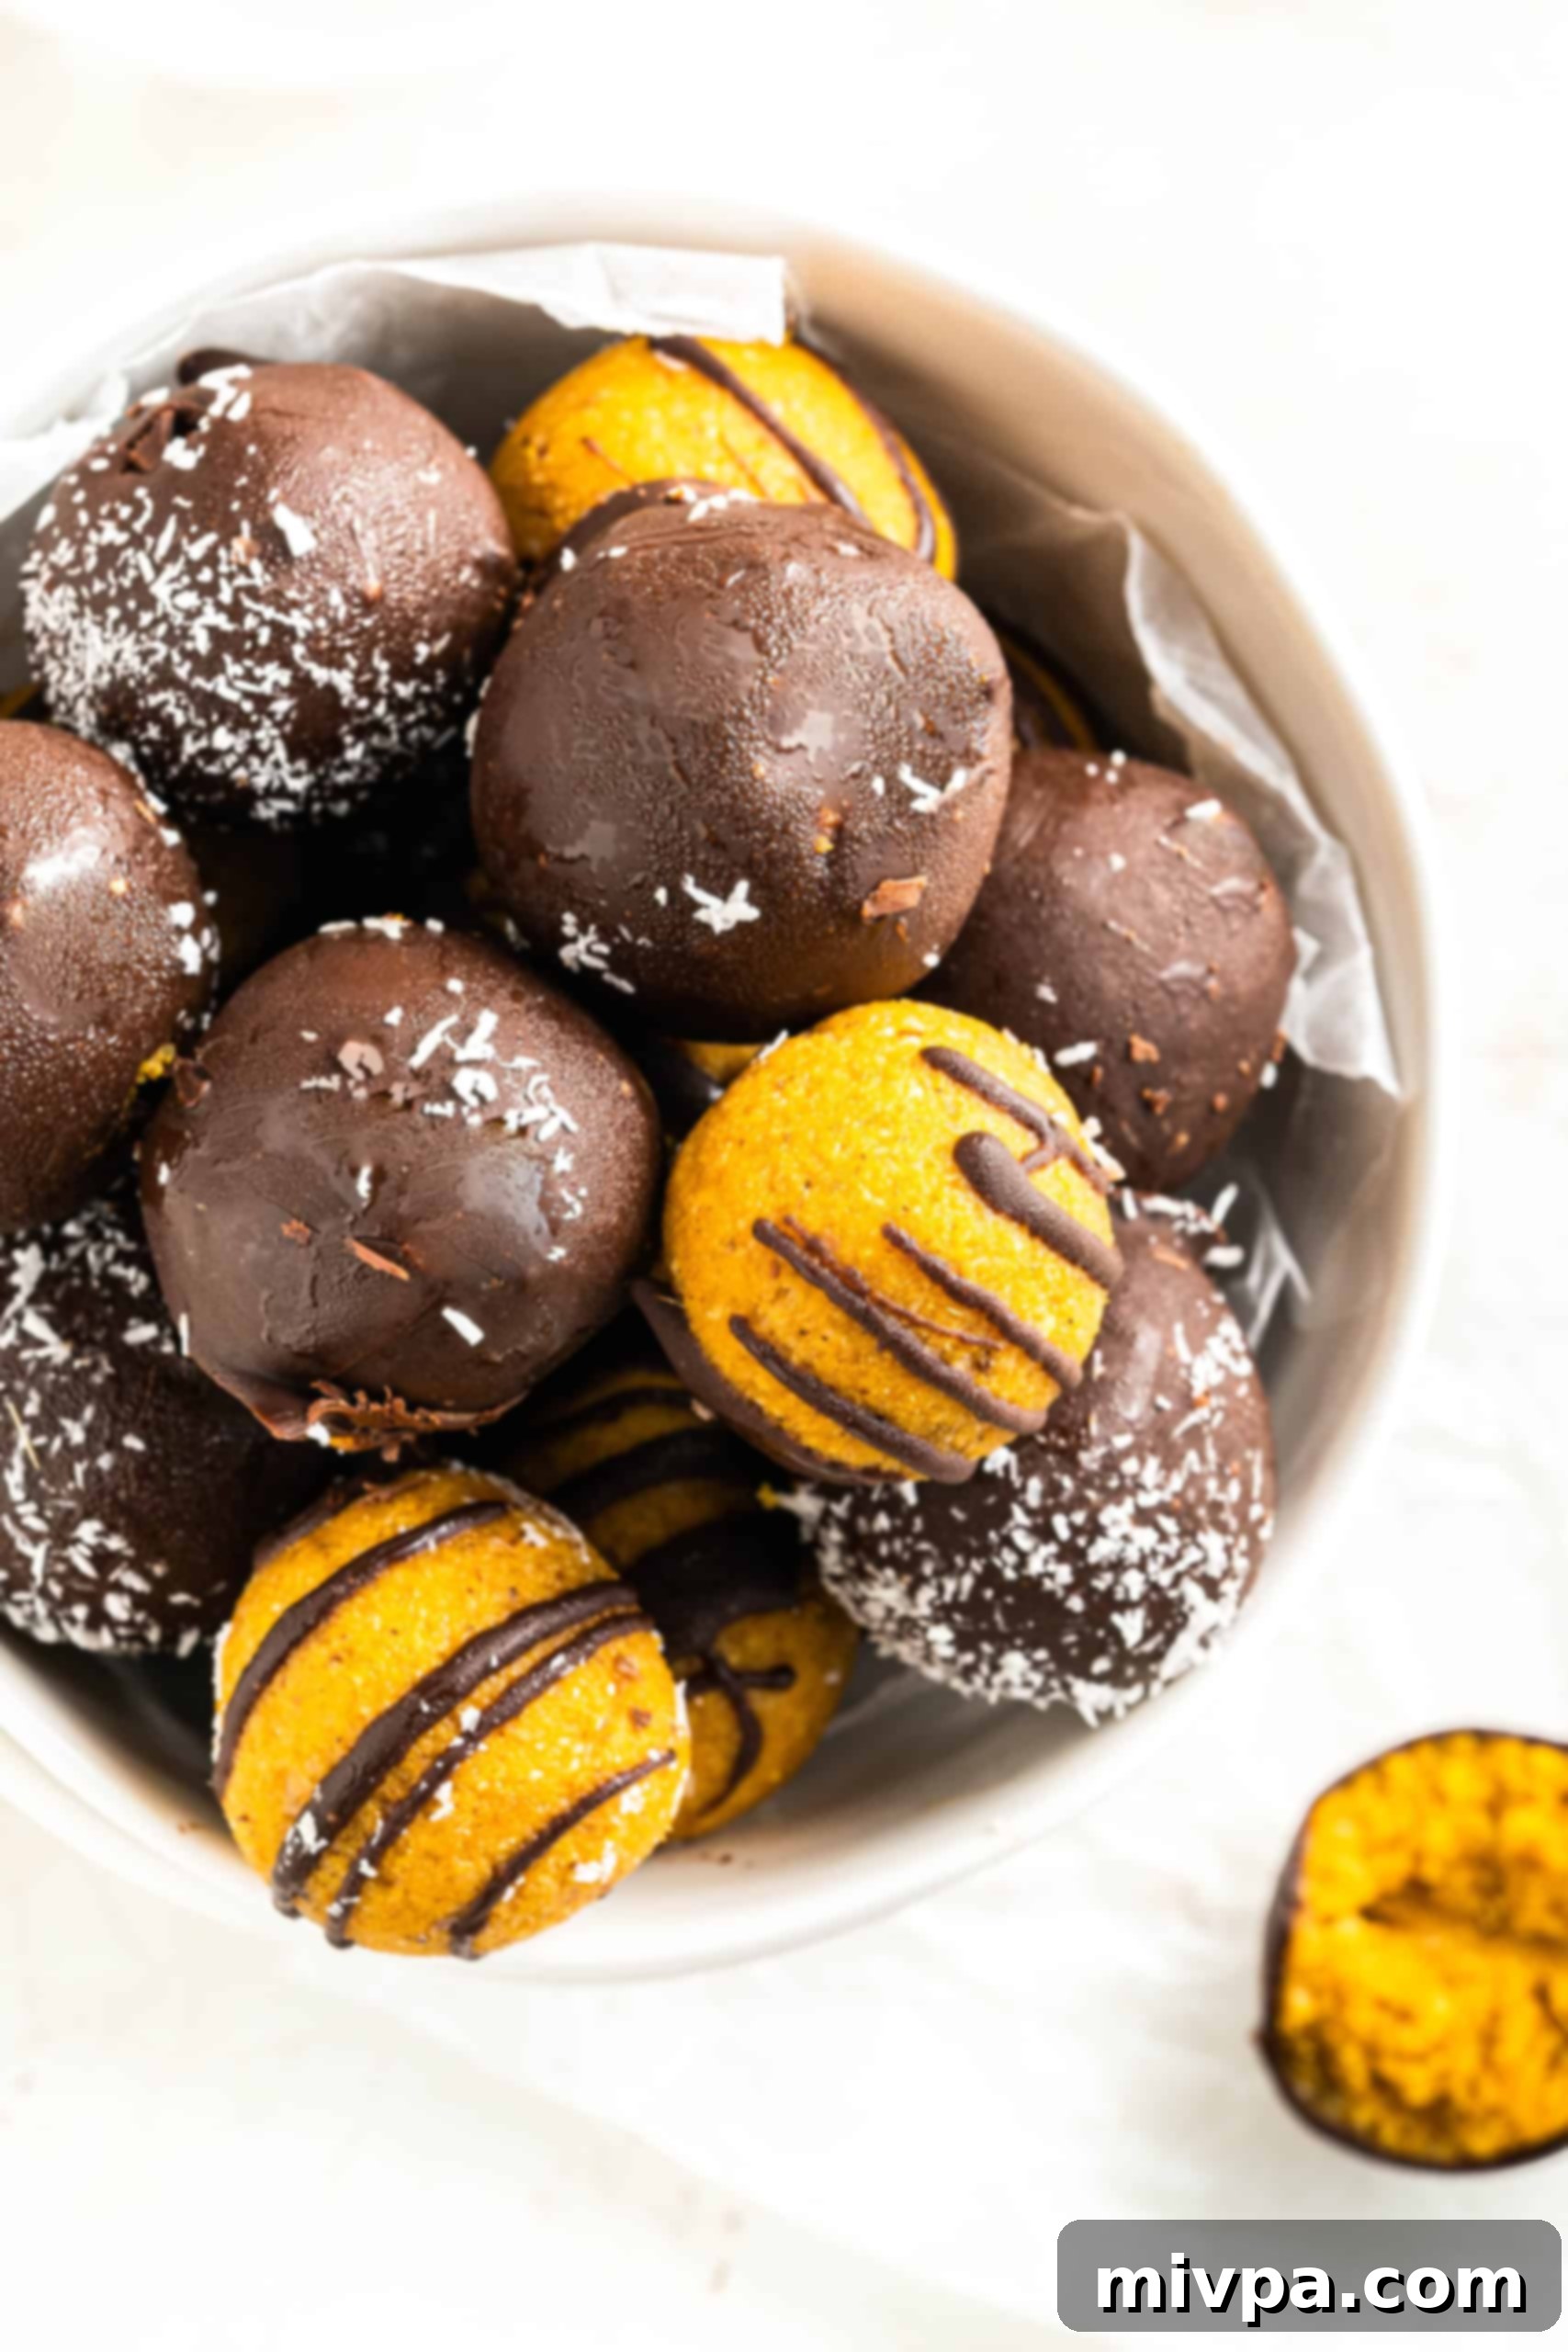
Delicious No-Bake Chocolate Pumpkin Truffles: Your Ultimate Gluten-Free & Vegan Fall Treat
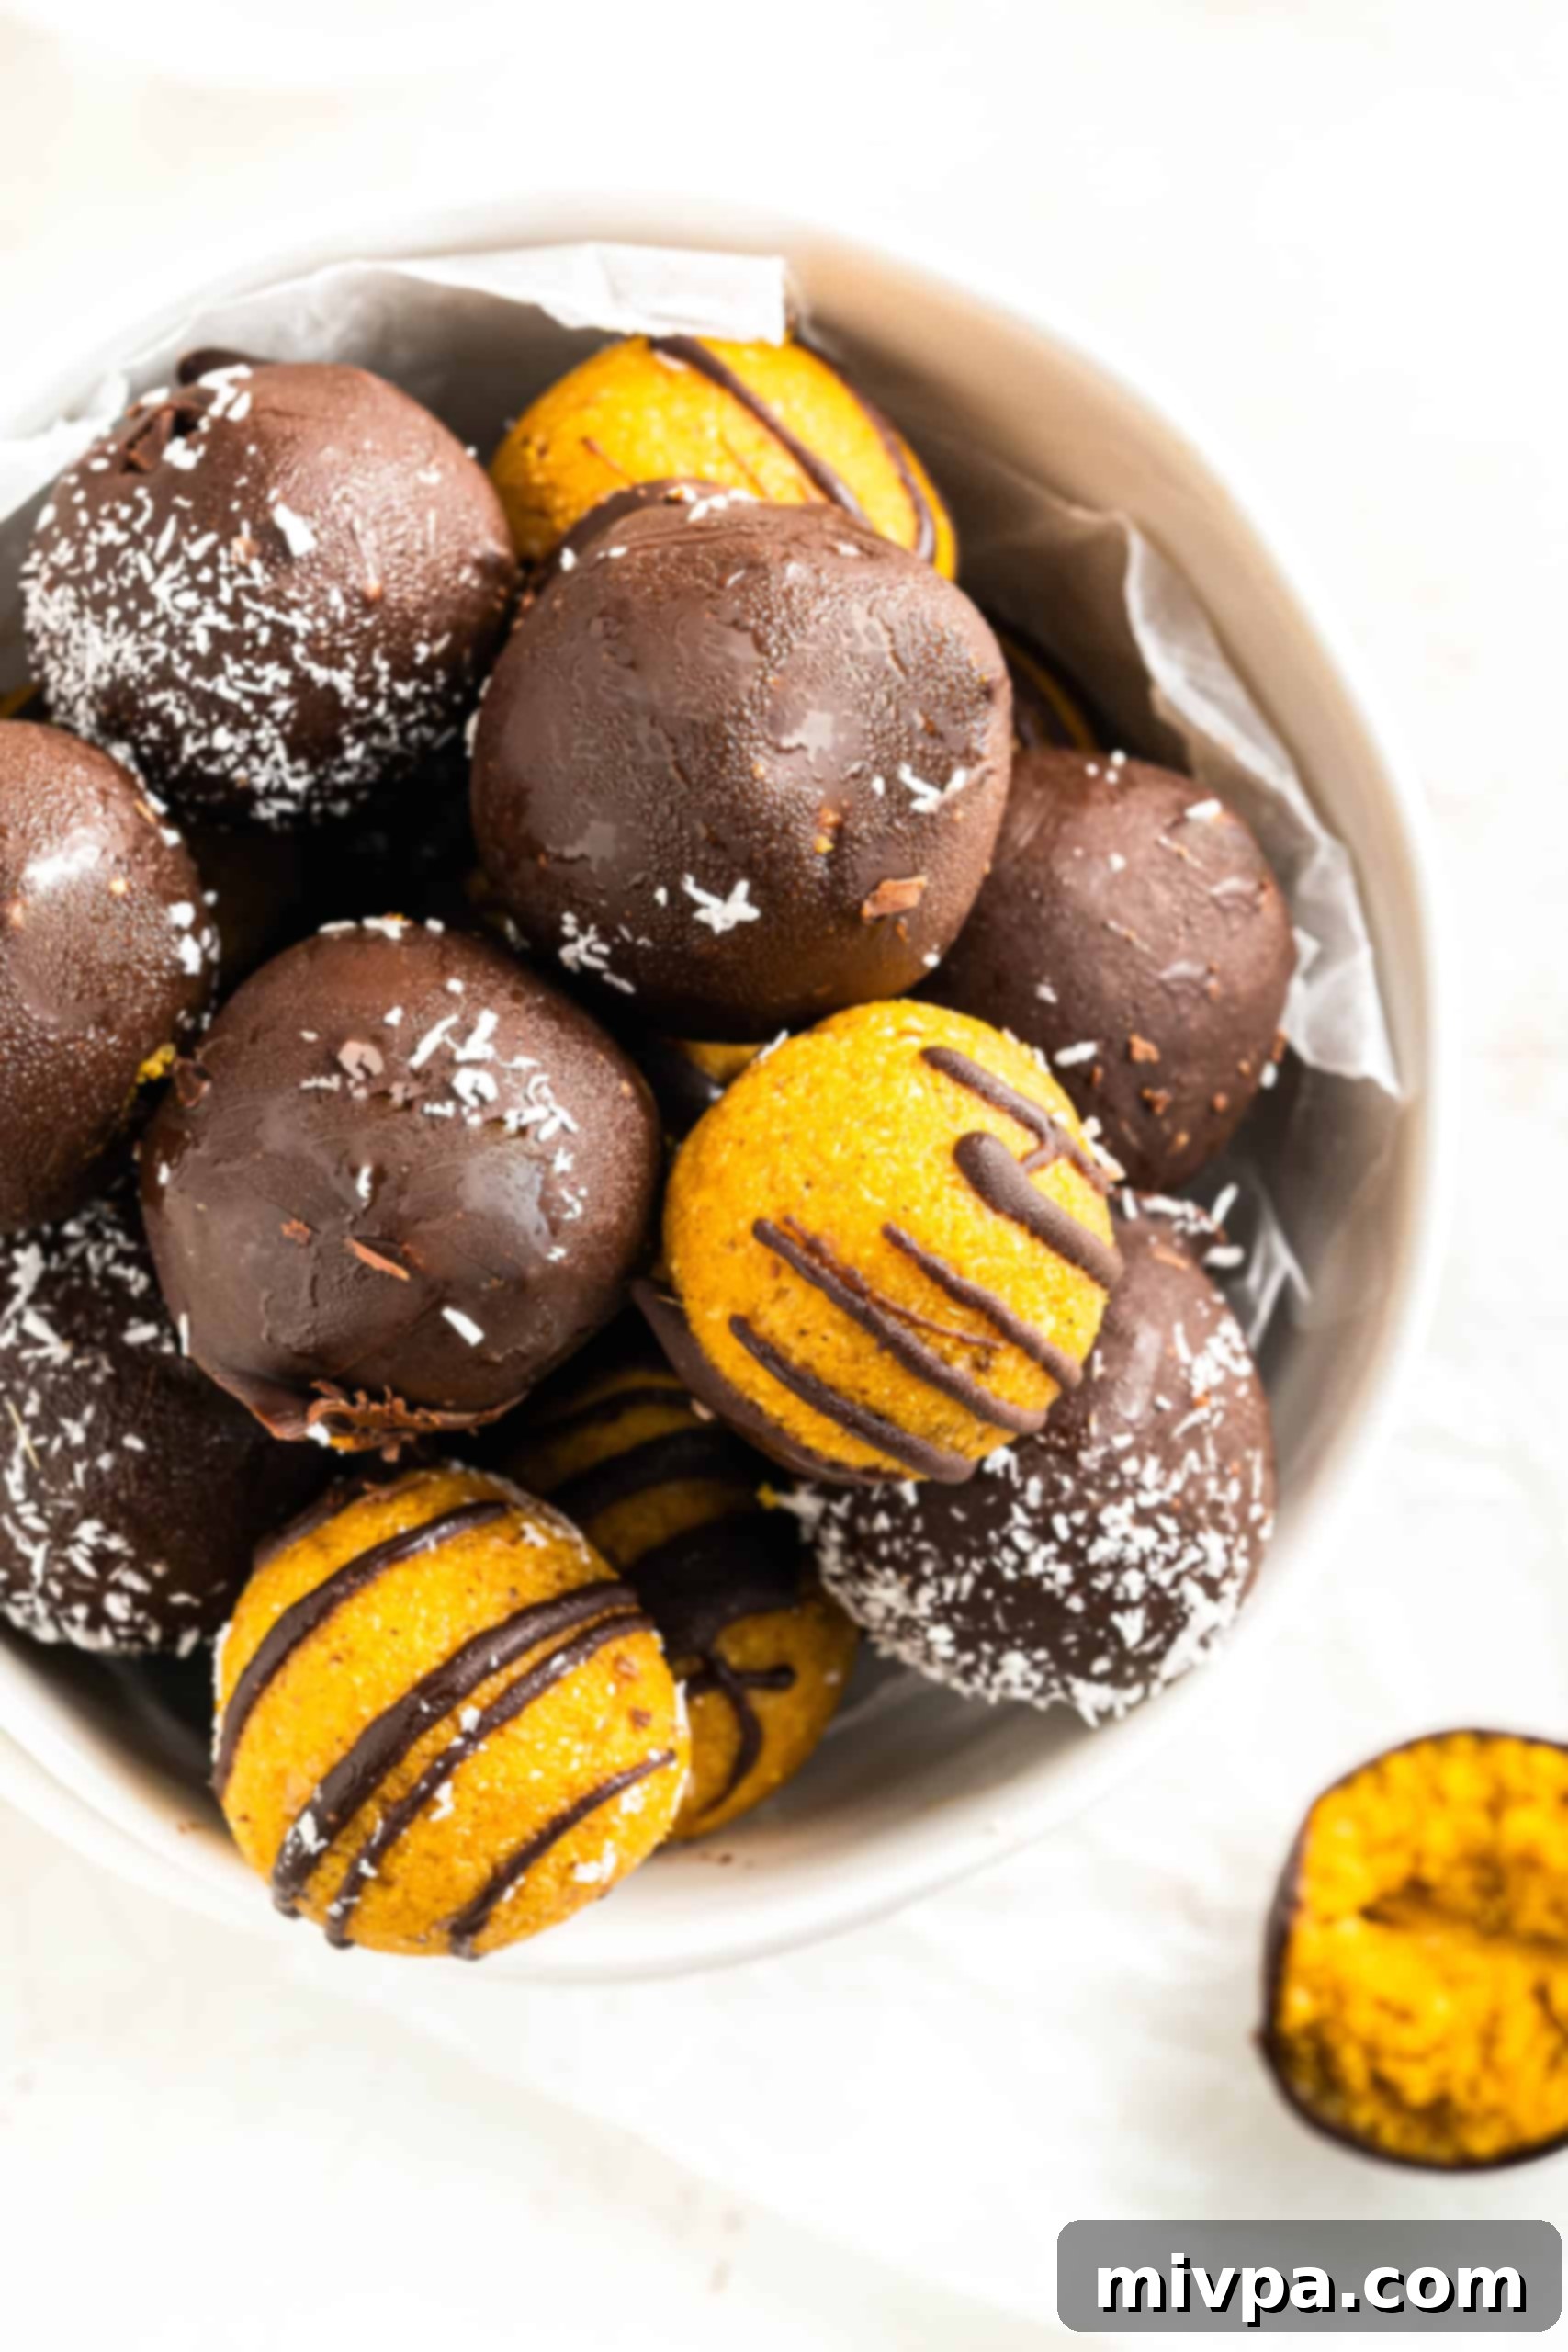
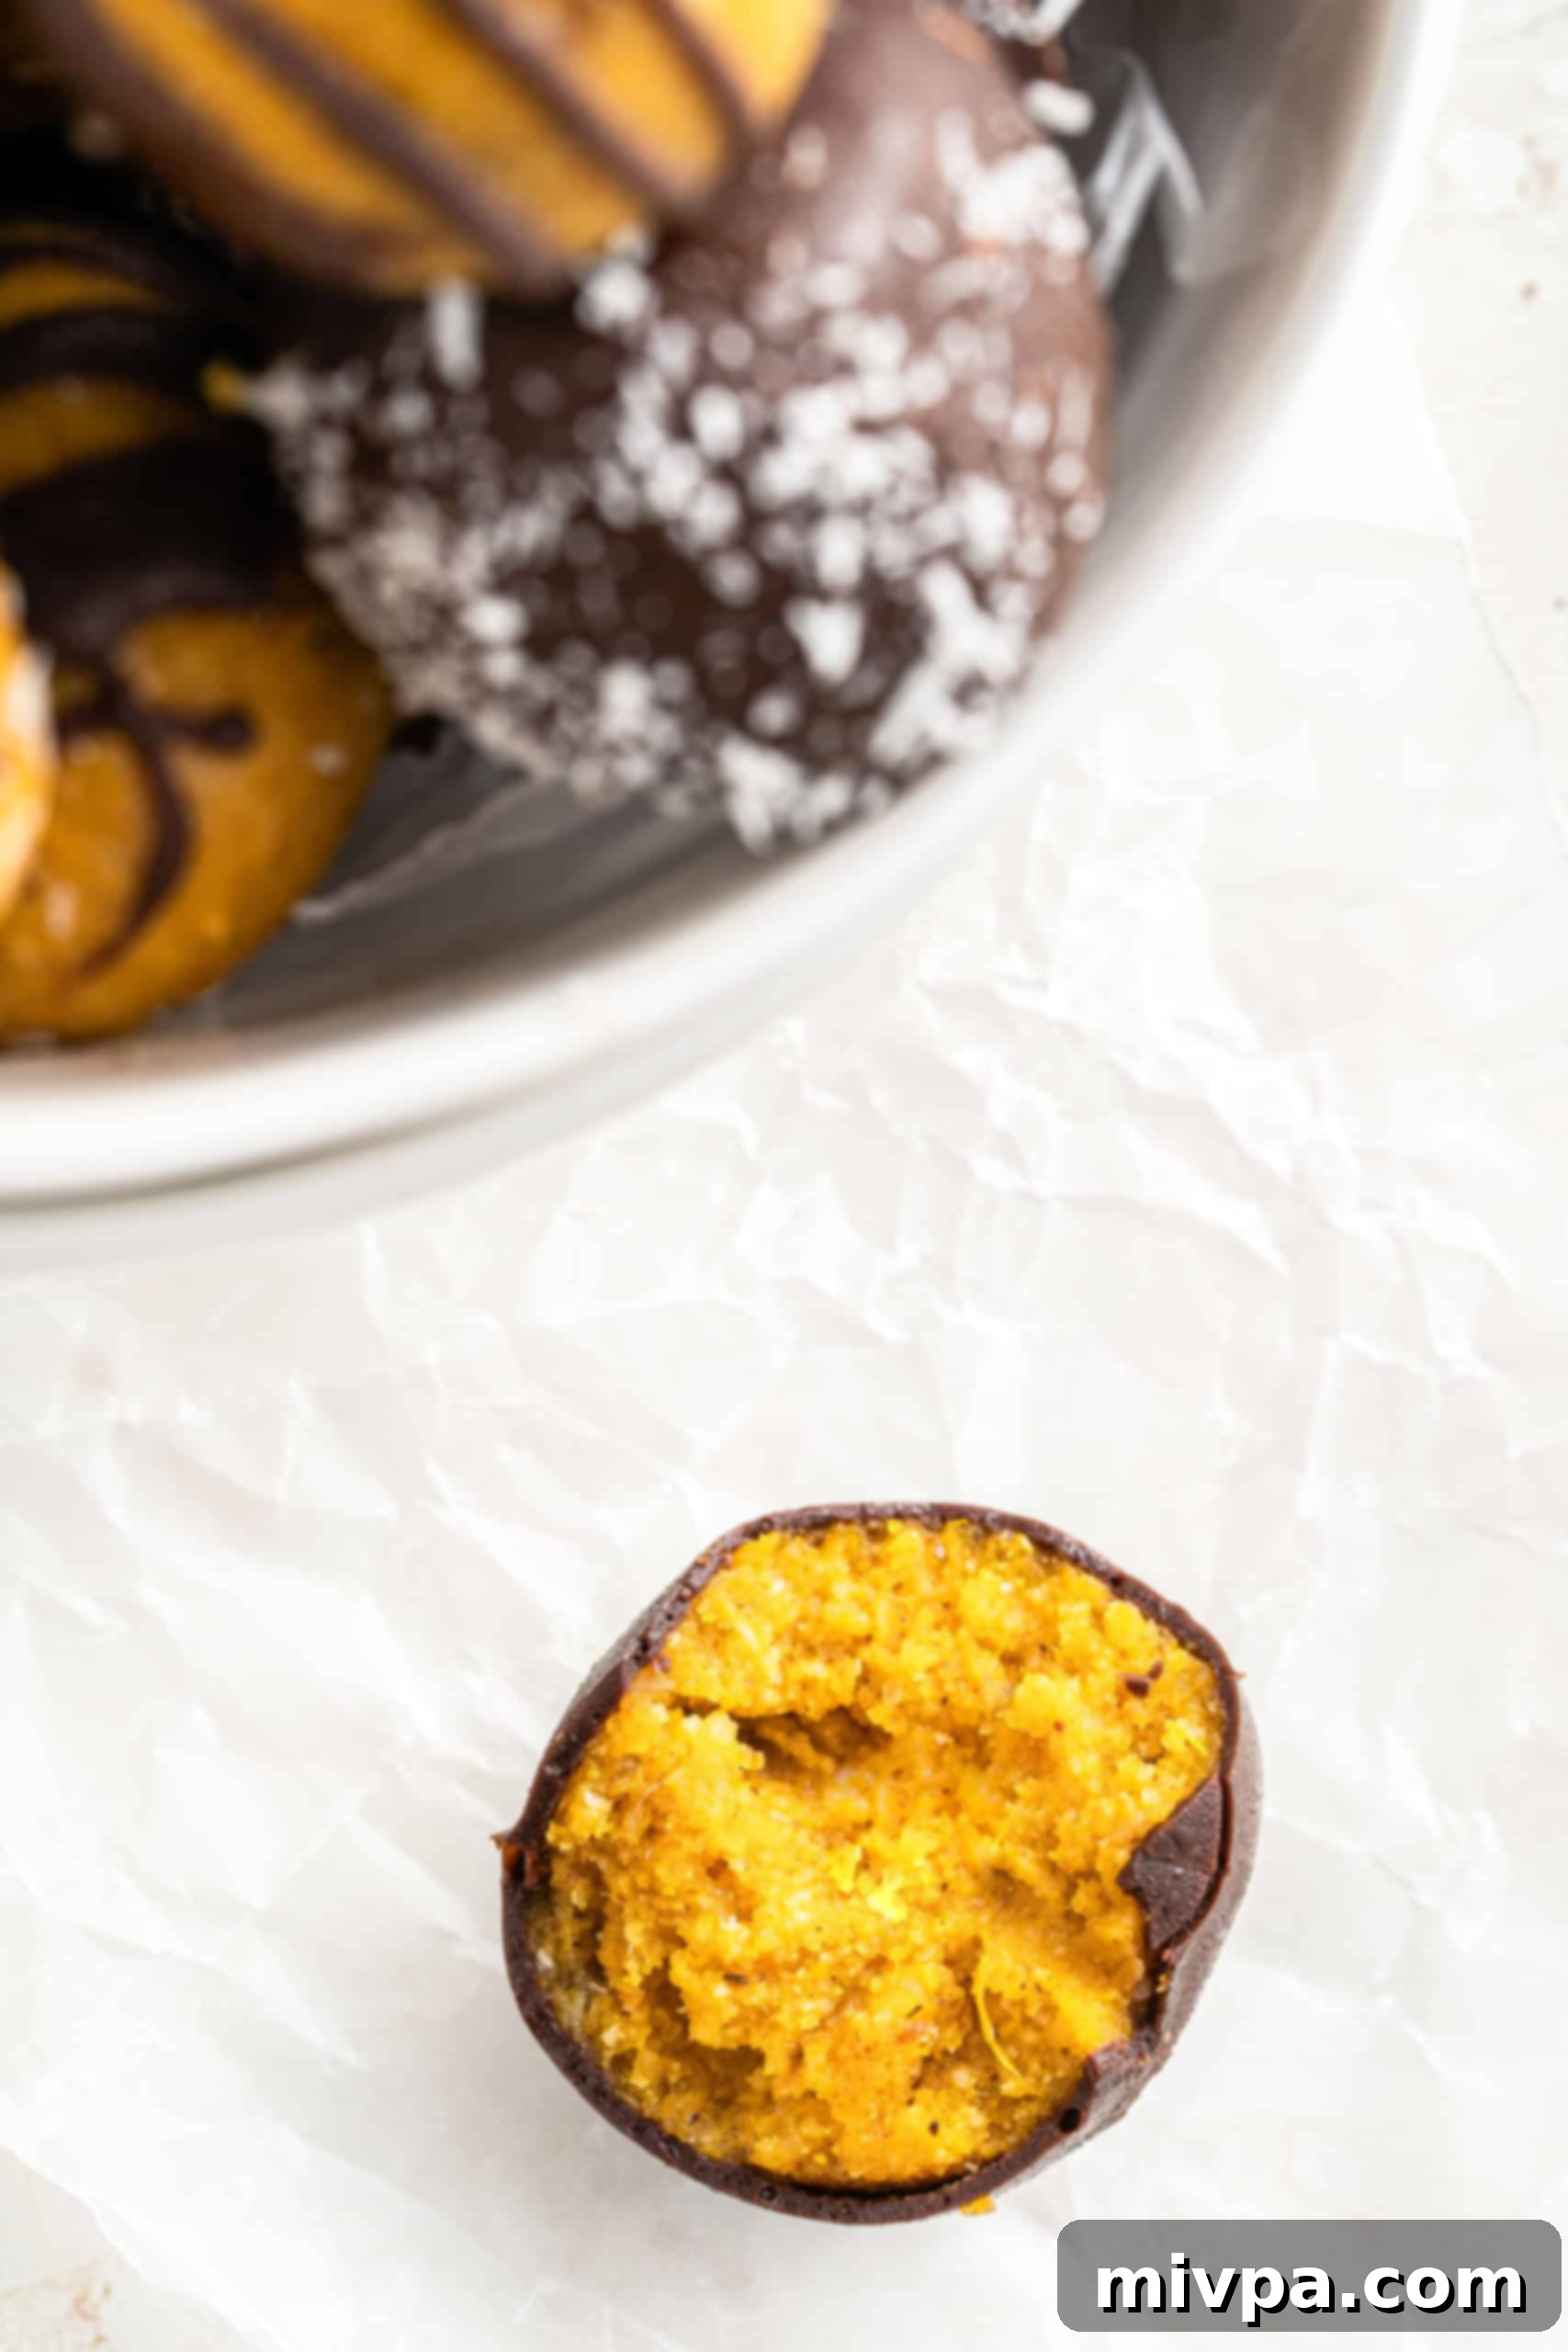
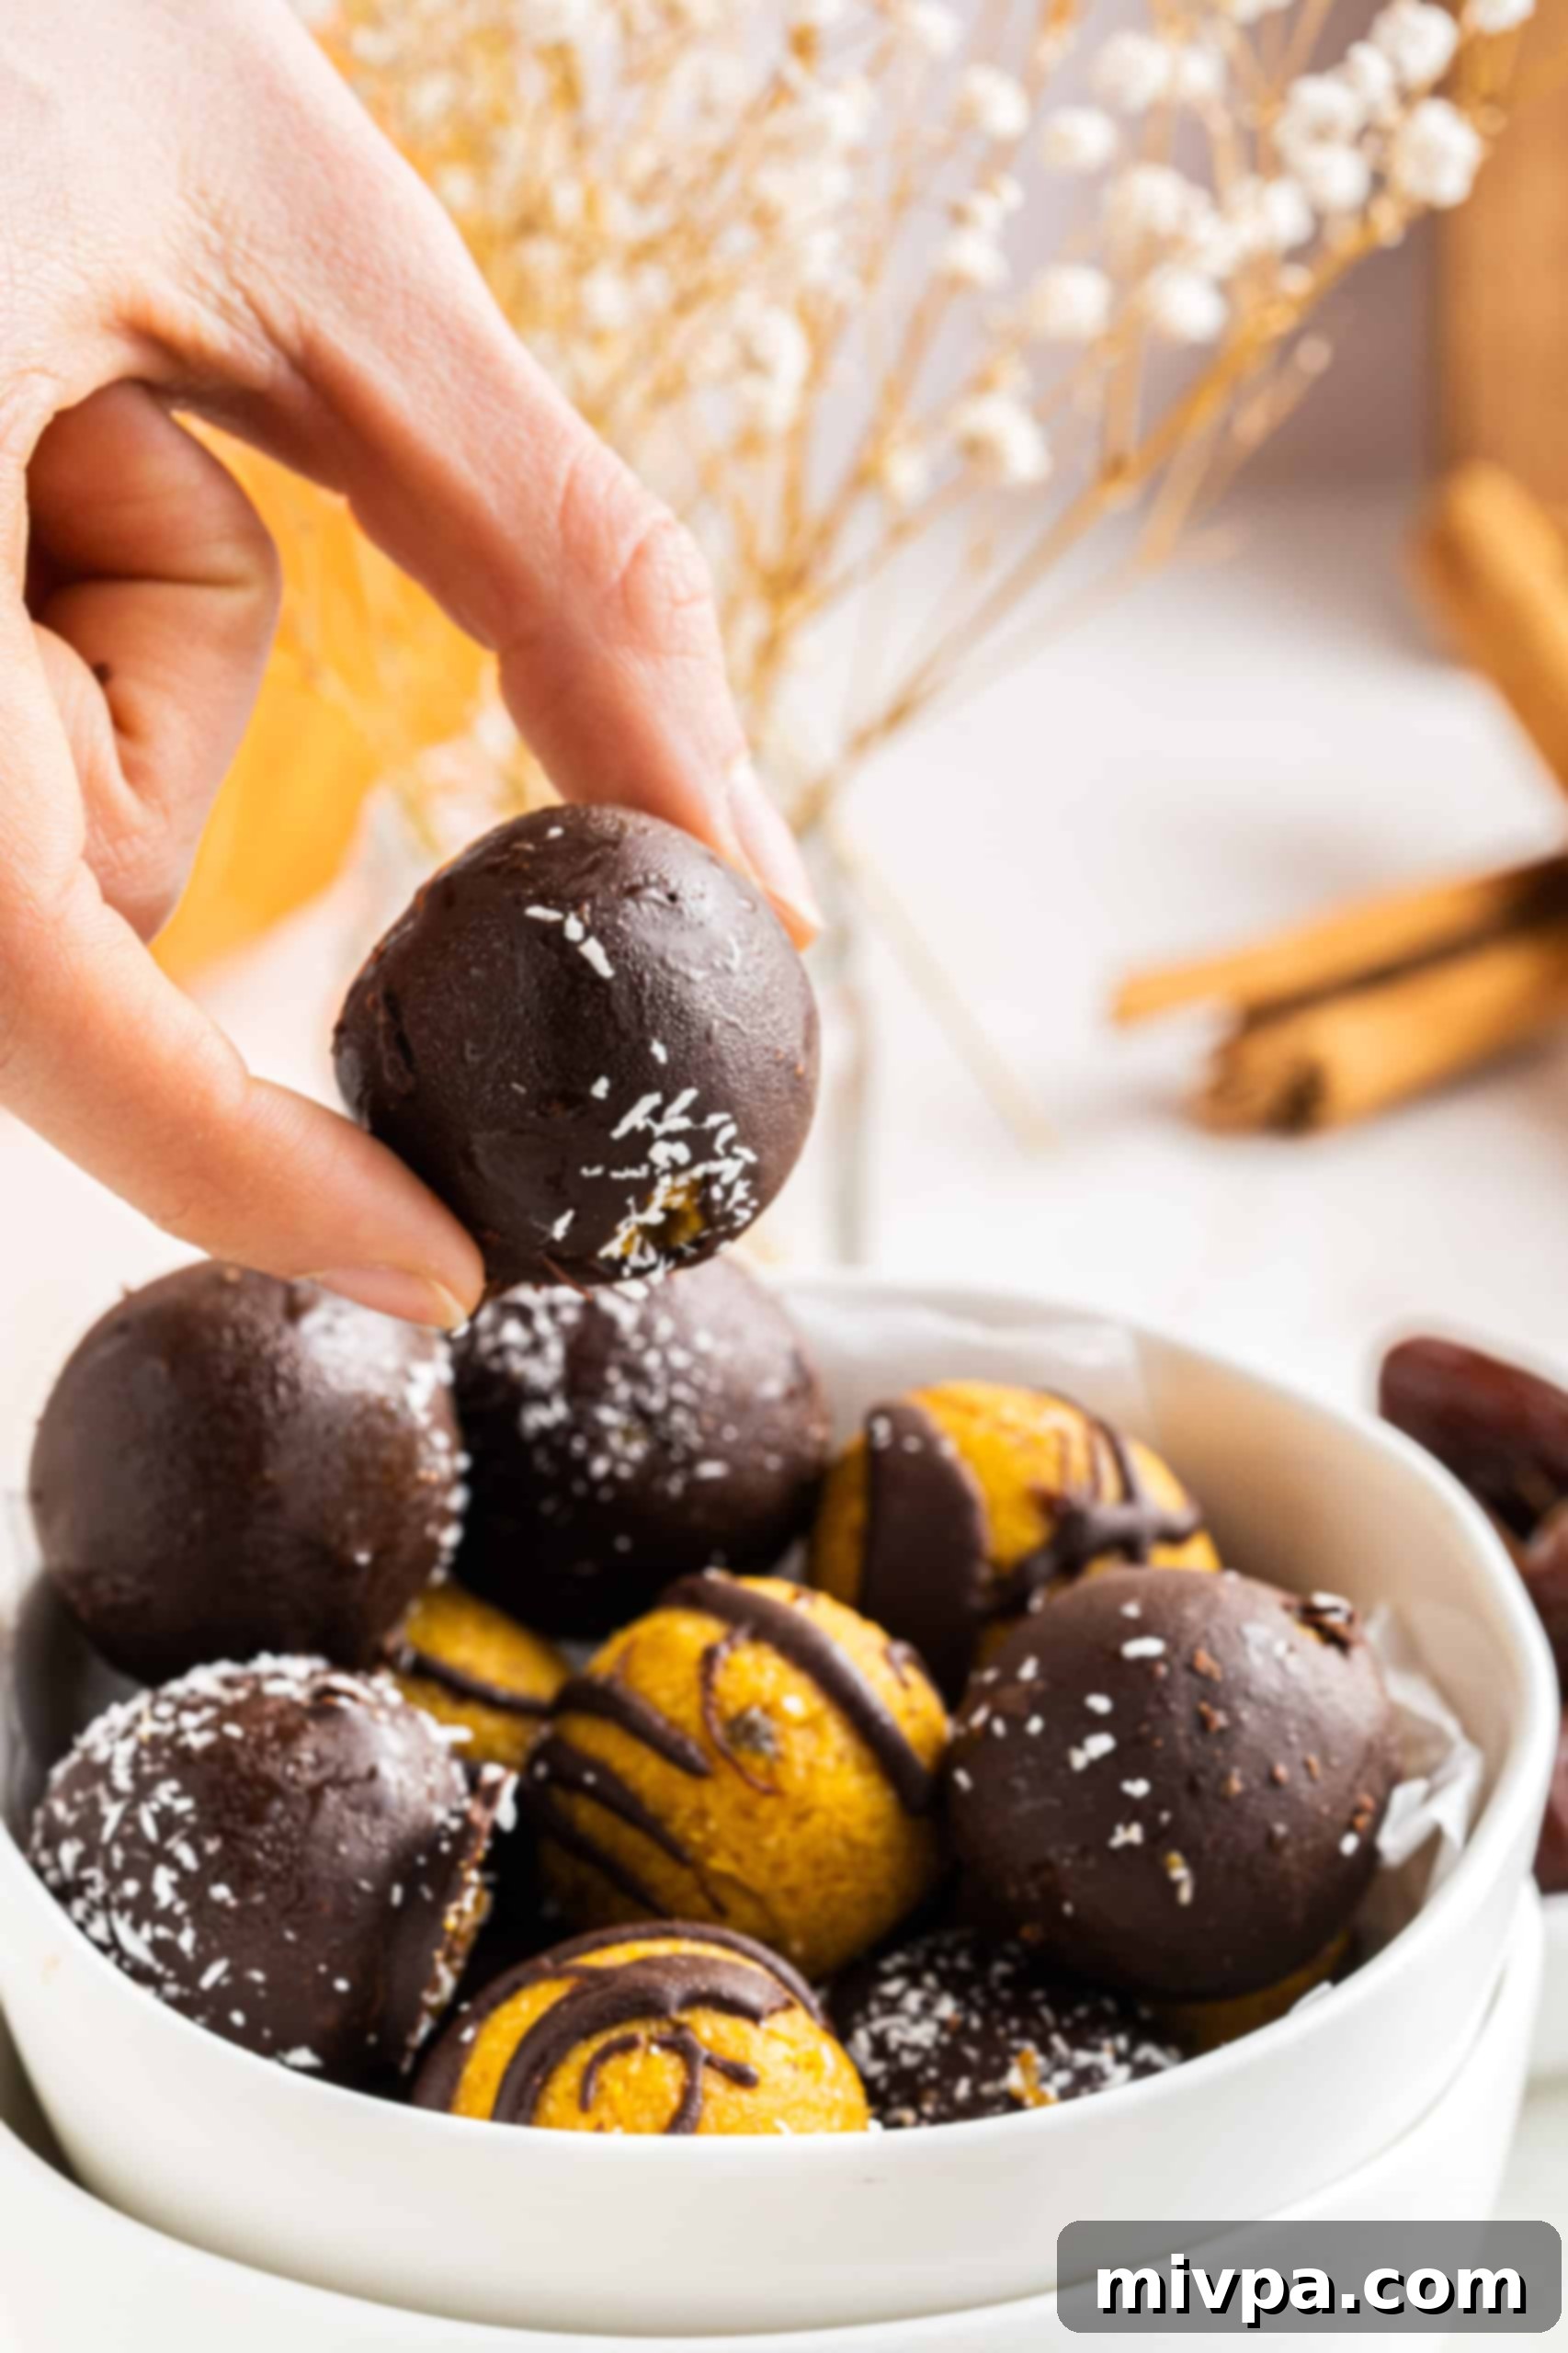
Welcome to the most delightful season of the year, where the air is crisp, the leaves are turning, and the aroma of pumpkin spice fills every corner! If you’re searching for a treat that embodies all the cozy comforts of autumn while being incredibly easy to make, look no further. These no-bake chocolate pumpkin pie truffles are destined to become your go-to fall dessert. Featuring a lusciously smooth and naturally sweet pumpkin filling, perfectly complemented by a rich, decadent chocolate coating, these truffles are a pure indulgence.
What makes these truffles even more special? They’re designed to satisfy your sweet cravings in a single, perfect bite, offering a healthier alternative to many traditional desserts. Their bite-sized format also makes them an absolute hit for festive occasions. Imagine the joy they’ll bring as a fun, wholesome treat for kids and adults alike during Halloween parties or as an elegant addition to your Thanksgiving dessert spread. Best of all, they’re entirely gluten-free, dairy-free, and vegan, ensuring everyone at your table can enjoy these incredible pumpkin truffles without a worry. Get ready to fall in love with your new favorite autumn delight!
[feast_advanced_jump_to]
Embrace Autumn with Our Favorite Pumpkin Desserts
Fall truly means pumpkin everything, and honestly, I’m more than just giddy that pumpkin season has finally arrived! There’s something uniquely comforting about the scent and taste of pumpkin that instantly transports you to cozy evenings and festive gatherings. This time of year, we wholeheartedly embrace all things pumpkin, indulging in a variety of sweet treats that highlight this incredible squash. From pies to cakes, pumpkin is the star of our holiday season baking.
While these no-bake chocolate pumpkin truffles are currently stealing the show, here are some other beloved pumpkin-flavored desserts that frequently grace our table during the holiday season:
- Crustless Pumpkin Pie (Gluten-Free, Dairy-Free): A simpler take on a classic, perfect for those who love the filling without the fuss of a crust.
- Moist Pumpkin Bars (Gluten-Free, Dairy-Free): These soft and tender bars are an absolute crowd-pleaser, easily transportable for potlucks.
- Easy Pumpkin Cake (Gluten-Free, Dairy-Free): A straightforward recipe for a deliciously spiced cake that’s perfect for any fall celebration.
- Pumpkin Roll (Gluten-Free, Dairy-Free): An impressive dessert with a creamy filling rolled into a delicate pumpkin cake, ideal for special occasions.
- No-Bake Pumpkin Cheesecake (Gluten-Free, Vegan): If you love cheesecake but prefer a simpler preparation, this vegan version is rich and satisfying.
- Easy Pumpkin Waffles (Gluten-Free, Dairy-Free): A fantastic way to start your fall mornings with a festive and comforting breakfast.
Why These No-Bake Pumpkin Truffles Are the Perfect Sweet Treat for Fall
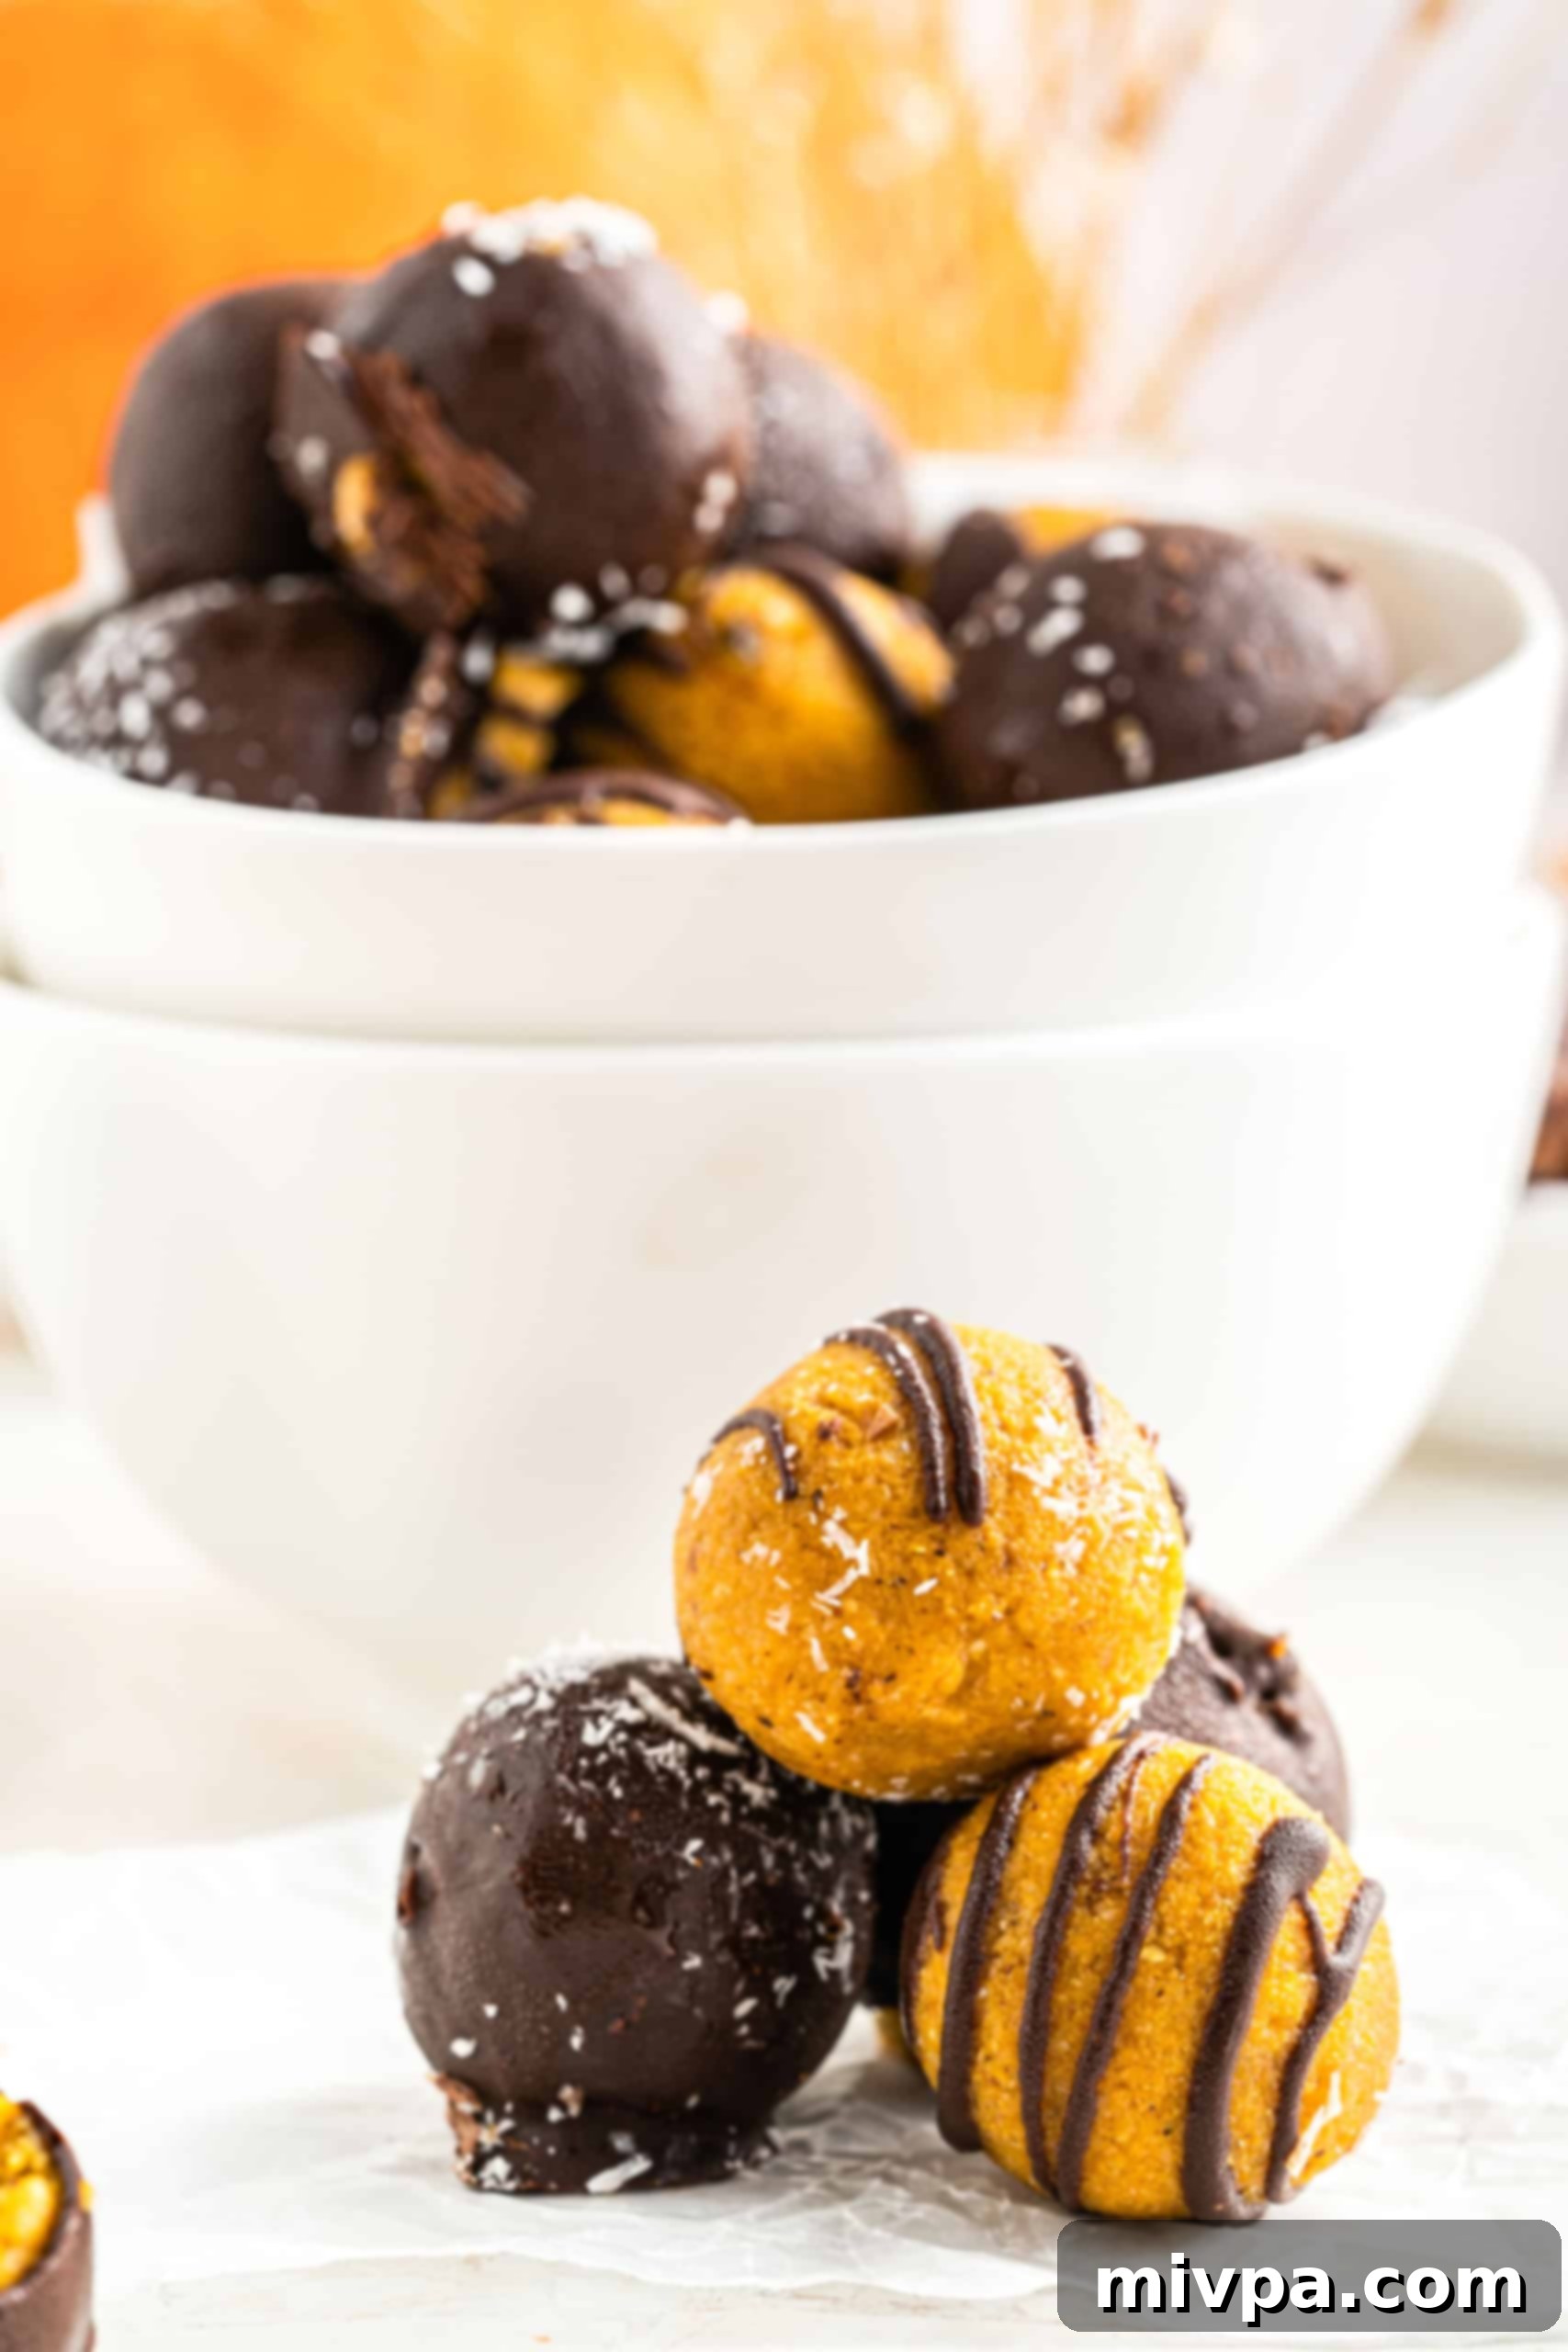
And of course… these utterly amazing no-bake chocolate pumpkin pie truffles! They strike just the right balance of sweetness, making them an irresistible addition to your autumn repertoire. Forget heavy, complicated desserts; these truffles are designed for pure, unadulterated enjoyment.
Served in charming, individual bite-sized portions, these healthy pumpkin truffles are incredibly satisfying. Each bite offers a delightful explosion of flavor, perfectly curbing both your sweet tooth and any cravings for the classic combination of chocolate and pumpkin. They’re not just delicious; they’re convenient, making them ideal for gatherings, school lunchboxes, or simply as a guilt-free indulgence.
In fact, this no-bake pumpkin dessert is so good, you might find yourself reaching for “just one more” throughout the pumpkin season. Beyond their incredible taste, these truffles also make a beautiful and festive addition to your Thanksgiving dessert table or any fall celebration. Their elegant appearance and delicious flavor are sure to impress your guests, who will never guess how simple they were to create!
The Magic Behind These Easy Pumpkin Truffles: Why This Recipe Works
This recipe isn’t just delicious; it’s ingeniously designed for maximum flavor and minimal effort, making it a true winner in the kitchen. Here’s why these no-bake chocolate pumpkin truffles will quickly become a favorite:
- Simple, Accessible Ingredients: You won’t need to embark on a scavenger hunt for exotic items. All the ingredients required for this no-bake pumpkin truffle recipe are easily accessible at your local grocery store. We prioritize using common pantry staples, meaning nothing fancy is needed. This simplicity ensures that anyone, regardless of their baking experience, can whip up a batch of these delightful truffles with ease.
- Effortless No-Bake Preparation: Say goodbye to hot ovens and complex baking steps! These delicious treats come together incredibly easily, with absolutely no baking required. The process is straightforward and enjoyable: simply mix the ingredients for the truffle dough, shape them into small, uniform balls, and then lovingly coat each one in a rich, melted dark chocolate shell. It’s a perfect recipe for beginners, busy weeknights, or when you just want a quick, satisfying dessert without heating up your kitchen.
- Perfectly Gluten-Free, Dairy-Free, and Vegan: One of the standout features of this healthy no-bake fall dessert is its inclusive nature. It is 100% gluten-free, dairy-free, and vegan. This means that individuals with Celiac disease, gluten sensitivities, lactose intolerances, or those following a vegan lifestyle can indulge in these delightful no-bake pumpkin truffles without any worries. It’s a truly versatile recipe that caters to a wide range of dietary needs, making it ideal for sharing with everyone you love!
Essential Ingredients for Your No-Bake Pumpkin Truffles
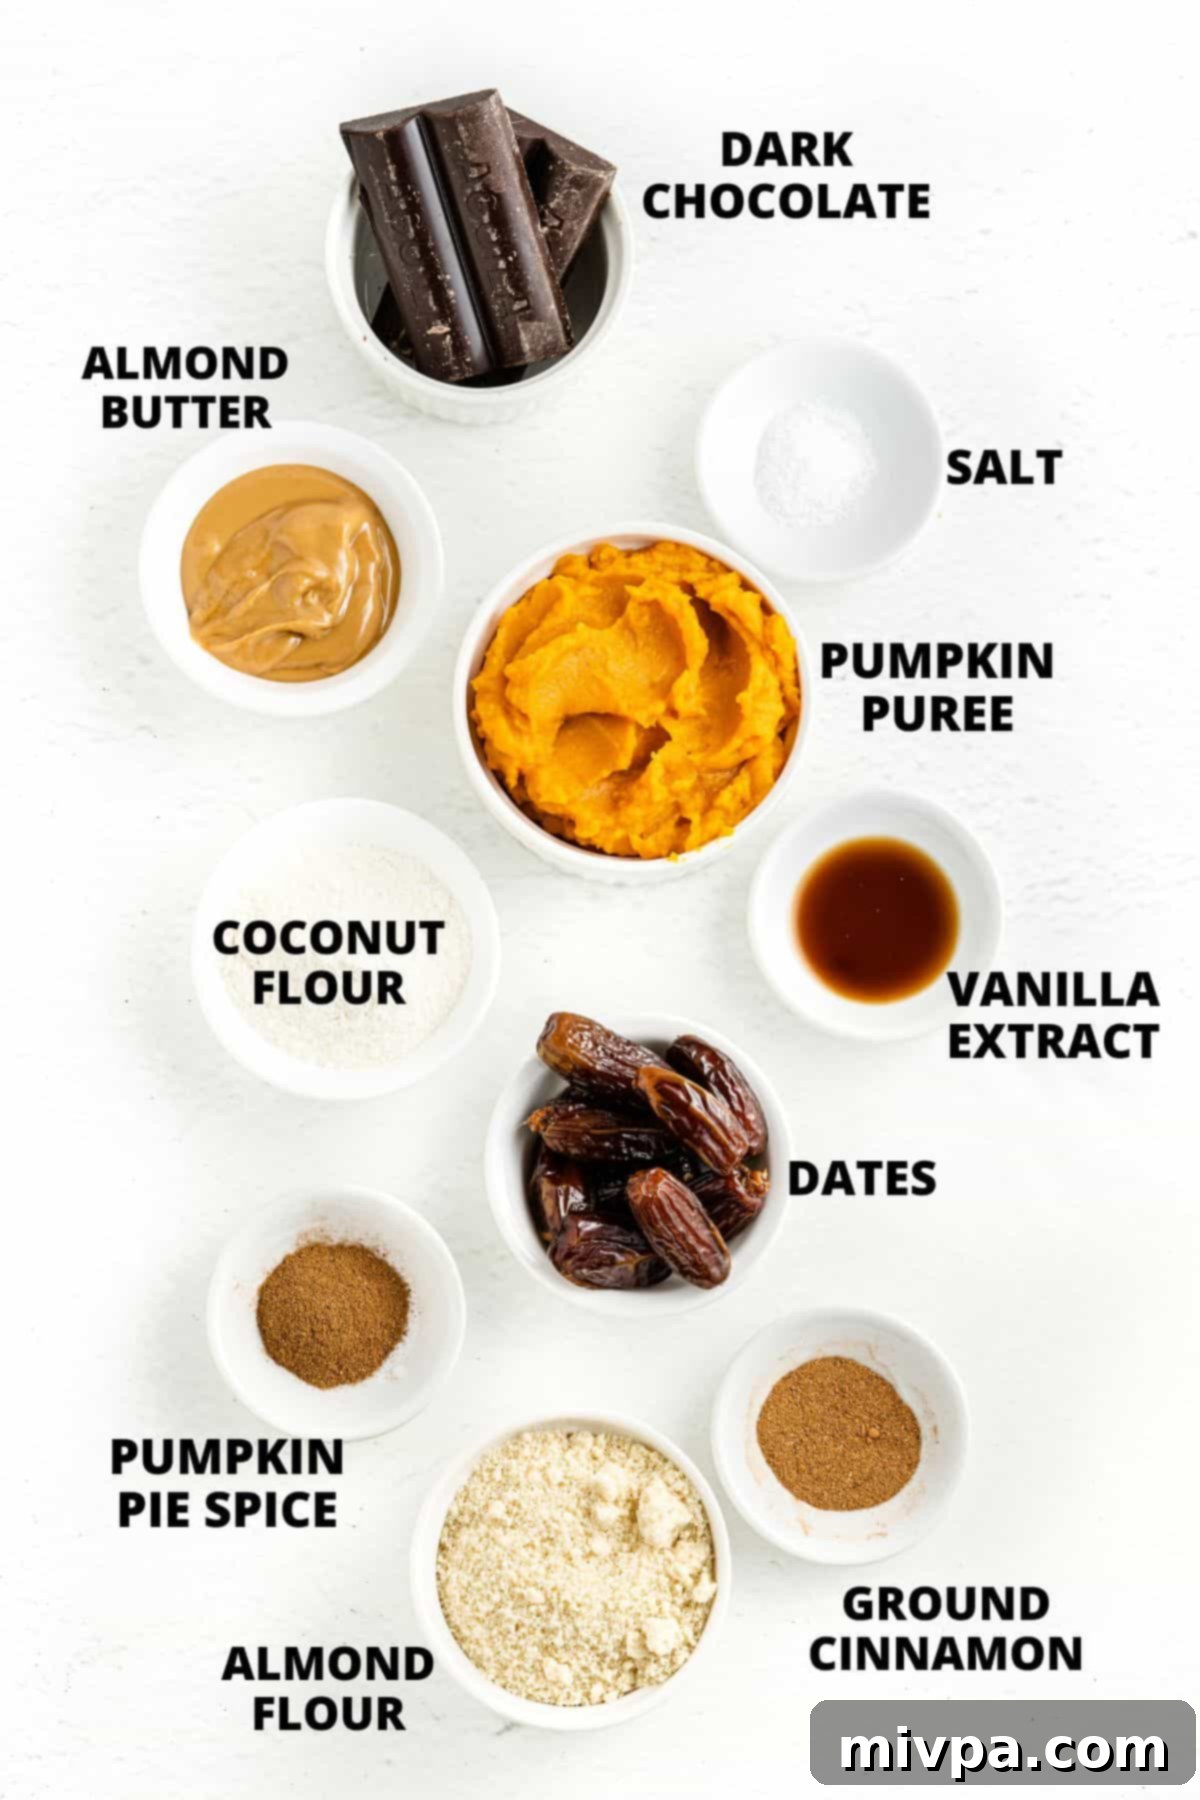
Crafting these delectable no-bake pumpkin pie truffles starts with gathering a few key ingredients. Each component plays a vital role in creating the perfect texture, flavor, and overall autumnal experience. The beauty of this recipe lies in its use of wholesome, readily available items that combine to form a truly extraordinary treat. Below is a visual overview of the ingredients you’ll need, making it easy to prepare for your truffle-making adventure.
(For the precise measurements of each ingredient, please refer to the comprehensive printable recipe card located at the very bottom of this post.)
Recipe Notes & Easy Substitutions for Your Pumpkin Truffles
One of the best things about this no-bake pumpkin truffle recipe is its flexibility! While the ingredients listed create the perfect balance of flavor and texture, don’t hesitate to make substitutions based on what you have on hand or specific dietary needs. Here are some helpful notes and alternative options:
- Dates: I highly recommend using soft and caramel-like Medjool dates for their superior texture and natural sweetness. However, you can absolutely use any variety of dates you have available. The key is to ensure they are soft. Remember to soak the dates in hot water for at least 30 minutes before processing them into a smooth paste. If they’re still firm after 30 minutes, simply extend the soaking time by another 15 minutes until they are perfectly tender. For a liquid sweetener alternative, you may replace the date paste with 1/4 cup of maple syrup, agave nectar, or honey (if not strictly vegan). For those managing blood sugar, consider maple-flavored monkfruit syrup, a low-glycemic option.
- Pumpkin Puree: When pumpkins are in season, I love using fresh, homemade pumpkin puree for its vibrant flavor and smooth texture. However, canned pumpkin works perfectly well and offers year-round convenience. Just be absolutely sure you’re using plain canned pumpkin puree and NOT pumpkin pie filling, which is already spiced and sweetened and will alter the flavor profile of your truffles.
- Vanilla Extract: A touch of vanilla extract is added to enhance the overall flavor and add a warm, aromatic note to the pumpkin filling. If you’re looking to experiment with a slightly different flavor profile, almond extract can be a delightful alternative, offering a subtle nutty undertone.
- Pumpkin Pie Spice/Cinnamon: To truly bring out the quintessential fall flavors in these pumpkin pie truffles, I use a harmonious mix of pumpkin pie spice and ground cinnamon. This blend creates that classic warm, inviting spice profile. If you don’t have pumpkin pie spice on hand, don’t worry! You can easily substitute it with an equal amount or a little more ground cinnamon, or create your own blend using cinnamon, nutmeg, ginger, and cloves.
- Almond Butter: Almond butter acts as a fantastic binder and adds a creamy richness to these homemade truffles, along with healthy fats. However, this ingredient is quite versatile! Feel free to use other creamy nut butters such as peanut butter, cashew butter, or for a nut-free option, sunflower seed butter. Each will impart its own unique subtle flavor.
- Almond Flour: Almond flour is a key ingredient that provides structure, a tender texture, and a boost of protein, while also keeping these truffles deliciously low-carb and gluten-free. If you don’t have almond flour, you can easily grind whole almonds to make almond meal using a food processor. Alternatively, for different dietary needs or preferences, tigernut flour or cashew flour can also be used.
- Coconut Flour: Adding a small amount of coconut flour is essential for these pumpkin chocolate truffles as it helps absorb excess moisture and adds valuable fiber. Coconut flour is highly absorbent, so a little truly goes a long way. I would advise against substituting it with another ingredient, as its unique properties are crucial for the truffle’s consistency.
- Dark Chocolate: To ensure these truffles remain completely dairy-free and vegan-friendly, I used vegan dark chocolate bars (or dark chocolate chips). The rich bitterness of dark chocolate provides a wonderful contrast to the sweet pumpkin filling. If you do not have lactose intolerance or specific dietary restrictions, feel free to use regular dark chocolate. For a fun twist and a different aesthetic, you could even use white chocolate chips to create lovely white chocolate pumpkin truffles.
Elevate Your Truffles: Make Your Own Homemade Pumpkin Puree
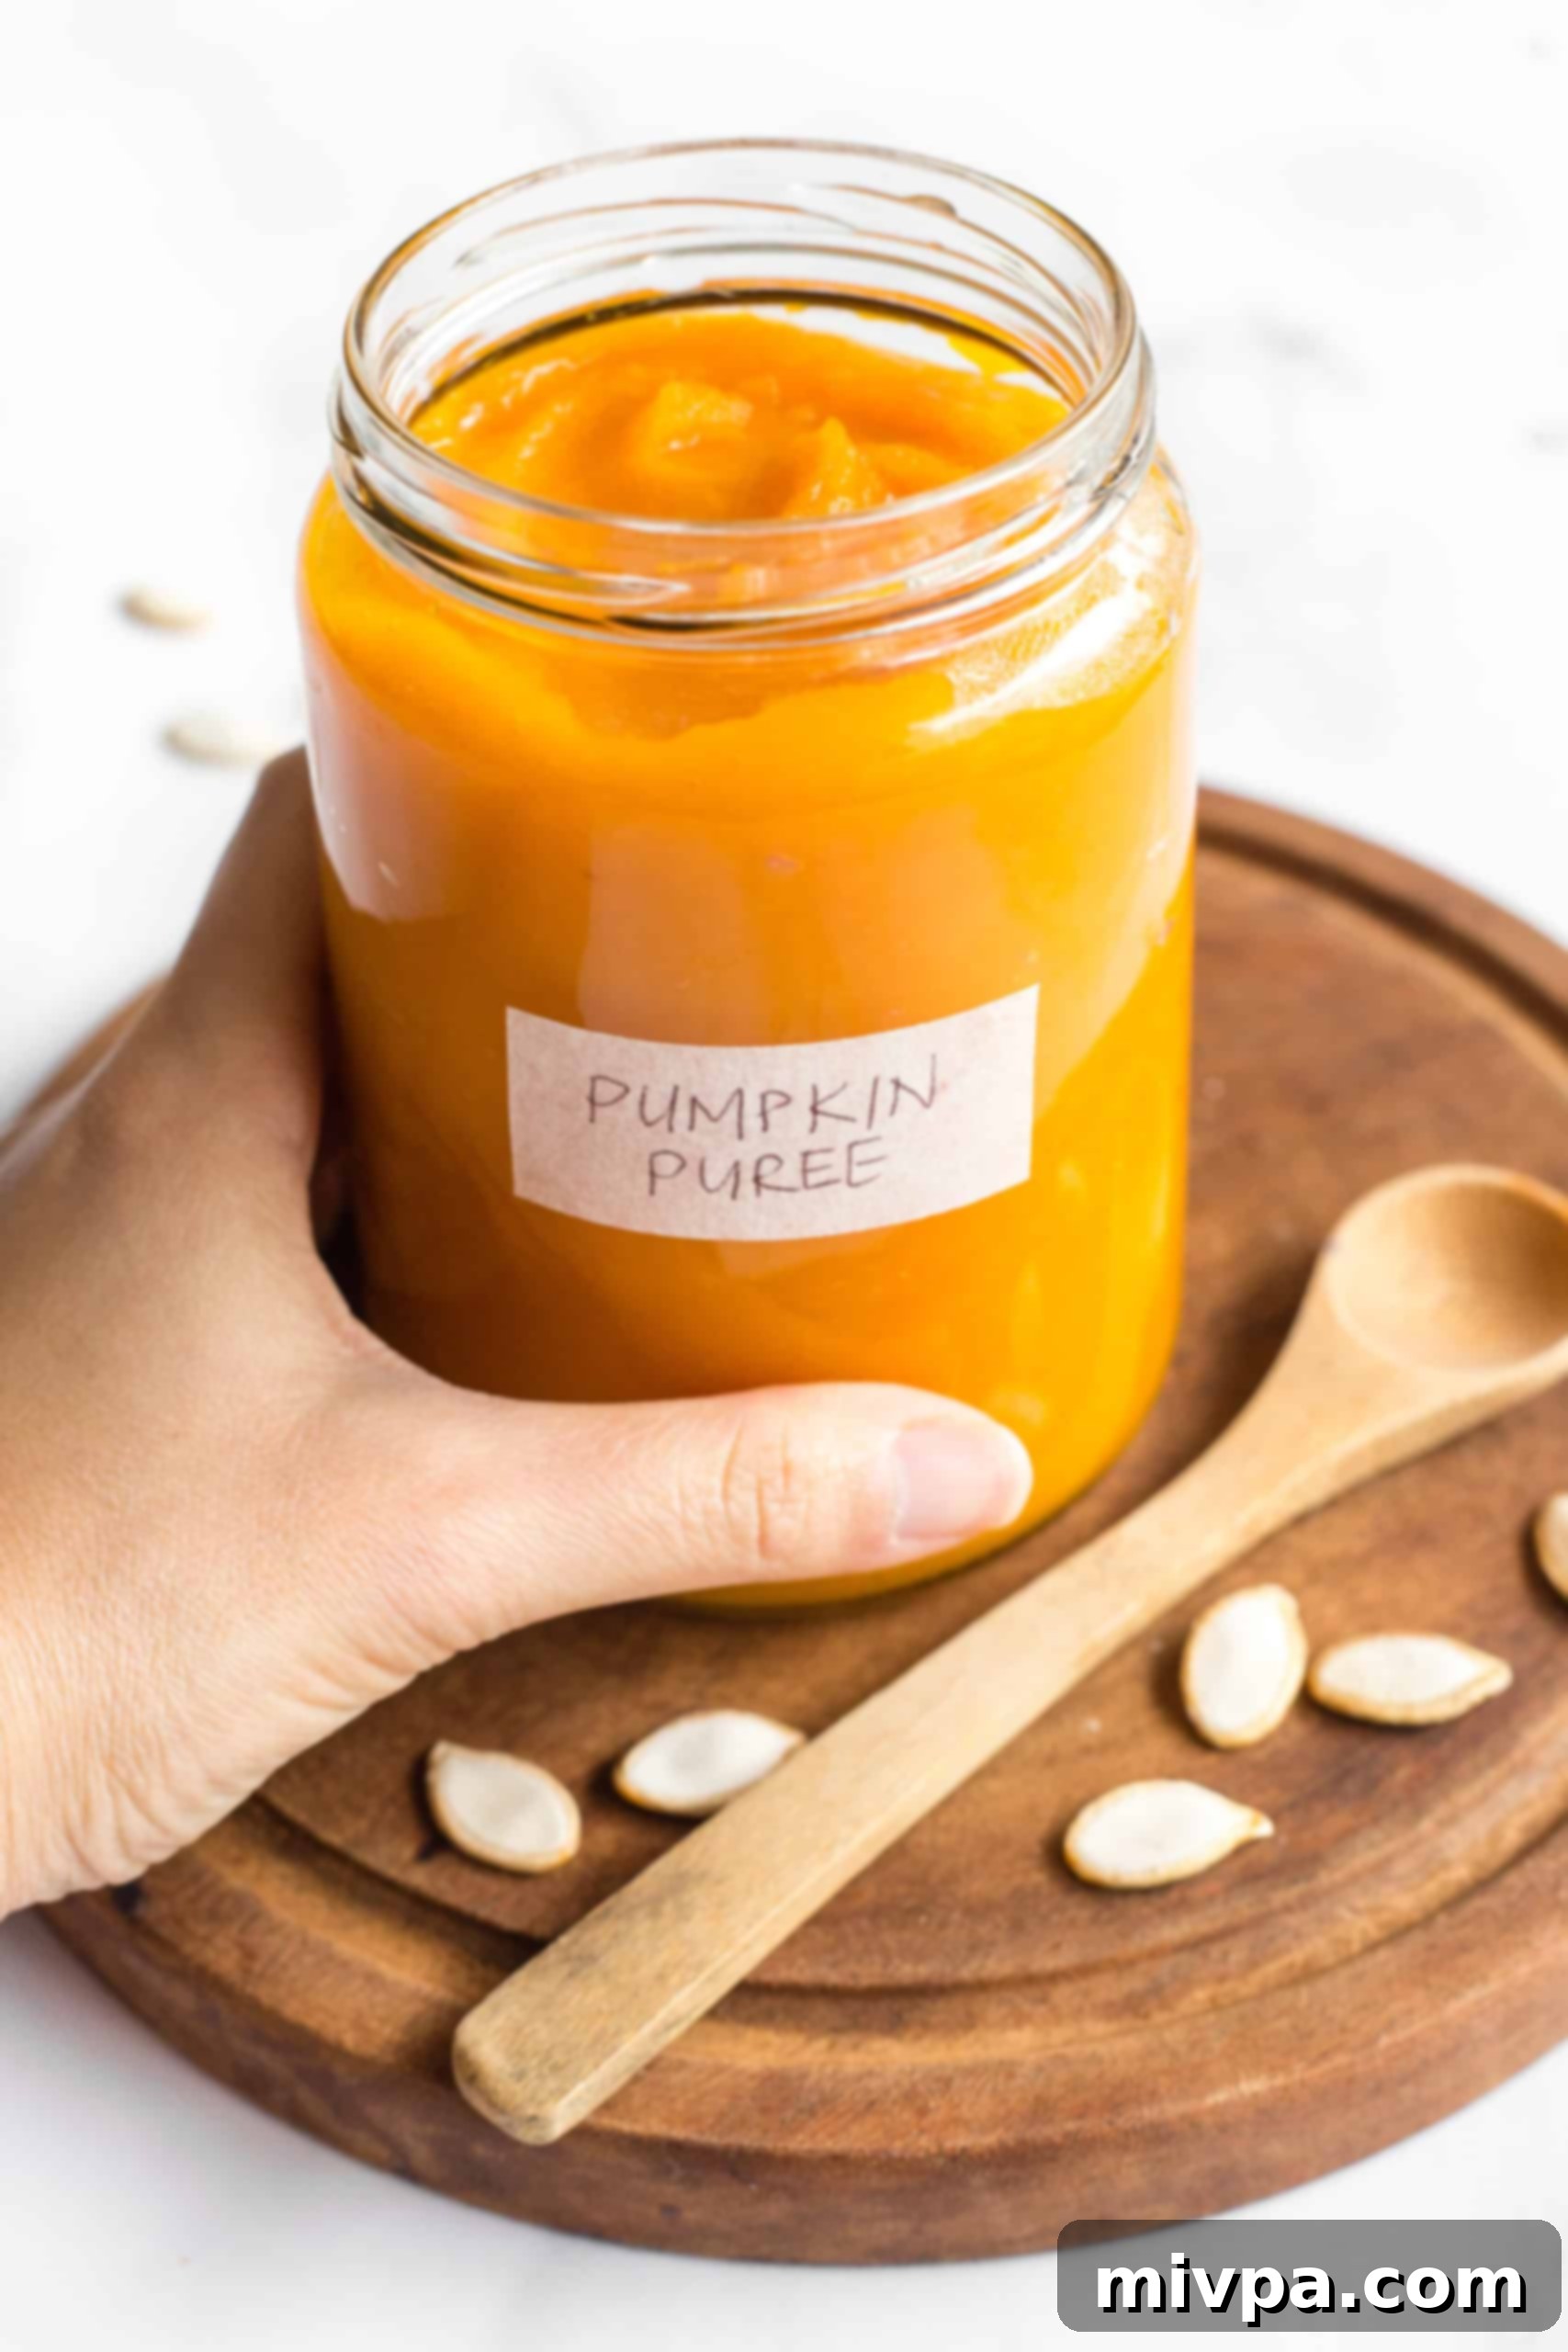
While canned pumpkin puree offers convenience and is perfectly acceptable for this recipe, taking a little extra time to make your own homemade pumpkin puree can truly elevate the flavor and freshness of your pumpkin treats. When pumpkins are in season, a single large pumpkin can yield several jars of fresh, vibrant puree, which you can easily store for future baking projects. Homemade pumpkin puree is surprisingly simple to prepare, and its taste is notably superior to the canned version, offering a sweeter, more nuanced flavor. Plus, you get the added benefit of knowing exactly what’s in it – no preservatives or additives!
If you’re ready to experience the difference, check out my easy recipe tutorial on how to make pumpkin puree at home. It’s a game-changer for all your fall baking!
Crafting Perfection: How to Make Pumpkin Pie Truffles (Step by Step)
Creating these delightful no-bake chocolate pumpkin truffles is a fun and straightforward process. Follow these simple steps, and you’ll have a batch of impressive, delicious treats in no time!
1. Prepare Your Dates: Blend Soaked Dates into a Smooth Paste
Begin by ensuring your dates are perfectly soft. After soaking your pitted dates in hot water for at least 30 minutes, drain any excess water thoroughly. Transfer the softened dates to your high-speed blender or food processor. Blend them until you achieve a wonderfully smooth, thick paste. This date paste will serve as a natural sweetener and binder for your truffle filling. (Quick Tip: If your dates are still a bit firm after 30 minutes of soaking, don’t fret! Simply soak them for an additional 15 minutes until they are completely soft and pliable – this is crucial for a smooth paste.)
2. Combine Your Core Flavors: Date Paste, Pumpkin, and Almond Butter
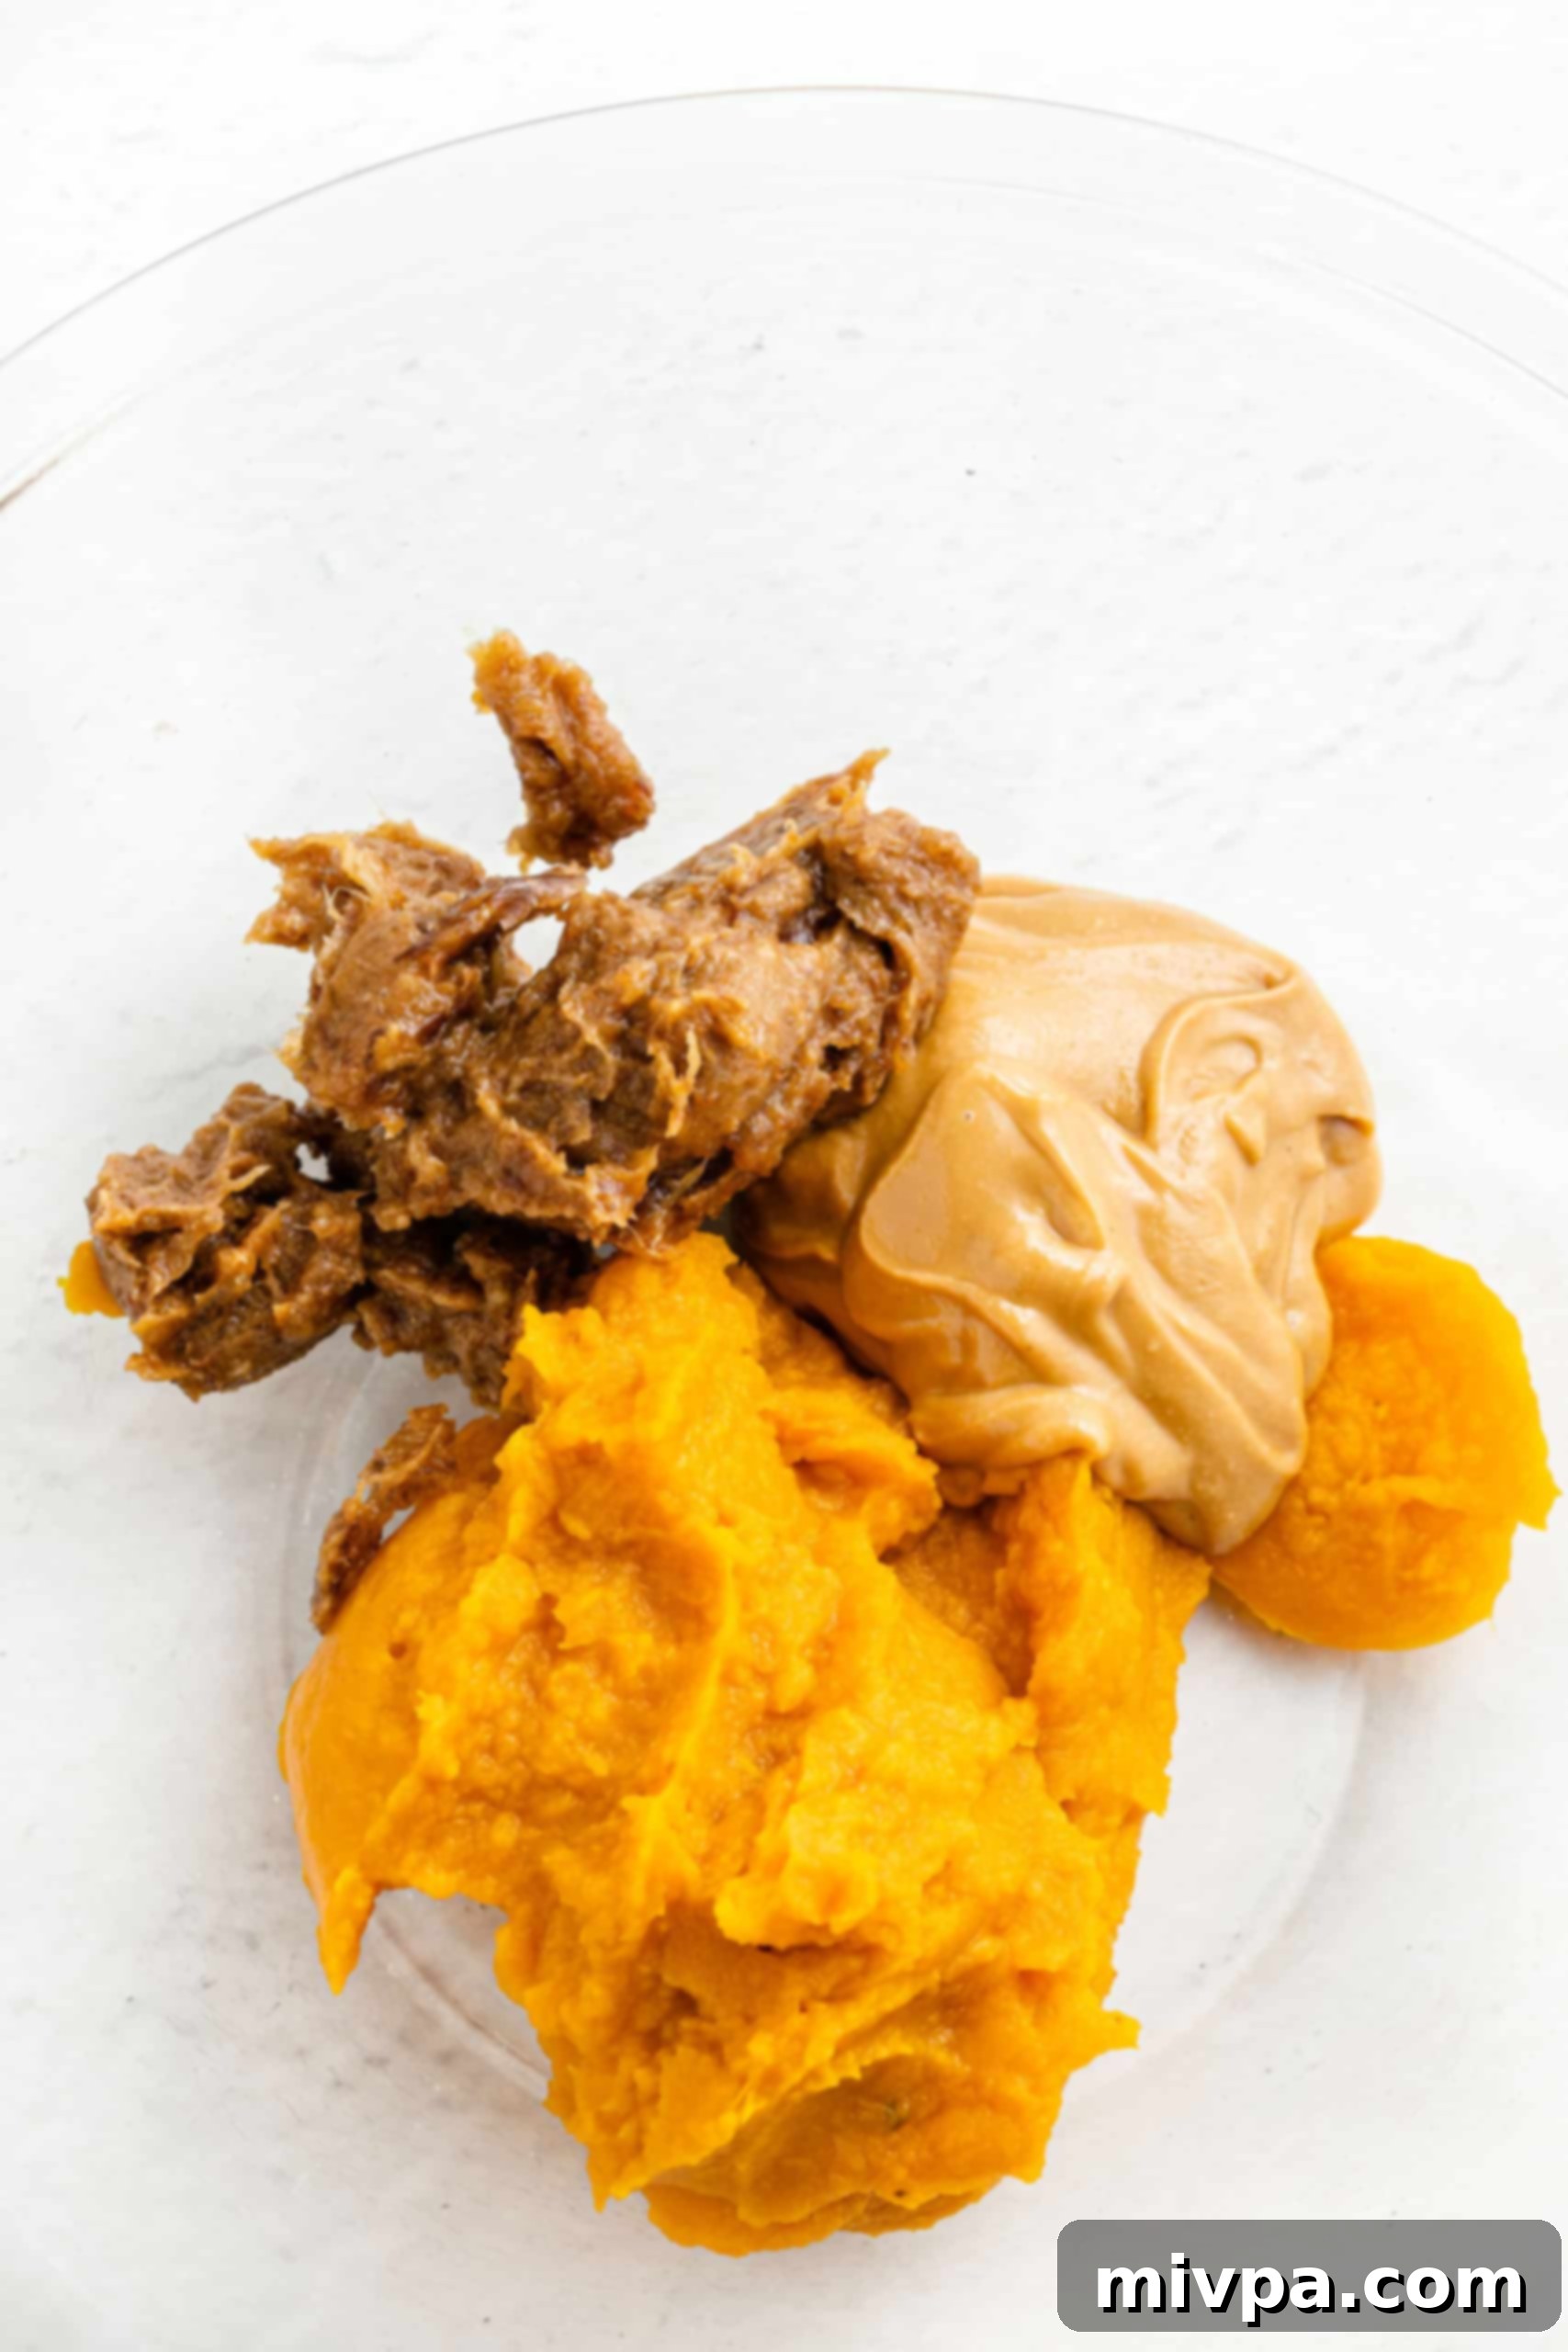
In a large mixing bowl, combine the freshly processed date paste with your pumpkin puree and the almond butter. Use a sturdy spoon or spatula to mix these ingredients thoroughly. You want to ensure they are well combined, forming a cohesive and creamy base for your pumpkin truffle mixture. This step brings together the primary sweet and savory notes.
3. Infuse with Spices and Thicken: Add Remaining Ingredients to Form Pumpkin Truffle Mixture
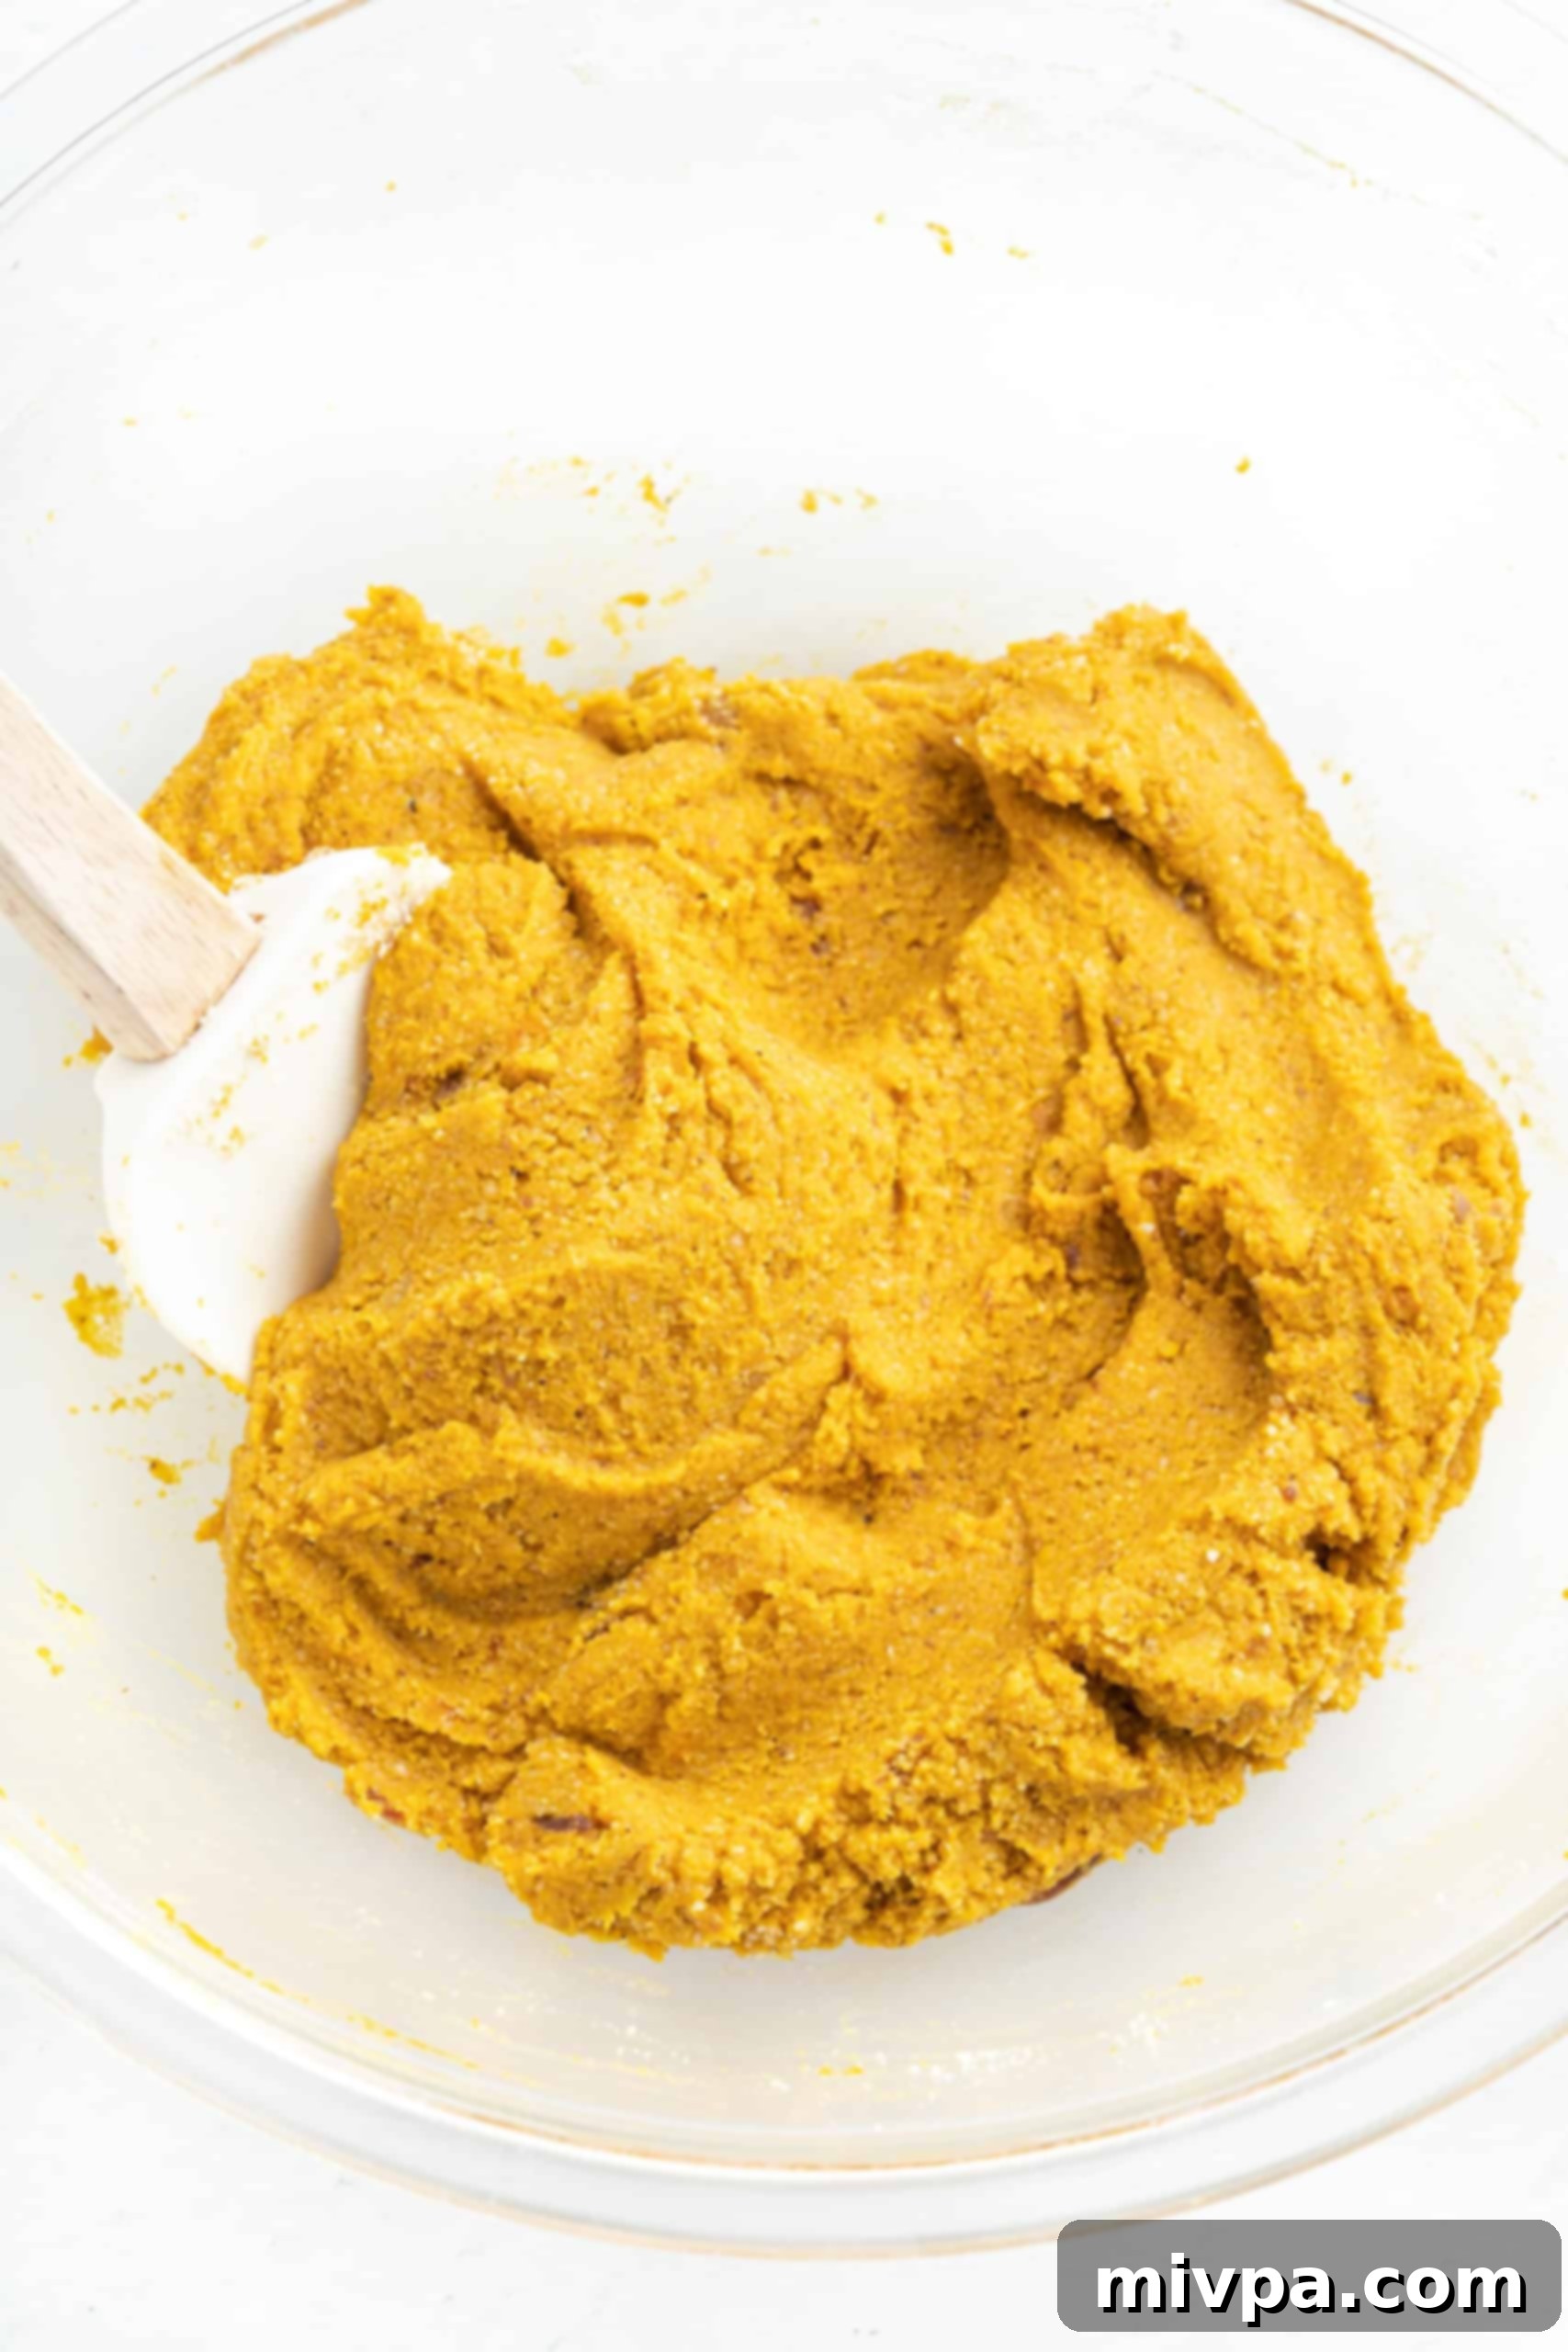
Now it’s time to add the aromatic elements. Incorporate the vanilla extract, pumpkin pie spice, ground cinnamon, and a pinch of salt into your pumpkin mixture. Mix everything very well until all the spices are evenly distributed and you have a homogeneous, beautifully fragrant mixture. Next, add the coconut flour and almond flour. Using a rubber spatula, combine these flours with the wet ingredients. Continue mixing until a thick, homogeneous truffle dough forms. The texture should be similar to that of a dense, thick cookie dough – pliable enough to roll but firm enough to hold its shape.
4. Shape Your Truffles: Roll Dough into Uniform Balls
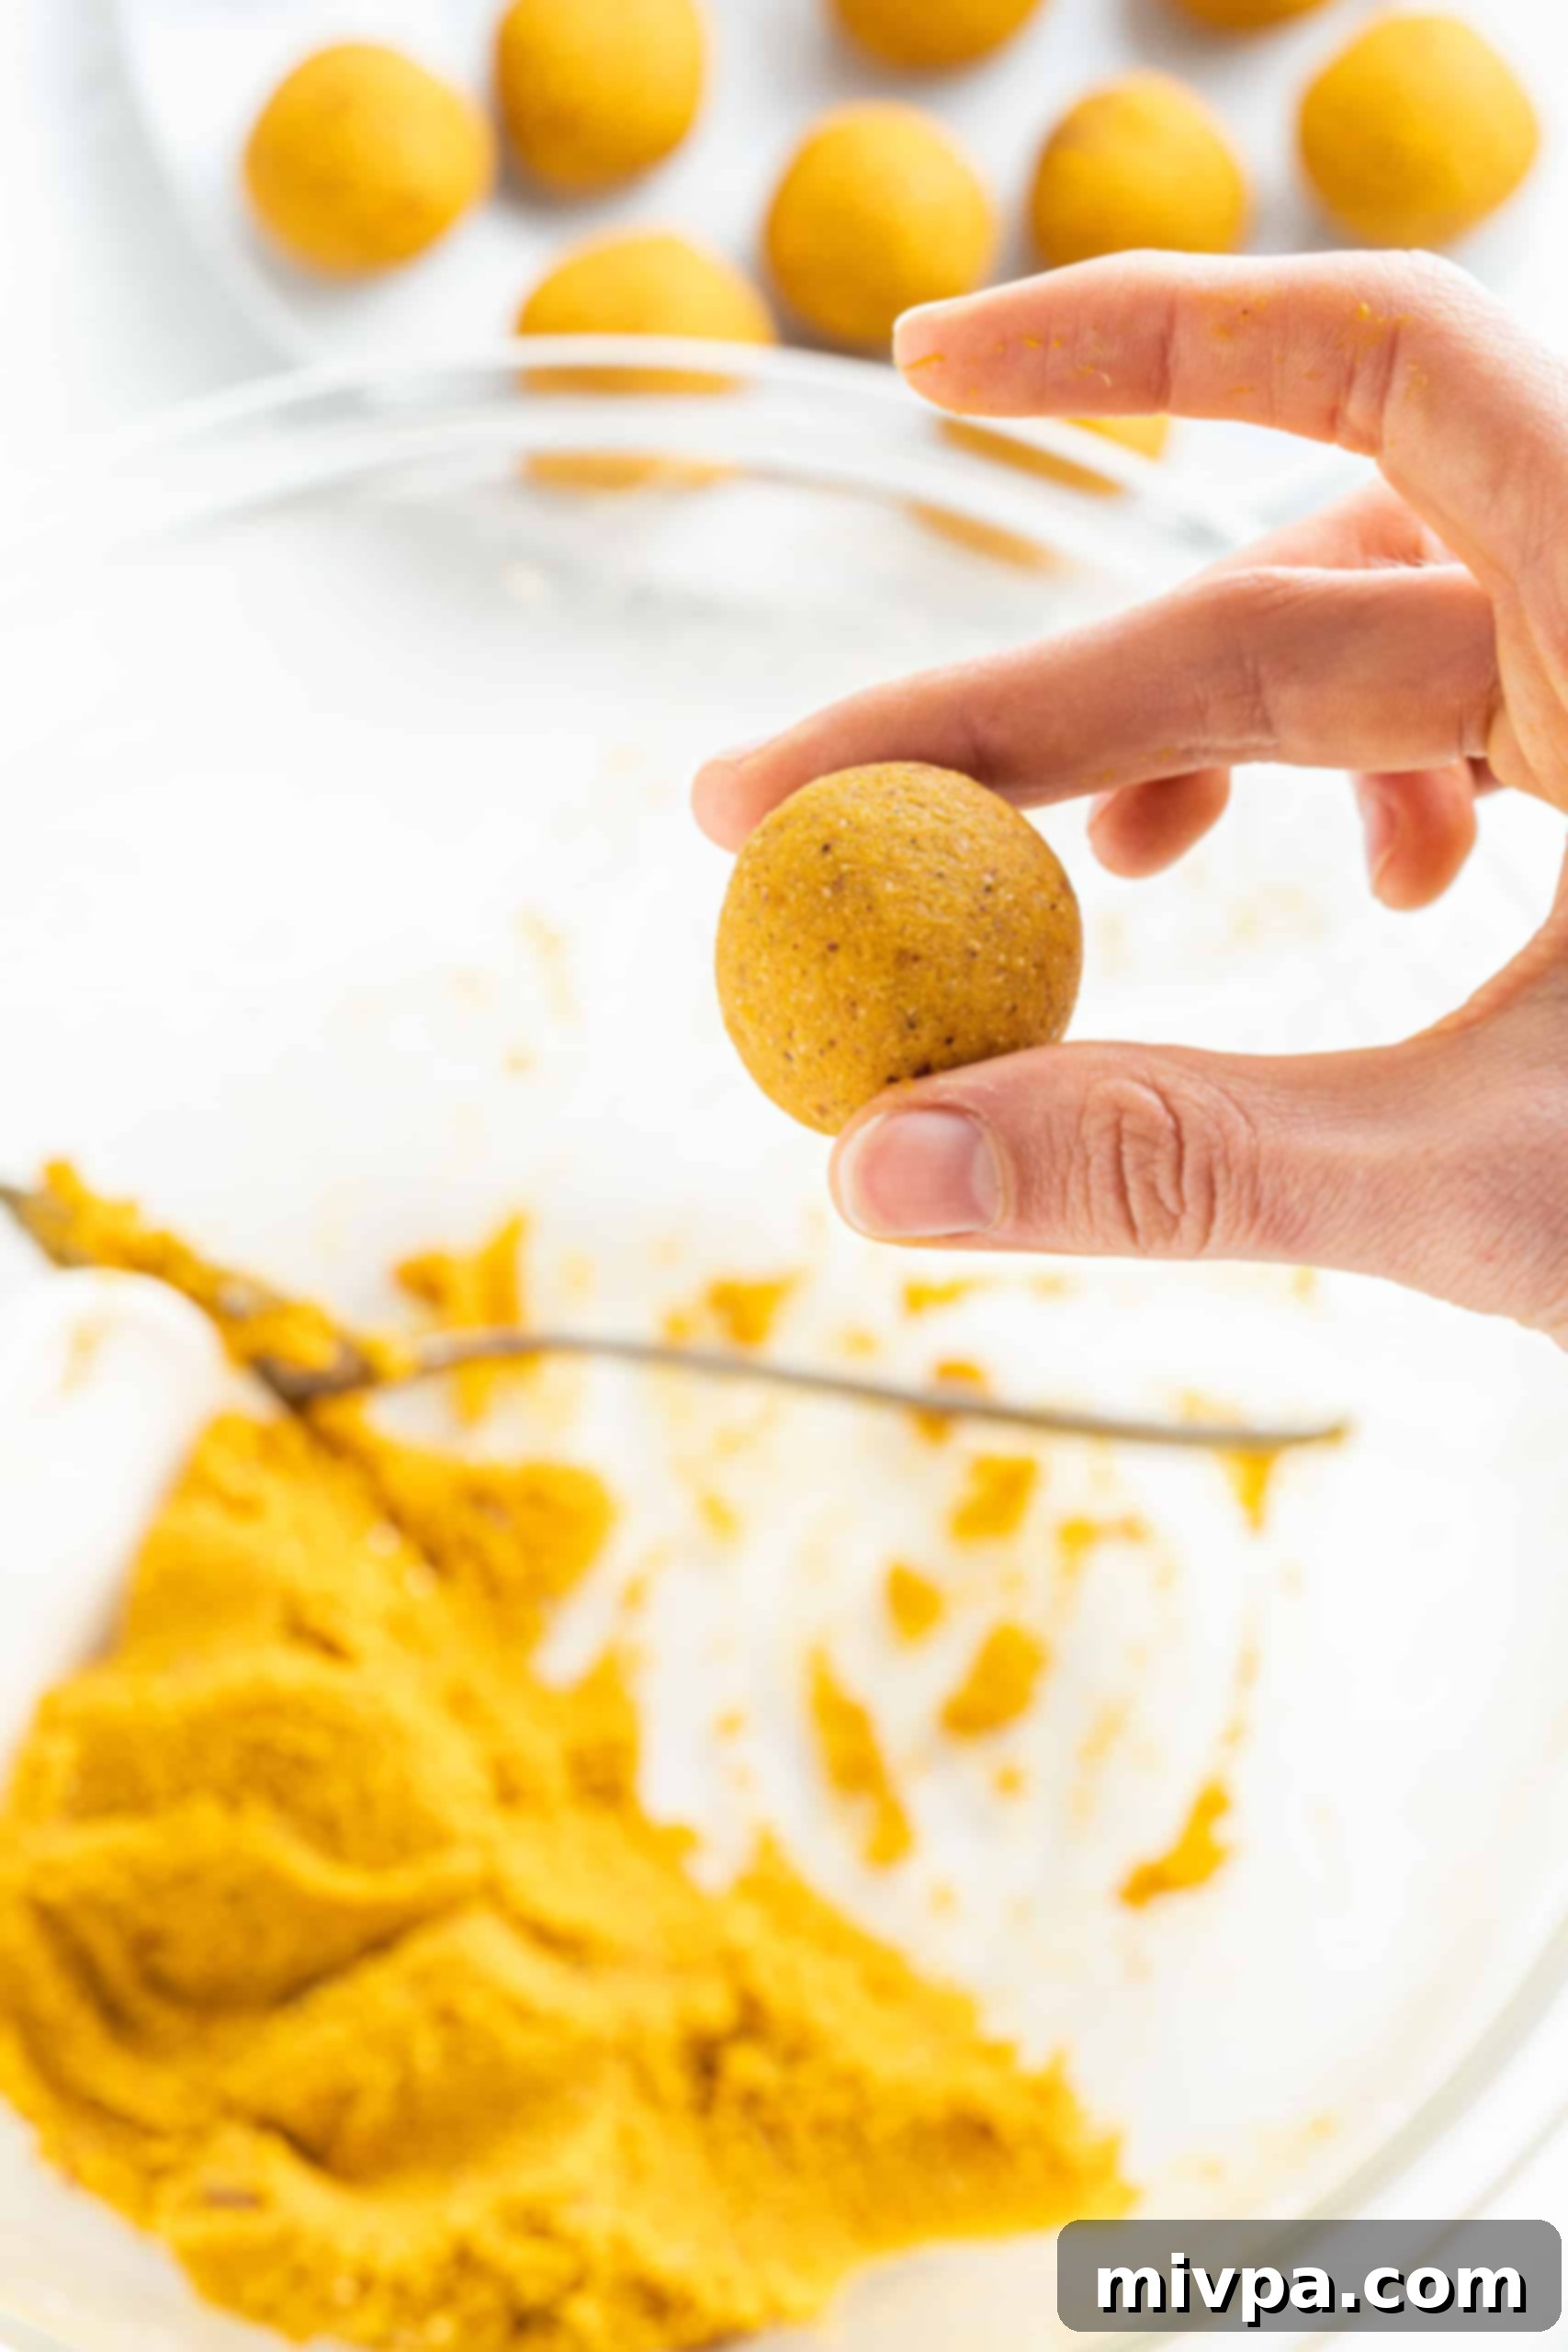
Once your truffle dough is ready, it’s time to shape it. For best results and uniform sizing, use a mini cookie scoop to portion out approximately 1 heaping teaspoon of the truffle filling per truffle. Gently roll each portion between your palms to form smooth, 1-inch balls. Aim for a consistent size so they look appealing and chill evenly. You should yield around 30 perfectly rolled pumpkin balls from this recipe.
5. The Chocolate Coating: Drizzle Melted Chocolate Over Your Truffle Balls
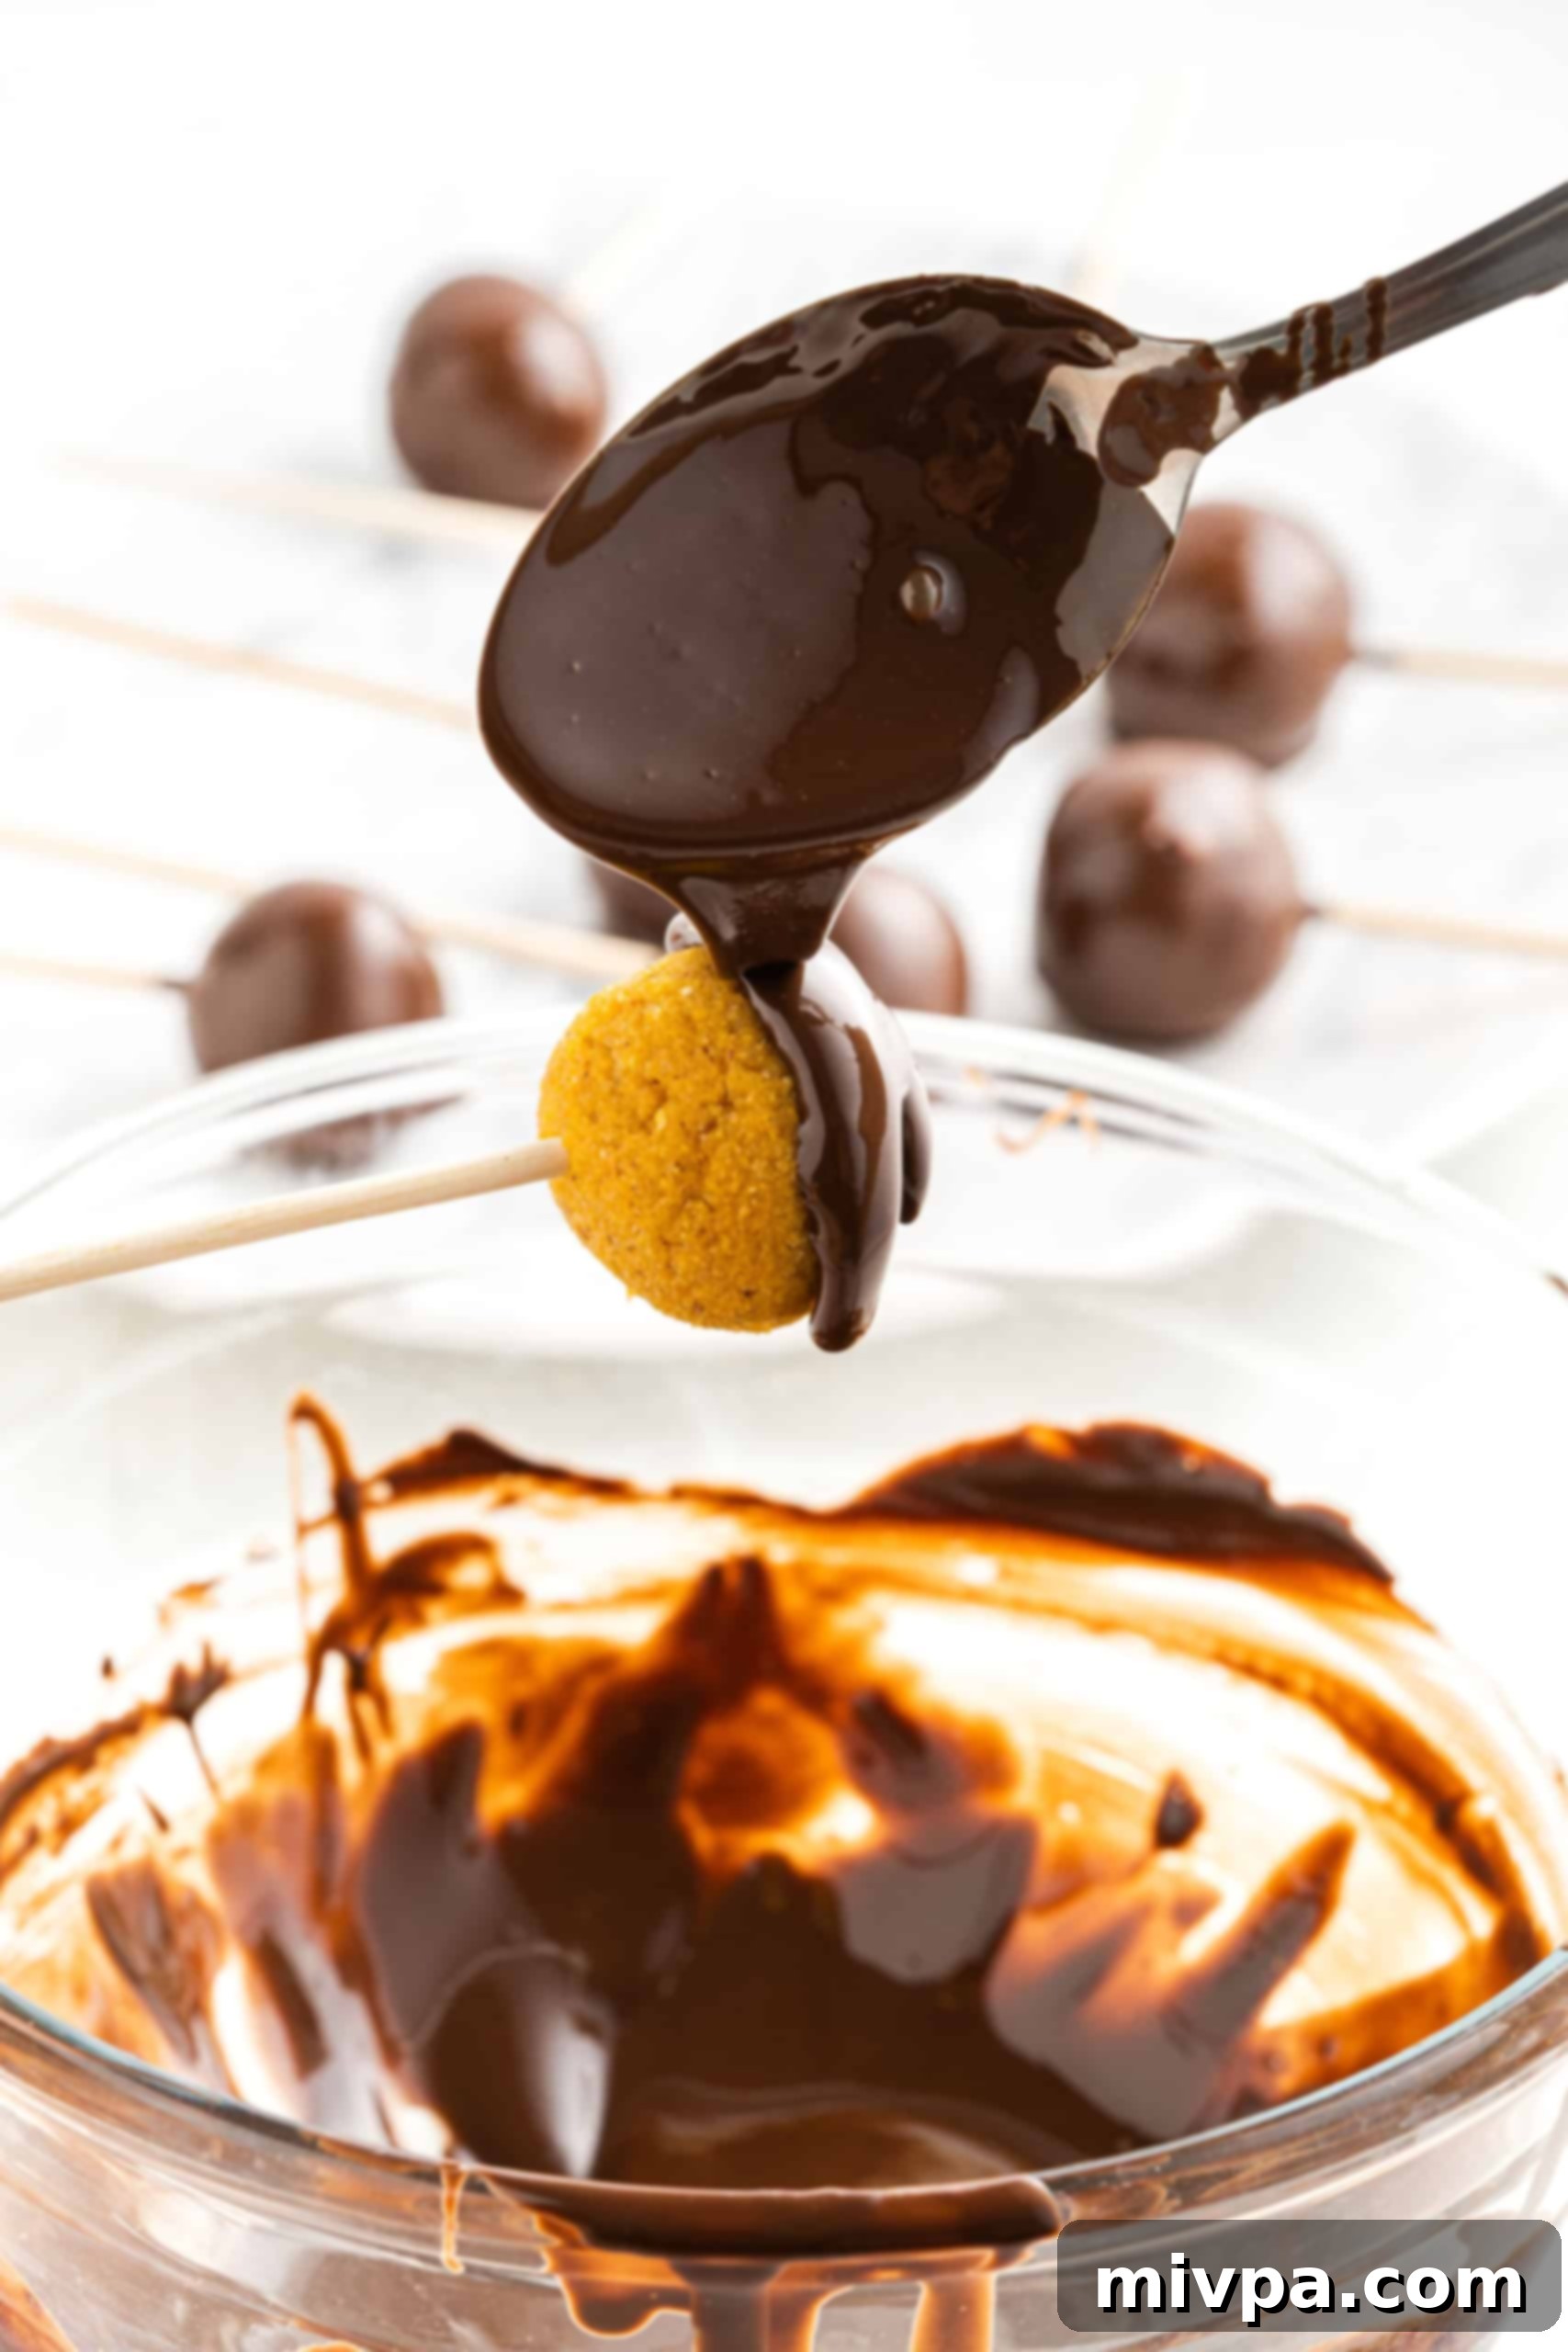
Now for the decadent chocolate coating! Melt your chosen vegan dark chocolate using a double boiler method, or carefully in the microwave in 30-second intervals, stirring between each, until the chocolate is completely smooth and runny. To coat each truffle elegantly, gently poke each pumpkin dough ball with a toothpick or a small skewer. Hold it over the melted chocolate and drizzle the warm, glossy chocolate generously over the ball, allowing any excess to drip back into the bowl. This method creates a beautiful, rustic coating.
6. The Grand Finale: Chill Until Set
As you coat each truffle, carefully place it onto a plate or a baking sheet that has been lined with parchment paper or wax paper. This prevents them from sticking as the chocolate sets. Once all your truffles are coated, transfer these low-carb, healthy truffles to the refrigerator. Chill them for a minimum of 30 minutes, or until the chocolate coating has completely hardened and set. This chilling step is essential for achieving that satisfying snap when you bite into the chocolate. Once firm, they are ready to be served and enjoyed!
Dish by Dish Tips & Tricks for Perfect Pumpkin Truffles
Here are a few extra pointers and creative ideas to make your no-bake chocolate pumpkin truffles even more amazing and adaptable:
- Make Bars Instead of Truffles: If rolling individual truffles isn’t your preference, or if you’re short on time, this recipe is incredibly versatile! Simply press the prepared truffle dough evenly into a rectangular pan (lined with parchment paper for easy removal). Chill it until firm, then cut the block into desired rectangles or squares. Drizzle the melted chocolate over the entire slab, allow it to set, and then slice into your beautiful chocolate pumpkin bars. It’s a fantastic alternative that’s just as delicious!
- No Pumpkin Puree? No Problem!: While this recipe champions the wonderful flavor of pumpkin puree, you can easily experiment with other seasonal purees if you can’t find pumpkin or simply want to try something new. Butternut squash puree offers a very similar flavor and texture profile, making it an excellent substitute. Sweet potato puree also works beautifully, lending a slightly different earthy sweetness that’s equally delicious in these truffles.
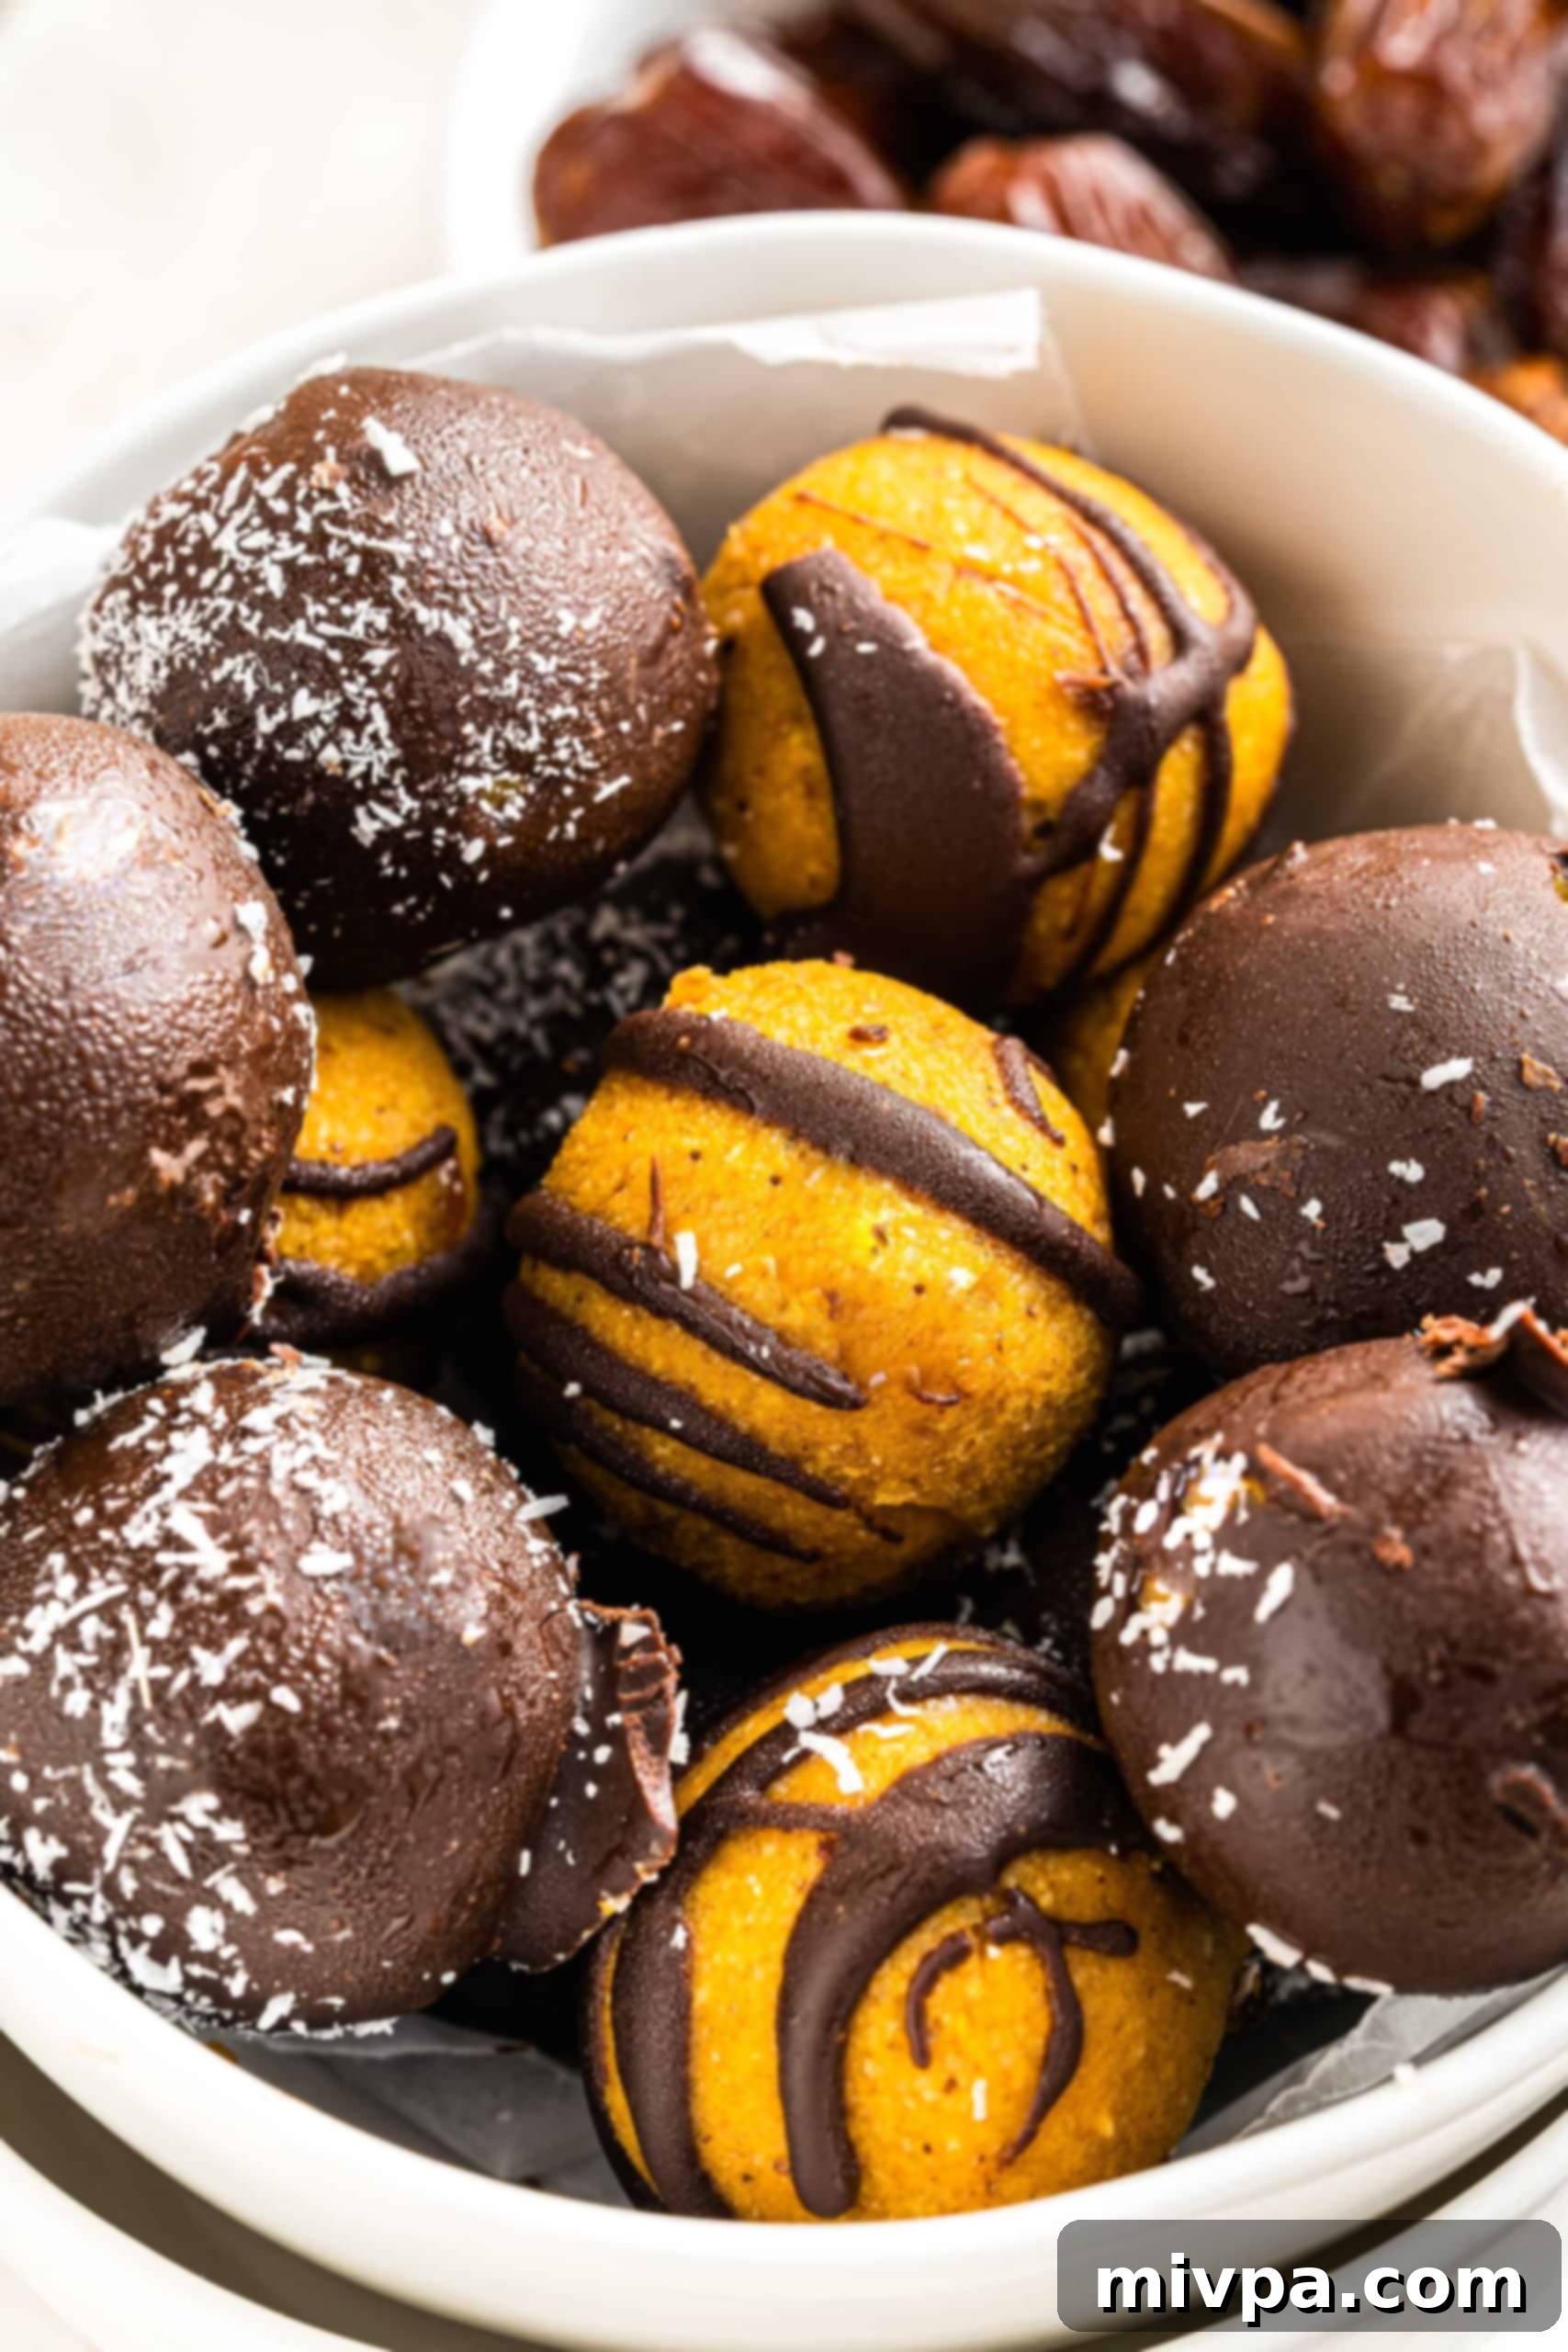
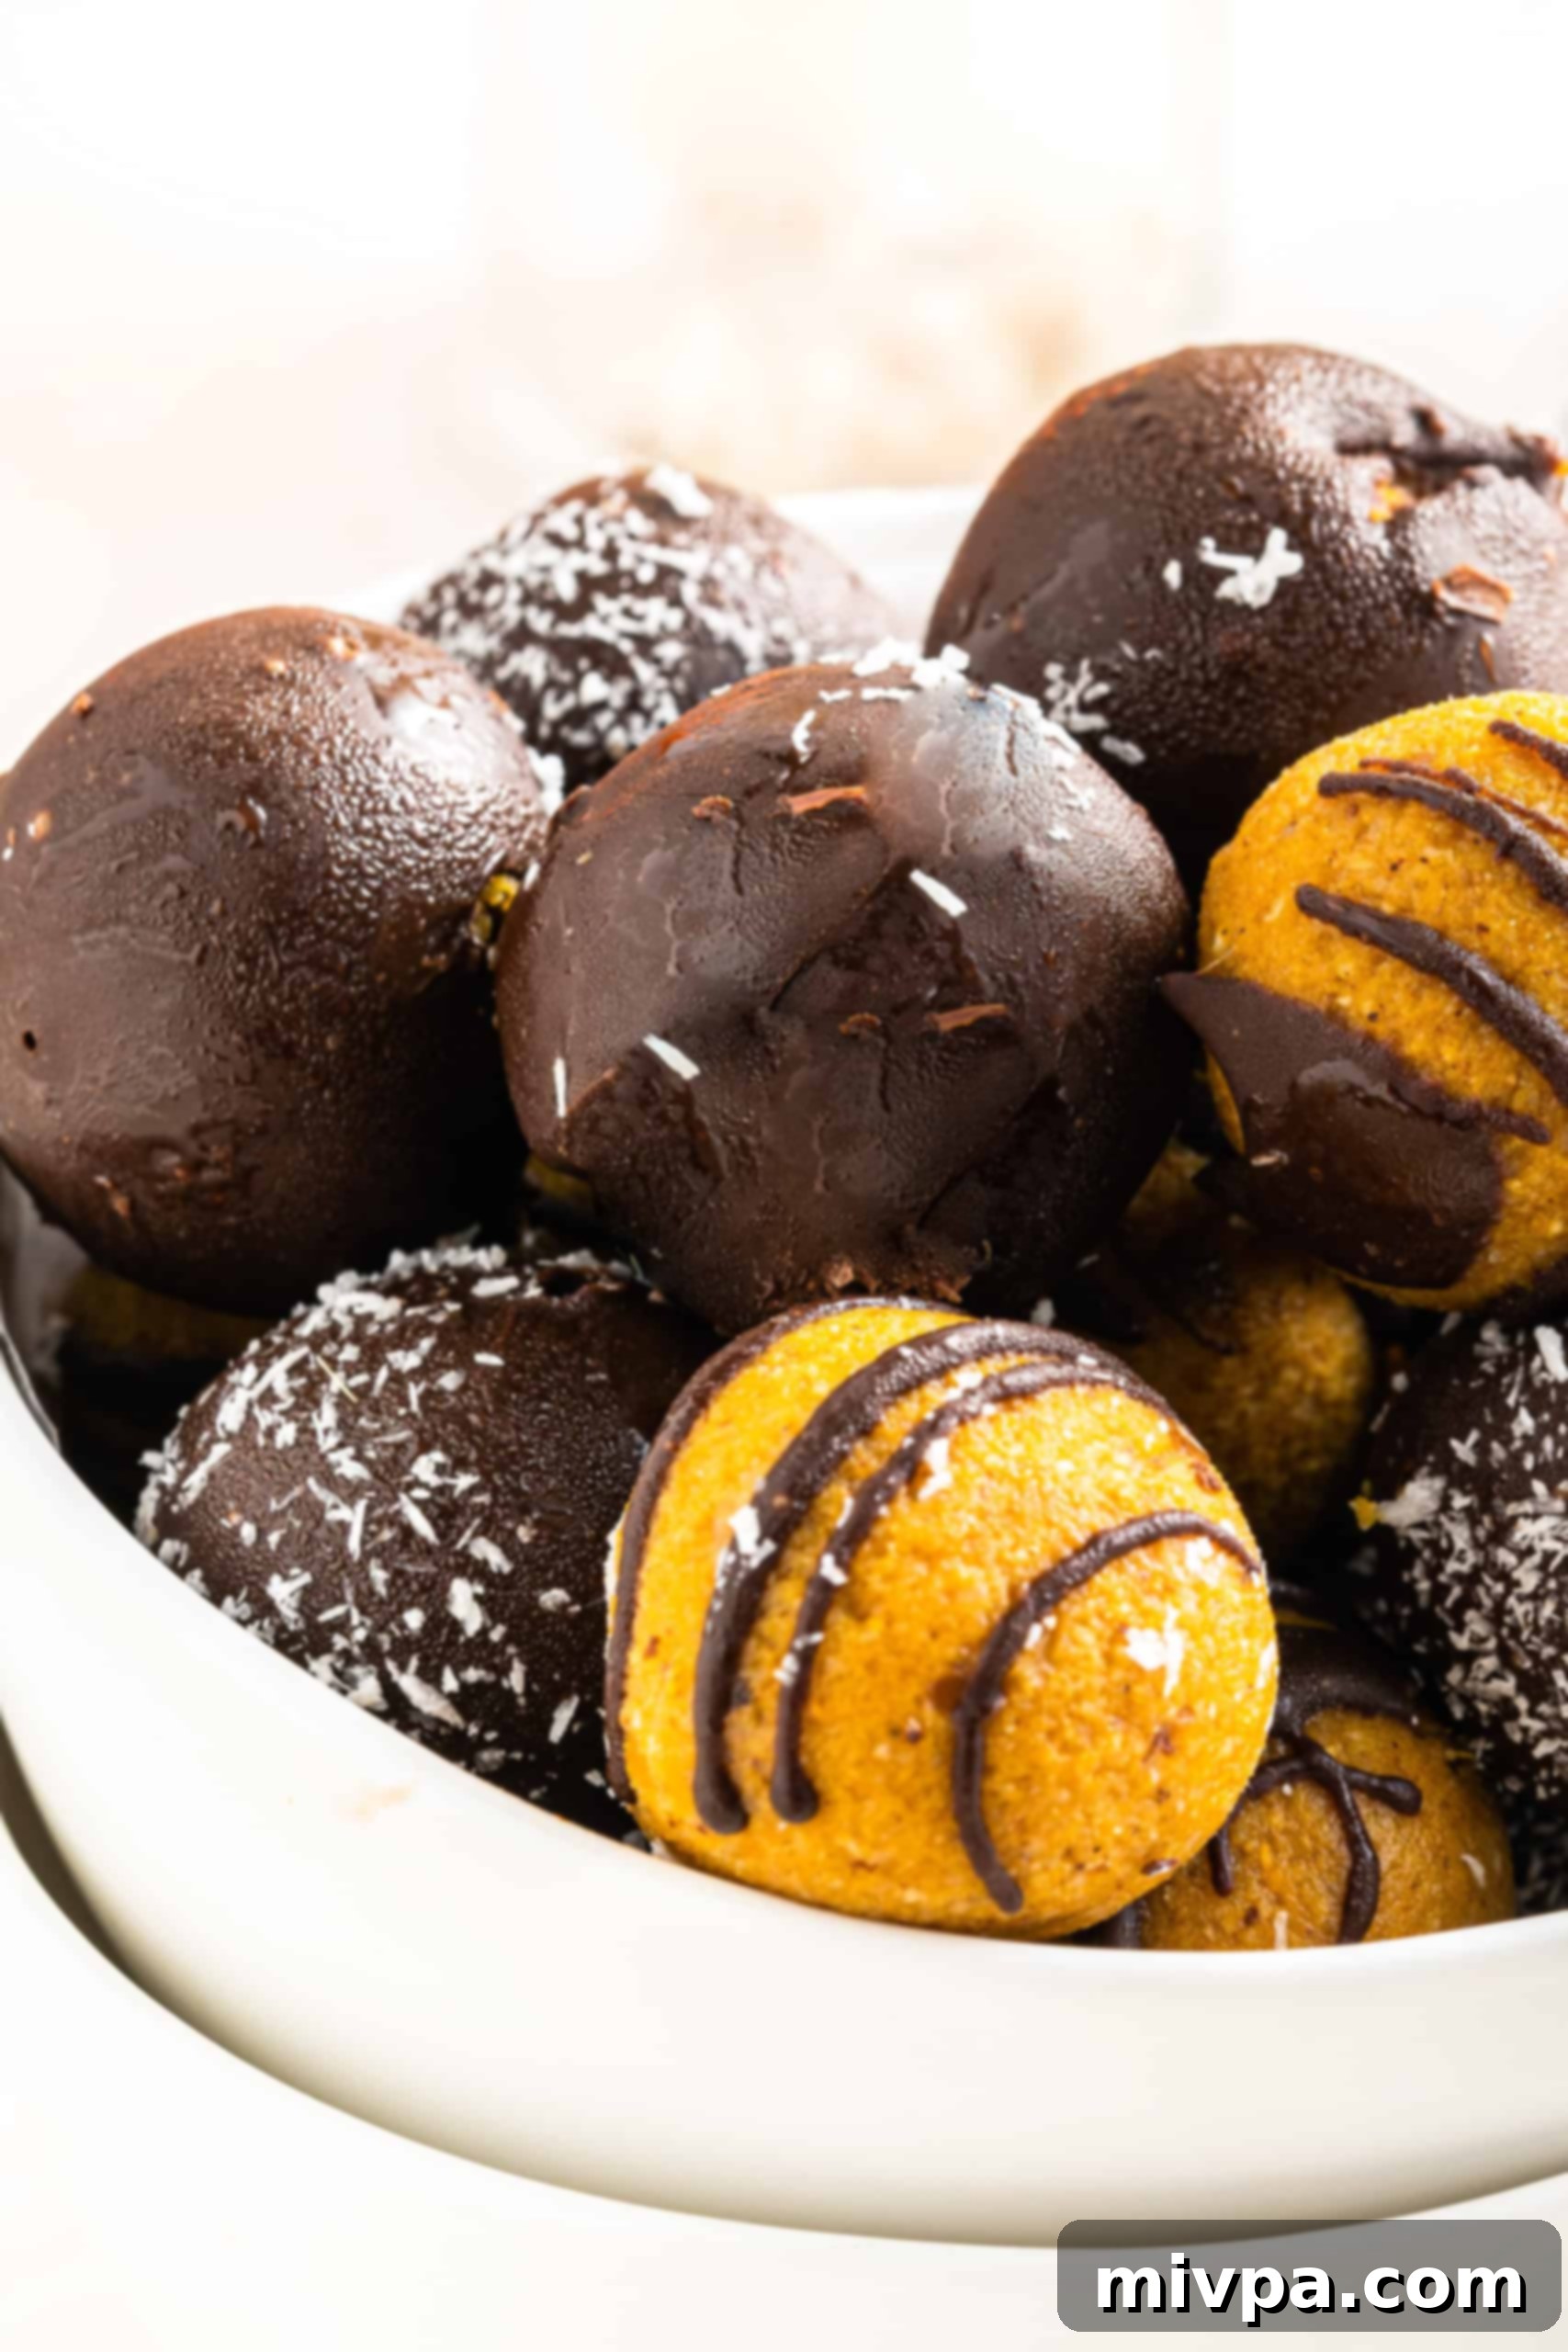
- Optional Toppings for Extra Flair: Once you’ve drizzled your melted chocolate over the truffles, consider adding some decorative and flavorful toppings before the chocolate fully sets. A sprinkle of flaky sea salt can add a sophisticated touch and a delightful kick of saltiness, beautifully balancing the sweetness. Alternatively, a scattering of unsweetened shredded coconut provides a lovely textural contrast and a pleasant visual appeal, especially against the dark chocolate.
Common Questions About Chocolate Pumpkin Truffles
To maintain their freshness, texture, and delicious flavor, it’s crucial to store these dark chocolate pumpkin truffles properly. Place them in an airtight container and keep them in the refrigerator. Stored this way, they will remain wonderfully fresh and enjoyable for up to 5 days. For longer storage, see the next FAQ.
Absolutely! Preparing the pumpkin mixture ahead of time is a fantastic way to streamline your baking process, especially if you’re planning for a holiday or event. You can make the pumpkin truffle filling, wrap it tightly in several layers of plastic wrap, and store it in the freezer. When you’re ready to make your truffles, simply thaw the mixture in the refrigerator, and then proceed with rolling it into balls and coating them in chocolate. This makes these pumpkin spice truffles perfect for meal prepping your desserts!
Yes, finished no-bake chocolate pumpkin truffles freeze beautifully! Once the chocolate coating has fully set, place the truffles in a single layer on a parchment-lined baking sheet and freeze for 1-2 hours until solid. Then, transfer them to an airtight freezer-safe container or bag. They can be stored in the freezer for up to 3 months. When ready to enjoy, simply take them out of the freezer and let them thaw in the refrigerator for about 30 minutes, or at room temperature for 15-20 minutes, until softened slightly. This makes them a perfect make-ahead treat for holiday entertaining!
More Irresistible Pumpkin Recipes You’ll Adore This Fall
Can’t get enough of pumpkin? We understand! If you love the flavors of these chocolate pumpkin truffles, you’ll definitely want to explore these other fantastic pumpkin creations from our kitchen:
- Mini Pumpkin Cheesecakes (Gluten-Free, Dairy-Free Option)
- Gluten-Free Chocolate Chip Pumpkin Bread (Dairy-Free)
- Gluten-Free Pumpkin Chocolate Chip Muffins (Dairy-Free)
- Easy Pumpkin Butter (Gluten-Free, Vegan)
Explore More Gluten-Free Desserts for Every Occasion
For those living a gluten-free lifestyle, finding delicious and exciting dessert options can sometimes be a challenge. But it doesn’t have to be! These recipes prove that you can enjoy incredible flavors without compromising on dietary needs. Discover a world of sweet possibilities beyond these pumpkin truffles:
- Gluten-Free Pumpkin Banana Muffins (Dairy-Free)
- 126 Gluten-Free Desserts and Sweet Treats for Labor Day
- Gluten-Free Pecan Pie Bars (Dairy-Free)
- Easy Peach Fruit Leather (Gluten-Free, Vegan)
P.S. If you try this incredible no-bake chocolate pumpkin truffle recipe, I’d absolutely love to hear from you! Please consider leaving a star rating below and/or sharing your thoughts in the comment section further down the page. Your feedback is always deeply appreciated and helps others discover these delicious treats. Don’t forget to explore my entire Recipe Index for a treasure trove of delightful recipes. You can also connect with me on Pinterest, Facebook, or Instagram for daily inspiration and behind-the-scenes glimpses. And for the freshest recipes delivered straight to your inbox each week, make sure to sign up for my Email List!
Print

No-Bake Pumpkin Pie Truffles (Gluten-Free, Vegan)
5 Stars 4 Stars 3 Stars 2 Stars 1 Star
5 from 1 review
Author: Felicia Lim
Total Time: 1 hour 15 minutes
Yield: 30 truffles
Diet: Vegan
Description
With a smooth and sweet pumpkin filling and a rich chocolate coating, these no-bake pumpkin pie truffles are about to be your favorite fall treat. These healthy pumpkin truffles are just the right amount of sweet, and are perfect for satisfying your sweet tooth in a single bite! Plus, these delicious truffles make a fun treat for kids during Halloween and Thanksgiving. Totally gluten-free, dairy-free and vegan too.
Ingredients
Scale
- 12 Medjool dates, pitted and soaked in hot water for 30 minutes
- 1 cup pumpkin puree
- 1 teaspoon vanilla extract
- 1/4 teaspoon salt
- 1 teaspoon pumpkin pie spice
- 1/2 tsp ground cinnamon
- 1/4 cup almond butter
- 1 cup almond flour
- 3 tablespoons coconut flour
- 5 ounces vegan dark chocolate for coating
Instructions
- Blend Dates into Paste: Drain any excess water from the soaked dates and blend them in your high-speed blender or food processor until you get a smooth paste. (Tip: If the dates are still hard after soaking for 30 minutes, simply soak them for another 15 minutes until they are soft.)
- Combine Dates, Pumpkin and Almond Butter: Mix the processed date paste, pumpkin puree, and almond butter in a large mixing bowl. Mix to combine until well incorporated.
- Add Remaining Ingredients: Add vanilla extract, pumpkin pie spice, ground cinnamon and salt. Mix well to get a homogeneous mixture. Add coconut and almond flour and combine with a spatula until you get a homogeneous, thick truffle dough.
- Roll Dough into Balls: Use a small cookie scoop (approximately 1 heaping teaspoon) to portion out the dough, then roll them with your palms into smooth 1-inch balls. (You should get approximately 30 balls).
- Melt Chocolate and Drizzle Over Balls: Melt the vegan dark chocolate in a double boiler or carefully in the microwave for 60 seconds (stirring halfway) until the chocolate is runny and smooth. Poke each truffle dough ball with a toothpick or a skewer and then drizzle the melted chocolate over, allowing excess to drip off. Place them on a parchment-lined plate or baking sheet.
- Chill Until Set: Chill the coated truffles in the refrigerator for at least 30 minutes for the chocolate to harden completely before serving.
Notes
Dates: For the best results, I recommend using soft Medjool dates for their naturally sweet, caramel-like flavor and soft texture. Regardless of the type of dates you use, ensure they are pitted and soaked in hot water for at least 30 minutes. If they remain firm, soak them for another 15 minutes to guarantee they blend into a smooth paste. If you prefer to use a liquid sweetener, you can substitute the date paste with 1/4 cup of maple syrup, agave nectar, or honey (for non-vegan versions). For a low-glycemic option, maple-flavored monkfruit syrup is an excellent choice for diabetics or those watching their sugar intake.
Pumpkin Puree: While fresh homemade pumpkin puree is delightful when in season, high-quality canned pumpkin puree works perfectly. Always double-check the label to ensure you’re using plain pumpkin puree and not pre-spiced pumpkin pie filling, which would alter the flavor profile of the truffles.
Vanilla Extract: Vanilla extract adds a classic warmth and depth of flavor. For a slight variation, you can experiment with almond extract to introduce a subtle nutty note.
Pumpkin Pie Spice/Cinnamon: The combination of pumpkin pie spice and ground cinnamon creates that iconic fall flavor. If pumpkin pie spice isn’t available, simply use more ground cinnamon, or create your own blend with cinnamon, nutmeg, ginger, and cloves.
Almond Butter: Almond butter provides richness and acts as a binder. Feel free to substitute with other creamy nut butters like peanut butter, cashew butter, or a nut-free option such as sunflower seed butter.
Almond Flour: Almond flour adds structure, protein, and keeps the truffles low-carb and gluten-free. If you don’t have it, you can easily grind whole almonds into almond meal in a food processor. Other alternative flours include tigernut flour or cashew flour.
Coconut Flour: This is a crucial ingredient! Coconut flour is highly absorbent and adds fiber, helping achieve the perfect truffle consistency. Due to its unique properties, it’s not recommended to substitute coconut flour with another ingredient.
Dark Chocolate: I use vegan dark chocolate to ensure the recipe is completely dairy-free and vegan-friendly. If dietary restrictions are not a concern, you can use regular dark chocolate. For a different look and flavor, white chocolate can also be used.
Storing: To store your delicious chocolate pumpkin pie truffles, place them in an airtight container and refrigerate for up to 5 days. For longer storage, they can be frozen for up to 3 months (see FAQ above).
- Prep Time: 45 mins
- Chilling Time: 30 mins
- Category: Desserts
- Method: No-Bake
- Cuisine: American
