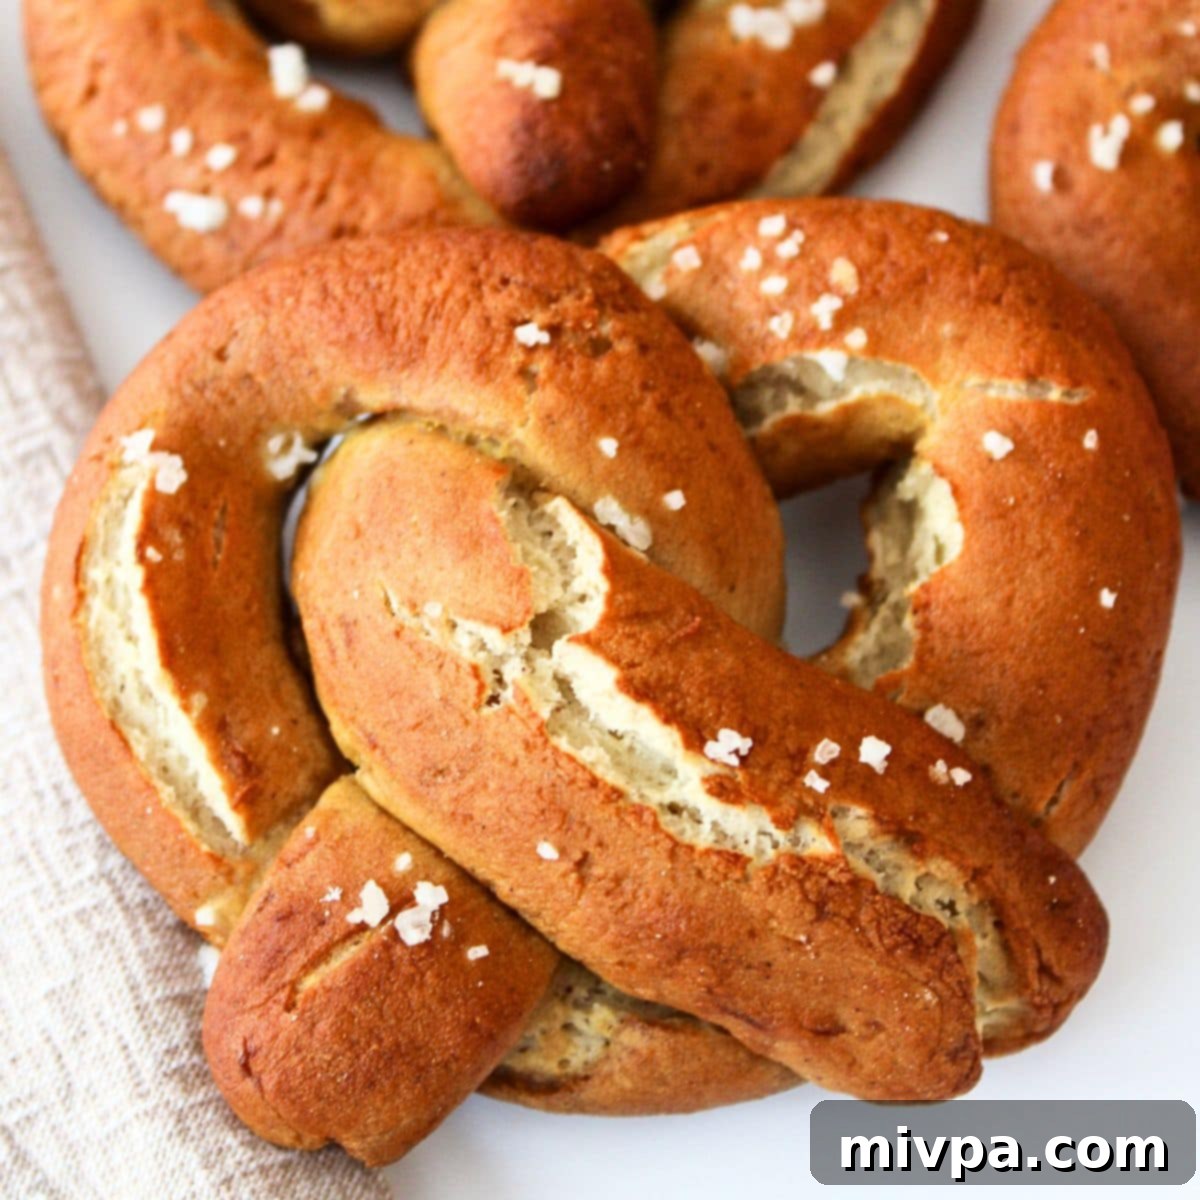
Easy Homemade Gluten-Free Soft Pretzels: Chewy, Salty & Perfectly Golden (Dairy-Free Option!)
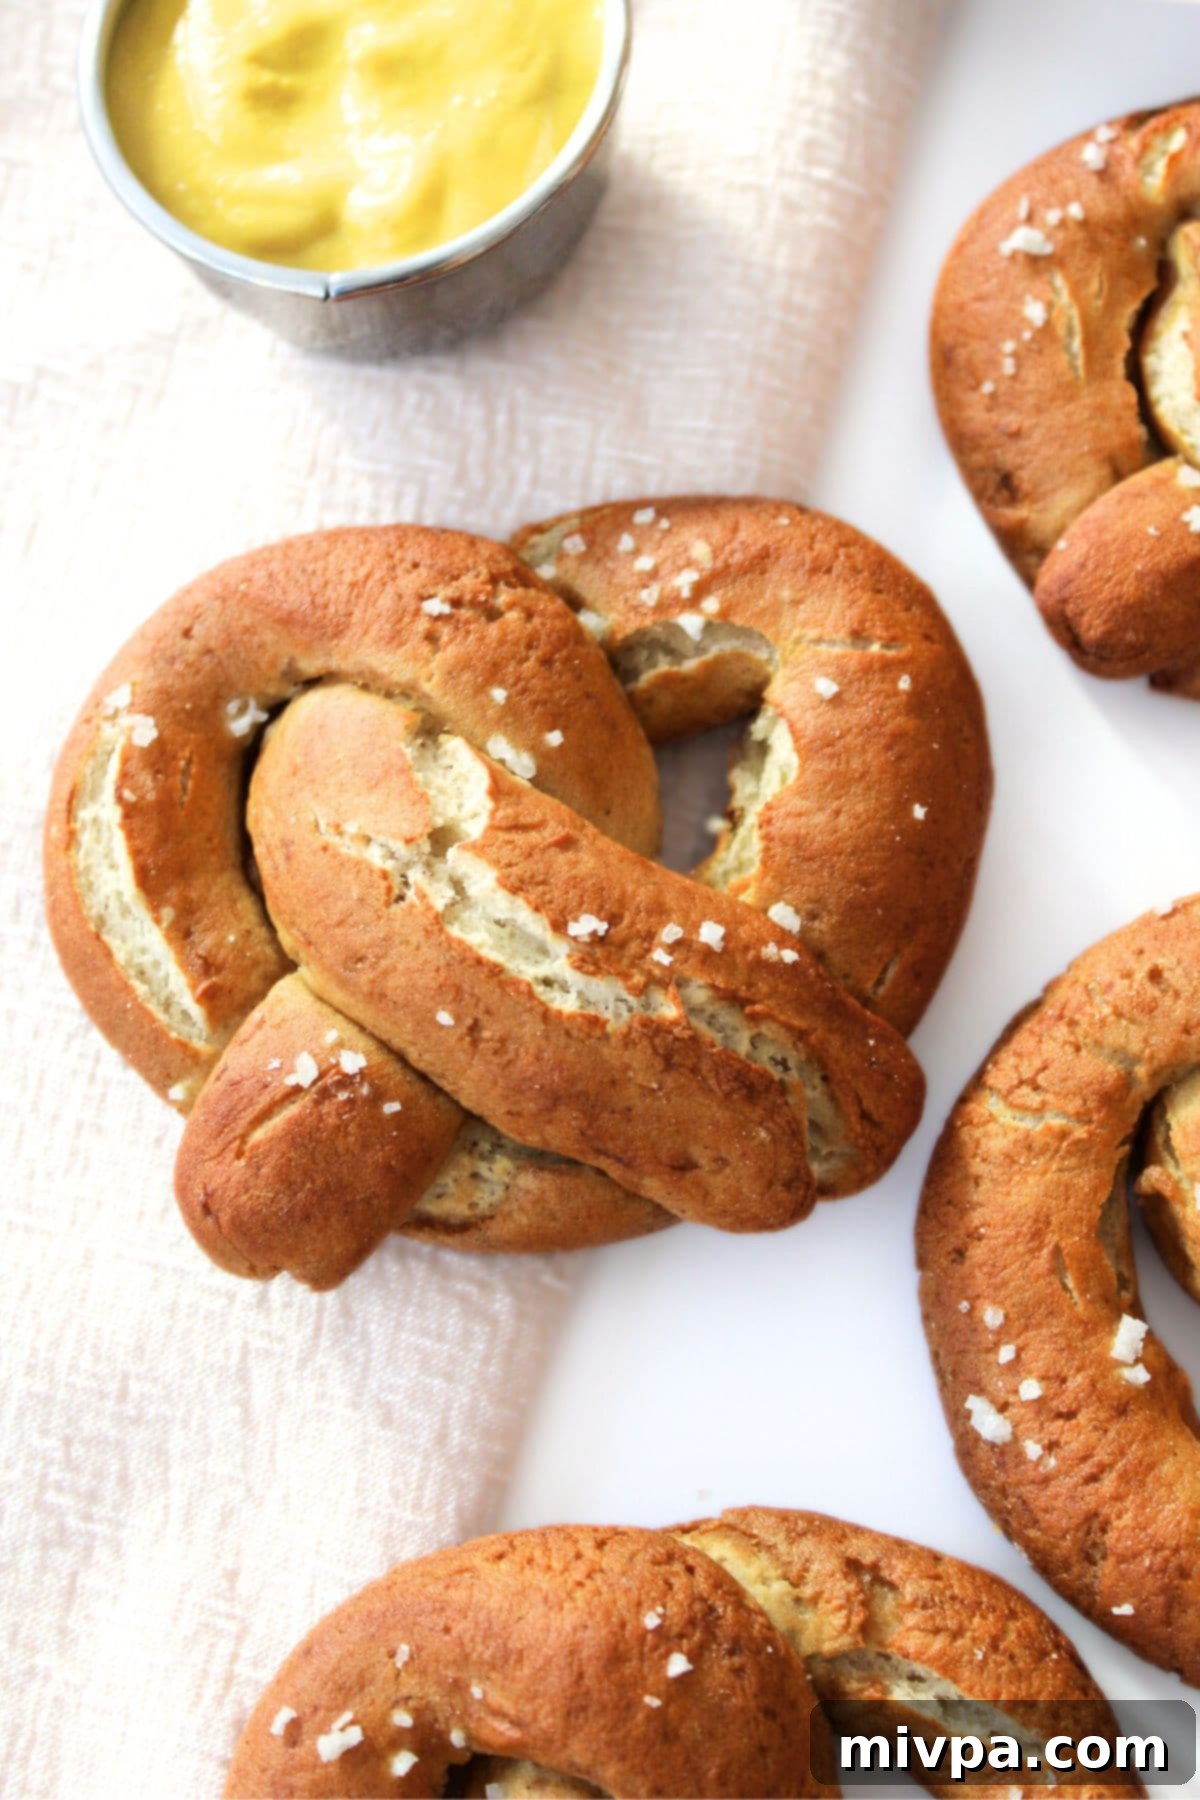
Imagine a warm, soft pretzel with a beautifully golden-brown crust, a delightful chewiness, and that signature salty finish. Now, imagine savoring that perfect pretzel, knowing it’s entirely gluten-free and can even be made dairy-free! These homemade gluten-free soft pretzels are not just a treat; they’re a revelation for anyone with dietary restrictions or simply looking for an incredibly satisfying snack. Whether you enjoy them plain, dipped in your favorite mustard, a creamy cheese sauce, or a rich appetizer, this recipe delivers all the classic flavor and texture you crave, without a trace of gluten. They make for an ideal savory afternoon snack or a crowd-pleasing addition to any gathering, proving that delicious, traditional treats can absolutely be enjoyed by everyone.
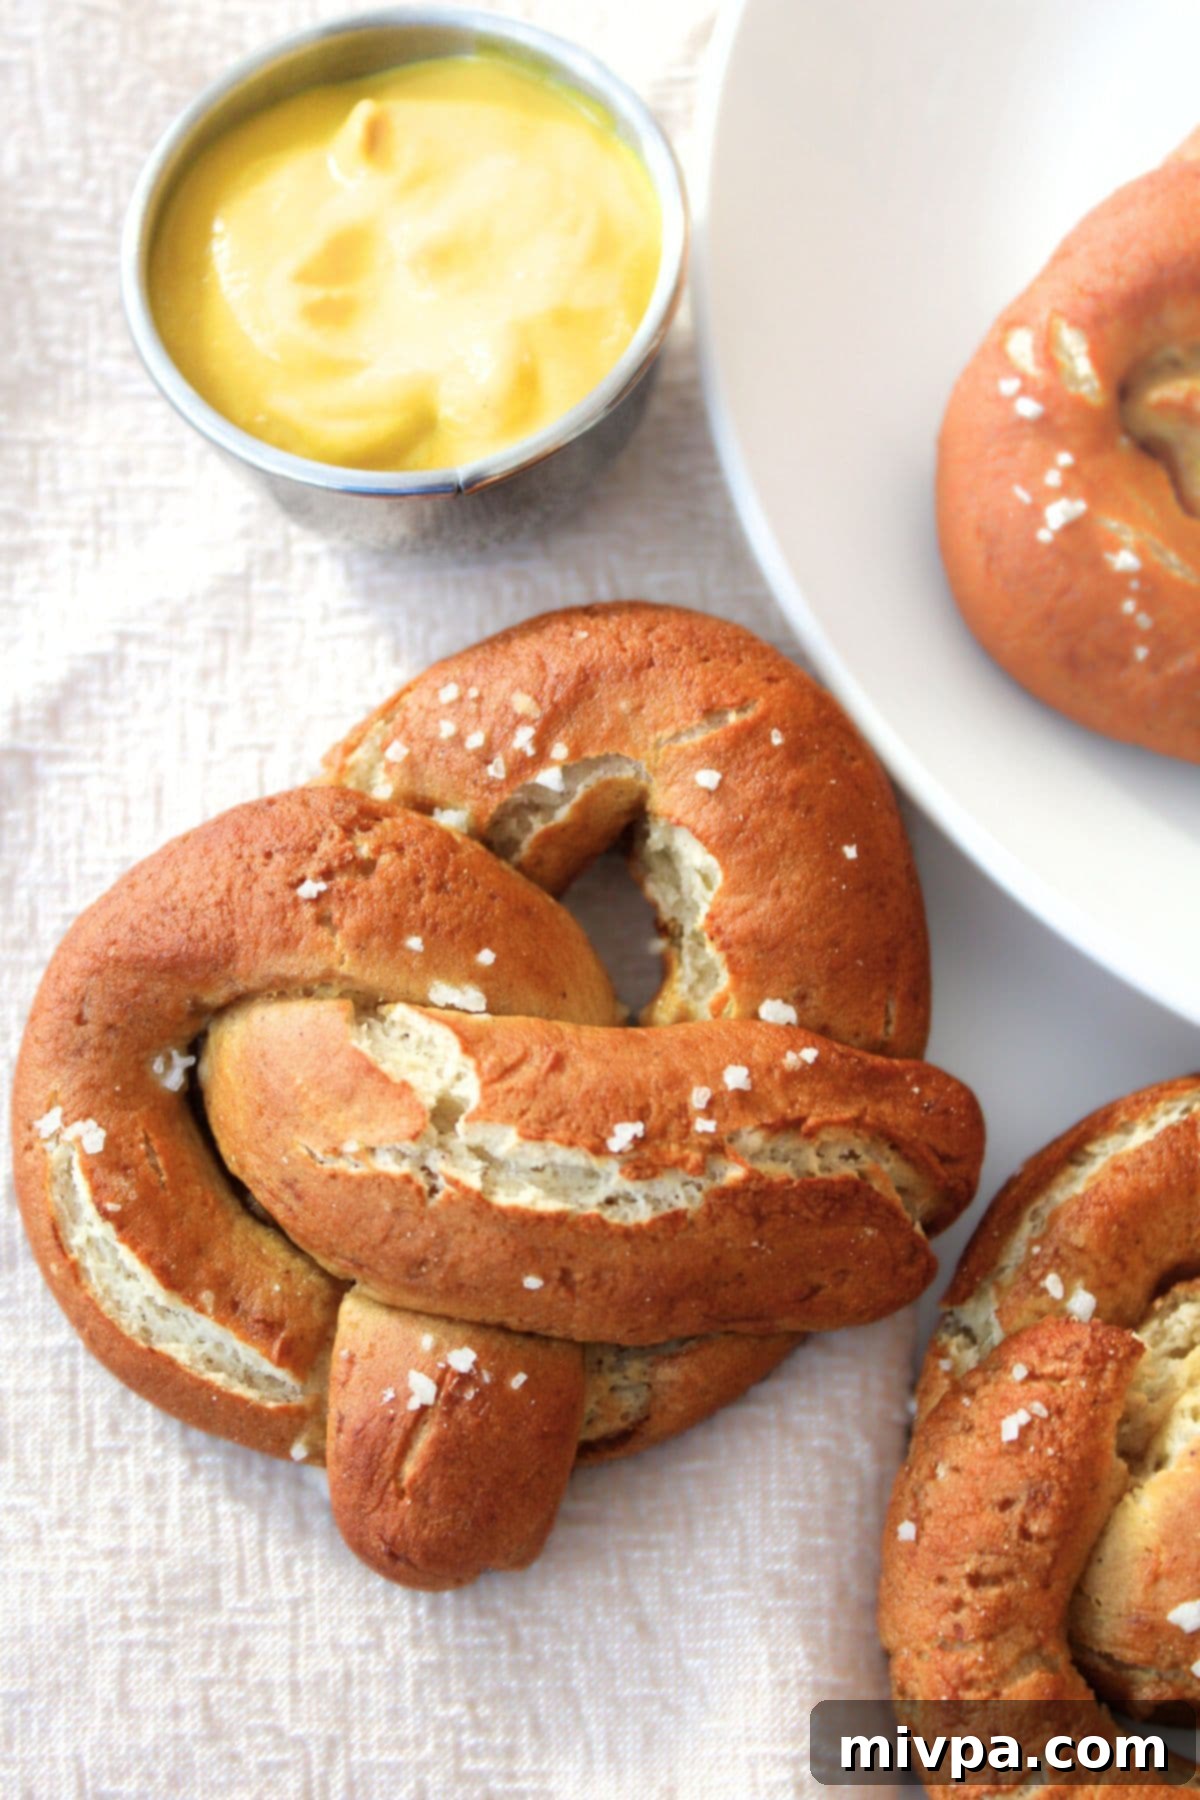
What Exactly Are Pretzels? A Delicious Overview
Pretzels are a beloved type of baked bread snack, instantly recognizable by their iconic twisted knot shape. Originating from European bakeries, possibly dating back to the 7th century, pretzels have become a culinary staple worldwide, cherished for their unique chewy texture and a crust that ranges from slightly crisp to deeply golden. While they can be found in both soft and hard varieties, this recipe focuses on the soft pretzel – a larger, more bread-like creation that is wonderfully pillowy on the inside and satisfyingly firm on the outside. Hard pretzels, in contrast, are typically smaller, crunchy, and often bite-sized, perfect for a quick savory crunch.
Traditionally, pretzels are adorned with coarse salt, which provides a delightful contrast to their rich bready flavor. However, the versatility of pretzels allows for a myriad of toppings and seasonings. You can find them coated in sweet cinnamon sugar, savory cheese, or a variety of other spices, catering to every palate. I have fond memories from my student exchange days in Germany, sitting by the river and enjoying warm butter pretzels. This recipe is a heartfelt homage to those experiences, bringing that authentic taste and joy into a form everyone can enjoy.
Historically, pretzels were made with wheat flour, a key component for their elasticity and chewiness. However, for those with celiac disease, gluten sensitivity, or simply choosing a gluten-free lifestyle, traditional pretzels are off-limits. This recipe bridges that gap, allowing you to recreate the magic of homemade pretzels using a high-quality gluten-free 1:1 baking flour. We’ll achieve the classic pretzel characteristics, from the distinctive texture to the inviting golden hue, ensuring that these treats are accessible and enjoyable for all.
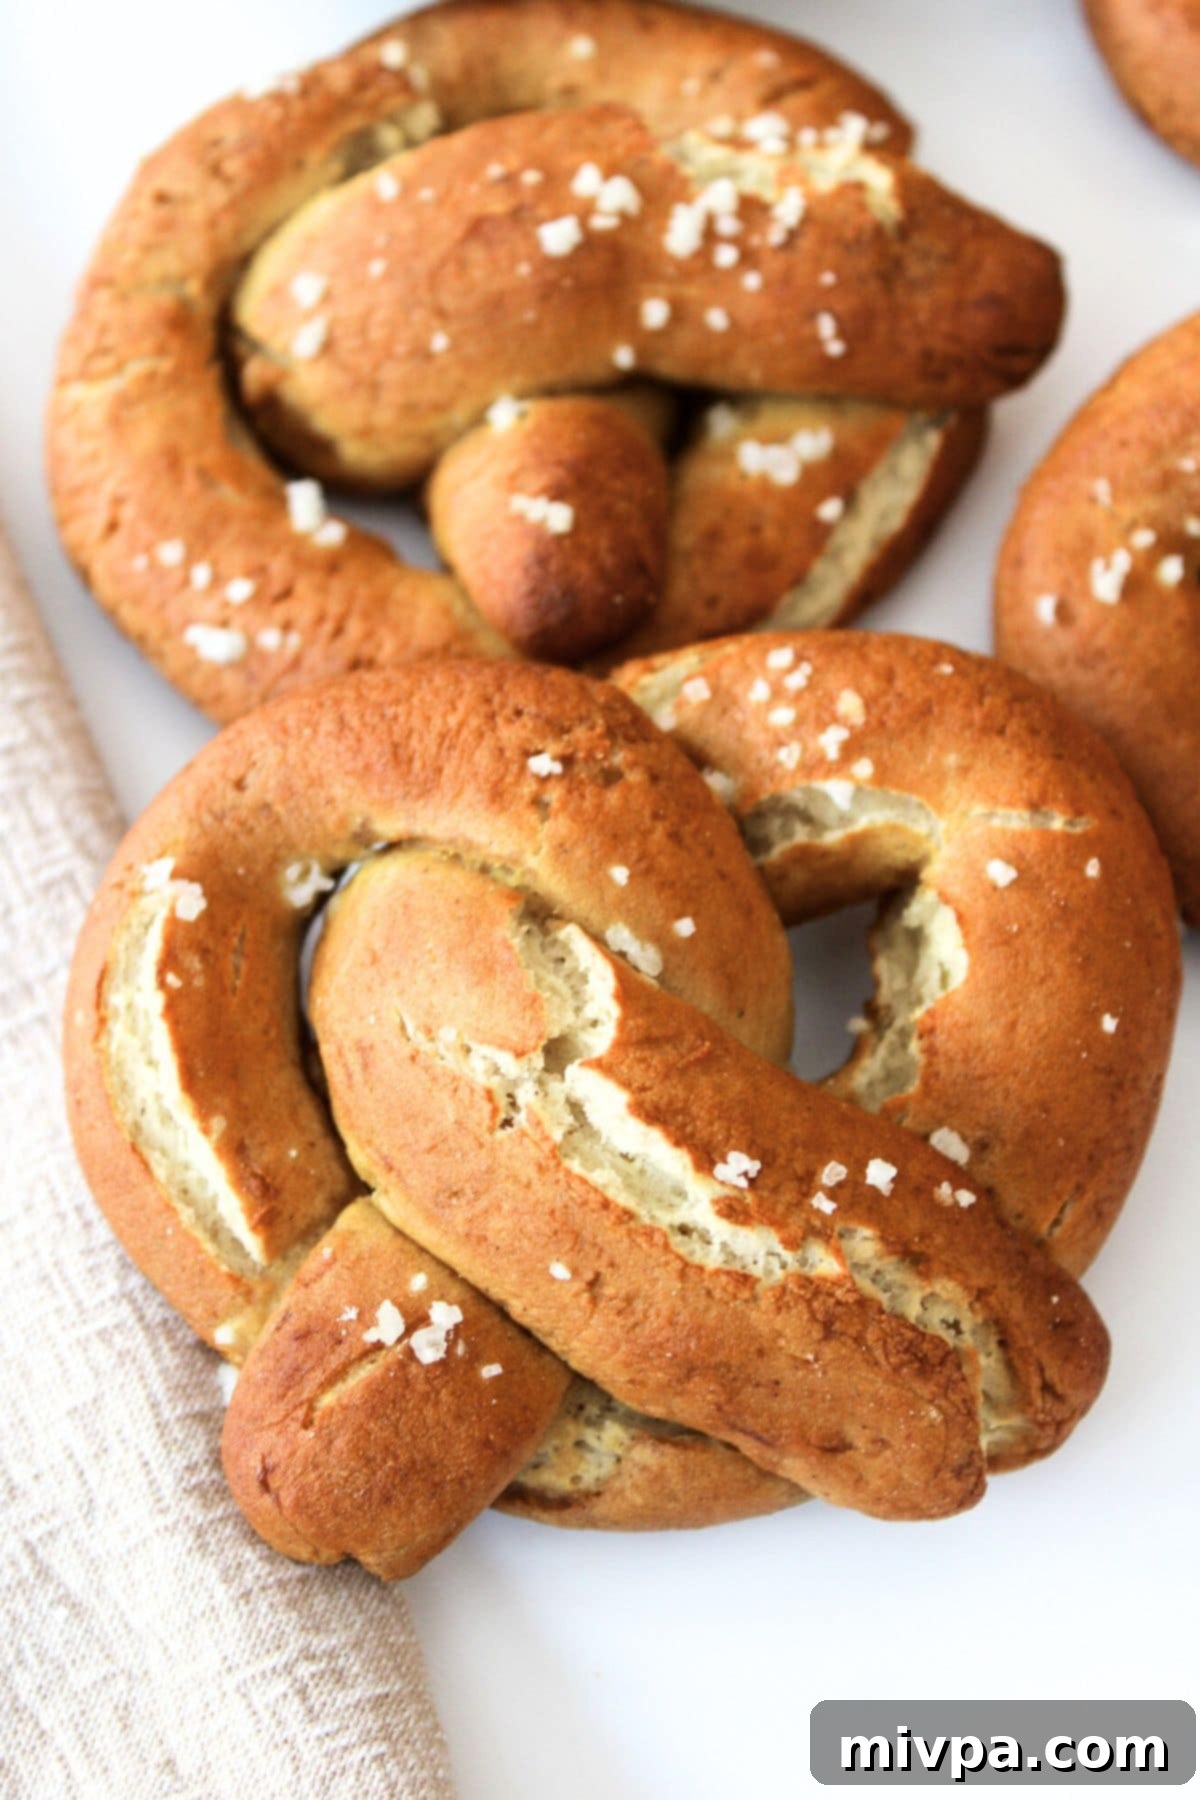
Why This Gluten-Free Pretzel Recipe Is a Game-Changer
This recipe isn’t just another gluten-free alternative; it’s designed to genuinely work, delivering delicious results every time. Here’s why you’ll love making these soft pretzels:
- Simple, Accessible Ingredients: You won’t need to hunt for obscure or specialty items. The core ingredients for these homemade gluten-free pretzels are readily available at your local grocery store. We focus on common pantry staples, making this recipe approachable for every home baker (no fancy, hard-to-find components required!).
- Relatively Easy to Make with Clear Steps: Don’t be intimidated by the idea of homemade pretzels. The process is straightforward and broken down into manageable stages. It’s essentially a matter of preparing a simple dough, allowing it to rise beautifully, then shaping it into those iconic knots. The crucial step of the soda bath, which gives pretzels their distinctive chewy texture and golden crust, is also explained in an easy-to-follow manner. It’s a rewarding baking project that’s much simpler than you might expect!
- Completely Gluten-Free with a Dairy-Free Option: This is truly the best part for many. Our soft pretzel recipe is 100% gluten-free, making it a safe and delightful choice for individuals with Celiac disease, gluten sensitivity, or those following a gluten-free diet. Furthermore, we’ve included clear instructions to easily adapt this recipe to be dairy-free as well, accommodating lactose intolerance or vegan preferences. This means more people can enjoy the comforting taste of freshly baked pretzels without any digestive concerns or dietary compromises. It’s about inclusivity and pure deliciousness!
Gathering Your Ingredients: What You’ll Need
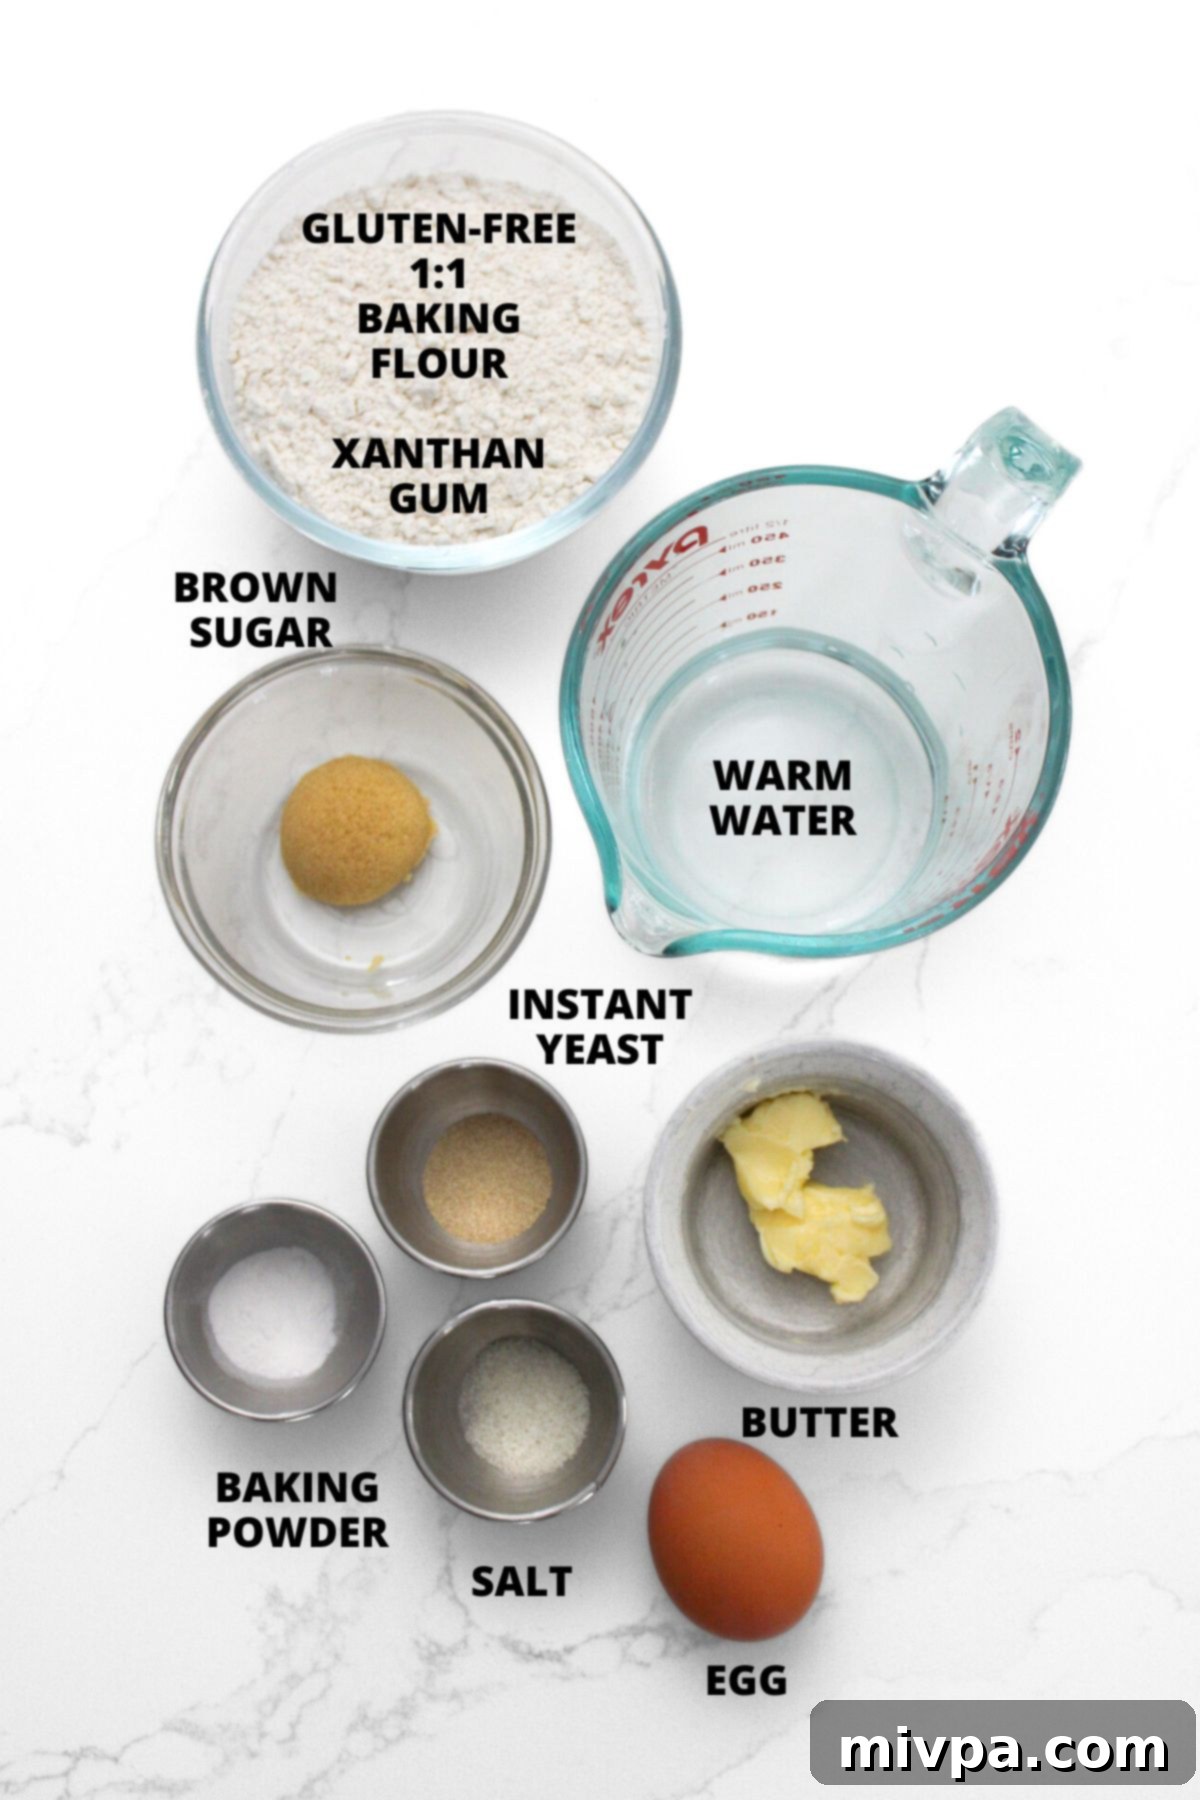
Before we dive into the delicious process, let’s take a quick visual tour of the key ingredients required for this gluten-free soft pretzel recipe. Having everything laid out will make your baking experience smooth and enjoyable.
(For precise measurements and a detailed list, please scroll down to the printable recipe card located at the very bottom of this post.)
Recipe Notes & Expert Substitutions for Perfect Pretzels
Understanding your ingredients is key to successful baking, especially when working with gluten-free recipes. Here are some essential notes and potential substitutions to help you achieve the best possible gluten-free soft pretzels:
- Gluten-Free Flour: The type of gluten-free flour blend you use is crucial for the final texture of your pretzels. For that ideal soft and chewy consistency, I strongly recommend using a high-quality gluten-free 1:1 baking flour. Look for blends primarily composed of lighter flours and starches, such as rice flour, tapioca starch, corn starch, and potato starch. These combinations yield a tender, pliable dough. Conversely, I advise against using gluten-free flour blends that heavily feature denser flours like garbanzo bean flour, as these can result in a noticeably heavier and more compact final texture, which isn’t ideal for a light, fluffy pretzel.
- Xanthan Gum: This ingredient is a powerhouse in gluten-free baking. Xanthan gum acts as a replacement for gluten, providing elasticity and structure that would otherwise be missing. It helps to bind the ingredients together, preventing crumbling and giving the dough a more pliable, workable consistency. If your chosen gluten-free flour blend does not already list xanthan gum in its ingredients (many 1:1 blends do!), it is absolutely essential to add it separately as specified in the recipe.
- Brown Sugar: I’ve opted for light brown sugar in this recipe, which adds a subtle sweetness and helps with the pretzel’s beautiful golden-brown color during baking. However, you have flexibility here: cane sugar or dark brown sugar will work just as well, with dark brown sugar imparting a slightly richer, more molasses-like flavor. The sugar also plays a vital role in feeding the yeast, ensuring a good rise.
- Baking Powder: While yeast is the primary leavening agent, baking powder provides an additional boost, helping the pretzel dough achieve a slightly lighter, fluffier internal texture. Don’t skip this ingredient! For those with Celiac disease or severe gluten intolerance, always ensure you’re using certified gluten-free baking powder to avoid cross-contamination.
- Yeast: Yeast is the living ingredient responsible for the dough’s rise, creating those delightful air pockets and contributing to the pretzel’s bready texture and flavor. I recommend using instant yeast for convenience, as it doesn’t require prior proofing. This means you can simply mix all the dry ingredients together at once, saving time and simplifying the process. If you only have active dry yeast, you’ll need to proof it first in the warm water with a pinch of sugar for about 5-10 minutes until foamy, then proceed with the recipe.
- Warm Water: The temperature of your water is critical for activating the yeast. It needs to be warm enough to awaken the yeast, but not so hot that it kills it. Aim for a temperature between 105°F to 115°F (40°C to 46°C). You can check this with a kitchen thermometer, or by testing a drop on your wrist – it should feel pleasantly warm, like a baby’s bath. If the water is too cold, the yeast won’t activate; too hot, and it will be destroyed.
- Egg: The egg serves multiple functions in this recipe. It acts as an excellent binder, helping to hold the gluten-free ingredients together and preventing the dough from being too crumbly. It also adds richness to the dough, contributing to its flavor and helping achieve a tender crumb.
- Butter: Softened butter adds richness, flavor, and helps to create a tender texture in the dough. If you have a dairy intolerance or are following a vegan diet, you can easily make this pretzel recipe dairy-free by substituting softened dairy-free butter (vegan butter). Ensure it’s a good quality brand that bakes well.
- Coarse Sea Salt: This is the classic pretzel topping for a reason! Sprinkling coarse sea salt or flaky sea salt on top before baking provides that essential, characteristic hint of salt that contrasts beautifully with the bready interior. It also adds a satisfying textural crunch to the exterior.
- Soda Bath: Do NOT skip the baking soda bath – it is absolutely fundamental to achieving the iconic chewy crust and deep brown color of traditional soft pretzels. The alkaline solution of the baking soda bath works by gelatinizing the surface of the dough, which then reacts during baking to form that signature pretzel crust. The addition of honey to the bath is a clever trick; it not only adds a subtle sweetness but also aids in creating that desirable rich, deep brown finish. Without this step, your pretzels will be more like regular breadsticks, missing that authentic pretzel magic.
Crafting Your Gluten-Free Soft Pretzels: A Detailed Step-by-Step Guide
Making delicious homemade soft pretzels is a rewarding process, and with these clear instructions, you’ll be twisting and baking like a pro in no time. Follow along for perfect results!
Phase 1: Preparing and Rising the Dough
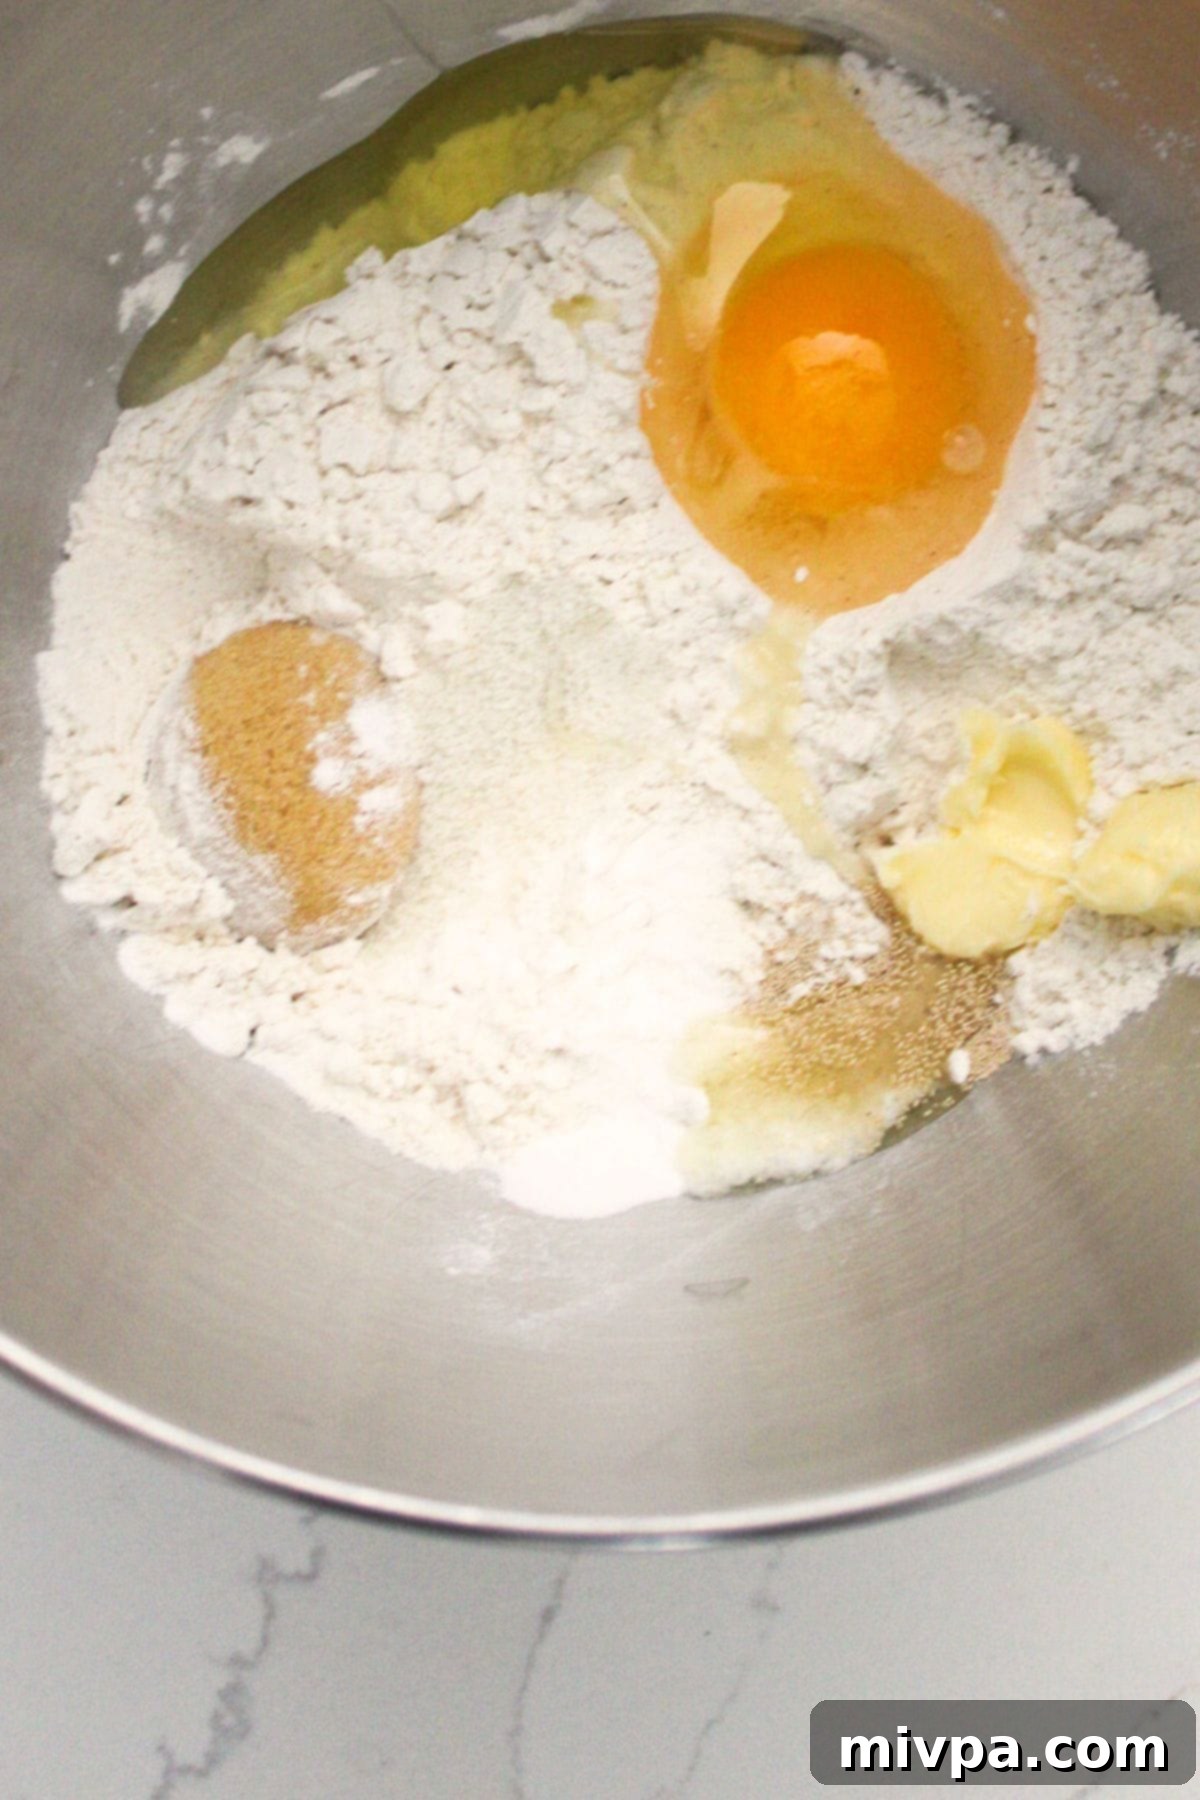
1. Combine Ingredients to Form Dough: Begin by adding your dry ingredients – gluten-free 1:1 baking flour, brown sugar, baking powder, salt, and instant yeast – to the large mixing bowl of a stand mixer. Whisk these together briefly to ensure they are well combined. Next, add the wet ingredients: the egg, softened butter, and warm water. Start mixing on low speed until the ingredients just begin to come together. As the mixture starts to form a cohesive dough, increase the speed to medium and continue mixing for several minutes until a smooth, slightly sticky, yet manageable dough forms. The gluten-free dough won’t be as elastic as traditional dough, but it should hold its shape.
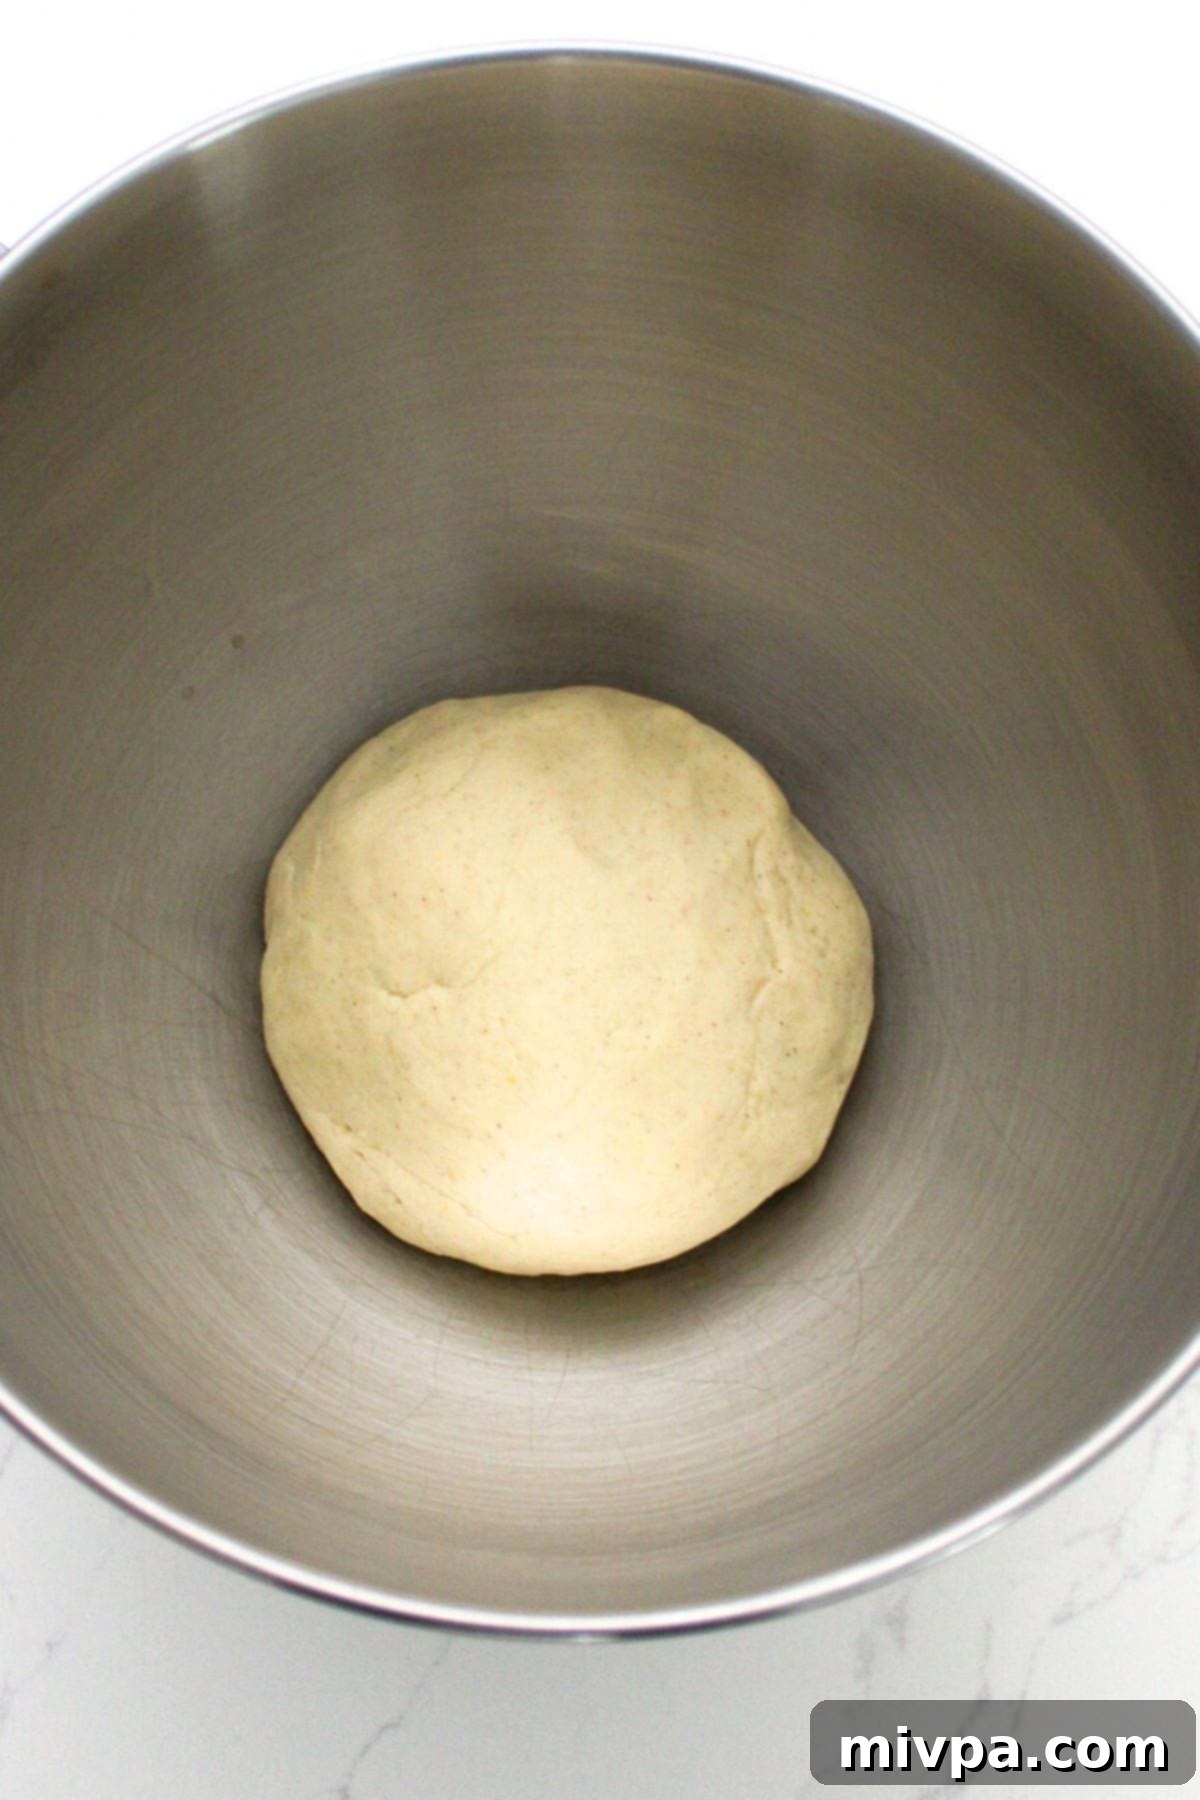
2. Let Dough Rise: Once your dough is formed, shape it into a neat ball and transfer it to a lightly greased bowl. Cover the bowl tightly with plastic wrap to prevent the dough from drying out. Place the covered bowl in a warm, draft-free area for 1 to 2 hours, or until it has noticeably risen (it won’t double in size like traditional dough, but it should look puffier). A great trick is to place the dough in your oven with only the light turned on; the gentle warmth from the bulb creates an ideal environment for rising. This resting period allows the yeast to work its magic, developing flavor and giving the pretzels their characteristic texture.
Phase 2: Shaping Your Pretzel Masterpieces
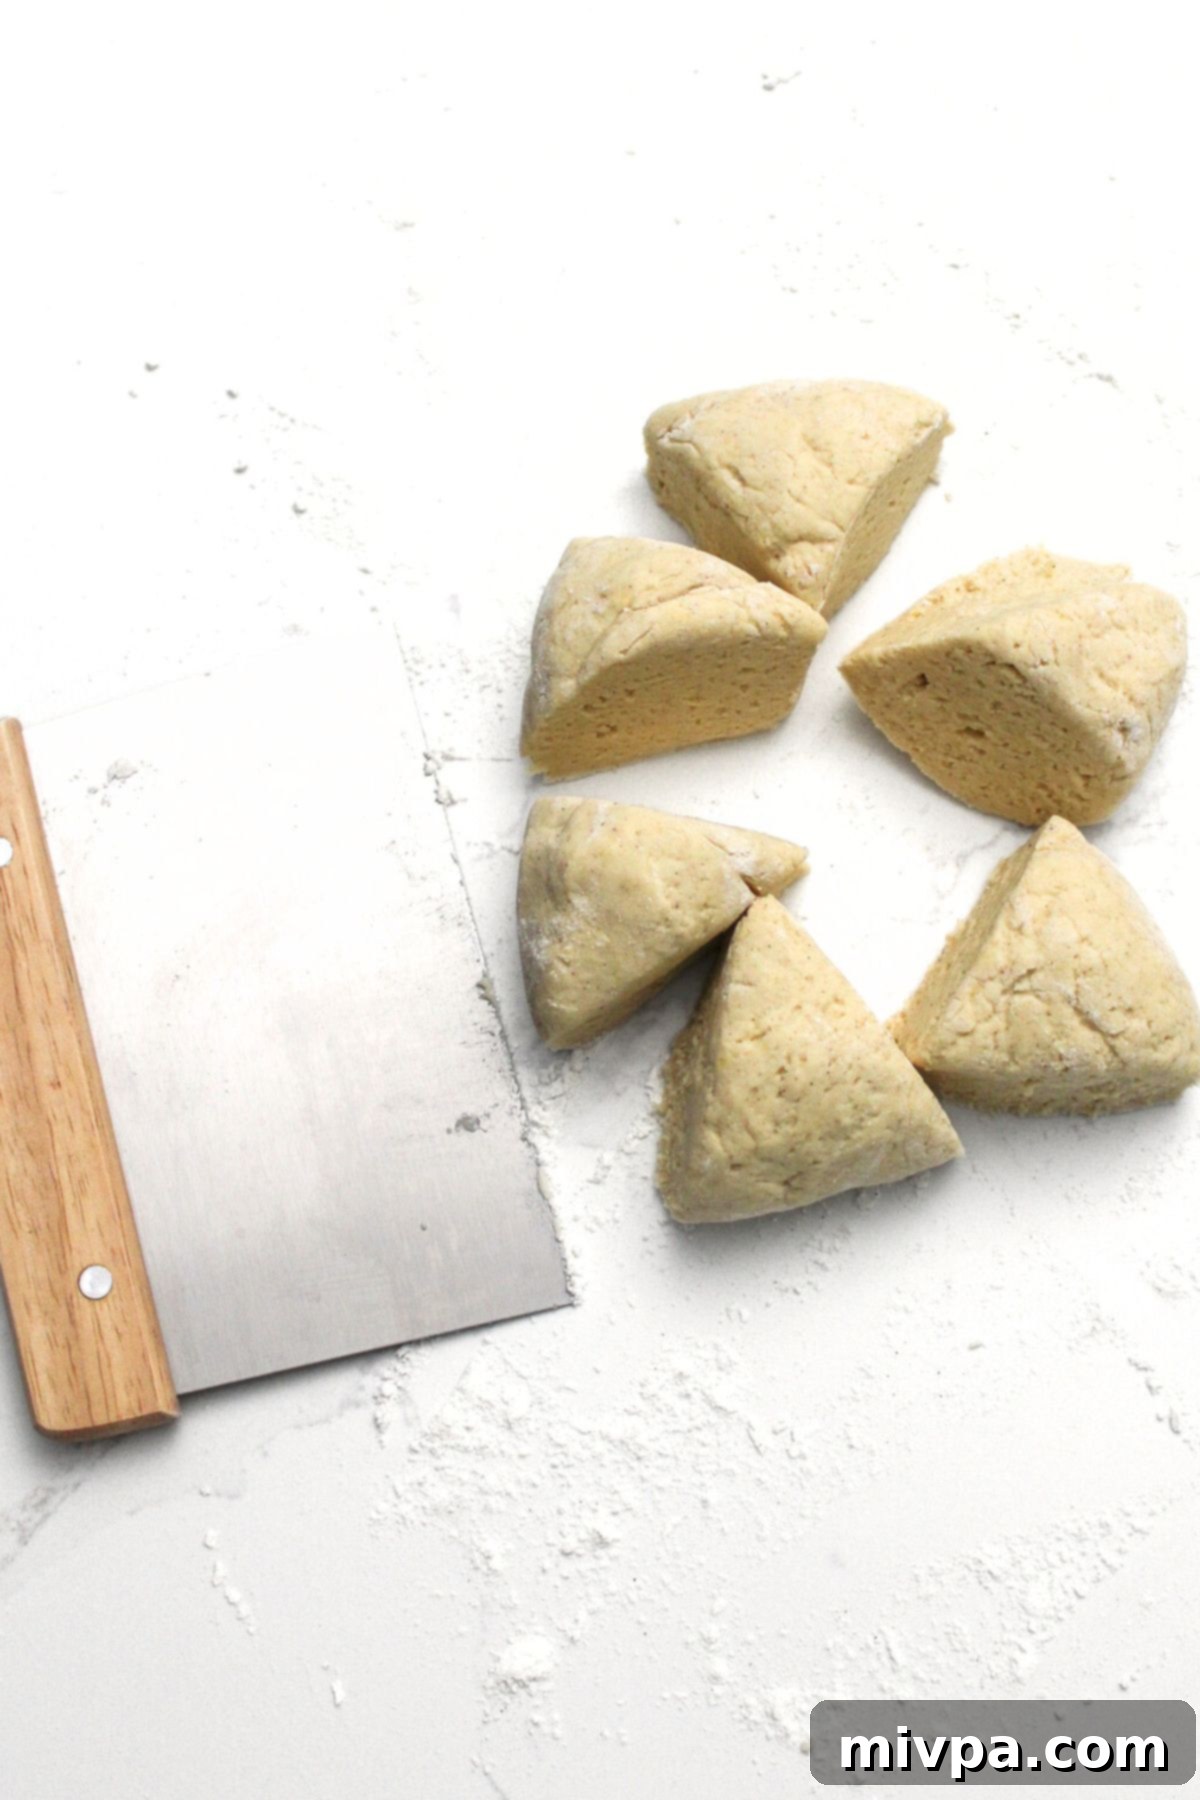
3. Cut Dough into Equal Portions: Once the gluten-free pretzel dough has completed its rise, gently transfer it to a lightly floured surface. Using a sharp knife or dough scraper, cut the dough in half. Then, take each half and cut it into thirds. This will give you 6 equal portions of dough, ensuring consistent pretzel sizes. For the best results, try to make these portions as even as possible.
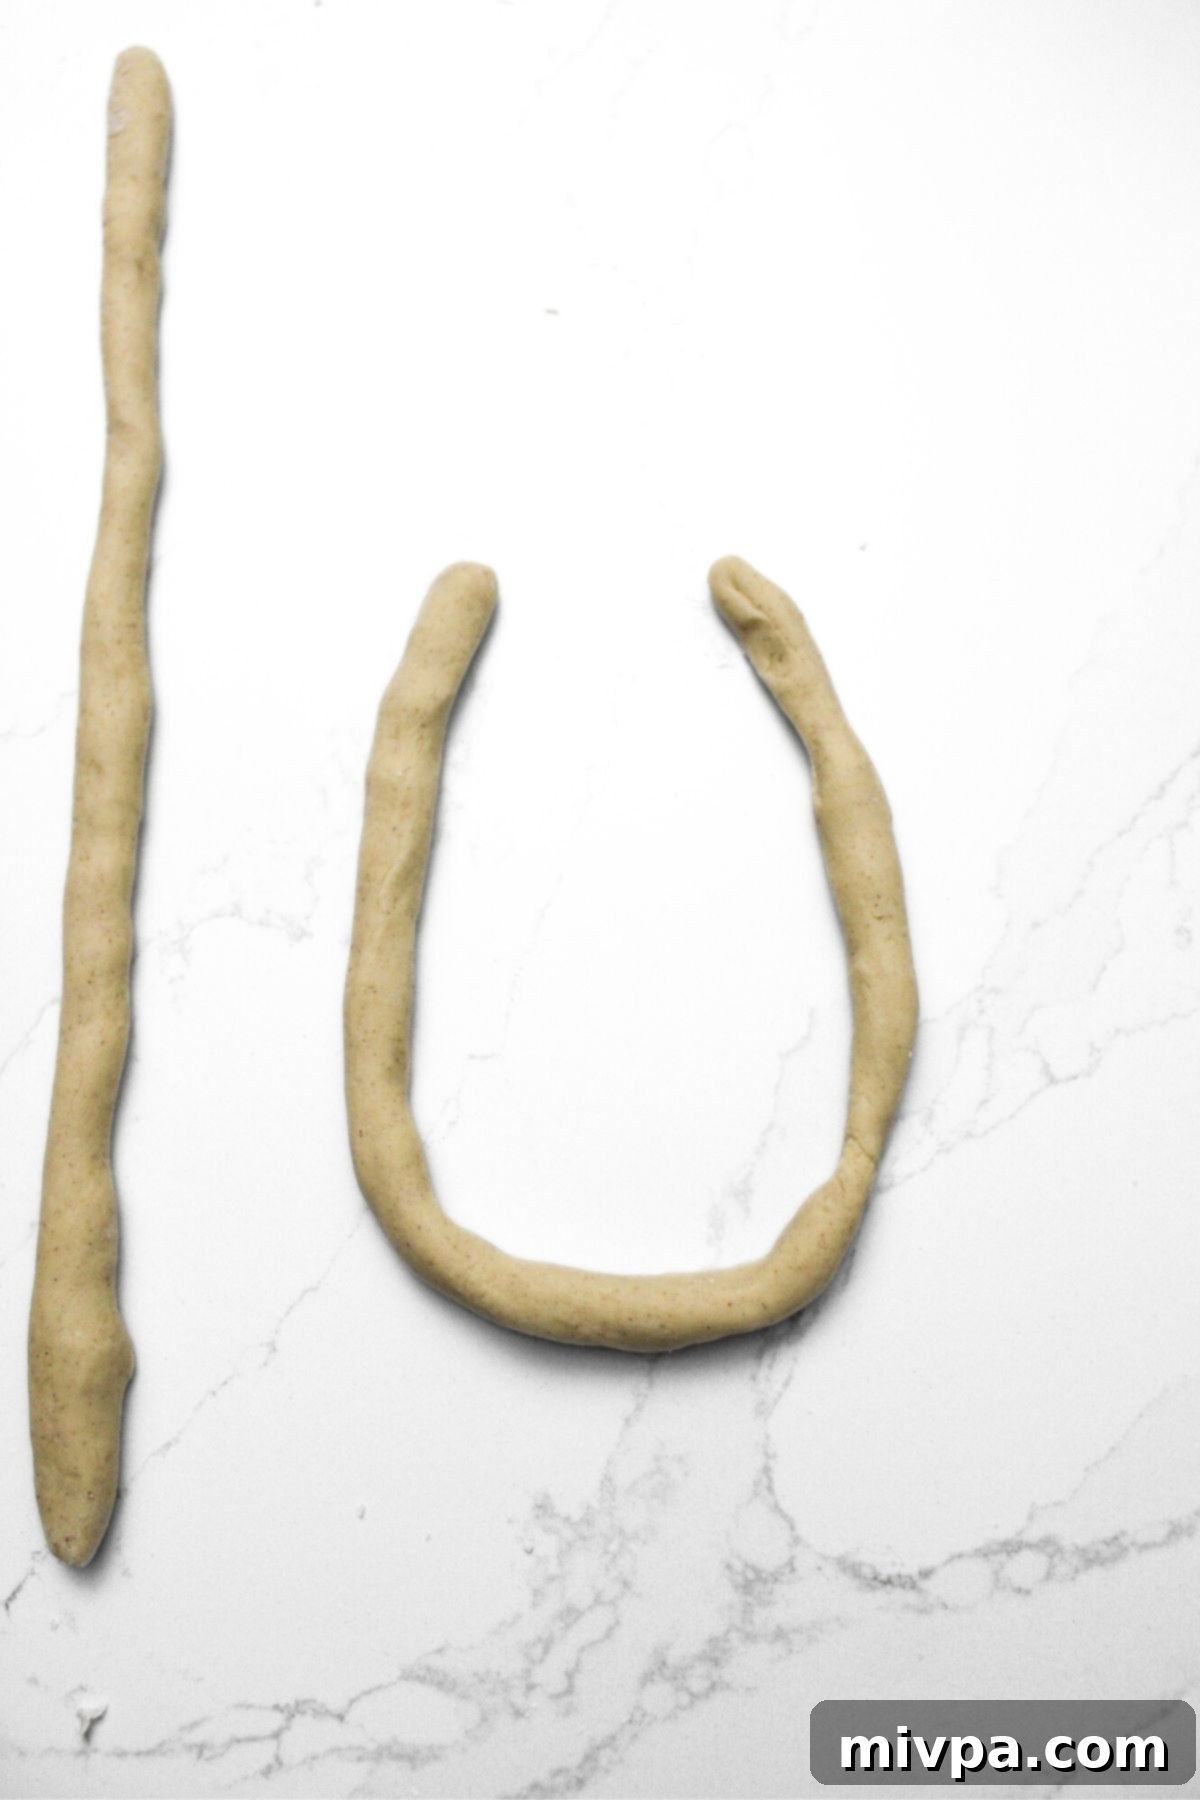
4. Roll Dough: Lightly grease your fingers with a tiny bit of oil or spray, as gluten-free dough can sometimes be a little stickier than traditional dough. Take one portion of dough and, on a lightly floured surface, gently roll it out into a long rope. Aim for a length of approximately 9-10 inches. The key here is gentle, even pressure to create a consistent thickness along the rope. Repeat this process for all six dough portions.
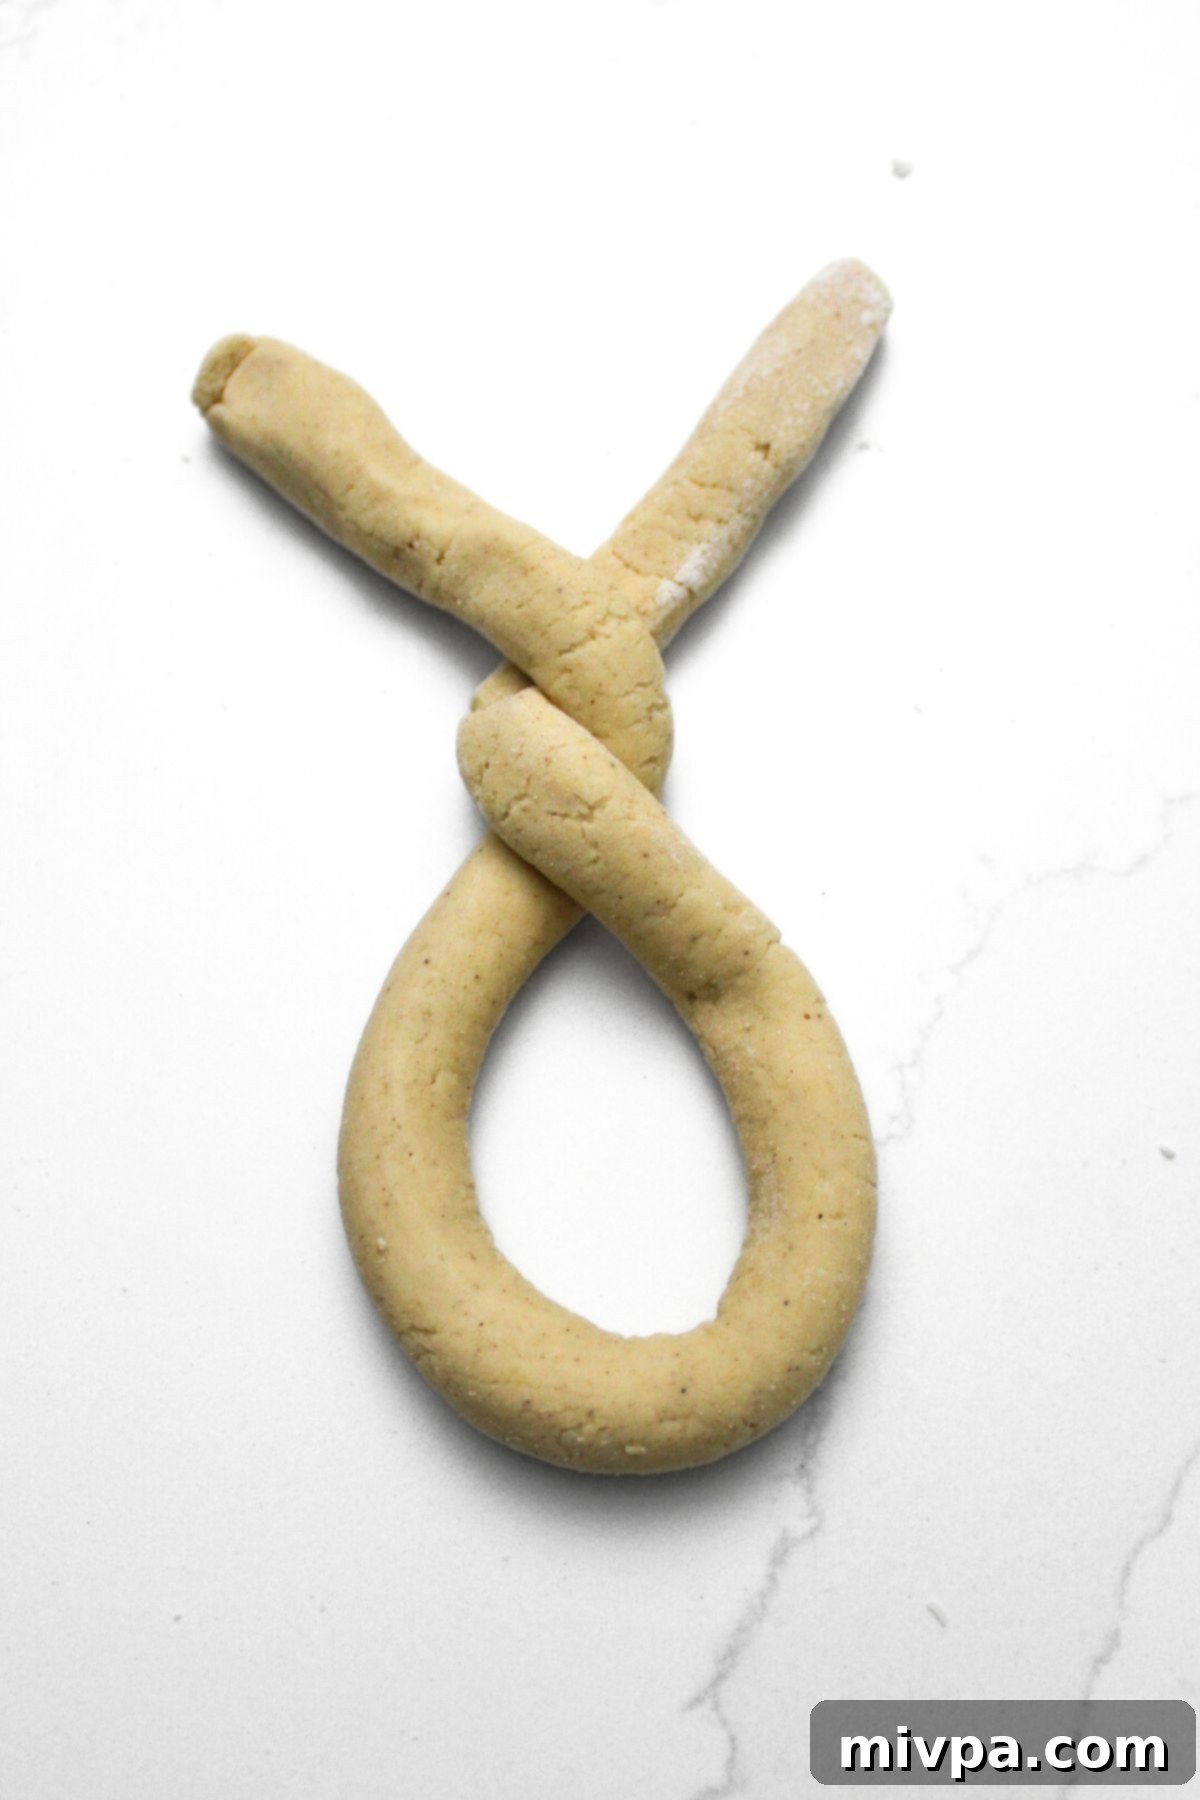
5. Shape into “U” and Twist: Once you have a nicely rolled rope of dough, carefully shape it into a letter “U” on your work surface. Now, take the two ends of the “U” and gently twist them over each other, completing two full twists. This creates the foundational loop of your pretzel.
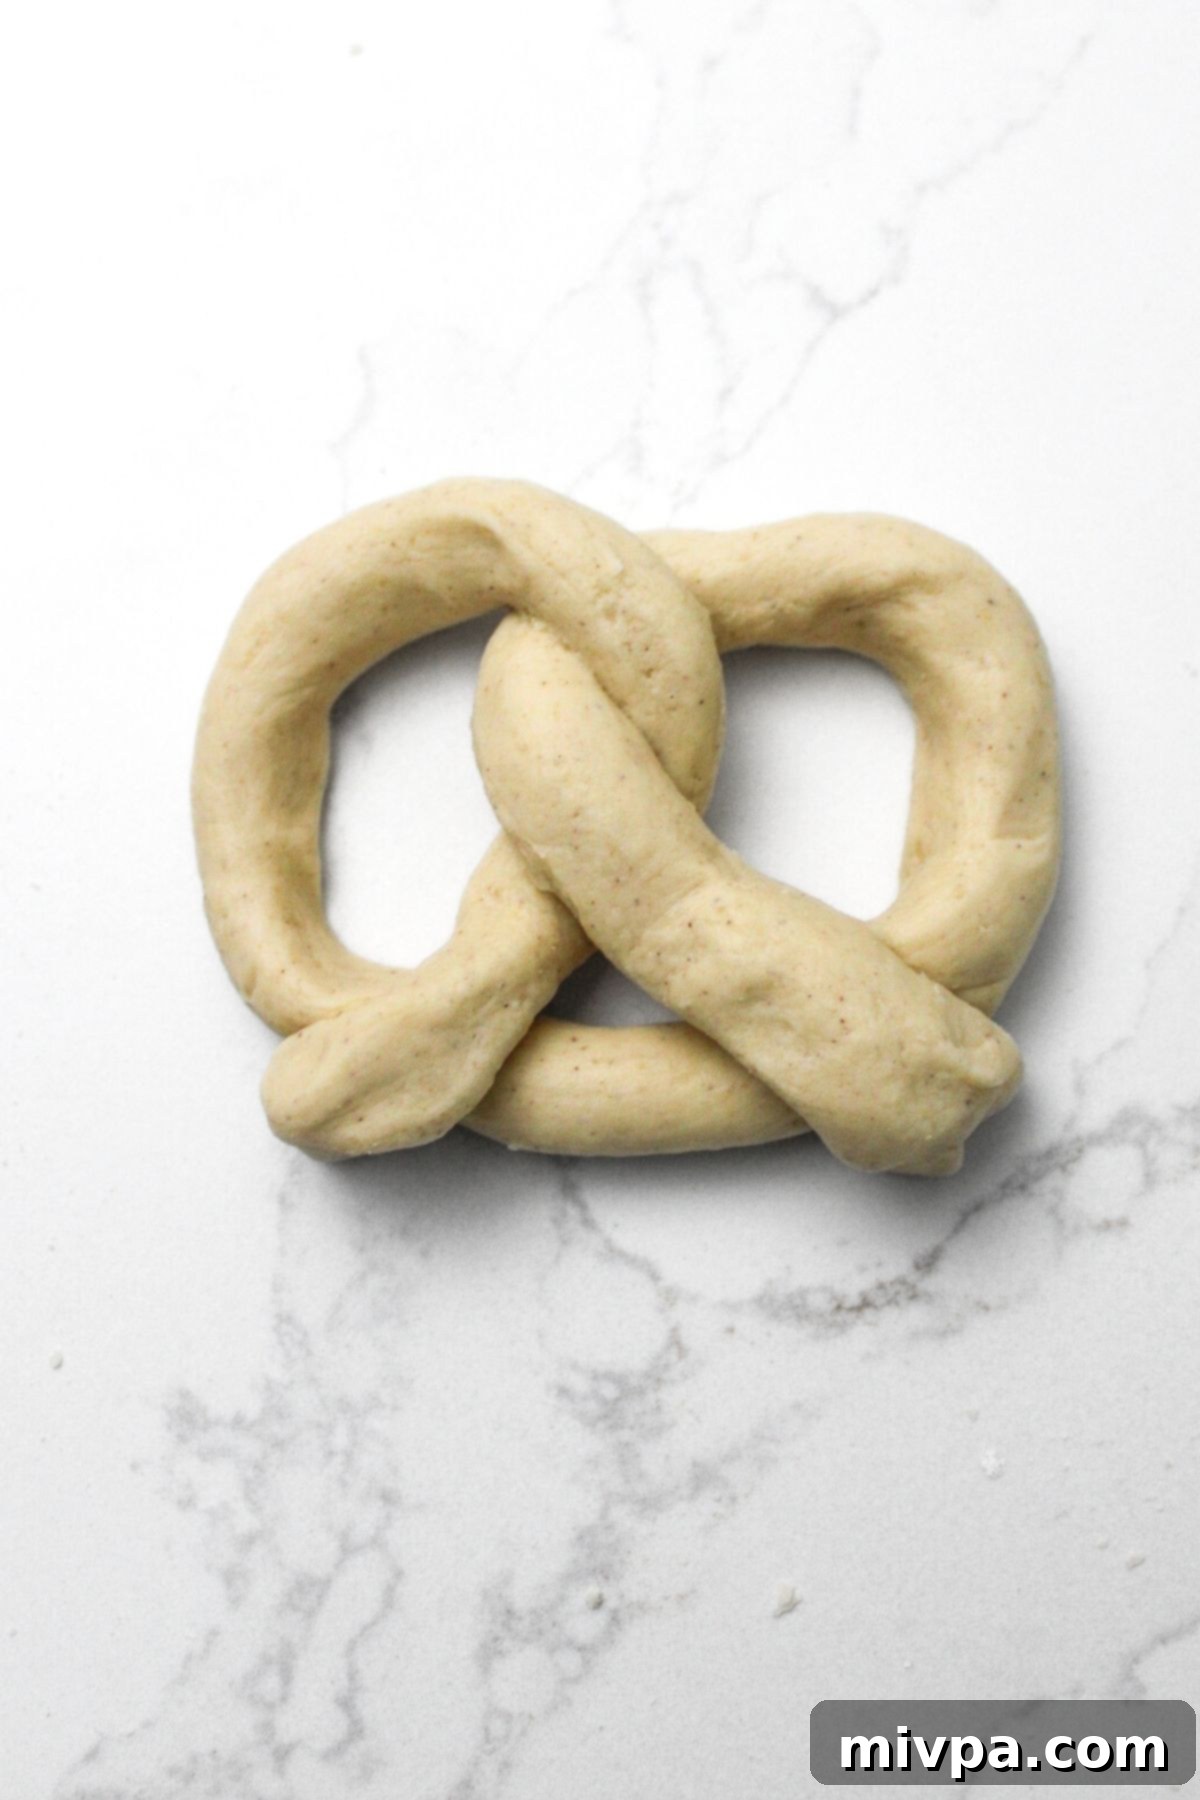
6. Create Classic Pretzel Shape: After twisting the ends, gently pull those two twisted ends down towards the bottom curve of the “U” shape. Lightly press them into the dough to secure them. Voila! You’ve successfully created the classic pretzel knot. Repeat steps 4, 5, and 6 for the remaining dough portions, carefully placing the shaped pretzels on a baking sheet lined with parchment paper as you go.
Phase 3: The Crucial Soda Bath
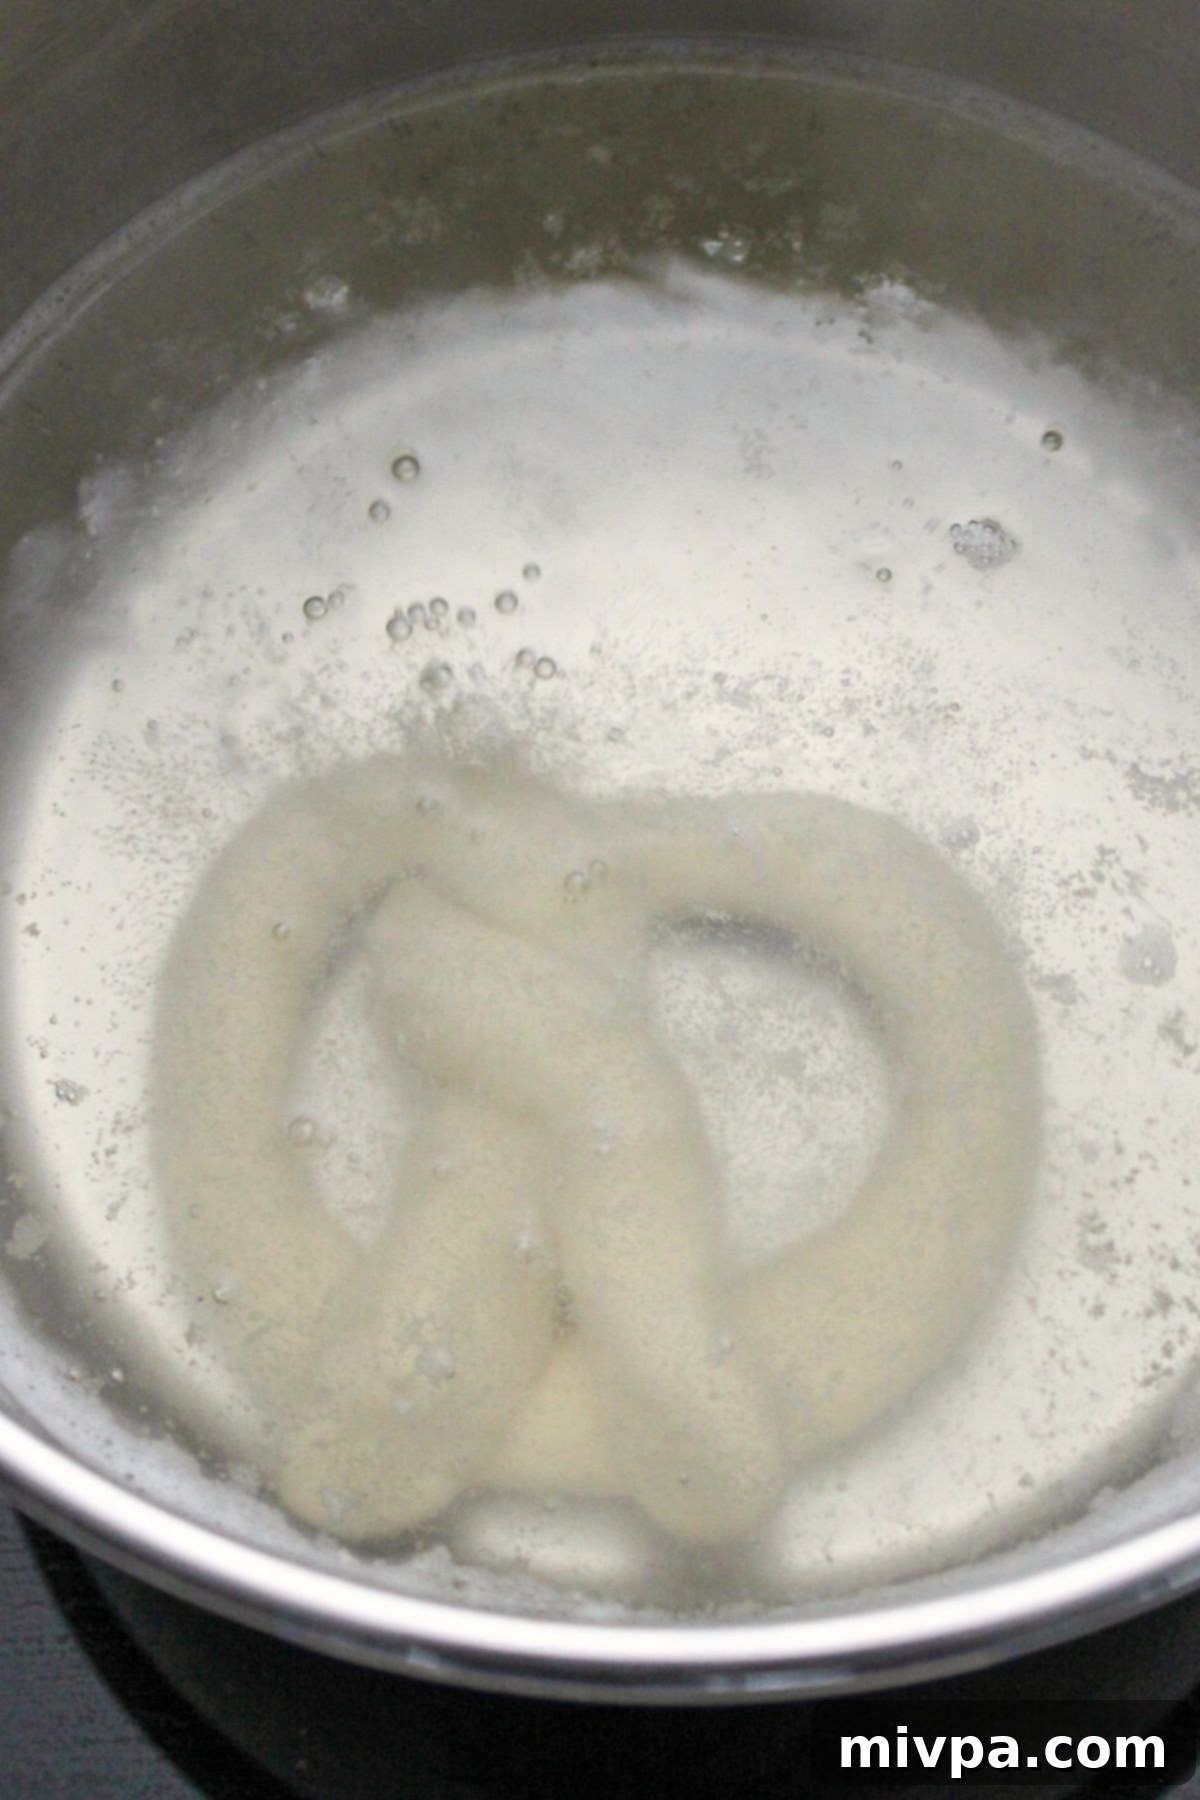
7. Boil Dough in Soda Bath: With all 6 pretzels perfectly shaped and resting, it’s time for the transformative soda bath. Bring a medium-sized pot of 4 cups of water to a rolling boil. Once boiling, reduce the heat to low so the water is gently simmering, not aggressively boiling. Now, add the baking soda and honey to the simmering water, stirring until dissolved. Carefully add one pretzel at a time to the bath, allowing it to boil for a quick 10-15 seconds per side. This short dip is essential for developing the characteristic chewy crust. Do not overcrowd the pot; boil them in batches if necessary.
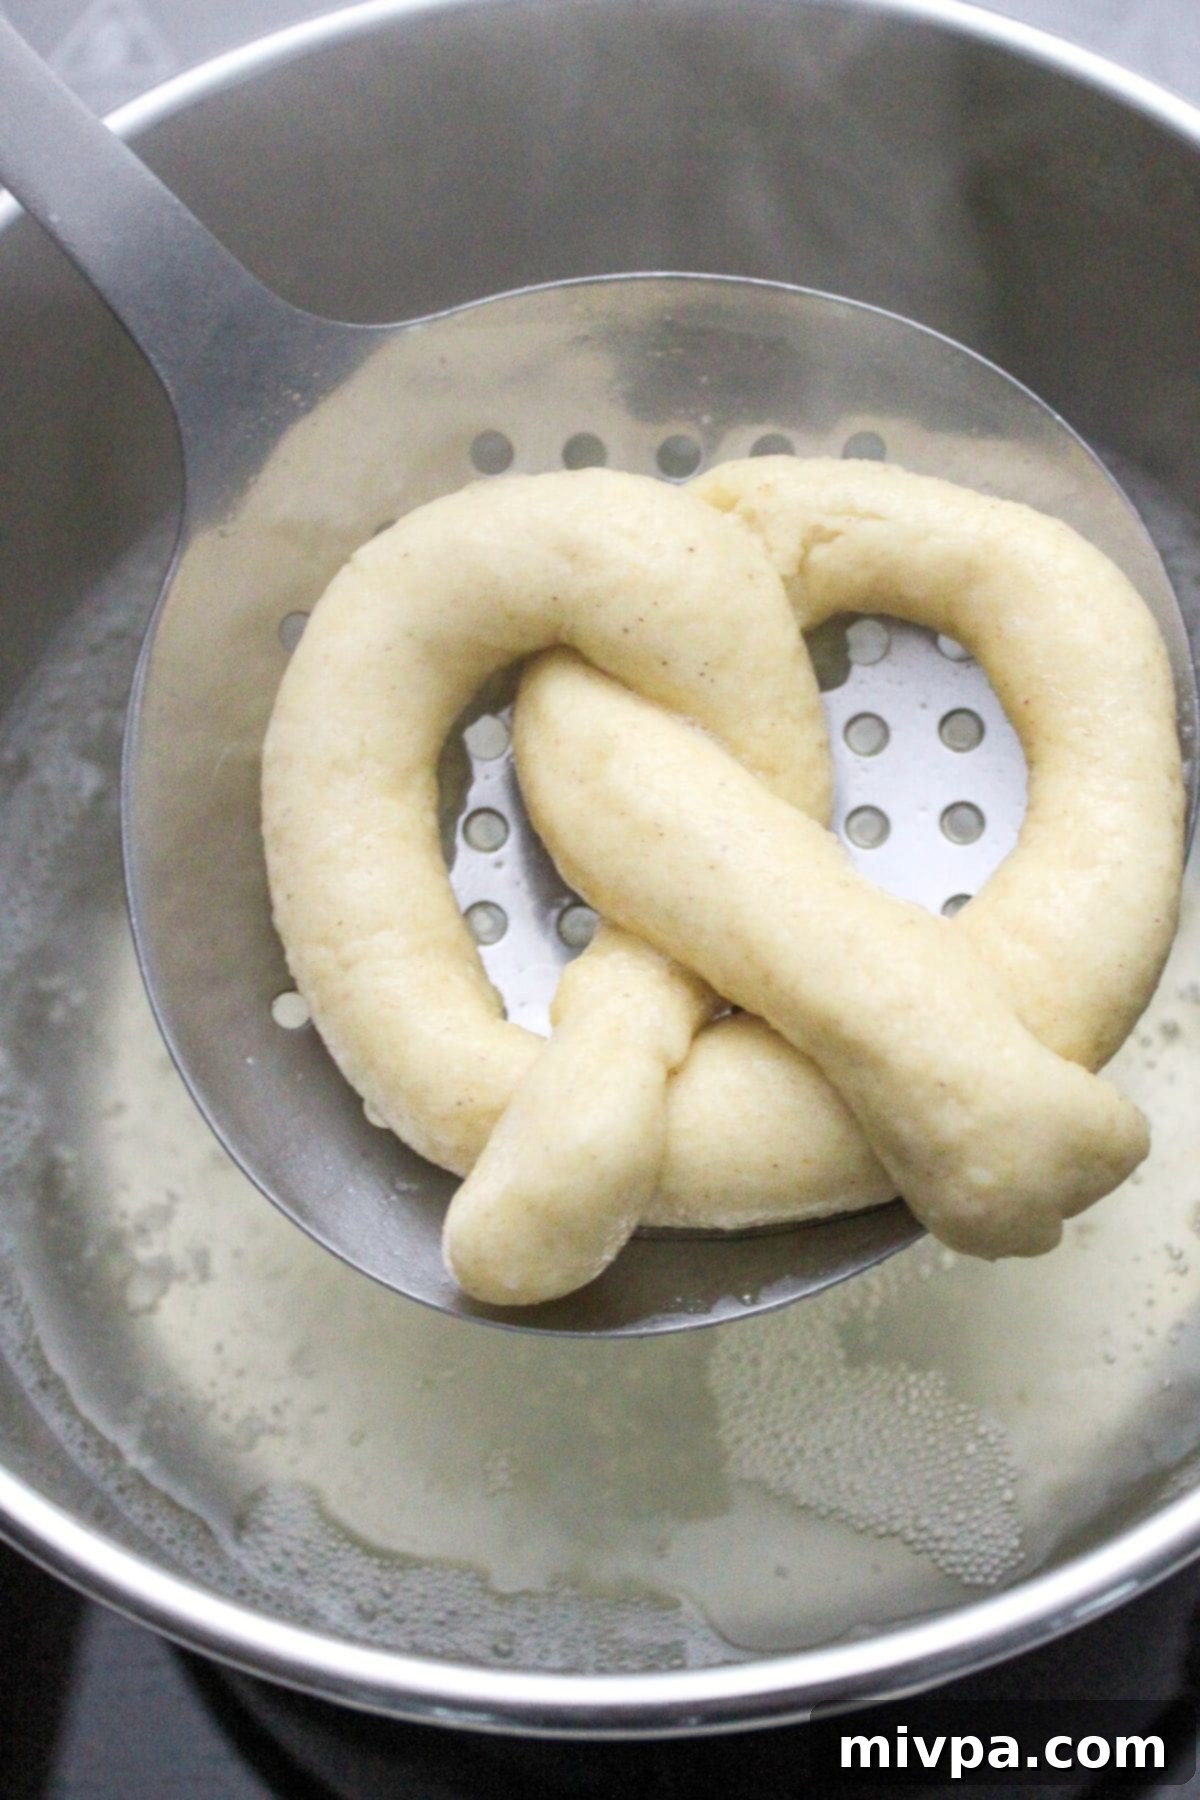
8. Remove from Boiling Water: As each pretzel finishes its brief soak in the soda bath, use a slotted spoon to carefully remove it from the pot. Allow any excess water to drip off before transferring it. This step is critical; a slotted spoon helps drain the water effectively while preventing damage to the delicate, softened dough.
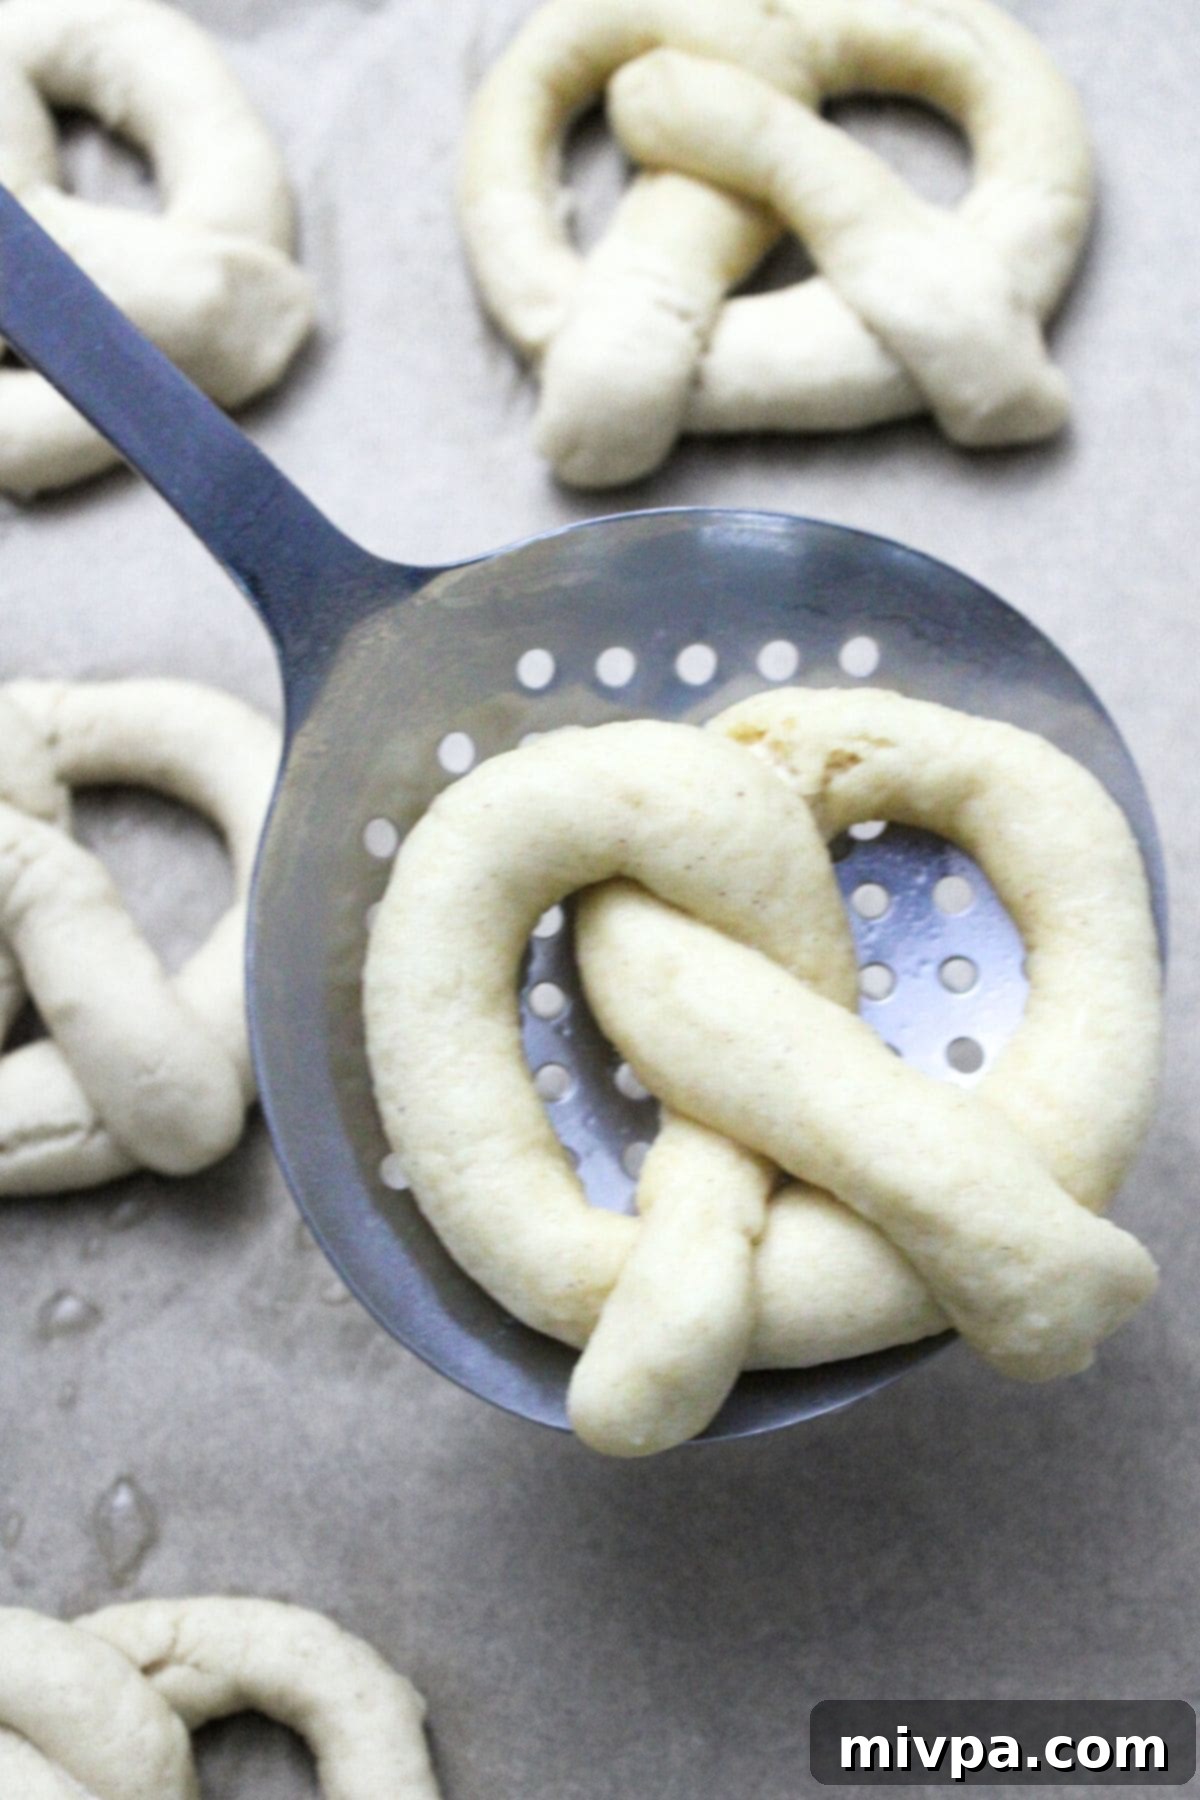
9. Place on Baking Sheet: Immediately transfer the boiled pretzels to your prepared baking sheet, which should be lined with parchment paper. Leave enough space between each pretzel, as they will expand slightly during baking. The parchment paper prevents sticking and ensures easy cleanup.
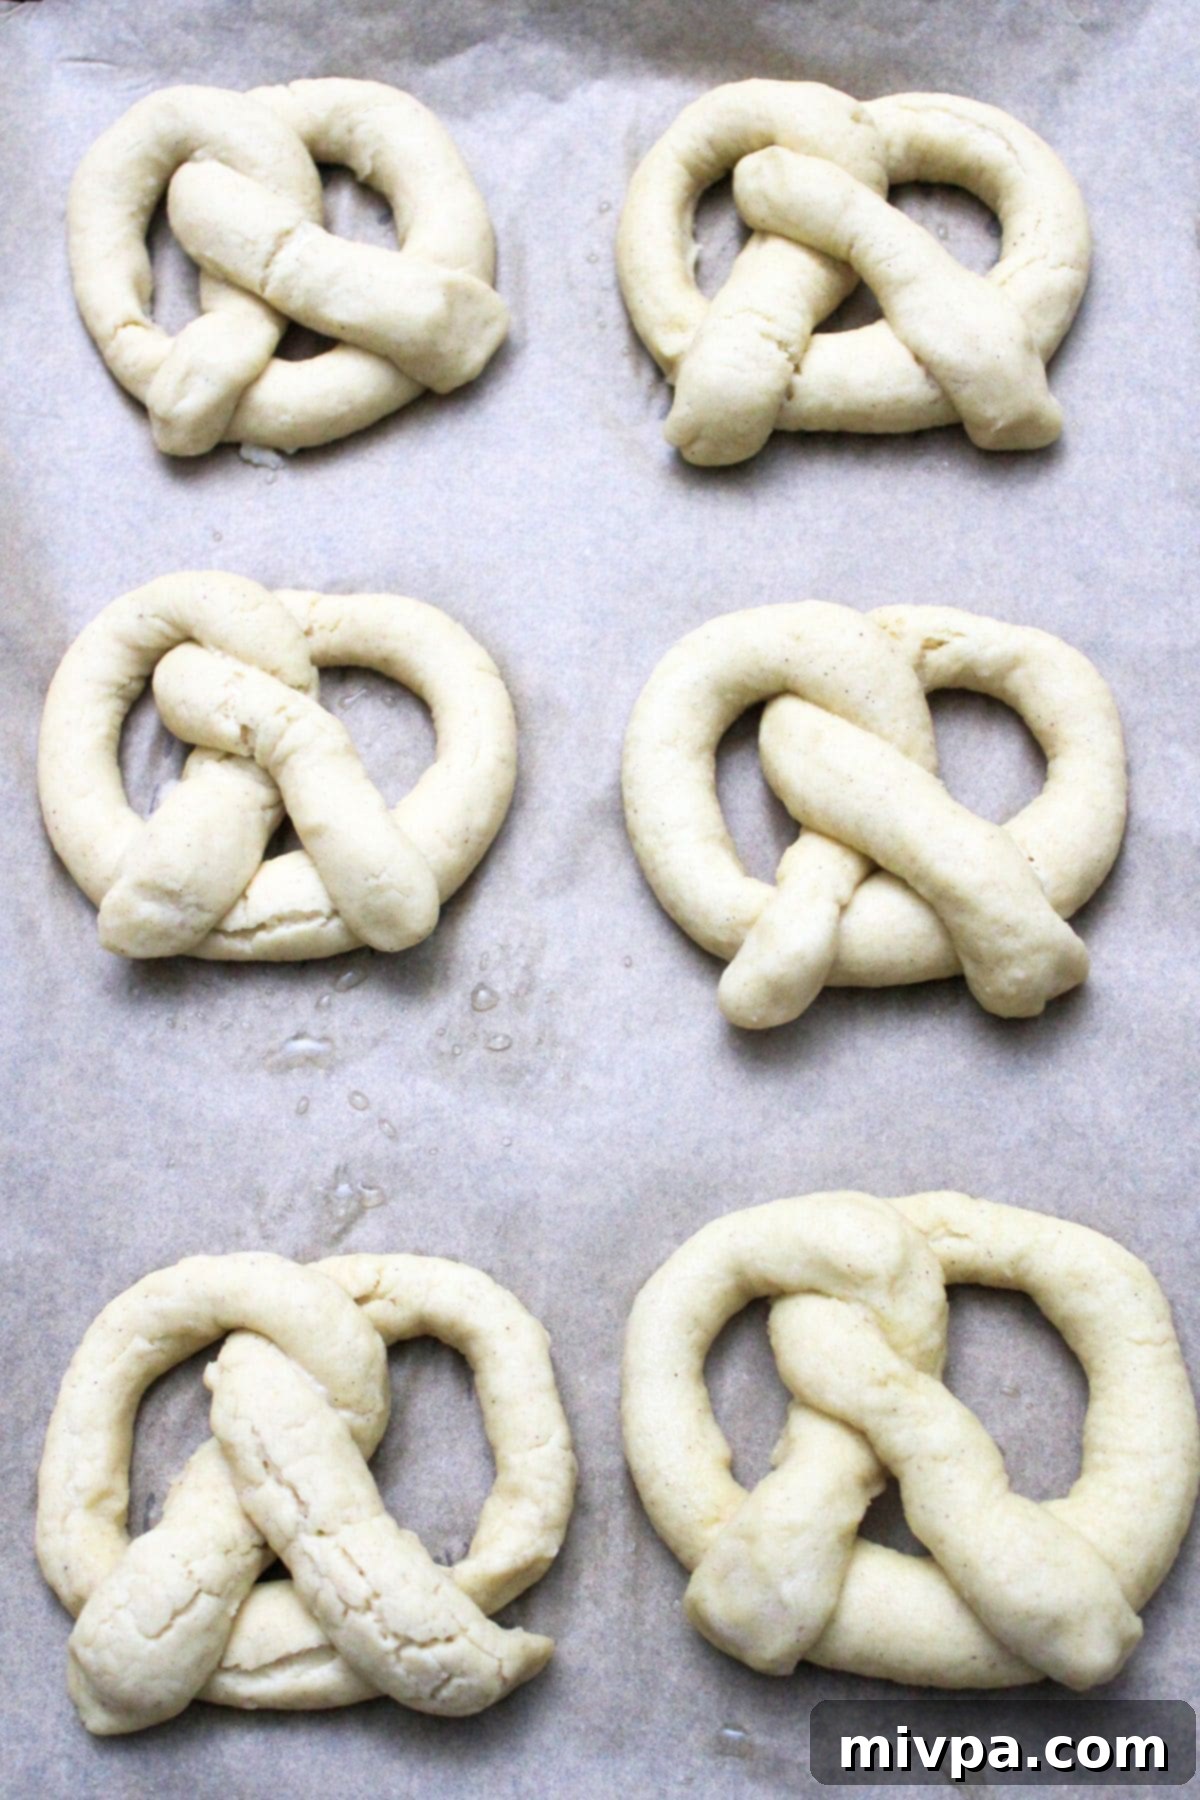
10. Sprinkle with Salt: This is where the savory magic truly begins! Generously sprinkle the top of each pretzel with coarse sea salt. While technically optional, this step is highly recommended as it provides the classic salty crunch and balances the bready flavor beautifully. If you prefer a less intense saltiness, you can use less, or even experiment with other toppings.
Phase 4: Baking to Golden Perfection
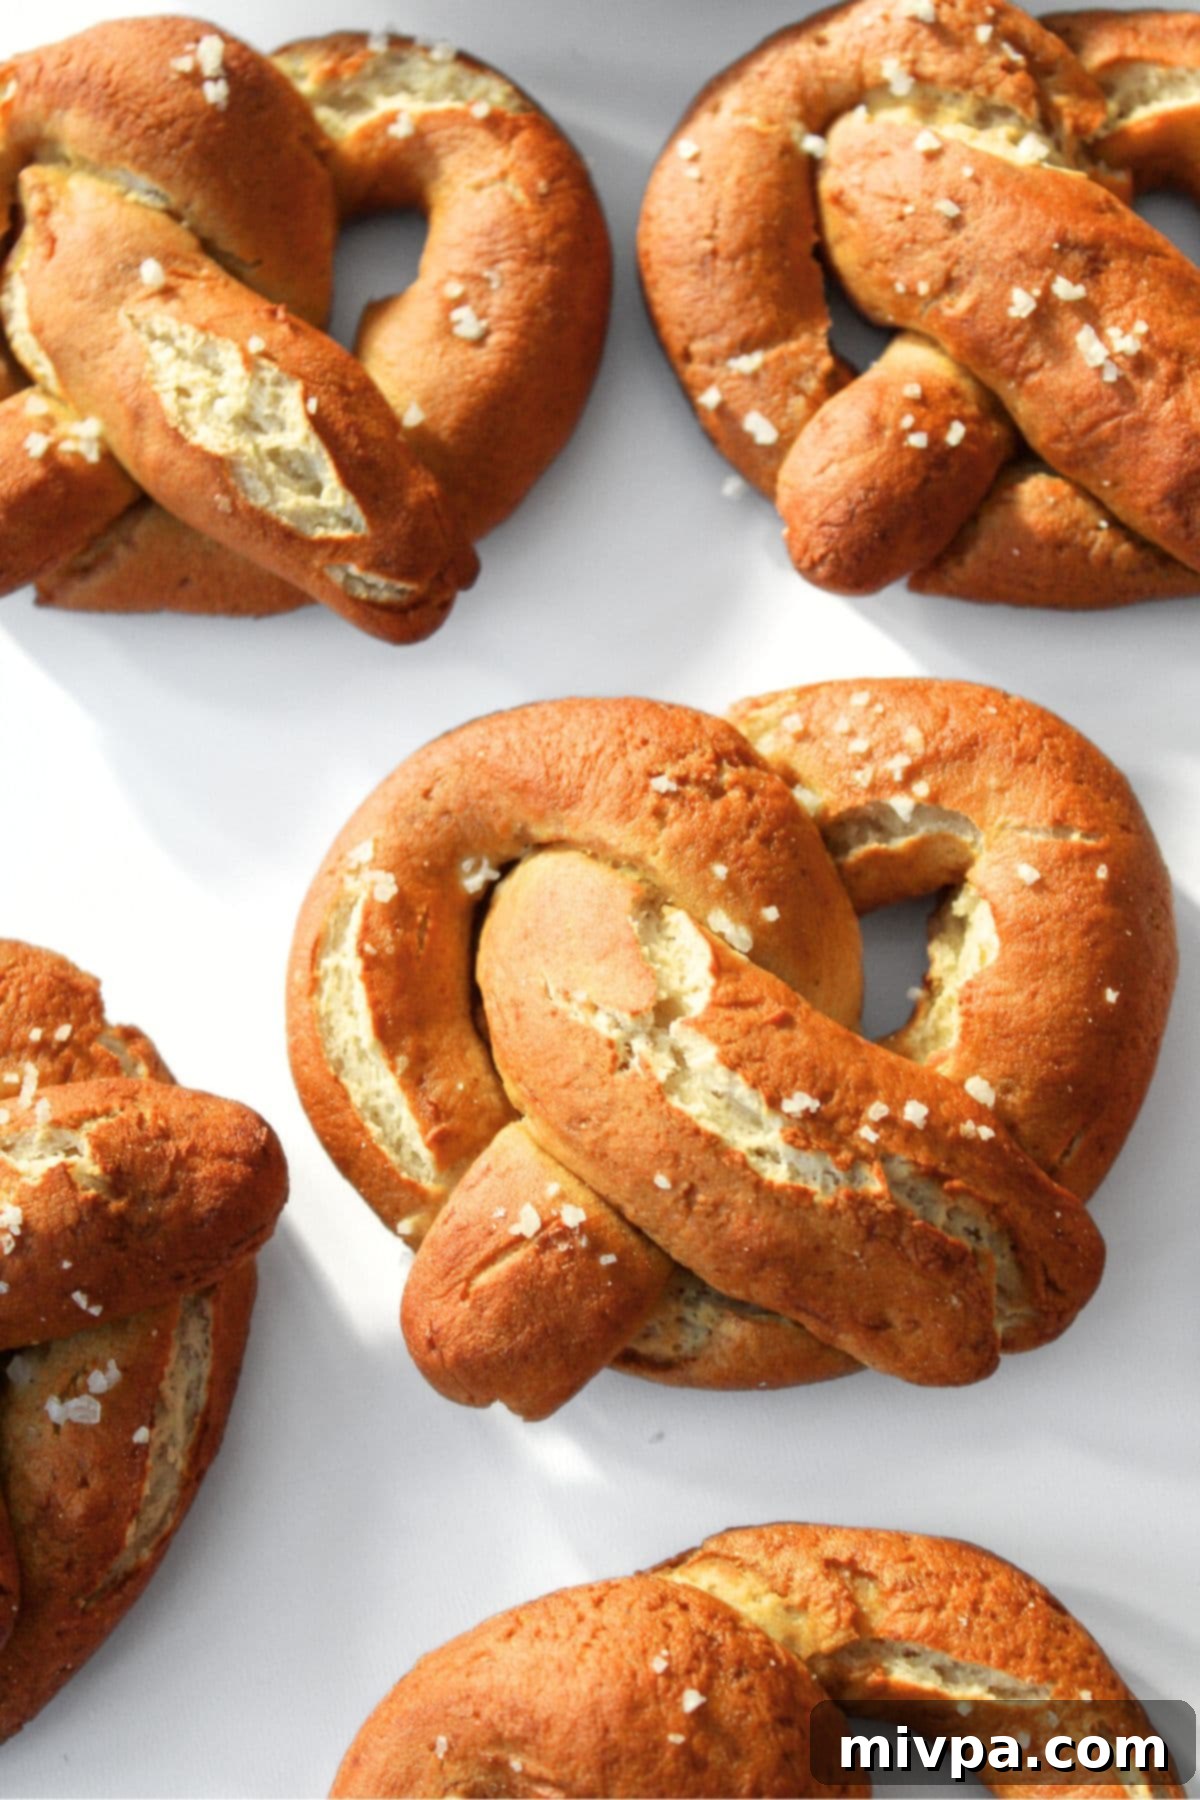
11. Bake Until Golden Brown: Preheat your oven to 425°F (220°C). Once hot, carefully place the baking sheet with your prepared pretzels into the oven. Bake for approximately 15 minutes, or until the pretzels have transformed into a beautiful deep golden brown on the outside. Keep an eye on them, as oven temperatures can vary. The rich color indicates that the crust is perfectly crispy and the interior is cooked through.
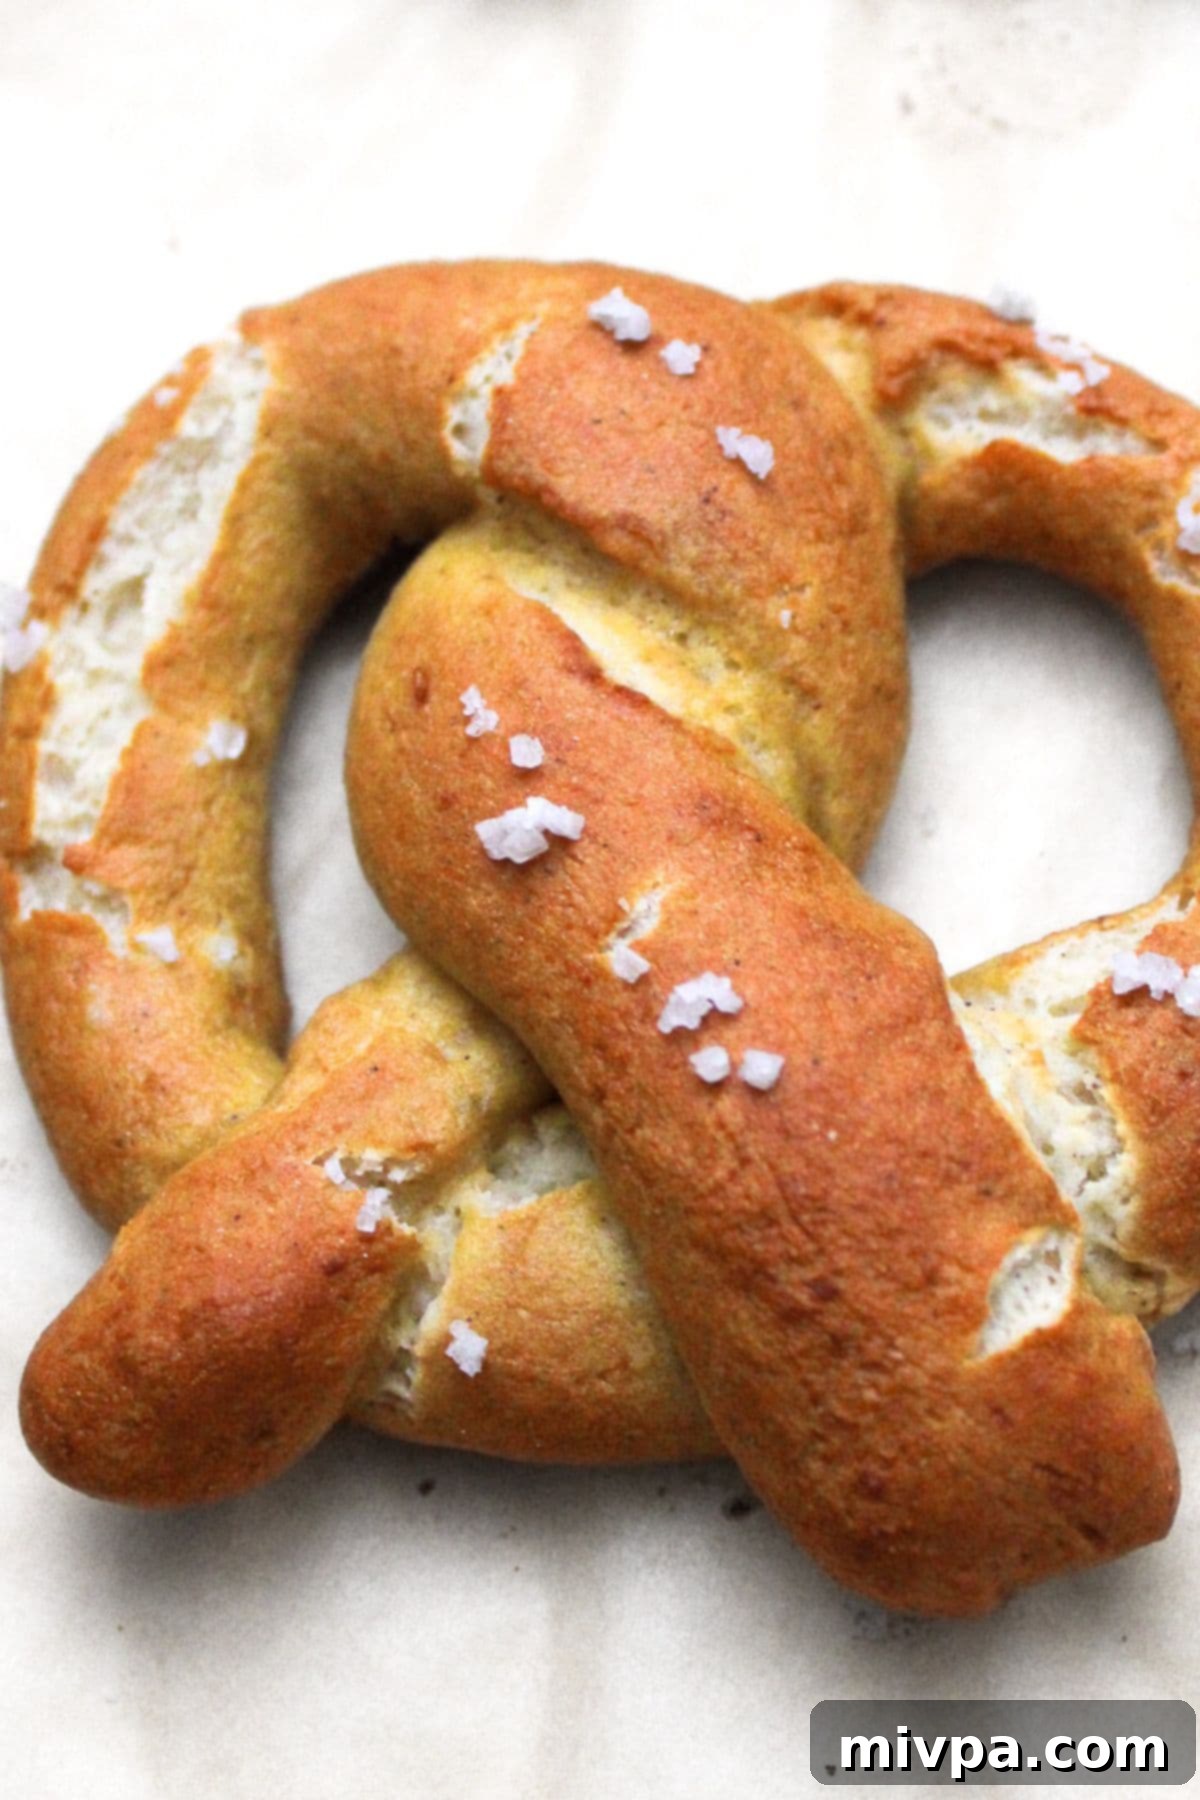
12. Cool Slightly Before Serving: Once baked to perfection, remove the pretzels from the oven. While it’s tempting to dig in immediately, allow the freshly baked pretzels to cool on the baking sheet for about 5 minutes. This brief cooling period helps them set and firms up the crust, preventing them from being too soft or falling apart. After 5 minutes, they’re ready to be served and enjoyed warm!
Dish by Dish Tips, Tricks & Variations for Your Gluten-Free Pretzels
Once you’ve mastered the basic gluten-free soft pretzel, you can get creative with serving and variations. Here are some extra tips to elevate your pretzel experience:
- Perfect Pairings: Serve Your Soft Pretzels With: The beauty of a soft pretzel lies in its versatility. While delicious on its own, it truly shines when paired with a dipping sauce. Classic choices include a variety of mustards (Dijon, honey mustard, spicy brown), a rich and creamy cheese sauce, or even a homemade French onion dip. For a healthier option, try them with a smooth and flavorful hummus. Don’t be afraid to experiment with other dips like spinach artichoke dip, a sweet cream cheese frosting (if going for a dessert pretzel), or even a simple side of melted butter.
- Effortless Pretzel Bites: If you’re short on time or simply prefer a bite-sized treat, you can easily turn this recipe into gluten-free pretzel bites. Skip the intricate shaping! Instead, after the dough has risen, roll it out into a long, thick rope, and then cut it into equal-sized pieces (about 1-inch squares or rounds). Proceed to boil these cut dough pieces in the soda bath and bake them as per the recipe instructions. They’ll be just as delicious and perfect for sharing or a quick snack.
- Creative Alternative Toppings/Seasonings: While coarse salt is traditional, feel free to experiment with other toppings for different flavor profiles. Some fantastic options include sesame seeds for a nutty crunch, poppy seeds for a subtle texture, or the incredibly flavorful everything bagel seasoning for an explosion of savory goodness. You could also try garlic powder, onion powder, or a sprinkle of dried herbs like rosemary before baking for an aromatic twist.
- Indulge in Cinnamon Sugar Pretzels: For those who grew up loving the sweet, warm embrace of Auntie Anne’s pretzels, you can easily transform these savory soft pretzels into a delightful dessert. Simply omit the coarse salt sprinkle before baking. Once the pretzels are freshly baked and still warm from the oven, prepare a cinnamon-sugar mixture (a good ratio is 1 cup sugar to 4 tablespoons ground cinnamon). Use a pastry brush to generously coat the tops of the warm pretzels with melted butter, then immediately roll or sprinkle the buttered surface with your prepared cinnamon-sugar mixture until fully coated. Serve warm for a truly nostalgic treat!
- Storing Your Leftovers: These gluten-free soft pretzels are undoubtedly best enjoyed fresh from the oven, when they are at their peak of chewiness and warmth. However, if you happen to have any leftovers, you can store them in an airtight container at room temperature for 2-3 days. To revive their deliciousness, simply reheat them in the microwave for about 20 seconds, or in a toaster oven for a few minutes, until warmed through and slightly crisp again.
- A Note on Freezing: Unfortunately, I do NOT recommend freezing these gluten-free soft pretzels. Freezing and thawing tend to alter the delicate texture of gluten-free baked goods, often resulting in a crumbly or dry consistency that doesn’t live up to their freshly baked glory. For the best experience, enjoy them within a few days of baking.
More Delicious Gluten-Free Bread Recipes You’ll Love:
If you enjoyed making these gluten-free soft pretzels, be sure to explore our other fantastic gluten-free bread recipes that offer similar comfort and flavor:
- Easy Gluten-Free Bagels (Dairy-Free)
- Gluten-Free Baguette (Dairy-Free)
- Rosemary Focaccia (Gluten-Free, Dairy-Free)
- Hot Dog Buns (Gluten-Free, Dairy-Free)
- Burger Buns (Gluten-Free, Dairy-Free)
- Slider Buns (Gluten-Free, Dairy-Free)
Delightful Gluten-Free Snacks to Satisfy Any Craving:
Looking for more gluten-free deliciousness? Here are some other fantastic snack ideas from our kitchen that are perfect for any time of day:
- Gluten-Free Pumpkin Banana Muffins (Dairy-Free)
- 25 Easy Gluten-Free Muffin Recipes for Anytime
- Gluten-Free Pumpkin Chocolate Chip Muffins (Dairy-Free)
- Easy Chicken Satay with Peanut Sauce (Gluten-Free, Dairy-Free)
P.S. If you try this recipe, I’d love for you to leave a star rating below, and/or a review in the comment section further down the page. Your feedback is always incredibly valuable to me, and it helps other home bakers discover and enjoy these recipes. Be sure to check out my entire Recipe Index for all the delicious recipes on the blog. You can also follow me for daily inspiration and updates on Pinterest, Facebook or Instagram! Don’t forget to sign up for my Email List to get fresh, seasonal recipes delivered straight to your inbox each week!
Print
Easy Gluten-Free Soft Pretzels (Dairy-Free Option)
5 Stars 4 Stars 3 Stars 2 Stars 1 Star
No reviews
Author: Felicia Lim
Total Time: 1 hour 45 minutes
Yield: 6 pretzels
Diet: Gluten Free
Description
Achieve golden, chewy perfection with these easy homemade gluten-free soft pretzels. Enjoy a satisfyingly salty finish and a delightful texture, perfect for dipping or savoring on their own. This recipe is also easily adaptable to be dairy-free, ensuring everyone can enjoy this classic savory afternoon snack or crowd-pleasing appetizer!
Ingredients
Units
Scale
For the Gluten-Free Pretzel Dough:
- 1 1/2 cups gluten free 1:1 baking flour
- 1/2 teaspoon xanthan gum (omit if your GF flour blend already includes it)
- 1 tablespoon brown sugar
- 1/2 teaspoon baking powder
- 1/2 teaspoon salt
- 1 teaspoon instant yeast
- 1/2 cup warm water (105 to 115F)
- 1 egg
- 1/2 tablespoon softened butter (use dairy-free butter for dairy-free option)
- coarse sea salt for sprinkling (optional, but highly recommended)
For the Baking Soda Bath:
- 4 cups water
- 2 tablespoons baking soda
- 1/2 tablespoon honey
Instructions
- Combine Ingredients to Form Dough: In a large mixing bowl of a stand mixer, whisk together the gluten-free 1:1 baking flour, brown sugar, baking powder, salt, and instant yeast. Add the egg, softened butter, and warm water. Mix on low speed until ingredients begin to combine, then increase to medium speed and mix until a smooth, slightly sticky dough forms.
- Let Dough Rise: Place the dough ball into a lightly greased bowl, cover with plastic wrap, and set aside in a warm area for 1-2 hours until risen. (A warm oven with only the light on works well).
- Prepare Soda Bath: In a medium-sized pot, pour 4 cups of water and bring it to a boil.
- Preheat and Line: Preheat your oven to 425°F (220°C) and line a baking sheet with parchment paper.
- Cut Dough into Equal Portions: After the dough has risen, gently transfer it to a lightly floured surface. Cut the dough in half, then cut each half into thirds to create 6 equal portions.
- Roll and Shape Dough: Lightly grease your fingers. Roll each dough portion into a long rope, about 9-10 inches in length, on a lightly floured surface. Shape it into a letter “U”, twist the ends over each other twice, then pull the twisted ends down to the bottom to form the classic pretzel shape.
- Boil Dough in Soda Bath: Once all 6 pretzels are shaped, add baking soda and honey to the boiling water in the pot. Reduce heat to low, ensuring the water is simmering. Carefully add 1 pretzel at a time to the water and boil for 10-15 seconds per side.
- Set on Baking Sheet and Sprinkle with Salt: Using a slotted spoon, remove each boiled pretzel from the soda bath, allowing excess water to drain. Place it on the prepared baking sheet. Immediately sprinkle the top of each pretzel generously with coarse sea salt (optional, but highly recommended).
- Bake Until Golden Brown: Bake the pretzels in the preheated oven for 15 minutes, or until they achieve a deep golden brown color on the outside. Allow them to cool on the baking sheet for 5 minutes before serving warm.
Notes
Gluten-Free Flour: For the best chewy texture, use a good-quality gluten-free 1:1 baking flour made with lighter starches (e.g., rice, tapioca, corn, potato starch). Avoid blends with heavier flours like garbanzo bean, which can result in a denser texture.
Xanthan Gum: Xanthan gum replaces gluten for binding. If your GF flour blend doesn’t include it, be sure to add it as specified.
Brown Sugar: Light brown sugar adds sweetness and aids browning, but cane sugar or dark brown sugar can also be used.
Baking Powder: Essential for a little extra lift. If Celiac, use certified gluten-free baking powder.
Yeast: Instant yeast is recommended for no-proofing convenience. It’s crucial for the dough’s rise and texture.
Warm Water: Maintain water temperature between 105F to 115F. This activates yeast without killing it.
Egg: Acts as a binder and adds richness to the dough.
Butter: Use softened butter. For a dairy-free option, substitute with softened dairy-free (vegan) butter.
Sea Salt: Coarse or flaky sea salt adds the characteristic salty flavor and texture to the pretzels.
Soda Bath: Do not skip! This step is vital for the chewy crust and deep golden-brown color, as it gelatinizes the dough’s surface. Honey also enhances the color.
- Prep Time: 30 mins
- Rising Time: 1 hour
- Cook Time: 15 mins
- Category: Bread
- Method: Baking
- Cuisine: Western
