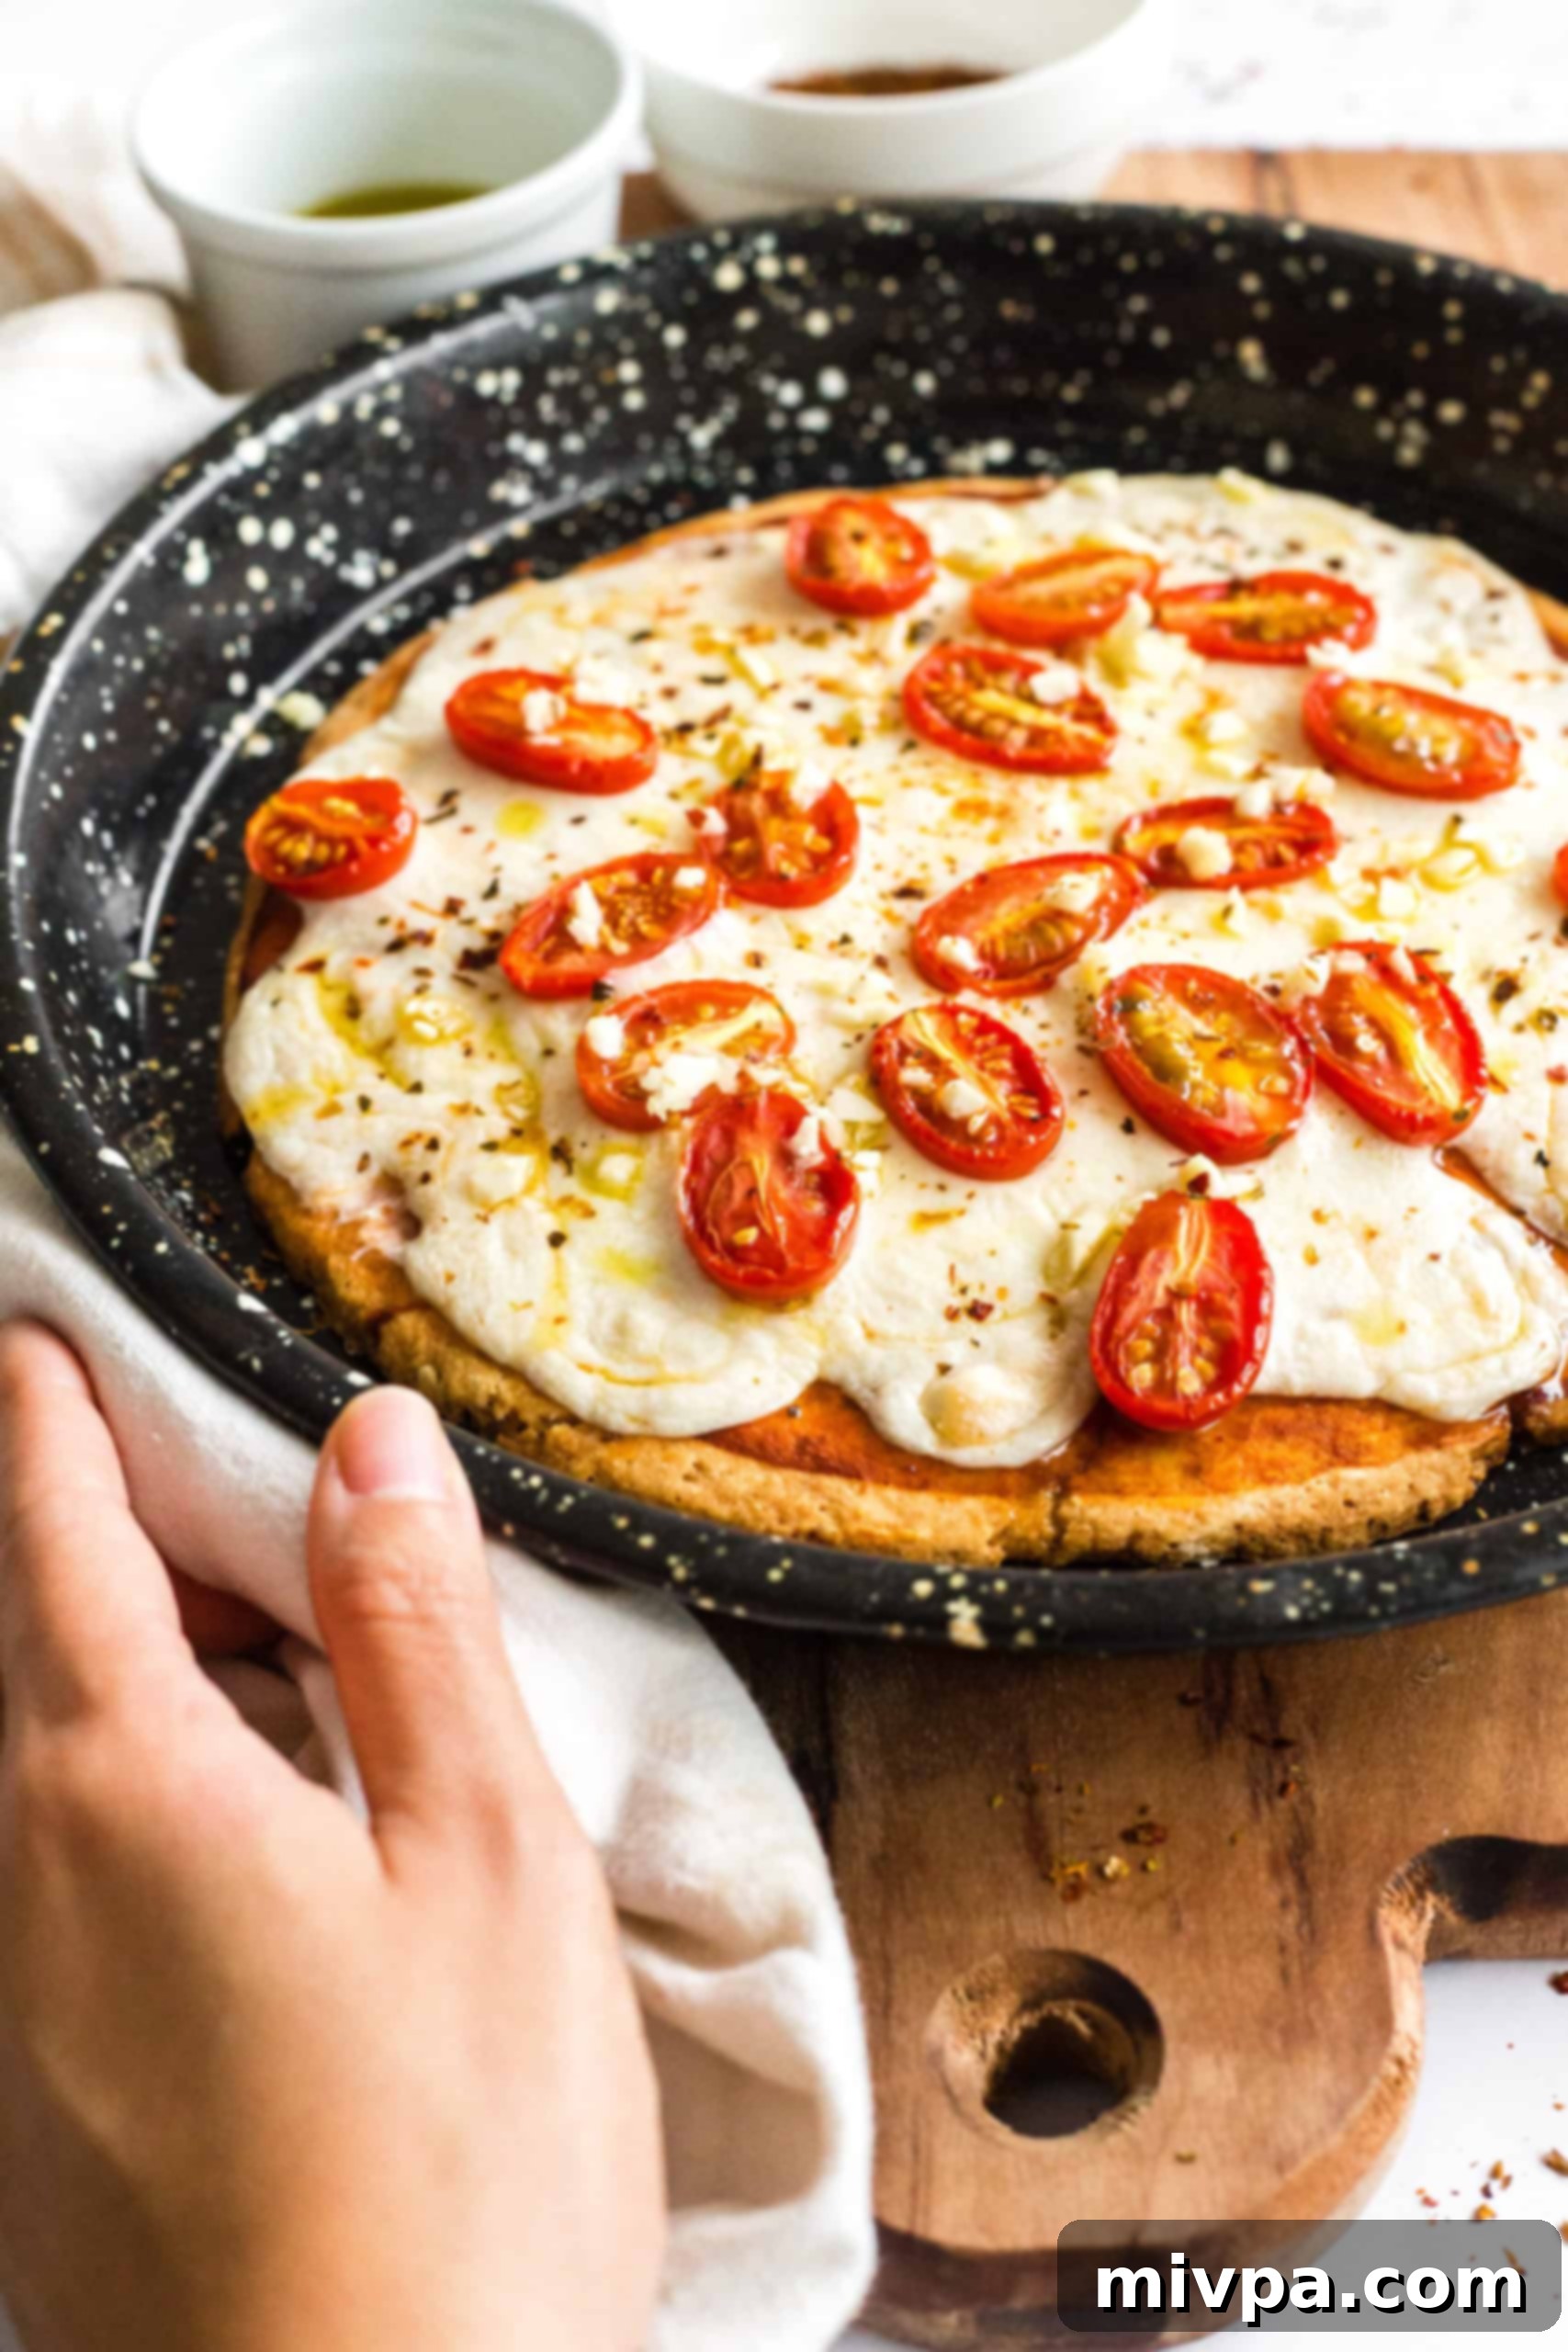
The Ultimate Easy Gluten-Free Pizza Crust: No-Knead, Dairy-Free, & Perfectly Chewy with a Crispy Edge
Imagine a homemade pizza night where everyone, regardless of dietary restrictions, can enjoy a truly authentic pizza experience. For years, finding a gluten-free pizza crust that didn’t crumble, feel like cardboard, or succumb to sogginess felt like an impossible dream. But today, that dream becomes a delicious reality! We’re thrilled to share our revolutionary easy gluten-free pizza crust recipe, designed for ultimate convenience and incredible taste. This isn’t just *another* gluten-free recipe; it’s *the* recipe you’ll come back to again and again.
Say goodbye to endless rising times and strenuous kneading. This no-knead gluten-free pizza crust comes together astonishingly fast, meaning you can have a fresh, hot pizza on your table quicker than delivery. What sets this recipe apart is its perfect texture: gloriously crispy on the outside, yet wonderfully chewy on the inside, mirroring the characteristics of traditional, wheat-based pizza. It’s a robust base that holds up beautifully to all your favorite toppings, from a classic Margherita to a loaded supreme.
Beyond its fantastic texture and speed, this homemade pizza crust is incredibly versatile. It’s naturally dairy-free, catering to those with lactose intolerance or who prefer a plant-based diet. And for our vegan friends or those with egg allergies, we’ve included a simple egg-free option, ensuring that absolutely everyone can join in the pizza-making fun. Prepare to impress your family and friends – they won’t even guess it’s gluten-free! This crust is the perfect foundation for our gluten-free caprese pizza or any of your favorite pizza creations.
[feast_advanced_jump_to]
The Quest for the Perfect Gluten-Free Pizza Experience
Our journey into the world of gluten-free living began in 2015 when my husband, Juan, received his Celiac disease diagnosis. This life-changing news meant a complete overhaul of our diet, and naturally, our beloved pizza nights were among the first things to be re-evaluated. The initial search for a satisfying gluten-free pizza in restaurants and through delivery services in Buenos Aires, where we lived, proved to be incredibly frustrating. What we found simply didn’t live up to the standard of “real pizza” we knew and loved.
What constitutes “real pizza” for us? It’s that magical combination of a base made with traditional wheat flour – a crust that is robust enough to hold its shape without being floppy or soggy, yet isn’t tough or dense like cardboard. We longed for a pizza with a delightful contrast: an audibly crispy, golden exterior giving way to a soft, airy, and wonderfully chewy interior. This was the pizza of our dreams, and it felt distant, almost unattainable, in the gluten-free world.
The limited, often disappointing, options spurred us on a mission. We were determined to recreate that authentic pizza experience at home, not just for Juan, but for anyone navigating a gluten-free diet who refused to compromise on taste or texture. This quest led to countless experiments, a fair share of failures, and ultimately, the triumphant development of this easy gluten-free pizza crust recipe that has become a staple in our home.
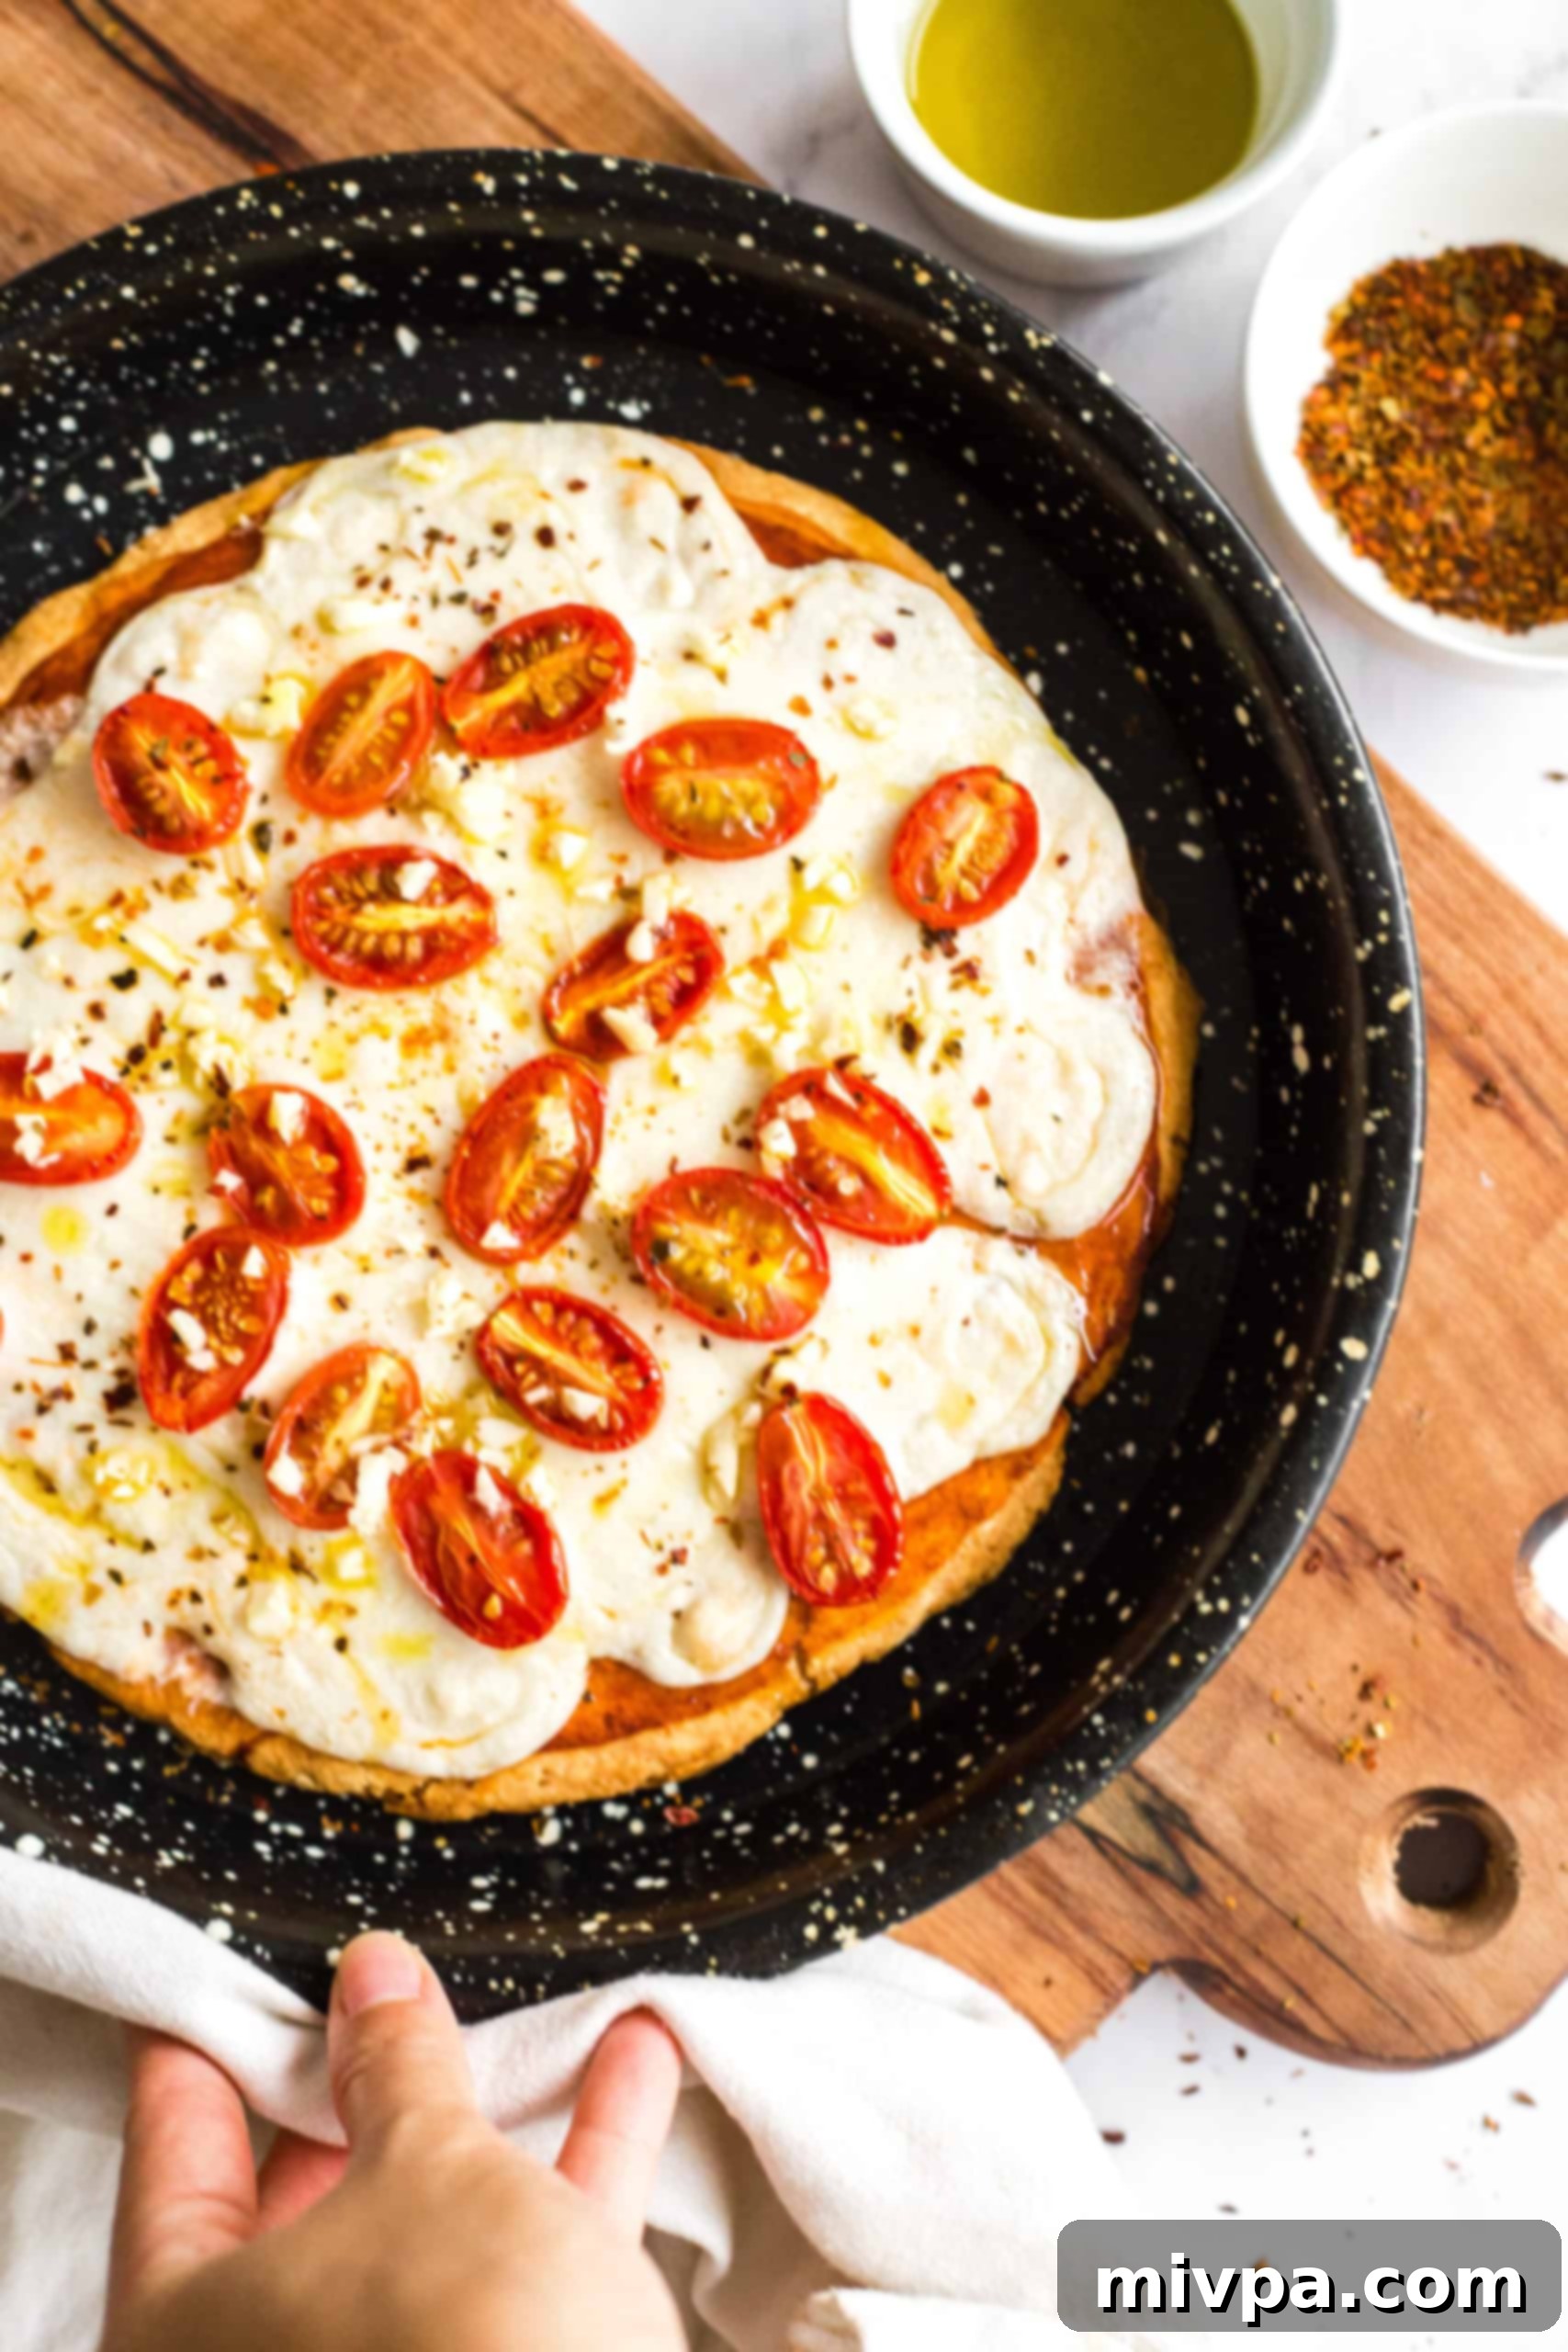
Finally, The Best Gluten-Free Pizza Crust!
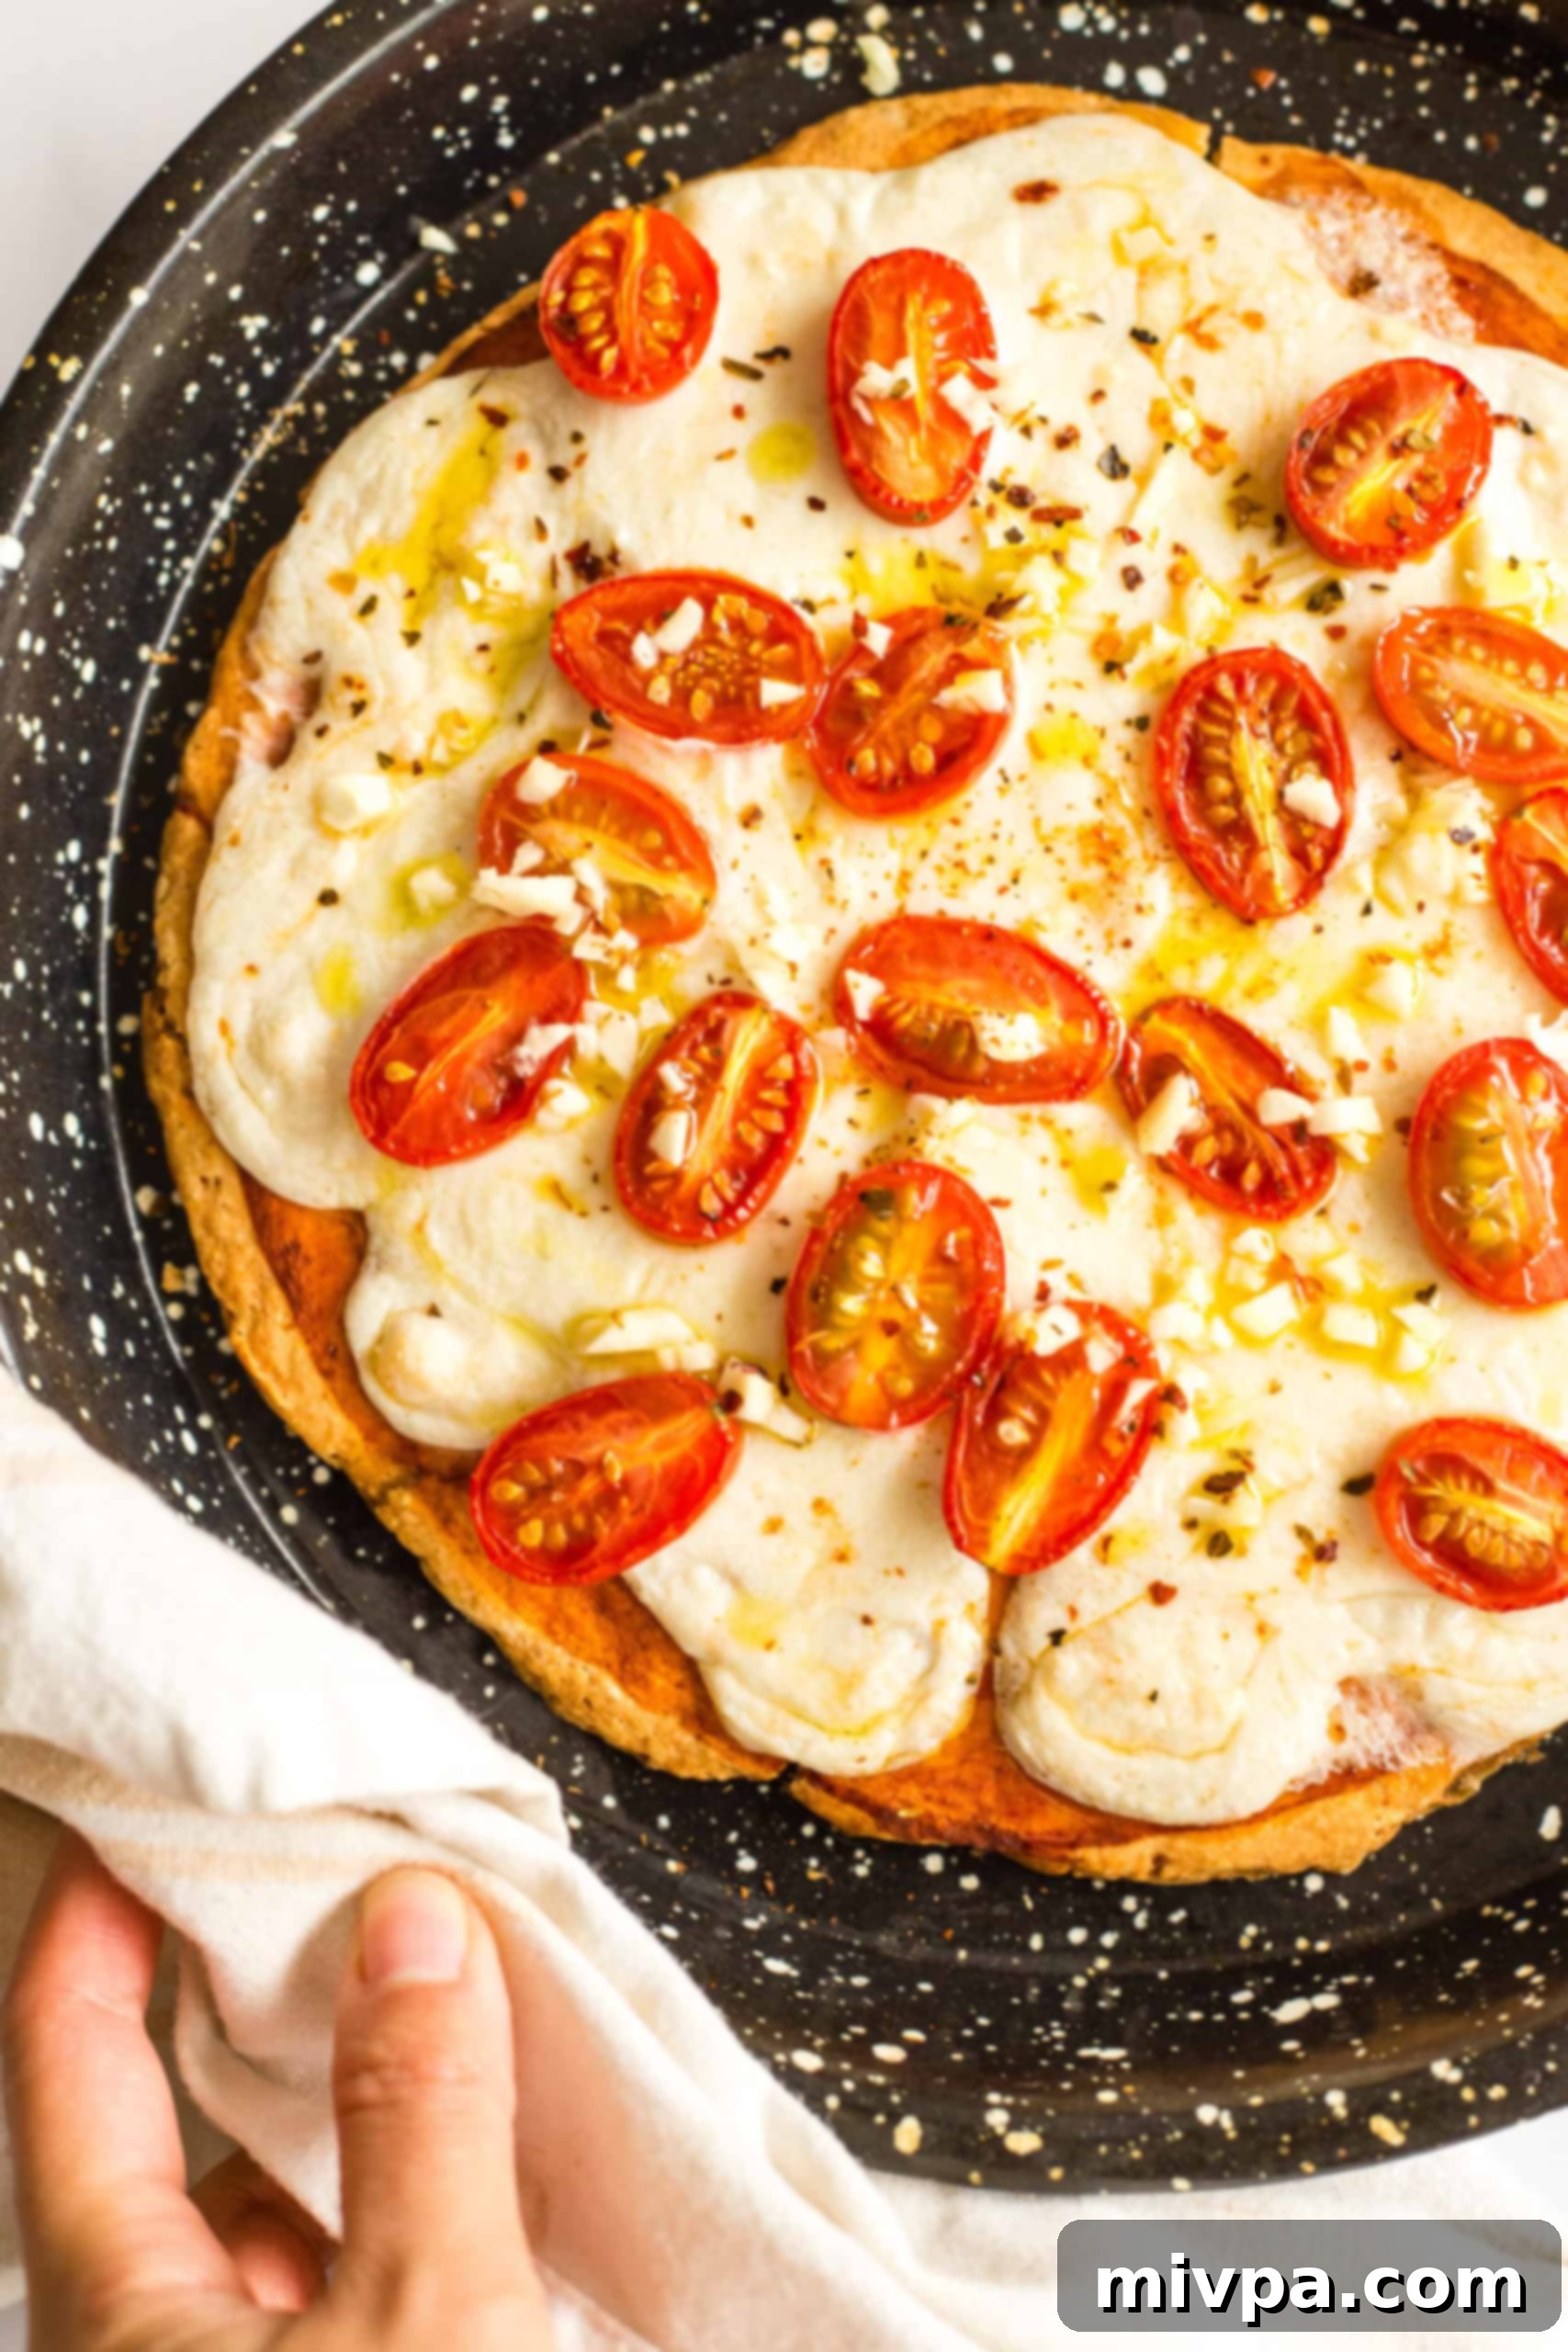
After extensive research, countless trials, and a true labor of love, I am overjoyed to finally share that we have perfected our gluten-free pizza crust recipe. This isn’t just a good gluten-free pizza crust; it’s genuinely the best we’ve ever tasted, and it rivals its wheat-based counterparts in both flavor and texture. It truly delivers on that crispy-on-the-outside, chewy-on-the-inside promise!
In fact, since perfecting this easy gluten-free crust, pizza has become a weekly ritual in our home – a testament to how much we love it and how easy it is to make. The best part? We can pile on any toppings we desire, from classic marinara and fresh mozzarella (or dairy-free alternatives) to adventurous gourmet combinations. Our pizza dreams have officially come true!
Make sure you keep this incredibly versatile and delicious gluten-free pizza crust recipe handy. The next time pizza night rolls around, you can skip the disappointing delivery and enjoy a truly exceptional homemade pizza right in the comfort of your own kitchen. Prepare for happy taste buds!
Why This Is Your Go-To Gluten-Free Pizza Crust Recipe:
This particular gluten-free pizza crust stands out from the rest for several compelling reasons, making it an absolute game-changer for your pizza nights:
- Effortlessly Easy to Make: Forget the complexities often associated with homemade bread. This recipe is incredibly straightforward, requiring no traditional kneading – a common hurdle in gluten-free baking. The simple mixing process means less time in the kitchen and more time enjoying delicious results. Many who try it are genuinely surprised by how authentically it mimics a wheat-flour crust, both in texture and flavor.
- Unbelievably Fast: Time is precious, especially on a busy weeknight. This easy gluten-free pizza crust can be prepared from start to finish and ready for toppings in just about 45 minutes. The secret? There’s absolutely no lengthy rising time required, as the magic of the yeast happens directly in the oven. This speed means a fresh, hot, homemade pizza is always within reach, often faster than calling for delivery!
- Inclusive & Allergy-Friendly (Gluten-Free, Dairy-Free, and Egg-Free Options): We understand the importance of catering to various dietary needs. This fantastic homemade pizza crust is naturally 100% gluten-free, making it perfect for individuals with Celiac disease or gluten sensitivities. Furthermore, it’s completely dairy-free, ideal for those with lactose intolerance or following a plant-based diet. For our vegan friends or anyone with an egg allergy, we’ve thoughtfully provided an easy egg-free substitution, ensuring everyone at the table can savor a slice of homemade pizza joy.
- Superior Texture and Taste: Unlike many dense or crumbly gluten-free alternatives, this crust boasts a remarkable texture profile. It bakes up beautifully, achieving that coveted crispy exterior while maintaining a soft, satisfyingly chewy interior. This perfect balance ensures it stands up to generous toppings without becoming soggy, delivering a truly enjoyable and authentic pizza experience every single time.
Ingredients You’ll Need:
Making this super easy gluten-free pizza crust is a breeze, especially since most of the ingredients are likely already in your pantry! Here’s a visual overview of what you’ll need to gather before you begin:
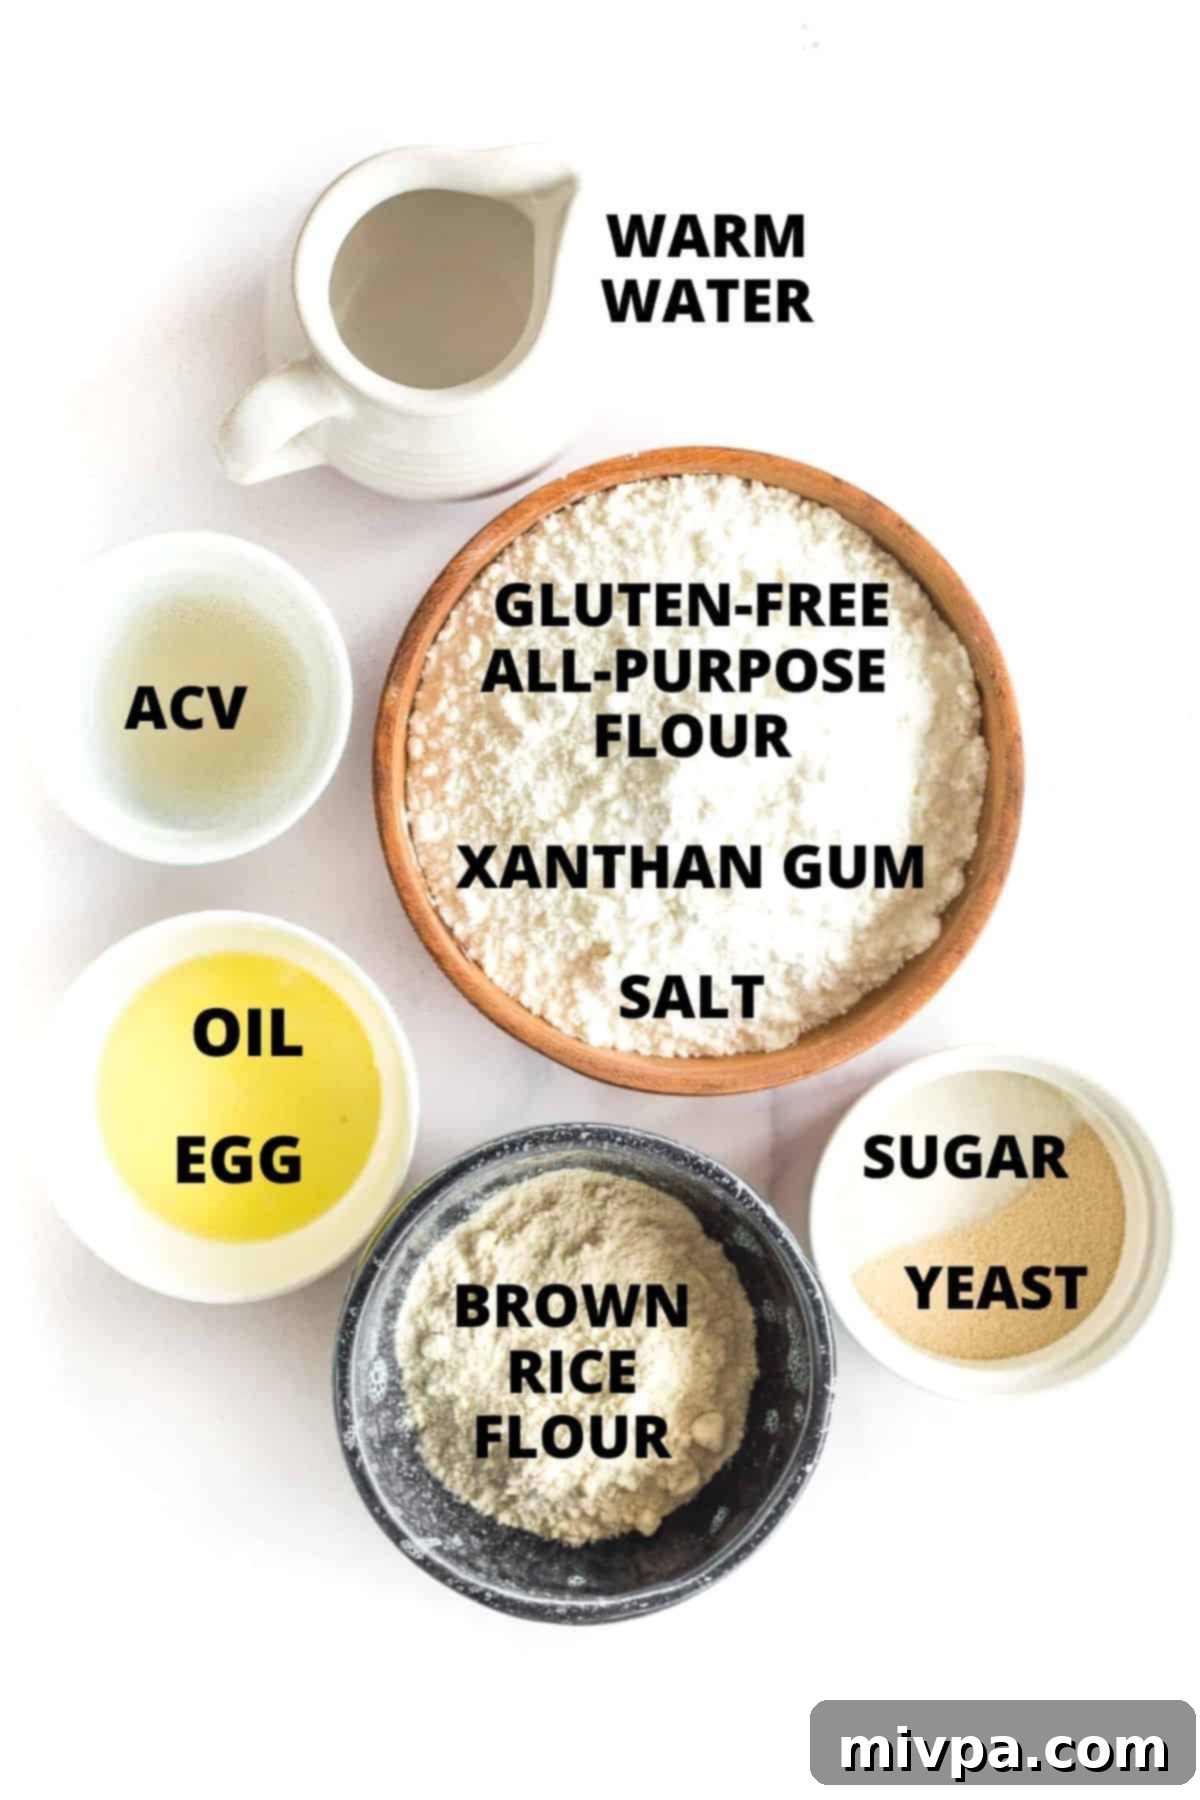
The core ingredients include warm water, sugar, instant yeast, a good quality gluten-free all-purpose flour blend, brown rice flour, xanthan gum, salt, an egg, vegetable oil, and apple cider vinegar. For the precise quantities and measurements, please refer to the detailed recipe card conveniently located at the bottom of this post.
Essential Ingredient Notes & Smart Substitutions:
Understanding the role of each ingredient in this gluten-free pizza crust recipe is key to achieving the best results. Here’s a deeper dive into what you’ll need and potential swaps:
- Warm Water: The temperature of your water is critical for yeast activation. Aim for a temperature between 105°F and 115°F (40°C to 46°C). Water that’s too cold won’t activate the yeast, while water that’s too hot will kill it, preventing your dough from rising. Using a kitchen thermometer is highly recommended for accuracy.
- Instant Yeast: I highly recommend using instant dry yeast. Unlike active dry yeast, instant yeast doesn’t require a separate proofing step (though we still proof it briefly to ensure it’s alive). It mixes directly into the dry ingredients and begins working quickly, contributing to the “no-rise” aspect of this recipe. Ensure your yeast is fresh and not expired for optimal results.
- Sugar: Don’t skip the sugar! While you might worry about it making the pizza crust sweet, its primary role is to act as food for the yeast, helping it activate and produce the gases necessary for rising. The yeast consumes most of the sugar during fermentation, so the final baked crust will not be sweet. It also contributes to the beautiful golden-brown color of the crust.
- Gluten-Free All-Purpose Flour Blend: The quality of your gluten-free flour blend makes a significant difference. I strongly advise using a good-quality blend that combines lighter flours and starches, such as white rice flour, tapioca starch, corn starch, or potato starch. These combinations yield a lighter, airier texture, crucial for a chewy yet crispy pizza crust. Avoid blends that are heavy in garbanzo bean flour or other legume flours, as these can result in a denser, sometimes gritty, texture and a strong flavor that isn’t ideal for pizza. If your blend already contains xanthan gum, remember to adjust or omit the separate xanthan gum amount specified.
- Brown Rice Flour: I incorporate brown rice flour to enhance the nutritional profile of the crust by adding more fiber and contributing a subtle whole-grain flavor and a pleasing chewiness. It also helps achieve that desirable rustic texture. If brown rice flour isn’t available, or you prefer not to use it, you can easily substitute it with an equal amount of your gluten-free all-purpose flour blend. Alternatively, other nutritious, naturally gluten-free flours like millet flour, sorghum flour, almond flour, or buckwheat flour can be used for different flavor and texture nuances.
- Xanthan Gum: This ingredient is a must-have in most gluten-free baking. Xanthan gum mimics the elasticity and binding properties of gluten, which is naturally absent in gluten-free flours. It helps prevent the dough from crumbling, gives it structure, and contributes to the chewy texture. If your chosen gluten-free flour blend already lists xanthan gum as an ingredient, you can omit the additional amount specified in the recipe to avoid a gummy texture.
- Egg: The egg in this recipe acts as a binder, adds moisture, and contributes to the dough’s structure and richness. For a completely vegan or egg-free version, simply substitute the large egg with a chia egg (1 tablespoon chia seeds + 2.5 tablespoons water, let sit for 5 minutes) or a flax egg (1 tablespoon ground flaxseed meal + 3 tablespoons water, let sit for 5 minutes).
- Oil (Sunflower, Olive, or Avocado): Oil is crucial for tenderizing the crust, adding moisture, and helping it achieve that desirable crispy exterior. I typically use sunflower oil because it’s a staple in my pantry and has a neutral flavor. However, feel free to use other light-flavored vegetable oils such as extra virgin olive oil for a more traditional Italian flavor, or avocado oil for its health benefits and high smoke point.
- Apple Cider Vinegar: Don’t underestimate the power of apple cider vinegar in this recipe. Its acidity helps create a more favorable environment for the yeast, encouraging better activation and a slightly improved rise. It also contributes to the overall flavor balance and tenderness of the crust. If ACV isn’t on hand, rice vinegar or white wine vinegar can be used as alternatives.
How to Make This Easy Gluten-Free Pizza Crust (Step by Step)
Get ready to create a truly spectacular gluten-free pizza with these simple, no-fuss steps:
1. Preheat Oven and Prepare Your Pan
Preheat your oven to a blazing 450°F (230°C). This high temperature is crucial for achieving a crispy crust. Line a large round pizza pan with parchment paper or a silpat baking mat. This prevents sticking and makes transferring the pizza easier.
2. Activate the Yeast
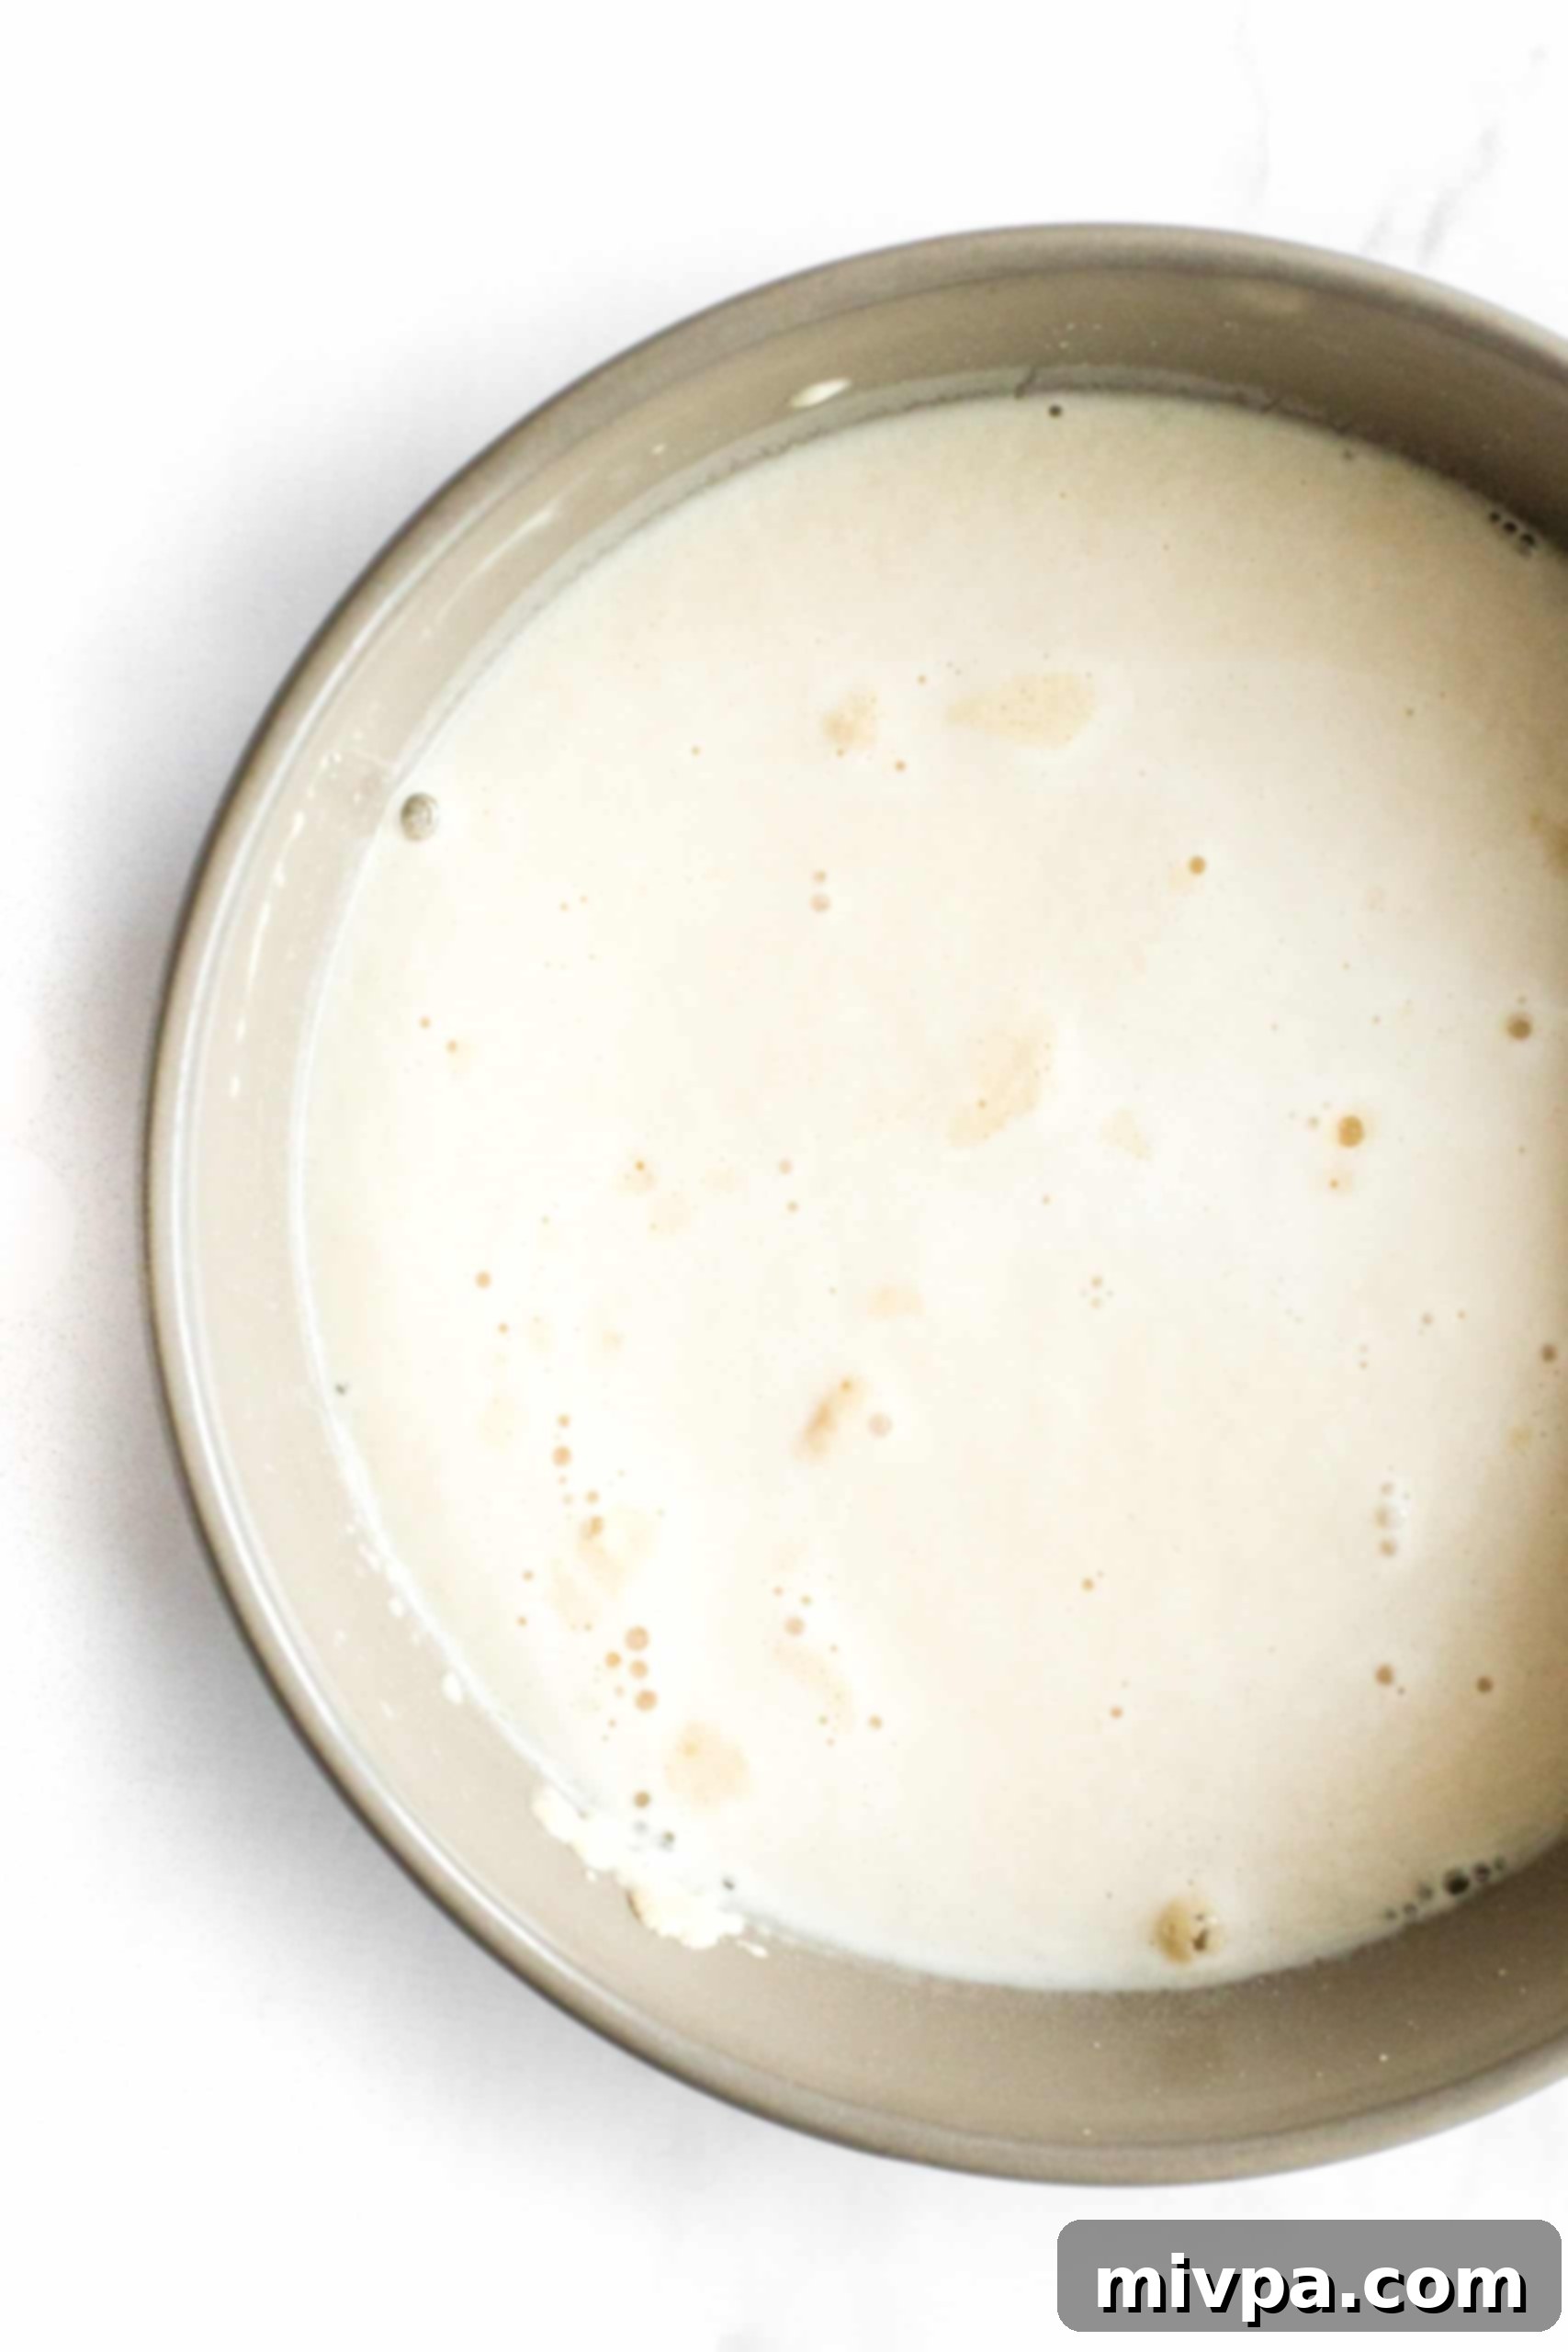
In a small bowl, combine the warm water, sugar, and instant yeast. Give it a gentle stir and let it sit undisturbed for 5 minutes. You’re looking for a foamy layer to appear on top – this indicates your yeast is active and alive! If it doesn’t foam, your yeast may be old or the water temperature was off, so discard it and start again with a fresh packet.
3. Whisk the Dry Ingredients
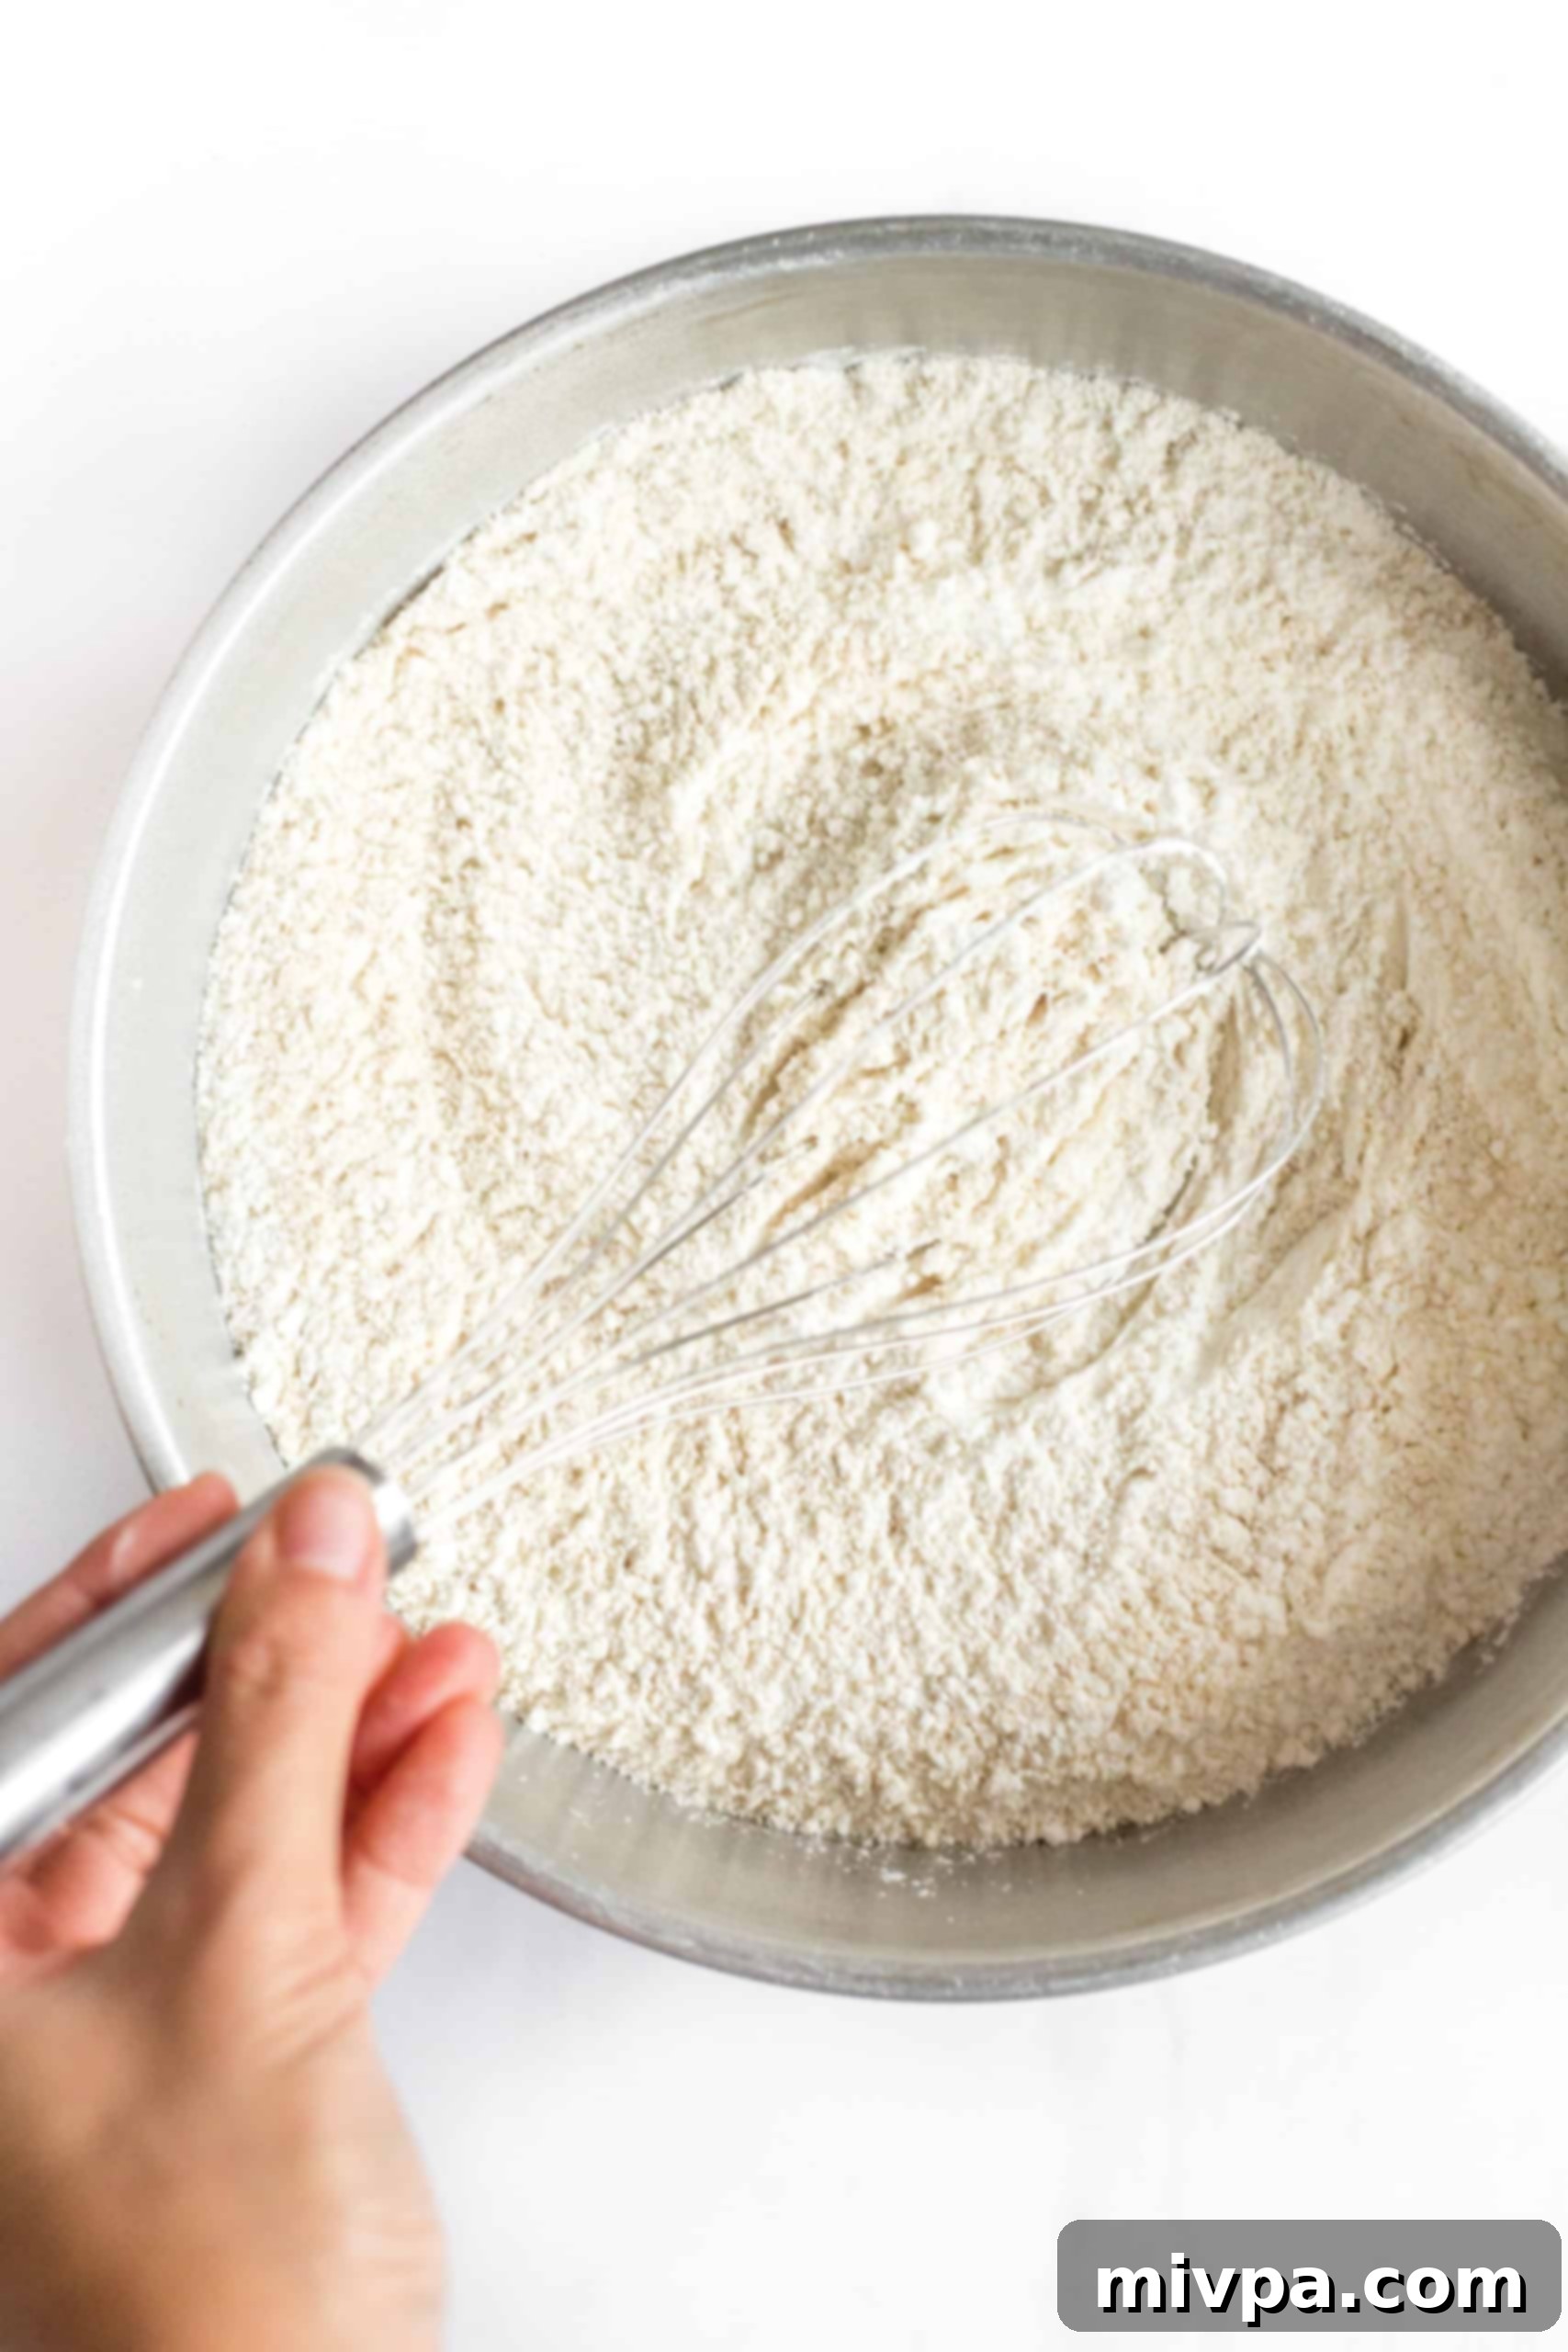
In a large mixing bowl, thoroughly whisk together the gluten-free all-purpose flour, brown rice flour, xanthan gum, and salt. Whisking ensures all the dry ingredients are evenly distributed, which is important for a consistent dough texture.
4. Combine Wet and Dry Ingredients to Form Dough
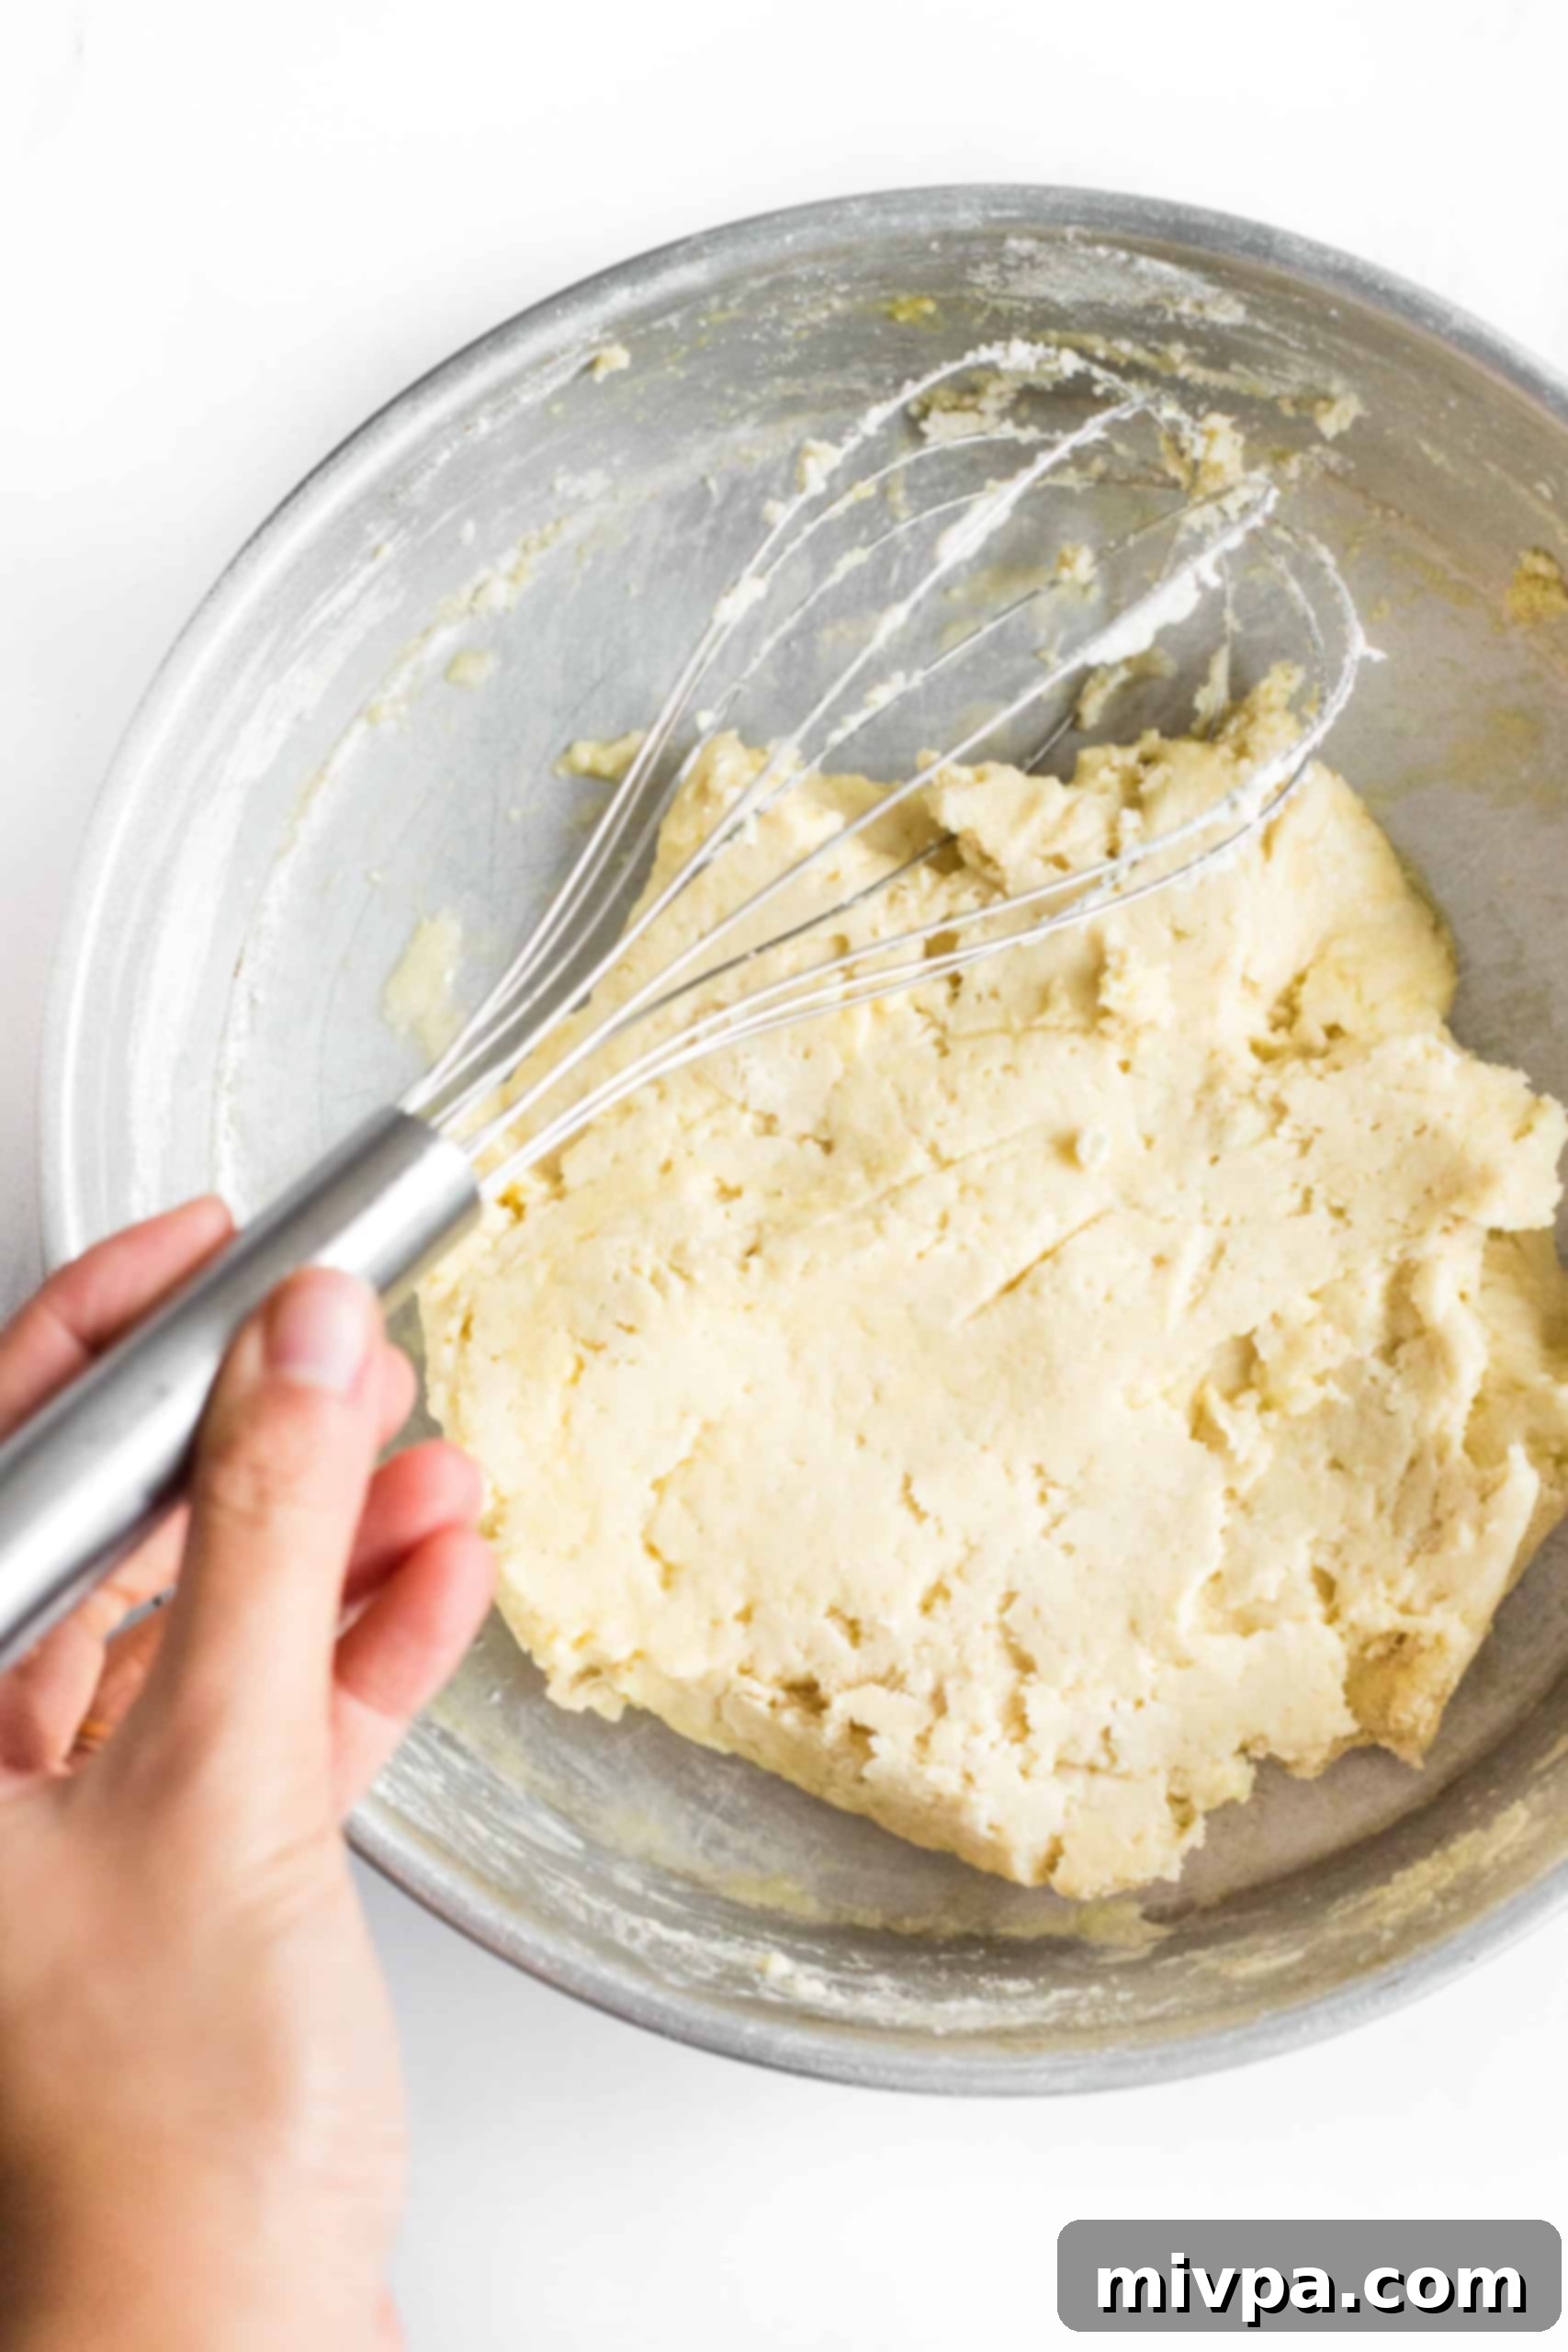
Pour the beaten egg, oil, apple cider vinegar, and your foamy yeast mixture into the bowl with the dry ingredients. Mix everything very well using a sturdy spoon or a stand mixer with a paddle attachment until you achieve a thick, sticky dough. Remember, gluten-free dough will naturally be much wetter and stickier than traditional wheat flour dough, and that’s perfectly normal! Resist the urge to add more flour. There’s no separate rising time needed for this dough; the magic happens in the oven. And best of all, absolutely no kneading is required!
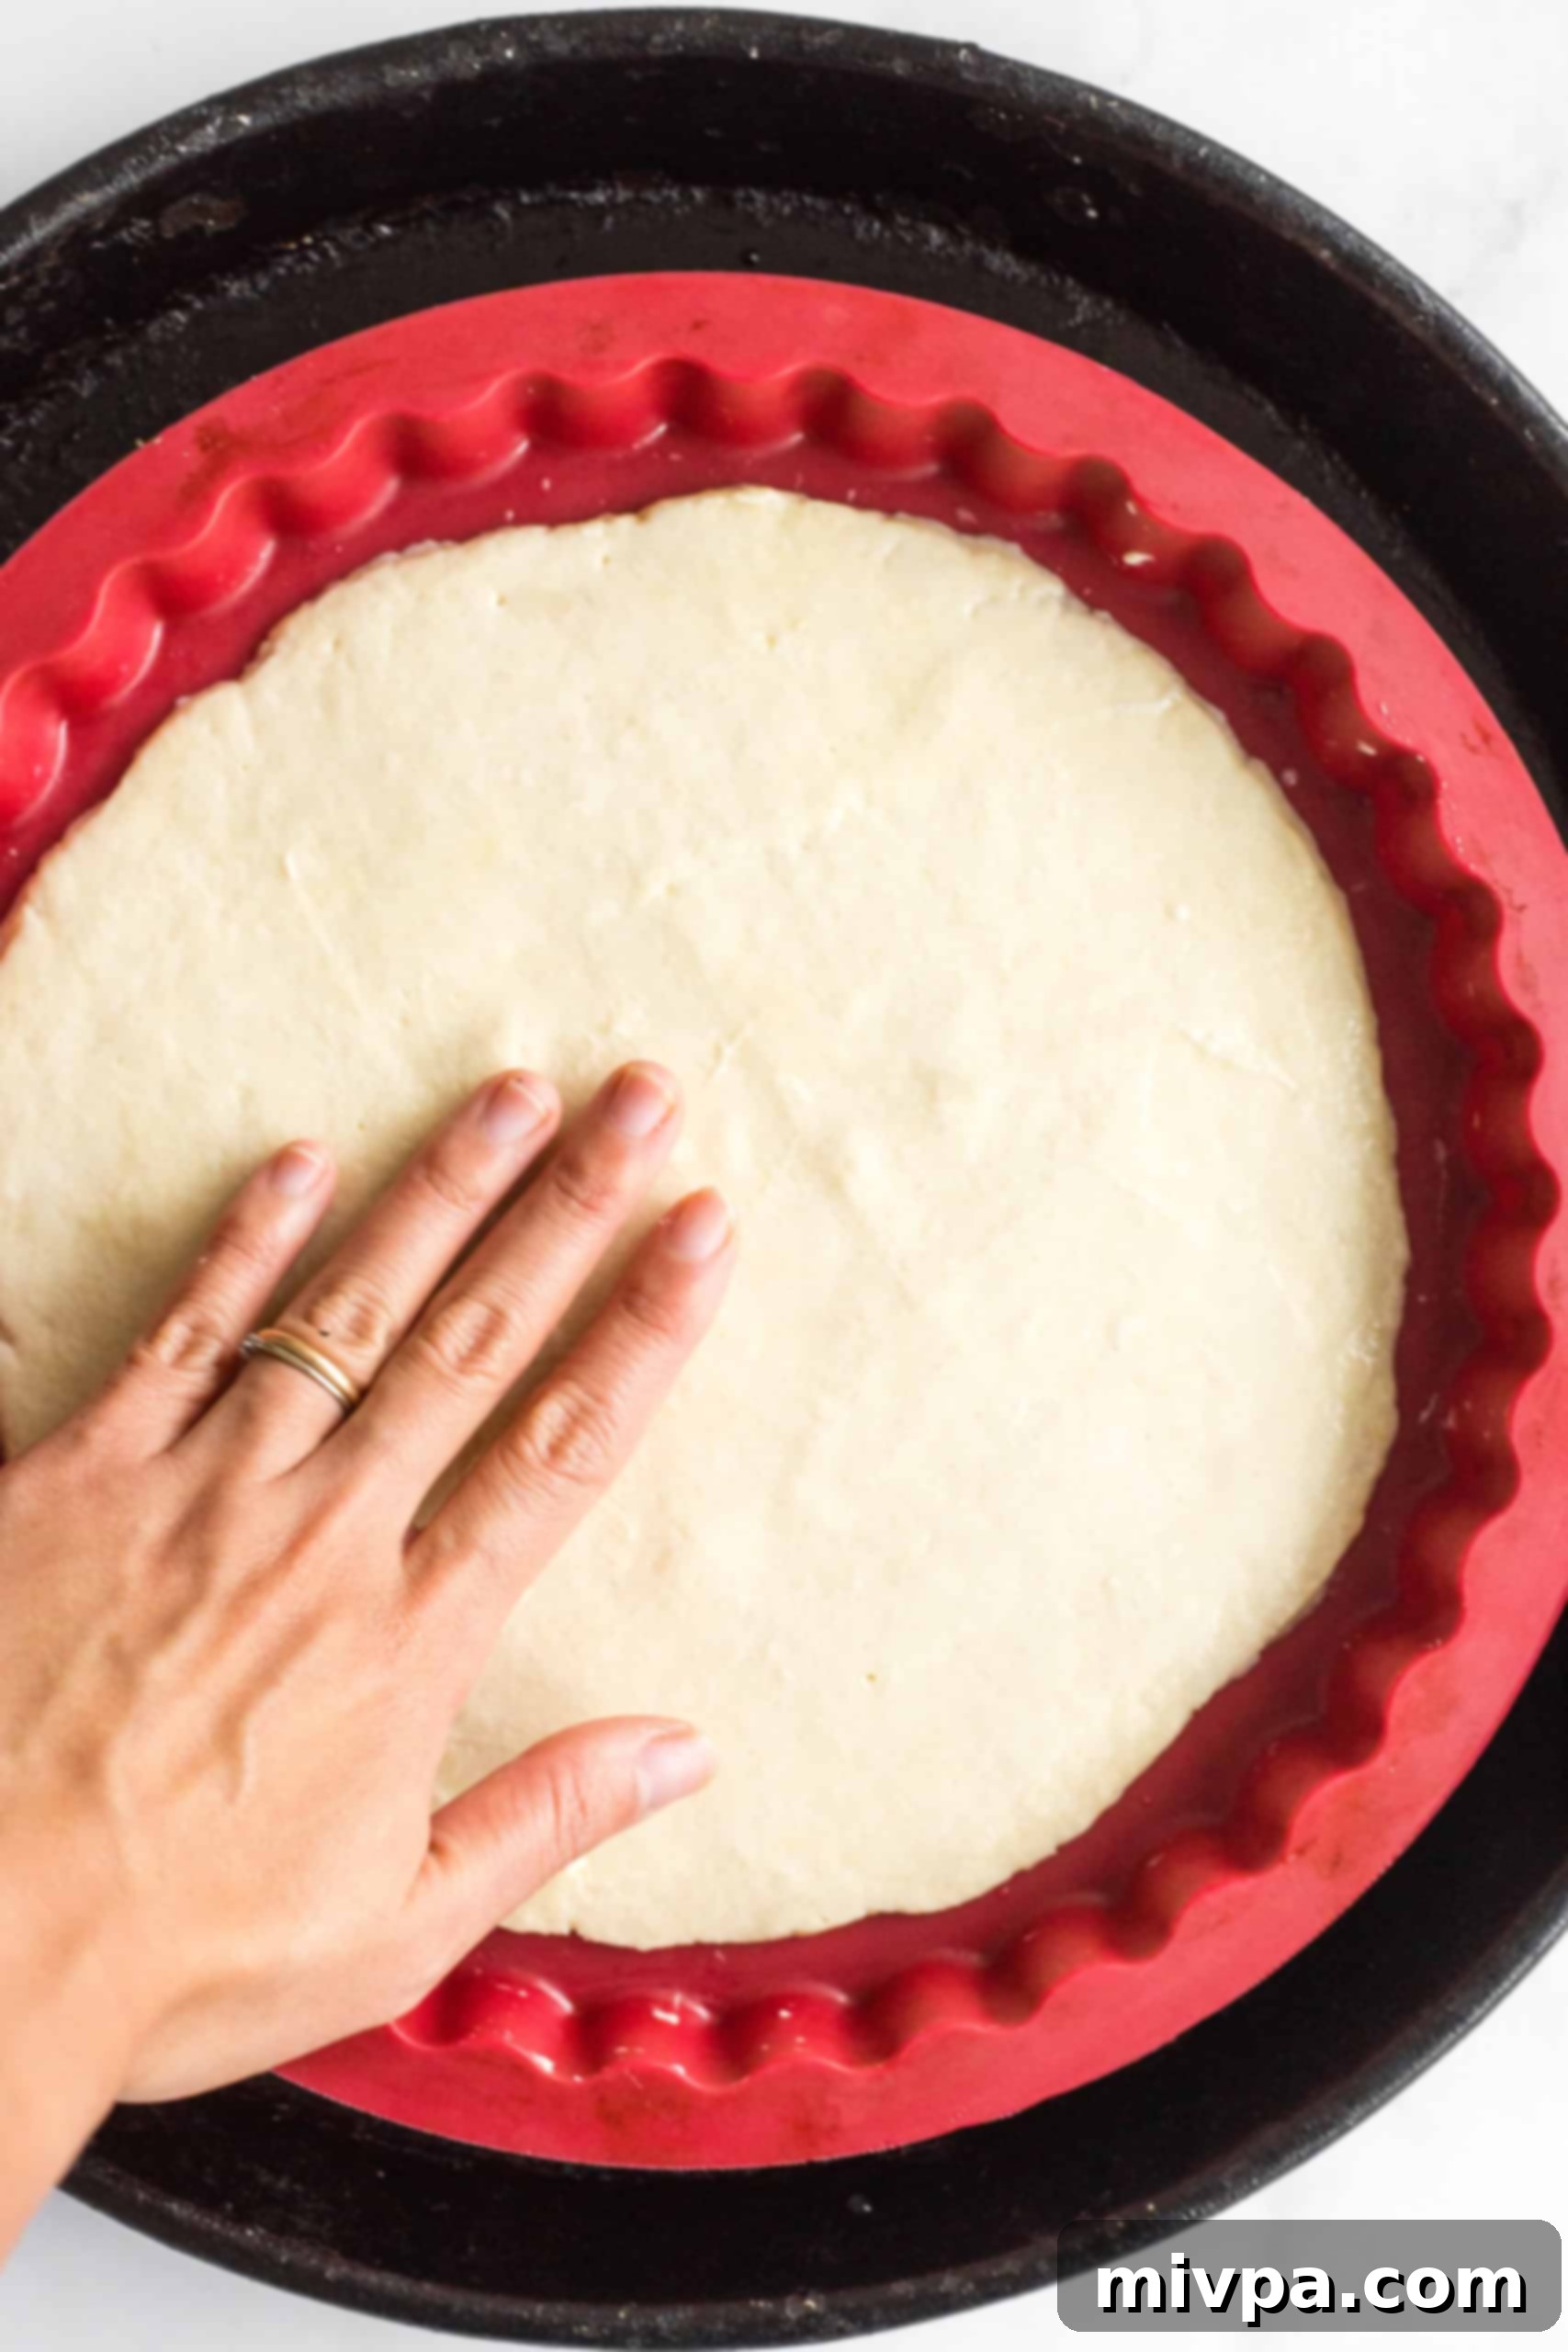
5. Spread Dough onto Prepared Pan
Carefully transfer the sticky pizza dough to your prepared silpat-lined or parchment-lined round pizza pan. Using lightly oiled hands or the back of a spoon, gently spread the dough out evenly to form a 12-inch round. If you prefer thinner crusts or smaller pizzas, you can divide the dough in half to make two smaller rounds. While a pizza pan is ideal, a baking sheet or even a preheated pizza stone can also be used.
6. Par-Bake for Golden, Crusty Perfection
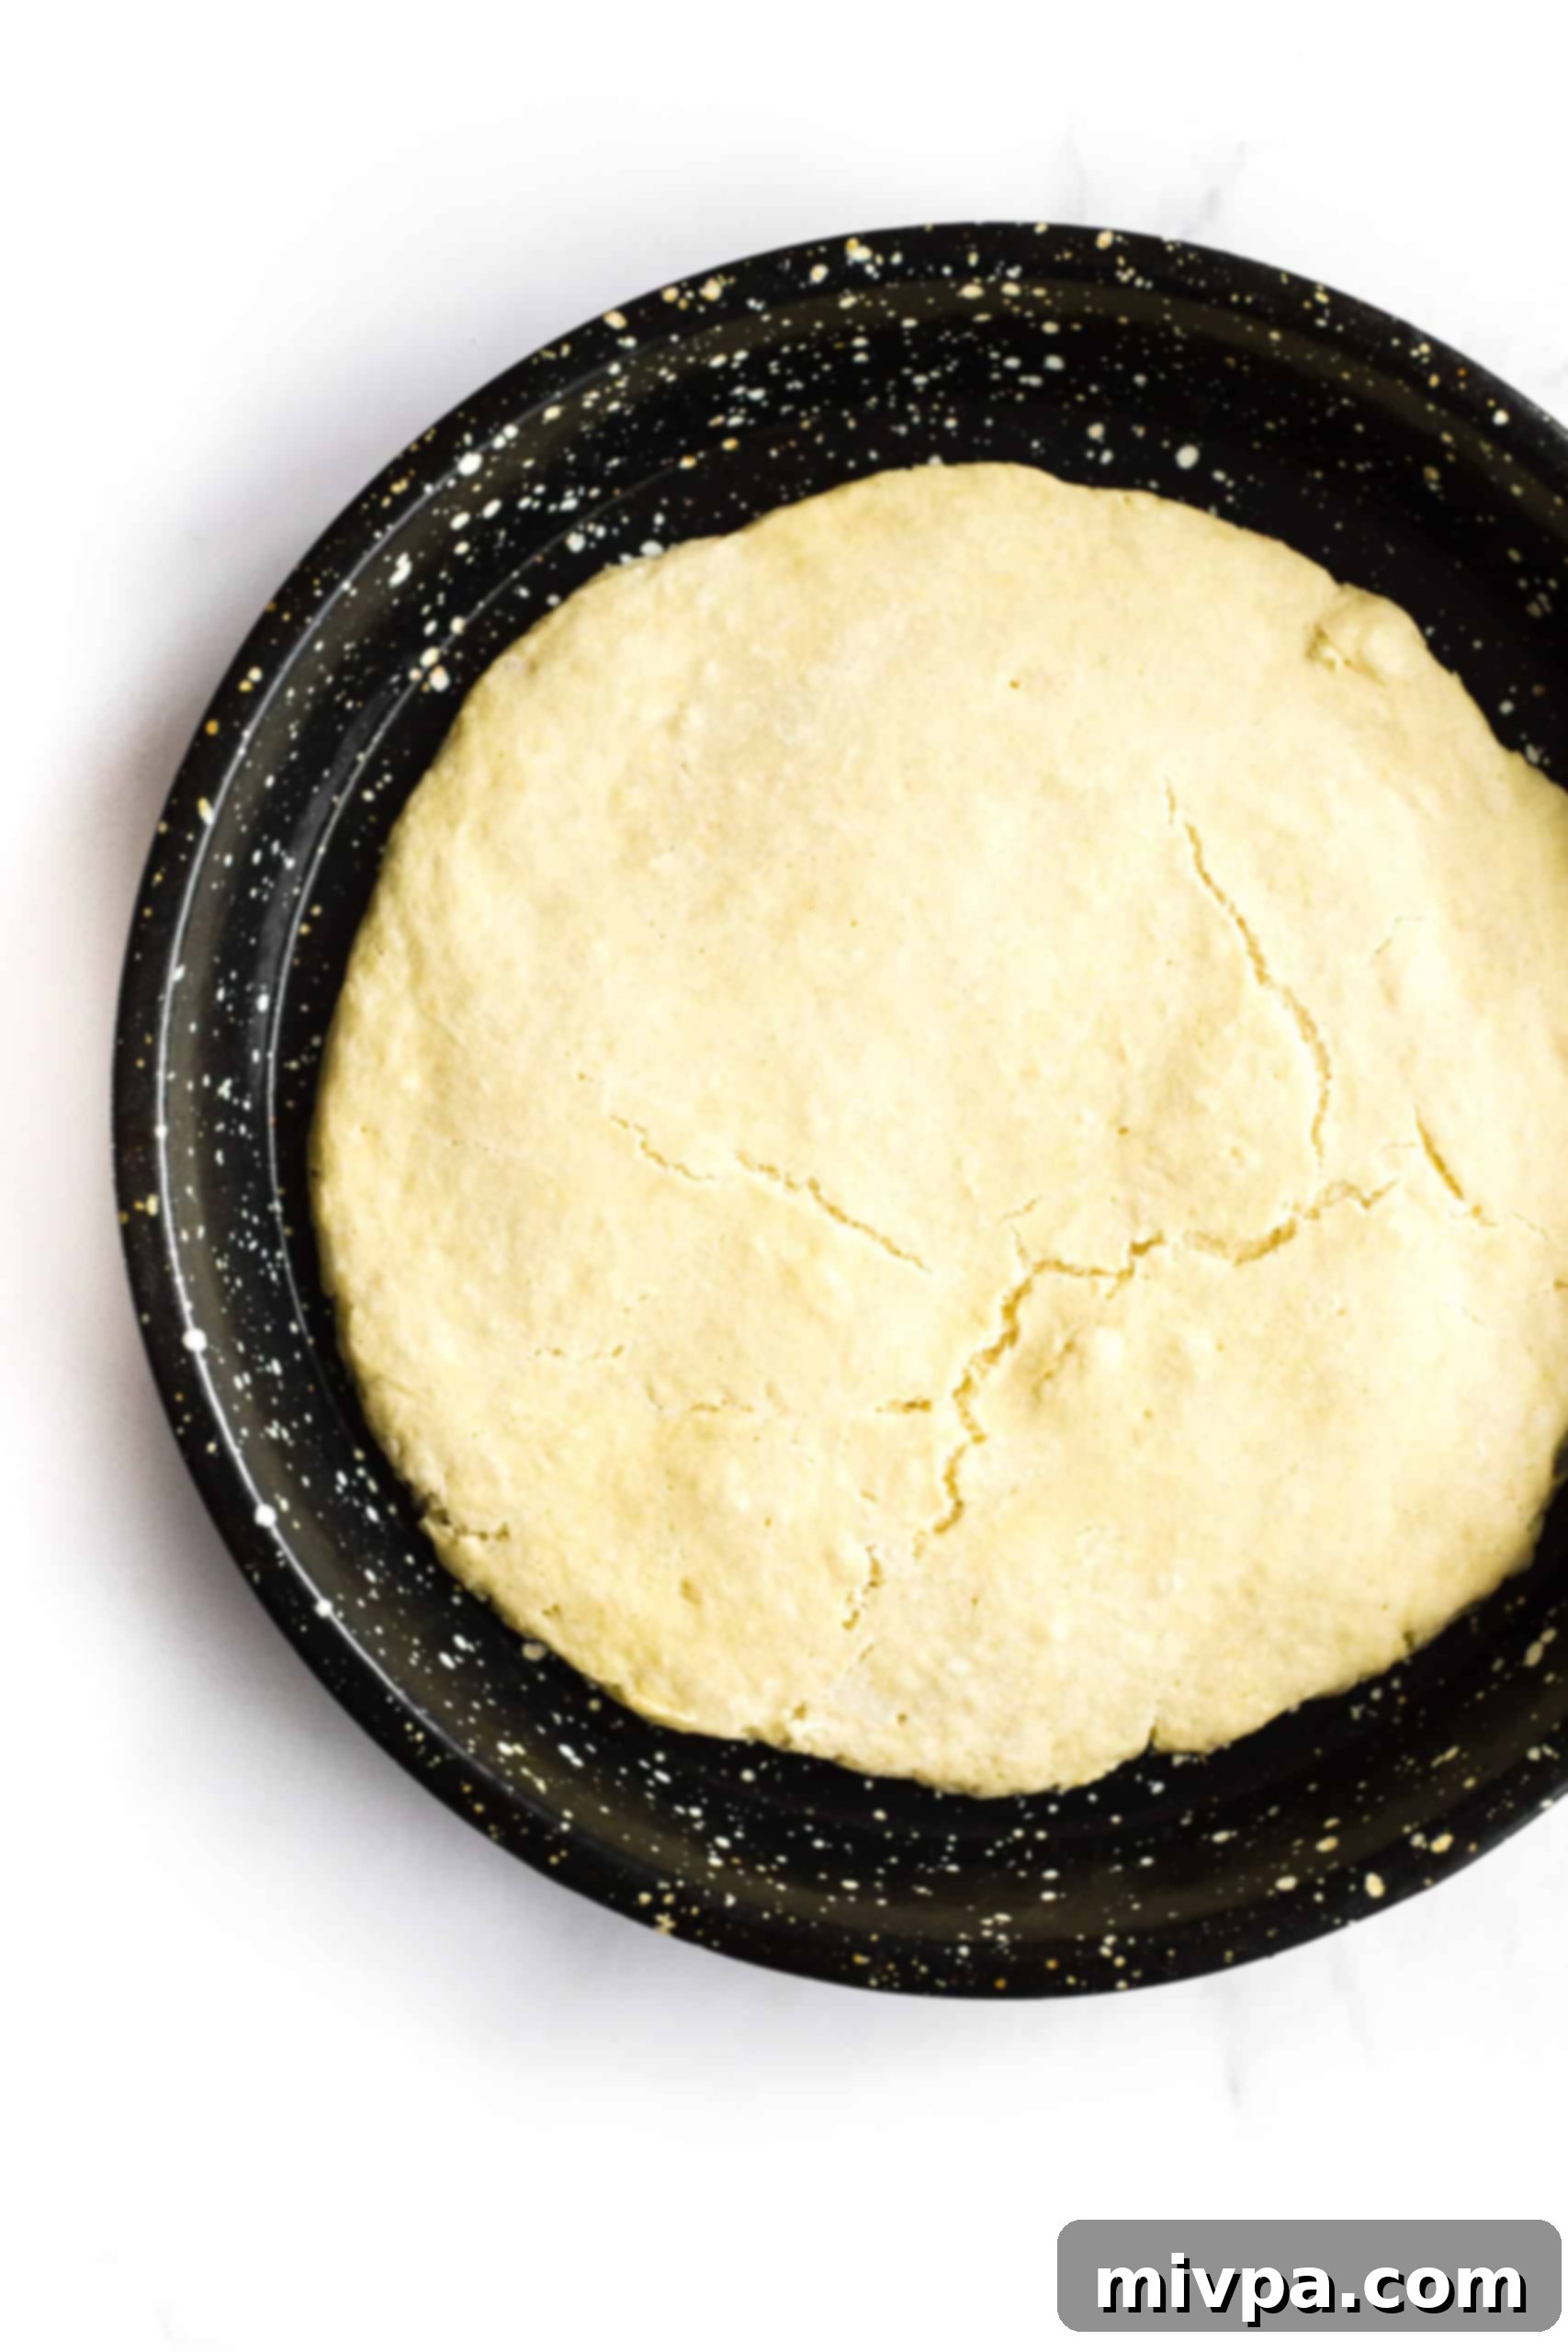
Place the pizza pan on the lowest rack in your preheated oven and bake for 20 to 30 minutes. You’re looking for a beautiful golden-brown color and a visibly crusty bottom. This crucial par-baking step ensures your crust develops structure and crispness before you add toppings. The exact time may vary slightly depending on your oven, so keep an eye on it.
7. Add Toppings and Finish Baking
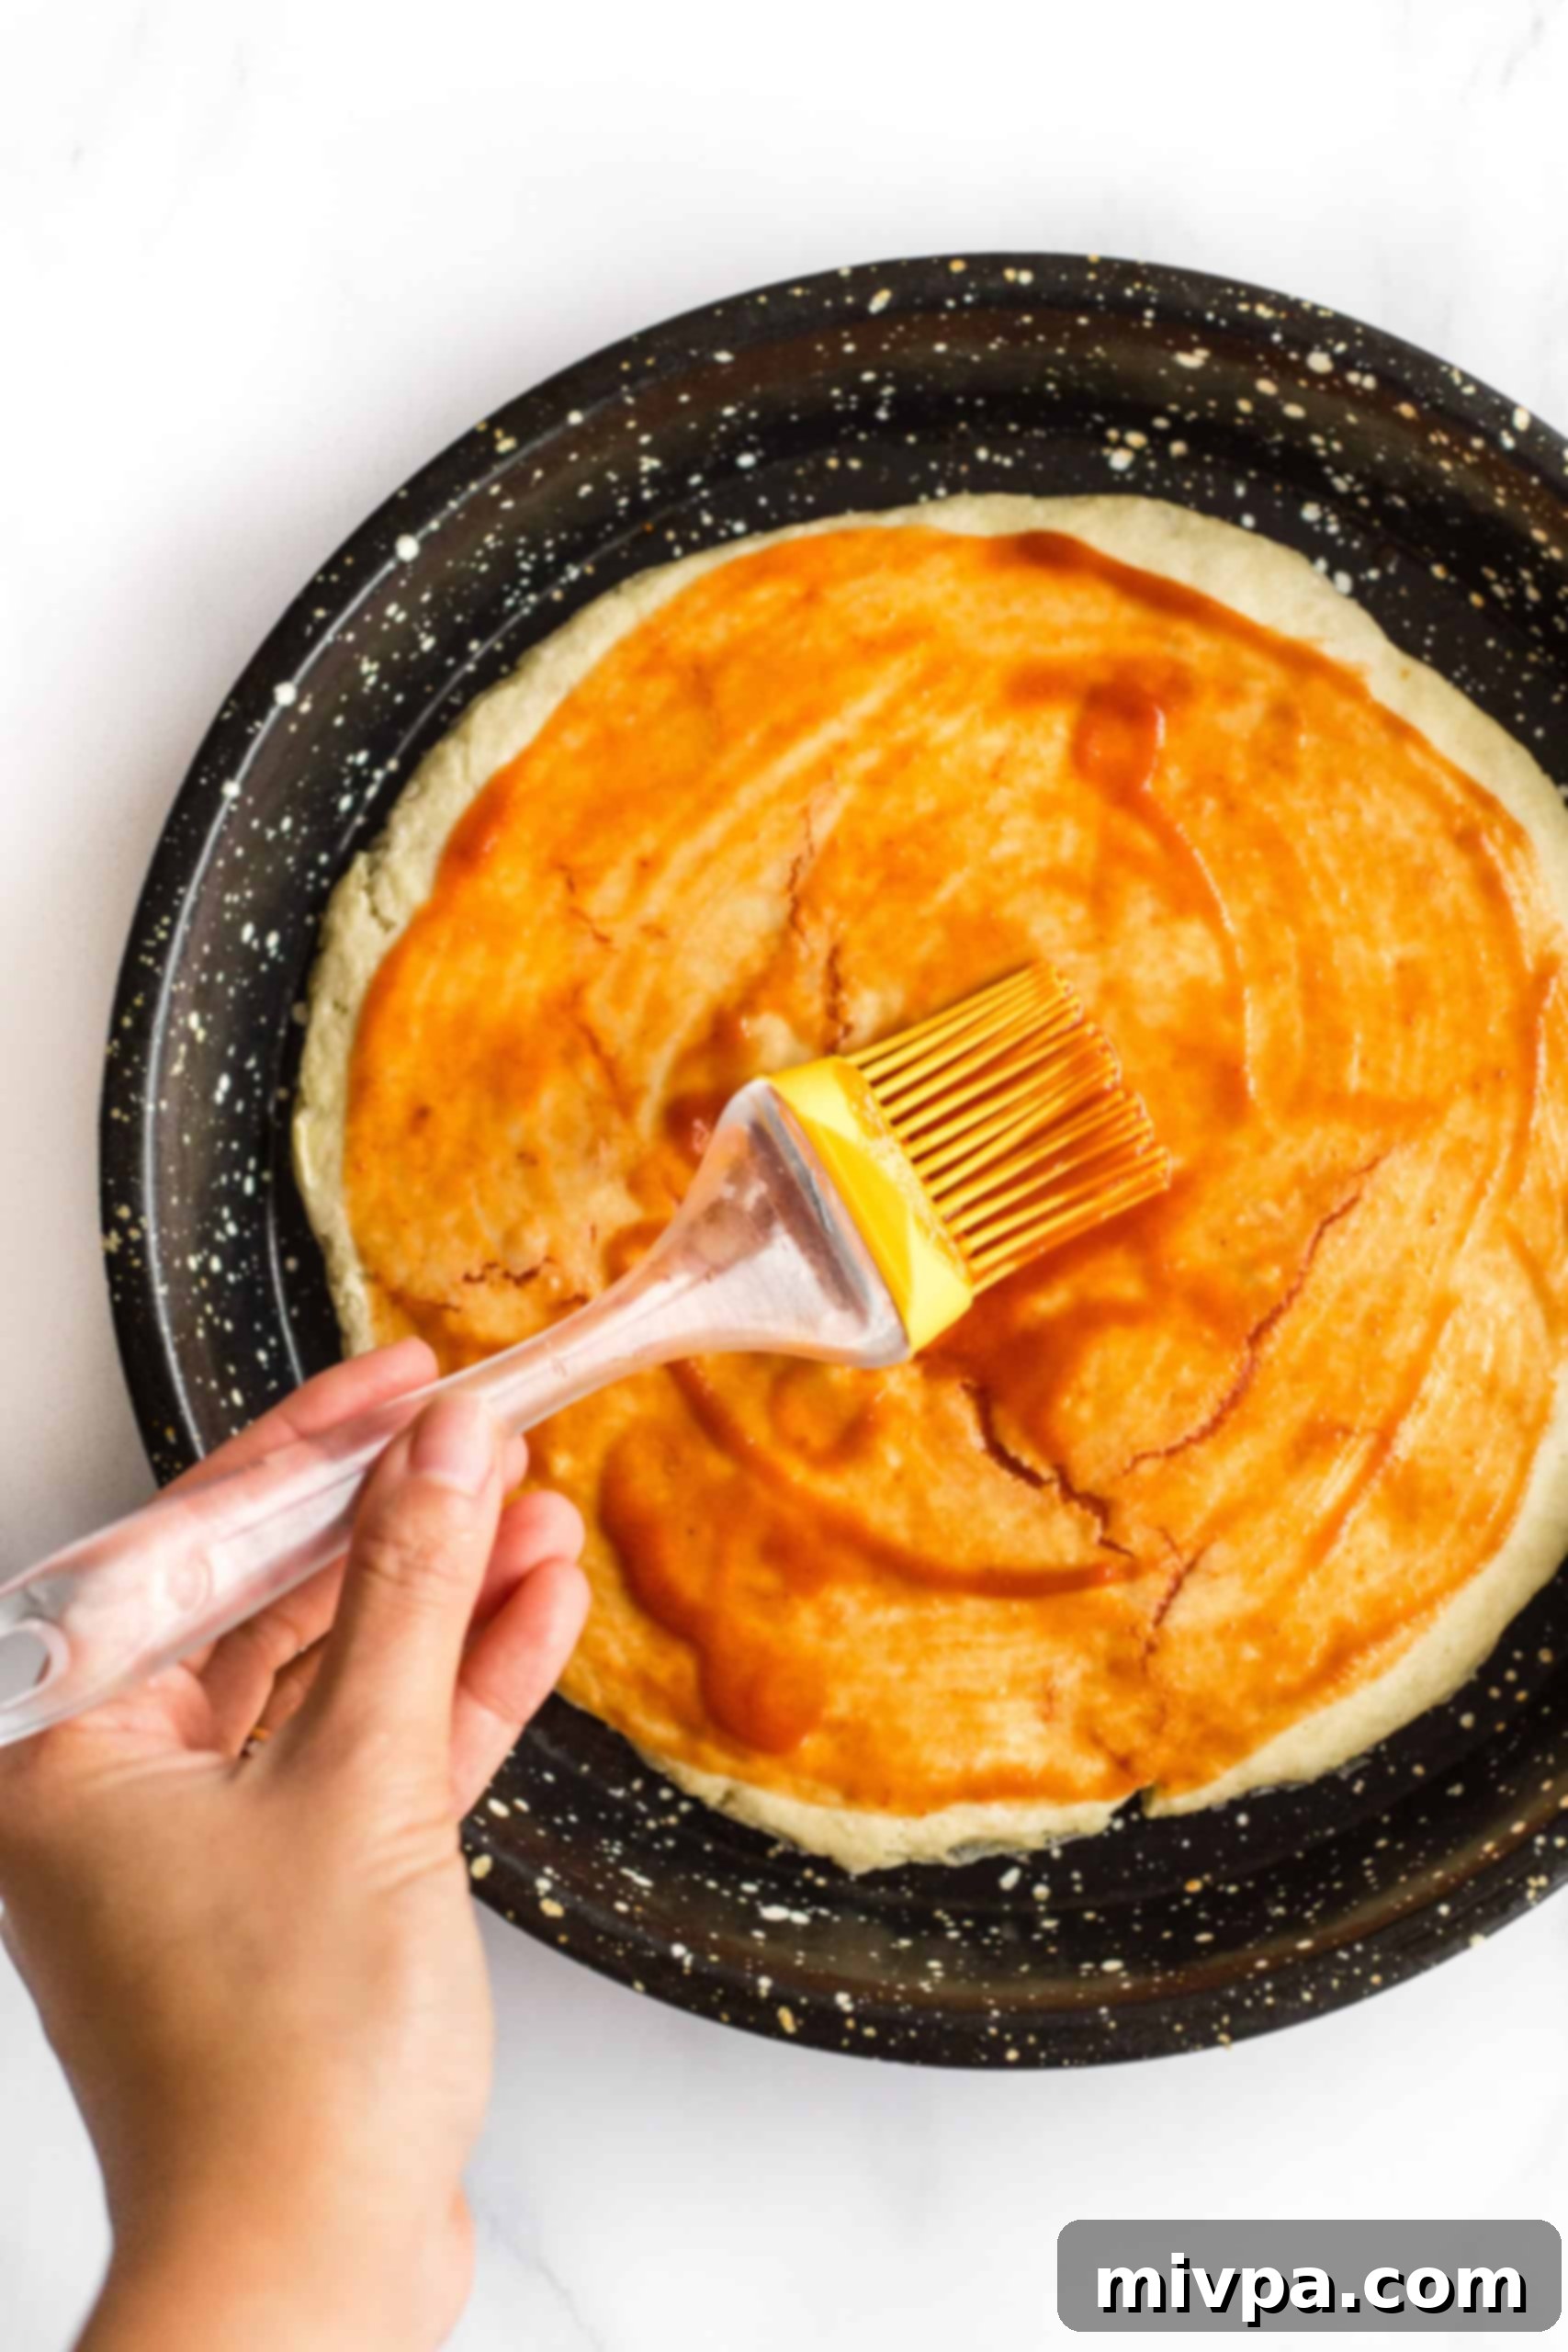
Once the crust is golden and crusty, carefully remove it from the oven. If you used parchment paper or a silpat, gently slide it out from under the crust so the crust is directly on the pizza pan or stone. This ensures maximum crispiness. Now, it’s time for the fun part! Spread your favorite pizza sauce evenly over the crust, then load it up with your preferred toppings. Return the pizza to the oven for another 10-15 minutes, or until the cheese (or dairy-free alternative) is melted and bubbly, and the toppings are perfectly cooked. Slice, serve, and enjoy your amazing homemade gluten-free pizza!
Customizing Your Gluten-Free Pizza: Topping Ideas & Serving Suggestions
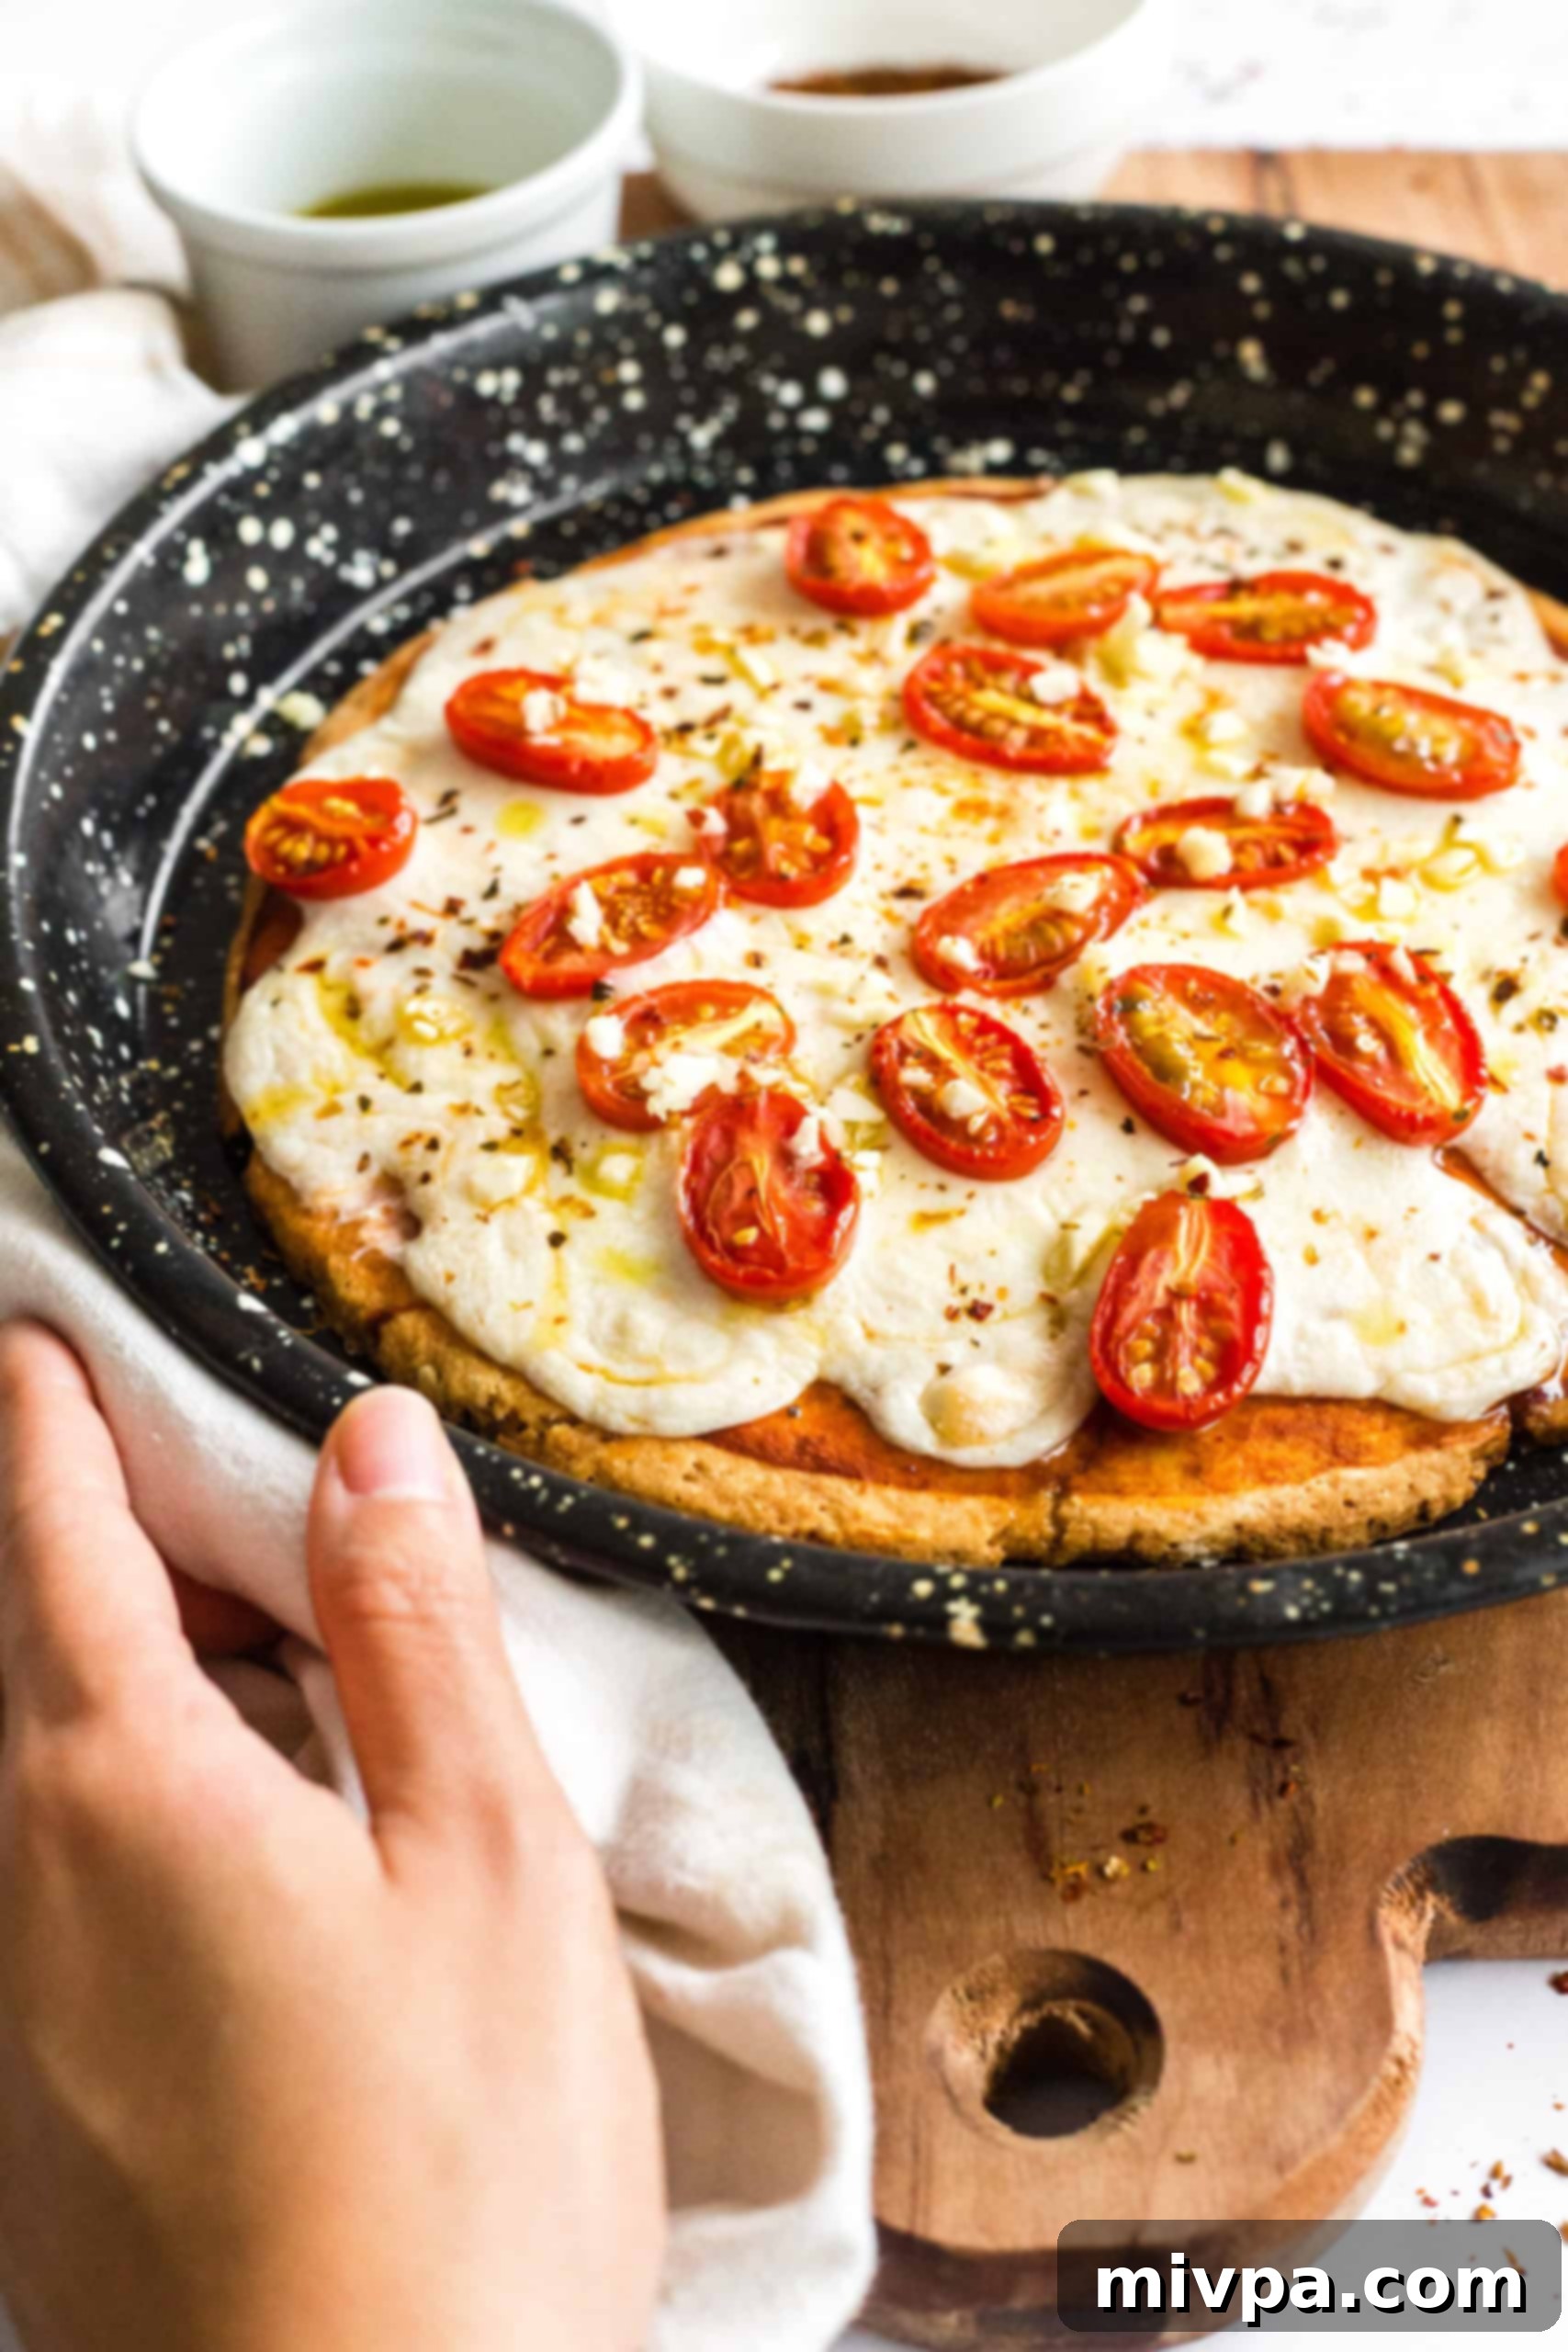
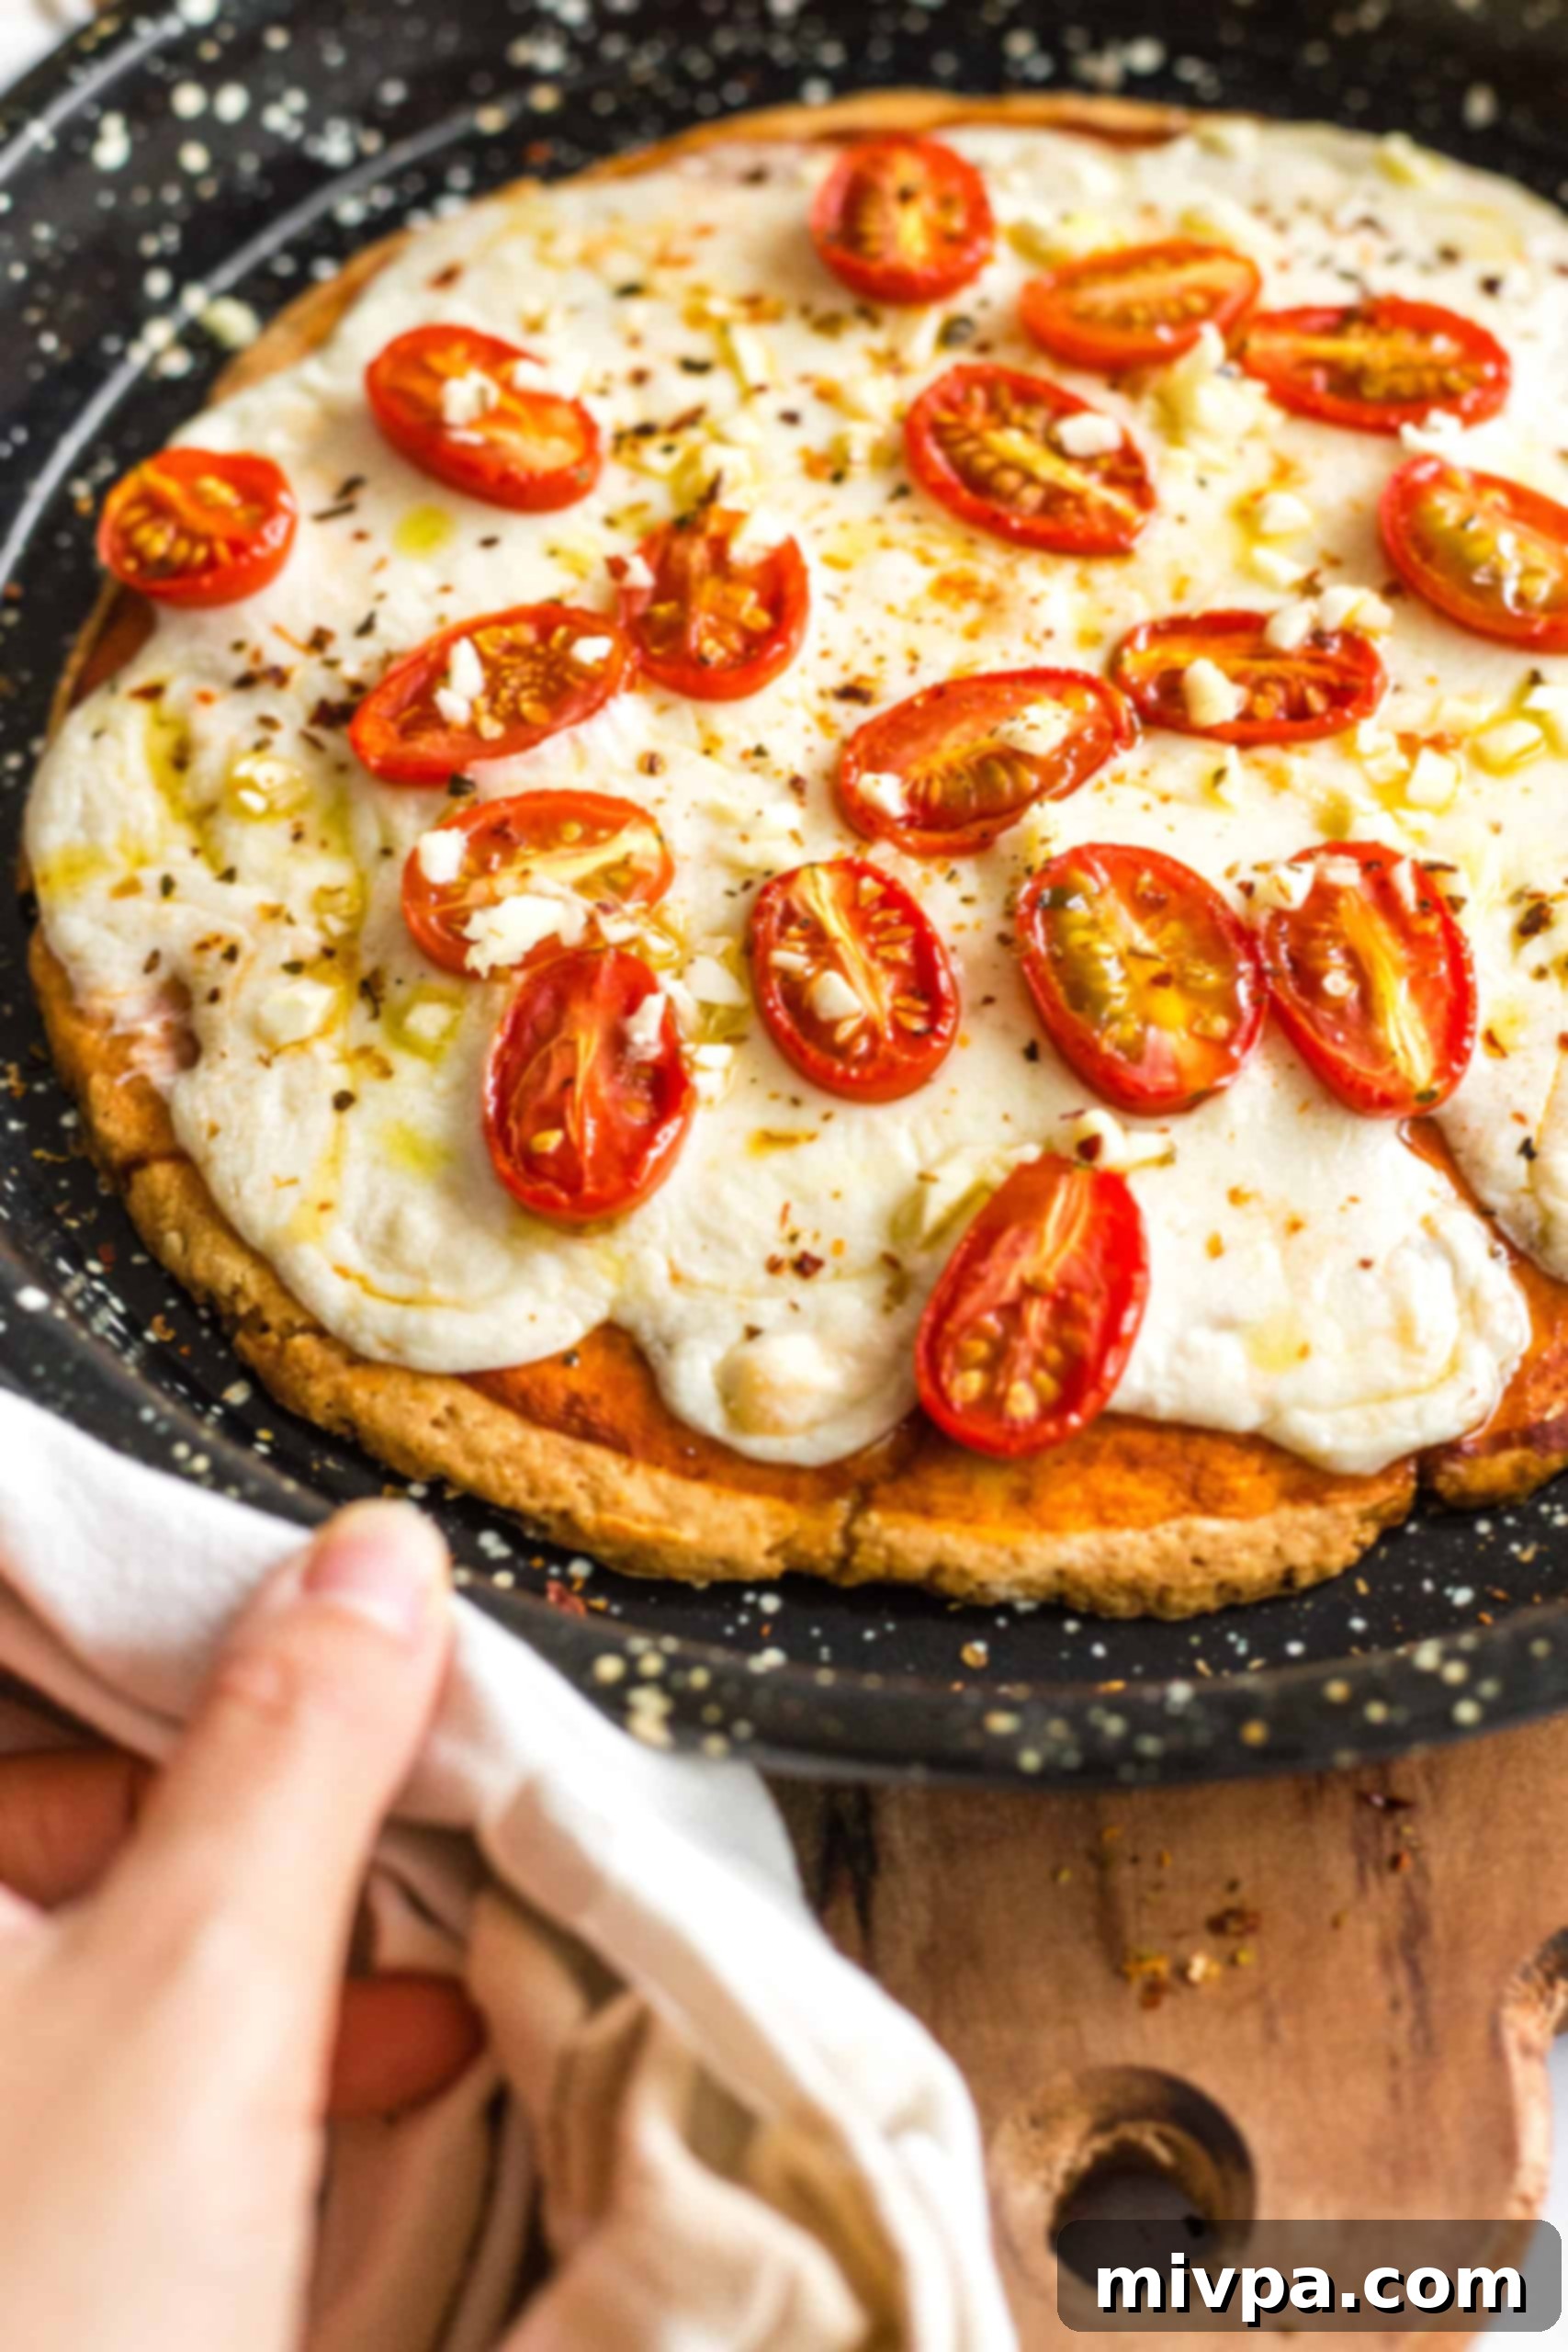
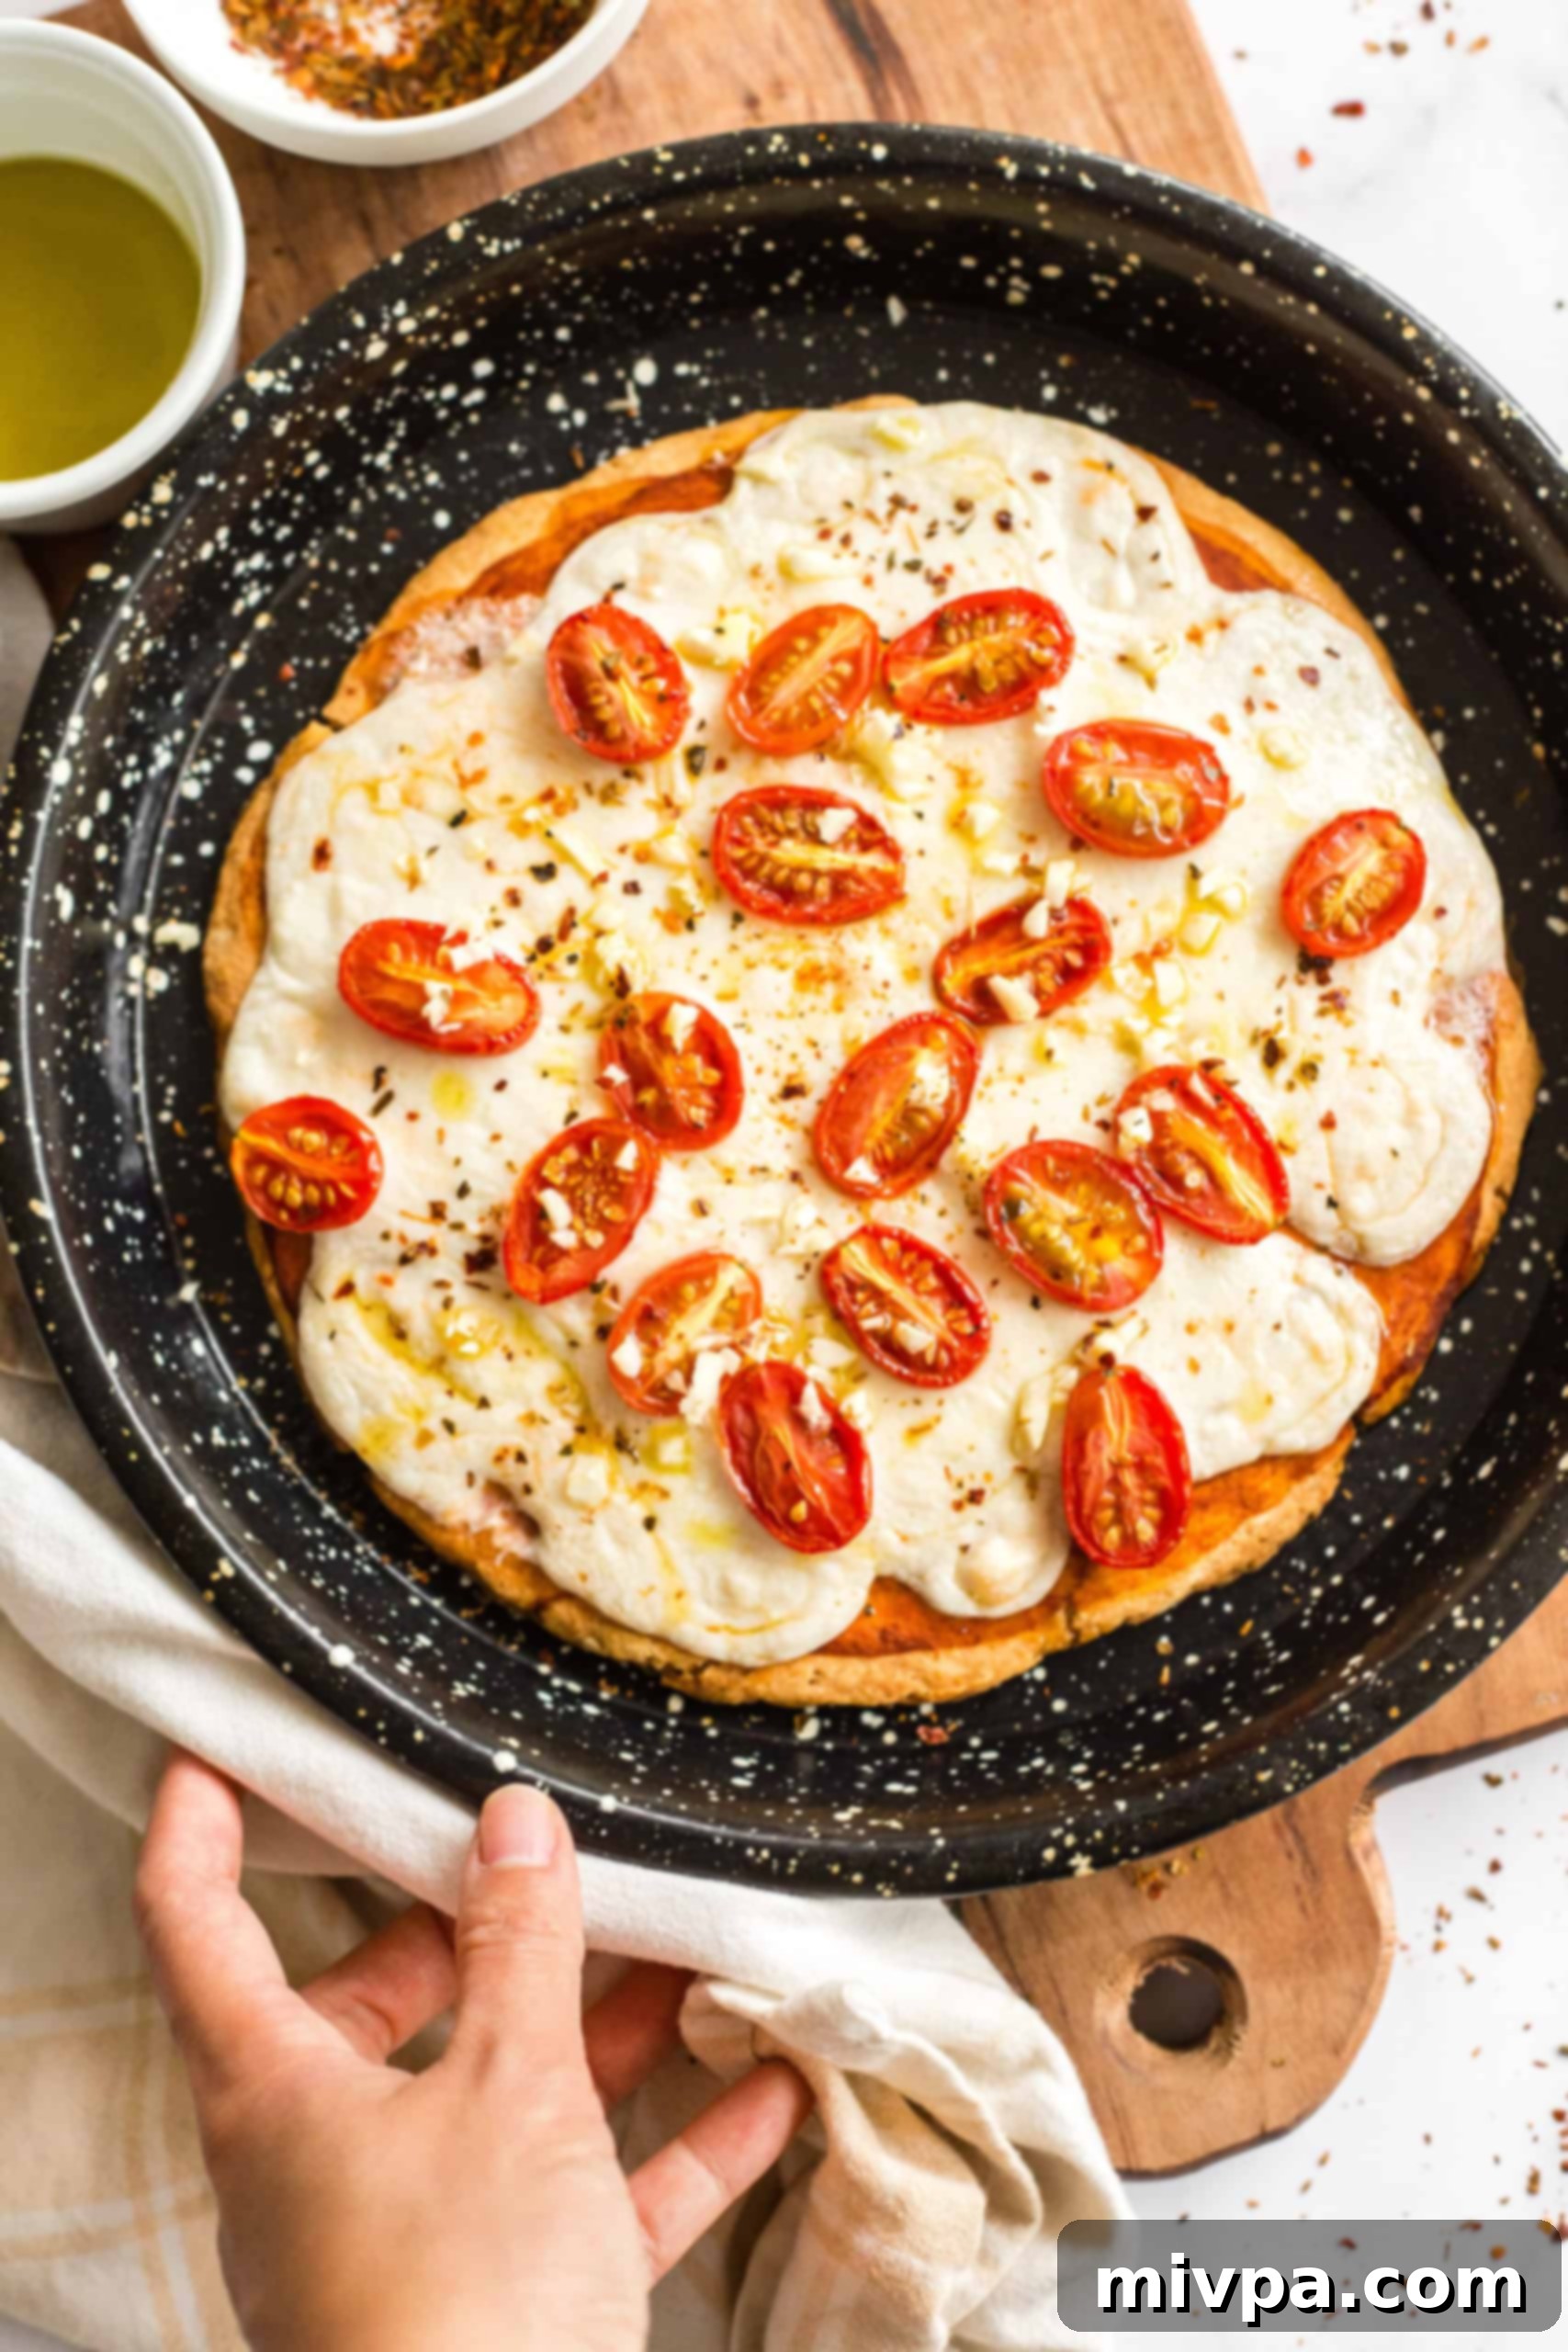
The beauty of this easy gluten-free pizza crust is its versatility – it’s a blank canvas for all your culinary creativity! While you can certainly add any toppings you love, here’s one of our favorite simple combinations for a homemade Caprese pizza that comes together in minutes:
For a vibrant Caprese, you’ll need just a few fresh ingredients: a good quality tomato sauce, fresh mozzarella cheese (or a delicious vegan mozzarella made with almonds, which we often use), sweet cherry tomatoes, fresh garlic, a pinch of chili flakes, and a drizzle of extra virgin olive oil. Here’s how we build it:
- After the initial par-bake of the crust, spread a generous layer of tomato sauce.
- For extra depth of flavor, I like to let the sauce dry slightly on the crust in the oven for about 5 minutes before adding other toppings.
- Then, layer on your shredded or sliced mozzarella (or dairy-free cheese) and halved grape or cherry tomatoes.
- Return the pizza to the oven and cook for another 10-15 minutes, or until the cheese is beautifully melted, gooey, and bubbling, and the tomatoes are slightly softened.
- Once out of the oven, immediately sprinkle with freshly chopped garlic and a generous pinch of chili flakes for a delightful warmth. Finish with a final drizzle of high-quality olive oil.
And there you have it! A homemade, restaurant-quality Caprese pizza in less time than it takes for delivery. Buon Appetito!
Pro Tips for Gluten-Free Pizza Success:
Achieving the perfect gluten-free pizza crust is easier than you think with these expert tips and tricks:
- Always Test Your Yeast: This is a non-negotiable step. Begin by combining your warm water (105-115°F), sugar, and instant yeast in a small bowl. Let it sit in a warm spot for about five minutes. If the mixture becomes visibly foamy and bubbly, your yeast is active and ready to work its magic. If there’s no foam, your yeast is likely expired or inactive; discard it and start with a fresh packet. This simple test saves you time and ensures a successful rise.
- Embrace the Stickiness of Gluten-Free Dough: Gluten-free dough will inherently be much wetter and stickier than traditional wheat flour dough. This is completely normal and desirable! Resist the urge to add more flour, as this can result in a dense, dry crust. Instead, lightly oil your hands or use a piece of parchment paper to help spread the dough evenly onto your pizza pan.
- The Two-Stage Baking Process is Key: For that truly crispy bottom and chewy interior, we employ a two-stage baking method. First, par-bake the crust without toppings until it’s golden and firm. This allows the crust to develop structure and crispness. Then, remove the parchment paper (if used) and place the crust directly on the hot pizza pan or stone for the second bake with your toppings. This direct heat contact ensures a perfectly crisp base.
- Adjust Crust Thickness to Your Liking: This recipe yields one generous 12-inch pizza with a medium-thick crust that is both satisfying and robust. If you prefer a thinner, crispier crust, simply divide the dough in half to make two smaller pizzas (around 8-9 inches each). Adjust baking times slightly for thinner crusts.
- Experiment with Different Flours for Flavor & Texture: While our recipe calls for a specific blend, feel free to get creative! If you’re looking to add more fiber or a distinct flavor, you can replace the brown rice flour with other fiber-rich, naturally gluten-free flours such as millet flour, sorghum flour, or buckwheat flour. Each will impart unique characteristics to your crust.
Recipe FAQs:
If not using the pizza crust immediately, let it cool completely before wrapping it tightly in plastic wrap and then storing it in the refrigerator for up to 2 days. This keeps it fresh until you’re ready to add toppings and bake.
Yes, absolutely! To freeze, ensure the baked crust is completely cooled. Wrap it tightly in plastic wrap, then an additional layer of aluminum foil, and freeze for up to 3 months. To use, thaw the crust on a pizza pan in the oven at 450F (230°C) for 10 minutes to re-crisp. Then, add your desired toppings and bake for another 15 minutes or until toppings are cooked and cheese is melted.
If you enjoyed this recipe, you’ll also love these other recipes:
- Easy Caprese Pizza (Gluten-Free, Vegan)
- Easy Gluten-Free Naan Bread (No-Yeast, Dairy-Free)
- Easy Gluten-Free No Knead Bread (Dairy-Free)
- Gluten-Free Focaccia Bread (Dairy-Free, Vegan)
- Easy Gluten-Free Sandwich Bread (Vegan)
- Soft, Fluffy Gluten-Free Bread (Dairy-Free)
- Fluffy Buckwheat Bread (Gluten-Free, Dairy-Free)
- Gluten-Free Honey Oat Quick Bread
- Gluten-Free Flaxseed Coconut Bread (Paleo, Dairy-Free)
- 10 Easy Gluten-Free Bread Recipes to Make on Repeat
More Gluten-Free Bread & Baking Recipes to Enjoy:
- Gluten-Free Chocolate Chip Pumpkin Bread (Dairy-Free)
- Easy Gluten-Free Drop Biscuits (Dairy-Free)
- Gluten-Free Vegan Bagels (Chewy and Tender!)
- Egg-Free Gluten-Free Bread (So Tender!)
P.S. If you try this recipe, I’d love for you to leave a star rating below, and/or a review in the comment section further down the page. I always appreciate your feedback. Be sure to check out my entire Recipe Index for all the recipes on the blog. You can also follow me on Pinterest, Facebook or Instagram! Sign up for my Email List to get fresh recipes in your inbox each week!
Print

Easy Gluten-Free Pizza Crust (Dairy-Free)
5 Stars 4 Stars 3 Stars 2 Stars 1 Star
5 from 3 reviews
Author: felicia | Dish by Dish
Total Time: 45 minutes
Yield: 1 large pizza crust
Diet: Gluten Free
Description
Finally, an easy gluten-free pizza crust that actually holds up well, bakes up crispy on the outside and chewy on the inside! No rising time needed, no kneading required, and this pizza crust recipe is ready in less time than it takes to order a pizza, the perfect meal for pizza night. This is the perfect base for our gluten-free caprese pizza or any pizza toppings you love! It’s totally dairy-free (with an egg-free option too), but no one would know!
Ingredients
Units
Scale
- 3/4 cup warm water (approximately 105F to 115F)
- 1 tablespoon sugar
- 2 1/4 teaspoons instant yeast
- 1 1/2 cups gluten-free all-purpose flour
- 1/2 cup brown rice flour
- 3/4 teaspoon xanthan gum (omit if your gluten-free flour blend already includes it)
- 2 teaspoons salt
- 1 large egg, beaten
- 1 tablespoon sunflower oil
- 1 teaspoon apple cider vinegar
Instructions
- Preheat Oven and Prepare Your Pan: Preheat oven to 450F (230°C) and line a large round pizza pan with parchment paper or a silpat.
- Activate Yeast: In a small bowl, mix the warm water, sugar, and instant yeast together and let it sit for 5 minutes until it turns foamy (if the mixture doesn’t turn foamy, it means the yeast isn’t working so throw it away and use a new packet of yeast).
- Whisk Dry Ingredients: In a large bowl, whisk the gluten-free all-purpose flour, brown rice flour, xanthan gum and salt together.
- Add Wet Ingredients to Dry Ingredients to Form Dough: Add in the beaten egg, oil, apple cider vinegar, and the yeast mixture. Mix very well together until you get a thick sticky dough (note that gluten-free dough will be much more wet and stickier than normal wheat flour dough, and that’s perfectly fine).
- Transfer Dough to Prepared Pizza Pan: Transfer the pizza dough to the prepared silpat-lined or parchment-lined pan, and spread the dough out into a 12-inch round (or divide into 2 smaller rounds if you prefer).
- Bake Until Golden and Crusty: Bake for 20 to 30 minutes on the lowest rack until pizza crust is golden brown and crusty on the bottom. Once the bottom is crusty, remove the silpat or parchment paper and place the crust directly on the pizza pan. Add pizza sauce and toppings of choice and bake for another 10-15 minutes until toppings are ready.
Notes
Warm Water: Make sure that the water is between 105F to 115F (40-46°C) as this warm environment is required to activate the yeast, but if the water is too hot, it will kill the yeast.
Yeast: I like using instant dry yeast because it activates immediately and doesn’t require pre-proofing.
Sugar: The sugar is necessary because the yeast needs to feed on the sugar to be activated. Don’t worry about the sugar making the dough sweet, because once the yeast is done feeding on it, the dough will not be sweet at all. It also aids in browning the crust.
Gluten-Free All-Purpose Flour: I recommend using a good-quality gluten-free flour blend that has a mix of lighter flours/starches (such as white rice flour, corn starch, tapioca starch or potato starch) to ensure a lighter final texture. I do NOT recommend using flour blends with heavier flours (such as garbanzo bean flour) as that will result in a denser, gritty final texture.
Brown Rice Flour: I like using brown rice flour to add a bit more fiber to the dough (learn how to make homemade brown rice flour in just minutes)! If you don’t have brown rice flour on hand, or don’t want to use it, simply replace it with the same amount of gluten-free all-purpose flour. Alternatively, you may also substitute the brown rice flour with other flours such as millet flour, sorghum flour, almond flour or buckwheat flour.
Xanthan Gum: Xanthan gum takes the role of gluten in gluten-free flours, and is necessary for binding the ingredients together and providing elasticity. Omit if your GF blend already contains it.
Egg: If you want to make this dough completely vegan or egg-free, swap out the egg for a chia egg (1 tbsp chia seeds + 2.5 tbsp water, let sit 5 mins) or a flax egg (1 tbsp ground flaxseed meal + 3 tbsp water, let sit 5 mins) for binding purposes.
Oil: I like using sunflower oil because I always have a bottle of it at home and it has a neutral flavor. Alternatively, you may also use other light vegetable oils such as extra virgin olive oil or avocado oil.
Apple Cider Vinegar: Apple cider vinegar creates an acidic environment that helps the dough rise better and contributes to flavor. Alternatively, you may also use rice vinegar, or white wine vinegar if you don’t have ACV on hand.
Storing/Freezing: If not using the pizza crust immediately, let it cool completely before wrapping it tightly in plastic wrap and then storing in the refrigerator for up to 2 days before using. To freeze, wrap the cooled crust in plastic wrap and freeze for up to 3 months. To use, thaw the crust on a pizza pan in the oven at 450F (230°C) for 10 minutes before adding toppings and baking for another 15 minutes until ready.
Adapted from: Gluten-Free Palate
This recipe was originally published in June 2020, but has since been updated with recipe notes, ingredient substitutions,and clearer step-by-step instructions.
- Prep Time: 15 mins
- Cook Time: 30 mins
- Category: Pizza
- Method: Baking
- Cuisine: Italian
