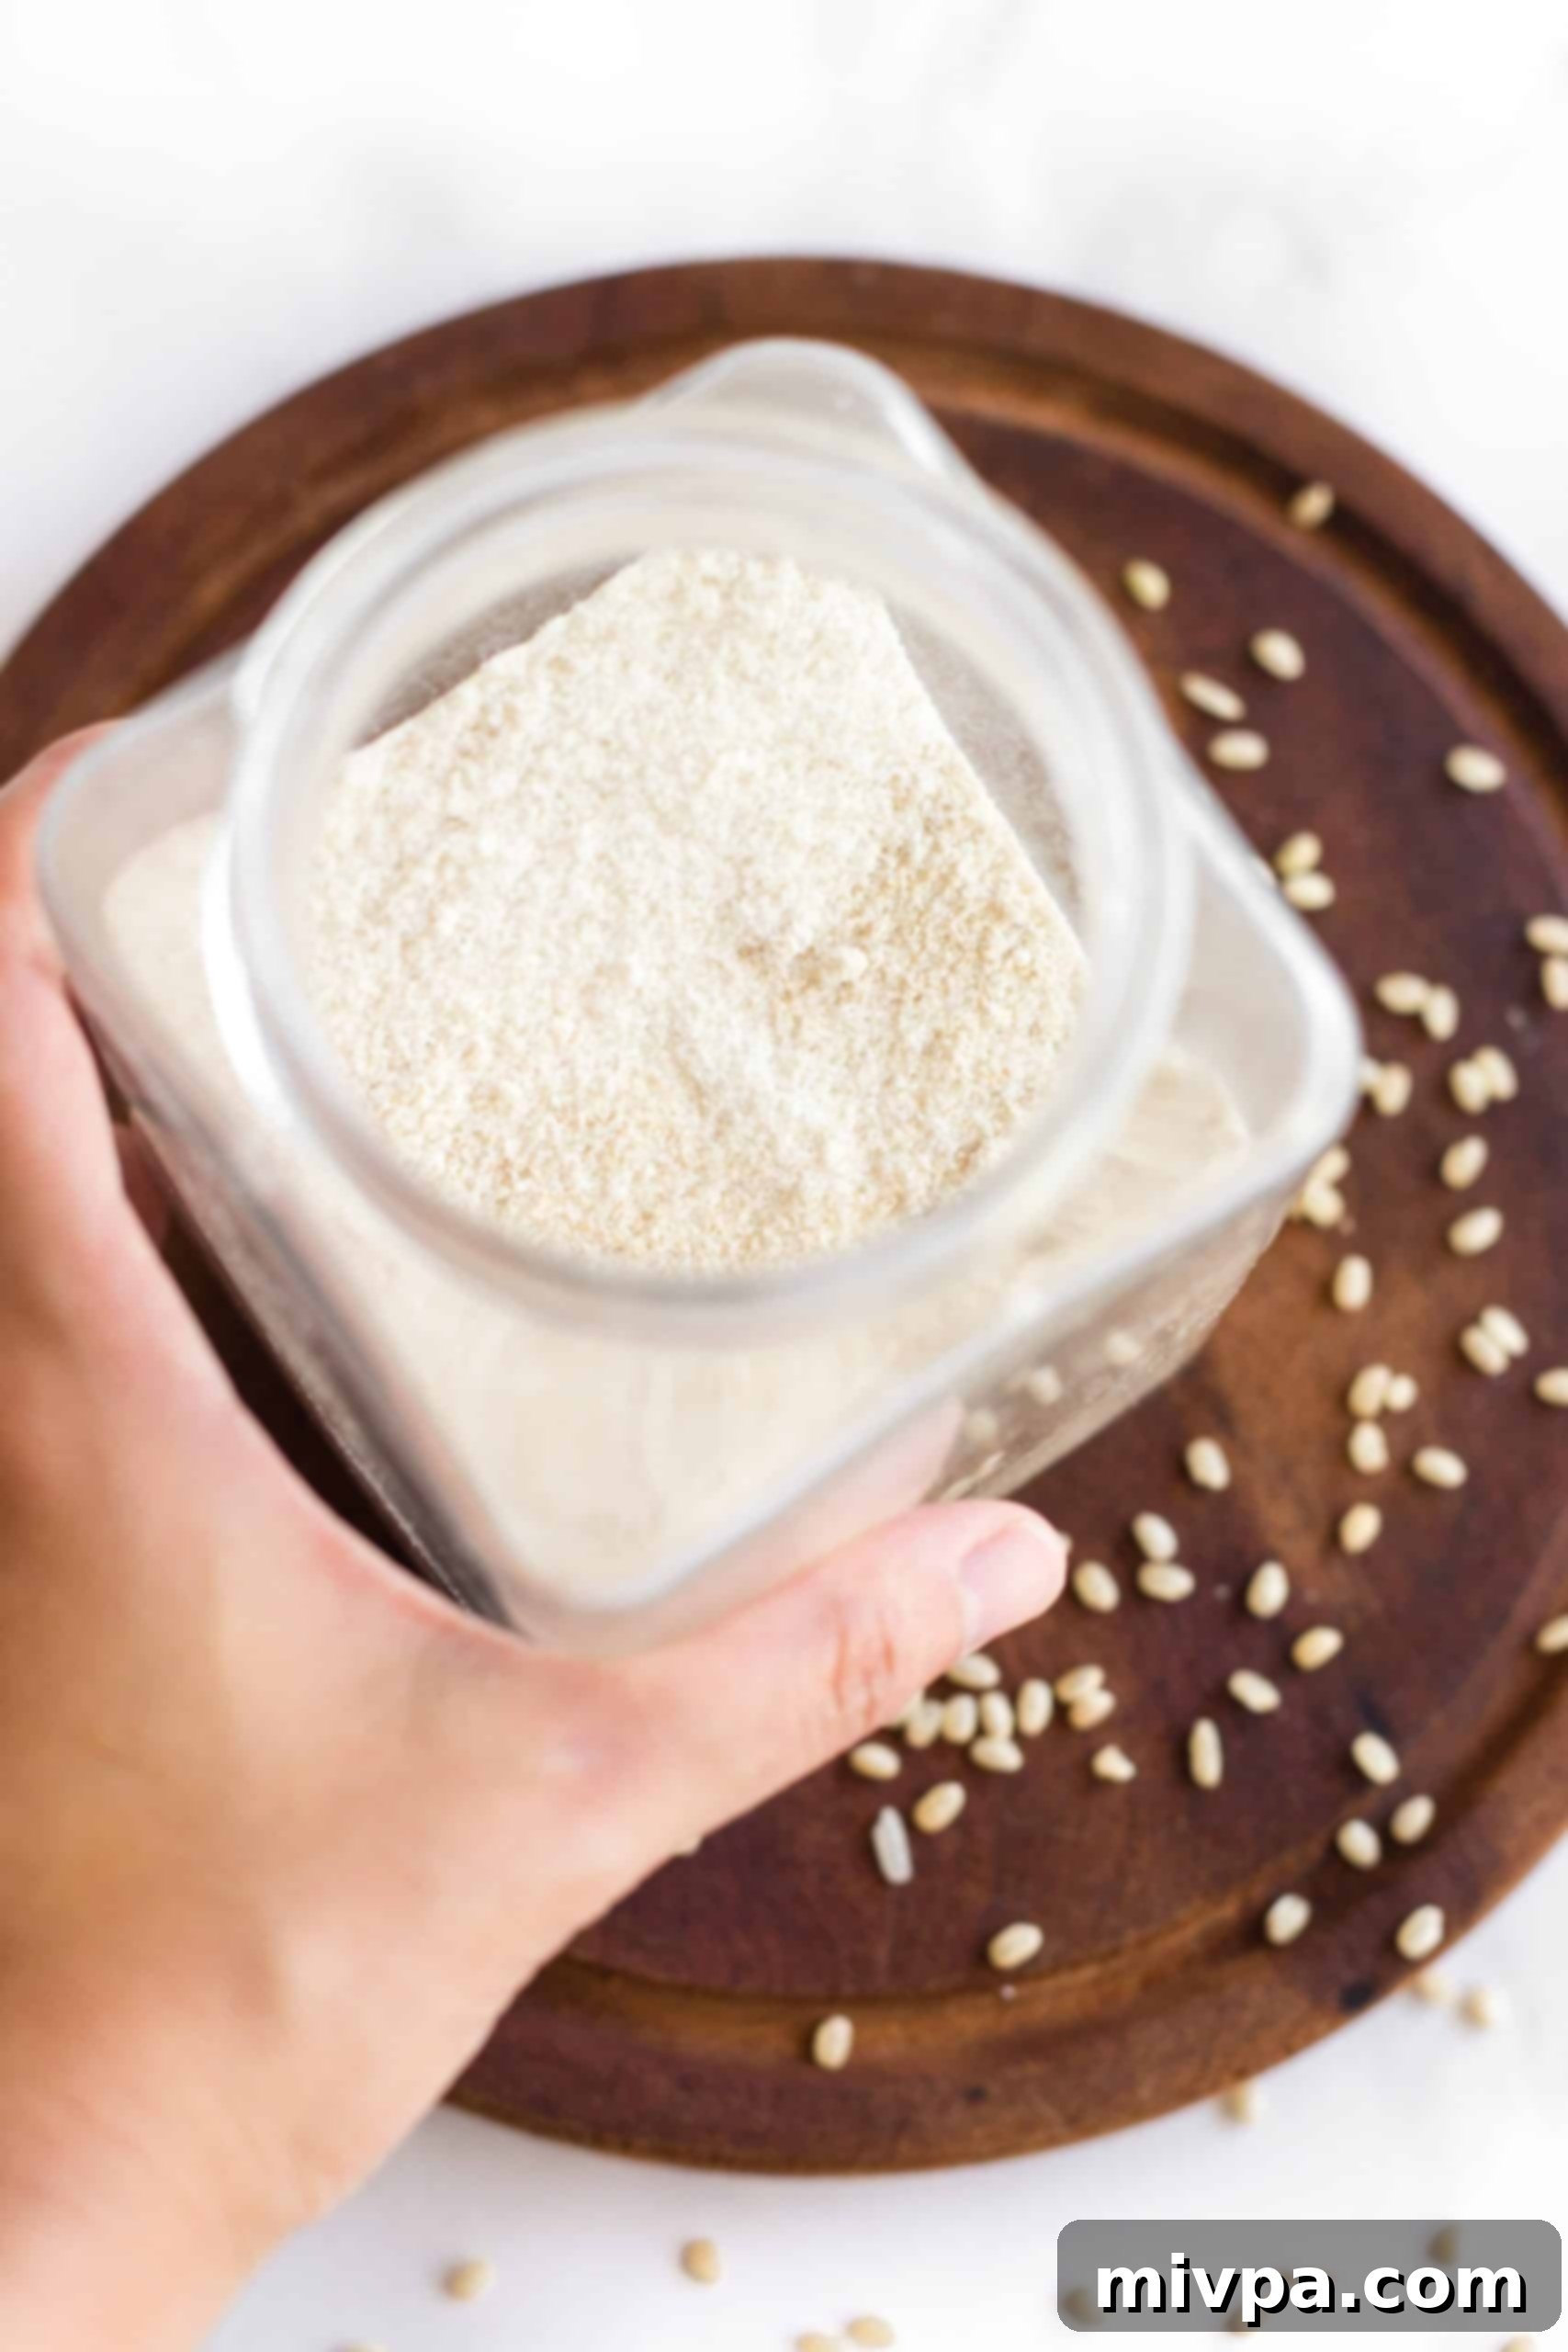
Homemade Brown Rice Flour: Easy, Gluten-Free & Vegan in Just 5 Minutes!
Ever found yourself halfway through a baking recipe only to realize you’re out of brown rice flour? Or perhaps you’re looking for a more economical and fresher alternative to the store-bought versions? This comprehensive guide will show you how surprisingly simple it is to make your own delicious, versatile brown rice flour right at home. All you need is about 5 minutes, a high-speed blender, and a fine-mesh sieve, and you’ll have perfectly ground, wholesome brown rice flour ready for all your culinary adventures. Best of all, it’s naturally gluten-free and vegan, making it an ideal choice for a wide array of dietary preferences.
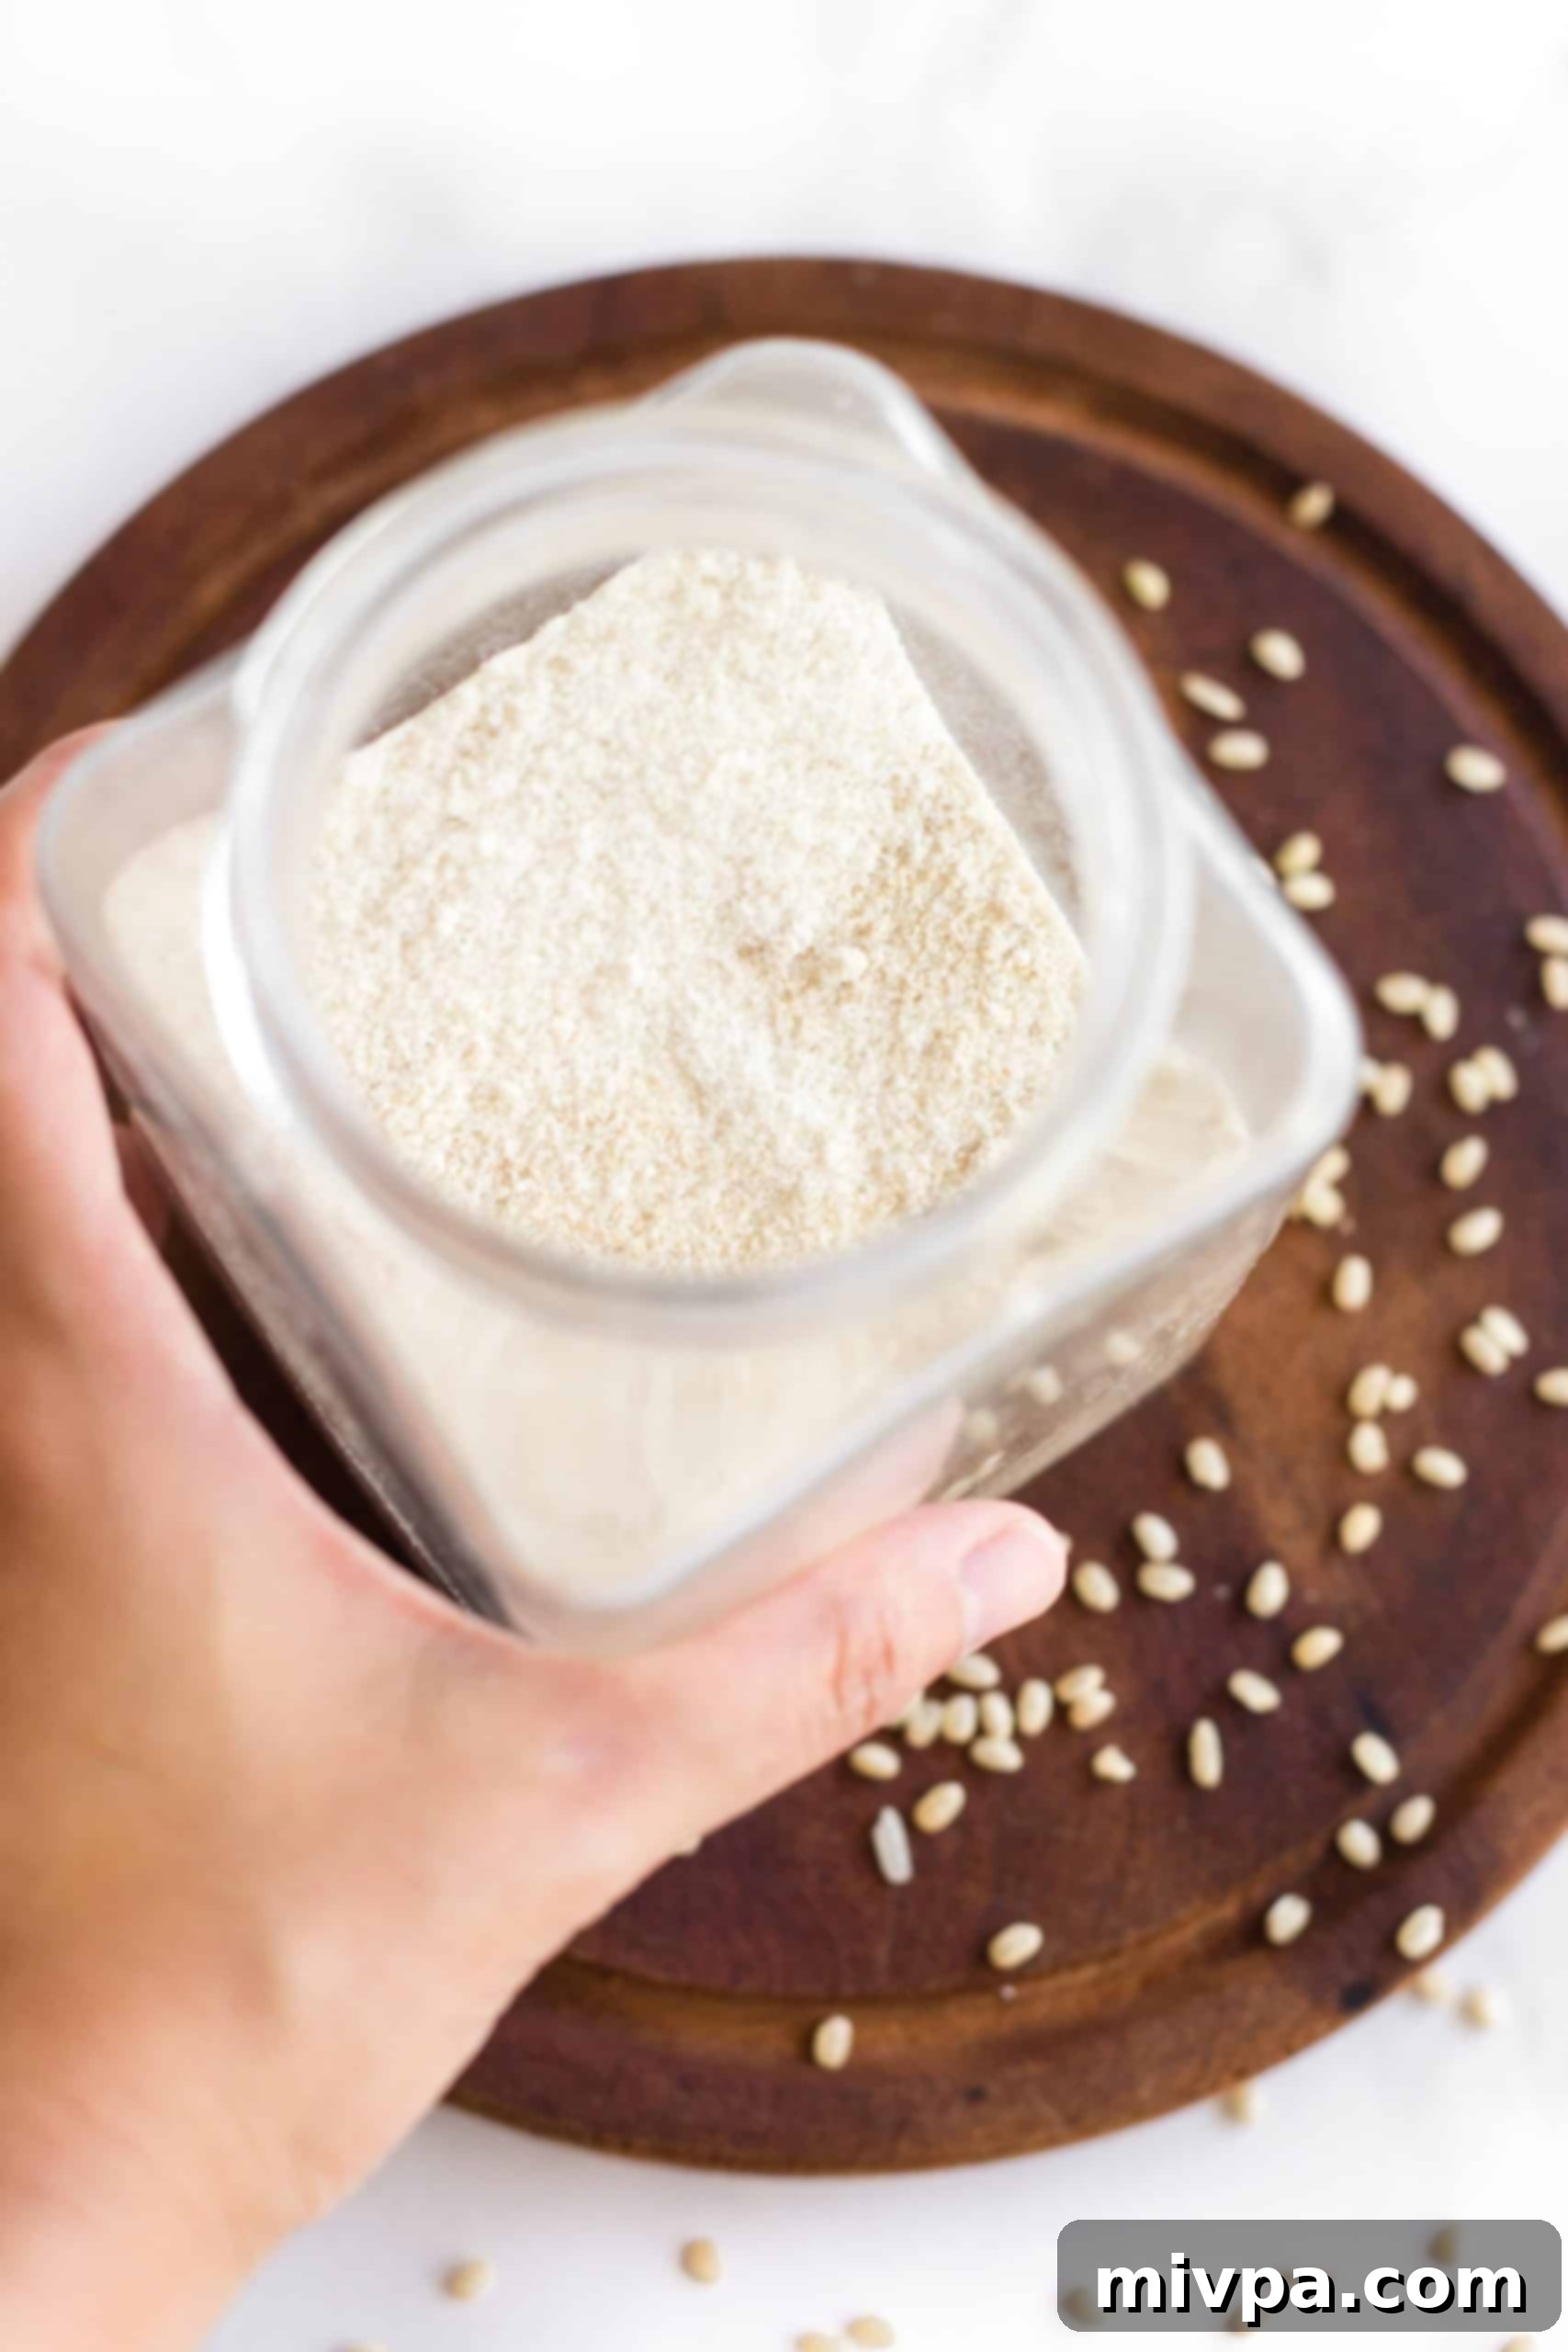
Crafting your own ingredients from scratch offers immense satisfaction and numerous benefits, especially when it comes to essential pantry items like flours. It puts you in control of the quality, freshness, and nutritional content of what you consume. For those navigating specific dietary requirements, such as a gluten-free lifestyle, having a reliable and readily available source of brown rice flour is a game-changer. This whole grain flour not only offers a distinctive nutty flavor but also brings beneficial fiber and nutrients that refined flours often lack.
[feast_advanced_jump_to]
Why Choose Homemade Brown Rice Flour?
The decision to make your own brown rice flour is driven by several compelling advantages:
- Significant Cost Savings: Purchasing whole brown rice in bulk is considerably more affordable than repeatedly buying pre-packaged brown rice flour. Over time, these savings can add up, making homemade flour a smart financial choice for your kitchen.
- Unmatched Freshness and Flavor: Store-bought flours can often sit on shelves for extended periods, leading to a decline in freshness, flavor, and nutritional value. Grinding your own ensures that your flour is at its peak freshness, which translates into better-tasting and more vibrant baked goods. The subtle, nutty flavor of freshly ground brown rice flour truly stands out.
- Complete Quality Control: When you make flour at home, you select the raw ingredient. This allows you to choose high-quality, organic, or locally sourced brown rice, ensuring no unwanted additives, preservatives, or pesticides make their way into your food.
- Convenience and Availability: No more last-minute runs to the grocery store when a recipe calls for brown rice flour! As long as you have whole brown rice in your pantry, you can mill fresh flour on demand, whenever inspiration strikes. This is especially useful since brown rice flour isn’t always as widely available as white rice flour in all stores.
- Superior Nutritional Profile: Brown rice is a whole grain, meaning it retains all three parts of the kernel: the bran, germ, and endosperm. This makes brown rice flour significantly richer in dietary fiber, B vitamins, iron, magnesium, and other essential minerals compared to refined white rice flour. Incorporating it into your diet contributes to better digestive health and sustained energy.
- Naturally Gluten-Free and Vegan: For individuals with gluten sensitivities, celiac disease, or those following a vegan diet, brown rice flour is a naturally compliant and versatile ingredient. Making it yourself guarantees there’s no cross-contamination from other flours, which can sometimes be a concern with commercially processed products.
Understanding Brown Rice Flour and Its Versatile Culinary Uses
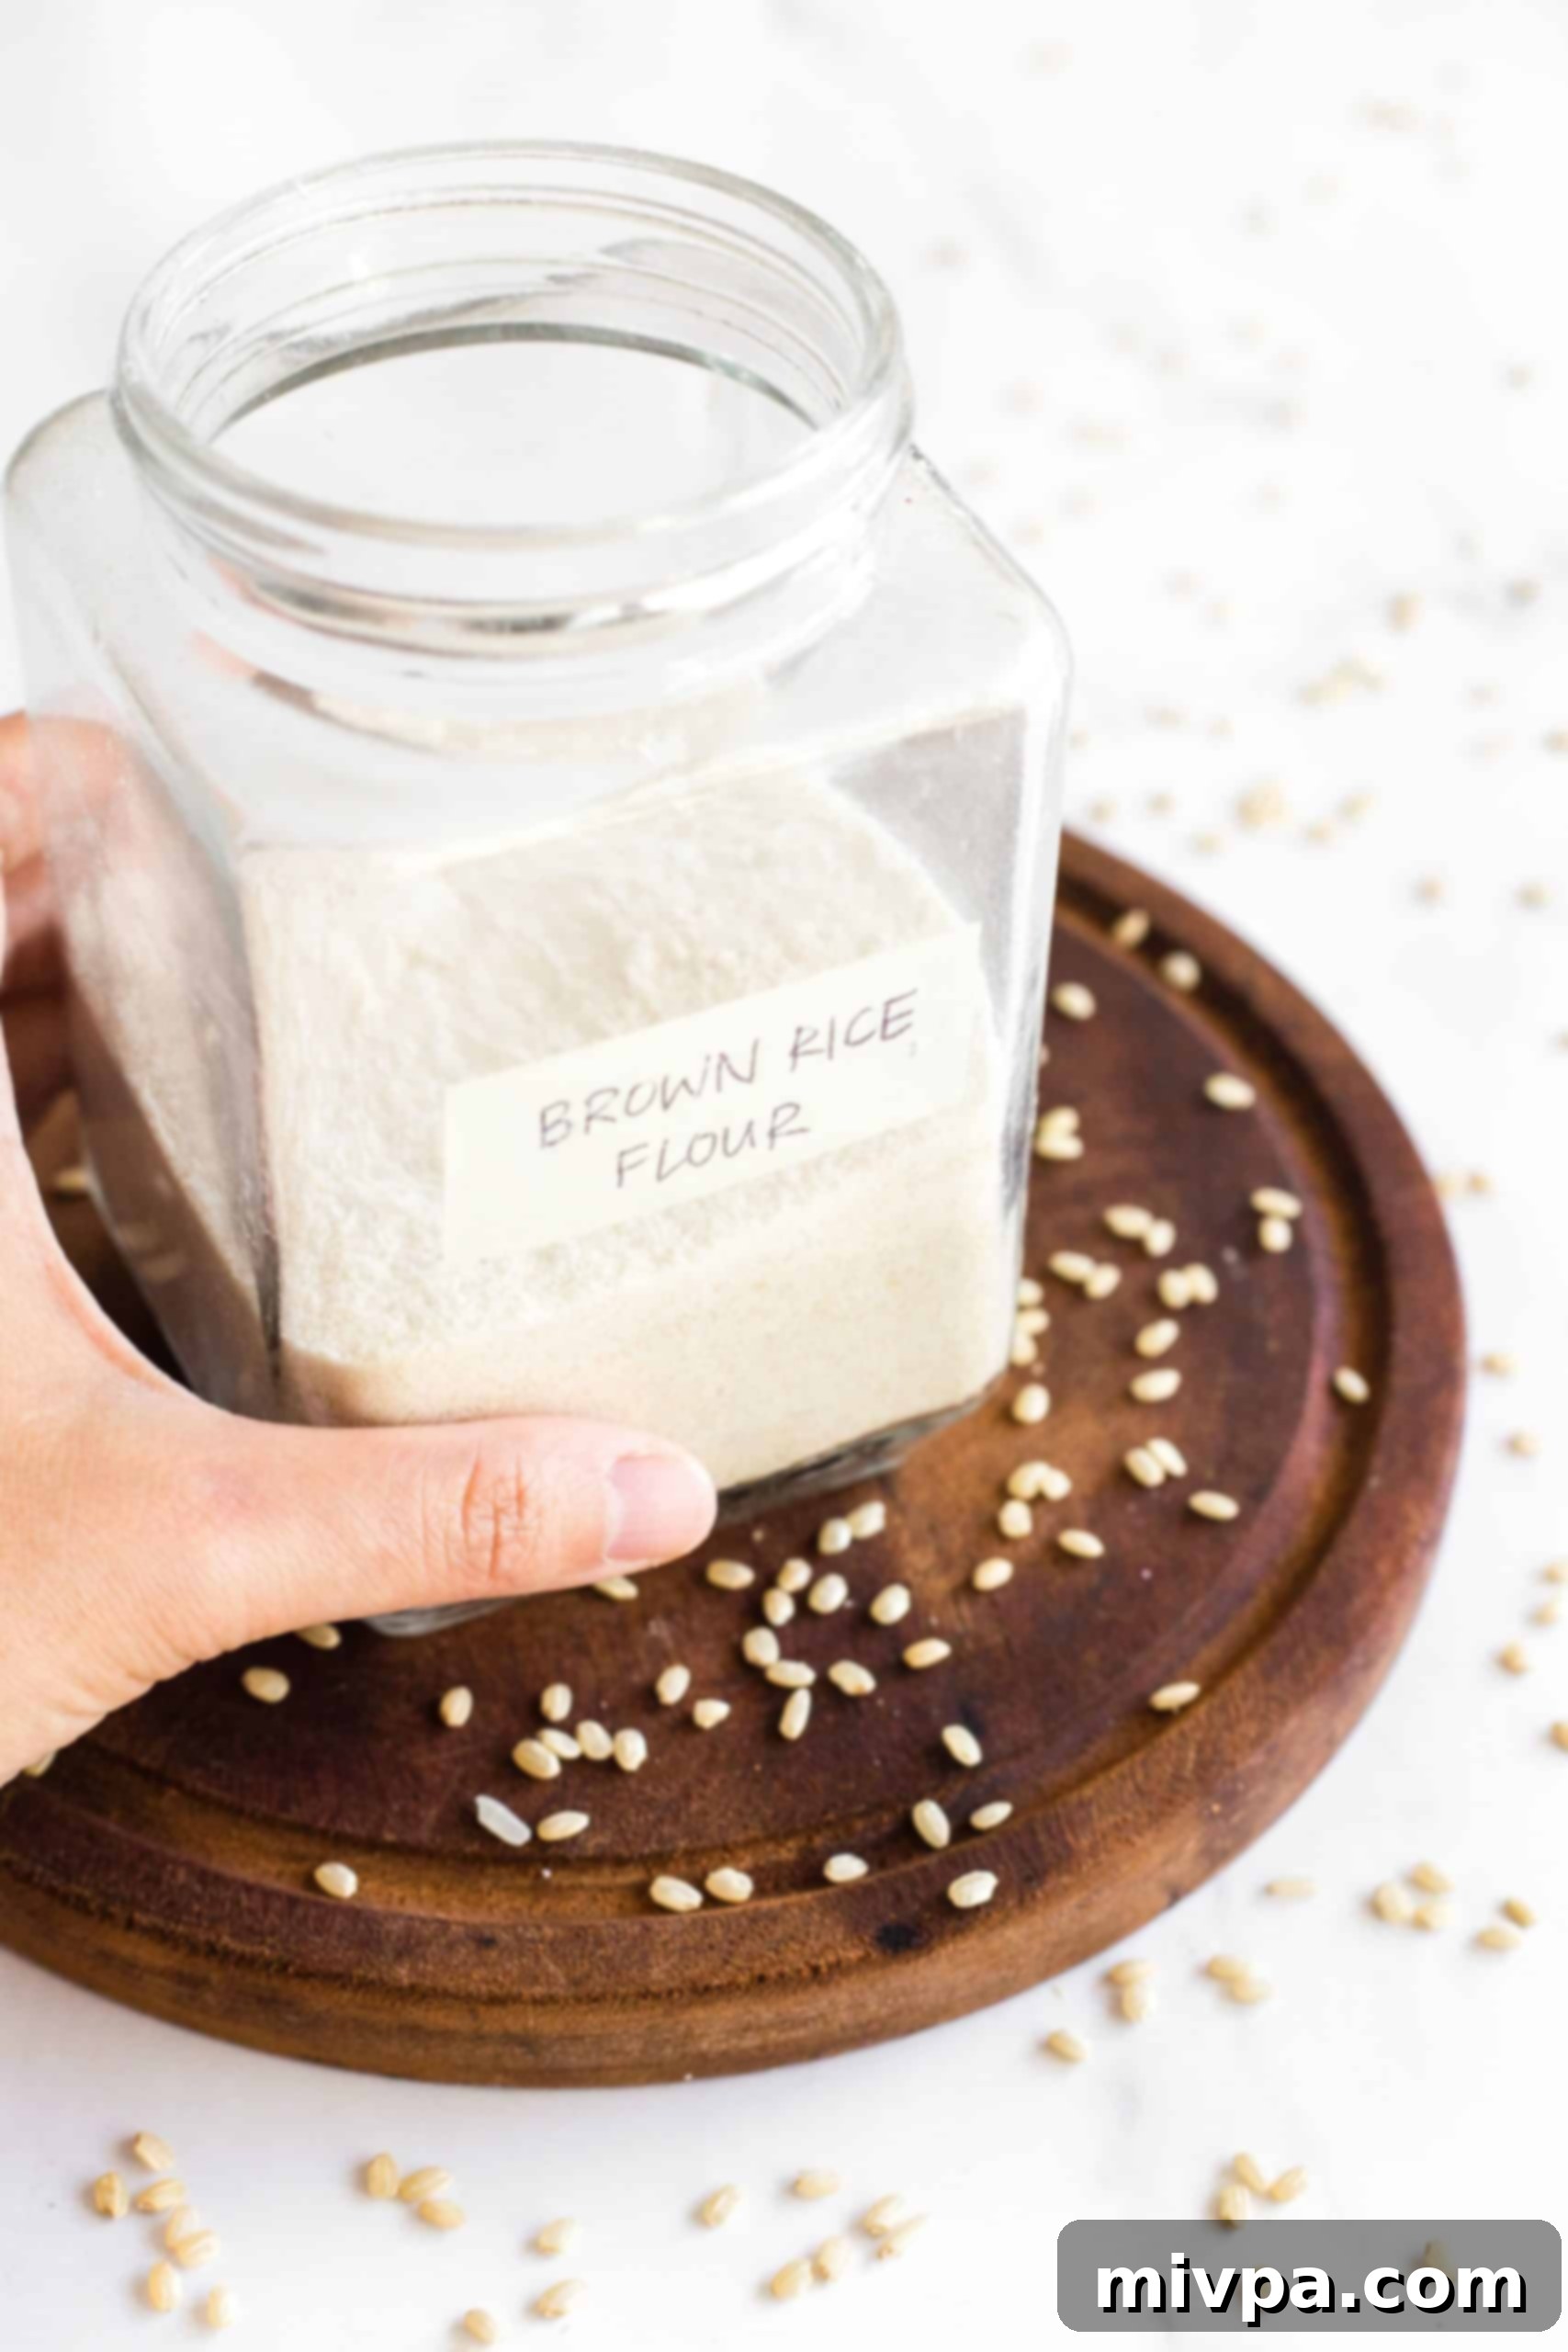
Brown rice flour is quite simply whole grain brown rice that has been finely ground into a powder. Unlike white rice flour, which is derived from polished white rice (where the nutritious bran and germ layers have been removed), brown rice flour retains all the integrity of the original grain. This preservation gives it a slightly more fibrous texture, a characteristic light tan or off-white color, and a wonderfully mild, earthy, and nutty flavor that can enrich a variety of dishes.
Its attributes make it a highly valued ingredient in numerous culinary applications, especially within gluten-free cooking and baking:
- Foundation for Gluten-Free Baking: Brown rice flour is a cornerstone in many gluten-free flour blends. It provides essential structure and a pleasant, often slightly chewy or tender, texture to baked goods such as breads, muffins, cookies, cakes, and pancakes. Its natural fiber content can help prevent the crumbly texture often associated with gluten-free recipes.
- Effective Thickening Agent: Thanks to its starch composition, brown rice flour is an excellent choice for thickening sauces, gravies, soups, and stews. It produces a smooth, velvety consistency without imparting an overpowering flavor, making it a neutral base for many savory dishes.
- Crispy Breading and Coating: For frying or baking, brown rice flour serves as a superb gluten-free alternative for dredging meats, fish, or vegetables. It helps create a beautifully crispy, golden-brown crust that enhances texture and visual appeal.
- Noodle and Pasta Production: Across many Asian cuisines, both brown and white rice flours are integral to crafting various types of noodles, pasta, and delicate wrappers. Its unique properties contribute to the desired elasticity and bite.
- Light Frying Batters: When combined with other ingredients, brown rice flour can form light, airy, and wonderfully crispy batters, perfect for dishes like tempura or other fried delicacies.
Essential Ingredients and Equipment
The beauty of making your own flour at home lies in its minimal requirements:
The Core Ingredient: Uncooked Brown Rice
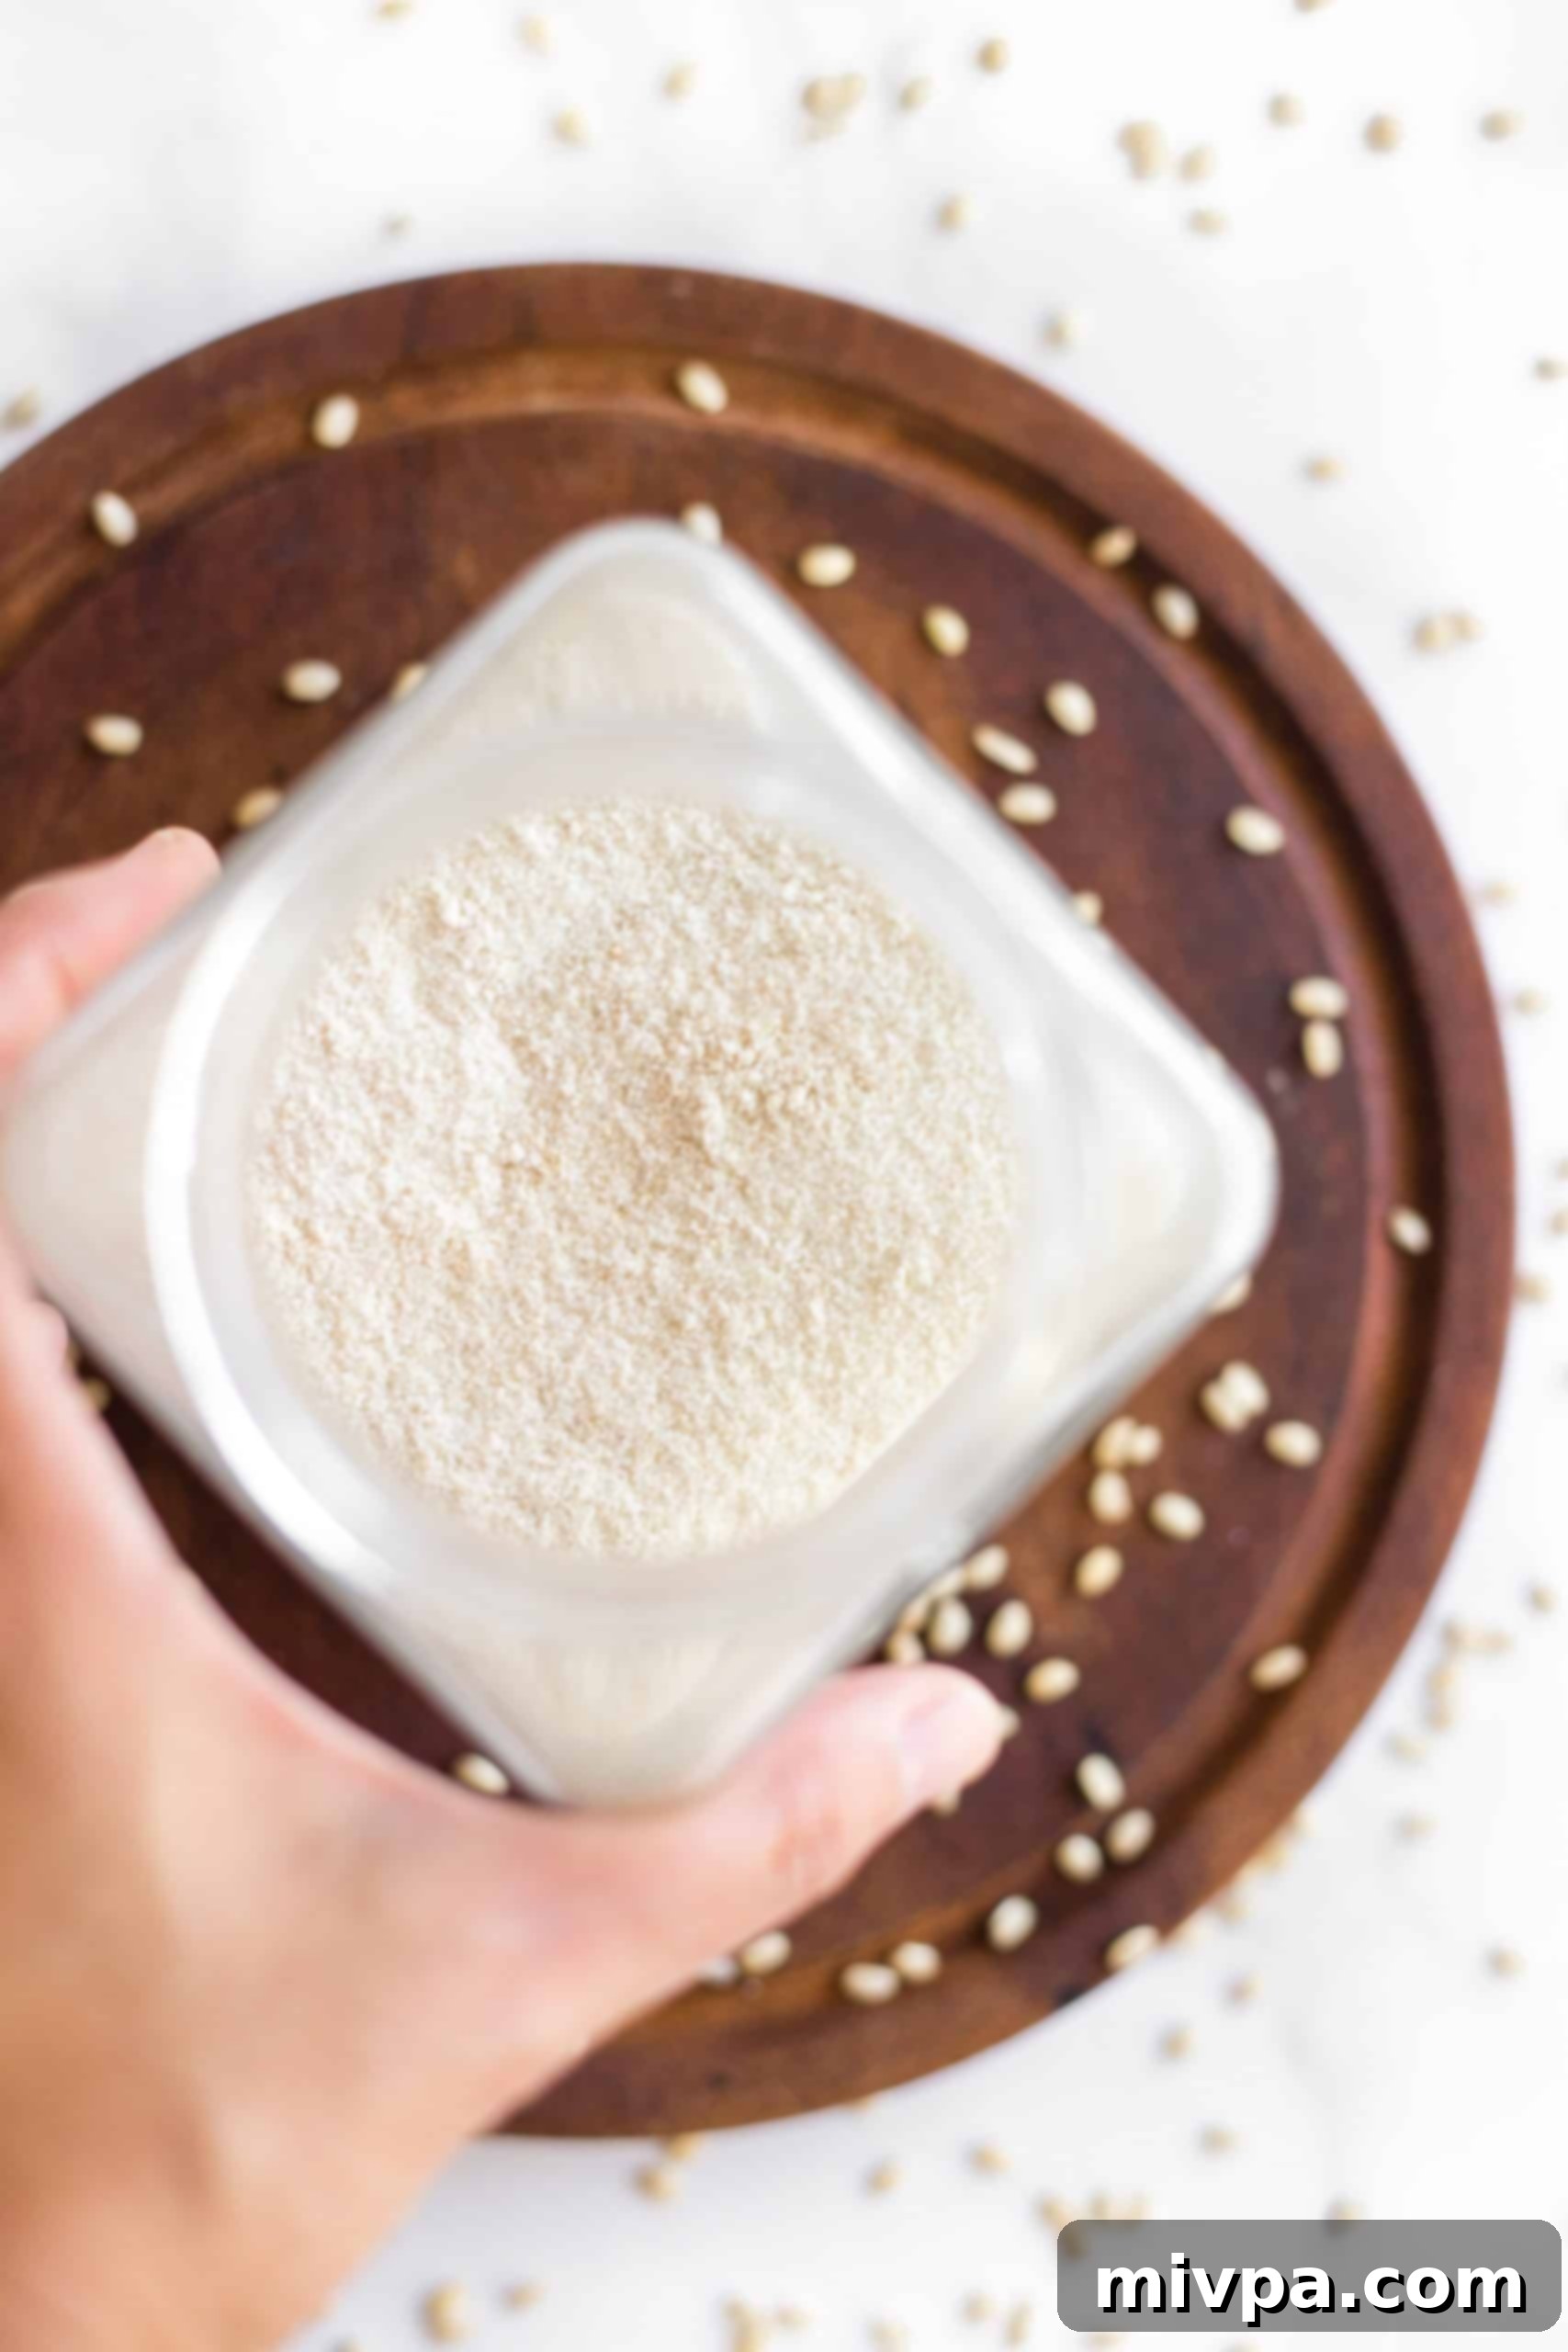
You literally only need one ingredient: uncooked whole grain brown rice. For the best results, opt for high-quality, dry brown rice. Long-grain brown rice is a popular choice for milling due to its texture and flavor profile. Always ensure your rice is completely dry and free of any moisture or debris. If you wish to make white rice flour instead, simply substitute the brown rice with uncooked white rice, following the exact same milling procedure.
Key Kitchen Tools for Success:
- High-Speed Blender: This is arguably the most critical piece of equipment. A powerful, high-speed blender (such as a Vitamix, Blendtec, or similar professional-grade appliance) is essential for achieving a very fine, smooth flour texture. While standard blenders can work, they may require more processing time, produce a coarser flour, and risk overheating.
- Fine-Mesh Sieve: Indispensable for sifting out any larger, unprocessed rice fragments, ensuring your final flour product is consistently smooth and free of gritty bits. This step is crucial for achieving a professional-grade texture that performs well in baking.
- Airtight Storage Container: Essential for storing your freshly milled brown rice flour to maintain its freshness and extend its shelf life. Glass jars with tight-fitting lids or food-grade plastic containers are excellent choices.
- Measuring Cups and Spoons: For accurately portioning your rice before milling.
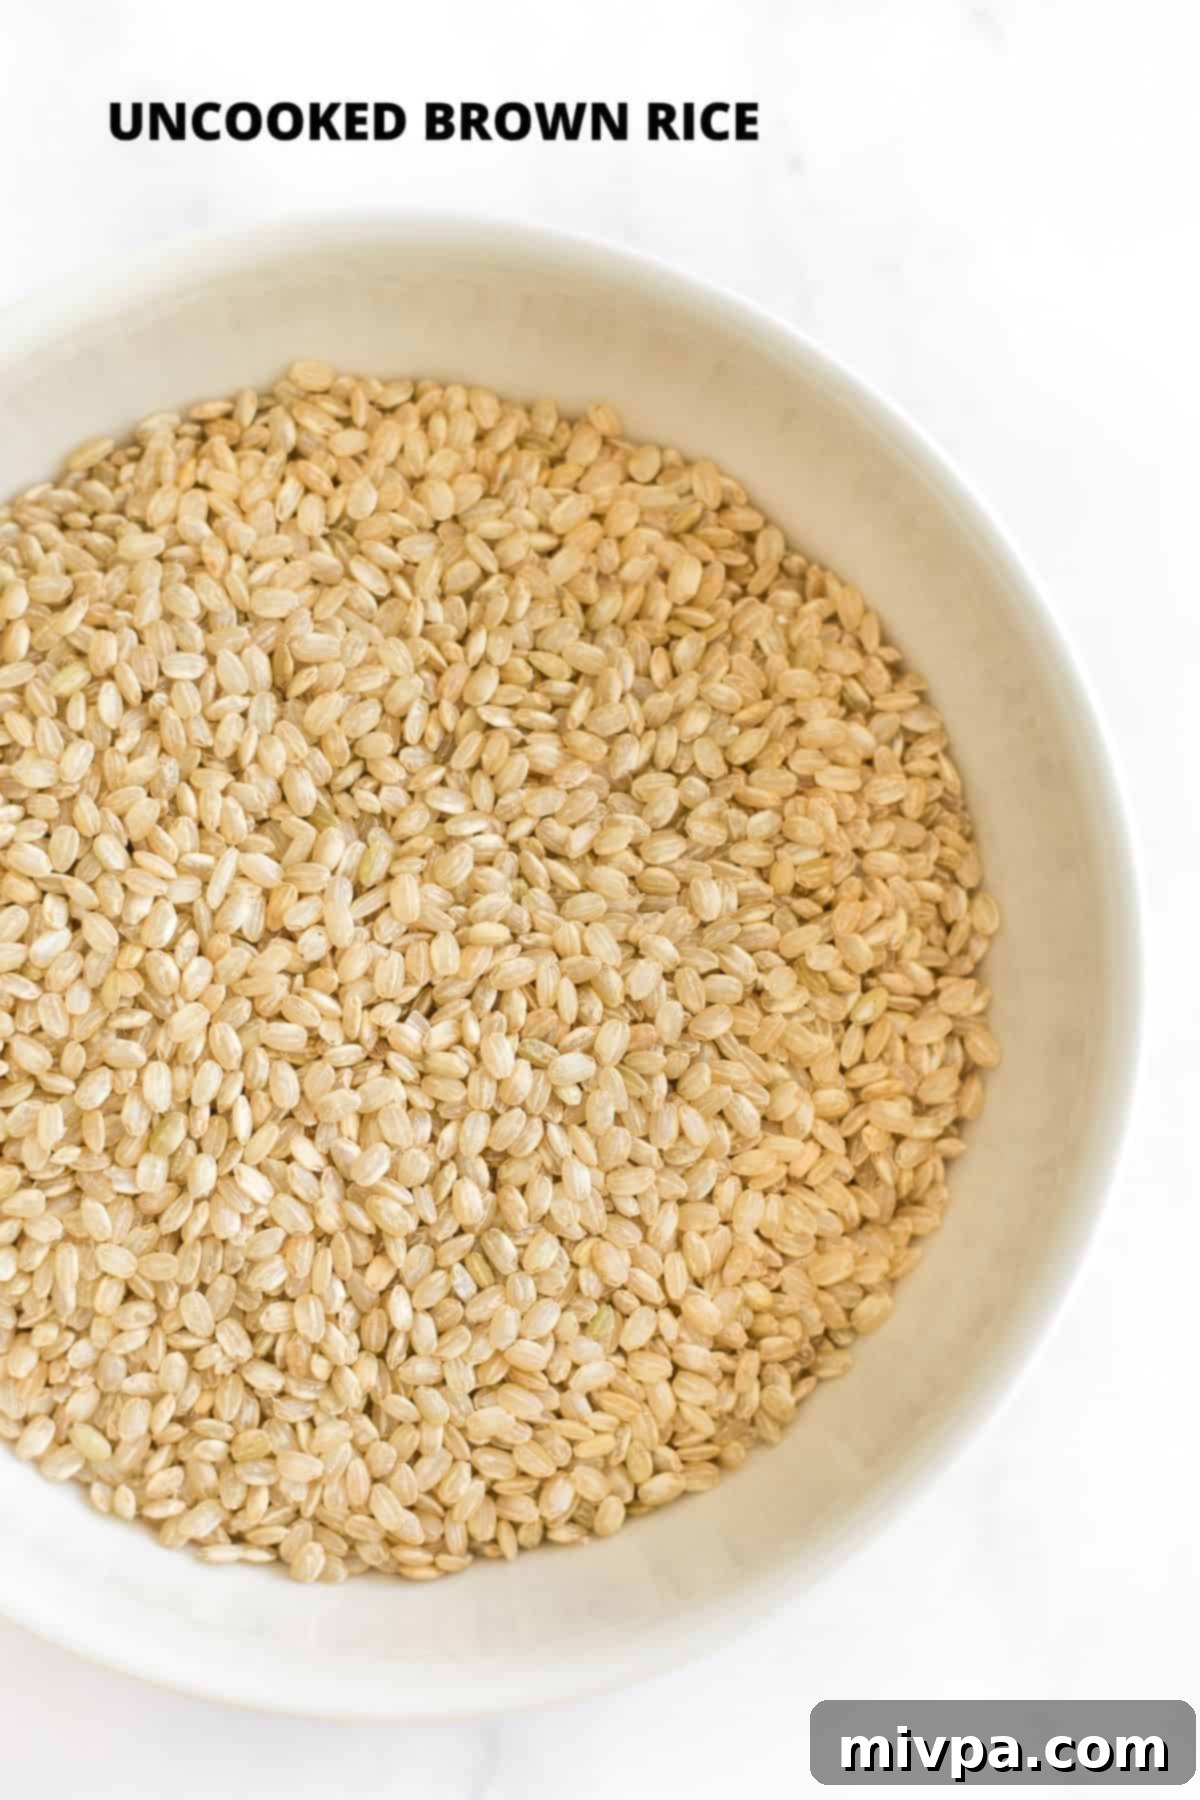
How to Make Brown Rice Flour: A Detailed Step-by-Step Guide
Follow these straightforward steps to effortlessly transform whole brown rice into a wonderfully fine and fresh flour:
1. Ensure Rice is Clean and Thoroughly Dry
Before you begin the milling process, it is paramount that your uncooked brown rice is completely dry. If you have washed your rice (which is optional but recommended for cleanliness), spread it out in a single layer on a clean kitchen towel or a baking sheet. Allow it to air dry for several hours, or ideally, overnight, ensuring there is absolutely no trace of moisture. Any residual moisture will cause the rice to clump in the blender, resulting in a sticky texture rather than a fine, powdery flour.
2. First Round Processing: Coarse Grind
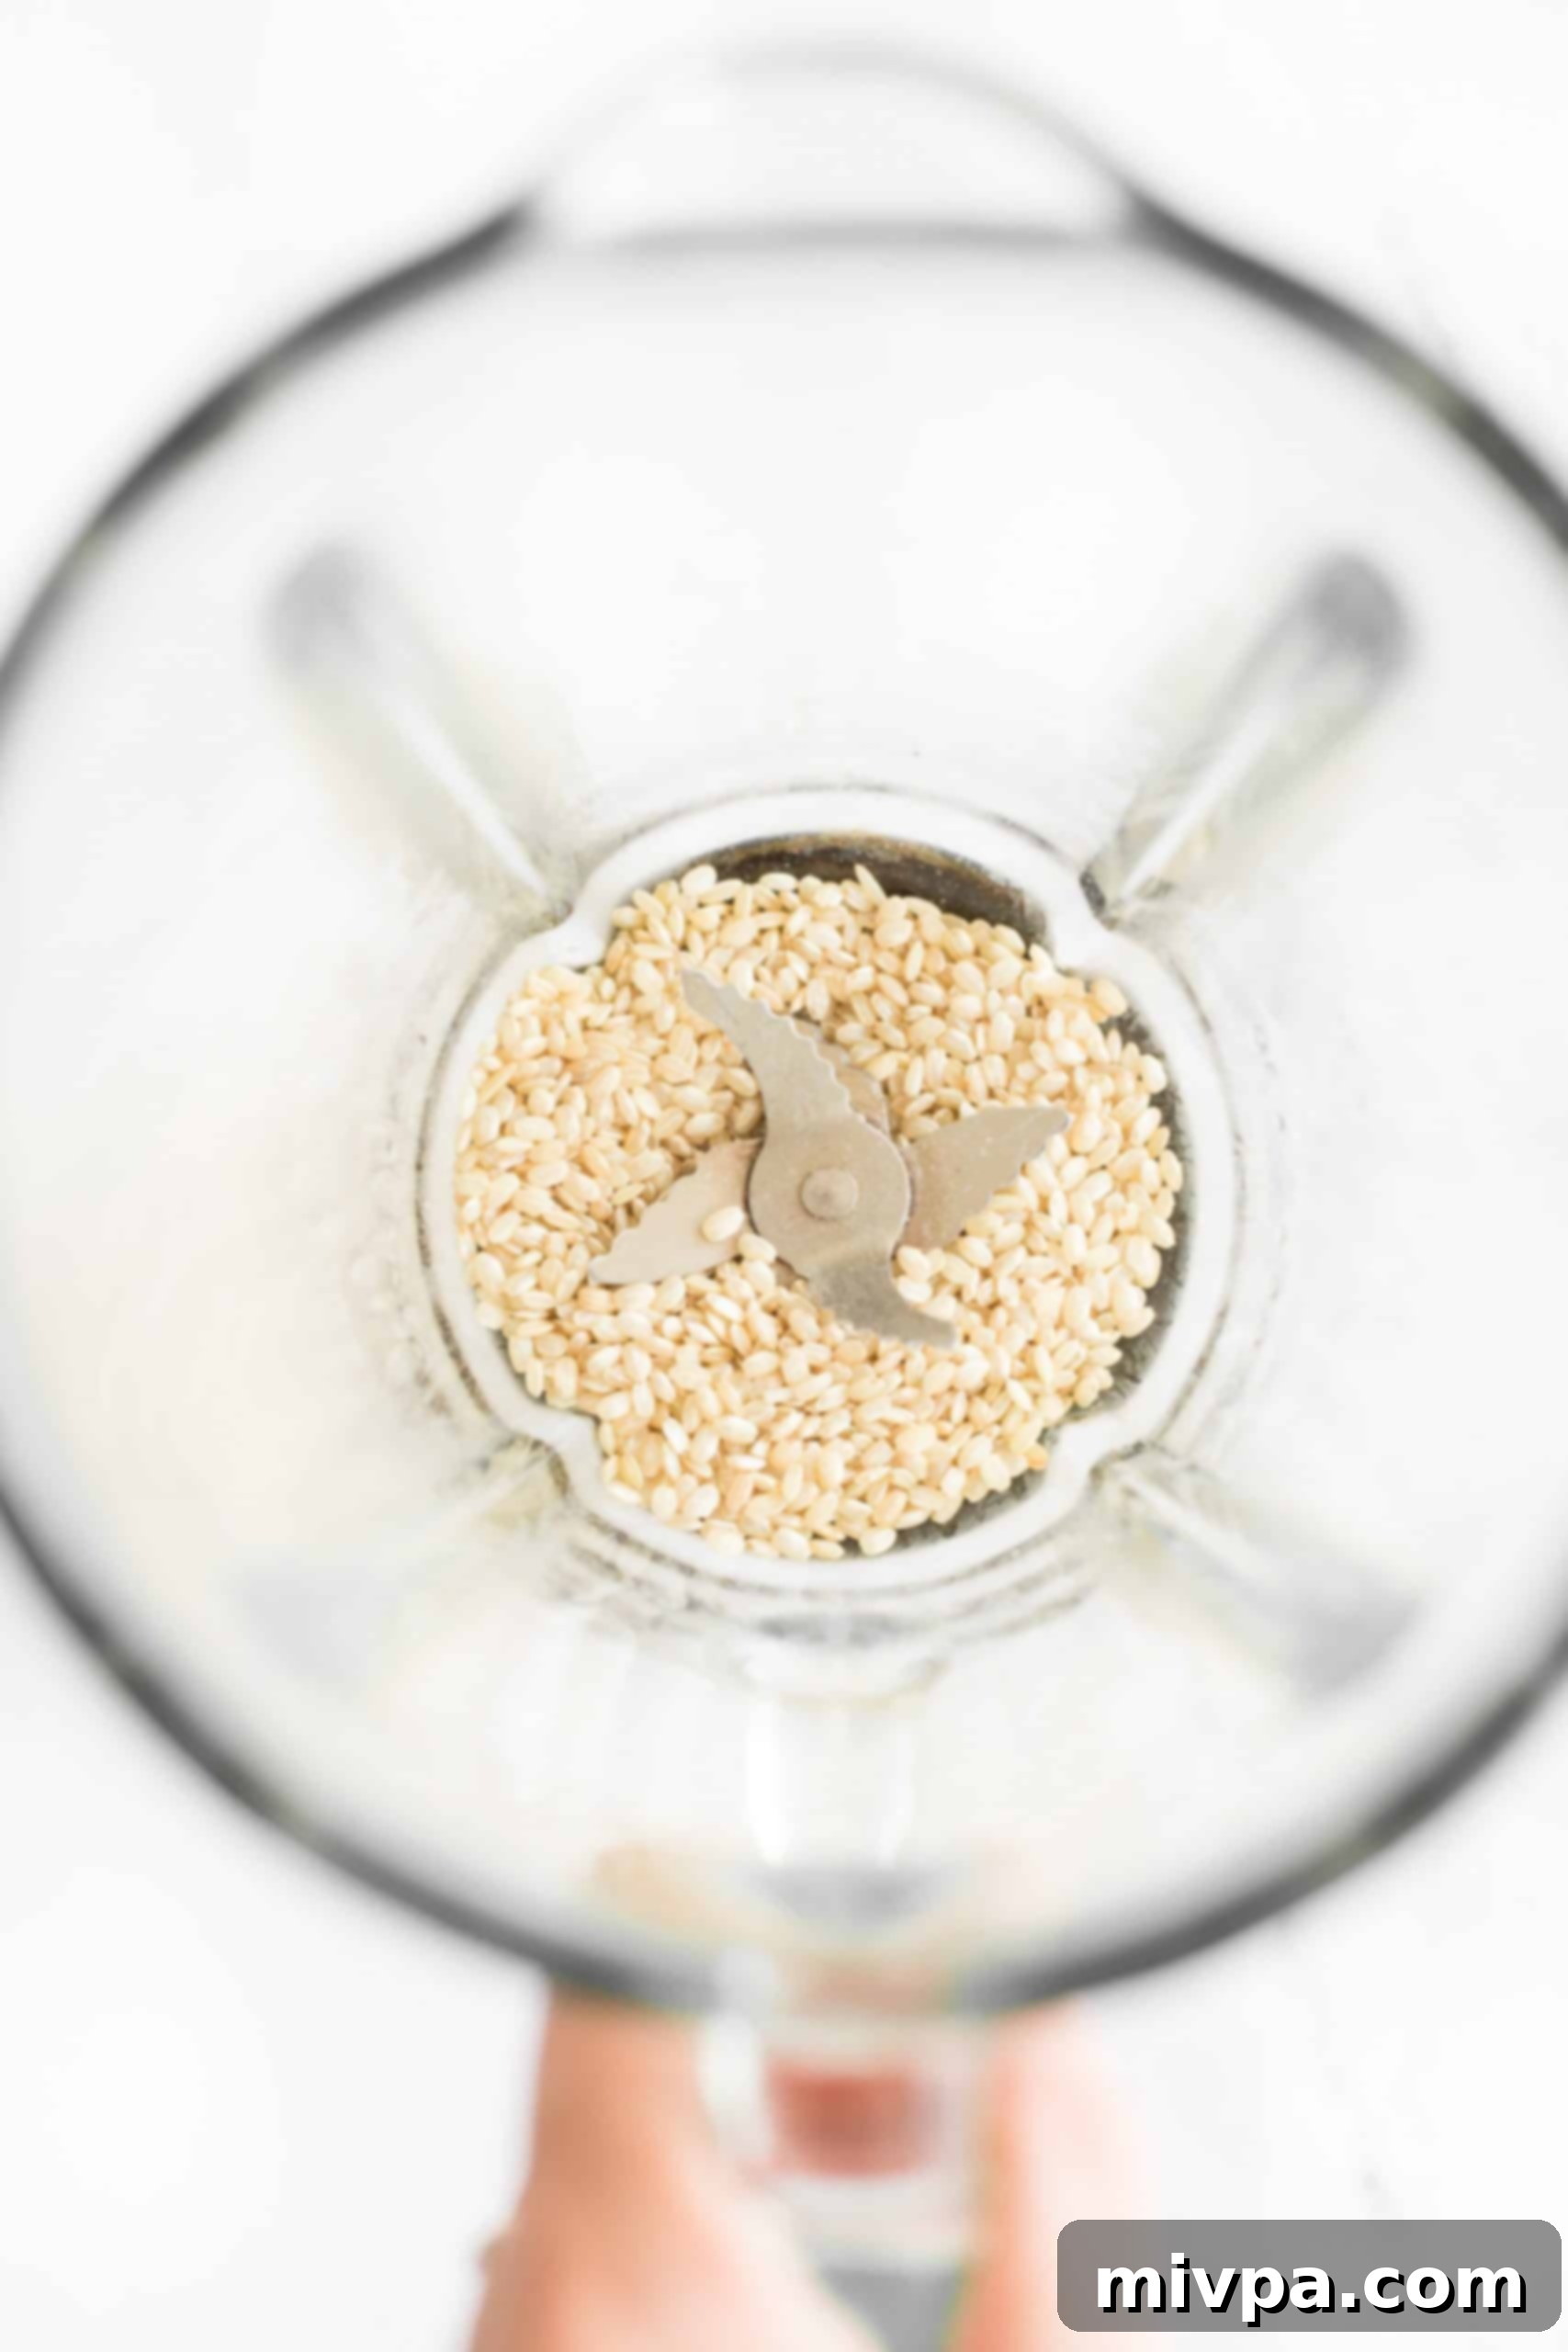
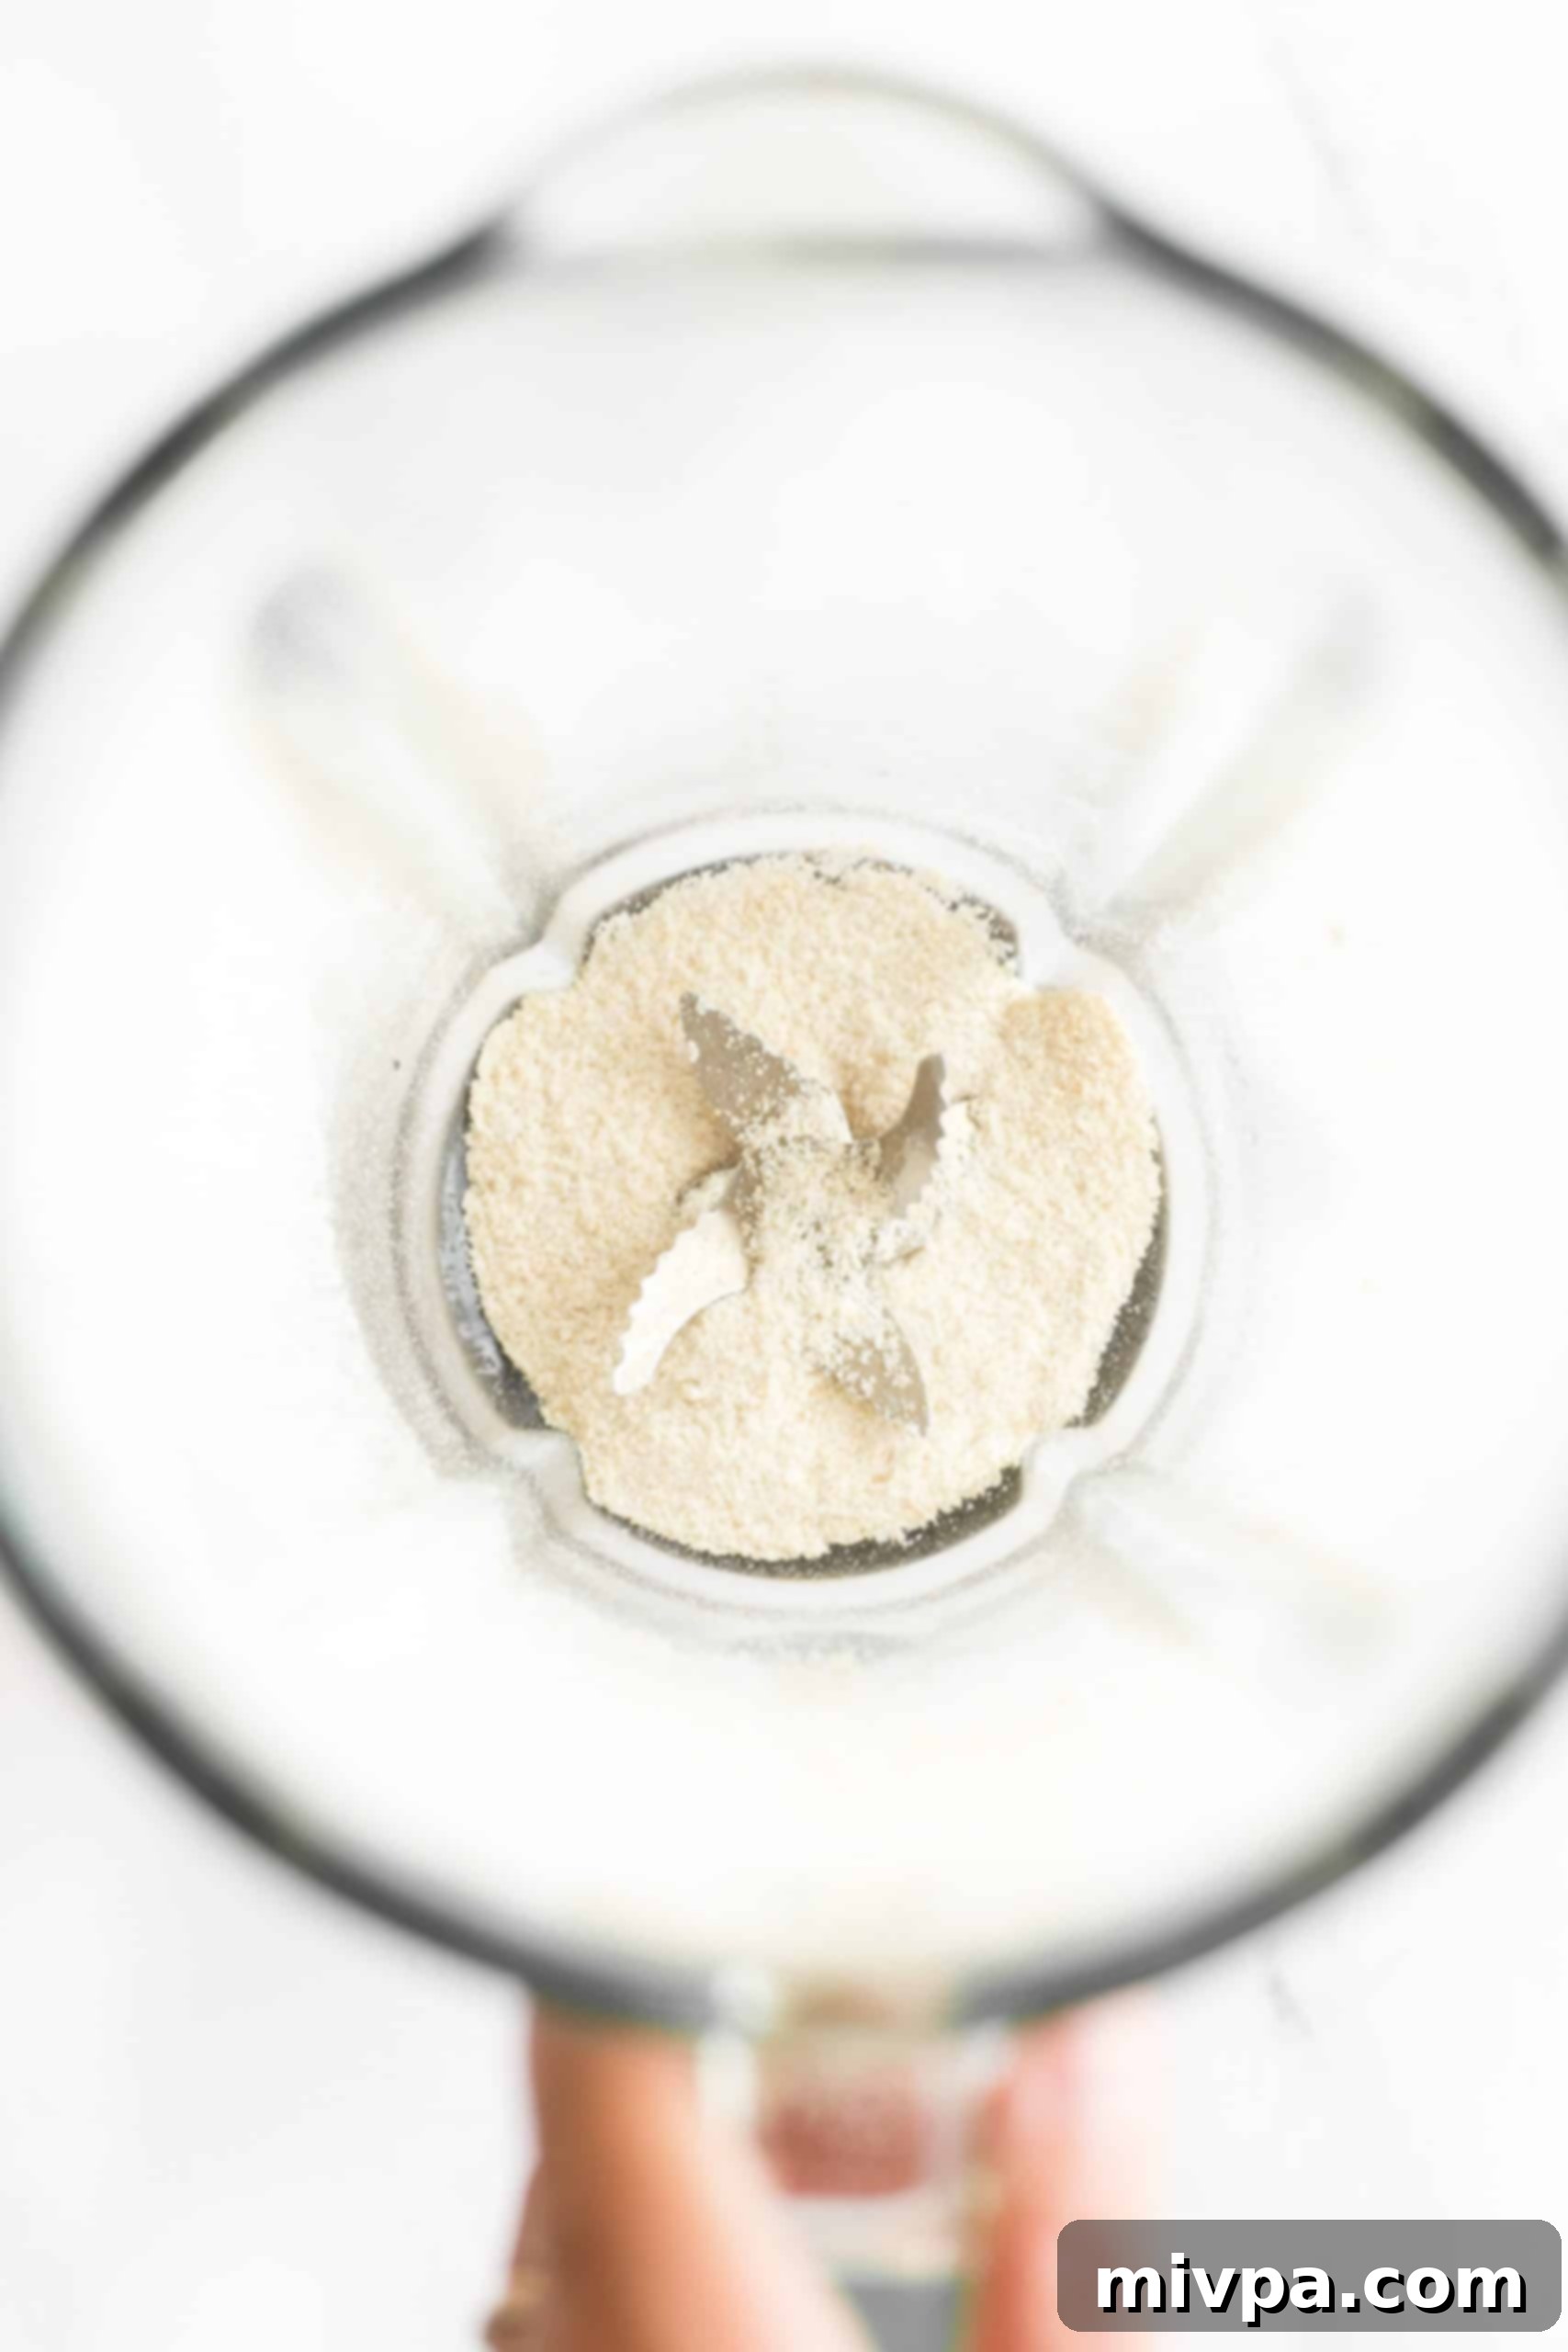
Place 1 to 2 cups of uncooked brown rice into your high-speed blender. Avoid overfilling the blender, as this can hinder the efficient grinding process and lead to an inconsistent texture. Begin processing the rice grains on a high speed for approximately 30 seconds to 1 minute. You will notice the grains breaking down into a coarse, granular flour. At this stage, it won’t be perfectly smooth, but don’t worry—the subsequent steps will refine it further.
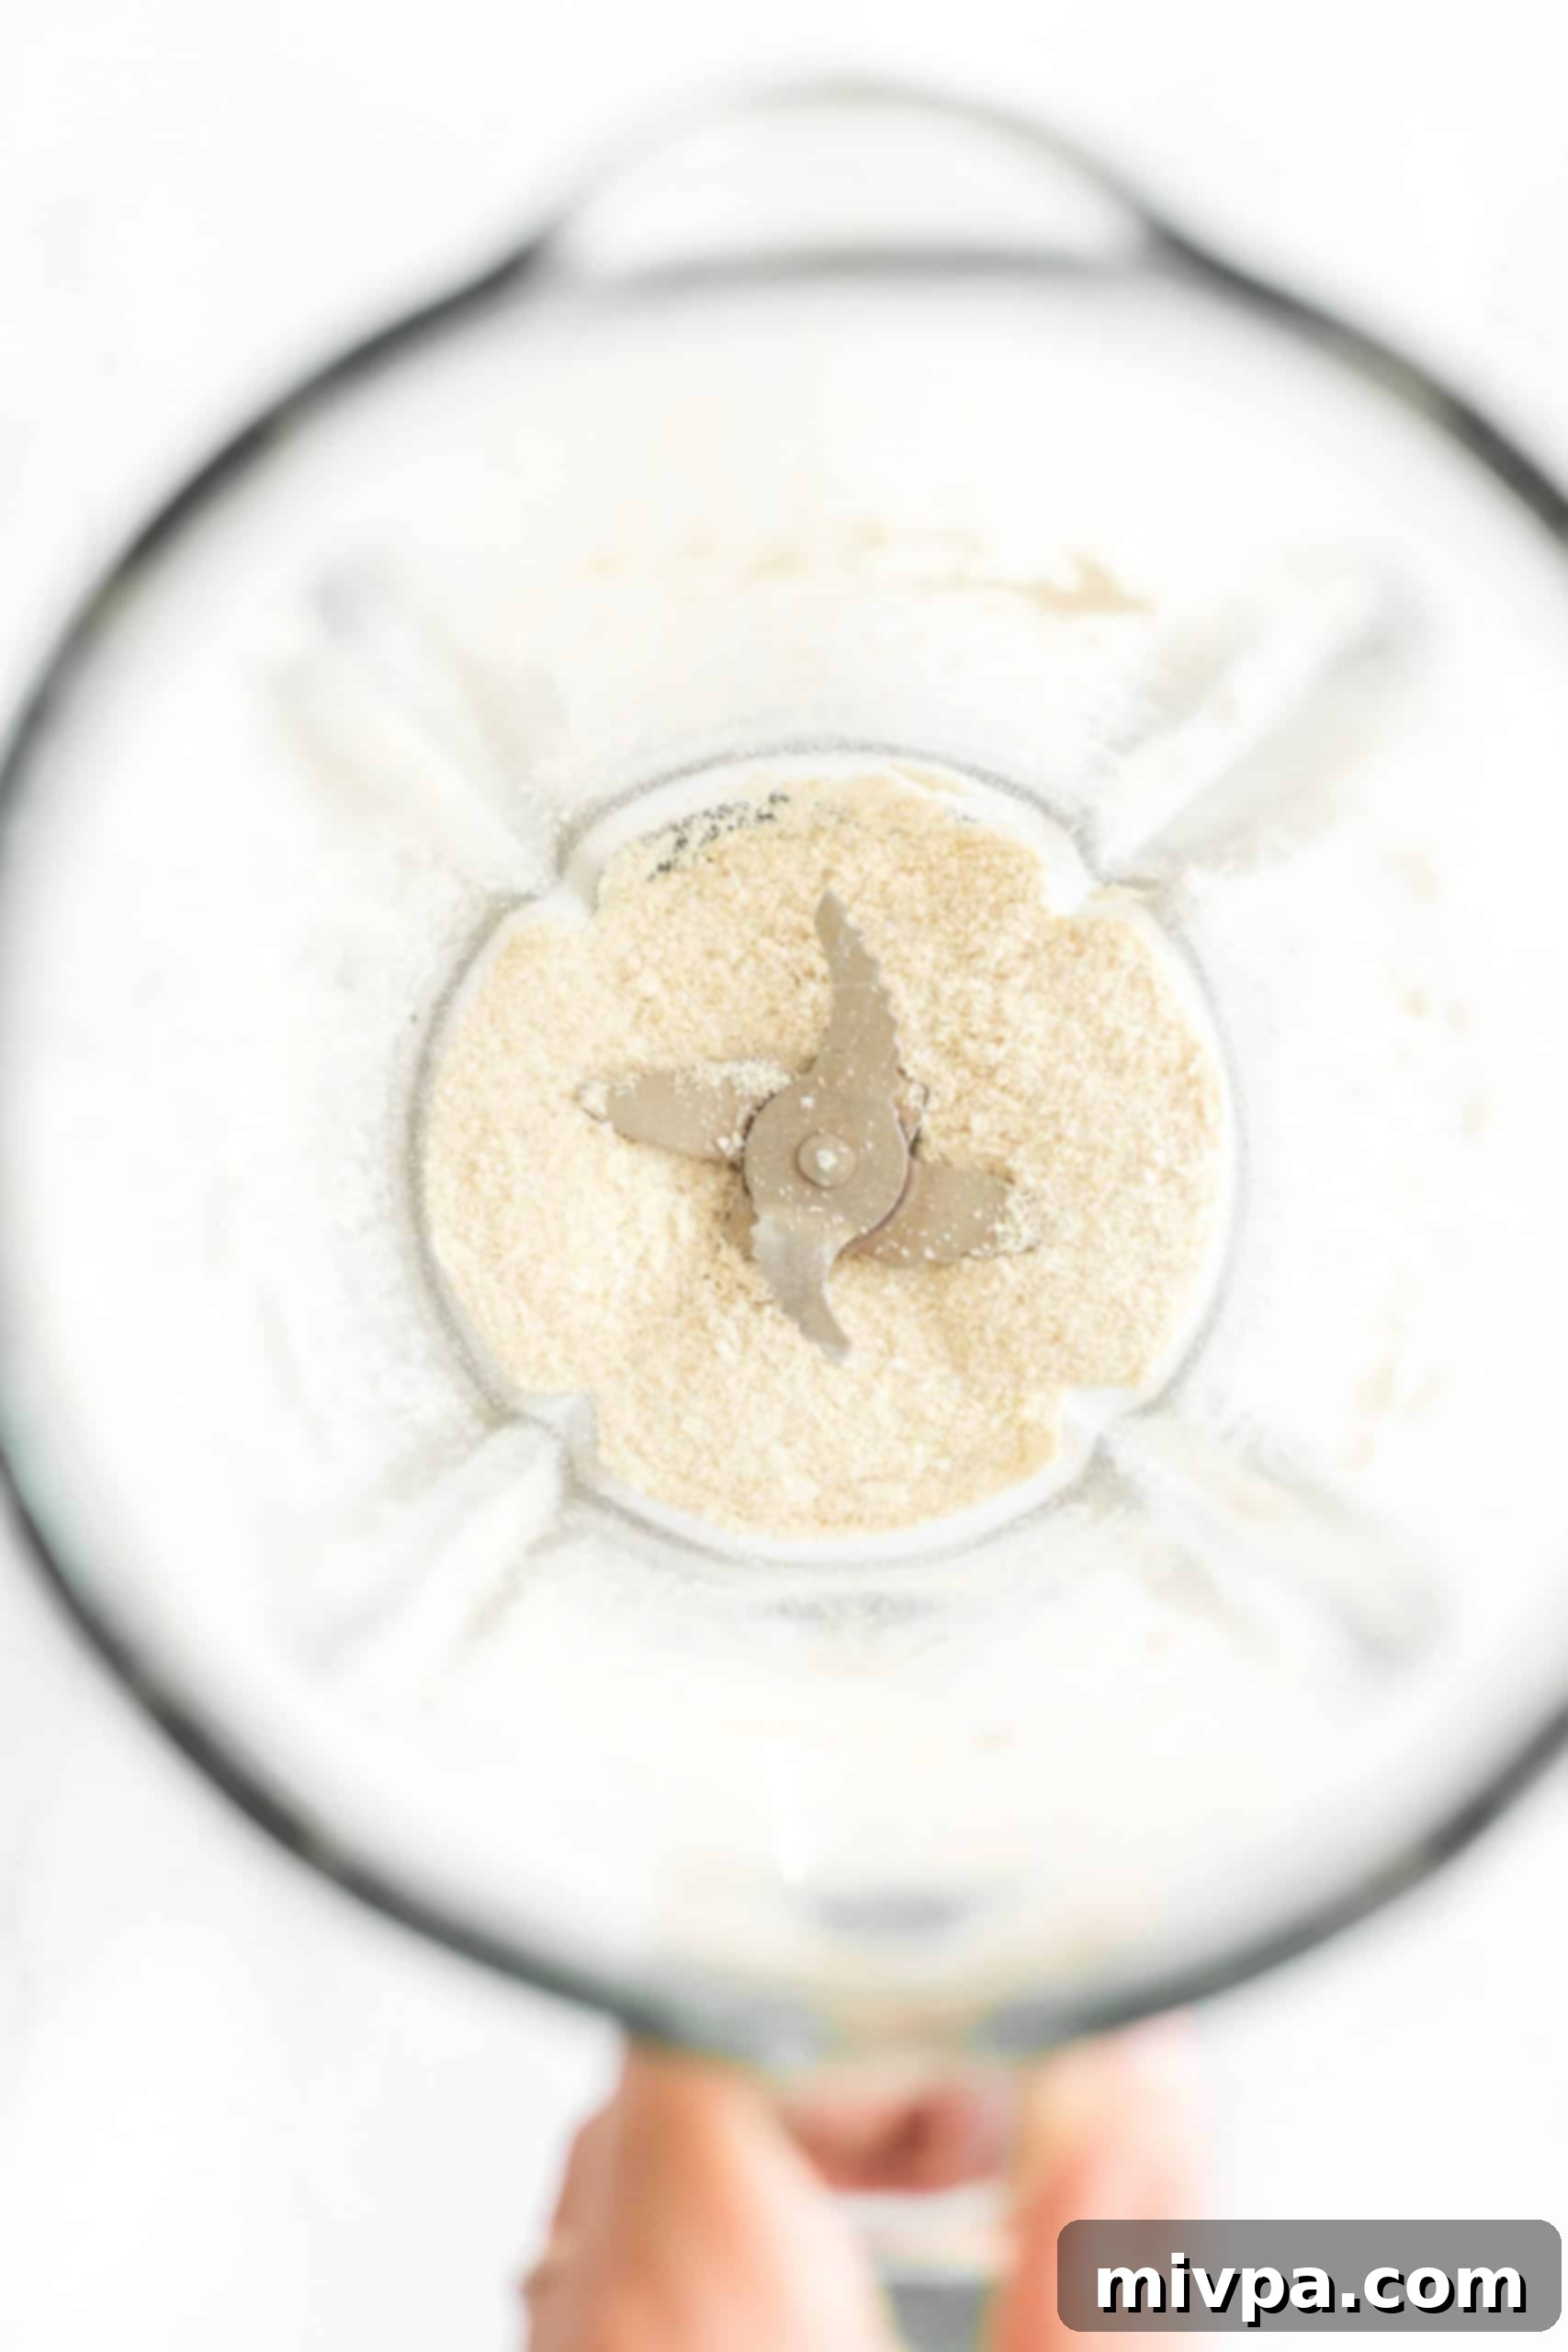
3. Sift the Flour for Consistency
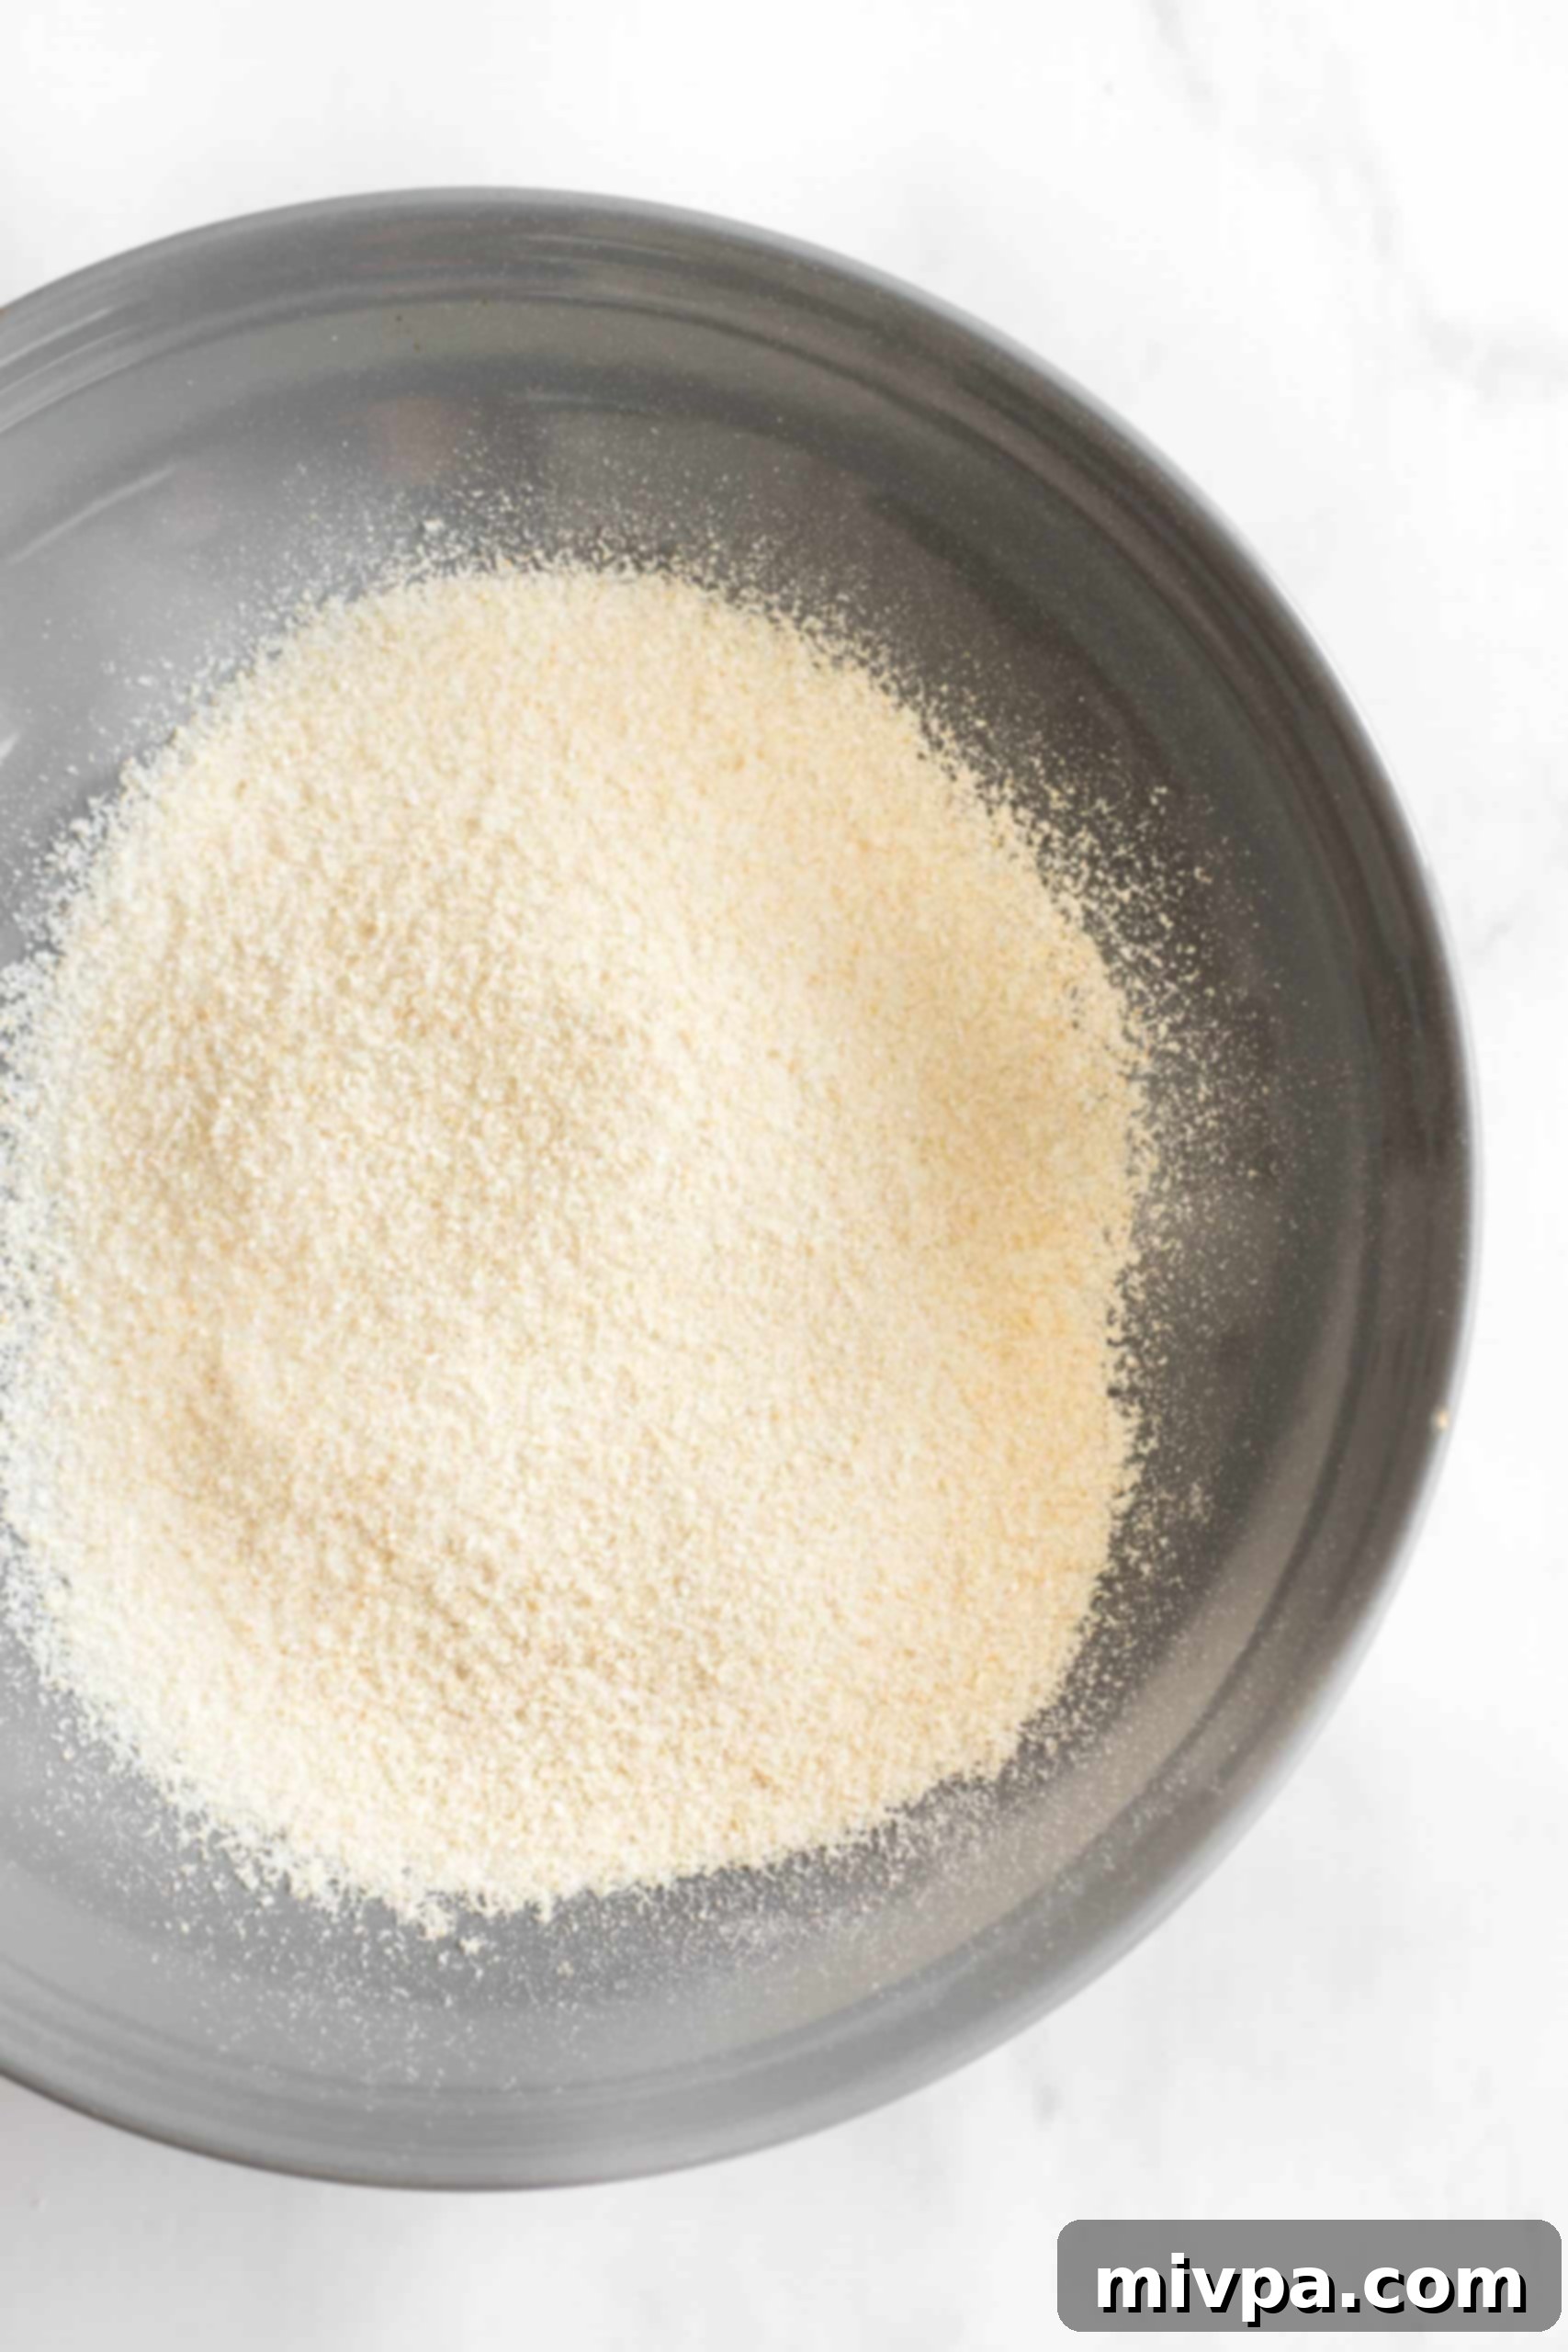
Carefully transfer the coarsely ground flour from the blender into a fine-mesh sieve, positioned over a large mixing bowl. Gently shake and tap the sieve, allowing the finer flour particles to pass through into the bowl below. This step is crucial for separating the fine flour from any larger, unprocessed rice fragments. These remaining larger bits, which did not get fully ground in the first round, will be collected and returned to the blender for further processing.
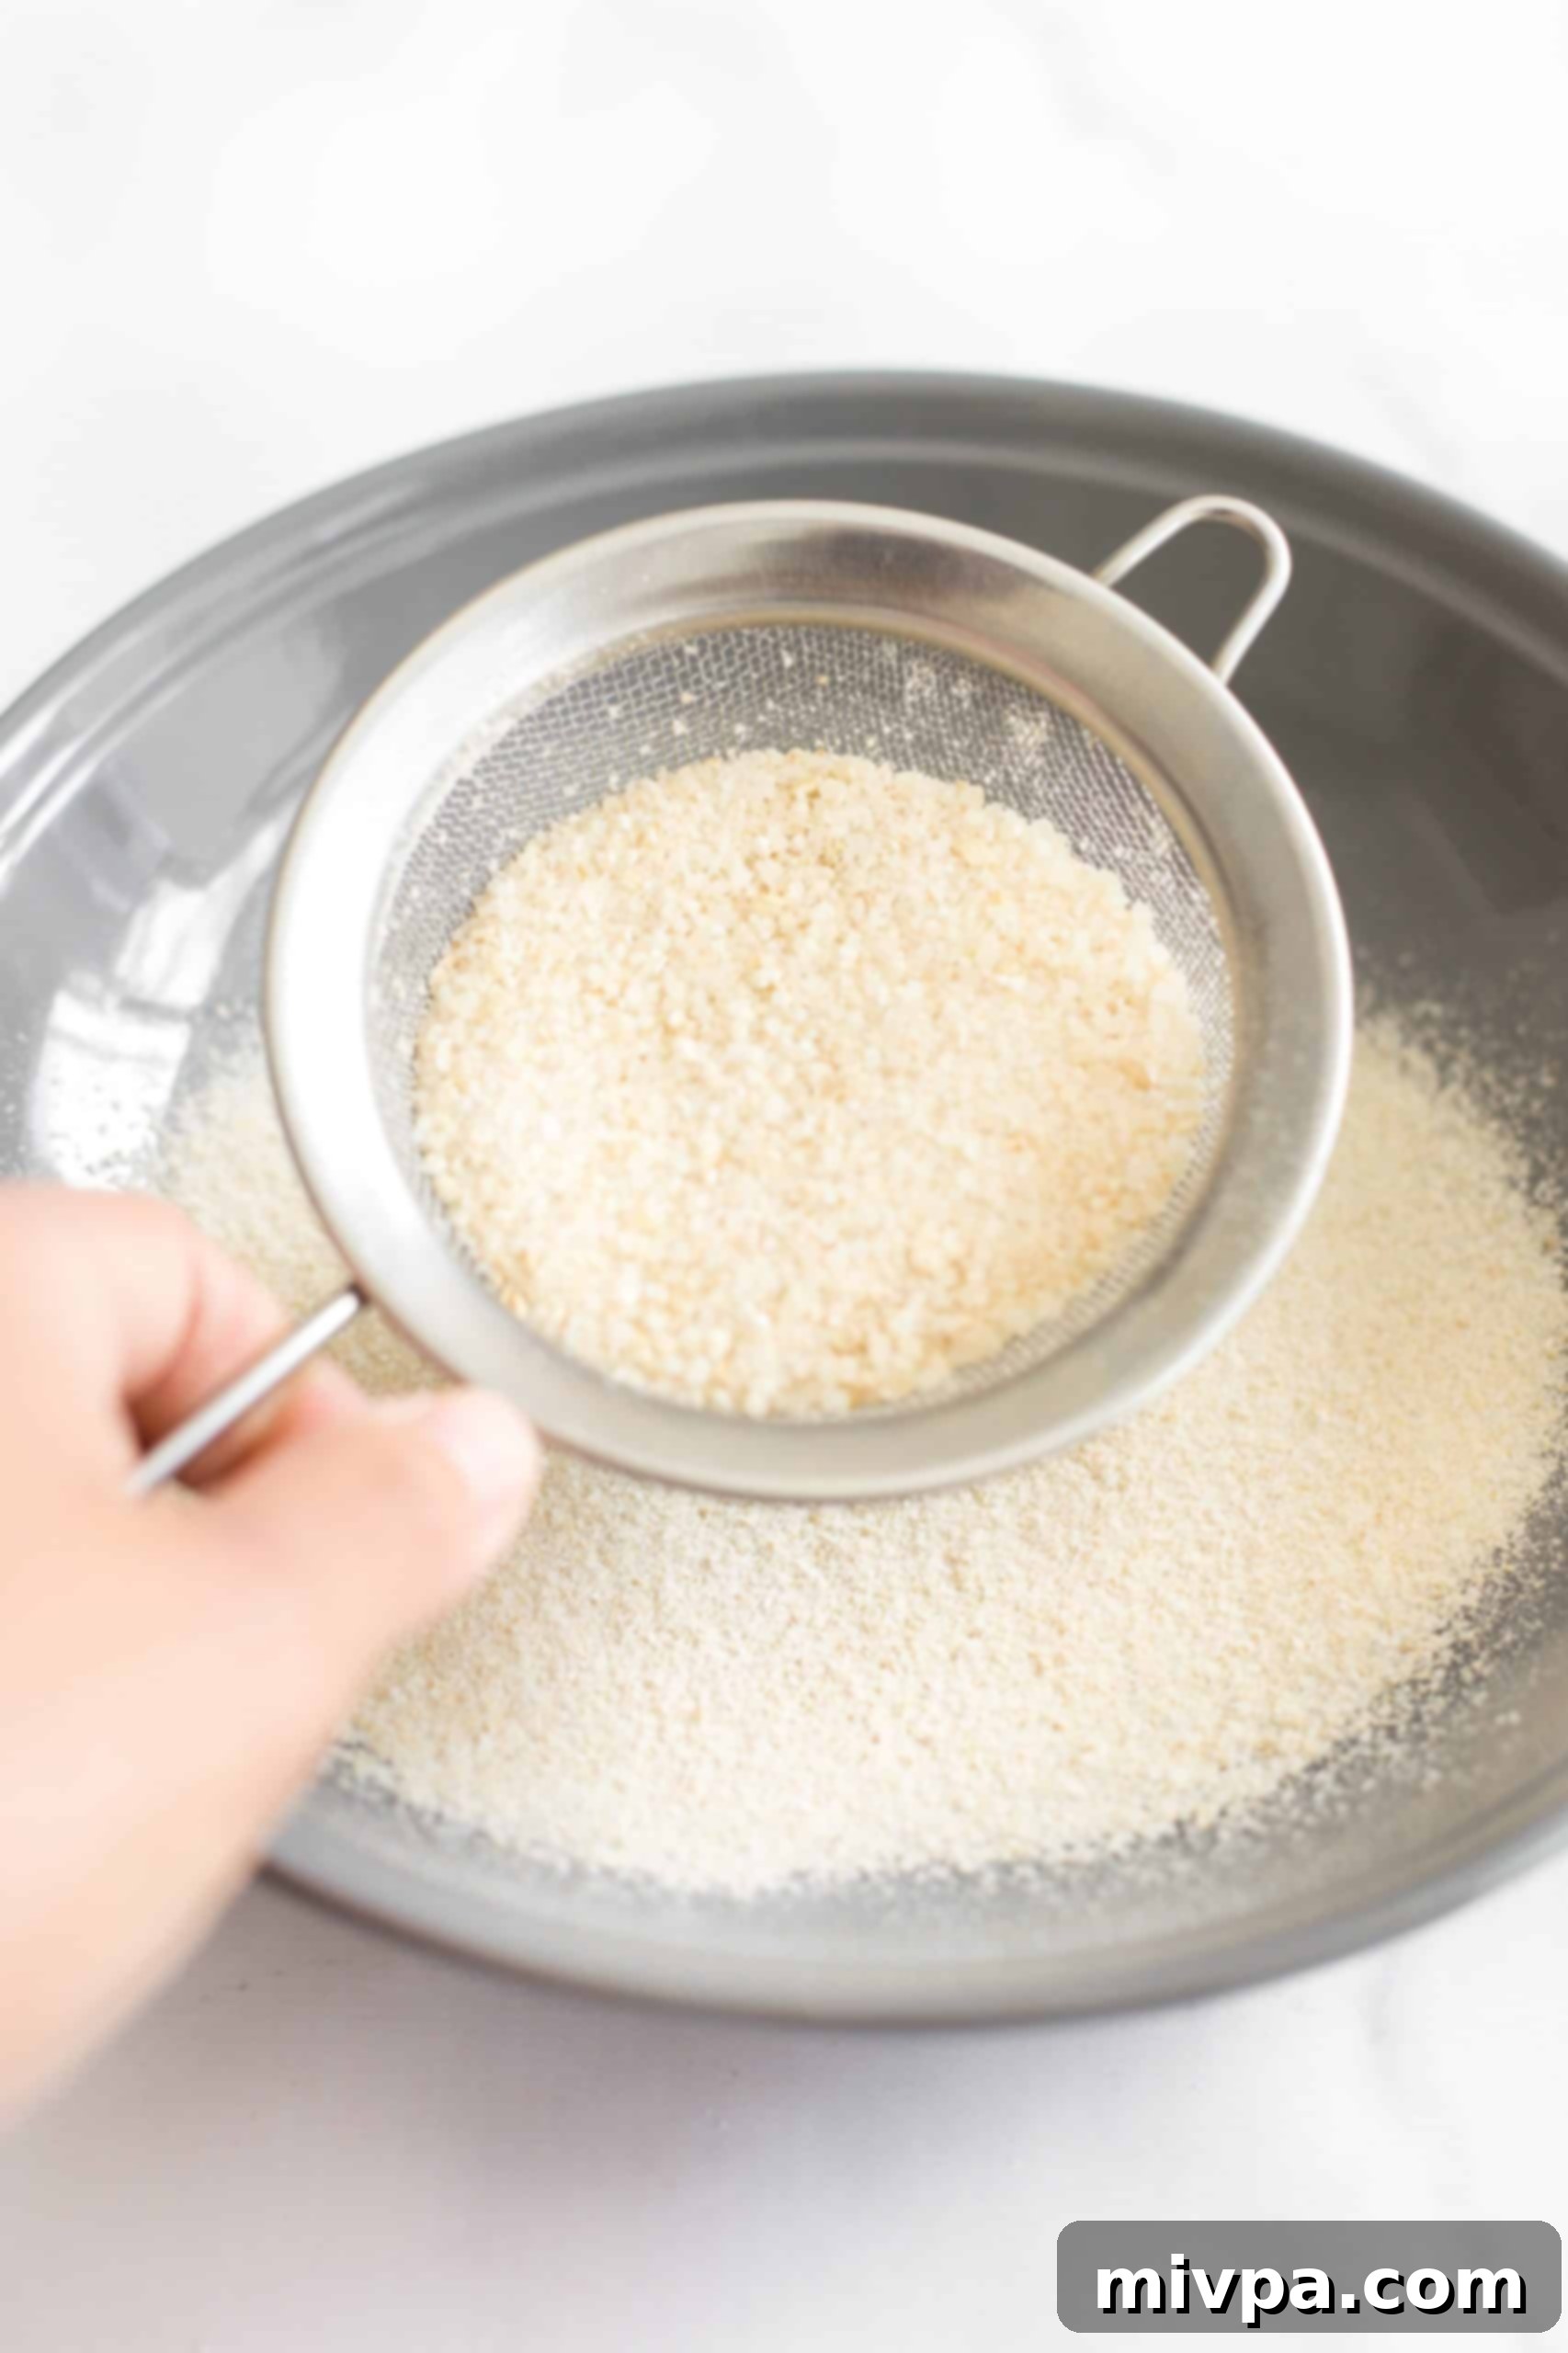
4. Second-Round Processing for Optimal Fineness
Take the larger rice fragments that were caught in the sieve and return them to the blender. Add any other coarse flour that you wish to refine further. Process these remnants for another 30 seconds to 1 minute, or potentially longer if necessary, until they are ground into a very smooth, fine flour. The aim is to achieve a consistency that closely resembles commercially available flour, without any noticeable grittiness.
5. Repeat Until All Rice is Processed
Continue this iterative cycle of blending and sifting with any remaining uncooked brown rice until every grain has been thoroughly processed into a beautifully smooth, fine flour. If you are preparing a particularly large batch, it’s wise to allow your blender to cool down for a few minutes between batches to prevent overheating and ensure the longevity of your appliance.
6. Use or Store Your Homemade Flour
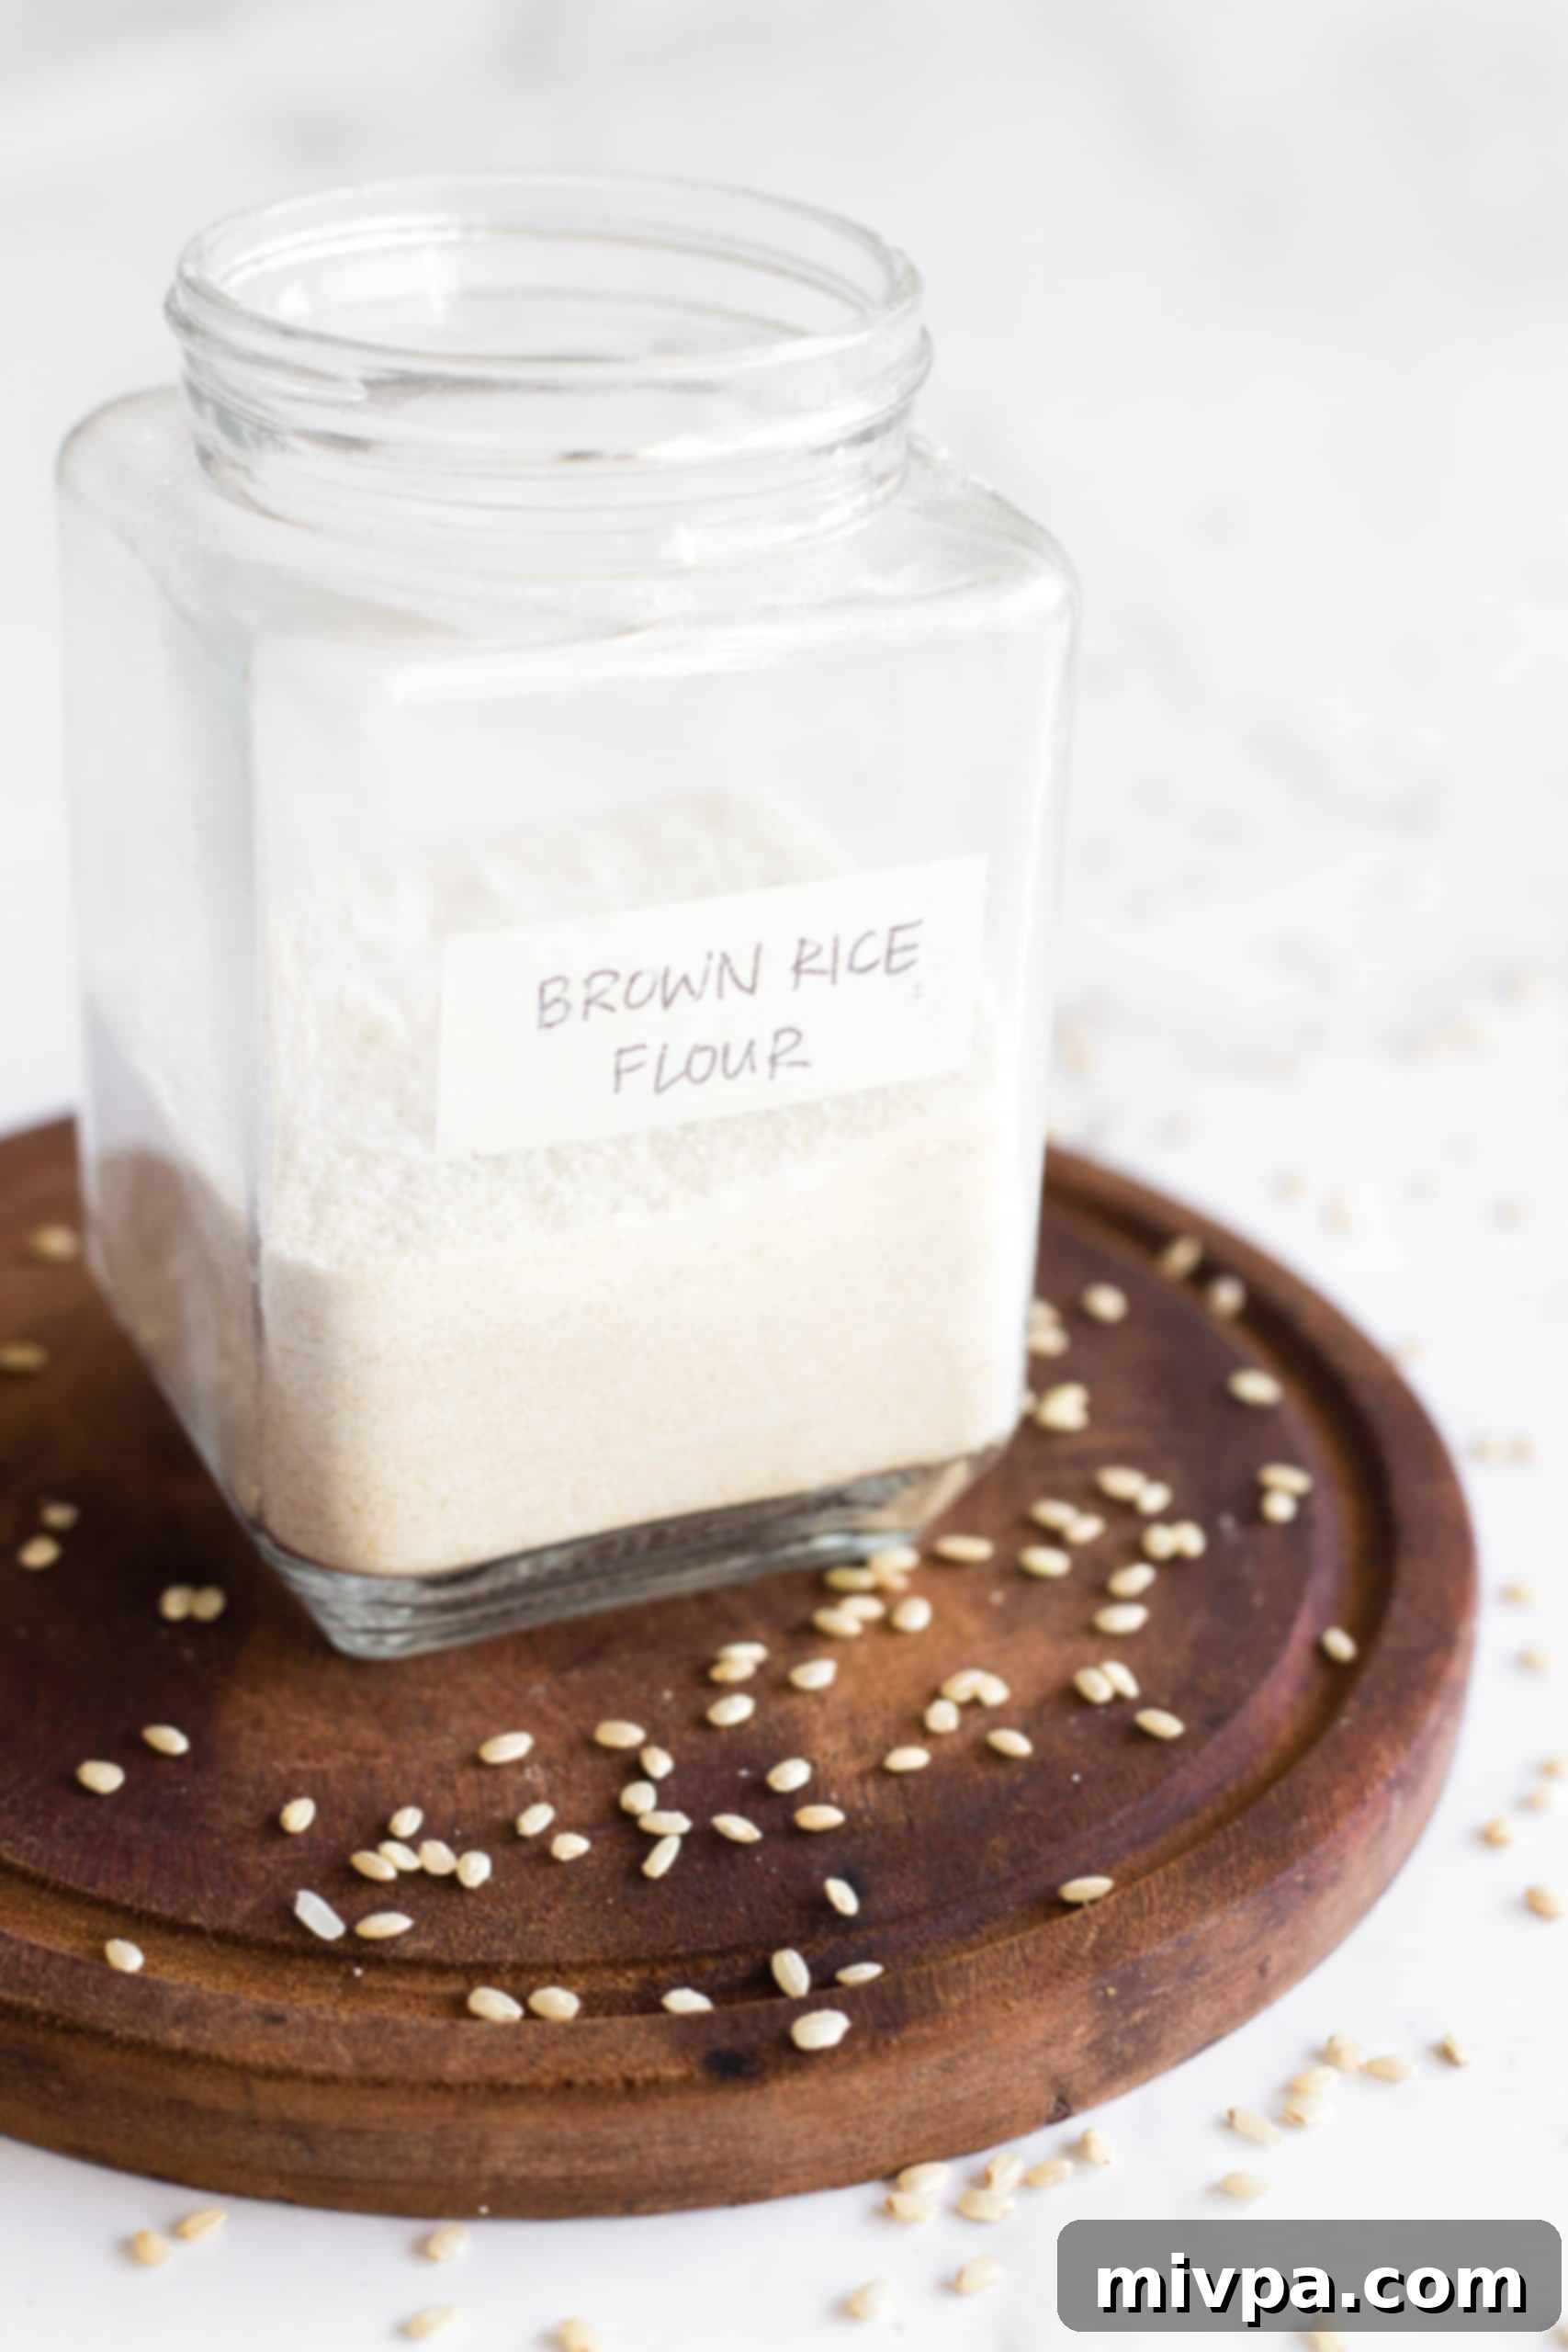
Once all your brown rice has been successfully milled into a fine flour, it’s ready for immediate use in your preferred recipes! If you don’t plan to use it right away, it’s crucial to transfer the homemade brown rice flour into an airtight jar or container. Store it in a cool, dark pantry at room temperature to maintain its optimal freshness and significantly extend its shelf life. Refer to the storage tips below for more detailed guidance.
Dish by Dish Tips for Achieving Perfect Homemade Brown Rice Flour
- Adjust Batch Size: If brown rice flour is a frequent ingredient in your kitchen, particularly for baking gluten-free breads and other baked goods, consider doubling or tripling this recipe. A typical yield from 2 cups of uncooked brown rice is approximately 2 1/4 cups of flour. This ensures you always have a sufficient supply on hand. Conversely, if you only need a small quantity for a specific recipe, scale down to avoid making excess.
- Ensure Absolute Dryness: Any residual moisture on the rice grains will hinder the grinding process, leading to clumping and an undesirable sticky texture. Always confirm that your rice is completely bone dry before introducing it to the blender.
- Avoid Overfilling Your Blender: For the most efficient and finest grind, process brown rice in smaller batches, ideally 1 to 2 cups at a time. Overfilling can put undue strain on your blender’s motor and result in an inconsistent flour texture.
- Mind Your Blender’s Temperature: High-speed blenders can generate significant heat during extended operation. If you’re making a large batch, allow your blender to cool down for 10-15 minutes between cycles to prevent overheating and prolong its lifespan.
- Thorough Sifting is Paramount: Never skip the sifting step. It is crucial for achieving a smooth, professional-grade flour consistency. This prevents any gritty mouthfeel in your final baked goods and ensures optimal performance in recipes.
- Explore Other Homemade Flours: Once you master brown rice flour, apply these simple techniques to create other gluten-free flours. You can easily make oat flour (from certified gluten-free rolled oats), corn flour, or even various nut flours like cashew flour or almond flour.
Optimal Storage for Homemade Brown Rice Flour
Proper storage is key to preserving the quality and extending the shelf life of your homemade brown rice flour. Because brown rice flour contains the nutritious germ, which is rich in natural oils, it is more susceptible to going rancid faster than highly refined flours like white rice flour.
- Airtight is Essential: Always store your freshly milled flour in an airtight container. Glass jars with tight-fitting lids are an excellent choice as they prevent exposure to air and moisture, which are primary culprits in spoilage.
- Cool, Dark Environment: For room temperature storage, a pantry or cupboard that is consistently cool, dry, and dark is ideal. Keep the flour away from direct sunlight, stoves, ovens, or any other heat-emitting appliances.
- Refrigeration for Extended Freshness: To significantly prolong its shelf life, especially in warmer or humid climates, consider storing brown rice flour in the refrigerator. In a refrigerated environment, it can maintain its freshness for up to 6 months.
- Freezing for Long-Term Storage: For the longest possible storage (up to a year), brown rice flour can be kept in an airtight, freezer-safe bag or container in the freezer. When ready to use, simply allow it to come to room temperature before incorporating it into your recipes.
- Recognizing Spoilage: Fresh brown rice flour has a mild, pleasant, slightly nutty aroma. If your flour develops an off-smell (often described as old crayons, stale nuts, or paint), or if you notice any discoloration, it has likely gone rancid and should be discarded immediately.
Troubleshooting Common Homemade Flour Issues
While making brown rice flour at home is generally straightforward, you might encounter a few minor hurdles. Here’s how to address them:
- Flour Isn’t Fine Enough: If your flour still feels gritty or too coarse after two rounds of blending and sifting, it could indicate that your blender isn’t powerful enough. Try processing smaller batches for longer durations. Alternatively, for truly silky smooth flour, a high-speed blender is highly recommended. You can also continually re-sift and re-blend the coarser particles until you achieve your desired fineness.
- Blender is Overheating: Grinding hard grains like rice can put a strain on your blender’s motor, especially if you’re making a large quantity. If you notice a burning smell or the blender motor becomes excessively hot, turn it off immediately. Allow it to cool down for at least 10-15 minutes before resuming. To prevent this, process smaller batches and give your blender short breaks.
- Unexpected Low Yield: The ratio of uncooked brown rice to flour is fairly consistent (approximately 1 cup of rice yields 1.1 to 1.2 cups of flour). If your yield seems significantly lower, ensure you are thoroughly collecting all the sifted flour and that no substantial amounts are sticking to the blender walls or sieve.
Recipe FAQs
Absolutely! If your recipe calls for white rice flour, or if you simply prefer it, you can use uncooked white rice instead of brown rice. The entire process – from blending in a high-speed blender to sifting through a fine-mesh sieve – remains precisely the same. Just be aware that white rice flour has a milder flavor and a different nutritional profile (less fiber, fewer vitamins/minerals) compared to its brown counterpart.
To ensure maximum freshness and prevent spoilage, store your homemade brown rice flour in an airtight glass jar or container. It can be kept in a cool, dark pantry at room temperature for up to 3 months. For an extended shelf life, consider refrigerating it for up to 6 months, or freezing it for up to 1 year. Always check for off-odors before use.
Yes, unequivocally! The benefits of making your own brown rice flour extend far beyond simple convenience. You’ll enjoy significant cost savings, superior freshness, and complete control over the quality of your ingredients. It’s an empowering and practical skill, especially for those managing specific dietary needs or anyone who prioritizes wholesome, homemade staples in their cooking.
A high-speed blender, such as models from Vitamix or Blendtec, is highly recommended for optimal results. These powerful blenders are designed to pulverize tough grains into a very fine, smooth flour texture in a short amount of time. While a standard blender might work, it may produce a coarser flour and require more effort and time. Regardless of your blender type, a fine-mesh sieve is indispensable for achieving the best consistency.
Other Basic Homemade Recipes You’ll Enjoy:
- 5-Minute Homemade Almond Meal
- 5-Minute Homemade Cashew Flour
- Homemade Buckwheat Flour
- Homemade Almond Milk
- Homemade Cashew Milk
- Homemade Applesauce
- Homemade Pumpkin Puree
Latest Recipes on The Blog:
- Gluten-Free Pumpkin Banana Muffins (Dairy-Free)
- Baked Chicken Legs and Potatoes (Gluten-Free, Dairy-Free)
- 126 Gluten-Free Desserts and Sweet Treats for Labor Day
- 94 Savory Gluten-Free Recipes for Labor Day Weekend
Print Recipe
Homemade Brown Rice Flour (Gluten-Free, Vegan)
5 Stars 4 Stars 3 Stars 2 Stars 1 Star
5 from 3 reviews
Author: Felicia Lim
Total Time: 5 minutes
Yield: 2 1/4 cups (from 2 cups uncooked rice)
Diet: Gluten-Free, Vegan
Description
If you’ve run out of brown rice flour, or simply want a fresher, more economical, and more wholesome option than store-bought, this easy recipe is for you! Learn how to make incredibly fine and nutrient-rich brown rice flour at home in just 5 minutes using only a high-speed blender and a fine-mesh sieve. It’s a versatile, naturally gluten-free and vegan flour, perfect for all your baking and cooking endeavors.
Ingredients
Scale
- 2 cups uncooked whole grain brown rice
Instructions
- Prepare Rice: Ensure your uncooked brown rice is completely dry. If you’ve washed it, spread it thinly and let it air dry thoroughly for several hours or overnight before proceeding. This step is critical for proper milling.
- First Round Processing: Place 1 cup of the dry uncooked brown rice into your high-speed blender. Process the rice grains on high speed for approximately 30 seconds to 1 minute until they break down into a coarse flour. It won’t be perfectly smooth at this initial stage.
- Sift the Flour: Carefully transfer the partially ground flour into a fine-mesh sieve placed over a large bowl. Gently shake and tap the sieve to allow the finer flour particles to pass through. Collect any larger, unprocessed grains that remain in the sieve.
- Second-Round Processing: Return the collected coarse grains (from the sieve) back to the blender. Process for another 30 seconds to 1 minute, or longer as needed, until these fragments are ground into a very smooth and fine flour, resembling commercial flour in texture.
- Repeat & Store: Continue this blending and sifting cycle with any remaining uncooked brown rice until all of it has been processed into a smooth, fine flour. Once done, use the fresh brown rice flour immediately in your recipes, or transfer it to an airtight container for proper storage as detailed in the notes below.
Notes
- Making White Rice Flour: If your recipe calls for white rice flour, or if you simply prefer it, you can easily use uncooked white rice instead of brown rice. The entire milling process is identical.
- How to Store Rice Flour: To maintain its freshness, store homemade brown rice flour in an airtight glass jar or container in a cool, dark pantry at room temperature for up to 3 months. For extended freshness, it can be refrigerated for up to 6 months or frozen for up to 1 year.
- Yield Information: Approximately 2 cups of uncooked whole grain brown rice typically yields about 2 1/4 cups of beautifully fine homemade brown rice flour.
- Prep Time: 5 mins
- Category: Basics, Gluten-Free, Vegan, DIY
- Method: Blender, Grinding, Sifting
- Cuisine: Global, Pantry Staple
