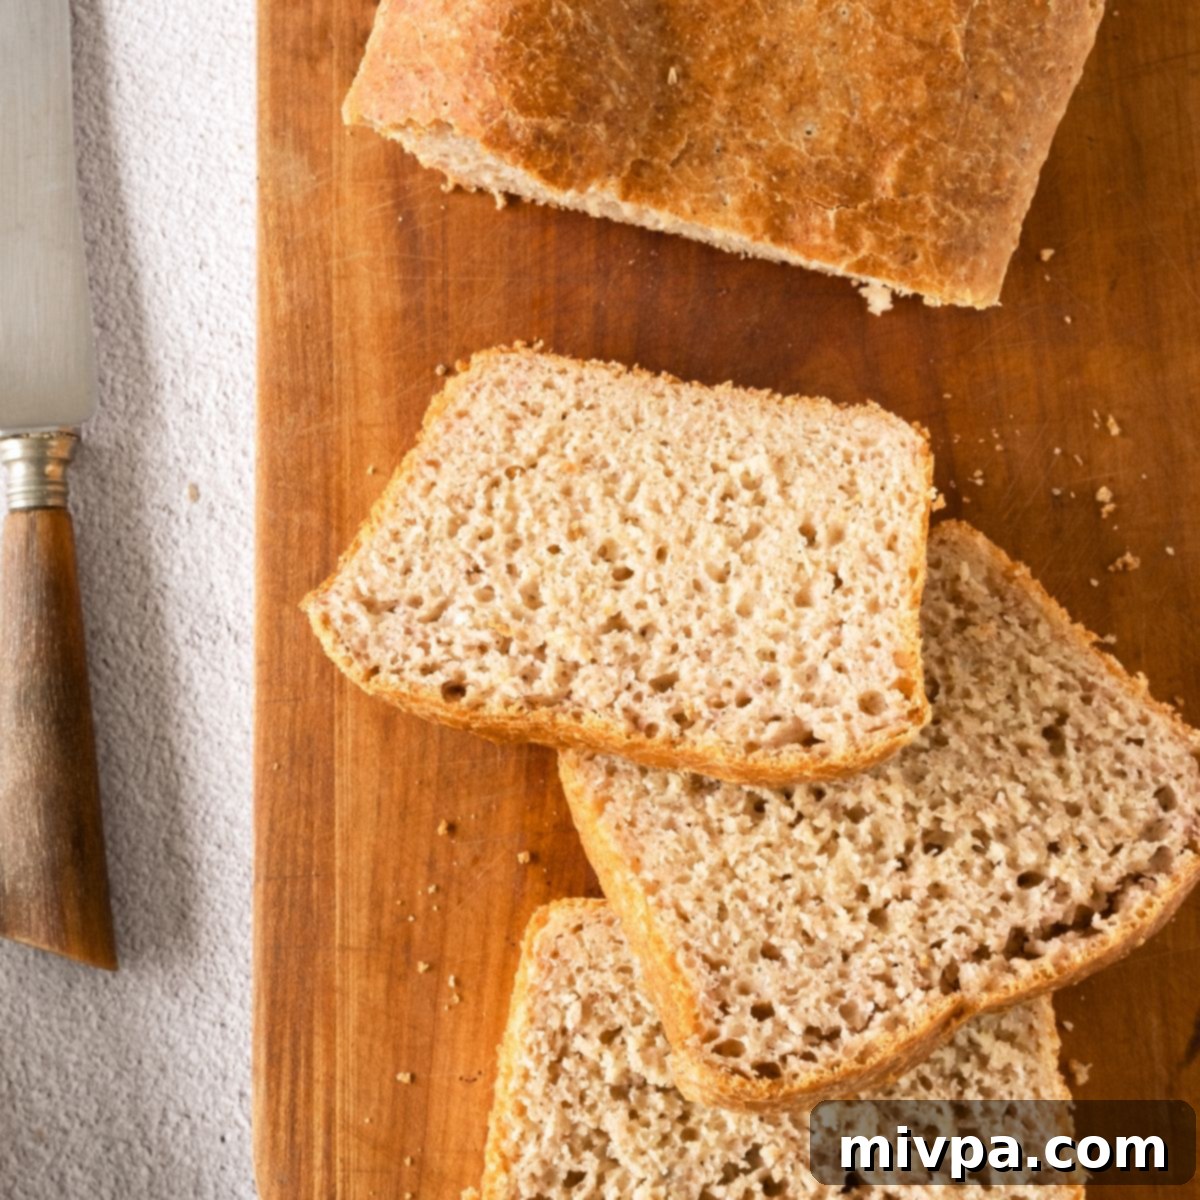
Ultimate Fluffy Gluten-Free Beer Bread: A Delicious Dairy-Free Recipe
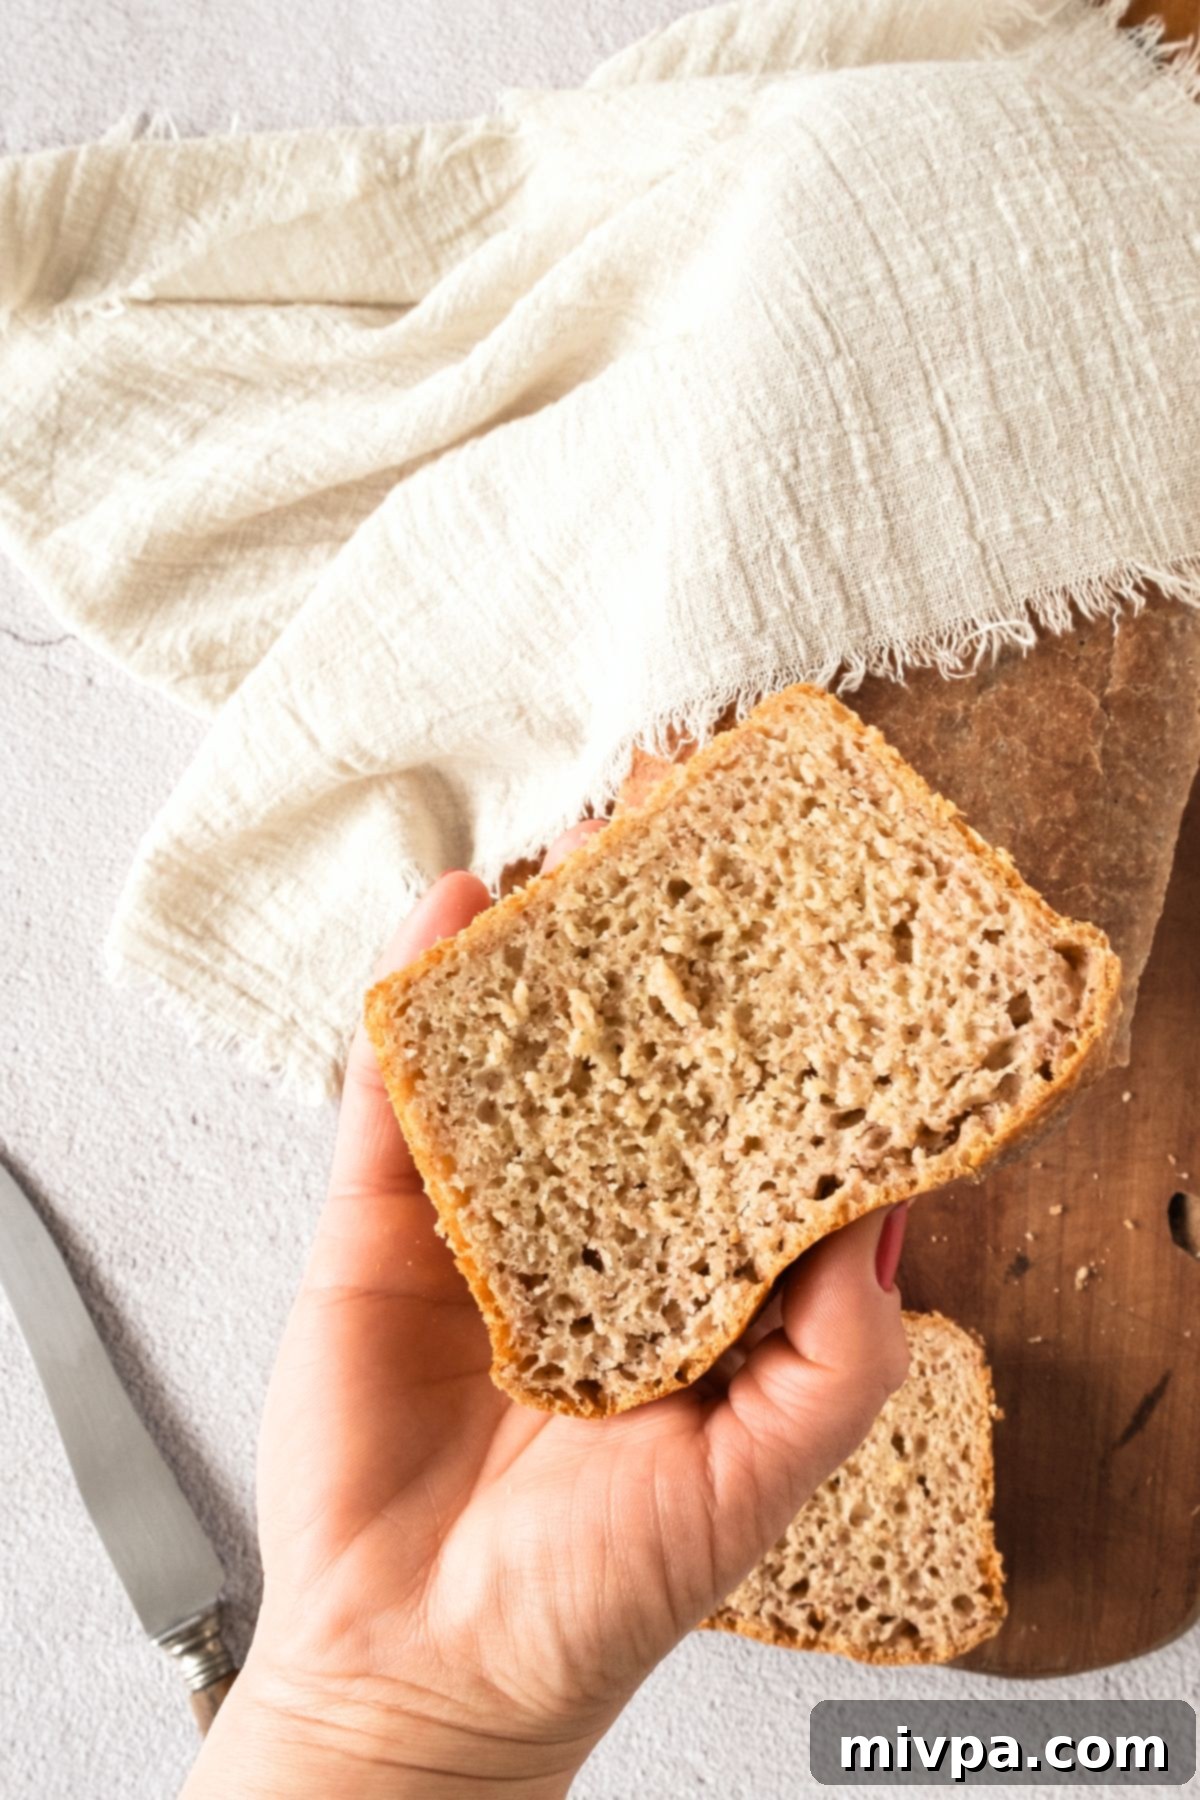
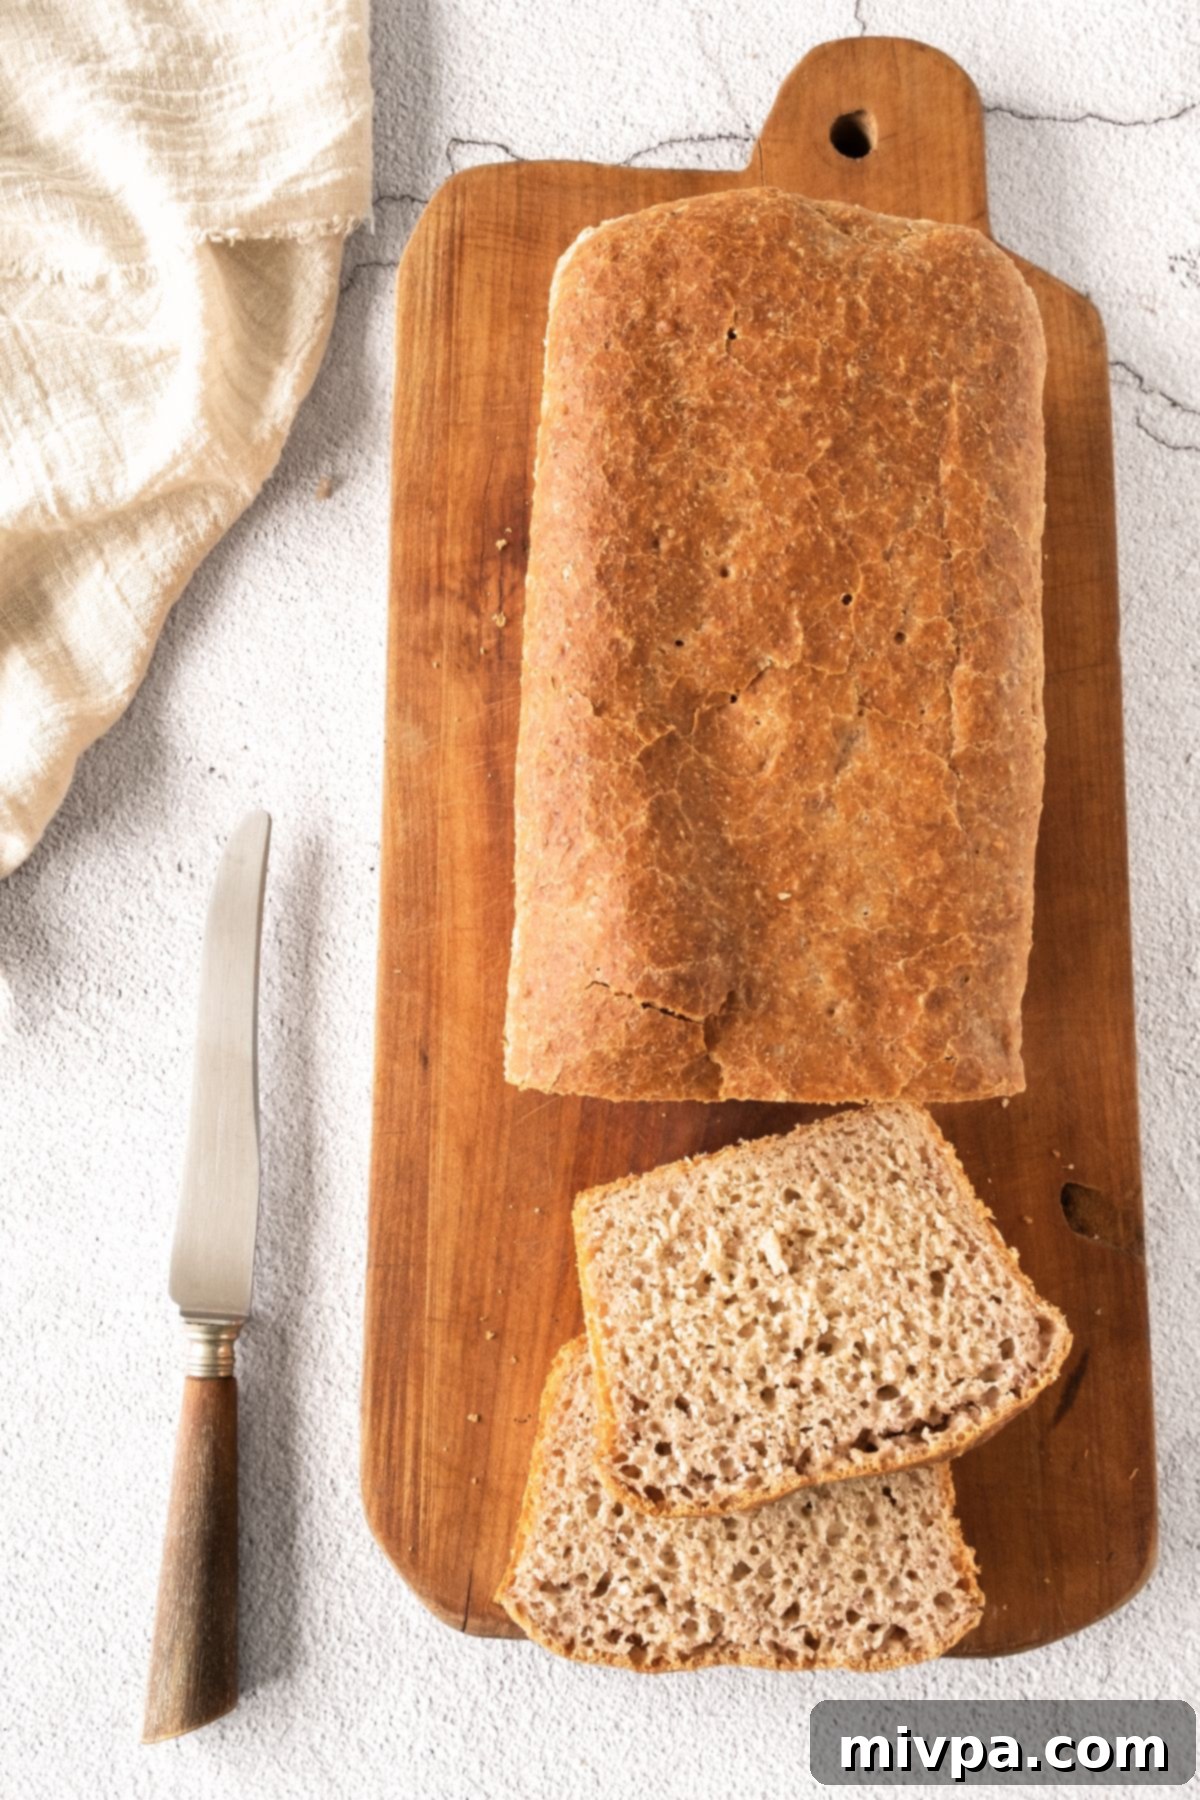
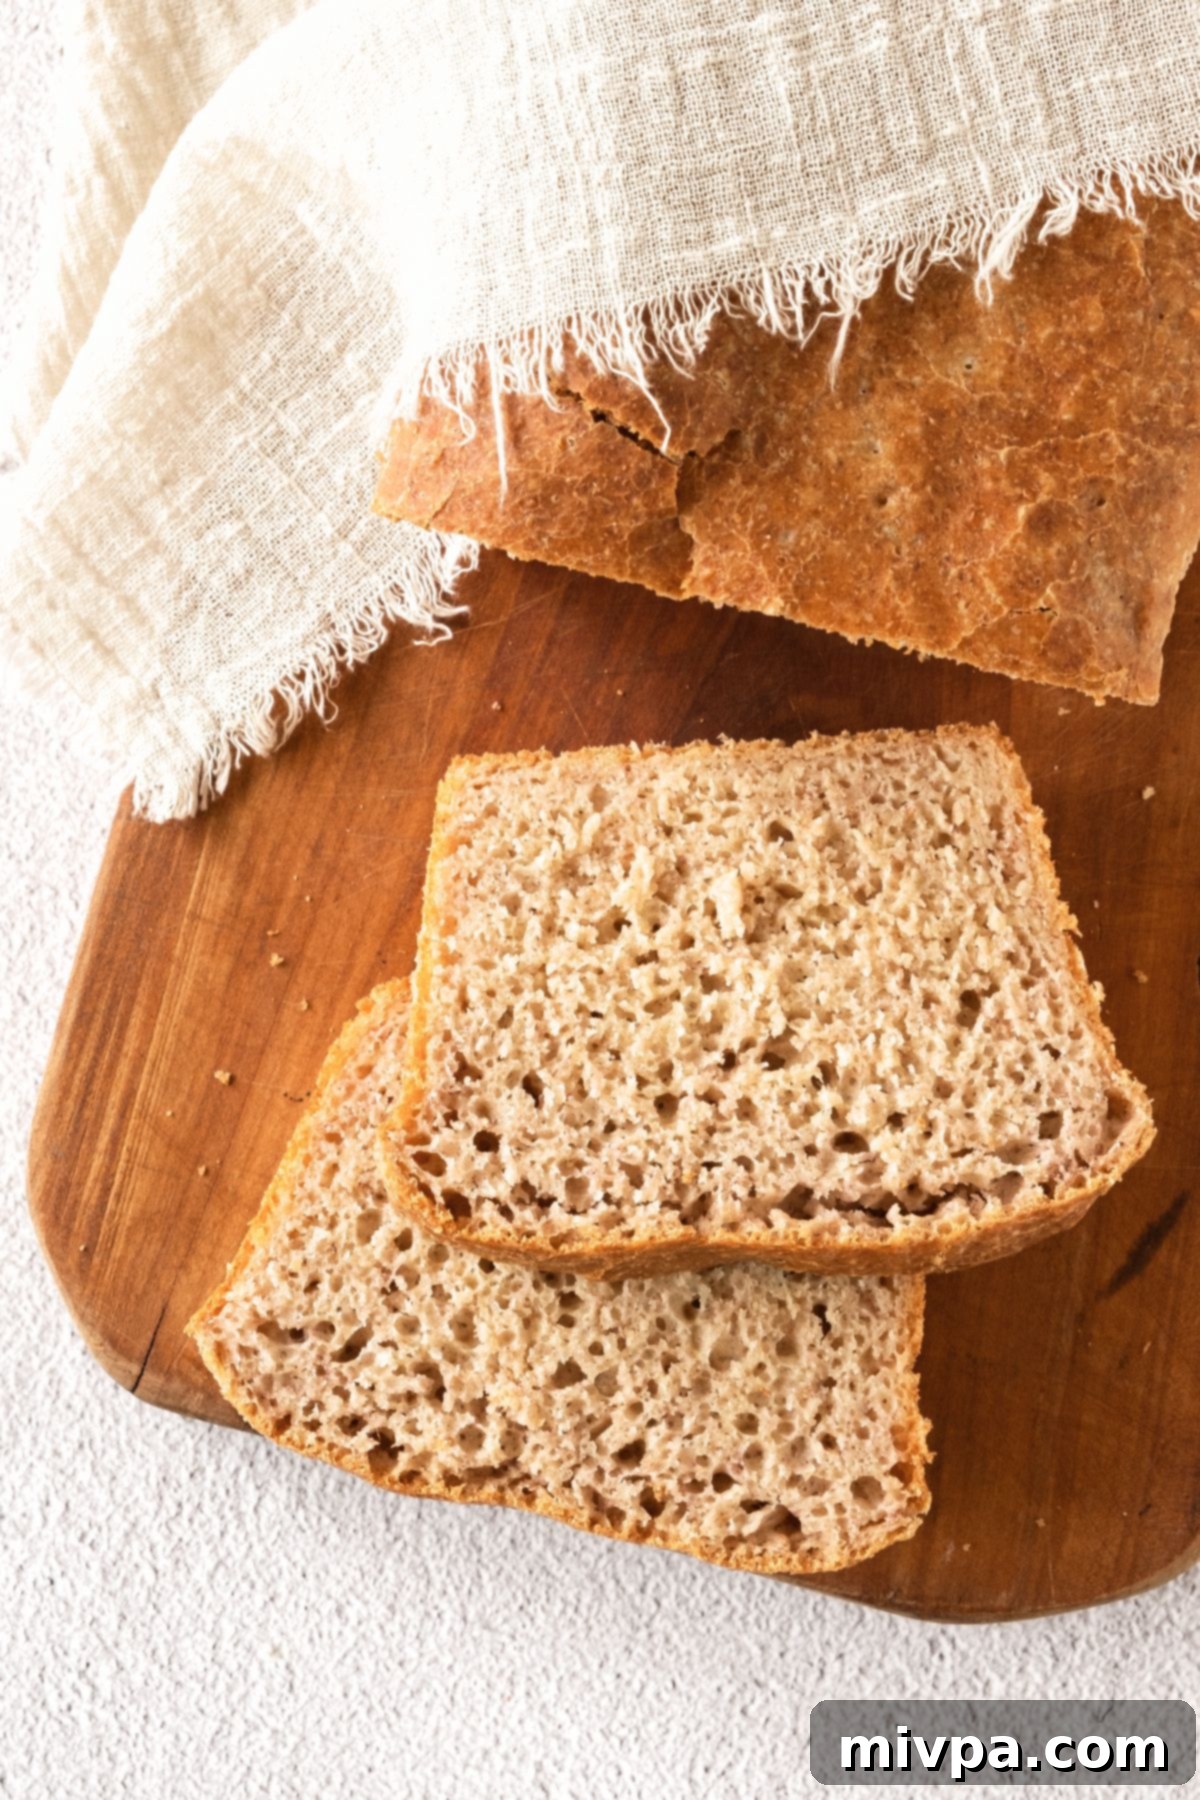
Imagine a slice of bread so soft, incredibly fluffy, and wonderfully tender that you’d never guess it’s completely gluten-free and dairy-free. This isn’t just any bread; it’s our phenomenal gluten-free beer bread, ready to elevate your breakfast, lunch, or snack time. Perfect when toasted and slathered with butter and jam, or as the foundation for your favorite sandwiches. Why wait? Dive into the delightful experience of baking and enjoying homemade gluten-free bread today!
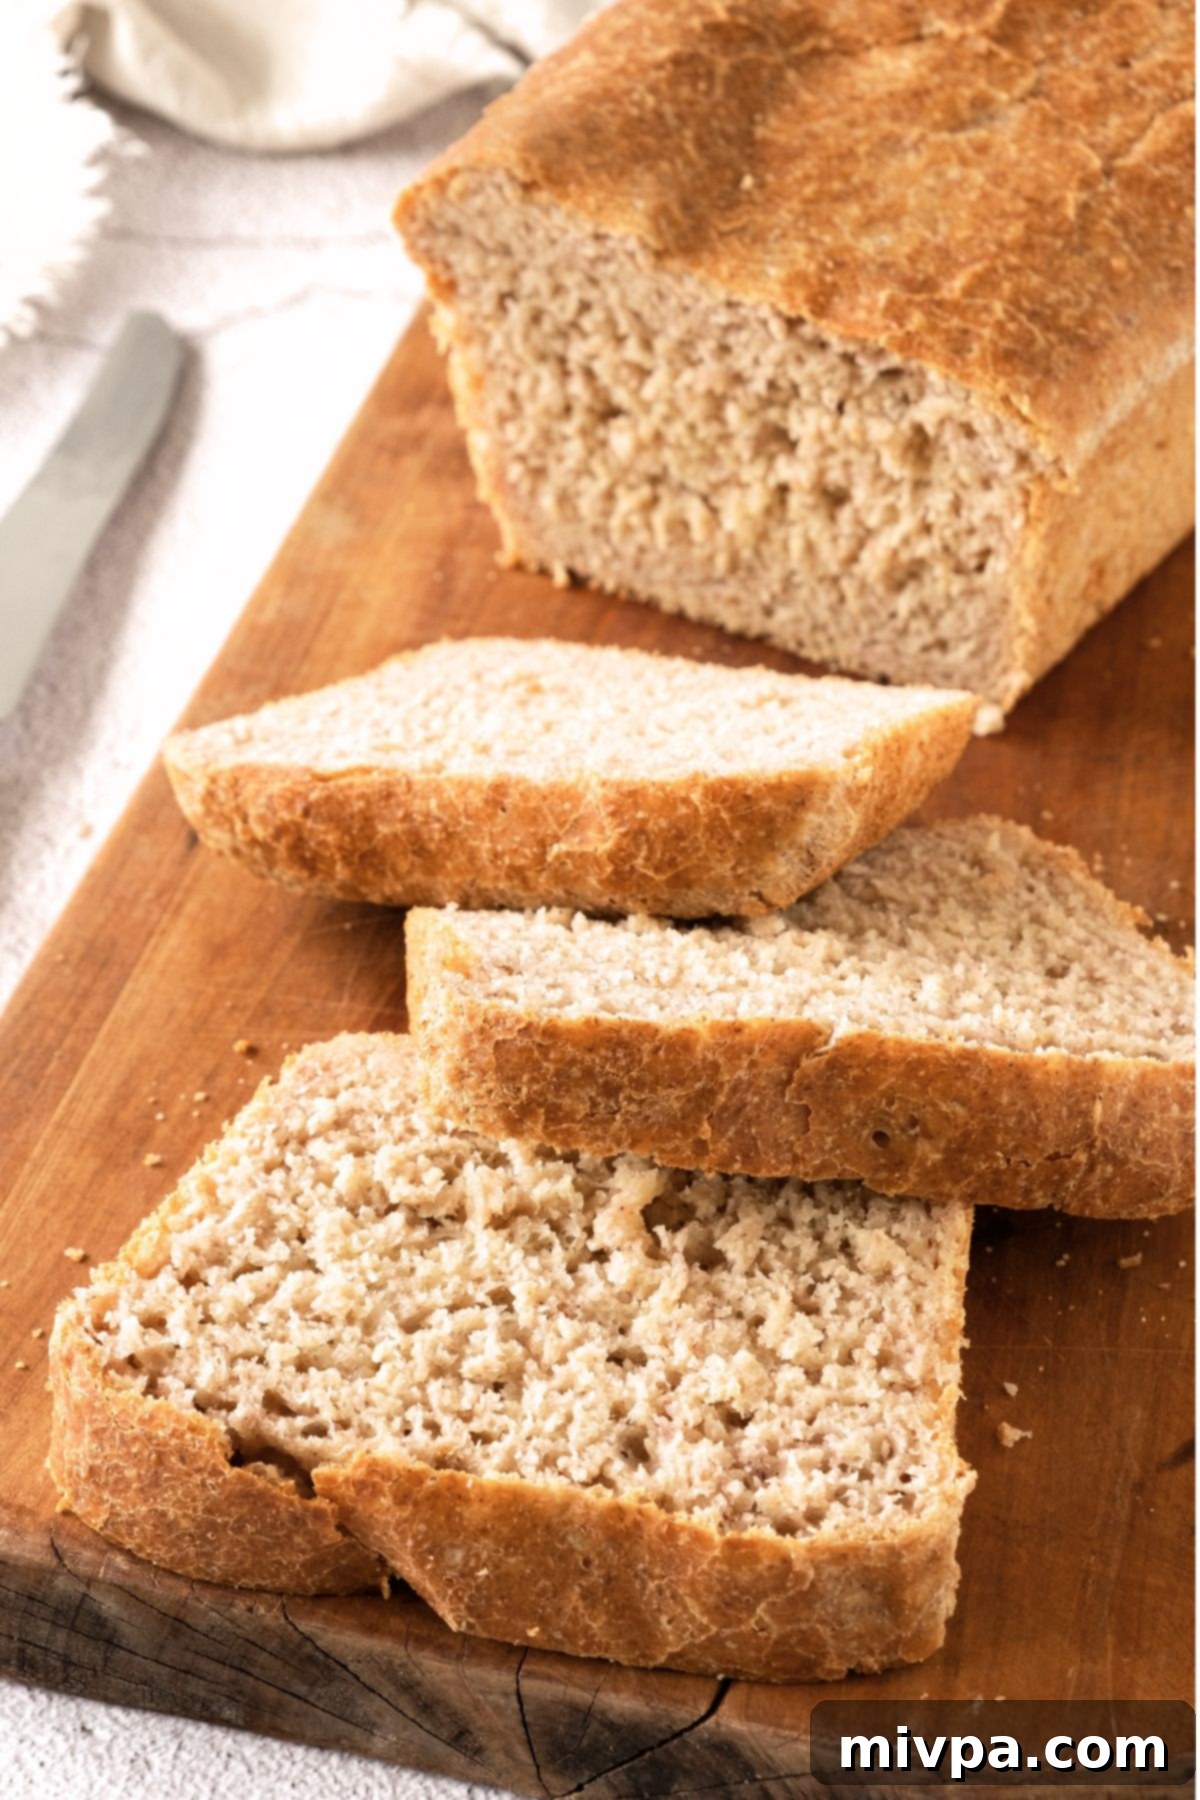
Embracing the Joy of Gluten-Free Bread Baking
For me, the art of baking gluten-free yeast bread has always been more than just a task; it’s a true passion project. There’s a certain magic that happens when I stand at my kitchen counter, meticulously mixing ingredients, experimenting, and patiently developing yet another gluten-free bread recipe that brings joy to the table.
Few things compare to the cozy comfort of pulling a freshly baked loaf from a warm oven. That delightful moment when the heat brushes against your face, and the irresistible aroma of homemade bread wafts through your kitchen, transforming it into a comforting bakery-like haven – it’s truly a special experience.
Beer bread had been on my mental “to-bake” list for years, a delightful idea simmering in the background. Despite my love for experimenting with various bread types, I hadn’t quite gotten around to it until recently. The unique flavor profile and the promise of a distinctive texture always intrigued me, making it a highly anticipated project.
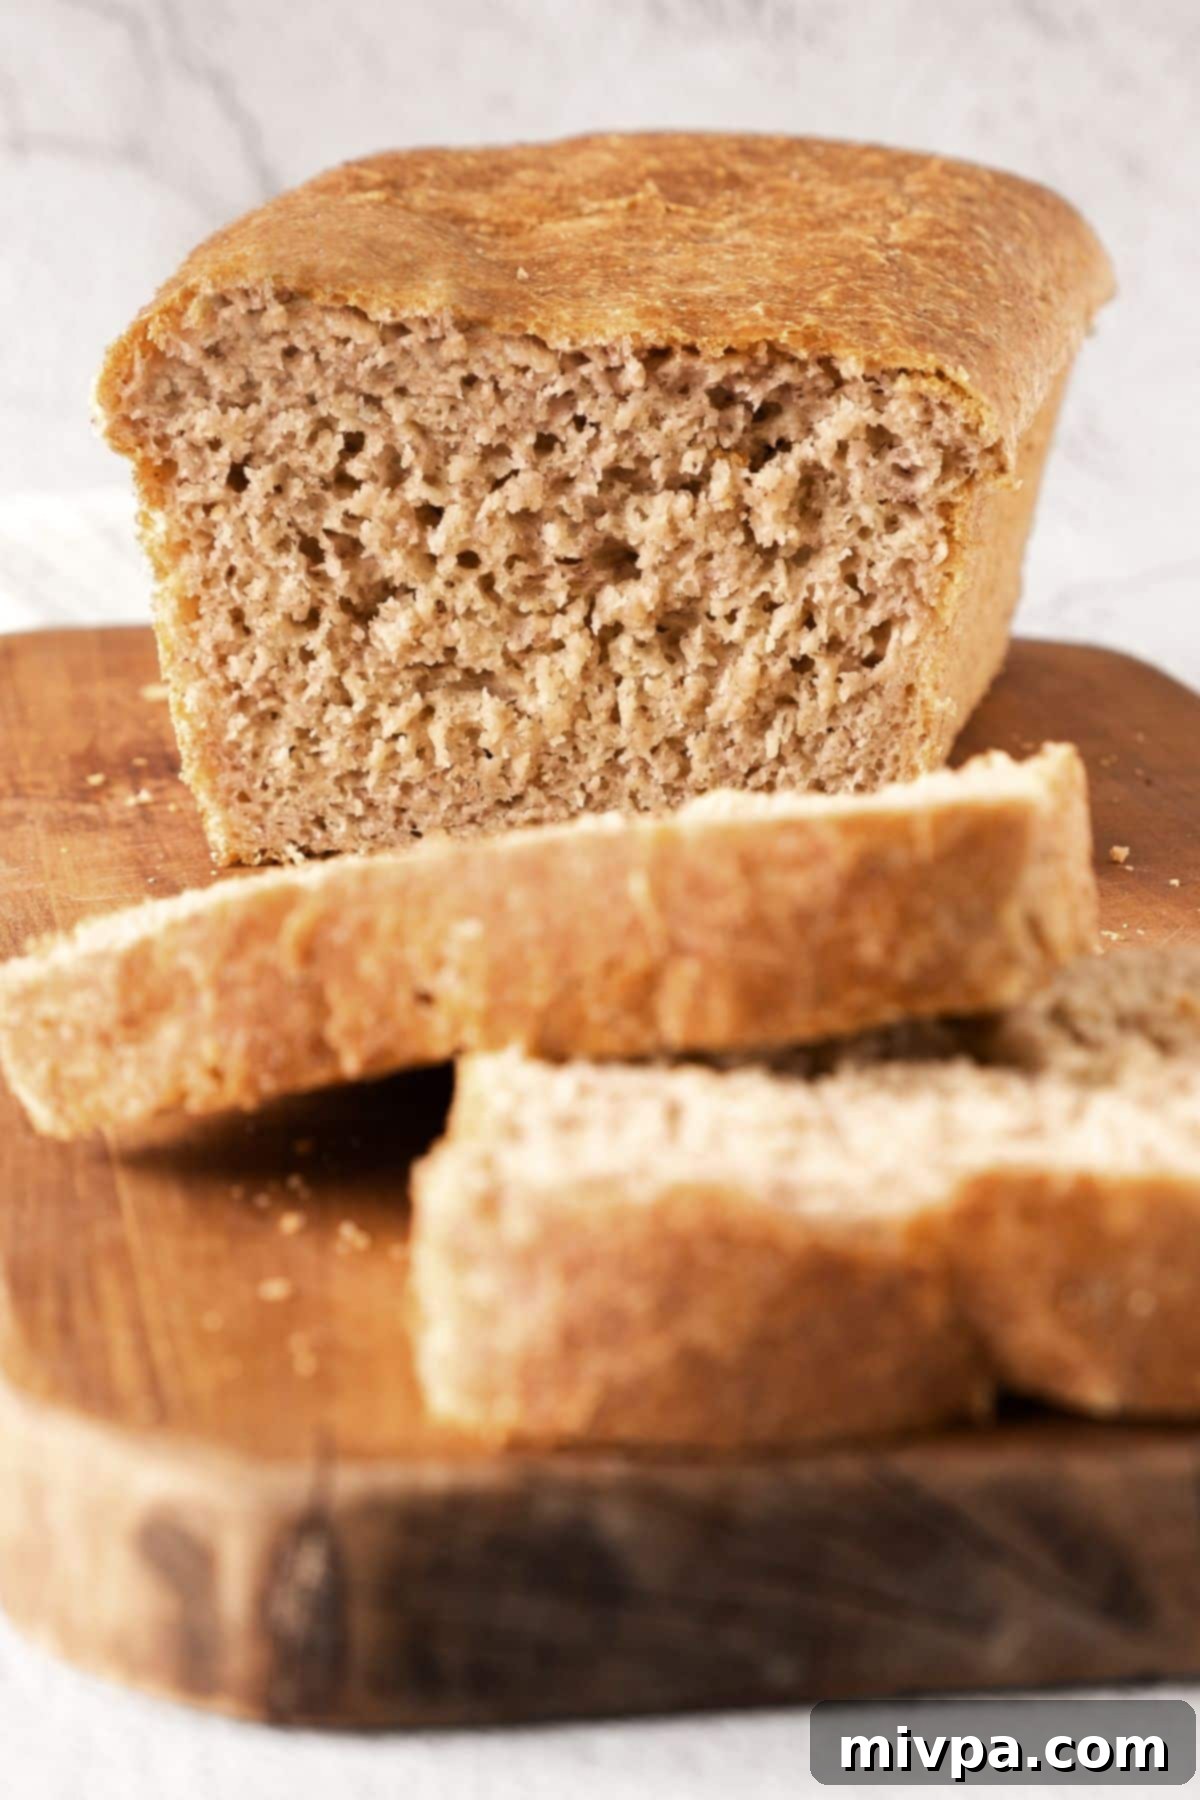
Crafting the Perfect Soft and Tender Gluten-Free Beer Bread
Traditionally, most beer breads are classified as quick breads, utilizing beer as the primary leavening agent in place of yeast. This method can certainly produce a decent loaf, but for gluten-free versions, I often found the results to be quite dense. My goal, however, is always to achieve that desirable soft, airy, and tender texture that truly elevates a bread-baking experience, especially when working with gluten-free flours.
After numerous attempts and careful adjustments, I’ve finally perfected a recipe that is truly worth celebrating! Unlike many traditional quick beer breads, this recipe incorporates yeast, which makes all the difference for a light, springy crumb in gluten-free baking. Despite including yeast, it only requires a minimal 30-minute rising time, making it surprisingly accessible and well worth the effort. The result is a beautifully light and tender beer bread that will exceed your expectations.
Trust me, this bread is so incredibly delicious and versatile, you’ll want to enjoy it in every possible way. Savor a slice on its own, toast it until golden and spread with your favorite butter and jam (dairy-free, of course!), or mashed avocado for a savory treat. It also makes for an absolutely fantastic sandwich bread. No matter how you choose to eat it, you are undoubtedly going to fall in love with this homemade delight!
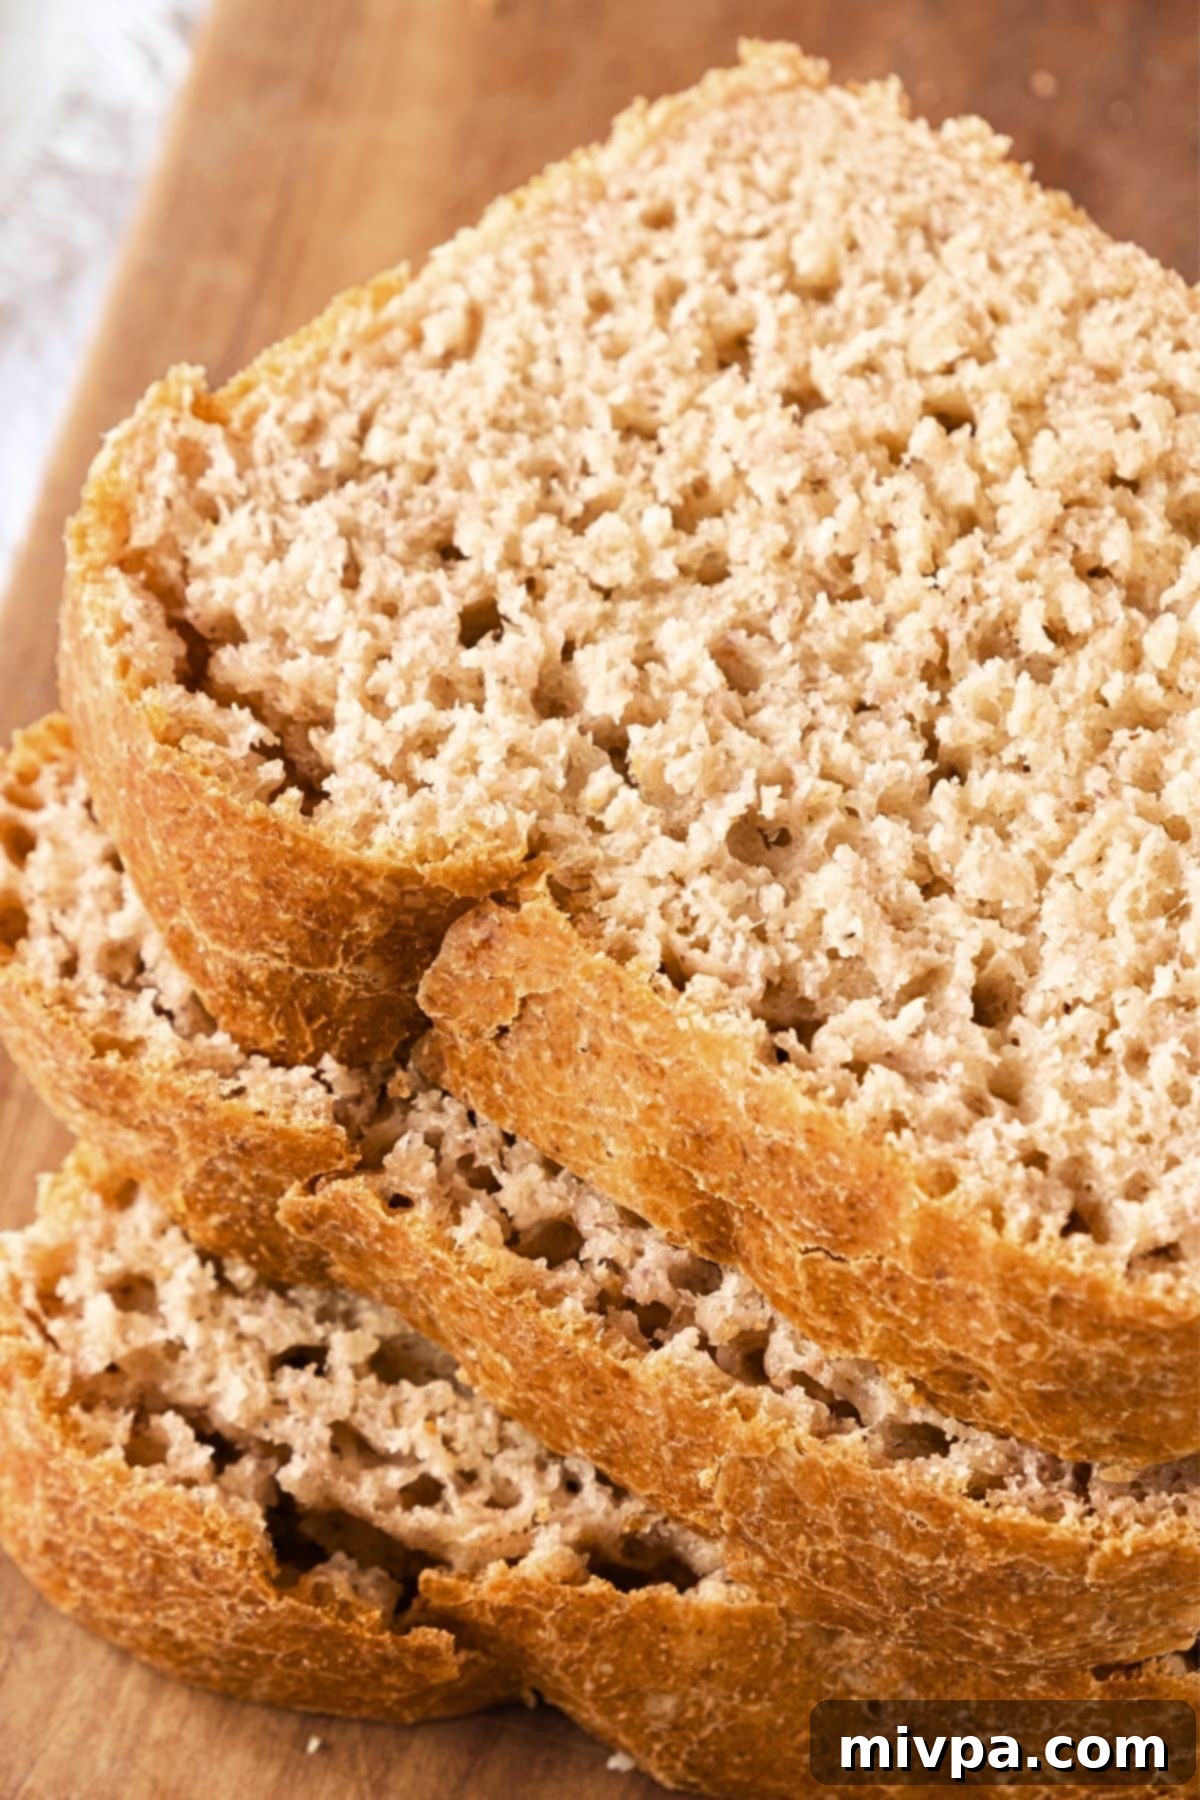
The Secret Behind Our Perfect Gluten-Free Beer Bread
- Simple, Accessible Ingredients: You won’t need to hunt for exotic ingredients for this recipe! All the items required are typically found at your local grocery store, and chances are, many of them are already staples in your pantry. We believe great bread shouldn’t require complicated sourcing, just quality, everyday components.
- Effortlessly Easy to Make: Don’t let the idea of homemade bread intimidate you. Preparing the dough for this gluten-free beer bread recipe is remarkably straightforward. It’s essentially a simple matter of combining the dry ingredients with the wet ingredients, mixing until just combined, and letting the magic happen. Even novice bakers will find this process incredibly easy and rewarding.
- Completely Gluten-Free & Dairy-Free: This recipe is a true game-changer for anyone with dietary restrictions. It is 100% gluten-free and dairy-free, making it suitable for individuals with Celiac disease, gluten sensitivities, or lactose intolerances. You can enjoy a truly authentic bread experience without any compromise on taste, texture, or your well-being. It’s bread for everyone!
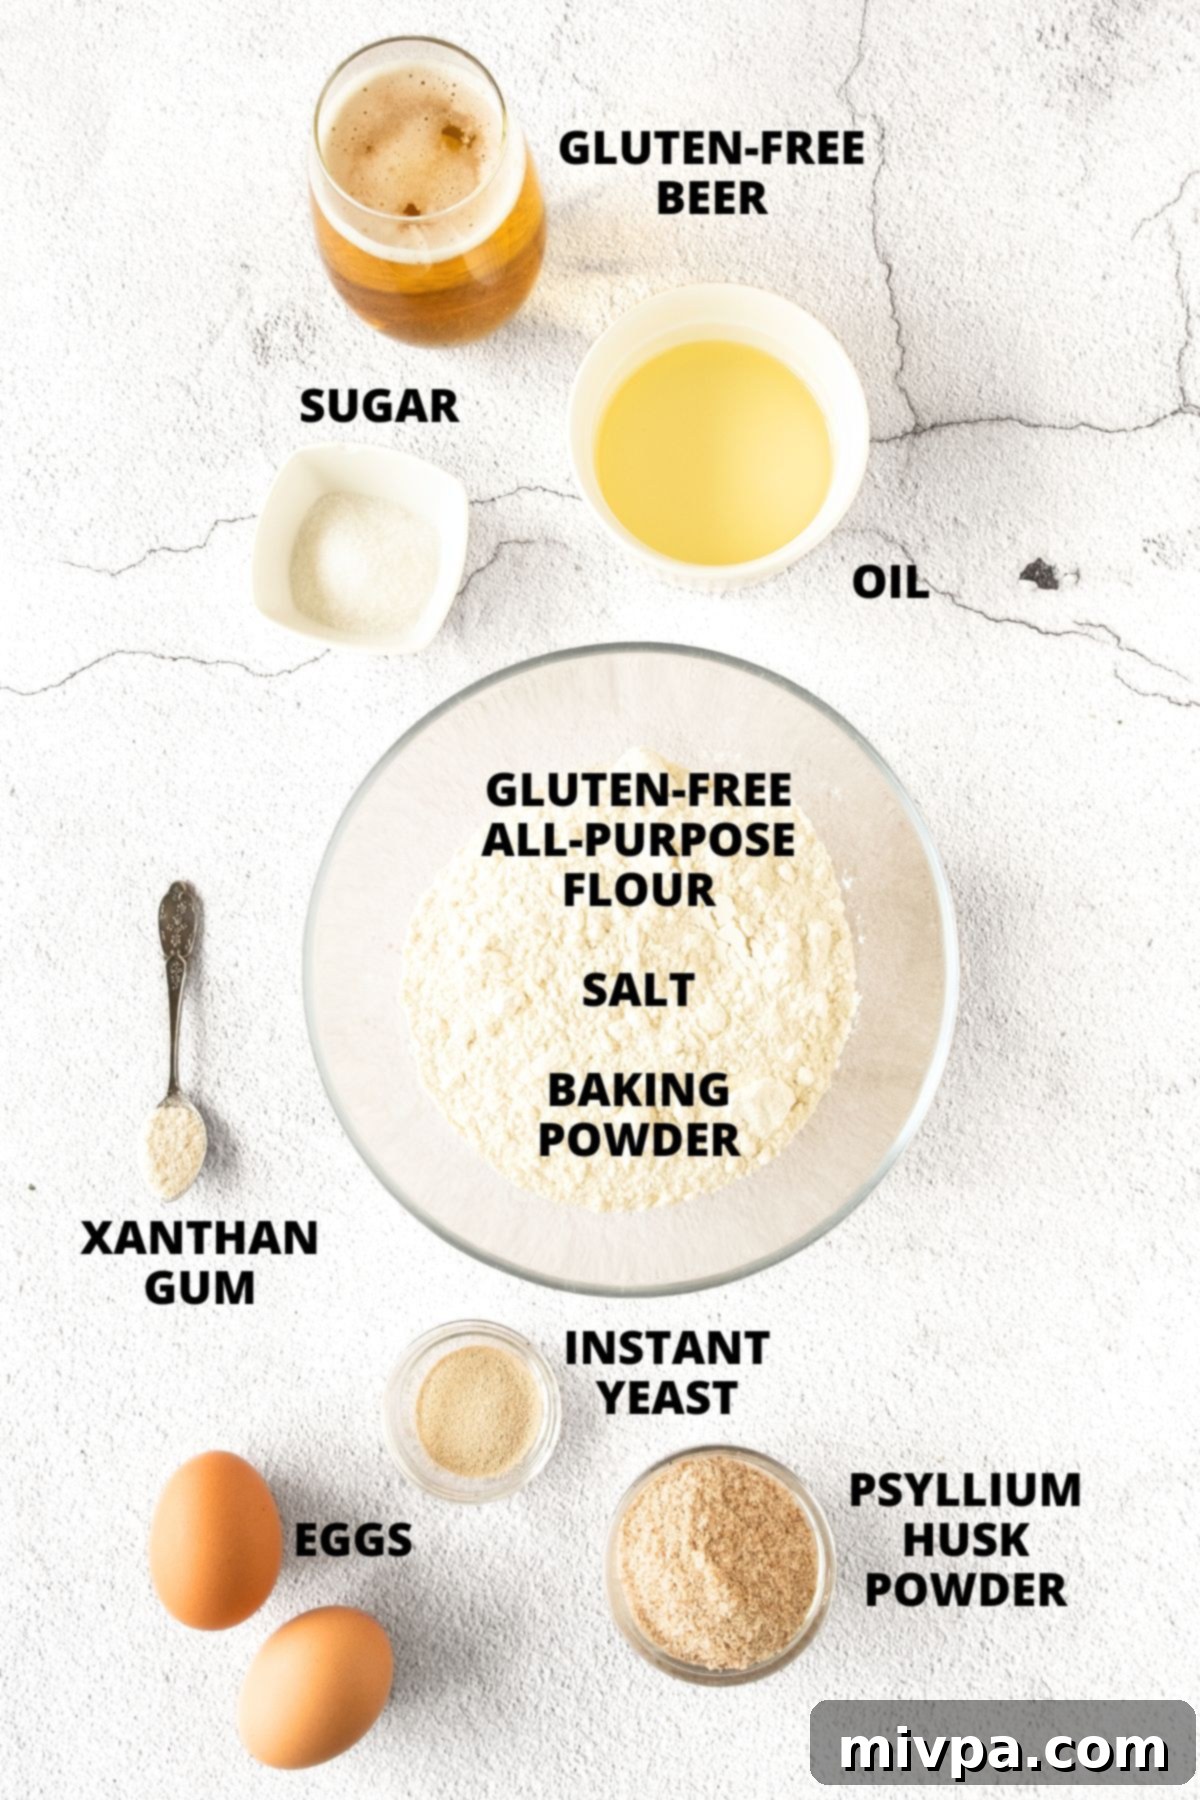
Essential Ingredients for Your Gluten-Free Beer Bread
To help you get started, here’s a quick visual overview of the key ingredients you’ll need for this easy and delicious gluten-free beer bread recipe. Gathering your ingredients before you begin ensures a smooth and enjoyable baking process.
(For precise measurements and detailed instructions, please refer to the comprehensive printable recipe card conveniently located at the bottom of this post.)
Recipe Notes and Expert Tips for Substitutions
- Gluten-Free All-Purpose Flour: The type of gluten-free flour blend you use is crucial for the final texture. I highly recommend opting for a good-quality gluten-free all-purpose flour that primarily consists of lighter flours and starches, such as rice flour, tapioca starch, corn starch, or potato starch. These blends contribute to a much lighter, fluffier, and more tender bread. Conversely, avoid blends made mostly from heavier flours like garbanzo bean flour, as they tend to result in a denser, sometimes gummy texture.
- Xanthan Gum: This ingredient acts as a vital gluten replacer in gluten-free baking, helping to bind the ingredients together and provide structure to the dough. If your chosen gluten-free flour blend does not explicitly list xanthan gum as an ingredient, it is essential to add it separately. Xanthan gum ensures your bread holds its shape and achieves the desired texture.
- Baking Powder: Baking powder works in conjunction with yeast to give the dough an extra boost and a beautiful rise, contributing to the overall lightness. For those with Celiac disease or gluten intolerance, always ensure you use certified gluten-free baking powder to avoid any cross-contamination.
- Psyllium Husk Powder: Psyllium husk powder is a fantastic addition to gluten-free bread, providing much-needed elasticity and helping the loaf maintain its structure and rise. It’s important to use psyllium husk in its powder form. If you only have whole psyllium husks, you can easily grind them into a super fine powder using a coffee grinder.
- Instant Yeast: This recipe calls for instant dry yeast, which is incredibly convenient as it does not require pre-activation before being mixed with the other ingredients. If you only have active dry yeast on hand, you’ll need to activate it first: mix it with a small amount of warm water (around 105-115°F or 40-46°C) and a pinch of sugar, then let it sit in a warm place for about 5 minutes until it becomes foamy. Once activated, you can add it to the rest of your ingredients.
- Sugar: Sugar plays a vital role as “food” for the yeast, helping to activate it and encourage the production of carbon dioxide bubbles, which are essential for the dough’s rise and light texture. While white sugar works perfectly, alternatives like cane sugar or brown sugar can also be used with equally great results, often adding a subtle depth of flavor.
- Beer: To maintain the gluten-free integrity of this recipe, I specifically use gluten-free beer. However, if you do not have Celiac disease or a gluten allergy, feel free to substitute with your favorite regular beer. For those who prefer to avoid alcohol or beer flavor, non-alcoholic beer or another carbonated beverage like ginger ale can be used as alternatives, though the flavor profile will change slightly.
- Eggs: Eggs are crucial for binding the ingredients together, providing structure, and aiding in the dough’s rise, contributing to a tender crumb. If you have an egg allergy or prefer to make this recipe egg-free, you can experiment with substitutes such as acquafaba (the liquid from canned chickpeas) or a commercial egg-replacer. Results may vary slightly, but these are good options.
- Oil: I typically use sunflower oil because it’s a versatile neutral oil I always have on hand. However, you can substitute it with other vegetable oils like canola oil, olive oil (for a distinct flavor), or avocado oil. If you aren’t dairy-free, melted regular butter can also be used for a richer flavor.
How to Make Fluffy Gluten-Free Beer Bread (Step-by-Step Guide)
1. Prepare Your Loaf Pan
Begin by thoroughly greasing a standard 9” x 5” metal loaf pan with nonstick baking spray. This ensures your beautiful bread releases easily after baking.
(For an even easier removal and cleanup, you can also line the loaf pan with parchment paper, leaving an overhang on the sides to use as handles.)
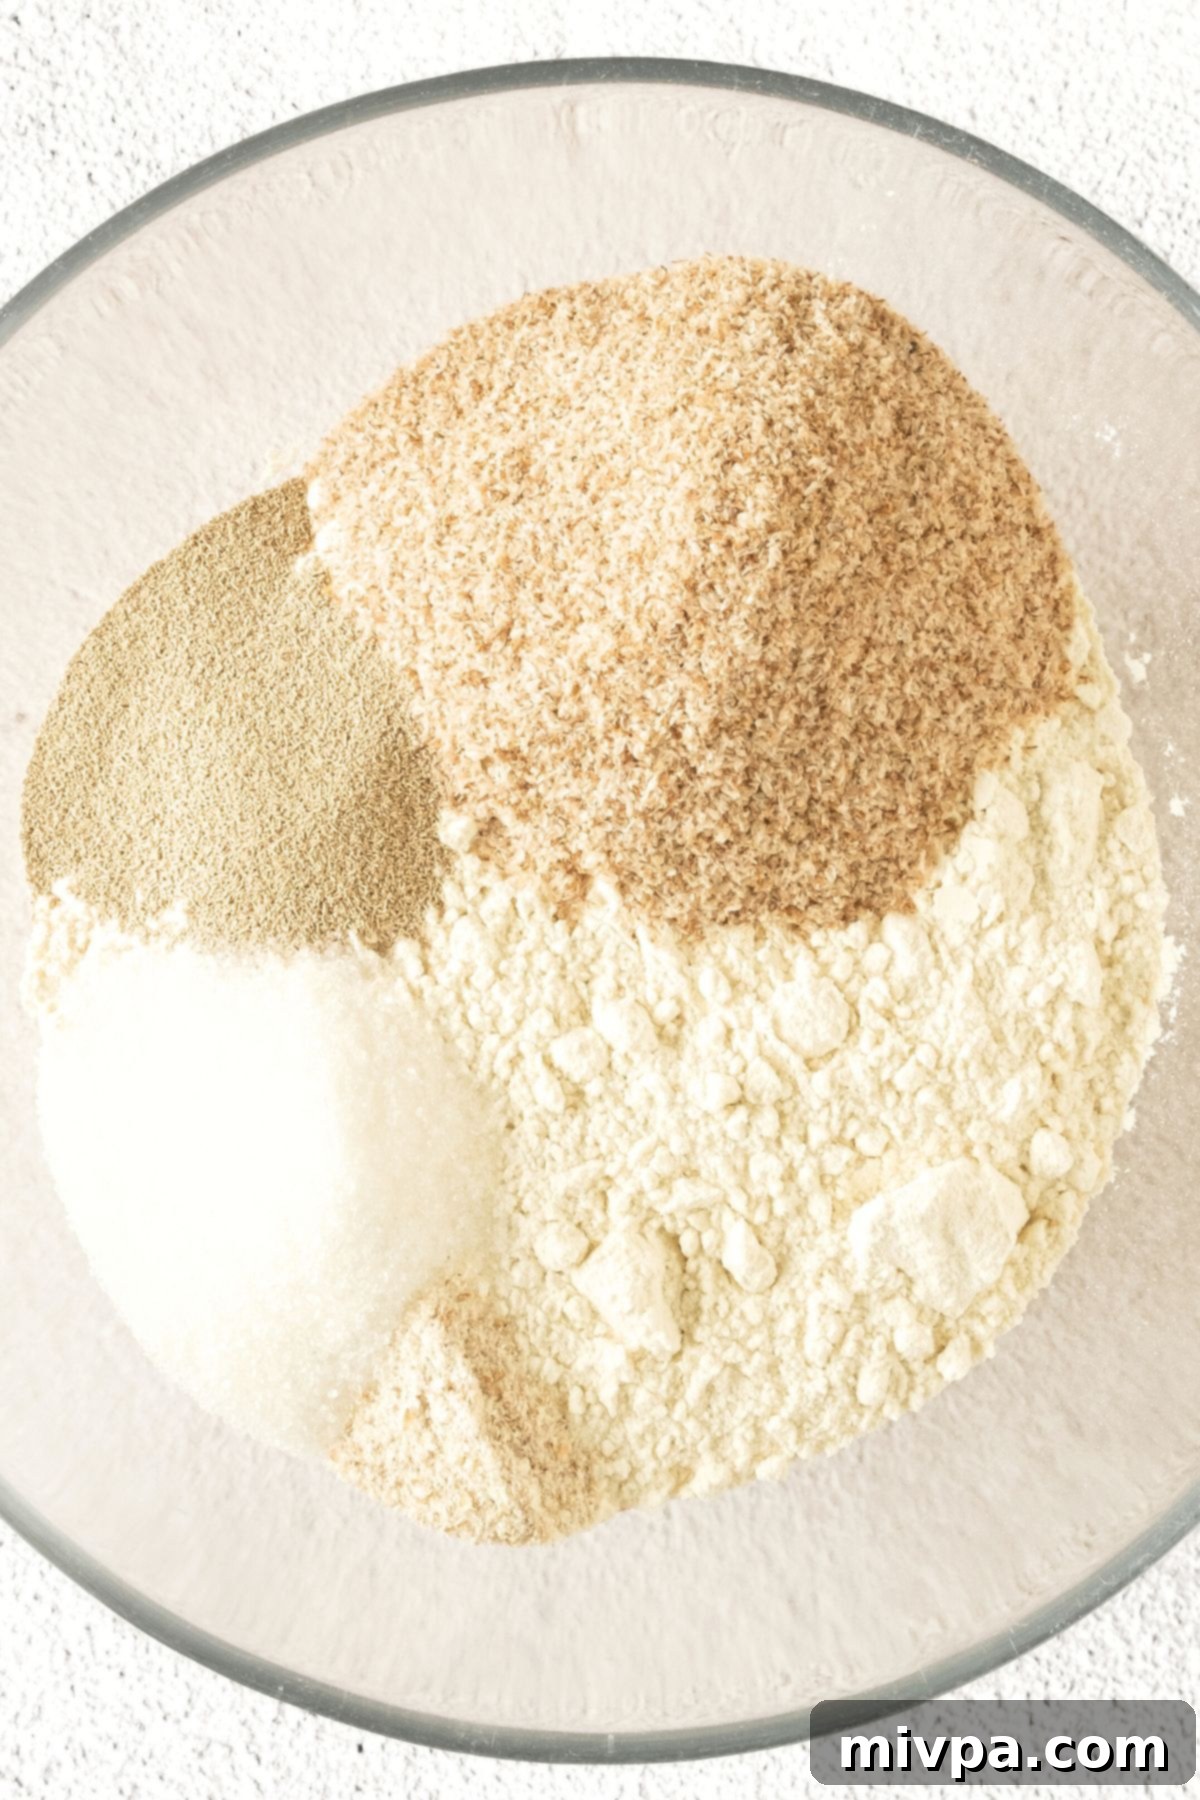
2. Combine the Dry Ingredients
In a large mixing bowl, meticulously combine the gluten-free all-purpose flour, xanthan gum (remember to omit if your flour blend already contains it), baking powder, psyllium husk powder, instant dry yeast, sugar, and salt. Whisk these dry ingredients together thoroughly to ensure they are evenly distributed, which is key for a consistent rise and texture.
3. Incorporate the Wet Ingredients
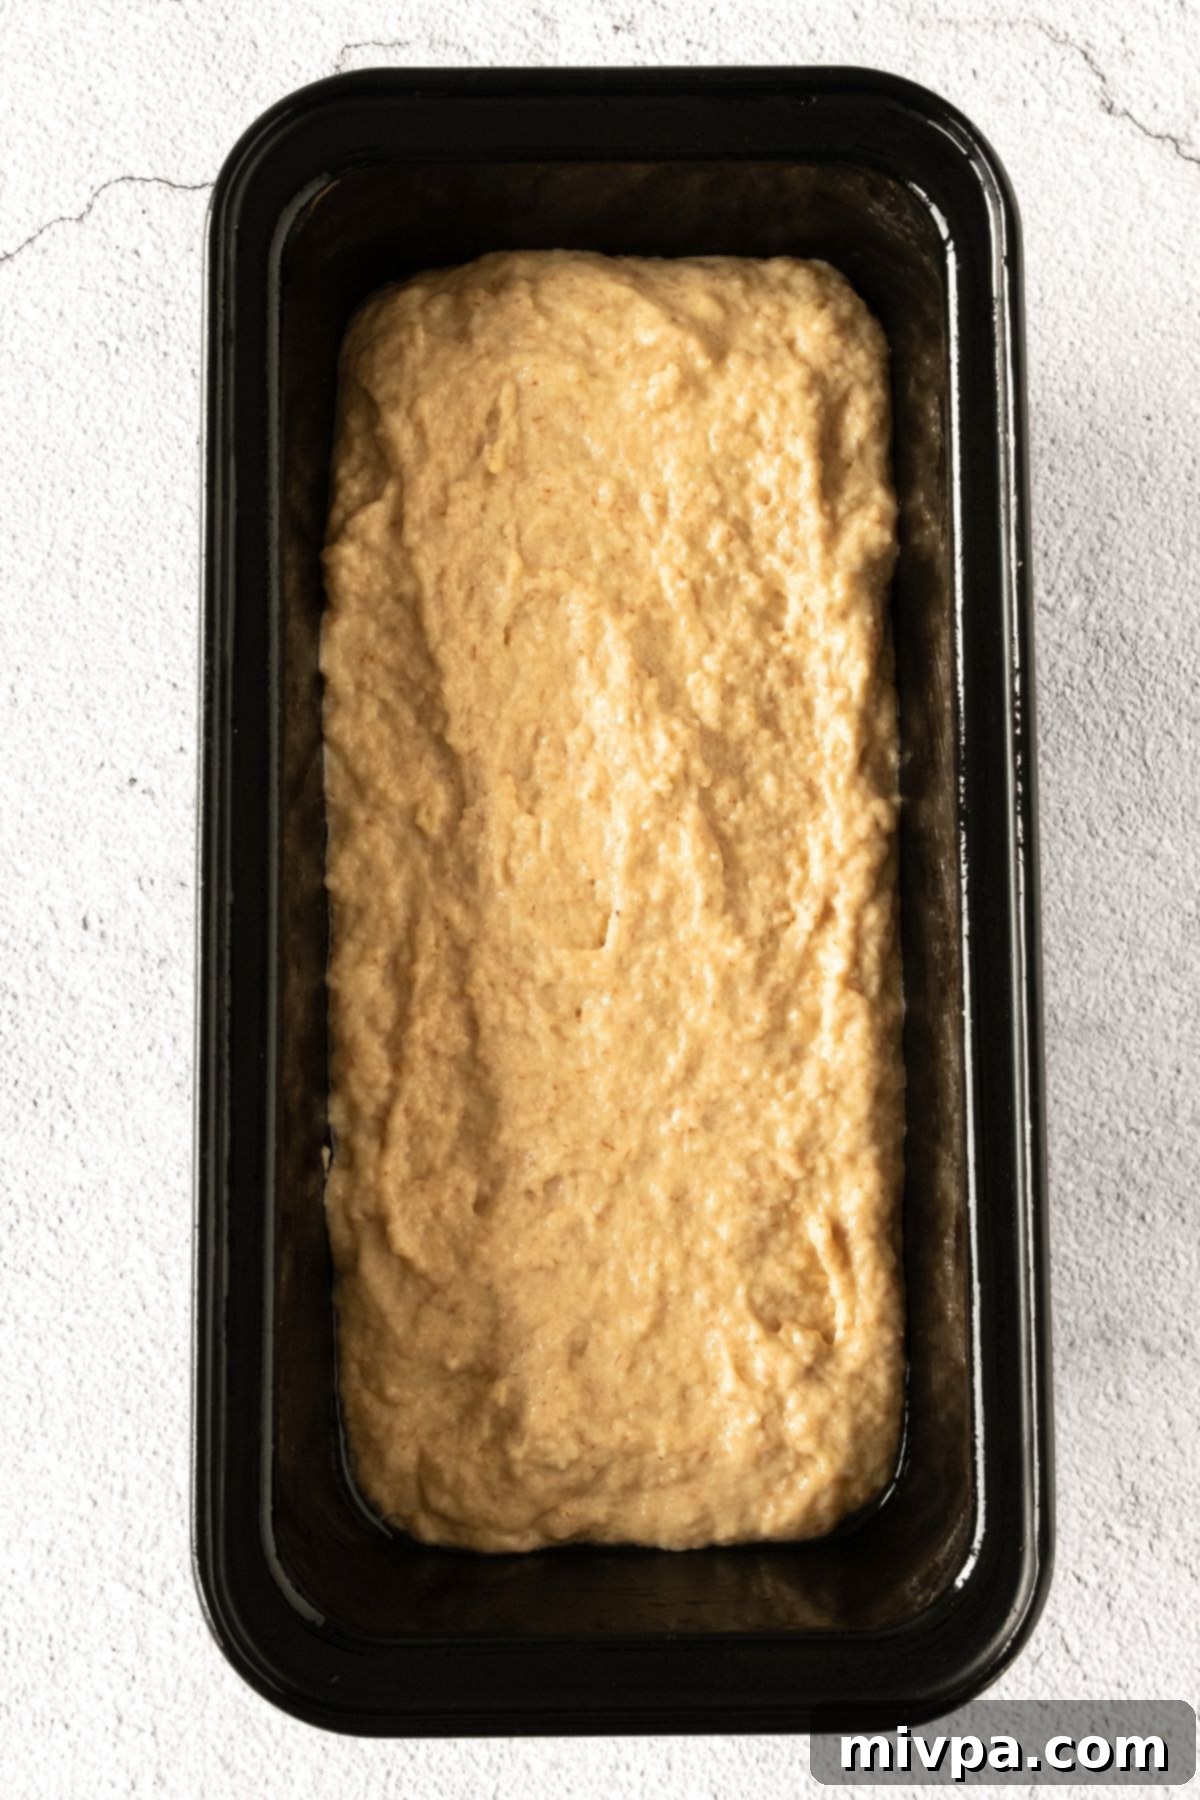
To the bowl containing your dry mixture, add the gluten-free beer (at room temperature), the beaten eggs (also at room temperature for better incorporation), and the vegetable oil. Mix everything together well until you achieve a wet, somewhat shaggy dough. The consistency should be thick and resemble a rich cake batter rather than a traditional kneadable bread dough.
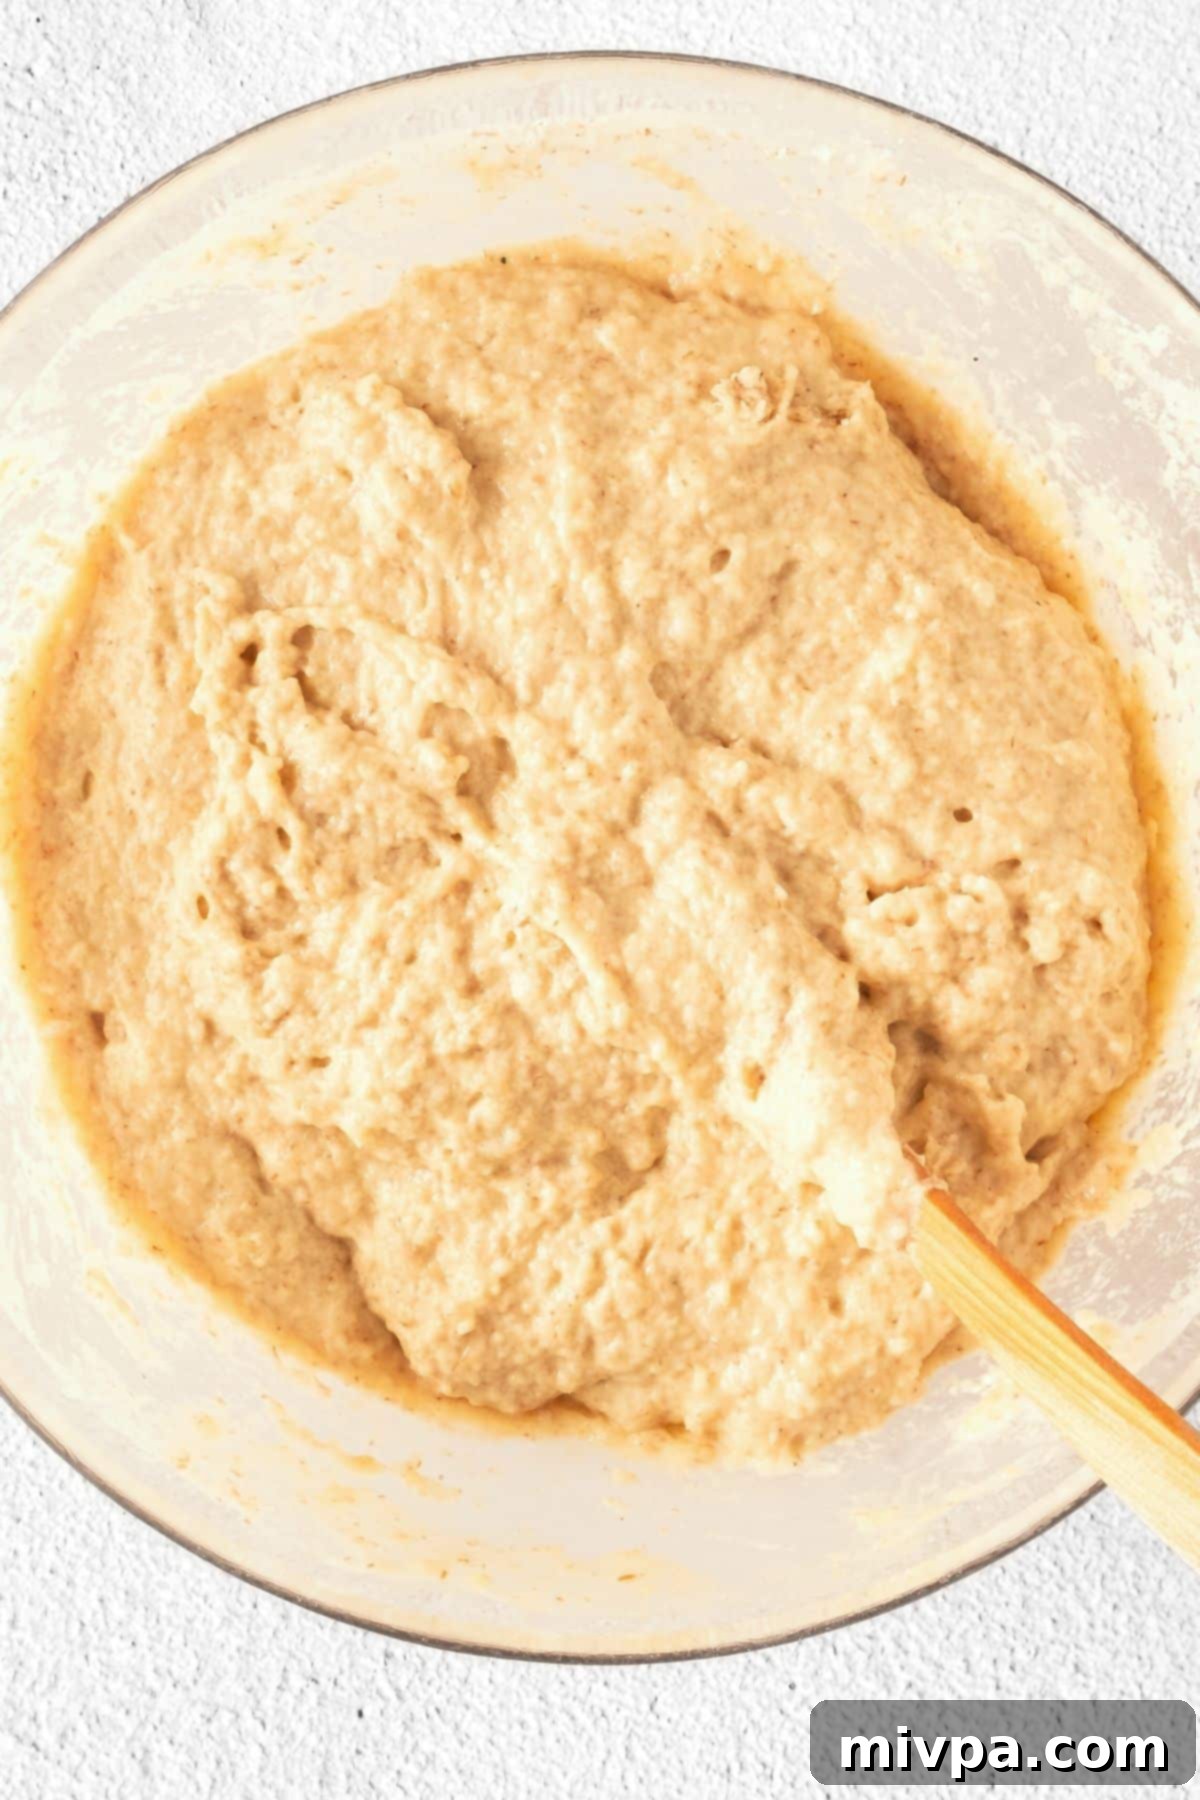
4. Transfer Dough to the Loaf Pan
Carefully transfer the prepared gluten-free bread dough into your greased (or parchment-lined) loaf pan. Spread it evenly to ensure a consistent bake.
5. Allow the Dough to Rise
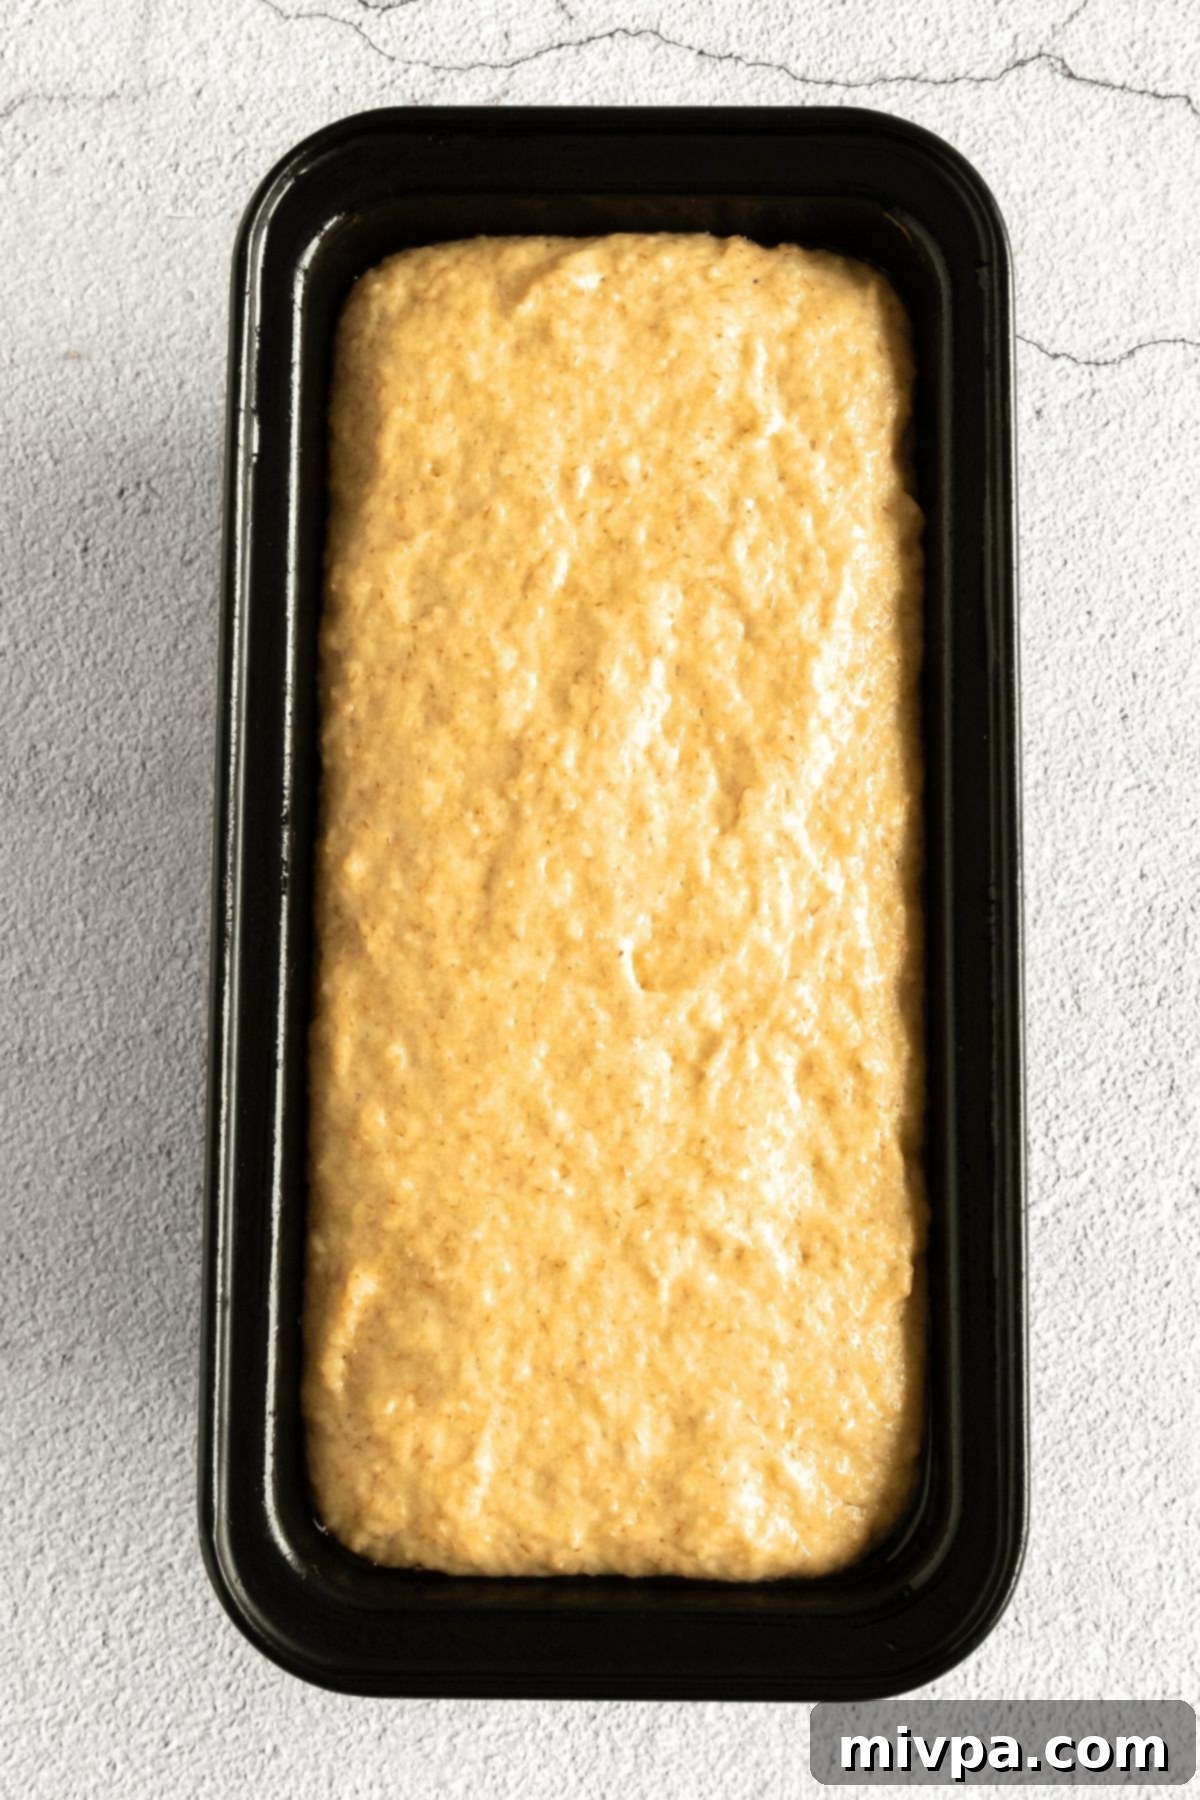
Cover the pan loosely with a clean kitchen towel. Place the pan in a warm, draft-free area of your kitchen to allow the dough to rise. It should approximately double in size, which typically takes about 30 minutes. It’s important not to let the dough rise too much higher than the top of the pan, as overproofing can lead to collapse during baking.
6. Preheat Your Oven
While your dough is busy rising, take this time to preheat your oven to 350°F (175°C). Ensuring your oven is at the correct temperature before the bread goes in is crucial for an even bake and a good rise.
7. Bake to Golden Perfection
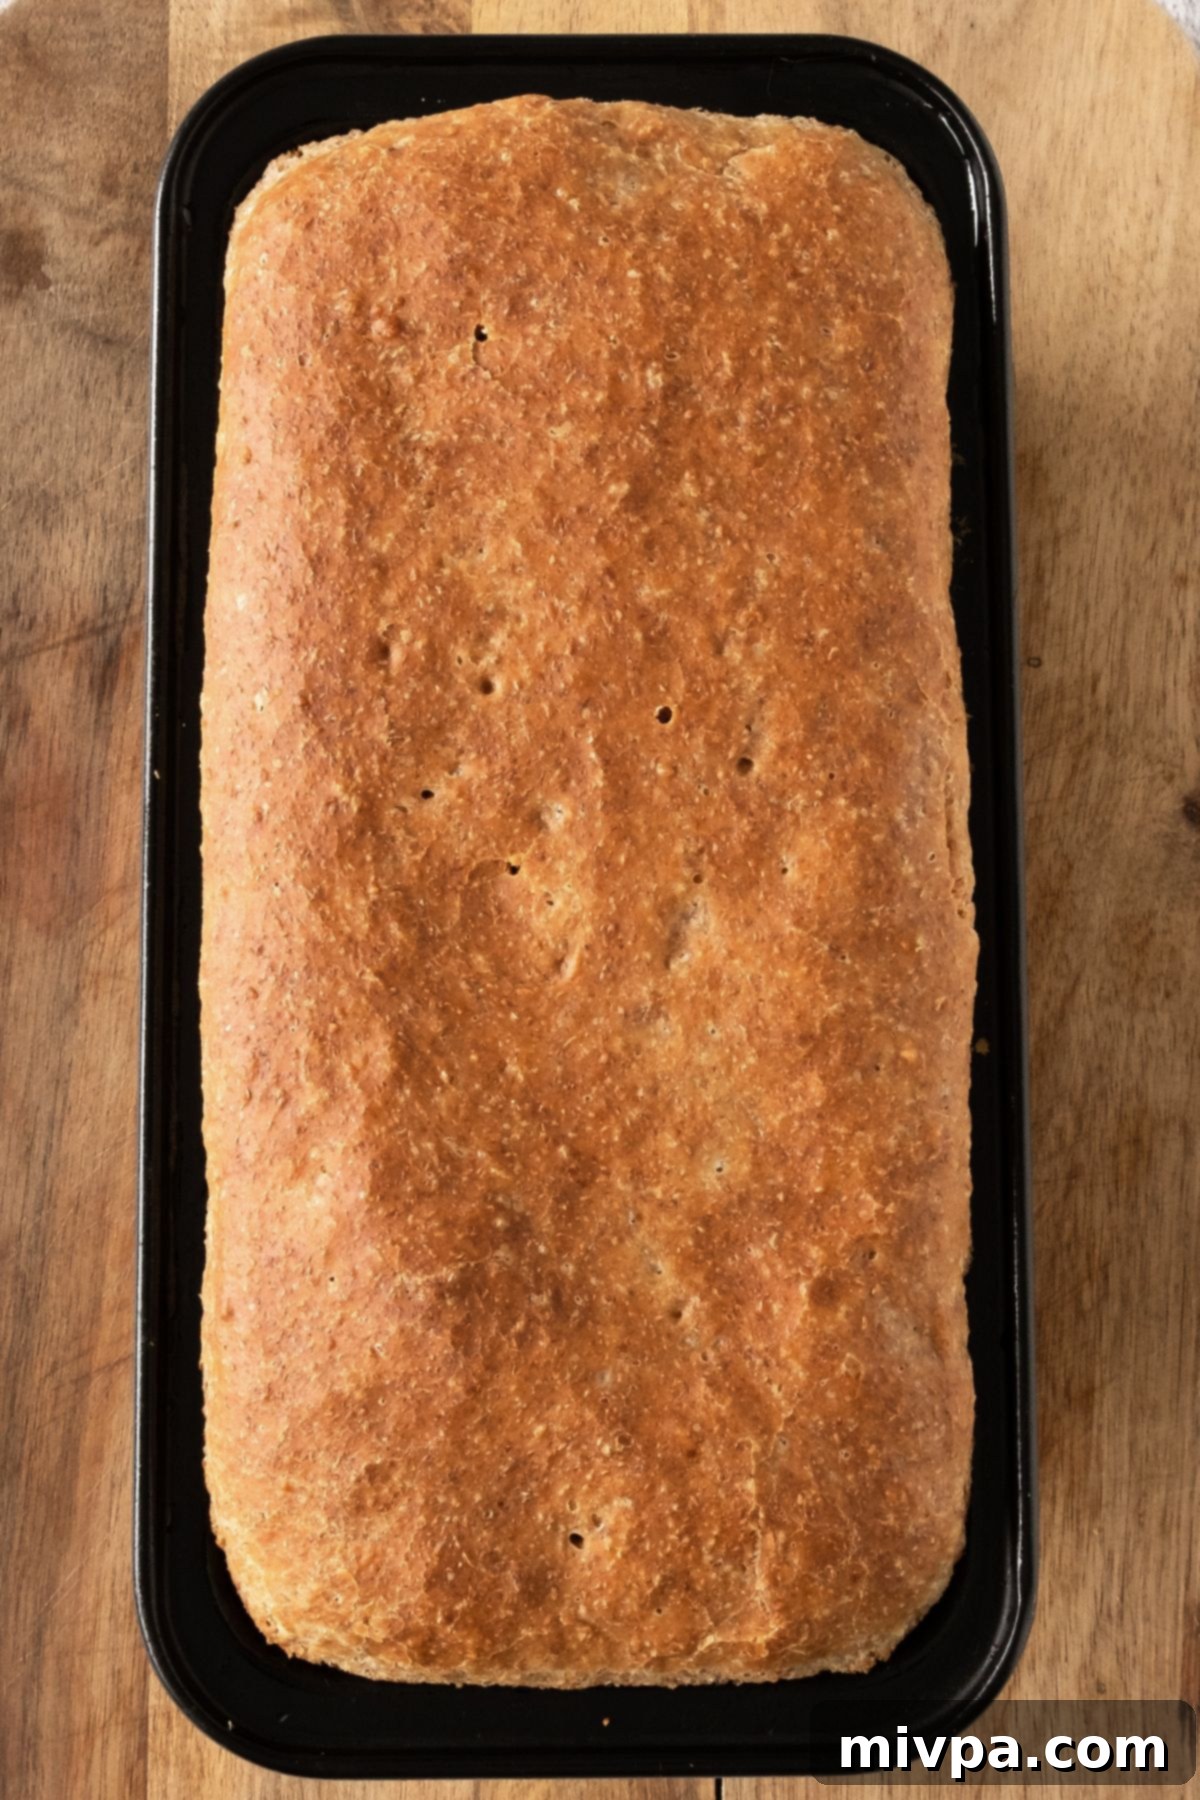
Once your dough has impressively doubled in size, carefully place the loaf pan into the preheated oven. Bake for approximately 60 minutes, or until the loaf achieves a beautiful golden brown color on top and sounds hollow when gently tapped on the bottom. This hollowness indicates it’s cooked through. Once baked, remove the loaf pan from the oven.
8. Allow to Cool Completely Before Slicing
This step is absolutely critical for the best texture! It’s very important to let the gluten-free loaf cool for at least 30 minutes (or even longer) in the pan on a wire rack before attempting to remove it and slice. This seemingly simple step allows the internal cooking process to complete with residual heat, preventing a gummy texture in the middle of your delicious loaf. Patience here will be rewarded!
Dish by Dish Tips & Tricks for Perfect Beer Bread
- Opt for a Metal Loaf Pan: For the most consistent and best results, I strongly recommend using a metal loaf pan. Metal is an excellent conductor of heat, distributing it more efficiently and evenly than glass or ceramic pans. This ensures your bread bakes thoroughly from all sides, leading to a superior crust and crumb.
- Exciting Optional Add-Ins: If you enjoy a little extra texture and nutritional boost in your bread, feel free to get creative! You can mix in up to 1 cup of various mixed seeds such as pumpkin seeds, sunflower seeds, flax seeds, or chia seeds into the dough. Nuts like chopped walnuts or pecans would also be delicious, adding a delightful crunch and nutty flavor.
- Boost the Fiber Content: To increase the fiber in your loaf, you can easily substitute up to 1 cup of the gluten-free all-purpose flour with a higher-fiber gluten-free flour. Excellent choices include brown rice flour, buckwheat flour, sorghum flour, teff flour, or millet flour. Just remember that these flours can absorb liquids differently, so be prepared to slightly adjust the liquid content if needed to maintain the correct dough consistency.
- Avoid Overproofing Your Dough: For gluten-free yeast breads, paying close attention to the visual rise of the dough is more important than strictly adhering to a set time. In my experience, approximately 30 minutes is usually sufficient for this dough to roughly double in size. However, this can vary based on your local humidity and ambient temperature – you might need a bit longer during colder winter months or in drier climates. Crucially, ensure the dough does not rise significantly higher than the top of the pan. Overproofing can lead to the dough collapsing once baked, resulting in a dense, disappointing loaf.
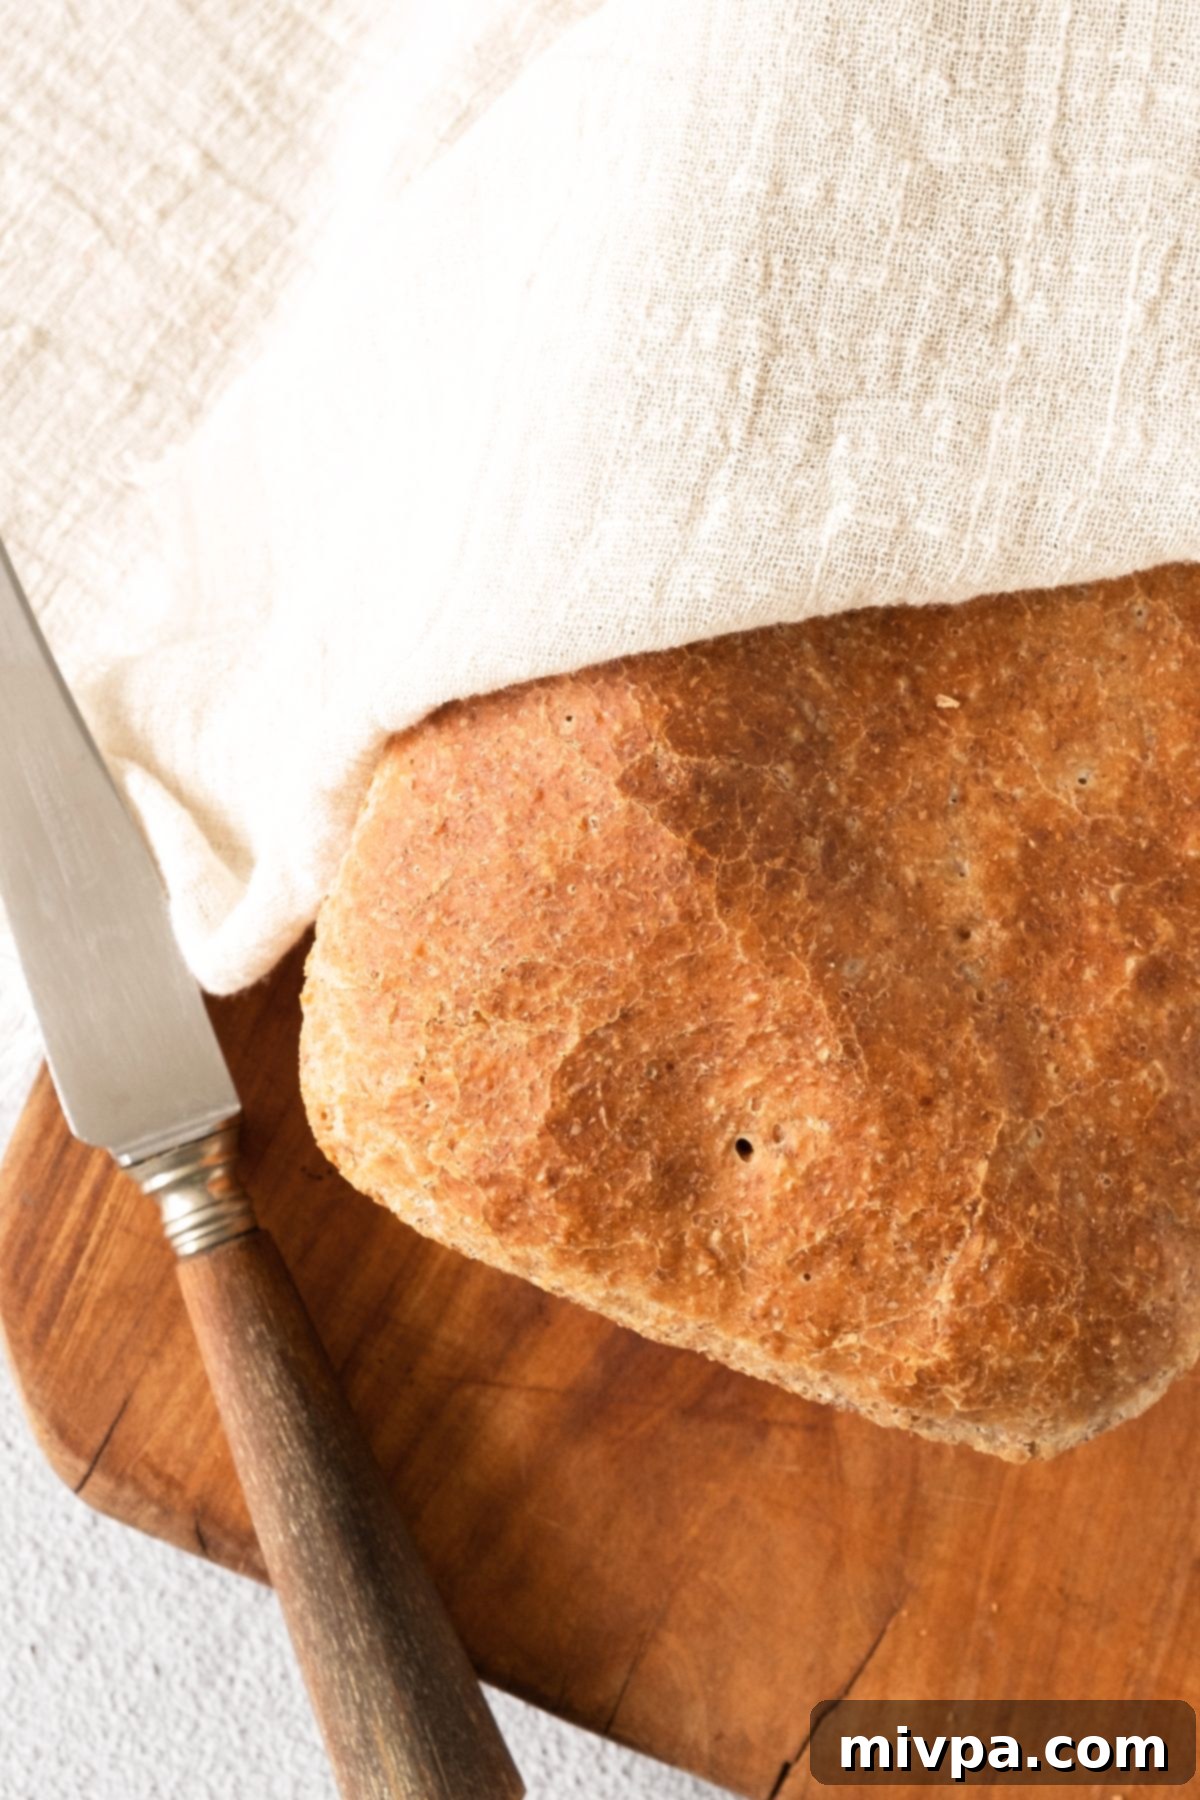
- Cool Completely Before Slicing: This cannot be stressed enough – it is paramount for achieving the best possible texture! You absolutely MUST let the gluten-free bread cool fully before attempting to slice into it. Even after removing the loaf from the oven, the interior continues to cook and set with the residual heat from baking. Slicing too early will disrupt this process, often resulting in a gummy or overly moist texture in the center of the loaf. Patience is a virtue here, leading to perfectly structured slices.
- Use a Serrated Knife for Slicing: For the cleanest cuts and to preserve the soft texture of your homemade gluten-free beer bread, always use a serrated bread knife (a knife with a saw-like, ridged edge). A smooth-edged knife tends to compress and flatten soft bread as you cut it, whereas a serrated knife gently saws through the crust and crumb without squishing it.
Frequently Asked Questions About Gluten-Free Beer Bread
To keep your freshly baked gluten-free beer bread as fresh as possible, allow it to cool completely first. Then, either wrap the cooled loaf tightly in several layers of plastic wrap or place it inside an airtight container. Store it in the refrigerator for up to 1 week. This will help maintain its softness and prevent it from drying out.
Absolutely, this bread freezes beautifully! For best results, I recommend slicing the cooled loaf into even slices before freezing. This way, you can easily thaw individual slices as needed, preventing waste. Wrap the entire sliced loaf (or individual slices) in multiple layers of plastic wrap, then place it in a freezer-safe bag. It can be stored in the freezer for up to 2 months. To enjoy, simply thaw slices at room temperature or toast directly from frozen.
While I personally do not own a bread machine, the characteristics of this dough suggest it should work well in one. If your bread machine has a “gluten-free bread” setting, I believe you should be able to adapt this recipe for use in a breadmaker. Follow your machine’s instructions for the specific order of wet and dry ingredients and select the appropriate gluten-free cycle.
Explore More of Our Favorite Gluten-Free Yeast Breads
- Soft Gluten-Free White Bread (Dairy-Free)
- Easy Potato Bread (Gluten-Free, Dairy-Free)
- Fluffy Buckwheat Bread (Gluten-Free, Dairy-Free)
- Sorghum Bread (Gluten-Free, Dairy-Free)
- Teff Bread (Gluten-Free, Dairy-Free)
- 21 Fluffy Yeast Breads to Make on Repeat
Other Delicious Gluten-Free Bread Recipes to Bake
- Gluten-Free Chocolate Chip Pumpkin Bread (Dairy-Free)
- Easy Gluten-Free Drop Biscuits (Dairy-Free)
- Gluten-Free Vegan Bagels (Chewy and Tender!)
- Egg-Free Gluten-Free Bread (So Tender!)
P.S. If you try this recipe, I’d love for you to leave a star rating below, and/or a review in the comment section further down the page. I always appreciate your feedback. Be sure to check out my entire Recipe Index for all the recipes on the blog. You can also follow me on Pinterest, Facebook or Instagram! Sign up for my Email List to get fresh recipes in your inbox each week!
Print

Fluffy Gluten-Free Beer Bread (Dairy-Free)
5 Stars 4 Stars 3 Stars 2 Stars 1 Star
4.5 from 2 reviews
Author: Felicia Lim
Total Time: 1 hour 40 minutes
Yield: 12 slices
Diet: Gluten Free
Description
Soft, fluffy and tender, this gluten-free beer bread is delicious toasted with butter and jam, or for making sandwiches! Totally dairy-free too! Go bake a batch to enjoy homemade gluten-free bread today!
Ingredients
Units
Scale
- 3 cups gluten-free all-purpose flour
- 3/4 teaspoon xanthan gum (omit if your gluten-free flour blend already includes it)
- 1 teaspoon baking powder
- 2 tablespoons psyllium husk powder
- 2 1/4 teaspoons (10g) instant dry yeast
- 1 tablespoon white sugar
- 1 teaspoon salt
- 1 3/4 cup (approx. 14oz) gluten-free beer, room temperature
- 2 eggs, room temperature, beaten
- 1/4 cup vegetable oil
Instructions
- Grease: Grease a 9” x 5” metal loaf pan with nonstick baking spray.
- Whisk Dry Ingredients: In a large mixing bowl, combine the gluten-free all-purpose flour, xanthan gum (if using), baking powder, psyllium husk powder, instant dry yeast, sugar and salt. Whisk well to combine.
- Add Wet Ingredients: Add the gluten-free beer, eggs and vegetable oil. Mix well until you get a wet and shaggy dough that resembles cake batter.
- Transfer Dough to Pan: Transfer the gluten-free bread dough to the previously greased loaf pan.
- Let Dough Rise: Cover the pan with a clean kitchen towel and let the dough rise until roughly doubled in size in a warm, draft-free area (approximately 30 minutes). Make sure the dough doesn’t rise more than the top of the pan.
- Preheat Oven: While dough is rising, preheat the oven to 350F.
- Bake Until Golden: Once the dough has risen to double its size, bake in the preheated oven for 60 minutes, until the loaf is golden brown on top and sounds hollow when tapped. Remove loaf pan from the oven.
- Let Cool before Slicing: It’s very important to let the loaf cool for at least 30 minutes before slicing as the inside of the loaf will continue cooking with the residual heat even after you remove it from the oven.
Notes
Gluten-Free Flour: I strongly recommend using a good-quality gluten-free all-purpose flour that is made up of lighter flours/starches (such as rice flour, tapioca starch, corn starch or potato starch) as that will result in a lighter and fluffier final texture. I do NOT recommend using a gluten-free flour blend that is made up of heavier flours (such as garbanzo bean flour) as that will result in a heavier final texture.
Xanthan Gum: Xanthan gum is the replacement for gluten in gluten-free flours and helps the ingredients to better bind together. If your gluten-free blend does not already include xanthan gum, make sure to add it in.
Baking Powder: Baking powder adds additional rise to the dough. If you are Celiac or gluten-intolerant, make sure to use certified gluten-free baking powder.
Psyllium Husk Powder: Psyllium husk powder adds elasticity and helps the bread to keep its rise. Make sure to use psyllium husk in powder form. If you only have whole psyllium husks, you can grind it with a coffee grinder until super fine.
Instant Yeast: I used instant dry yeast which does not require pre-activation for the yeast to work. If you only have active yeast, make sure to activate the yeast first (by mixing it with warm water and sugar and letting it sit in a warm place for 5 minutes until it is foamy) before adding it to the rest of the ingredients.
Sugar: The sugar is food for the yeast to feed on in order to be activated and create the air bubbles required for the dough to rise. I used white sugar, but cane sugar or brown sugar will work just as well.
Beer: I used gluten-free beer to keep this beer bread gluten-free. However, if you are not Celiac or allergic to gluten, feel free to use regular beer instead.
Eggs: Eggs help to bind the ingredients better, as well as aids in the rise of the dough. If you are allergic to eggs, or would simply prefer to keep this recipe egg-free, you can try using acquafaba or an egg-replacer.
Oil: I like using sunflower oil because I always have a bottle of it on hand. However, you can also use another other type of vegetable oil (such as canola oil, olive oil, avocado oil etc).
Storing/Freezing: To store, cover the cooled gluten-free beer bread with plastic wrap or place it in an airtight container and store in the refrigerator for up to 1 week. To freeze, cover the loaf with various layers of plastic wrap and freeze for up to 2 months in the freezer. (I recommend slicing the loaf into even slices before freezing so you can thaw slices as necessary).
- Prep Time: 10 mins
- Rising Time: 30 mins
- Cook Time: 60 mins
- Category: Bread
- Method: Baking
- Cuisine: Western
