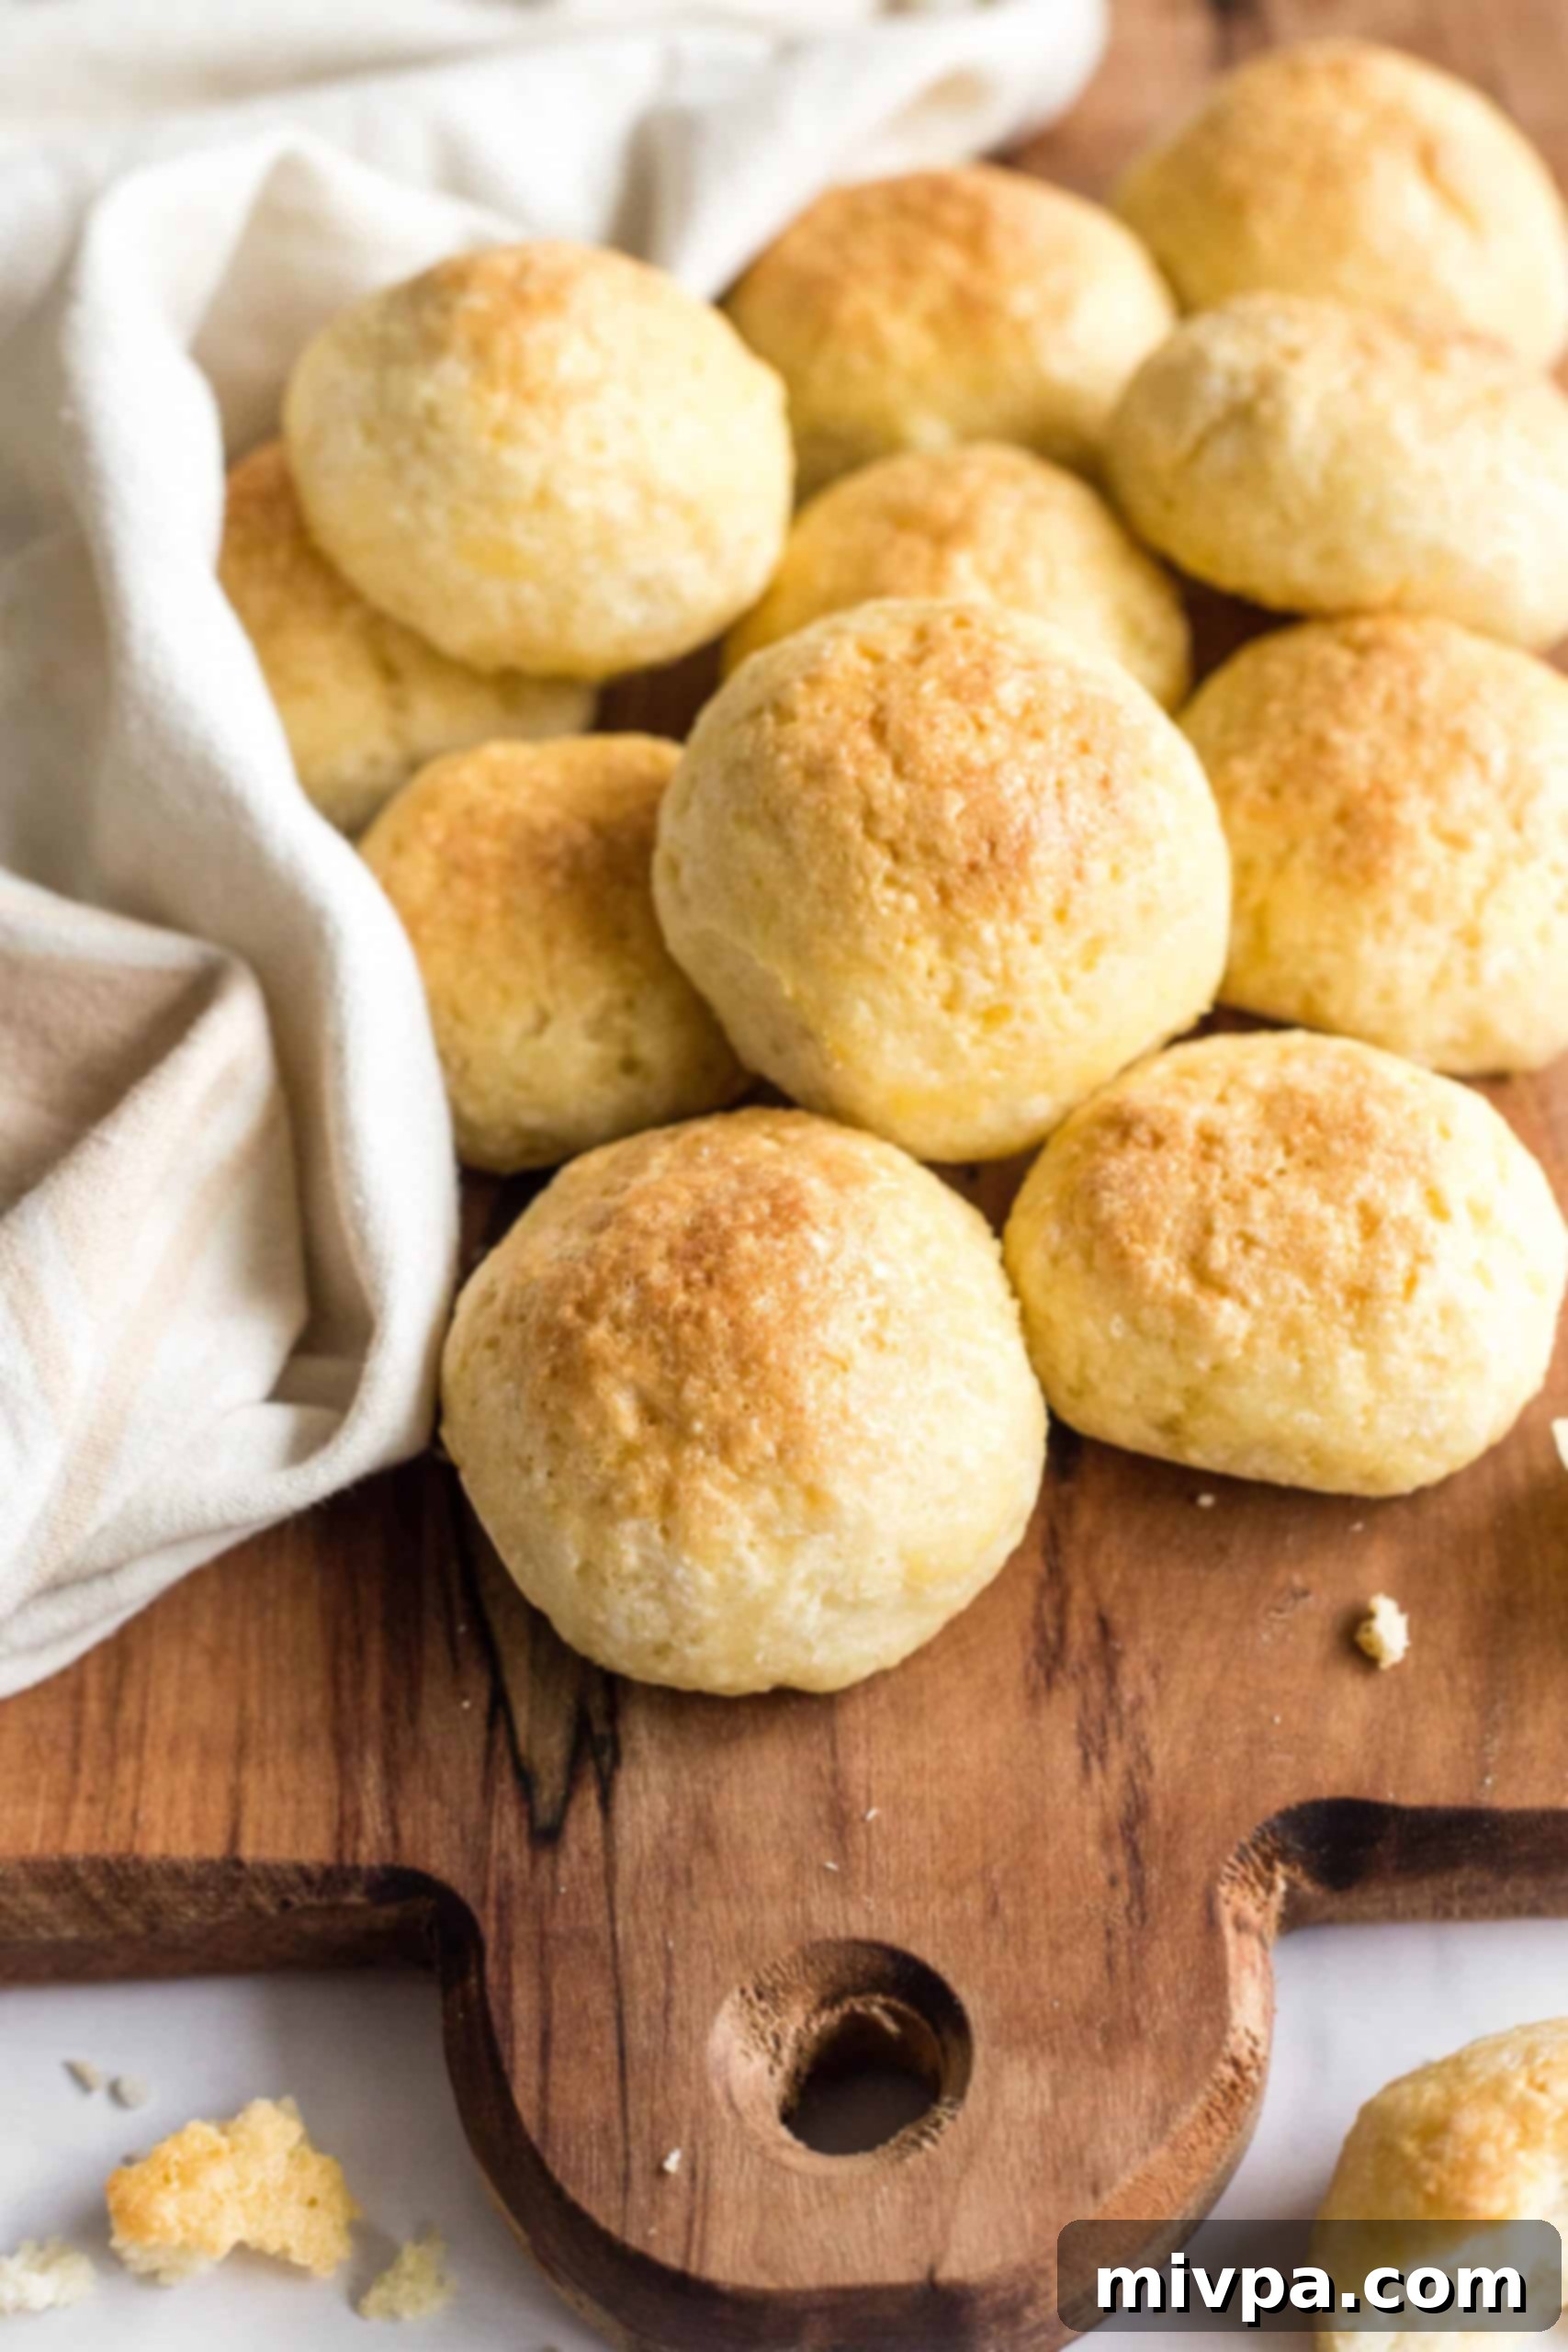
Soft & Fluffy Gluten-Free Dinner Rolls: An Easy, Dairy-Free Recipe for Every Occasion
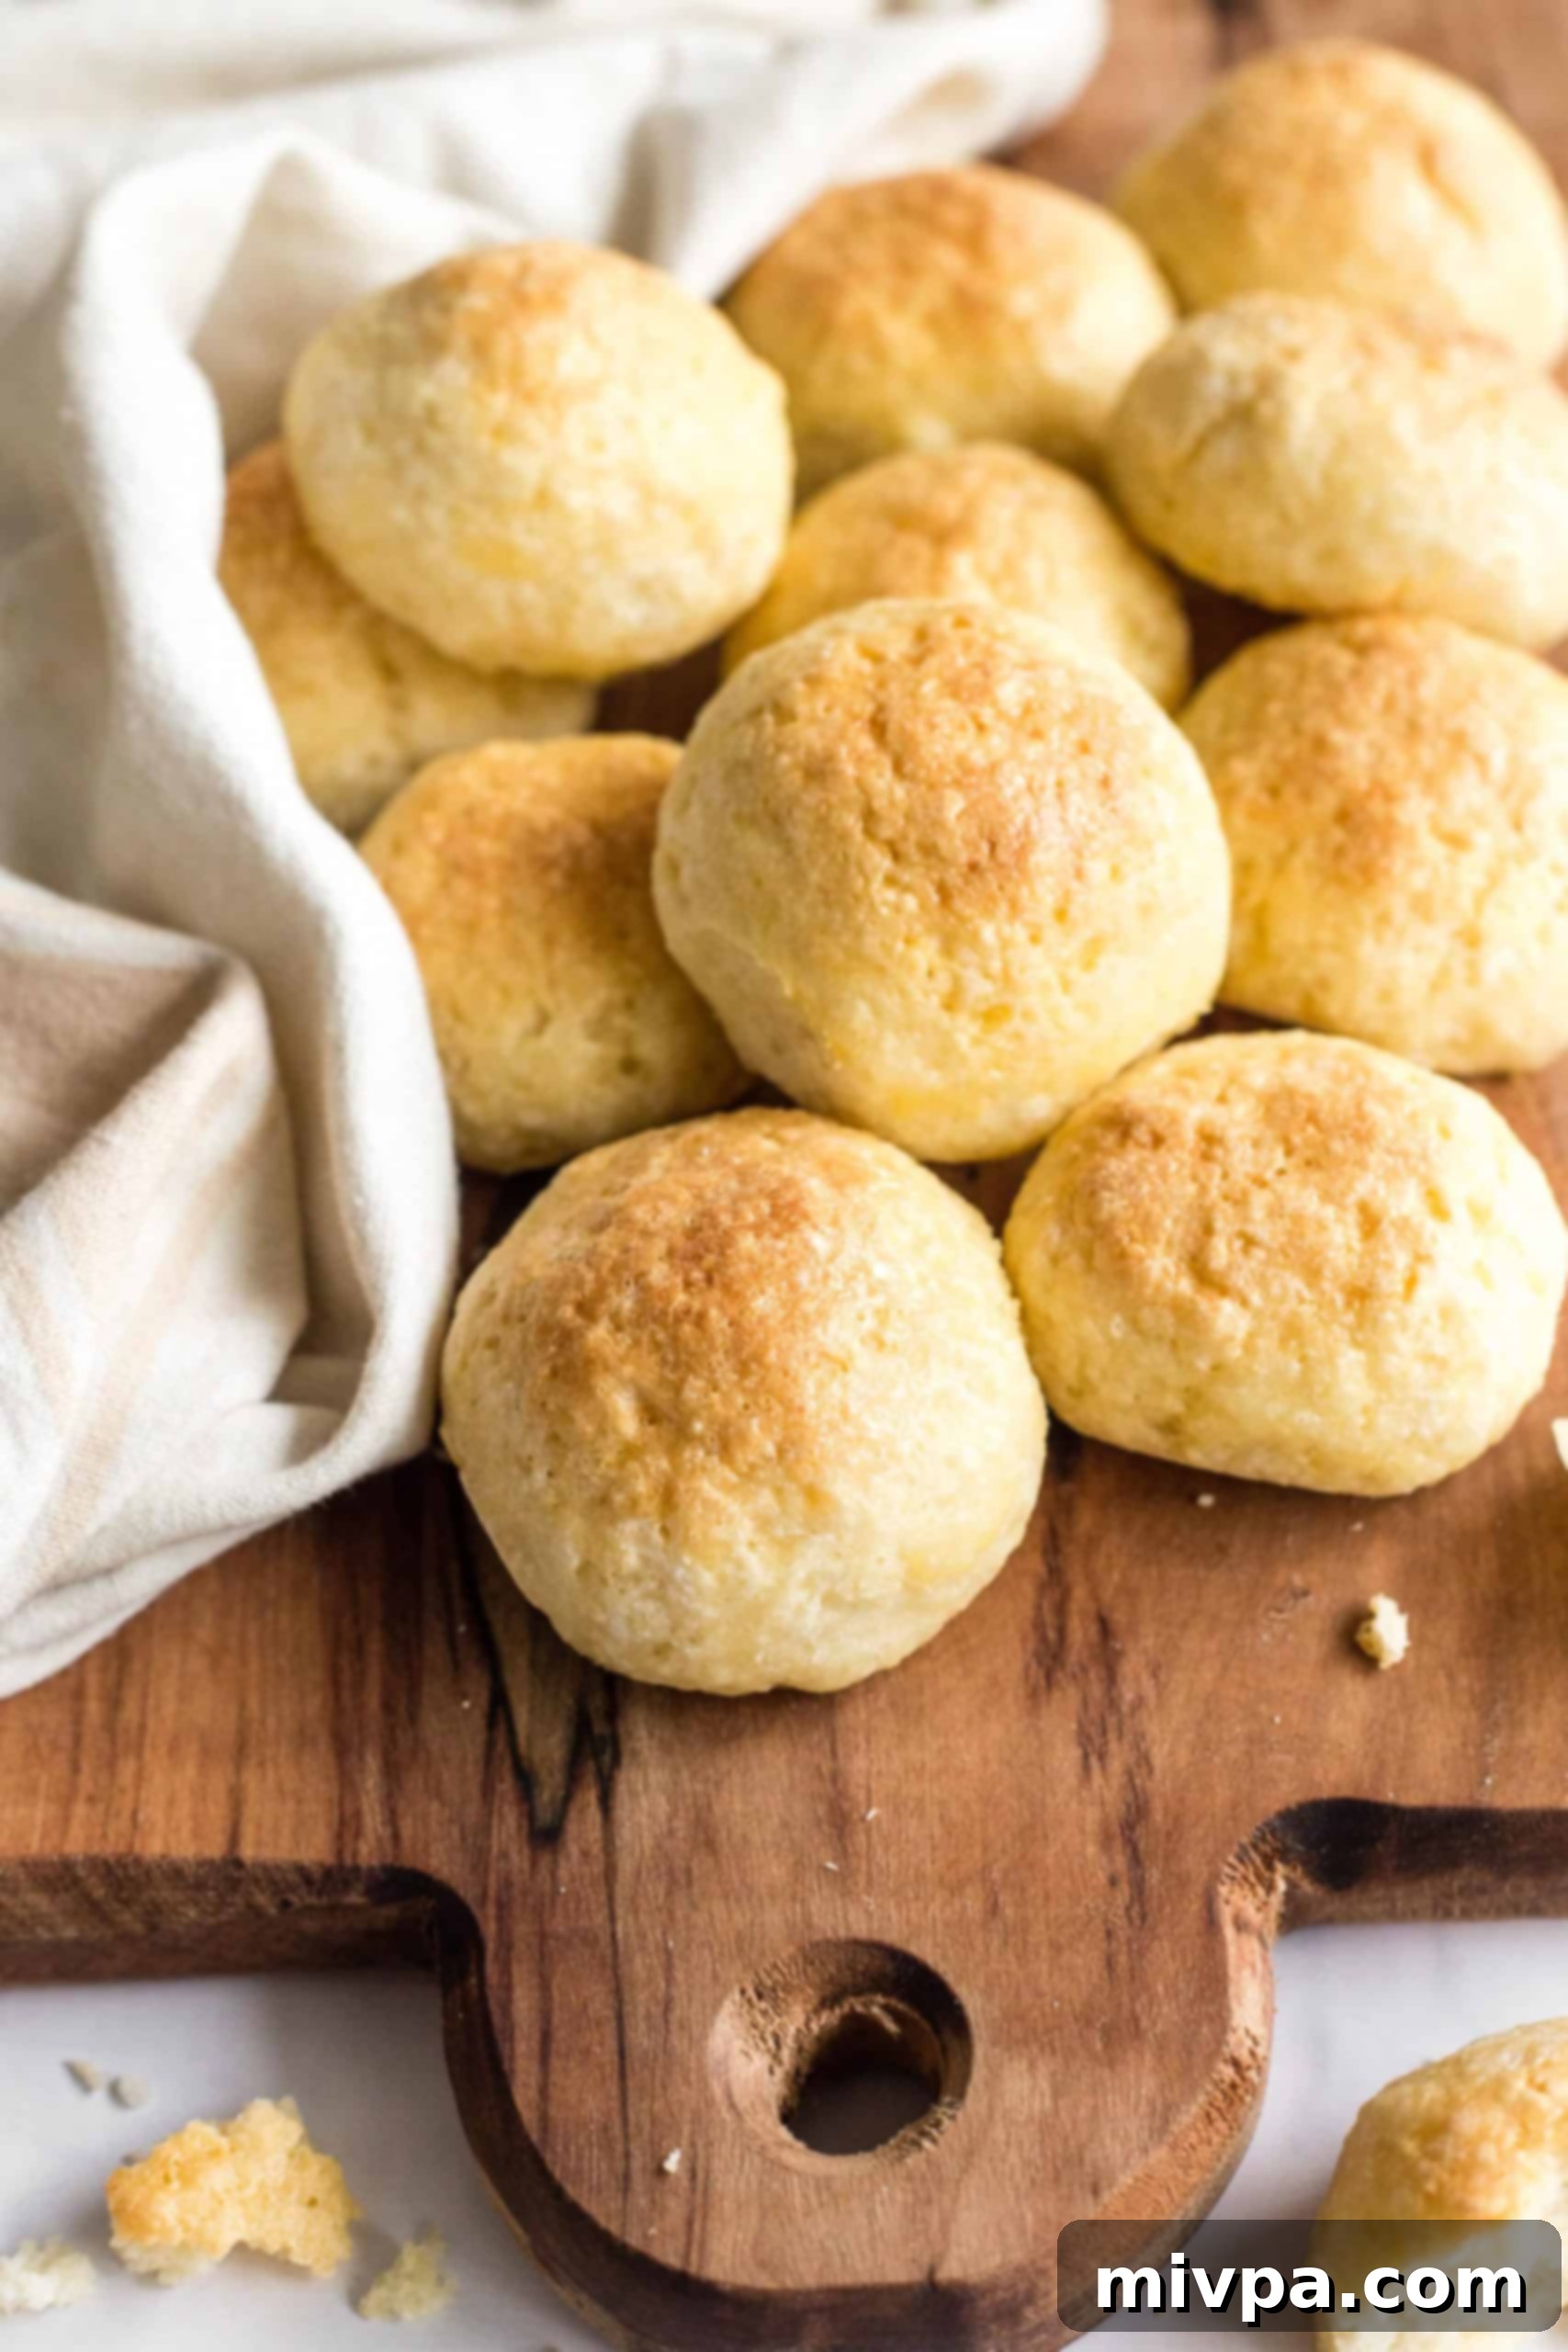
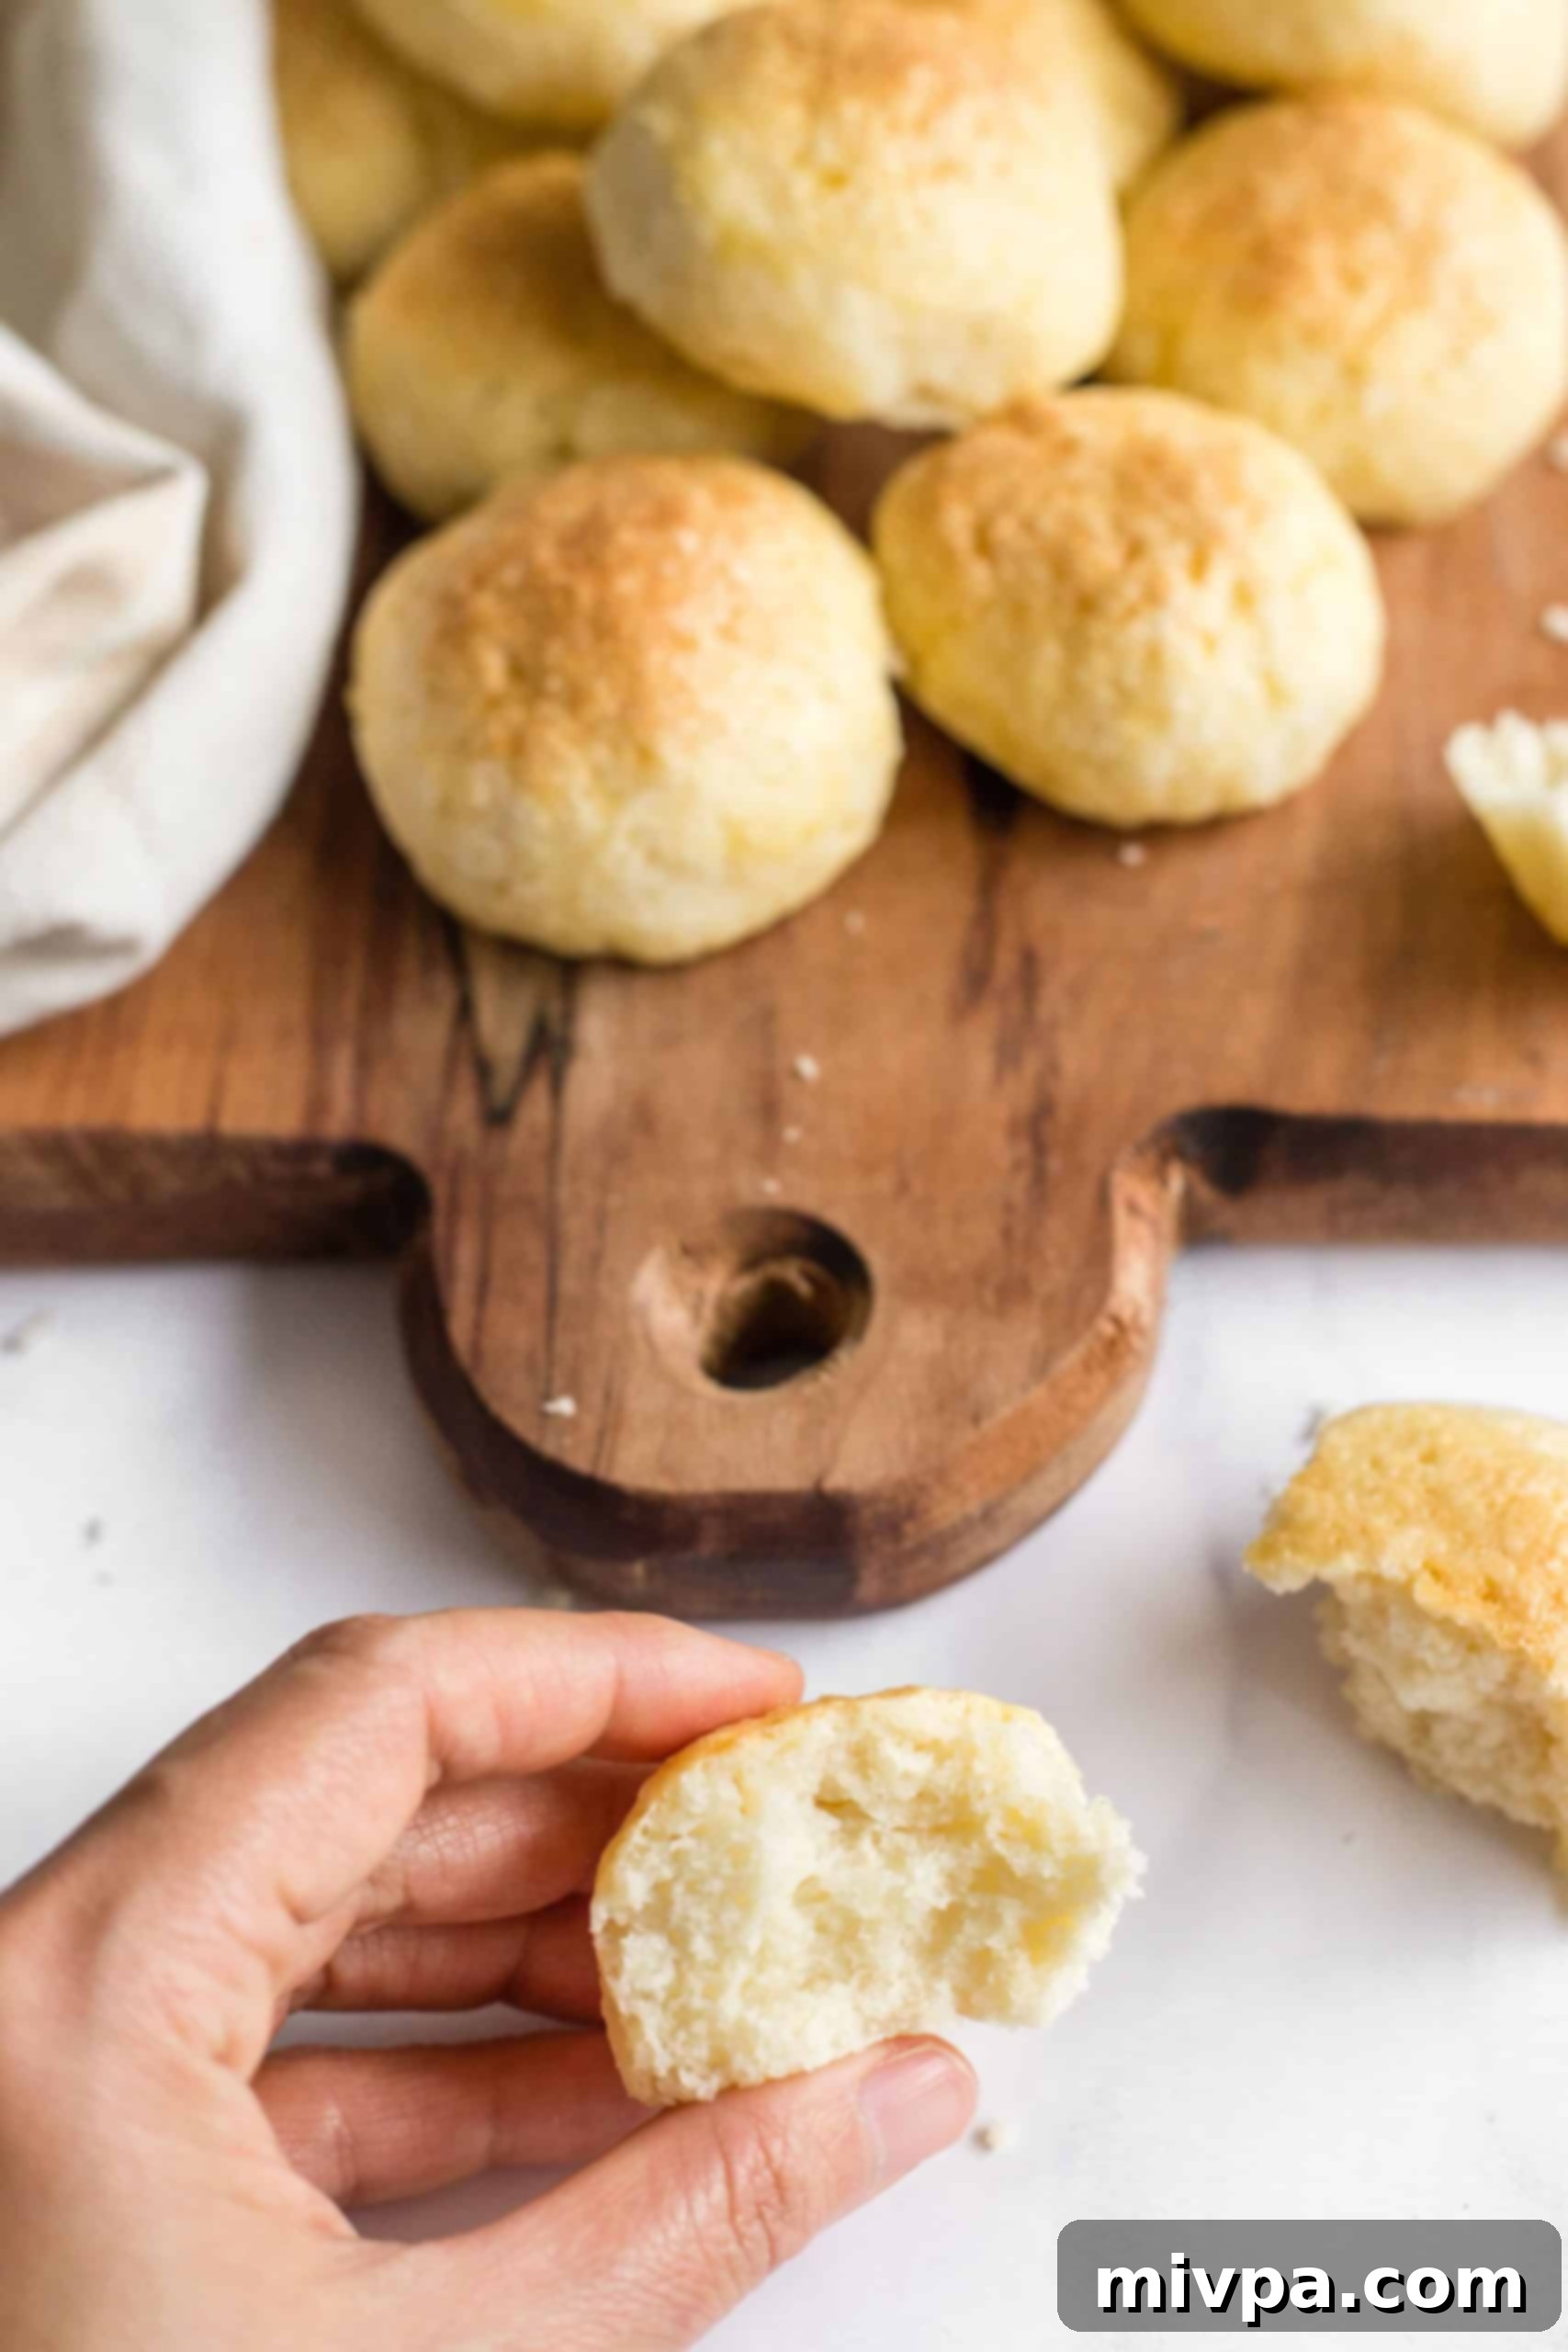
Imagine biting into a warm, tender dinner roll, perfectly golden and incredibly fluffy, yet completely gluten-free and dairy-free. These soft gluten-free dinner rolls are not just easy to make – requiring absolutely no kneading – but they also turn out perfect every single time! Whether you’re preparing for a Thanksgiving feast, a cozy holiday gathering, or simply craving the comfort of homemade bread, this recipe will quickly become your go-to. Enjoy them with a dollop of butter (dairy-free, of course!), a drizzle of olive oil, or simply on their own – they’re that good!
[feast_advanced_jump_to]
My Journey to Baking the Perfect Homemade Gluten-Free Bread
For the better part of this past year, I’ve embarked on a delightful culinary adventure, dedicating countless hours to exploring and perfecting gluten-free bread recipes. My kitchen has been a bustling bakery, constantly filled with the aroma of freshly baked loaves and rolls. This passion has led me to develop several recipes that my husband, Juan, and I absolutely adore and incorporate regularly into our meals.
From the simplicity of gluten-free no-knead bread, which proves that delicious bread doesn’t require complex techniques, to the versatility of easy gluten-free naan bread, perfect for dipping or wraps. We’ve savored the aromatic rosemary focaccia bread, and embraced the everyday comfort of soft, fluffy gluten-free sandwich bread.
You could say I’ve truly been on a “bread roll” – pun absolutely intended! This extensive experimentation has also given rise to a collection of yeast bread recipes that I am incredibly proud of, many of which have become absolute favorites among readers of this blog. These include our much-loved soft buckwheat bread, the wonderfully light fluffy brown rice bread, the delightful sorghum bread, and this charming yeast quinoa bread. Each recipe is a testament to the fact that gluten-free baking can be just as delicious and satisfying as its traditional counterparts.
The Obsessive Quest for Perfect Gluten-Free Yeast Rolls
Amidst all this bread baking, one particular goal stood out: to create the perfect gluten-free dinner rolls. My mission was clear – to develop a roll recipe that was genuinely soft, light, and fluffy, mirroring the texture and appearance of a traditional white bread roll. I wanted to move beyond the common gluten-free dilemma of dense, hard rolls that feel more like a prop for a game of ping-pong than a delightful side dish.
The journey was anything but smooth. I honestly can’t count the number of failed roll recipes that went straight into the compost bin, nor the endless packets of yeast I purchased and dedicated to these countless experiments. There were moments of frustration, doubt, and almost giving up, but the vision of a truly perfect gluten-free roll kept me going. I was determined to prove that a soft, airy roll was achievable for everyone, regardless of dietary restrictions.
At Long Last – A Breakthrough Roll Recipe that Works Wonders!
This culinary obsession spanned several months, marked by countless recipe notes, scribbled amendments, and numerous batches of rolls that either didn’t rise, were too crumbly, or simply ended up in the bin shortly after coming out of the oven. While some batches were “passable,” none were truly exceptional enough to share with you, my valued readers.
Until now. I am absolutely ecstatic and want to shout this joyous news from the rooftops! I am beyond thrilled to finally share this incredible recipe for what I confidently declare are the best gluten-free dinner rolls ever!
This breakthrough means that at your next holiday meal – be it Thanksgiving, Christmas, or Easter – everyone at the table, including those of us following a gluten-free diet, can finally savor a truly fluffy, tender, and delicious bread roll. No more feeling left out or settling for subpar alternatives!
If my excitement is palpable, it’s because it truly is! After more than half a year of relentless recipe-testing and refining, I have finally perfected THE RECIPE that is unequivocally worth sharing with you. Get ready to experience gluten-free rolls like never before!
The Secret to Success: Why This Gluten-Free Roll Recipe Stands Out
You might be wondering what makes these particular gluten-free dinner rolls so special, especially after hearing about my long quest. Here’s why this recipe truly works wonders and why it will become your new favorite:
- Remarkably Easy to Make: Despite the reputation that gluten-free baking can be challenging, this is genuinely one of the simplest bread recipes I’ve ever created. You absolutely do not need to be an experienced gluten-free baker to achieve perfect results. The steps are straightforward, making it ideal for beginners and seasoned bakers alike.
- Minimal Hands-On Time: Forget spending hours in the kitchen! Making these incredible gluten-free bread rolls requires only about 15 minutes of active, hands-on time. This includes mixing the ingredients and the often-tricky process of shaping the dough, which we’ve simplified to ensure efficiency and ease.
- Quick & No-Knead Rise Time: A common hurdle with yeast breads is the long proofing period. Not with this recipe! Once shaped, the dough only needs a single, short 30-minute rise. That’s right – no kneading required! After this quick rise, they go straight into the hot oven, delivering fresh rolls in record time compared to traditional methods.
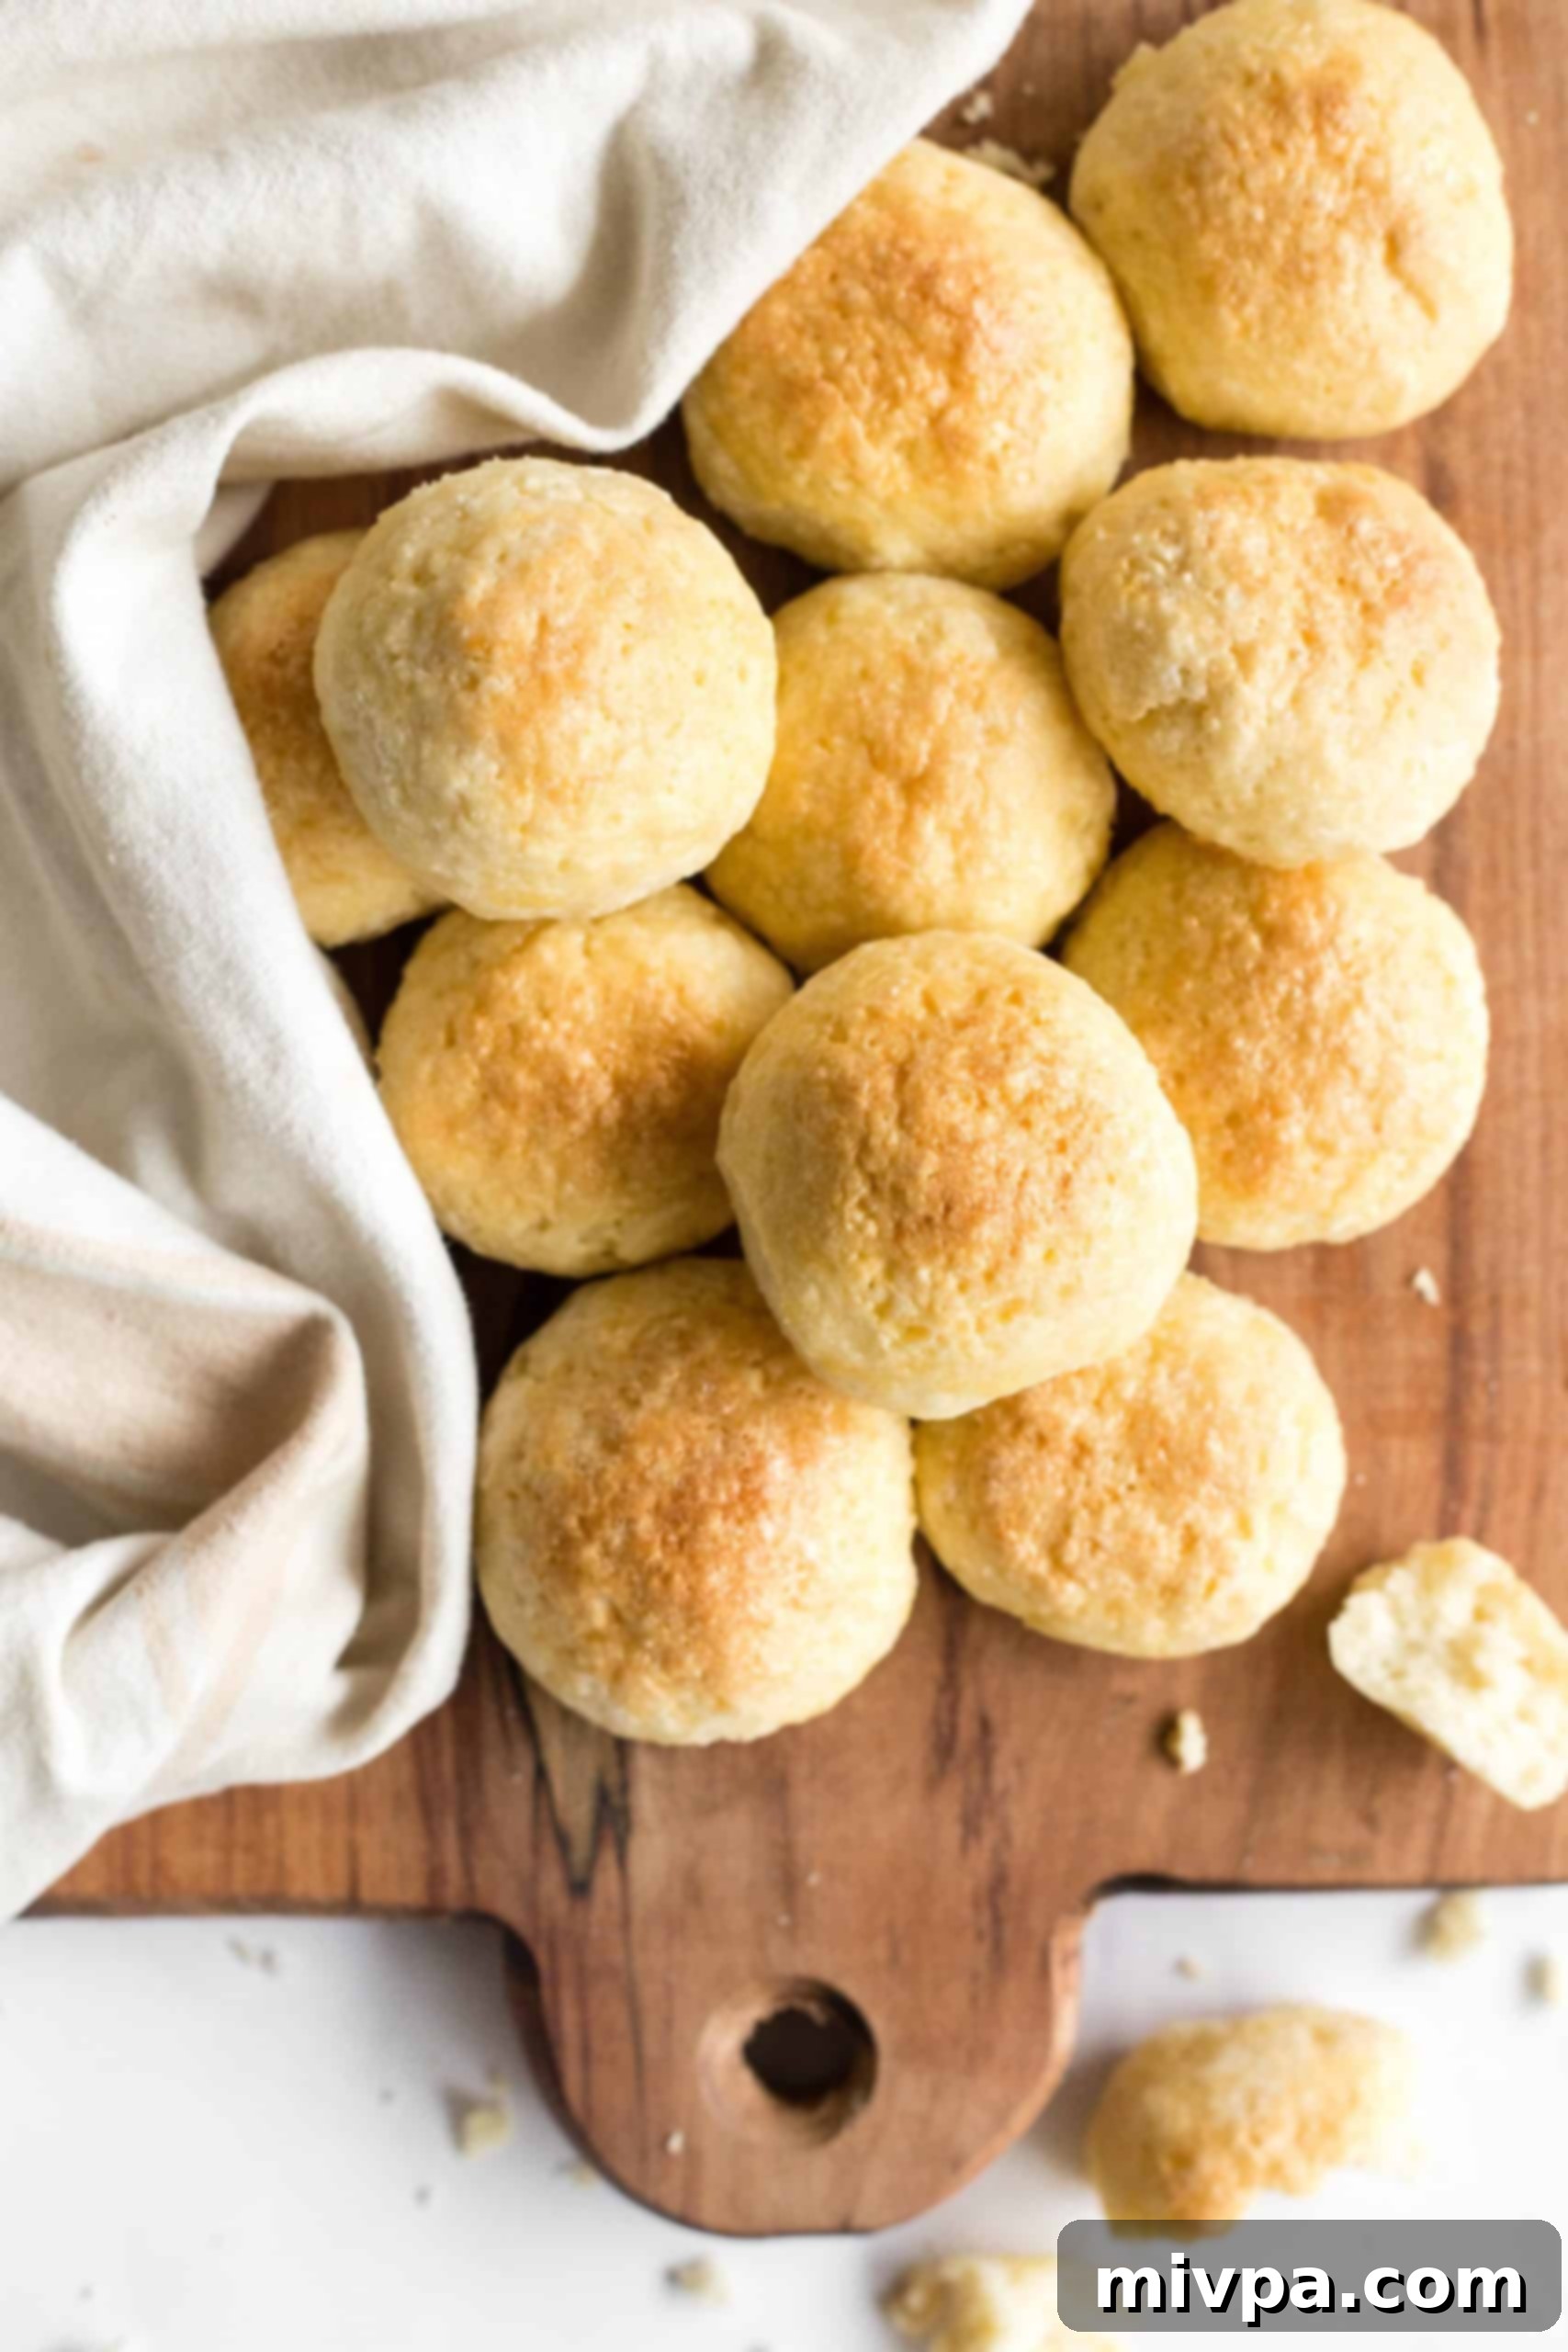
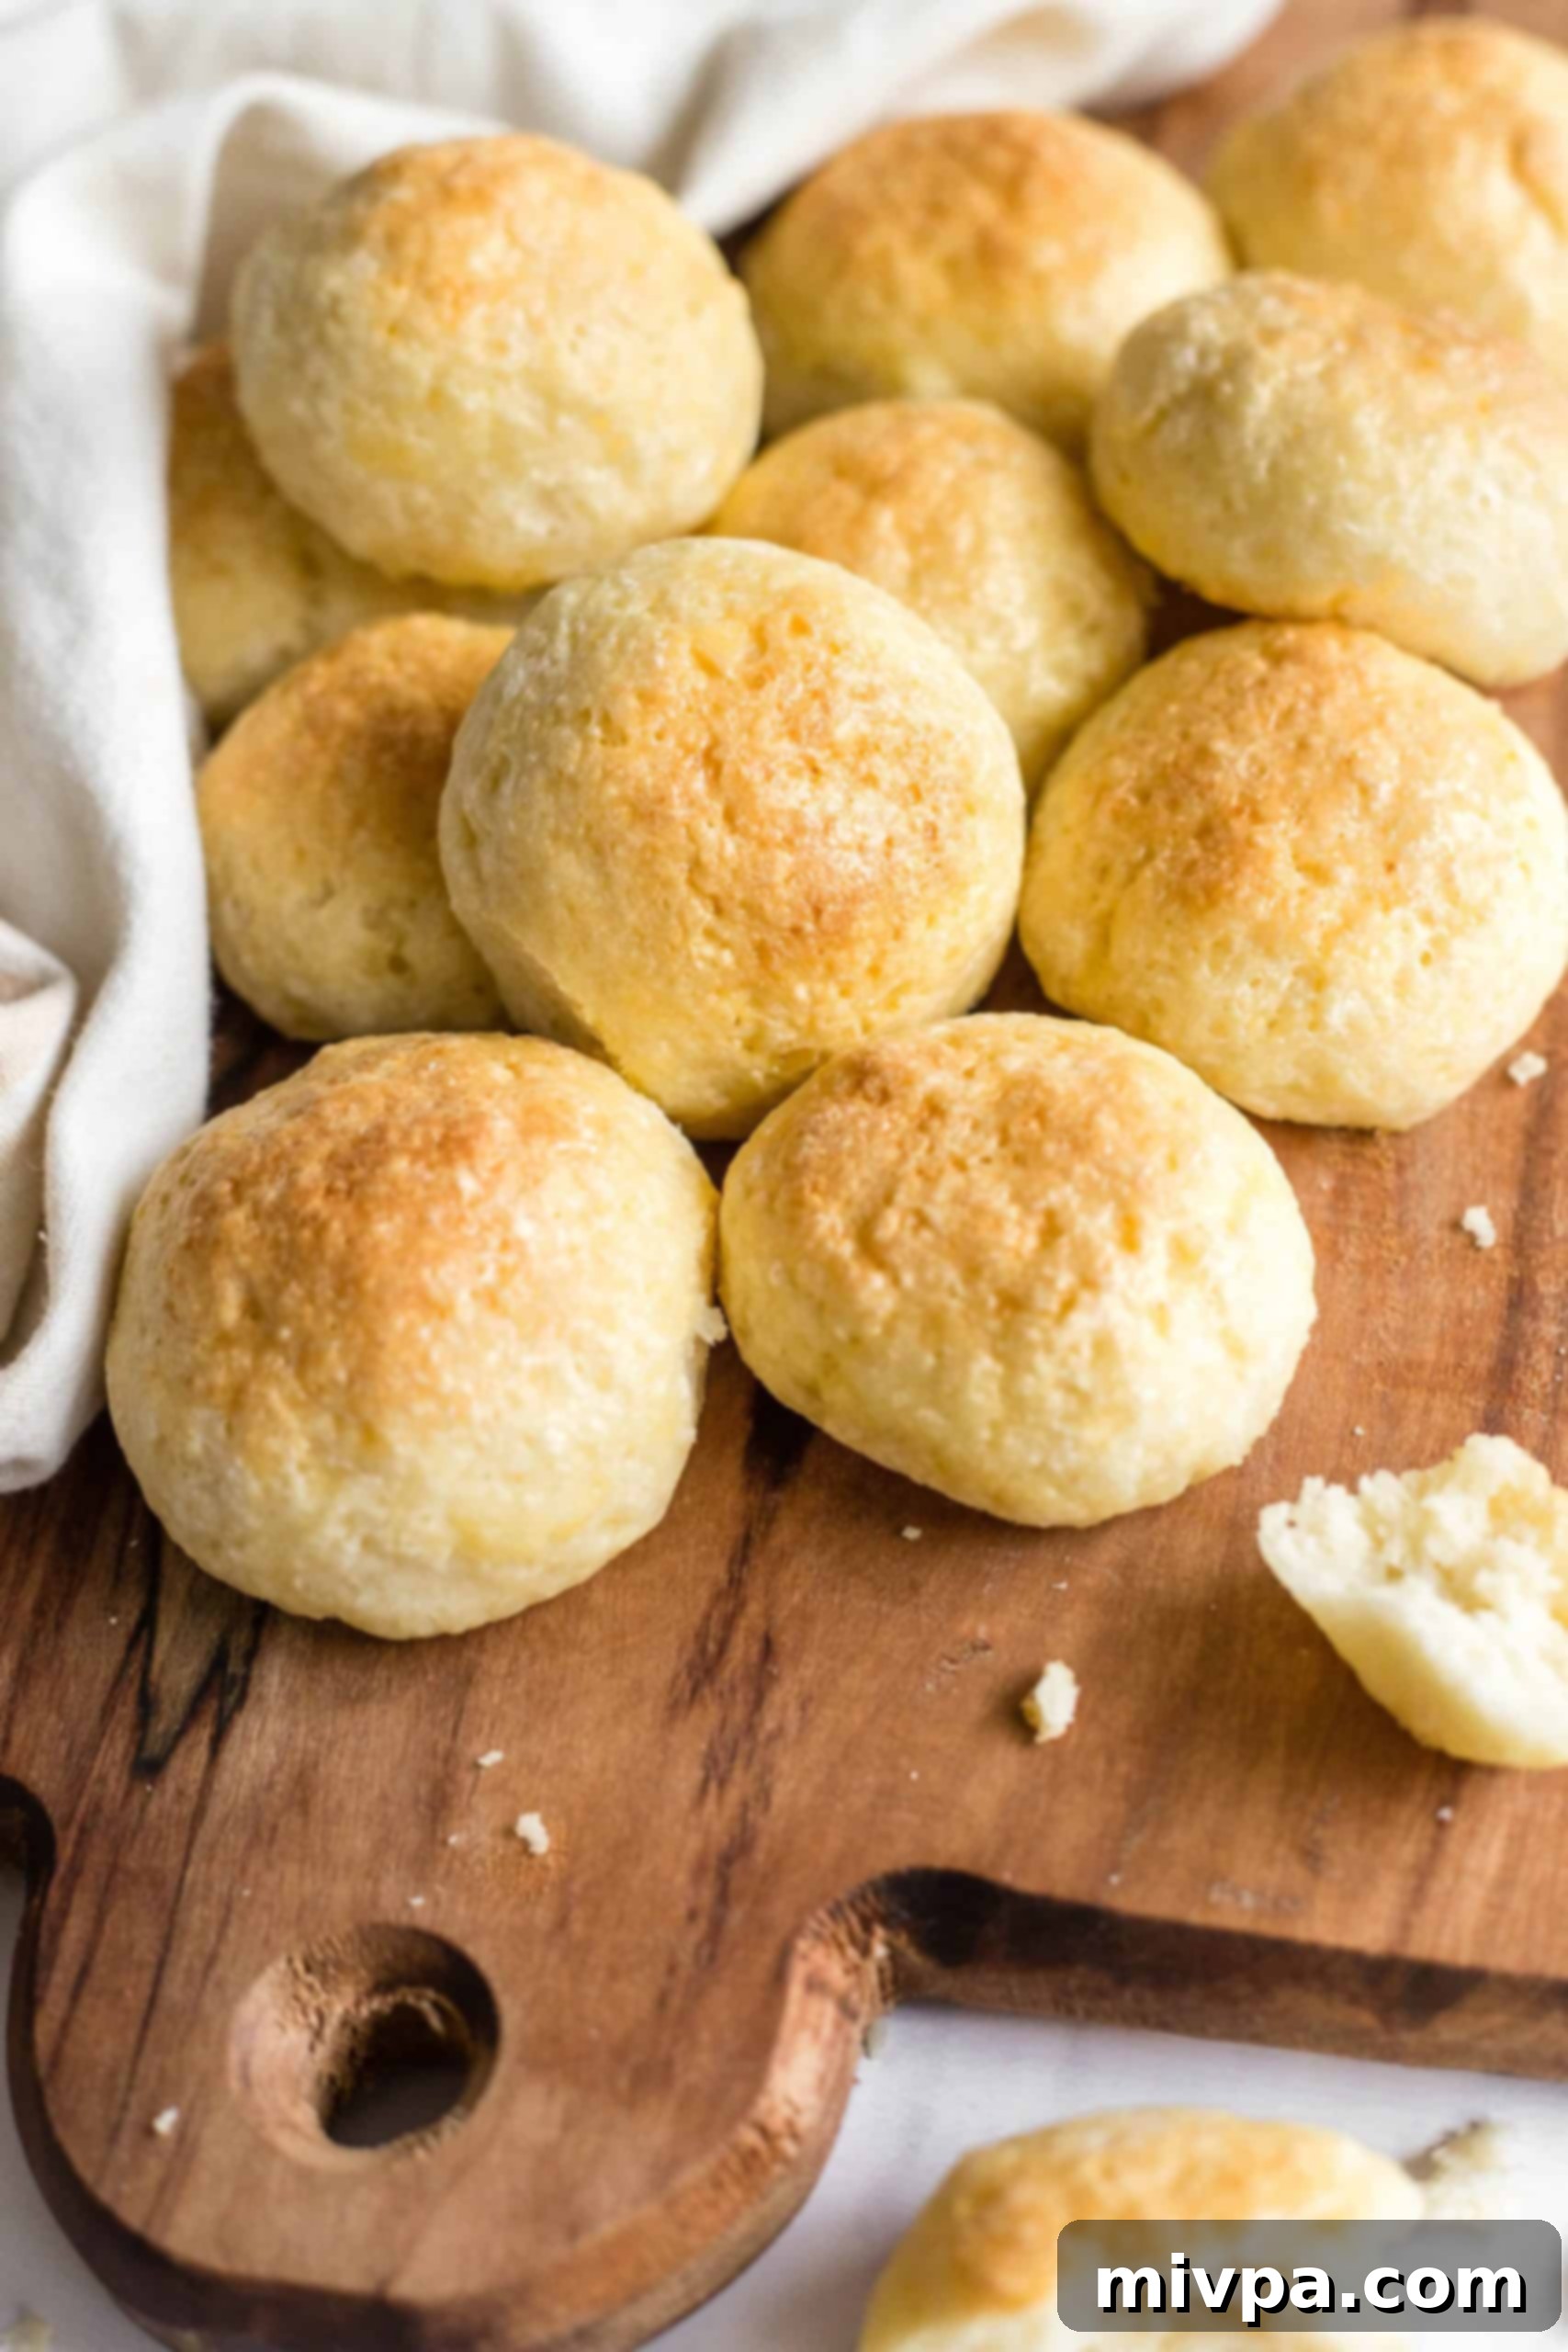
- Consistently Soft, Fluffy, and Golden: Every single time I bake these gluten-free soft dinner rolls, they emerge from the oven beautifully golden brown and incredibly perfect. They possess a wonderfully tender and fluffy texture that is so delightful, they’ll earn their rightful place at any dining table, impressing even the most discerning palates.
- Completely Gluten-Free & Dairy-Free: Most importantly, these dinner rolls are 100% gluten-free and dairy-free. By using a carefully selected gluten-free flour blend instead of wheat flour and incorporating refined coconut oil in place of butter, we ensure that even those with Celiac disease, gluten sensitivities, or lactose intolerances can wholeheartedly enjoy a proper, fluffy, and delicious dinner roll without compromise.
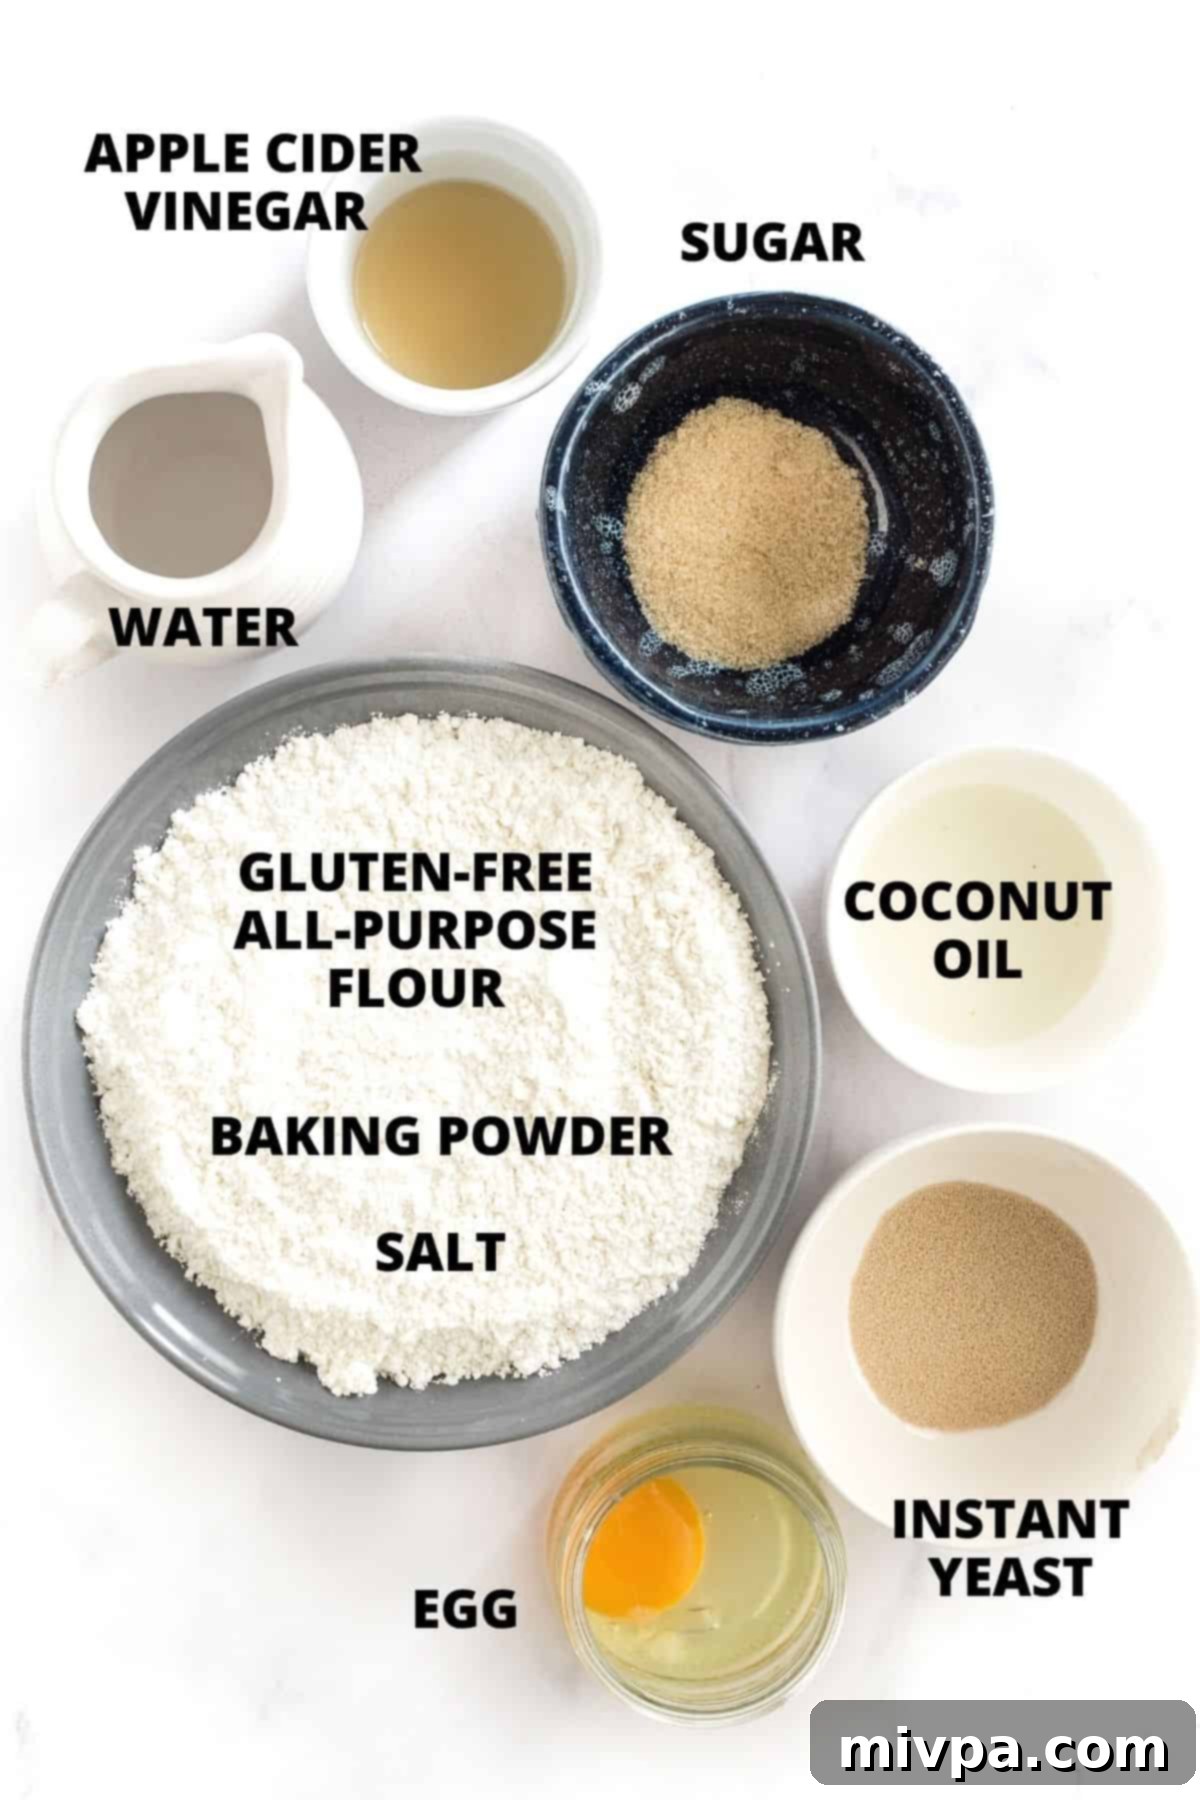
Essential Ingredients for Your Gluten-Free Dinner Rolls
Creating these perfect gluten-free dinner rolls requires a simple list of ingredients that, when combined, yield incredible results. Here’s a visual overview of what you’ll need to gather before you start baking.
(For the precise measurements of each ingredient, please make sure to scroll down to the detailed and printable recipe card located at the very bottom of this post.)
Ingredient Deep Dive: Notes & Potential Substitutions
Understanding each ingredient’s role is key to gluten-free baking success. Here’s a closer look at the components of these rolls and how to handle them:
- Gluten-Free All-Purpose Flour Blend: This is the foundation of our rolls. For the best soft and fluffy texture, I highly recommend using a gluten-free flour blend that predominantly features lighter flours and starches. Think rice flour, corn starch, tapioca starch, or potato starch. These provide a delicate crumb. I strongly advise against blends that contain heavier, denser flours like garbanzo bean flour, as they tend to result in a heavier, more brick-like texture.
- Xanthan Gum: Even if your chosen flour blend already contains xanthan gum, I add an extra teaspoon. This vital ingredient acts as a binder, effectively replacing the gluten found in traditional wheat flour. It’s crucial for giving the dough structure, preventing crumbling, and ensuring a cohesive, pleasant texture. Without it, gluten-free baked goods can be crumbly and fall apart.
- Baking Powder: While yeast is the primary leavening agent, a touch of baking powder provides an additional lift to these rolls. This supplementary leavening helps achieve an even lighter and fluffier texture, contributing to that irresistible airy crumb. For those with Celiac disease or gluten intolerance, always ensure you use certified gluten-free baking powder.
- Sugar: Don’t skip the sugar! It’s not just for sweetness; it serves as the essential “food” for the yeast. When the yeast feeds on sugar, it activates, producing the carbon dioxide gases needed to make your dough rise beautifully. I’ve used light brown sugar here for a subtle caramel note, but white sugar, cane sugar, or even dark brown sugar can be used interchangeably.
- Instant Dry Yeast: My preference for ease of use is instant dry yeast because it requires no prior proofing or activation – you simply mix it directly with the dry ingredients. If you only have active dry yeast (which is similar to rapid-rise yeast but not quite instant), you’ll need to activate it first. Dissolve it in a small portion of the warm water with a pinch of sugar for about 5-10 minutes, until foamy, before adding to the rest of the wet ingredients.
- Warm Water: The temperature of your water is critical for yeast activation. Aim for a temperature between 105°F and 115°F (40°C-46°C). Water that’s too cold won’t activate the yeast, resulting in no rise, while water that’s too hot will kill the yeast, with the same disappointing outcome. Using a thermometer is highly recommended. For a slightly richer flavor, you can also substitute warm dairy-free milk or regular milk if not dairy-free.
- Egg: The egg in this recipe plays a vital role in providing structure, richness, and moisture. It helps create a tender crumb and prevents the rolls from becoming dense or heavy. I have not experimented with egg replacers for this specific recipe, so I cannot guarantee the same results if you attempt a substitution.
- Apple Cider Vinegar (ACV): Yeast thrives in a slightly acidic environment. Adding apple cider vinegar (ACV) enhances yeast activity, leading to a better rise and ultimately, a lighter, more airy bread. If ACV isn’t available, any other vinegar you have on hand will work.
- Coconut Oil: To keep these rolls dairy-free, I use refined coconut oil. Refined coconut oil has a neutral taste, unlike extra virgin coconut oil, which can impart a distinct coconut flavor and aroma. Alternatively, melted vegan butter can be used in equal amounts. If you don’t have lactose intolerance, feel free to use melted regular butter instead.
- Egg Wash (Optional): For a beautiful golden-brown crust and a lovely sheen on your finished rolls, brushing them with an egg wash before baking is recommended. To prepare, simply beat one large egg with 1 teaspoon of water until well combined. If you prefer to omit the egg wash, or need a vegan alternative, you can brush the tops with a little olive oil or dairy-free milk.
How to Make Soft Gluten-Free Dinner Rolls: A Step-by-Step Guide
Ready to bake the best gluten-free dinner rolls you’ve ever tasted? Follow these simple steps for a foolproof experience.
1. Combine All Dry Ingredients
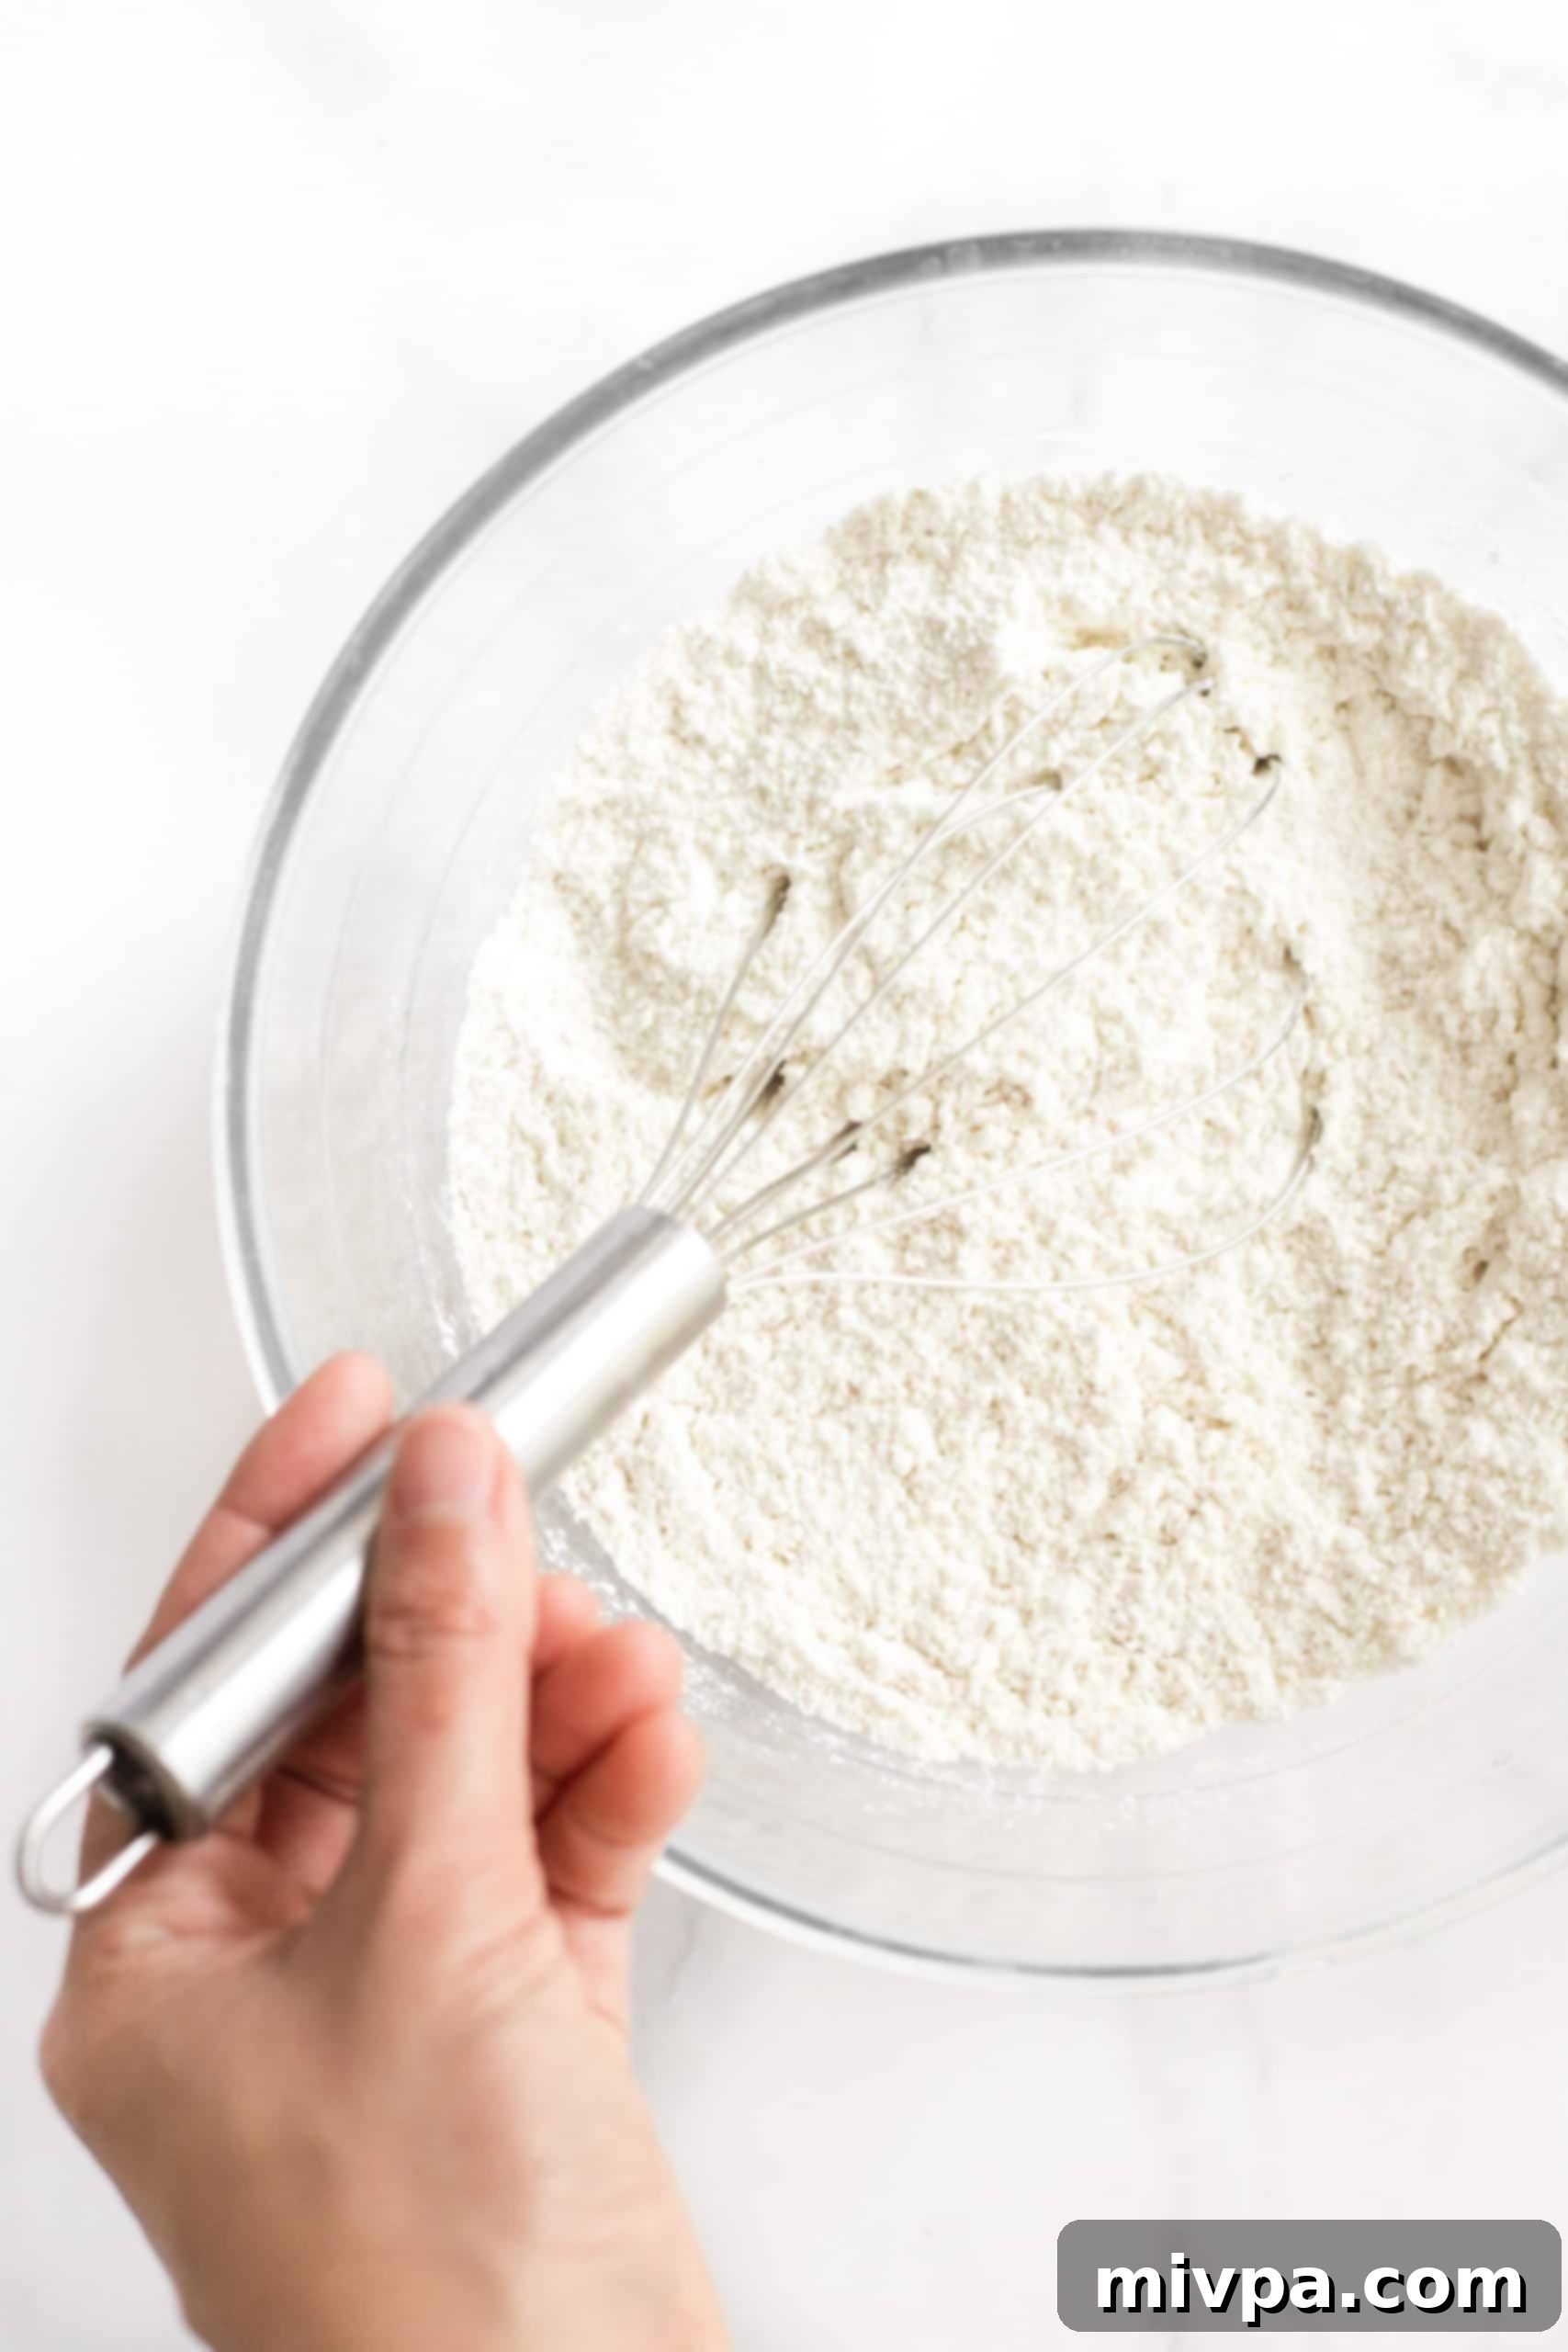
In a spacious mixing bowl, begin by combining all your dry ingredients. Add the gluten-free all-purpose flour blend, xanthan gum, salt, baking powder, sugar, and instant dry yeast. Whisk them together thoroughly until they are well combined and evenly distributed. This ensures that the leavening agents and flavorings are spread throughout the dough.
2. Incorporate Wet Ingredients
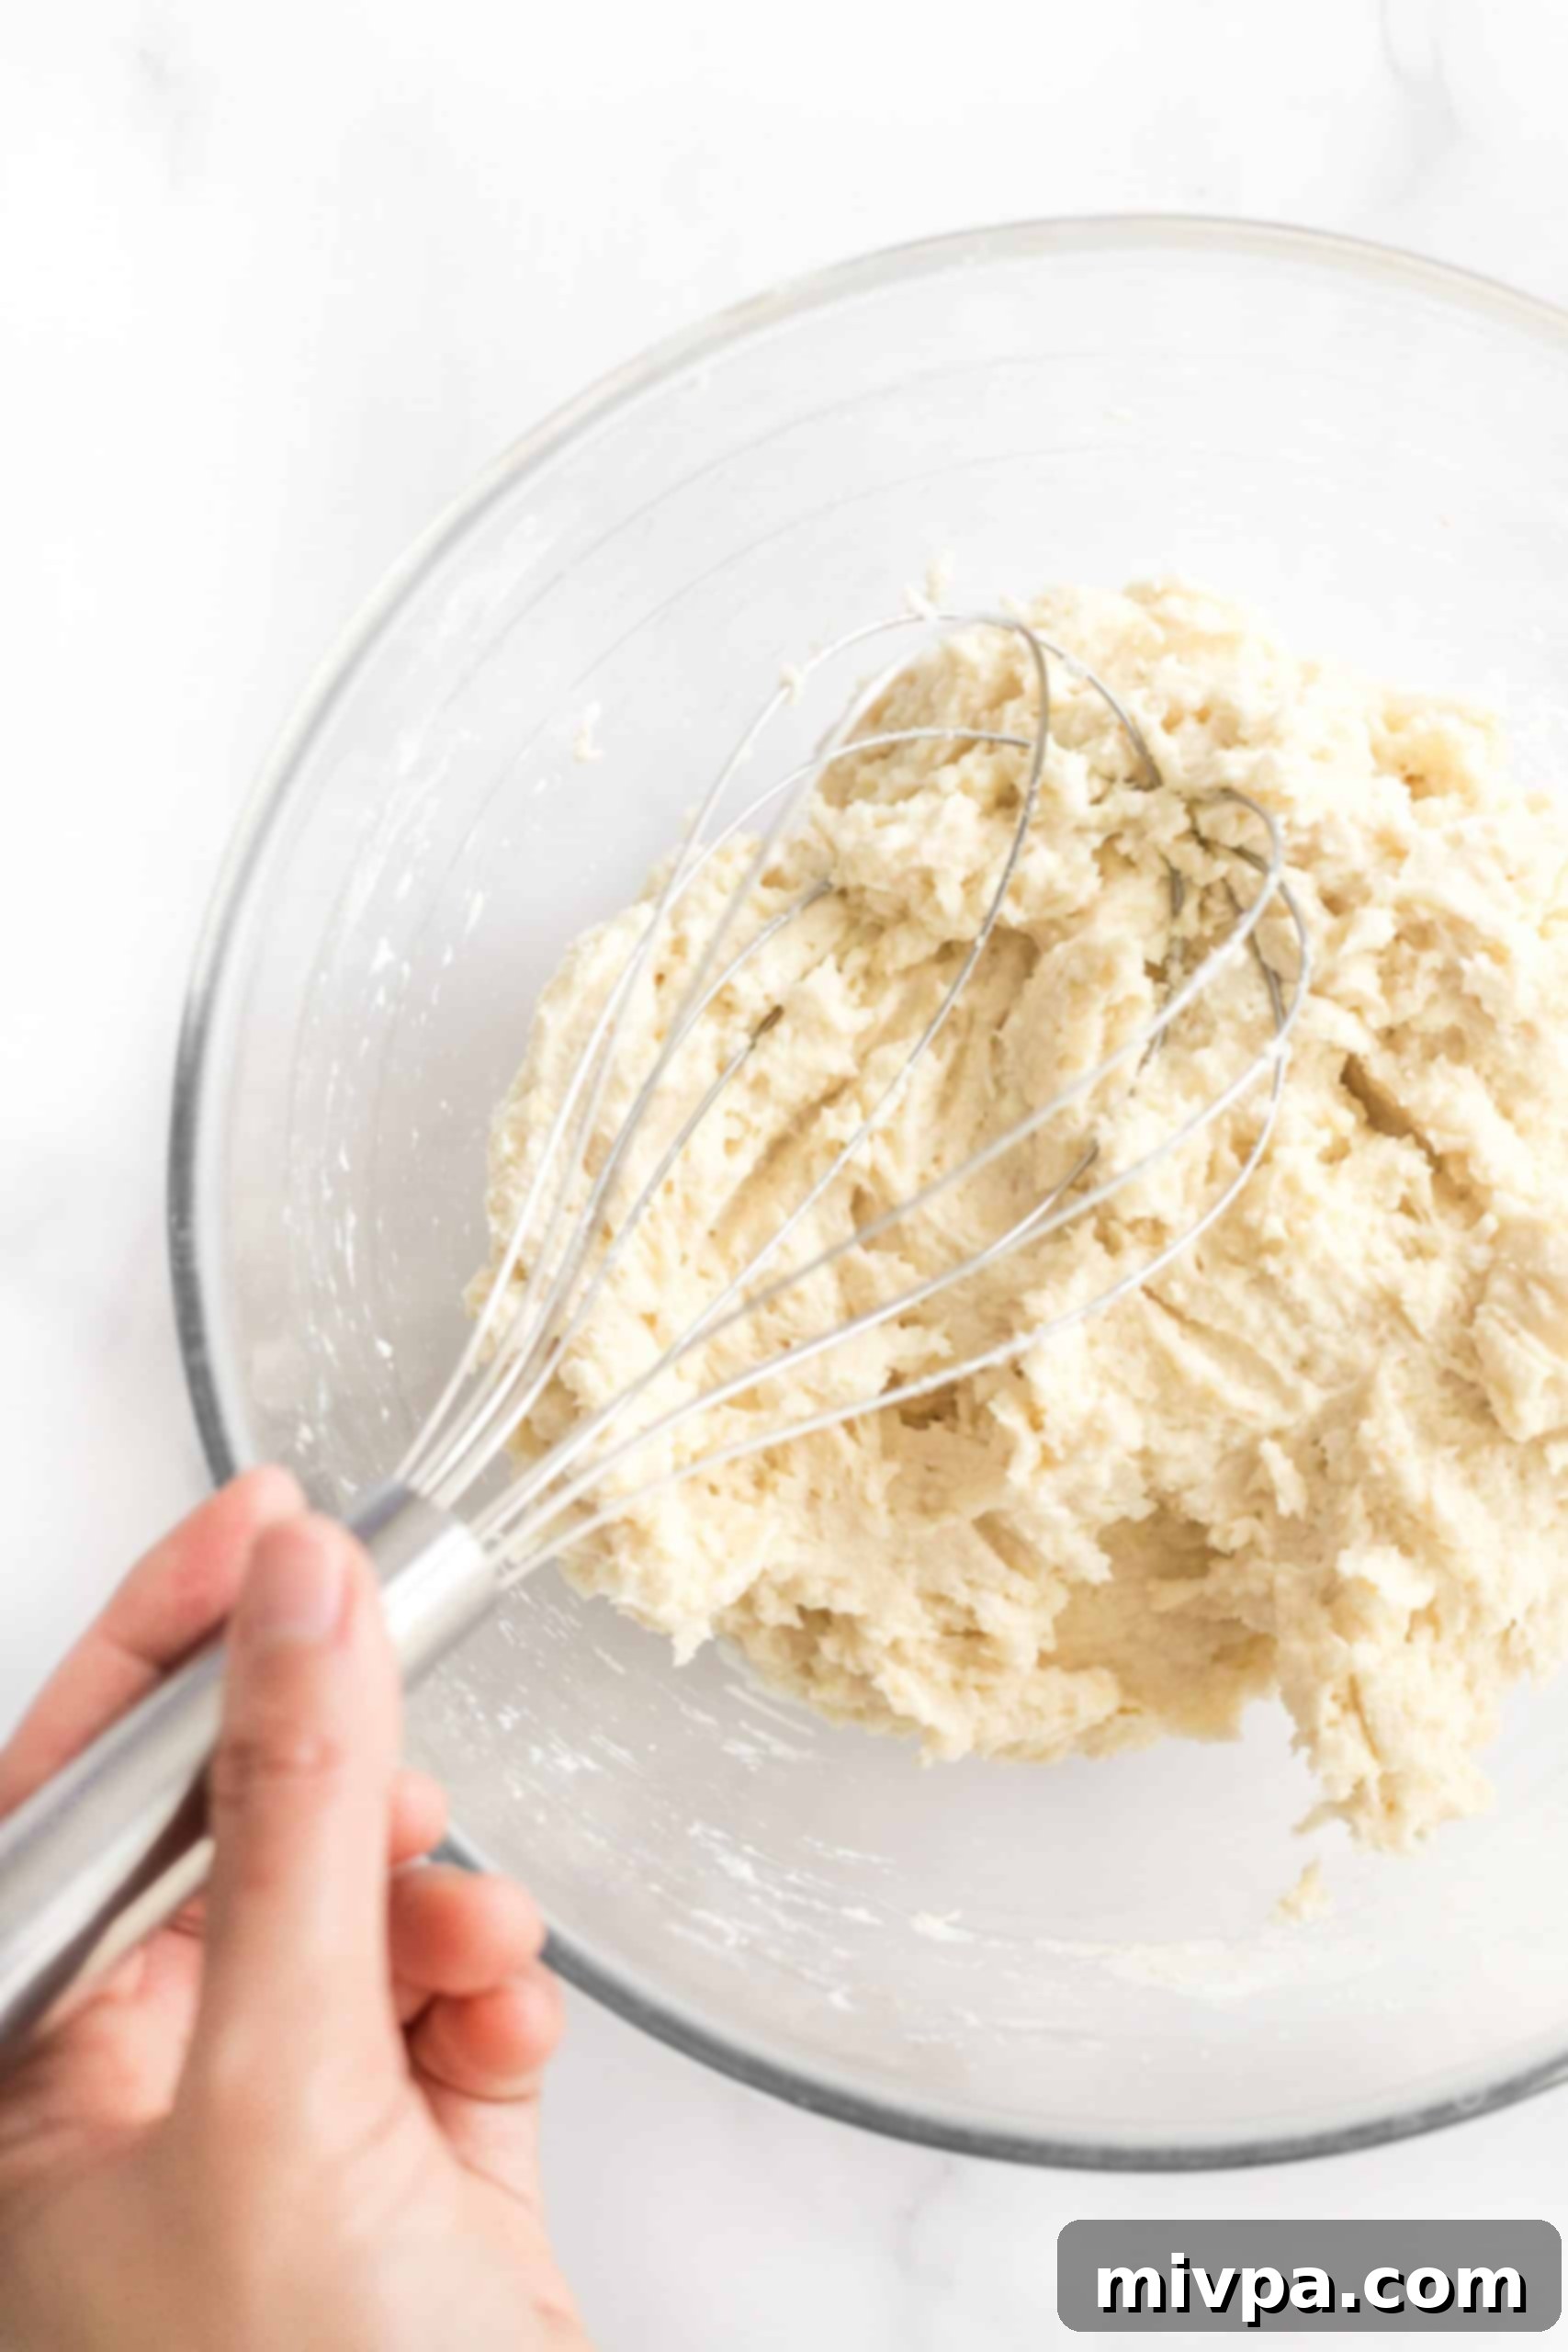
Now it’s time to bring the dough to life! Add the warm water (remember that ideal temperature of 105-115°F), the beaten egg, apple cider vinegar, and melted coconut oil to the bowl with the dry mixture. Mix everything together very well. Unlike traditional wheat doughs, this gluten-free mixture will be quite thick and homogeneous, resembling a cake batter rather than a firm bread dough. Don’t worry, this is exactly the consistency you’re looking for!
3. Portion the Dough
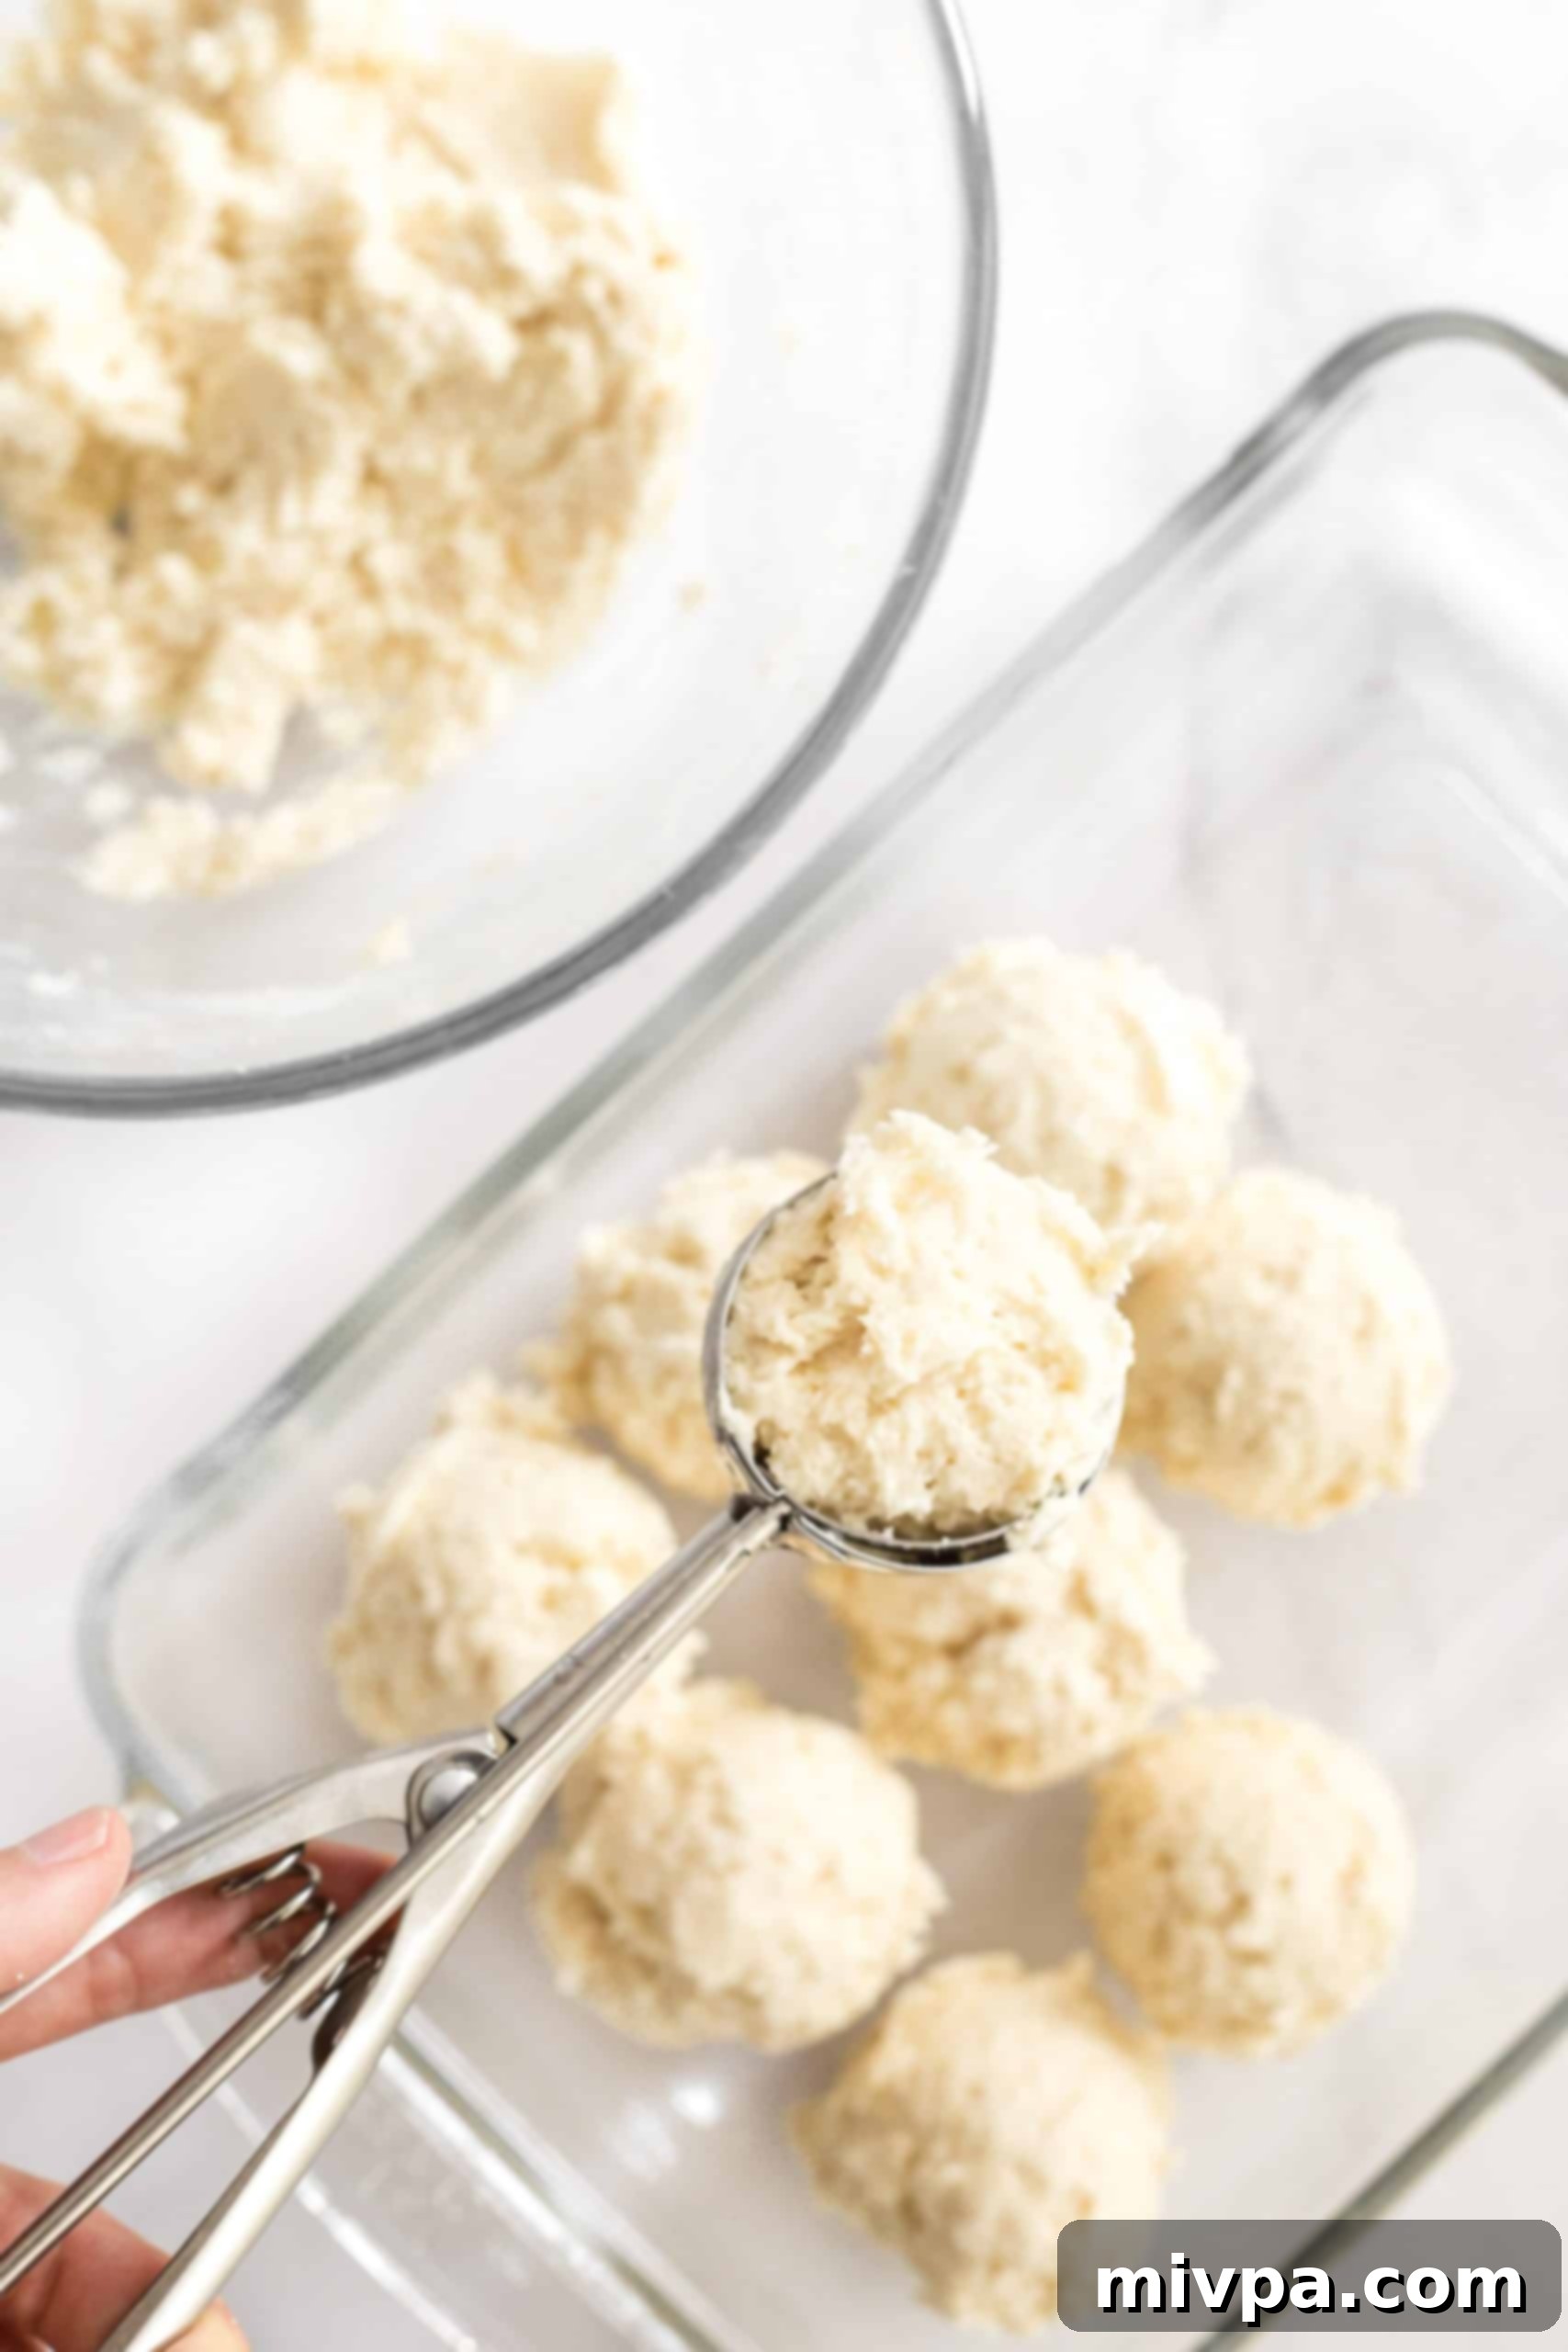
Prepare your baking pan by greasing a 10″ x 7″ glass baking pan generously with nonstick cooking spray. I find that parchment paper isn’t strictly necessary, but feel free to line the bottom if you prefer. Using a large cookie scoop (or an ice cream scoop), measure out 12 equal portions of the dough. Carefully place these portions in neat rows within your prepared baking pan.
4. Shape the Rolls
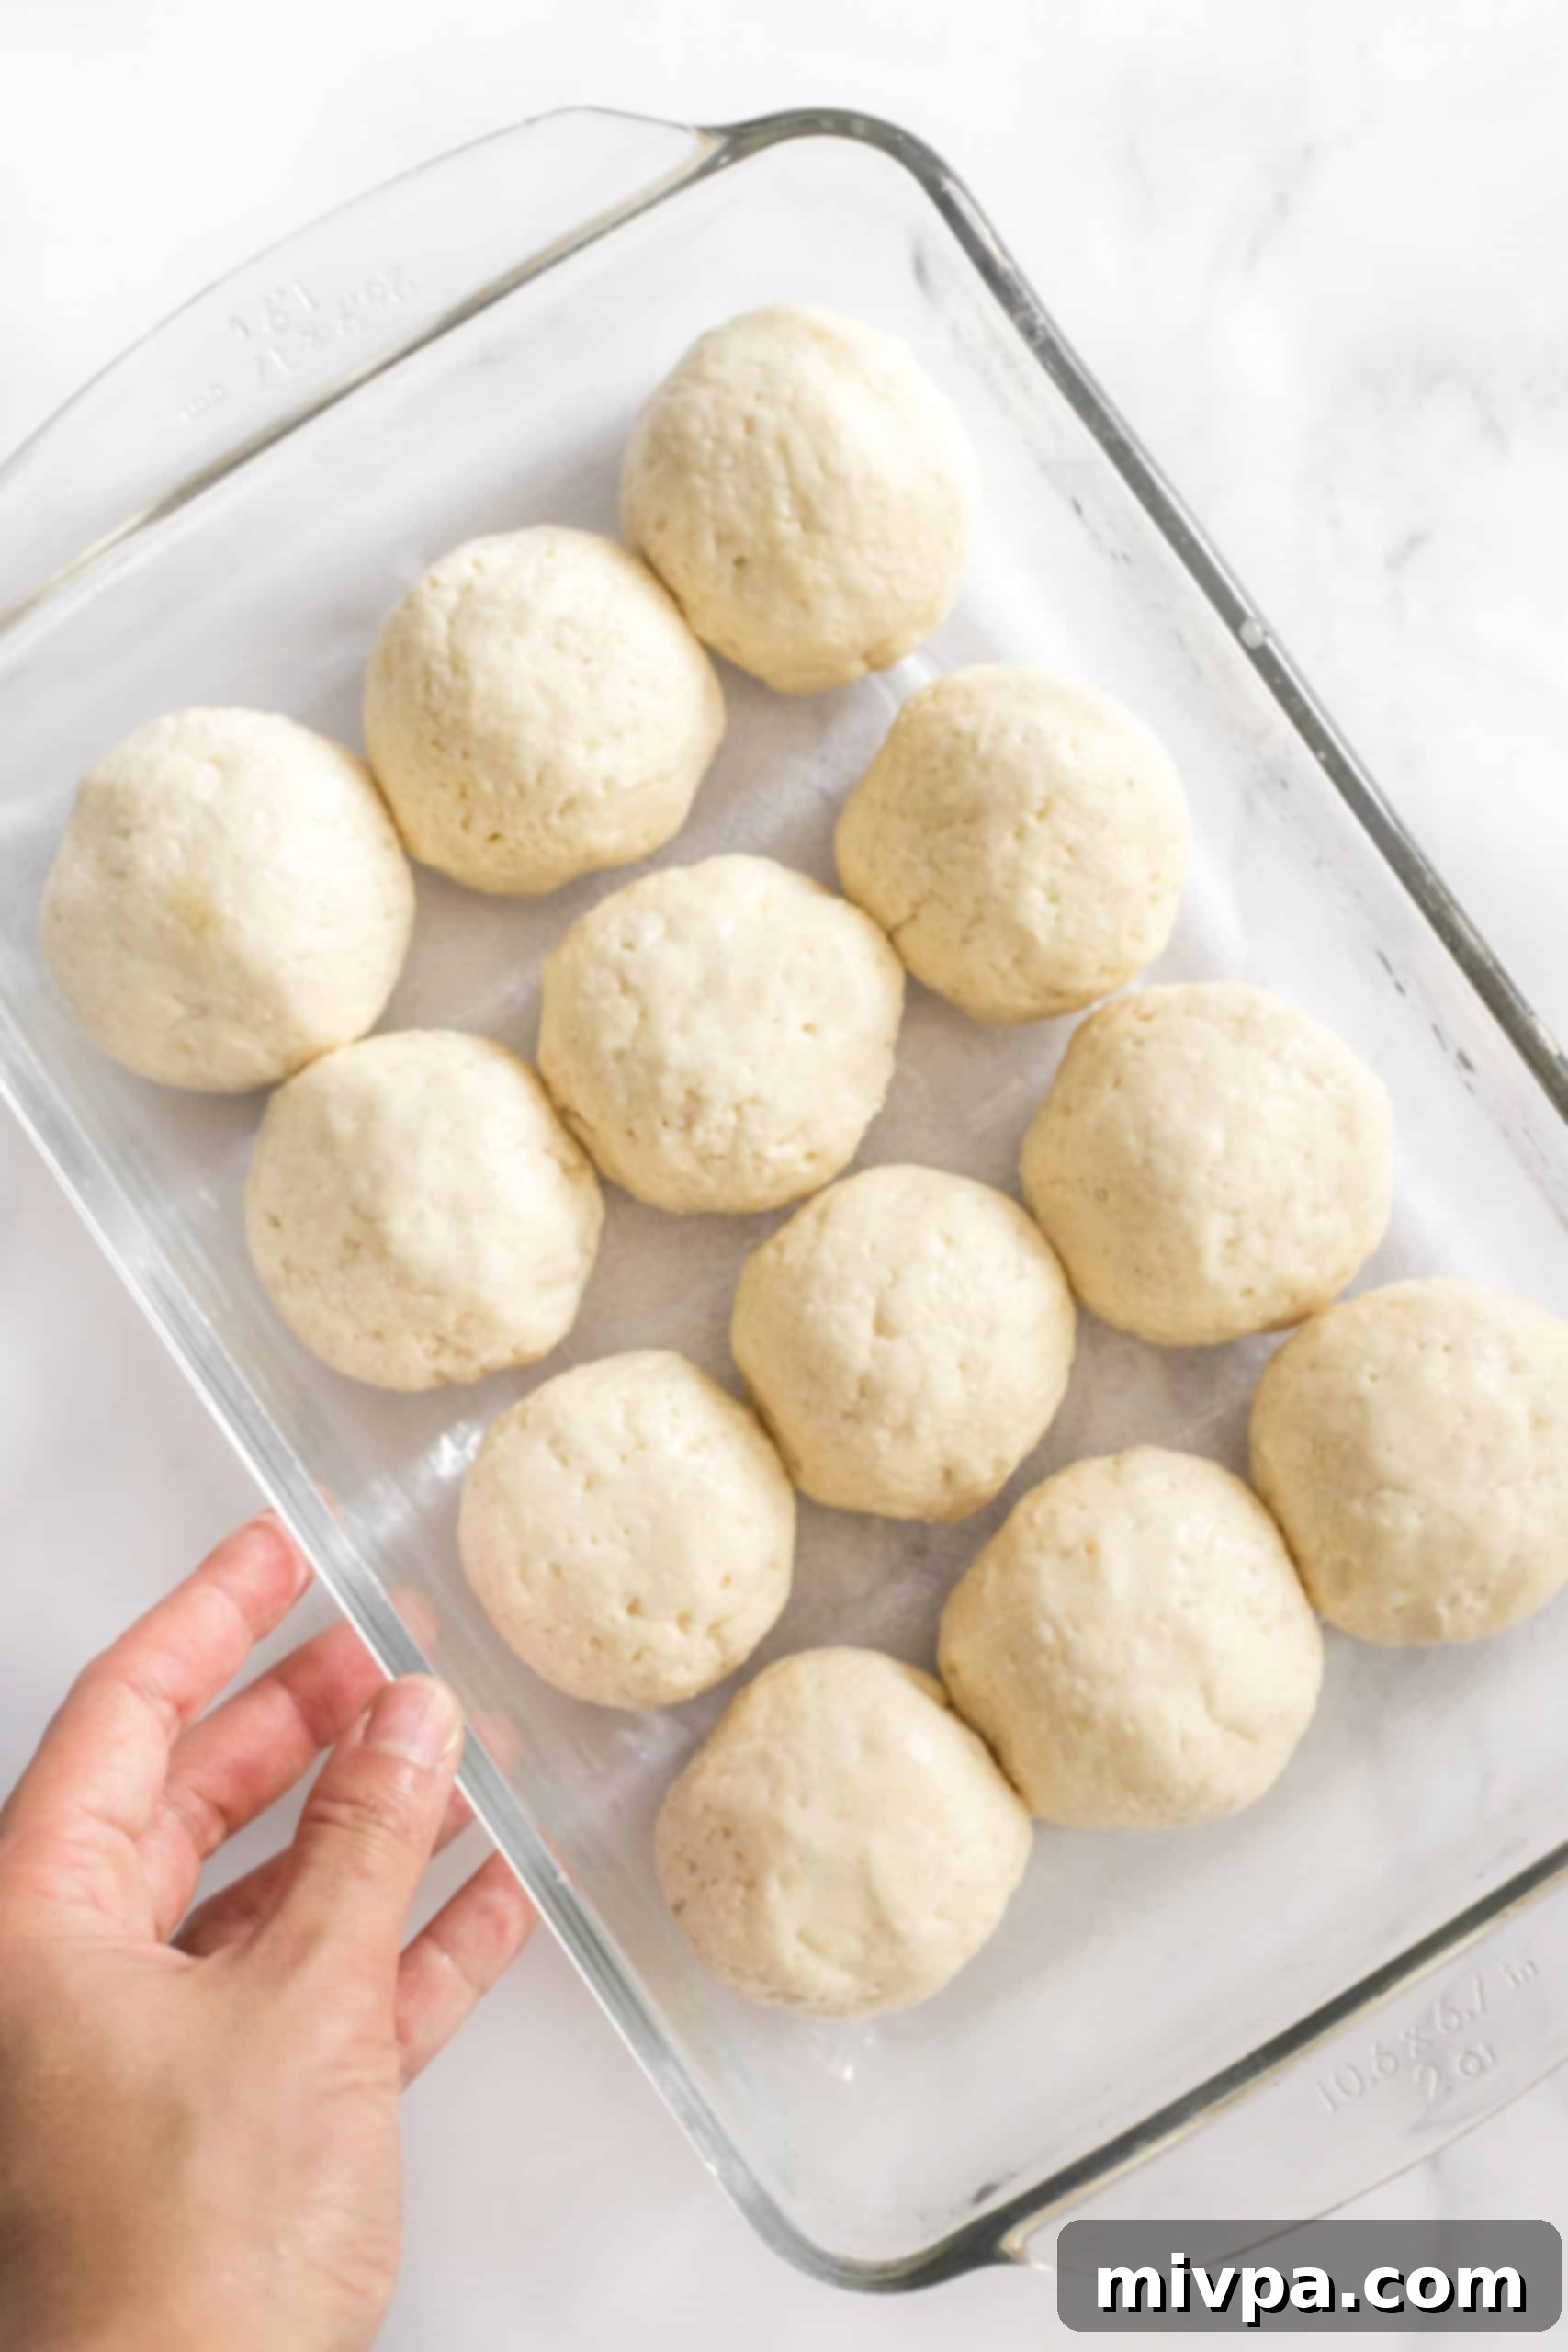
Because gluten-free dough tends to be stickier than traditional dough, a little trick helps immensely: lightly grease your hands with a bit of oil. Then, gently shape each portion of dough into smooth, small balls. Arrange them carefully in rows within the pan. Once shaped, you can dip your fingertips in water and gently smooth out the tops of each dough ball for a perfectly uniform and appealing finish.
5. Allow the Dough to Rise
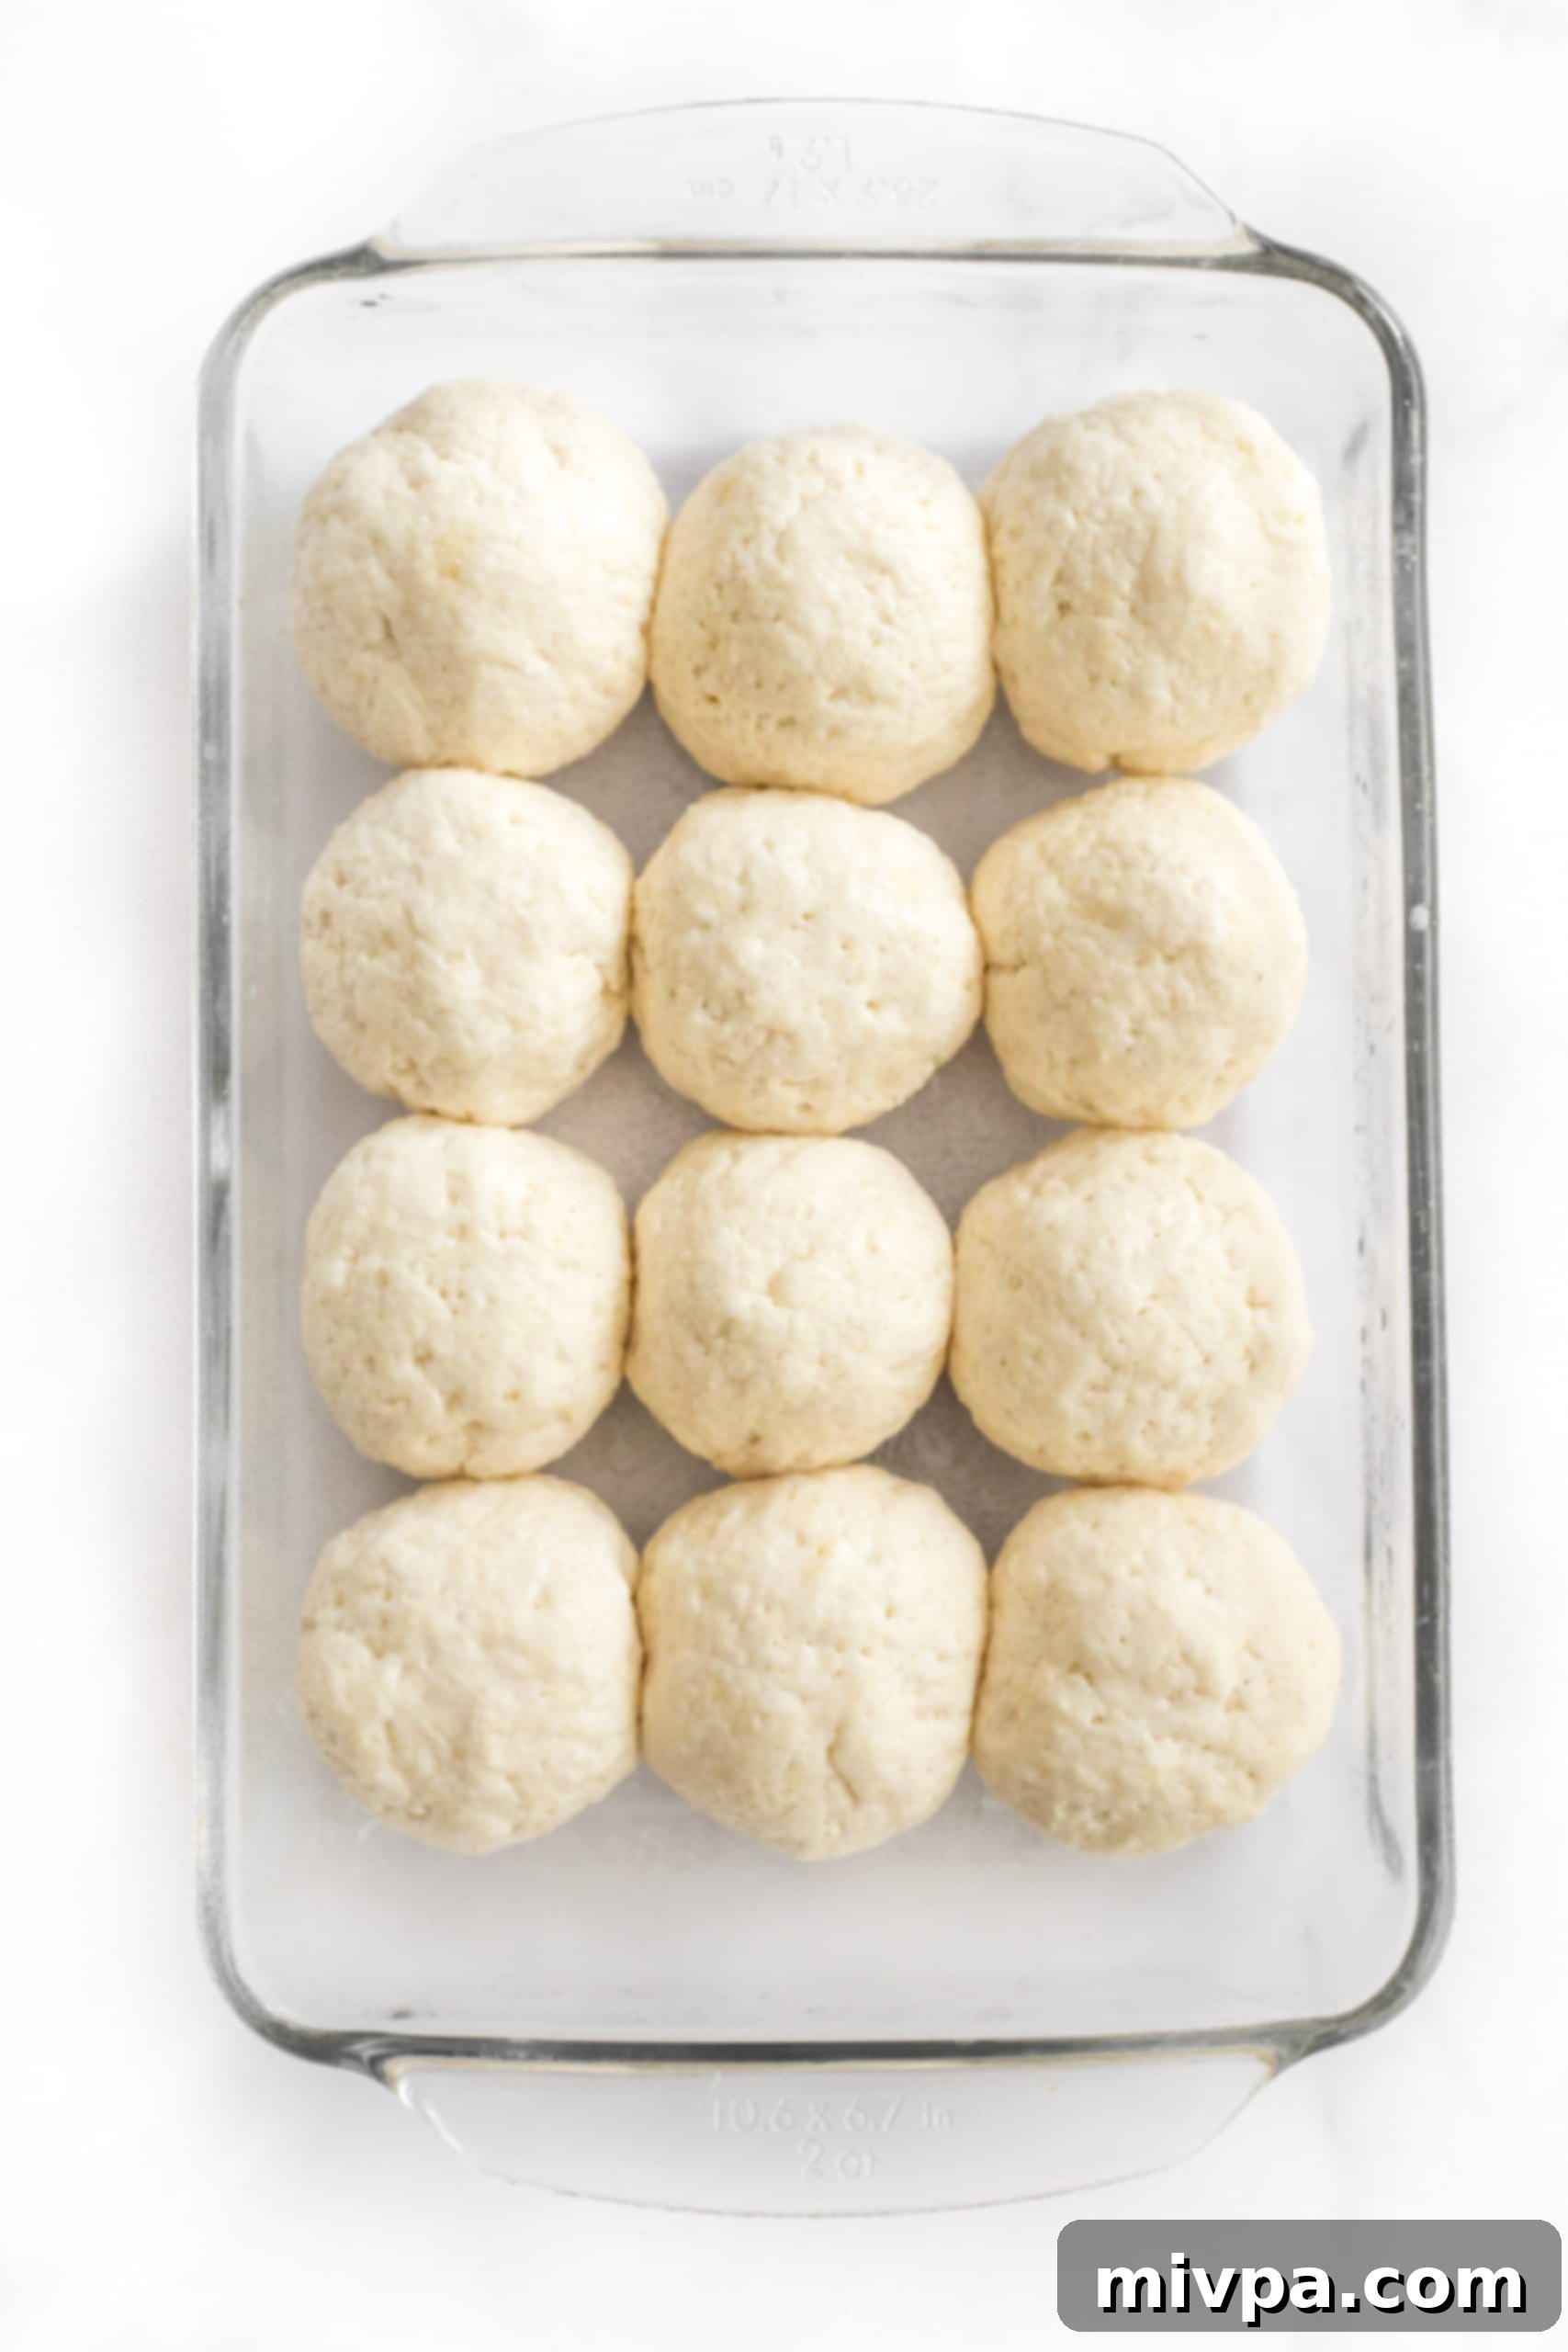
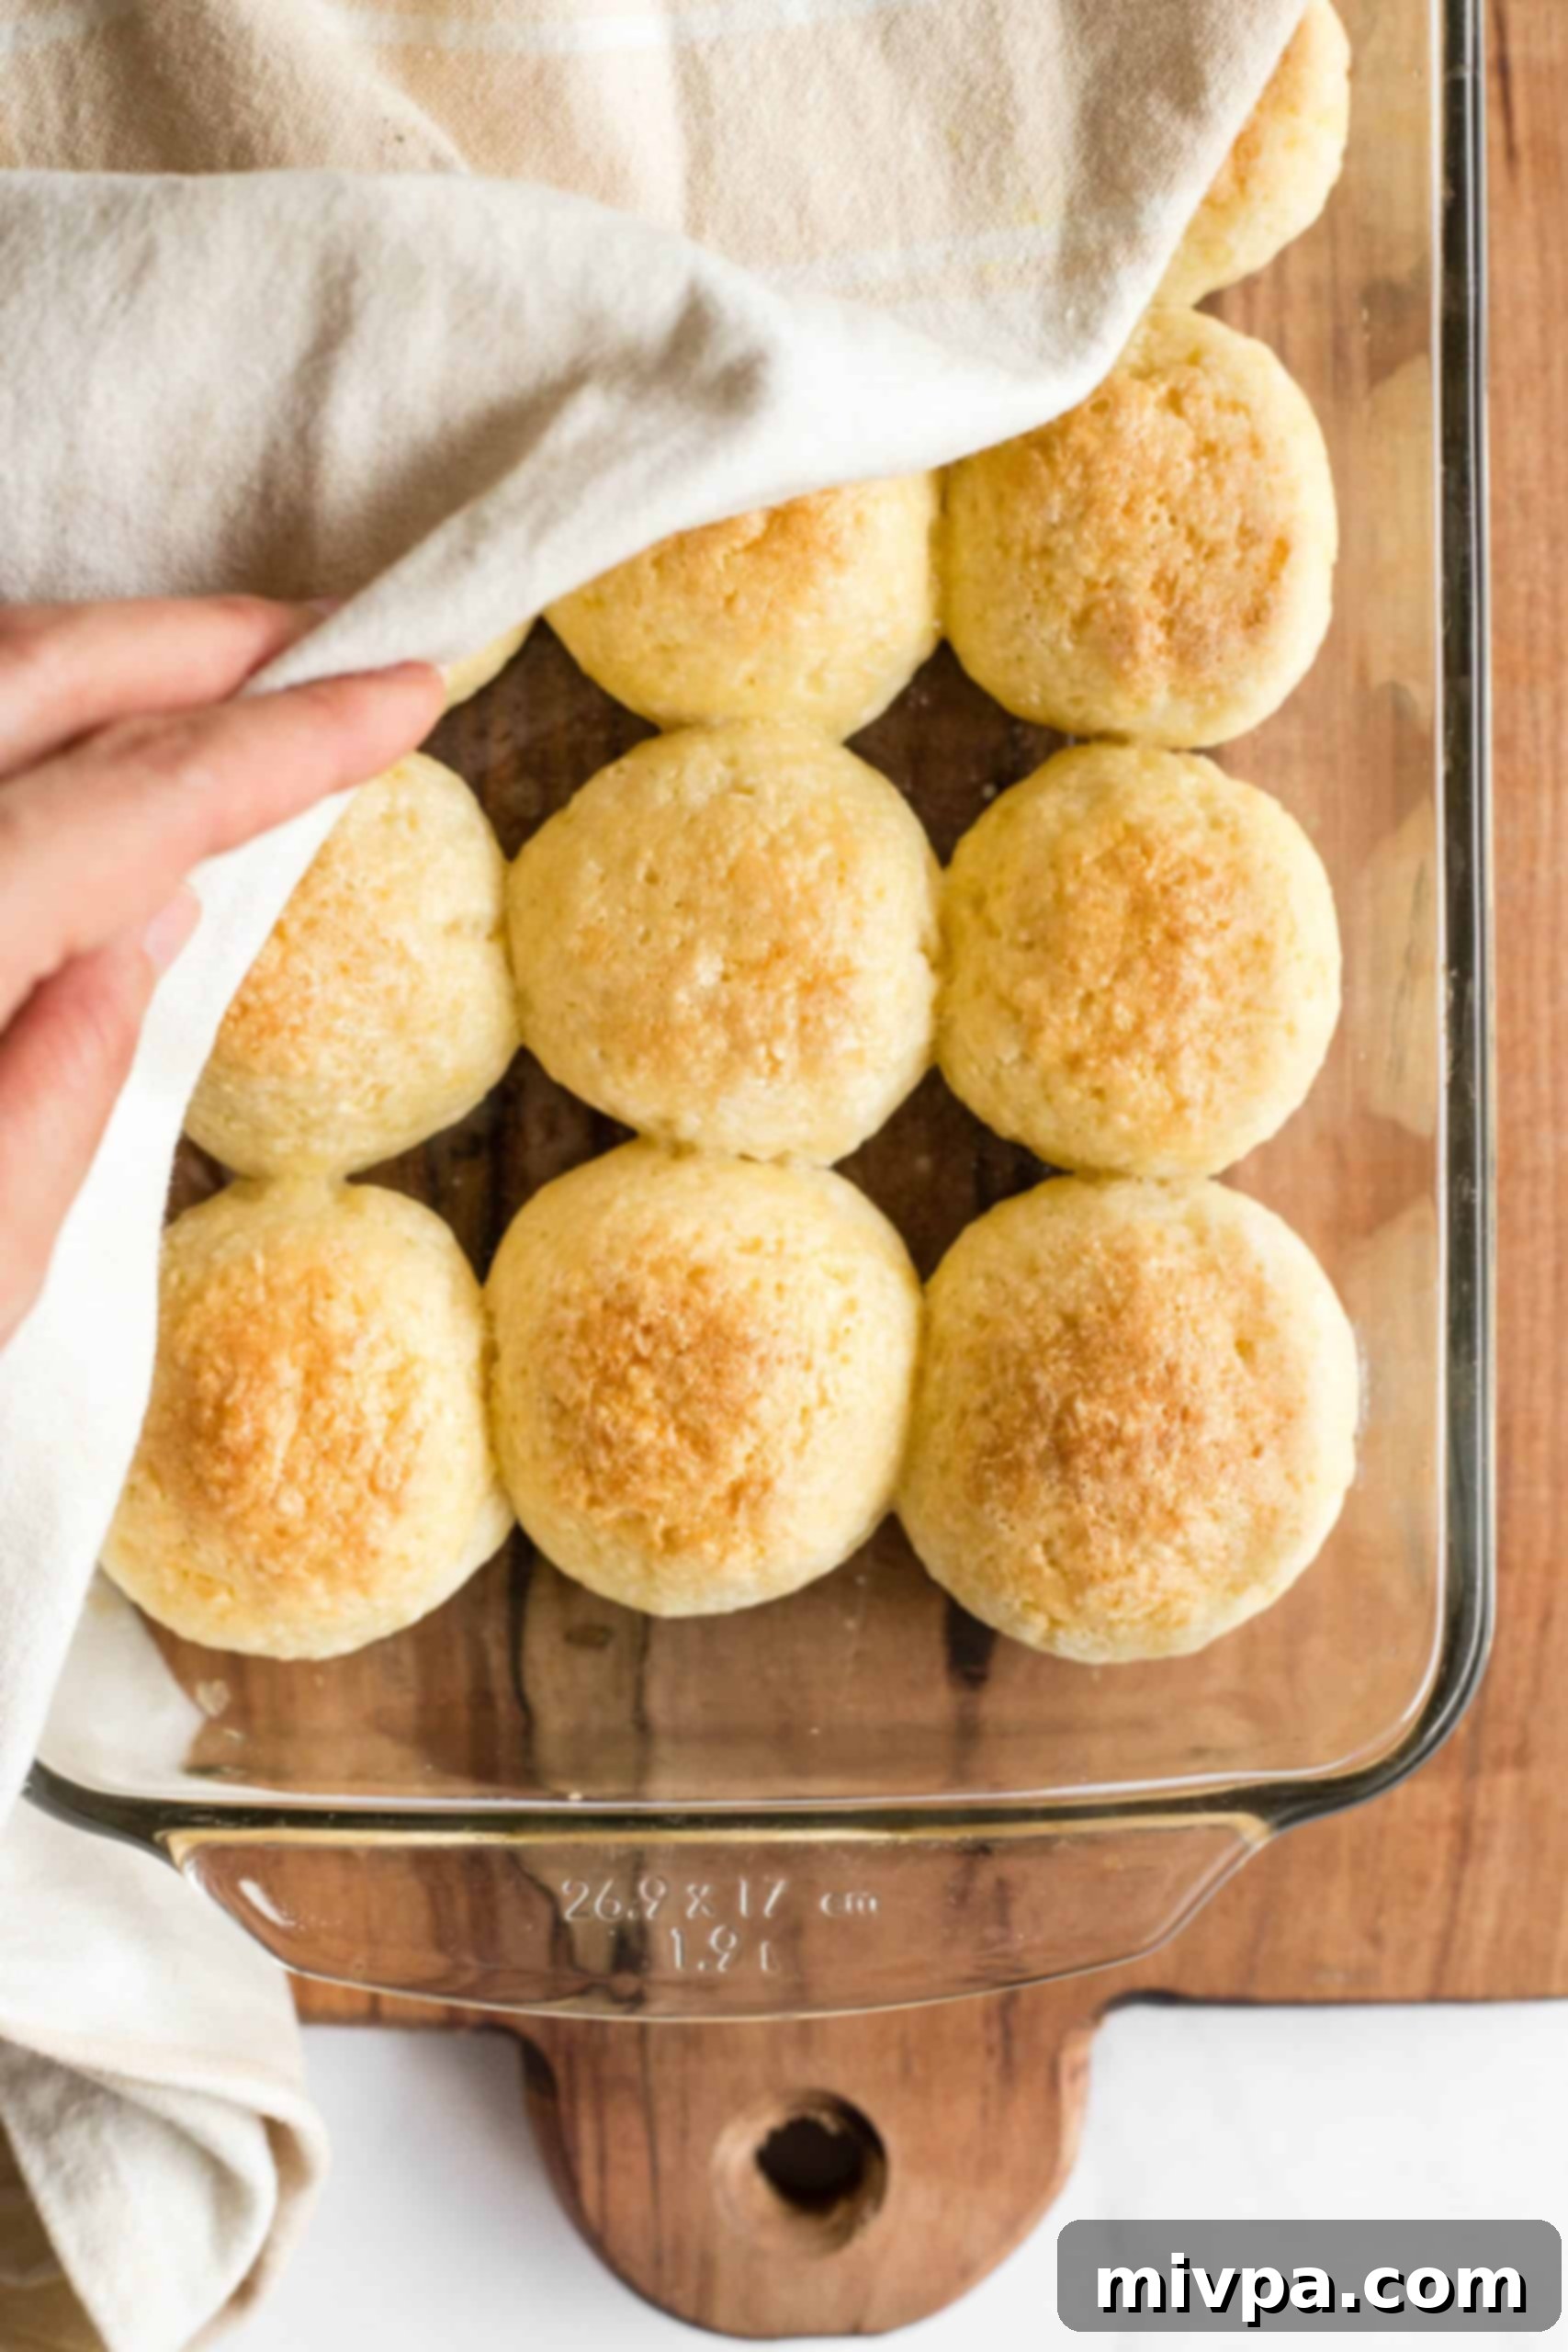
Cover the baking pan loosely with a clean kitchen towel or plastic wrap. Place the pan in a warm, draft-free spot and let the dough rise for approximately 30 minutes. During this time, the dough balls should visibly increase in size, roughly doubling their original volume. While your dough is rising, take a moment to preheat your oven to 350°F (175°C) and adjust the oven rack to the middle position to ensure even baking.
6. Brush and Bake to Golden Perfection
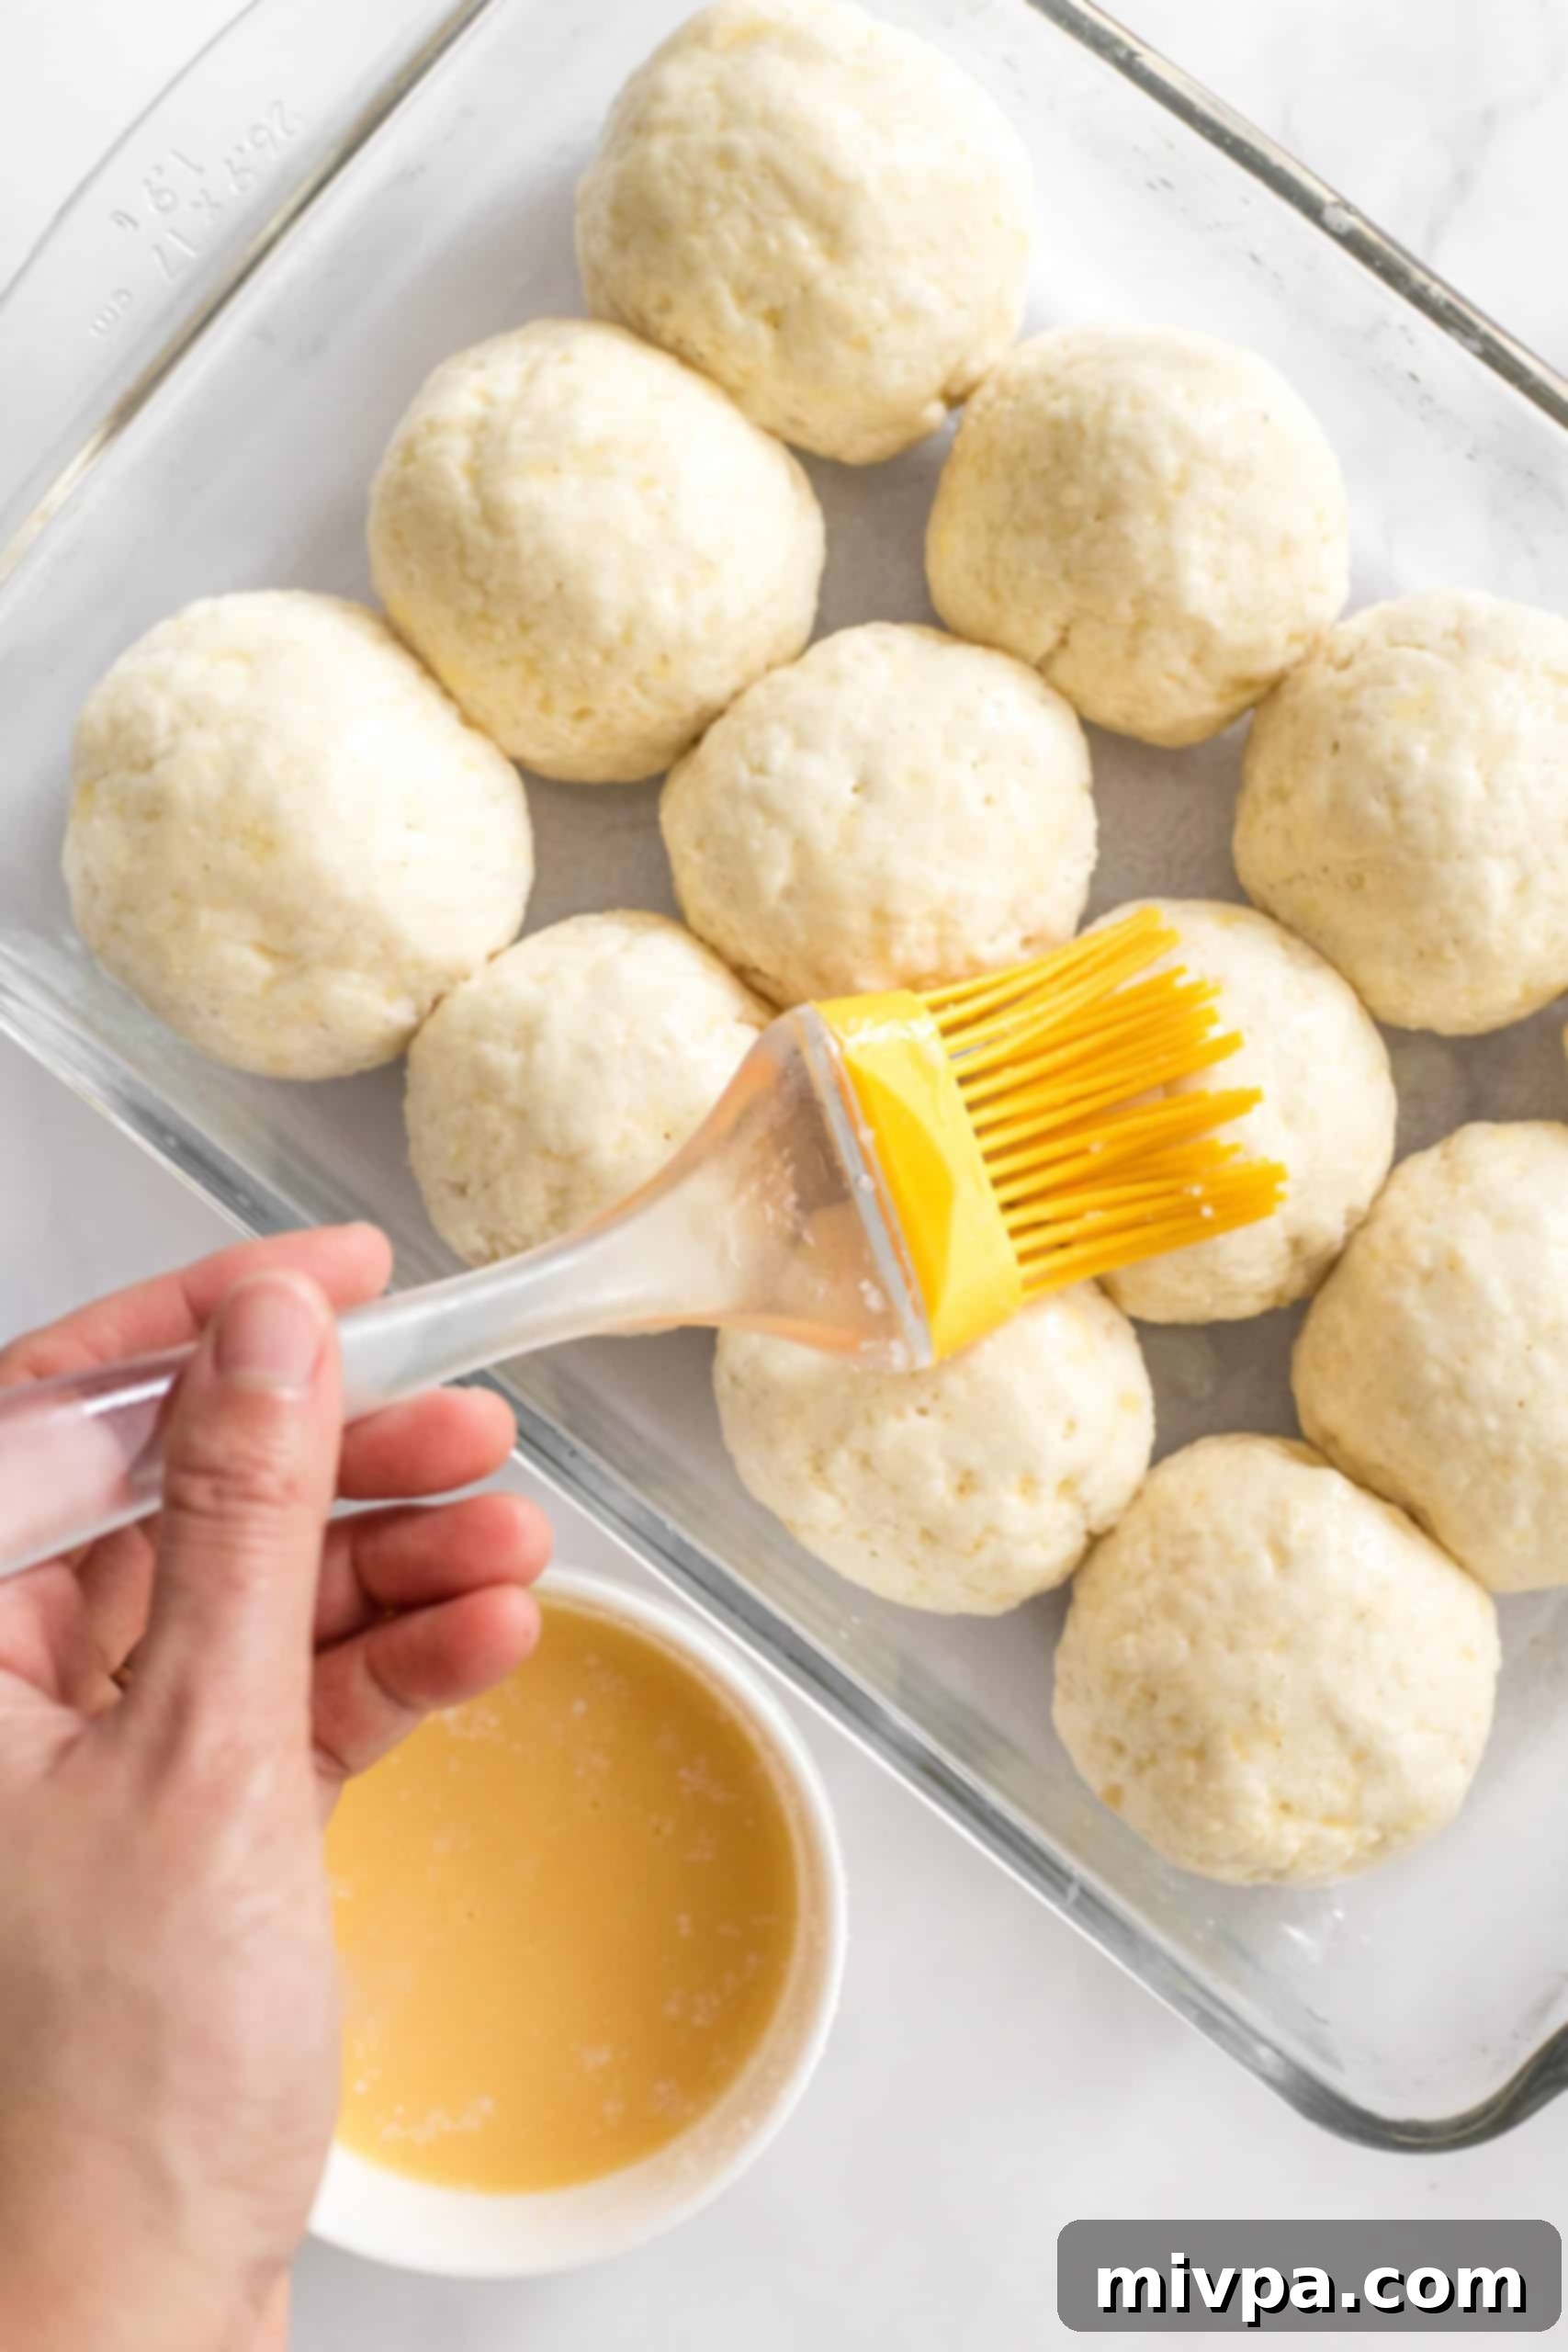
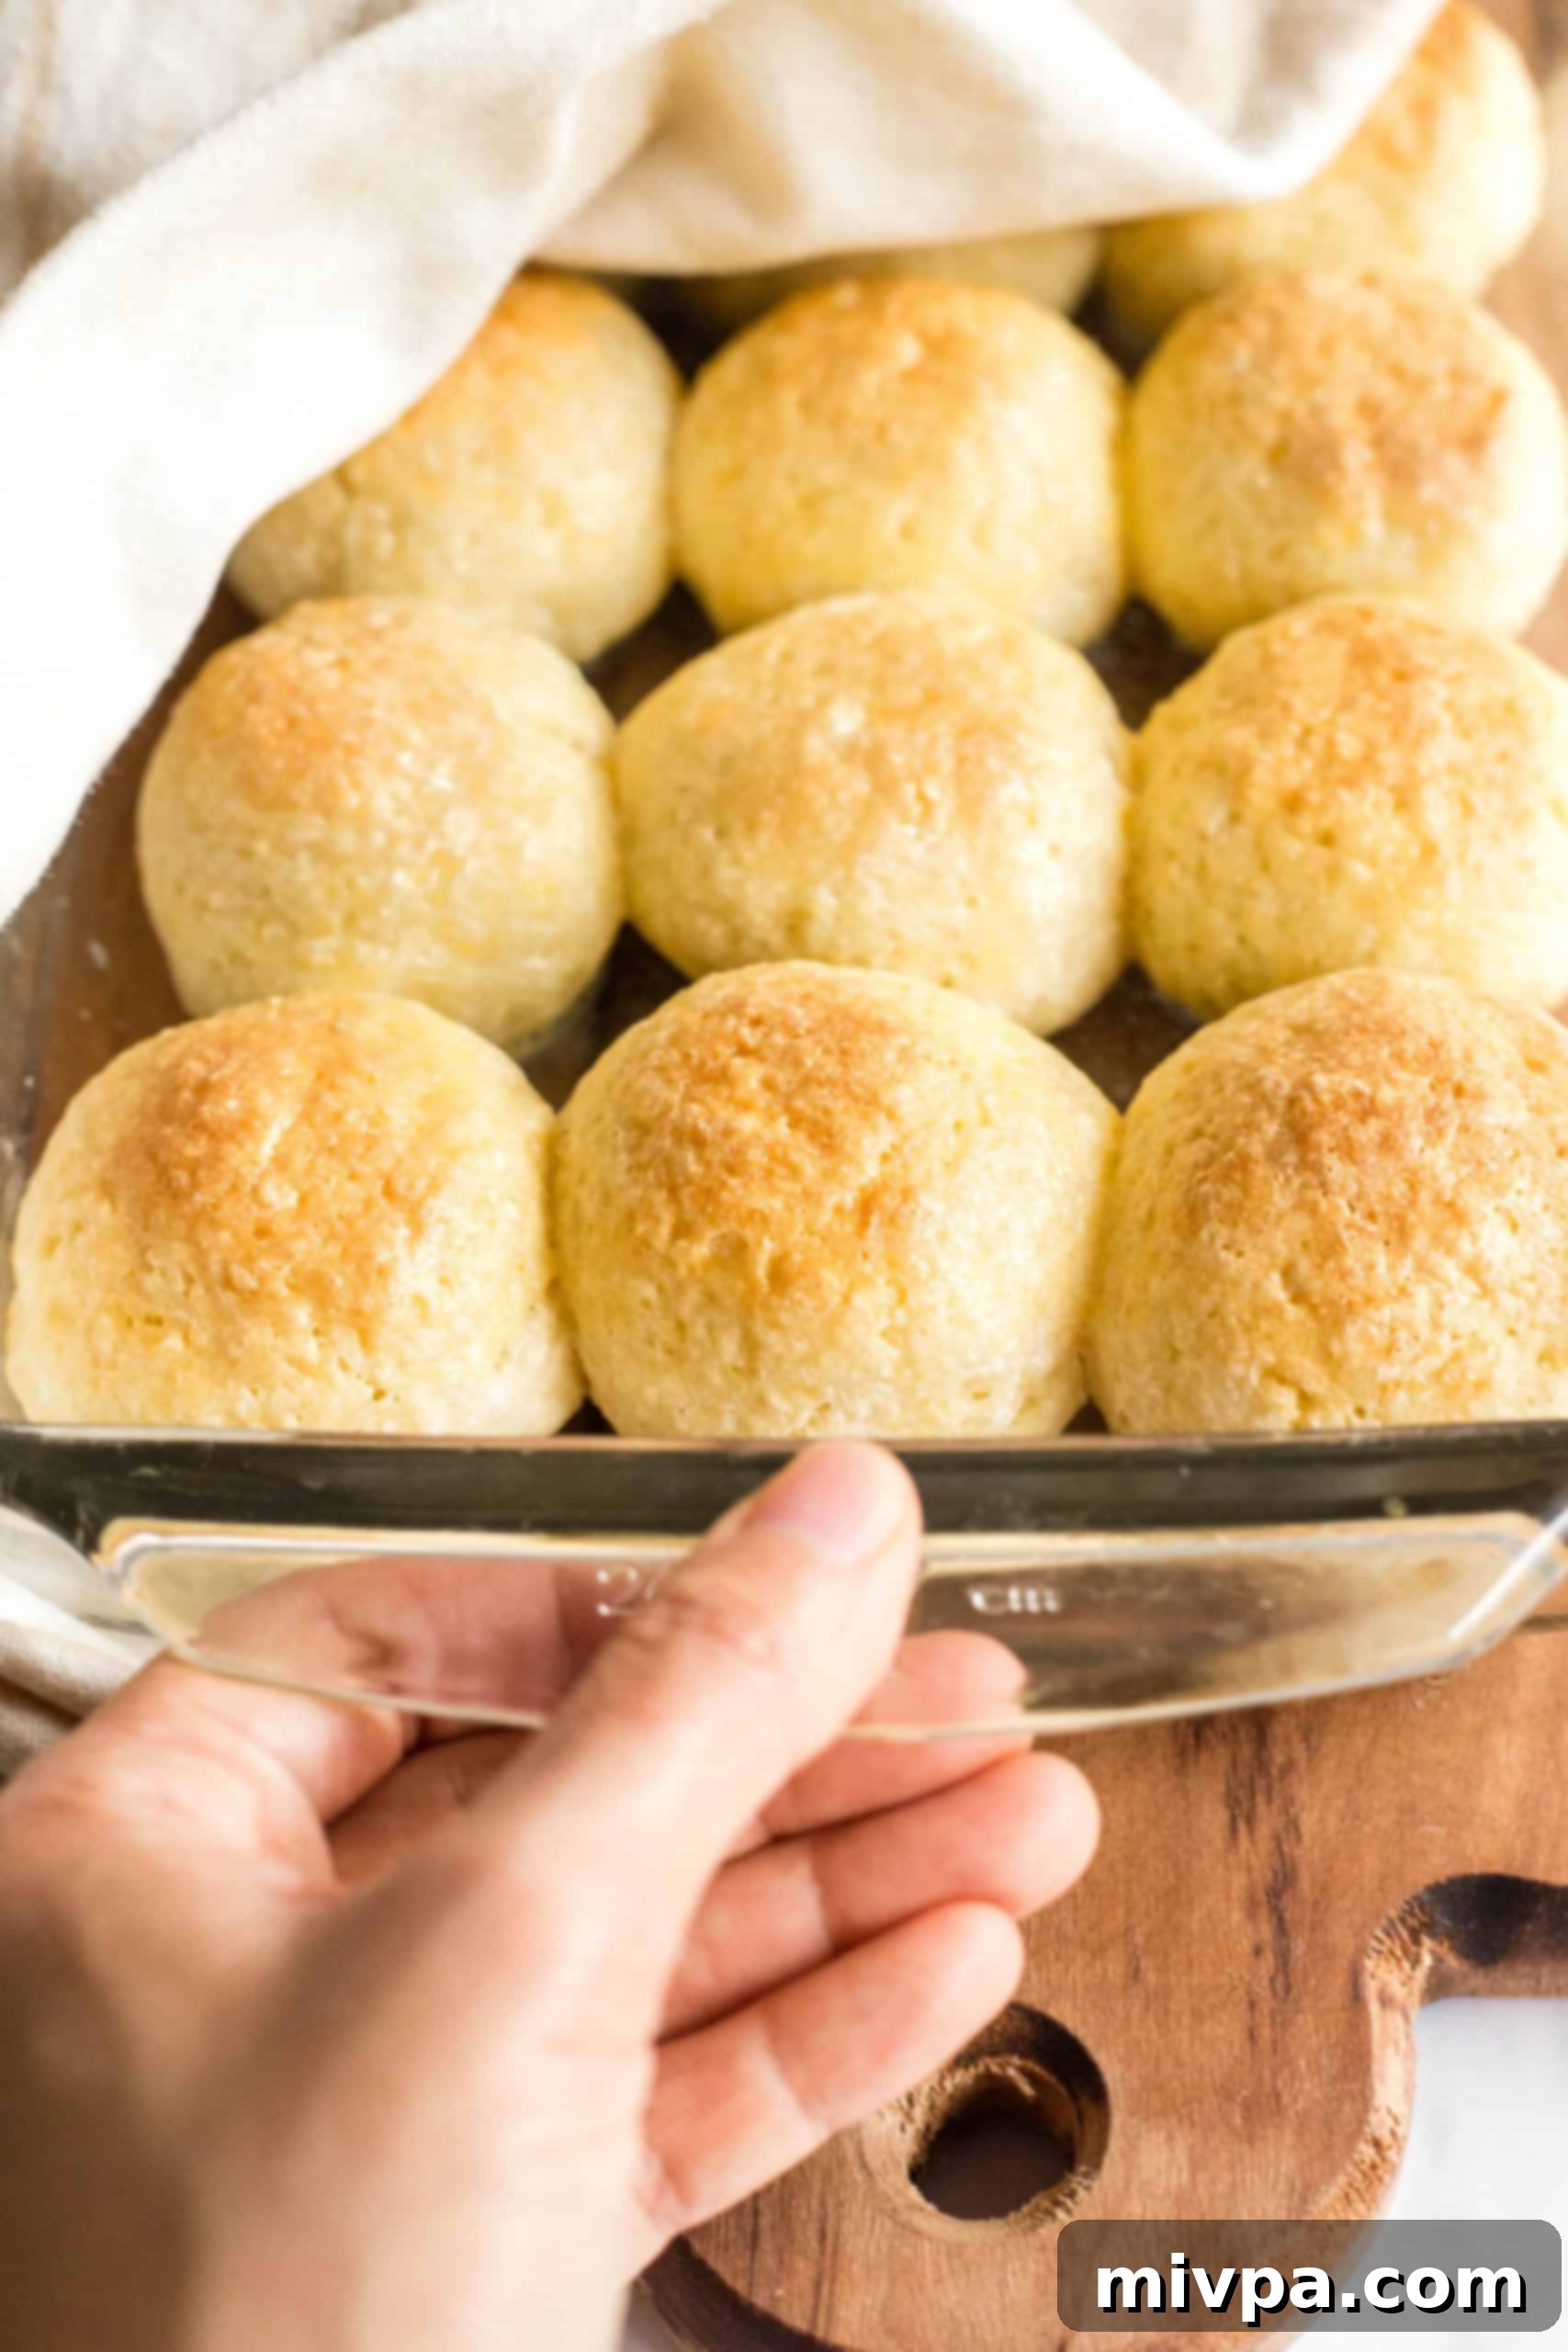
Once your dough has completed its rise and looks wonderfully plump, gently brush the tops of the rolls with the prepared egg wash (if using). This step is key to achieving that beautiful golden-brown color and a lovely subtle shine. Carefully place the pan in the preheated oven and bake for 30 minutes. Keep an eye on them; they’re done when the tops are a rich, golden brown.
7. Cool and Savor Your Homemade Rolls
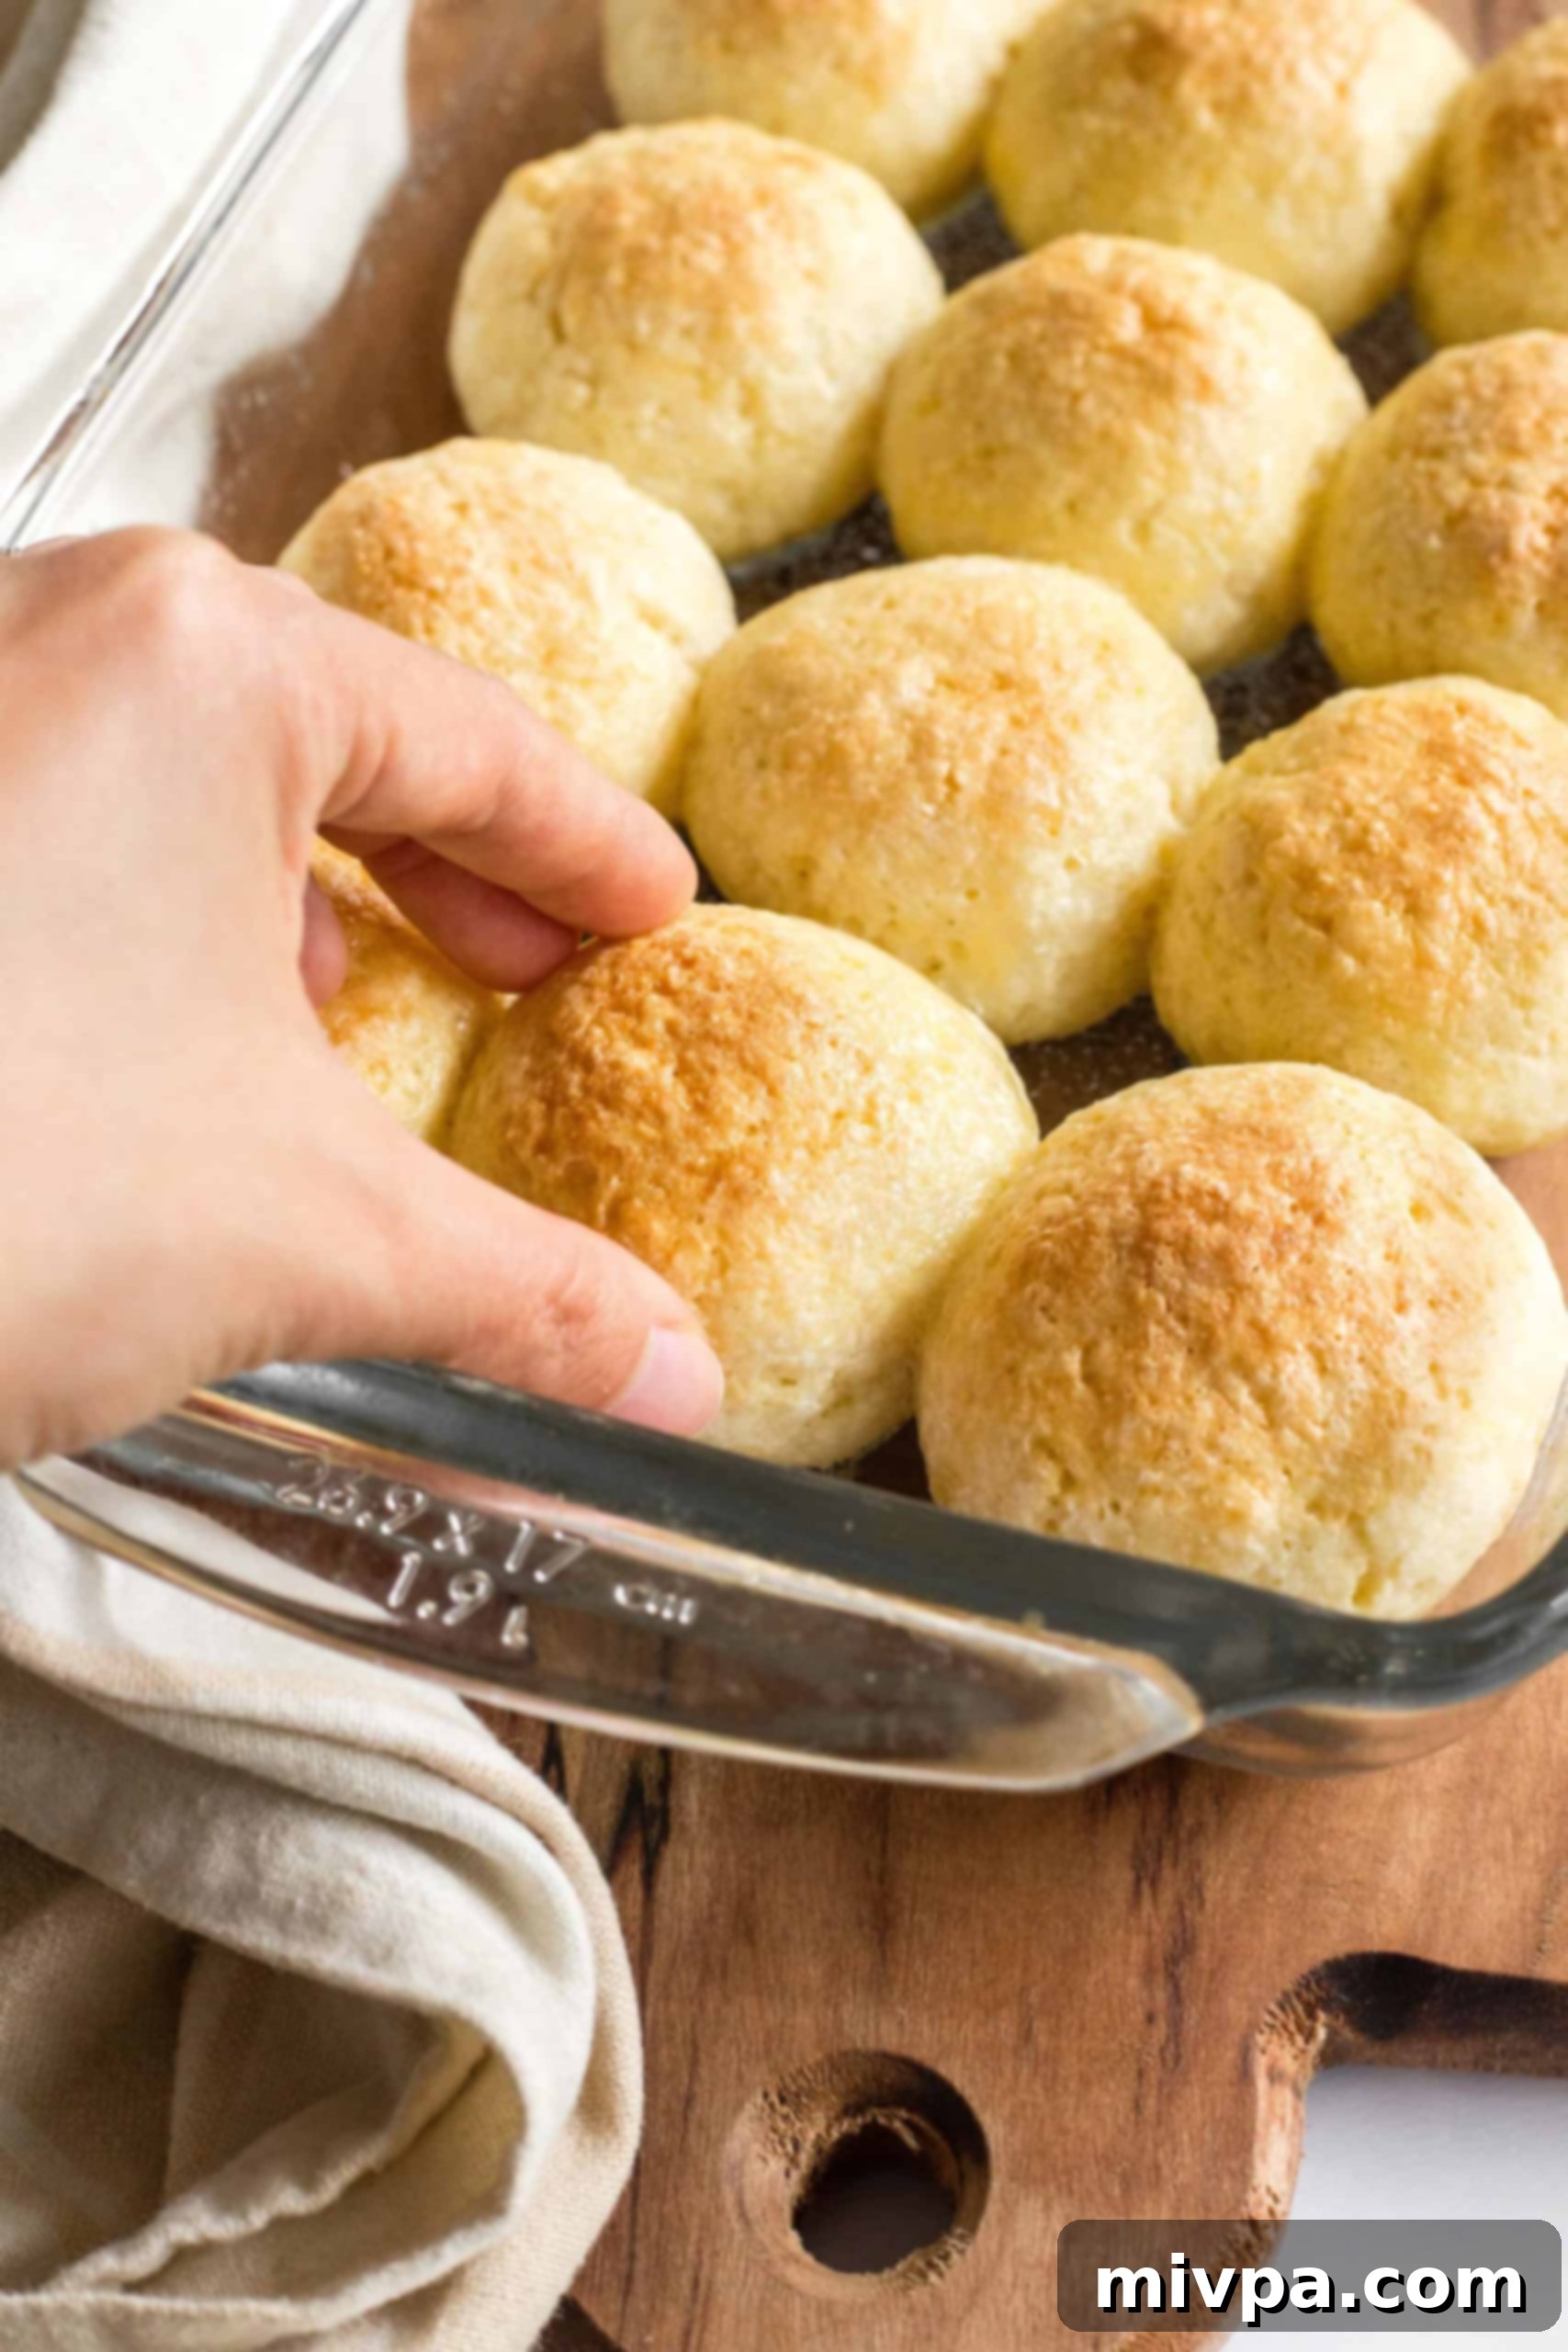
The waiting is the hardest part! Once baked, remove the pan of glorious gluten-free bread rolls from the oven. Resist the urge to dive in immediately. For the best texture and to allow the starches to properly set, let the rolls cool on a wire rack for at least 15 minutes before serving. This cooling period is crucial for preventing a gummy texture and ensuring a truly soft and tender roll. Then, tear into them and enjoy the fruits of your labor!
Dish by Dish Pro Tips & Tricks for Gluten-Free Roll Success
Achieving perfect gluten-free dinner rolls is easier with these expert tips:
- Always Grease Your Hands for Shaping Dough: Gluten-free dough is inherently wetter and stickier than wheat-based dough. To prevent it from adhering to your palms, always grease your hands generously with a little oil before you start shaping the individual dough balls. This simple step not only makes the process cleaner but also helps you create perfectly round, smooth rolls quickly and effortlessly.
- Smooth the Tops of Dough Balls for a Polished Look: If, after shaping, your dough balls aren’t perfectly smooth, don’t worry! Simply dip your fingertips in a little water and gently smooth out any uneven surfaces or cracks on the tops of the dough balls. This little touch ensures a beautiful, professional-looking finish once baked.
- Crucial Cooling Time: Patience is Key! As with nearly all gluten-free baked goods, allowing these rolls to cool sufficiently before eating is paramount. You absolutely must let your gluten-free rolls cool for a minimum of 15 minutes after they come out of the oven. This crucial resting period allows the starches within the bread to properly set and stabilize. If you cut into them too soon, the bread can become gummy and heavy – definitely not the soft, fluffy texture we’re aiming for! Your patience will be richly rewarded.
- Boost the Fiber Content: If you’re looking to add a little extra fiber to your diet, feel free to substitute up to 1/2 cup of the gluten-free all-purpose flour blend with brown rice flour. Brown rice flour will add a slightly nuttier flavor and a denser crumb. You can also incorporate 1/4 teaspoon of psyllium husk powder, which is an excellent binder and fiber source, to further enhance the texture and nutritional value.
Frequently Asked Questions About These Gluten-Free Dinner Rolls
To maintain their freshness and delightful texture, any uneaten gluten-free rolls should be stored properly. Once they have completely cooled, place the gf dinner rolls in an airtight container or a securely sealed ziplock bag. Store them in the refrigerator, where they will stay fresh for up to 5 days. When you’re ready to enjoy them again, a quick reheat in the microwave for a few seconds will bring back their soft, tender qualities.
Absolutely! These rolls are excellent for freezing, making them perfect for meal prepping or having a quick side dish on hand. To freeze them, ensure the rolls are completely cool, then individually wrap each roll tightly in plastic wrap, and place them in a freezer-safe bag or container. They will keep well in the freezer for up to 3 months. To thaw and serve, simply heat them in the microwave for a short period until warmed through, or in a preheated oven.
More Delicious Gluten-Free Breads to Explore
If you loved these dinner rolls, be sure to check out these other fantastic gluten-free bread recipes from my kitchen:
- Gluten-Free Artisan Bread (Dairy-Free)
- Soft, Fluffy Gluten-Free Sandwich Bread (Dairy-Free)
- Pumpkin Dinner Rolls (Gluten-Free, Dairy-Free)
- Buckwheat Bread (Gluten-Free, Dairy-Free)
- Brown Rice Bread (Gluten-Free, Dairy-Free)
- Sorghum Bread (Gluten-Free, Dairy-Free)
- Yeast Quinoa Bread (Gluten-Free, Dairy-Free)
- Soft, Fluffy Low Carb Buns (Gluten-Free, Paleo)
- Super Easy Gluten-Free Pizza Crust (Dairy-Free)
- The Best Gluten-Free Focaccia (Dairy-Free)
Delightful Gluten-Free Appetizers to Pair with Your Rolls
Complete your meal with these amazing gluten-free appetizers:
- Easy Chicken Satay with Peanut Sauce (Gluten-Free, Dairy-Free)
- Crispy Cornflake Chicken Strips (Gluten-Free, Dairy-Free)
- Caprese Pesto Pasta Salad (Gluten-Free)
- Crunchy Cabbage Salad with Peanut Dressing (Gluten-Free, Vegan)
P.S. If you try this recipe, I’d love for you to leave a star rating below, and/or a review in the comment section further down the page. I always appreciate your feedback. Be sure to check out my entire Recipe Index for all the recipes on the blog. You can also follow me on Pinterest, Facebook or Instagram! Sign up for my Email List to get fresh recipes in your inbox each week!
Print Recipe

Soft Gluten-Free Dinner Rolls (Dairy-Free)
5 Stars
4 Stars
3 Stars
2 Stars
1 Star
4.9 from 8 reviews
- Author: Felicia Lim
- Total Time: 1 hour 15 minutes
- Yield: 12 dinner rolls
- Diet: Gluten Free
Description
These gluten-free dinner rolls are soft and tender, super easy to make (no kneading required!), come out perfect every single time, and are also dairy-free, but nobody would know! Make these gluten-free yeast rolls for your Thanksgiving dinner, holiday gathering, or anytime you want to tear into a warm, homemade roll. Great with butter, olive oil, or even on their own!
Ingredients
Units
Scale
- 2 3/4 cups gluten-free all-purpose flour
- 1 teaspoon xanthan gum
- 1 teaspoon salt
- 1 teaspoon baking powder
- 1 1/2 tablespoons light brown sugar
- 2 1/4 teaspoons instant dry yeast
- 1 1/4 cups warm water (approximately 105F to 115F)
- 1 large egg, beaten
- 1 teaspoon apple cider vinegar
- 2 tablespoons melted coconut oil
- Egg wash, for brushing (optional)
Instructions
- Mix Dry Ingredients: In a large mixing bowl, combine the gluten-free all-purpose flour, xanthan gum, salt, baking powder, sugar and instant dry yeast. Whisk well to combine.
- Add Wet Ingredients: Add the warm water, beaten egg, apple cider vinegar, melted coconut oil, and mix very well until you get a thick and homogeneous mixture (which will look more like cake batter instead of normal bread dough).
- Shape Dough: Grease a 10″ x 7″ glass baking pan with nonstick cooking spray. Use a large cookie scoop to scoop 12 equal portions of dough and place them in rows in the baking pan. Use greased hands to shape each portion of dough into small balls and place them in rows. Use wet fingertips to smooth the tops of each ball of dough.
- Let Rise: Cover the pan with a kitchen towel or plastic wrap and let the dough rise for approximately 30 minutes in a warm, draft-free place, until it has roughly doubled in size. In the meantime, as the dough rises, preheat the oven to 350F and adjust rack to the middle position.
- Brush: Once the dough has risen, brush the tops of the rolls with egg wash.
- Bake: Bake for 30 minutes until tops of the dinner rolls are golden brown.
- Cool: Remove from the oven and let the bread rolls cool on a wire rack for at least 15 minutes before serving.
Notes
Gluten-Free All-Purpose Flour: For this gluten-free dinner rolls recipe, I highly recommend using a gluten-free flour blend that is made up of lighter flours/starches such as rice flour, corn starch, tapioca starch, or potato starch. This will ensure that you get a lighter and fluffier texture. I do NOT recommend blends that use heavier and denser flours such as garbanzo bean flour as it will result in a denser texture.
Xanthan Gum: I use an extra teaspoon of xanthan gum even though the flour blend already contains xanthan gum, because this replaces the role of gluten and helps the flours to bind better and creates better texture.
Baking Powder: I use baking powder in addition to yeast to give the rolls extra rise, which helps them to be a little lighter and fluffier in texture. If you are Celiac or gluten-intolerant, make sure to use certified gluten-free baking powder.
Sugar: The sugar is required for the yeast to work, as it acts as the “food” for the yeast feed on so it will be activated and produce the gases needed to make the dough rise. In this case, I’ve used light brown sugar, but you can also use white sugar, cane sugar or dark brown sugar if you prefer.
Instant Dry Yeast: I like using instant dry yeast in my baking because no proofing or activation is required. If you don’t have instant dry yeast, you can use active yeast, but make sure you dissolve the yeast in a mixture of warm water and sugar to activate it before using.
Warm Water: Make sure the water you use is between 105F to 115F. (It’s important that the water is neither too hot nor too cold. The warmth is required to activate the yeast, but if the water is too hot it will kill the yeast.) Alternatively, you may also use warm milk instead of water if you prefer.
Egg: This recipe requires the egg, without which it will come out dense and heavy. I haven’t tried it with egg replacers so I can’t guarantee it will work if you replace the egg.
Apple Cider Vinegar: Since yeast usually likes an acidic environment, adding apple cider vinegar (ACV) will help the yeast work better and give the bread a better rise. If you don’t have ACV, you can use any other vinegar you have.
Coconut Oil: I prefer using refined coconut oil for cooking because it has a more neutral taste (as opposed to extra virgin coconut oil which has a stronger coconut taste and smell). You may also use melted vegan butter if you prefer. Alternatively, if you are not lactose-intolerant, feel free to use melted butter in equal amounts.
Egg Wash: Brushing egg wash over the rolls before baking them will ensure that they turn out golden brown and have a nice shine. To make egg wash, beat an egg with 1 teaspoon of water and mix well. Alternatively, you can also brush the rolls with olive oil.
Storing/Freezing: To store, place the gf dinner rolls in an airtight container or ziplock bag in the fridge for up to 5 days. To freeze, wrap the gluten-free bread rolls in plastic wrap and freeze for up to 3 months. Heat up the rolls slightly in the microwave to thaw them before serving.
This recipe was originally published in November 2020, but has since been updated to include clearer step-by-step instructions.
Adapted from: Gluten-Free Baking
- Prep Time: 45 mins
- Cook Time: 30 mins
- Category: Bread
- Method: Baking
- Cuisine: American
