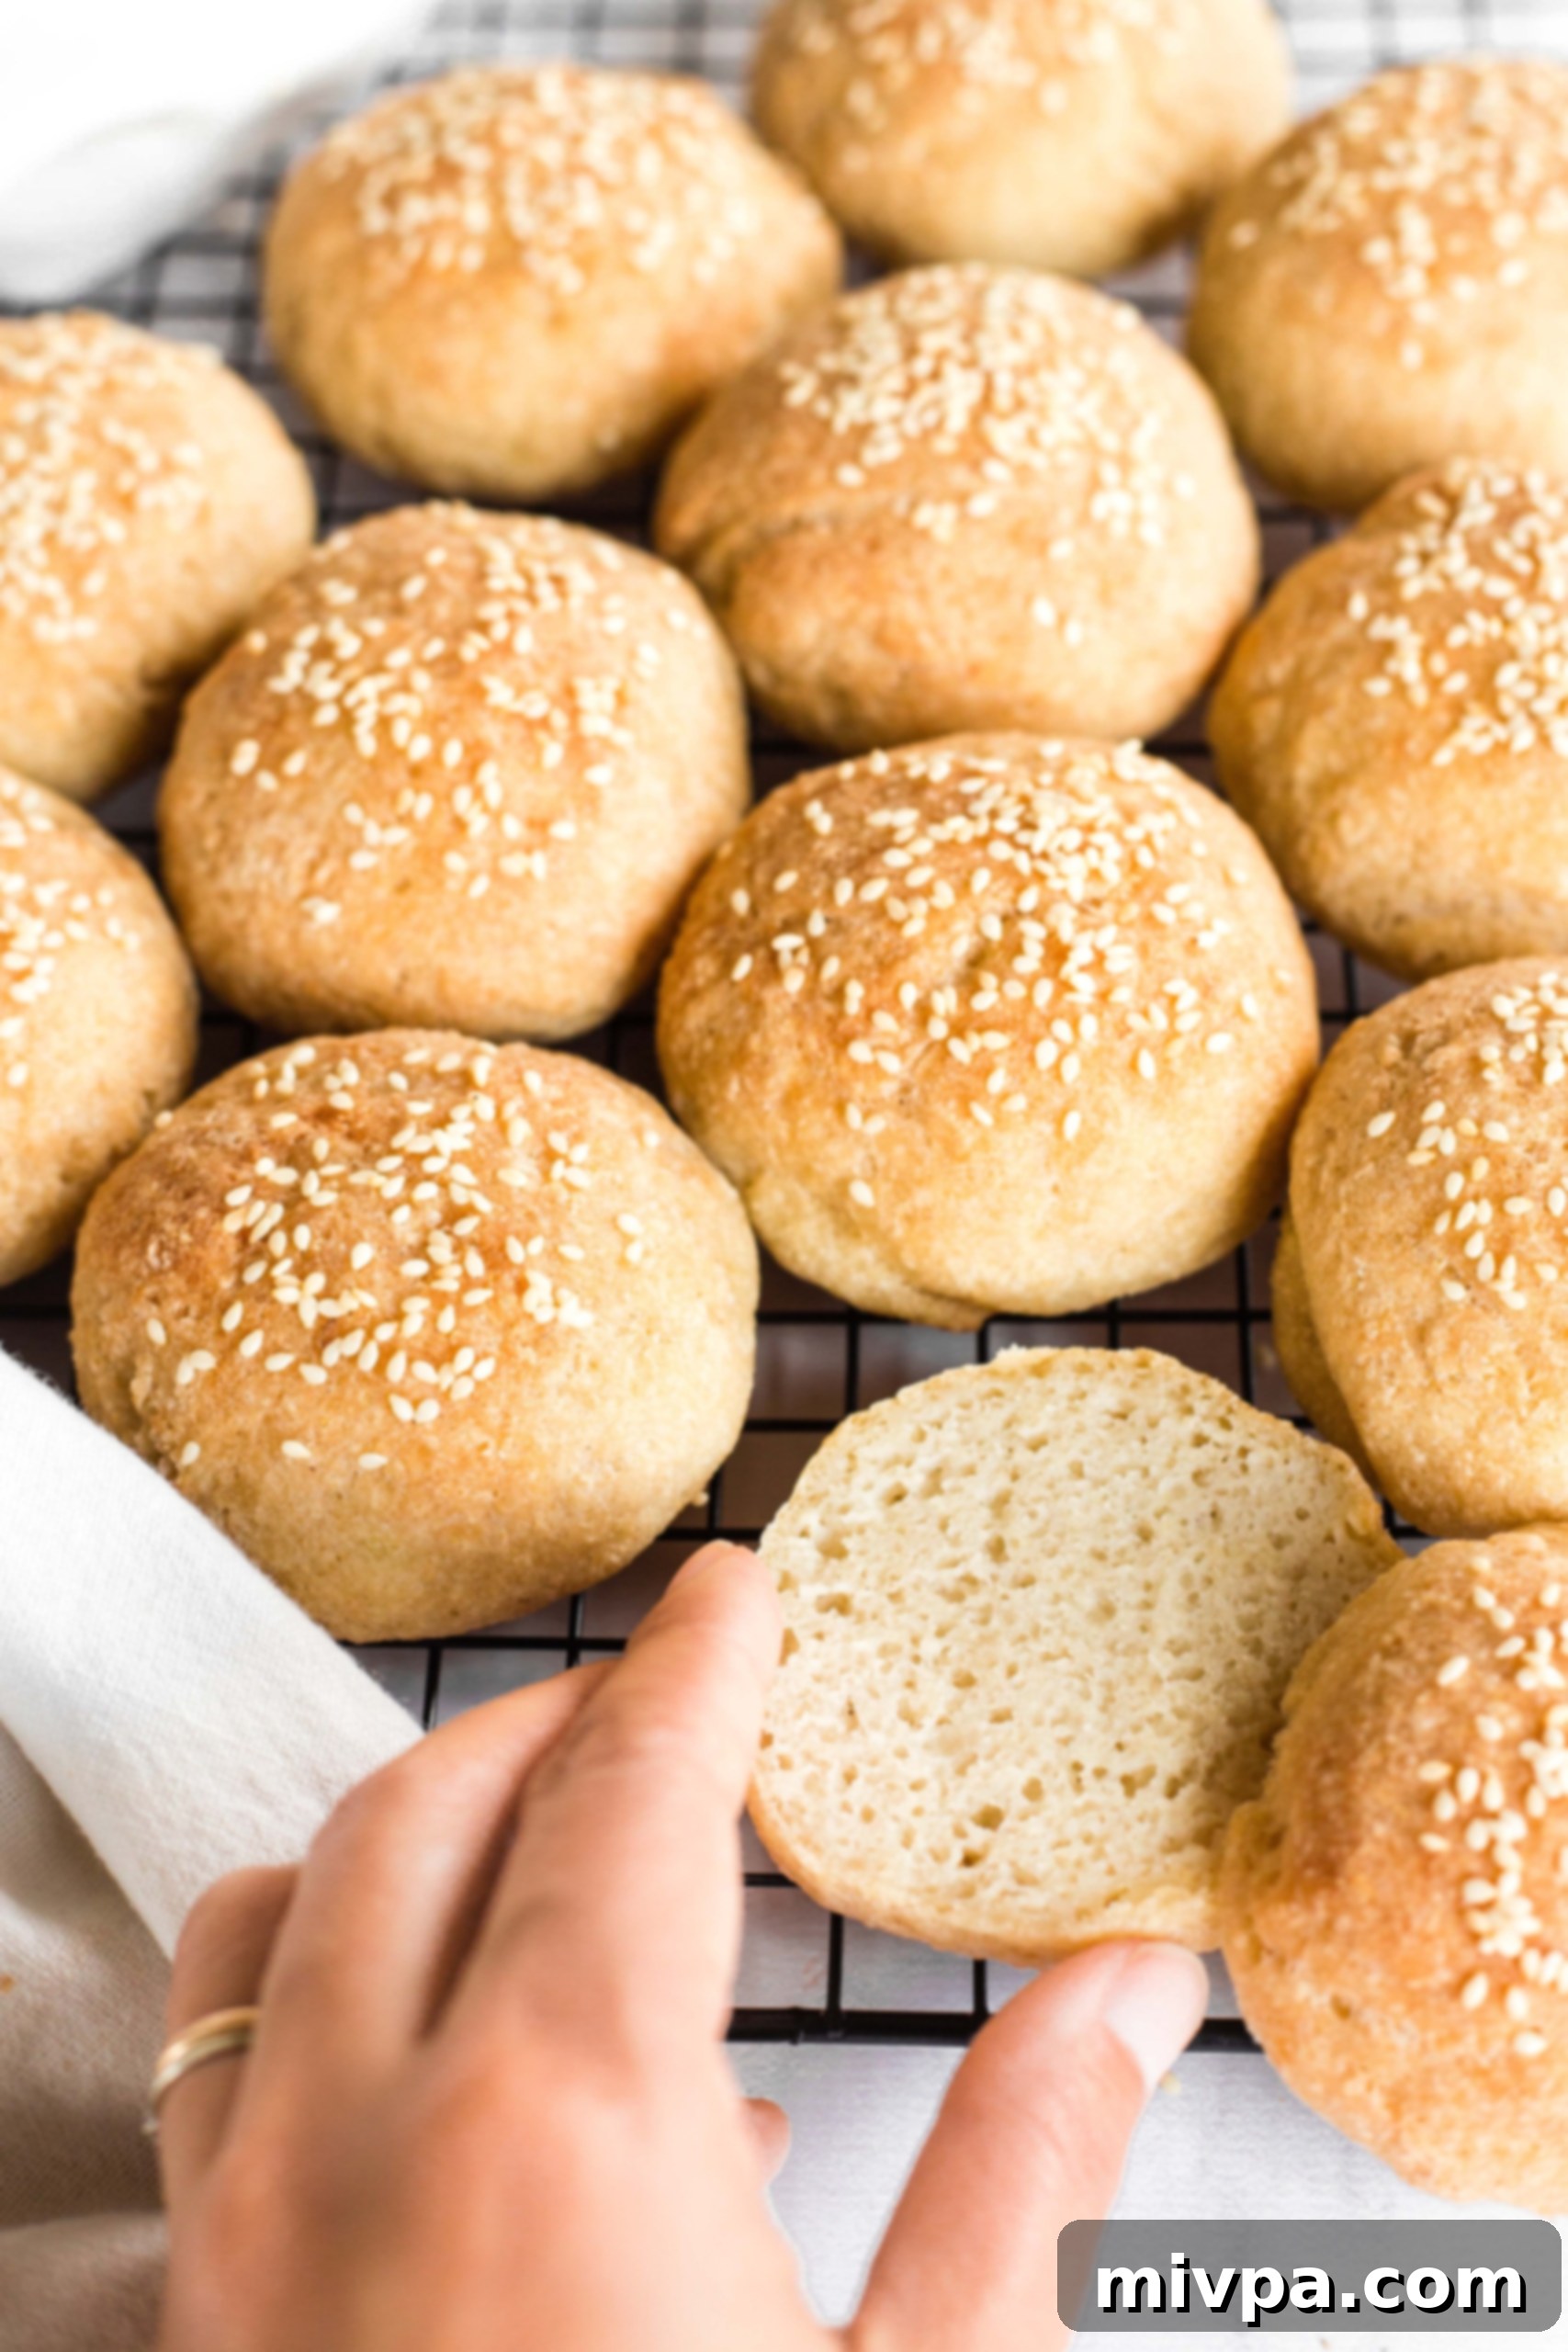
Easy Gluten-Free Slider Buns: Soft, Fluffy & Dairy-Free Potato Rolls
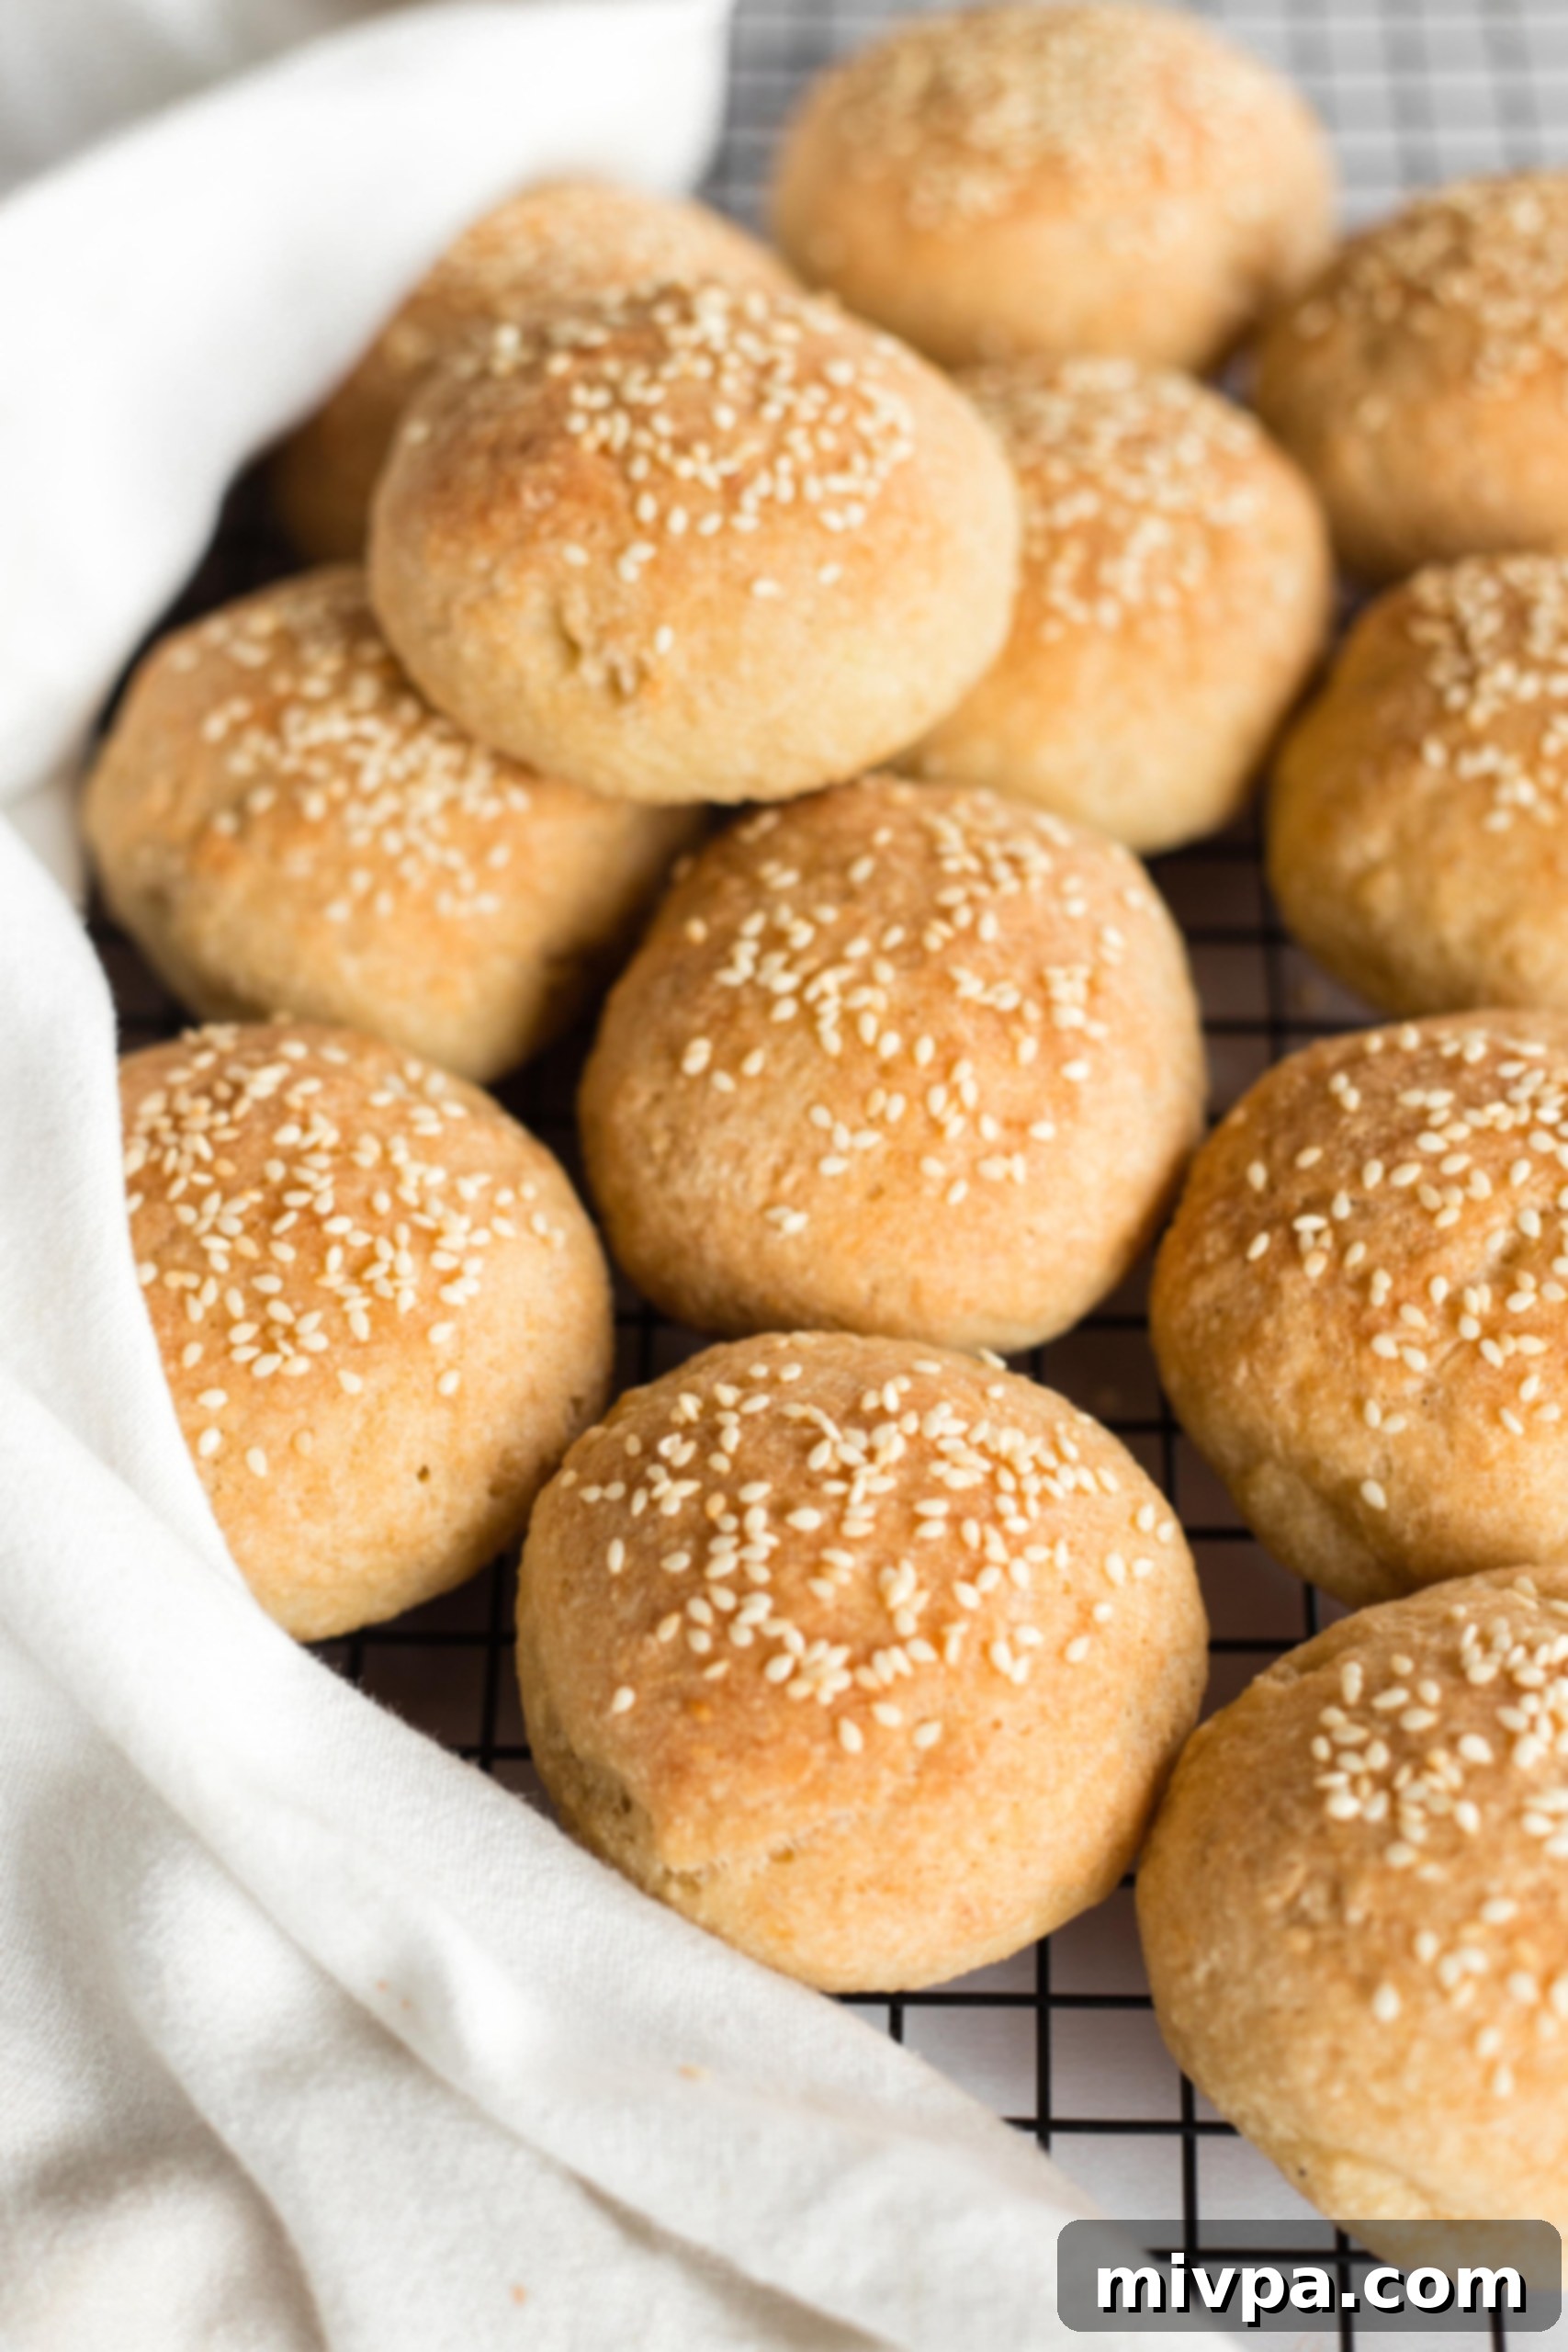
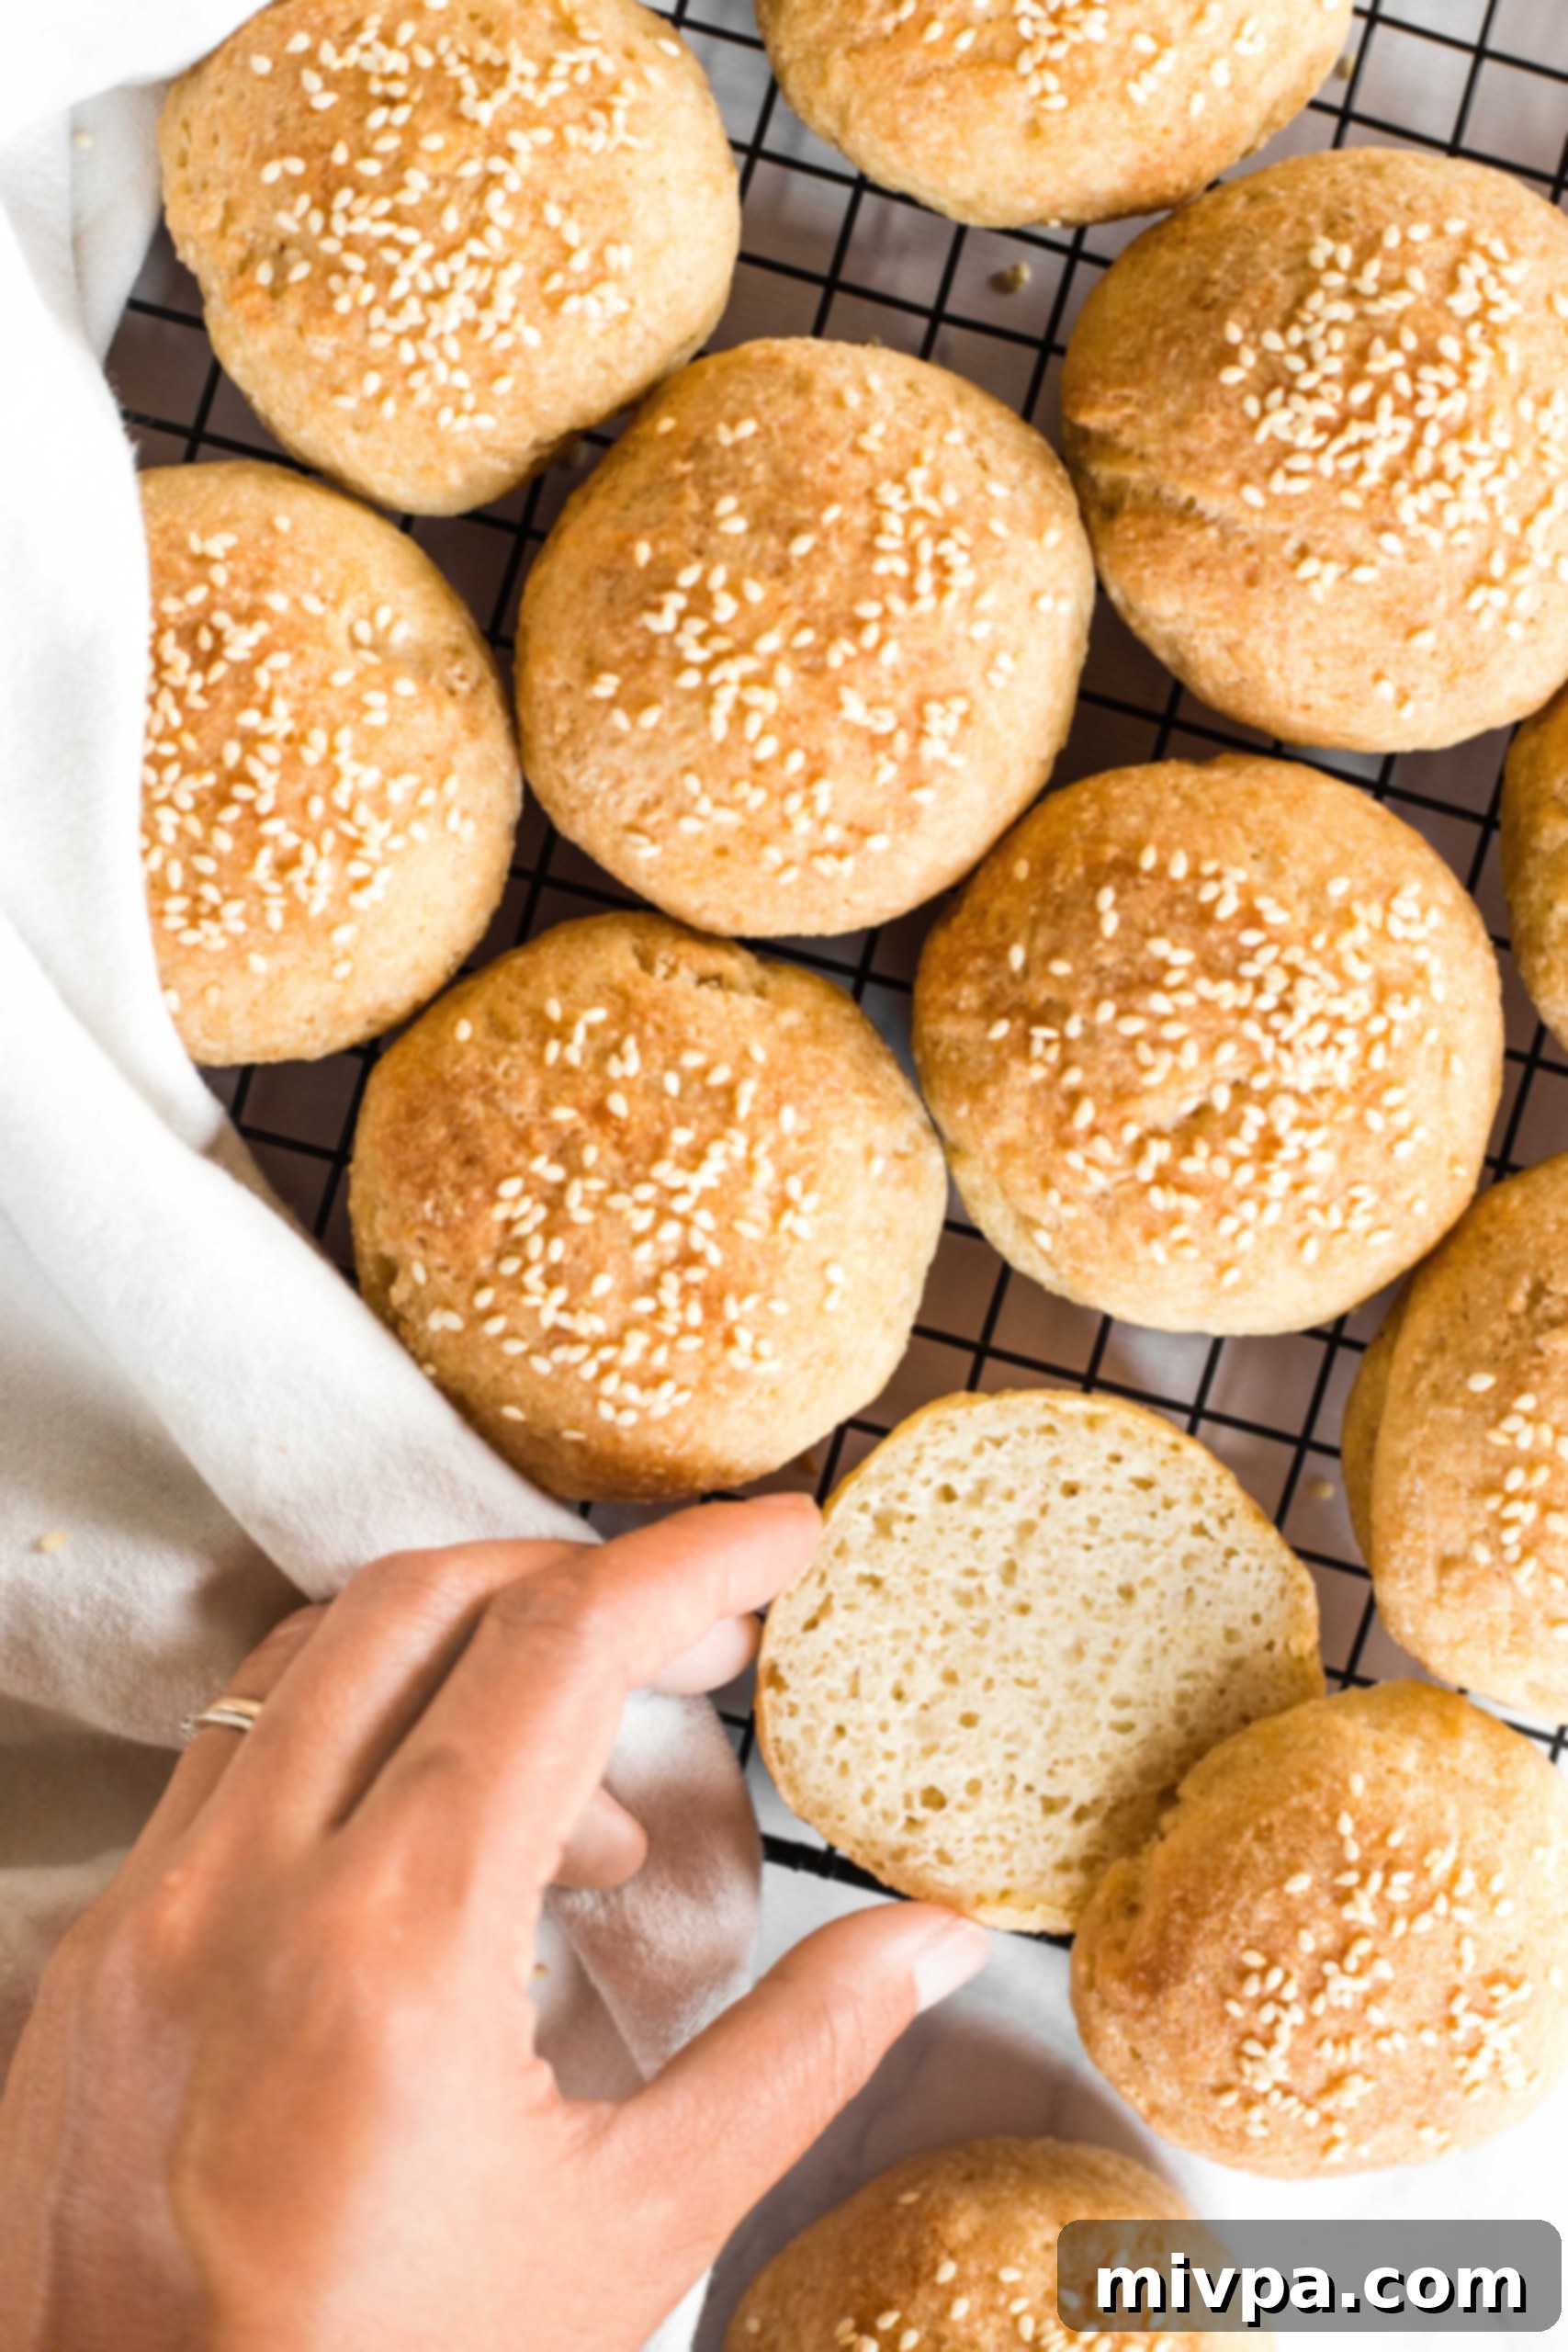
Experience the joy of homemade bread with these incredibly soft, fluffy, and tender gluten-free slider buns. Perfect for mini hamburgers, delightful game day slider sandwiches, or simply enjoyed on their own as a light snack, these dairy-free potato buns are a game-changer. No laborious kneading is required, making them surprisingly easy to bake. Prepare a batch today and savor the delicious, comforting taste that everyone will adore, regardless of dietary needs!
The Unmatched Joy of Homemade Bread
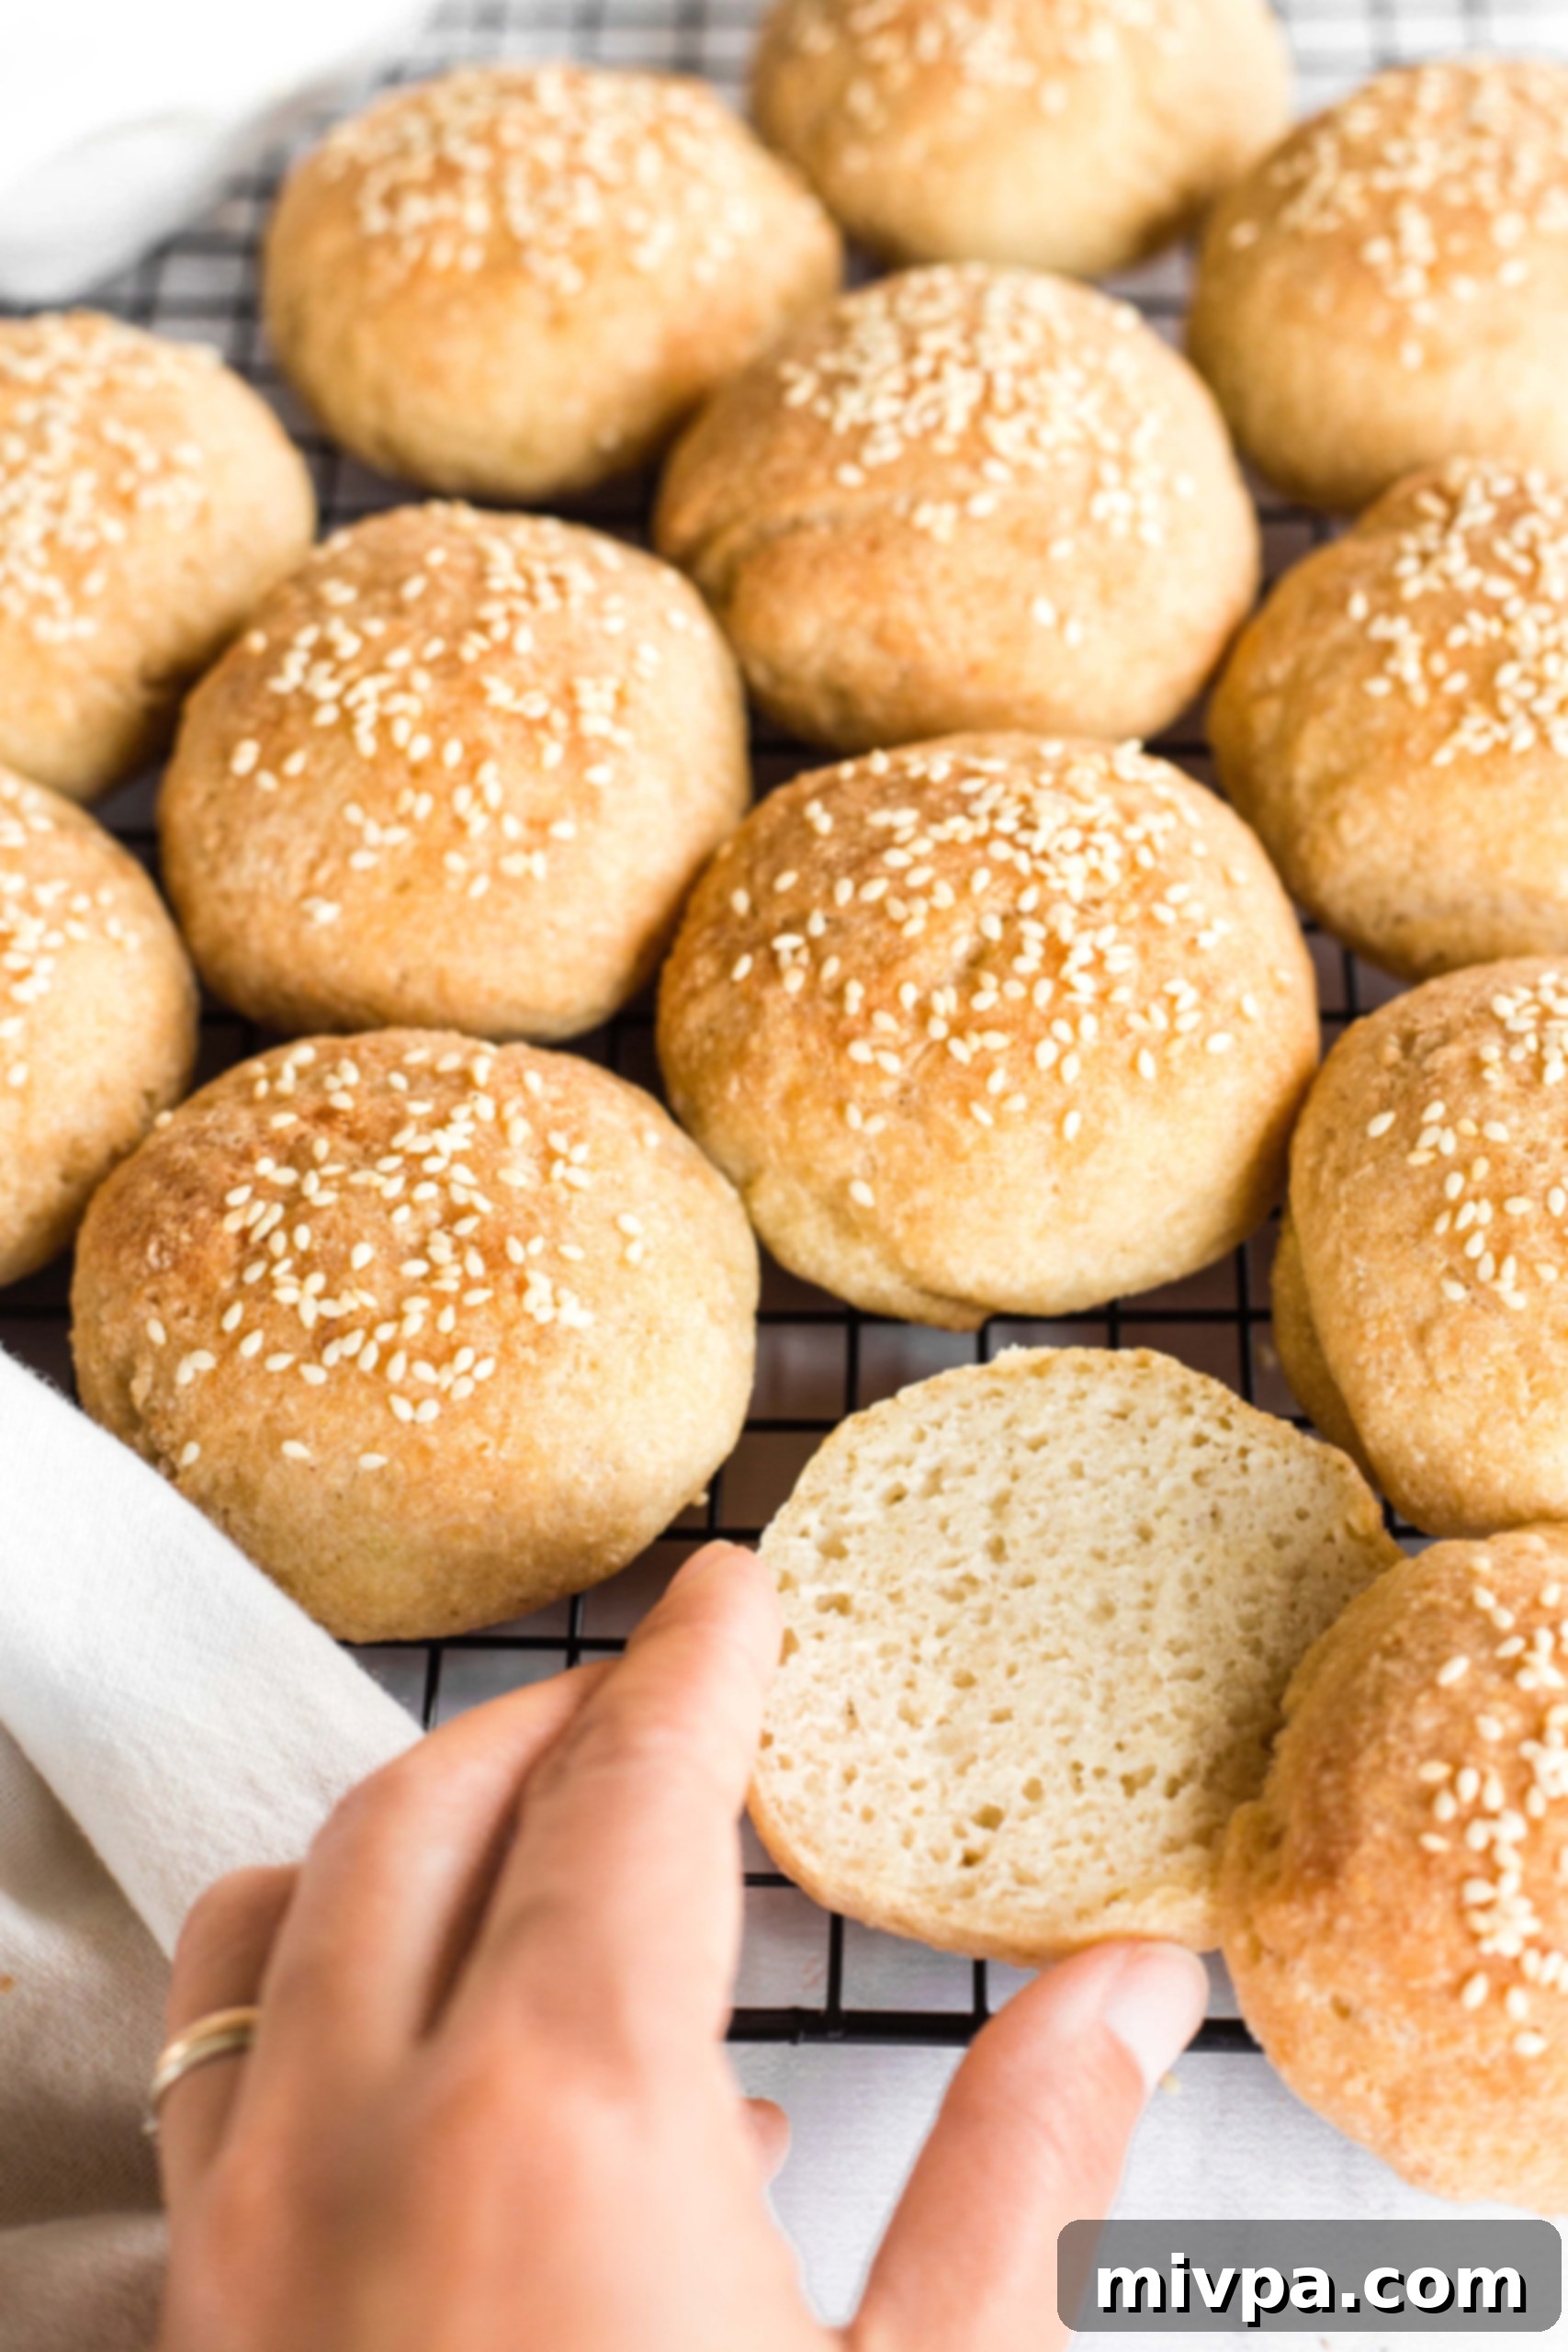
There’s an undeniable magic in baking a loaf of homemade bread, especially when it involves yeast. The entire process, from mixing the ingredients to watching the dough slowly come alive, expanding beautifully, and then finally pulling a warm, aromatic loaf from the oven, fills the home with an incomparable sense of comfort and satisfaction. That unique, comforting smell of freshly baked bread is truly one of life’s simple pleasures, instantly making any space feel more like home. For those navigating gluten sensitivities, experiencing this joy with a genuinely delicious gluten-free loaf is even more rewarding.
Explore Our Favorite Yeast Bread Recipes:
- Soft, Fluffy Gluten-Free White Bread (Dairy-Free)
- Soft, Fluffy Buckwheat Bread (Dairy-Free)
- Gluten-Free Potato Bread (Dairy-Free)
- Gluten-Free Hamburger Buns (Dairy-Free)
- Gluten-Free Baguette (Dairy-Free)
- Gluten-Free Bagels (Dairy-Free)
Irresistible Homemade Gluten-Free Slider Buns
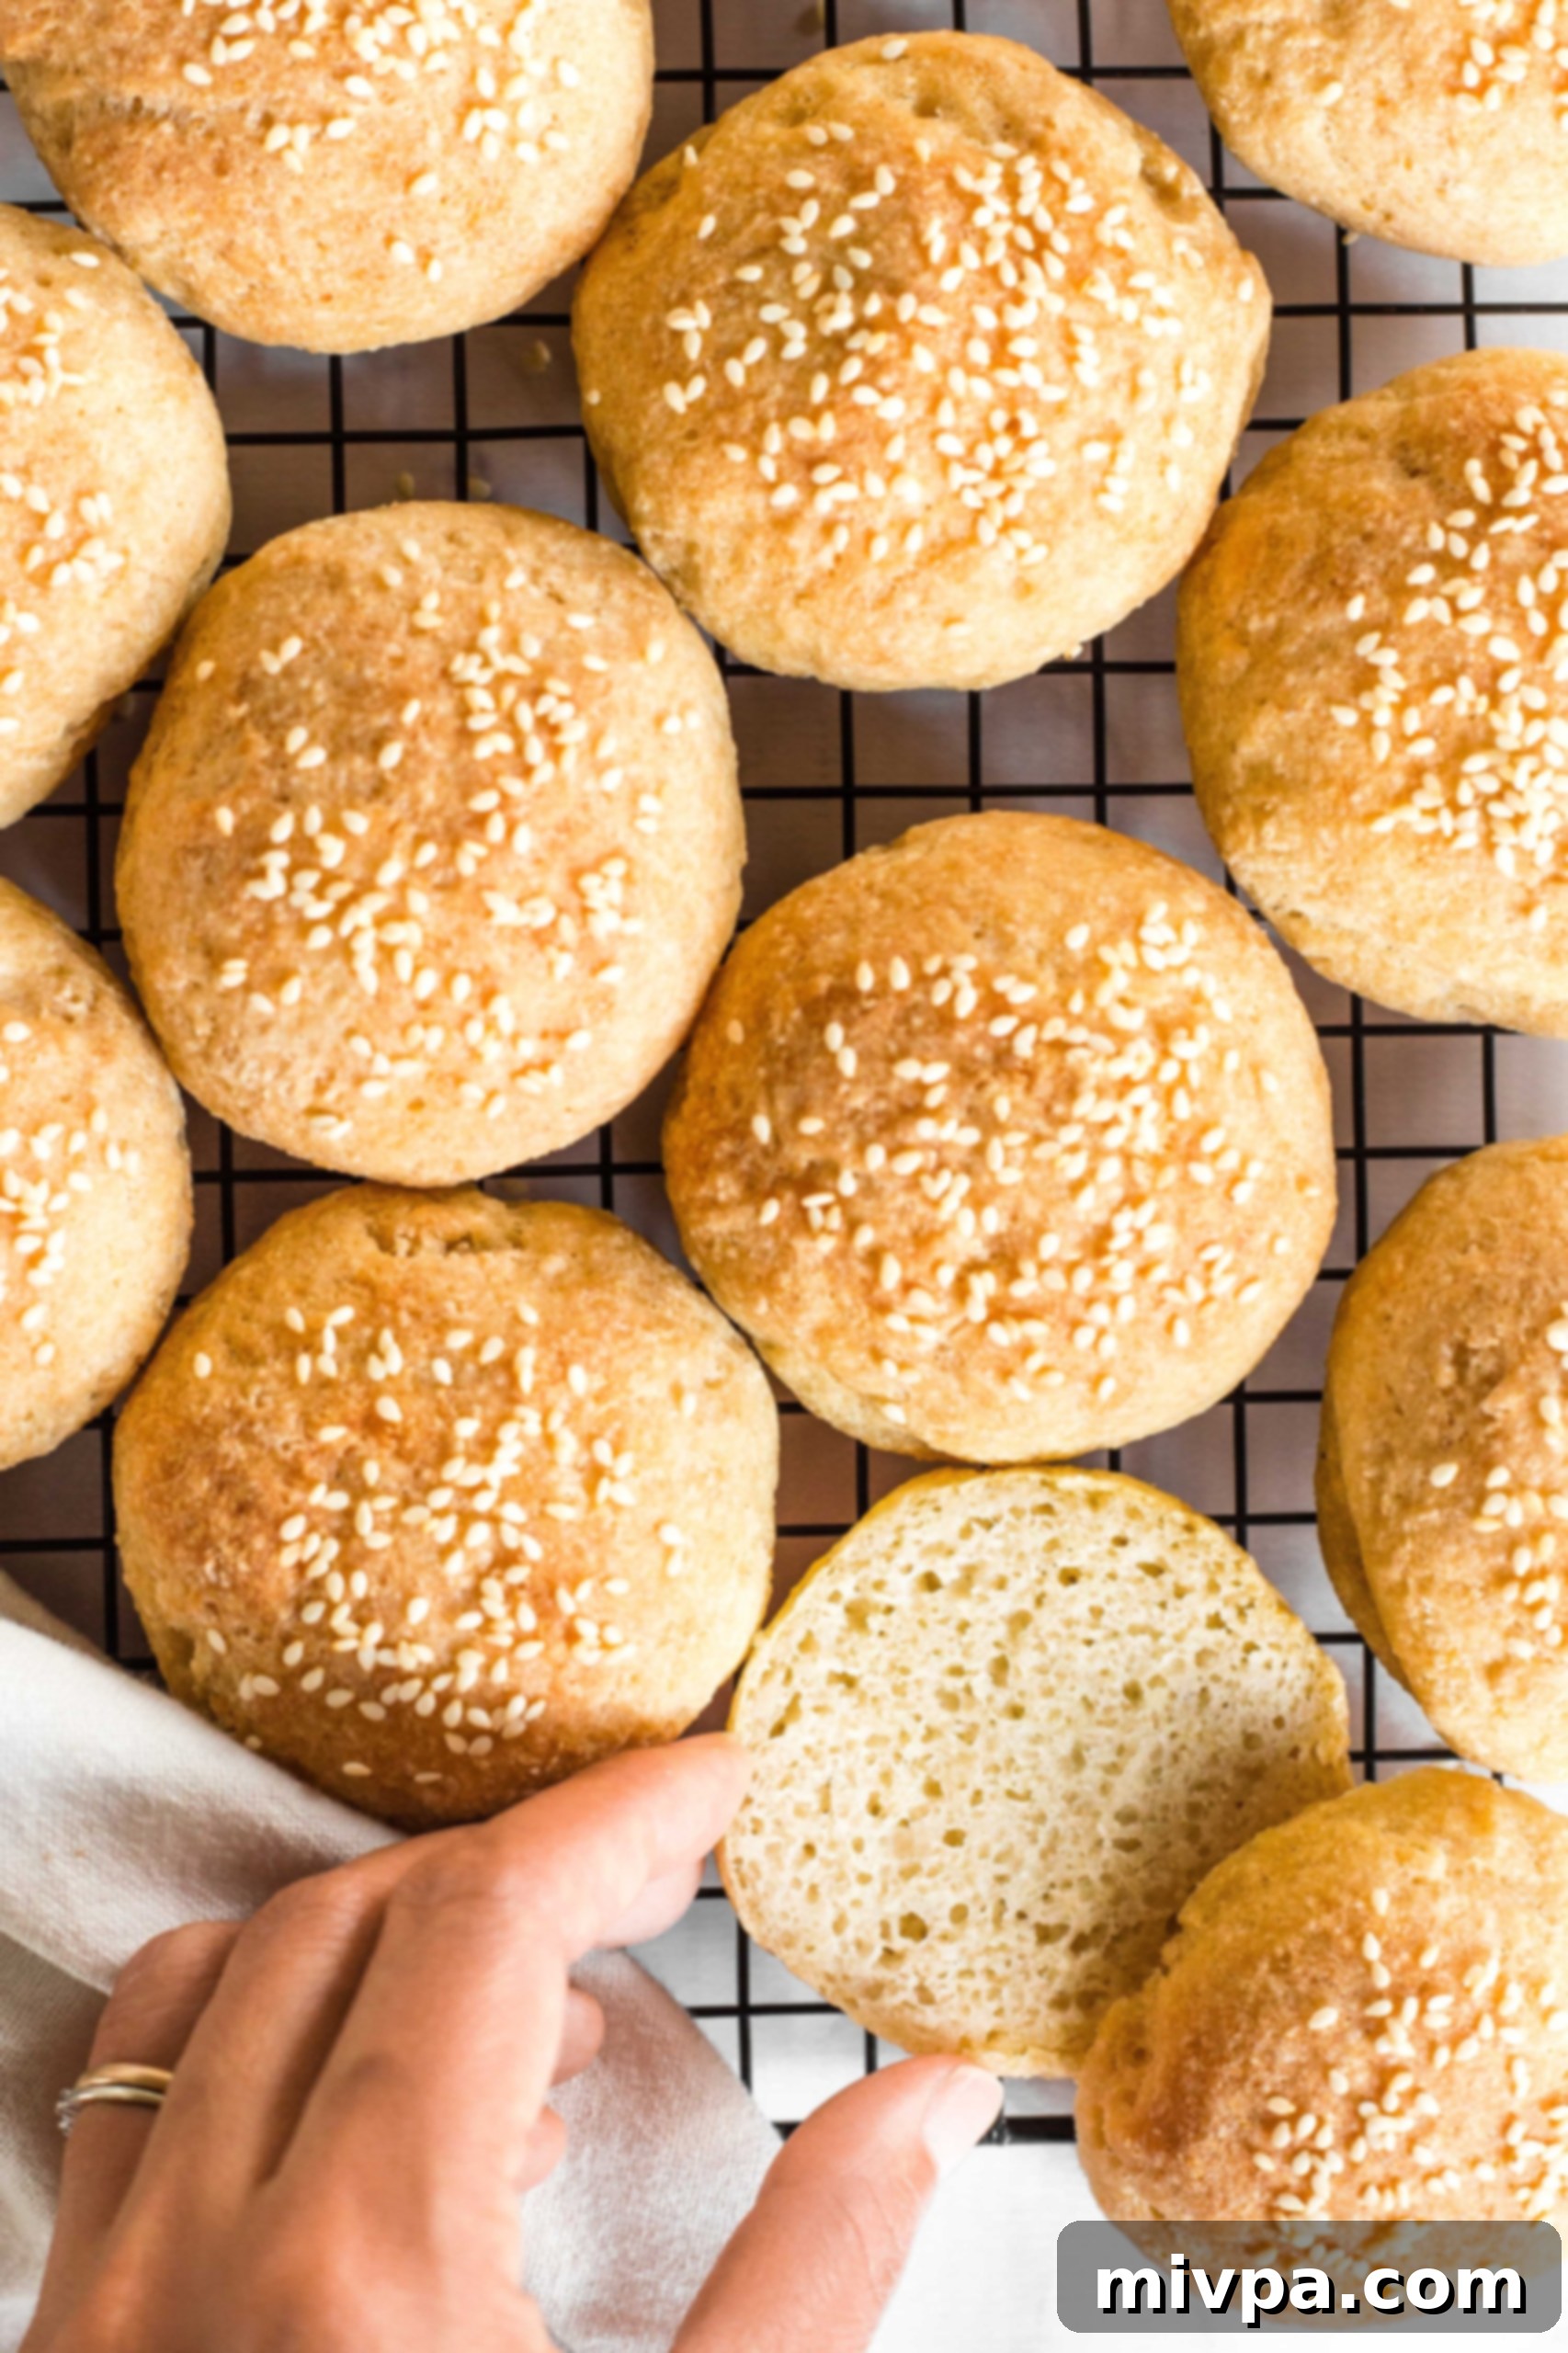
For quite some time, creating the perfect slider bun has been high on my list of recipes to develop. Slider buns are incredibly versatile, ideal for crafting adorable mini burgers or any type of slider sandwich you can imagine. The challenge, of course, was perfecting a gluten-free and dairy-free version that didn’t compromise on texture or taste.
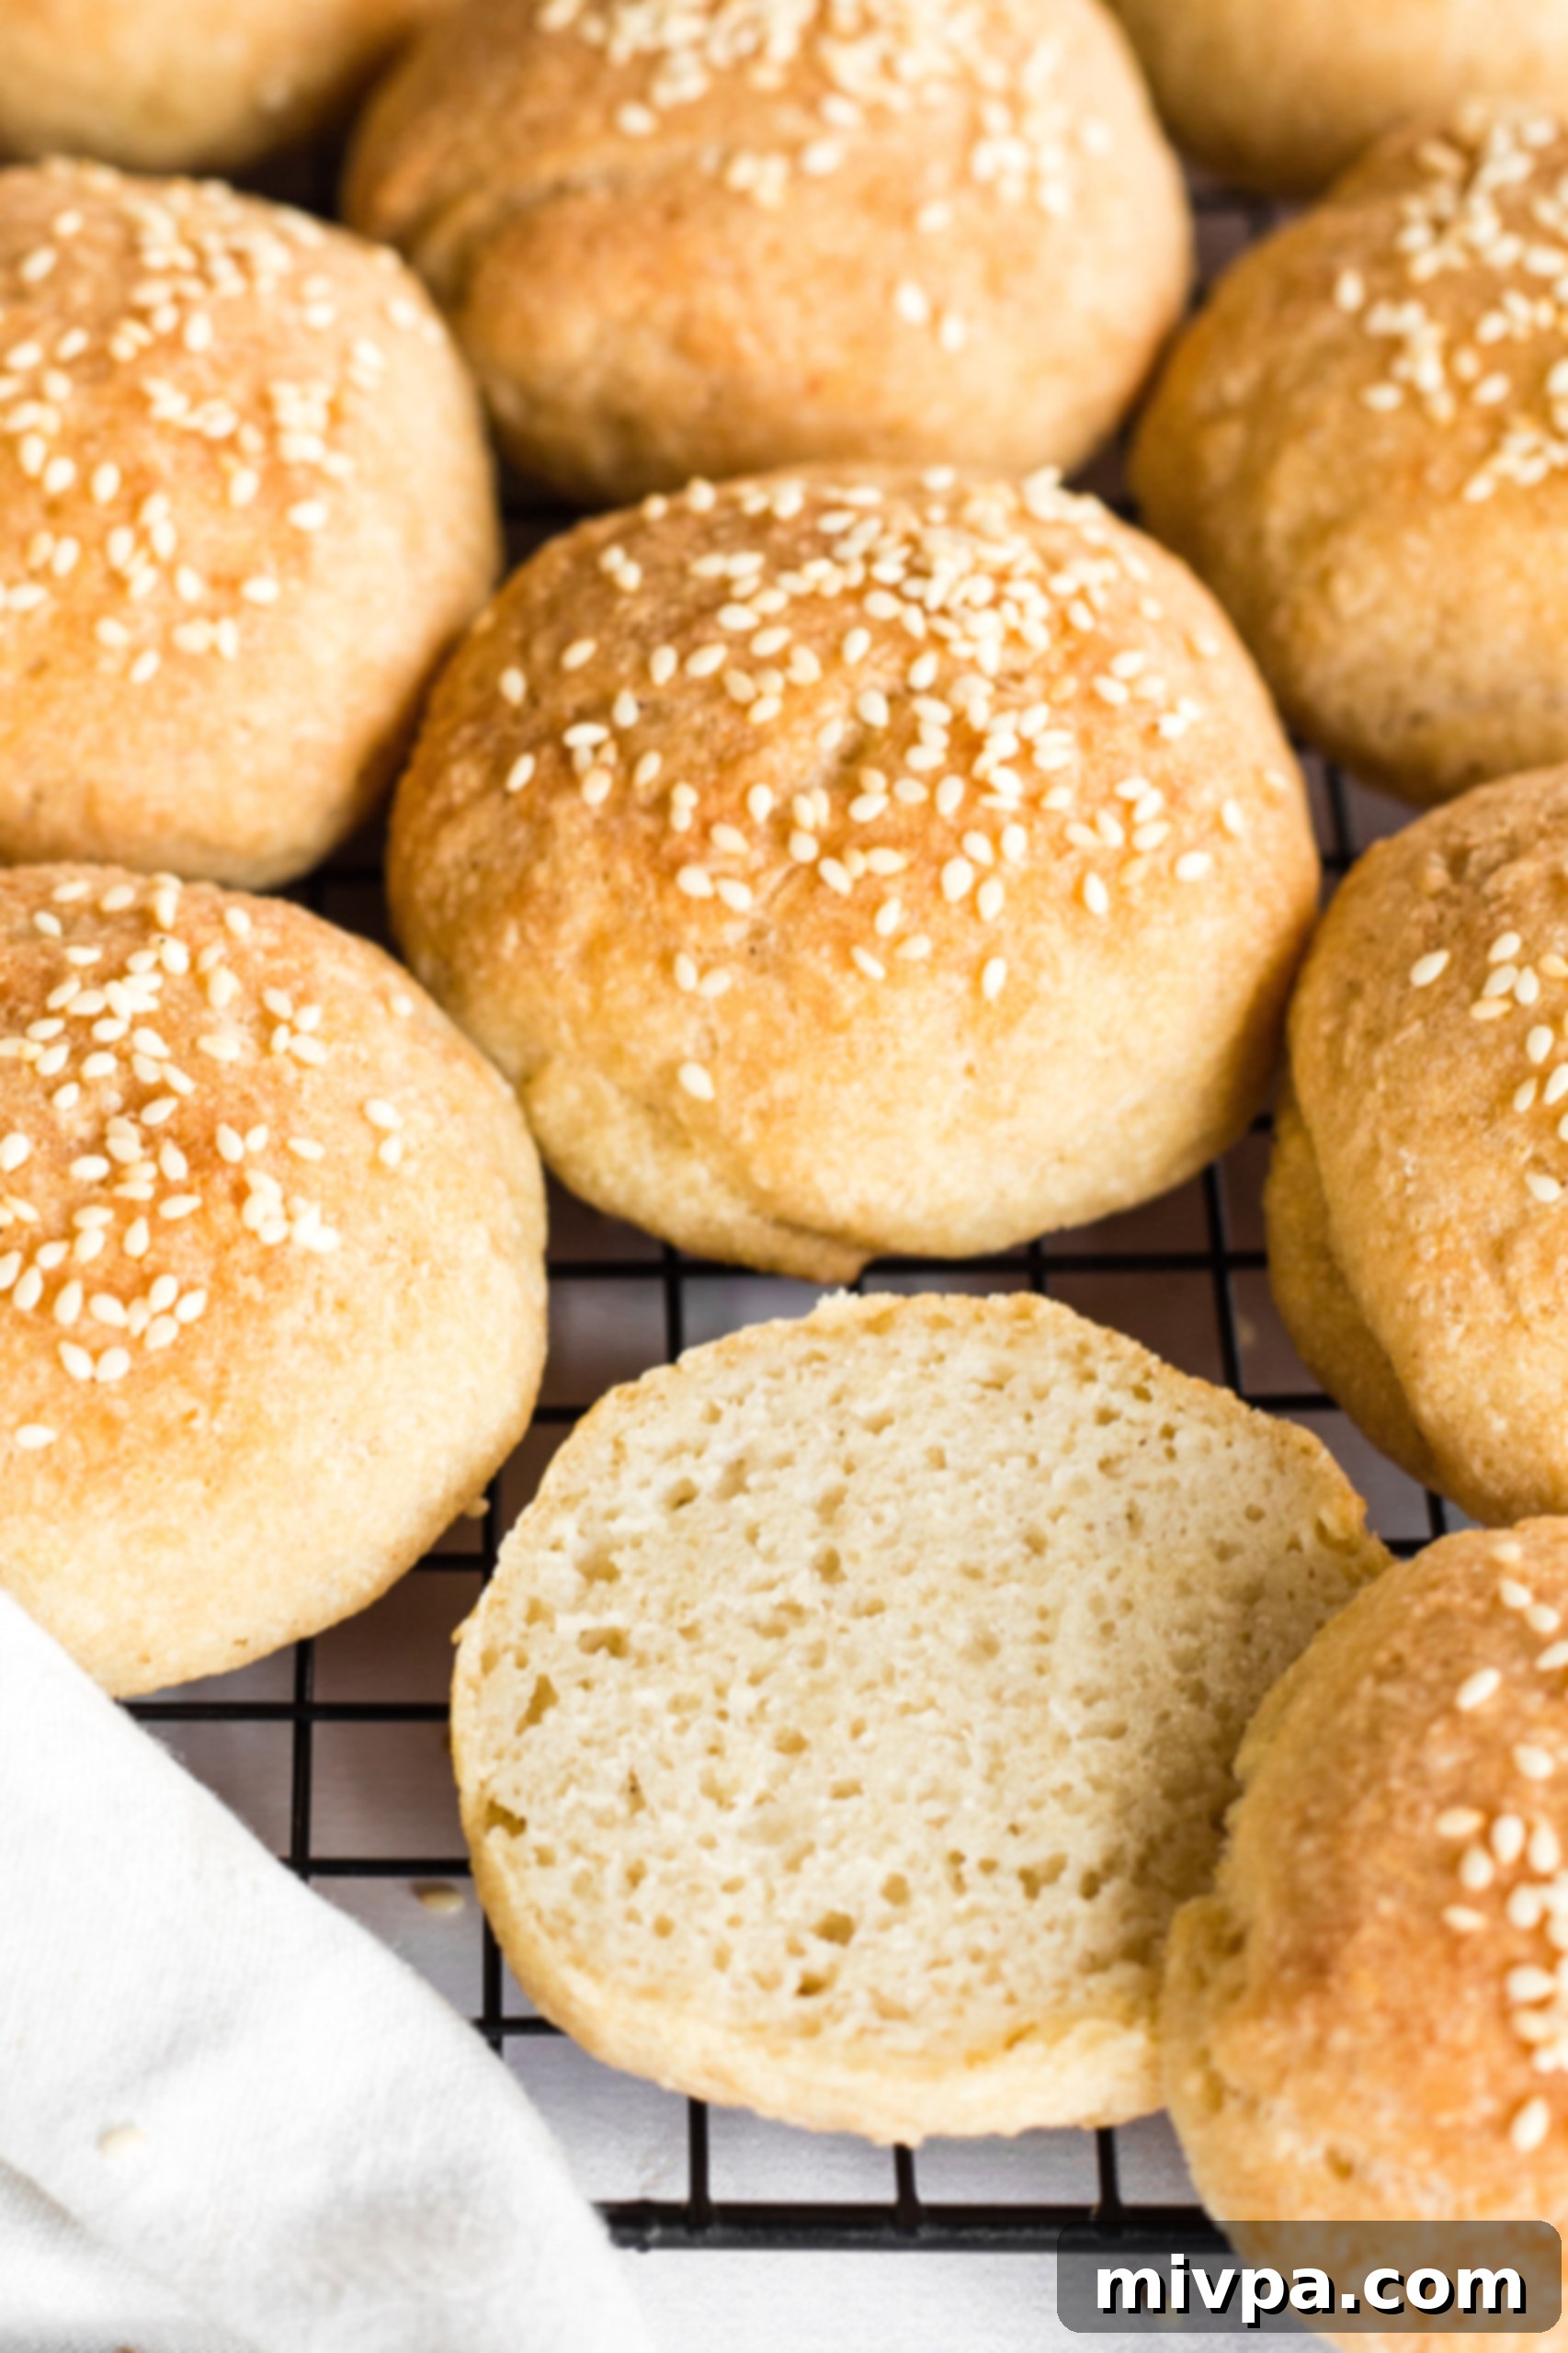
After much experimentation, I’m thrilled to share this recipe, which utilizes a similar base dough to my beloved gluten-free bagels. The result? These delectable potato buns that are wonderfully soft, fluffy, and suitable for everyone. Get ready to impress your family and friends with these delicious, bite-sized delights!
Why This Gluten-Free Slider Bun Recipe Is a Must-Try:
- Simple, Accessible Ingredients: You don’t need obscure or hard-to-find components for this recipe. All the ingredients required for these gluten-free slider buns are readily available at your local grocery store, ensuring a hassle-free shopping experience. We focus on common pantry staples to make baking accessible to everyone.
- Effortlessly Easy to Make: Forget complicated baking techniques and endless kneading! Preparing this slider bun dough is incredibly straightforward. It’s as simple as combining the dry ingredients with the wet, shaping the dough into small balls, and then lightly flattening them before their crucial rise. Once they’ve risen beautifully, a quick brush with oil and a sprinkle of your favorite seeds, and they’re ready for the oven. This recipe is designed for ease, delivering fantastic results with minimal effort.
- Completely Gluten-Free and Dairy-Free Goodness: The best feature of these potato buns is their complete freedom from gluten and dairy. This makes them a perfect choice for individuals with Celiac disease, gluten intolerance, or lactose intolerance, allowing everyone to indulge without a single worry. You get all the delicious taste and satisfying texture of traditional slider buns, but with the added benefit of being entirely diet-friendly.
Key Ingredients for Your Fluffy Slider Buns:
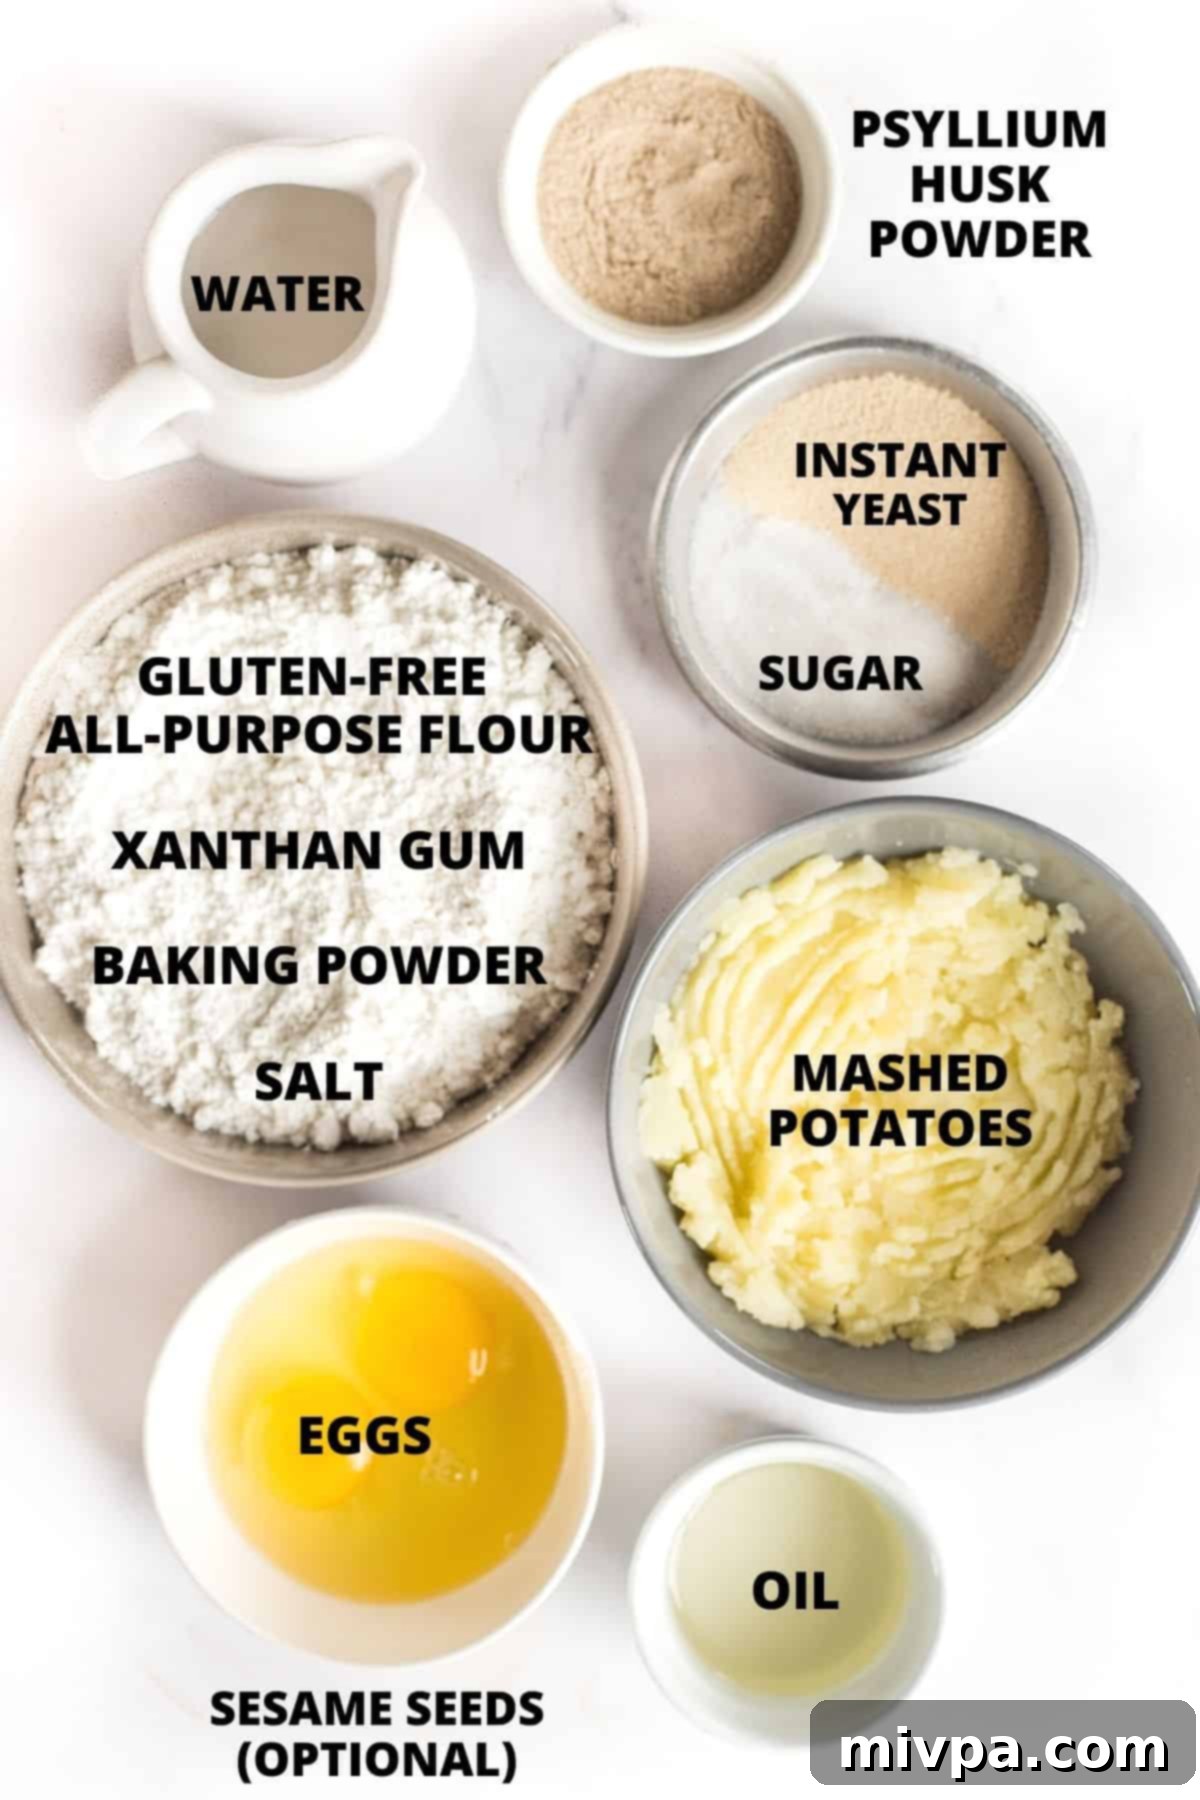
Below is a visual guide to the essential ingredients you’ll need for this delicious gluten-free slider bun recipe. For precise measurements and quantities, please refer to the detailed recipe card conveniently located at the bottom of this post.
How to Make Gluten-Free Slider Buns (Step by Step Guide)
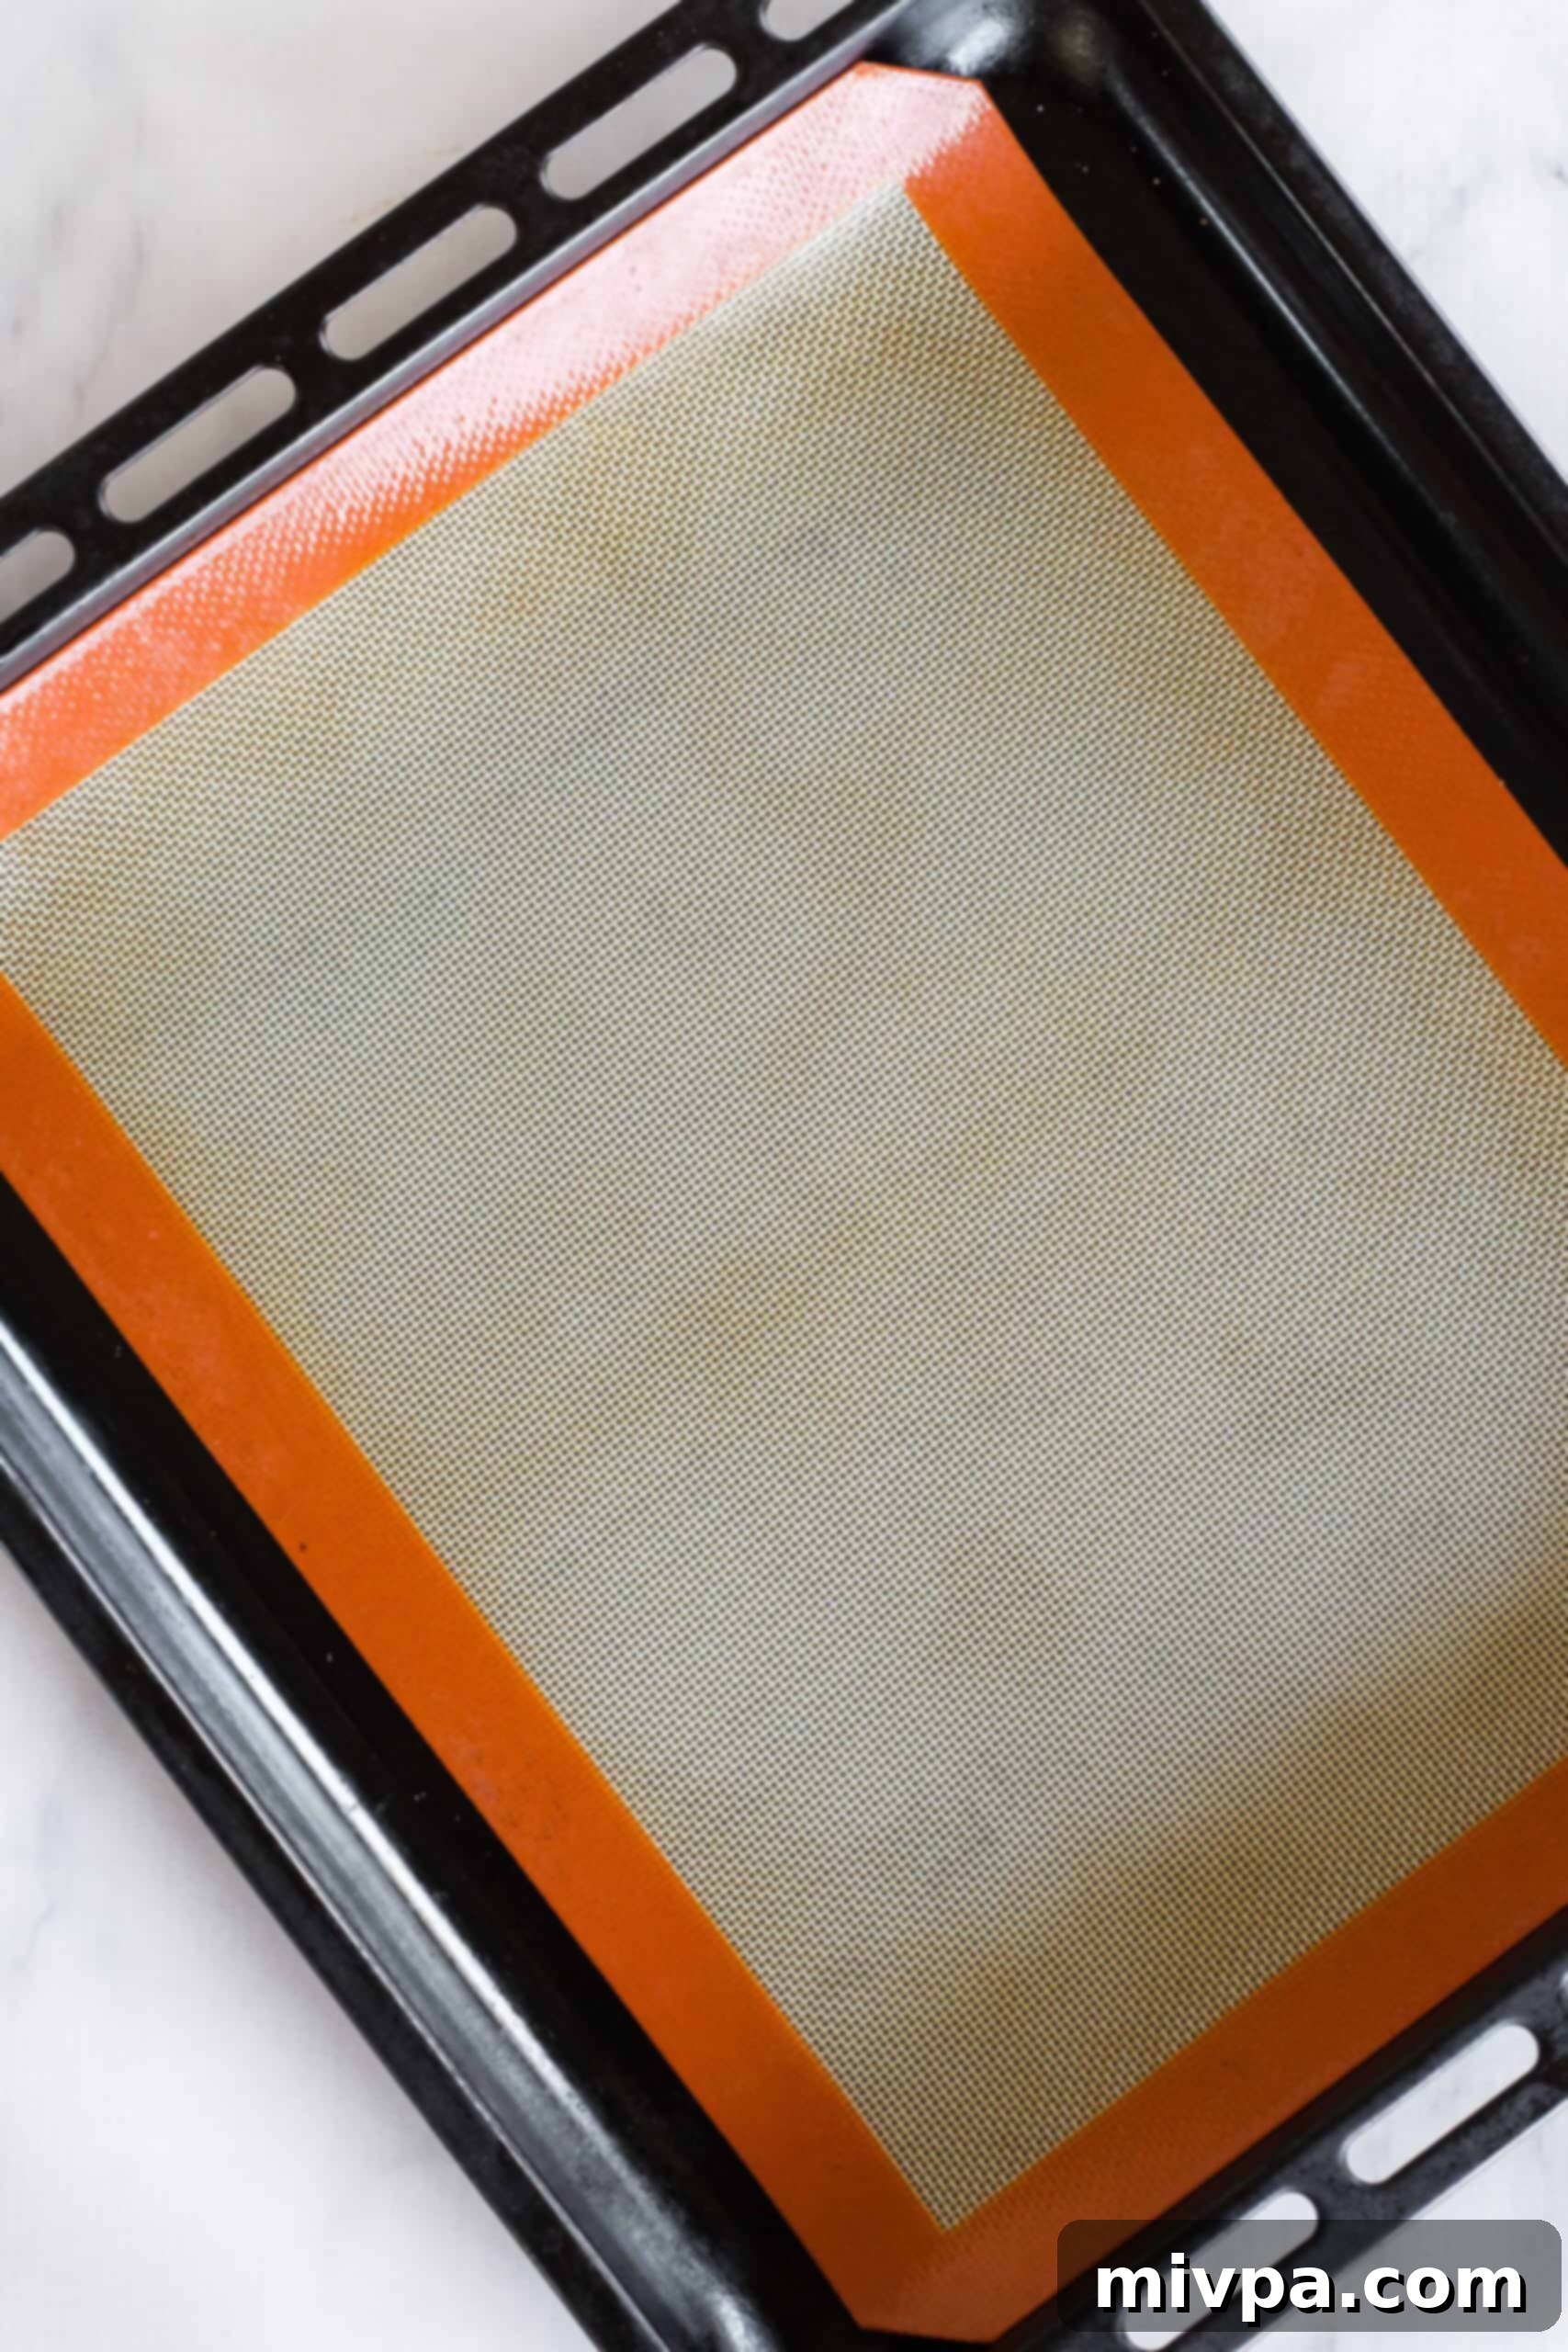
1. Prepare Your Baking Sheet
Begin by lining a large baking sheet with either parchment paper or a silpat baking mat. This crucial step ensures that your buns won’t stick and will bake evenly, allowing for easy removal once they’re golden brown.
2. Blend Mashed Potatoes and Eggs
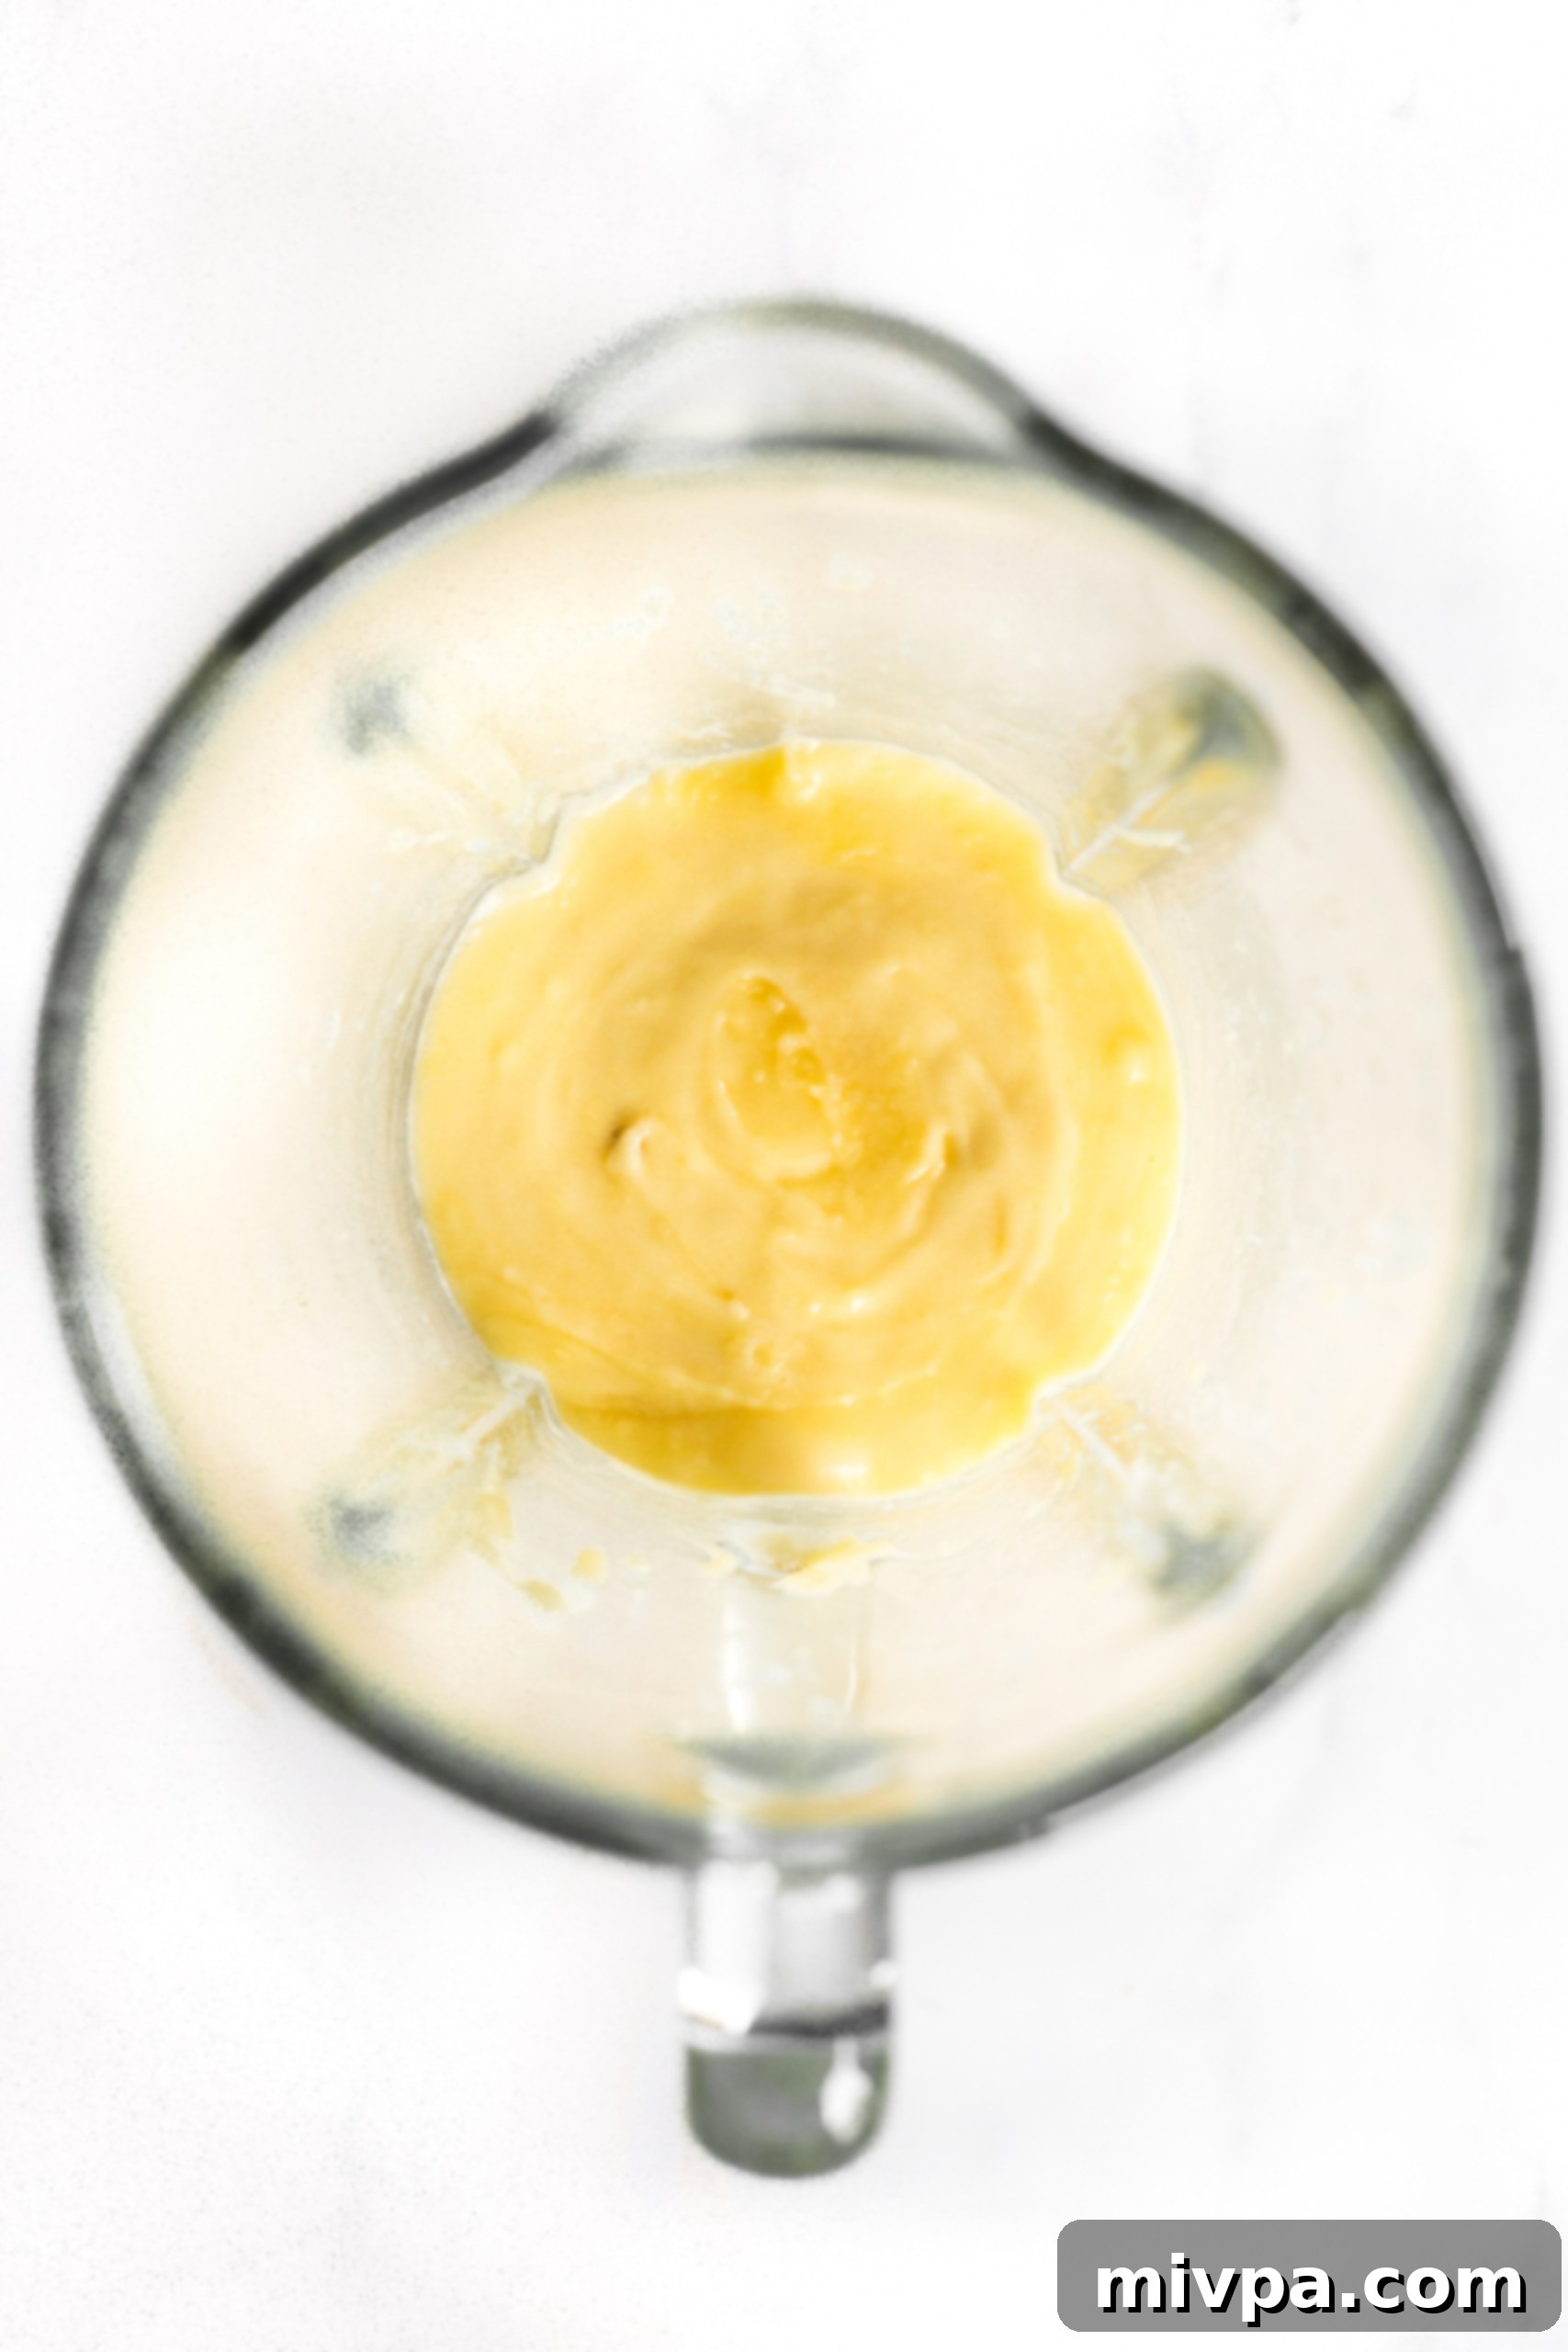
In a high-speed blender, combine the mashed potatoes and the well-beaten eggs. Process until you achieve a thick, creamy, and uniform yellow mixture. This step is essential for incorporating the potatoes smoothly into the dough, contributing to the buns’ signature soft texture.
3. Incorporate Water and Oil
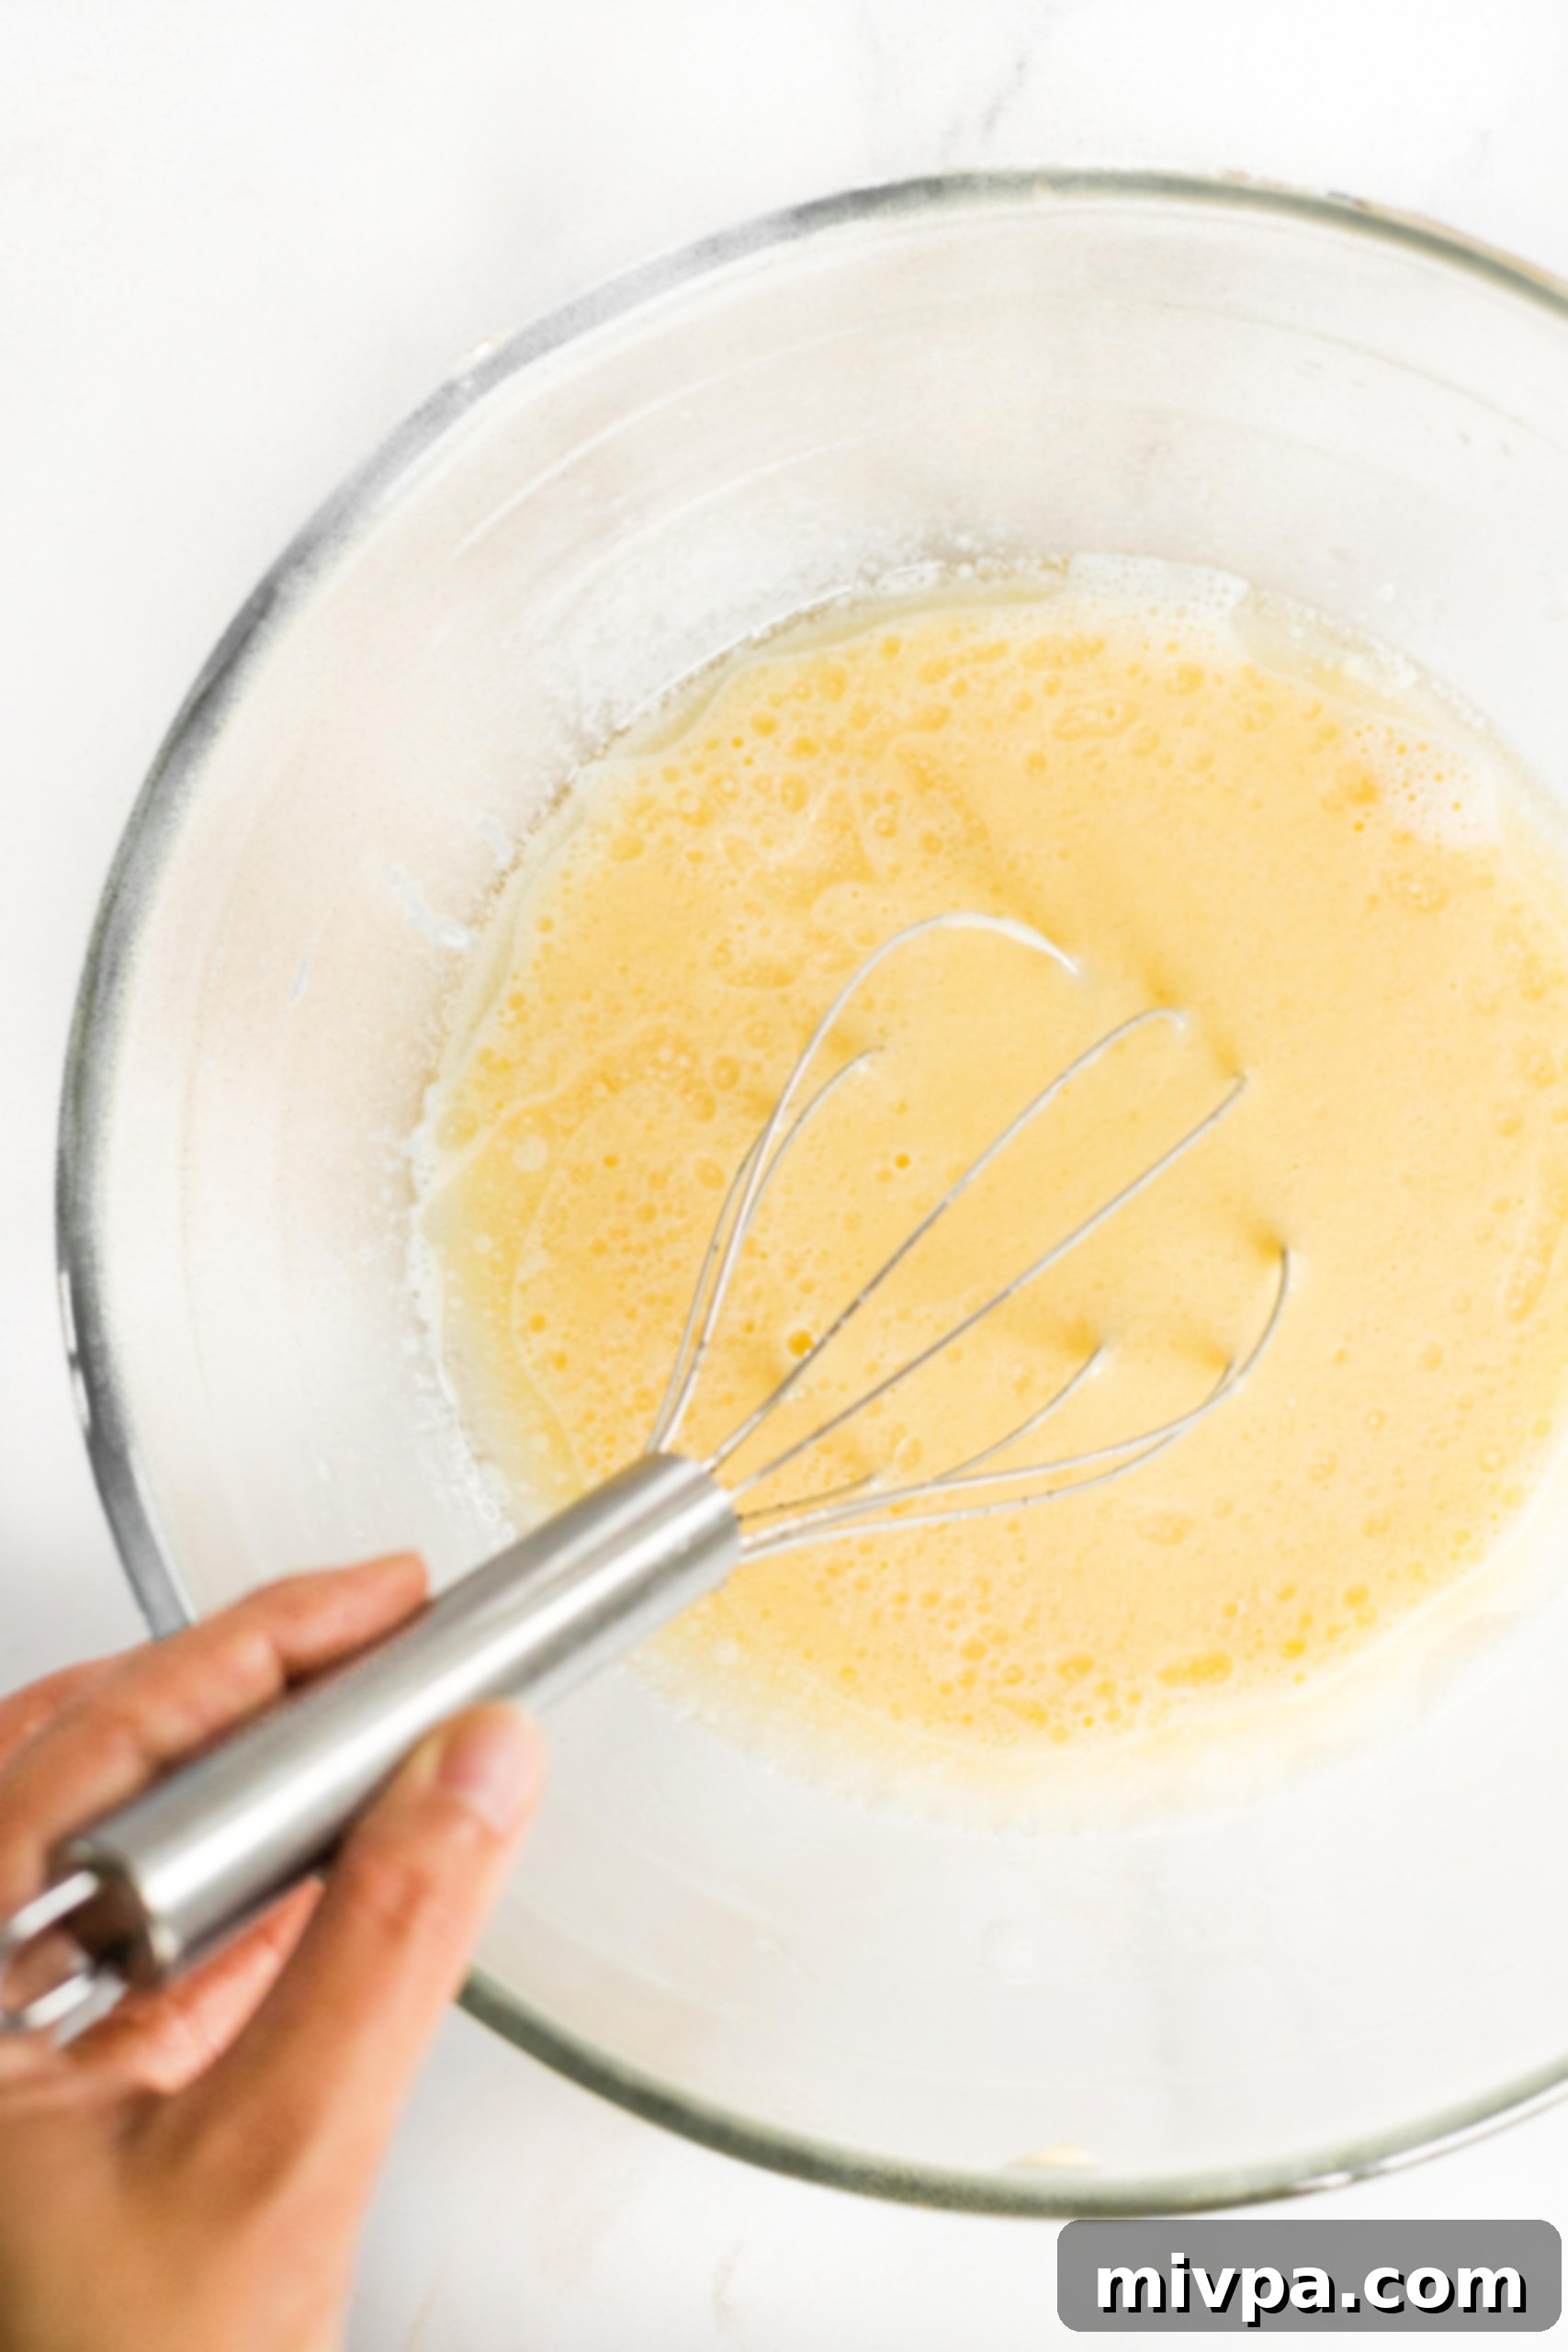
Transfer the potato-egg mixture into a large mixing bowl. Add the warm water and sunflower oil, then mix thoroughly until all ingredients are well combined, forming a pale yellow liquid mixture. Ensure everything is fully incorporated before moving to the next step.
4. Whisk Dry Ingredients Separately
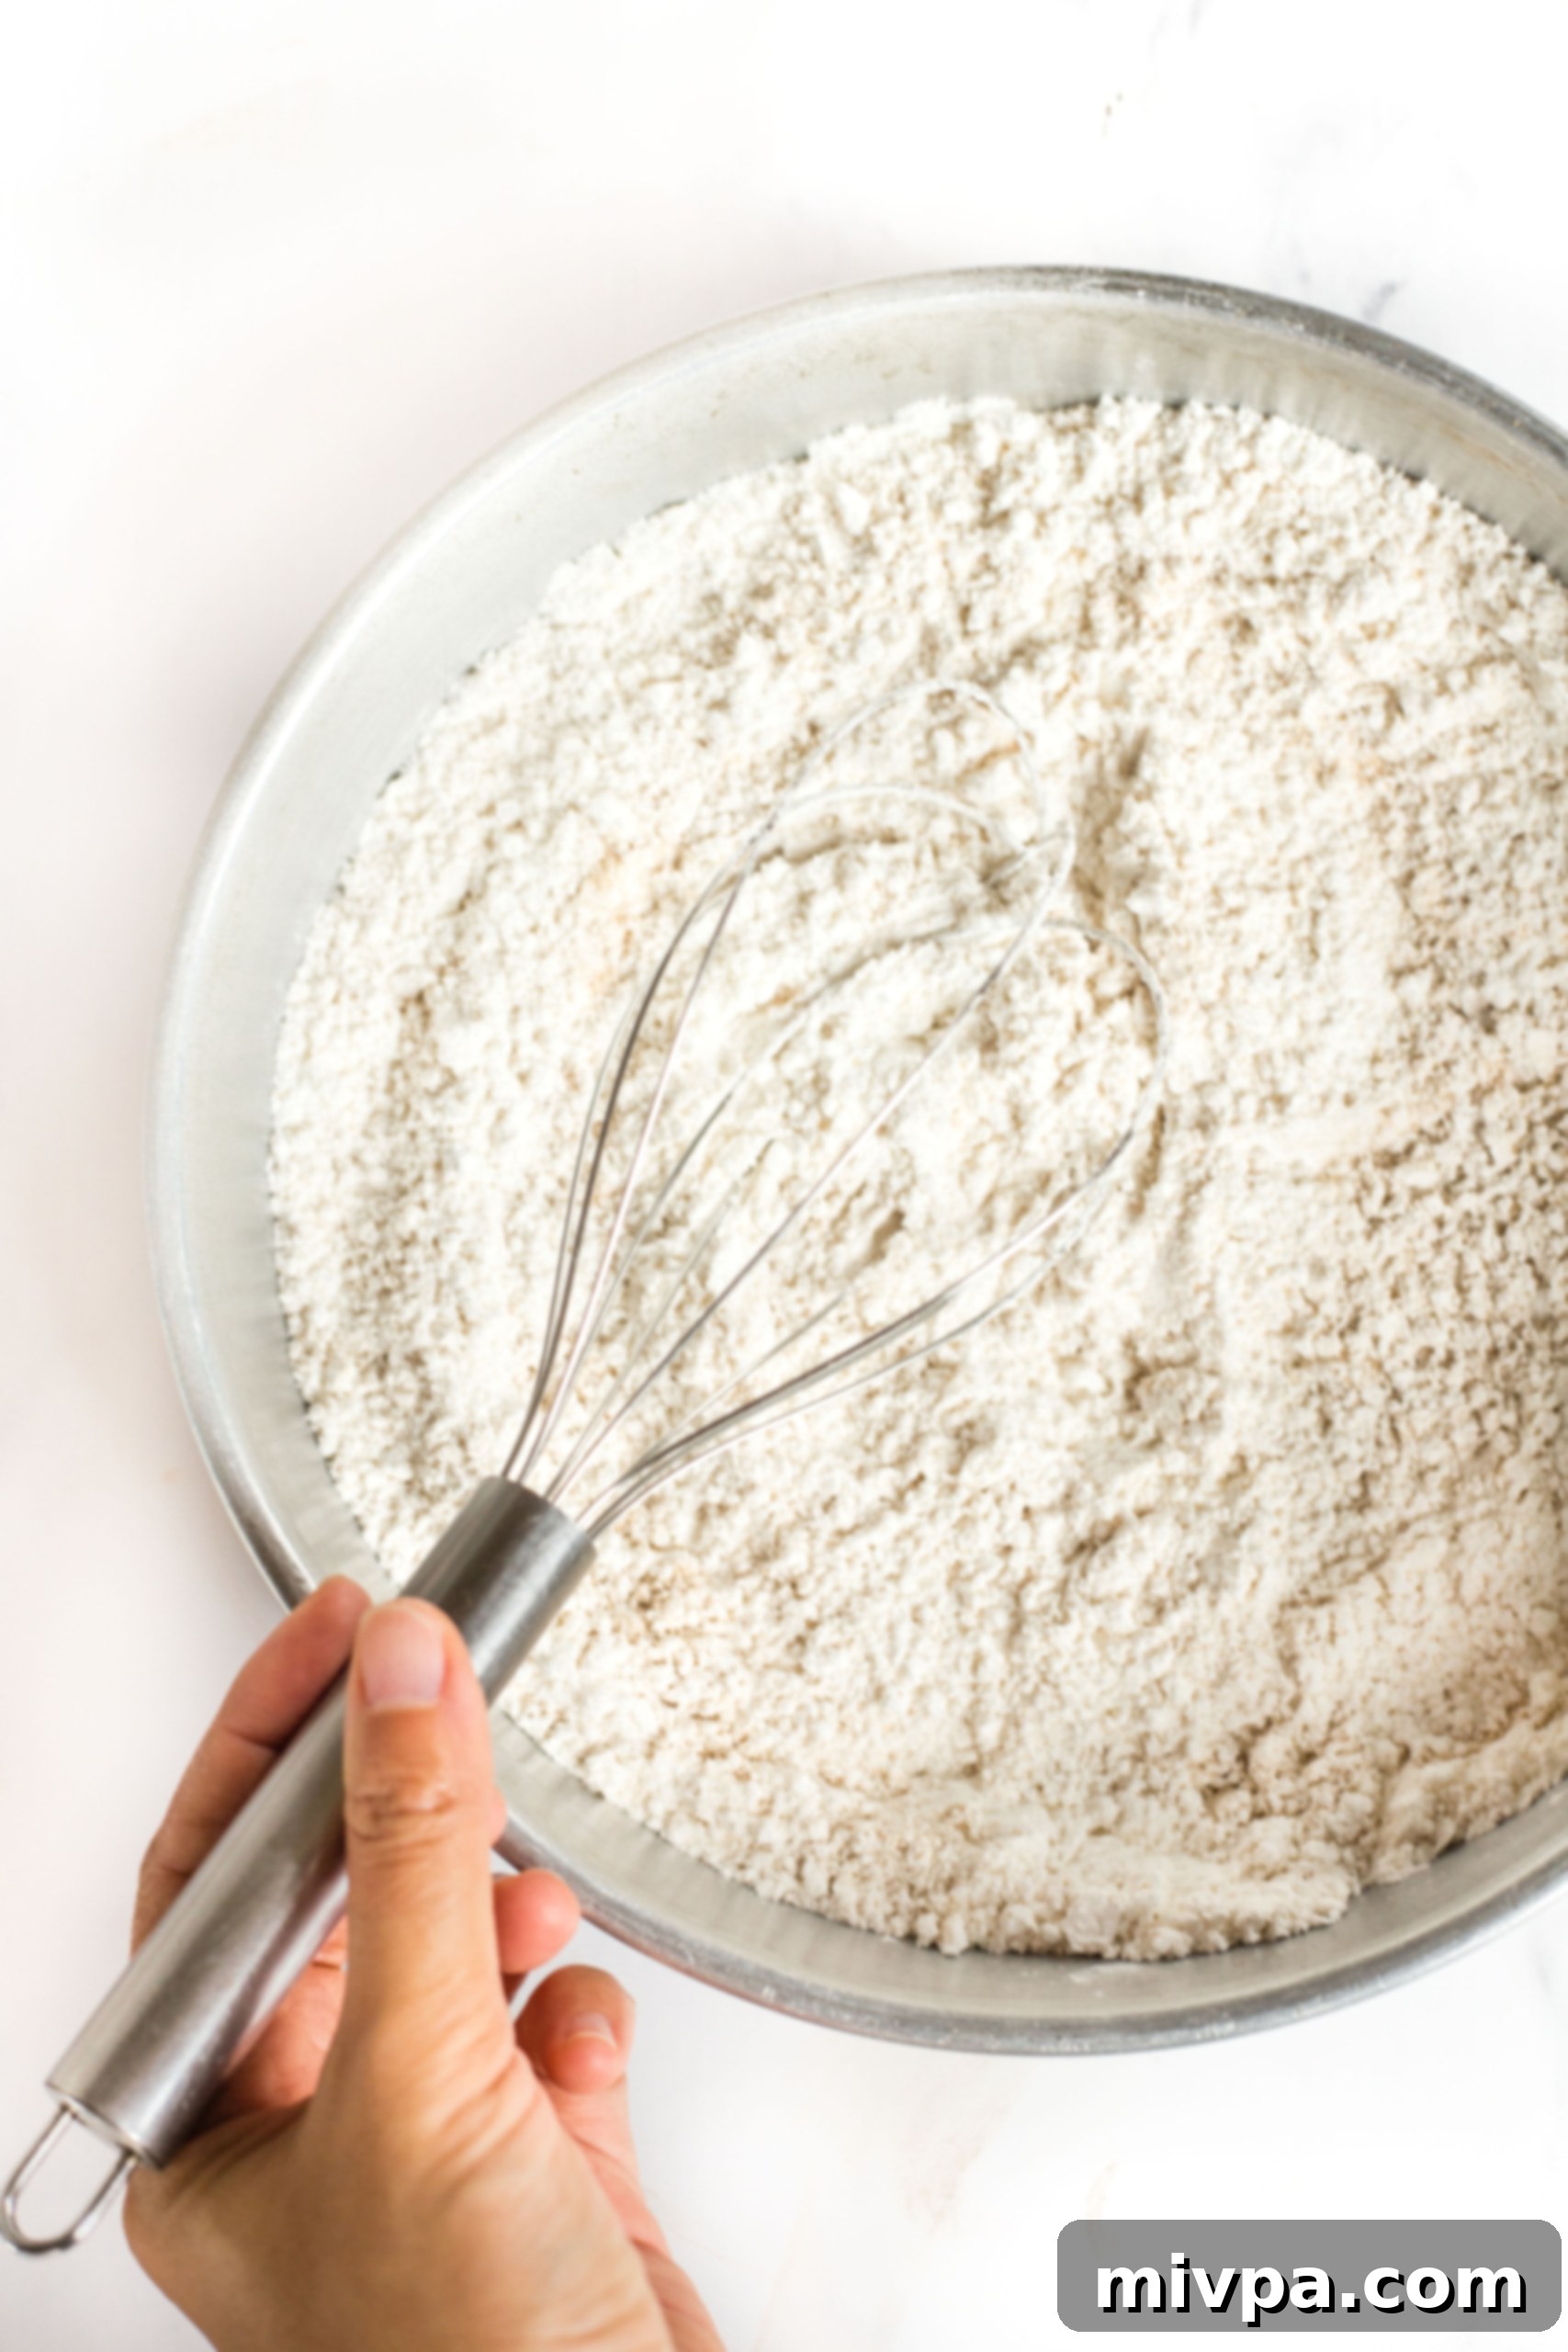
In a separate large bowl, sift together your gluten-free all-purpose flour, xanthan gum, baking powder, salt, psyllium husk powder, instant yeast, and sugar. Whisk these dry ingredients together very well to ensure they are evenly distributed, which is vital for the dough’s structure and rise.
5. Combine Wet and Dry to Form Dough
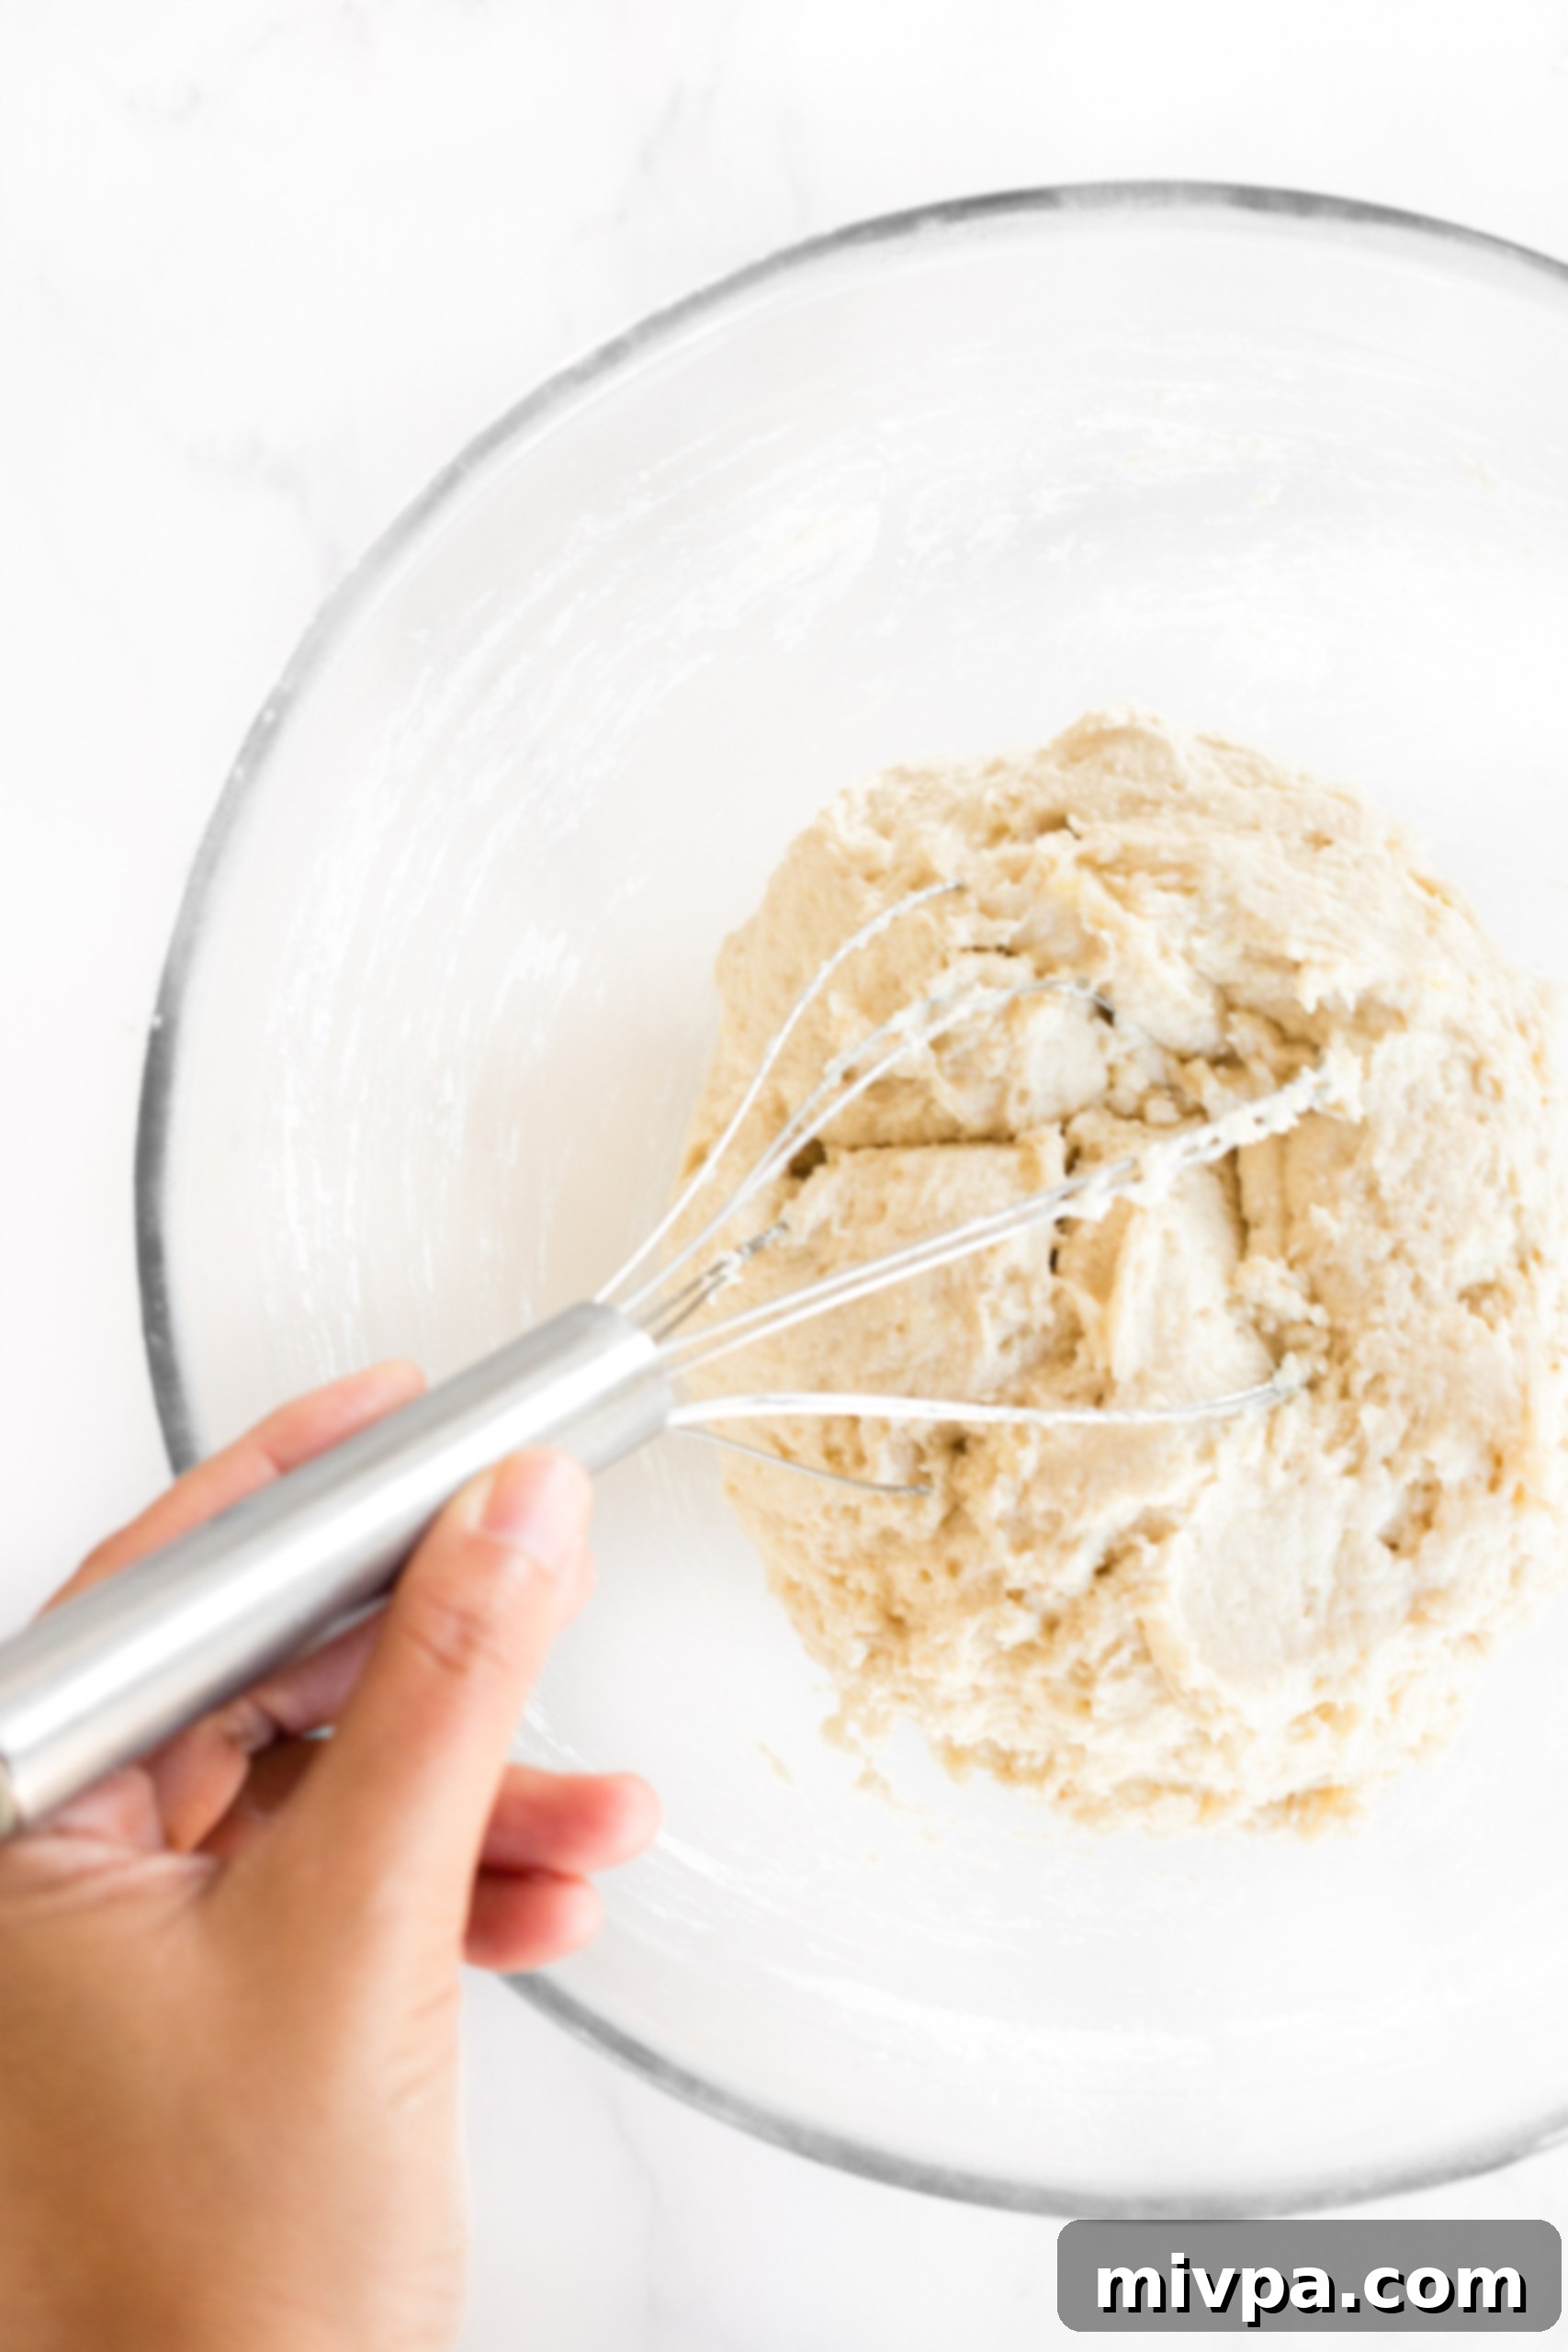
Now, add the whisked dry ingredients to the bowl containing the wet potato mixture. Mix everything thoroughly until a homogeneous, sticky dough forms. Don’t be alarmed if the dough appears shaggy and quite wet; this is the desired consistency for light and fluffy gluten-free buns. Resist the urge to add more flour at this stage.
6. Form Dough Balls
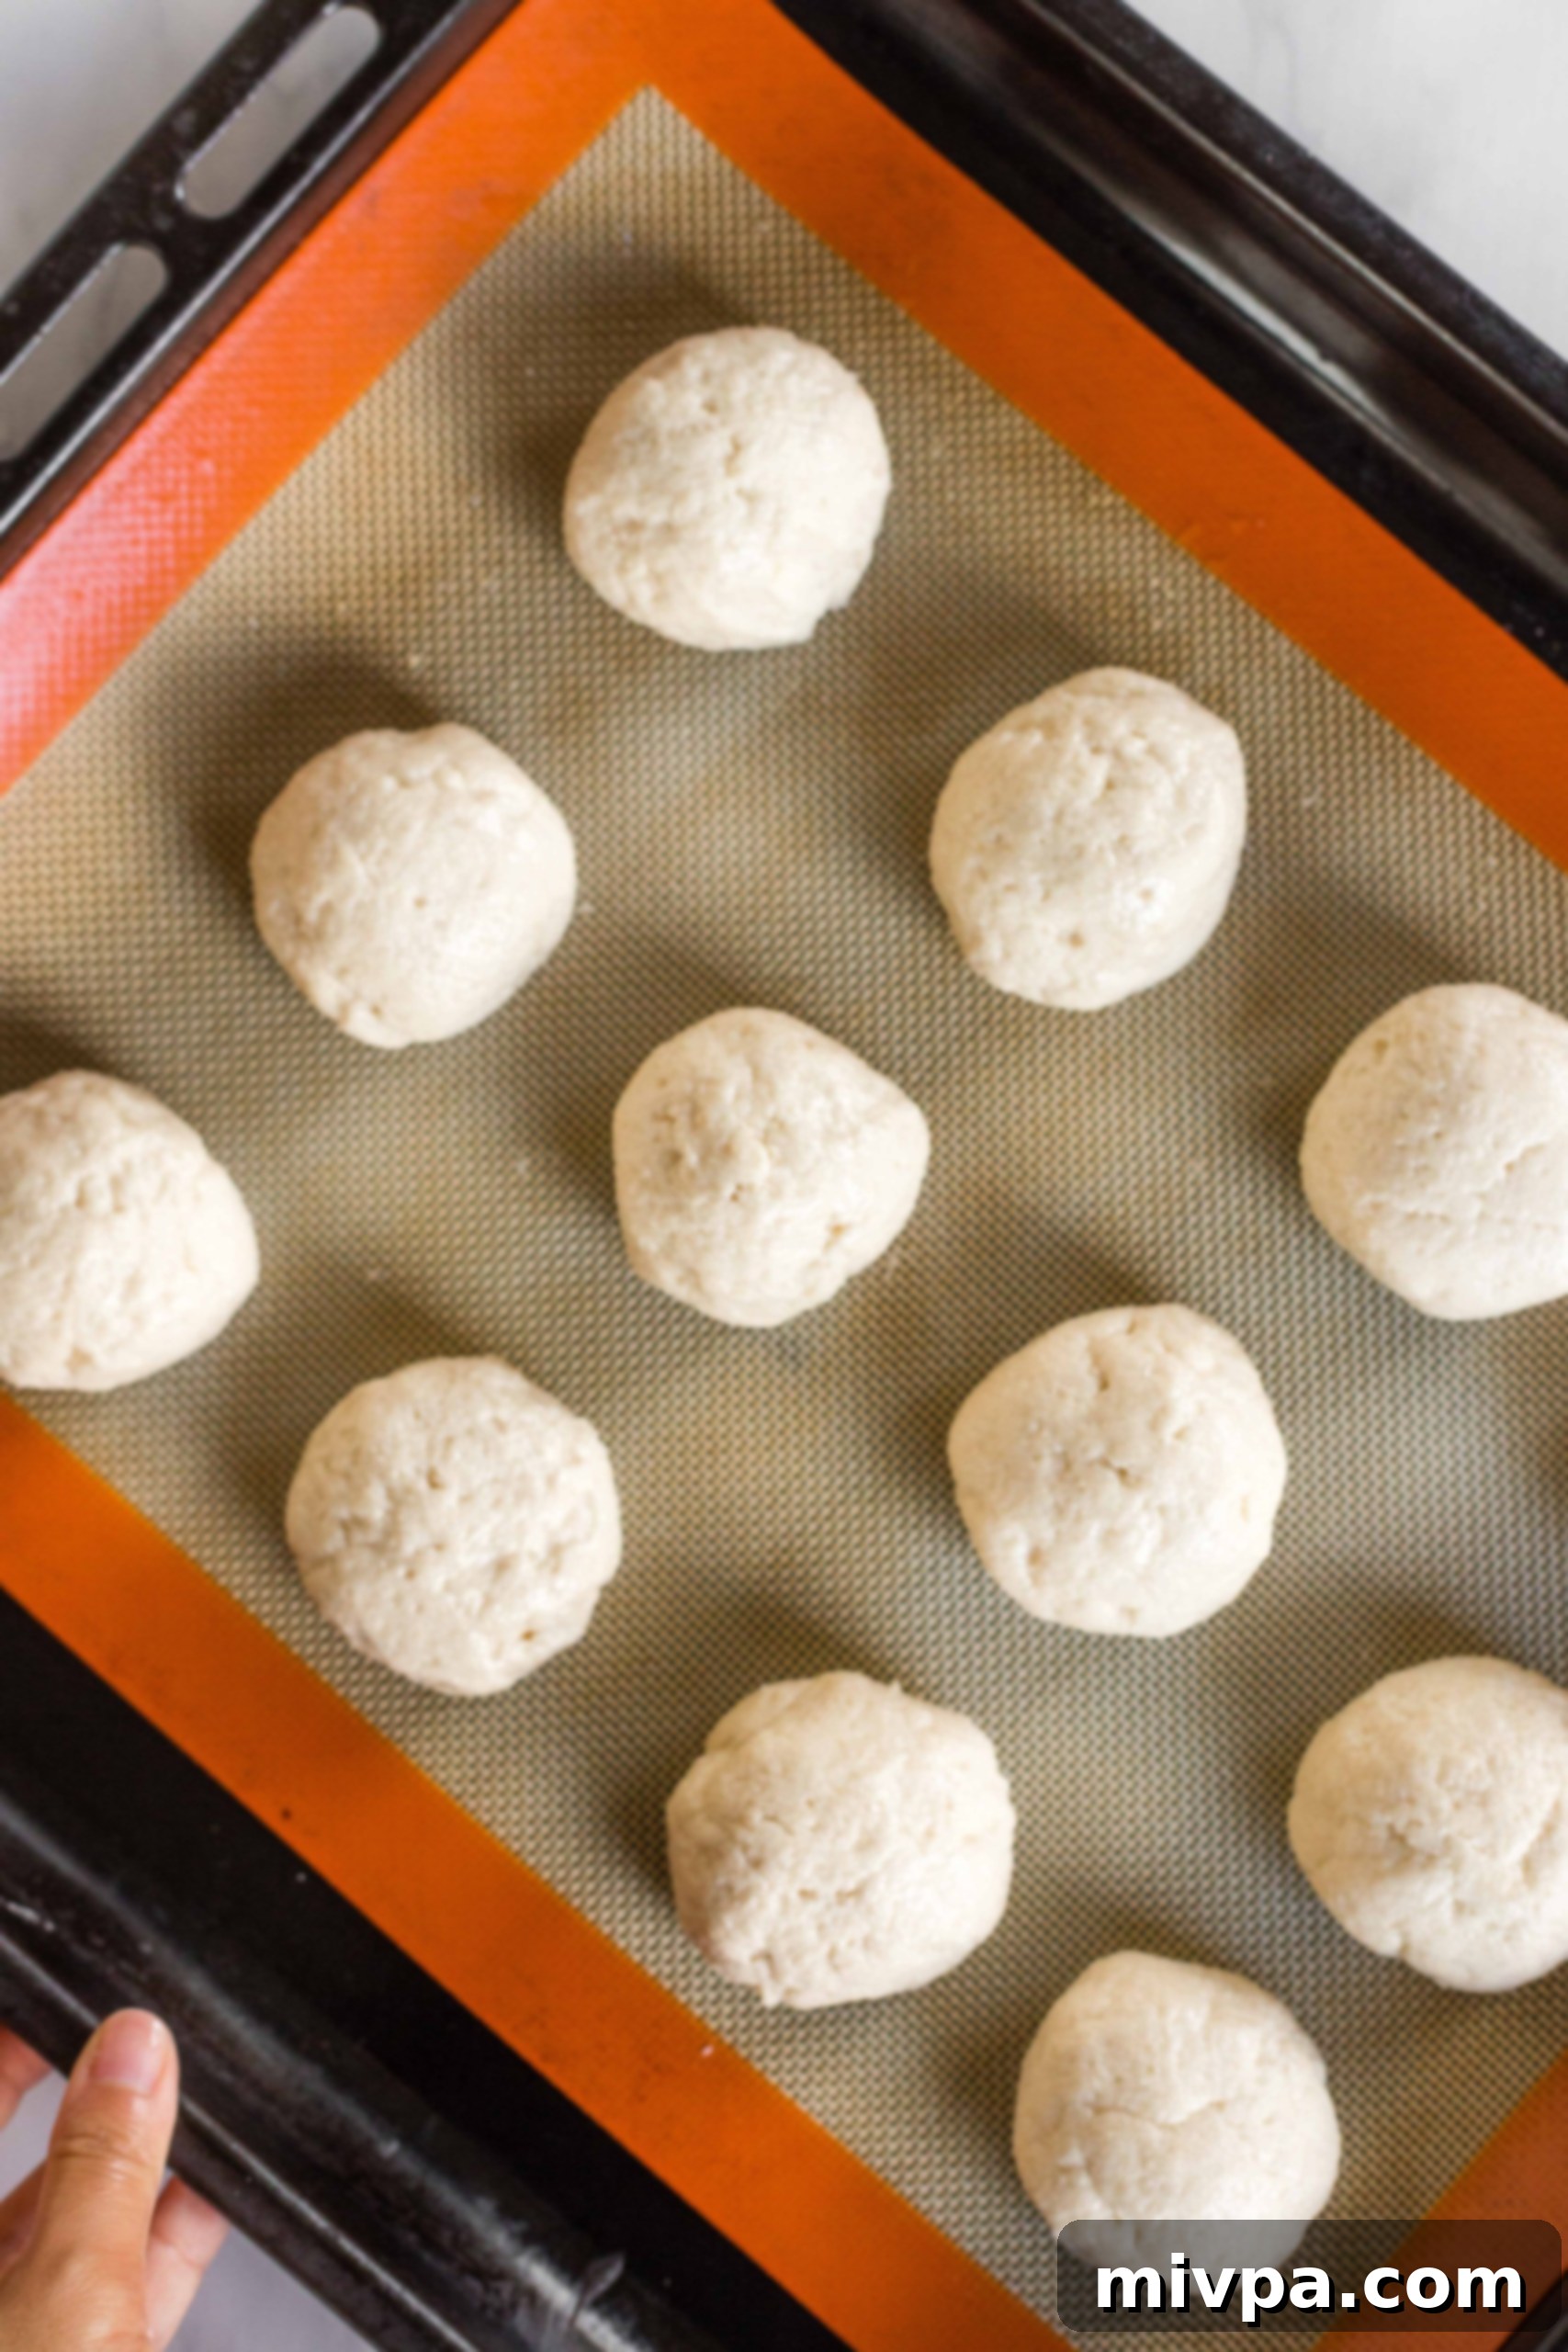
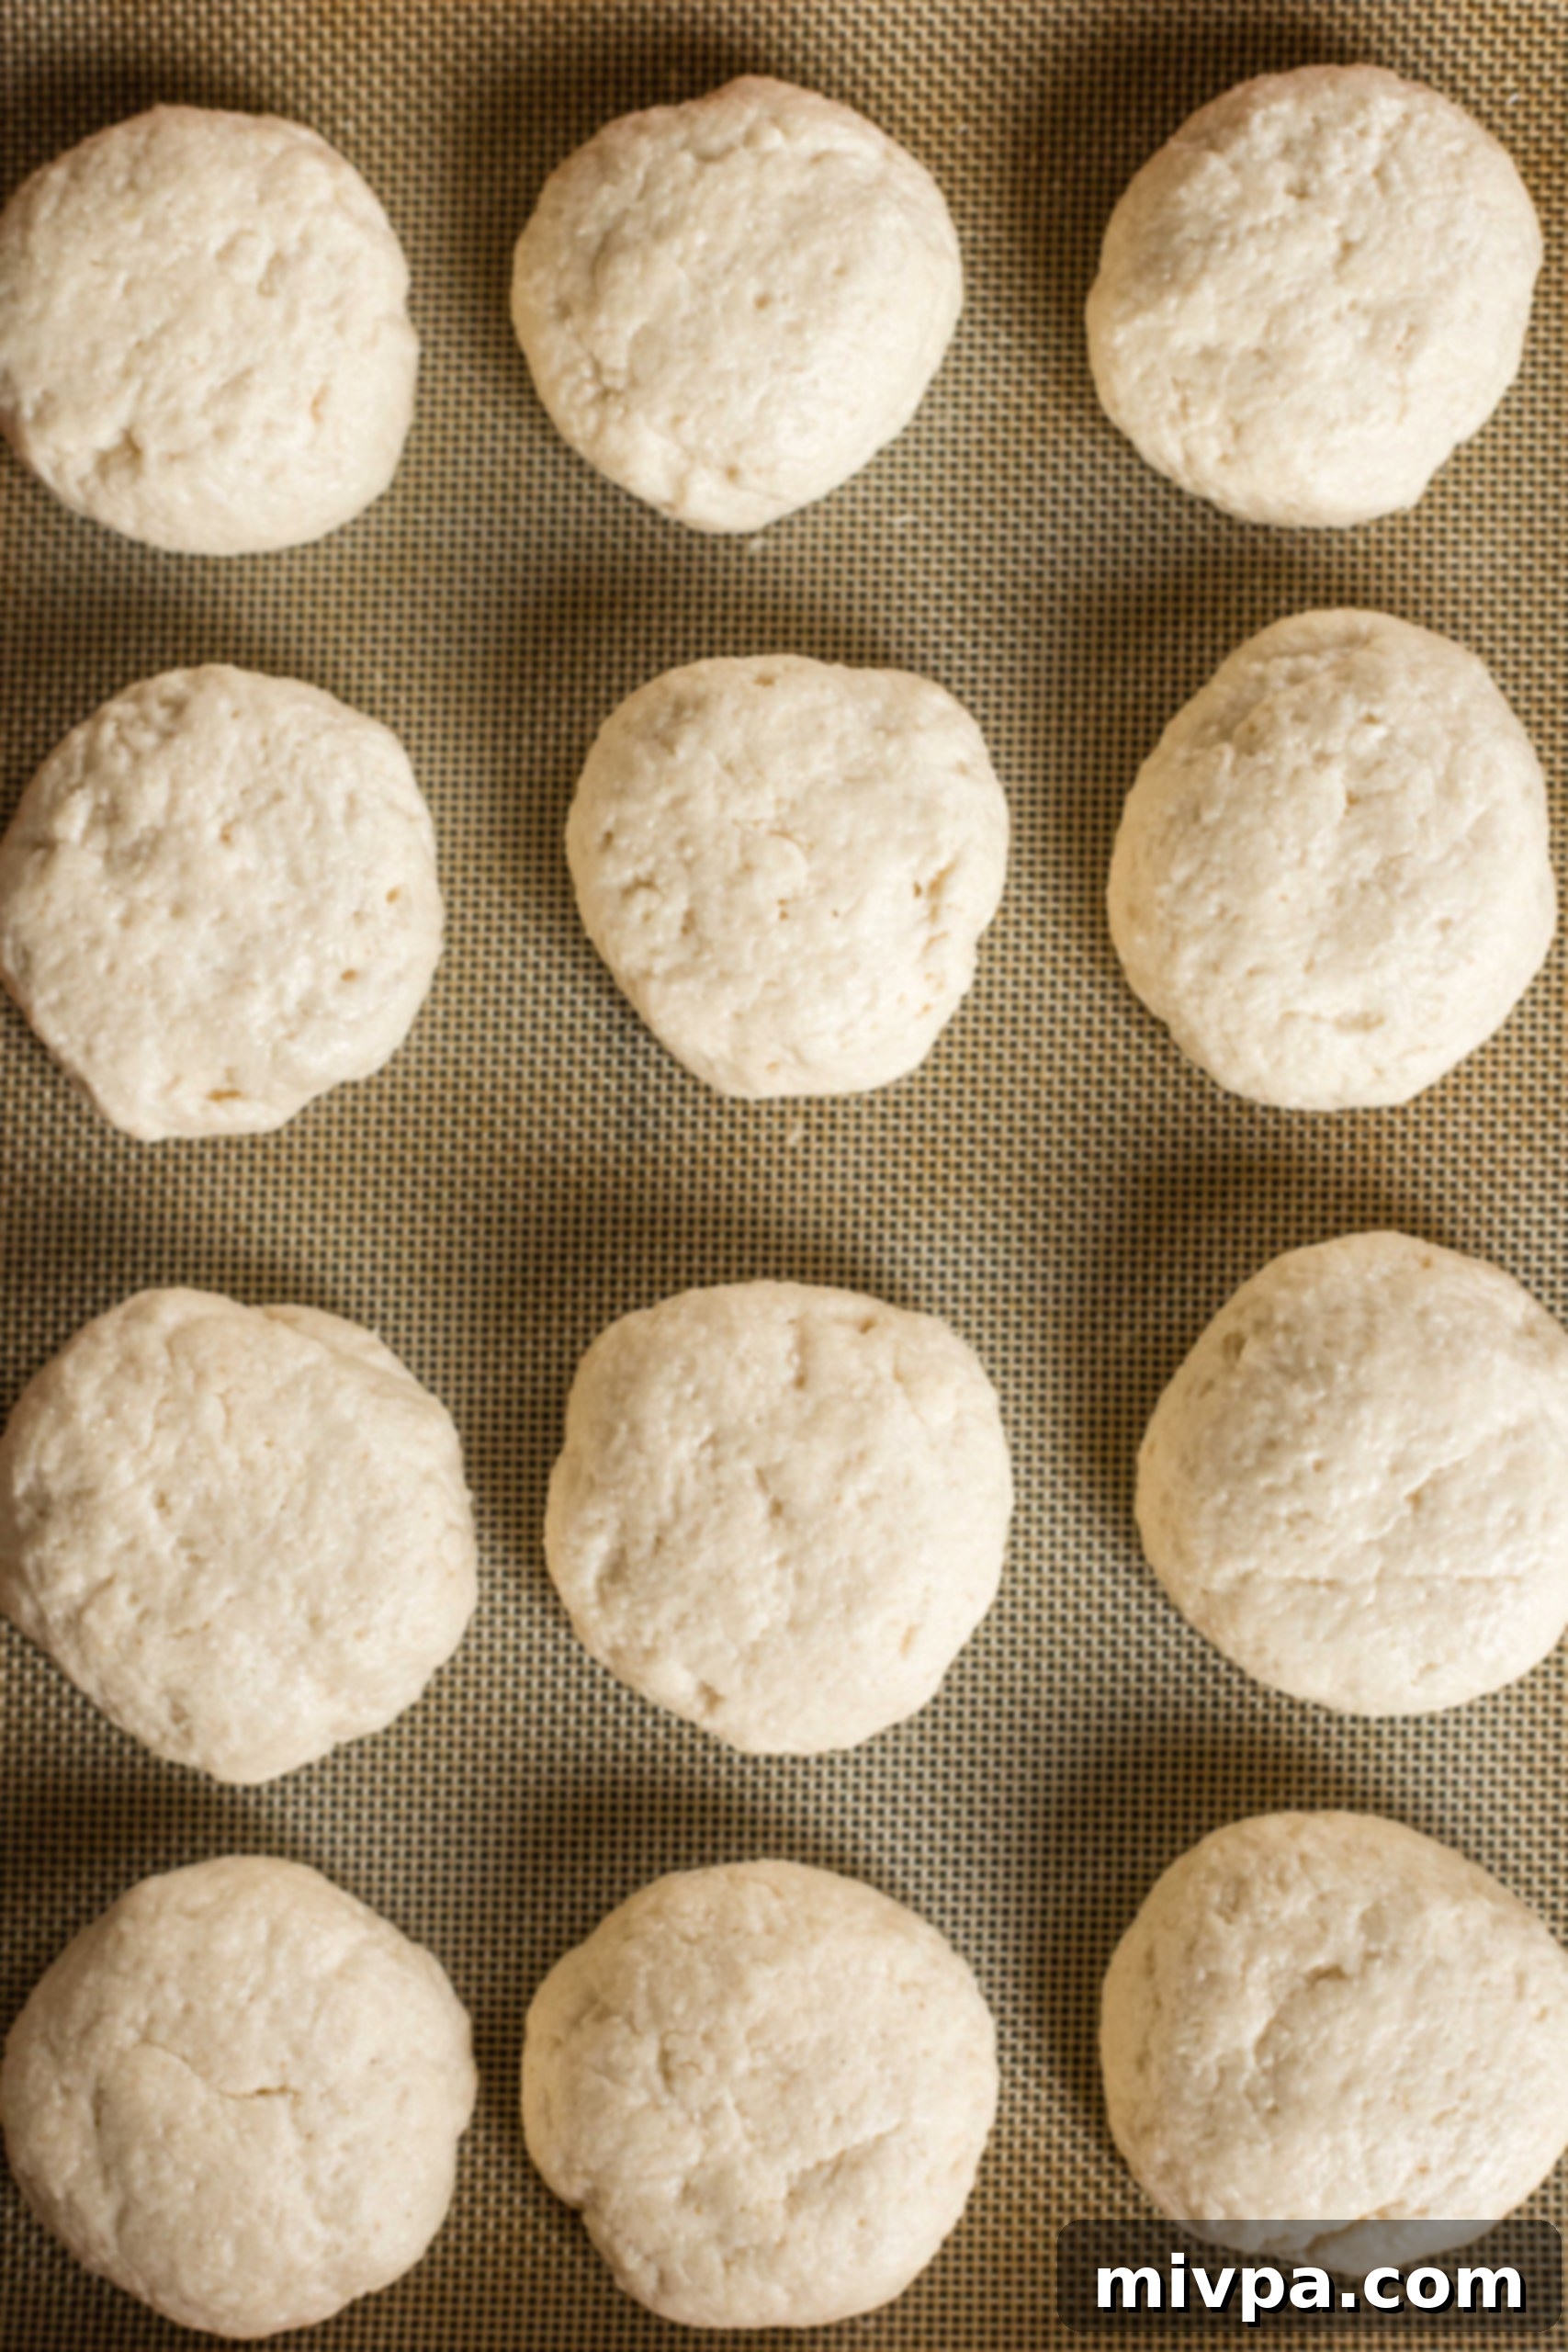
Lightly oil the palms of your hands to prevent sticking. Divide the gluten-free dough into 12 equal portions. Roll each portion gently into a medium-sized ball. Arrange these dough balls on your prepared baking sheet, ensuring they are at least 2 inches apart to allow for expansion during rising and baking.
7. Flatten Dough Balls Slightly
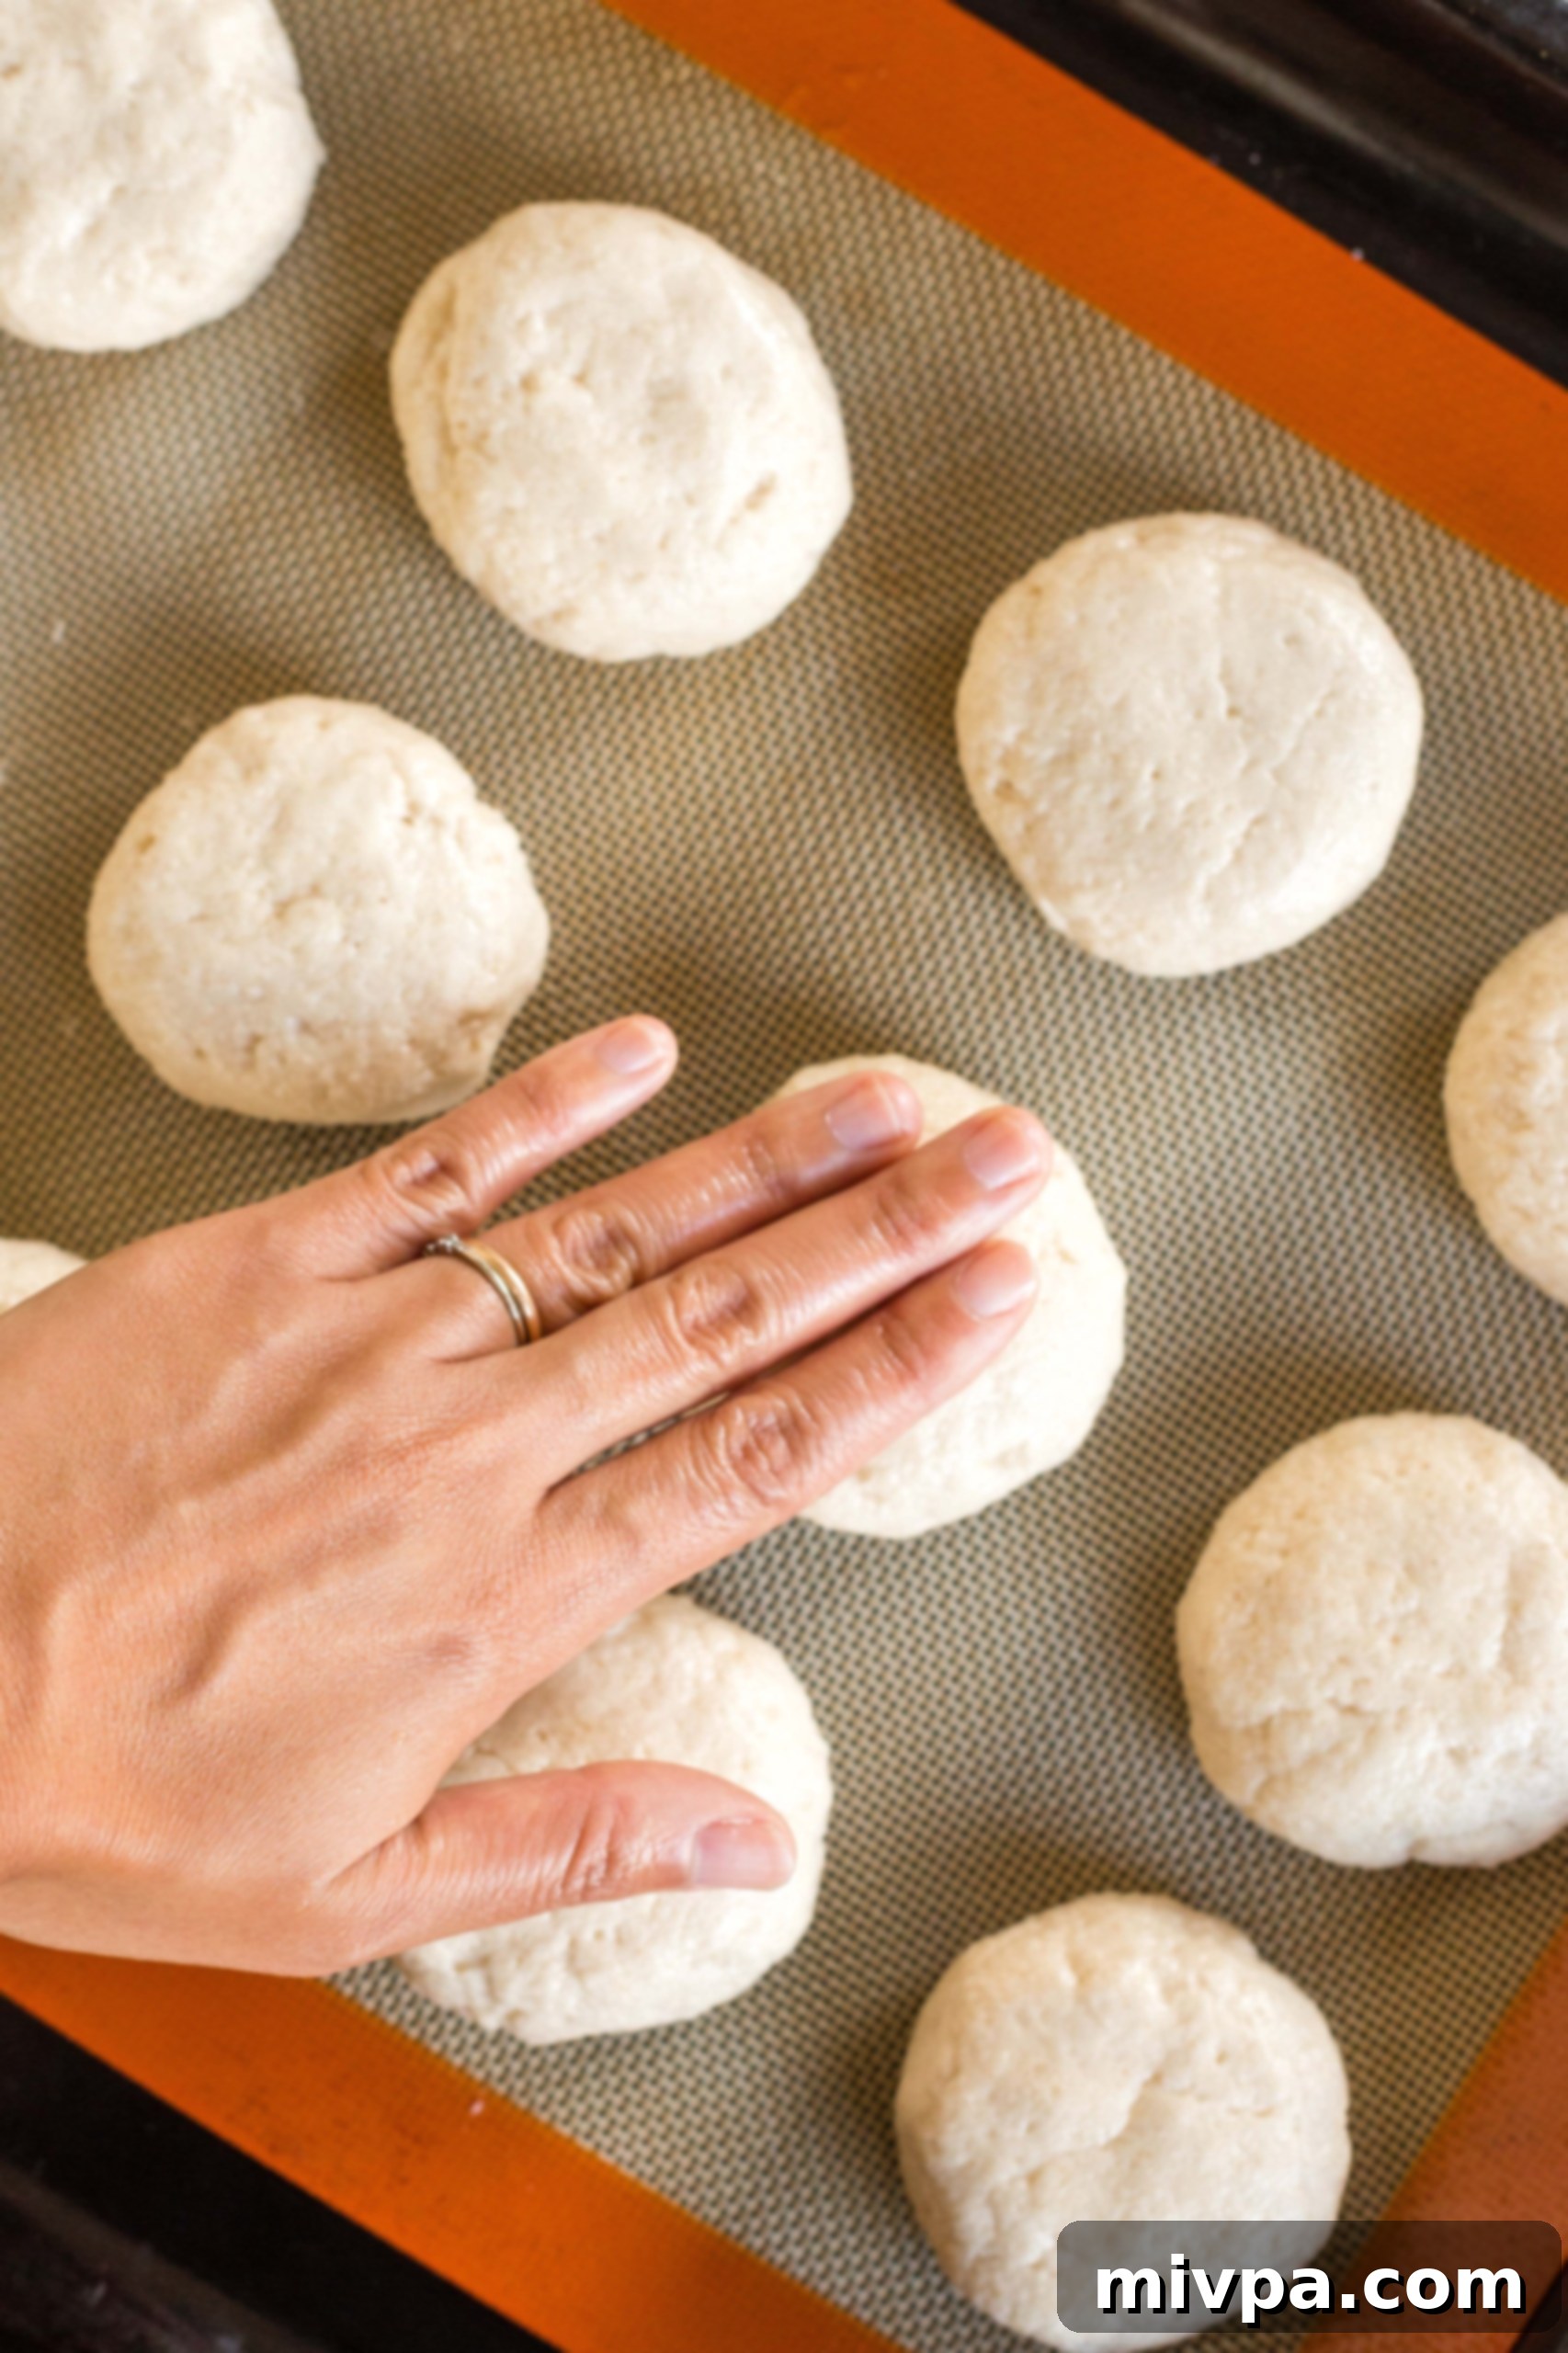
Using oiled fingers, gently flatten each slider dough ball a little. This helps them achieve the classic slider bun shape and ensures they bake evenly. Be careful not to press too hard; just a gentle flattening is enough.
8. Allow the Dough to Rise
Carefully cover the baking sheet with a clean kitchen towel. Place the sheet in a warm, draft-free environment for approximately 1 hour. During this time, the dough should nearly double in size, indicating that the yeast is active and doing its job, creating that desired light and airy texture.
9. Preheat Your Oven
Towards the end of the rising period, preheat your oven to 350°F (175°C). Ensure the oven rack is placed in the center position. This allows for optimal and even baking of your slider buns, giving them a perfect golden finish.
10. Brush with Oil for Golden Finish
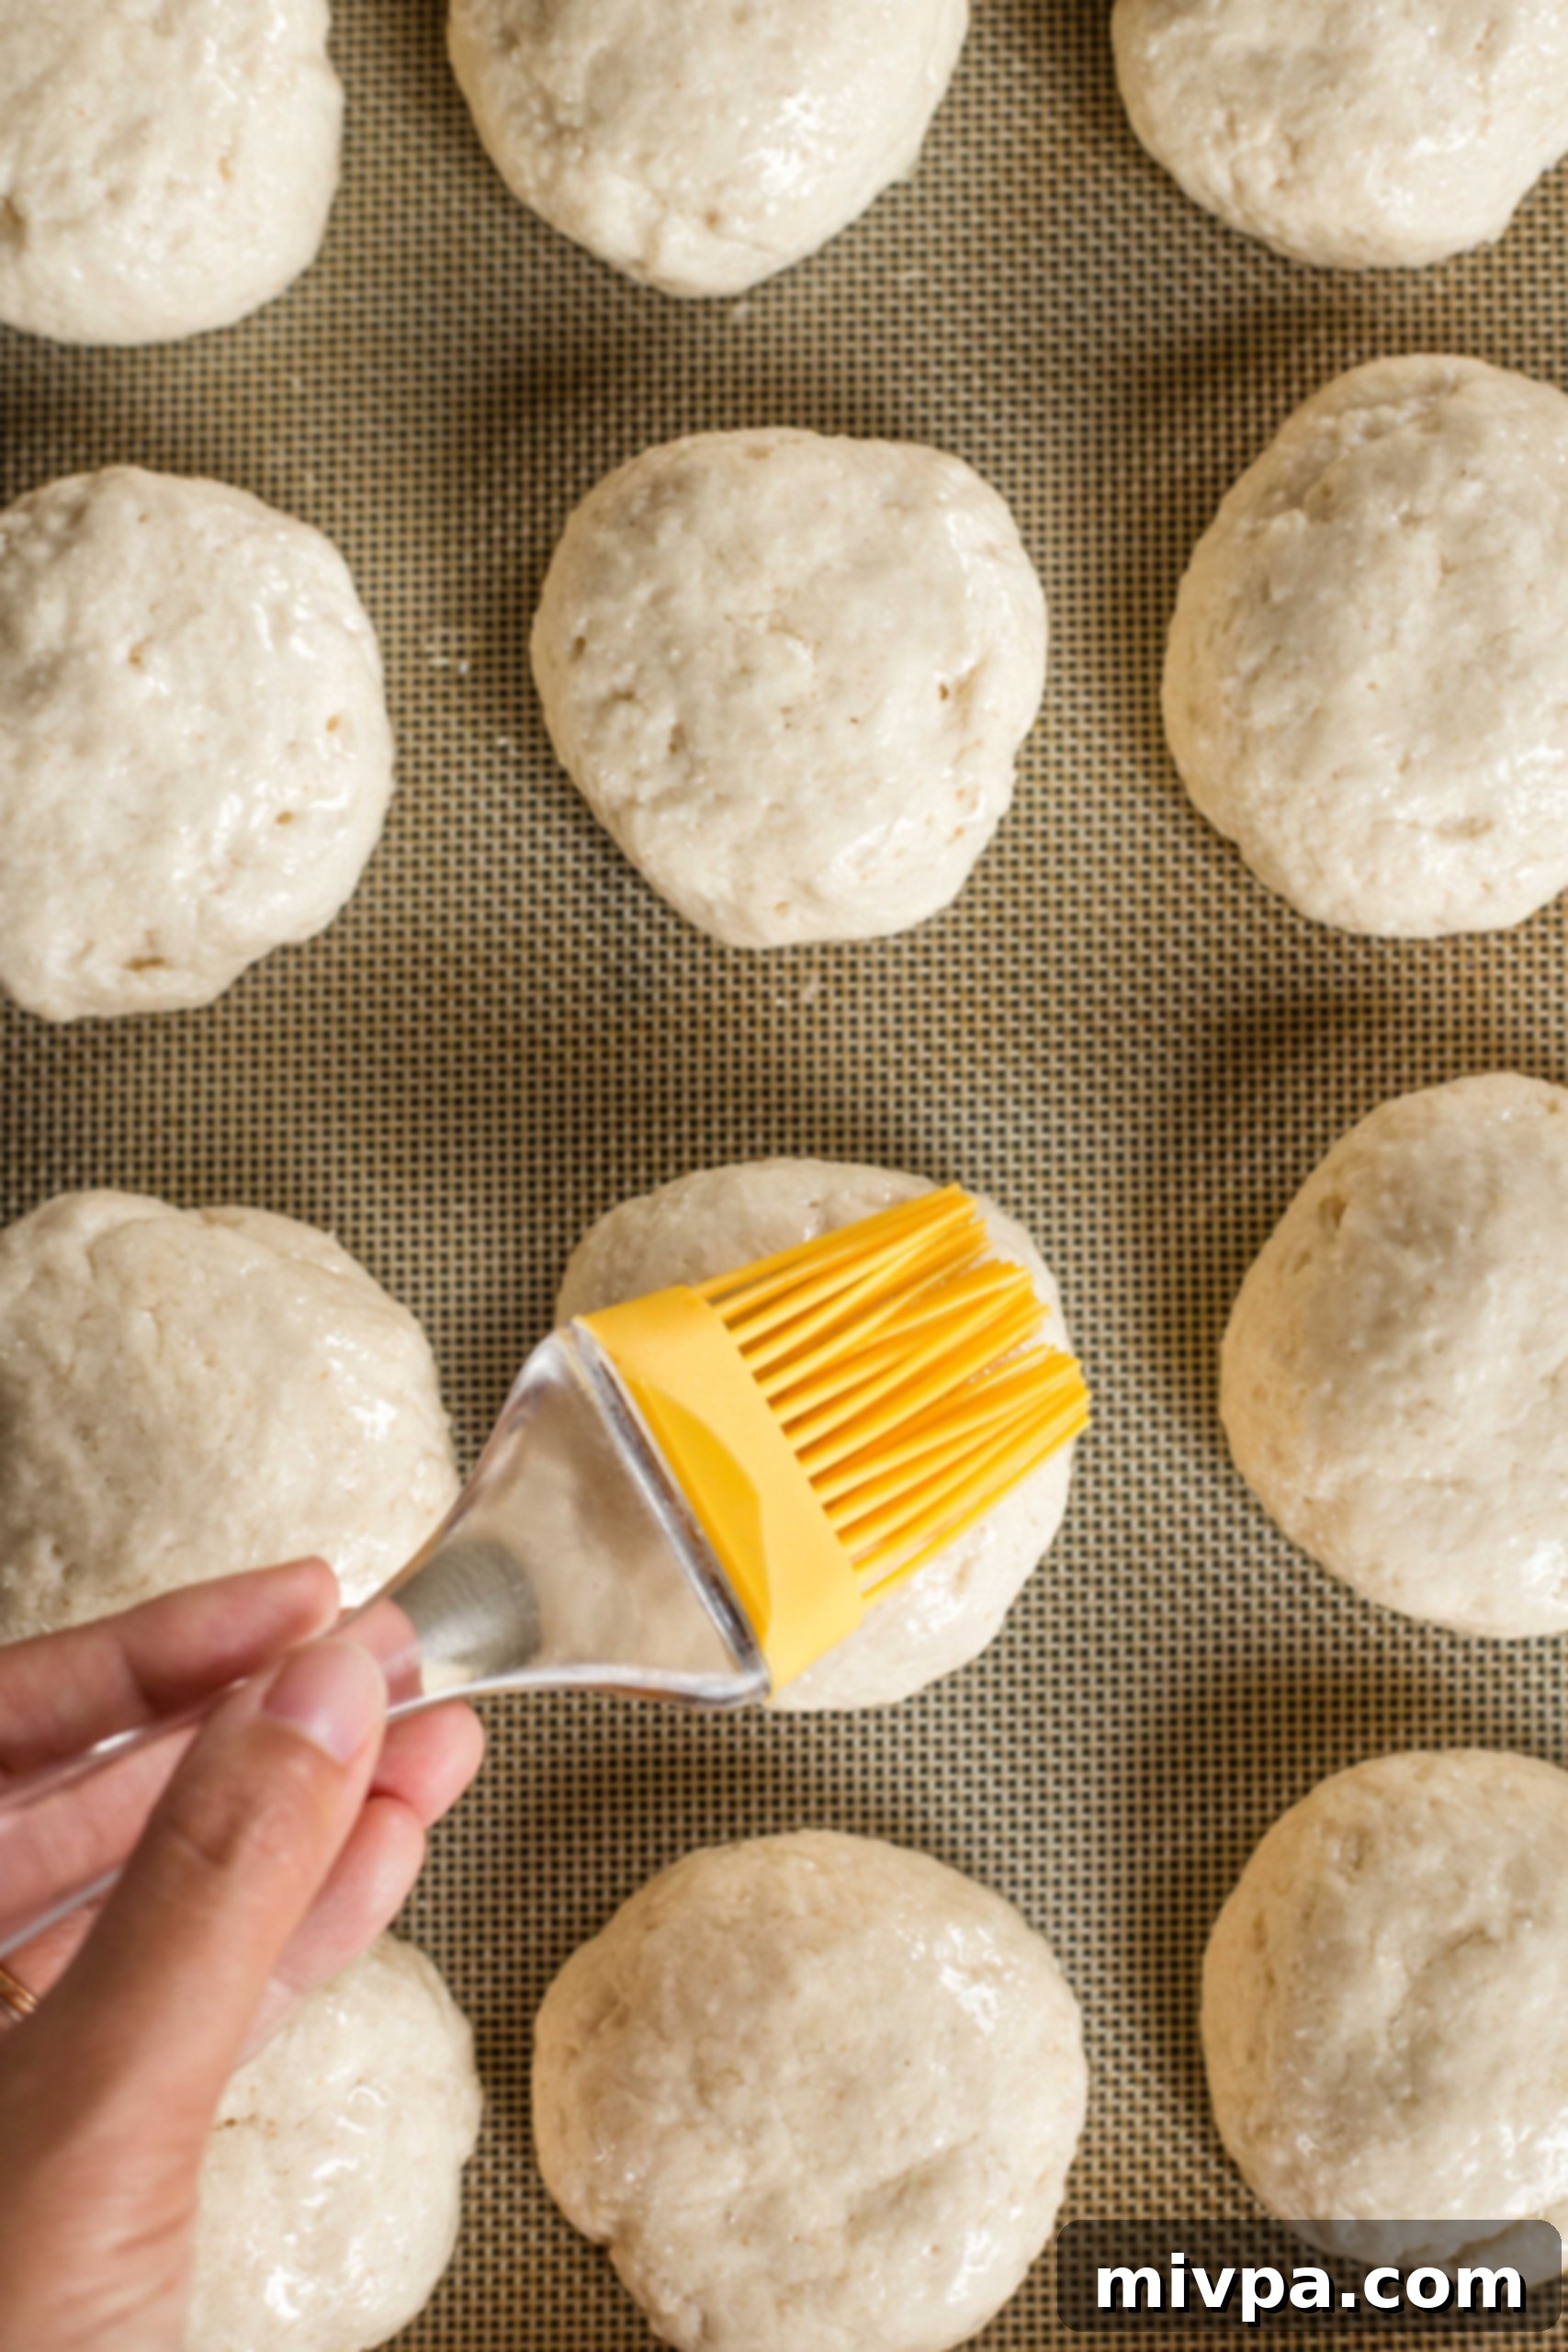
Once the dough has risen adequately, gently brush the top of each bun with a light coating of oil. This not only contributes to a beautiful golden-brown crust but also helps any toppings adhere better.
11. Sprinkle with Seeds (Optional)
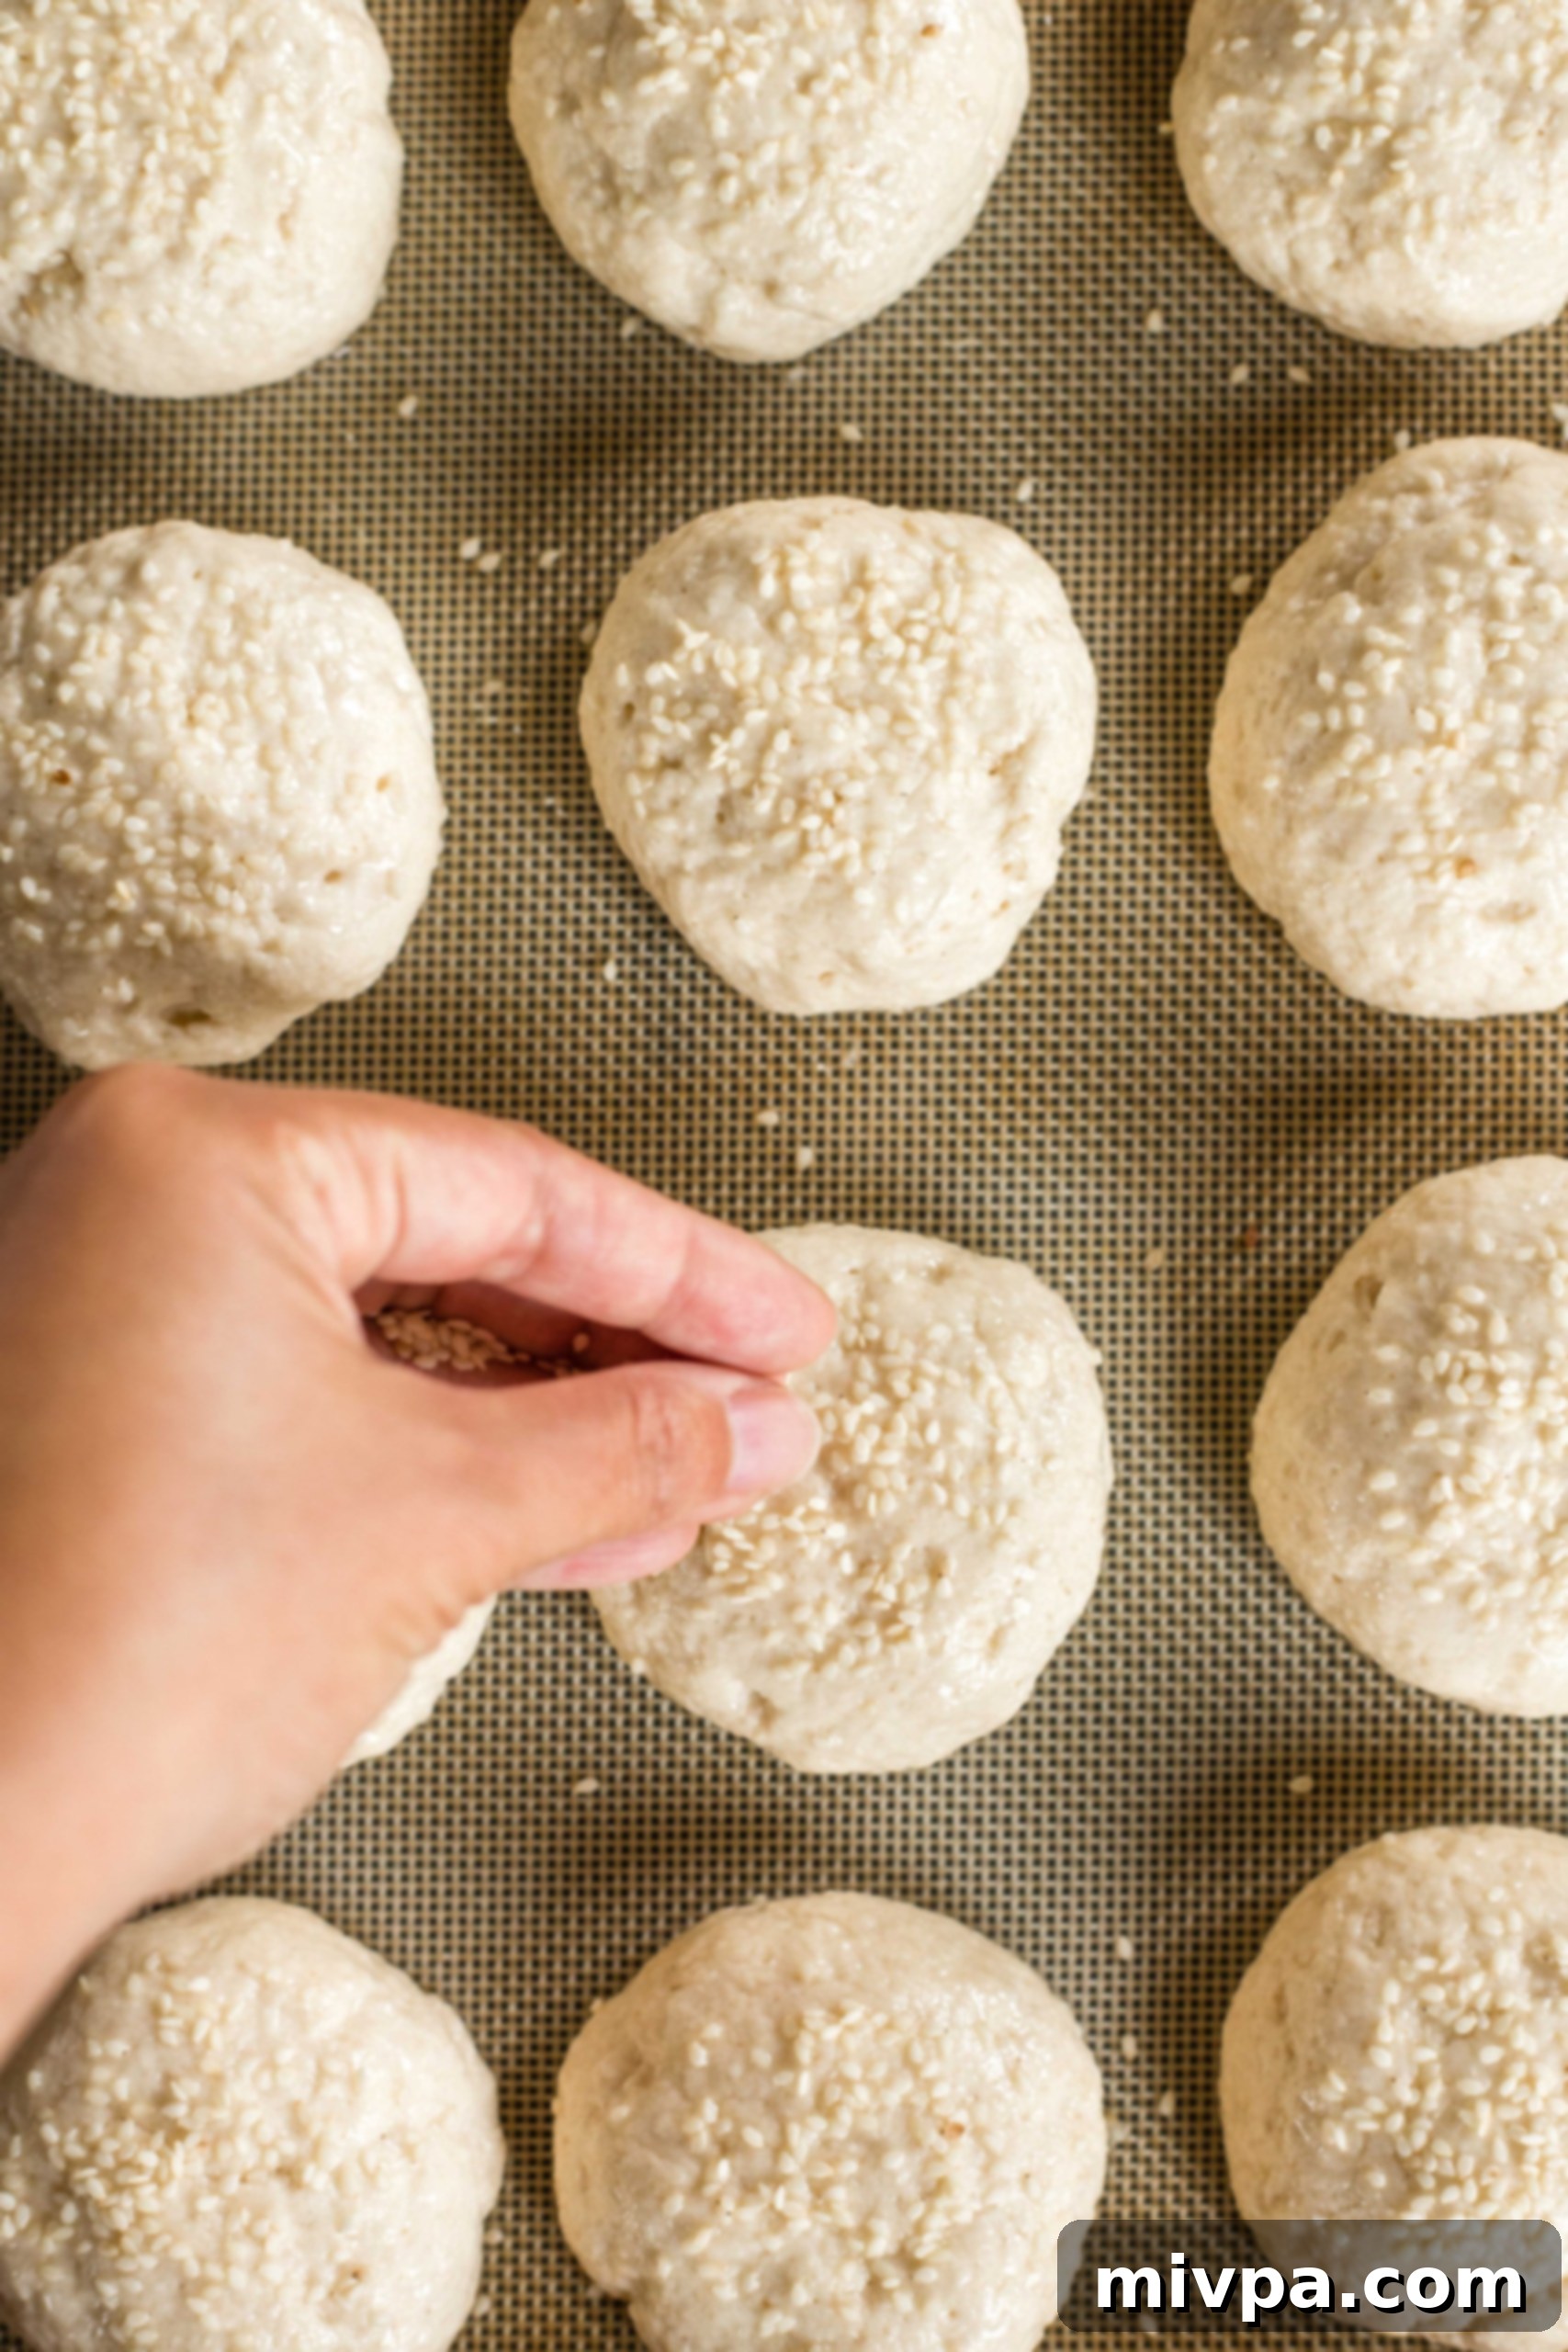
For an extra touch of flavor and visual appeal, sprinkle sesame seeds evenly over the oiled dough. You can also get creative with other seeds or seasonings for a personalized touch.
12. Bake Until Golden Brown Perfection
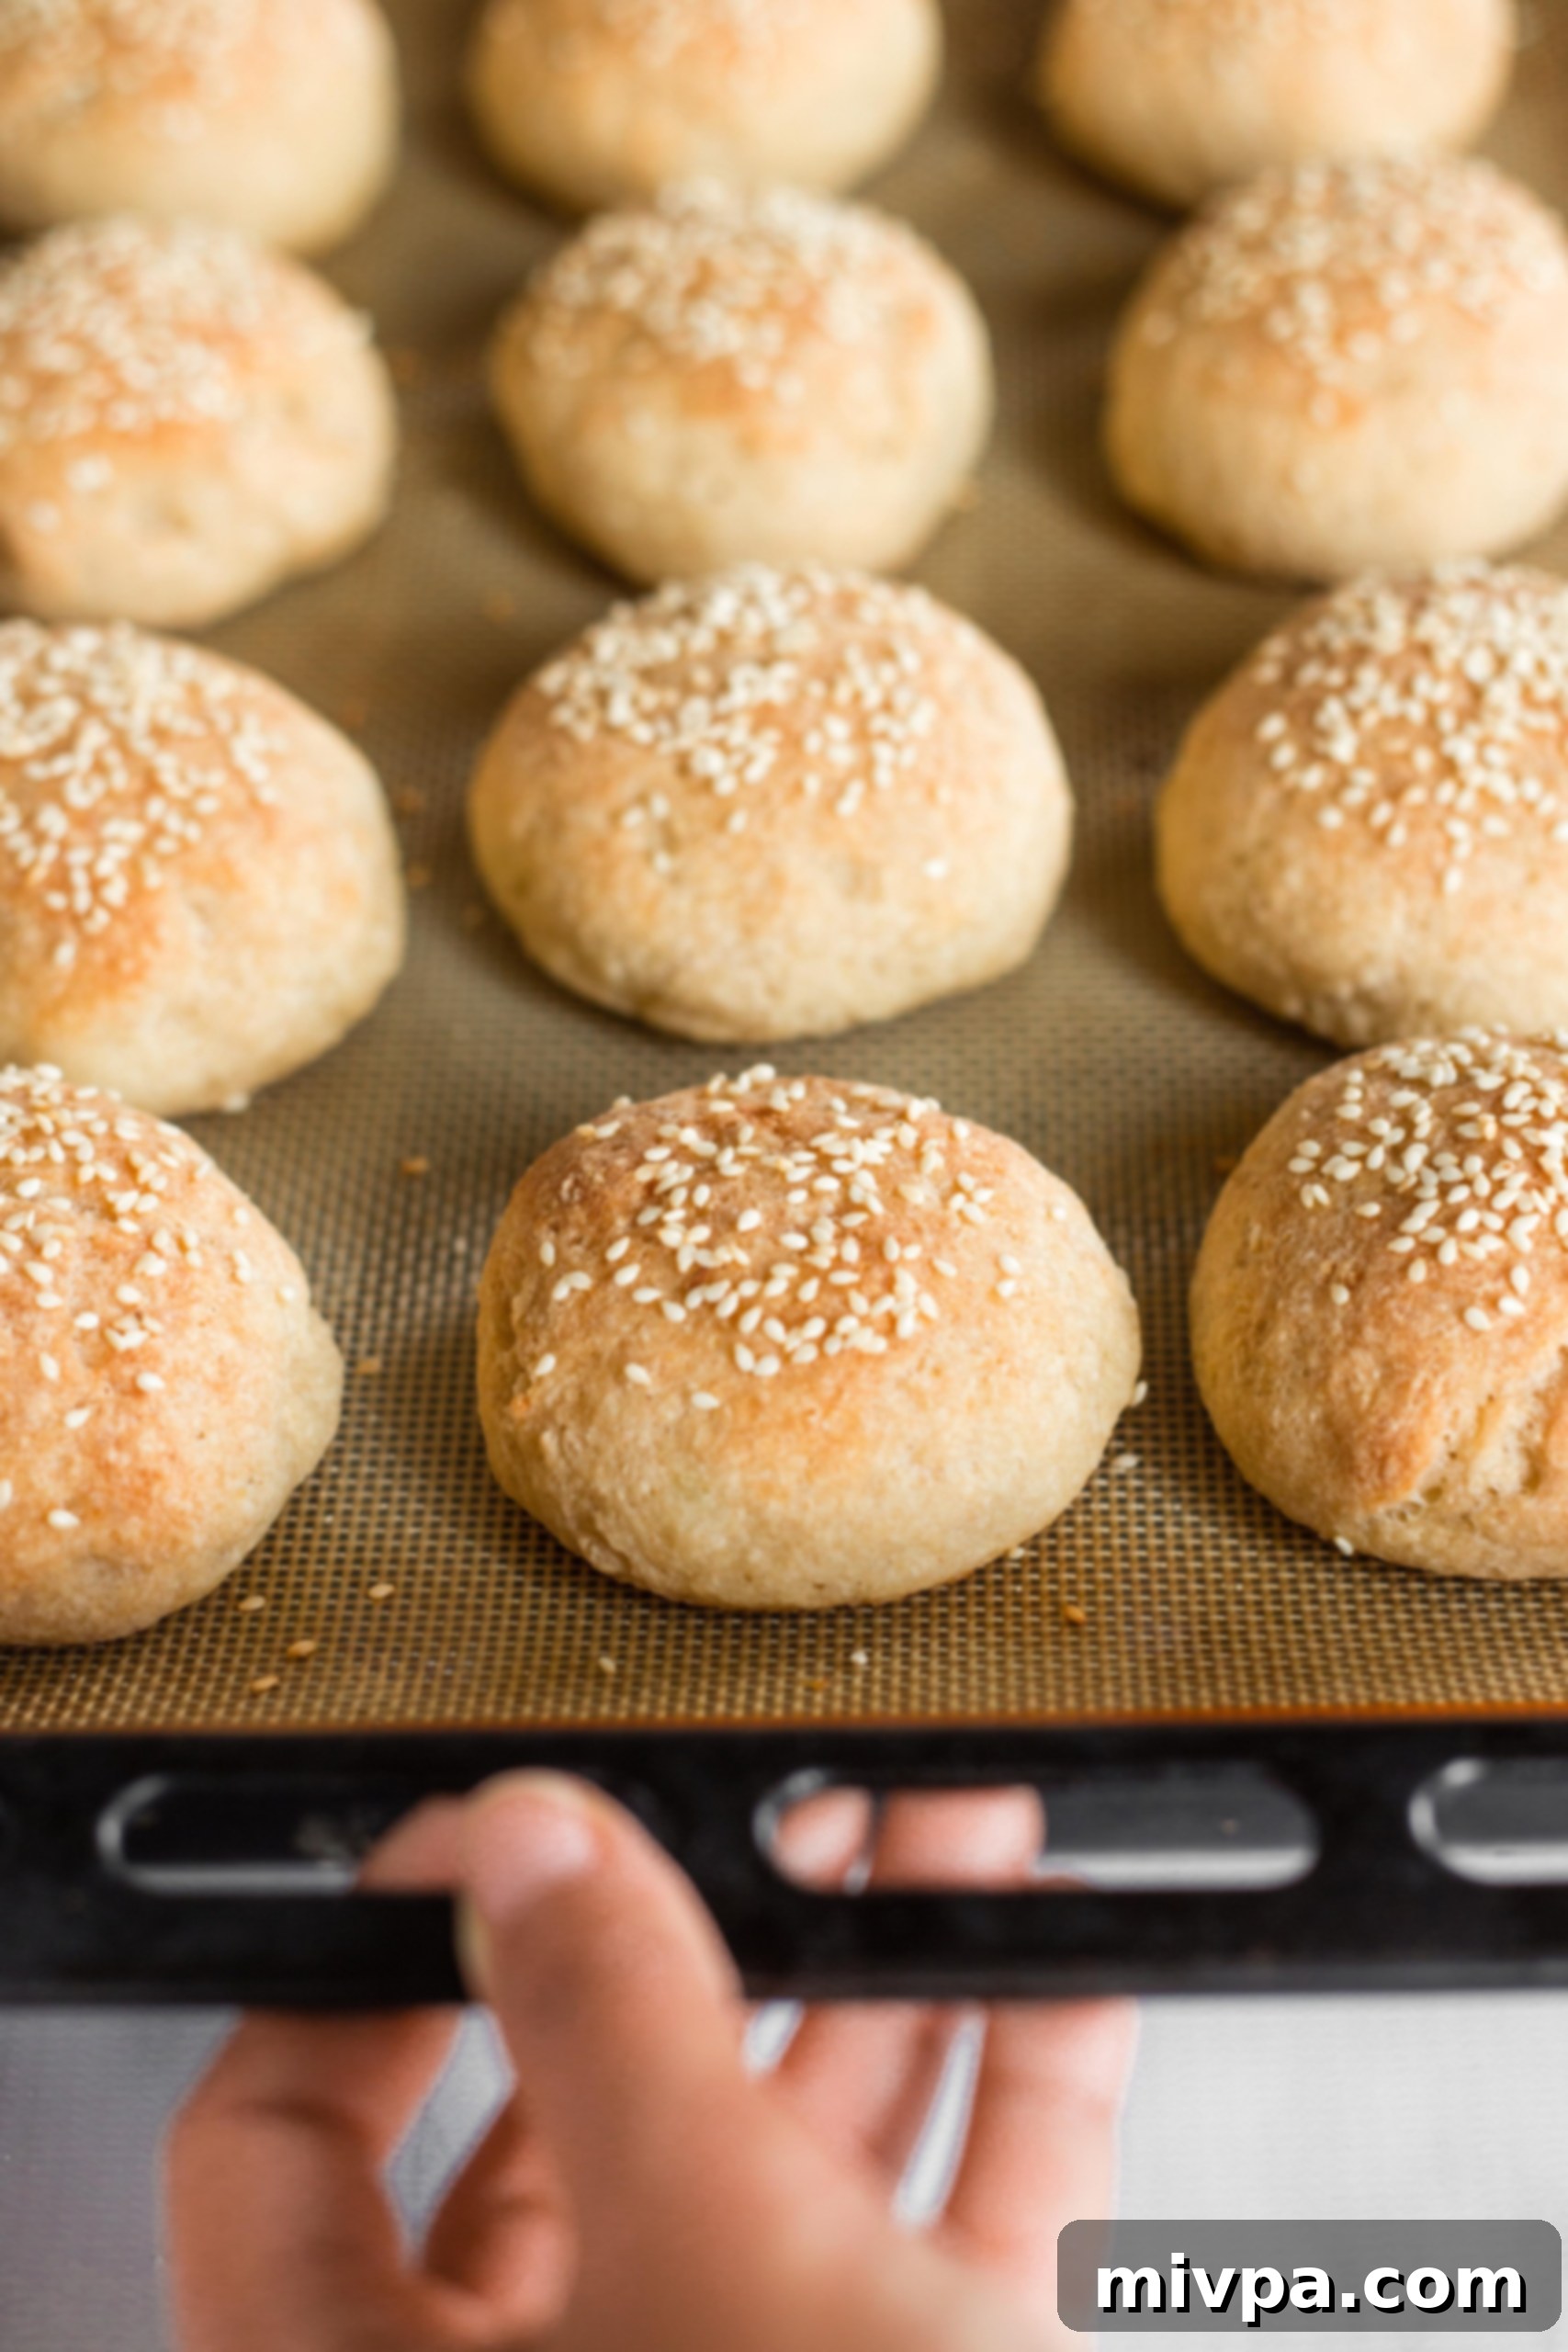
Place the baking sheet in the preheated oven and bake for 25 to 30 minutes. Keep an eye on them until the tops of your gluten-free slider buns turn a beautiful golden brown. This indicates they are fully cooked through and have developed a delicious crust.
13. Cool Before Slicing
Once baked, allow the gluten-free potato buns to cool in the pan for about 5 minutes. Then, transfer them to a wire rack to cool completely to room temperature. Resist the urge to slice them too early, as cooling fully allows the internal structure to set, preventing a gummy texture.
Dish by Dish Tips & Tricks for Perfect Buns
- Transform into Bagels: Amazingly, the exact same versatile dough used for these soft potato sliders can be easily adapted to create wonderfully chewy and fluffy gluten-free bagels. For bagels, after shaping, you would typically boil them briefly before baking, which gives them their distinctive chewy crust. It’s a fantastic way to get more mileage out of one great dough!
- Craft Larger Hamburger Buns: If your culinary adventures call for slightly larger buns, perfect for hearty hamburgers, simply adjust the dough portions. Instead of dividing the dough into 12 small portions, create 6 equal, larger portions. You can also use a hamburger bun pan for perfectly uniform shapes. Increase the baking time to approximately 35 to 40 minutes at 350°F (175°C), or until they are beautifully golden brown on top.
- Make Hot Dog Buns: For delicious homemade hot dog buns, simply divide the dough and press it into the cavities of a hot dog bun mold. Allow the shaped dough to rise as directed, then brush with oil before baking. Like the hamburger buns, these will require a slightly longer bake time of 35 to 40 minutes at 350°F (175°C) to achieve a lovely golden hue.
- No Mashed Potatoes? No Problem!: If you don’t have mashed potatoes on hand, don’t worry! This recipe is incredibly adaptable. You can easily substitute the mashed potatoes with an equal amount of smooth sweet potato puree or even homemade pumpkin puree. Both alternatives will yield equally fluffy and delicious buns, adding a subtle sweetness and a beautiful color.
- Optimize Your Dough Rise: For the best rise, ensure your “warm place” is genuinely warm and free from drafts. A slightly warmed oven (turned off, with the light on) or a spot near a sunny window can work wonders. Consistency in temperature is key for active yeast.
- Achieve the Perfect Fluffiness: To get truly light and fluffy buns, avoid overworking the dough once the wet and dry ingredients are combined. Mix just until combined and homogeneous. The less you handle gluten-free dough, the lighter the final texture tends to be.
More Delicious Gluten-Free Bun Recipes:
- Gluten-Free Hamburger Buns (Dairy-Free)
- Low Carb Buns (Gluten-Free, Dairy-Free, Keto)
- Hot Dog Buns (Gluten-Free, Dairy-Free)
Gluten-Free Bread Recipes You’ll Adore:
- Gluten-Free Chocolate Chip Pumpkin Bread (Dairy-Free)
- Easy Gluten-Free Drop Biscuits (Dairy-Free)
- Gluten-Free Vegan Bagels (Chewy and Tender!)
- Egg-Free Gluten-Free Bread (So Tender!)
P.S. If you try this recipe, I’d love for you to leave a star rating below, and/or a review in the comment section further down the page. Your feedback is always greatly appreciated. Be sure to explore my entire Recipe Index for all the delicious recipes on the blog. You can also follow me on Pinterest, Facebook or Instagram! Sign up for my Email List to get fresh recipes delivered straight to your inbox each week!
Print Recipe

Gluten-Free Slider Buns (Dairy-Free)
5 Stars
4 Stars
3 Stars
2 Stars
1 Star
5 from 3 reviews
- Author: Felicia Lim
Total Time: 1 hour 50 minutes
Yield: 12 slider buns
Diet: Gluten Free
Description
These incredibly soft, fluffy, and tender gluten-free slider buns are perfect for crafting delicious mini hamburgers, creating memorable game day slider sandwiches, or simply enjoying as a delightful snack. Requiring no arduous kneading, these dairy-free potato buns are surprisingly easy to make and taste so good, no one will guess they’re gluten and dairy-free! Bake a batch today for a truly satisfying homemade treat.
Ingredients
Units
Scale
- 1 cup mashed potatoes
- 2 large eggs, beaten
- 1 cup warm water
- 1/2 cup sunflower oil, plus more for brushing
- 2 1/4 cups gluten-free all-purpose flour
- 1 teaspoon xanthan gum (omit if your gluten-free flour blend already includes it)
- 1 teaspoon baking powder
- 1/2 teaspoon salt
- 2 tablespoons psyllium husk powder
- 2 1/4 teaspoons instant yeast
- 1 tablespoon sugar
- 1 tablespoon sesame seeds
Instructions
- Line: Line a large baking sheet with parchment paper or a silpat.
- Blend Mashed Potatoes and Eggs: Process the mashed potatoes and beaten eggs in a high-speed blender until you get a thick, creamy yellow mixture.
- Add Water and Oil: Transfer the potato-egg mixture to a large mixing bowl. Add the water and oil and mix well to get a pale yellow liquid mixture.
- Whisk Dry Ingredients: In a large bowl, sift the gluten-free all-purpose flour, xanthan gum, baking powder, salt, psyllium husk powder, instant yeast, and sugar together. Whisk well to combine.
- Combine Wet and Dry Ingredients to Form Dough: Add the dry ingredients to the bowl with the wet ingredients and mix well until you get a homogeneous sticky dough (the dough will look shaggy and be rather wet, but that’s the texture you want).
- Form Dough Balls: Oil the palms of your hands and divide the dough into 12 equal portions, rolling each portion into a medium-sized ball. Place the dough balls at least 2 inches apart on the prepared baking sheet.
- Flatten Balls Slightly: Flatten the slider dough balls slightly with oiled fingers.
- Let Rise: Cover the baking sheet with a kitchen towel and let the dough rise in a warm, draft-free place for 1 hour until it has almost doubled in size.
- Preheat Oven: Towards the end of the rising time, preheat the oven to 350F and place the rack in the center position.
- Brush with Oil: Brush the risen dough will oil.
- Sprinkle with Seeds: Sprinkle sesame seeds on top of the dough.
- Bake Until Golden Brown: Bake for 25 to 30 minutes until the top of the gluten-free slider buns are golden brown.
- Let Cool Before Slicing: Allow the gluten-free potato buns to cool for a 5 minutes in the pan before removing and placing a wire rack to cool fully at room temperature before slicing.
Recipe Notes & Expert Tips
Mashed Potatoes: The magic behind these incredibly tender buns comes from mashed potatoes, which add moisture and a wonderfully soft texture. You can easily use leftover mashed potatoes (ensure they’re plain, without strong seasonings) or prepare fresh ones. If potatoes aren’t an option, consider substituting with equal amounts of smooth sweet potato puree or mashed pumpkin puree for a slightly different, yet equally delicious, flavor profile and color.
Eggs: Eggs are crucial in this recipe as a binding agent, helping to hold the gluten-free ingredients together, and contributing significantly to the buns’ excellent rise and structure. While I haven’t personally tested an egg-free version of this specific slider bun recipe, for those who are vegan or have egg allergies, alternatives like aquafaba (3 tablespoons per egg) or a commercial egg replacer (prepared according to package instructions) might work. If you try this, please share your results in the comments!
Warm Water: The temperature of your water is paramount for yeast activation. It should be warm to the touch, ideally between 105°F to 115°F (40°C to 46°C). Water that is too cold won’t activate the yeast, leading to a flat dough, while water that is too hot will kill the yeast, preventing any rise. For an added layer of flavor and richness, you can also use warm unsweetened non-dairy milk such as almond milk, cashew milk, tigernut milk, rice milk, soy milk, or oat milk. If dairy isn’t an issue for you, regular cow’s milk can also be used.
Sunflower Oil: I prefer sunflower oil due to its neutral flavor and common availability in my pantry. However, feel free to use other mild-flavored vegetable oils like light olive oil, avocado oil, or even melted coconut oil (ensure it’s melted before adding). For a richer taste, melted vegan butter is also an excellent dairy-free option. If you can consume dairy, melted regular butter will work beautifully.
Gluten-Free All-Purpose Flour: The quality of your gluten-free flour blend makes a significant difference. I highly recommend using a high-quality gluten-free all-purpose flour blend that incorporates lighter flours and starches such as rice flour, corn starch, tapioca starch, or potato starch. These blends contribute to a light, airy, and fluffy final texture. Avoid blends that rely heavily on denser flours like garbanzo bean flour, as they can result in a heavier, more crumbly bun.
Xanthan Gum: This ingredient is a vital substitute for gluten in gluten-free baking. Xanthan gum acts as a binding agent, providing elasticity and structure to the dough, preventing it from becoming too crumbly. Always check your chosen gluten-free flour blend; if it already contains xanthan gum, you can omit adding extra. If not, including it is essential for the best results.
Psyllium Husk Powder: Often hailed as a game-changer in gluten-free baking, psyllium husk powder is an incredible binding agent that significantly improves the rise and texture of these slider buns. It helps create a more cohesive dough structure, mimicking the elasticity of gluten. For optimal results, I strongly advise against omitting or substituting psyllium husk powder. If you only have access to whole psyllium husks, you can easily grind them into a super-fine powder using a coffee grinder or a high-speed blender.
Baking Powder: In addition to yeast, a touch of baking powder provides an extra lift, ensuring these potato buns are wonderfully airy and soft. If you have Celiac disease or gluten intolerance, always ensure you’re using certified gluten-free baking powder to avoid cross-contamination.
Instant Yeast: I prefer using instant yeast because it offers convenience; there’s no pre-activation step required, allowing you to mix it directly with all the other dry ingredients. If you only have active dry yeast, simply activate it first by dissolving it in the warm water with the sugar for 5-10 minutes until foamy, before combining with the other wet ingredients.
Sugar: The sugar in this recipe is not primarily for sweetness (though it does contribute a hint), but rather as essential “food” for the yeast. Yeast consumes the sugar, producing carbon dioxide gases that make the dough rise. Do not skip the sugar, as it is crucial for proper yeast activation and a good rise. I used granulated white sugar, but you can also experiment with light brown sugar, dark brown sugar, or coconut sugar. Keep in mind that darker sugars may result in a slightly darker interior for your buns.
Salt: A pinch of salt is included to enhance the overall flavor of the buns, balancing the other ingredients. If you’re following a salt-free diet, you can omit it without significantly affecting the dough’s structure.
Sesame Seeds: Sprinkling white sesame seeds adds a classic bakery touch and a subtle nutty flavor to the buns. You can also use black sesame seeds for a contrasting look. For more variety, consider a mix of seeds like chia seeds, flax seeds, sesame seeds, and sunflower seeds. Alternatively, for a savory twist, everything bagel seasoning works wonderfully.
Storing & Freezing Your Slider Buns: To maintain their freshness, place the completely cooled gluten-free slider buns in an airtight container and store them in the refrigerator for up to 5 days. These buns also freeze beautifully! To freeze, wrap them individually or in small batches with plastic wrap, then place them in a freezer-safe bag or container for up to 3 months. When you’re ready to enjoy them, thaw the frozen potato slider buns overnight in the refrigerator, or for a quicker reheat, warm them in the oven at 350°F (175°C) for about 5 minutes until soft and warm.
Troubleshooting: Why didn’t my buns rise? If your buns didn’t rise as expected, the most common culprits are either expired yeast, water that was too hot (killing the yeast) or too cold (not activating it), or an insufficiently warm rising environment. Always check yeast expiration dates and ensure water temperature is just right. Using fresh, active ingredients and providing a cozy spot for proofing are key.
Can I use a stand mixer? Yes, you can absolutely use a stand mixer with a paddle attachment for steps 2, 3, 4, and 5. This will make the process even easier and ensure a thoroughly mixed, homogenous dough without the manual effort.
Prep Time: 20 mins
Rising Time: 1 hour
Cook Time: 30 mins
Category: Bread
Method: Baking
Cuisine: American
