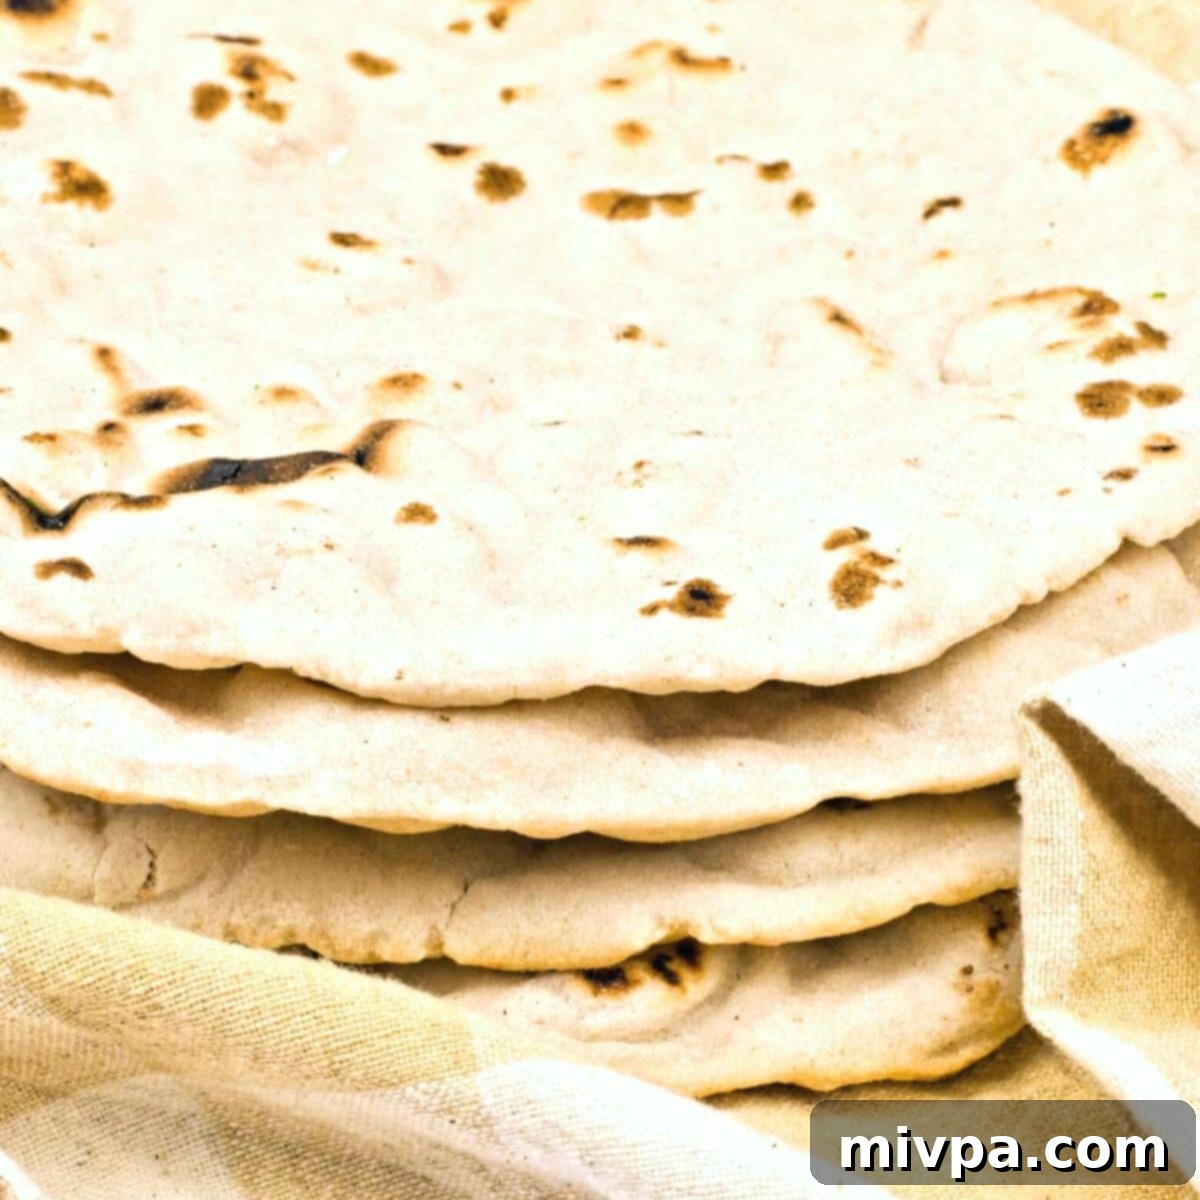
The Ultimate Guide to Homemade Gluten-Free Pita Bread: Soft, Puffy & Vegan
Embark on a culinary journey with this incredible gluten-free pita bread recipe, offering a delightful and satisfying alternative to traditional wheat-based pitas. These gluten-free pitas are wonderfully chewy and flexible, making them an ideal companion for your favorite Middle Eastern dips like creamy hummus and smoky baba ganoush. Beyond dips, they are perfect for crafting delicious sandwiches, wraps, or simply enjoying on their own as a wholesome snack. Best of all, this recipe is completely dairy-free and vegan, ensuring everyone can savor its goodness!
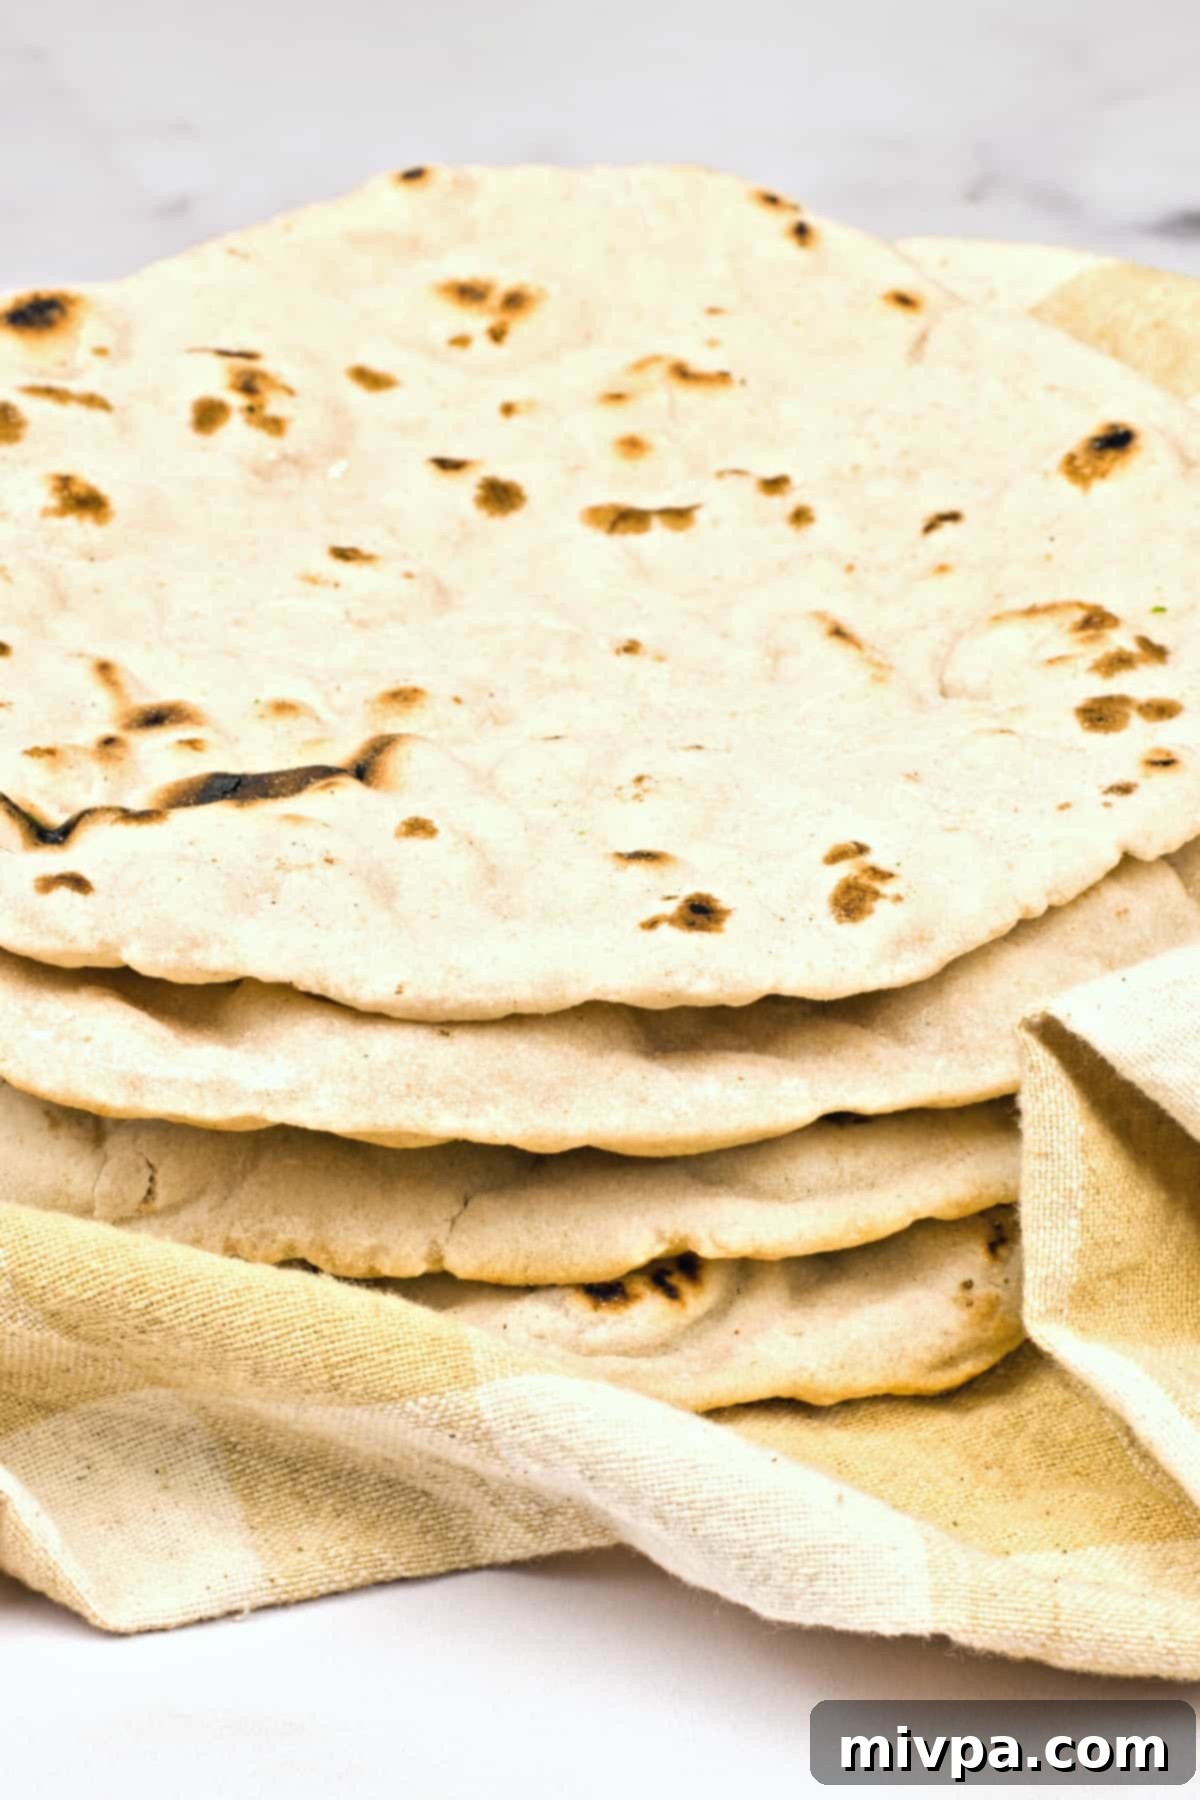
What is Pita Bread? An Overview of This Beloved Flatbread
Pita bread, a staple flatbread with ancient origins tracing back to the Middle East and Greece, is a round, often pocket-forming, yeast-leavened bread traditionally made from wheat flour. Its versatility and delicious flavor have made it a beloved food across many cultures.
The most recognizable form of pita is the one that puffs up during baking, creating an internal pocket ideal for stuffing with various fillings to make sandwiches. Think falafel, gyros, or fresh salads tucked inside. However, pita can also be made without a prominent pocket, often referred to as “pocket-less pita.” This style is equally popular for dipping into an array of sauces and spreads, or for wrapping around ingredients to create a satisfying meal. Its soft, slightly chewy texture and mild flavor make it incredibly adaptable to almost any dish.
Is Traditional Pita Bread Gluten-Free?
Unfortunately, traditional pita bread is typically made with wheat flour, which contains gluten. This means it is not safe for individuals with Celiac disease, gluten allergies, or gluten sensitivities. The gluten protein is what gives conventional bread its characteristic elasticity and structure. For years, enjoying authentic pita was a challenge for those avoiding gluten.
However, modern culinary innovation has made it possible to recreate the magic of pita bread without gluten. Today, we’re excited to share a fantastic gluten-free and vegan version of this classic Middle Eastern flatbread that delivers on both taste and texture, ensuring everyone can enjoy its deliciousness without compromise!
Why This Gluten-Free Pita Bread Recipe is a Must-Try:
This recipe isn’t just a gluten-free alternative; it’s a superior choice for many reasons:
- Simple, Accessible Ingredients: Forget specialty stores! The ingredients required for this easy gluten-free pita bread recipe are readily available at your local grocery store. We’ve focused on using common gluten-free flours and binders, ensuring you won’t need to hunt for exotic items to make this delicious bread.
- Surprisingly Easy to Make: Don’t be intimidated by homemade bread. Preparing this gluten-free pita bread dough is a straightforward process involving simple mixing, a short kneading period, and letting the dough rise. Once risen, you’ll simply roll out the dough and cook it on a skillet – no complicated baking techniques or special equipment required. It’s a truly beginner-friendly recipe!
- 100% Gluten-Free, Dairy-Free & Vegan: This is where our recipe truly shines. Crafted to be entirely gluten-free, dairy-free, and vegan, it caters to a wide range of dietary needs. Whether you have Celiac disease, gluten or lactose intolerances, or simply follow a vegan lifestyle, you can enjoy these soft, flavorful pitas without any concerns.
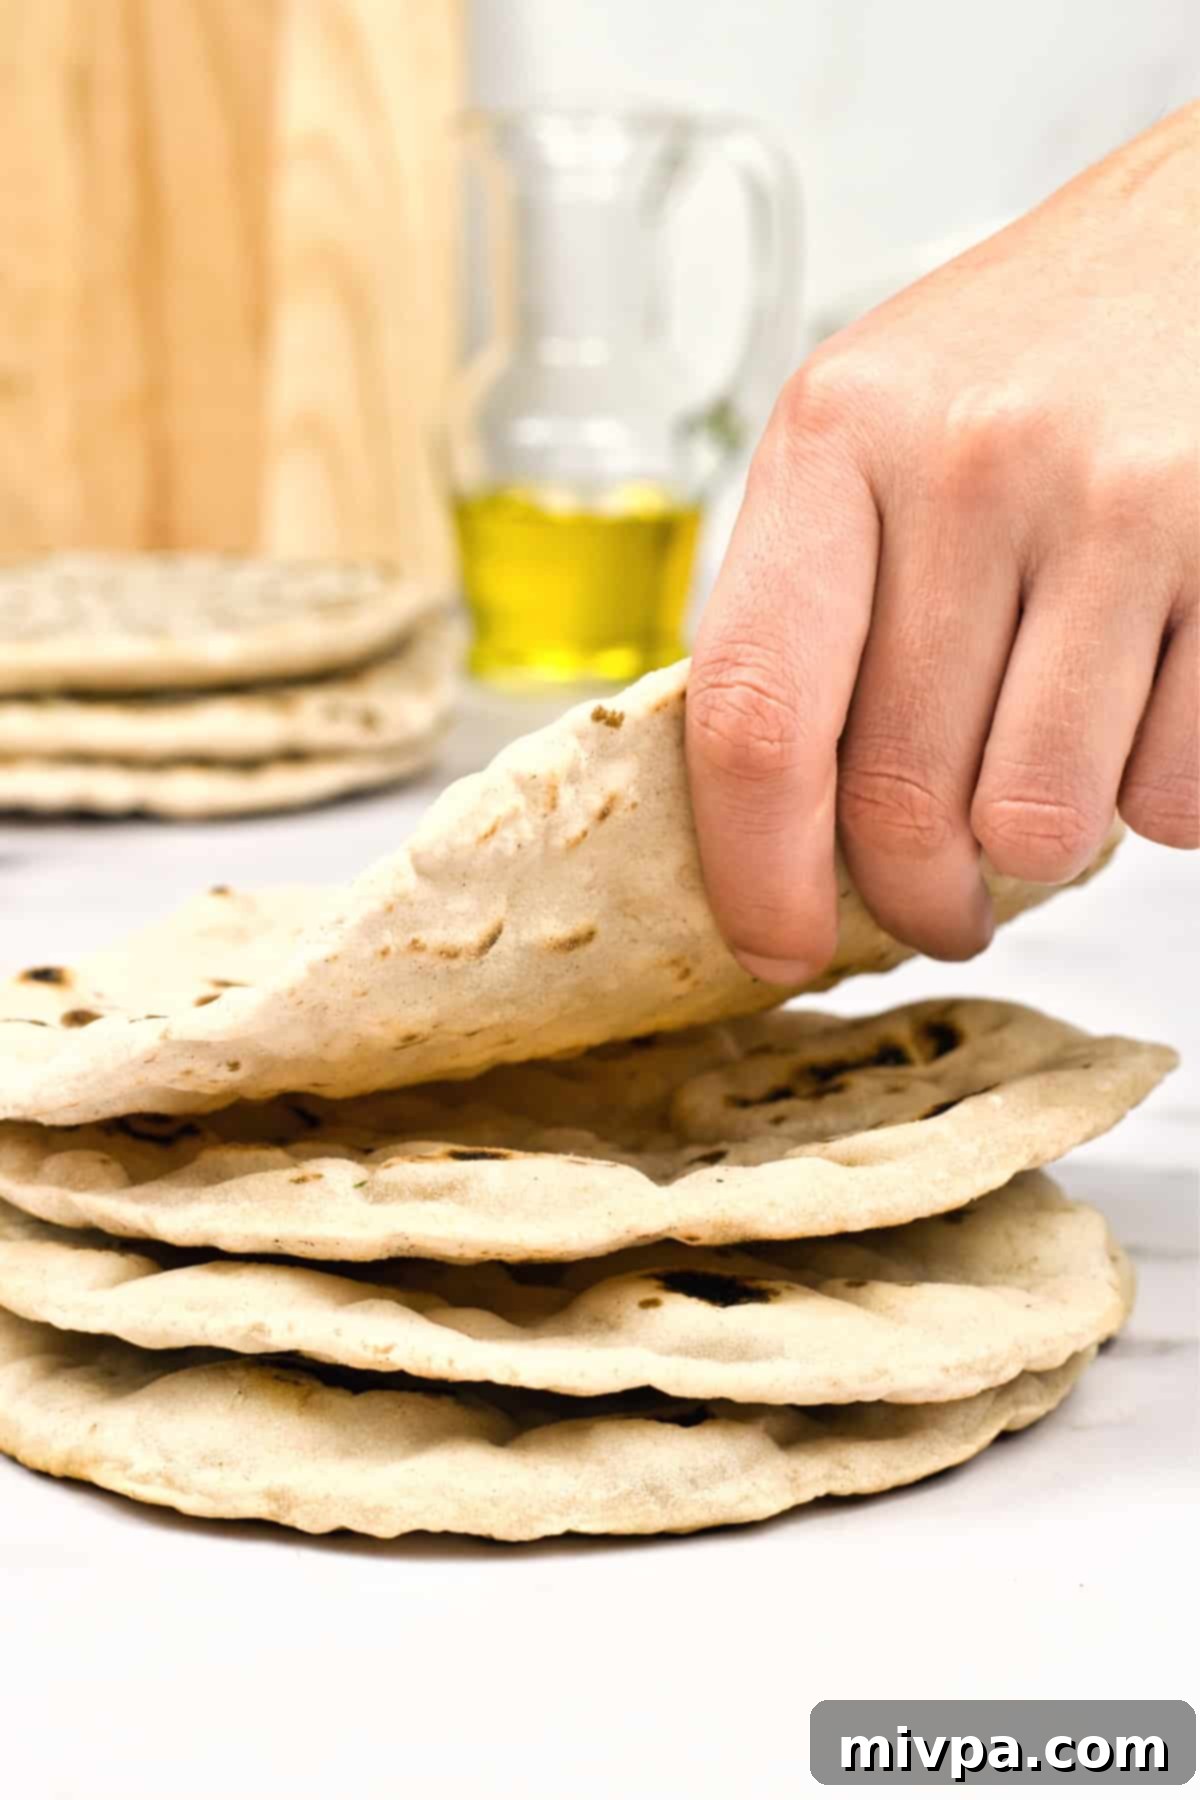
- Achieves the Perfect Pita Pocket: One of the most satisfying aspects of pita bread is the natural pocket that forms. Our recipe consistently achieves this desired pocket, making it perfect for stuffing with your favorite fillings for a true pita sandwich experience.
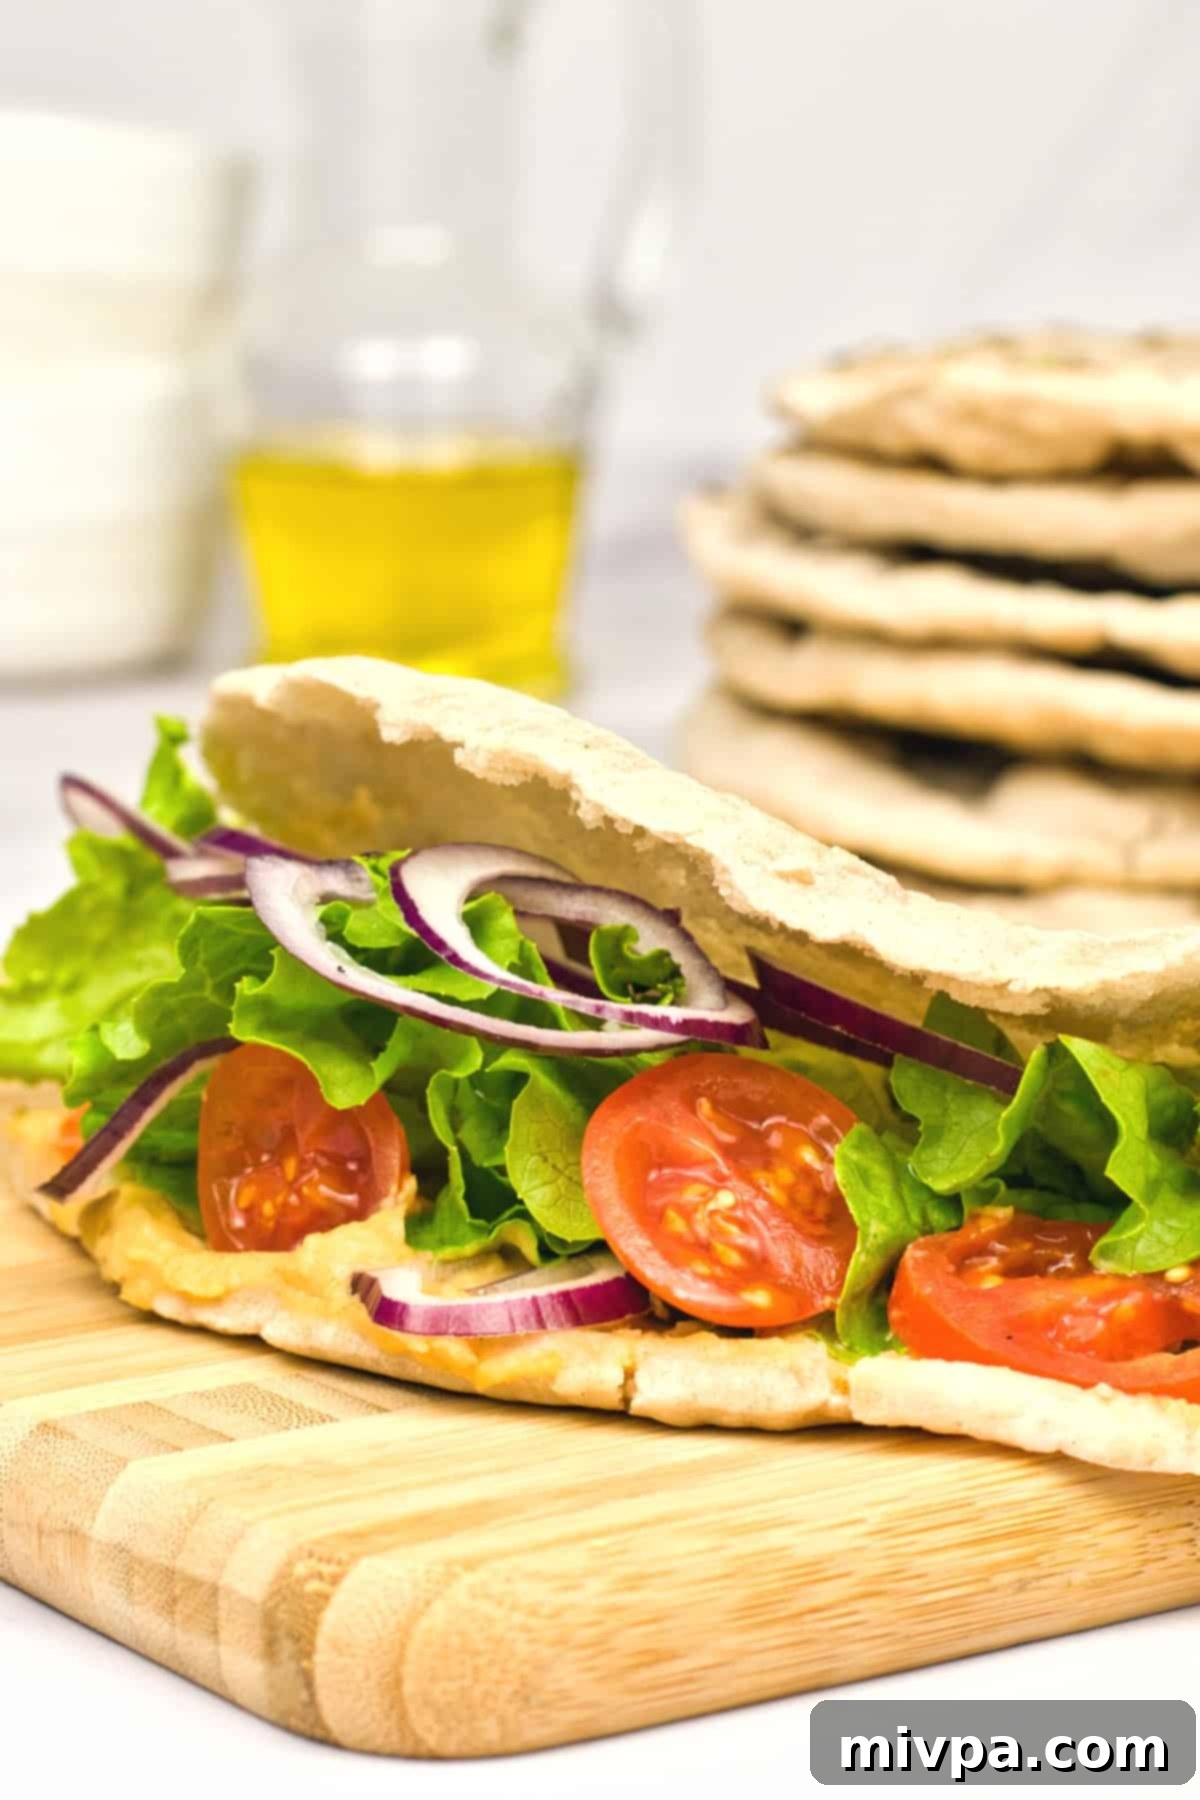
- Versatile and Delicious: These pitas are not only fantastic with dips but also serve as a great base for mini pizzas, a side for stews, or a delightful component of any mezze platter. Their mild flavor complements a variety of cuisines.
Essential Ingredients for Your Gluten-Free Pita Bread:
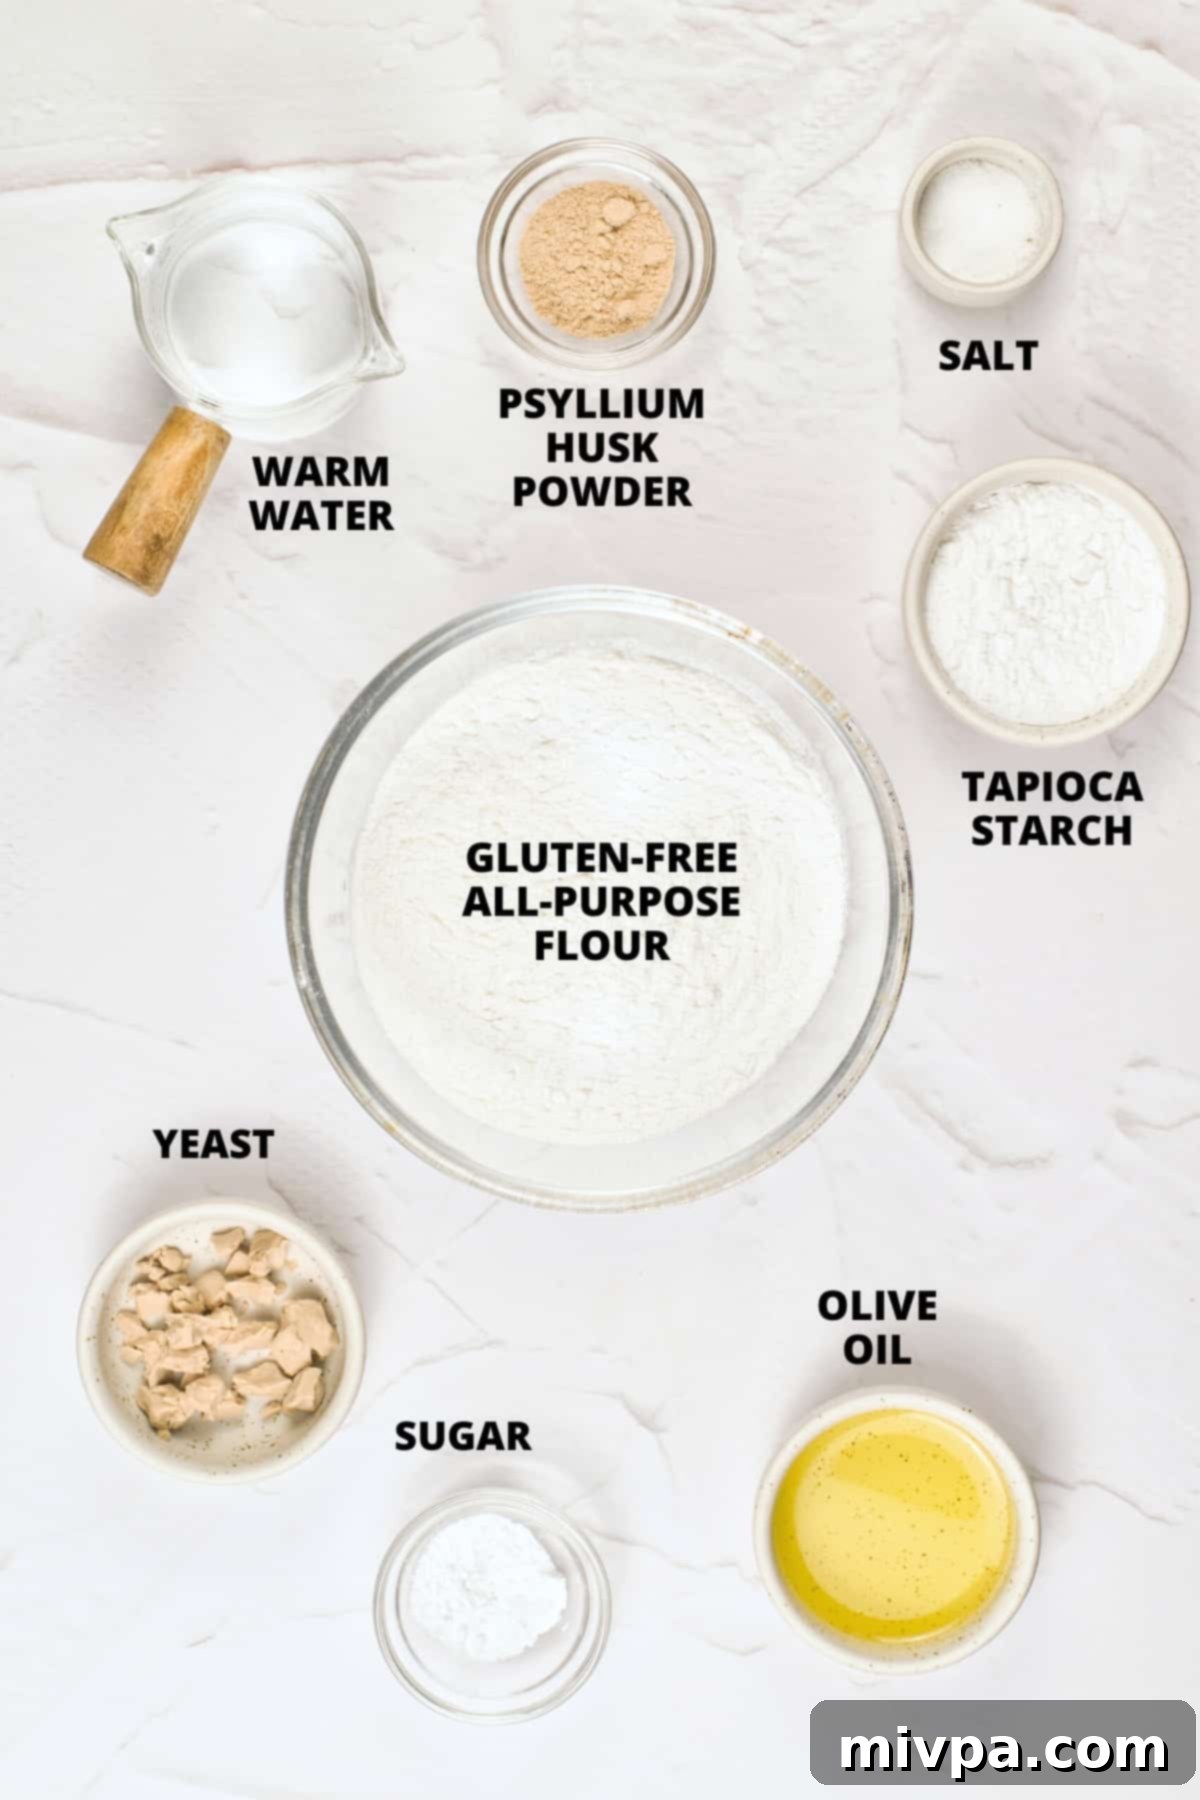
Creating these delicious gluten-free vegan pita breads requires a few key ingredients that work together to achieve the perfect texture and flavor. Below is an overview of what you’ll need to gather before you start baking. These are all easily found at most grocery stores, ensuring a hassle-free cooking experience.
(For the precise measurements of each ingredient, please refer to the detailed printable recipe card conveniently located at the bottom of this post.)
Recipe Notes & Expert Substitutions for Perfect Pitas
Understanding the role of each ingredient is key to successful gluten-free baking. Here are some detailed notes and potential substitutions to help you achieve the best possible results with your homemade pita bread:
- All-Purpose Gluten-Free Flour: The foundation of our pita bread. I strongly recommend using a high-quality gluten-free all-purpose flour blend that primarily consists of lighter flours and starches, such as rice flour, tapioca starch, corn starch, or potato starch. These lighter blends contribute to a soft, pliable texture. Avoid blends that are heavily weighted with denser flours like garbanzo bean flour, as they can result in a heavier, more crumbly pita. For a simpler alternative, plain rice flour can also work well.
- Tapioca Starch: Also known as tapioca flour, this fantastic gluten-free flour is derived from the starchy root of the cassava plant. It’s a crucial ingredient in gluten-free baking because it imparts a desirable chewy texture to baked goods, mimicking the elasticity often lost without gluten. If you don’t have tapioca starch on hand, arrowroot starch (also known as arrowroot flour or powder) makes an excellent 1:1 substitute.
- Psyllium Husk Powder: This is a superstar ingredient for gluten-free bread. Psyllium husk powder is a fiber supplement made from the seeds of the Plantago ovata plant. In gluten-free baking, it acts as a powerful binding agent, providing much-needed elasticity and flexibility to the dough. This is absolutely essential for achieving flexible pitas that bend without breaking and are robust enough to form a pocket. If you only have access to whole psyllium husks, you can easily grind them into a fine powder using a coffee grinder or a high-speed blender.
- Olive Oil: I prefer using extra virgin olive oil for its distinct flavor and healthy fats. However, feel free to substitute with other liquid fats like avocado oil, flaxseed oil, melted coconut oil, melted vegan butter, or other neutral vegetable oils such as sunflower or canola oil.
- Yeast: Yeast is the leavening agent responsible for making our pita bread rise and develop its airy texture and signature pocket. Ensure your yeast is fresh and active. You can use either fresh yeast (a moist, crumbly block often found in professional bakeries) or active dry yeast, which is more commonly used in home baking and readily available.
- Cane Sugar: Sugar isn’t just for sweetness; in this recipe, it plays a vital role in activating the yeast. The yeast feeds on the sugar, producing carbon dioxide gases that cause the bread dough to rise. I used cane sugar, but you can also use white granulated sugar, light brown sugar, or dark brown sugar.
- Warm Water: The temperature of the water is crucial for activating the yeast. Use warm water that is comfortably warm to the touch, ideally between 105°F to 115°F (40°C to 46°C). Water that is too cold will not activate the yeast efficiently, resulting in poor rise, while water that is too hot will kill the yeast, preventing any rise at all.
- Salt: Essential for flavor balance, salt enhances the taste of the pita bread and also helps to control yeast activity, ensuring a steady rise.
How to Make Gluten-Free Pita Bread (Step by Step Guide)
Follow these simple steps to create delicious, puffy, and flexible gluten-free pita bread right in your own kitchen:
1. Activate the Yeast for Optimal Rise
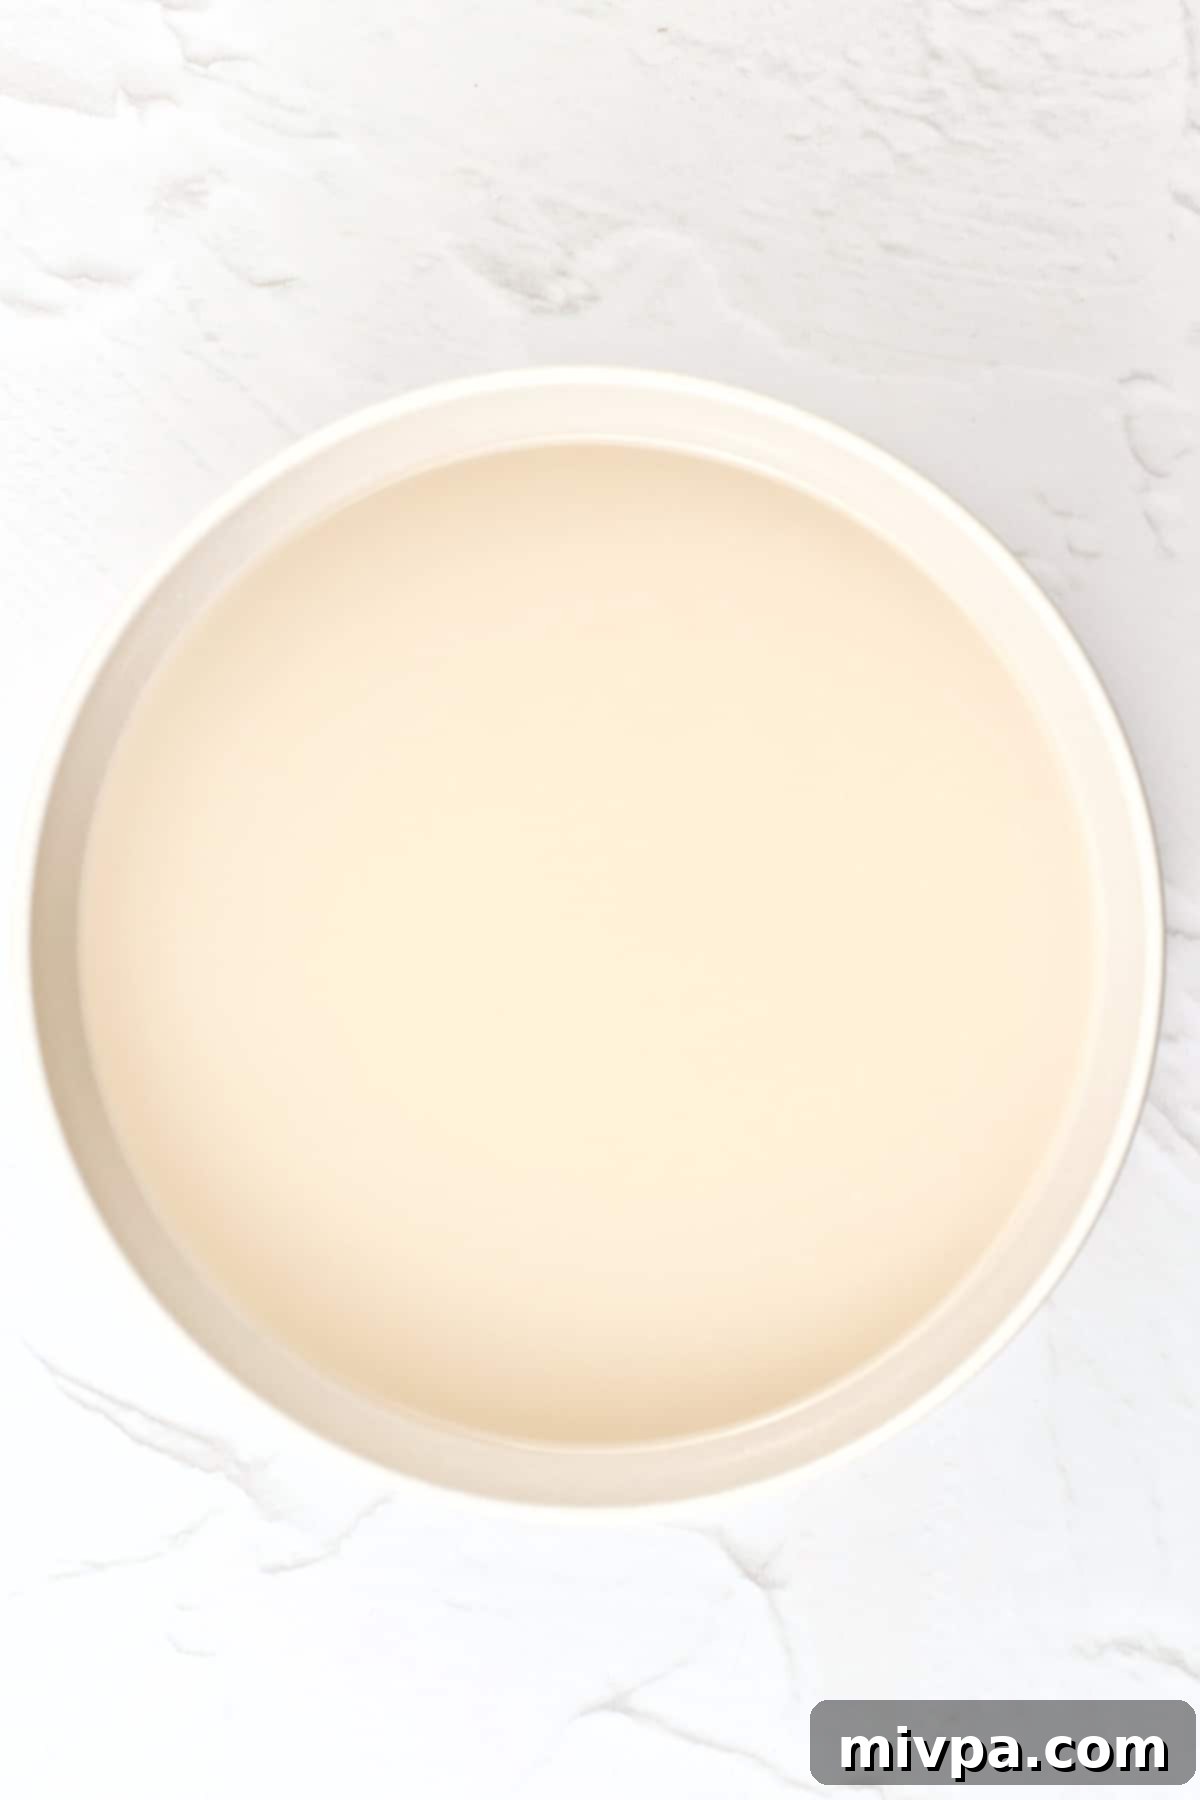
In a small bowl, combine your yeast with the sugar and lukewarm water. Stir gently with a spoon until all ingredients are well-combined. Set this mixture aside for about 5 minutes. During this time, the yeast should begin to “proof” or activate. You’ll know it’s active and ready to use when a frothy layer forms on the surface of the mixture, indicating the yeast is alive and working.
2. Whisk Together the Dry Ingredients
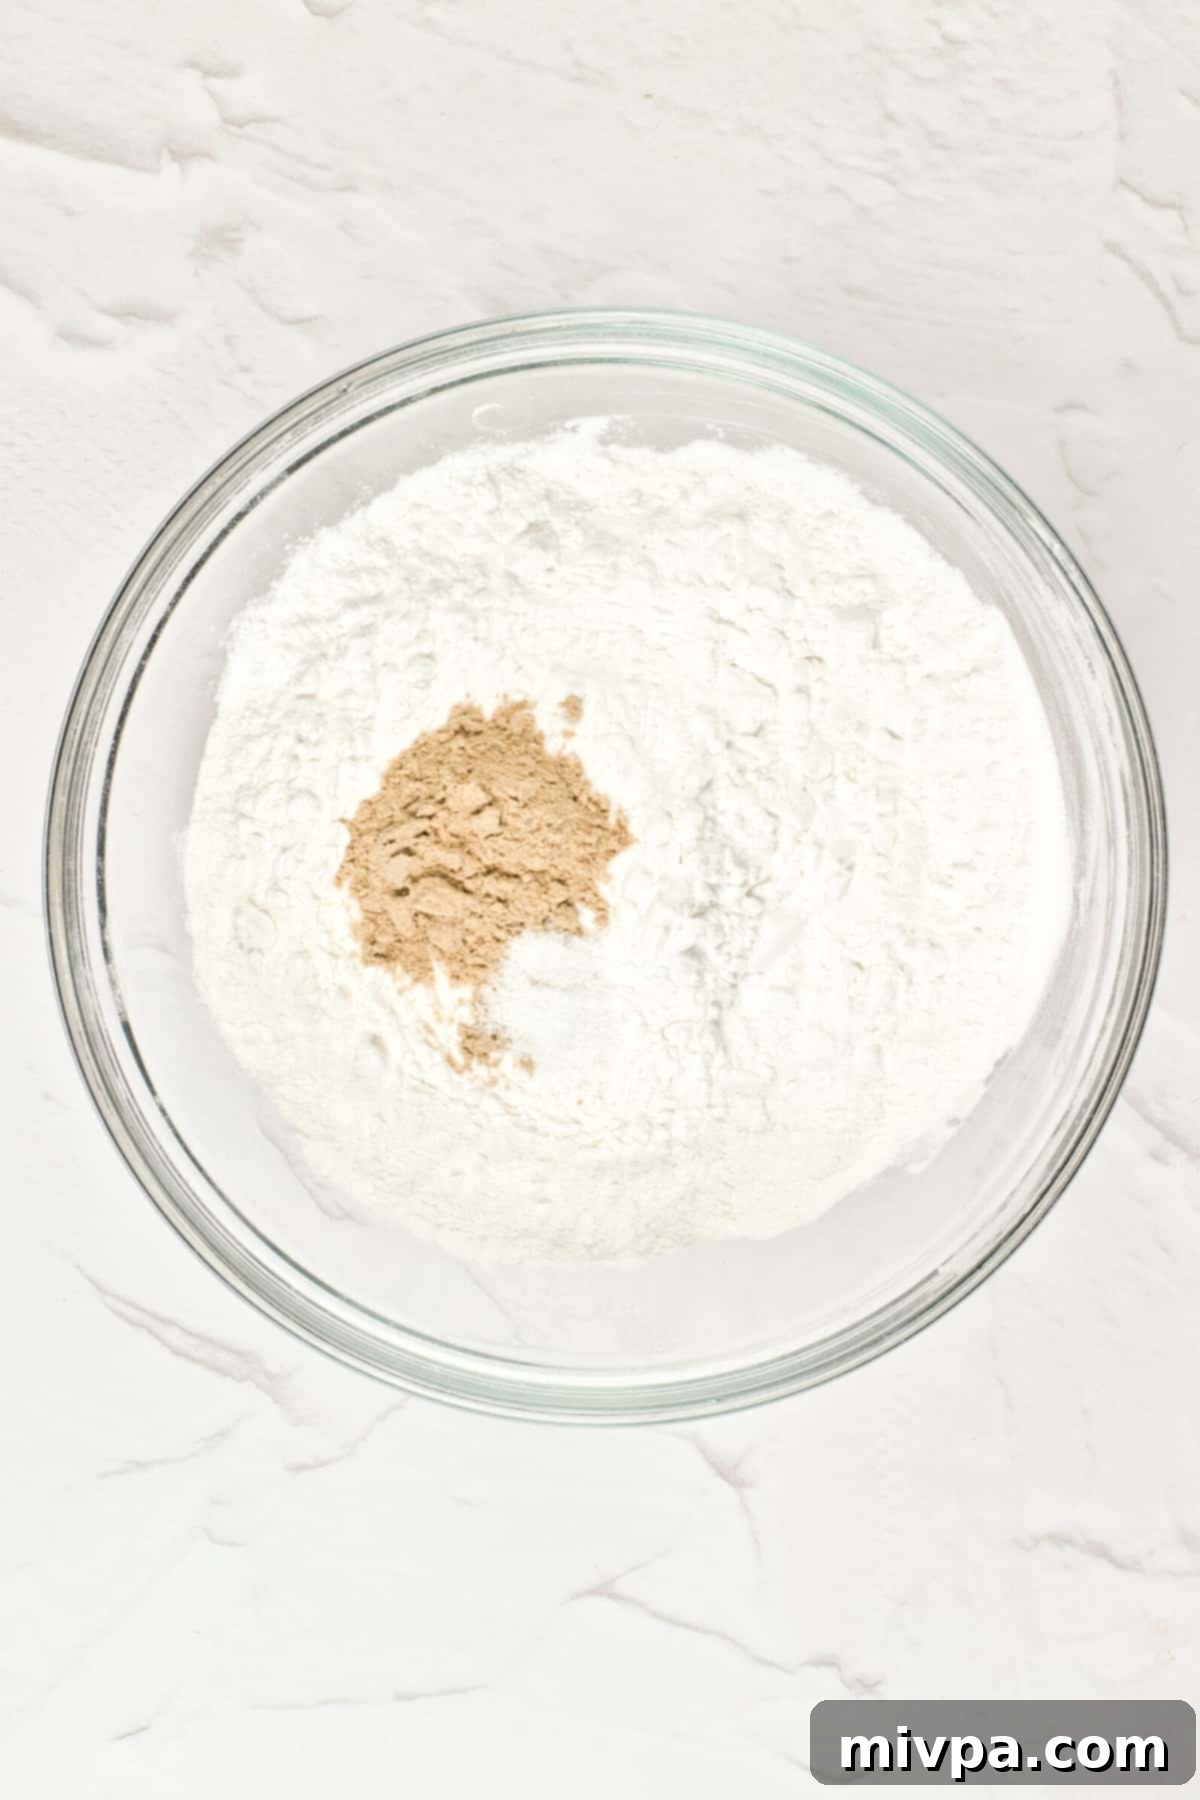
While your yeast is activating, prepare your dry ingredients. In a large mixing bowl, combine the gluten-free all-purpose flour, tapioca flour, psyllium husk powder, and salt. Use a whisk to thoroughly blend these ingredients together. This ensures even distribution, which is crucial for the uniform texture of your pita bread.
3. Combine Wet and Dry Ingredients
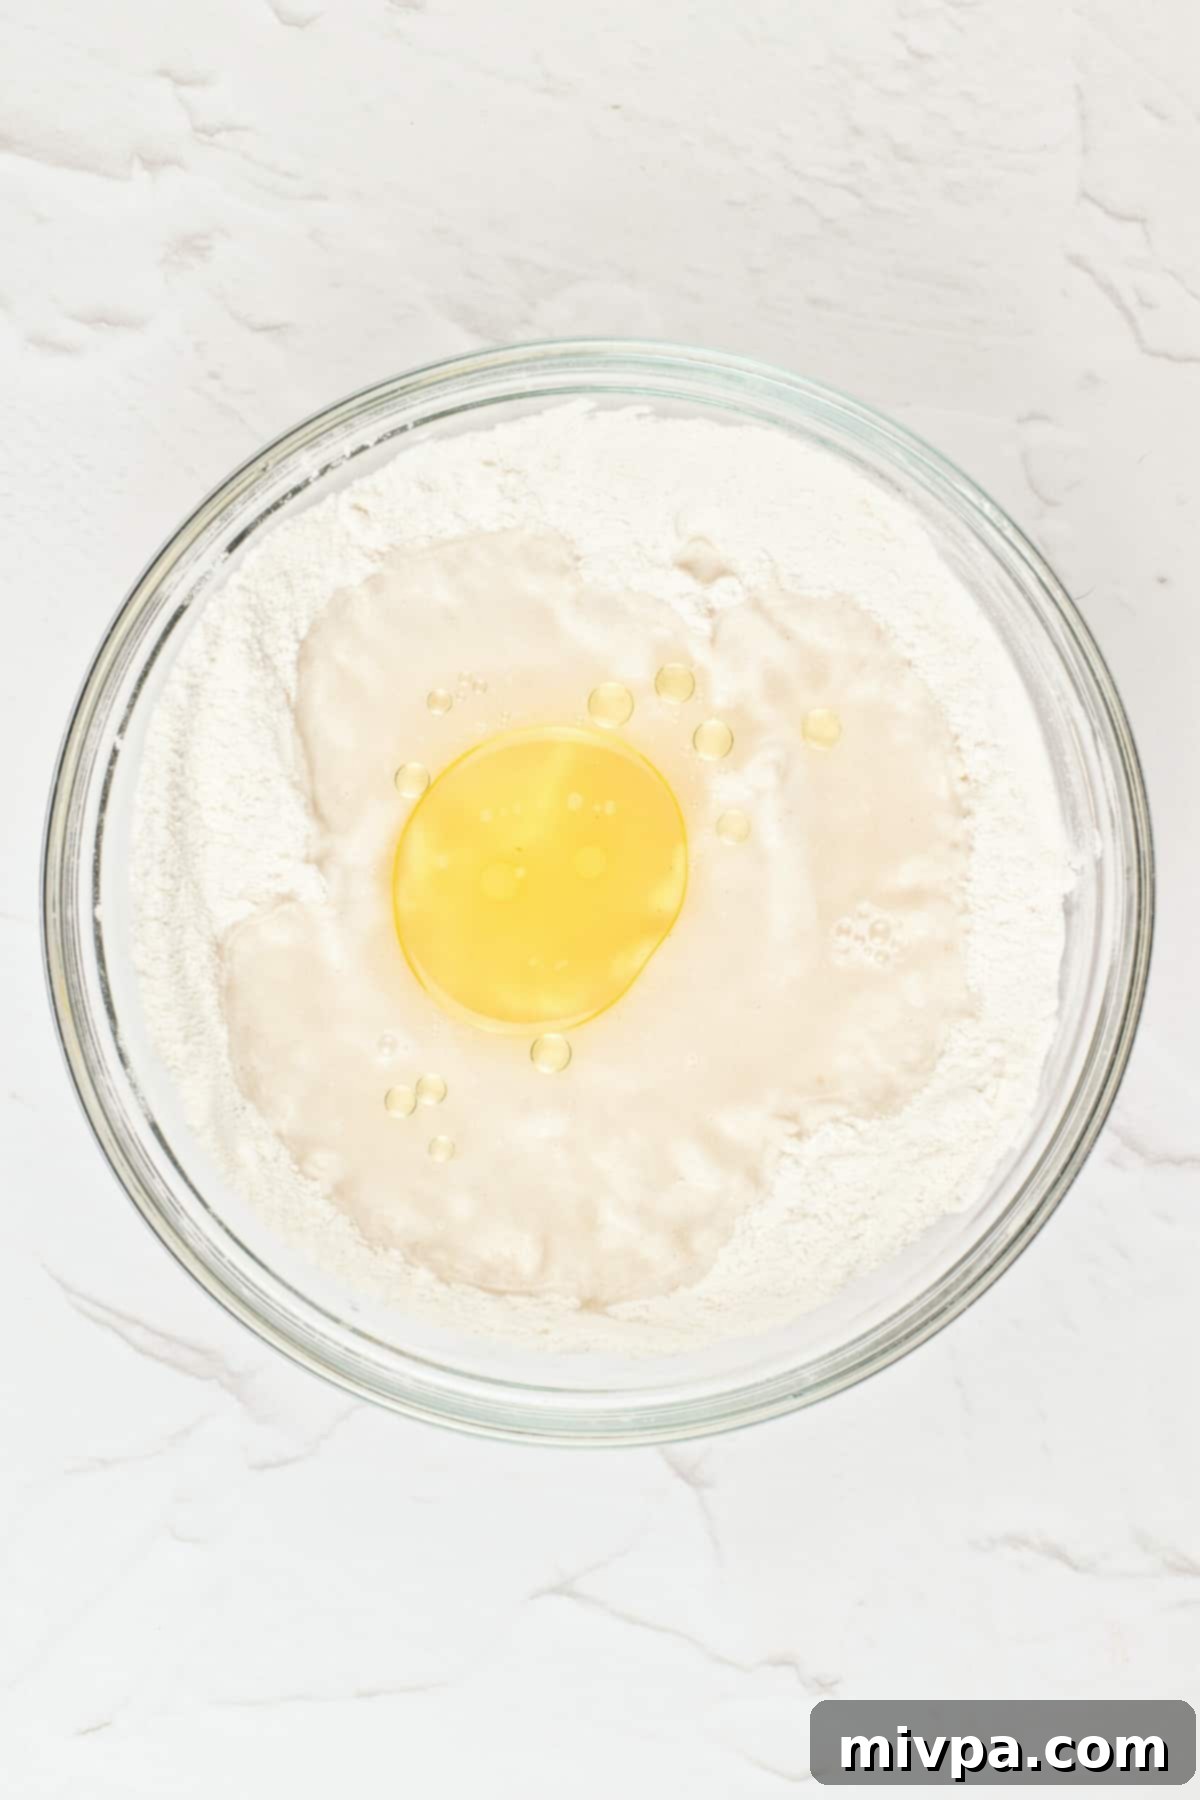
Once your yeast mixture is nice and foamy, indicating it’s active, it’s time to bring everything together. Pour the activated yeast mixture and the olive oil into the bowl with your whisked dry ingredients. Stir vigorously, either with a sturdy spoon or a spatula, until all the ingredients are evenly combined and a shaggy dough begins to form.
4. Knead the Dough for Smoothness
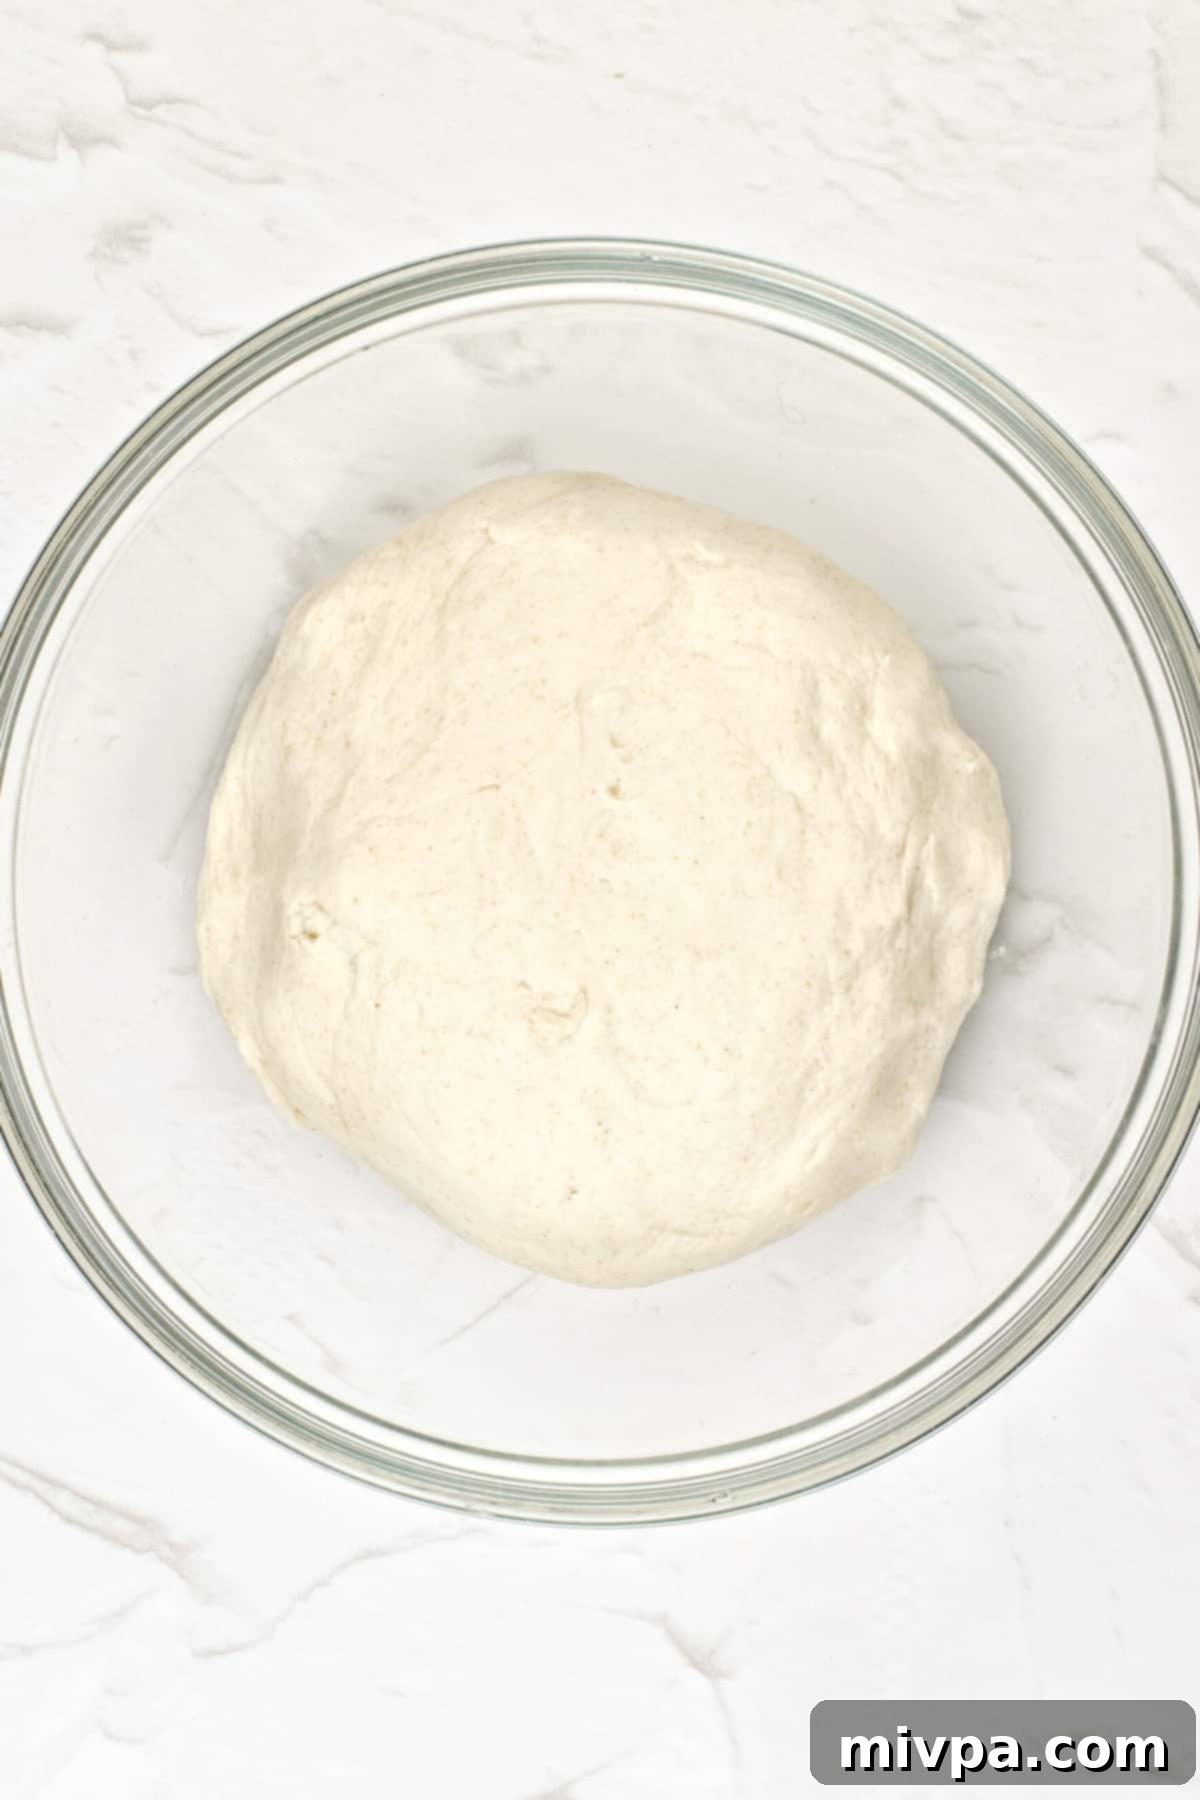
Turn the dough out onto a lightly floured surface (using gluten-free flour, of course). Knead the dough with your hands for a few minutes. You’ll notice it transform from shaggy to a smooth, elastic ball. This kneading helps to develop the psyllium husk, which gives the pita its characteristic flexibility. Once it reaches this consistency, return the dough to the mixing bowl.
5. Allow the Dough to Rise
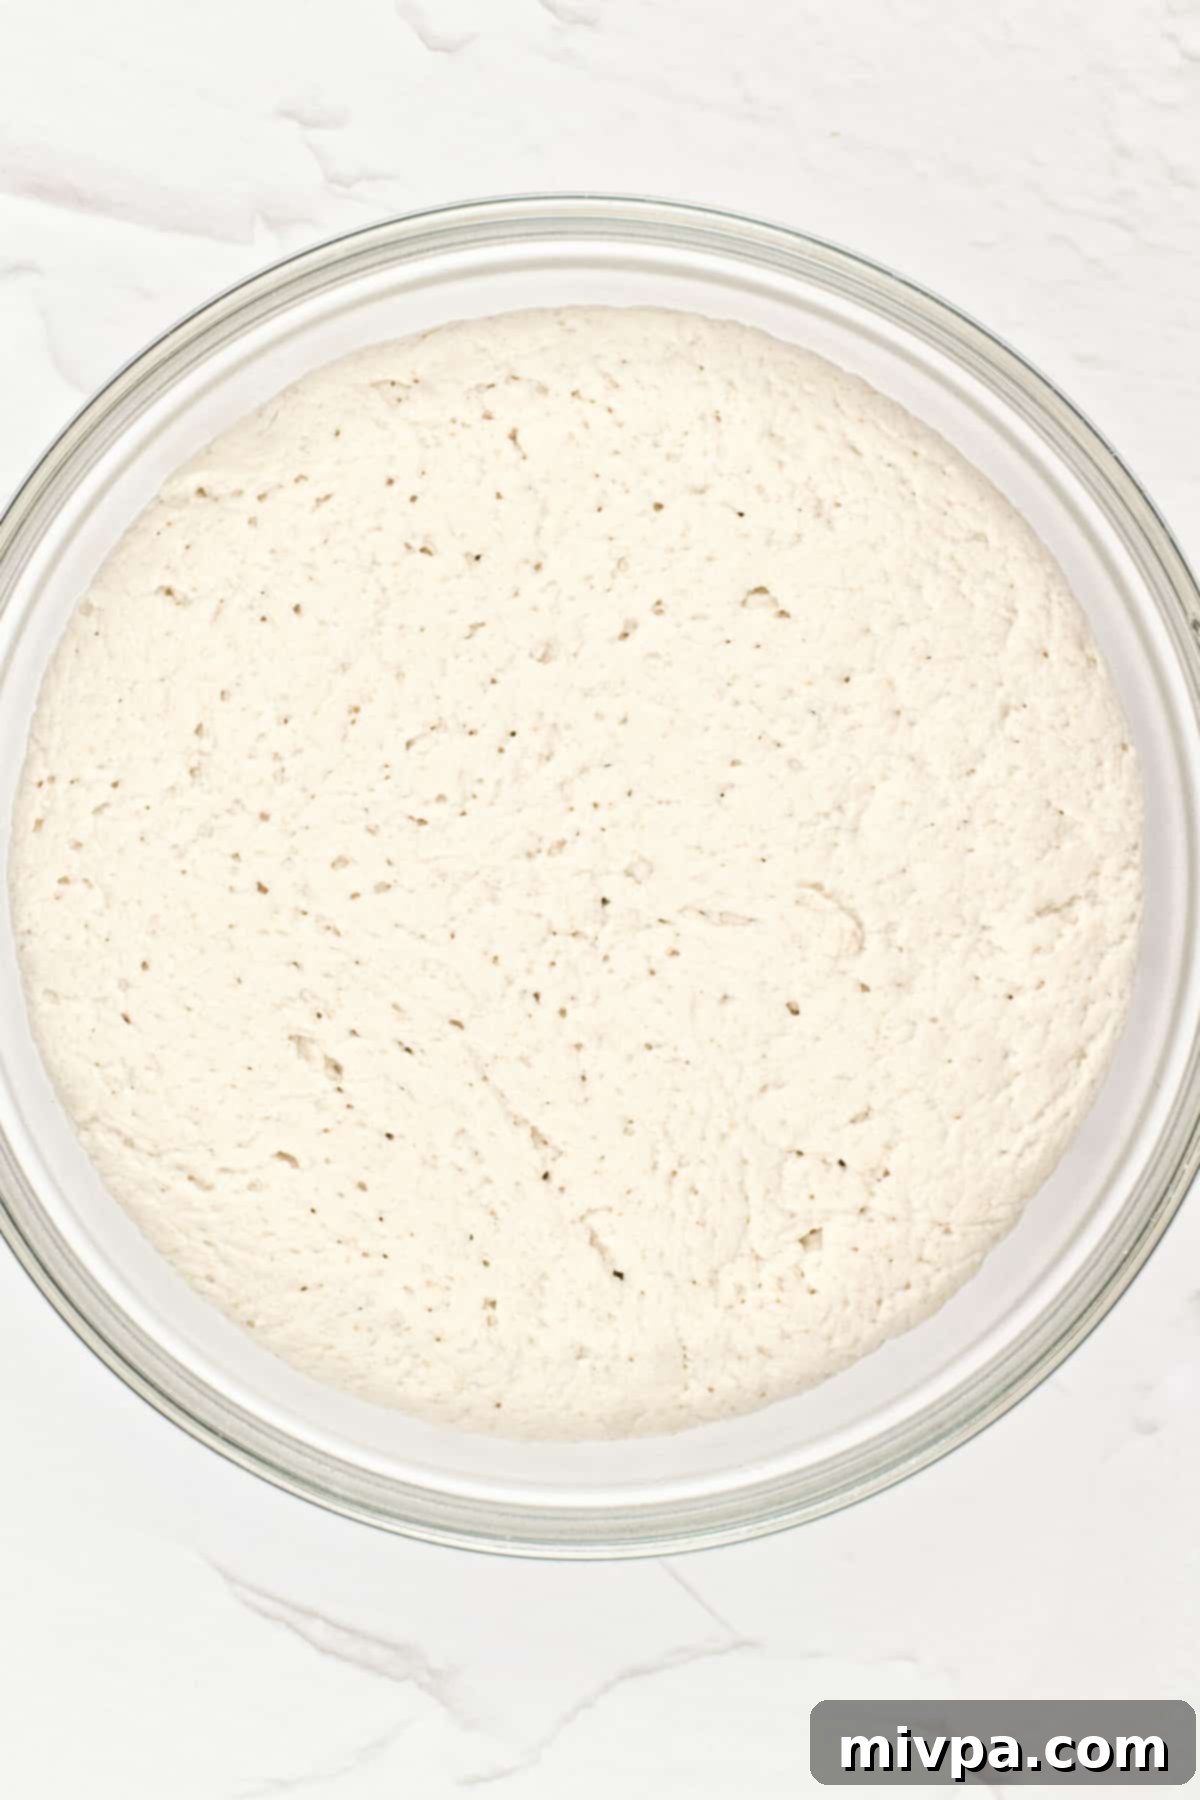
Cover the mixing bowl tightly with cling film to prevent the dough from drying out. Transfer the bowl to a warm, draft-free area in your kitchen. Let the dough rise for approximately 60 minutes, or until you observe that the dough ball has visibly expanded and risen, usually doubling in size. This rising process is essential for light and airy pitas.
6. Divide and Shape the Dough Portions
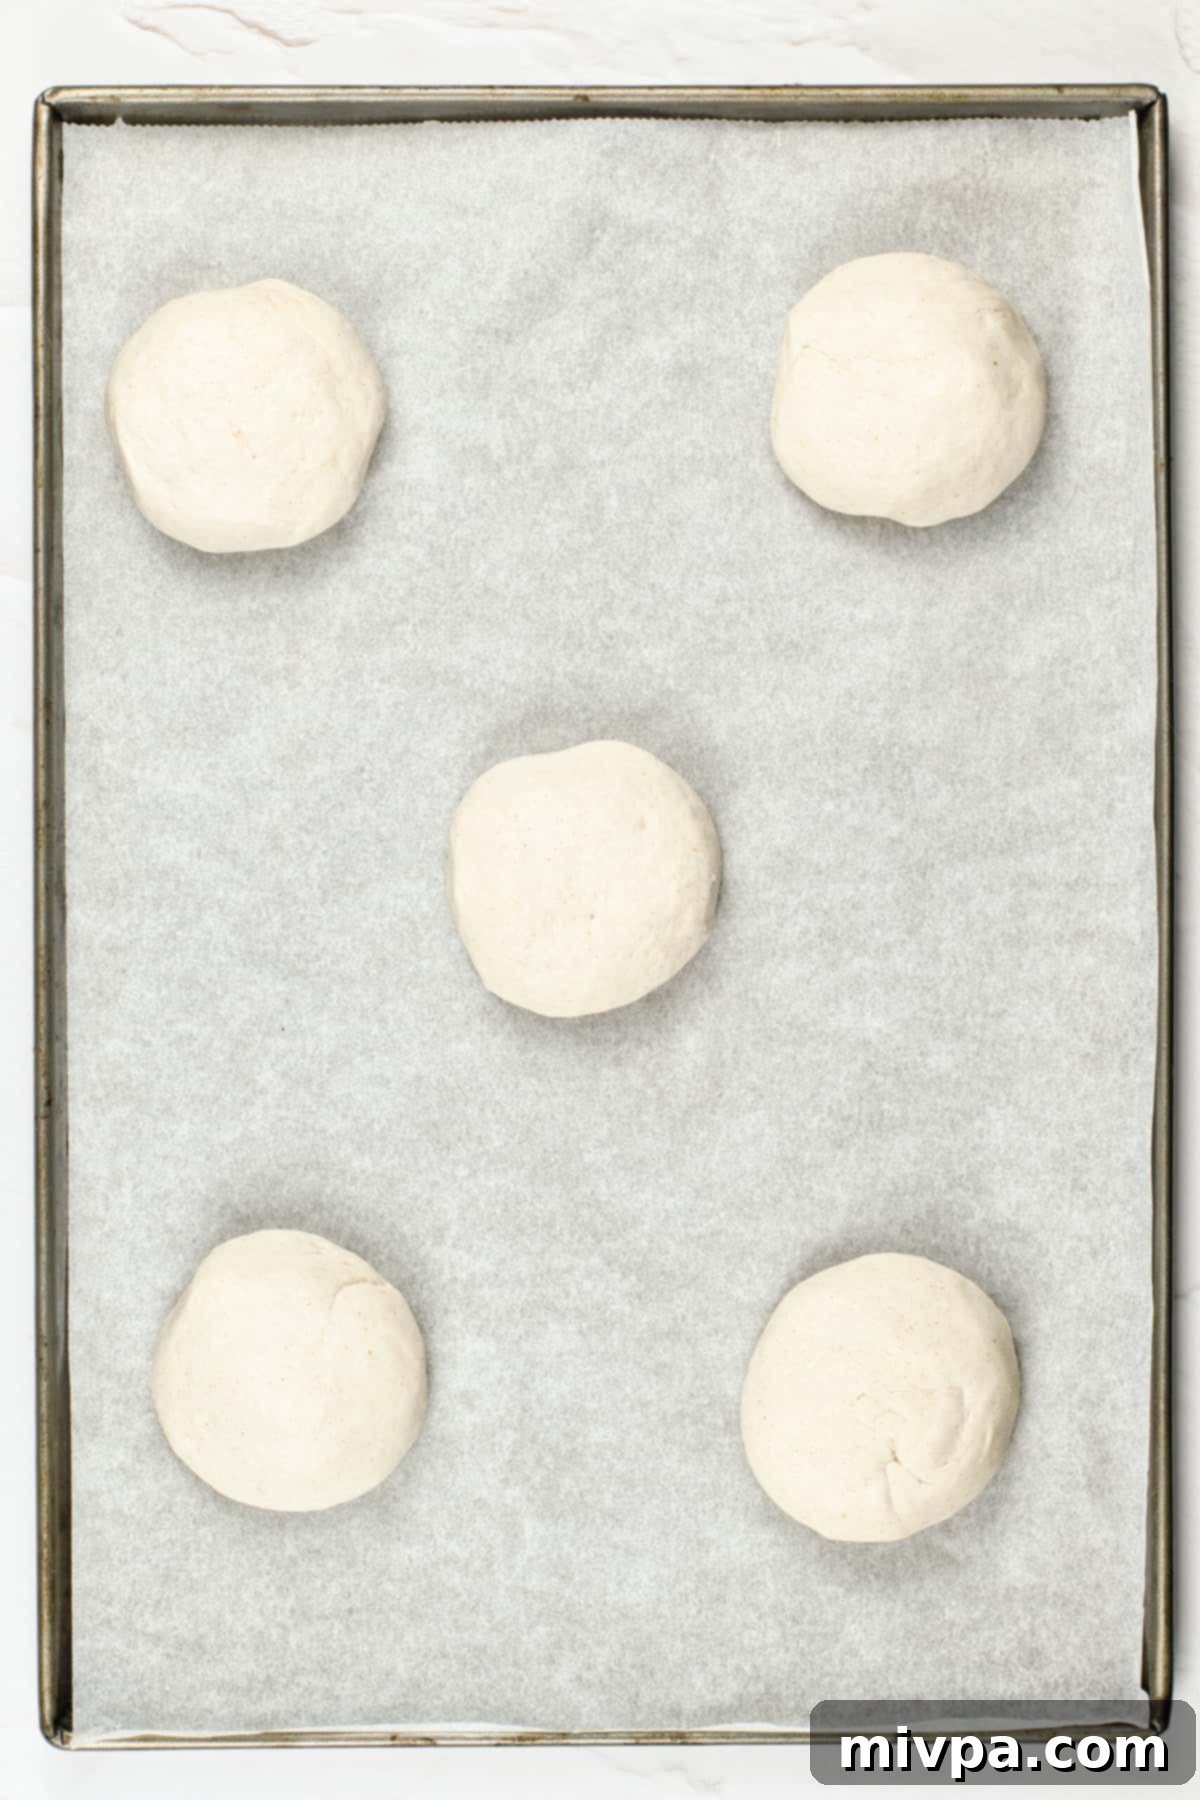
Once your gluten-free pita dough has risen beautifully, gently punch it down to release the air. Divide the dough into 5 equal pieces, each weighing approximately 90 grams. Roll each piece into a smooth ball. Place these dough balls onto a baking sheet that has been lined with a piece of parchment paper to prevent sticking.
7. Roll Out Each Pita Circle
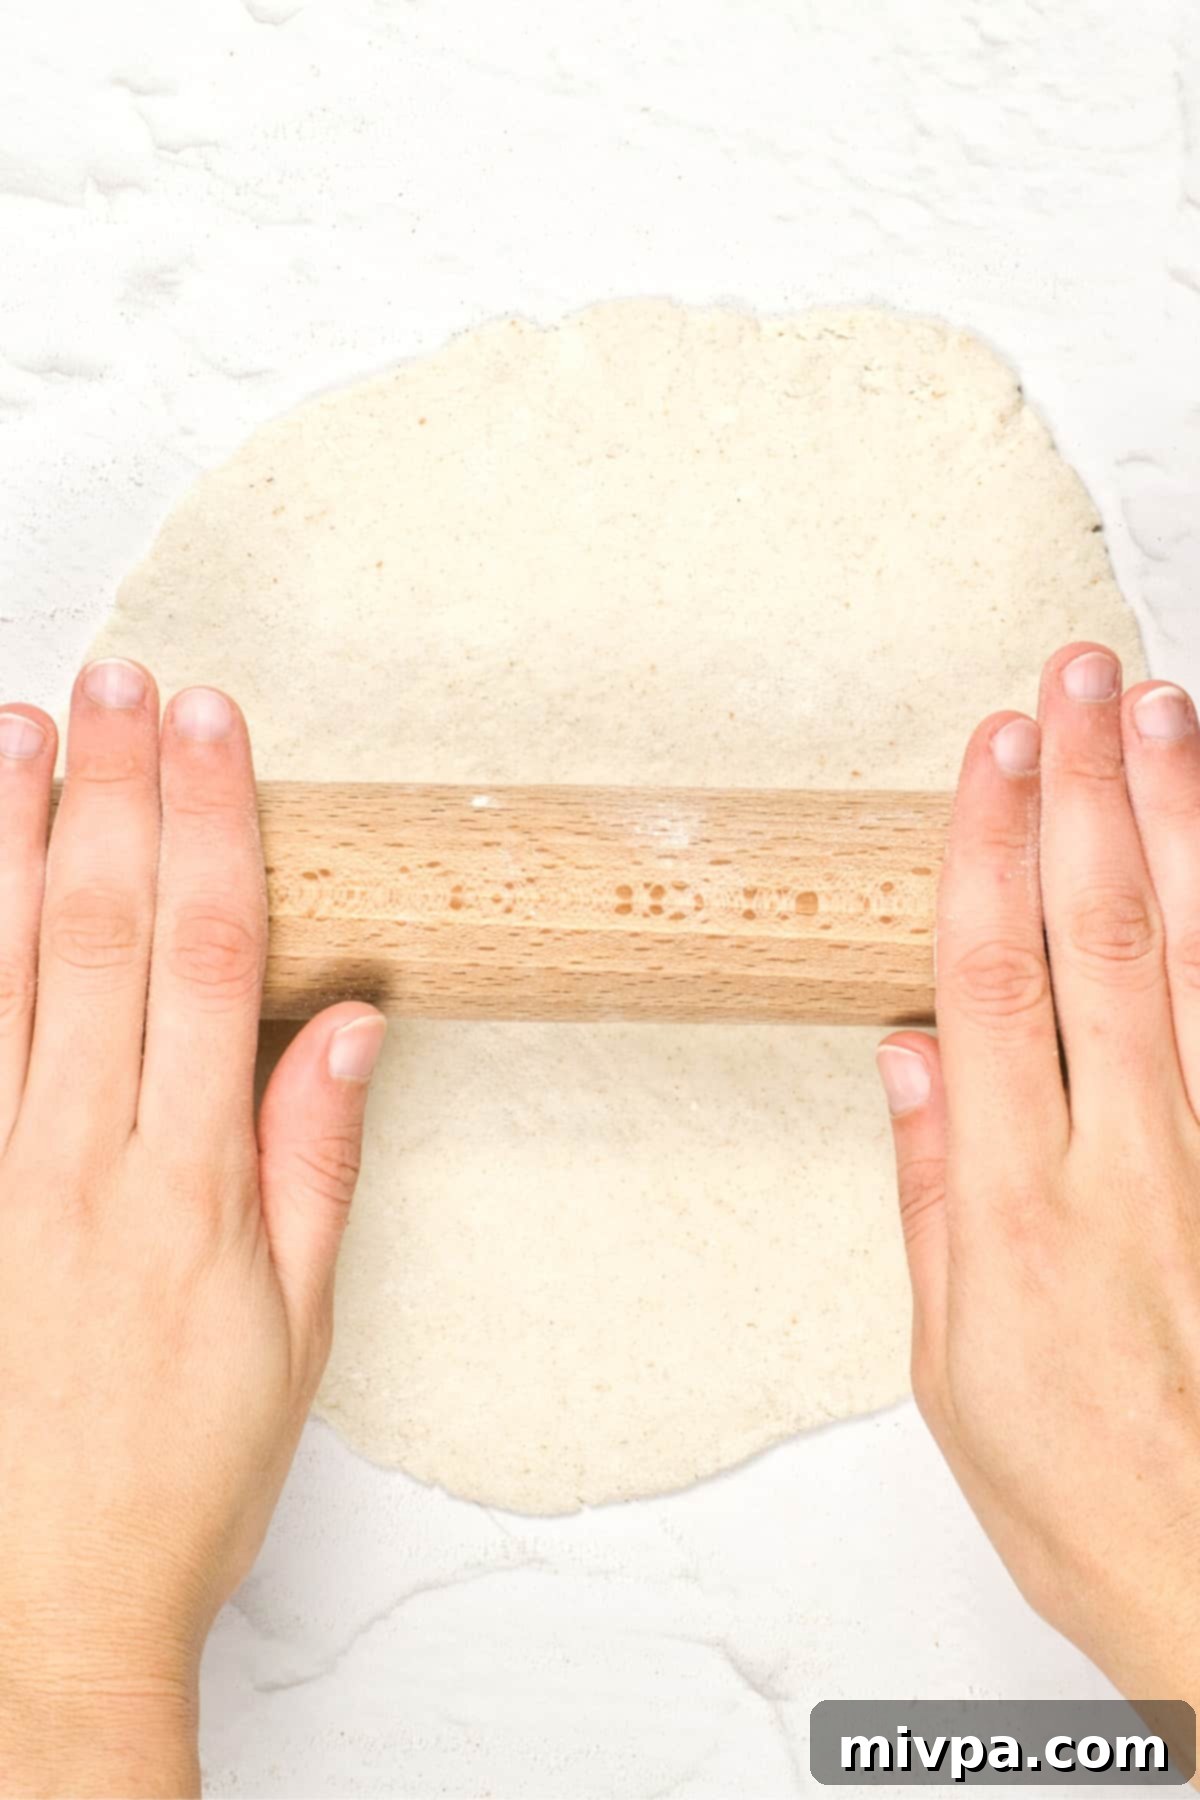
Lightly dust your rolling pin with a little extra gluten-free flour to prevent sticking. Take one dough ball at a time and gently flatten it into a circular shape. Aim for a thickness of approximately 1/4-inch (about 0.6 cm). Try to keep the edges even to ensure a uniform rise and pocket formation during cooking. Repeat for all dough balls.
8. Heat Skillet and Begin Cooking
Place a nonstick skillet or a cast iron skillet over medium-high heat. Allow it to heat up for a few minutes until it’s very hot – this high heat is crucial for the pita to puff up correctly. Carefully place one of the rolled-out circles of dough into the hot pan. Cook for about a minute, or until you start to see bubbles forming on the surface of the dough.
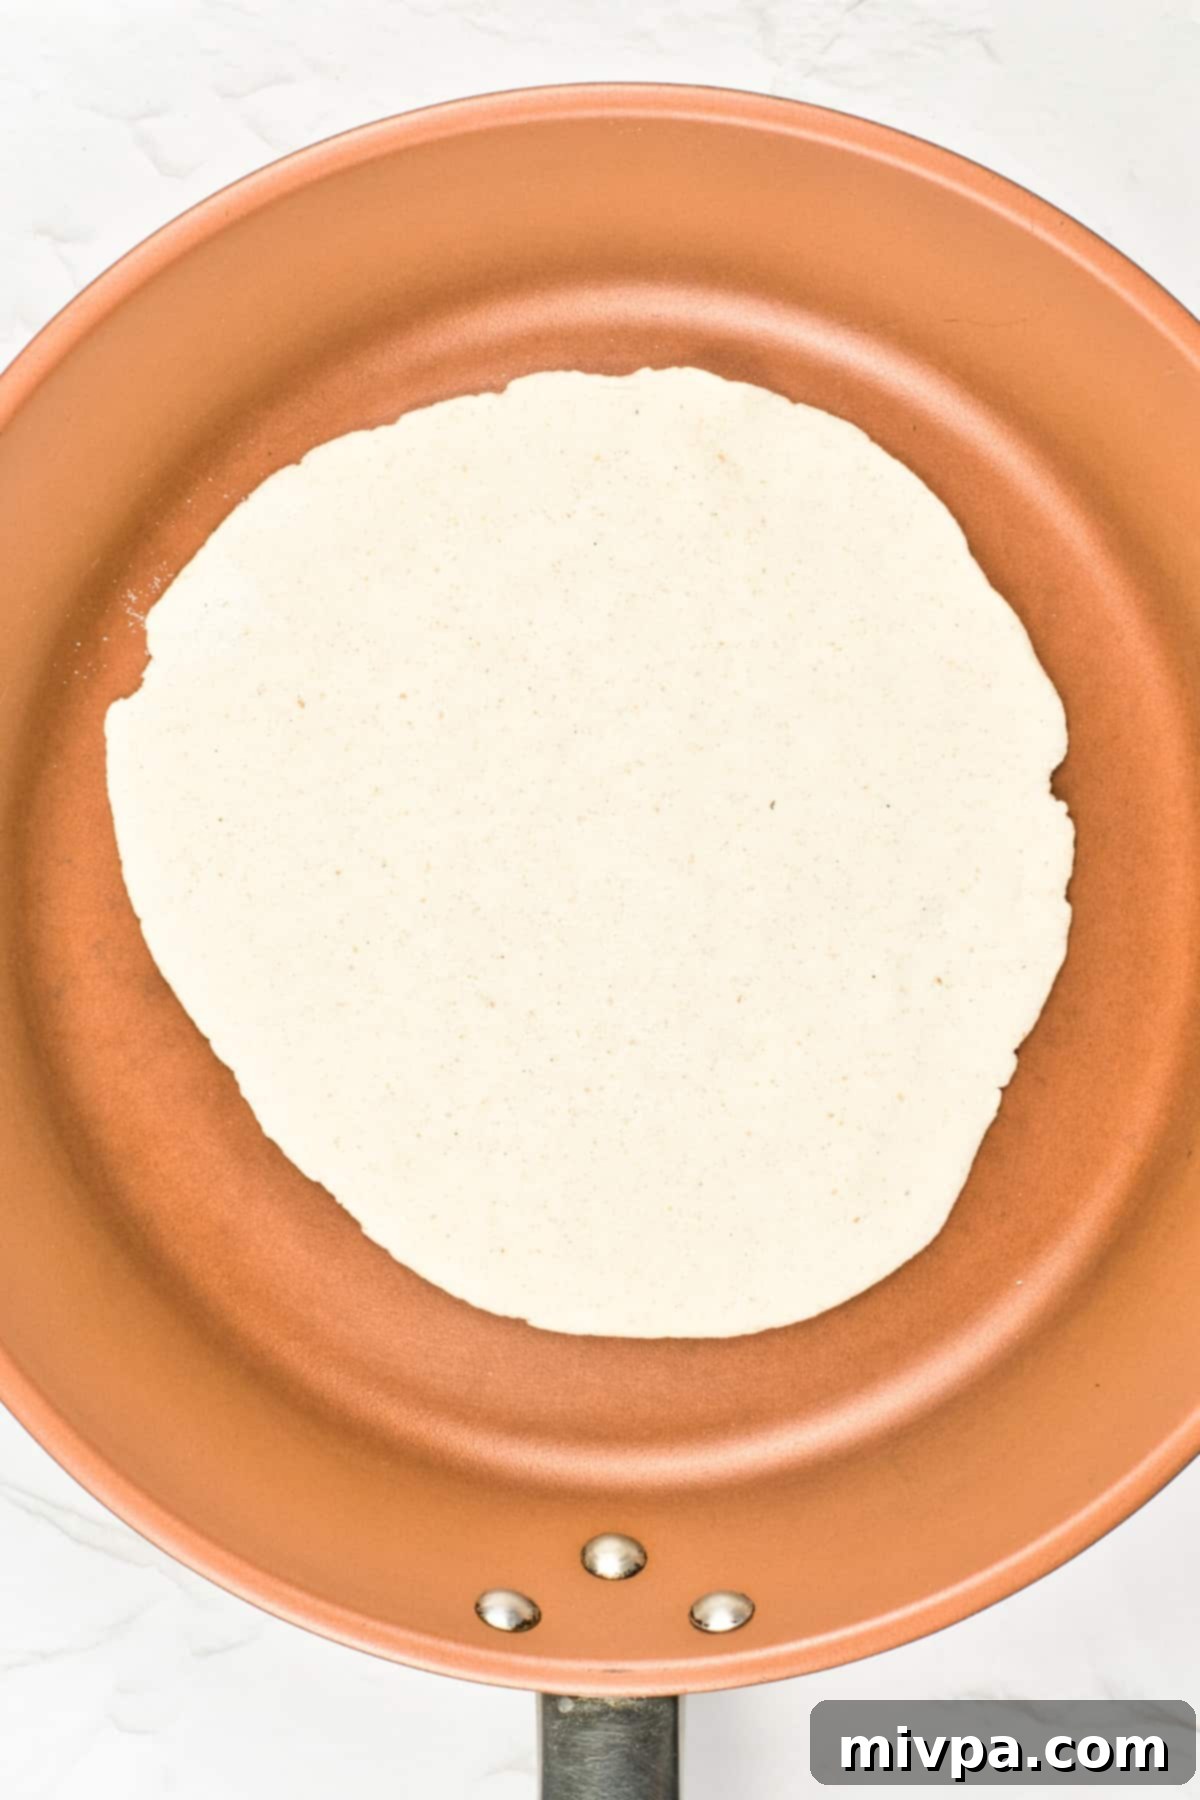
9. Flip and Achieve the Perfect Puff
Once bubbles appear, flip the pita over to the other side. Continue cooking for another minute or two. Keep a close eye on it – you’ll notice it begin to puff up, creating that desired internal pocket. Cook until it’s beautifully golden brown on both sides. This puffing is the magic moment!
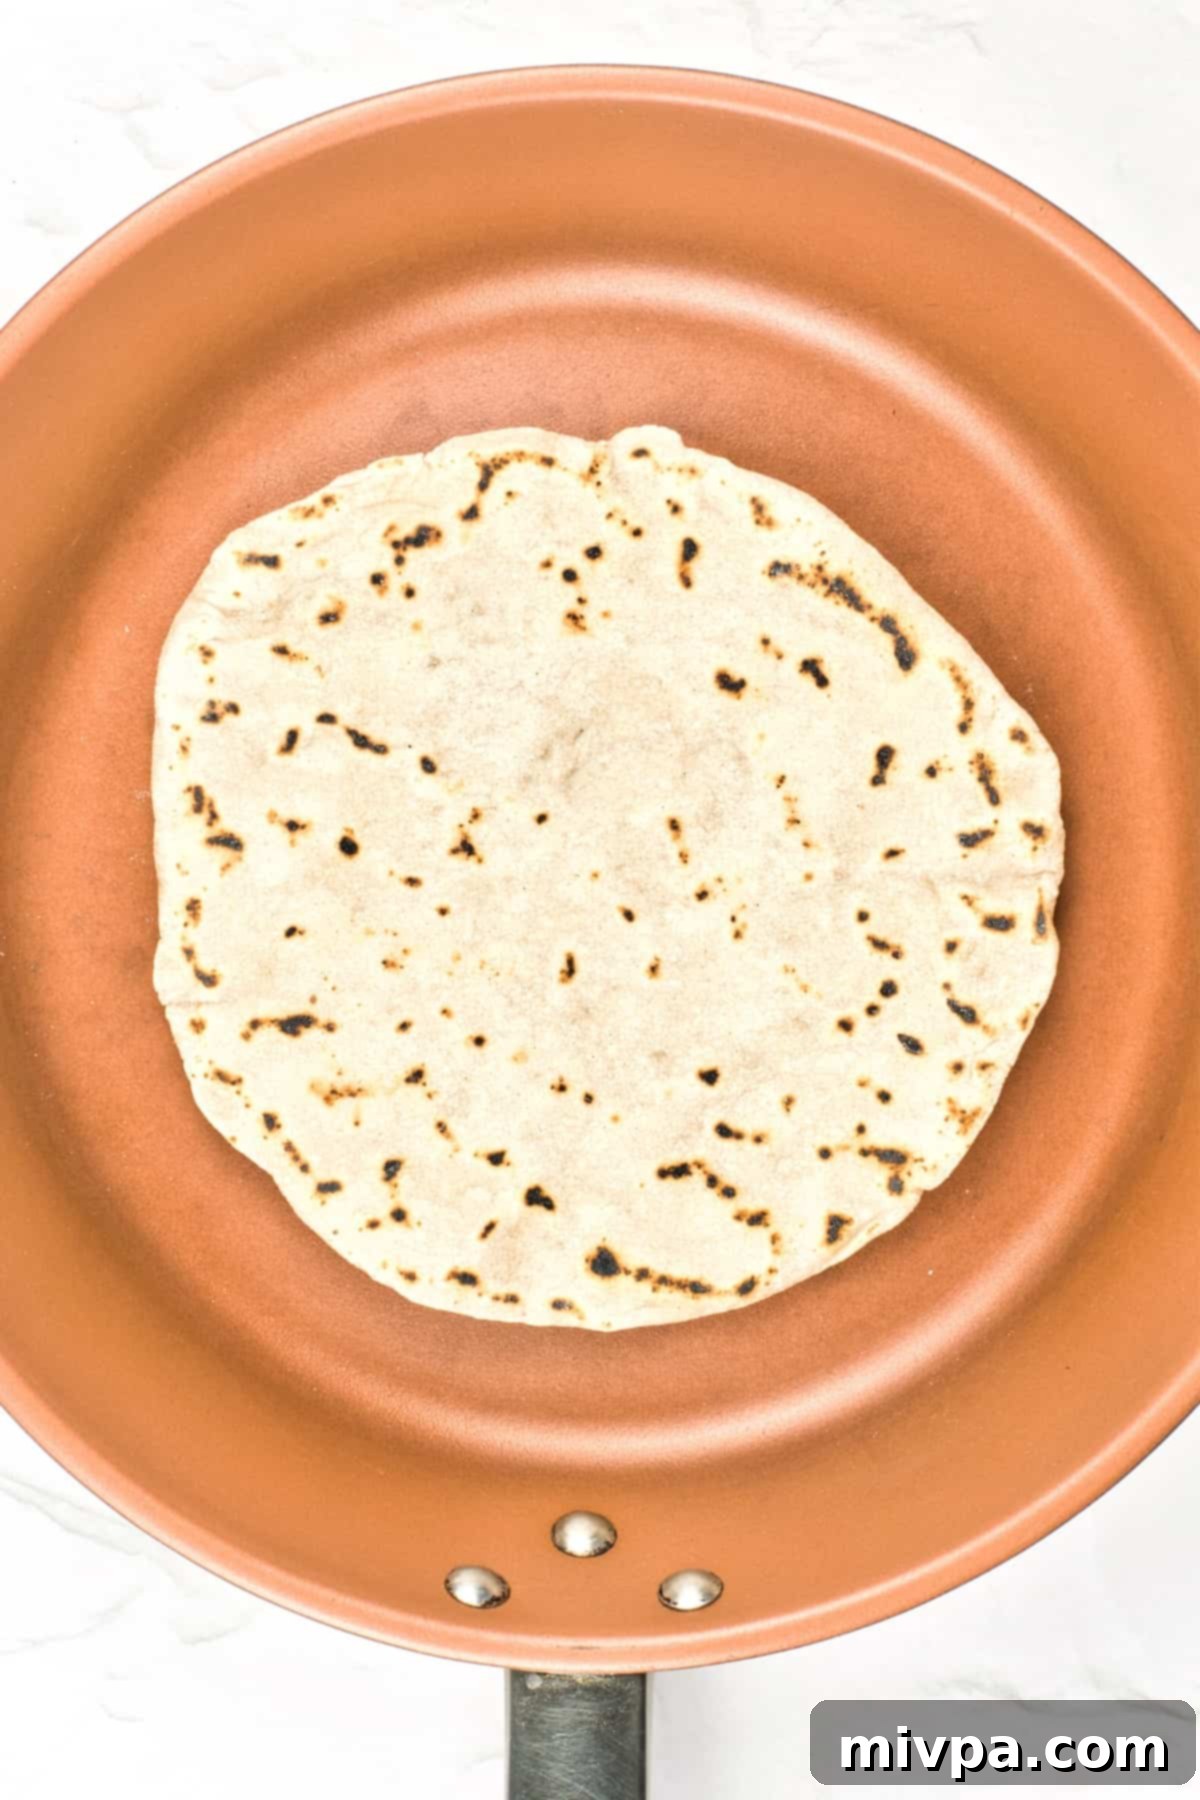
10. Keep Warm and Repeat
As each pita finishes cooking, immediately transfer it to a plate and cover it with a clean kitchen towel. This helps to keep the pitas warm and soft while you continue cooking the remaining dough circles. Repeat the cooking process for all the rolled-out dough until you have a stack of freshly made gluten-free pita bread.
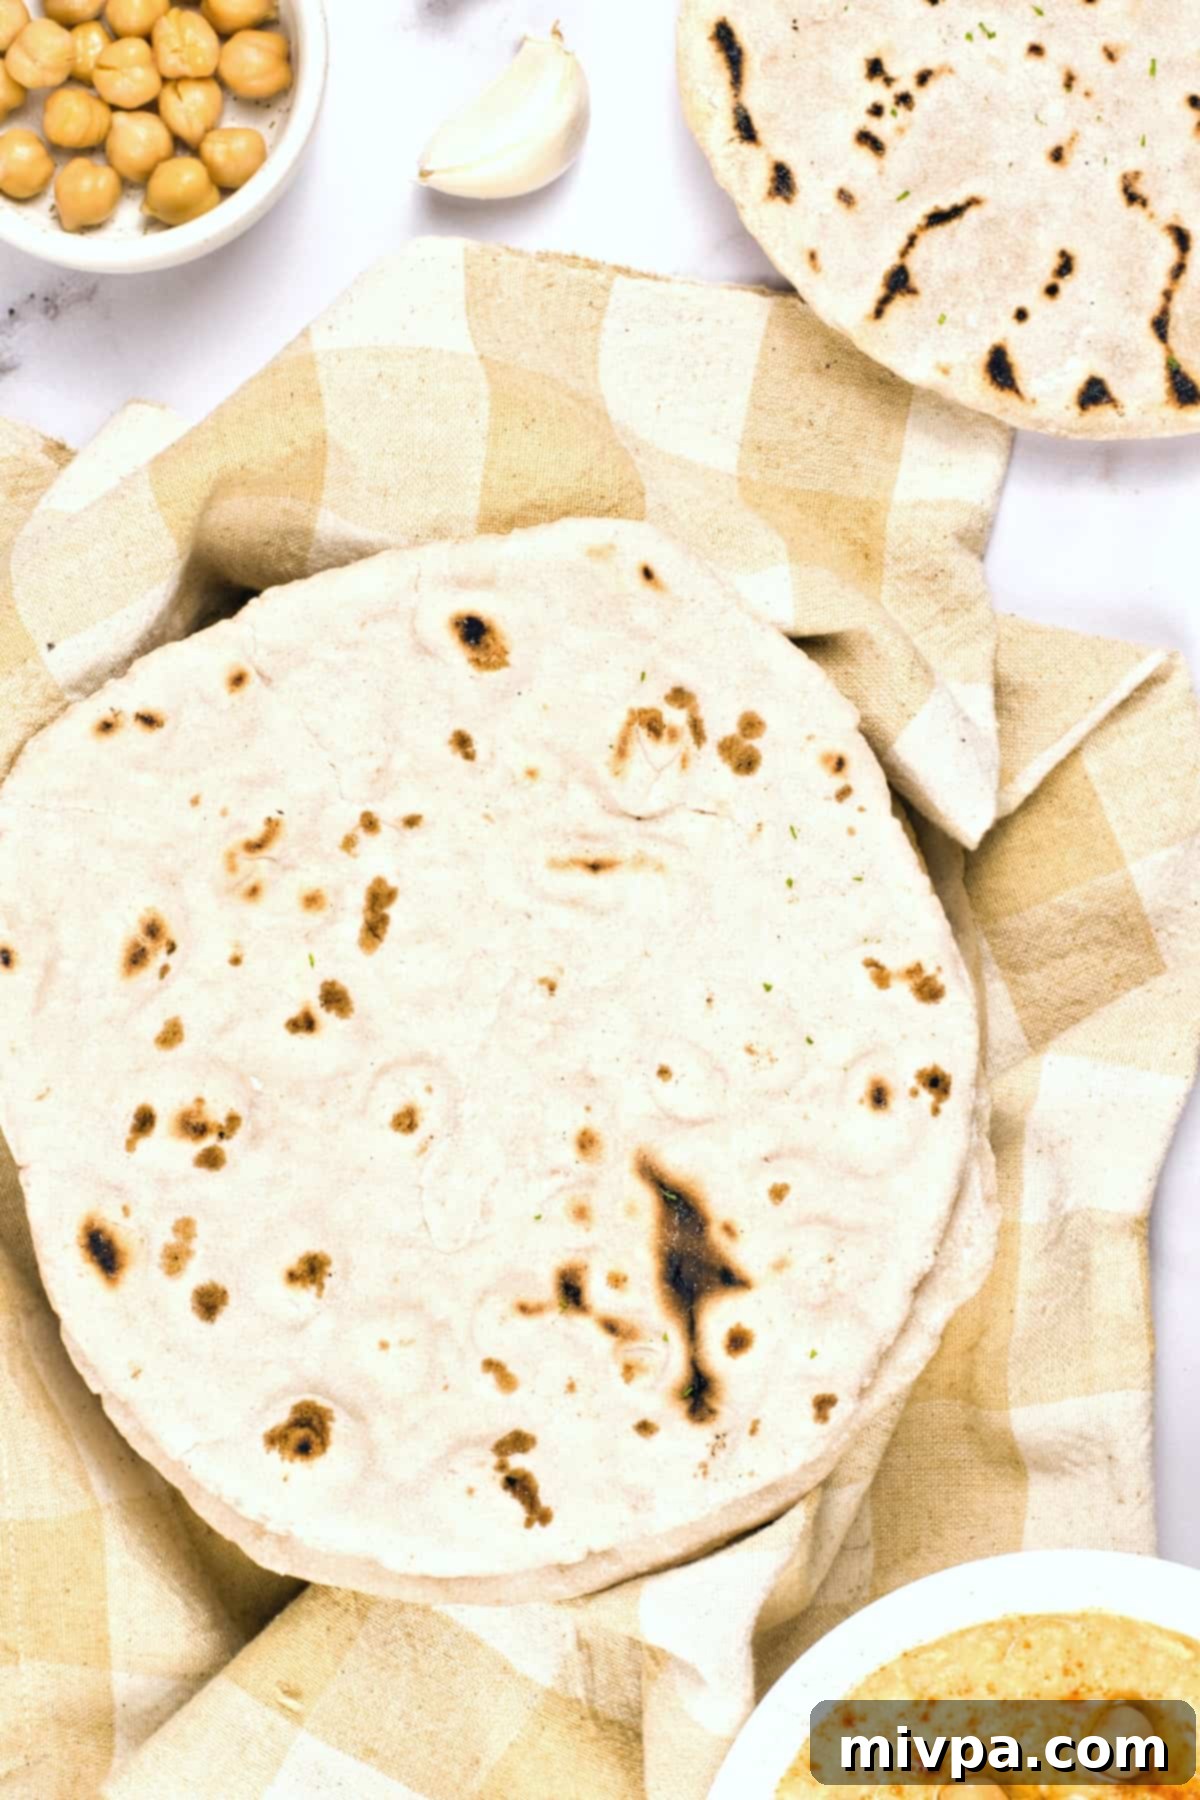
Common Questions About Gluten-Free Pita Bread:
To maintain the freshness and soft texture of your homemade gluten-free pitas, allow them to cool completely at room temperature after cooking. Once cooled, place the pitas in a plastic bag or an airtight container. Stored this way, the pita bread will remain fresh and delicious at room temperature for up to 2 days. For longer storage, consider freezing them.
Absolutely! Freezing is an excellent way to extend the shelf life of this gluten-free dairy-free pita bread. Once the pitas have completely cooled, wrap each one tightly in plastic wrap, then place them in a freezer bag or an airtight container. They will keep well in the freezer for up to 3 months. When you’re ready to enjoy them, simply let the frozen pita bread thaw at room temperature for a few hours, or gently warm it in the microwave for a few seconds to restore its softness. A crucial tip: avoid storing this gluten-free vegan pita bread in the refrigerator, as the cool temperatures can quickly dry it out and cause it to become stale and stiff.
There are a few common reasons. The most frequent is that your skillet wasn’t hot enough. High heat creates steam inside the dough, causing it to inflate. Another reason could be that your yeast wasn’t active (ensure it froths after 5 minutes with sugar and warm water). Lastly, ensure your dough is rolled to an even 1/4-inch thickness; uneven thickness can hinder the puff.
Yes, you can! You can prepare the dough and let it rise. After it has risen, you can refrigerate the dough for up to 24 hours. When you’re ready to cook, let it come to room temperature for about 30 minutes before dividing and rolling. Alternatively, you can cook all the pitas and then store or freeze them as described above, reheating when needed.
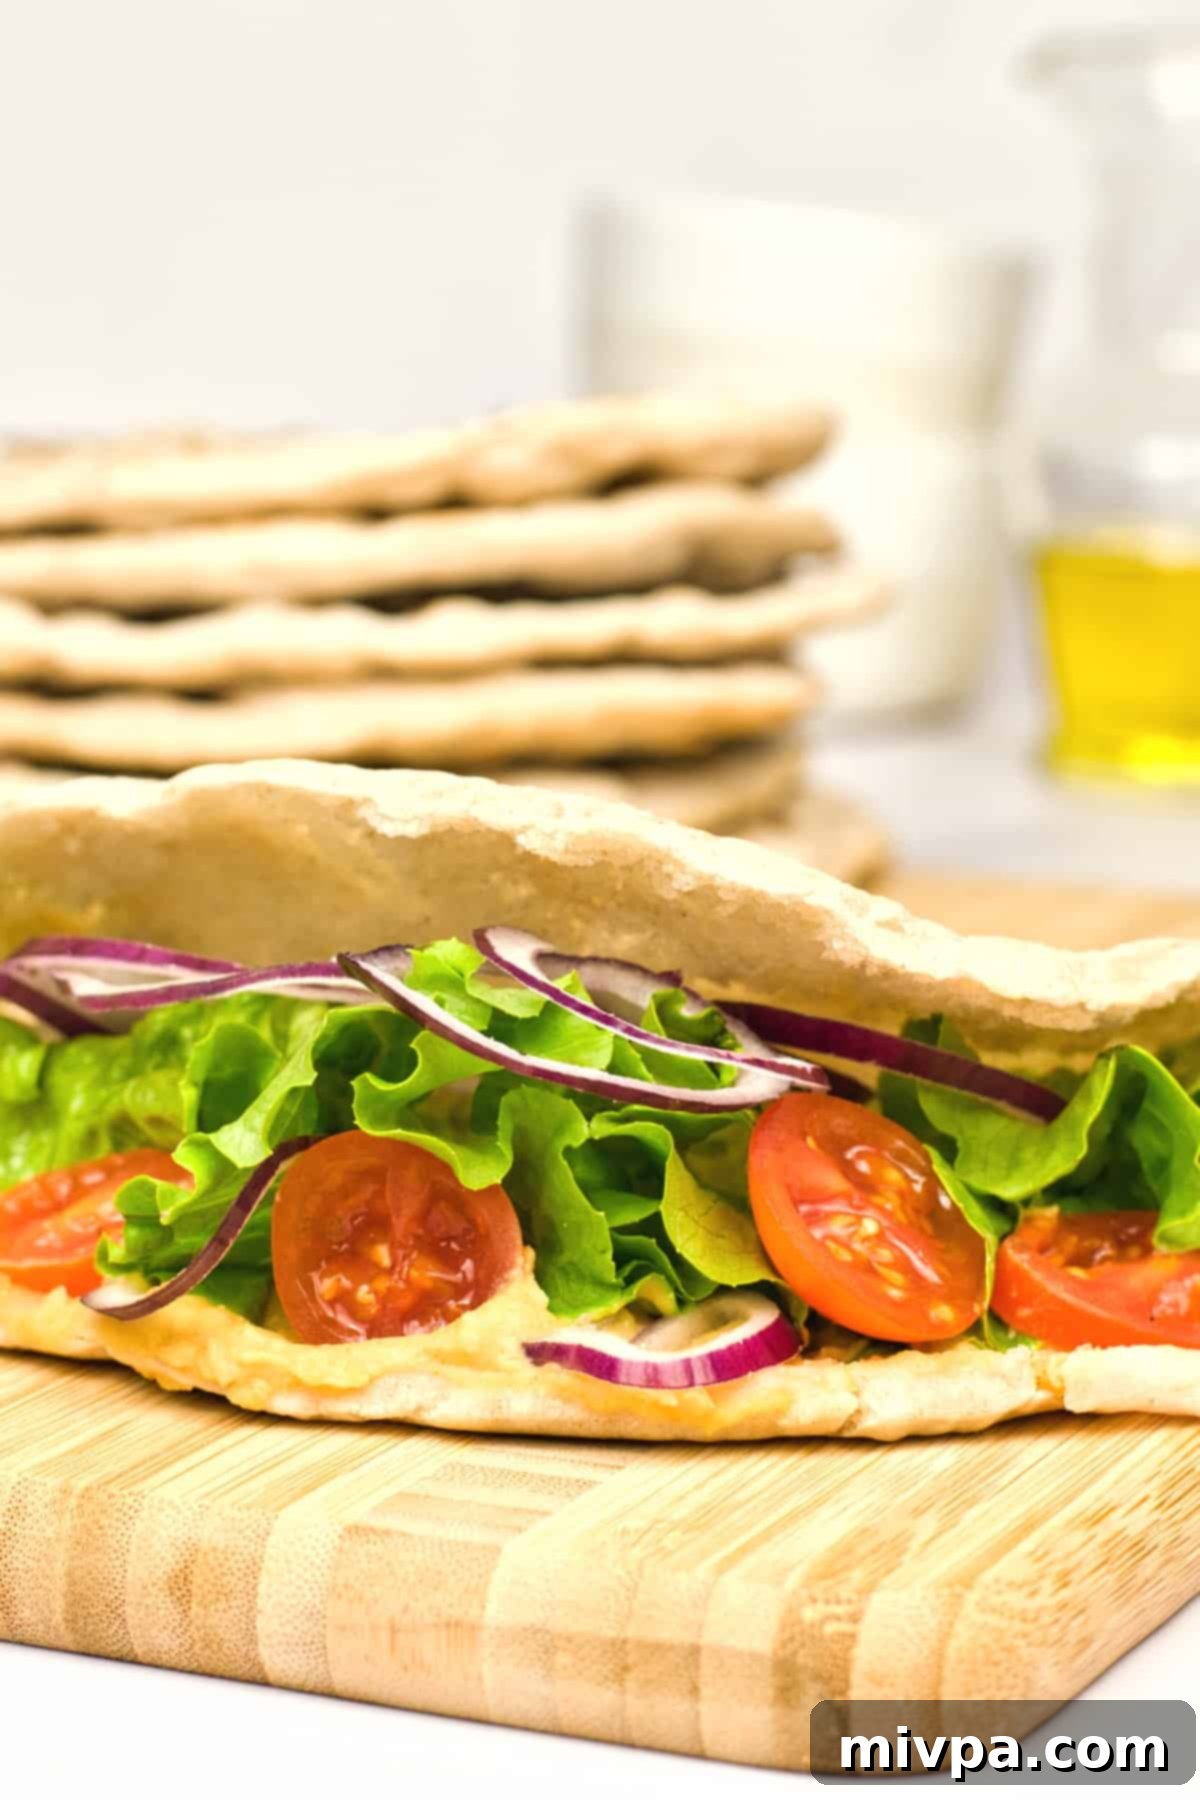
Delicious Pairings: What to Serve with Your Gluten-Free Pita Bread:
These homemade gluten-free pitas are incredibly versatile and pair wonderfully with a wide array of dishes. Here are some of our favorite accompaniments, perfect for a light snack, appetizer, or a full meal:
- Creamy Hummus (Gluten-Free, Vegan): The classic pairing! Our homemade hummus is smooth, rich, and complements the pita perfectly.
- Baba Ganoush (Gluten-Free, Vegan): A smoky and flavorful eggplant dip that is a fantastic alternative to hummus.
- Easy Spinach Dip (Gluten-Free, Vegan): A fresh and creamy dip that’s always a crowd-pleaser.
- Buffalo Chicken Dip (Gluten-Free, Dairy-Free): For those who enjoy a bit of spice, this dip is incredibly flavorful and satisfying.
- Sausage Rotel Dip (Gluten-Free, Dairy-Free): A hearty and cheesy dip (dairy-free version!) that’s perfect for gatherings.
- Easy Guajillo Sauce (Gluten-Free, Vegan)
- 5-Minute Gluten-Free Chicken Marinade (3 Ways!)
- Easy Cottage Cheese Ranch Dip (Gluten-Free)
- Easy Duck Liver Pâté (Gluten-Free, Dairy-Free Option)
Explore More Gluten-Free Bread Delights:
If you’ve enjoyed making this pita bread, you’ll love exploring other gluten-free bread recipes from our collection. Baking gluten-free doesn’t mean sacrificing flavor or texture!
- Easy Naan Bread (Gluten-Free, Dairy-Free, No Yeast!)
- Rosemary Focaccia Bread (Gluten-Free, Dairy-Free, Vegan)
- No-Knead Artisan Bread (Gluten-Free, Dairy-Free)
- Soft, Fluffy Potato Bread (Gluten-Free, Dairy-Free)
- Fluffy Brown Rice Bread (Gluten-Free, Dairy-Free)
- Classic Gluten-Free White Bread (Dairy-Free)
- Easy Homemade Corn Tortillas (Gluten-Free, Vegan)
- Gluten-Free Chocolate Chip Pumpkin Bread (Dairy-Free)
- Easy Gluten-Free Drop Biscuits (Dairy-Free)
- Gluten-Free Vegan Bagels (Chewy and Tender!)
- Egg-Free Gluten-Free Bread (So Tender!)
P.S. We truly hope you enjoy this fantastic gluten-free pita bread recipe! If you try it, we’d absolutely love for you to leave a star rating below and/or a review in the comment section further down the page. Your feedback is incredibly valuable and helps other home bakers. Be sure to explore our entire Recipe Index for more delightful gluten-free creations on the blog. You can also connect with us and share your culinary adventures on Pinterest, Facebook, or Instagram! Don’t forget to sign up for our Email List to receive fresh, new recipes directly in your inbox each week!
Print
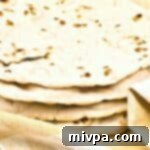
Gluten-Free Pita Bread (Dairy-Free, Vegan)
5 Stars 4 Stars 3 Stars 2 Stars 1 Star
5 from 3 reviews
Author: Felicia Lim
Total Time: 1 hour 32 minutes
Yield: 5 pitas
Diet: Gluten Free
Description
This gluten-free pita bread recipe is a delicious and satisfying gluten-free alternative to traditional pita bread. Chewy and flexible, these homemade gluten-free pitas are perfect for eating with hummus, baba ganoush or other favorite dips, making sandwiches or wraps, or enjoying on its own! This recipe is also completely dairy-free and vegan, making it suitable for a variety of dietary needs.
Ingredients
Units
Scale
- 1 cup gluten-free all-purpose flour blend
- 2/3 cup tapioca starch
- 2 teaspoons psyllium husk powder
- 1/2 teaspoon salt
- 2 teaspoons olive oil
- 1 teaspoon active dry yeast (or 10g fresh yeast)
- 1 1/2 teaspoons cane sugar
- 3/4 cup + 2 tablespoons warm water (between 105-115F)
Instructions
- Activate Yeast: Combine the yeast, sugar, and warm water in a small bowl and stir until well-combined. Let it sit for 5 minutes to proof. If it becomes frothy, the yeast is active and ready to use.
- Whisk Dry Ingredients: In a large mixing bowl, whisk together the gluten-free all-purpose flour, tapioca flour, psyllium husk powder, and salt until thoroughly combined.
- Add Wet Ingredients to Dry: Once the yeast mixture is foamy, pour it along with the olive oil into the bowl of dry ingredients. Stir well until everything is evenly combined and a shaggy dough forms.
- Knead Dough: Turn the dough onto a lightly floured surface (using gluten-free flour) and knead with your hands until it becomes smooth and elastic. Return it to the mixing bowl.
- Let Dough Rise: Cover the bowl tightly with cling film and place it in a warm, draft-free area. Allow it to rise for 60 minutes, or until the dough has visibly expanded and doubled in size.
- Divide Dough into Portions: After the dough has risen, gently punch it down and divide it into 5 equal portions (approximately 90 grams each). Shape each portion into a smooth ball.
- Roll Out Dough: Dust your rolling pin with gluten-free flour. Gently flatten each dough ball into a circular shape, about 1/4-inch thick.
- Heat Skillet and Cook: Heat a nonstick or cast iron skillet over medium-high heat until hot. Place one rolled-out dough circle into the skillet and cook for about 1 minute, or until bubbles begin to form on the surface.
- Flip Pita: Flip the pita over and cook for another 1-2 minutes on the other side, until it’s golden brown and has puffed up beautifully, forming a pocket.
- Repeat and Keep Warm: Repeat this process with the remaining dough circles. As each pita finishes cooking, immediately cover it with a kitchen towel to keep them warm and soft until serving.
Notes
Gluten-Free All-Purpose Flour: For the best results, use a good-quality gluten-free all-purpose flour blend composed of lighter flours/starches (like rice flour, tapioca starch, corn starch, or potato starch). Avoid blends with heavier flours such as garbanzo (chickpea) flour, as they can lead to a denser texture. As an alternative, rice flour can also be used.
Tapioca Starch: Also known as tapioca flour, this ingredient is derived from cassava and is essential for imparting a chewy texture to gluten-free baked goods. If you do not have tapioca starch, you can substitute it with arrowroot starch (also known as arrowroot flour or powder) in equal amounts.
Psyllium Husk Powder: This fiber supplement, made from Plantago ovata seeds, acts as a crucial binding agent in gluten-free baking, helping to create an elastic and flexible dough. Its inclusion ensures that your pitas are pliable and form pockets. If you only have whole psyllium husks, simply grind them into a fine powder using a coffee grinder or a high-speed blender before use.
Olive Oil: While extra virgin olive oil is my preference for its flavor, other suitable alternatives include avocado oil, flaxseed oil, melted coconut oil, melted vegan butter, or other neutral vegetable oils like sunflower or canola oil.
Yeast: Yeast is vital for the bread’s rise. You can use either fresh yeast (a moist block common in bakeries) or active dry yeast, which is widely available for home baking.
Cane Sugar: This provides nourishment for the yeast, facilitating the rising process. While cane sugar was used, you can substitute with white sugar, light brown sugar, or dark brown sugar.
Warm Water: The water temperature is critical. It should be between 105°F to 115°F (40°C to 46°C). This warmth is necessary to activate the yeast; water that is too hot will kill it, and water that is too cold will prevent proper activation.
Storing/Freezing: Ensure the gluten-free pitas cool completely before storing. Place them in a plastic bag or an airtight container, and they will stay fresh at room temperature for up to 2 days. For longer storage, wrap the cooled pita bread tightly in plastic wrap and place in a freezer bag or container. They can be frozen for up to 3 months. To reheat, simply thaw at room temperature for a few hours or microwave for a few seconds. Avoid refrigerating pita bread, as this can cause it to dry out and become stale quickly.
- Prep Time: 20 mins
- Rising Time: 1 hour
- Cook Time: 12 mins
- Category: Bread
- Method: Stovetop
- Cuisine: Middle Eastern
