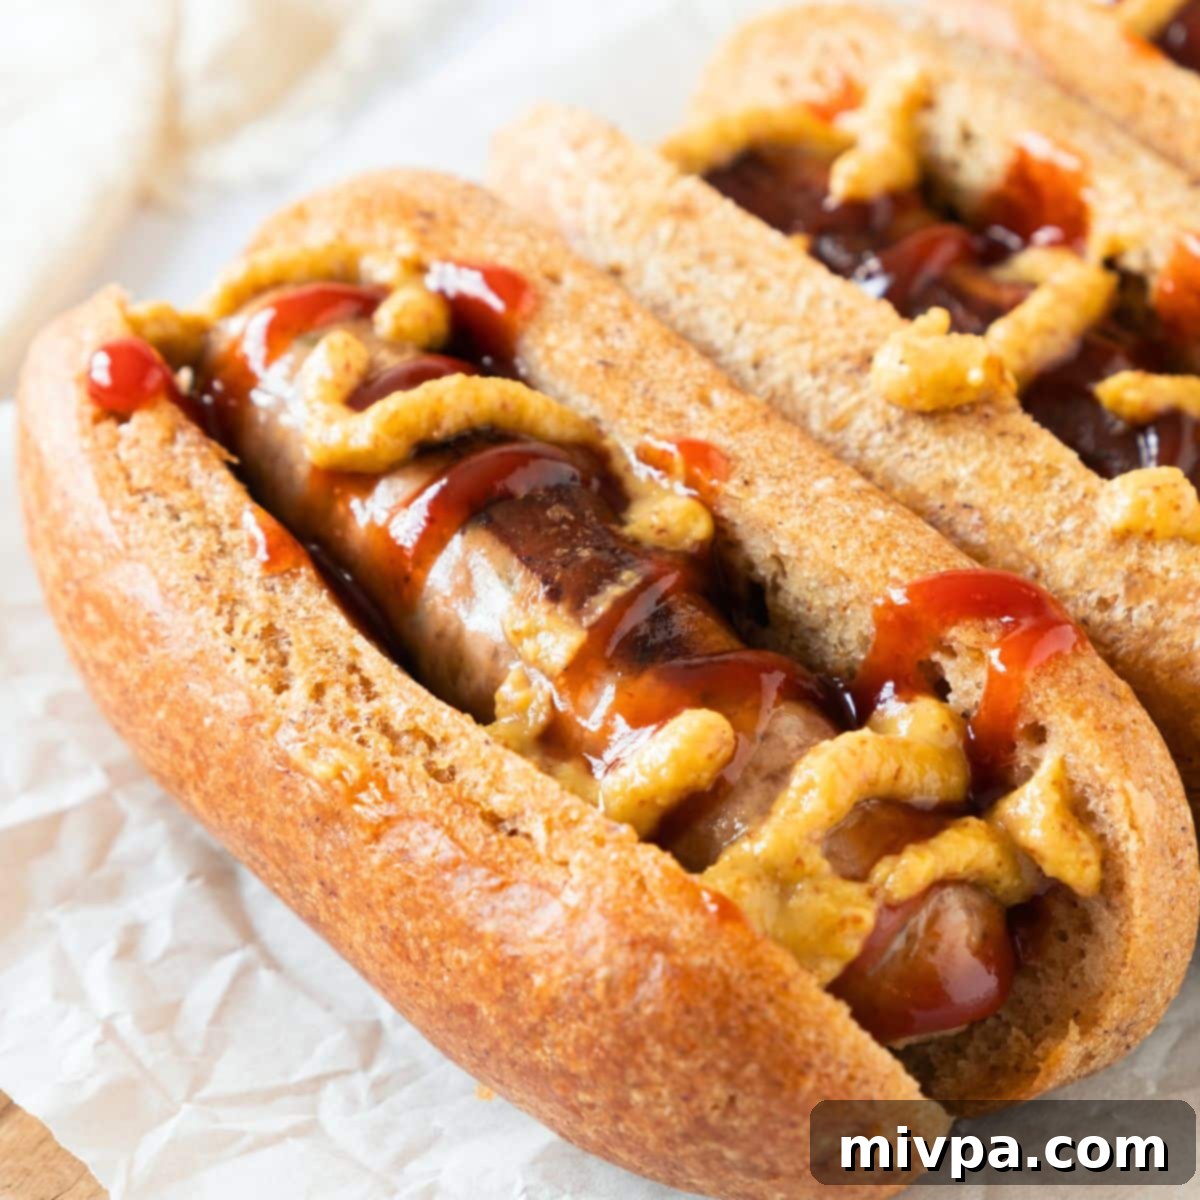
The Best Homemade Gluten-Free Hot Dog Buns: Soft, Fluffy & Dairy-Free!
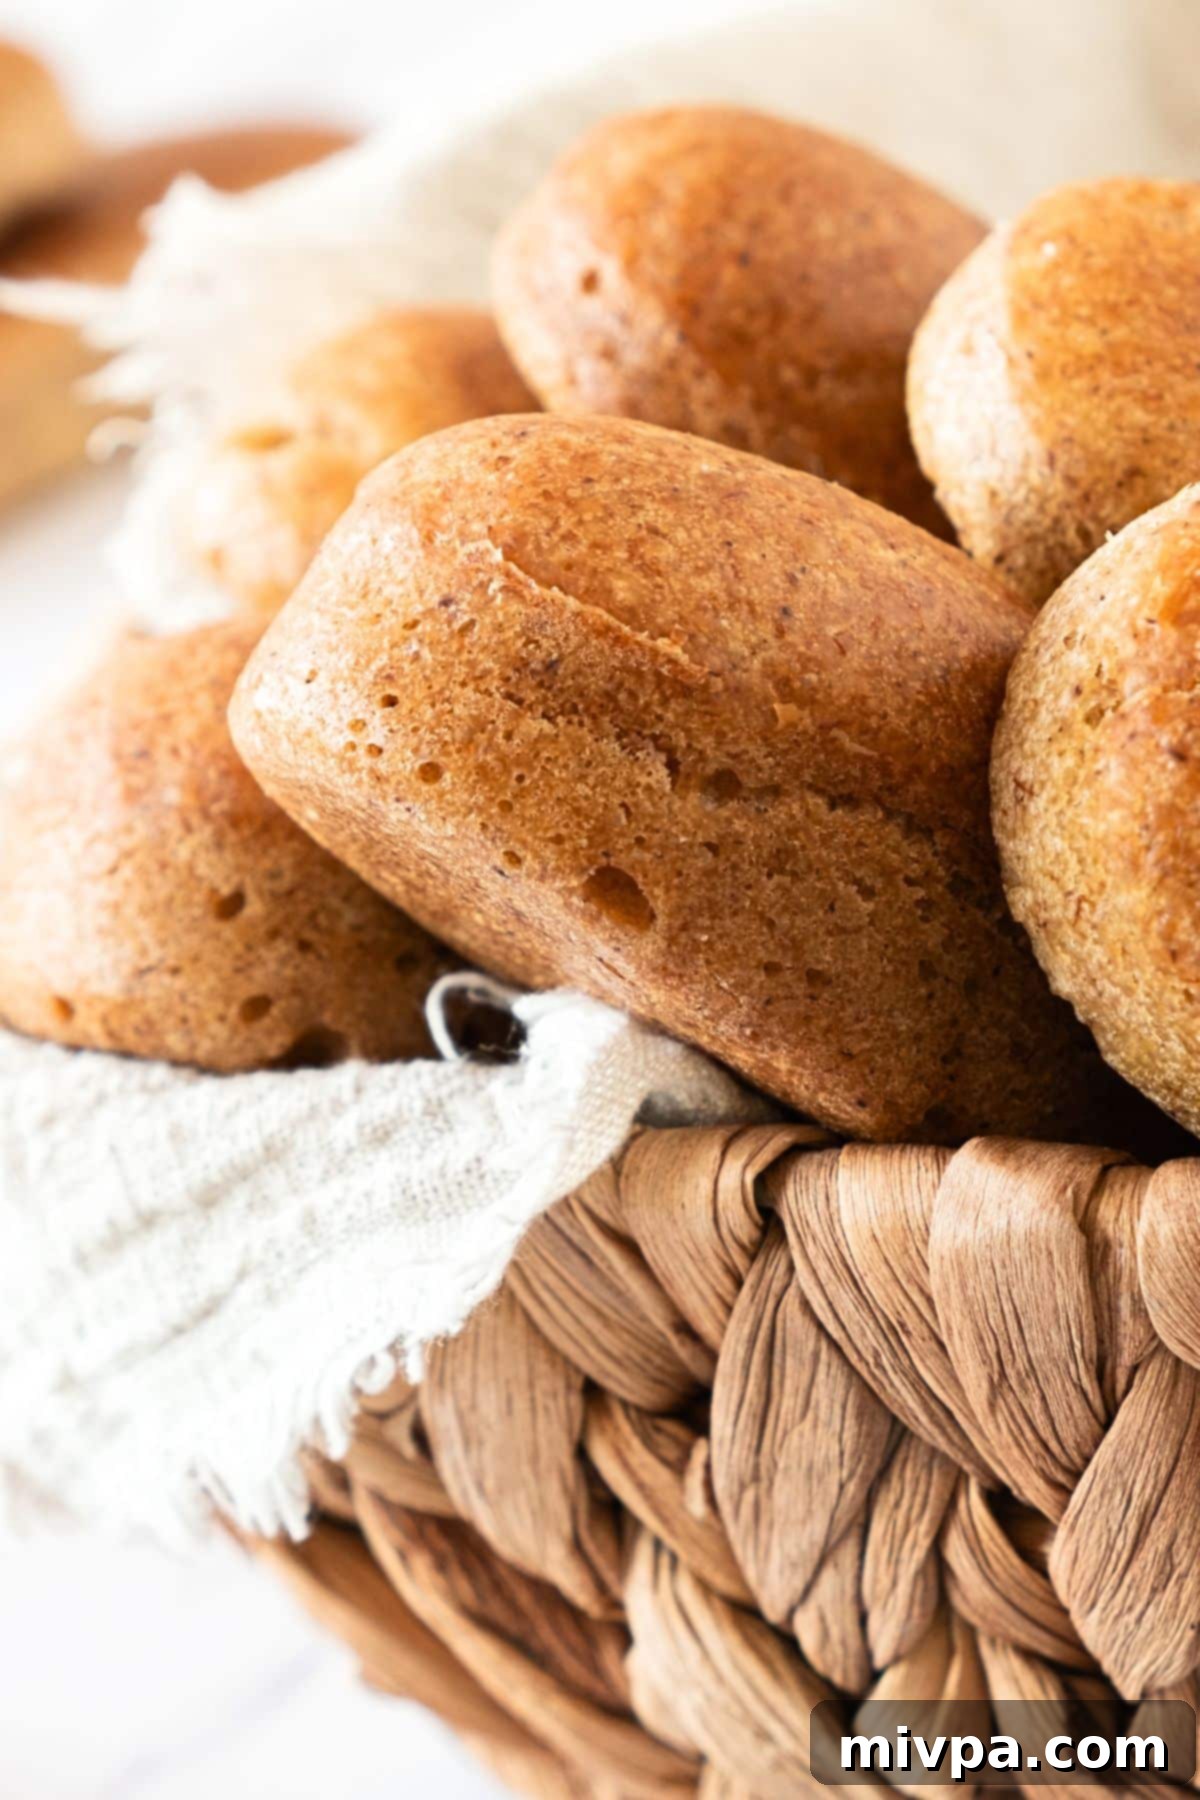
Say goodbye to dry, crumbly gluten-free bread! These incredibly soft and fluffy gluten-free hot dog buns are an absolute game-changer, perfect for all your summer grilling parties and beyond. Super easy to make with simple ingredients, these fantastic buns taste amazing and are completely dairy-free, ensuring everyone can enjoy a classic hot dog without worry. Bake a few batches and freeze them so you can savor homemade hot dog buns anytime you crave that perfect bite!
The Quest for the Perfect Gluten-Free Hot Dog Bun
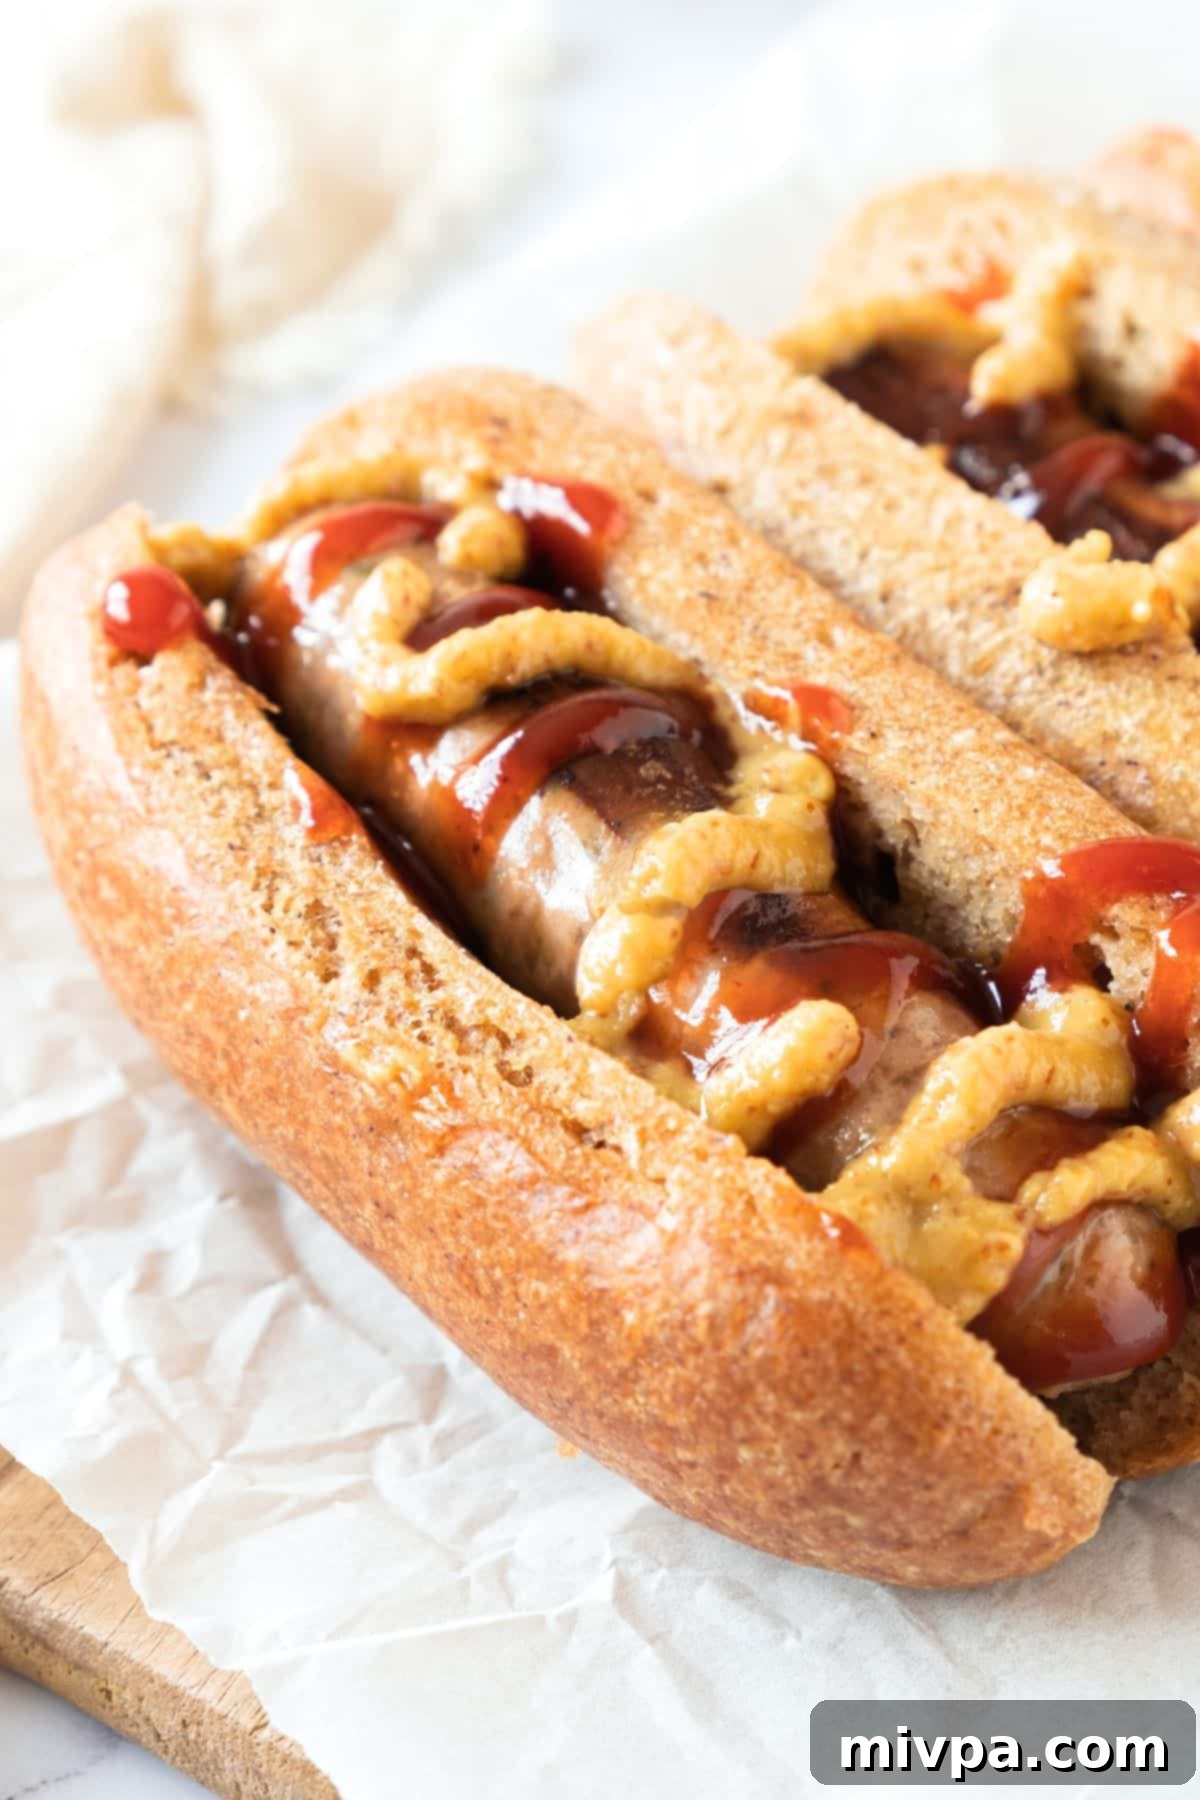
For far too long, the search for a truly satisfying gluten-free hot dog bun has been a challenge for many, myself included. It was a top request from readers and a personal mission to conquer before the summer grilling season arrived. After all, what’s a summer BBQ without the joy of a perfectly grilled hot dog nestled in a soft, delicious bun?
And what can I say? I am absolutely thrilled, overjoyed, and over the moon because we can finally enjoy gluten-free hot dogs with a proper bun that is actually soft, tender, and holds together beautifully! No more dry, dense, or tasteless bread that falls apart at the first bite. This recipe delivers that authentic hot dog experience everyone deserves.
Drawing inspiration from our beloved gluten-free hamburger buns, these hot dog buns achieve their ideal shape and incredibly easy handling by using a silicone mold. This ingenious method ensures consistent results and simplifies the baking process significantly, making homemade gluten-free buns more accessible than ever before.
I genuinely cannot wait for you to experience the delight of these buns. They’re a game-changer for anyone living with gluten or dairy sensitivities, or simply looking for a fantastic homemade bread recipe. Let’s dive right into making them, shall we?
Why You’ll Love This Easy Recipe:
- Simple, Accessible Ingredients: The beauty of this recipe lies in its straightforward ingredient list. You’ll find most of the main components for these classic hot dog buns readily available at your local grocery store, and chances are you might even have many of them stocked in your pantry already. We focus on common gluten-free flours and binders that are easy to source.
- Effortless Preparation: Forget complicated kneading or intricate shaping. Preparing this dough is incredibly easy and beginner-friendly. All you need to do is combine the dry ingredients, then add the wet components, mixing them thoroughly until you achieve a wet, shaggy dough consistency. There’s no heavy lifting or extensive proofing required. After mixing, simply divide the dough evenly among the cavities of your hot dog bun pan, allow it to rise, and then bake! It’s a truly stress-free baking experience.
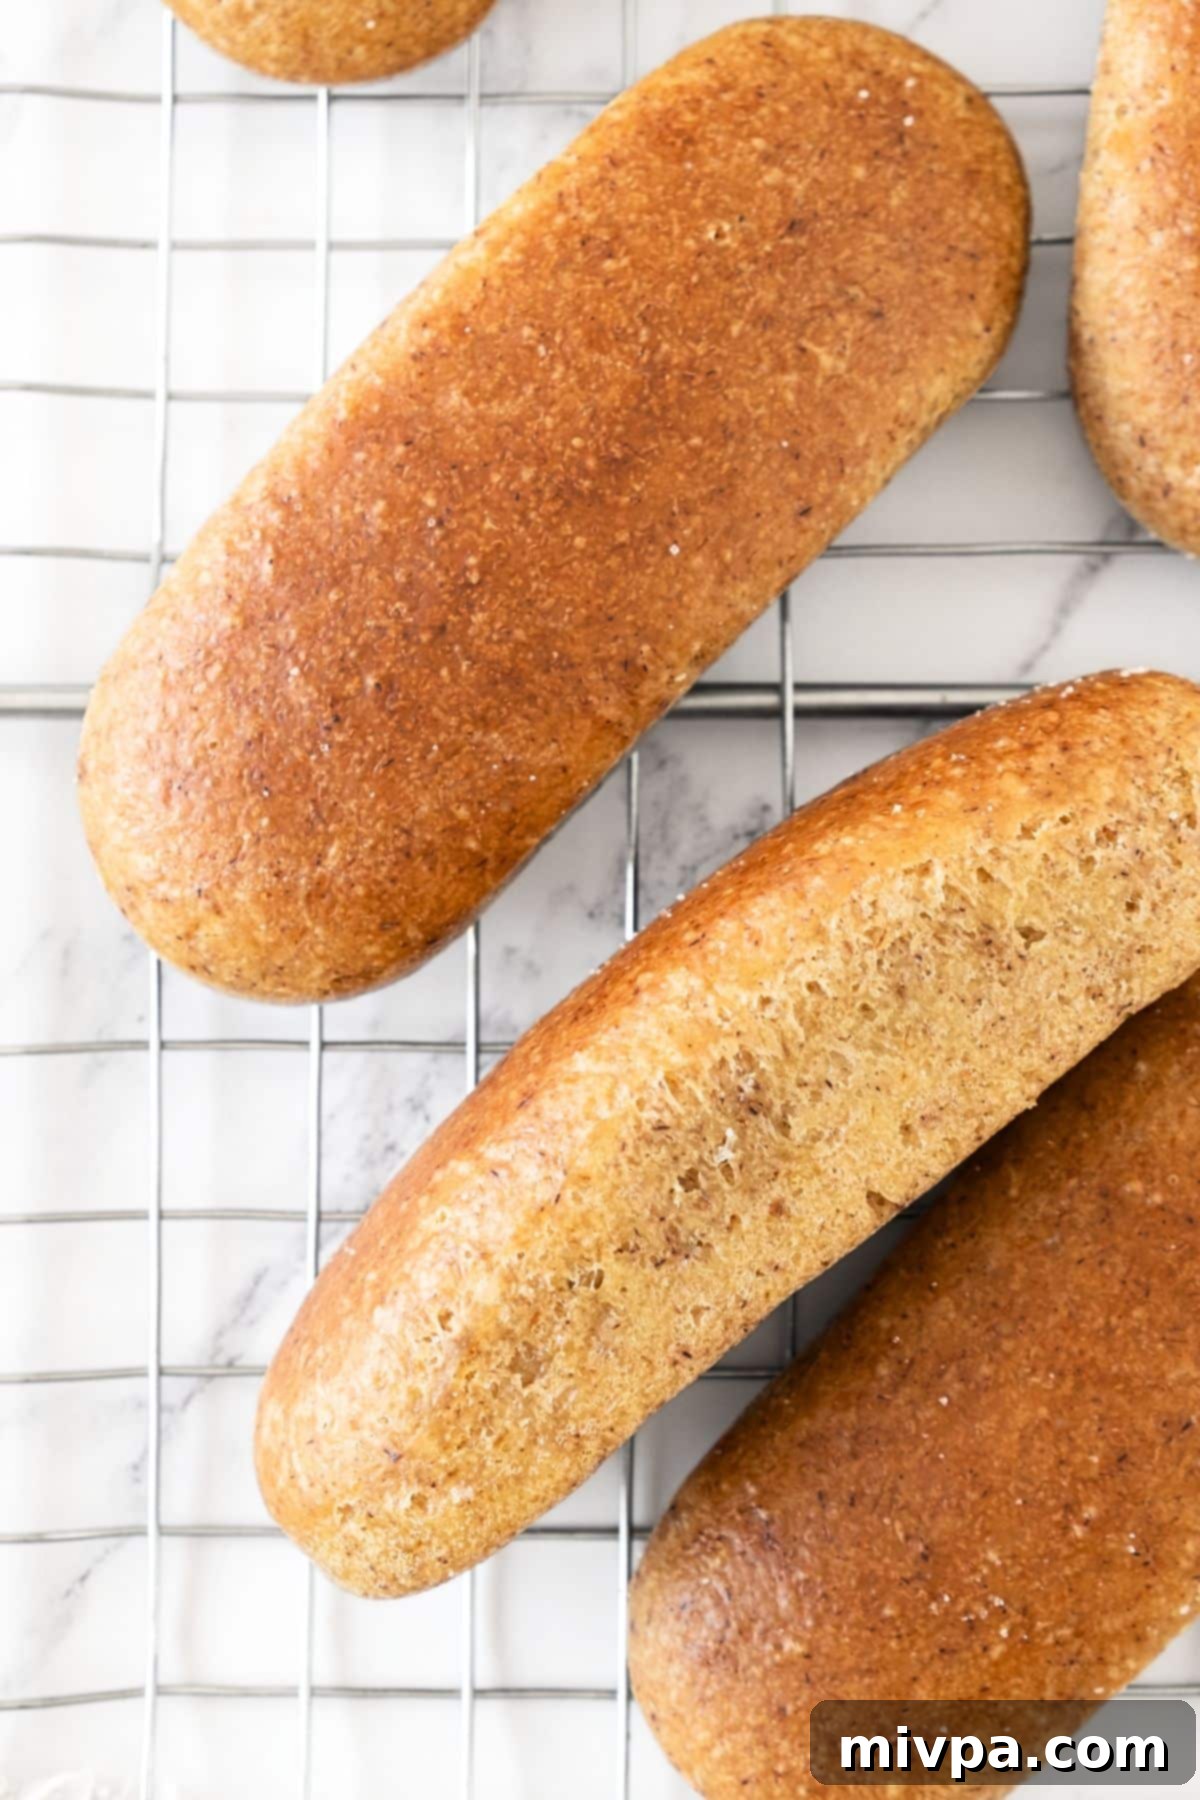
- Remarkably Soft & Tender Texture: This is where these buns truly shine. Unlike many gluten-free alternatives, these buns boast an amazingly soft, fluffy, and tender texture that’s a delight to bite into. They are designed to be pliable and resilient, meaning they won’t crumble or break easily when you load them up with your favorite hot dog and toppings. They are absolutely perfect for casual backyard BBQs, picnics, and any summer gathering where a sturdy yet delicate bun is essential.
- Completely Gluten-Free & Dairy-Free: One of the most significant advantages of this recipe is that these buns are 100% gluten-free and dairy-free. This means that individuals with Celiac disease, gluten intolerance, or lactose intolerance can confidently enjoy their hot dogs without any concerns about dietary restrictions. It makes hosting or attending events so much easier when you have a delicious, inclusive option that everyone can partake in.
Key Ingredients for Fluffy Gluten-Free Buns:
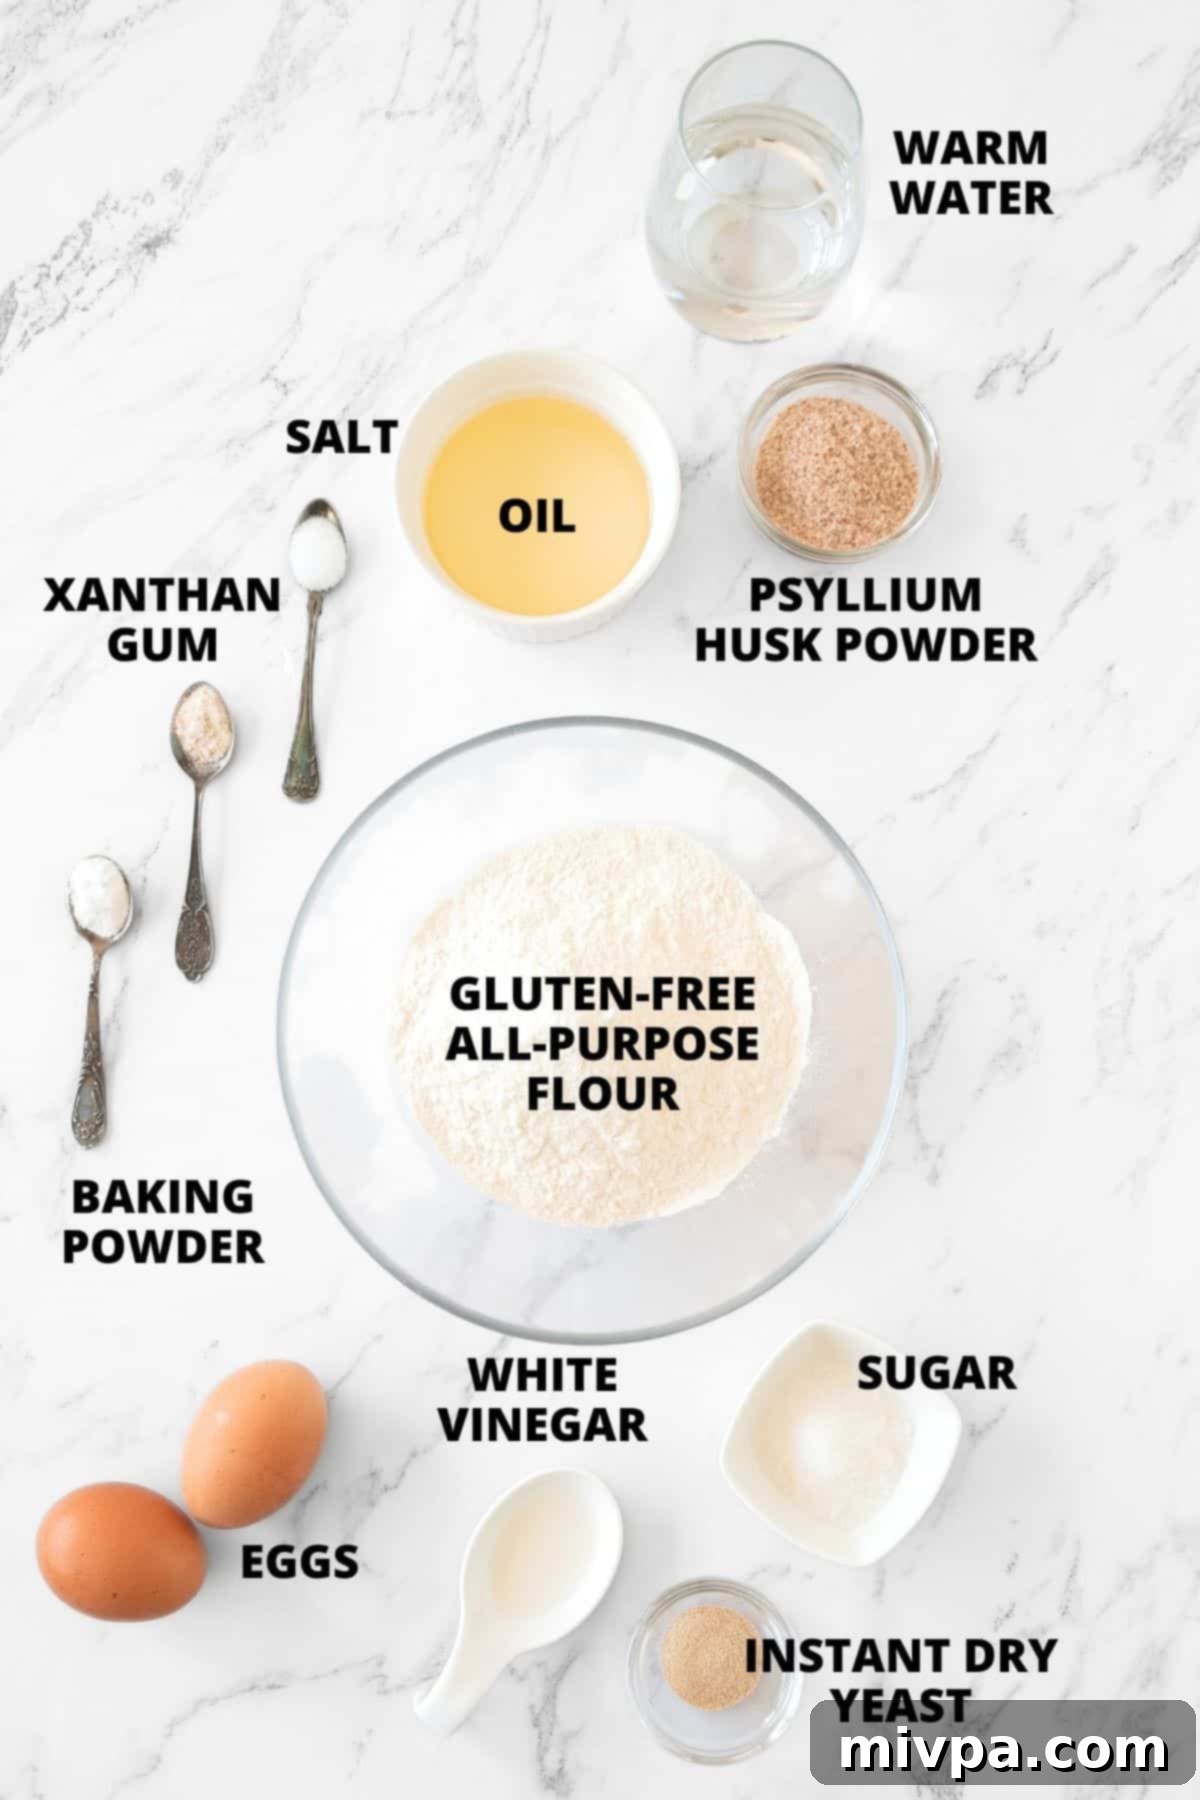
Here’s a visual overview of the essential ingredients you’ll need to make this delightful gluten-free hot dog buns recipe a success.
(For exact measurements and a detailed list, please scroll down to the printable recipe card at the very bottom of this post.)
Essential Tips & Ingredient Details:
- Gluten-Free Flour Blend: The quality and composition of your gluten-free flour blend are paramount to the success of these buns. I highly recommend using a good-quality gluten-free all-purpose flour blend that primarily consists of lighter flours and starches. Look for blends containing rice flour, tapioca starch, corn starch, or potato starch. These lighter components contribute to the desirable airy and fluffy final texture. Conversely, I strongly advise against using gluten-free blends that incorporate heavier flours like garbanzo bean flour (chickpea flour), as these tend to result in a denser, sometimes gritty, texture that won’t give you the light, tender bun you’re aiming for.
- Xanthan Gum: Xanthan gum is an indispensable ingredient in gluten-free baking. It acts as a crucial binder, effectively replacing the elasticity and structure that gluten provides in traditional wheat flour. It prevents your baked goods from crumbling and helps the ingredients cohere, ensuring a pliable dough and a stable final bun. If your chosen gluten-free flour blend does not already list xanthan gum as an ingredient, it’s essential to add it separately as specified in the recipe.
- Baking Powder: While yeast is our primary leavening agent, baking powder works in conjunction with it to give the bread dough an extra lift and contribute to its overall fluffiness. For those with Celiac disease or gluten intolerance, always ensure you are using a certified gluten-free baking powder to avoid any cross-contamination.
- Yeast: This recipe utilizes instant dry yeast, which is incredibly convenient as it requires no prior activation and can be mixed directly with the other dry ingredients. If your pantry only contains active dry yeast, a simple workaround is to first activate it. Mix the active yeast with a small amount of warm water (from the recipe’s total liquid) and sugar, let it sit for 5-10 minutes until it becomes foamy, and then add this mixture to the rest of your ingredients.
- Sugar: Sugar plays multiple roles beyond just sweetness in this recipe. It feeds the yeast, helping it to activate and produce carbon dioxide, which gives the buns their rise. It also contributes to the golden-brown crust and enhances the overall flavor of the buns. While I typically use white granulated sugar, cane sugar, light brown sugar, or even dark brown sugar can be used interchangeably, each imparting a slightly different nuance to the final taste.
- Psyllium Husk Powder: This ingredient is a secret weapon in gluten-free baking. Psyllium husk powder is a powerful soluble fiber that provides essential structure and elasticity to gluten-free dough, which would otherwise be slack and unmanageable. It absorbs a significant amount of liquid, helping the dough to rise effectively and maintain its shape, leading to a much better texture. It is crucial to use the powder version for consistent results. If you only have access to whole psyllium husks, you can easily grind them into a super fine powder using a coffee grinder before measuring.
- Oil: The oil contributes moisture, tenderness, and a lovely soft crumb to the buns. I often use sunflower oil as it’s a neutral-flavored oil I always have on hand. However, feel free to substitute with other neutral vegetable oils such as canola oil, light olive oil, or avocado oil. If you prefer, melted vegan butter can also be used for a richer flavor profile while keeping the recipe dairy-free.
- Vinegar: This might seem like an unusual addition, but vinegar plays a vital role. I used white vinegar, but apple cider vinegar or white wine vinegar will work equally well. The acidity of the vinegar reacts with the baking powder to create more air bubbles within the dough, giving it an enhanced rise and an even lighter, more tender crumb. It acts as an acidulant, boosting the leavening process.
- Warm Water: The temperature of the water is critical for activating the yeast. Ensure the warm water is between 105 to 115°F (40 to 46°C). Water that is too cold won’t activate the yeast, leading to a poor rise, while water that is too hot will kill the yeast entirely, rendering it ineffective. A kitchen thermometer is very useful here. If you are not strictly dairy-free, you could also use warm milk for a slightly richer bun.
- Eggs: Eggs are essential for providing structure, moisture, and helping the dough to rise beautifully. They also act as a binding agent, ensuring the buns hold together well. I haven’t personally tested this hot dog bun recipe without eggs, but if you have an egg allergy, you might try replacing them with aquafaba (the liquid from a can of chickpeas) or a commercial egg replacer. If you experiment with an egg-free version, please do share your results in the comments below – I’d be very keen to hear how it turns out!
Step-by-Step Guide to Baking Your Buns:
1. Prepare Your Pan
Lightly grease (or spray generously with a nonstick baking spray) a silicone hot dog mold designed for 6 buns. Place this mold on a standard baking sheet for stability and easier handling in and out of the oven.
2. Combine Dry Ingredients
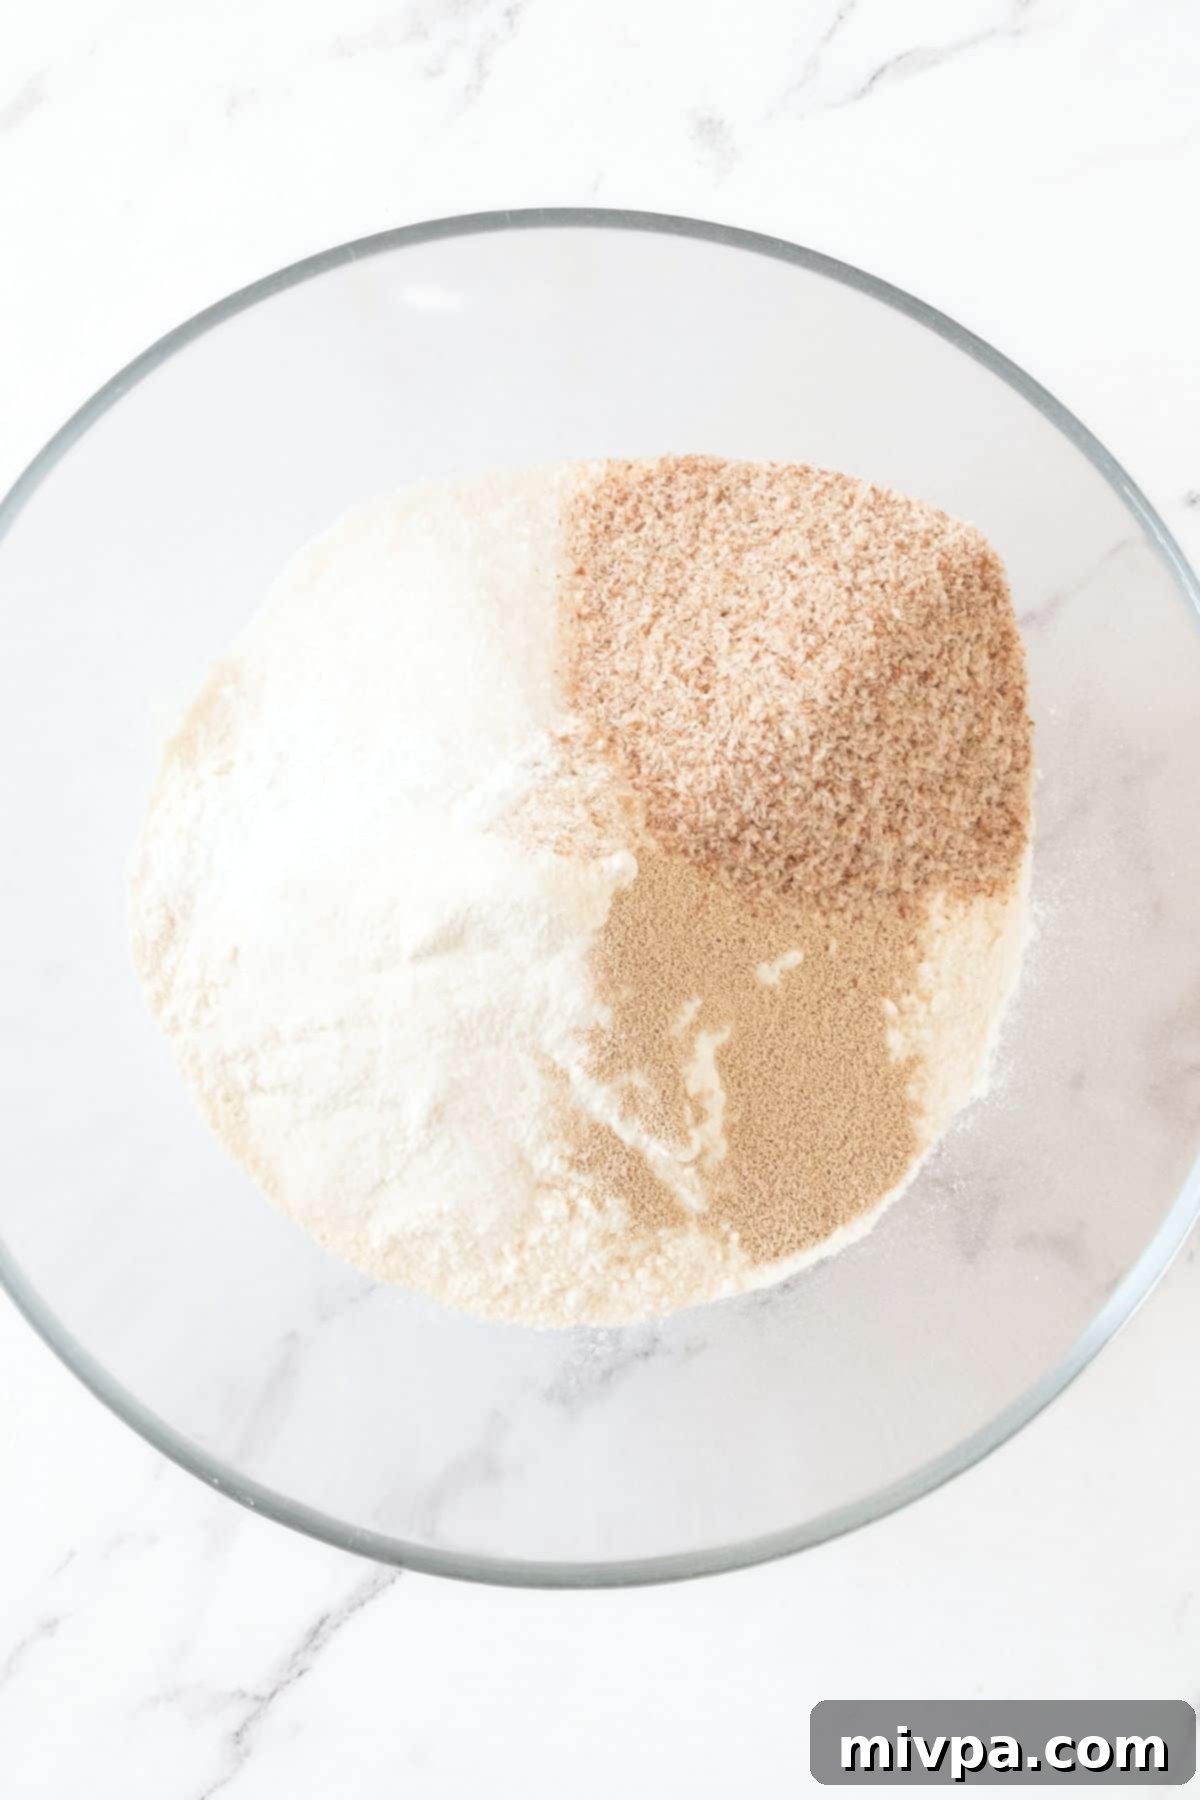
In a spacious mixing bowl, thoroughly whisk together the gluten-free all-purpose flour, xanthan gum (if your blend doesn’t already contain it), baking powder, salt, instant dry yeast, sugar, and psyllium husk powder. Ensuring these dry ingredients are well combined will guarantee an even distribution throughout the dough.
3. Incorporate Wet Ingredients
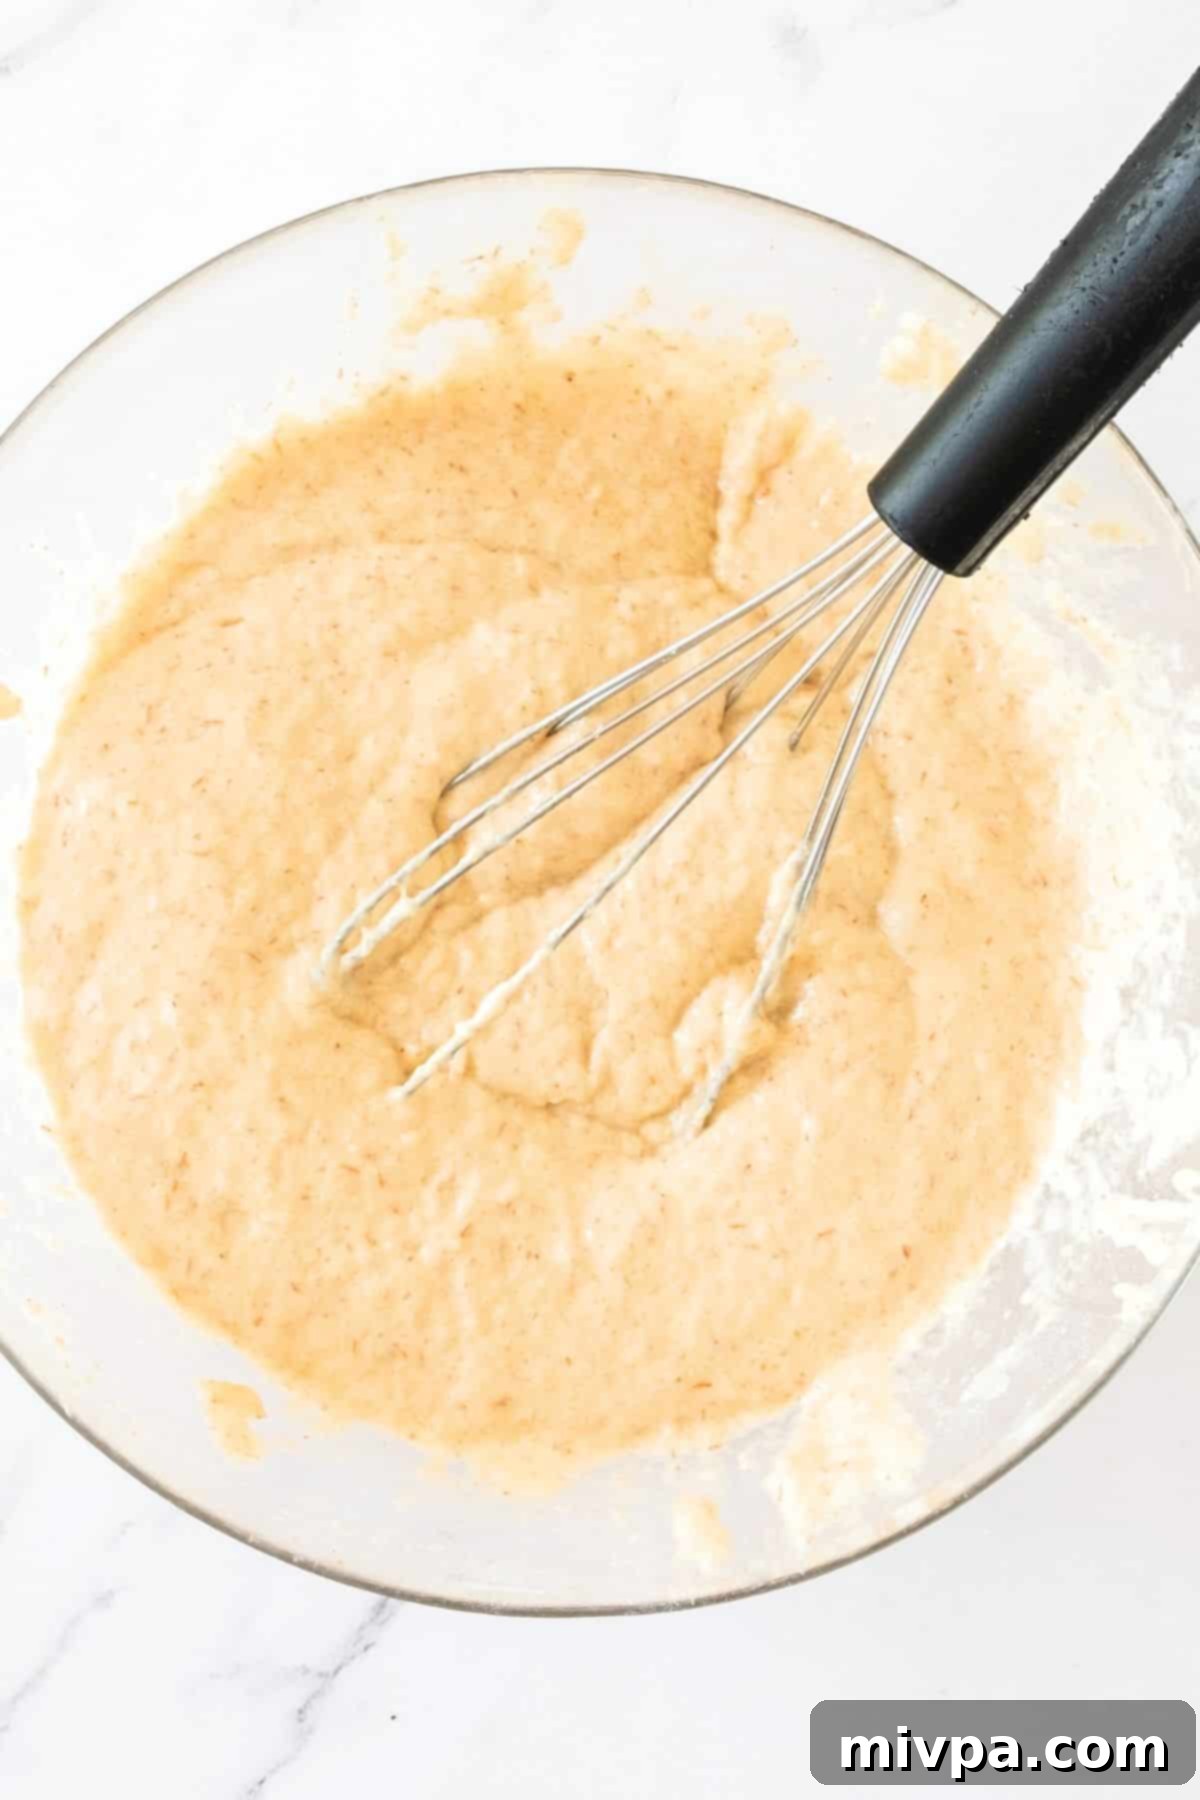
To the dry mixture, add the vegetable oil, vinegar, precisely warmed water, and the beaten eggs. Mix all these components thoroughly using a sturdy spoon or an electric mixer until you achieve a dough that has the consistency of a thick cake batter. Don’t be alarmed if the dough appears wet and somewhat shaggy – this is exactly the texture we’re aiming for to achieve light, fluffy buns.
4. Fill the Mold Evenly
Carefully divide the wet dough evenly among all the cavities of the prepared hot dog bun pan. To achieve a smooth and appealing top for each bun, use the back of a wet spoon or a small spatula to gently smooth out the dough surfaces. This also helps in creating a uniform shape as they rise and bake.
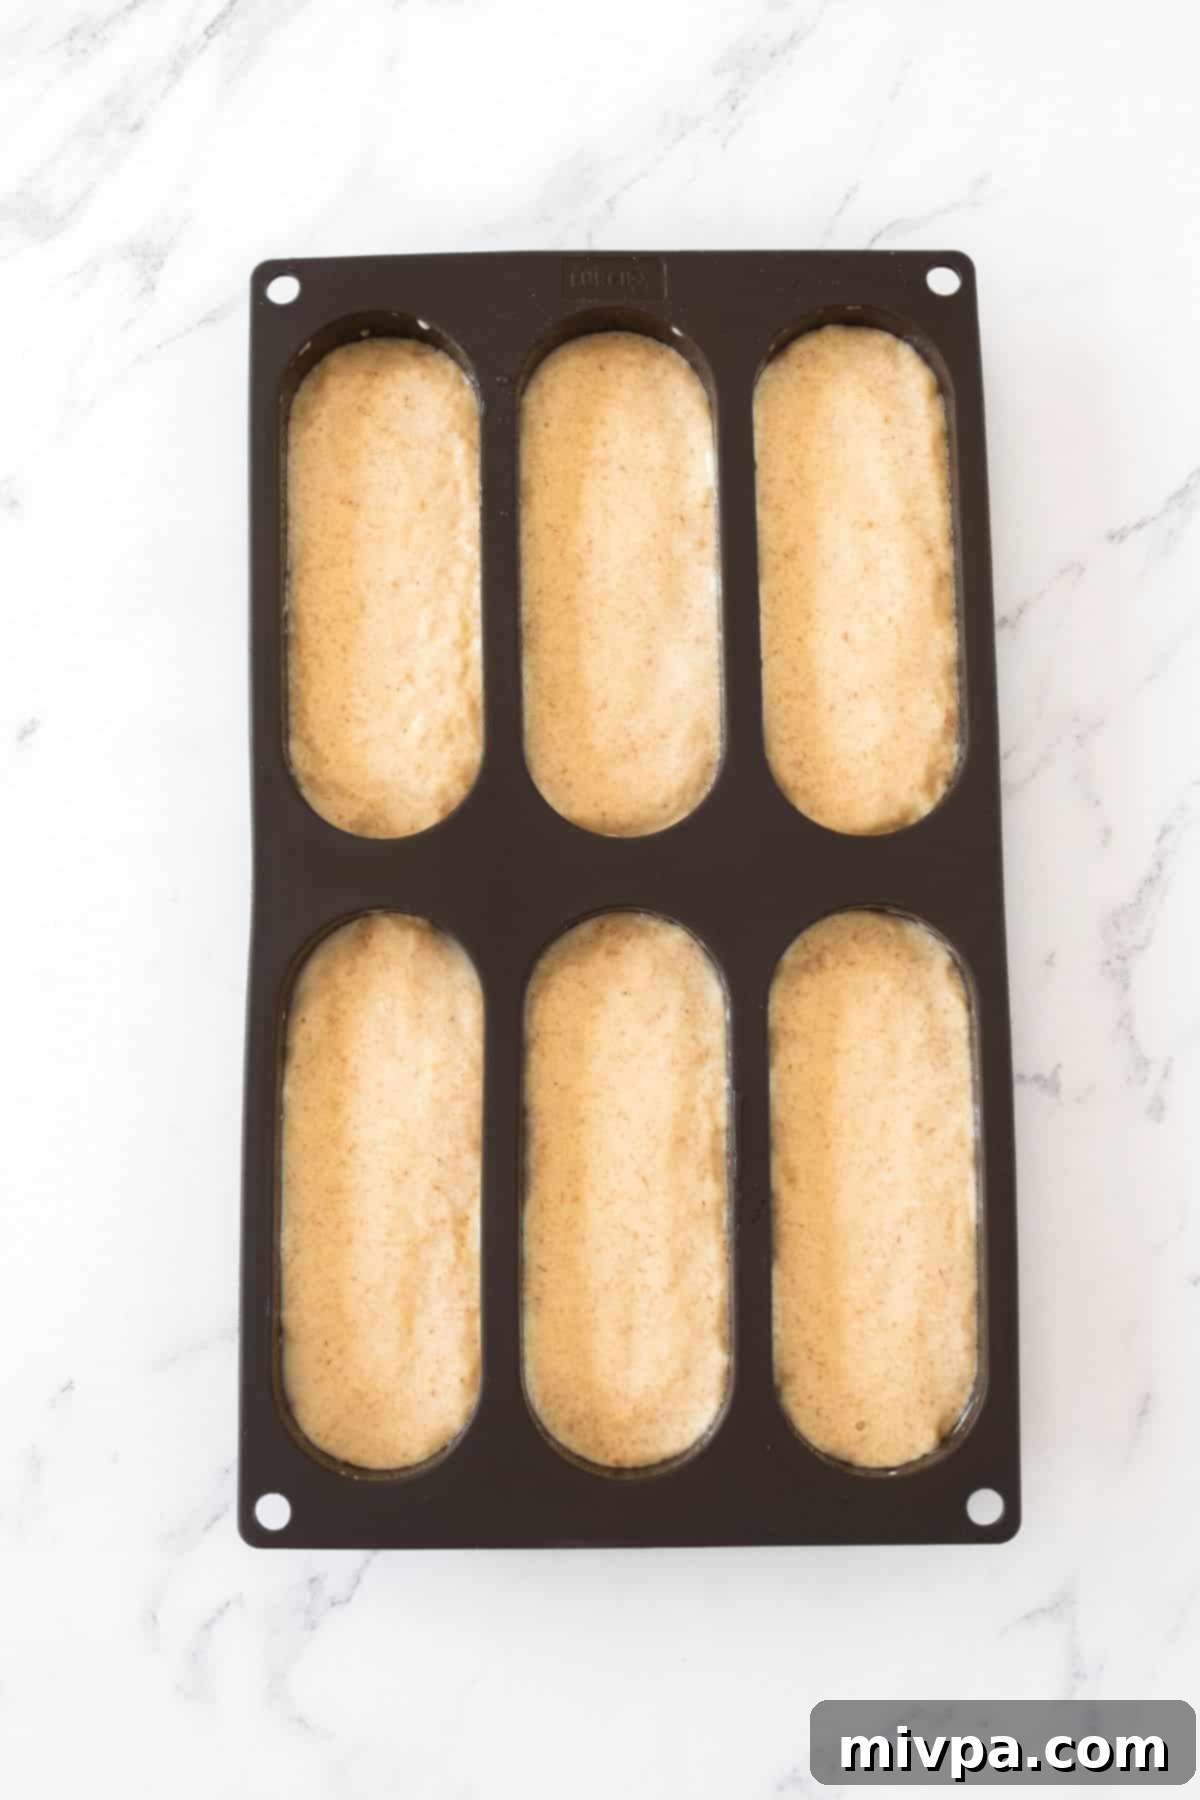
5. Allow to Rise Until Doubled
Place the hot dog bun pan in a warm, draft-free environment to allow the dough to rise. The goal is for the dough to approximately double in size. The rising time can vary considerably based on the ambient temperature and humidity; it might take as little as 30 minutes in a warm and humid climate, or up to an hour or even slightly more during colder winter months. While the dough is rising, preheat your oven to 350°F (175°C).
6. Brush with Oil
Once the dough has risen beautifully and achieved the desired volume, take a silicon pastry brush and lightly brush the tops of each bun with a little extra oil. This step helps create a lovely golden crust and adds a subtle richness to the exterior.
7. Bake Until Golden Brown
Transfer the baking sheet with the buns to your preheated oven. Bake for approximately 30 to 35 minutes, or until the tops of the buns are wonderfully golden brown and sound hollow when lightly tapped. An internal temperature of around 200-210°F (93-99°C) typically indicates they are fully baked.
8. Let Cool Before Removing
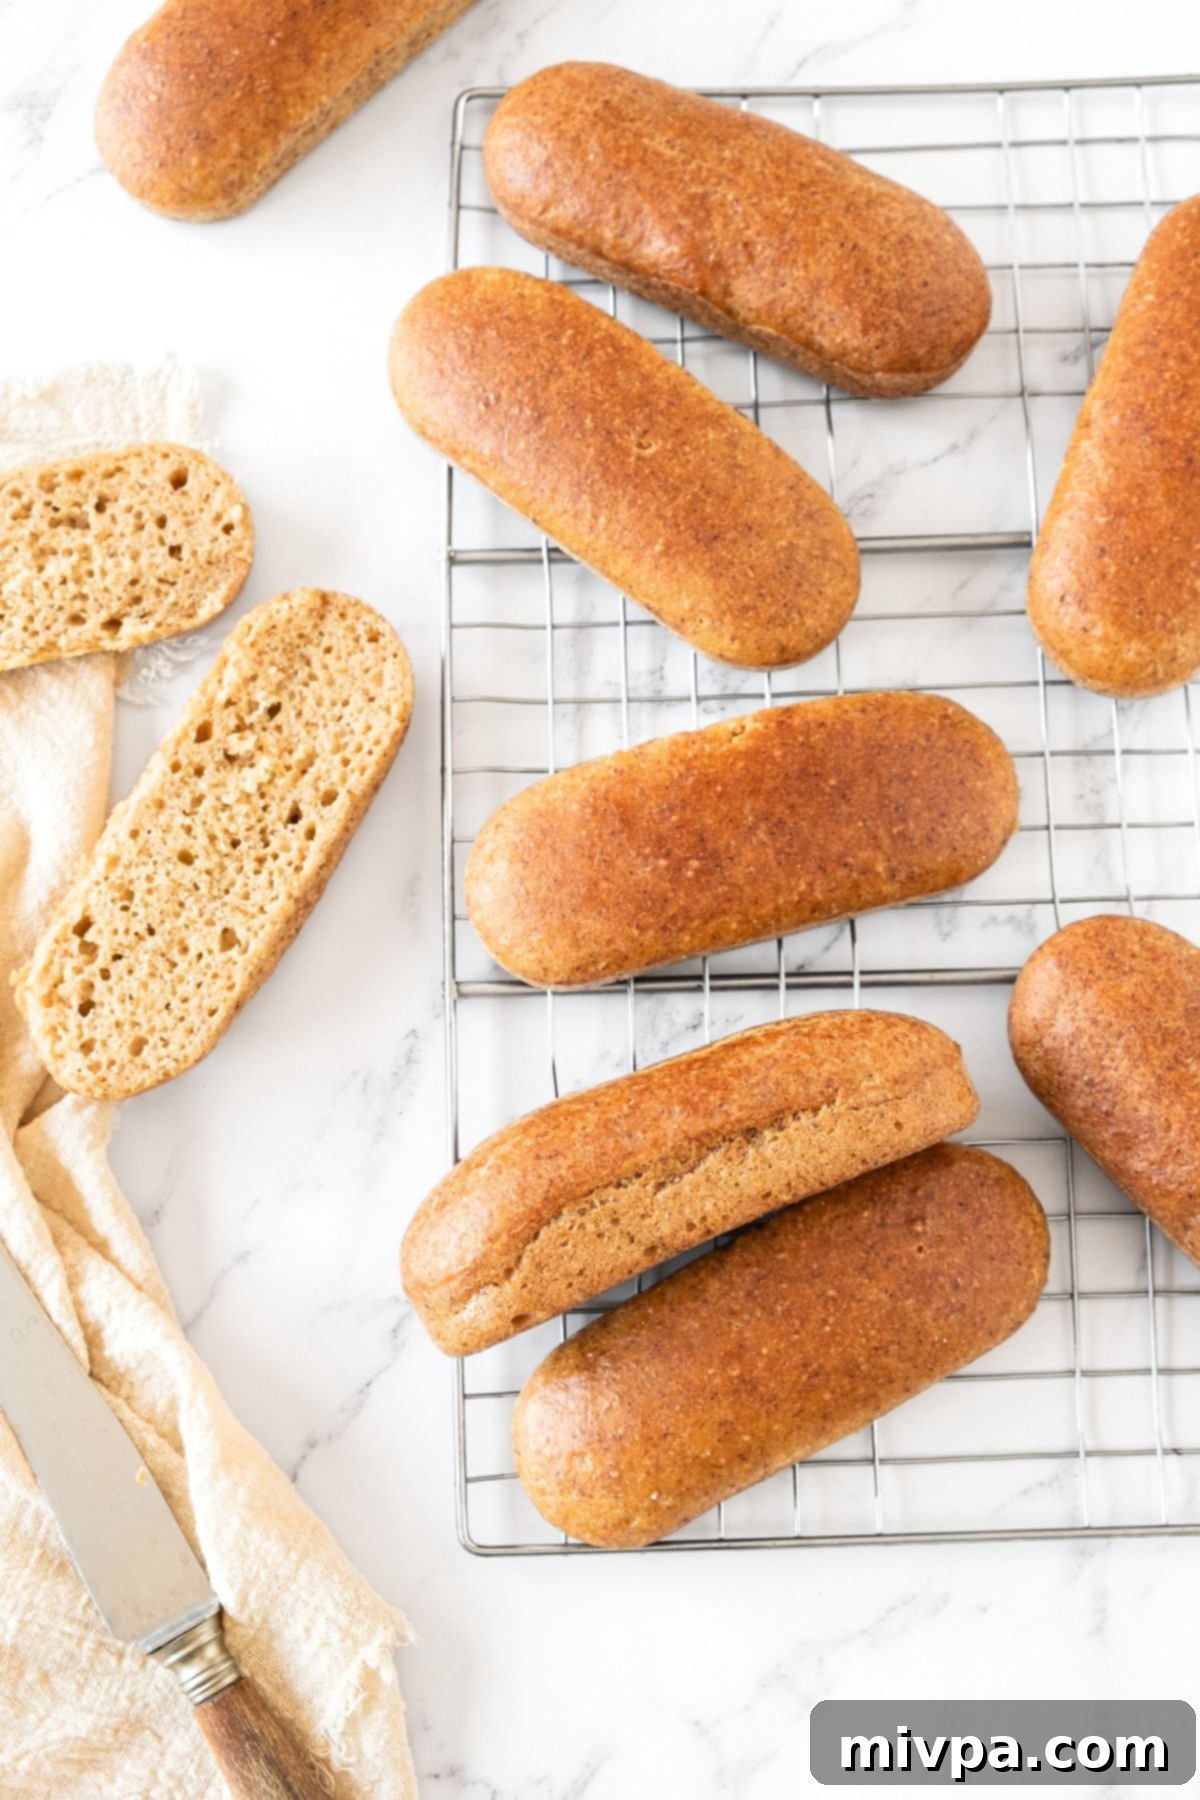
Once baked, resist the urge to immediately remove the buns from the mold. It’s crucial to let the gluten-free hot dog buns cool for at least 10 minutes within their silicone mold. This resting period allows them to set properly and firm up. After 10 minutes, gently remove them from the mold and transfer them to a wire rack to cool completely at room temperature. This final cooling step ensures the perfect texture and prevents them from becoming soggy.
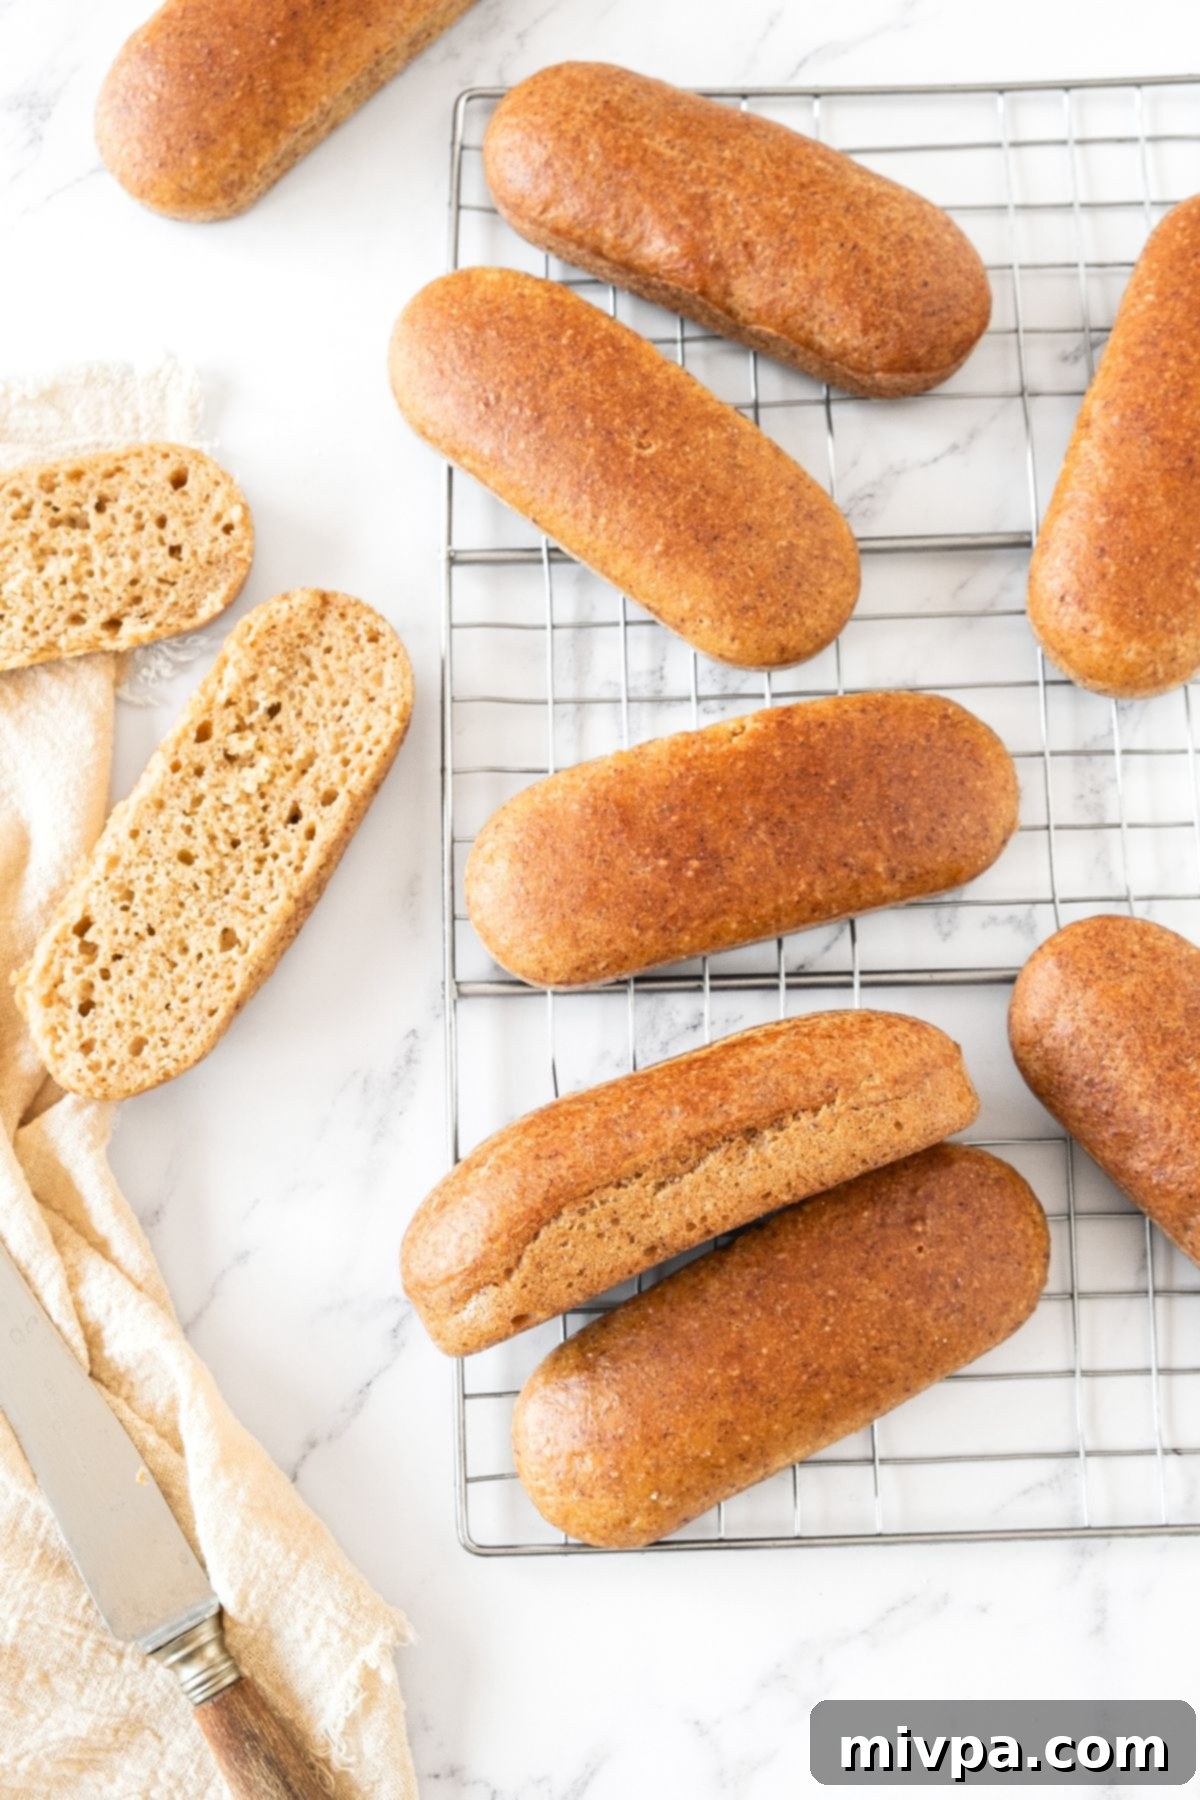
Expert Tips for Success & Serving Suggestions:
- Storing Your Buns: To maintain the freshness and softness of your delicious gluten-free hot dog buns, wrap them individually or in pairs tightly in plastic wrap once they are completely cooled. Store these wrapped buns in an airtight container in the refrigerator, where they will keep well for up to 5 days. Reheat gently in the microwave or oven for best results.
- Freezing for Future Enjoyment: This recipe is fantastic for meal prep! To freeze your hot dog buns, ensure they are completely cool, then wrap each bun securely in plastic wrap, followed by a layer of aluminum foil, or place them in a freezer-safe bag. They can be stored in the freezer for up to 2 months. When you’re ready to enjoy them, simply let the frozen buns thaw overnight in the refrigerator, or for a quicker method, reheat them gently in a low-temperature oven until warmed through and soft again. This ensures you always have homemade buns on hand!
- Optional Add-Ons for Extra Flavor: For a classic touch and an added layer of texture and nutty flavor, feel free to sprinkle some sesame seeds on top of the buns just before baking. This gives them that familiar hot dog bun look and a delightful crunch. You could also try poppy seeds or a sprinkle of everything bagel seasoning for an extra flavor boost.
- Beyond Hot Dogs: Versatile Uses for Your Buns: While these buns are undeniably perfect for hot dogs, their soft, tender texture and ideal shape make them incredibly versatile for a variety of other delicious dishes. Get creative!
- Lobster Rolls: Split and toast them lightly, then fill with a luscious, creamy lobster salad for a gourmet treat. The soft bun perfectly complements the rich seafood.
- Meatball Subs: These buns are sturdy enough to hold hearty meatballs and sauce without falling apart, yet soft enough to soak up all the delicious flavors.
- Philly Cheesesteak: Load them with thinly sliced steak, caramelized onions, and melted cheese for an authentic and satisfying sandwich experience. Their robust structure can handle generous fillings.
- Pulled Pork or Chicken Sliders: Perfect for smaller portions of savory, saucy pulled meats.
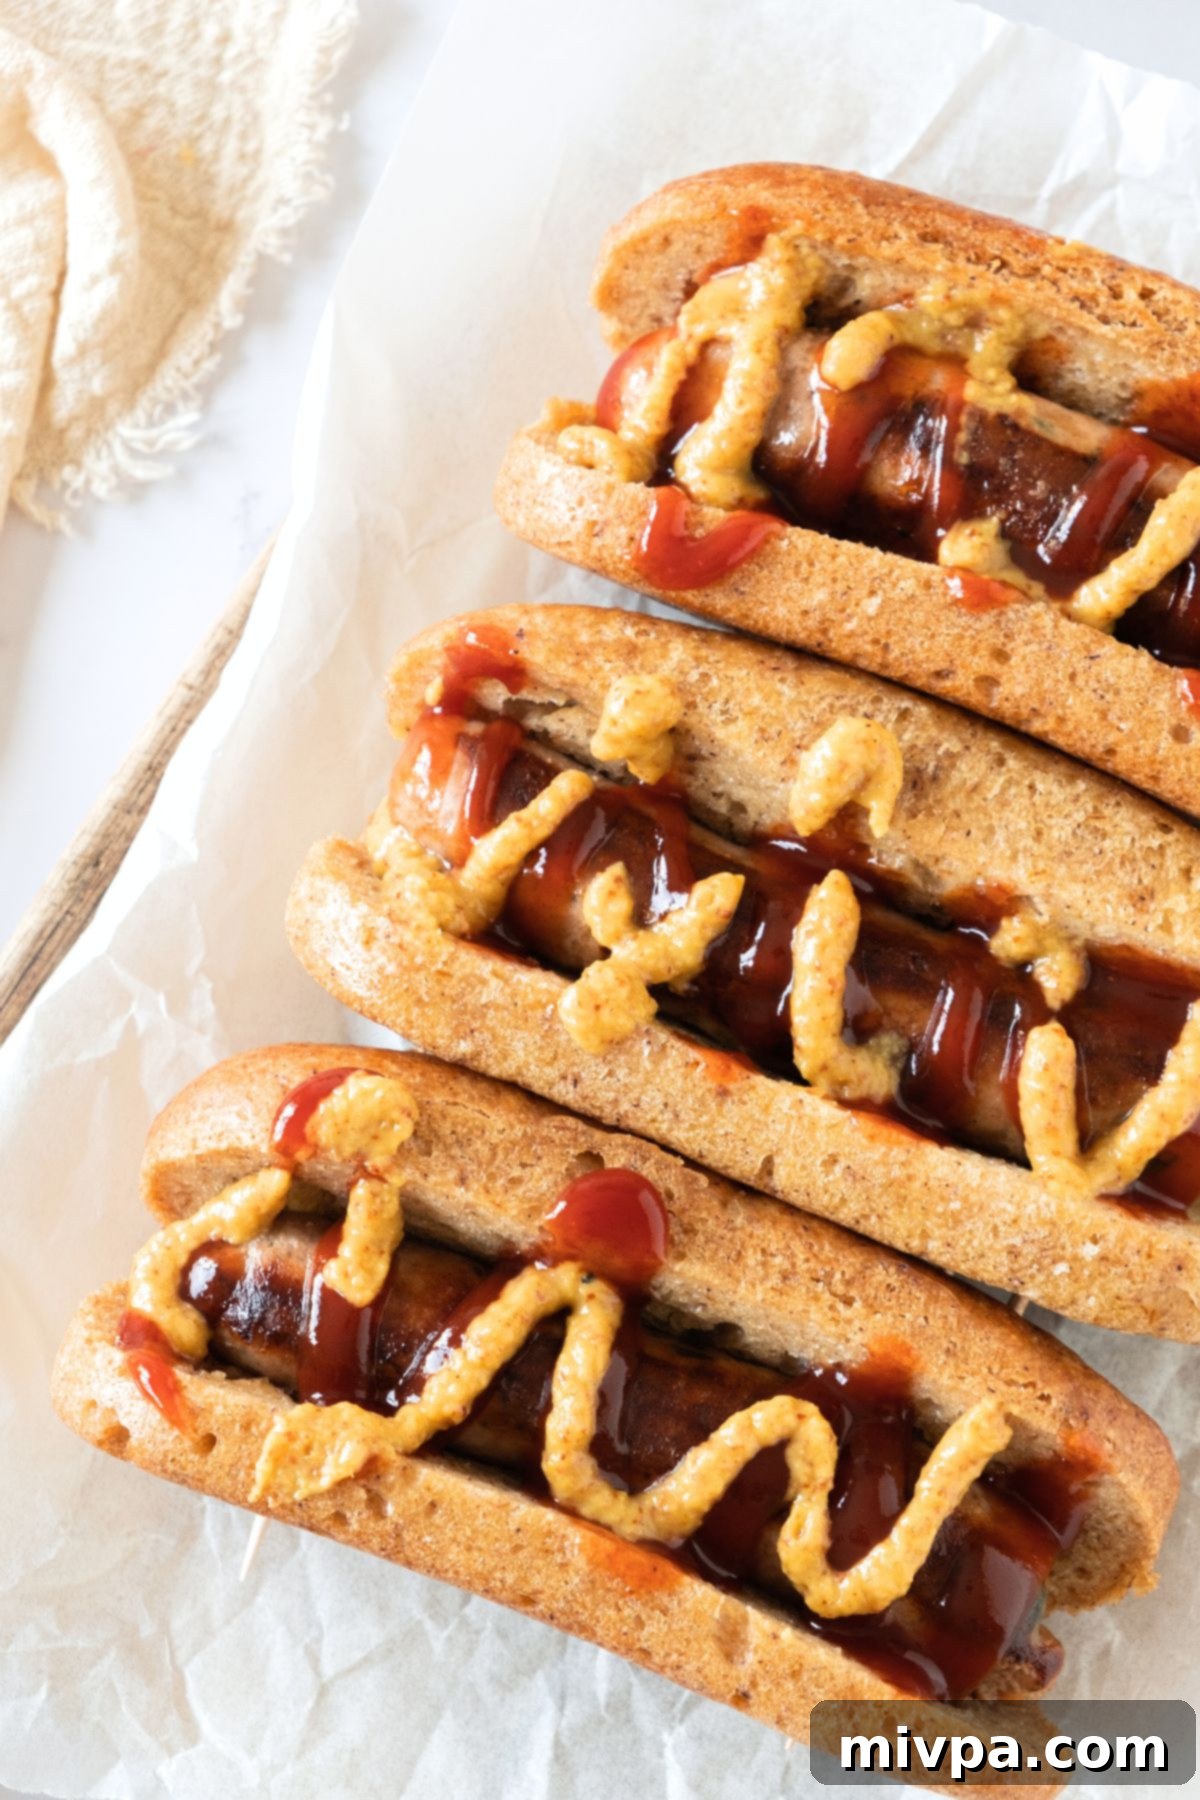
Other Gluten-Free Buns to Make:
- Hamburger Buns (Gluten-Free, Dairy-Free)
- Slider Buns (Gluten-Free, Dairy-Free)
- Low Carb Buns (Gluten-Free, Dairy-Free)
- Homemade Bagels (Gluten-Free, Dairy-Free, No-Boil)
- Homemade Baguette (Gluten-Free, Dairy-Free)
More Gluten-Free Bread Recipes to Bake:
- Gluten-Free Chocolate Chip Pumpkin Bread (Dairy-Free)
- Easy Gluten-Free Drop Biscuits (Dairy-Free)
- Gluten-Free Vegan Bagels (Chewy and Tender!)
- Egg-Free Gluten-Free Bread (So Tender!)
P.S. If you try this recipe, I’d love for you to leave a star rating below, and/or a review in the comment section further down the page. I always appreciate your feedback. Be sure to check out my entire Recipe Index for all the recipes on the blog. You can also follow me on Pinterest, Facebook or Instagram! Sign up for my Email List to get fresh recipes in your inbox each week!
Print Recipe

Gluten-Free Hot Dog Buns (Dairy-Free)
5 Stars 4 Stars 3 Stars 2 Stars 1 Star
5 from 1 review
Author: Felicia Lim
Total Time: 50 minutes
Yield: 6 servings
Diet: Gluten Free
Description
Incredibly soft and fluffy gluten-free hot dog buns, perfect for grilling parties. Super easy, amazing taste, and totally dairy-free. Bake and freeze for anytime enjoyment!
Ingredients
Units
Scale
- 2 1/4 cups gluten-free all-purpose flour
- 3/4 teaspoon xanthan gum (omit if your gluten-free flour blend already has it)
- 1 teaspoon baking powder
- 1 teaspoon salt
- 2 1/4 teaspoons instant dry yeast
- 1 tablespoon sugar
- 2 tablespoons psyllium husk powder
- 1/3 cup sunflower oil + more for brushing
- 1 teaspoon white vinegar
- 1 1/2 cups warm water (between 105-115F)
- 2 large eggs, beaten, room temperature
Instructions
- Preheat, Line and Grease: Grease (or spray with nonstick baking spray) a hot dog mold for 6 buns and place on the baking sheet.
- Whisk Dry Ingredients: In a large mixing bowl, whisk the gluten-free all-purpose flour, xanthan gum (if using), baking powder, salt, instant yeast, sugar and psyllium husk powder.
- Add Wet Ingredients: Add the vegetable oil, vinegar, warm water and beaten eggs. Mix well until you get a dough that resembles thick cake batter (the dough will be shaggy and wet, but that’s the consistency you want).
- Divide Dough Between Cavities of Hot Dog Mold: Divide the dough evenly between the cavities of the hot dog pan and smooth out the tops of the dough with the back of a wet spoon.
- Let Rise Until Doubled: Allow the dough rise in a warm, draft-free place until it has roughly doubled in size. (Depending on the temperature and humidity, it may take as little as 30 minutes in a warm and humid climate or up to 1 hour in the winter). As the dough rises, preheat the oven to 350F.
- Brush with Oil: Use a silicon brush to brush the tops of the dough with oil.
- Bake Until Golden Brown: Bake the buns for 30 to 35 minutes until golden brown on top.
- Let Cool Before Removing: Once baked, let the gluten-free hot dog buns cool for at least 10 minutes in the mold before removing them to cool completely at room temperature on a wire rack.
Notes
Gluten-Free Flour: I highly recommend using a good-quality gluten-free all-purpose flour blend that is made up of lighter flours/starches (such as rice flour, tapioca starch, corn starch or potato starch) to ensure a lighter final texture. I do NOT recommend using a gluten-free blend that includes heavier starches (such as garbanzo bean flour) as that will result in a denser final texture.
Xanthan Gum: Xanthan gum is the replacement for gluten in gluten-free flours and helps to better bind the ingredients together. If your gluten-free flour blend does not already include it, make sure to add it in.
Baking Powder: Baking powder helps the bread dough to rise in addition to the yeast. If you are Celiac or gluten-intolerant, make sure to use certified gluten-free baking powder.
Yeast: I used instant dry yeast which does not require any pre-activation period and can be mixed in directly with the rest of the dry ingredients. If you only have active yeast which requires being activated before using, simply mix the active yeast with warm water and sugar until foamy before adding it to the rest of the ingredients.
Sugar: I used white sugar, but cane sugar, light brown sugar or dark brown sugar will work just as well.
Psyllium Husk Powder: Psyllium husk powder gives the gluten-free hot dog dough structure and will help it to rise, so make sure to add it in. I used the POWDER version. If you only have access to whole psyllium husks, you can grind the whole husks in a coffee grinder until you get a super fine powder.
Oil: I like using sunflower oil because I always have a bottle on hand. However, you can also use another vegetable oil (such as canola oil, olive oil, avocado oil) or melted vegan butter if you wish.
Vinegar: I used white vinegar, but apple cider vinegar or white wine vinegar will work too. Basically the vinegar is to create an acidic environment to react with the baking powder to create more air bubbles and help the bread dough rise more.
Warm Water: Make sure that the water is between 105 to 115F (this is because the water needs to be warm enough to activate the yeast, but not so hot that it kills the yeast).
Eggs: Eggs help the dough to rise and also better binds the dough together, so make sure to add them in. I personally have not tried making this hot dog buns recipe without eggs, but if you are allergic to eggs, you can try replacing the eggs with acquafaba or an egg-replacer. (If you do make this without eggs, please let me know how it goes in the comments below, I’d love to know!)
Storing: To store, wrap the gluten-free hot dog buns in plastic wrap and store in the refrigerator for up to 5 days. To freeze, wrap the gluten-free hot dog buns in plastic wrap and store in the freezer for up to 2 months. Let the frozen buns thaw overnight in the refrigerator or in the oven at low heat before using.
- Prep Time: 15 mins
- Cook Time: 35 mins
- Category: Bread
- Method: Baking
- Cuisine: American
