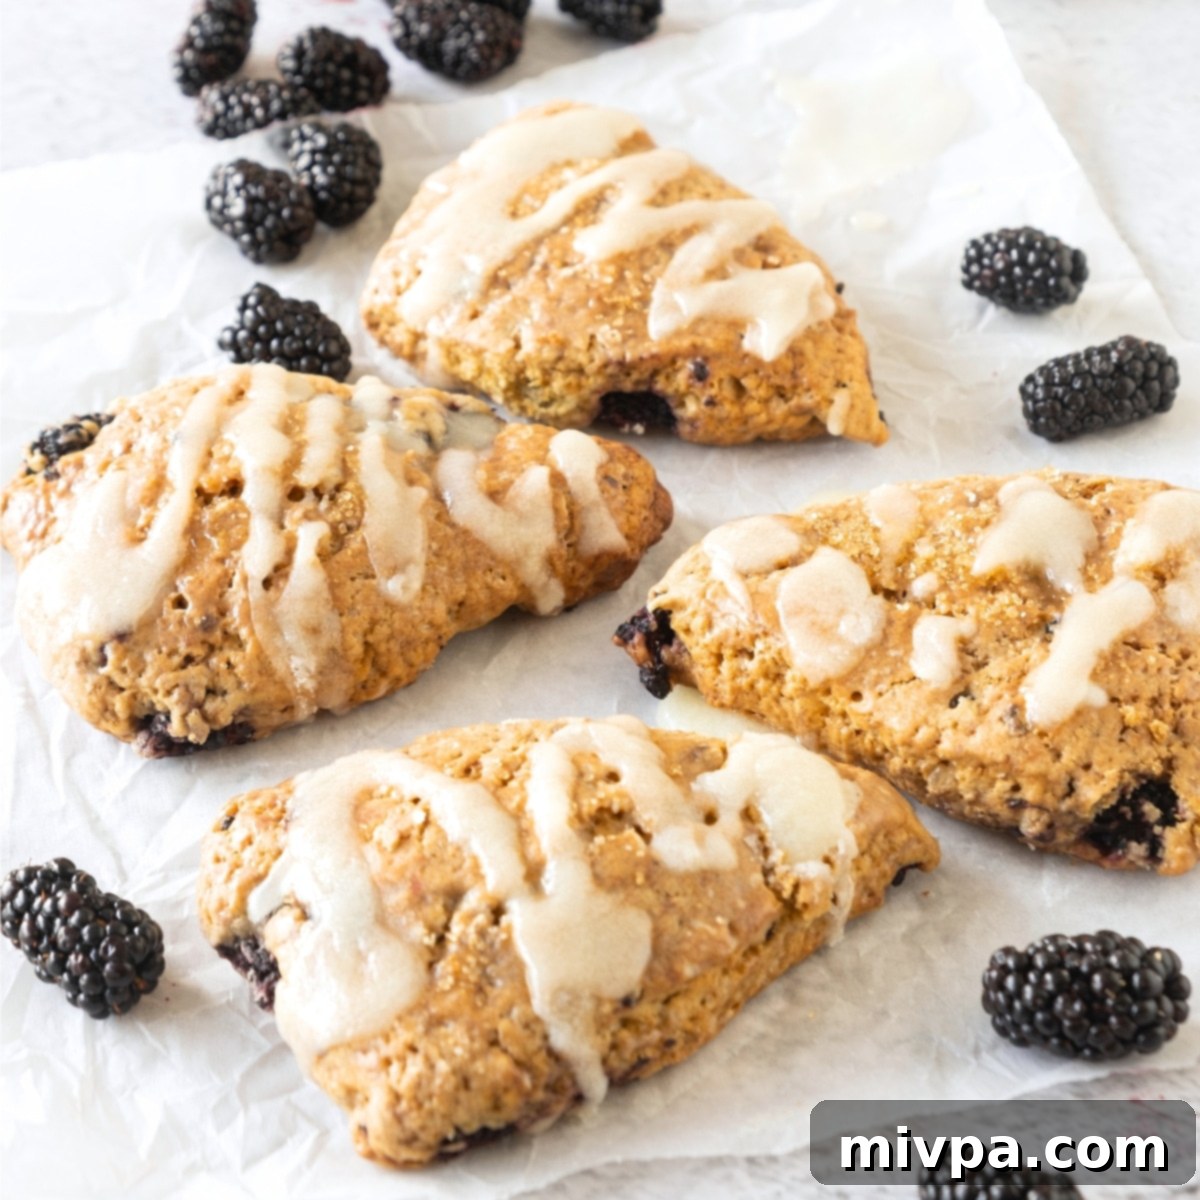
Irresistible Gluten-Free Blackberry Scones with Lemon Glaze (Dairy-Free & Easy Recipe)
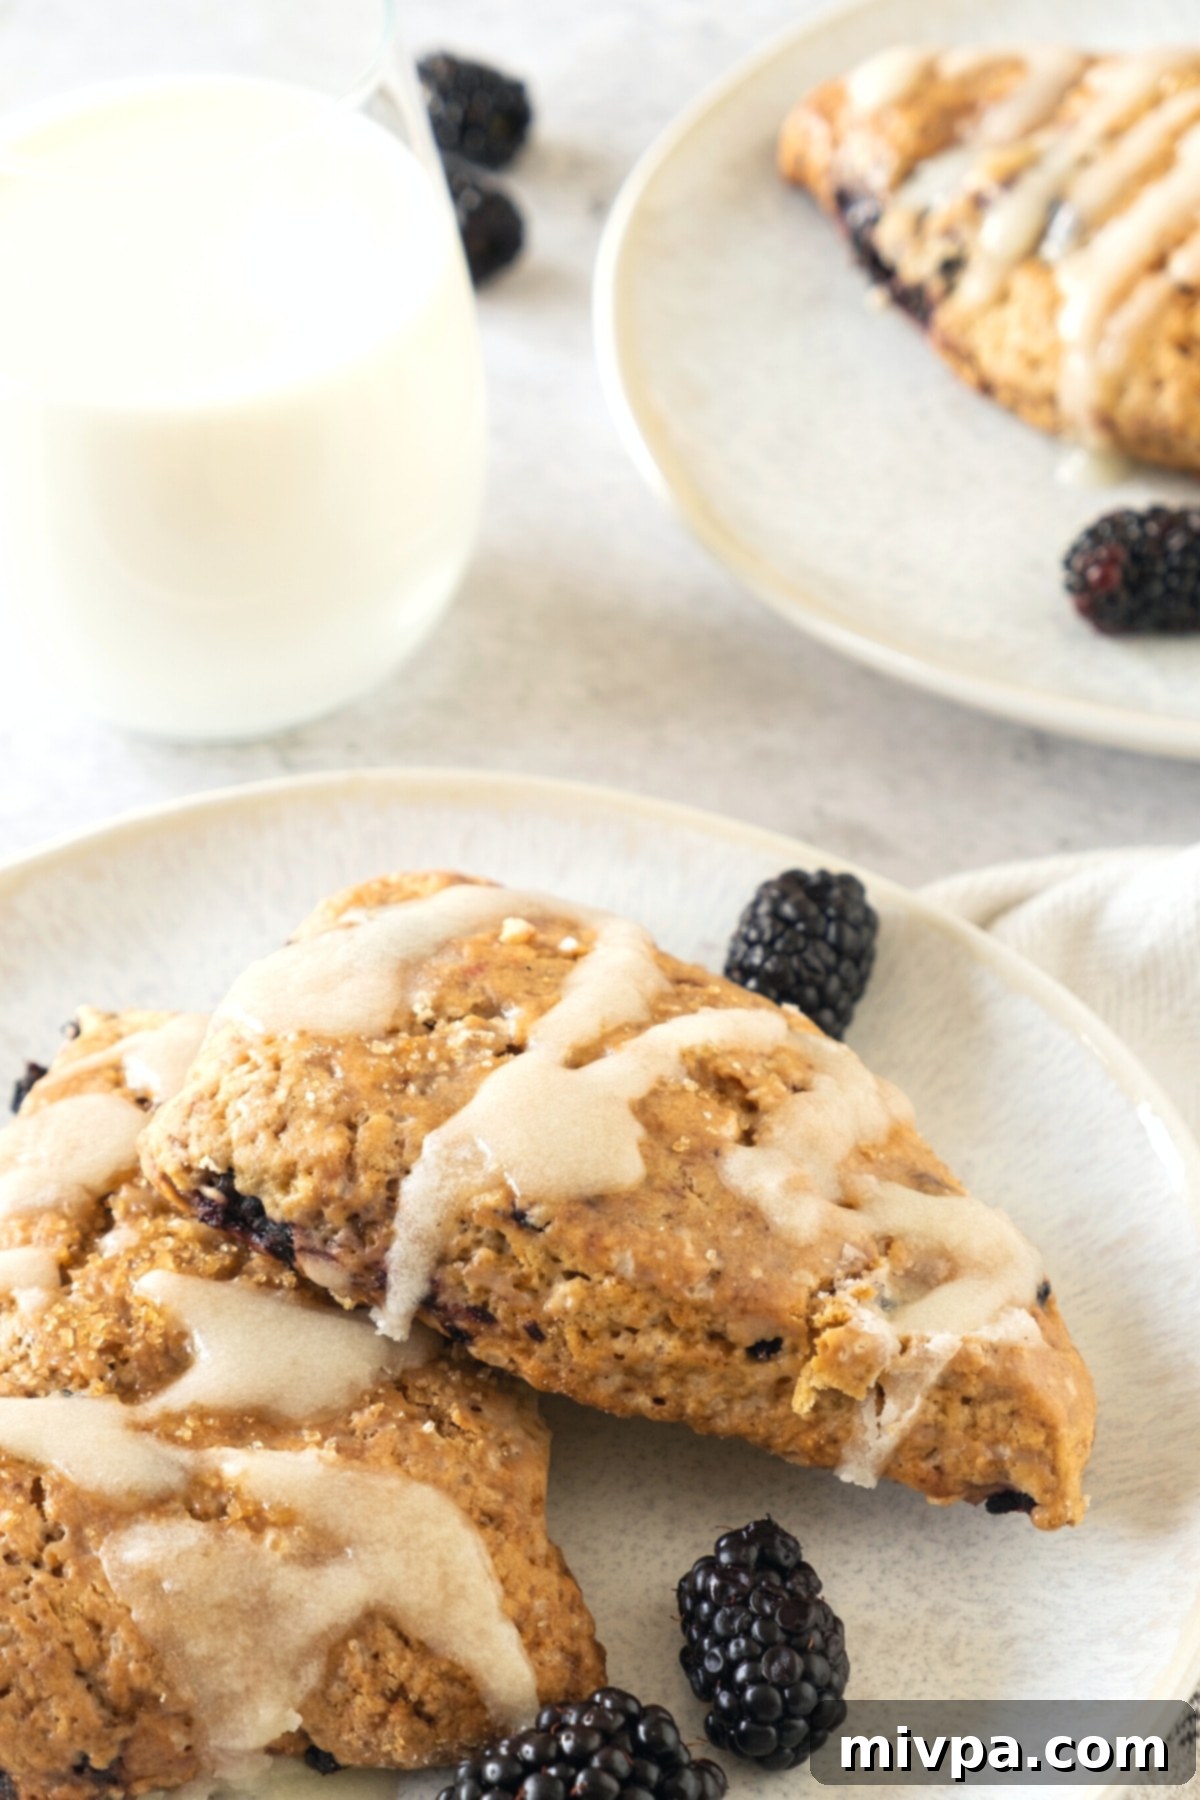
Prepare to be enchanted by these utterly delicious gluten-free blackberry scones! Each scone boasts a tender, flaky texture, bursting with juicy blackberries and a hint of lemon, all crowned with a simple yet irresistible sweet lemon glaze. As summer rolls in and blackberries reach their peak, there’s no better time to whip up a batch of these delightful treats. Not only are they incredibly flavorful, but they’re also 100% dairy-free, making them a fantastic option for those with dietary restrictions without compromising on taste. Whether you’re seeking the perfect summer breakfast, a satisfying afternoon snack, or an elegant dessert, these blackberry lemon scones are guaranteed to impress. Don’t wait – bake a batch today and savor the taste of summer!
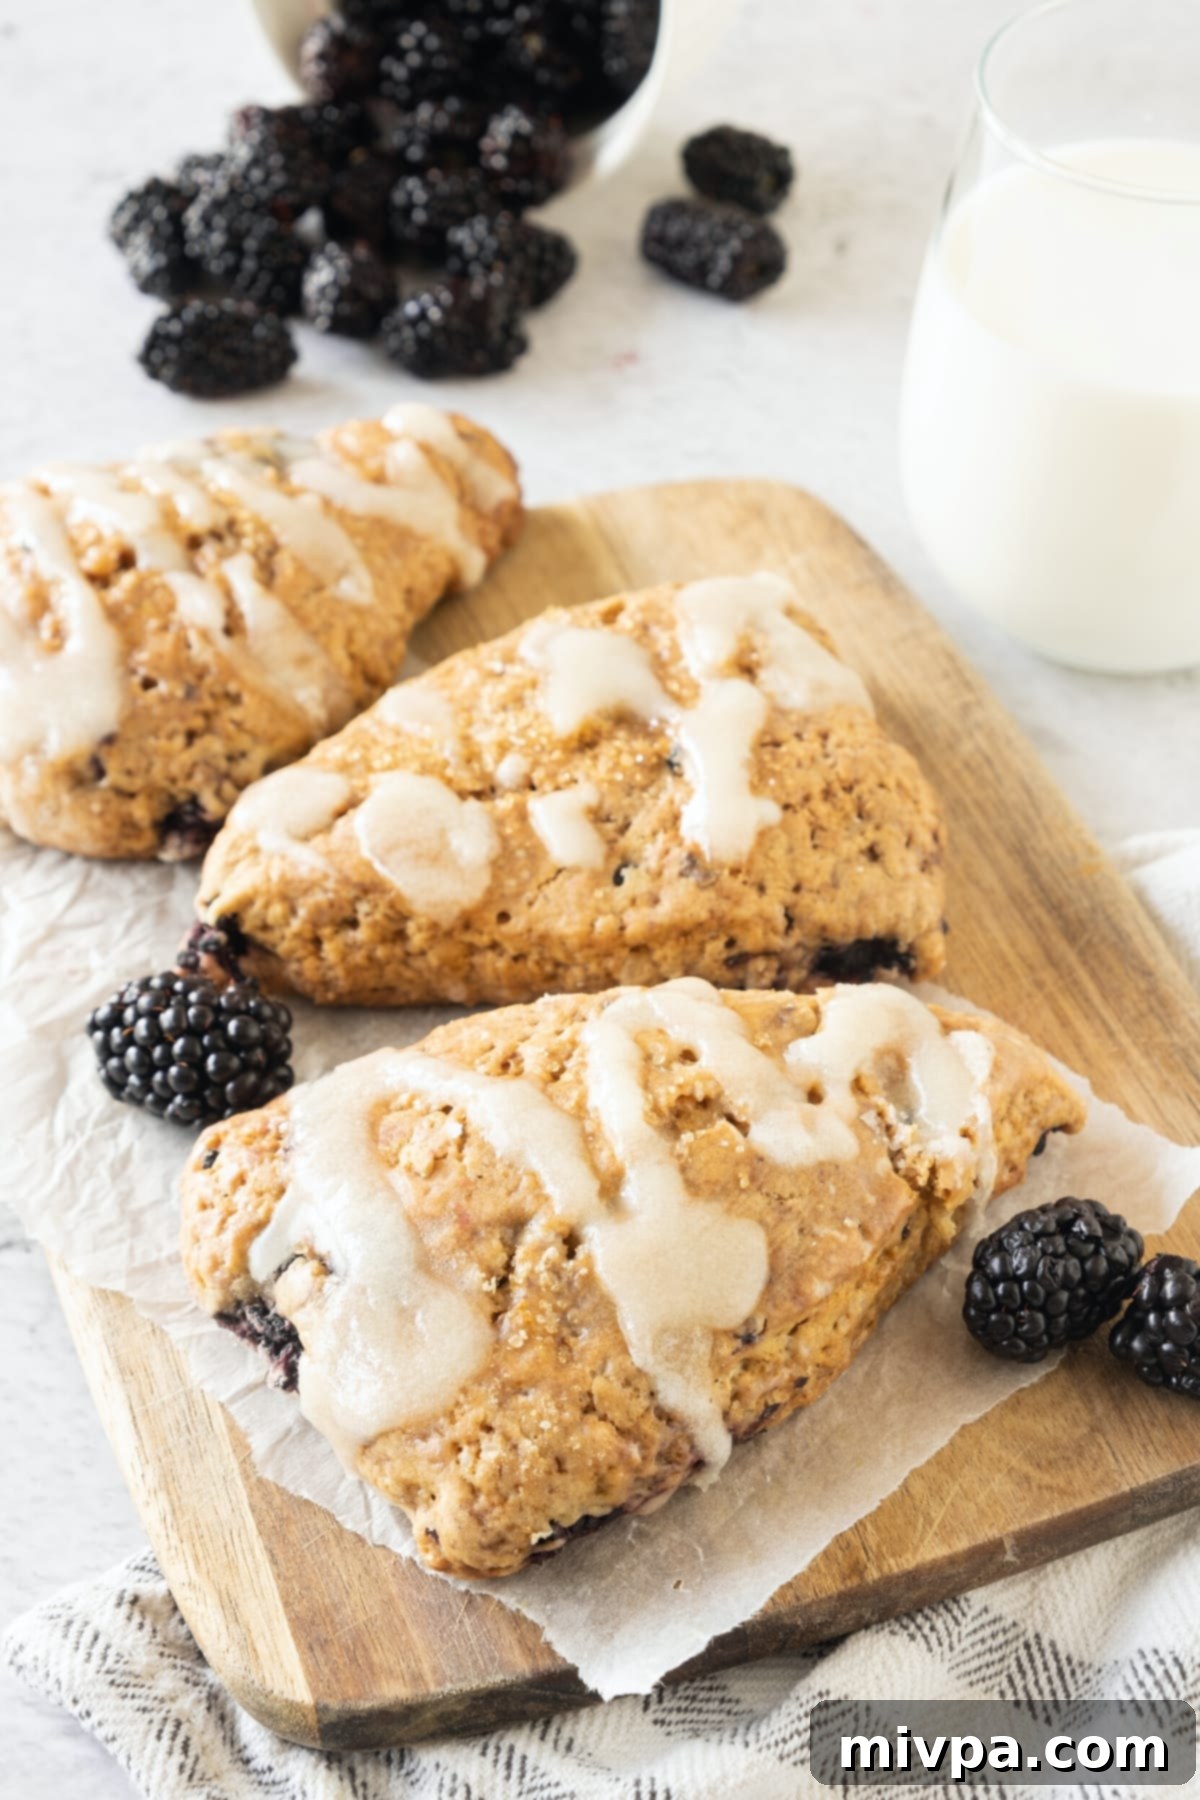
Embrace the Bounty of Blackberry Season!
There’s something truly magical about summer, and for many, it signals the arrival of prime blackberry season. Across the United States and Europe, these dark, plump berries are at their most abundant during July and August, with some early varieties making a debut in June. Unlike blueberries, which have become a year-round staple in many grocery stores, blackberries retain their seasonal charm, making their fleeting appearance a special occasion.
So, when these luscious black beauties arrive, seize the opportunity to enjoy them in every possible way! Pop them fresh off the vine (or from the punnet!), transform them into a vibrant blackberry jam, bake them into light and fluffy blackberry muffins, or enjoy them nestled in a warm blackberry cobbler. And, of course, you absolutely must try making a batch of these incredible gluten-free blackberry scones.
Expert Tip for Perfect Blackberries: When selecting your berries, whether you’re foraging at a local farm or choosing them at the market, look for deep, dark black and plump berries. These are signs of ripeness and will ensure the sweetest, juiciest flavor for your scones!
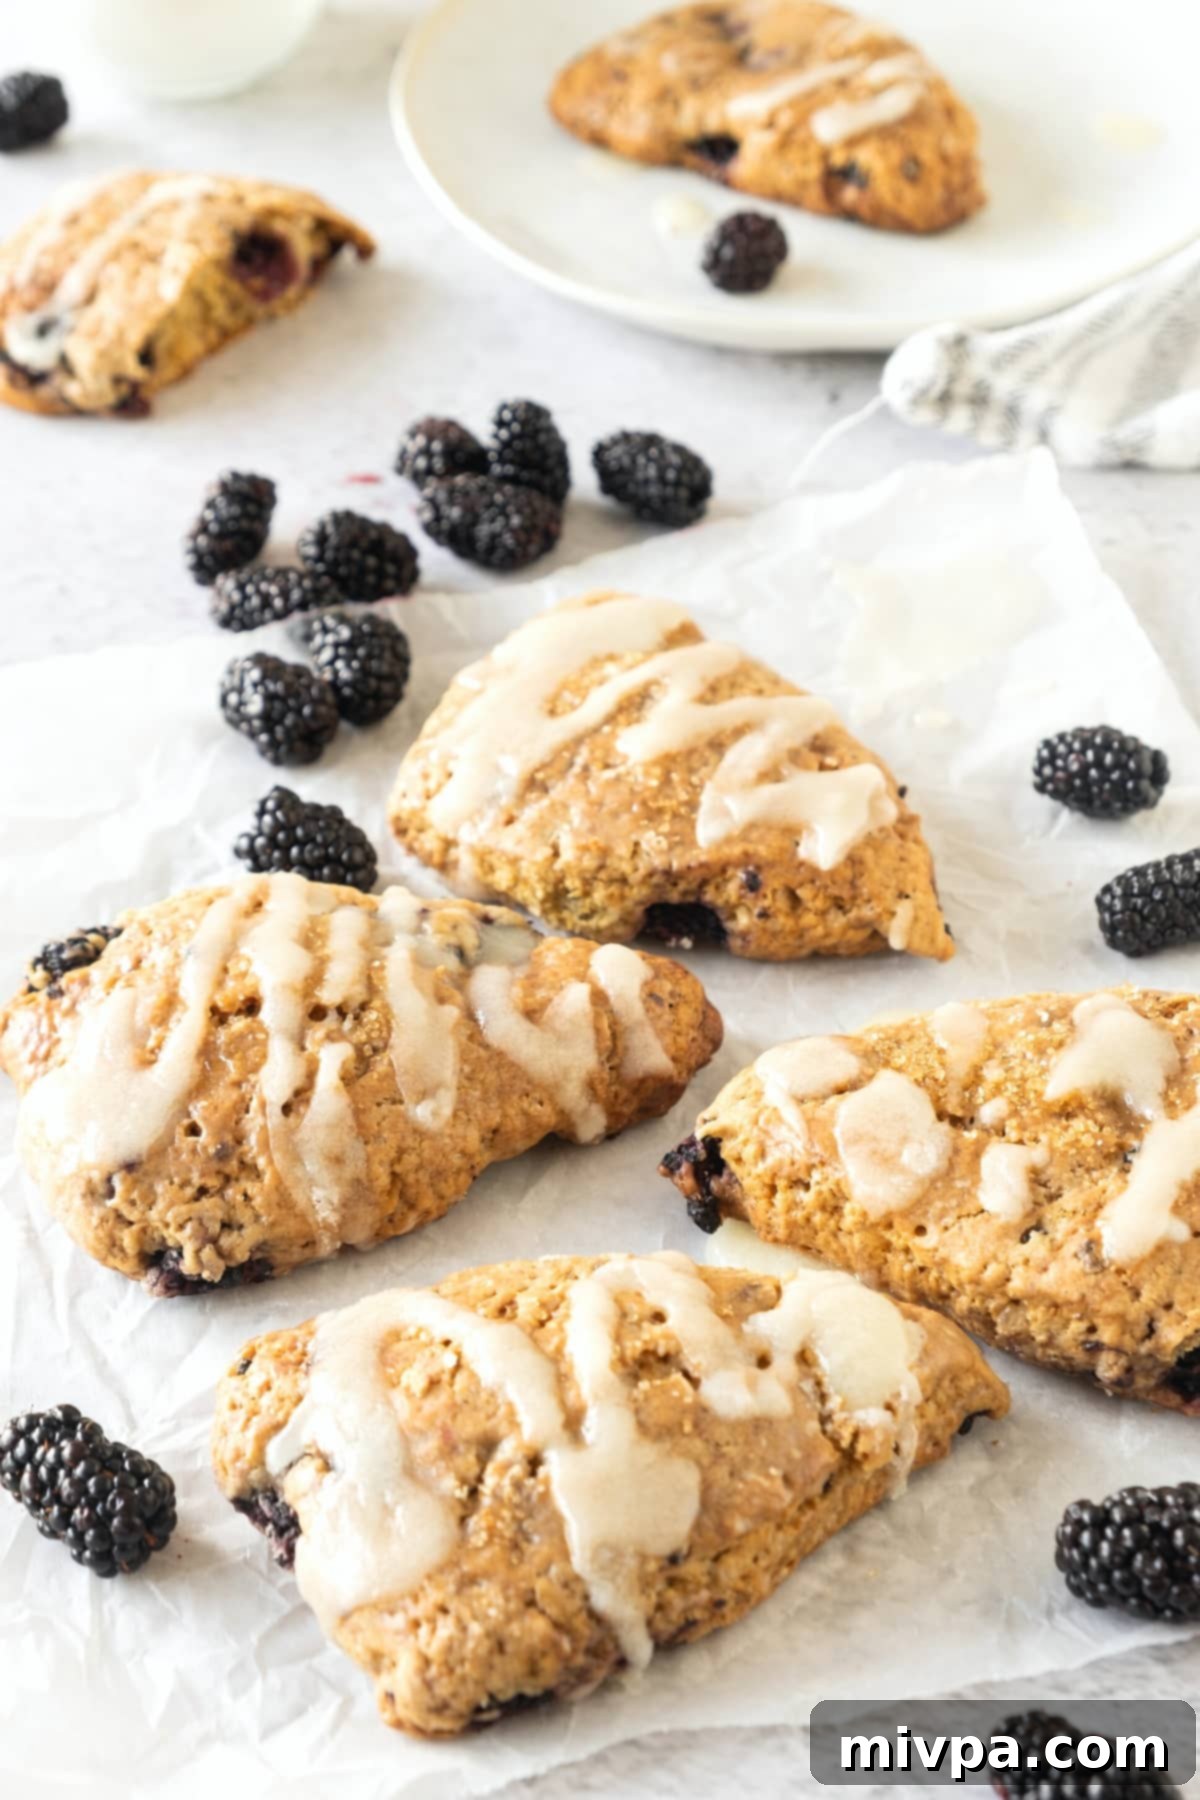
Why You’ll Love This Gluten-Free Scone Recipe:
This recipe for gluten-free and dairy-free blackberry lemon scones stands out for several compelling reasons:
- Simple, Accessible Ingredients: You won’t need to hunt for exotic items to make these delightful scones. All the ingredients, from the gluten-free flour blend to the fresh blackberries, are readily available at your local grocery store. This makes the baking process stress-free and enjoyable, proving that delicious gluten-free baking doesn’t require specialty shops.
- Incredibly Easy to Make: Don’t be intimidated by baking scones! This recipe is designed for simplicity. The process involves just a few straightforward steps: combining wet and dry ingredients to form a soft dough, gently folding in the vibrant blackberries, chilling the dough to ensure perfect texture, and then cutting and baking. It’s a beginner-friendly recipe that yields impressive results every time.
- Completely Gluten-Free & Dairy-Free: This is truly the best part for many! These blackberry lemon scones are crafted to be 100% gluten-free and dairy-free. This means that individuals with Celiac disease, gluten sensitivities, or lactose intolerance can indulge in these flaky, tender treats without any worries. We’ve mastered the balance of ingredients to ensure they taste just as good, if not better, than traditional scones.
- Perfect Balance of Sweet and Tart: The natural sweetness of ripe blackberries beautifully complements the bright, zesty notes of lemon, creating a harmonious flavor profile that’s both refreshing and comforting. The optional lemon glaze adds an extra layer of sweetness and tang, elevating the overall experience.
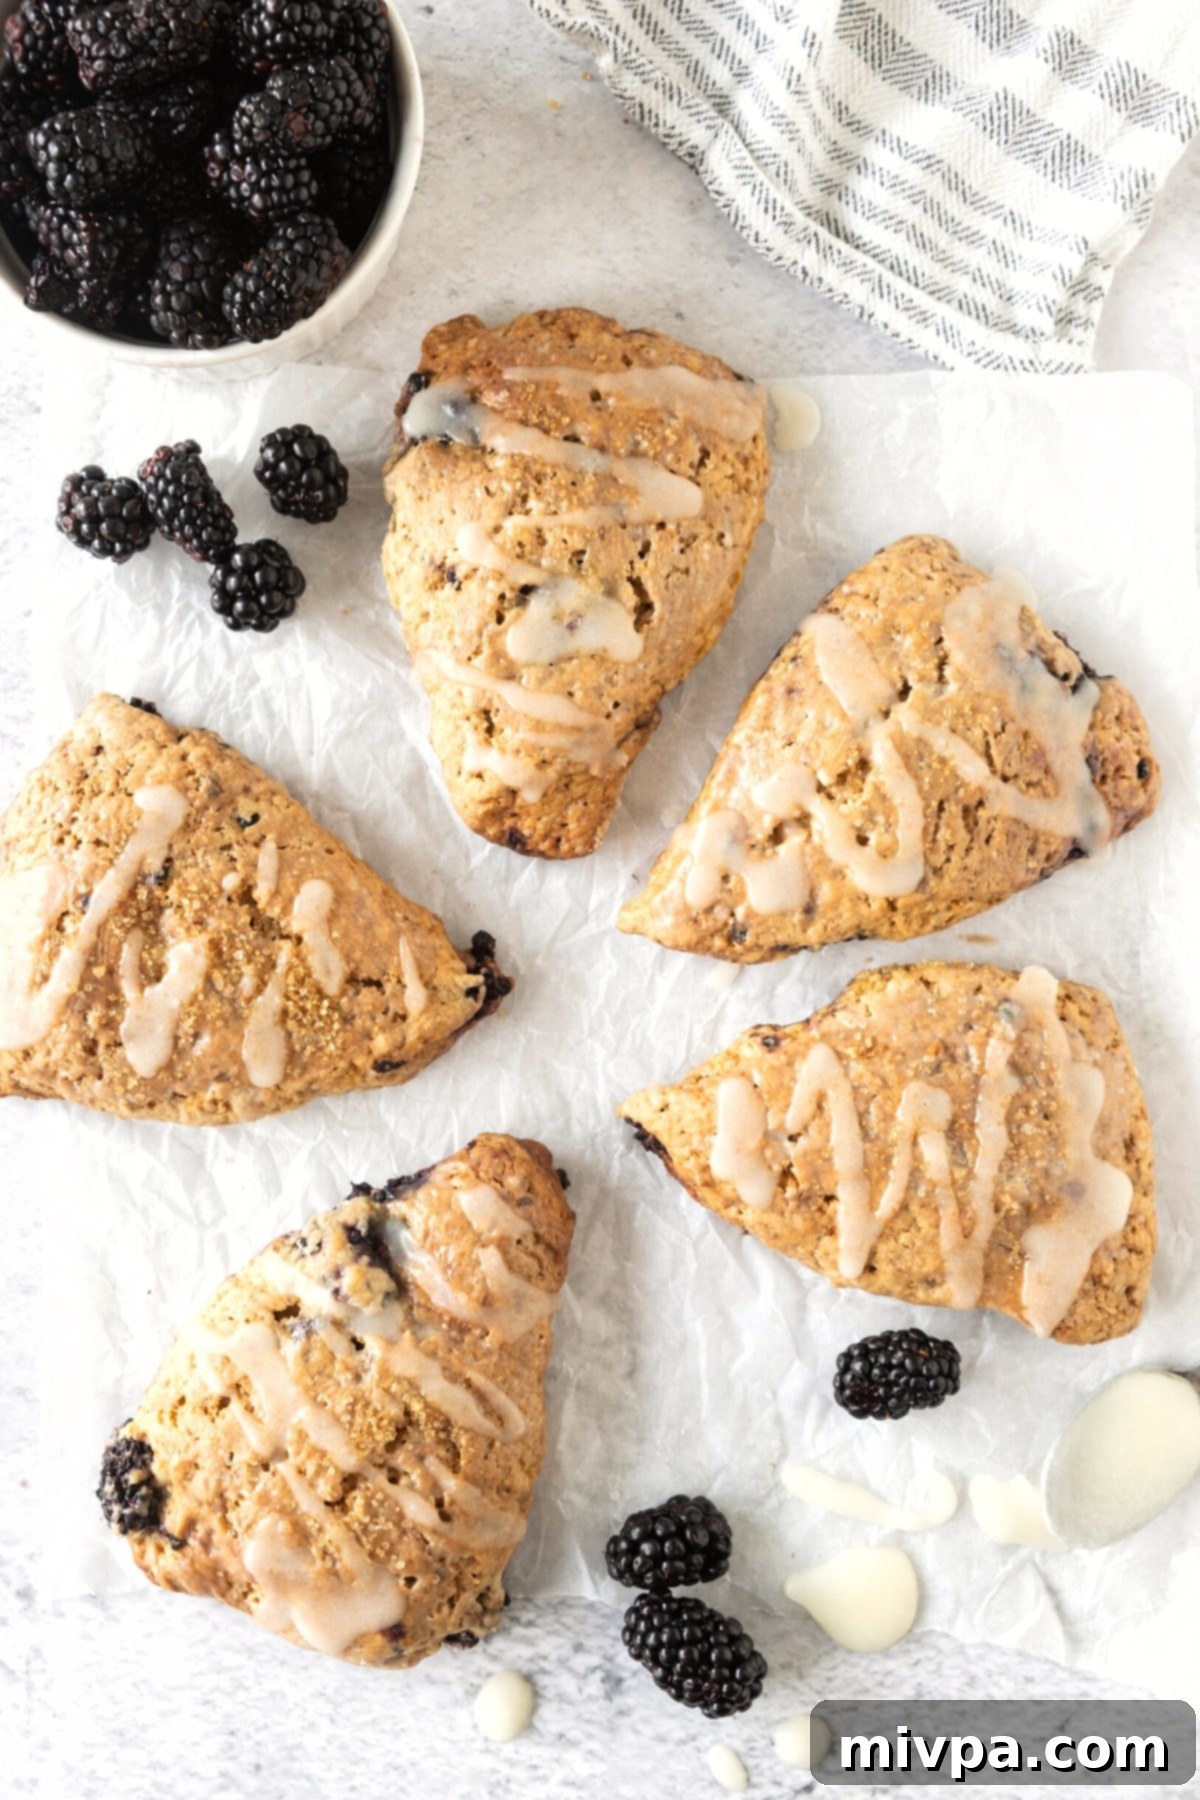
Gather Your Ingredients for These Delicious Scones:
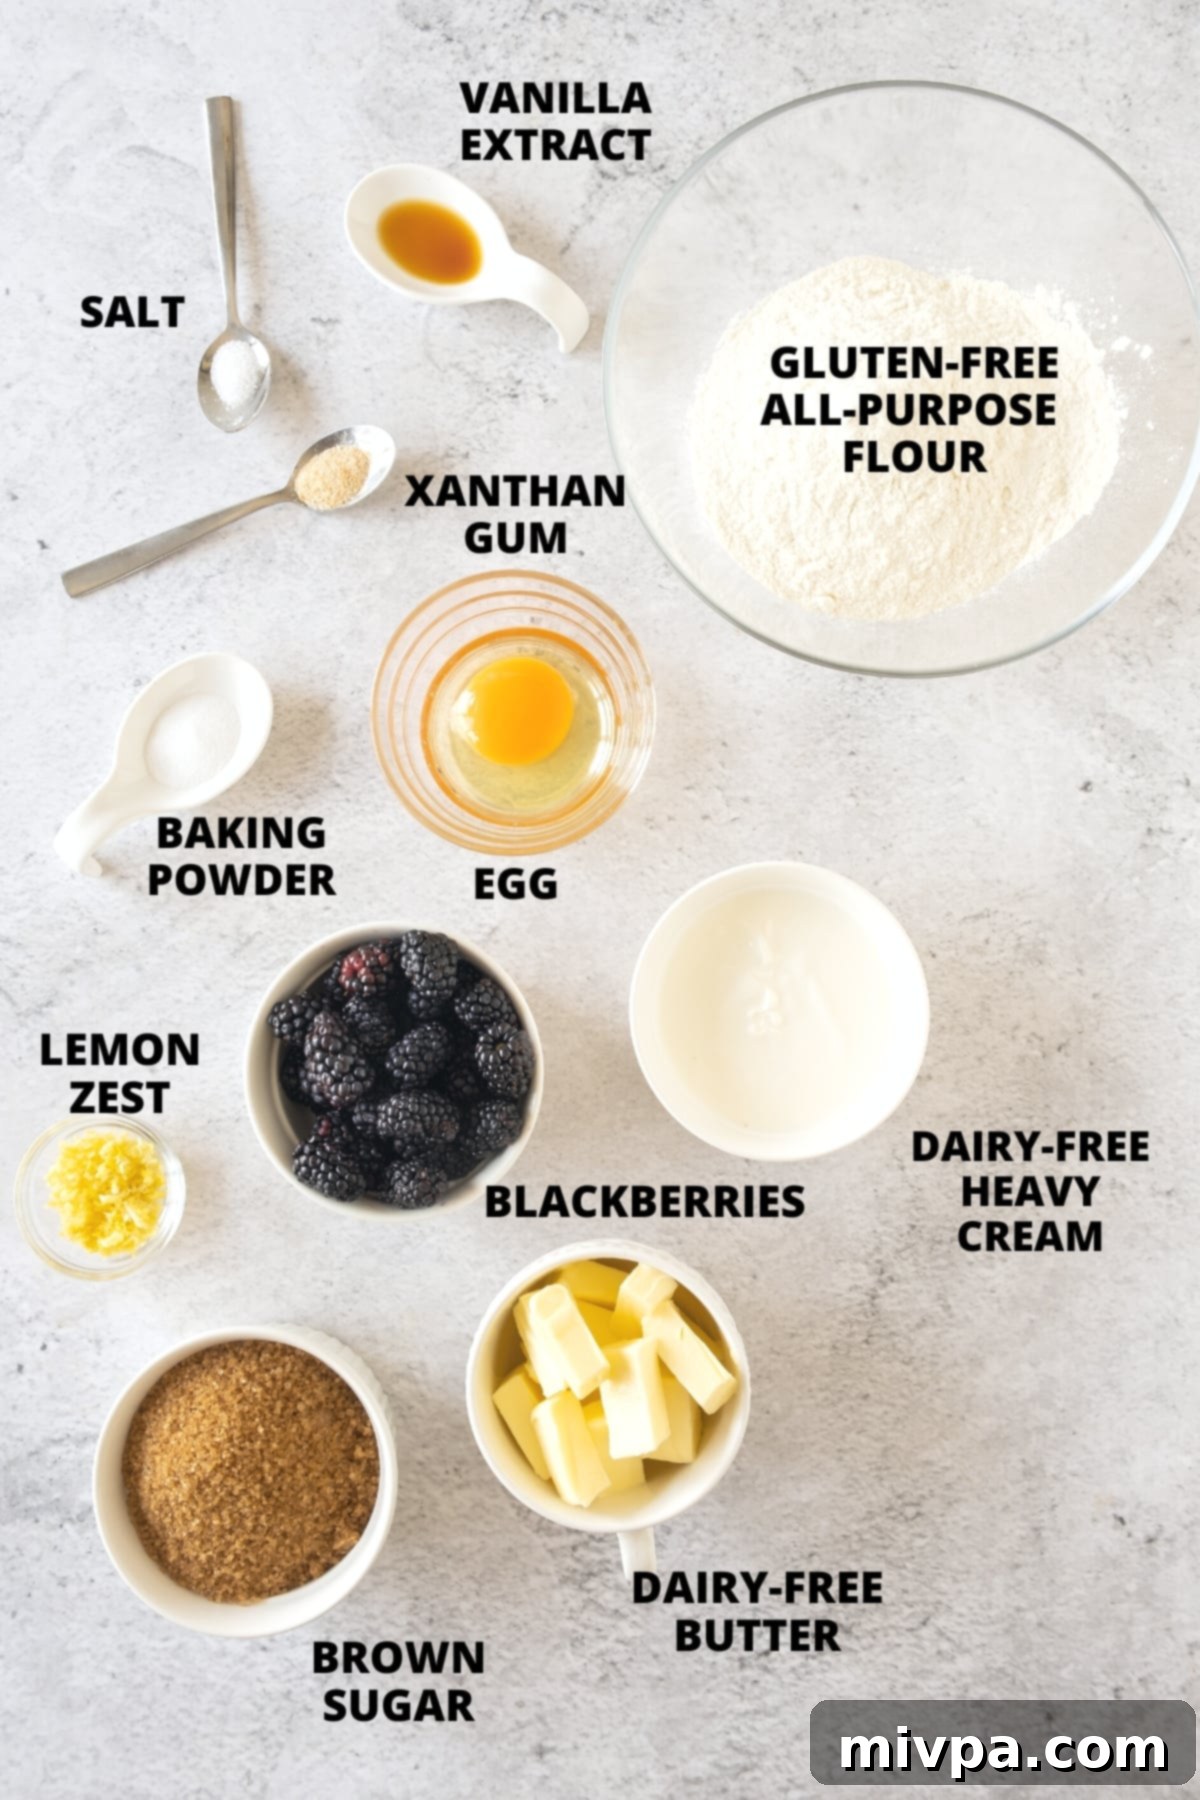
To help you visualize what you’ll need for these delightful gluten-free blackberry scones, here’s a quick overview. Most of these items are pantry staples or easily found at your local market!
(For the precise measurements and a convenient printable version of the full recipe, please scroll down to the printable recipe card located at the very end of this post.)
For the Blackberry Scones:
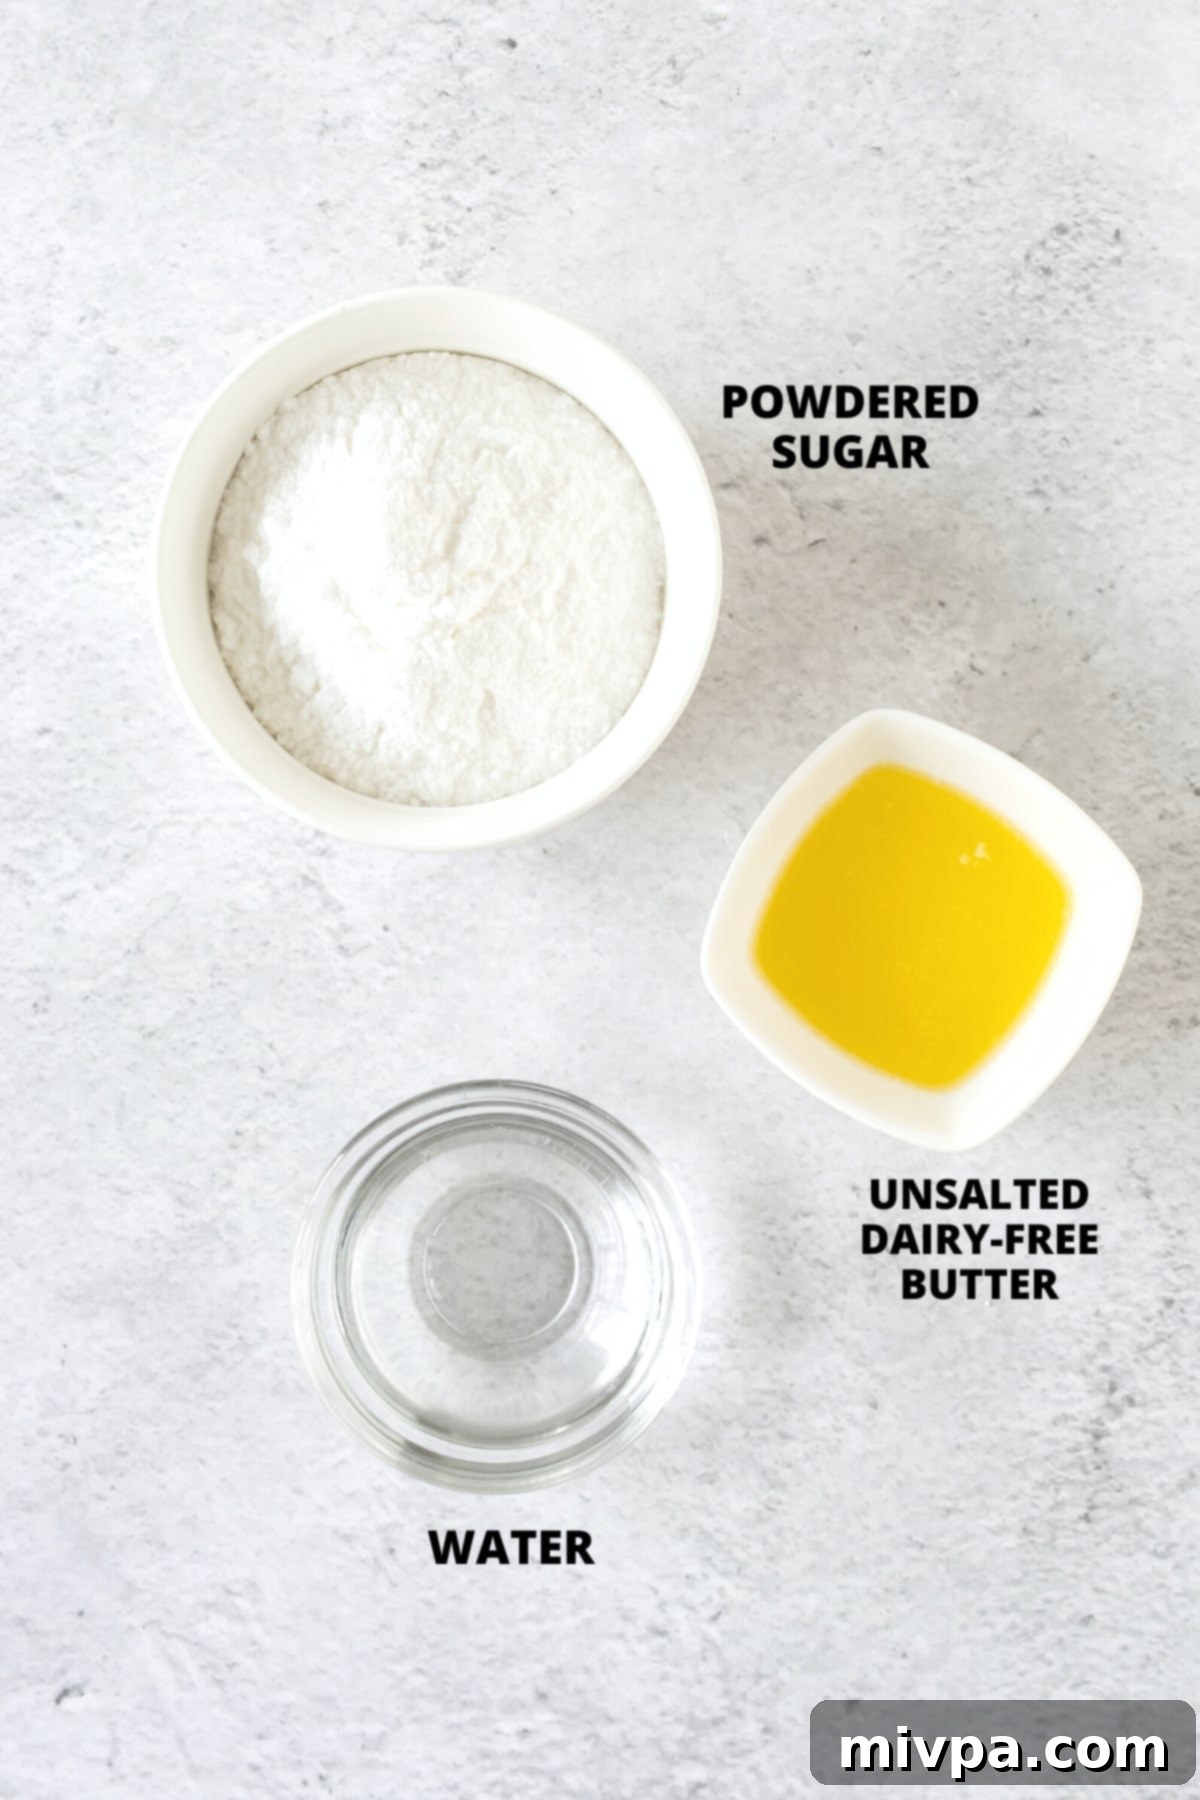
For the Optional Icing:
Recipe Notes & Expert Substitutions:
To ensure your gluten-free blackberry scones turn out perfectly every time, here are some important notes and potential substitutions:
- Gluten-Free All-Purpose Flour: The type of gluten-free flour blend you use makes a significant difference in the final texture of your scones. For a light, tender crumb, it’s crucial to use a high-quality gluten-free all-purpose flour blend that primarily consists of lighter flours and starches, such as rice flour, tapioca starch, corn starch, or potato starch. Avoid blends that are heavy in bean flours (like garbanzo bean flour), as these can result in a denser, sometimes gritty texture that isn’t ideal for scones. Always measure your flour by weight for the most accurate results, as scooping can pack too much into your measuring cup.
- Xanthan Gum: This ingredient is vital in gluten-free baking as it mimics the elasticity and binding properties of gluten. If your chosen gluten-free flour blend does not already list xanthan gum in its ingredients, it is highly recommended to add the specified amount. It prevents your scones from being crumbly and helps them hold their shape beautifully.
- Brown Sugar: We love the subtle caramel notes and moisture that dark brown sugar provides. However, you have flexibility here. Feel free to use cane sugar, light brown sugar, or even coconut sugar as a 1:1 substitute. For those managing blood sugar levels, granulated monkfruit sweetener is an excellent zero-glycemic index option that functions as a 1:1 sugar replacement.
- Baking Powder: As the primary leavening agent in this recipe, baking powder is essential for creating light, airy scones that rise beautifully. Do not skip this! For those with Celiac disease or severe gluten intolerance, ensure you select a certified gluten-free baking powder to avoid any hidden gluten.
- Dairy-Free Butter: To keep these scones perfectly dairy-free, we recommend using a good quality unsalted dairy-free butter (often labeled as vegan butter). Its texture and flavor are very similar to regular butter, making it an ideal substitute. Alternatively, coconut oil (solid, cold) can also be used, though it might impart a very subtle coconut flavor. If you are not lactose intolerant, feel free to use unsalted regular butter in the same quantity.
- Heavy Cream: Just like with butter, we use dairy-free heavy cream to maintain the dairy-free integrity of the recipe. This ensures the rich, moist texture synonymous with classic scones. For those without dairy restrictions, regular heavy cream can be used interchangeably.
- Egg: The egg plays a crucial role in binding the ingredients, adding moisture, and contributing to the scone’s structure. It’s recommended to include it for the best results. Please note that this recipe has not been tested with egg substitutes, so we cannot guarantee the outcome if omitted.
- Lemon Zest: For the brightest and most aromatic lemon flavor, always use freshly grated lemon zest. The oils in the zest are where most of the citrus flavor resides. If you don’t have lemons, orange zest can be a lovely alternative, offering a slightly different but equally delicious citrus note.
- Vanilla Extract: A touch of vanilla extract enhances the overall flavor profile of the scones, adding warmth and depth. It’s a small addition that makes a big difference.
- Blackberries: While fresh, ripe blackberries are absolutely divine when in season, you can certainly use frozen blackberries if fresh ones are unavailable. If opting for frozen berries, it’s essential to defrost them completely first and then gently drain any excess liquid. Pat them dry with a paper towel before folding them into the dough to prevent introducing too much moisture, which could affect the scone’s texture.
- Powdered Sugar for Icing: Powdered sugar (also known as icing sugar or confectioner’s sugar) is key for a smooth, lump-free glaze due to its fine texture. It dissolves easily when combined with the melted butter and water. For a sugar-free alternative that’s suitable for diabetics or those on low-carb diets, powdered monkfruit sweetener works wonderfully as a 1:1 substitute without raising blood sugar levels.
- Water for Icing: Filtered water is perfectly fine for the icing. However, to enhance the lemon flavor, you can substitute a small amount of fresh lemon juice for some or all of the water. This will give your glaze an extra zesty kick!
How to Make Gluten-Free Blackberry Scones (Step by Step Visual Guide):
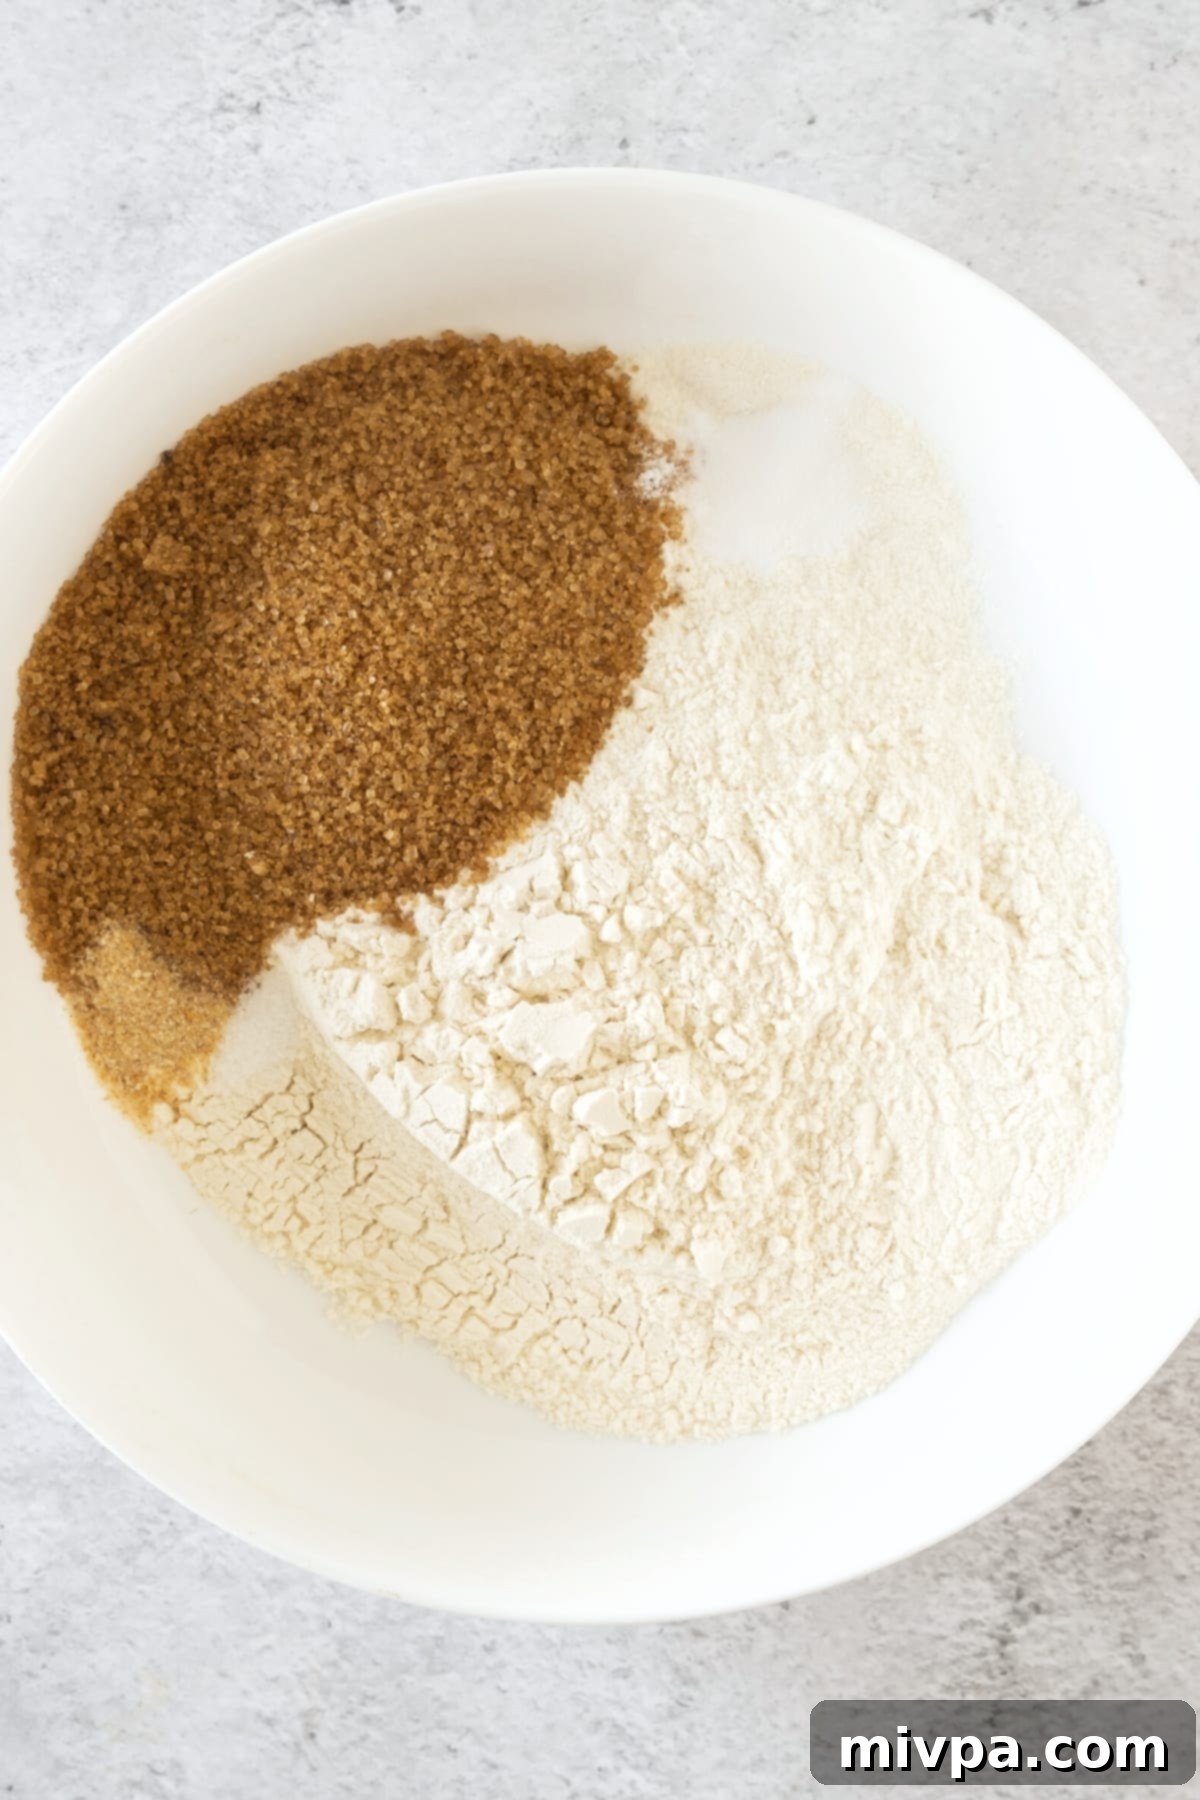
1. Whisk Dry Ingredients
In a spacious large mixing bowl, combine your gluten-free all-purpose flour, light brown sugar, baking powder, and a pinch of salt. Whisk these dry ingredients thoroughly until they are uniformly combined. This step ensures an even distribution of leavening agents and flavor throughout your scones.
2. Cut Cold Butter into Flour Mixture
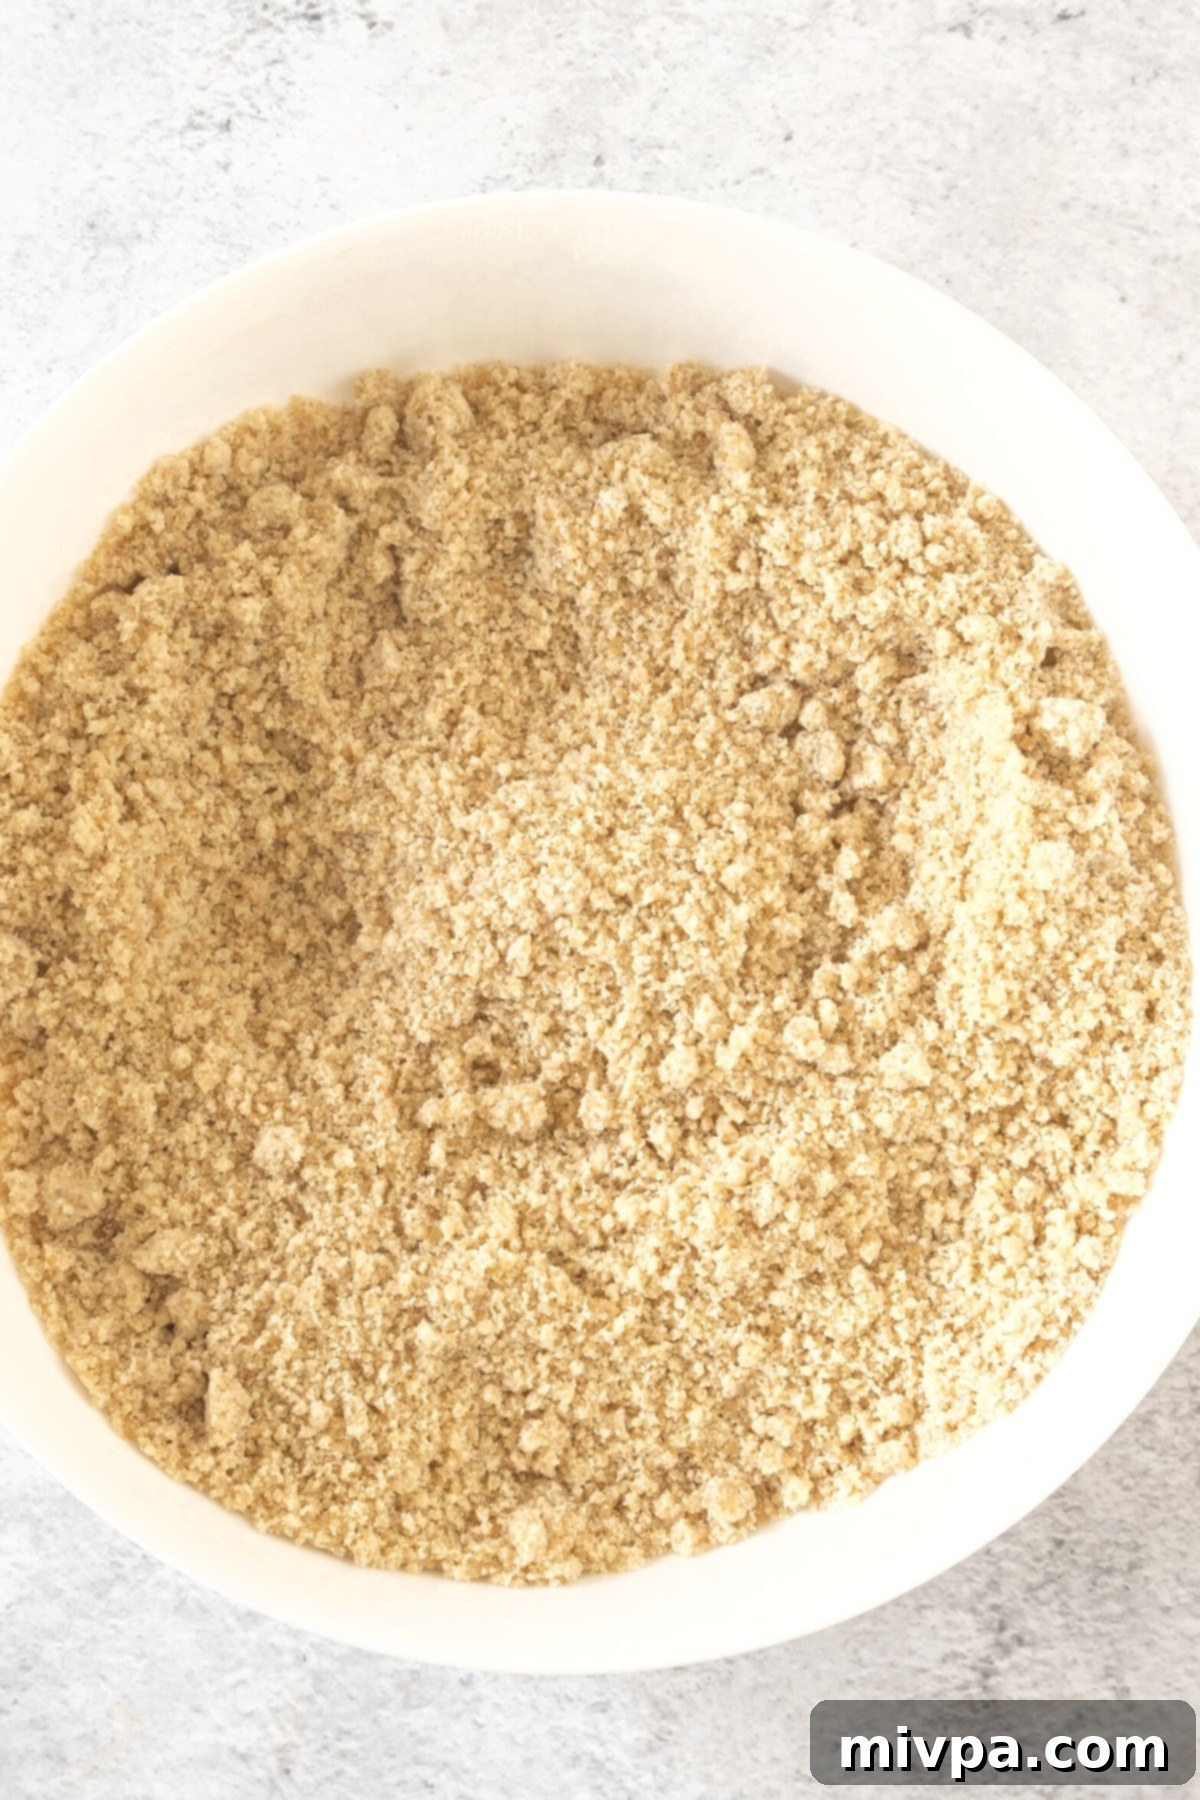
Using a pastry cutter, two knives, or even your fingertips, work the cubed, cold dairy-free butter into the dry flour mixture. Continue until the mixture resembles coarse wet sand with small pea-sized butter pieces. The key here is to keep the butter as cold as possible to create flaky layers in the final scone.
3. Whisk Wet Ingredients
In a separate medium-sized bowl, whisk together the dairy-free heavy cream, beaten egg, fragrant lemon zest, and a splash of vanilla extract. Whisk until all ingredients are well combined and smooth. This prepares your liquid components to be incorporated into the dry mixture.
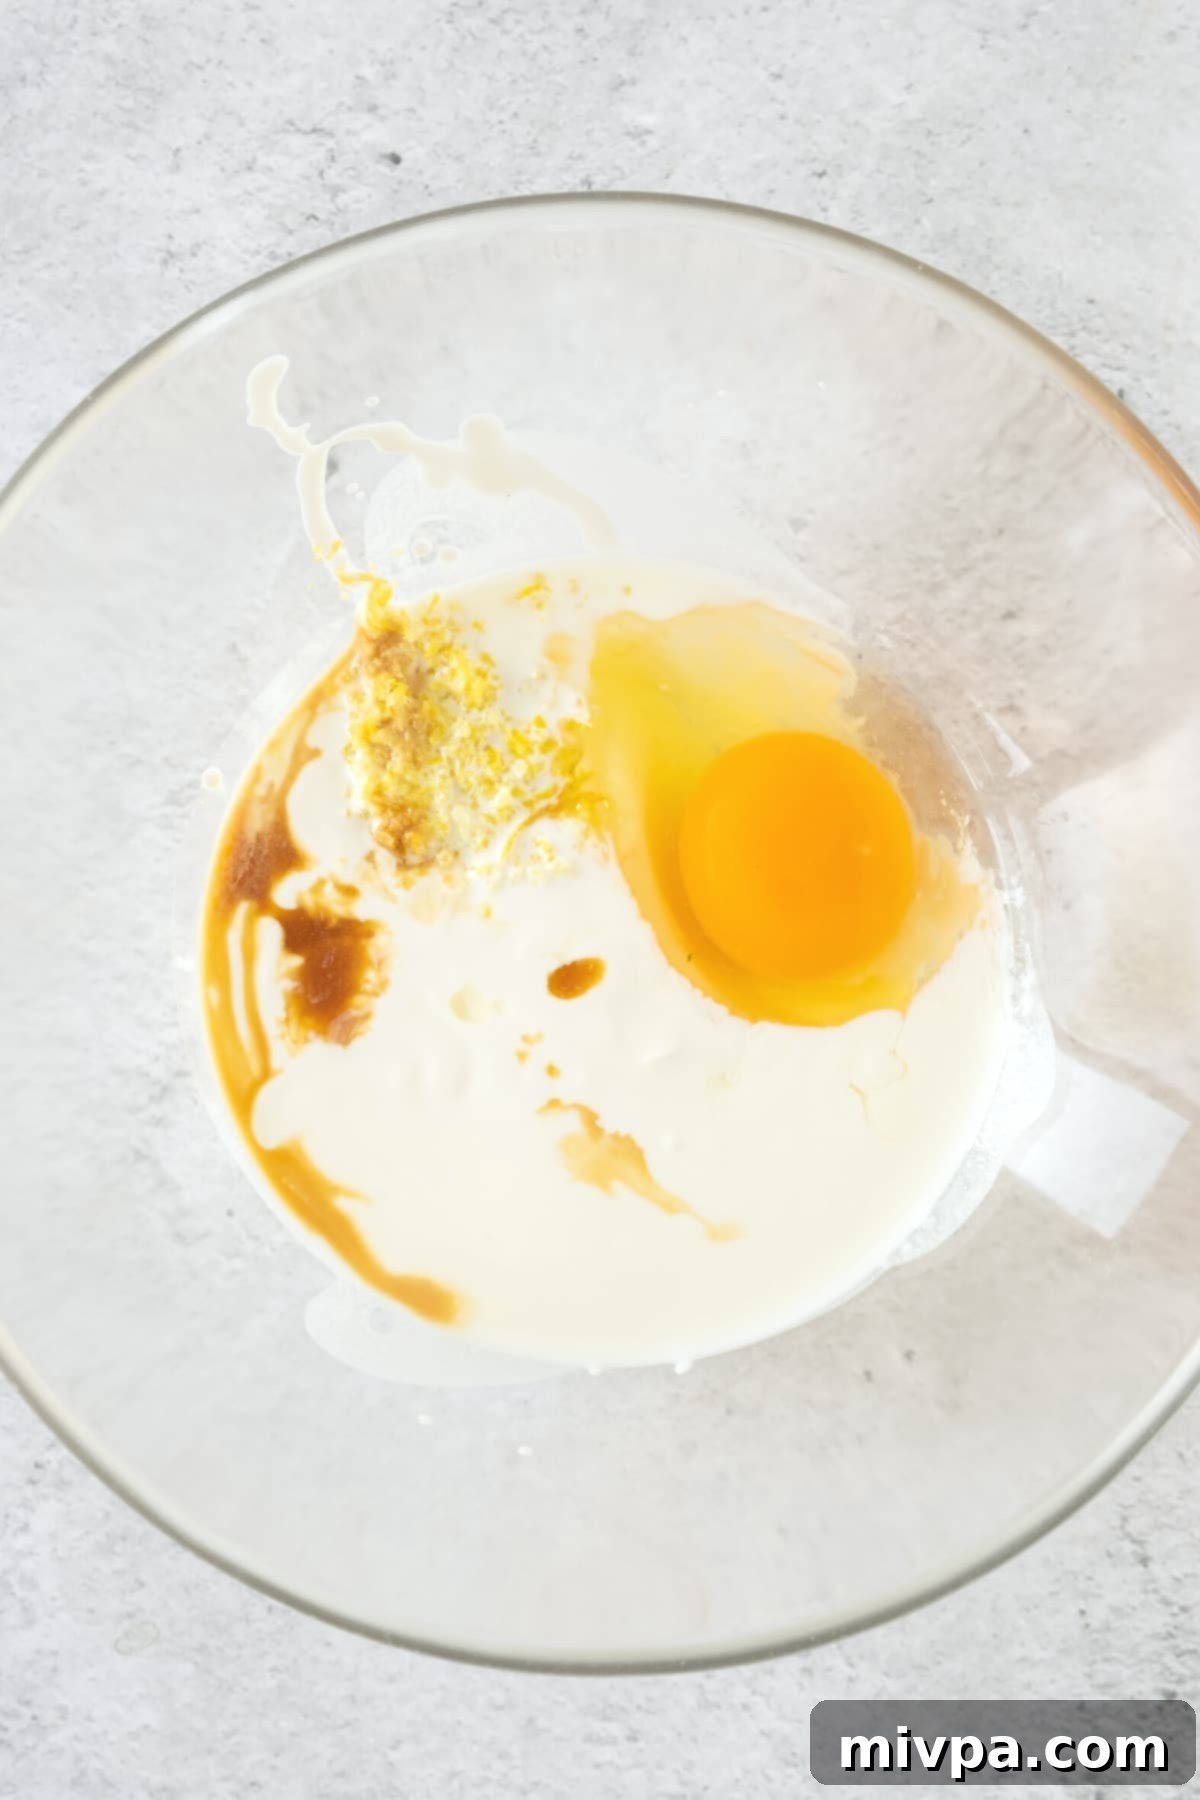
4. Add Wet Ingredients to Dry Ingredients
Pour the whisked liquid ingredients into the bowl containing the dry flour and butter mixture. Mix gently until a cohesive dough forms. Don’t worry if the dough appears quite wet and sticky at this stage – this is a common characteristic of gluten-free scone dough and helps achieve a tender final product.
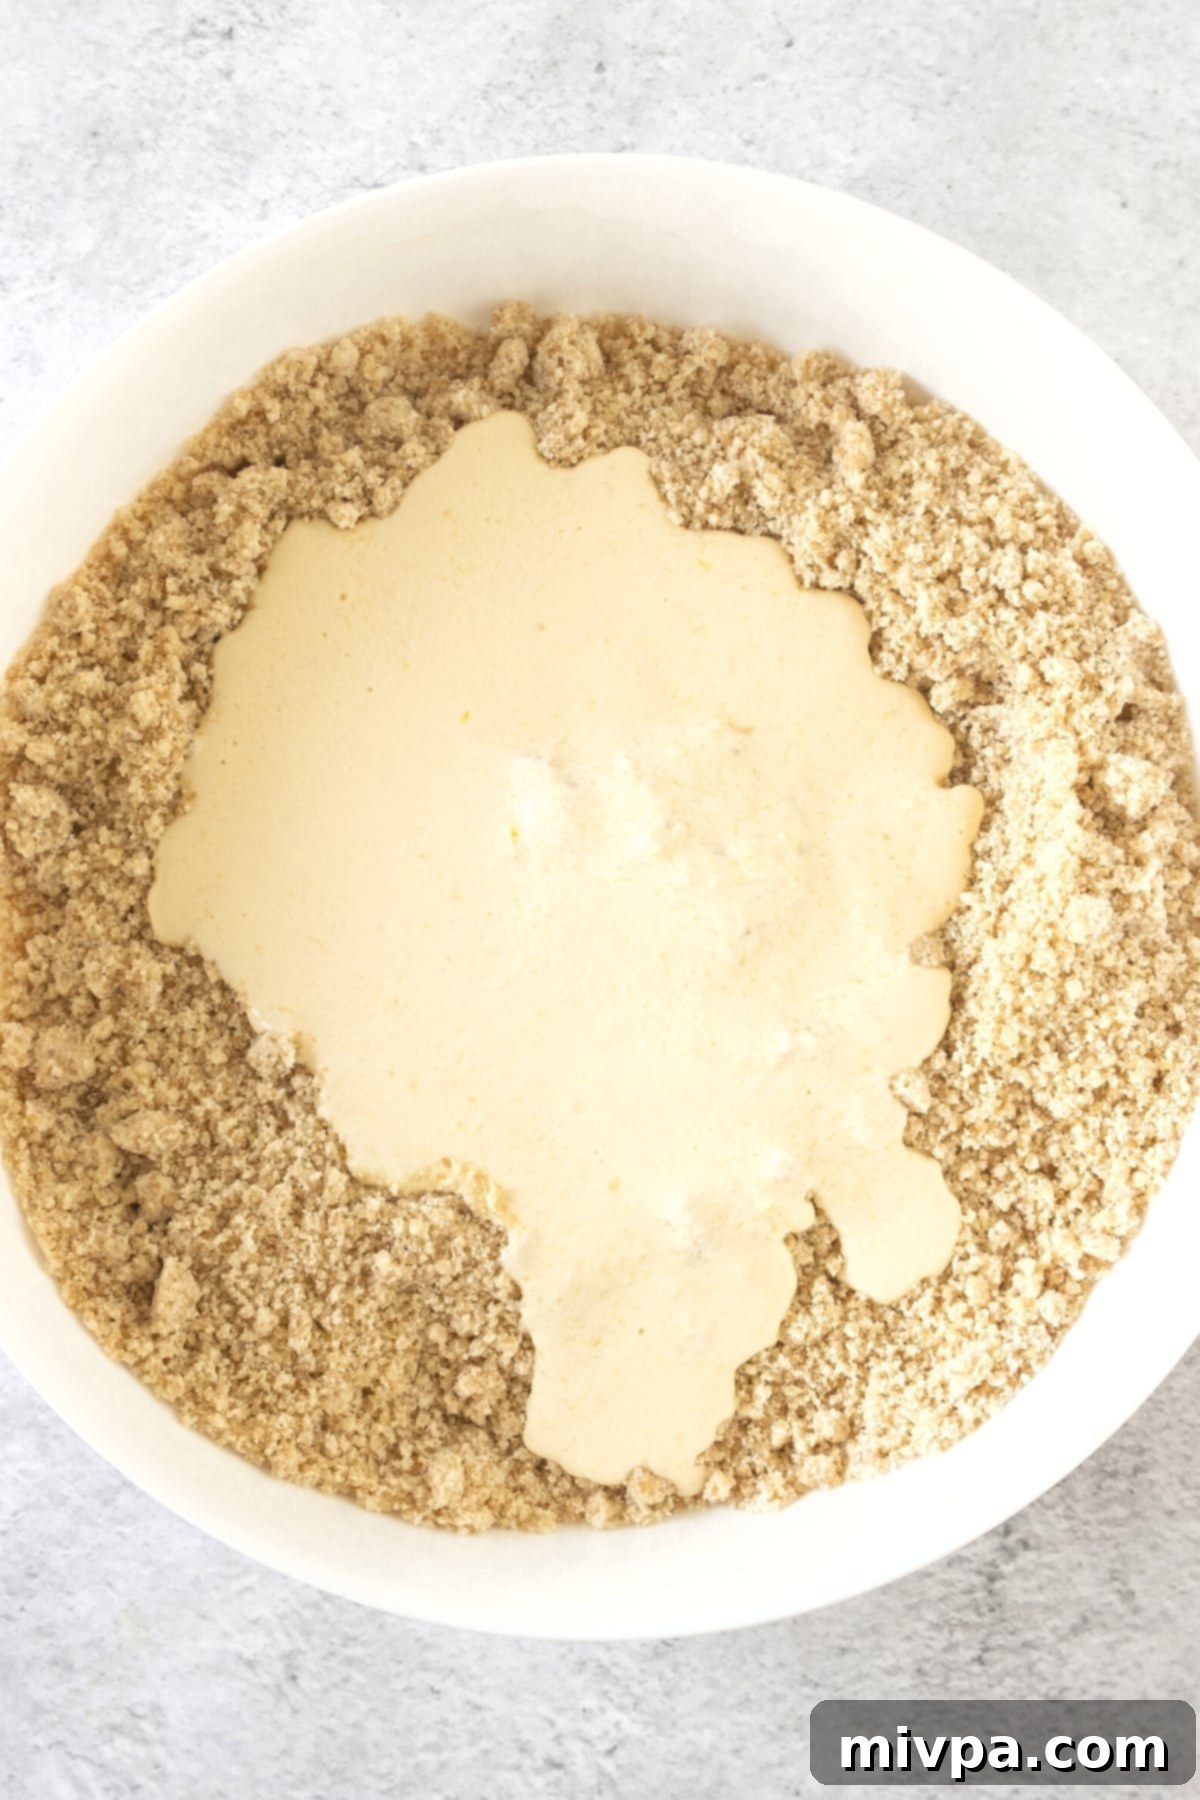
5. Fold in Blackberries
Add the fresh (or defrosted and drained) blackberries to the dough. Using a spatula, gently fold the berries into the dough until they are evenly distributed. Be careful not to overmix, as this can crush the delicate berries and stain the dough too much.
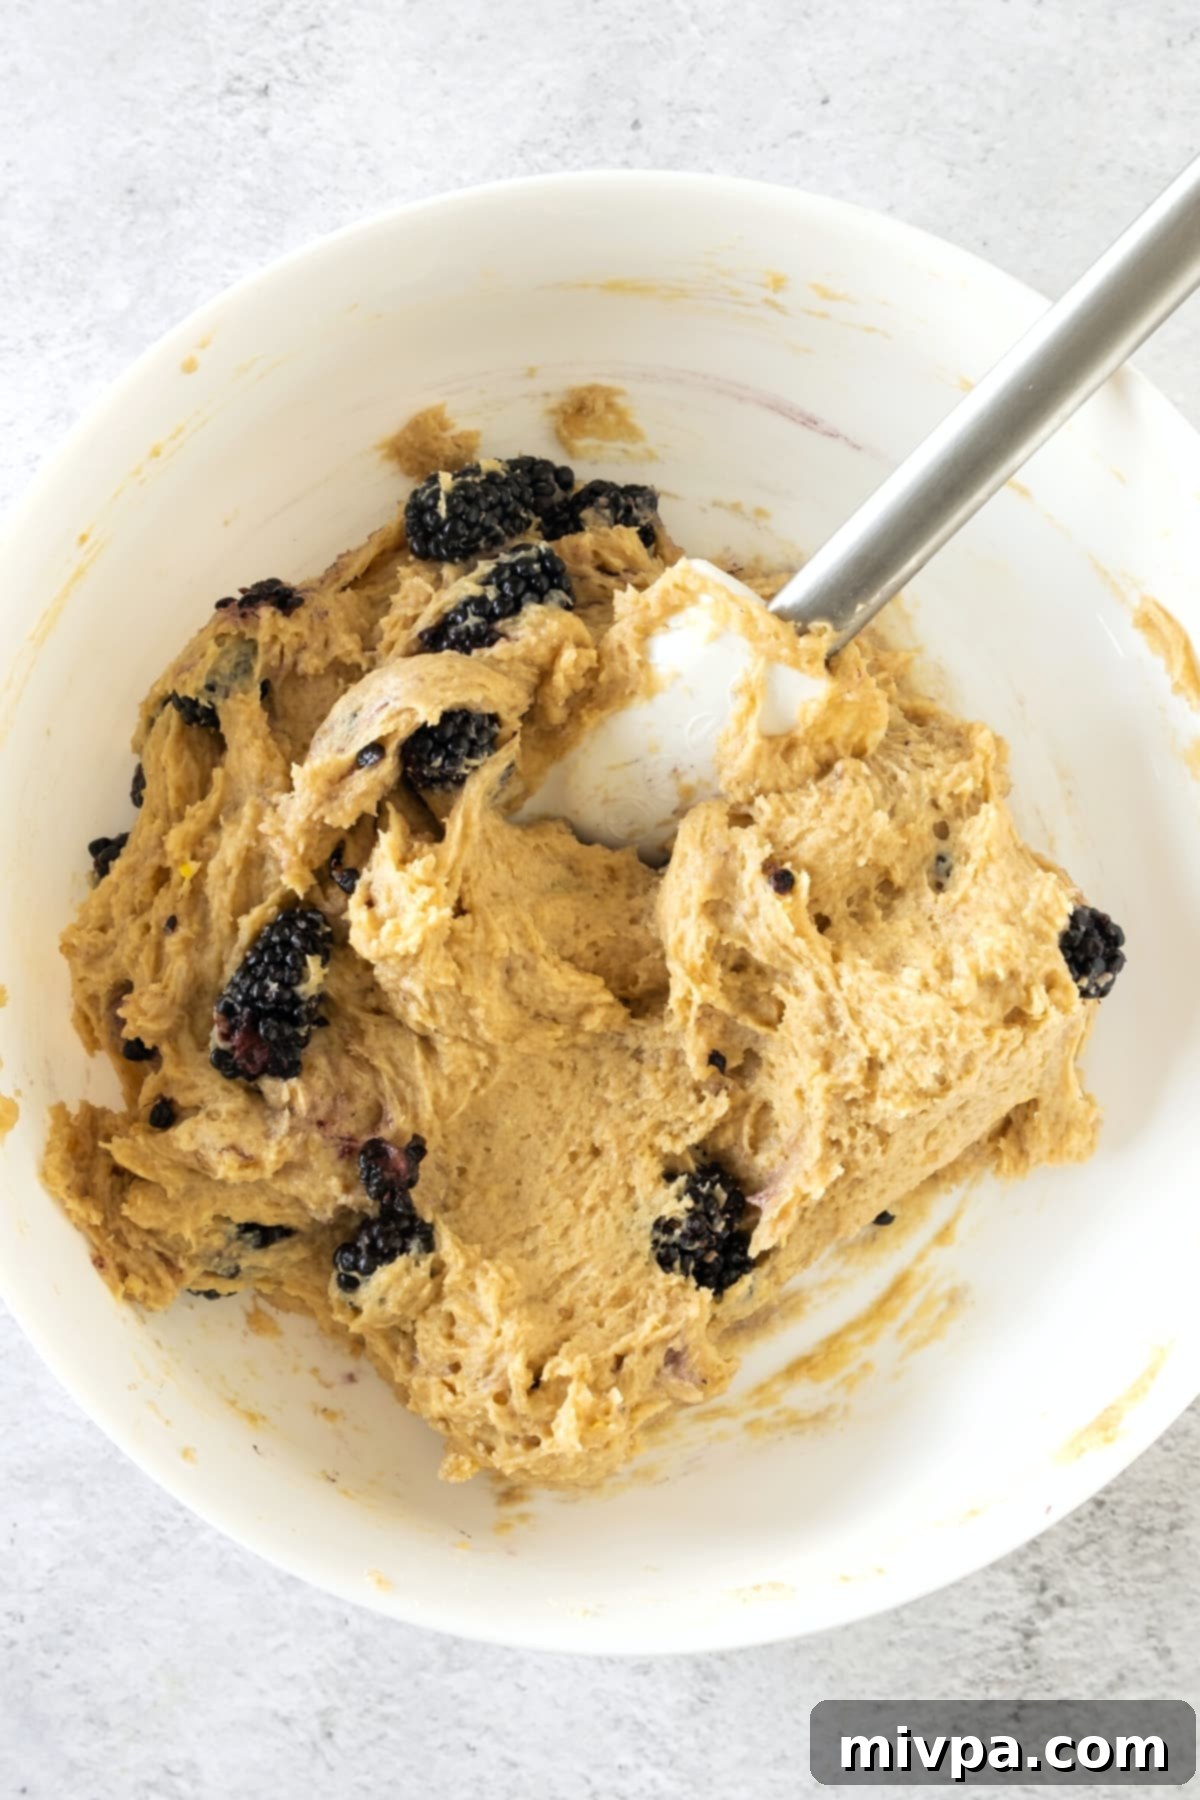
6. Shape Dough into a Ball
Lightly flour your hands with gluten-free flour. Carefully gather the dough and shape it into a small, round ball. Remember, gluten-free dough tends to be quite wet and sticky, so don’t be alarmed by the texture. A light dusting of flour on your hands will help manage it.
Quick Tip: The stickiness is normal for gluten-free scone dough and contributes to its tender final texture. Resist the urge to add too much extra flour to the dough itself!
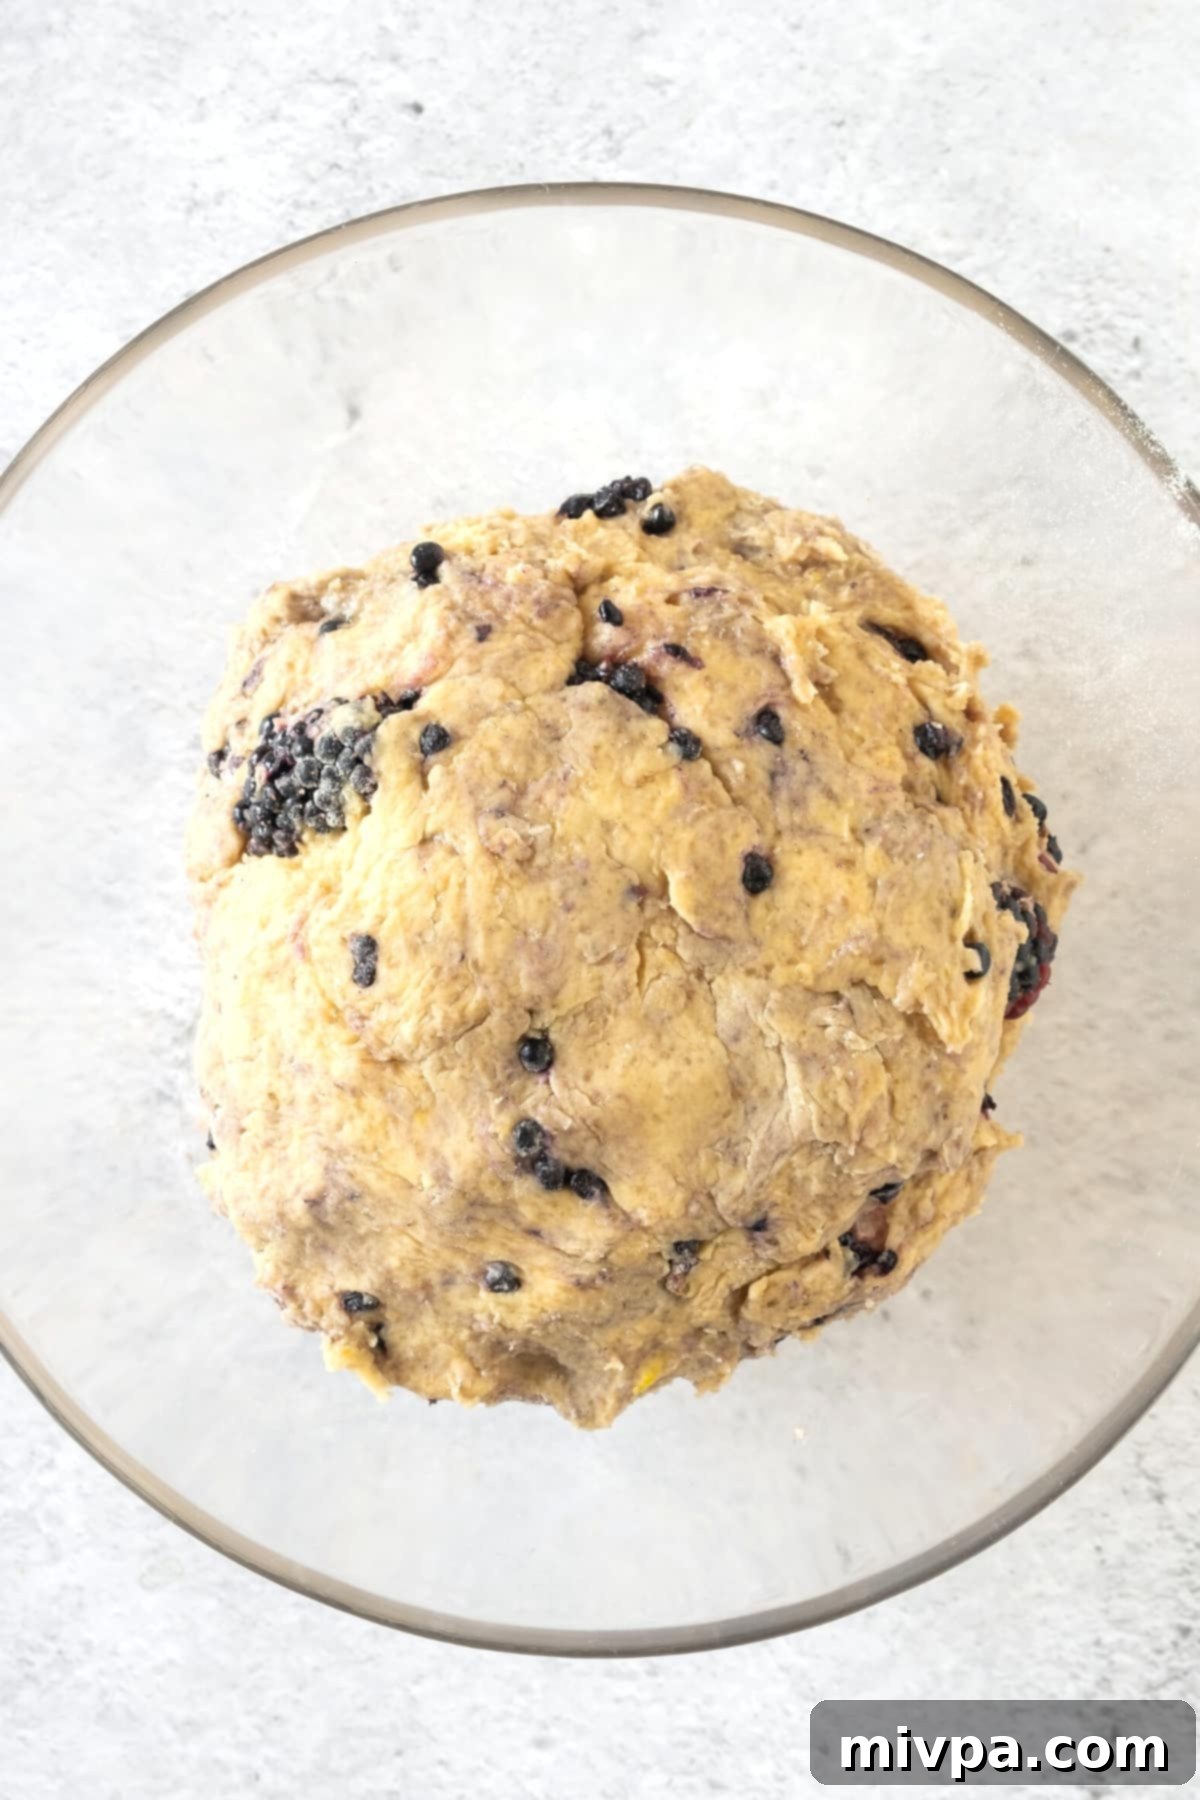
7. Chill Dough for Better Handling
Place the dough ball into a clean bowl and cover it tightly with plastic wrap. Transfer the bowl to the refrigerator and chill the dough for a minimum of 15 to 20 minutes. This chilling period is crucial as it allows the butter to firm up and the gluten-free flours to hydrate, making the dough much easier to handle and preventing excessive spreading during baking. If the dough is still quite sticky after this time, chill it for a few more minutes until it’s firm enough to work with.
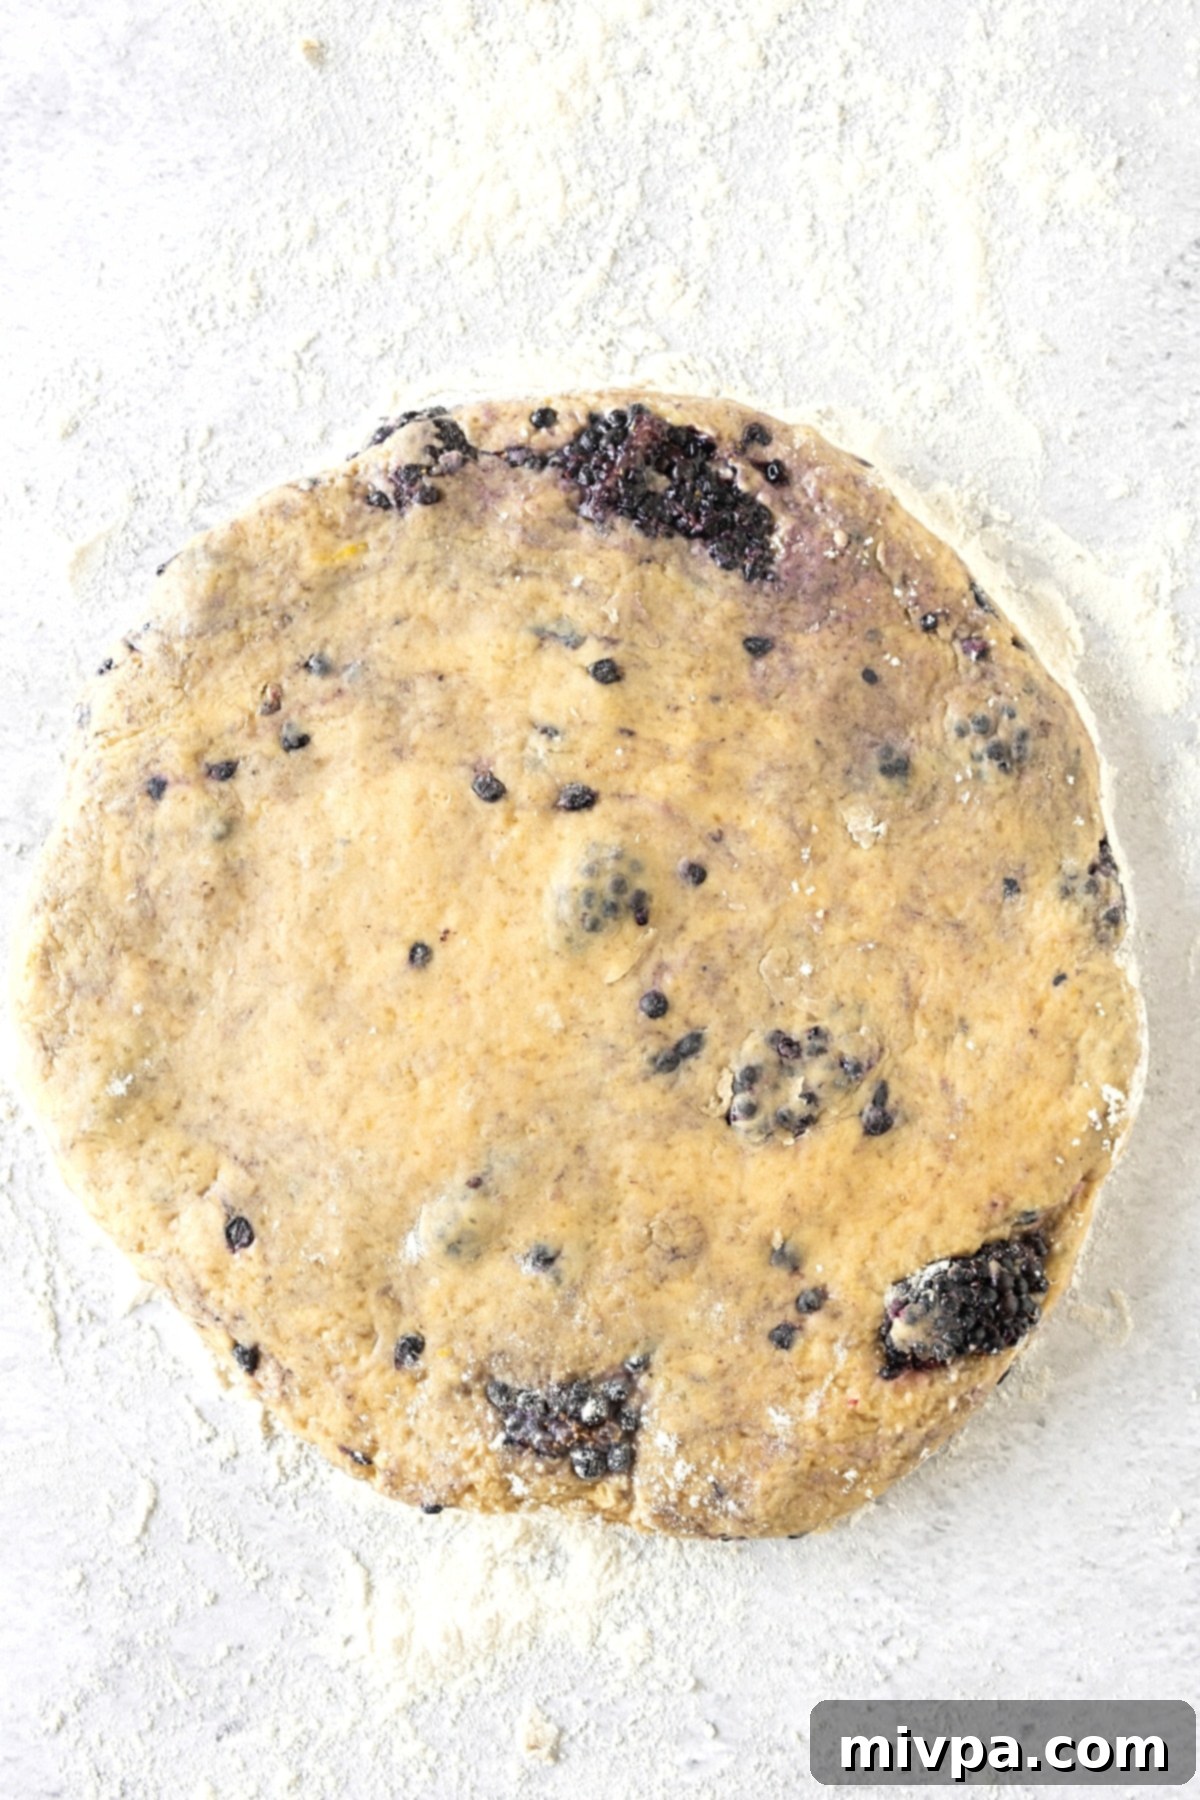
8. Shape Dough into a Round Disc
Once the dough has chilled and is no longer excessively sticky, lightly flour your hands and a clean work surface with gluten-free flour. Gently shape the dough into an 8-inch round circle, then very slightly flatten it until it’s about 1-inch thick. Maintain an even thickness across the disc for uniform baking.
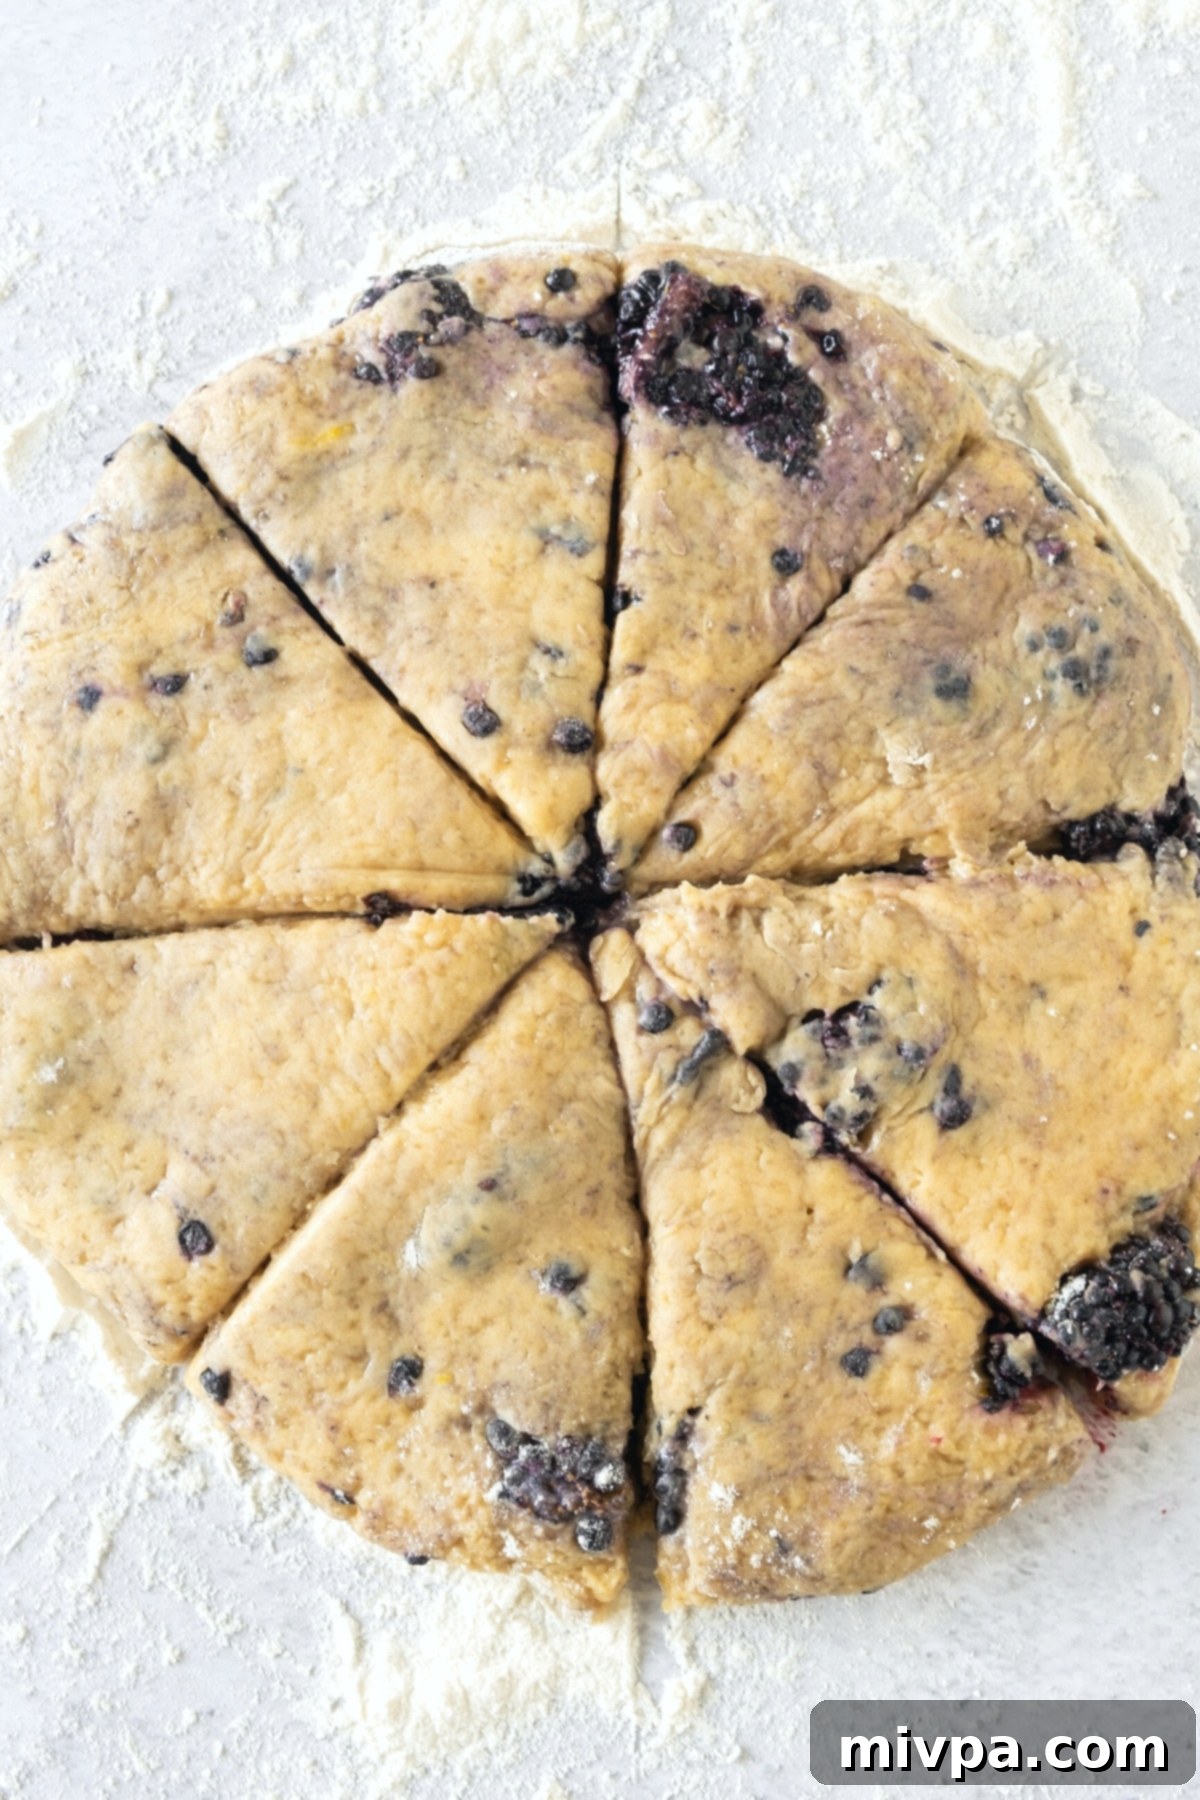
9. Cut Dough into Triangles & Chill Again
Using a sharp knife or a bench scraper (floured with gluten-free flour to prevent sticking), cut the round dough disc into 8 even triangular wedges. Think of it like slicing a pizza for easy, consistent shapes. Once cut, arrange the dough wedges on a plate, cover them again with plastic wrap, and return them to the refrigerator. Let them chill for another 20 to 30 minutes while your oven preheats. This second chill is key to ensuring the scones hold their shape beautifully and achieve that desirable flaky texture.
10. Preheat Oven and Prepare Baking Sheet
Preheat your oven to 350°F (175°C) and ensure the oven rack is positioned in the center. Line a large baking tray with a sheet of parchment paper. Parchment paper prevents sticking and ensures easy cleanup.
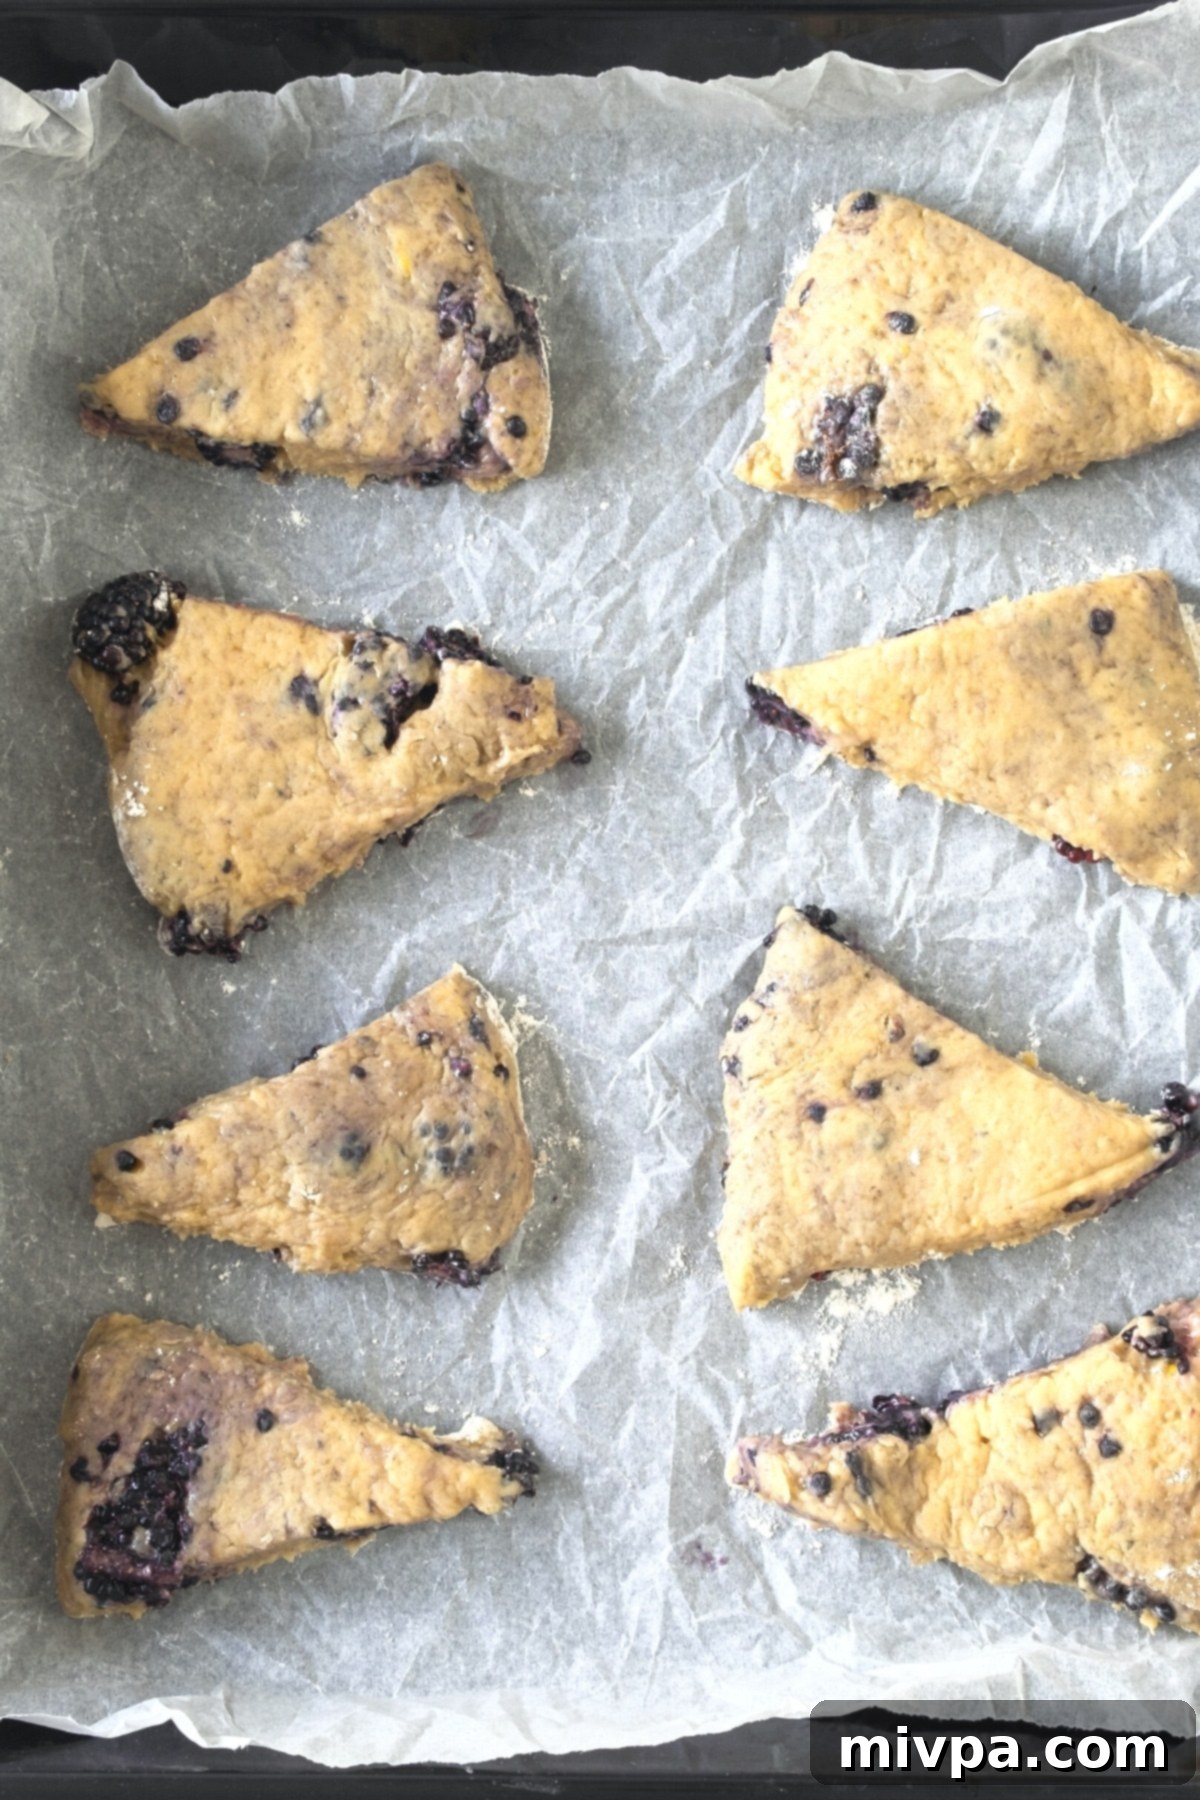
11. Transfer Scones to Baking Sheet
Once your dough wedges have completed their final chill, carefully transfer them to the prepared baking sheet. Arrange them with ample space between each scone, as they will expand significantly during baking. Proper spacing allows for even heat circulation and ensures each scone bakes beautifully.
12. Brush with Cream and Sprinkle with Sugar
Using a pastry brush, gently brush the tops of each scone dough wedge with a little bit of the remaining dairy-free heavy cream. This helps achieve a lovely golden-brown crust. For an extra touch of sweetness and sparkle, lightly sprinkle the tops with a little light brown sugar before baking.
13. Bake Until Golden Brown
Place the baking sheet in the preheated oven and bake the scones for 25 to 30 minutes. They are ready when their edges turn a beautiful golden brown and the centers are cooked through. The scent of fresh baked goods will fill your kitchen!
14. Let Cool Completely
Once baked, carefully transfer the scones to a wire cooling rack. Allow them to cool for at least 10-15 minutes before handling or applying the icing. Cooling allows the scones to set and prevents the icing from melting off.
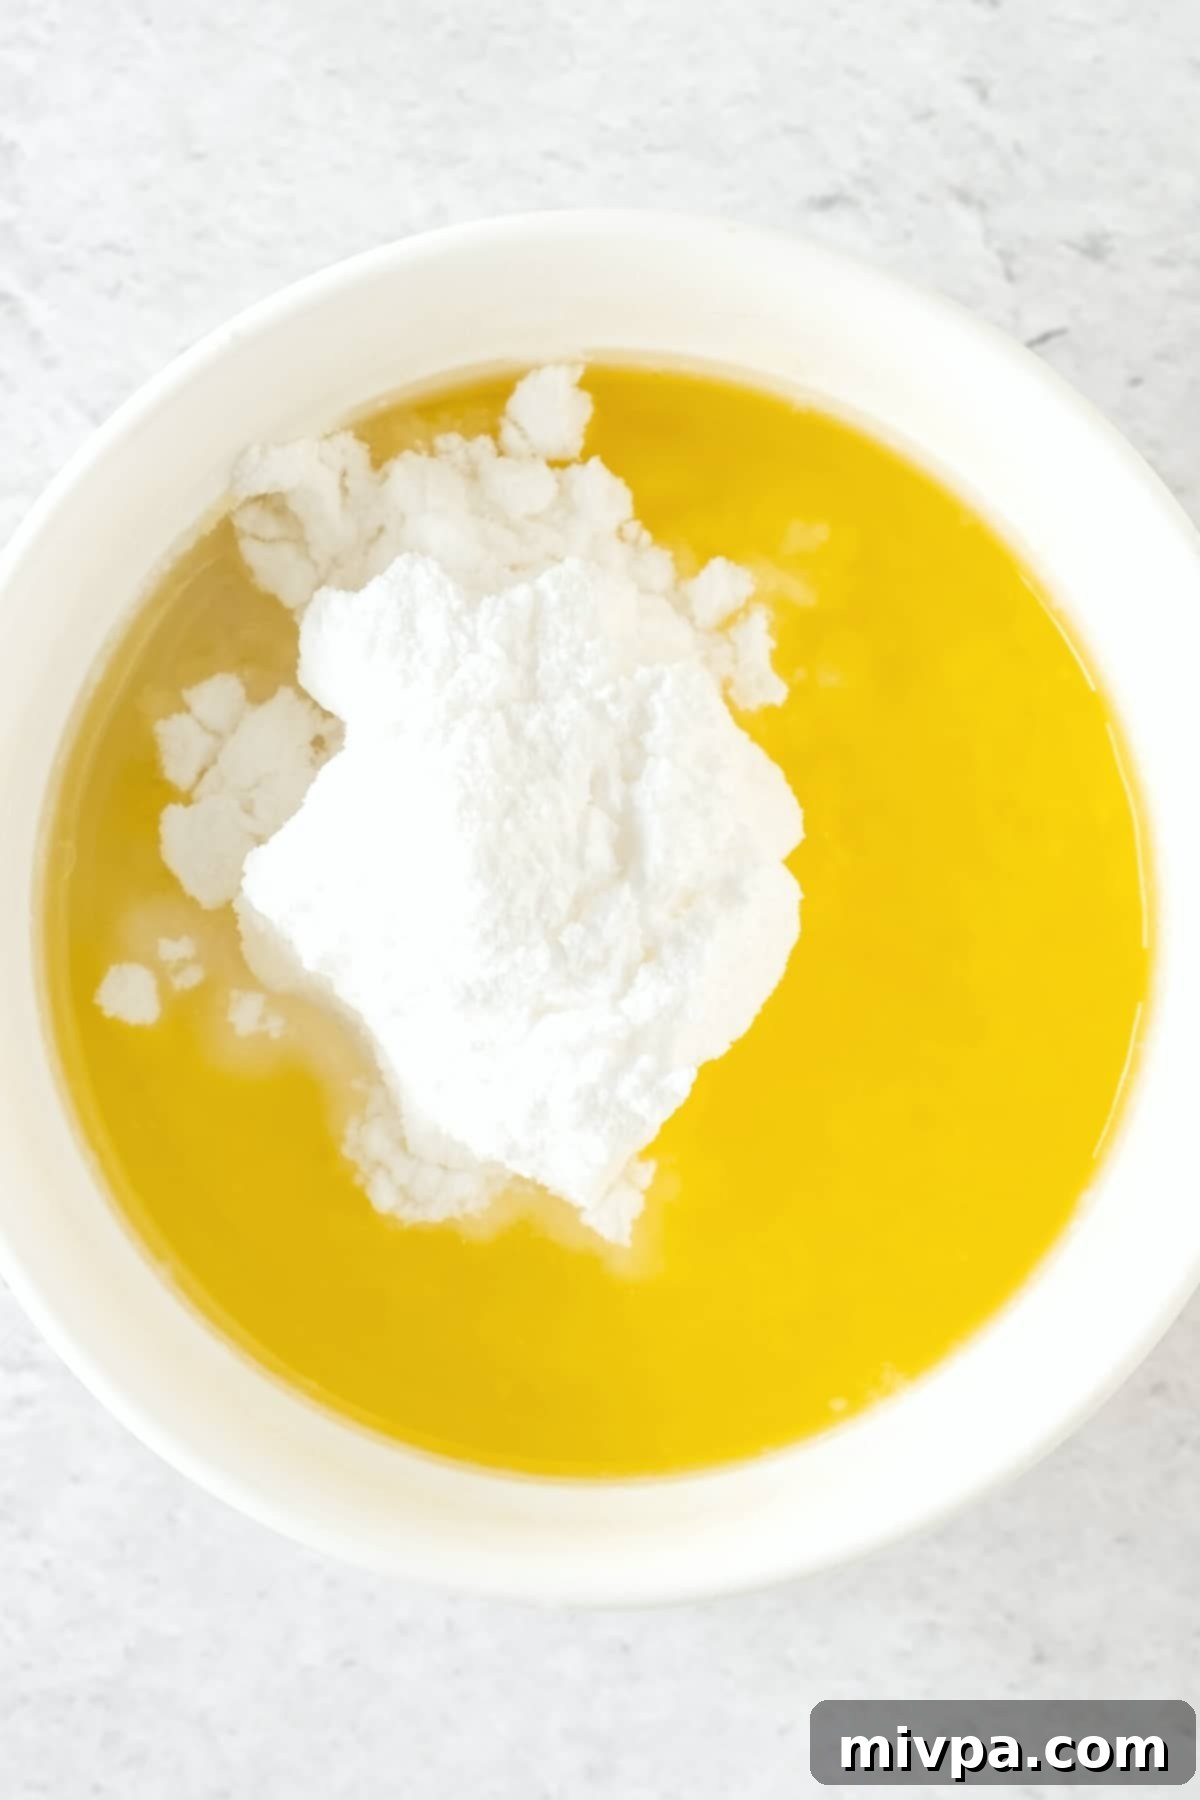
15. Make Icing (If Using)
If you’ve decided to add that irresistible lemon glaze, now’s the time! In a small bowl, whisk together the powdered sugar, water, and melted dairy-free butter until the mixture is completely smooth and free of lumps. Adjust the consistency by adding a tiny bit more water or powdered sugar if needed, aiming for a drizzly but not too thin glaze.
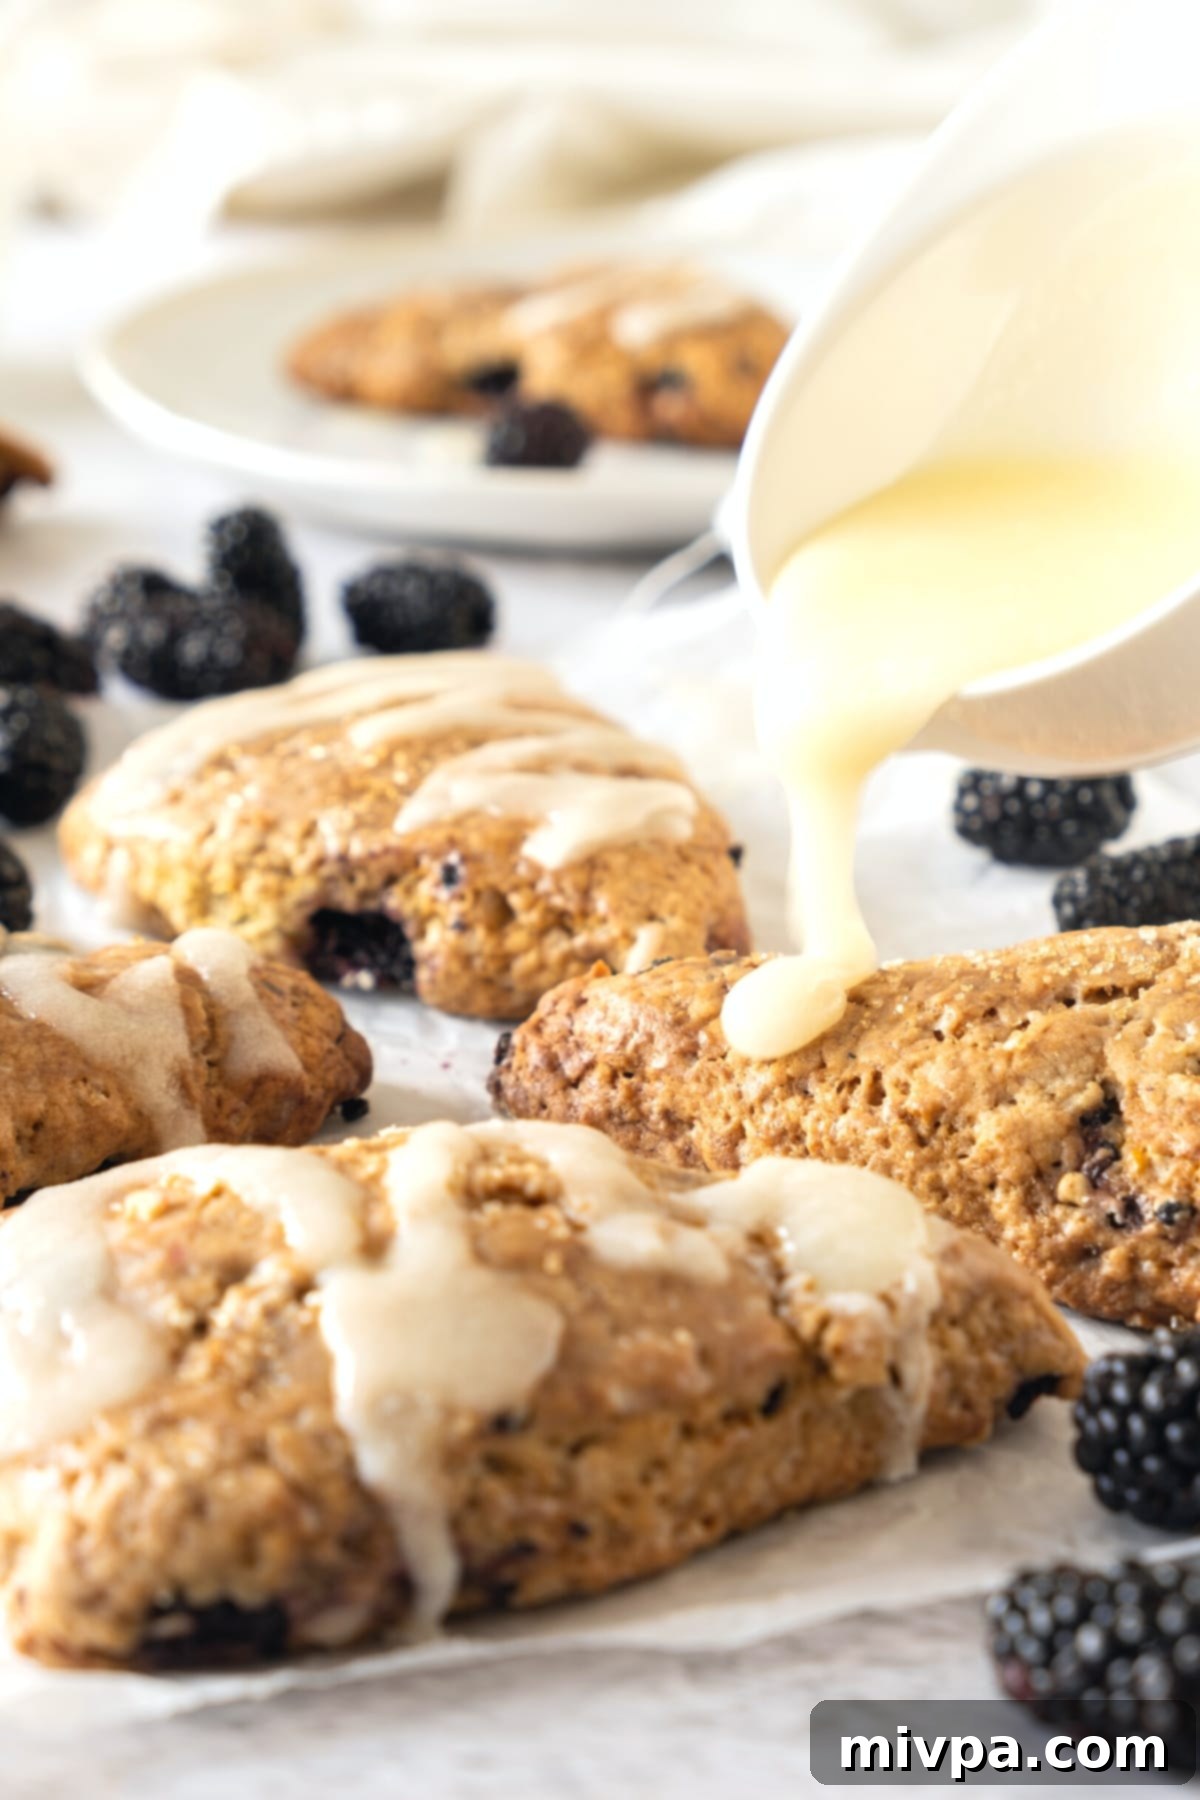
16. Drizzle with Icing
Once the gluten-free scones have cooled completely, artfully drizzle the prepared icing over them in thin, decorative lines. Allow the icing a few minutes to set before serving. This sweet finish adds a touch of elegance and extra flavor to your homemade delights.
Dish by Dish Pro Tips & Clever Tricks:
Elevate your scone-baking game with these expert tips and variations:
- Optimizing Your Berries: Whether you’re using fresh or frozen blackberries, their preparation impacts the scone. Fresh, ripe blackberries are ideal for their natural sweetness and firm texture. If using frozen berries, it’s crucial to defrost them thoroughly and then gently squeeze out any excess moisture. Pat them dry with a paper towel. This prevents the extra water from making your dough too wet, which could lead to a dense scone.
- Berry Substitutions & Variations: Don’t have blackberries, or simply want to try something new? This recipe is incredibly versatile! Feel free to swap out blackberries for an equal amount of other berries such as sweet blueberries, tangy raspberries, or chopped strawberries. A mixed berry scone is also a fantastic option, combining various flavors and textures.
- Beyond Berries – Chocolate Lover’s Dream: If berries aren’t your preference, or you’re craving something more decadent, you can easily transform these into delicious chocolate chip scones. Simply omit the blackberries and fold in about 1 cup of dairy-free chocolate chips (or regular chocolate chips if not dairy-free) into the dough. You can also experiment with white chocolate chips or even a mix of chocolate and nuts!
- The Golden Rule: Don’t Skip Chilling the Dough! This is perhaps the most critical tip for perfectly structured gluten-free scones. Gluten-free dough tends to be softer and stickier than traditional wheat-based dough because it lacks gluten’s elastic properties. Chilling the dough twice (after mixing and again after shaping) serves multiple purposes:
- It firms up the dairy-free butter, creating pockets that will release steam during baking, leading to flaky layers.
- It allows the gluten-free flours to properly hydrate, resulting in a more manageable dough and a tender final texture.
- It prevents the scones from spreading too much in the oven, helping them maintain their beautiful wedge shape.
- Cold dough hits the hot oven, creating a burst of steam that lifts the scones, giving them a better rise.
Resist the temptation to shorten this step; it truly makes all the difference for tender, well-shaped scones.
Common Questions About These Blackberry Scones:
To maintain their freshness and deliciousness, store these gluten-free dairy-free blackberry scones in an airtight container or wrap them tightly in plastic wrap. They will keep well in the refrigerator for up to 3 days. For the best experience, gently warm them up in the oven for a few minutes before serving to restore their tender texture and fragrant aroma.
Absolutely! These scones freeze beautifully. For best results, allow the baked and cooled scones (without icing) to freeze on a baking sheet until solid. Once frozen, transfer them to a freezer-safe bag or airtight container, separated by parchment paper, and store for up to 2-3 months. When ready to enjoy, thaw them at room temperature or warm directly from frozen in a preheated oven (around 300°F/150°C) for 10-15 minutes until heated through. Add icing after reheating.
Yes, you can! You can prepare the scone dough up to the point of cutting the wedges (Step 9). Place the cut wedges on a parchment-lined plate, cover tightly with plastic wrap, and refrigerate for up to 24 hours. When you’re ready to bake, proceed with brushing and baking as per the recipe instructions. This is a great time-saver for busy mornings!
More Gluten-Free Berry Recipes You’ll Love:
If you’re a fan of berries and gluten-free baking, you’ll definitely want to check out these other delightful recipes:
- Easy Raspberry Muffins (Gluten-Free, Dairy-Free) – Fluffy and bursting with tart raspberries.
- Classic Blueberry Pie (Gluten-Free, Dairy-Free) – A timeless dessert, reimagined for dietary needs.
- Irresistible Mixed Berry Crumble (Gluten-Free, Vegan) – Warm, comforting, and packed with summer fruit.
- Almond Flour Blueberry Muffins (Gluten-Free, Dairy-Free) – Nutty and moist, a healthier muffin option.
- Sweet Strawberry Crumble Bars (Gluten-Free, Dairy-Free) – Perfect for parties or a sweet treat on the go.
- Zesty Lemon Blueberry Bread (Gluten-Free, Dairy-Free) – A bright and flavorful quick bread.
Explore More Gluten-Free Desserts:
Beyond berries, there’s a whole world of gluten-free desserts to discover and enjoy. Here are a few more favorites from our kitchen:
- Gluten-Free Pumpkin Banana Muffins (Dairy-Free)
- 126 Gluten-Free Desserts and Sweet Treats for Labor Day
- Mini Pumpkin Cheesecakes (Gluten-Free, Dairy-Free Option)
- Gluten-Free Pecan Pie Bars (Dairy-Free)
P.S. If you try this recipe, I’d love for you to leave a star rating below, and/or a review in the comment section further down the page. Your feedback is always appreciated! Be sure to check out my entire Recipe Index for all the recipes on the blog. You can also follow me on Pinterest, Facebook or Instagram! Sign up for my Email List to get fresh recipes in your inbox each week!
Print Recipe

Gluten-Free Blackberry Scones (Dairy-Free)
5 Stars
4 Stars
3 Stars
2 Stars
1 Star
5 from 1 review
- Author: Felicia Lim
- Total Time: 1 hour 35 minutes
- Yield: 8 scones
- Diet: Gluten Free, Dairy Free
Description
These delicious gluten-free blackberry scones are topped with an easy lemon-infused icing for a sweet, zesty finish! Take full advantage of blackberry season to make these tender, flaky blackberry lemon scones, the perfect summer breakfast, delightful snack or a charming dessert! They are also completely dairy-free, but no one will ever guess!
Ingredients
Units
Scale
- 2 cups gluten-free all-purpose flour blend
- 1/2 teaspoon xanthan gum (omit if your gluten-free flour blend already includes it)
- 3/4 cup light brown sugar + a little extra for sprinkling
- 2 teaspoons gluten-free baking powder
- 1/4 teaspoon salt (adjust if using salted dairy-free butter)
- 1/2 cup unsalted dairy-free butter (113g), very cold and cubed
- 1/2 cup dairy-free heavy cream + 1 tablespoon for brushing
- 1 large egg, lightly beaten
- 1 tablespoon freshly grated lemon zest (from approximately 1 large lemon)
- 1 teaspoon vanilla extract
- 1 cup fresh blackberries (or defrosted and drained frozen blackberries)
FOR THE ICING (Optional):
- 1 cup powdered sugar
- 2 tablespoons water (or lemon juice for extra zest)
- 1 tablespoon melted unsalted dairy-free butter
Instructions
- Whisk Dry Ingredients: In a large mixing bowl, whisk together the gluten-free all-purpose flour, xanthan gum (if using), light brown sugar, baking powder, and salt until thoroughly combined.
- Cut Butter into Flour Mixture: Using a pastry cutter, two knives, or your fingertips, cut the cold, cubed dairy-free butter into the flour mixture until it resembles coarse, wet sand with small, pea-sized butter pieces.
- Whisk Wet Ingredients: In a separate medium bowl, whisk the dairy-free heavy cream, beaten egg, fresh lemon zest, and vanilla extract until well combined and smooth.
- Add Wet to Dry Ingredients: Pour the liquid mixture into the bowl with the dry ingredients. Mix gently with a spatula until a sticky, cohesive dough forms. (It’s normal for gluten-free dough to be quite wet).
- Fold in Blackberries: Carefully add the fresh or defrosted and drained blackberries to the dough. Gently fold them in until they are evenly distributed throughout, being careful not to crush them.
- Shape Dough into Ball: Lightly dust your hands with gluten-free flour. Gather the dough and gently form it into a small, round ball.
- Chill Dough: Place the dough ball in a bowl, cover tightly with plastic wrap, and chill in the refrigerator for 15 to 20 minutes until slightly firmed up and easier to handle. Chill longer if needed.
- Shape Dough into Round Disc: Once chilled, transfer the dough to a lightly gluten-free floured surface. Use floured hands to shape it into an 8-inch round circle, gently flattening it to about 1-inch thick.
- Cut Dough into Triangles: With a sharp knife or bench scraper (floured with gluten-free flour), cut the round disc into 8 equal triangular wedges (like slicing a pizza). Cover the wedges with plastic wrap and chill in the refrigerator for another 20 to 30 minutes while the oven preheats.
- Preheat and Line: Preheat your oven to 350°F (175°C) and adjust the oven rack to the center position. Line a large baking sheet with parchment paper.
- Transfer Scones to Baking Sheet: Carefully transfer the chilled dough wedges to the prepared baking sheet, ensuring there is sufficient space between each scone for expansion during baking.
- Brush Top with Cream and Sprinkle with Sugar: Use a pastry brush to gently coat the tops of the scone dough with the remaining dairy-free heavy cream, then sprinkle lightly with brown sugar.
- Bake Until Golden: Bake the scones for 25 to 30 minutes, or until the edges are golden brown and the scones are cooked through.
- Let Cool Completely: Remove the scones from the oven and transfer them to a wire cooling rack. Allow them to cool for at least 10-15 minutes before applying any icing.
- Make Icing (if Using): If desired, prepare the icing by whisking together the powdered sugar, water (or lemon juice), and melted dairy-free butter in a small bowl until smooth and of drizzling consistency.
- Drizzle with Icing: Once the blackberry scones are completely cooled, drizzle the icing over them in thin, decorative lines. Allow the icing to set slightly before serving and enjoying!
Notes
Gluten-Free Flour: For optimal texture, use a good-quality gluten-free all-purpose flour blend that contains lighter flours/starches (e.g., rice flour, tapioca starch, corn starch, potato starch). Avoid blends with heavier flours like garbanzo bean, which can make scones dense. Always weigh flour for accuracy if possible.
Xanthan Gum: This acts as a gluten replacement. If your gluten-free flour blend doesn’t already contain it, add it for proper binding and texture.
Brown Sugar: We used dark brown sugar for flavor and moisture, but you can substitute with cane sugar, light brown sugar, or coconut sugar. For a sugar-free option, use granulated monkfruit sweetener (1:1 ratio, zero glycemic index).
Baking Powder: Essential for rise. If Celiac, ensure you use certified gluten-free baking powder.
Butter: This recipe uses unsalted dairy-free butter (vegan butter). Cold coconut oil can also work. If not dairy-free, regular unsalted butter can be used.
Heavy Cream: Dairy-free heavy cream keeps this recipe dairy-free. Regular heavy cream can be substituted if tolerated.
Egg: Crucial for binding. This recipe has not been tested without an egg, so substitutions are not recommended.
Lemon Zest: Freshly grated lemon zest provides the best flavor. Orange zest is a good alternative.
Vanilla Extract: Vanilla extract adds depth and enhances the overall taste.
Blackberries: Fresh, ripe blackberries are best. If using frozen, defrost and thoroughly drain any excess water before adding to the dough to avoid a wet batter.
Powdered Sugar: Use powdered sugar (confectioner’s sugar) for a smooth icing. For a sugar-free alternative, powdered monkfruit sweetener is an excellent choice (1:1 ratio, zero glycemic index).
Water for Icing: Filtered water works, but lemon juice can be used for a more pronounced lemon flavor in the glaze.
Storing: Store baked and cooled gluten-free dairy-free blackberry scones in an airtight container or wrapped in plastic wrap for up to 3 days in the refrigerator. Reheat gently in the oven before eating for best texture.
Freezing: Scones can be frozen (without icing) for up to 2-3 months. Freeze solid on a tray, then transfer to an airtight container or freezer bag.
- Prep Time: 15 mins
- Chilling Time: 50 mins
- Cook Time: 30 mins
- Category: Snacks, Breakfast, Dessert
- Method: Baking
- Cuisine: American
