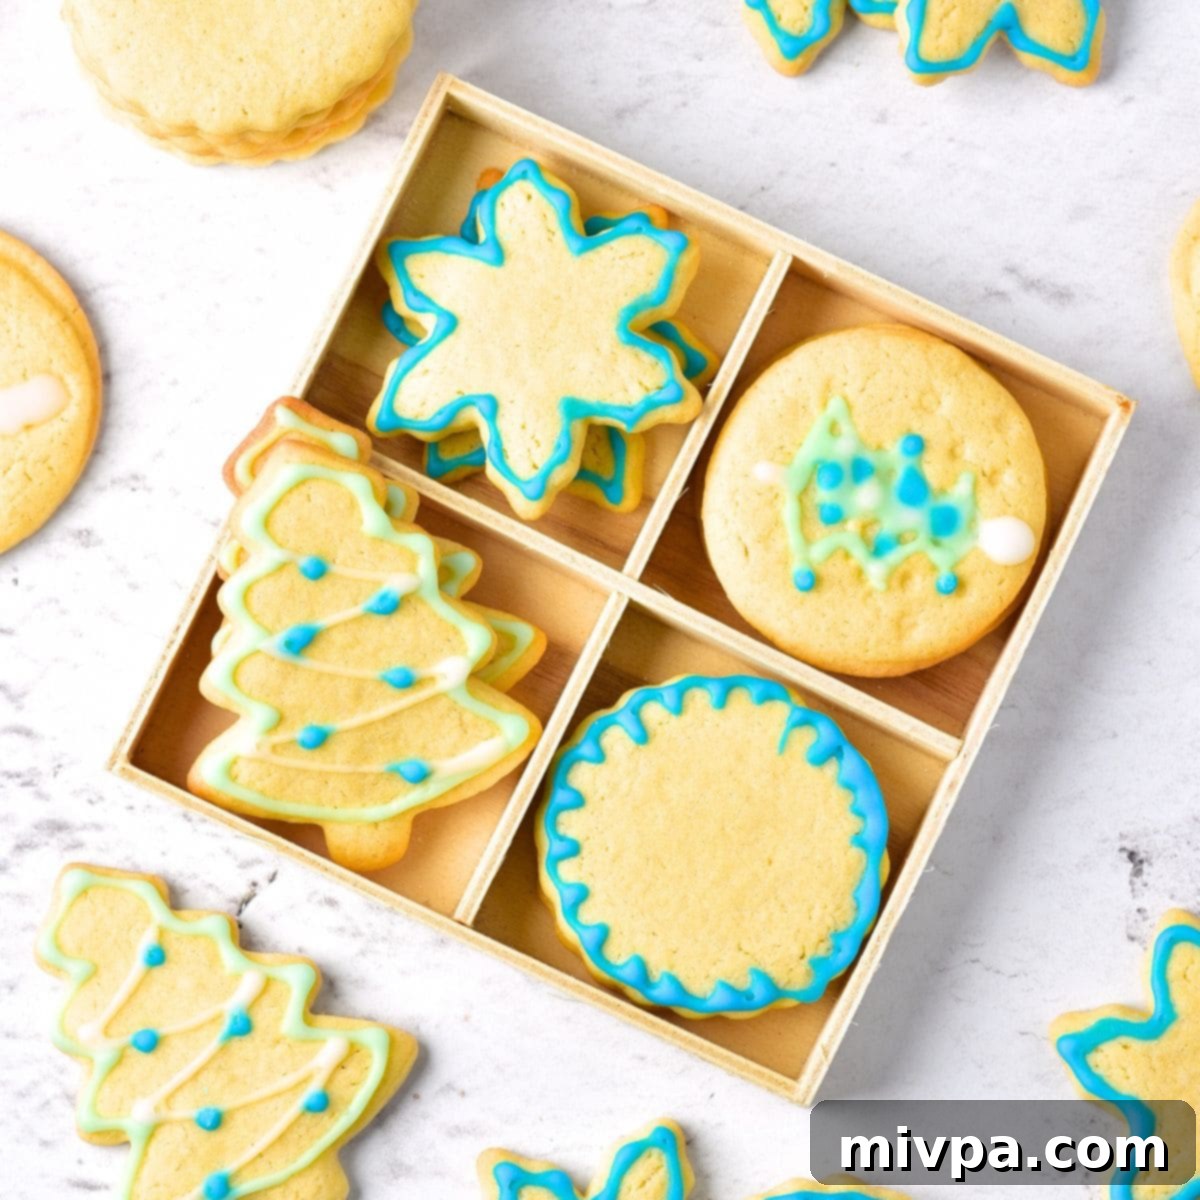
Ultimate Gluten-Free Christmas Sugar Cookies: Easy, Dairy-Free & Perfectly Festive
Welcome to the most wonderful time of the year, where baking fills our homes with warmth and delicious aromas! These gluten-free Christmas sugar cookies are not just a treat for the taste buds; they’re a celebration of the holiday season. Designed to be incredibly easy to make, they are perfect for sharing with loved ones, gifting to friends, or simply enjoying with a warm cup of cocoa by the fireplace. What makes them even more special? They are completely dairy-free too, ensuring that everyone, regardless of dietary restrictions, can indulge in the festive fun. Let’s get baking and create some sweet memories!
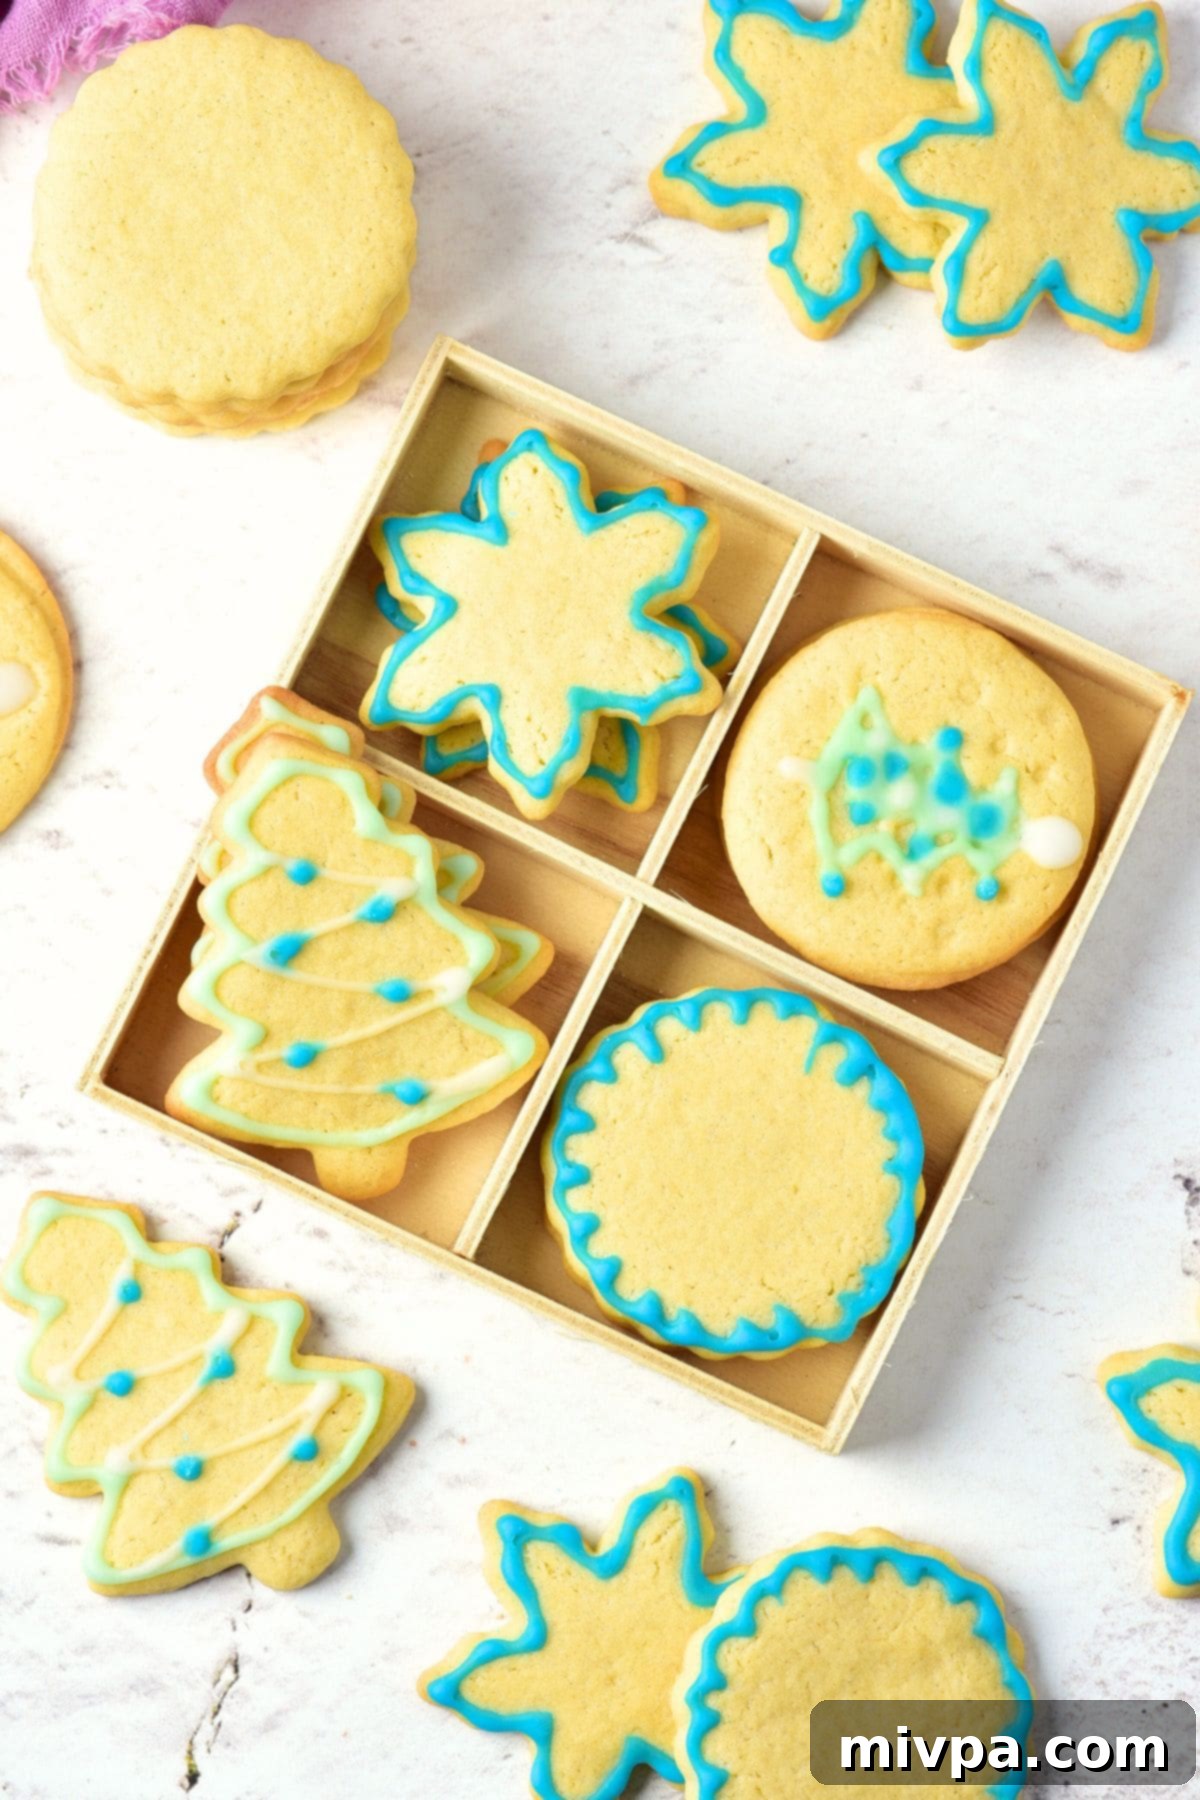
The Magic of Holiday Baking: Beautiful Christmas Sugar Cookies
There’s nothing quite like the holiday season to bring out the baker in all of us. The air is crisp, Christmas carols play softly in the background, and the cozy layers of sweaters become our favorite attire. And of course, the aroma of freshly baked cookies is simply irresistible! These aren’t just any cookies; they are beautiful Christmas sugar cookies, crafted with a classic cut-out sugar cookie base, then transformed into festive works of art with vibrant icing. Imagine the joy of decorating intricate snowflakes, cheerful Santa hats, or charming gingerbread shapes – each one a small masterpiece that tastes as good as it looks.
These delightful cookies are more than just a sweet treat; they are an experience. Their perfectly crisp edges and soft, chewy centers make them utterly addictive. But the real magic happens when you get creative with the decorations. Whether you prefer minimalist designs or elaborate festive scenes, these gluten-free sugar cookies provide the perfect canvas for your artistic expression. They are absolutely perfect for Christmas gifting, spreading cheer with every bite. Package them in a lovely box tied with a ribbon, and you’ve got a homemade gift that speaks volumes of thoughtfulness and holiday spirit. They bring smiles to faces and warmth to hearts, making them a truly special part of any holiday celebration.
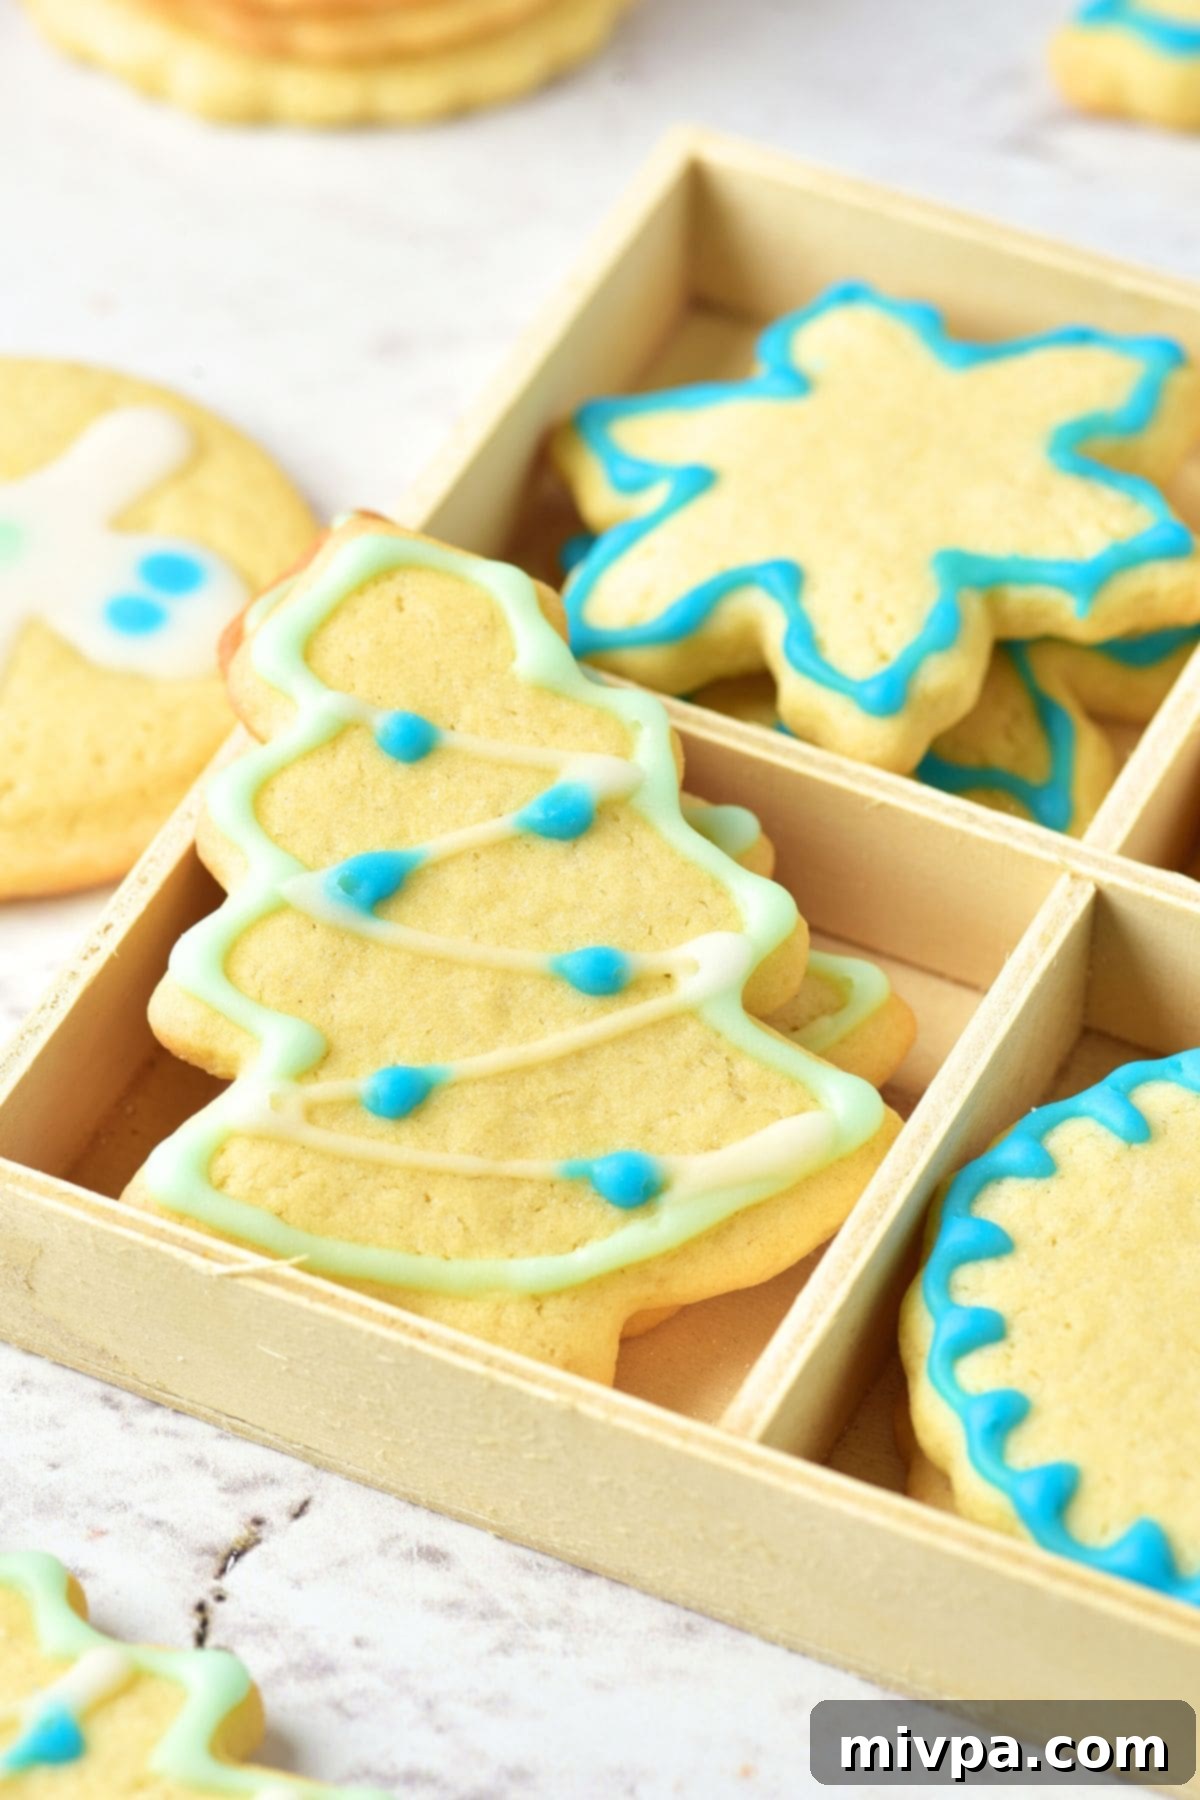
Why You’ll Fall in Love with This Gluten-Free & Dairy-Free Recipe:
Creating delicious holiday treats doesn’t have to be complicated, especially when you have a recipe that truly delivers on taste, ease, and inclusivity. Here are the top reasons why these gluten-free and dairy-free Christmas sugar cookies will become your new go-to recipe for the festive season:
- Simple & Accessible Ingredients: You won’t need to hunt down obscure ingredients for this recipe. All the components required for these fantastic gluten-free and dairy-free Christmas sugar cookies are readily available at your local grocery store. We focus on common pantry staples, making your baking experience stress-free and enjoyable. This ensures that even on a busy holiday schedule, you can whip up a batch without a last-minute scramble, allowing you more time to enjoy the holiday festivities.
- Incredibly Easy to Make: Don’t let the idea of “from scratch” baking intimidate you. This recipe is designed for simplicity, making it perfect for both novice and experienced bakers. The process of preparing the cookie dough is remarkably straightforward: simply combine the wet ingredients with the dry, allow the dough to chill briefly (a crucial step for perfect cut-outs!), then roll it out, cut your festive shapes, and bake. The real fun often begins after baking, as you decorate these charming cut-out cookies with vibrant icing. It’s an activity that’s enjoyable for bakers of all skill levels, including a wonderful way to involve children in holiday preparations, fostering cherished family traditions.
- Completely Gluten-Free & Dairy-Free: This is truly the best part for many, especially those navigating dietary restrictions during the holidays! We understand the importance of catering to various dietary needs without compromising on flavor or texture. These cookies are 100% gluten-free and dairy-free. This means that individuals with Celiac disease, gluten sensitivity, or lactose intolerance can indulge in these festive treats without any worries or discomfort. You can share them at holiday gatherings with confidence, knowing everyone can enjoy a delicious homemade cookie. The texture is perfectly tender, and the taste is rich and satisfying, ensuring no one feels like they’re missing out on the joy of holiday sweets.
- Perfect for Gifting & Sharing: Beyond their delicious taste and inclusive nature, these cookies are inherently beautiful. Their flat, sturdy surface makes them ideal for intricate icing designs, transforming them into edible works of art. This makes them an exceptional choice for holiday gifting, cookie exchanges, or simply as a centerpiece on your festive dessert table. They hold their shape beautifully, making them easy to transport and display, ensuring your homemade treats arrive looking as good as they taste.
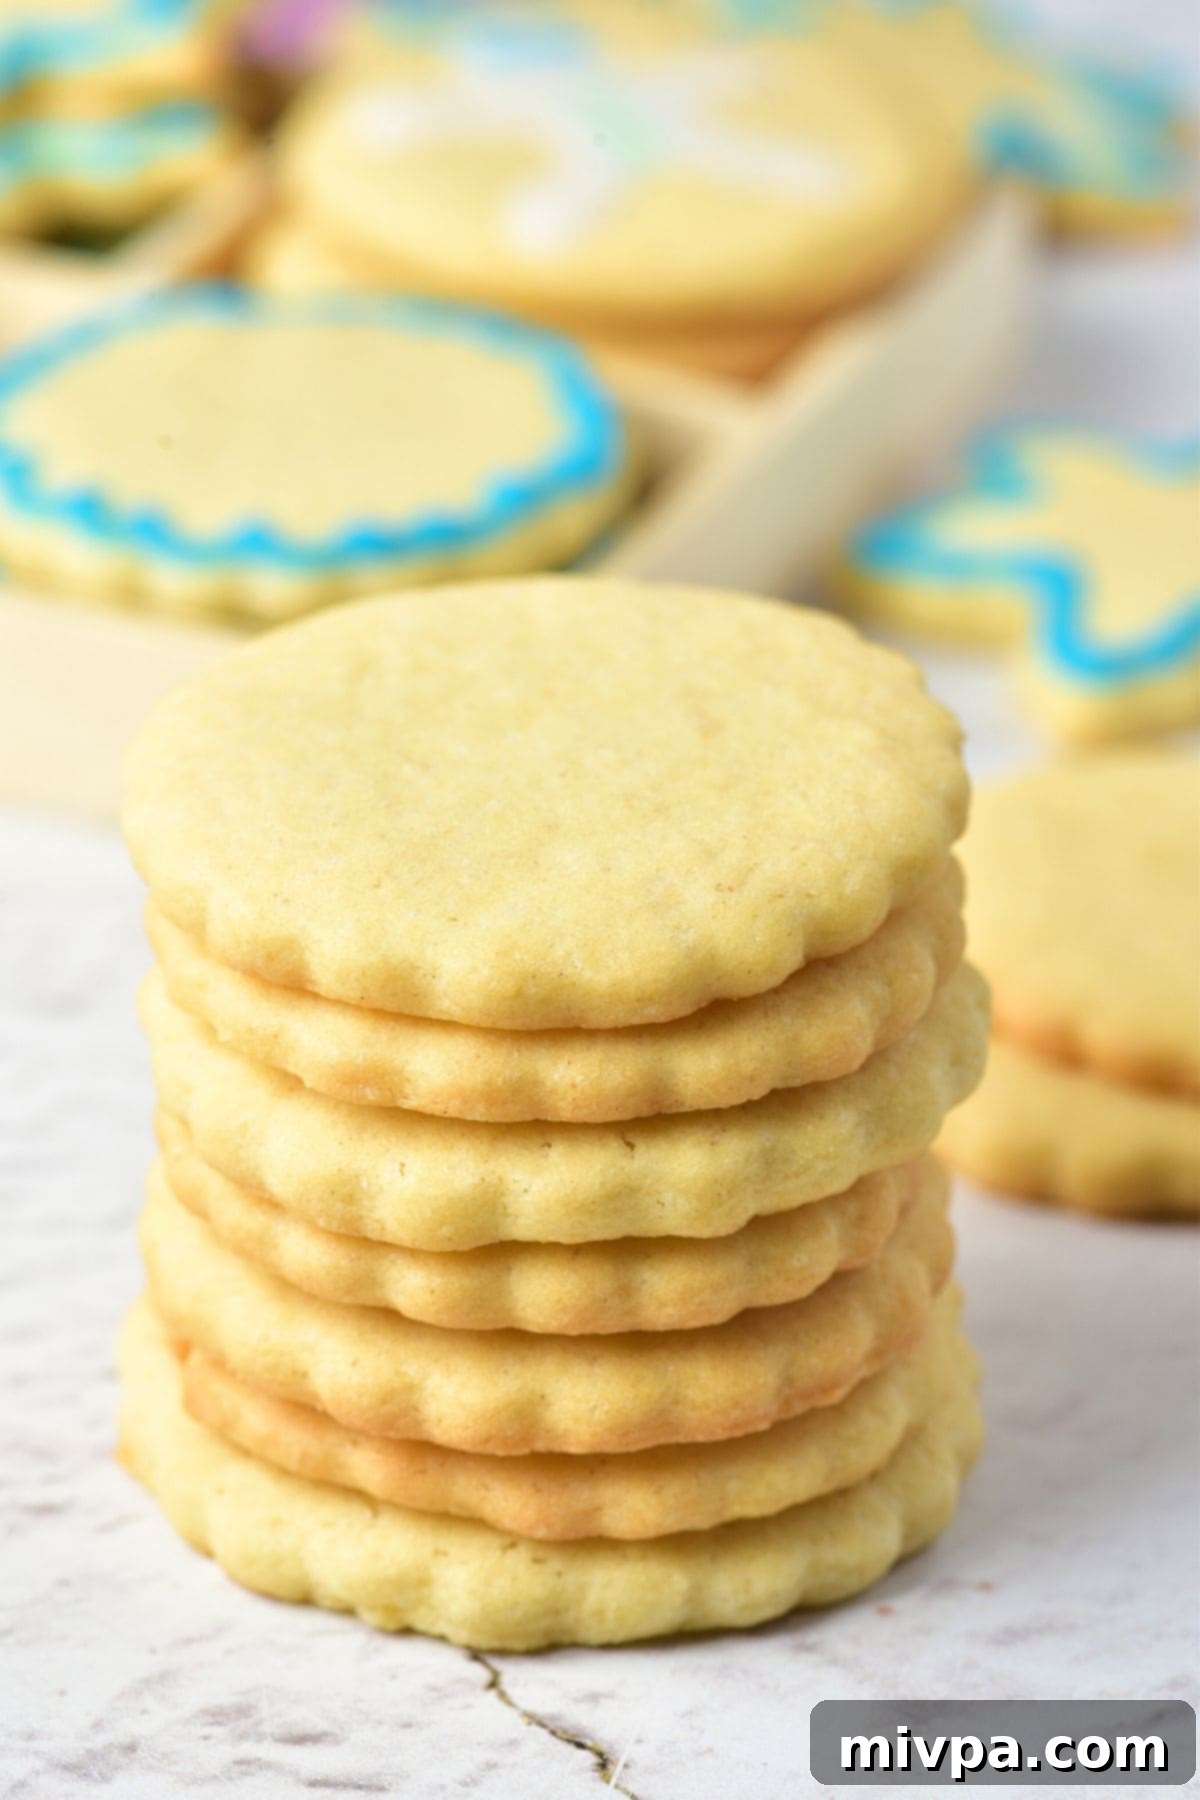
Essential Ingredients for Your Gluten-Free Christmas Sugar Cookies
Crafting the perfect batch of gluten-free and dairy-free Christmas sugar cookies starts with understanding the role of each ingredient. Below is a visual overview of what you’ll need, followed by important notes and potential substitutions to ensure your baking success. Using good quality ingredients will always yield the best results, so choose wisely and gather everything before you begin to make the process even smoother!
(For exact measurements and a detailed step-by-step guide, please scroll down to the comprehensive printable recipe card located at the bottom of this post.)
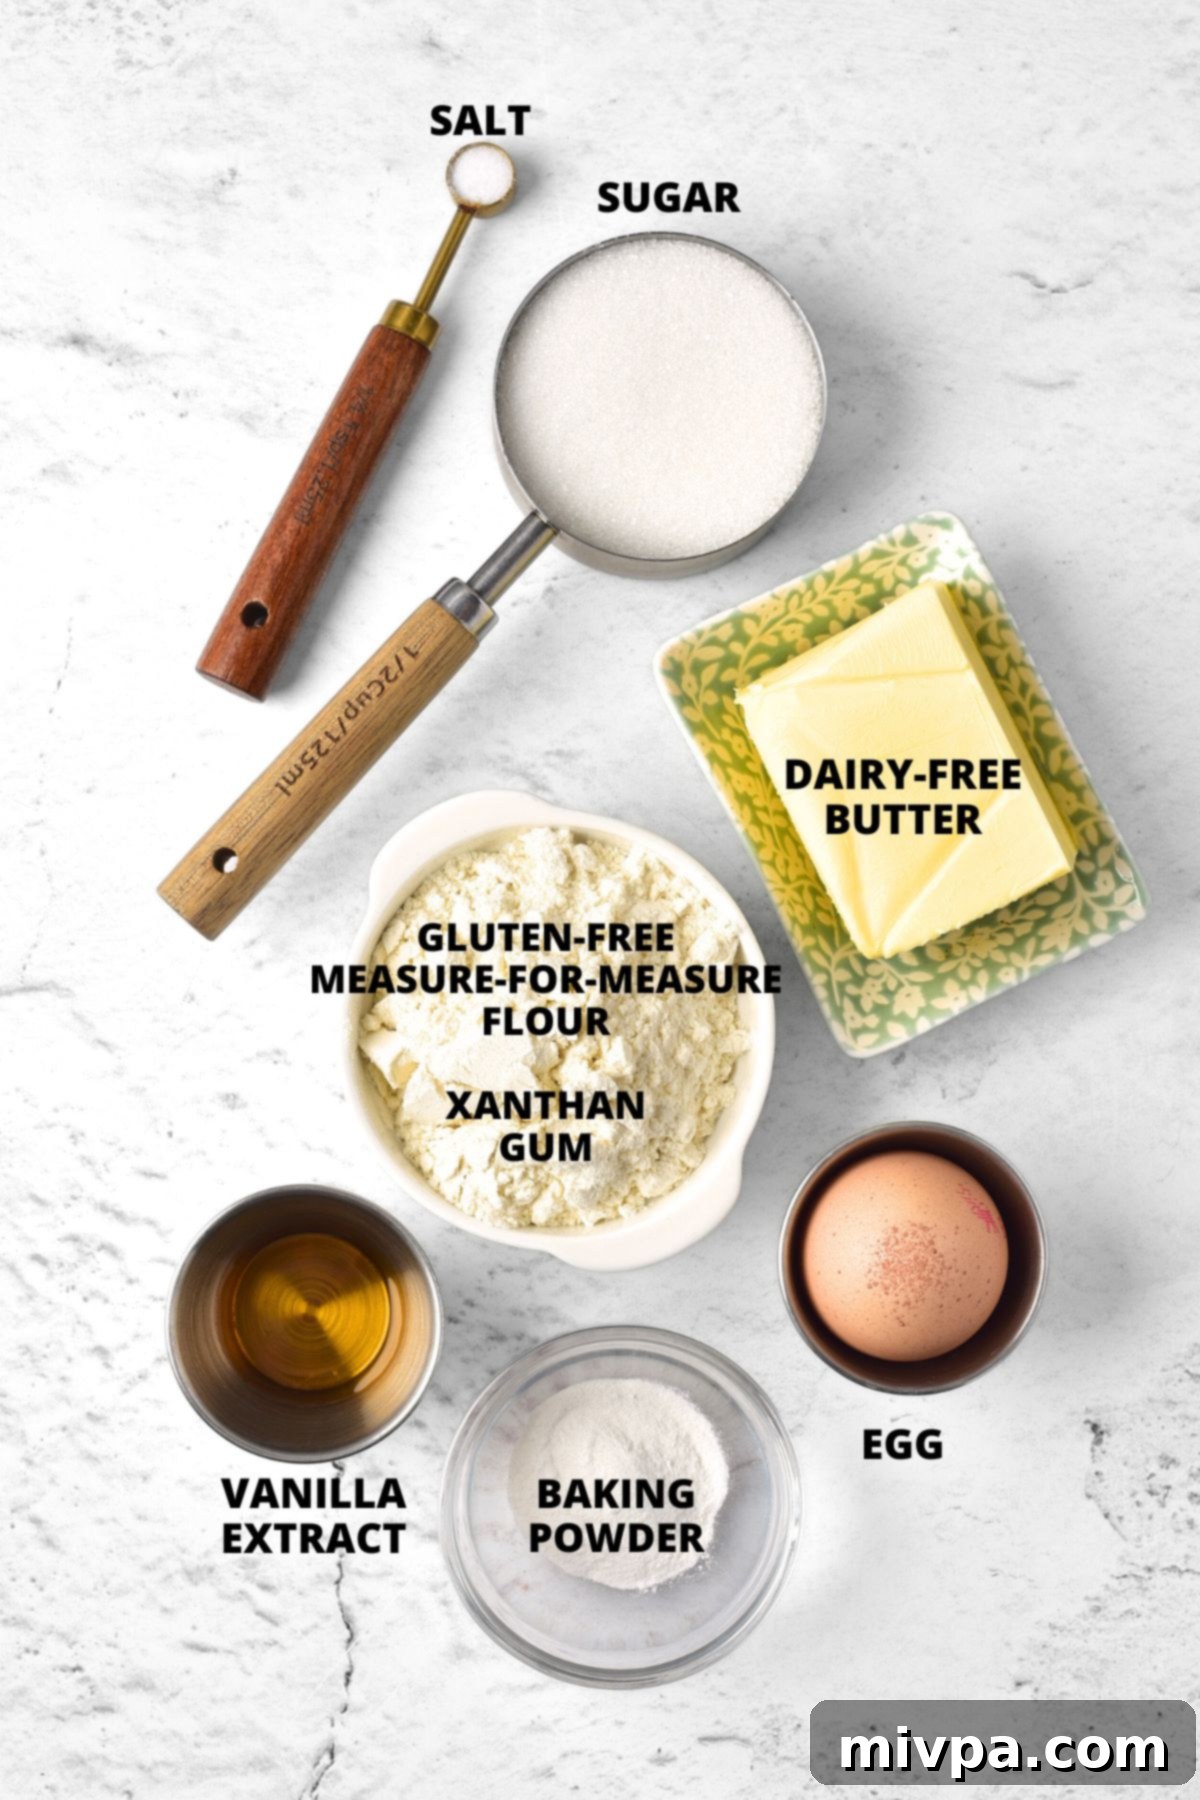
Recipe Notes and Smart Substitutions for Success
To ensure your gluten-free and dairy-free Christmas sugar cookies turn out perfectly every time, pay attention to these notes and consider the suggested substitutions based on your dietary needs or pantry availability. Understanding each component will empower you to bake with confidence!
- Butter: For this specifically dairy-free recipe, I’ve opted for a high-quality dairy-free butter (also known as vegan butter). Many excellent brands are available today that provide the richness, moisture, and texture of traditional butter without the dairy, ensuring your cookies are flaky and tender. If lactose intolerance or a dairy allergy isn’t a concern for you, feel free to use regular unsalted butter in the same quantity. Both options will yield delicious results, but dairy-free butter is key for inclusivity and maintaining the “dairy-free” aspect of this recipe. Make sure it’s softened to room temperature for optimal creaming.
- Sugar: Granulated white sugar is my choice here for its classic sugar cookie taste and texture, contributing to a crisp edge and chewy interior. However, for a slightly different flavor profile or color, you could certainly use cane sugar or light brown sugar. Brown sugar will add a subtle molasses note, a slightly darker hue, and a chewier texture. For those managing blood sugar levels, granulated monkfruit sweetener is an excellent 1:1 sugar substitute with a zero glycemic index, ensuring your cookies can be enjoyed by everyone while keeping them low-carb and keto-friendly.
- Vanilla Extract: A touch of vanilla extract truly elevates the flavor of these sugar cookies, adding a comforting warmth, depth, and a classic aromatic sweetness that is synonymous with homemade cookies. I highly recommend including it for the best taste, as it enhances all the other flavors. However, if you don’t have it on hand, or prefer a purer sugar cookie flavor without the vanilla undertones, you can omit it. The cookies will still be delicious!
- Egg: The egg plays a crucial role in this recipe as a binding agent, helping to hold all the ingredients together and give the cookies their structure, preventing them from crumbling. It also contributes to the rich flavor, tender texture, and golden color. For the best results, ensure you add one large egg as specified. For those with egg allergies, an egg substitute like a “flax egg” (1 tablespoon ground flaxseed meal mixed with 3 tablespoons water, allowed to sit for 5 minutes to thicken) might work, though the texture and binding properties may vary slightly.
- Gluten-Free Flour Blend: The quality of your gluten-free flour blend is paramount to the success of these cookies. I strongly recommend using a reputable measure-for-measure gluten-free flour blend that is specifically designed as a 1:1 substitute for regular all-purpose flour. Look for blends composed of lighter flours and starches, such as rice flour, tapioca starch, corn starch, or potato starch. These create a more tender, delicate, and less gritty cookie texture, closely mimicking traditional sugar cookies. Avoid blends that prominently feature heavier, denser flours like garbanzo bean flour (chickpea flour), as they can result in a tougher texture and a distinct, sometimes savory, flavor that might not be ideal for delicate sugar cookies.
- Xanthan Gum: In gluten-free baking, xanthan gum acts as a vital replacement for gluten, providing elasticity, structure, and helping to bind the ingredients together. This prevents your cookies from becoming dry, crumbly, or falling apart. Check your chosen gluten-free flour blend carefully; many already include xanthan gum in their formulation. If yours doesn’t, make sure to add the specified amount (1/2 teaspoon) to achieve the desired texture and structural integrity for perfect cut-out cookies.
- Baking Powder: This recipe relies solely on baking powder as its leavening agent. It’s essential for giving the cookies a slight lift and a tender, slightly soft crumb, preventing them from being too dense. Always ensure your baking powder is fresh for optimal activation, as old baking powder can result in flat, hard cookies. If you have Celiac disease or are gluten-intolerant, it’s crucial to use a certified gluten-free baking powder, as some brands may contain wheat starch as a filler ingredient.
- Lemon Juice (for Icing): Freshly squeezed lemon juice is highly recommended for the icing, as it provides a bright, zesty flavor that beautifully complements the sweet cookies and cuts through the richness. Its acidity also helps the icing set properly and gives it a lovely sheen. If fresh lemons aren’t available, bottled lemon juice will work just as well. You can also substitute with water or a dairy-free milk alternative for a neutral flavor, but lemon juice adds a wonderful zing and is preferred for the best taste experience.
- Powdered Sugar (for Icing): Powdered sugar, also known as icing sugar or confectioner’s sugar, is finely milled sugar that dissolves easily, creating a smooth, velvety icing texture perfect for decorating and achieving a professional-looking finish. For those adhering to a diabetic or insulin-resistant diet, powdered monkfruit sweetener is an excellent 1:1 substitute, offering zero glycemic impact without sacrificing sweetness or the smooth texture needed for icing.
- Food Coloring: I used festive blue and green gel food coloring to achieve classic Christmas hues. However, the beauty of decorating is in personalization! Feel free to use any colors you prefer to match your holiday theme, party decor, or personal style. Remember to always use gluten-free food coloring if you are Celiac or gluten-intolerant, as some liquid colorings might contain gluten-derived thickeners or other non-GF ingredients. Gel colorings generally provide more vibrant colors with less liquid, which is ideal for maintaining the perfect icing consistency.
How to Make the Best Gluten-Free Christmas Sugar Cookies (Step by Step Guide):
Follow these simple steps to create your own batch of delightful, festive, and allergy-friendly sugar cookies. Precision and patience are your best friends in baking, ensuring each cookie is a perfect treat!
1. Cream Butter and Sugar
In a large mixing bowl, using an electric mixer, beat the softened dairy-free butter with the granulated sugar until the mixture is light, fluffy, and well combined. This usually takes about 2-3 minutes on medium speed. This creaming process is essential as it incorporates air into the butter and sugar, which is crucial for a tender, airy cookie texture. Make sure to scrape down the sides of the bowl frequently with a spatula to ensure all ingredients are evenly mixed and no pockets of uncreamed butter remain.
2. Incorporate Egg & Vanilla
Once the butter and sugar are perfectly creamed, crack in the large egg and add the vanilla extract (if using). Continue beating for another couple of minutes until these wet ingredients are fully incorporated and the mixture appears smooth and uniform. The egg adds richness and helps bind the dough, while vanilla enhances the overall flavor. Avoid overmixing at this stage; simply combine until just blended to maintain a tender cookie crumb.
3. Sift Dry Ingredients
In a separate, medium-sized bowl, whisk together your chosen gluten-free measure-for-measure flour, salt, and baking powder. If your specific gluten-free flour blend does not already contain xanthan gum, add it in at this stage as well. Sifting ensures all dry ingredients are evenly distributed, preventing lumps in your dough and promoting uniform rising and texture in the baked cookies. This step also helps to aerate the flour, making the dough lighter.
4. Combine Wet and Dry Ingredients
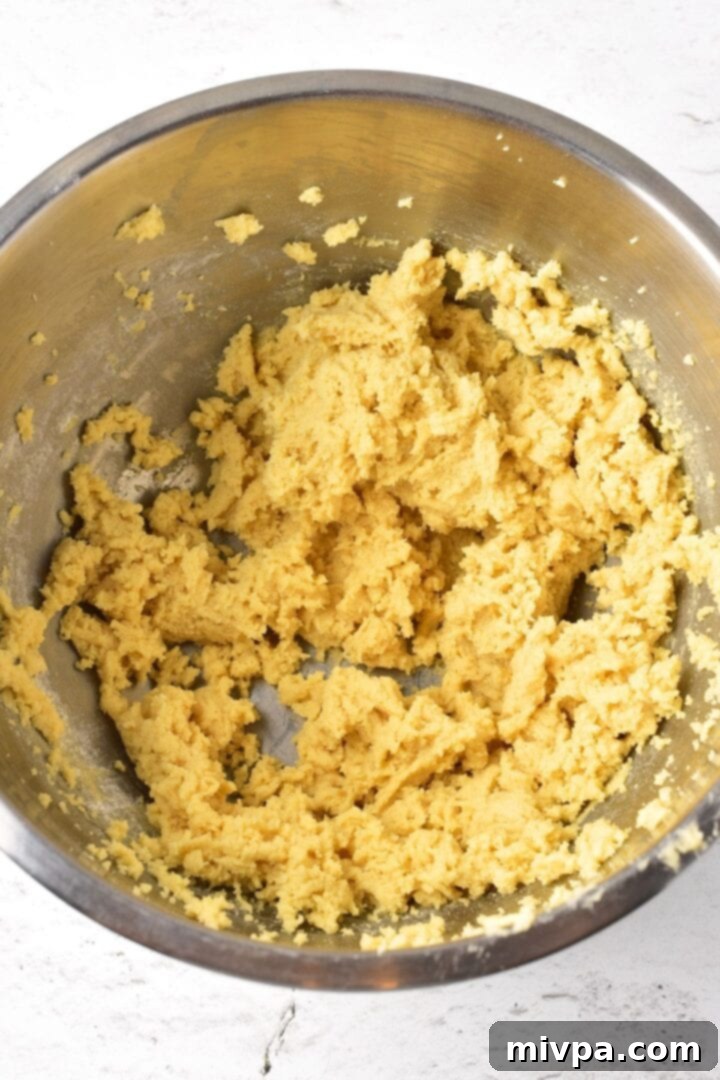
Gradually add the sifted flour mixture to the bowl containing the wet ingredients. Mix on low speed, just until combined. Be careful not to overmix the dough, as excessive mixing can develop toughness, even with gluten-free flours. Stop mixing as soon as no dry streaks of flour remain, and the dough just comes together. The resulting dough should be slightly sticky but manageable, ready for the next crucial step: chilling.
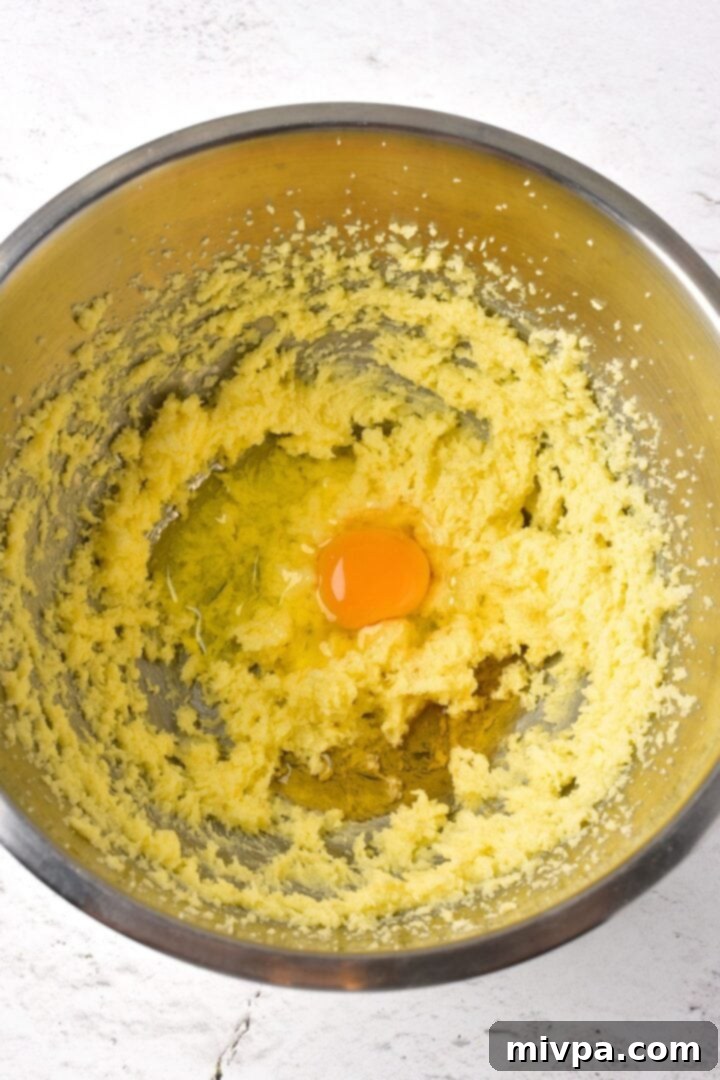
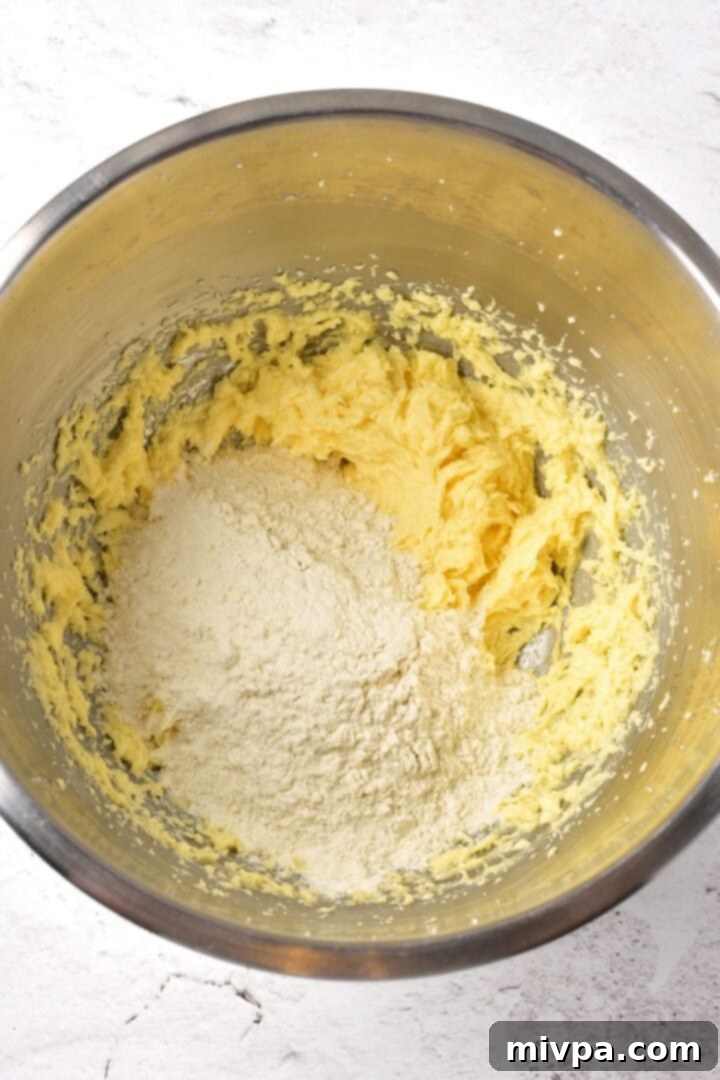
5. Chill the Dough
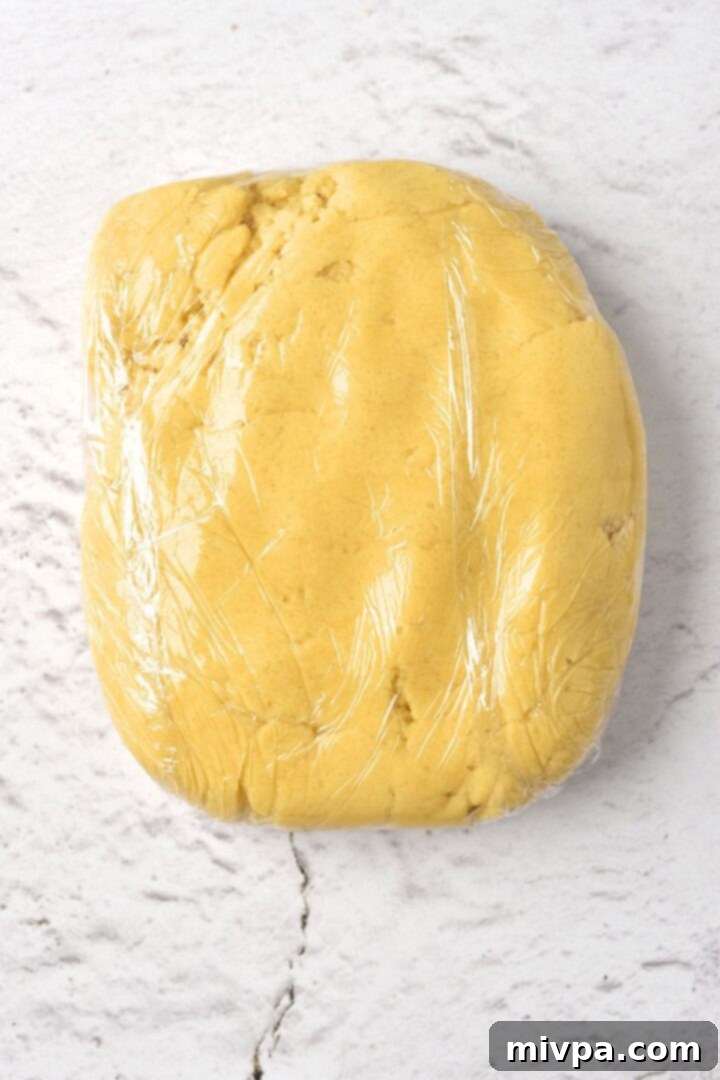
Gather the slightly sticky gluten-free sugar cookie dough into a ball, then flatten it into a disc. Wrap the dough tightly in plastic wrap to prevent it from drying out. Refrigerate the dough for at least 30 minutes. Chilling is a crucial step; it allows the dairy-free butter to firm up, making the dough much easier to handle when rolling and cutting. It also prevents the cookies from spreading too much during baking, ensuring your festive shapes remain intact. Furthermore, chilling allows the gluten-free flours to fully hydrate, which greatly improves the texture and flavor of the final cookie. For best results, you can chill for up to an hour or even overnight.
6. Prepare for Baking: Preheat Oven & Line Baking Sheets
While the dough is chilling, preheat your oven to 350°F (175°C). Proper oven temperature is vital for even baking. Prepare a large baking sheet or cookie sheet by lining it with parchment paper or a silicone baking mat (often called a Silpat). This simple step prevents the cookies from sticking to the pan, promotes even heat distribution, and makes cleanup significantly easier. Having your oven at the correct temperature before the cookies go in is key for consistent results and achieving that perfect golden edge.
7. Roll Out the Dough to Perfection
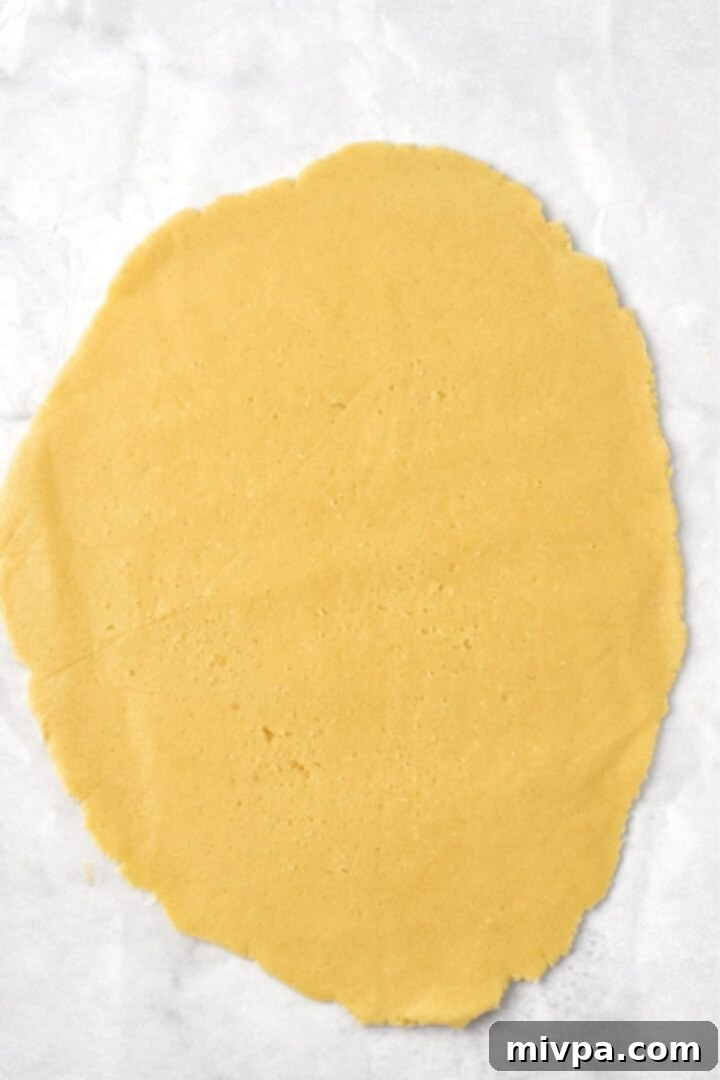
Once chilled, remove the dough from the refrigerator. For easier handling and consistent thickness, it’s best to roll out the dough between two sheets of parchment paper. This method prevents sticking to your rolling pin and countertop, and eliminates the need for excess flour, which can dry out the cookies and make them tough. Aim for a thickness of approximately 5 mm (about 1/5 inch) for evenly baked cookies that hold their shape. If you find the dough too firm after chilling, let it sit at room temperature for a few minutes to soften slightly, but not too much that it becomes sticky again. For convenience and to keep the dough cool, you can divide it into two parts and roll them out one at a time, keeping the other half refrigerated until ready to use.
8. Cut Out Festive Cookie Shapes
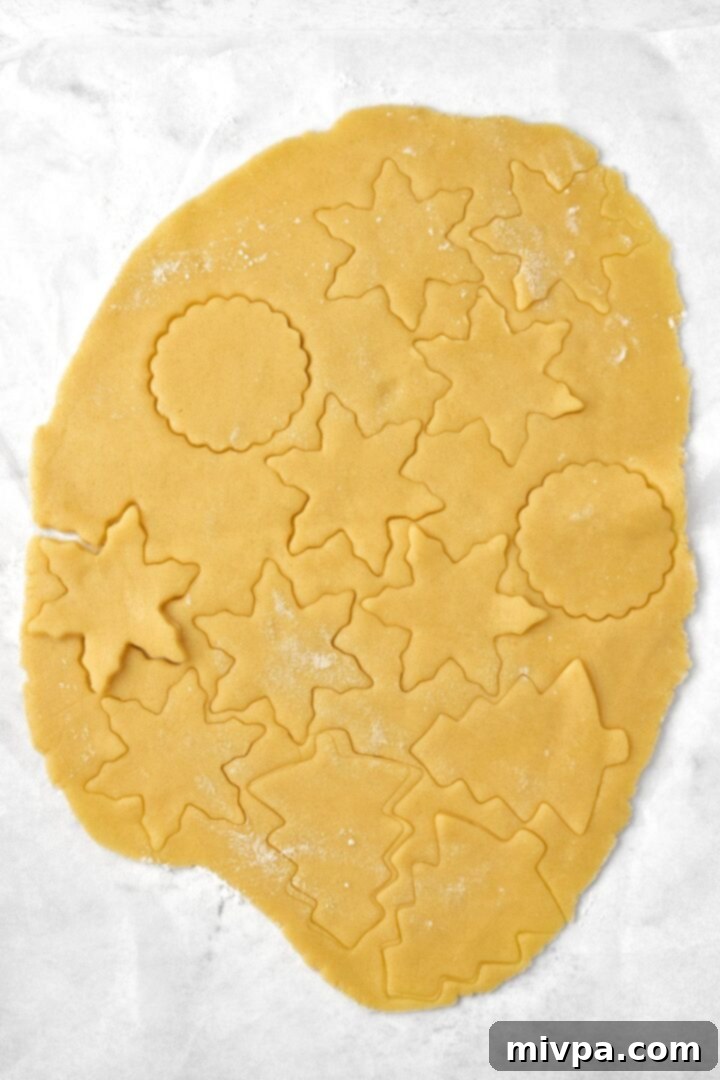
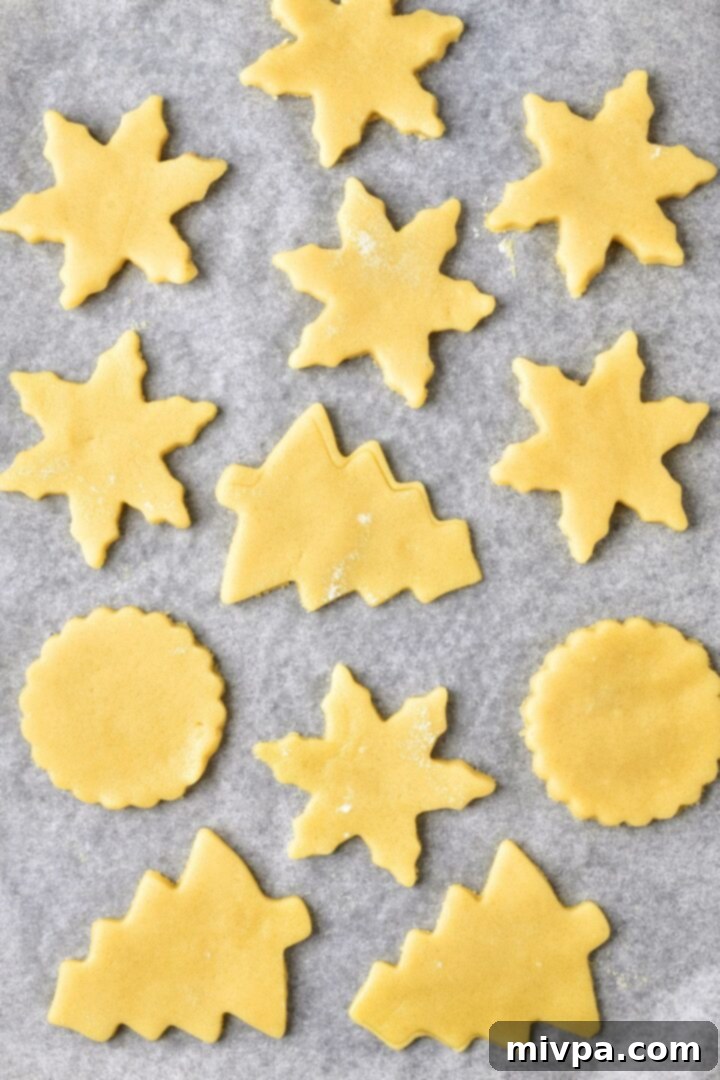
Peel off the top sheet of parchment paper from the rolled-out dough. Now comes the fun part: using your favorite Christmas-themed cookie cutters to create festive shapes! Think classic stars, cheerful Christmas trees, adorable gingerbread men, intricate snowflakes, or even simple circles for a versatile base. For best results, dip your cookie cutters in a little gluten-free flour between cuts to prevent sticking. Carefully transfer the cut-out shapes to your prepared baking sheet, leaving about an inch of space between each cookie to allow for slight expansion during baking. Reroll any dough scraps gently (avoid overworking the dough), chill briefly if it becomes too warm, and cut out more shapes until all the dough is used.
9. Bake Until Perfectly Golden
Carefully place the baking sheet with the cut-out cookies into the preheated oven. Bake for approximately 7-8 minutes. The exact baking time can vary depending on your oven’s calibration and the precise thickness of your cookies, so keep a close eye on them, especially during the last few minutes. The cookies are ready when the edges are lightly golden, and the centers appear set and slightly puffed. They should still be slightly soft to the touch in the middle – they will firm up as they cool. Avoid overbaking, as this can make them dry, hard, and crumbly. For best results and even baking, rotate the baking sheet halfway through the baking time if your oven tends to bake unevenly.
10. Cool Completely for Icing
Once baked, remove the finished cookies from the oven. Let them cool on the baking sheet for a few minutes (about 5-10 minutes) to firm up before carefully transferring them to a wire rack using a thin spatula. It’s absolutely crucial that the cookies are entirely cool before you begin decorating with icing; otherwise, the icing will melt, run, and lose its beautiful shape. This cooling process typically takes about 15-20 minutes, depending on the ambient temperature in your kitchen. Patience here will be rewarded with perfectly decorated cookies!
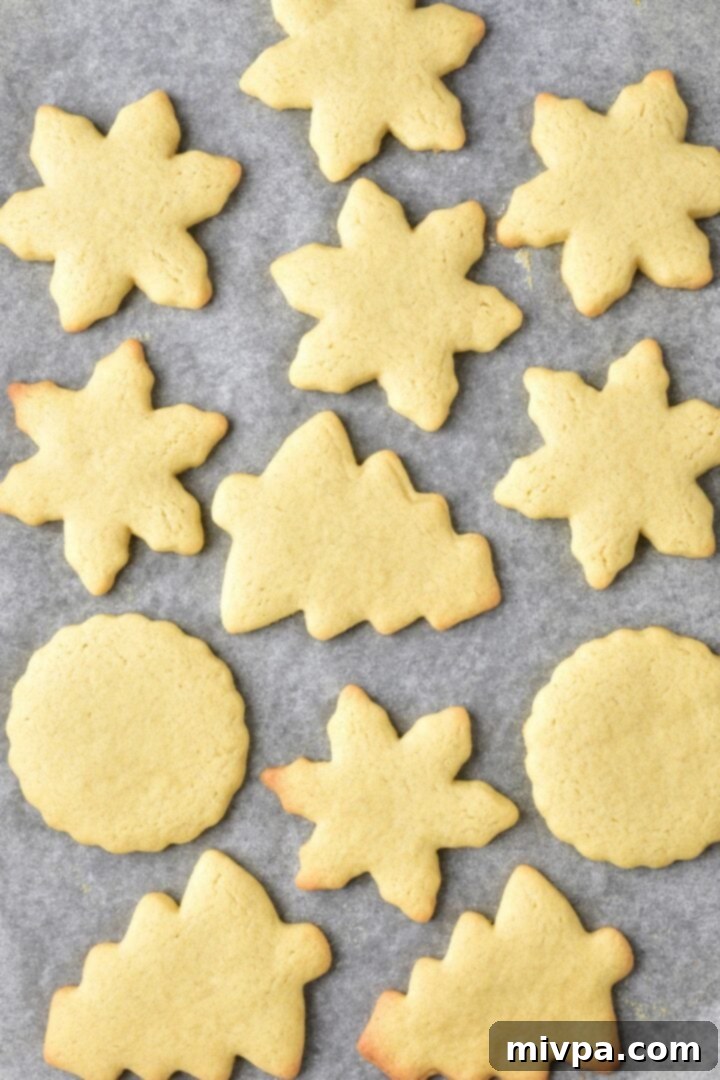
11. Prepare the Vibrant Icing
In a small bowl, combine the lemon juice and powdered sugar, whisking vigorously until smooth and lump-free. The key to perfect cookie icing is consistency: it should be thick enough to hold a shape (for outlining) but still flow smoothly enough to fill in areas (for flooding). If it’s too thick, add a tiny bit more lemon juice (or water) drop by drop, mixing thoroughly after each addition. If it’s too runny, whisk in a bit more powdered sugar. Divide the prepared glaze into three separate parts. Add a single drop of green gel food coloring to one part, a single drop of blue food coloring to another, and leave the final part white for contrast or additional designs. You can adjust the intensity of the colors by adding more drops as desired, remembering that gel colors are highly concentrated.
12. Decorate Your Masterpieces
Transfer each colored icing to a separate piping bag. You can use a small round tip (like a Wilton #2 or #3) for outlining and fine details, or simply snip a tiny corner off the bag for a fine line. Get creative and let your imagination lead the way! A common technique is to outline your cookies first, then, if desired, thin a small portion of that same color icing slightly with a tiny drop of water and use it to “flood” (fill in) the outlined centers, using a toothpick or small offset spatula to spread the icing to the edges and pop any air bubbles. Allow each color to set slightly before adding the next to prevent colors from bleeding into one another. Let your beautifully decorated cookies sit undisturbed for 30-60 minutes, or longer if needed, until the icing has completely set and hardened. This ensures a crisp, non-sticky finish and prevents smudging when handled or stored.
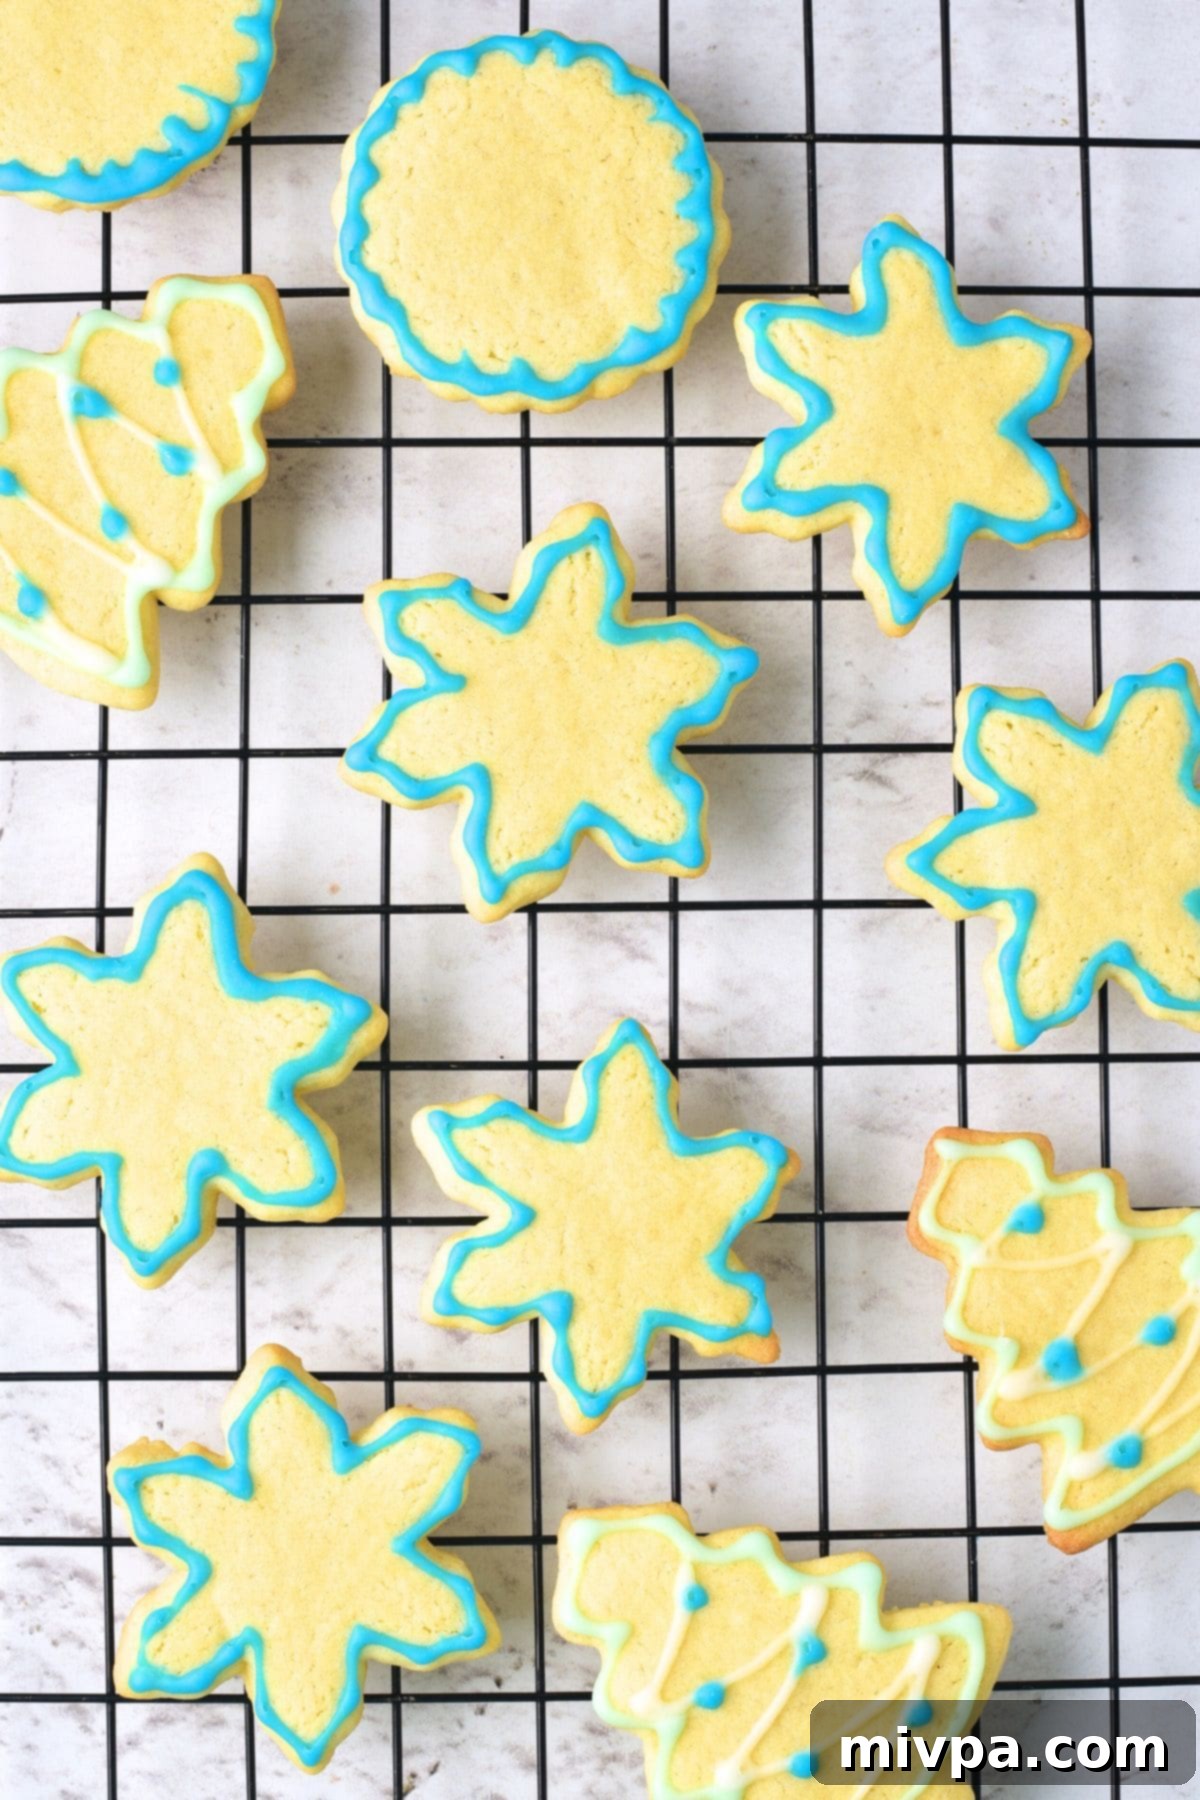
13. Enjoy, Store, or Gift
Once the vibrant icing has fully set and hardened, your delightful gluten-free and dairy-free Christmas sugar cookies are ready to be enjoyed! Serve them immediately to eager family members and guests, or carefully arrange them for a festive display on your holiday dessert table. For storage, place the cookies in an airtight container at room temperature. To prevent sticking or smudging the beautiful decorations, layer them gently with parchment paper between each row. They will remain fresh and delicious for up to 5 days. These beautifully decorated cookies also make fantastic gifts; box them up elegantly and share the homemade holiday joy with friends, neighbors, and teachers!
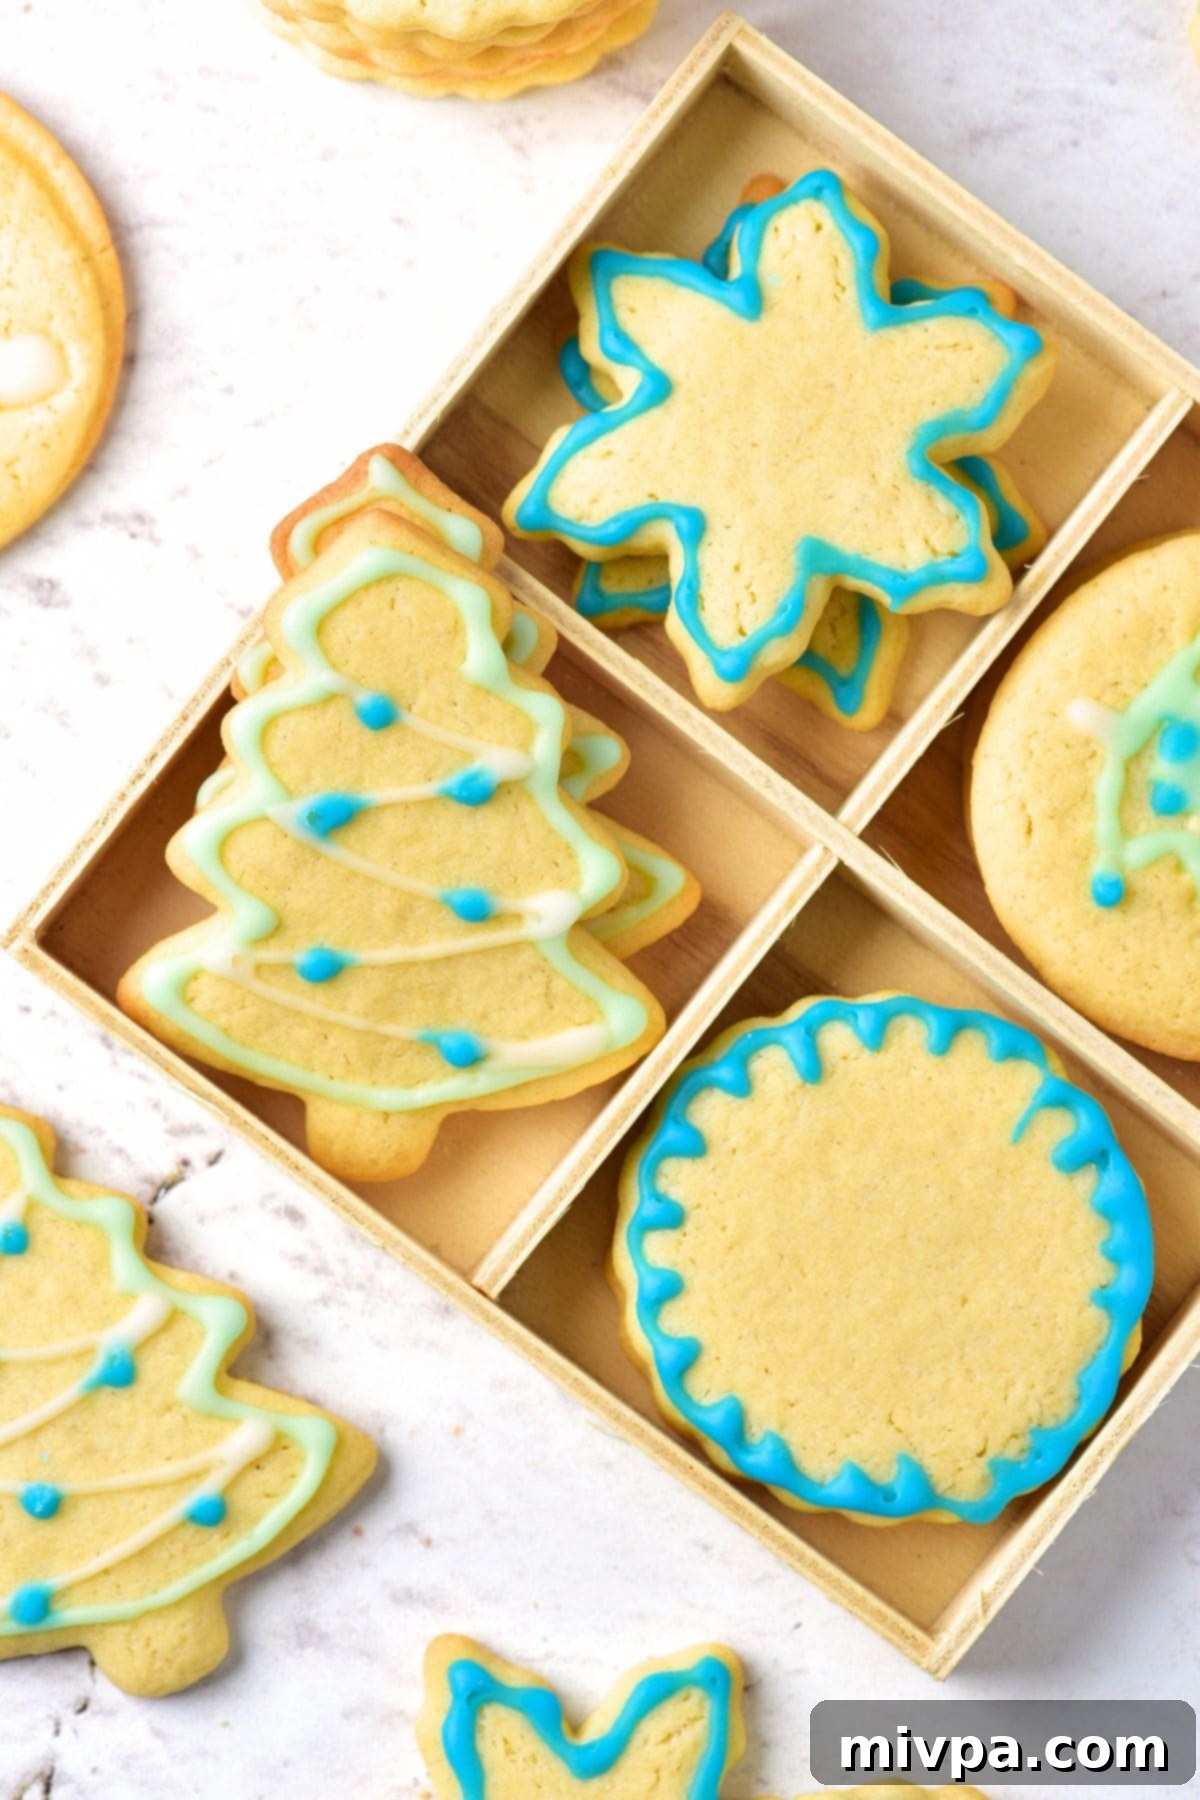
Dish by Dish Tips, Tricks, and Creative Ideas
Elevate your gluten-free Christmas sugar cookie experience with these additional tips and creative suggestions, ensuring every batch is a resounding success and a joy to behold:
- Decorative Colors & Themes: While traditional blue and green food coloring evoke a classic Christmas feel, don’t limit your creativity! Experiment with other festive colors like red, gold, silver, or even pastels for a winter wonderland theme. Gel food colorings offer vibrant hues without thinning your icing too much, which is crucial for intricate designs. Always ensure your food coloring is gluten-free if you have dietary concerns. Consider different holiday themes, not just Christmas, if you’re making these for other winter celebrations or events.
- Optional Decorations for Extra Sparkle: Once your base icing has been applied (but before it completely sets), feel free to add extra festive flair! Sprinkle edible glitter, colorful nonpareils, tiny sugar pearls, or your favorite holiday sprinkles over the wet icing. This creates a dazzling effect that makes your cookies even more irresistible and eye-catching. Just be sure any sprinkles or decorations you use are also certified gluten-free and dairy-free if maintaining strict dietary guidelines to keep the cookies fully allergy-friendly.
- Preventing Dough Spreading: The key to perfectly shaped cut-out cookies is cold dough. If your dough becomes too warm and soft during rolling or cutting, simply place the entire sheet (with parchment and cut-outs) back into the refrigerator for 10-15 minutes before baking. This helps the butter firm up again, ensuring the cookies maintain their intricate shapes and don’t spread excessively in the oven. A quick re-chill can make all the difference!
- Achieving Perfect Icing Consistency: For outlining cookies, you’ll want a slightly thicker icing that holds its shape and creates a barrier. For “flooding” (filling in the outlined area), a slightly thinner consistency that flows easily but doesn’t run off the edges is ideal. You can achieve this by having two batches of each color (one thicker, one thinner), or by adjusting the thickness with tiny amounts of powdered sugar (to thicken) or lemon juice/water (to thin) as you go. Practice makes perfect!
- Gifting Presentation: These cookies are ideal for gifting. Arrange them neatly in a decorative tin, a cellophane bag tied with a festive ribbon, or a small bakery box. For an extra thoughtful touch, add a handwritten tag with the recipe name and ingredients (especially noting that they are gluten-free and dairy-free) so the recipient knows they can enjoy them safely.
- Freezing Baked Cookies: If you want to get a head start on your holiday baking, you can bake the cookies, let them cool completely, and then freeze them undecorated in an airtight container for up to 3 months. When ready to decorate, simply thaw them at room temperature before icing. You can also freeze decorated cookies once the icing has fully hardened, but be extra careful with storage to prevent damage to the delicate decorations.
- Involving the Family: Decorating sugar cookies is a fantastic family activity. Set up a “cookie decorating station” with different icing colors, sprinkles, and edible glitter. It’s a fun way to engage children and create lasting holiday memories together.
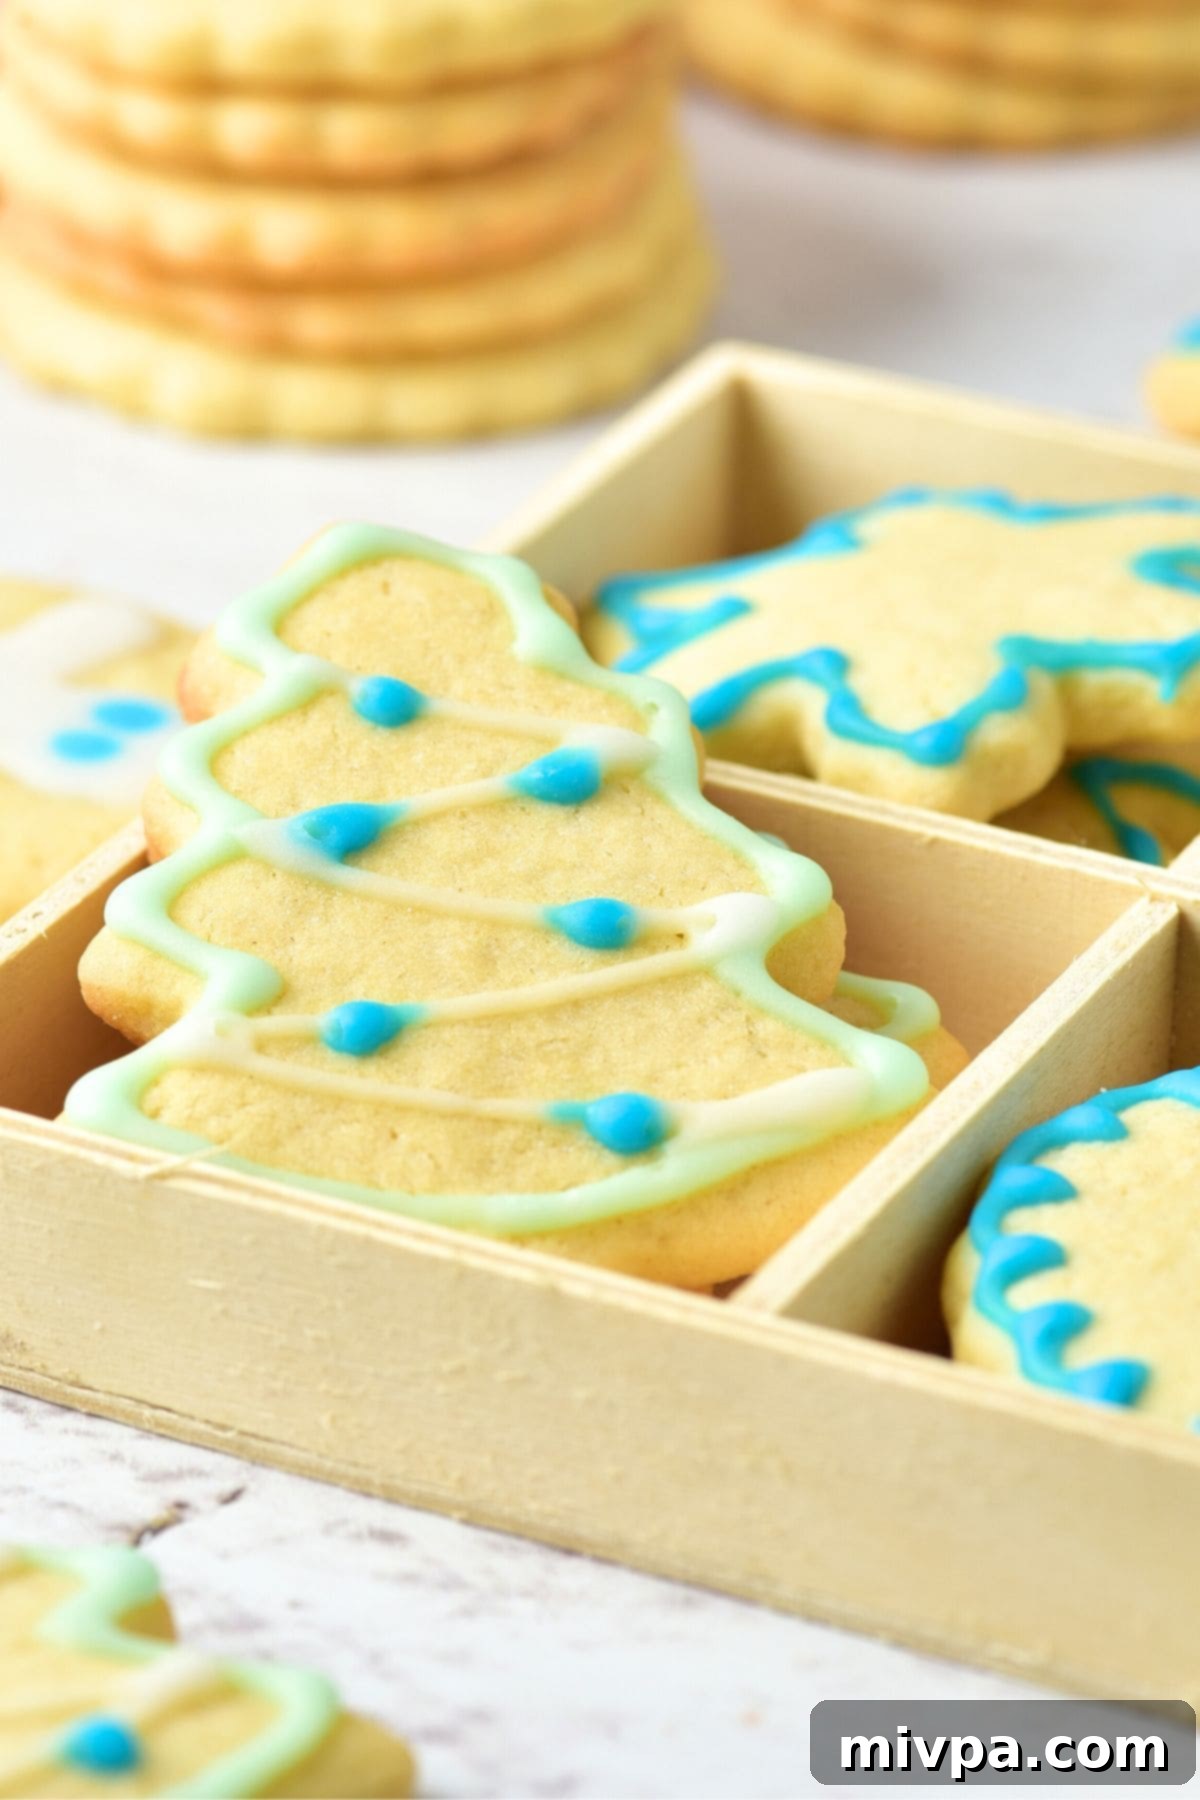
Other Gluten-Free & Dairy-Free Cookies You’ll Adore
If you loved these festive sugar cookies, you’re in for a treat! Discover more delicious gluten-free and dairy-free cookie recipes that are perfect for any occasion. Expanding your repertoire of allergy-friendly sweets means more joy for everyone at your table, making every gathering inclusive and delightful.
- Tahini Chocolate Chip Cookies (Gluten-Free, Dairy-Free)
- Gluten-Free Linzer Cookies (Dairy-Free)
- Heart Jam Cookies (Gluten-Free, Dairy-Free)
- Gluten-Free Christmas Sugar Cookies (Dairy-Free)
P.S. If you try this recipe, I’d love for you to leave a star rating below, and/or a review in the comment section further down the page. I always appreciate your feedback. Be sure to check out my entire Recipe Index for all the recipes on the blog. You can also follow me on Pinterest, Facebook or Instagram! Sign up for my Email List to get fresh recipes in your inbox each week!
Print

Gluten-Free Christmas Sugar Cookies (Dairy-Free)
5 Stars 4 Stars 3 Stars 2 Stars 1 Star
No reviews
Author: Felicia Lim
Total Time: 1 hour 15 minutes
Yield: 20 cookies
Diet: Gluten Free
Description
These gluten-free Christmas sugar cookies are easy to make and are perfect for gifting during the holiday season. Plus, they’re totally dairy-free too! Go bake a batch today!
Ingredients
Units
Scale
- 1/2 cup unsalted dairy-free butter
- 1/2 cup sugar
- 1 teaspoon vanilla extract
- 1 egg
- 1 1/2 cups gluten-free measure-for-measure flour
- 1/2 teaspoon xanthan gum (omit if your gluten-free flour blend already has it)
- 1 teaspoon baking powder
- 1 pinch salt
For the Icing:
- 2 tablespoons lemon juice
- 6 to 7 tablespoons powdered sugar
- 1 drop green gel food coloring
- 1 drop blue gel food coloring
Instructions
- Beat Butter and Sugar: Beat butter and sugar until combined (approximately 2 minutes).
- Add Egg and Vanilla: Add the egg and vanilla extract. Beat for a couple more minutes.
- Sift Dry Ingredients: In a large bowl, whisk the gluten-free measure-for-measure flour with salt and baking powder.
- Add Dry Ingredients to Wet Ingredients: Add the flour mixture to the bowl with the wet ingredients. You should get a slightly sticky dough.
- Cover with Plastic Wrap and Chill: Wrap the dough in plastic wrap and refrigerate for at least half an hour to chill the dough.
- Preheat and Line: Preheat the oven to 350F and line a large baking sheet with parchment paper or a Silpat.
- Roll Out Dough: Roll out the dough between two sheets of parchment paper to a thickness of about 5 mm (1/5 inch). For convenience, you can divide the dough into two parts and roll them out one at a time.
- Cut Out Cookie Dough: Cut out the dough using cookie cutters of your choice.
- Place Dough on Prepared Baking Sheet: Place the cut out cookie dough on the prepared baking sheet. Bake for 7-8 minutes.
- Let Cool: Remove the finished cookies from the oven and let cool.
- Prepare the Icing: Mix the lemon juice and powdered sugar with a whisk. The cookie icing should not be too runny. Divide the glaze into three parts. Add a drop of green to one part, a drop of blue food coloring to another part, and leave the final part white.
- Decorate Cookies: Decorate the cookies as desired and let them sit for 30-60 minutes until the icing has set.
- Store: You can store the cookies in a container with a lid.
Notes
Butter: I used dairy-free butter to keep this recipe dairy-free. However, if you are not lactose-intolerant, go ahead and use regular unsalted butter instead.
Sugar: I used granulated white sugar, but you may also use cane sugar or light brown sugar if you prefer. If you are diabetic or insulin-resistant, I recommend using granulated monkfruit sweetener (1:1 sugar substitute that is zero glycemic index).
Vanilla Extract: I like adding a bit of vanilla extract for extra flavor, and I recommend adding it in. However, if you don’t have it on hand, or are not a fan of vanilla, feel free to leave it out.
Egg: The egg is necessary for binding the ingredients together, so make sure you add it in.
Gluten-Free Flour Blend: I recommend using a good-quality gluten-free measure-for-measure flour blend (a 1:1 gluten-free substitute for regular all-purpose flour) that is made up of lighter flours/starches (such as rice flour, tapioca starch, corn starch or potato starch). I do NOT recommend using gluten-free flour blends that use heavier flours (such as garbanzo bean flour).
Xanthan Gum: Xanthan gum is the replacement for gluten in gluten-free flours and helps to better bind the ingredients together. If your gluten-free flour blend does not already include it, make sure to add it in.
Baking Powder: Baking powder is the only leavening agent used in this sugar cookie recipe, so definitely add it in. If you are Celiac or gluten-intolerant, make sure to use gluten-free baking powder.
Lemon Juice: For the best flavor I recommend using freshly squeezed lemon juice. However, if you don’t have fresh lemons, bottled lemon juice will work just as well.
Powdered Sugar: Powdered sugar (also known as icing sugar or confectioner’s sugar), is sugar that has been processed to a very fine powder and can easily dissolve. If you are diabetic or insulin-resistant, I recommend using powdered monkfruit sweetener (a 1:1 powdered sugar substitute that is zero glycemic index).
Coloring: I used blue and green food coloring, but feel free to use whichever colors you prefer. If you are Celiac or gluten-intolerant, make sure to use gluten-free food coloring.
- Prep Time: 5 mins
- Chilling + Cooling Time: 60 mins
- Cook Time: 10 mins
- Category: Cookies
- Method: Baking
- Cuisine: American
