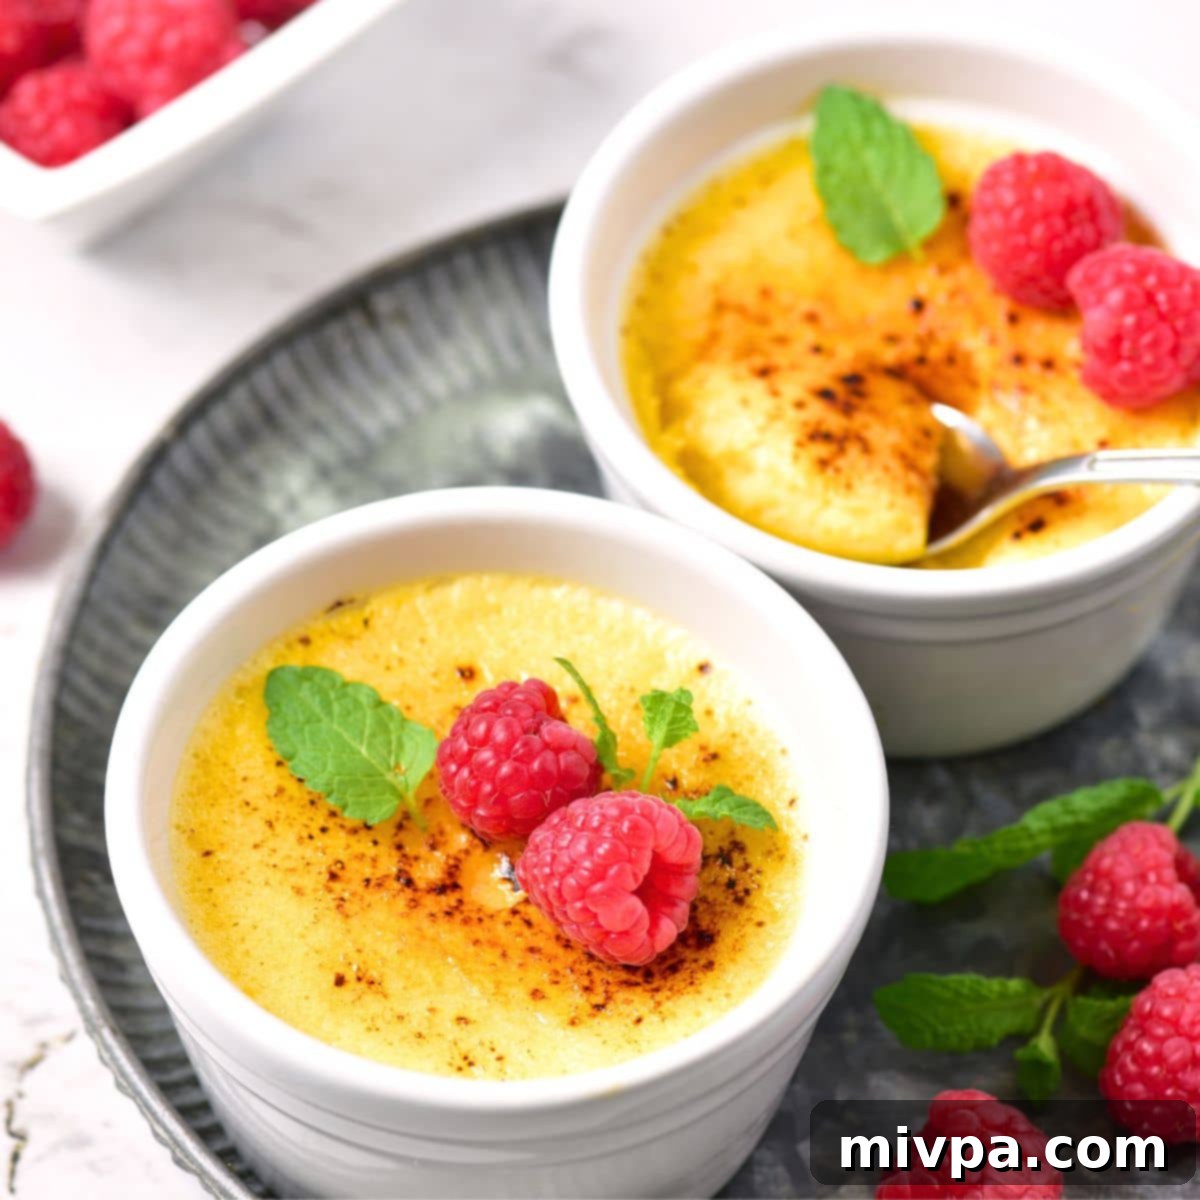
Effortlessly Perfect: Your Guide to a Creamy, Crispy, Gluten-Free Crème Brûlée
Indulge in the ultimate classic French dessert with this incredibly easy crème brûlée recipe. Featuring a sumptuously rich and creamy custard base crowned with a delicate, shatteringly crisp caramelized sugar topping, it’s a show-stopping treat perfect for any special occasion. Best of all, this elegant dessert is naturally gluten-free and can be effortlessly adapted to be dairy-free, ensuring everyone can enjoy its decadent charm. Prepare to impress with minimal effort!
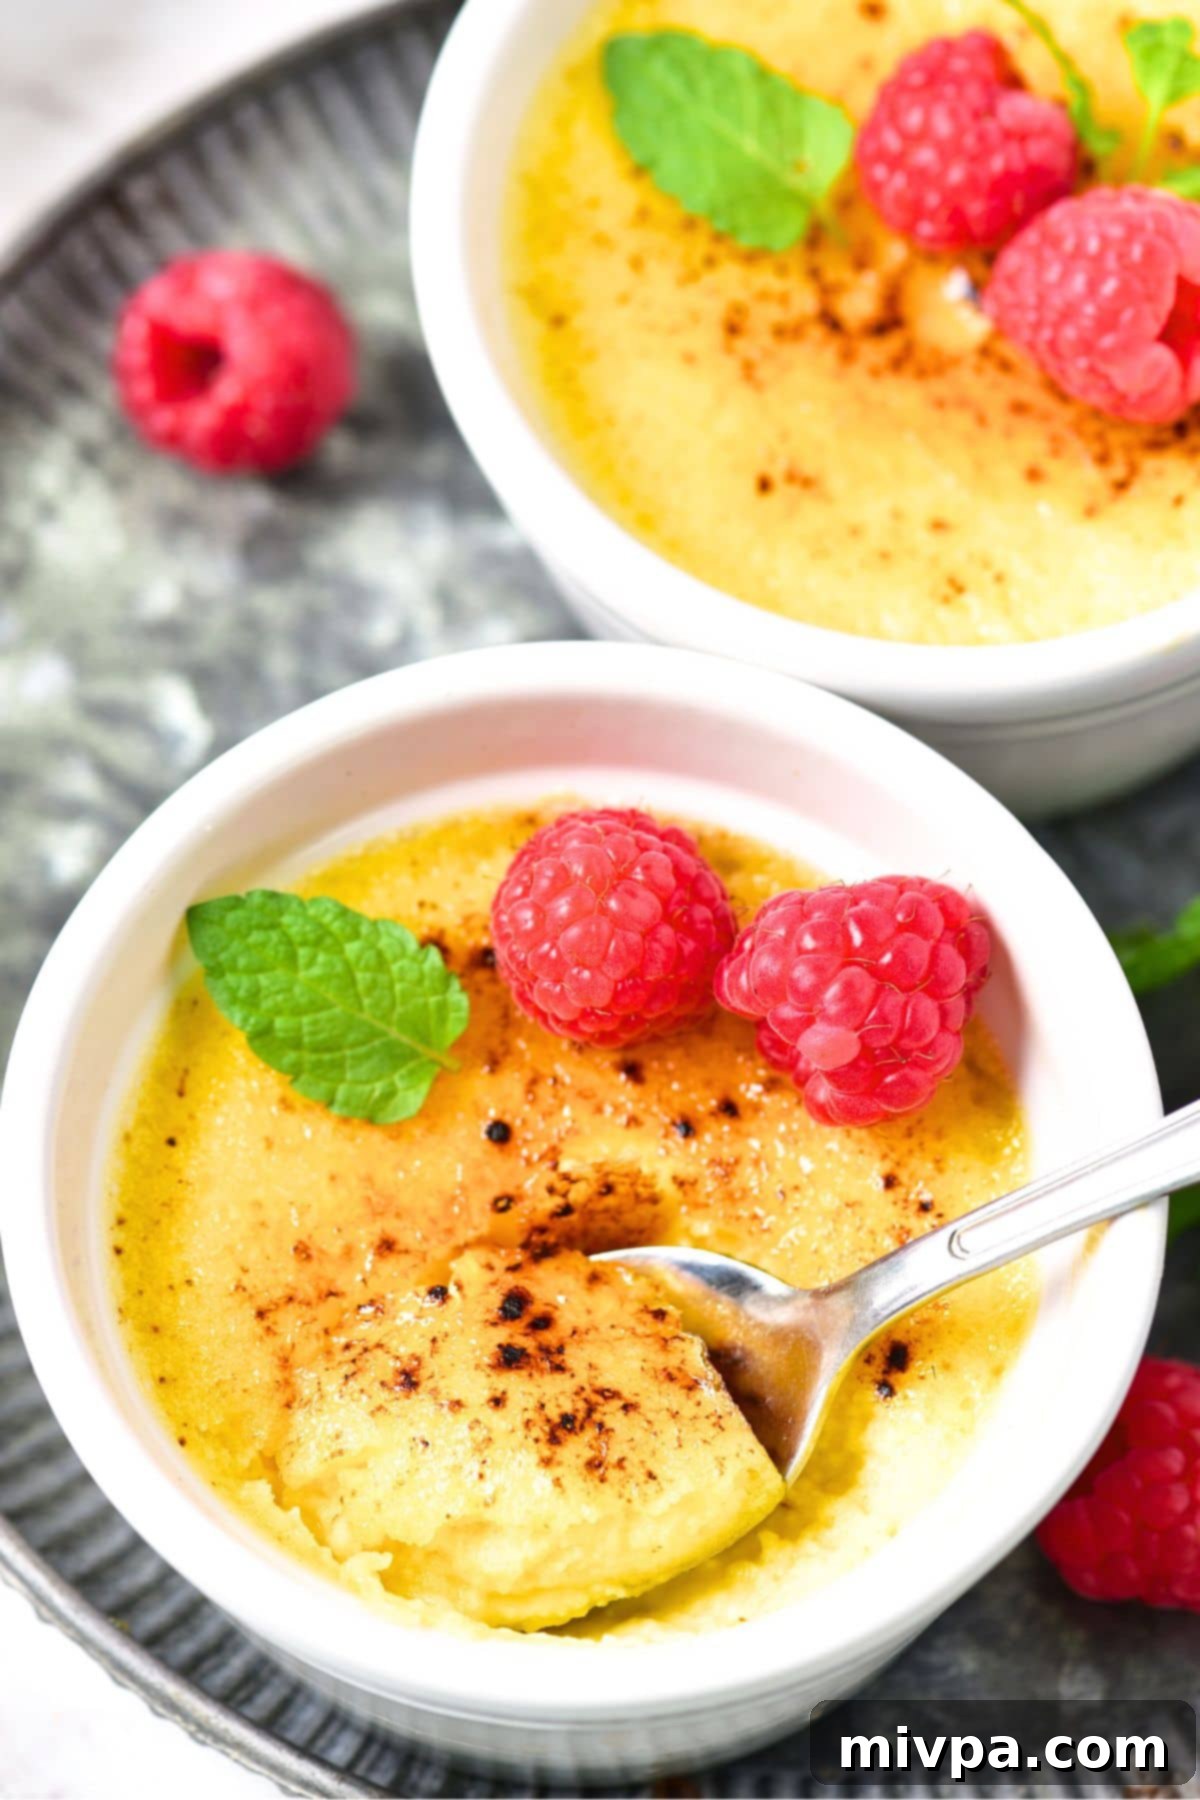
What is Crème Brûlée? A Classic French Dessert Demystified
Literally translating to ‘burnt cream’ from French, crème brûlée is an iconic dessert celebrated worldwide for its elegant simplicity and irresistible contrasts. At its heart lies a silky, vanilla-infused custard that’s rich and smooth, providing a comforting depth of flavor. The true magic, however, lies in its signature topping: a thin, brittle layer of caramelized sugar that shatters with a satisfying crack when tapped with a spoon. This dramatic textural interplay between the cool, creamy custard and the warm, crisp caramel is what makes crème brûlée a truly decadent and unforgettable experience.
While its origins are debated – with claims from France, England, and Spain – it’s the French version that has truly captured the global imagination. Typically served in individual ramekins, crème brûlée offers not only a beautiful presentation but also perfect portion control, making it an ideal choice for dinner parties, holidays, or any moment you wish to elevate with a touch of culinary sophistication. The preparation, while seemingly complex, is surprisingly straightforward, allowing even novice bakers to achieve professional-looking results right in their own kitchen.
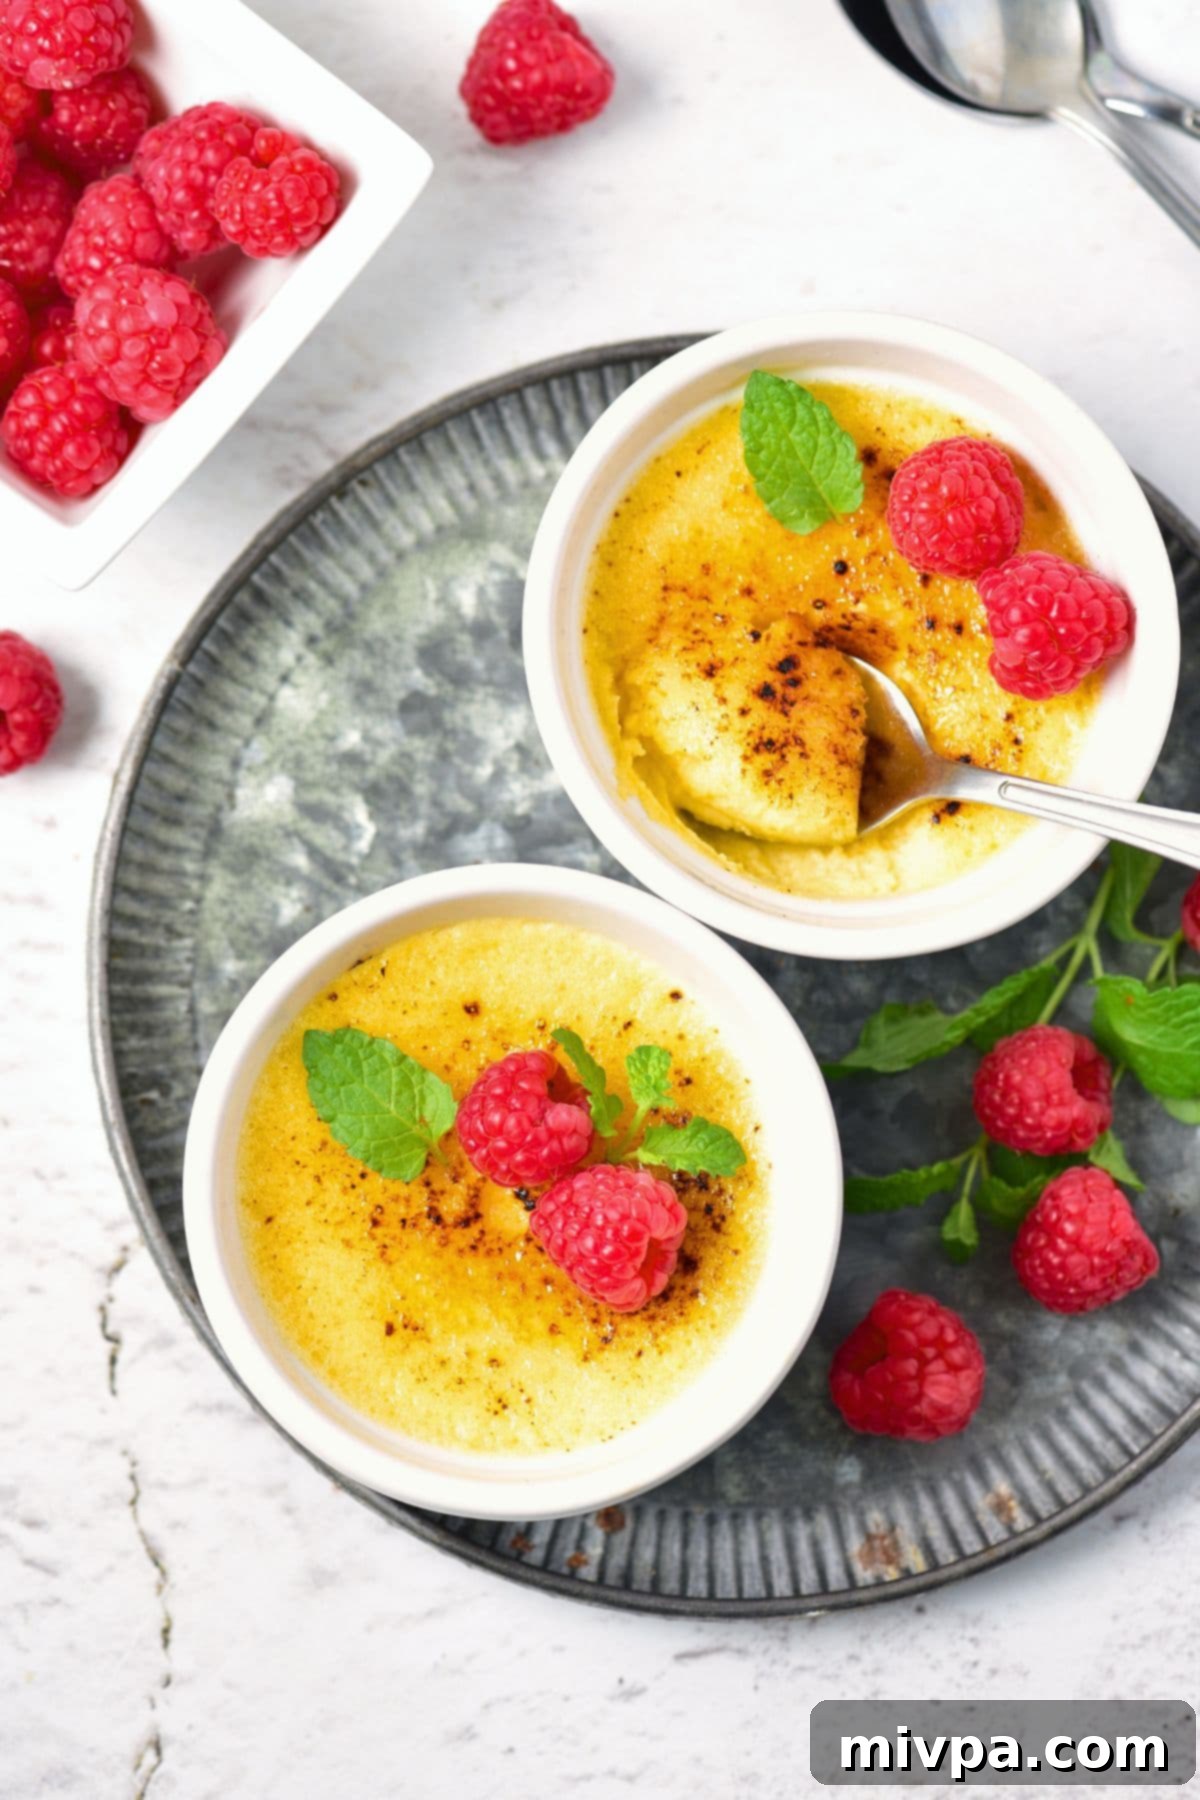
Why This Easy Crème Brûlée Recipe Will Become Your Favorite:
- Uncomplicated Ingredients for a Decadent Dessert: Forget obscure gourmet items! This classic French dessert requires only four fundamental ingredients, all readily available at your local grocery store. We’re talking about heavy cream, egg yolks, sugar, and vanilla – staples that transform into pure magic with minimal fuss. This simplicity ensures that anyone can whip up a batch of glorious gluten-free crème brûlée without a special shopping trip or hunting for exotic spices.
- Effortlessly Simple Preparation: Don’t let its elegant appearance intimidate you. This easy crème brûlée recipe boasts an impressively quick hands-on preparation time, often under 10 minutes. Most of the work is handled by your oven and refrigerator, allowing you to focus on other tasks while your dessert comes to life. While there are a few key steps involved – such as tempering the eggs and a gentle bake in a water bath – the process itself is uncomplicated and incredibly rewarding, proving that gourmet desserts don’t have to be difficult.
- Naturally Gluten-Free & Easily Dairy-Free: One of the absolute best features of this recipe is its inherent gluten-free nature, making it a perfect choice for those with dietary restrictions or sensitivities. Furthermore, for our lactose-intolerant friends or those seeking a plant-based option, this recipe is incredibly versatile. You can easily create a luscious dairy-free crème brûlée by simply swapping traditional heavy cream for a high-quality dairy-free heavy cream alternative. This adaptability means everyone gets to enjoy this delightful treat, making it a universally appealing dessert.
- The Ultimate Crowd-Pleaser for Any Occasion: Whether you’re hosting an intimate dinner party, celebrating a major holiday, or simply craving a sophisticated dessert, this homemade crème brûlée is guaranteed to be a hit. Its luxurious texture, perfectly balanced sweetness, and dramatic caramelized topping make it a universally loved treat. The individual ramekins also add a touch of personal elegance to each serving, making your guests feel truly special and indulged.
- Make-Ahead Perfection: Planning ahead for a special meal? This crème brûlée recipe is your ideal solution. The custard base is best prepared in advance and thoroughly chilled, making it an excellent dessert for entertaining. You can bake the custards a day or two before your event and simply torch the sugar topping right before serving, ensuring a fresh, crispy crust every single time. This flexibility takes the stress out of last-minute dessert preparations, allowing you to enjoy your guests.
Essential Ingredients for Your Easy Crème Brûlée
Crafting this delightful gluten-free crème brûlée requires just a handful of simple, high-quality ingredients. Each component plays a vital role in achieving the signature creamy texture and rich flavor. Here’s a visual overview to ensure you have everything ready before you begin your culinary adventure. Remember, using the best ingredients you can find will elevate the final taste and texture of your homemade crème brûlée to truly extraordinary heights.
(For precise measurements and detailed instructions for each step, please refer to the comprehensive printable recipe card conveniently located at the very bottom of this article.)
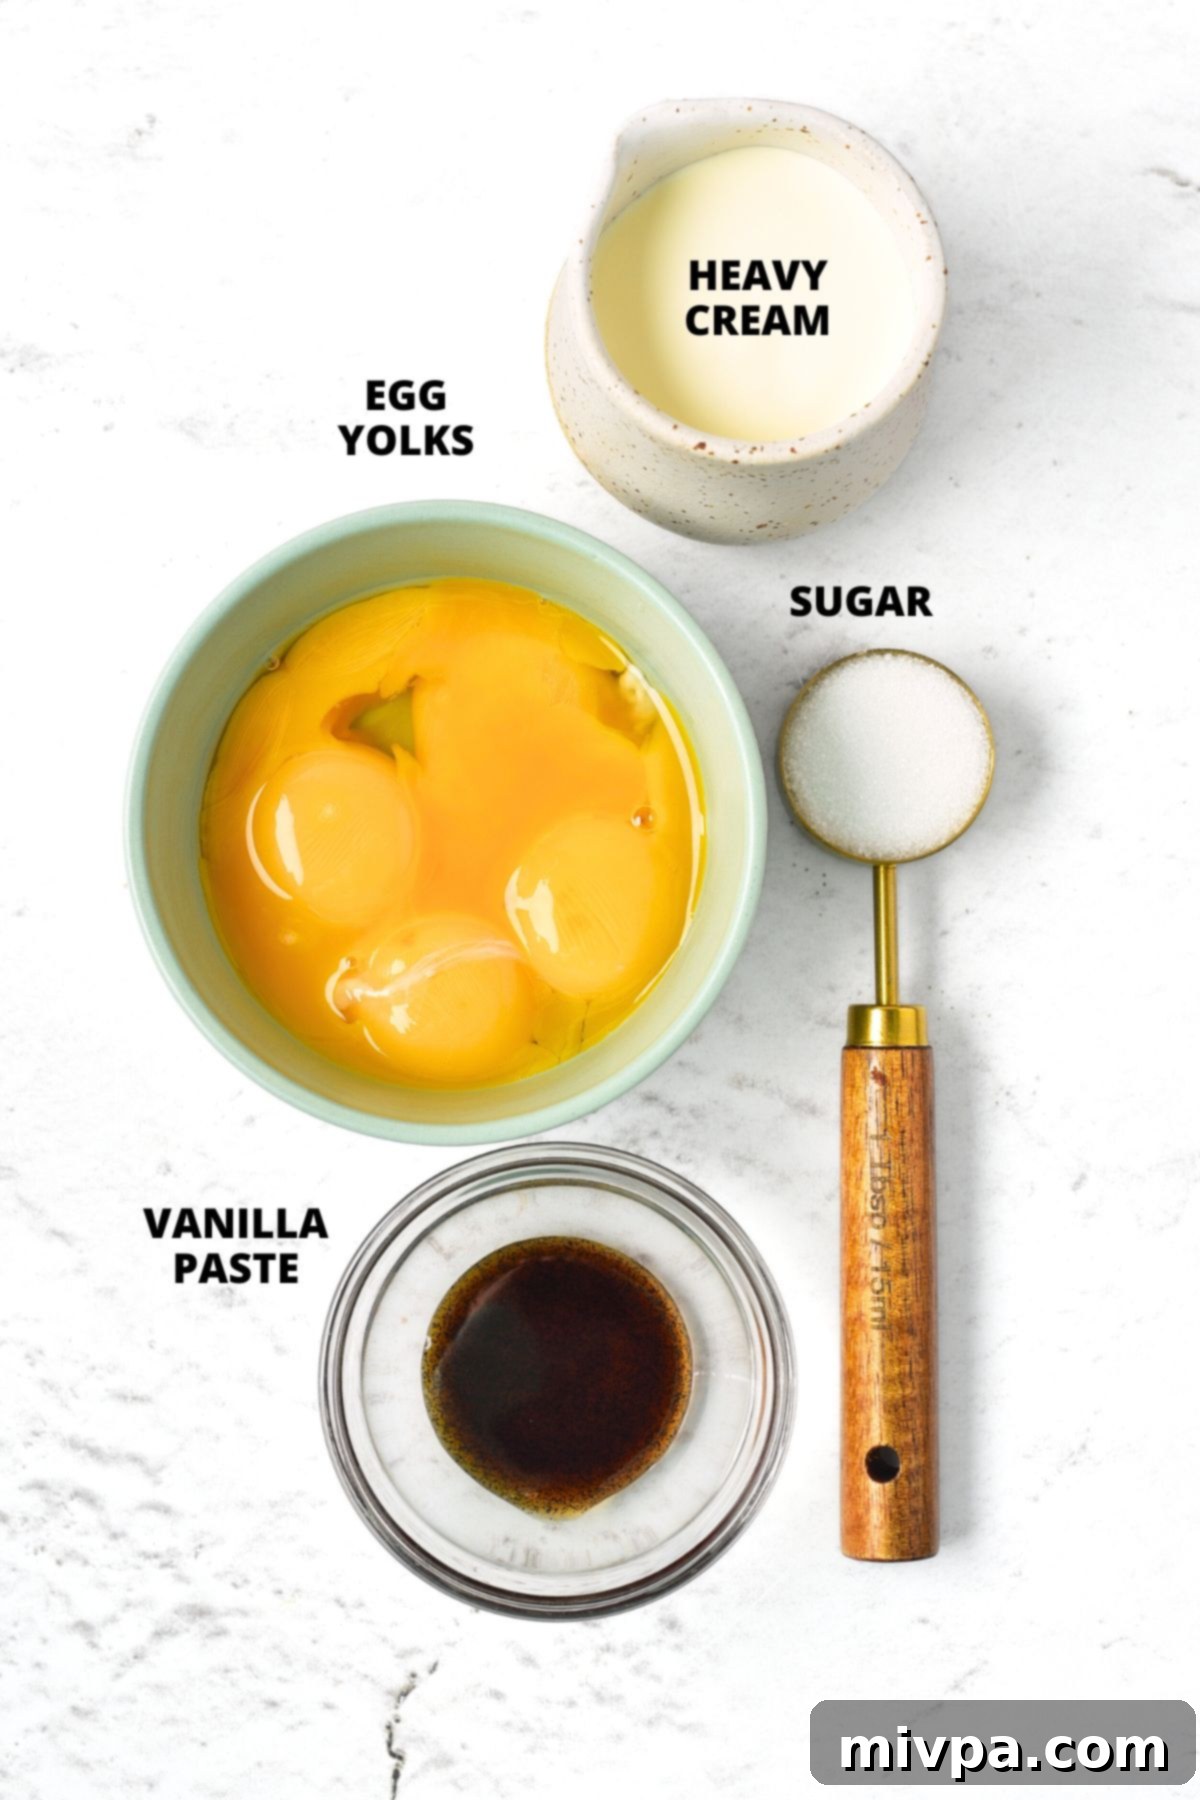
Recipe Notes & Handy Substitutions for Your Crème Brûlée
While this crème brûlée recipe is wonderfully straightforward, these notes and substitution ideas will help you tailor it to your preferences or dietary needs, ensuring a perfect outcome every time you make this classic French dessert.
- Cream: The foundation of our creamy custard! We recommend using full-fat heavy whipping cream (with at least 36% milk fat) for the richest, most luxurious texture. Its high fat content is crucial for the custard’s decadent mouthfeel. If you are lactose-intolerant or prefer a plant-based option, you can absolutely make this a dairy-free crème brûlée. Simply swap out the regular heavy cream for an equal amount of good quality dairy-free heavy cream. Brands like Silk Dairy-Free Heavy Whipping Cream or Califia Farms Better Half often yield excellent results. Be mindful that some alternatives might have a slightly different fat content, which could subtly affect the texture, but the flavor will still be outstanding.
- Vanilla Paste: For an intense, aromatic vanilla flavor and beautiful specks throughout your custard, we highly recommend using vanilla bean paste. It offers a more concentrated and authentic vanilla experience, mimicking the use of a whole vanilla bean but with greater convenience. However, if you don’t have vanilla paste on hand, you can certainly use equal amounts of pure vanilla extract instead. Avoid imitation vanilla for the best possible flavor, as it lacks the depth and complexity of pure vanilla.
- Egg Yolks: These are the essential binding agent and richifier for our custard base, giving crème brûlée its signature silky-smooth texture and pale yellow color. The fat in the yolks contributes significantly to the creamy consistency. Do not skip or reduce the number of yolks, as they are crucial for setting the custard properly. Since this recipe only calls for yolks, you’ll have leftover egg whites. Don’t waste them! They’re perfect for making meringues, macarons, or a healthy egg white omelet for another meal.
- Sugar (for Custard and Topping): Granulated white sugar is our go-to for the custard, providing sweetness without altering the delicate color or texture. Fine cane sugar would also work perfectly. For the sugar topping, granulated white sugar is also ideal as it melts and caramelizes evenly to form that perfect crisp crust. While you might be tempted to use powdered sugar, it contains cornstarch and doesn’t caramelize as effectively or form the desired hard shell. Brown sugar can also be used for the topping, offering a deeper, molasses-like flavor, but it may melt and burn faster.
- Ramekins: Individual medium ramekins (typically 6-8 ounces) are traditional and ideal for serving crème brûlée. They help with even baking and presentation, ensuring each guest receives their own perfectly portioned dessert. If you only have smaller (4-5 ounce) ramekins, you can simply adjust the number of servings (you’ll get more!) and bake time slightly. Always ensure your ramekins are oven-safe.
How to Make Perfect Crème Brûlée (Step-by-Step Guide):
Follow these detailed steps to create a show-stopping homemade crème brûlée with an incredibly creamy interior and a spectacular, shatteringly crisp caramelized crust. Success is just a few simple steps away!
1. Preheat Oven and Prepare Water Bath
Begin by preheating your oven to 265°F (130°C). This specific low and slow temperature is absolutely crucial for baking the custard gently, preventing it from curdling, cracking, or developing an undesirable rubbery texture. While the oven preheats, set up your water bath (also known as a bain-marie). Choose a deep baking dish or a baking sheet with high sides that is large enough to comfortably fit all your ramekins. A water bath is an essential technique for crème brûlée; it creates a moist, even heat environment around the custards, ensuring they bake slowly and evenly, which is key to achieving that super smooth, crack-free finish.
2. Infuse Cream with Vanilla
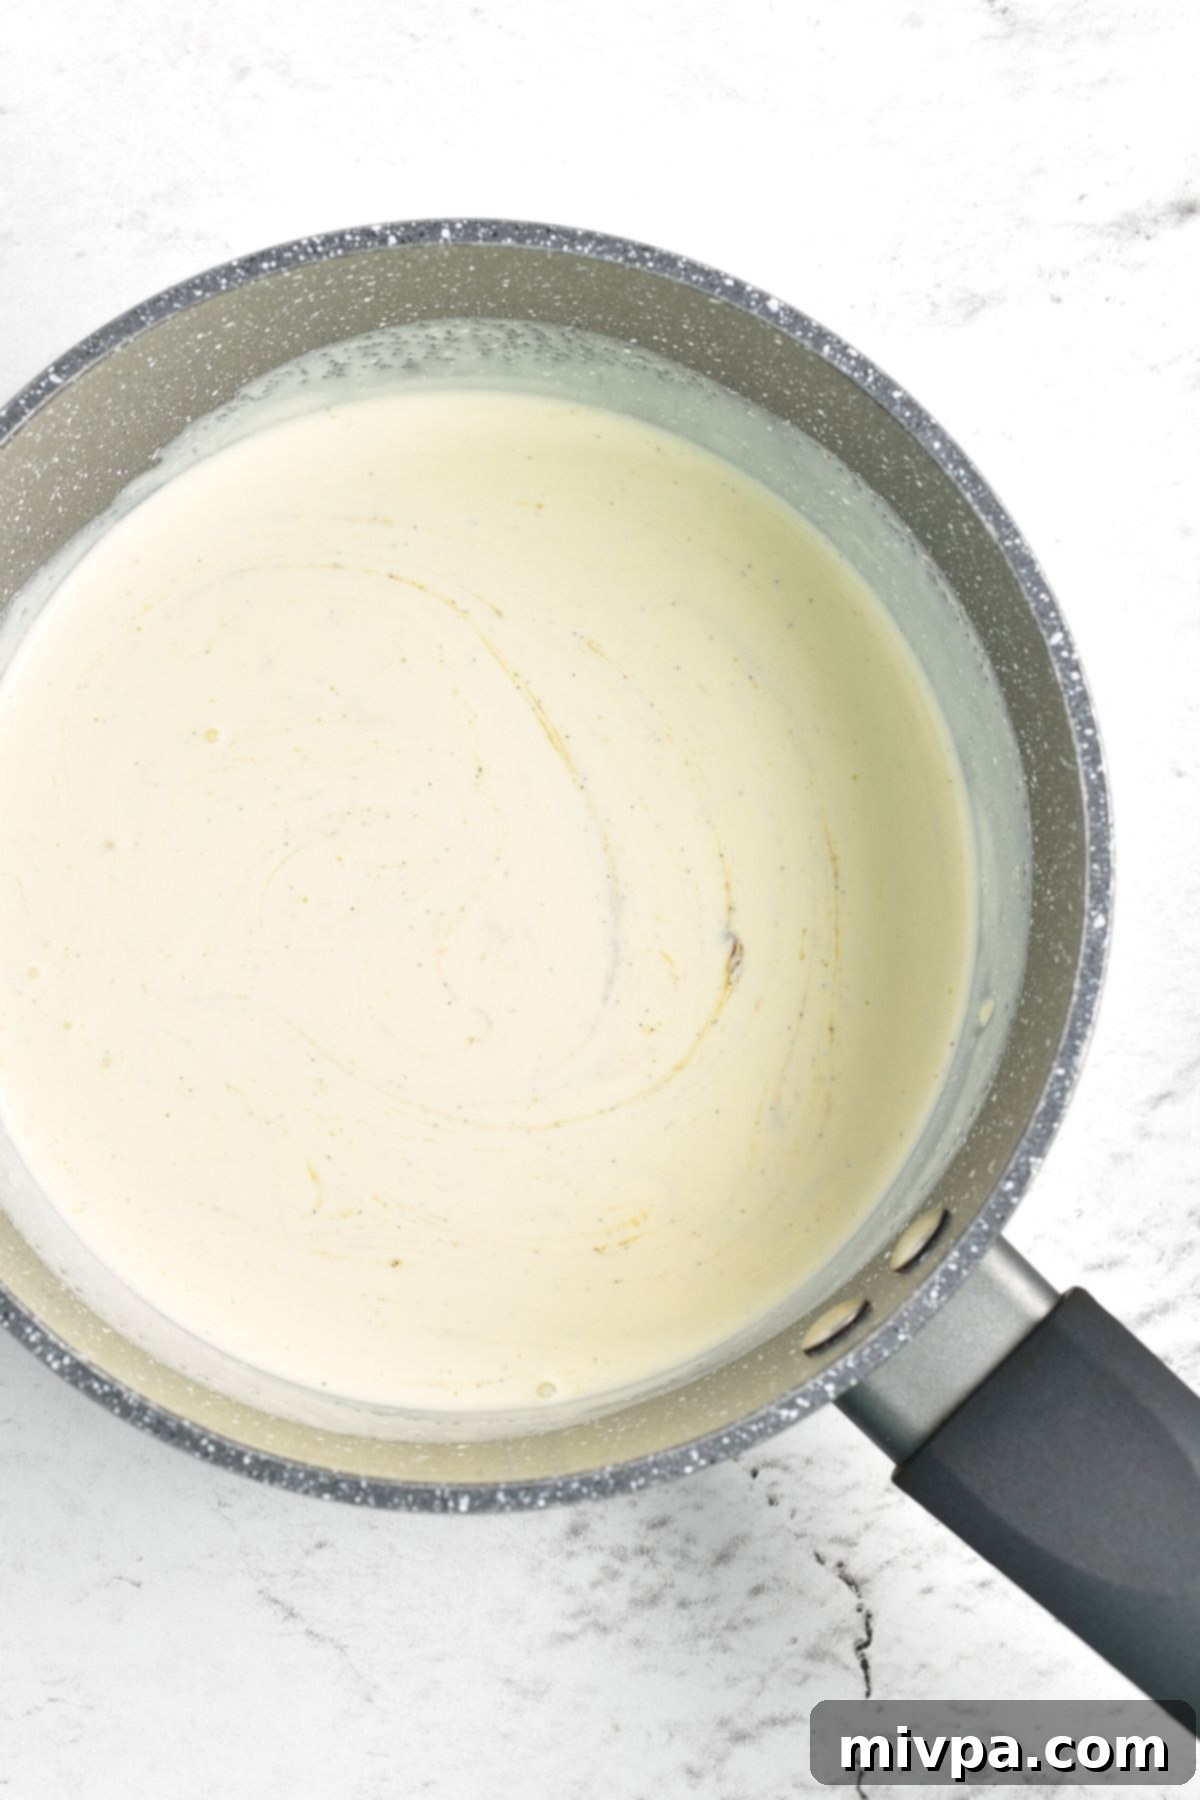
Pour the heavy whipping cream into a medium saucepan. Add the vanilla bean paste (or vanilla extract, if substituting). Stir gently with a whisk to ensure the vanilla is well distributed. Heat the mixture over medium-low heat for about 5 minutes, or until small bubbles just begin to form around the edges of the pan. It’s critical *not* to bring the cream to a full boil, as this can cause it to scald or alter its texture, which will negatively impact your custard. The goal is simply to warm the cream and allow the vanilla to deeply infuse its aromatic flavor into the liquid. Once warmed, remove the saucepan from the heat and let the cream mixture cool slightly for a few minutes while you prepare the yolks. This slight cooling also helps in the next step by reducing the risk of scrambling the eggs.
3. Whisk Yolks and Sugar until Pale and Fluffy
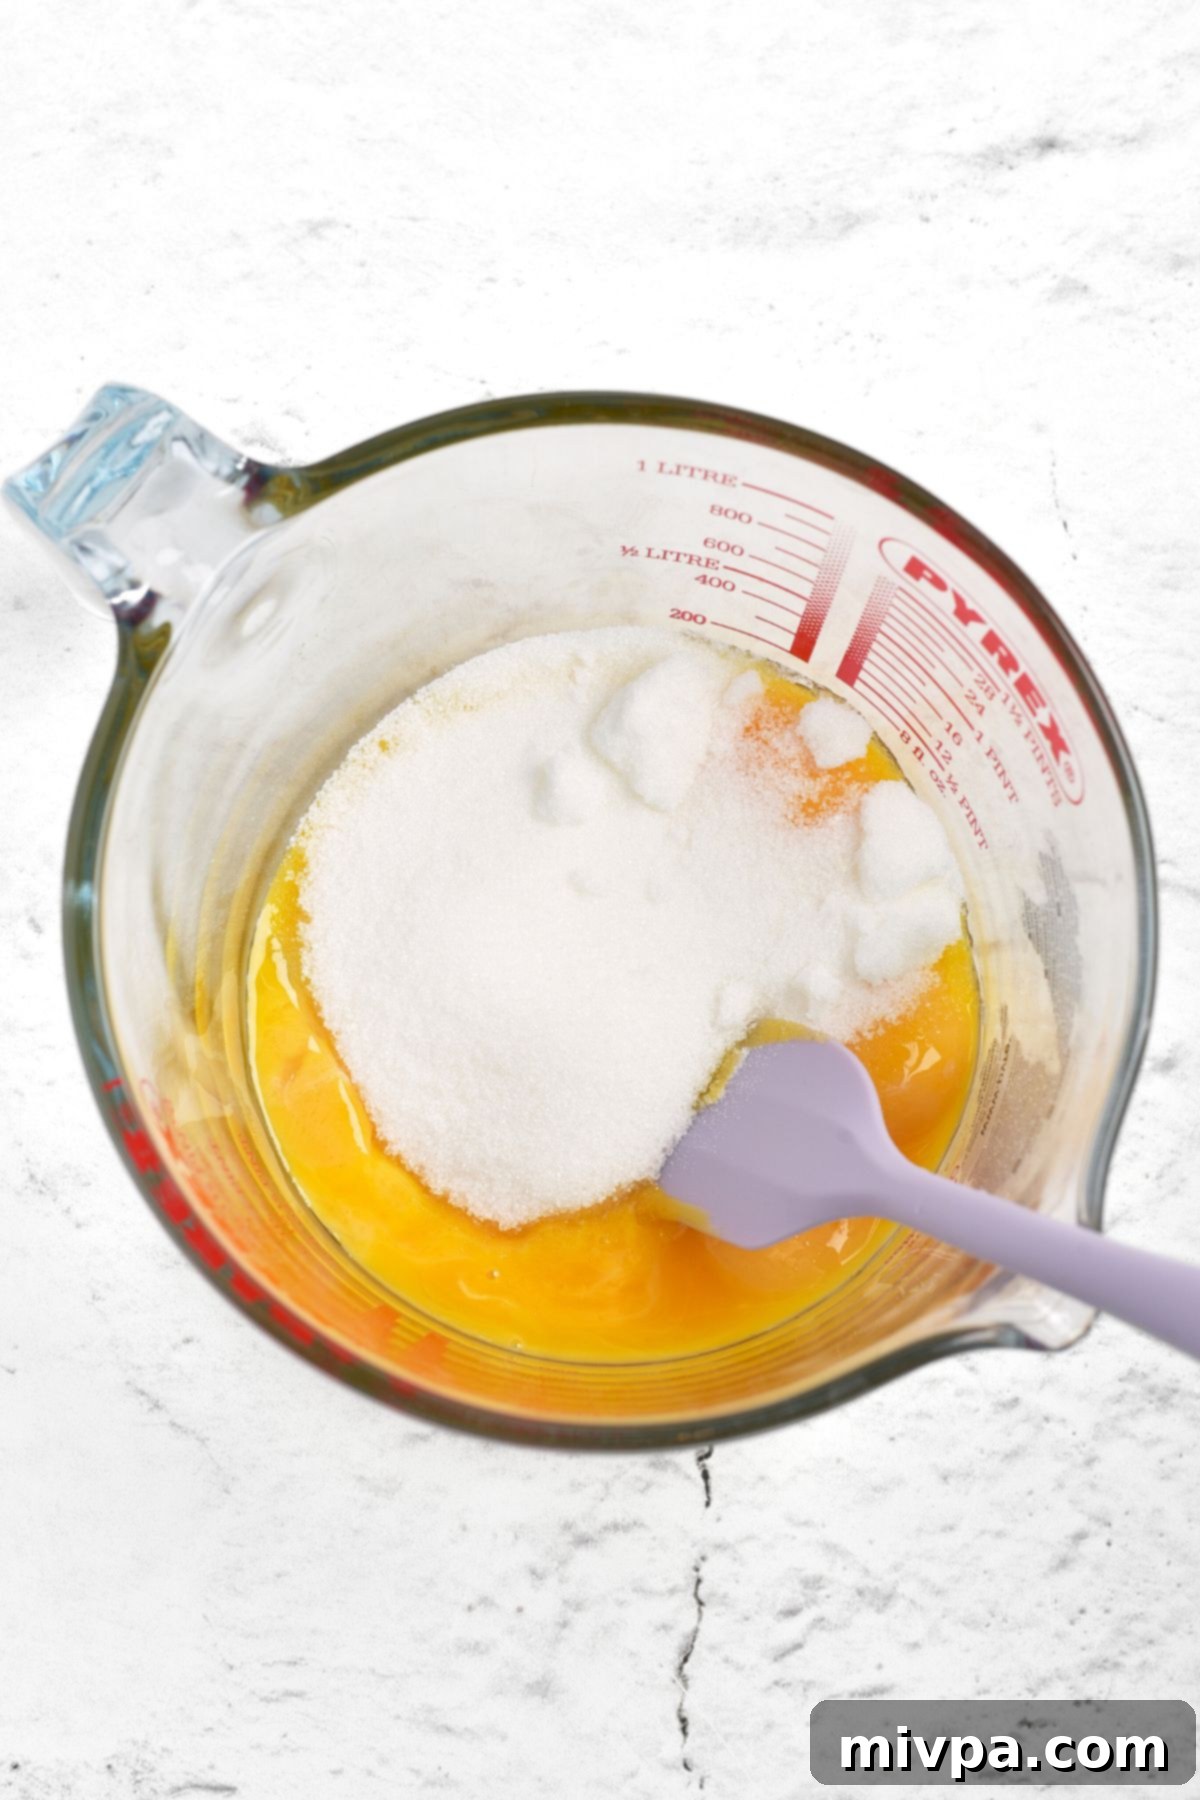
In a separate large mixing bowl, combine the egg yolks and granulated sugar. Using an electric mixer on medium-high speed, or a sturdy whisk and plenty of elbow grease, beat them vigorously for 4-5 minutes. You’re looking for a significant transformation: the mixture should become noticeably lighter yellow in color, fluffy, and significantly increased in volume. It should also have a ribbon-like consistency when lifted. This aeration helps to create a lighter, more delicate custard texture and ensures the sugar is well dissolved, preventing a grainy texture in the final crème brûlée. Don’t rush this step, as proper beating is a key foundation for a smooth and airy custard.
4. Temper the Yolks with Warm Cream
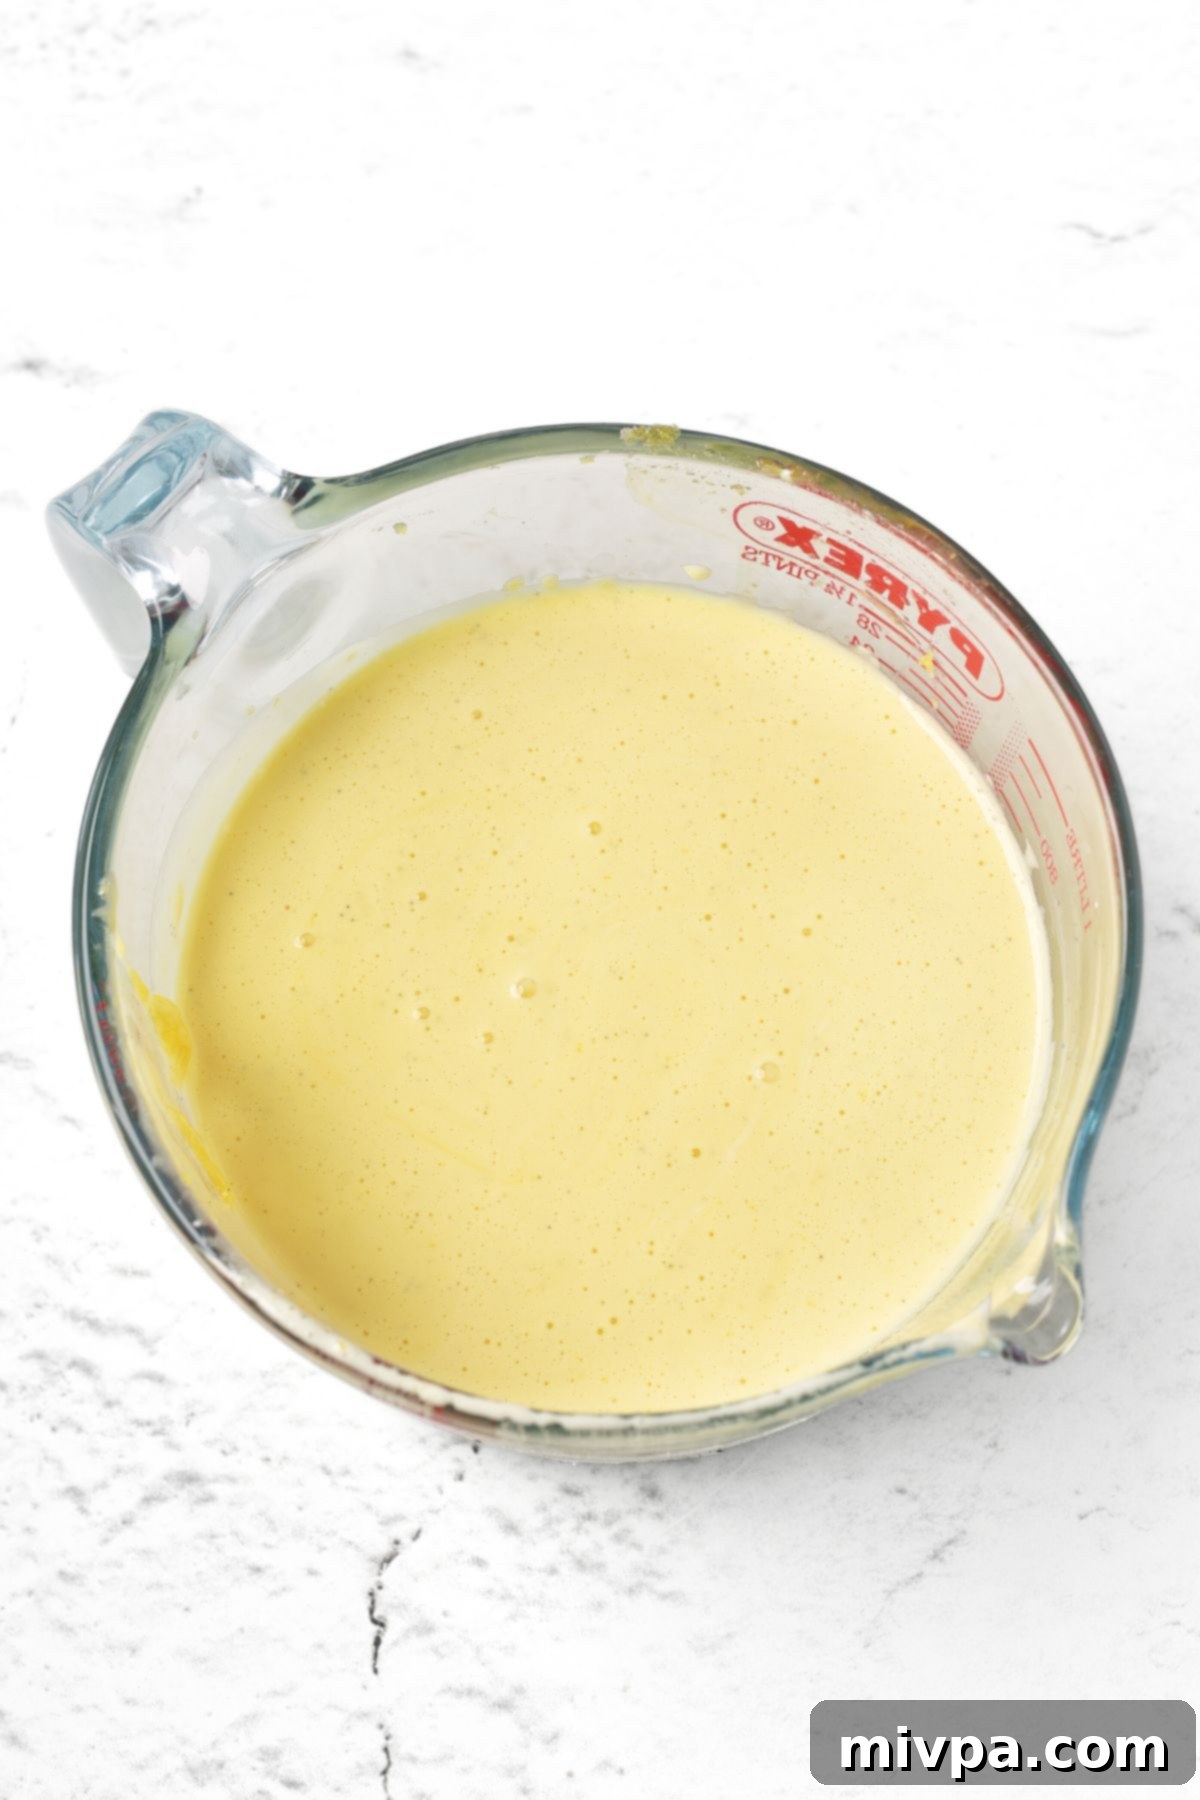
This is a crucial step known as “tempering” and it’s vital for preventing the egg yolks from scrambling when combined with the warm cream. While continuously whisking the yolk and sugar mixture, slowly and carefully pour the warm (but not hot) vanilla-infused cream into the bowl in a very thin, steady stream. Start with just a ladleful, whisking constantly to gradually bring the temperature of the yolks up without cooking them. This gradual introduction of heat is essential. Continue adding the cream in small increments, whisking thoroughly after each addition, until all the cream is incorporated and you have a smooth, well-combined custard base. This gentle technique is paramount for achieving that perfectly silky and uniform custard texture without any unwanted lumps.
5. Fill Ramekins and Create the Water Bath
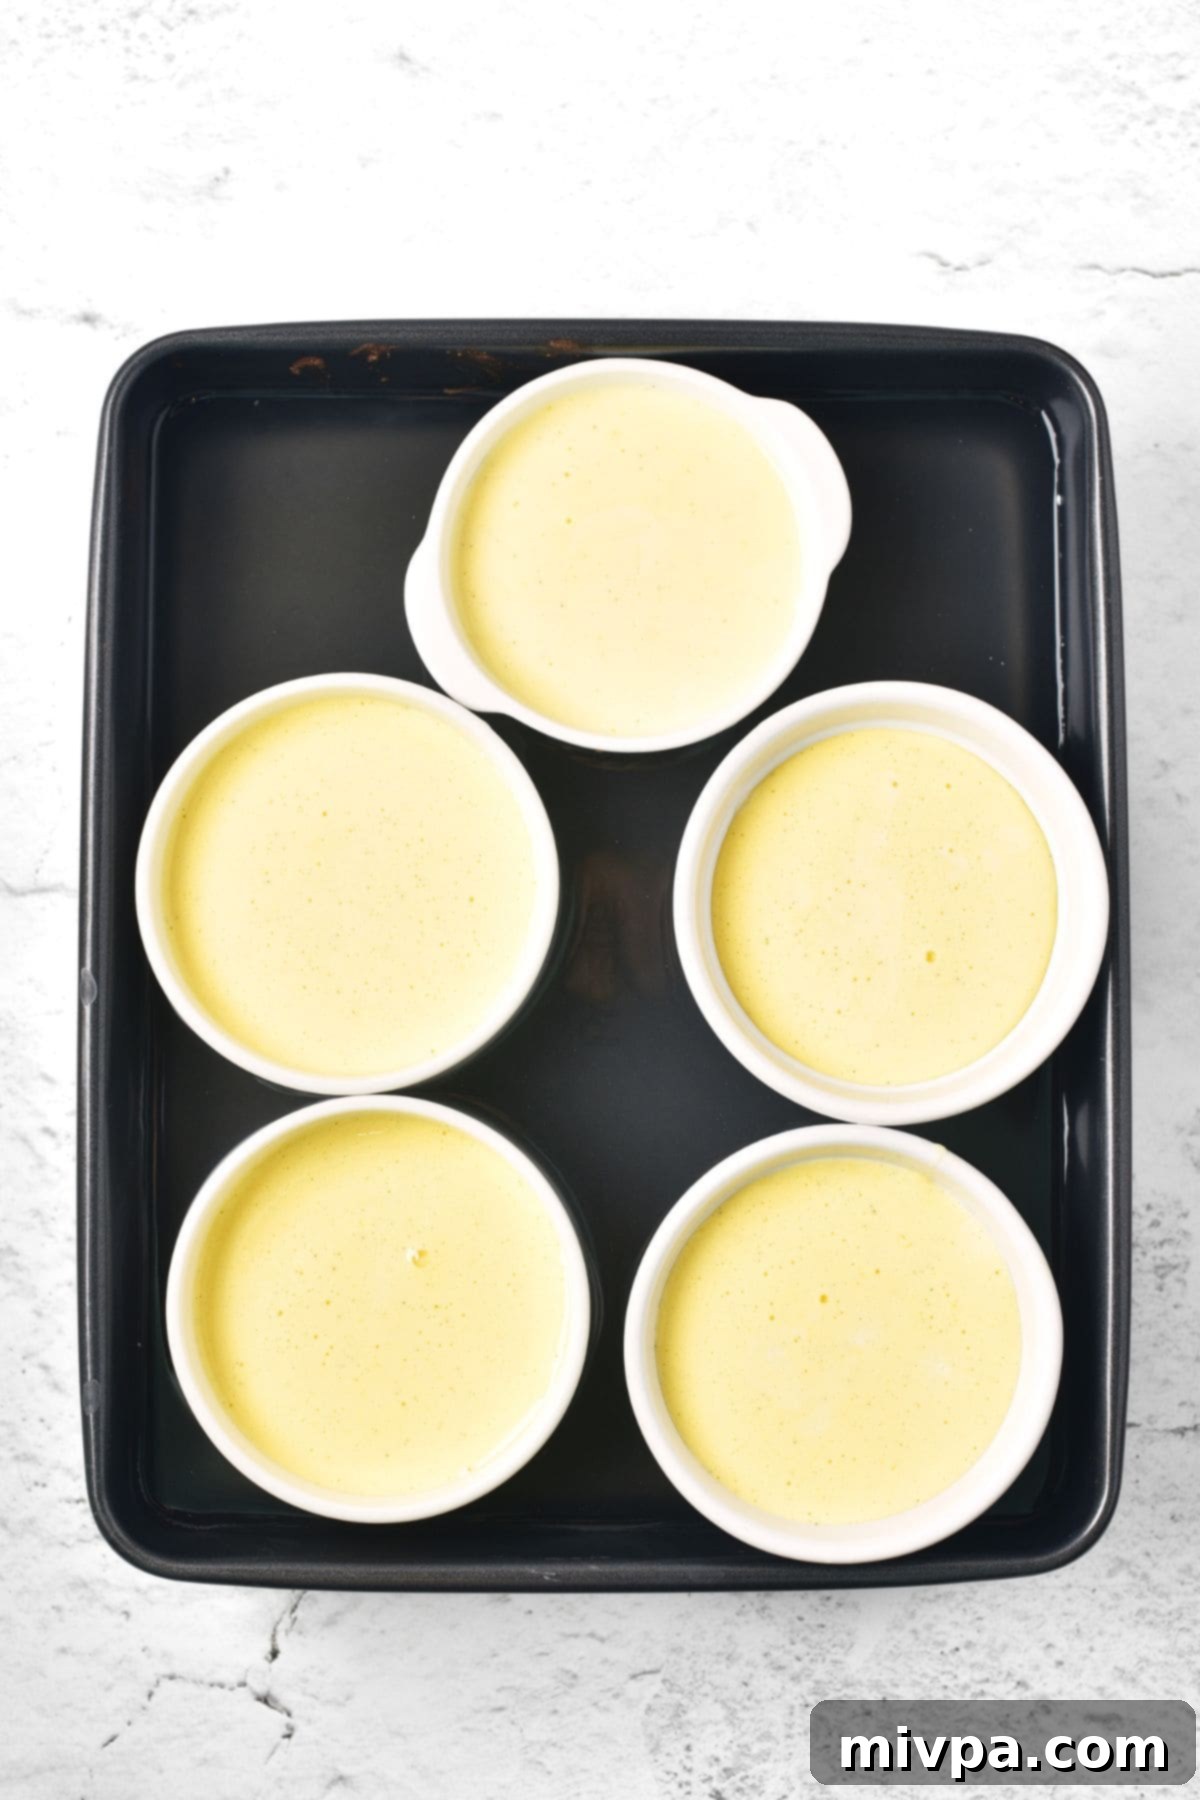
Arrange your 5 medium ramekins (each typically holding approximately 8 ounces) within your chosen deep baking dish or high-sided baking sheet. Carefully divide the custard mixture evenly among the ramekins. For an extra smooth custard, you can strain the mixture through a fine-mesh sieve at this point to catch any tiny bits of cooked egg or undissolved vanilla. Before placing it in the oven, carefully pour enough hot water (from a kettle or hot tap) into the baking dish, ensuring the water level reaches at least halfway up the sides of the ramekins. This water bath acts as a gentle, humid oven for your custards, preventing them from drying out, cracking, and cooking too quickly. This results in an incredibly smooth and creamy final product, the hallmark of perfect crème brûlée.
6. Bake Until Just Set
Carefully transfer the baking dish with the ramekins and water bath to your preheated oven. Bake for approximately 35-40 minutes. The baking time can vary slightly depending on your oven’s calibration and the exact size and depth of your ramekins. The crème brûlée is done when the edges are set and firm, but the center still has a slight, delicate wobble when gently shaken. It might appear somewhat liquid in the very middle, but this is perfectly normal and desired! The custard will continue to set considerably as it cools, transforming into its signature creamy consistency.
7. Cool and Thoroughly Chill
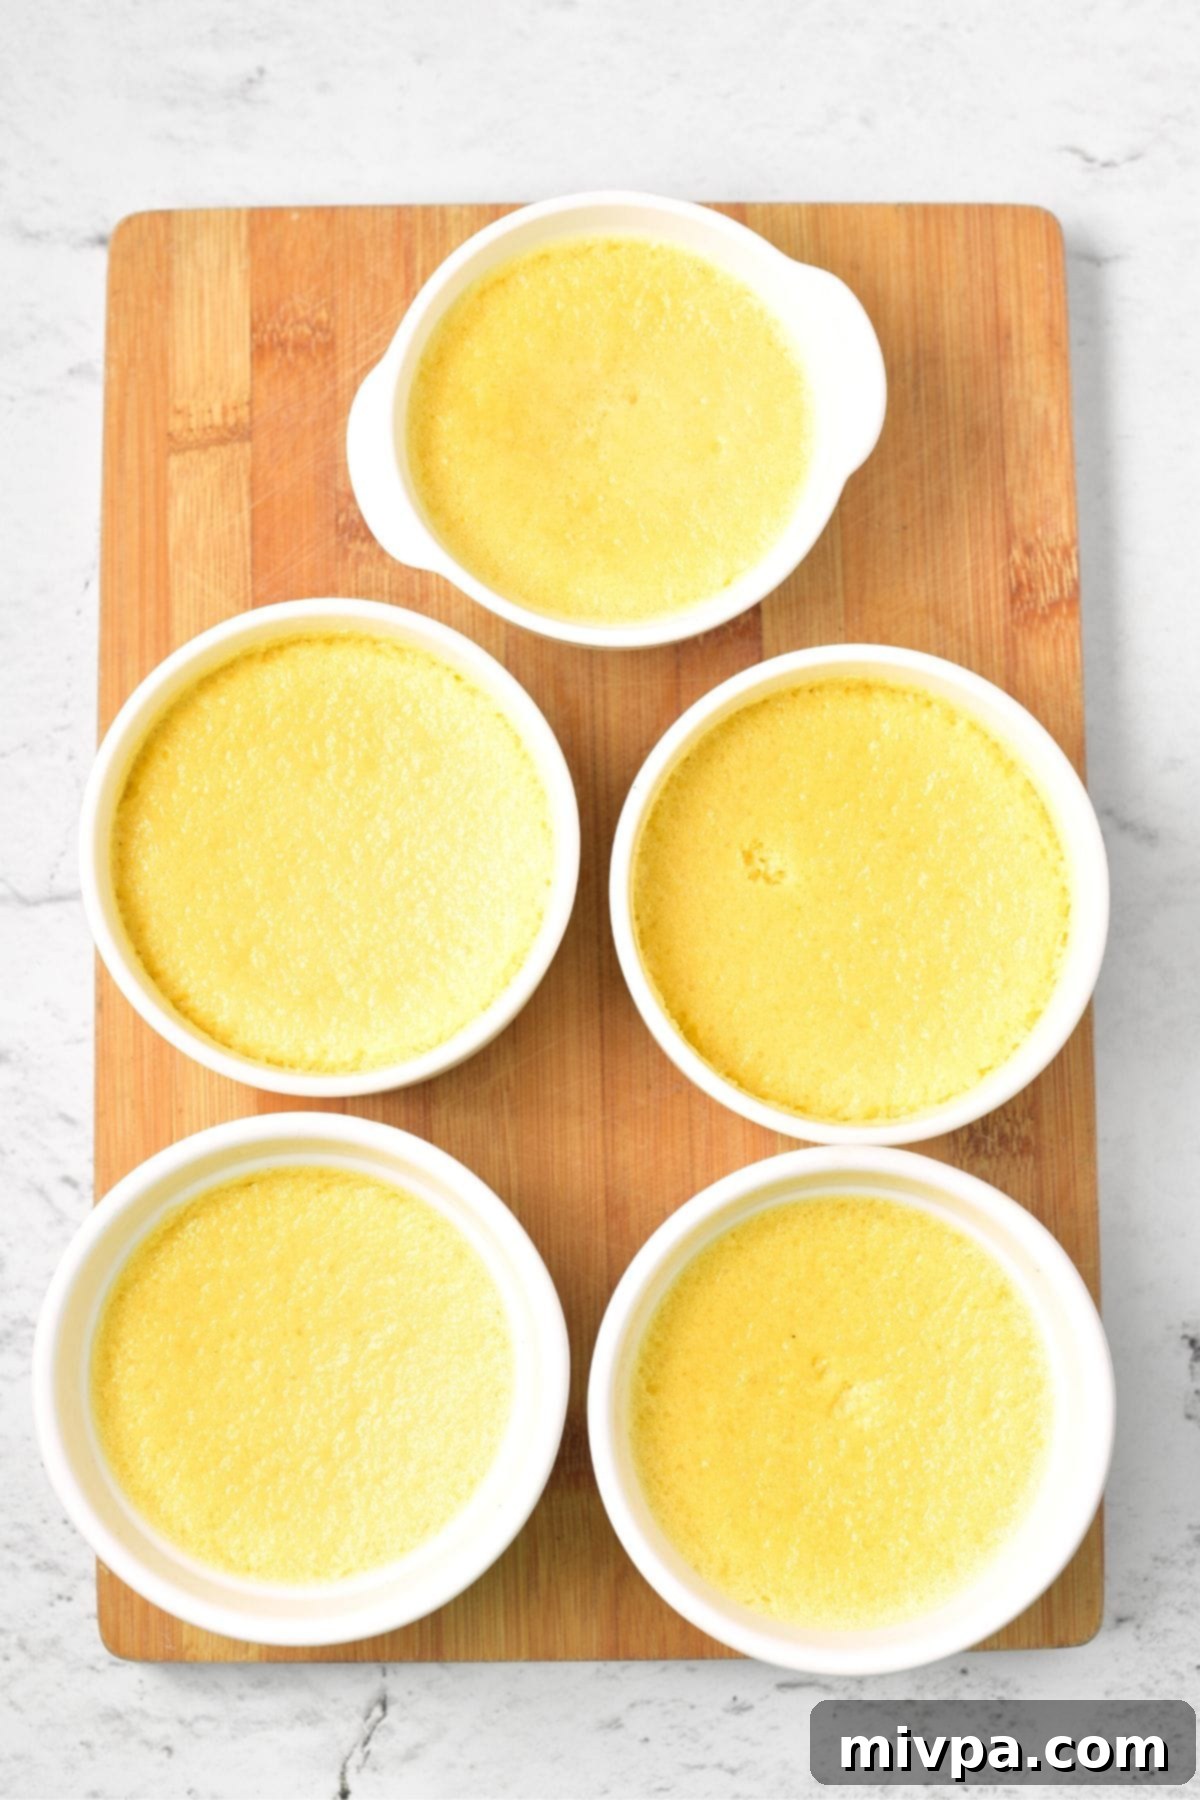
Once baked, carefully remove the baking dish from the oven. Using tongs or oven mitts, carefully take the ramekins out of the hot water bath and place them on a wire rack to cool completely at room temperature. This gradual cooling process is important for the custard’s texture. Once cooled (this may take about an hour), cover each ramekin tightly with plastic wrap to prevent a skin from forming and to keep any fridge odors from permeating the delicate dessert. Transfer the crème brûlée to the refrigerator and allow it to chill for at least 4 hours, or ideally, overnight. Proper chilling is absolutely key for the custard to fully set and achieve its perfect creamy texture. The cold custard also provides a delightful contrast to the warm, newly torched sugar topping, which is the hallmark of this classic French dessert.
8. Create the Iconic Caramelized Sugar Crust
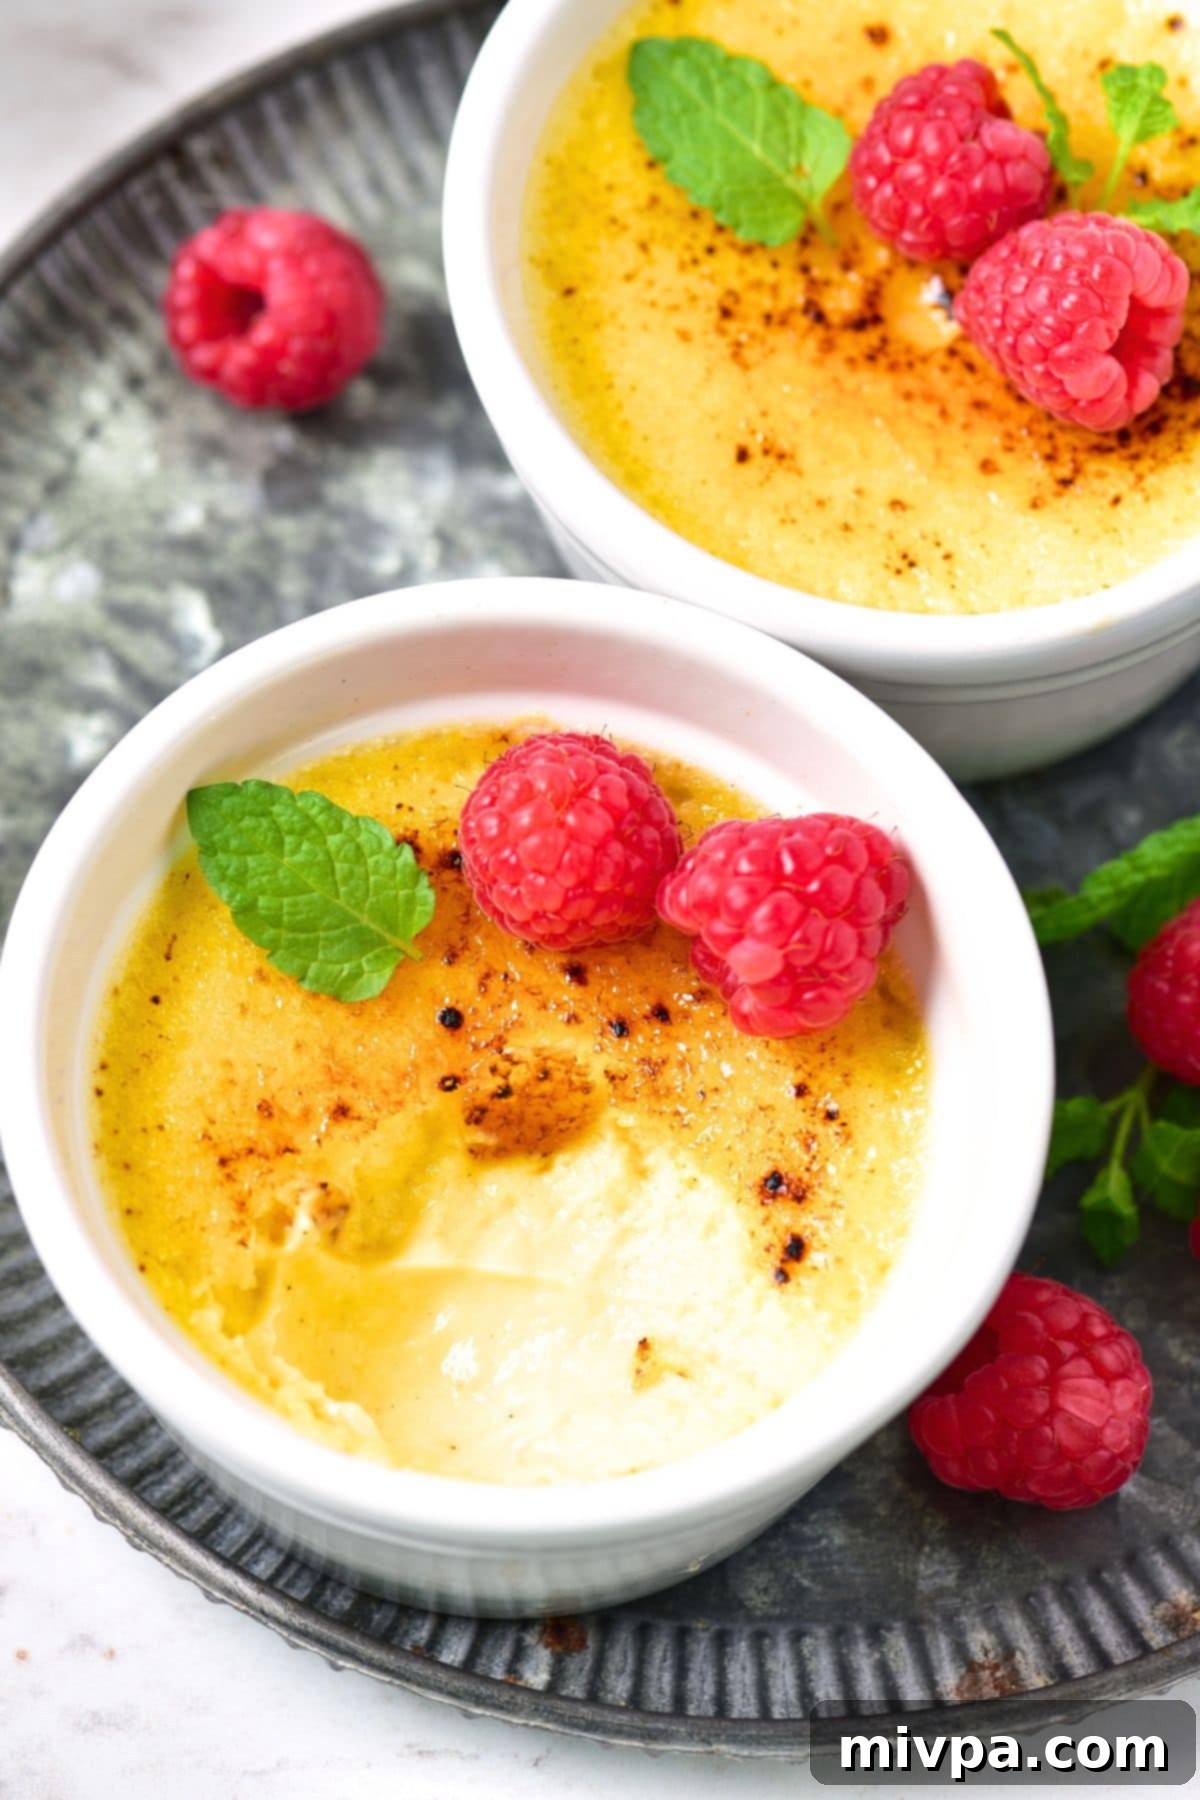
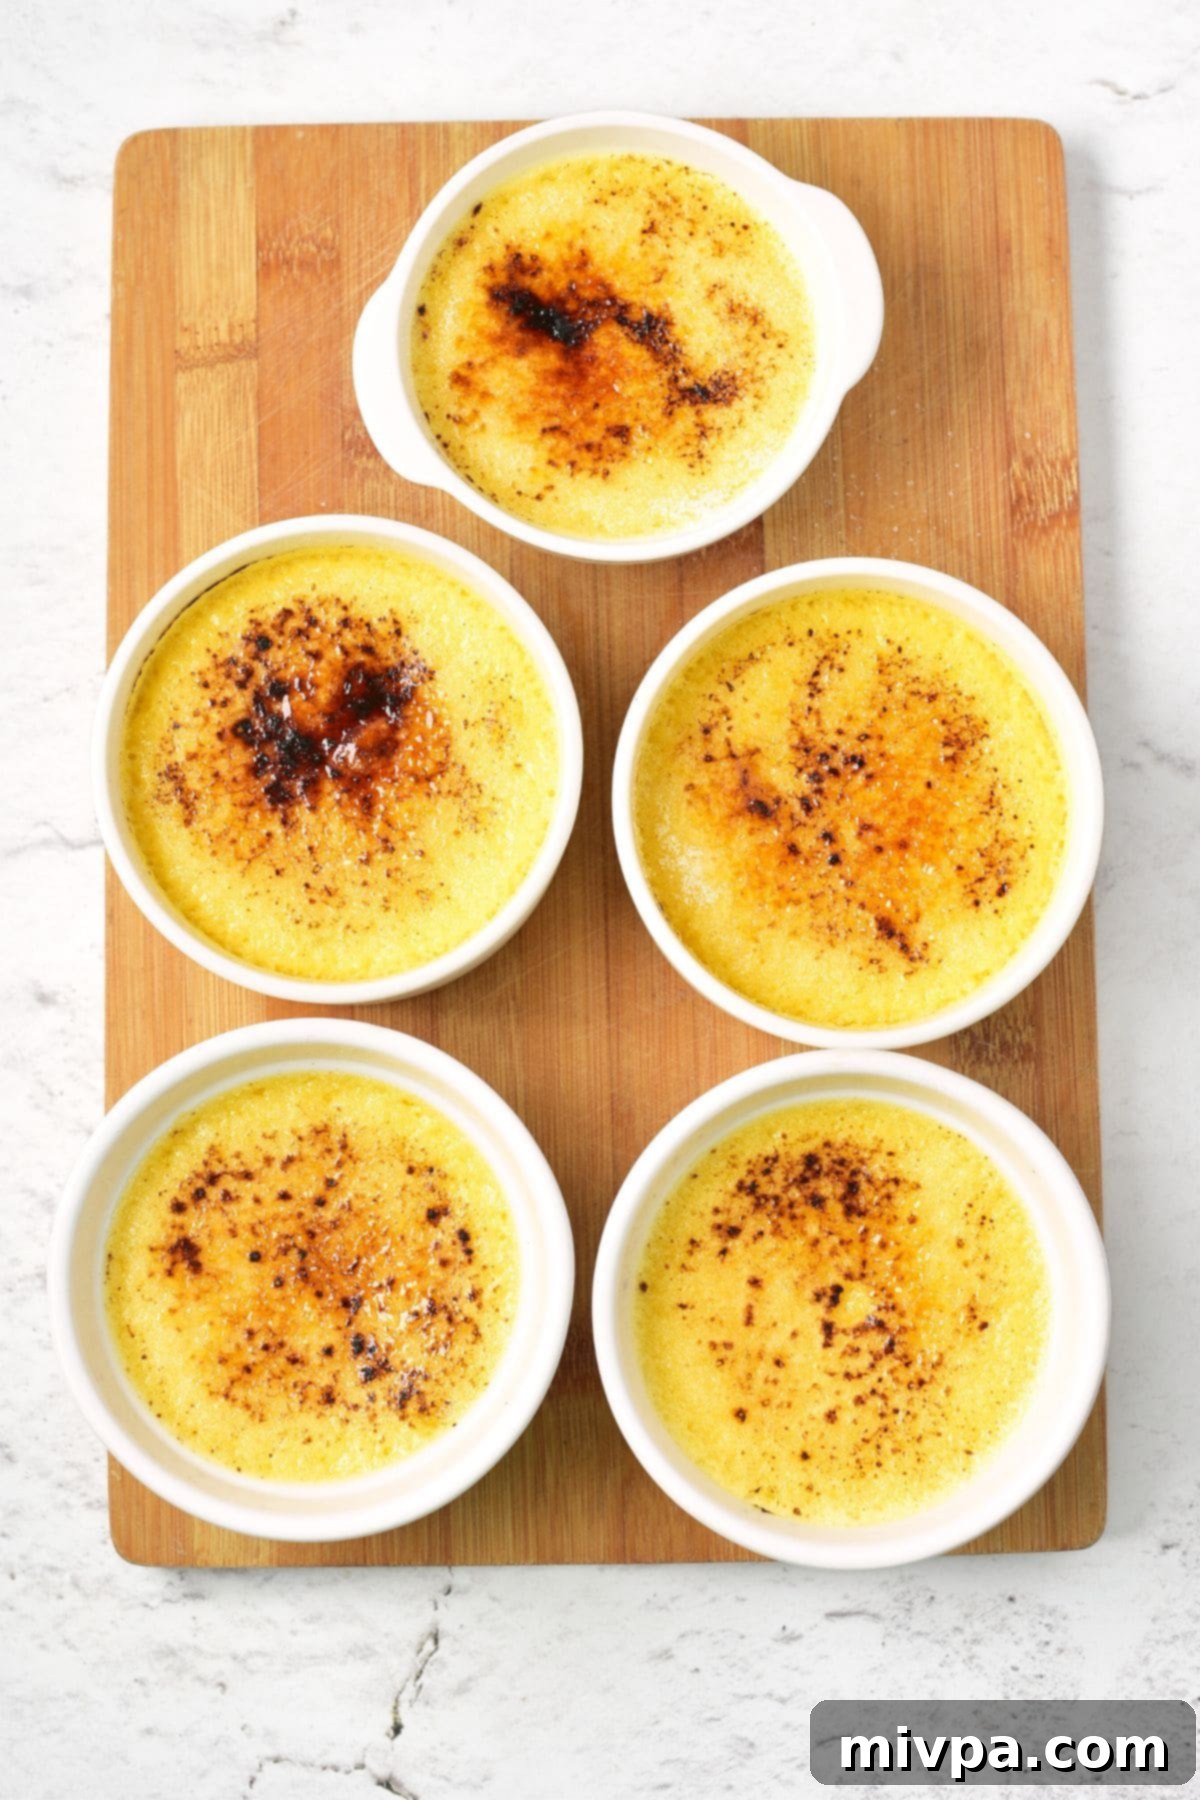
This is the exciting, show-stopping finale for your easy crème brûlée! Just before serving, generously sprinkle a thin, even layer of granulated sugar over the top of each thoroughly chilled custard. The cold surface of the custard helps the sugar adhere and prevents it from melting into the custard prematurely. Using a butane kitchen torch (this is highly recommended for the best and most controlled results), move the flame steadily over the sugar, holding it about 1-2 inches above the surface. Continue torching for approximately 30-60 seconds per ramekin, or until the sugar melts, bubbles, and transforms into a deep, glossy, golden-brown, amber crust. Be careful not to burn it; a slightly darker amber indicates a richer, more complex flavor, but black means burnt. As it cools for just a few minutes, the caramelized sugar will harden into that signature brittle crust that gives crème brûlée its satisfying “crack!” You can serve it immediately while the topping is still slightly warm and crisp, or allow it to cool for another 10-15 minutes for a fully set, crunchy topping.
9. Garnish and Serve Your Masterpiece
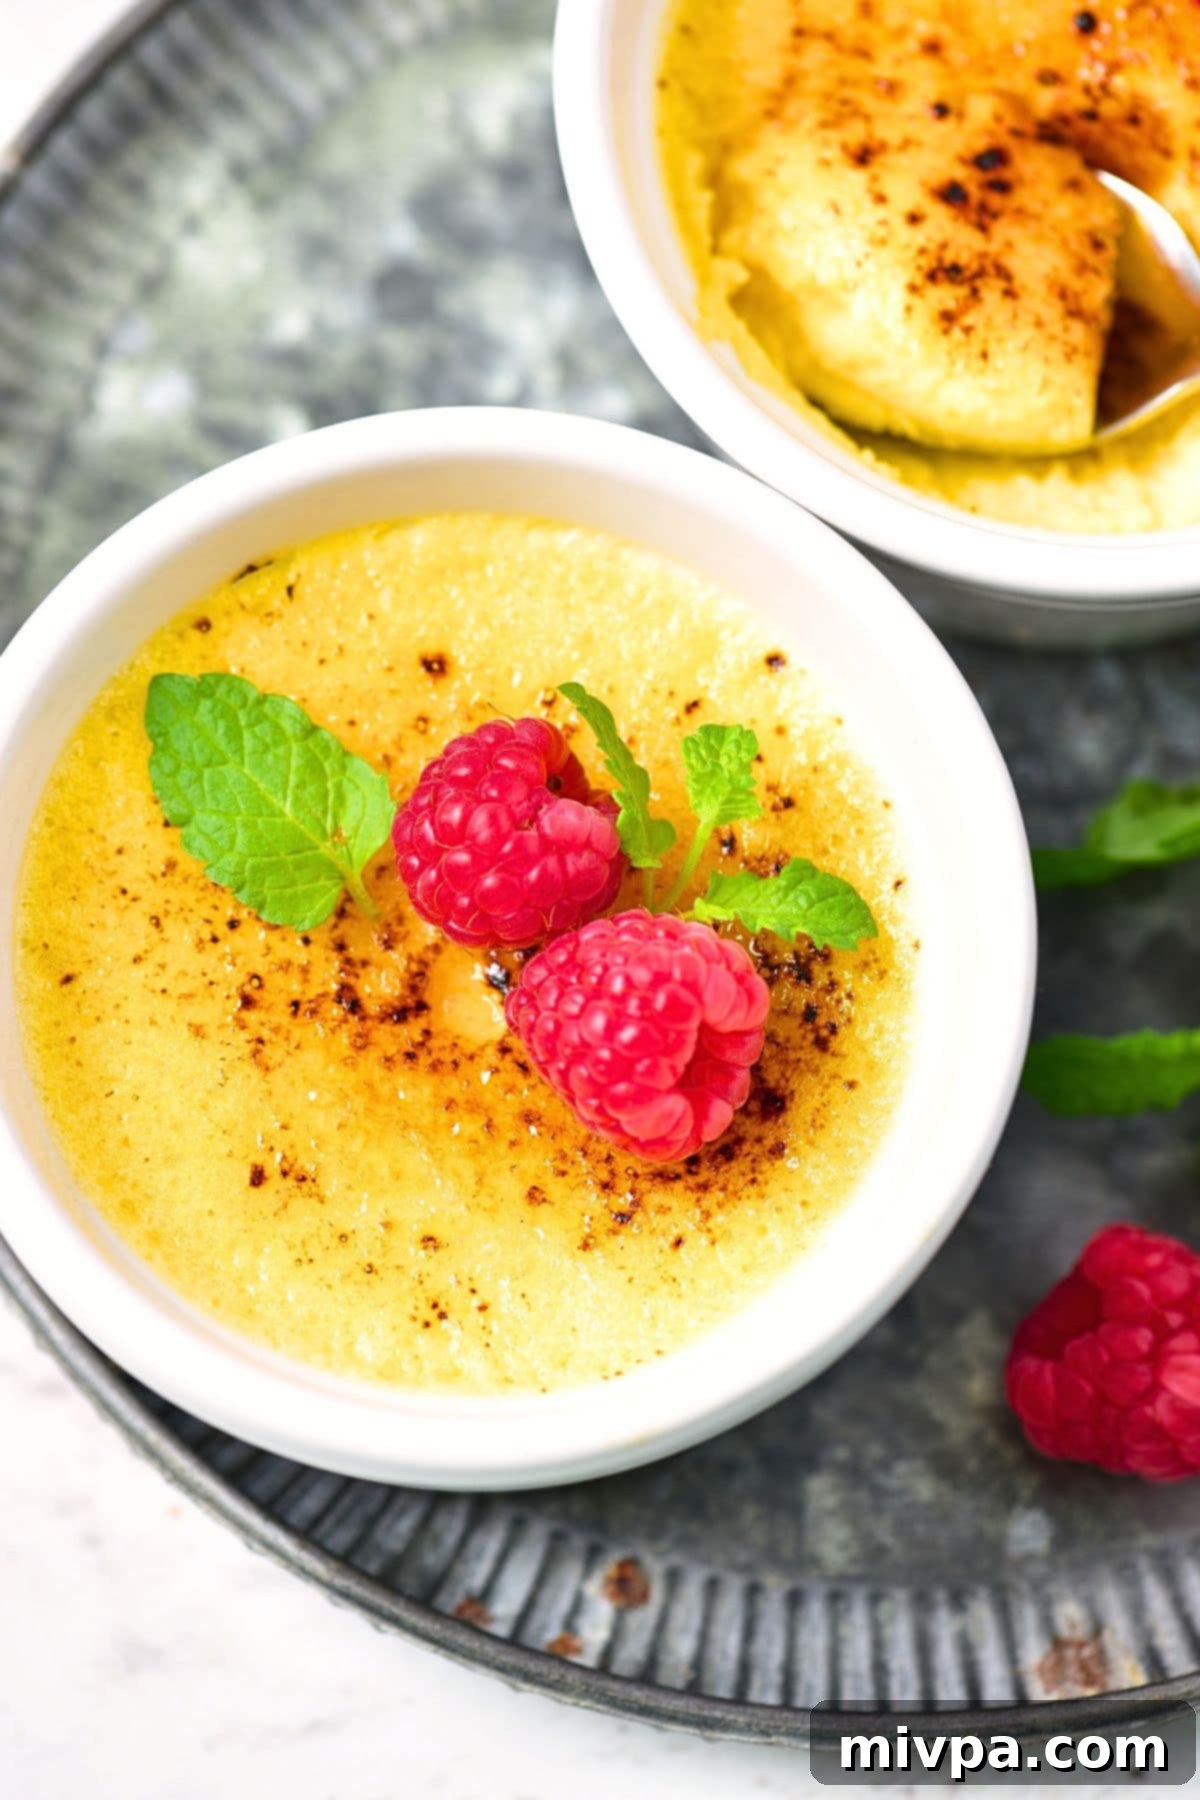
For an extra touch of elegance and a burst of fresh flavor, artfully garnish your delicious homemade crème brûlée. A few fresh berries (such as vibrant raspberries, sweet blueberries, or thinly sliced strawberries) and a delicate sprig of fresh mint complement the rich custard beautifully. These additions not only add visual appeal, making your dessert look truly gourmet, but also provide a refreshing, slightly tart counterpoint to the sweetness and richness of the crème brûlée. Serve your perfectly torched crème brûlée immediately to enjoy the incredible, irresistible contrast between the warm, crisp sugar and the cold, smooth, creamy custard. Bon appétit – enjoy your exquisite gluten-free crème brûlée!
Expert Tips for Crème Brûlée Success
Achieve crème brûlée perfection every time with these valuable tips and tricks. These insights will help you navigate common pitfalls and ensure your homemade crème brûlée is nothing short of spectacular:
- Embrace the Chill: This is arguably the most crucial tip for a truly outstanding crème brûlée! It’s absolutely essential to allow the custard base to chill thoroughly in the refrigerator for at least 4 hours, or even better, overnight. This prolonged chilling period allows the custard to fully set and develop its creamy, dense texture. Only create the caramelized sugar crust just before you are ready to serve. The delightful temperature contrast between the cold, creamy custard and the warm, freshly torched, crunchy caramelized sugar is what makes crème brûlée a truly spectacular and unforgettable dessert experience.
- Master the Water Bath (Bain-Marie): Do not, under any circumstances, skip the water bath! It’s your secret weapon for preventing cracks and achieving that impossibly smooth, silky texture in your custard. The gentle, even heat from the water surrounding the ramekins ensures the custard bakes slowly and consistently, rather than baking too quickly and becoming rubbery or curdled. This method mimics a professional oven environment, guaranteeing delicate results.
- Perfecting the Dairy-Free Version: As mentioned, for a delicious dairy-free crème brûlée, opt for a high-quality dairy-free heavy cream alternative. Brands like Silk Dairy-Free Heavy Whipping Cream or Califia Farms Better Half often yield excellent results. Pay attention to the fat content of your chosen alternative, as some might have a slightly different composition that could subtly affect the final texture. However, the flavor will still be outstanding, offering a wonderful option for those with dietary needs.
- Portion Control for Every Occasion: This recipe, using medium 8-ounce ramekins, yields 5 generous servings. However, if you’re hosting a larger gathering or simply prefer smaller, more delicate portions, you can easily use smaller 5-ounce ramekins. This will typically result in 8 individual servings of your delightful gluten-free crème brûlée, making it more versatile for different events and guest numbers. Just remember to adjust baking time slightly if using smaller ramekins, checking for the signature wobble at the center.
- The Power of the Torch: While you *can* use your oven’s broiler to caramelize the sugar, a kitchen torch is highly recommended for professional results. It offers precise control, allowing you to achieve a perfectly even, golden-brown crust without overheating or potentially cooking the delicate custard underneath. If using a broiler, place ramekins on a baking sheet under a preheated broiler for a minute or two, watching constantly and rotating for even browning. Remove immediately when done to prevent burning.
- Don’t Overbake: Overbaked custard will result in a rubbery texture and can cause cracks on the surface. To avoid this, look for the edges of the custard to be set and the center still slightly jiggly when gently nudged. It might seem underdone, but trust the process! The residual heat will continue to set the custard as it cools, and it will firm up considerably once chilled in the refrigerator.
- Filtering the Custard (Optional but Recommended): For an ultra-smooth, restaurant-quality custard, consider straining the mixture through a fine-mesh sieve (or chinois) before pouring it into the ramekins. This extra step removes any potential bits of cooked egg (from tempering) or undissolved vanilla, guaranteeing a pristine and velvety texture free of any imperfections.
- Fresh Ingredients Matter: Since crème brûlée has so few ingredients, the quality of each one really shines through. Use fresh, large egg yolks and high-quality vanilla for the best flavor.
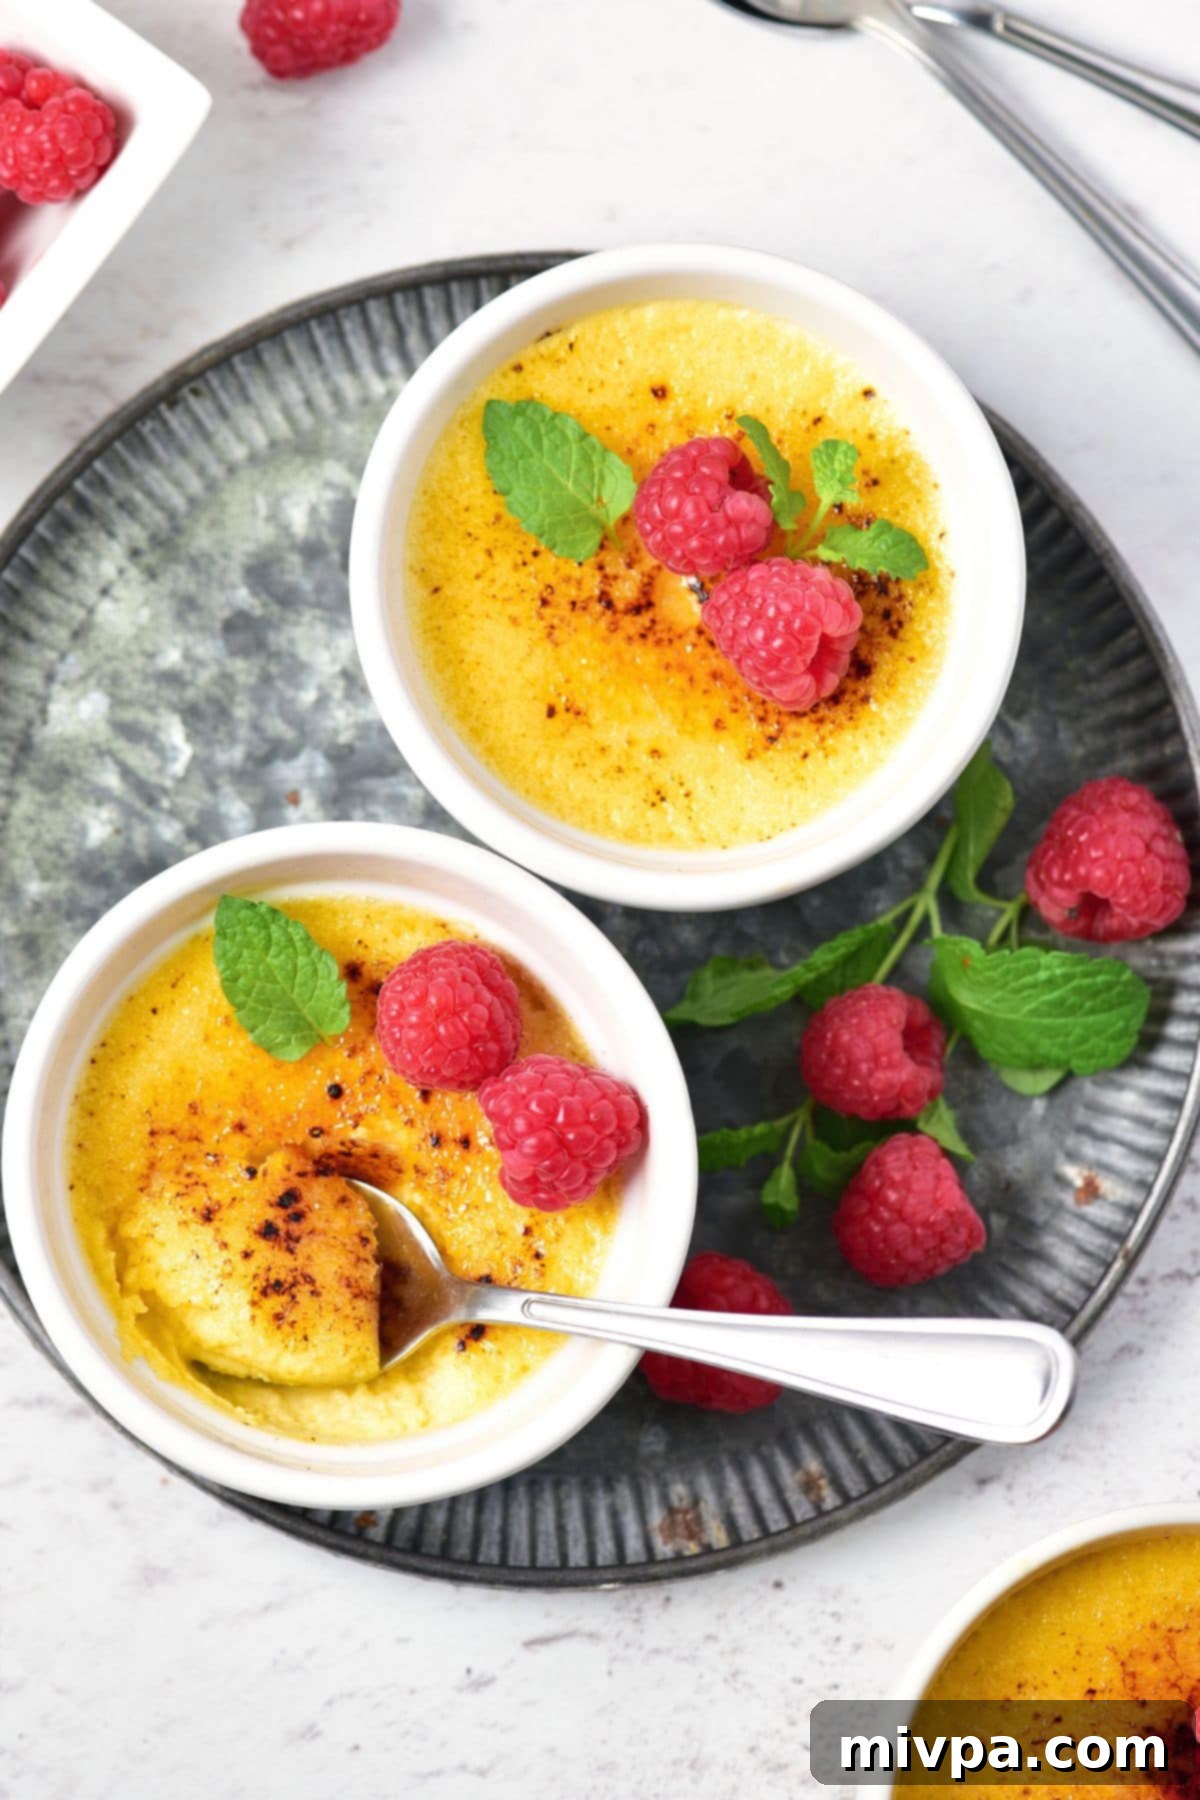
Serving and Storing Your Homemade Crème Brûlée
This easy crème brûlée is best enjoyed within a few hours of torching the sugar topping for maximum crispness and that delightful textural contrast. Serve immediately after caramelizing for the most satisfying experience of warm, crackling sugar meeting cold, creamy custard. For an added touch of freshness, garnish with fresh berries or a sprig of mint just before serving.
If you have any leftover crème brûlée (without the torched sugar topping), it can be covered tightly with plastic wrap and stored in the refrigerator for up to 3-4 days. When you’re ready to enjoy the leftovers, simply remove them from the fridge, sprinkle a fresh layer of granulated sugar on top, and torch as per step 8. This way, you can enjoy that signature crispy crust with every serving, even days later!
More Irresistible Gluten-Free Desserts to Explore:
If you loved the elegance and simplicity of this gluten-free crème brûlée, you’ll surely enjoy exploring these other delightful gluten-free sweet treats from our extensive collection. Each recipe is designed to be accessible, delicious, and perfect for satisfying your sweet tooth:
- Gluten-Free Pumpkin Banana Muffins (Dairy-Free)
- 126 Gluten-Free Desserts and Sweet Treats for Labor Day
- Mini Pumpkin Cheesecakes (Gluten-Free, Dairy-Free Option)
- Gluten-Free Pecan Pie Bars (Dairy-Free)
P.S. If you try this exquisite easy crème brûlée recipe, we’d absolutely love for you to leave a star rating below and/or a review in the comment section further down the page. Your feedback is always deeply appreciated and helps others discover these wonderful recipes. Be sure to explore our entire Recipe Index for a treasure trove of delicious creations on the blog. You can also stay connected and inspired by following us on Pinterest, Facebook or Instagram! Don’t miss out on fresh recipes delivered straight to your inbox each week – sign up for our Email List today!
Print

Easy Crème Brûlée (Naturally Gluten-Free & Dairy-Free Option)
5 Stars 4 Stars 3 Stars 2 Stars 1 Star
5 from 1 review
- Author: Felicia Lim
Total Time: 4 hours 50 minutes
Yield: 5 servings
Diet: Gluten Free
Description
With a creamy rich custard base and a crispy caramelized sugar topping, this easy crème brûlée is a delicious French dessert that’s perfect for any special occasion. Naturally gluten-free and can be easily made dairy-free too.
Ingredients
Units
Scale
- 2 cups heavy cream
- 1 teaspoon vanilla paste
- 5 yolks
- 5 tablespoons sugar
For the Sugar Topping:
- 2 tablespoons sugar for the crust
Instructions
- Preheat Oven: Preheat the oven to 265°F (130°C). Prepare a water bath by placing your ramekins in a deep baking dish.
- Heat Cream with Vanilla: Pour the heavy cream into a saucepan and add the vanilla bean paste. Stir gently and heat over medium-low heat for 5 minutes, without boiling. Let cool slightly.
- Beat Yolks and Sugar: In a separate bowl, combine the egg yolks and sugar. Beat for 4-5 minutes until the mixture is light yellow and fluffy.
- Temper the Yolks: Slowly and carefully, in small portions, pour the warm cream into the yolk mixture while continuously whisking to temper the eggs.
- Fill Ramekins and Water Bath: Divide the custard mixture evenly among 5 medium ramekins. Place them in your baking dish and carefully pour hot water into the dish, reaching at least halfway up the sides of the ramekins.
- Bake: Bake for 35-40 minutes, or until the edges are set and the center is slightly wobbly.
- Cool and Chill: Remove ramekins from the water bath and cool completely on a wire rack. Cover with plastic wrap and chill in the refrigerator for at least 4 hours, or overnight.
- Caramelize Sugar Crust: Just before serving, sprinkle an even layer of sugar over each cold custard. Using a kitchen torch, caramelize the sugar until golden brown and crisp. Allow to cool for 1-2 minutes until hard.
- Garnish and Serve: Garnish your crème brûlée with fresh berries and mint, then serve immediately to enjoy the delightful texture contrast.
Notes
Cream: For a dairy-free version, use dairy-free heavy cream.
Vanilla Paste: If unavailable, substitute with an equal amount of pure vanilla extract.
Yolks: Essential for the custard’s texture. Save egg whites for other recipes.
Sugar: Granulated white or cane sugar works best for both the custard and the topping.
Ramekins: Adjust baking time if using smaller (5-ounce) ramekins (yields 8 servings).
- Prep Time: 5 mins
- Chilling Time: 4 hours
- Cook Time: 45 mins
- Category: Desserts
- Method: Baking
- Cuisine: French
