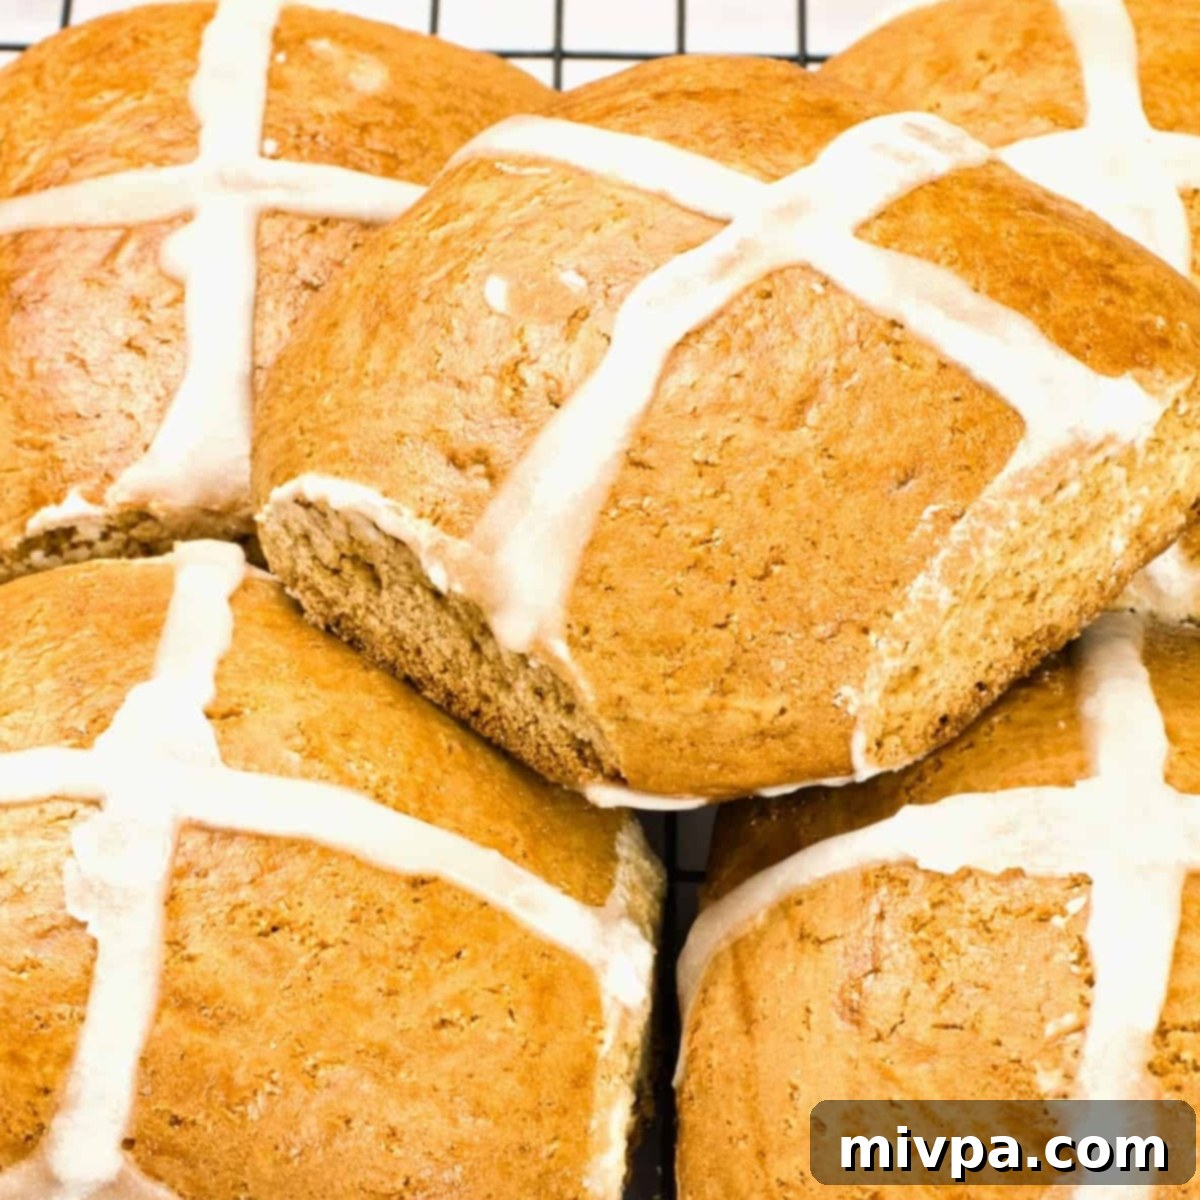
The Ultimate Gluten-Free & Dairy-Free Hot Cross Buns Recipe for a Joyful Easter
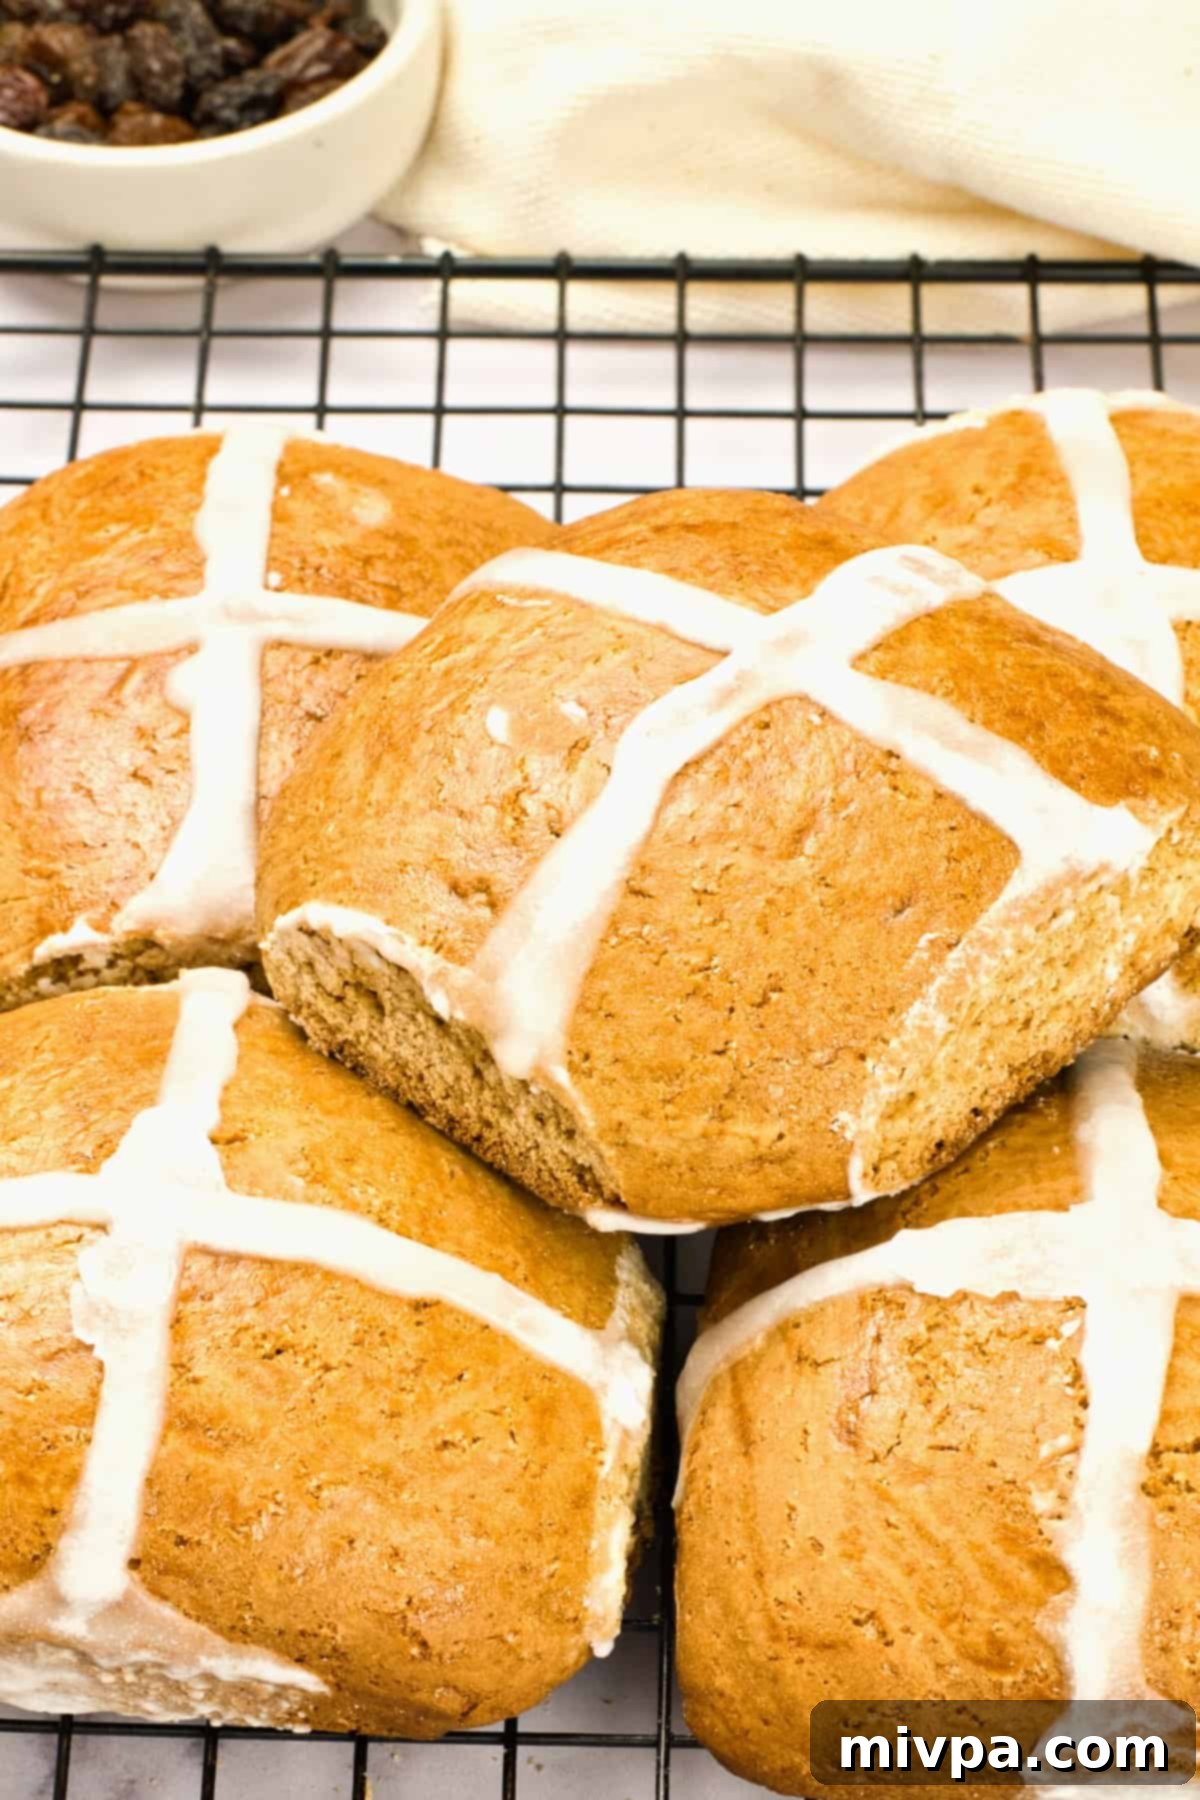
Welcome the Easter season with a batch of these truly delightful gluten-free hot cross buns! Perfectly spiced, studded with plump, sweet raisins, and crowned with the iconic cross of sweet icing, these homemade buns are an absolute must-have for your Easter weekend celebrations. What’s even better? This recipe is entirely dairy-free, making it accessible for everyone to enjoy. Forget about dense, dry gluten-free baking – these buns are soft, fluffy, and bursting with traditional flavor, ensuring a memorable treat for all!
[feast_advanced_jump_to]
What Exactly Are Hot Cross Buns?
Hot cross buns are more than just a delicious treat; they are a deeply symbolic and traditional baked good, particularly associated with Christian observances. These sweet, spiced, yeasted buns are famously marked with a cross on top, a feature that makes them instantly recognizable. While widely enjoyed throughout the Easter season, they are most traditionally eaten on Good Friday in countries such as the United States, United Kingdom, Ireland, Australia, and New Zealand. Their rich history dates back centuries, with various folklore and customs attached to them.
Typically, classic hot cross buns are infused with warm spices like cinnamon and nutmeg, often featuring dried fruits such as raisins or currants. The cross on top can be formed either with a simple mixture of flour and water applied before baking, or more commonly today, piped on with sweet icing after the buns have cooled. Beyond their delightful taste and aroma, these buns serve as a poignant symbol marking the end of the Lenten season – the six-week period of fasting, prayer, and penance that begins on Ash Wednesday and concludes on Easter weekend. They offer a comforting and celebratory treat, eagerly anticipated after the period of reflection.
The Symbolic Meaning of the Cross on Hot Cross Buns
The distinctive cross emblazoned on top of each hot cross bun carries significant religious meaning, particularly within Christian traditions. This traditional cross primarily represents the crucifixion of Jesus Christ, a central event in the Easter narrative, symbolizing his sacrifice and resurrection. It serves as a visual reminder of Good Friday and the solemnity of the Easter story.
Beyond this profound religious context, the cross is also widely regarded as a sign of blessing. Eating hot cross buns on Good Friday is not just a culinary tradition but also a way to partake in this blessing, bringing good fortune to the household. Over time, various superstitions and beliefs have also emerged, such as the idea that buns baked on Good Friday would not spoil throughout the year, or that sharing a hot cross bun with a friend would seal your friendship for the coming year. These layers of meaning, from sacred symbolism to joyful tradition, make hot cross buns a truly special part of Easter celebrations.
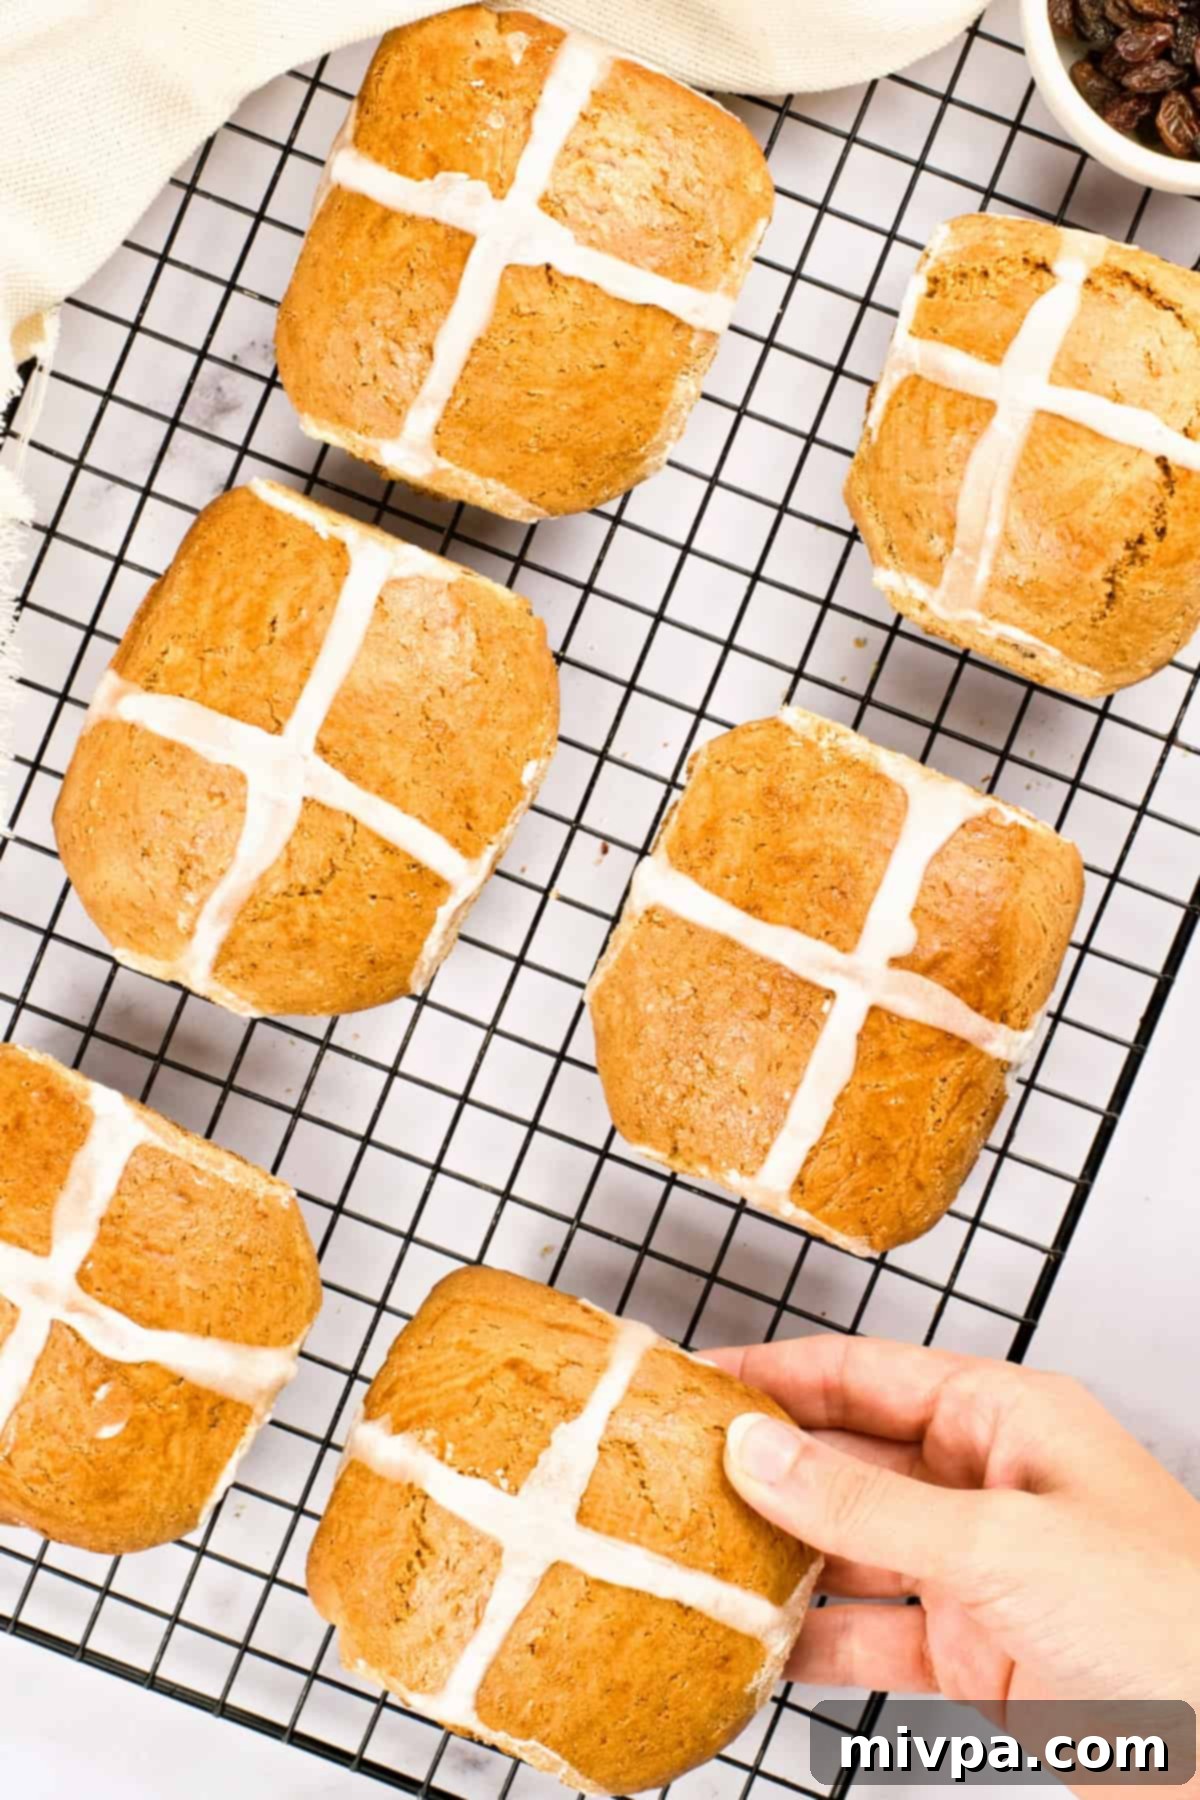
Why This Gluten-Free Hot Cross Buns Recipe Will Become Your Easter Favorite:
Navigating holiday baking with dietary restrictions can sometimes feel daunting, but this gluten-free and dairy-free hot cross buns recipe is designed to make your Easter joyful and stress-free. Here’s why this recipe stands out and works beautifully every time:
- Simple, Accessible Ingredients: You won’t need to search for obscure or hard-to-find items. The ingredients required for these gluten-free dairy-free hot cross buns are readily available at most local grocery stores. This means less time hunting for specialty items and more time enjoying the baking process. We focus on common gluten-free flours and dairy alternatives that deliver fantastic results without compromising on taste or texture.
- Remarkably Easy to Make: One of the biggest advantages of this recipe is its simplicity. Unlike traditional bread recipes that often demand extensive kneading, this gluten-free Easter bread requires absolutely no kneading! The dough comes together easily, and the main “work” involves mixing the ingredients and then patiently allowing the dough to rise. This hands-off approach makes it perfect for busy individuals or novice bakers who want to achieve professional-tasting results without complex techniques. After a couple of rises and a bake, the fun part of piping on the sweet icing cross awaits.
- Completely Gluten-Free and Dairy-Free: This is truly the best part! Our hot cross buns are 100% gluten-free and dairy-free. This careful formulation ensures that even those with Celiac disease, gluten intolerance, or lactose intolerance can indulge in these festive treats without any worries or discomfort. You no longer have to miss out on this beloved Easter tradition; now everyone at your table can savor the soft, spiced, and sweet goodness of these perfect hot cross buns. This recipe opens the door to inclusive holiday feasting!
Essential Ingredients You’ll Need:
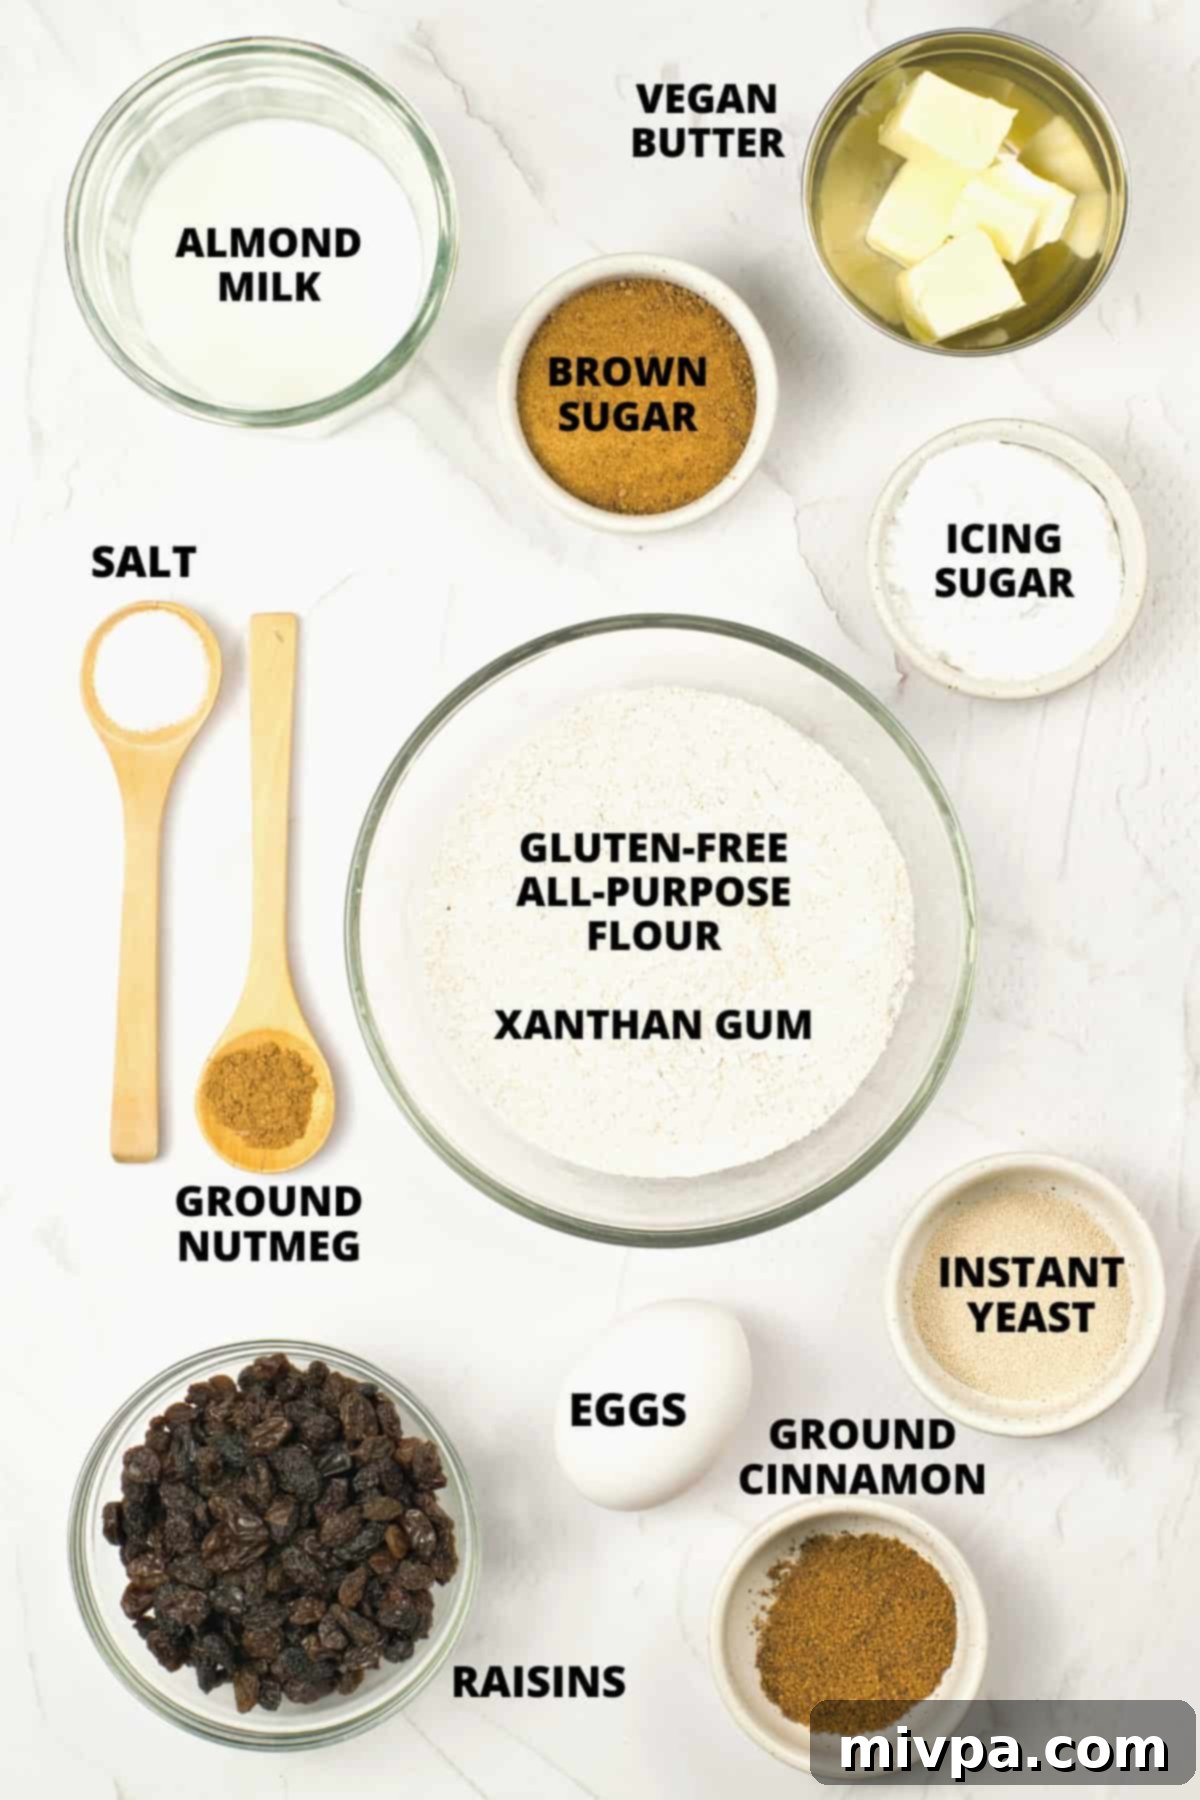
Crafting these delectable gluten-free hot cross buns requires a selection of readily available ingredients, each playing a crucial role in achieving their perfect texture and flavor. Below is a visual guide to the components you’ll gather for this delightful Easter baking project. We’ll dive into more specific notes and potential substitutions for each ingredient in the next section to ensure your baking success.
(For precise measurements and detailed quantities, please scroll down to the comprehensive printable recipe card located at the very bottom of this post.)
Recipe Notes & Expert Substitutions for Perfect Buns:
Understanding your ingredients is key to successful gluten-free baking. Here’s a detailed look at the components of this hot cross buns recipe, along with helpful notes and substitution options to cater to various dietary needs and preferences:
- Gluten-Free All-Purpose Flour: The quality of your gluten-free flour blend makes a significant difference. I highly recommend using a good-quality gluten-free all-purpose flour that is specifically designed for baking and comprises lighter flours and starches. Look for blends containing ingredients like rice flour (white or brown), tapioca starch, corn starch, or potato starch. These lighter components contribute to the airy, tender texture we desire in hot cross buns. Conversely, I strongly advise against using gluten-free flour blends that are primarily made up of heavier flours such as garbanzo bean flour (chickpea flour), as these tend to result in a much denser, gummier, and often crumbly texture that is not ideal for soft buns.
- Xanthan Gum: In gluten-free baking, xanthan gum acts as a crucial binder, replicating the elasticity and structure that gluten provides in traditional wheat flour. It prevents baked goods from crumbling and gives them a more satisfying texture. It is absolutely essential to include it if your chosen gluten-free flour blend does not already list xanthan gum (or guar gum) in its ingredients. If you have an intolerance or aversion to xanthan gum, a viable alternative is to use 1/2 teaspoon of psyllium husk powder instead. Psyllium husk also acts as a binder, absorbing liquid and providing structure.
- Instant Yeast: For convenience and consistent results, I prefer using instant yeast. This type of yeast is fantastic because it doesn’t require any prior activation or proofing. You can simply mix it directly with your other dry ingredients, saving you a step and some time. If you only have active dry yeast on hand, you’ll need to activate it first. To do this, mix the active dry yeast with the warm milk and a pinch of sugar, then let the mixture sit for 5-10 minutes until it becomes frothy. This indicates the yeast is alive and active before you add it to your dry ingredients.
- Brown Sugar: This hot cross bun recipe specifically calls for dark brown sugar, which contributes a wonderful molasses-rich flavor and a moist texture to the buns. However, you can certainly customize the sweetness and flavor profile. You may also use light brown sugar for a milder caramel note, or coconut sugar as a more unrefined alternative with a subtle caramel-like flavor. For those managing blood sugar levels, such as diabetics or individuals who are insulin-resistant, I highly recommend using a granulated monkfruit sweetener (e.g., Lakanto Classic). This is a 1:1 sugar substitute with a zero glycemic index, meaning it will not raise your blood sugar while still providing the desired sweetness.
- Ground Spices: The warm, inviting aroma and taste of hot cross buns come from a blend of spices. I personally love using a classic mix of ground cinnamon and ground nutmeg to achieve that quintessential flavor. Cinnamon provides warmth and sweetness, while nutmeg adds a slightly more pungent, earthy note. If you find the flavor of nutmeg too strong or simply don’t prefer it, feel free to reduce the amount or omit it entirely. You can also experiment with other warm spices like allspice, cloves, or a touch of ginger for a more complex profile.
- Butter (Vegan): To keep this recipe completely dairy-free, I’ve used vegan butter, which is readily available in most supermarkets. Vegan butters perform very similarly to dairy butter in baking, contributing richness and flavor. However, if dairy is not an issue for you or your guests, you are welcome to use regular unsalted butter or ghee as a direct 1:1 substitute.
- Dairy-Free Milk: Keeping with the dairy-free theme, I typically use my own 5-minute homemade almond milk, which is simple to prepare and ensures freshness. However, any unsweetened non-dairy milk will work beautifully. Excellent alternatives include cashew milk, tigernut milk (a great nut-free option), rice milk, oat milk, or light coconut milk (from a carton, not canned). Be sure to choose unsweetened varieties to control the overall sweetness of the buns. If dairy consumption is not a concern, feel free to use normal whole milk as a substitute.
- Raisins: Traditional hot cross buns almost always feature raisins, which add bursts of fruity sweetness and a chewy texture. I opt for black raisins to maintain that classic flavor and appearance. However, if you prefer, golden raisins (sultanas) can be used for a slightly milder, sweeter flavor and a lighter color. For the best results and to ensure the raisins are plump and juicy, I highly recommend soaking them in warm water for at least 5-10 minutes before adding them to the dough. Drain them thoroughly before incorporating them. This step prevents them from drawing moisture out of the dough during baking.
- Eggs: Eggs serve multiple important functions in this recipe: they act as a binder, helping to hold the gluten-free ingredients together, and they contribute to the richness and structure of the buns. Additionally, one egg is used for the egg wash, which gives the buns their beautiful golden-brown shine. While I haven’t personally tested this specific recipe without eggs, if you have an egg allergy, you could try substituting with an egg replacer product or aquafaba (the liquid from a can of chickpeas). For best results, consult the product’s instructions for equivalency. (If you do try an egg-free version, please share your experience and results in the comments below! Your feedback is invaluable to other bakers.)
- Icing Sugar (Powdered Sugar): The signature cross on these buns is made from a simple icing using icing sugar, also known as powdered sugar or confectioners’ sugar. This type of sugar is super-fine, much finer than granulated sugar, allowing it to dissolve smoothly and create a perfect consistency for frosting and icing. If you are diabetic or insulin-resistant, a fantastic alternative for the icing is powdered monkfruit sweetener (such as Lakanto Powdered). This is a 1:1 powdered sugar substitute with a zero glycemic index, ensuring your icing is sweet without impacting blood sugar levels.
Step-by-Step Guide: How to Make Gluten-Free Hot Cross Buns:
Making these delicious gluten-free and dairy-free hot cross buns is a rewarding experience. Follow these detailed steps to achieve perfectly soft, spiced, and sweet buns for your Easter celebration.
1. Whisk Dry Ingredients Together
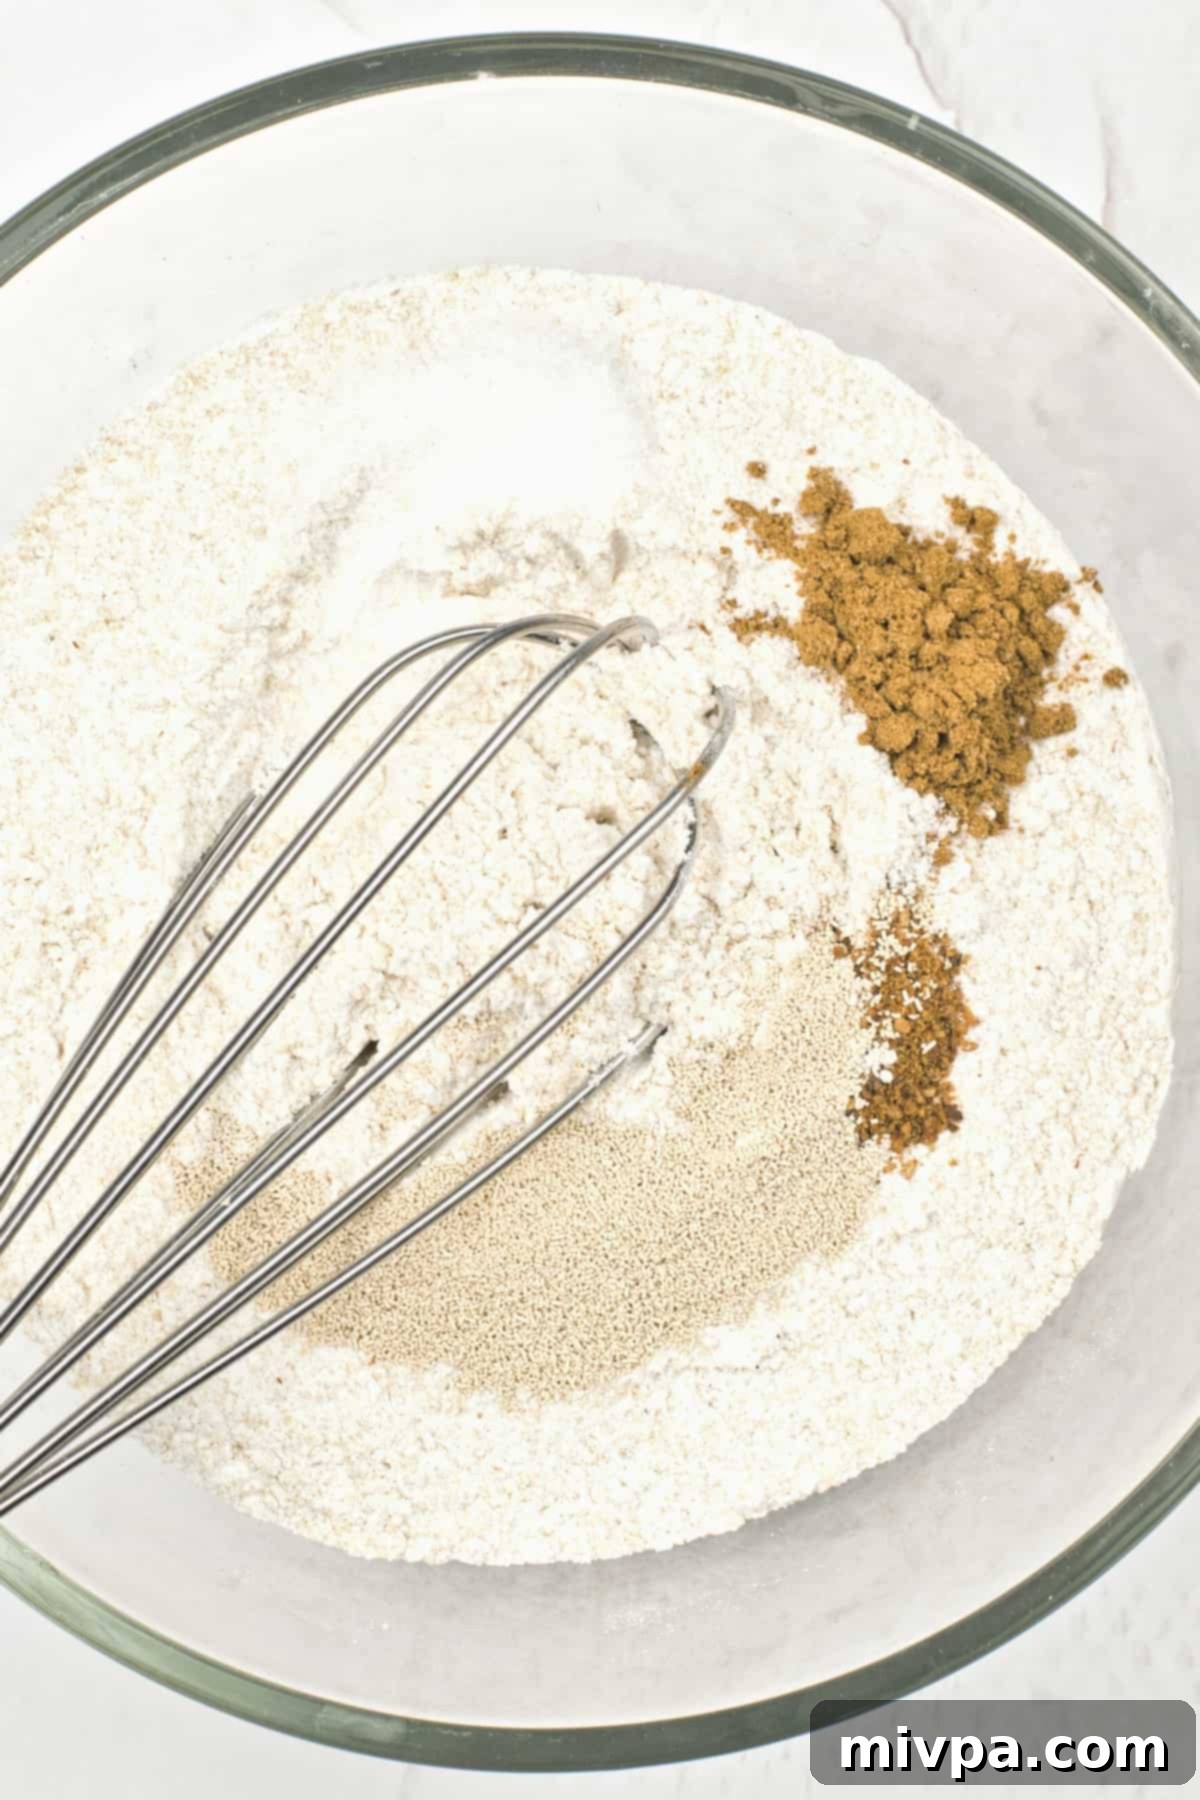
Begin by taking a large mixing bowl. Into this bowl, add your gluten-free all-purpose flour, instant yeast, salt, ground cinnamon, and ground nutmeg. Using a whisk, thoroughly combine all these dry ingredients. Ensure that the spices are evenly distributed throughout the flour mixture, as this will ensure uniform flavor in your finished buns.
2. Gently Heat Butter and Milk
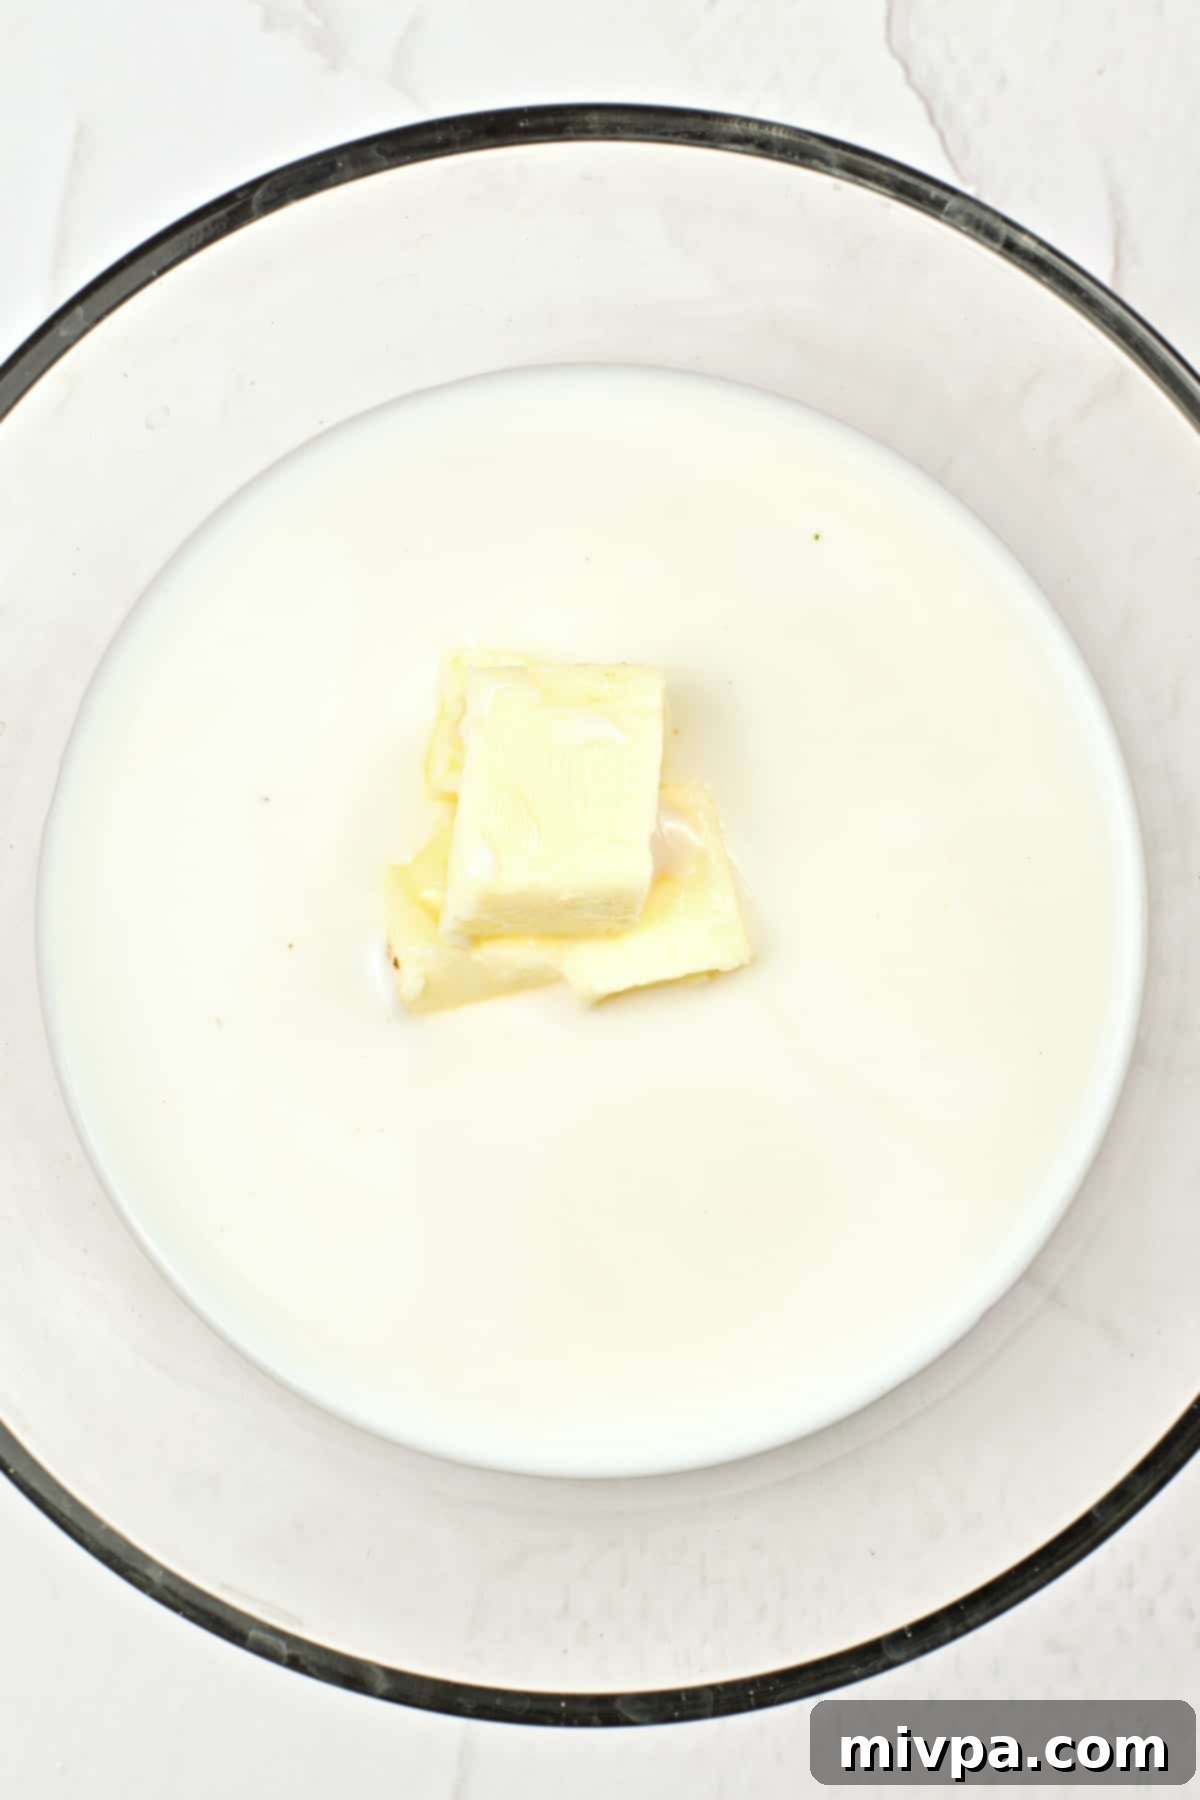
In a separate microwave-safe bowl, combine the vegan butter and almond milk. Place the bowl in the microwave and heat for approximately 1 minute, or until the vegan butter has completely melted and the mixture is warm (but not boiling hot). This gentle warmth helps activate the yeast later.
(Alternatively, if you do not have a microwave, you can easily heat this mixture in a small pot or saucepan over low heat on your stovetop, stirring until the butter is melted.)
3. Dissolve Brown Sugar
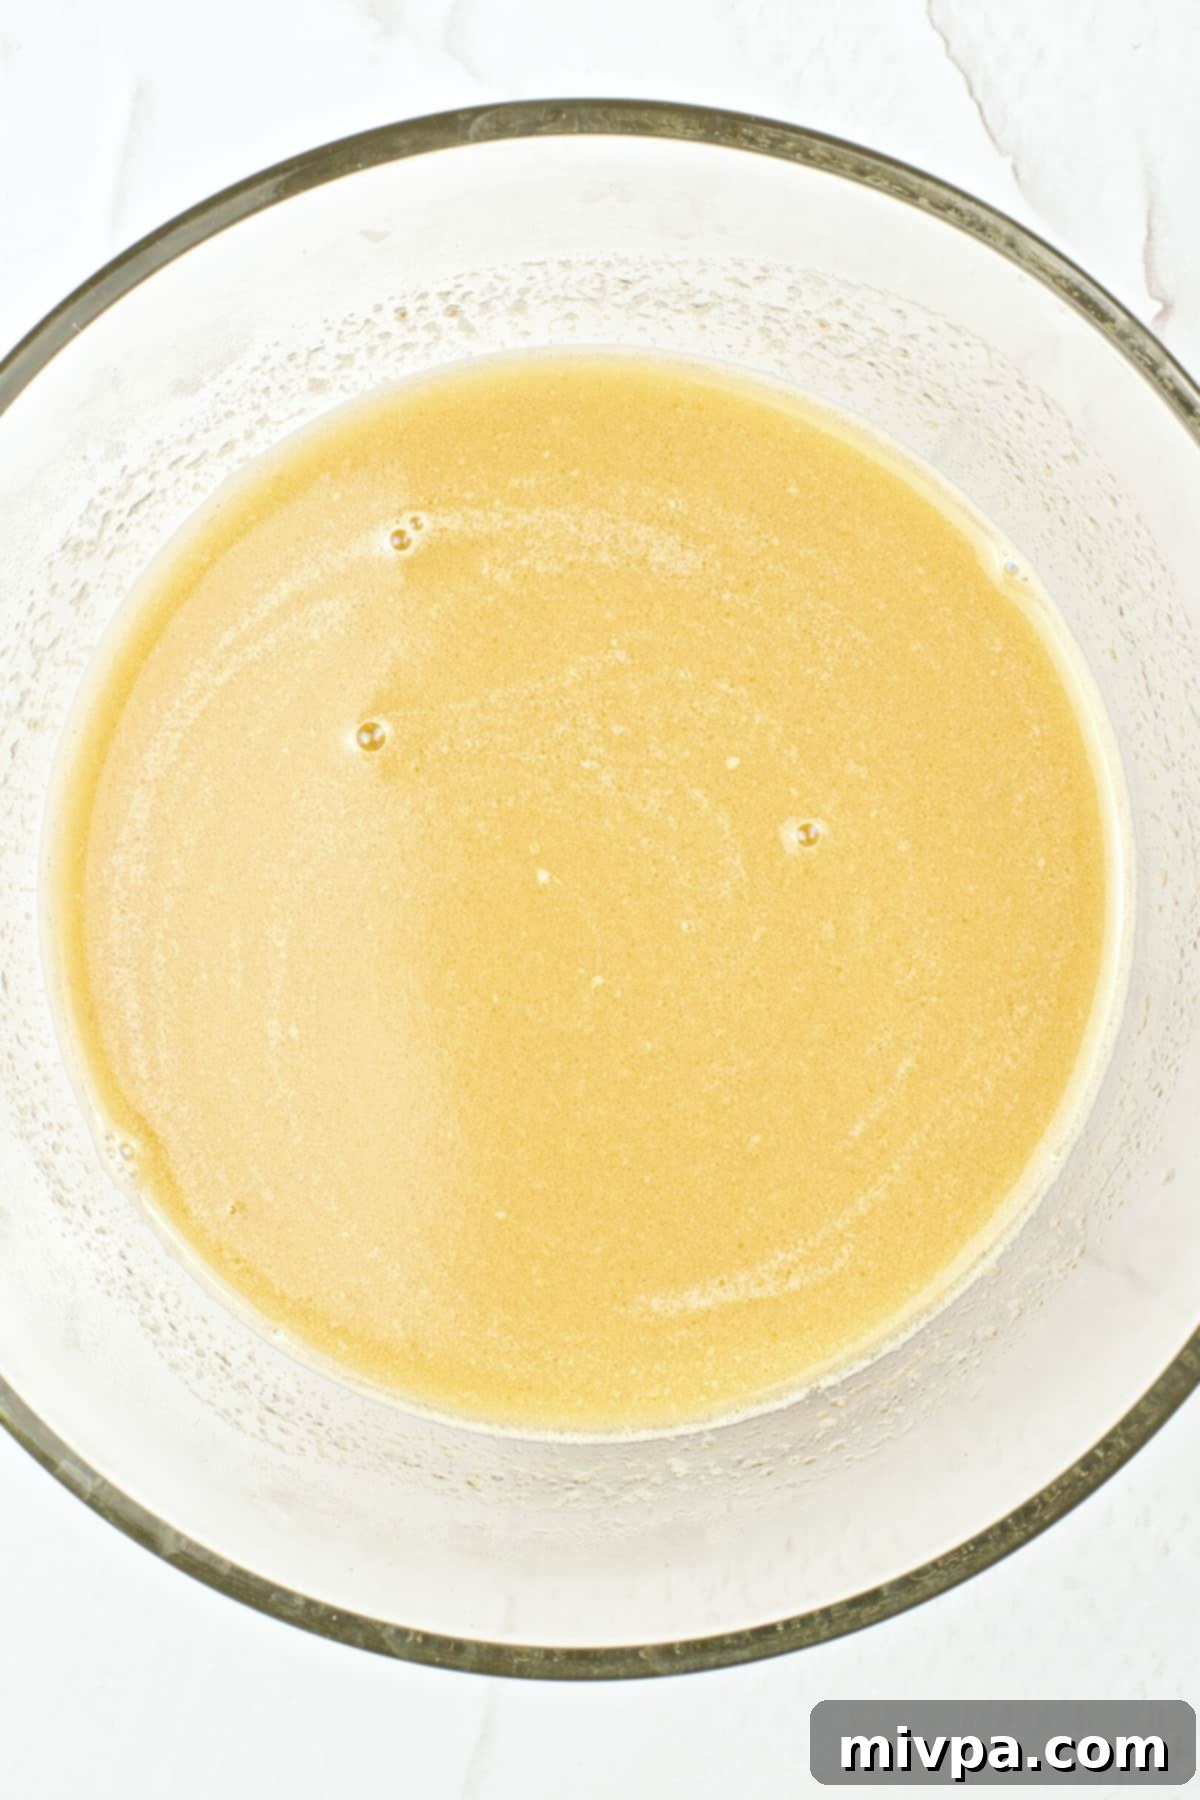
To the warm butter and milk mixture, add the brown sugar. Stir continuously until all the sugar crystals have completely dissolved and the mixture is well combined. This ensures the sweetness is evenly distributed throughout the dough and helps to activate the yeast.
4. Combine Wet and Dry Ingredients
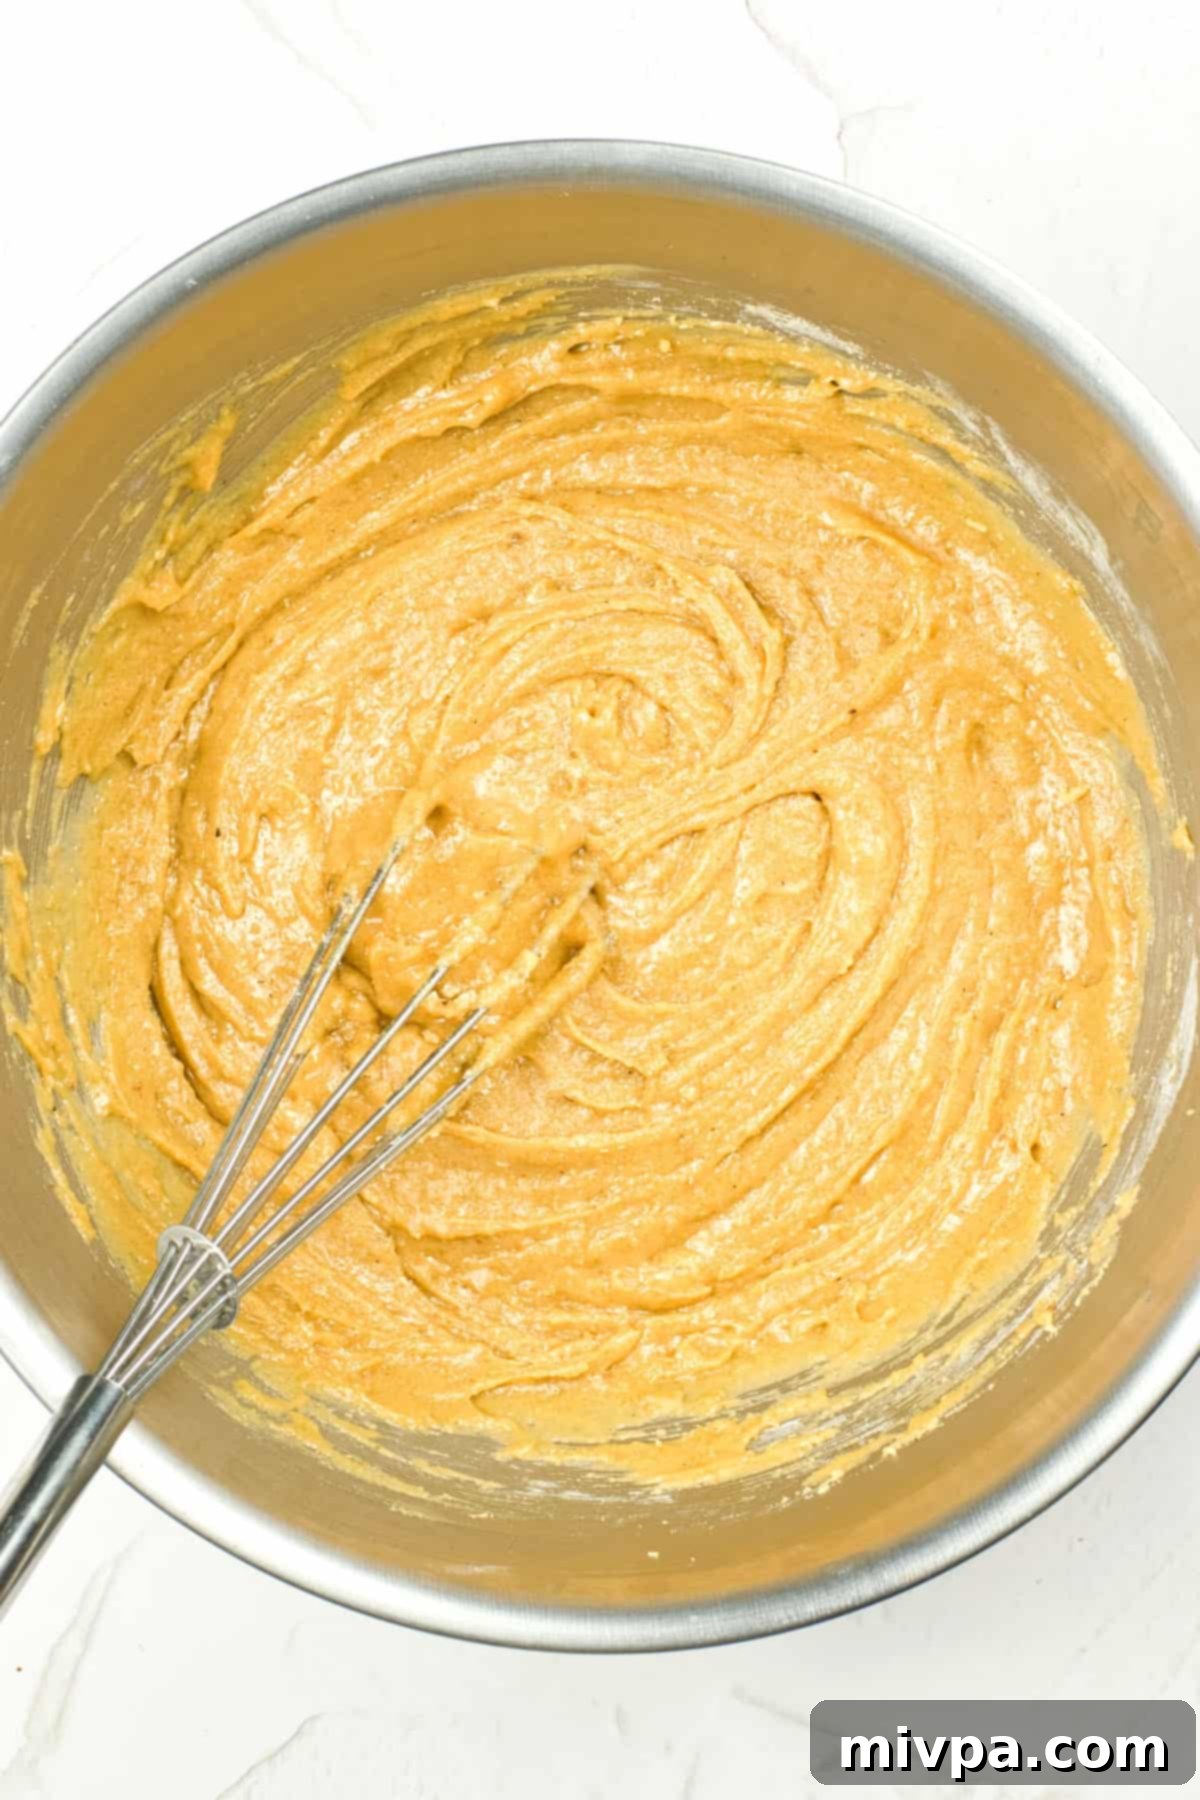
Gradually and slowly pour the prepared wet ingredients (the milk, butter, and sugar mixture) into the large bowl containing the whisked dry ingredients. Use a sturdy spoon or a whisk to mix everything thoroughly. Continue mixing until no dry streaks of flour remain and a cohesive dough begins to form.
5. Incorporate Egg and Raisins
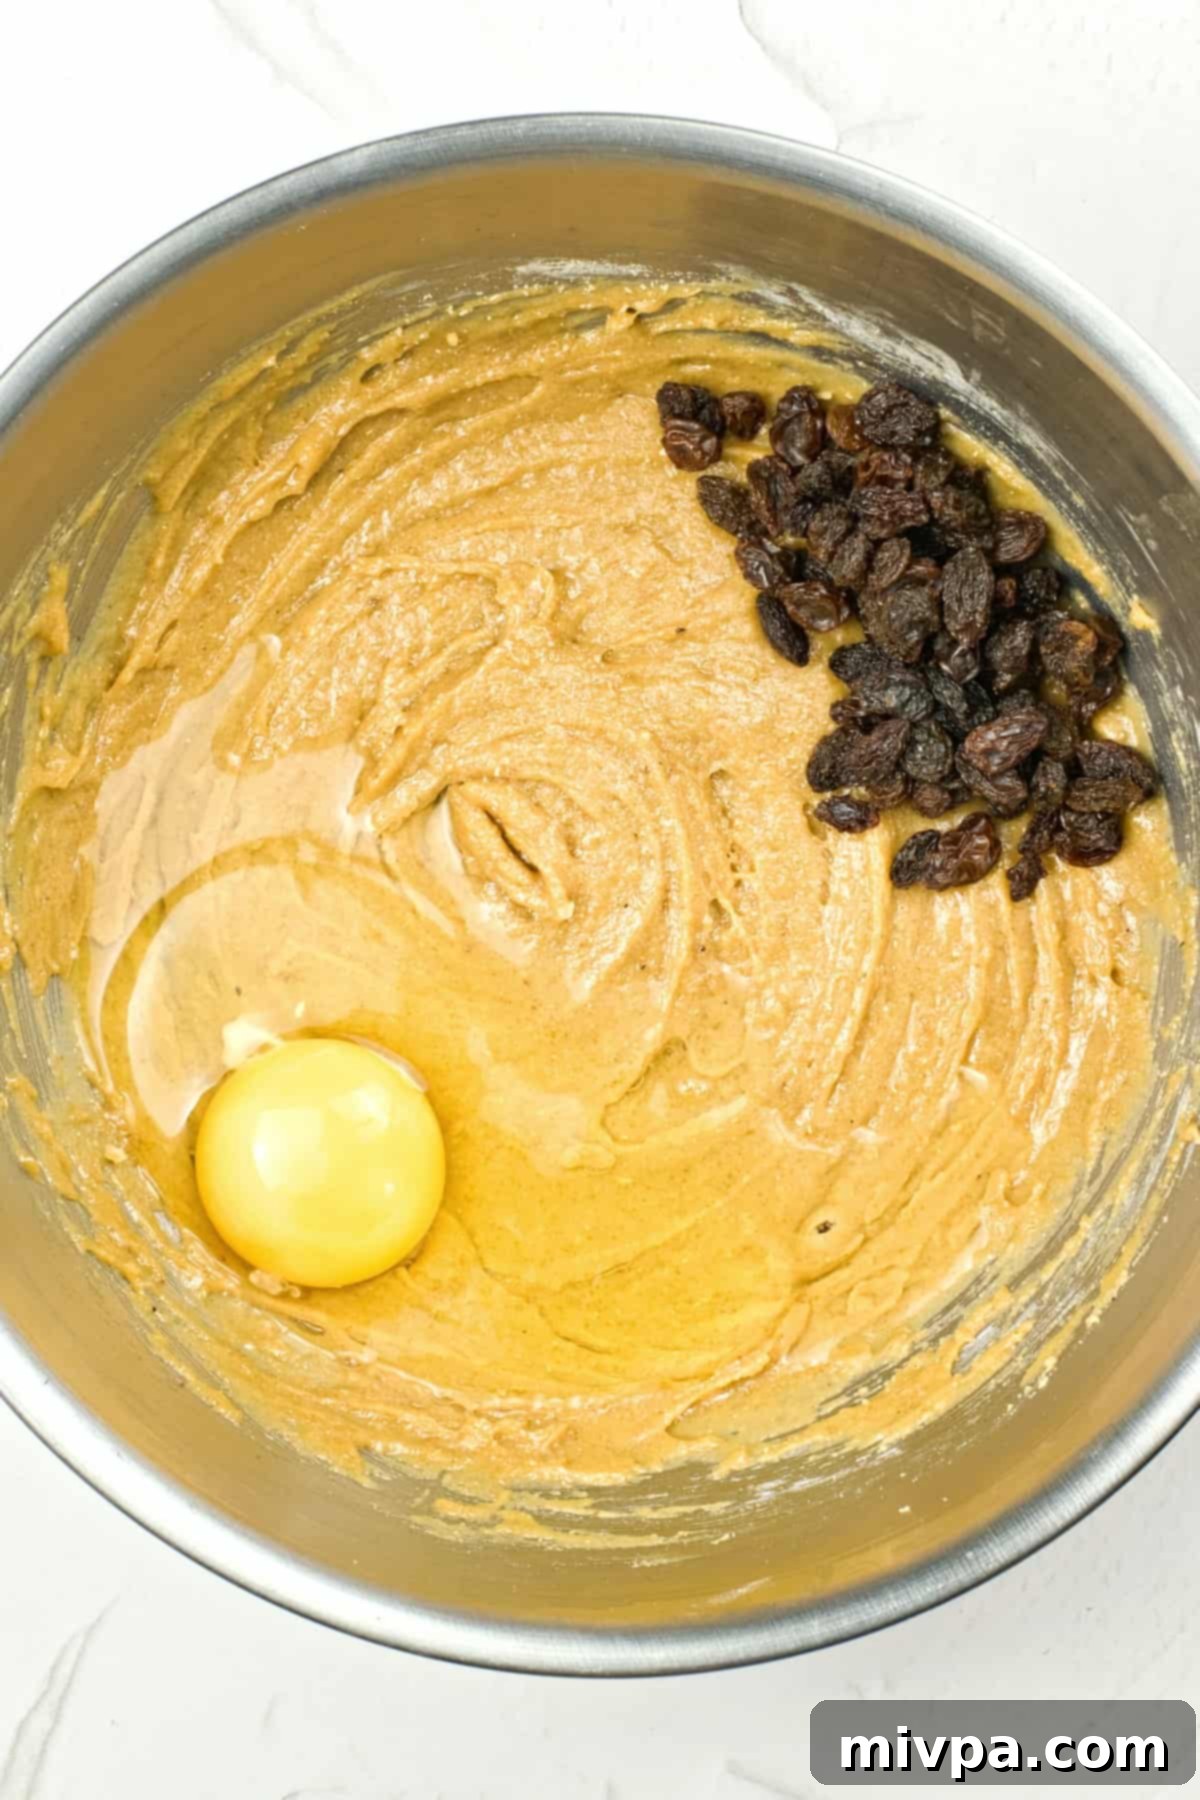
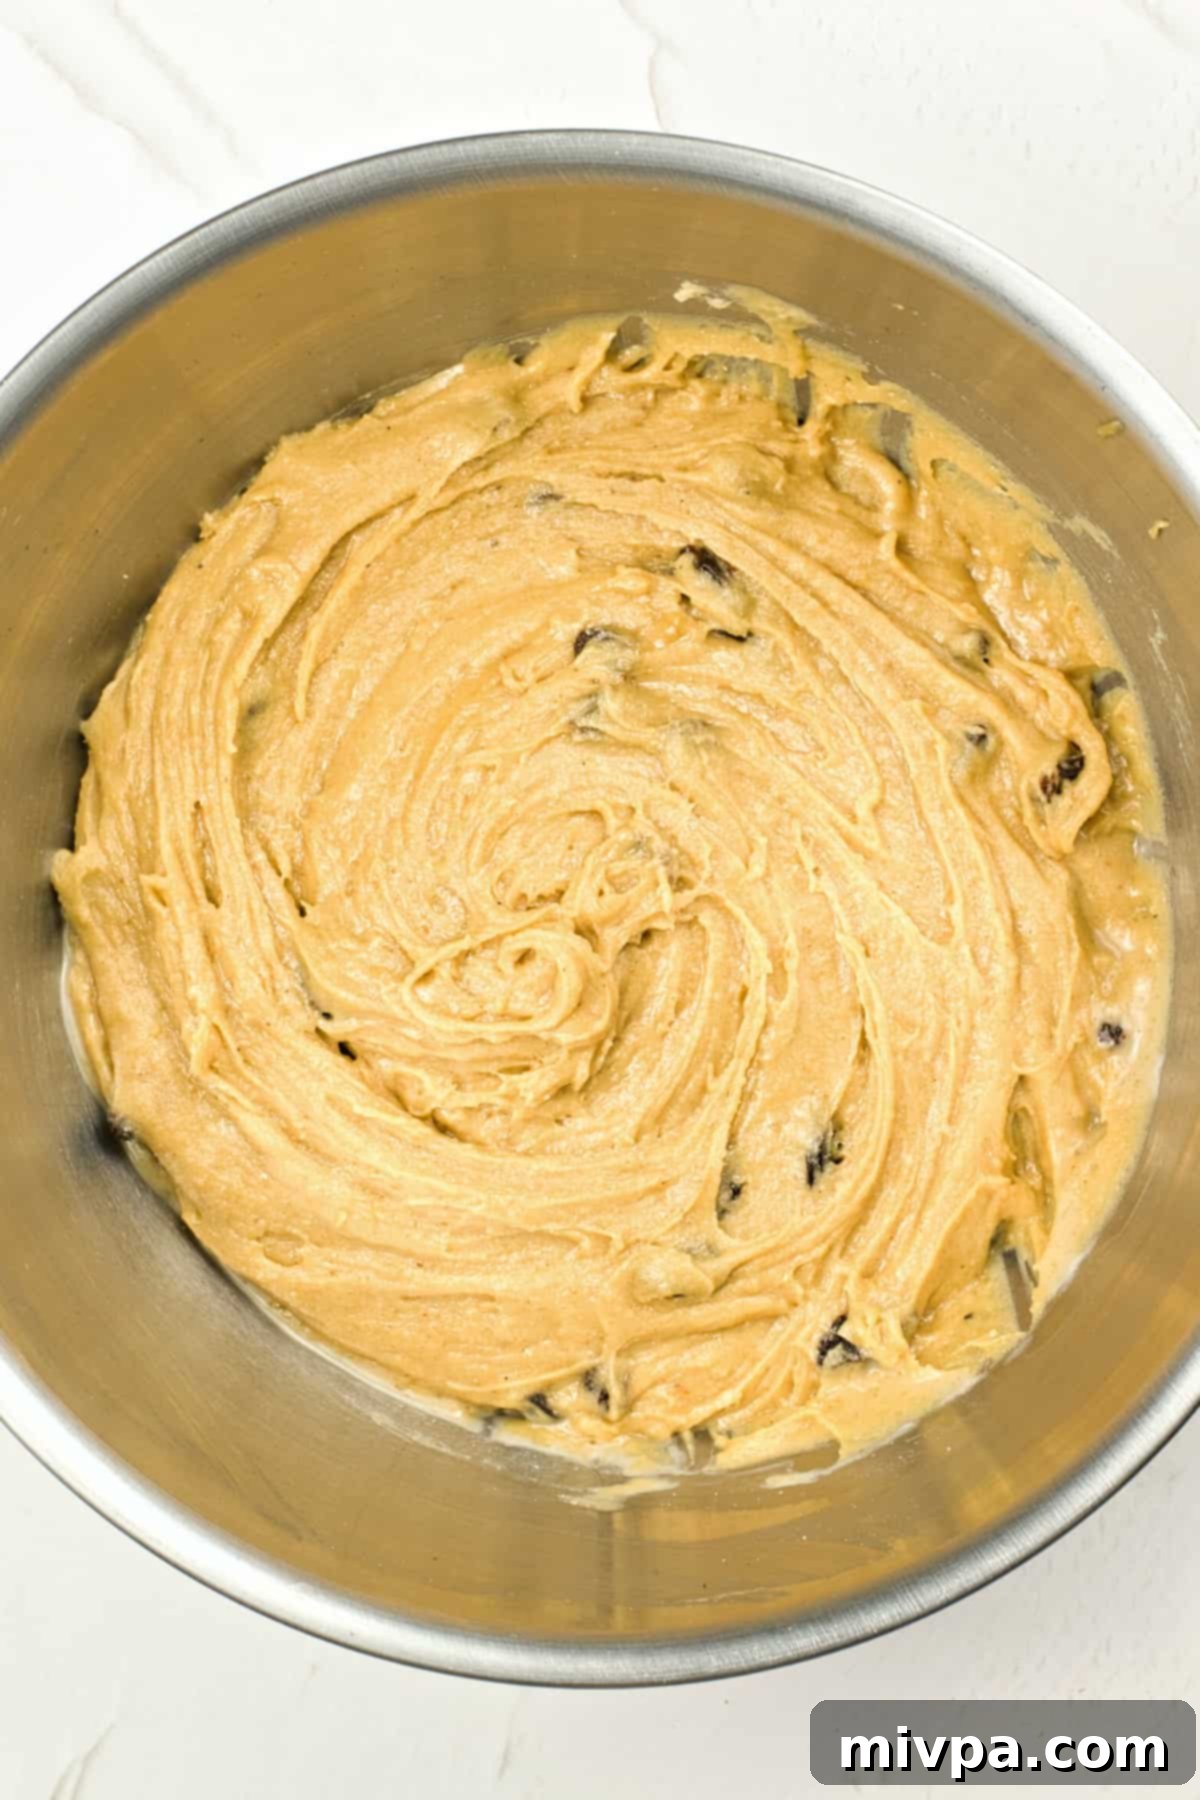
To the dough, add one of the eggs (reserving the other for the egg wash) and your pre-soaked, drained raisins. Using a wooden spoon or a sturdy spatula, mix these additional ingredients into the dough until they are fully incorporated and you achieve a homogeneous mixture. The dough will be quite wet, sticky, and shaggy in appearance; this is perfectly normal and exactly how gluten-free bread dough should look and feel. Do not be tempted to add more flour.
(HELPFUL TIP: Gluten-free bread dough often has a higher hydration level than traditional wheat dough. Its sticky and shaggy consistency is crucial for creating a soft and moist final product. Embrace the stickiness!)
6. Allow the Dough to Rise (First Rise)
Once your dough is mixed, cover the bowl tightly with a clean kitchen towel or plastic wrap. Place the covered bowl in a warm, draft-free spot in your kitchen. Allow the dough to rise for approximately 1 hour. During this time, the yeast will activate, feed on the sugars, and produce carbon dioxide, causing the dough to significantly increase in size and become lighter and more airy. A slightly warm oven (turned off but preheated for a minute, then turned off) or a sunny spot near a window can be ideal for rising.
7. Prepare for Baking: Preheat Oven and Grease Tray
Once the dough has completed its first rise, preheat your oven to 375°F (190°C). While the oven heats, prepare your baking surface. Grease a baking tray or a 9×13 inch baking dish generously with nonstick cooking spray, a light coating of vegetable oil, or melted vegan butter. This will prevent the buns from sticking and ensure they brown beautifully.
8. Divide and Shape the Dough into Portions
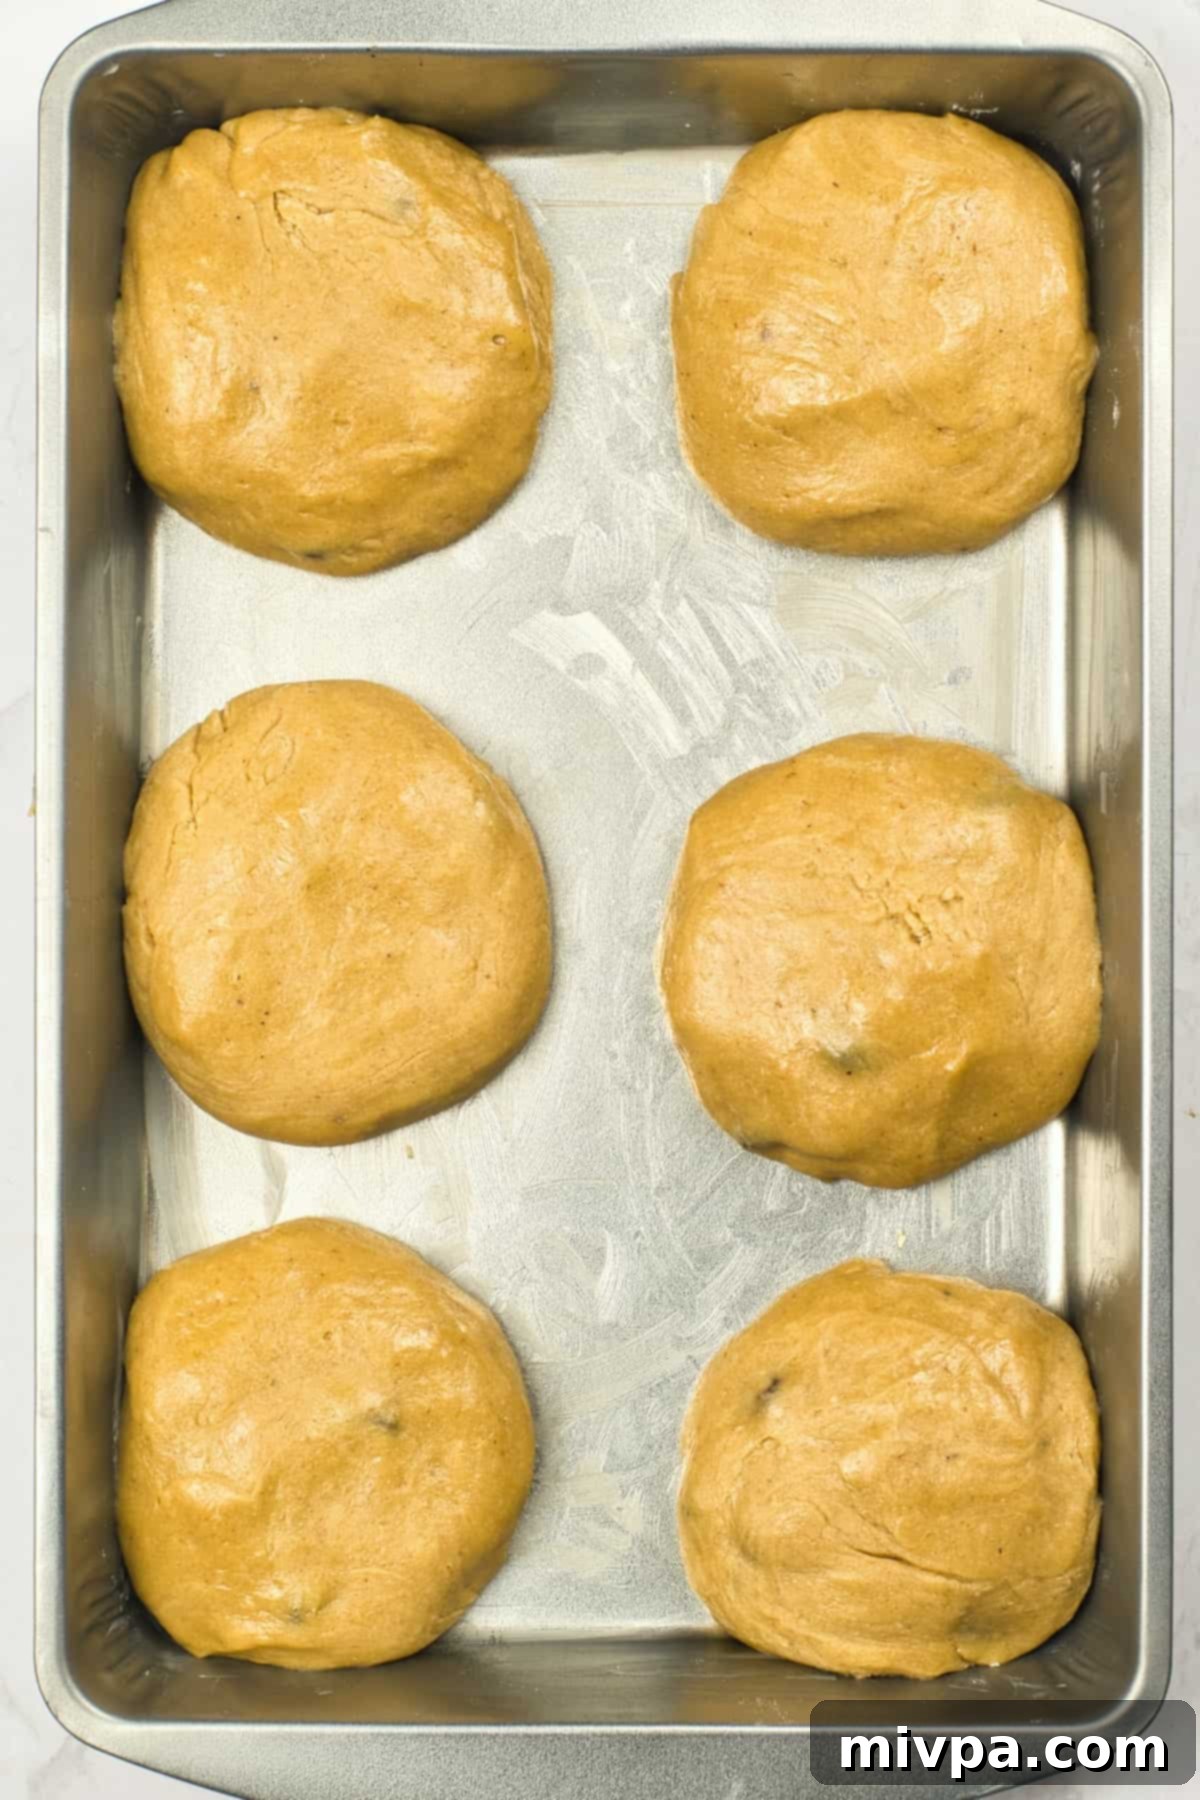
Lightly moisten your hands with water – this is crucial for working with sticky gluten-free dough. Scoop out the risen dough into 6 to 8 equal pieces. With your wet hands, gently shape each piece into a round bun. Remember, the dough will be wet and sticky, but resisting the urge to add more flour is key to a tender bun. Place the shaped dough pieces on the prepared baking sheet, ensuring you leave at least a few inches of space between each piece to allow for further rising and expansion during baking.
9. Apply Egg Wash and Second Rise
In a small bowl, lightly beat the remaining egg (the one you set aside earlier) to create an egg wash. Using a pastry brush, gently brush the egg wash over the top surface of each shaped bun. This will give them a lovely golden sheen and soft crust once baked. After applying the egg wash, cover the buns again with a kitchen towel or a piece of cling film plastic wrap. Let the buns rise for an additional 20 minutes in a warm, draft-free place. This second, shorter rise will help them become even lighter and fluffier before baking.
(PRO TIP: The exact rising time can vary based on environmental factors. In a cooler, drier environment (like winter), it might take a bit longer, while a warm, humid environment (like summer) may shorten the rising time.)
10. Bake Until Beautifully Golden
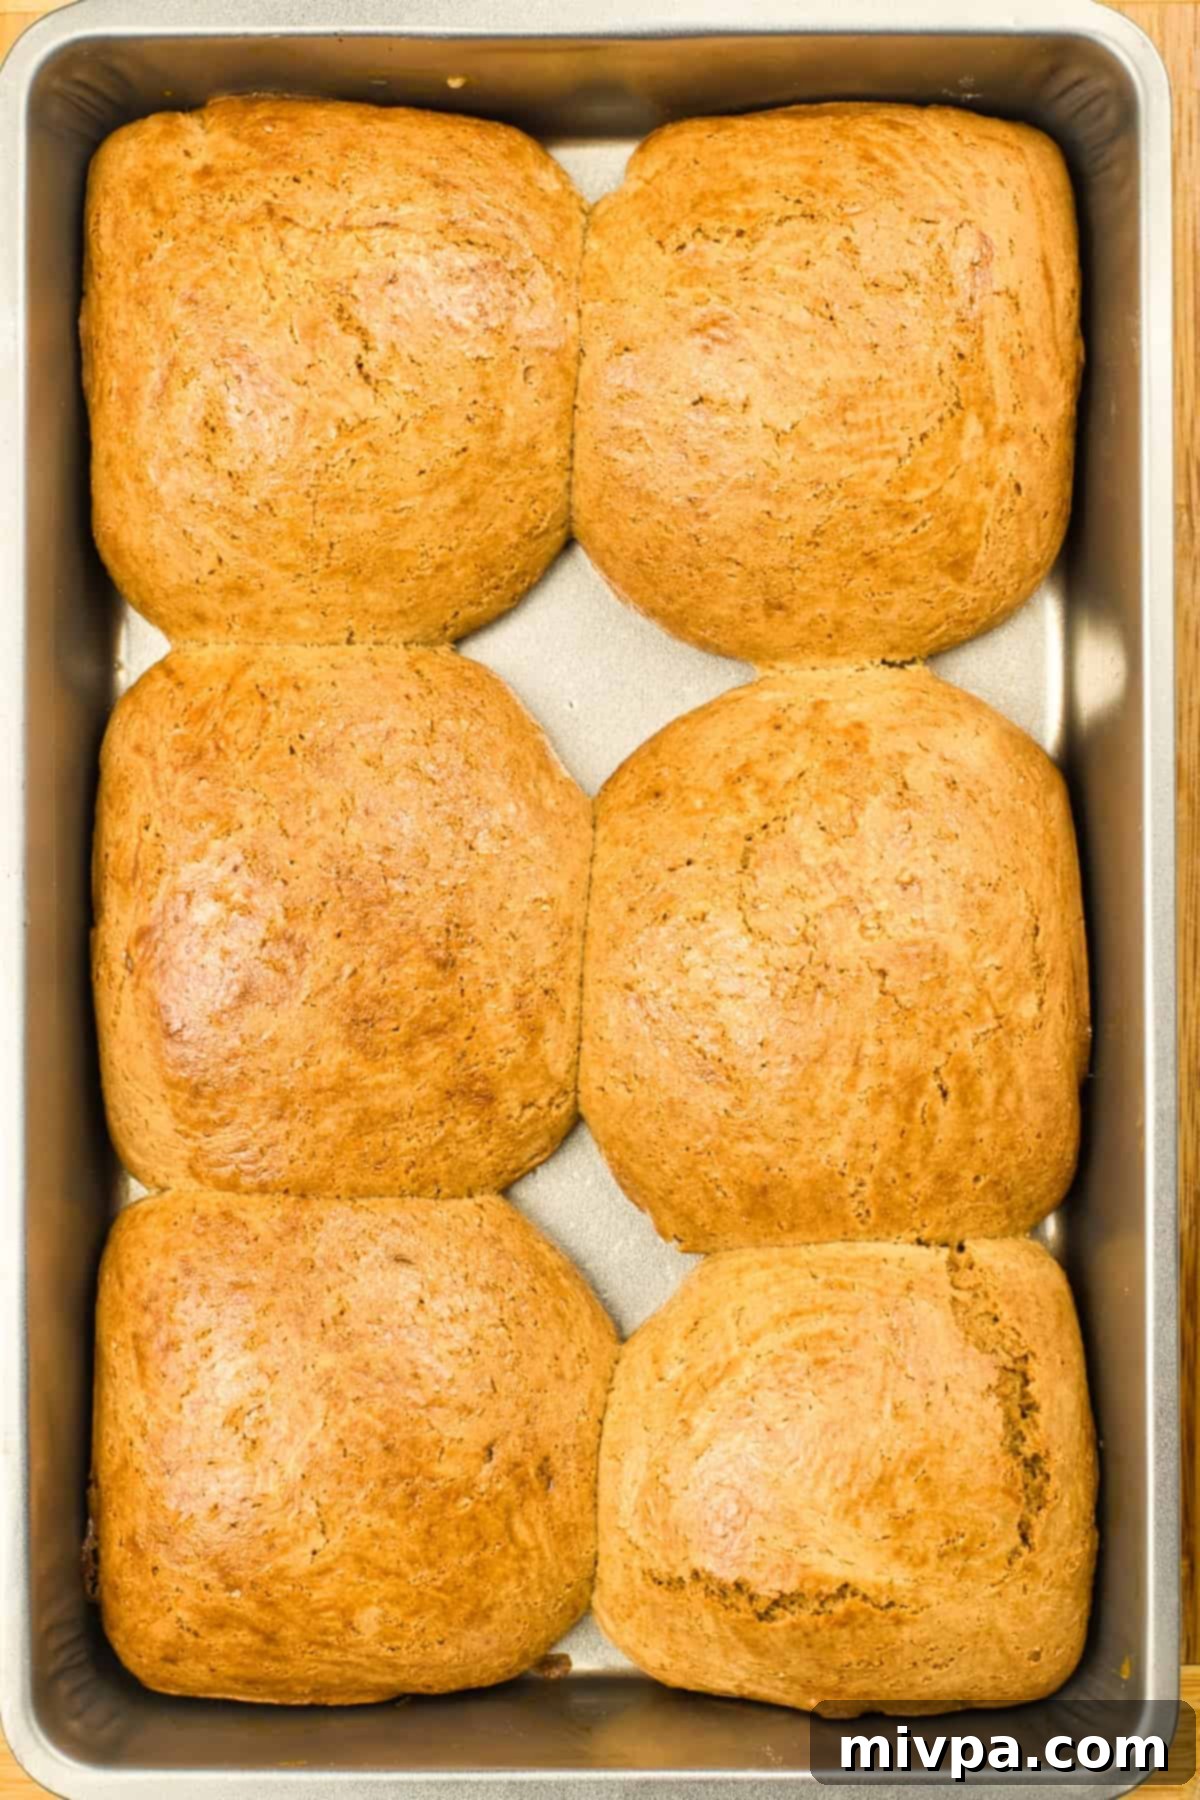
Once the buns have completed their second rise, place the baking sheet into your preheated oven. Bake for 25 to 30 minutes, or until the buns are puffed up, deeply golden brown on top, and sound hollow when lightly tapped on the bottom. Keep an eye on them towards the end of the baking time to prevent over-browning.
11. Prepare the Sweet Icing Cross
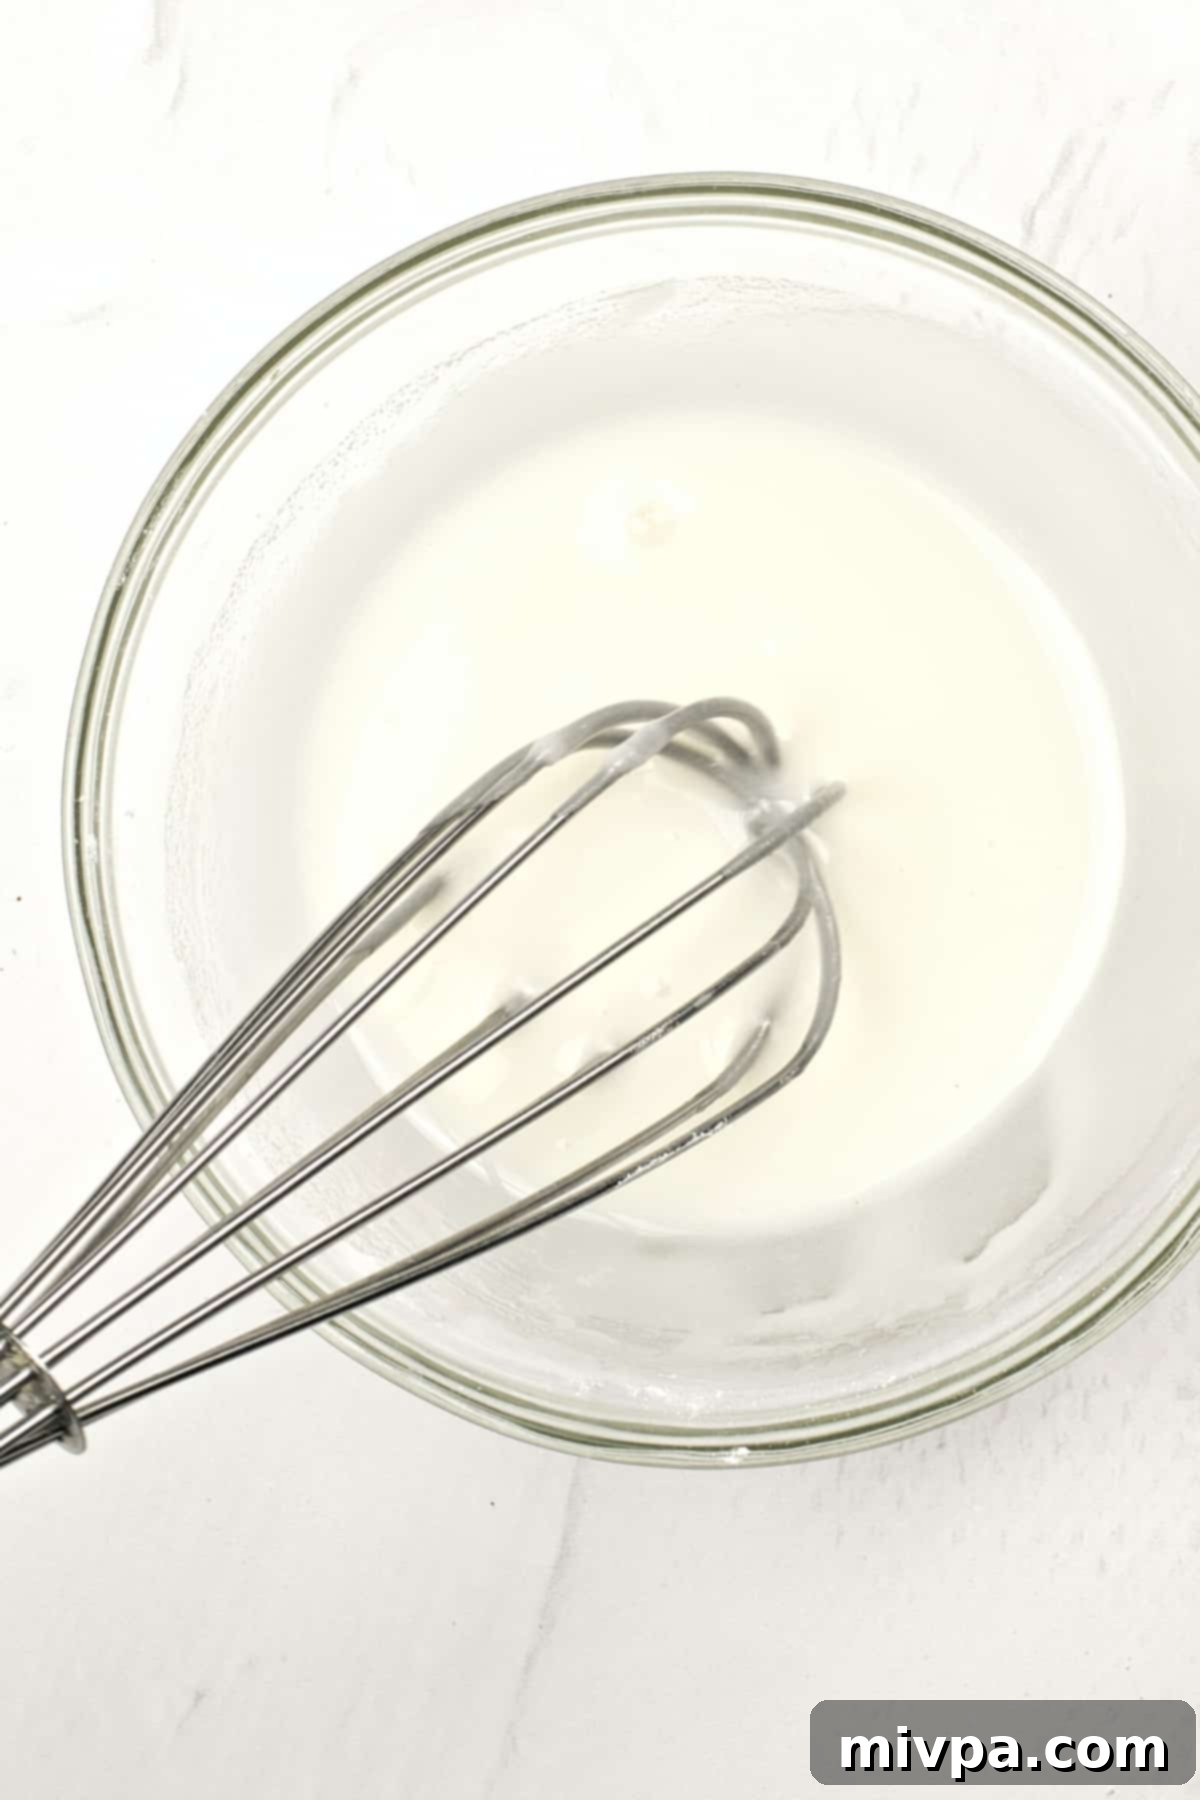
While your delightful buns are baking and filling your kitchen with their wonderful aroma, it’s the perfect time to prepare the signature icing for the crosses. In a small mixing bowl, combine the icing sugar (powdered sugar) with 2 teaspoons of almond milk. Whisk these ingredients together thoroughly until you achieve a thick, smooth, and pipeable consistency. If it’s too thick, add a tiny bit more milk; if too thin, add a little more icing sugar. Spoon this prepared icing into a piping bag. If you don’t have a piping bag, a small ziplock bag with one corner snipped off will work just as well to create a makeshift piping tool.
12. Cool the Baked Buns
Once the hot cross buns are baked to perfection, carefully remove the baking tray from the oven. Transfer the buns to a wire cooling rack and let them cool for a few minutes. While they don’t need to be completely cold, allowing them to cool slightly helps the icing set without melting excessively, and makes them easier to handle.
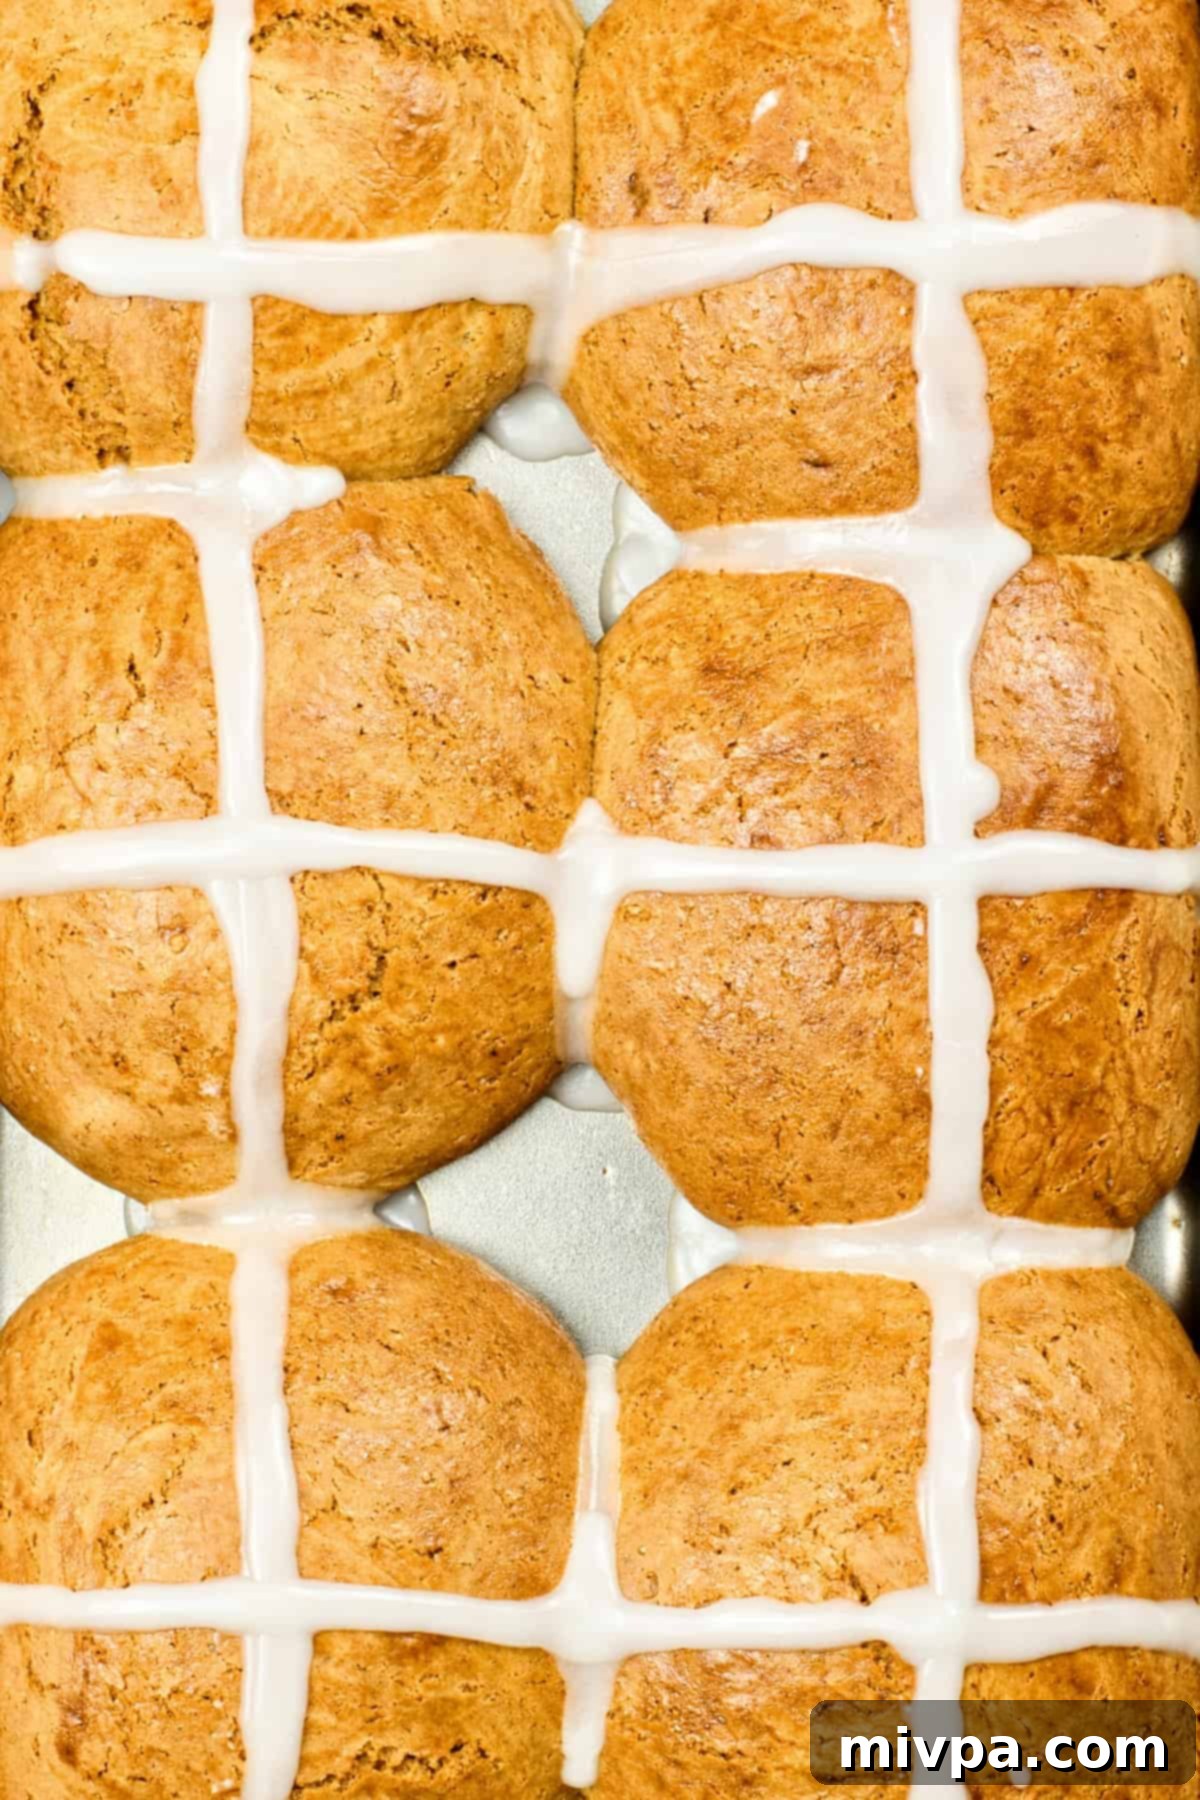
13. Pipe the Iconic Cross Shape
Now for the festive finishing touch! Once the buns have cooled enough to handle, take your prepared icing bag. Carefully and steadily pipe a distinct cross shape over the top of each bun. The crosses can be as thick or as thin as you prefer. After piping, allow the icing to set for a few minutes before serving, ensuring it hardens slightly and doesn’t smudge.
14. Serve Warm and Savor!
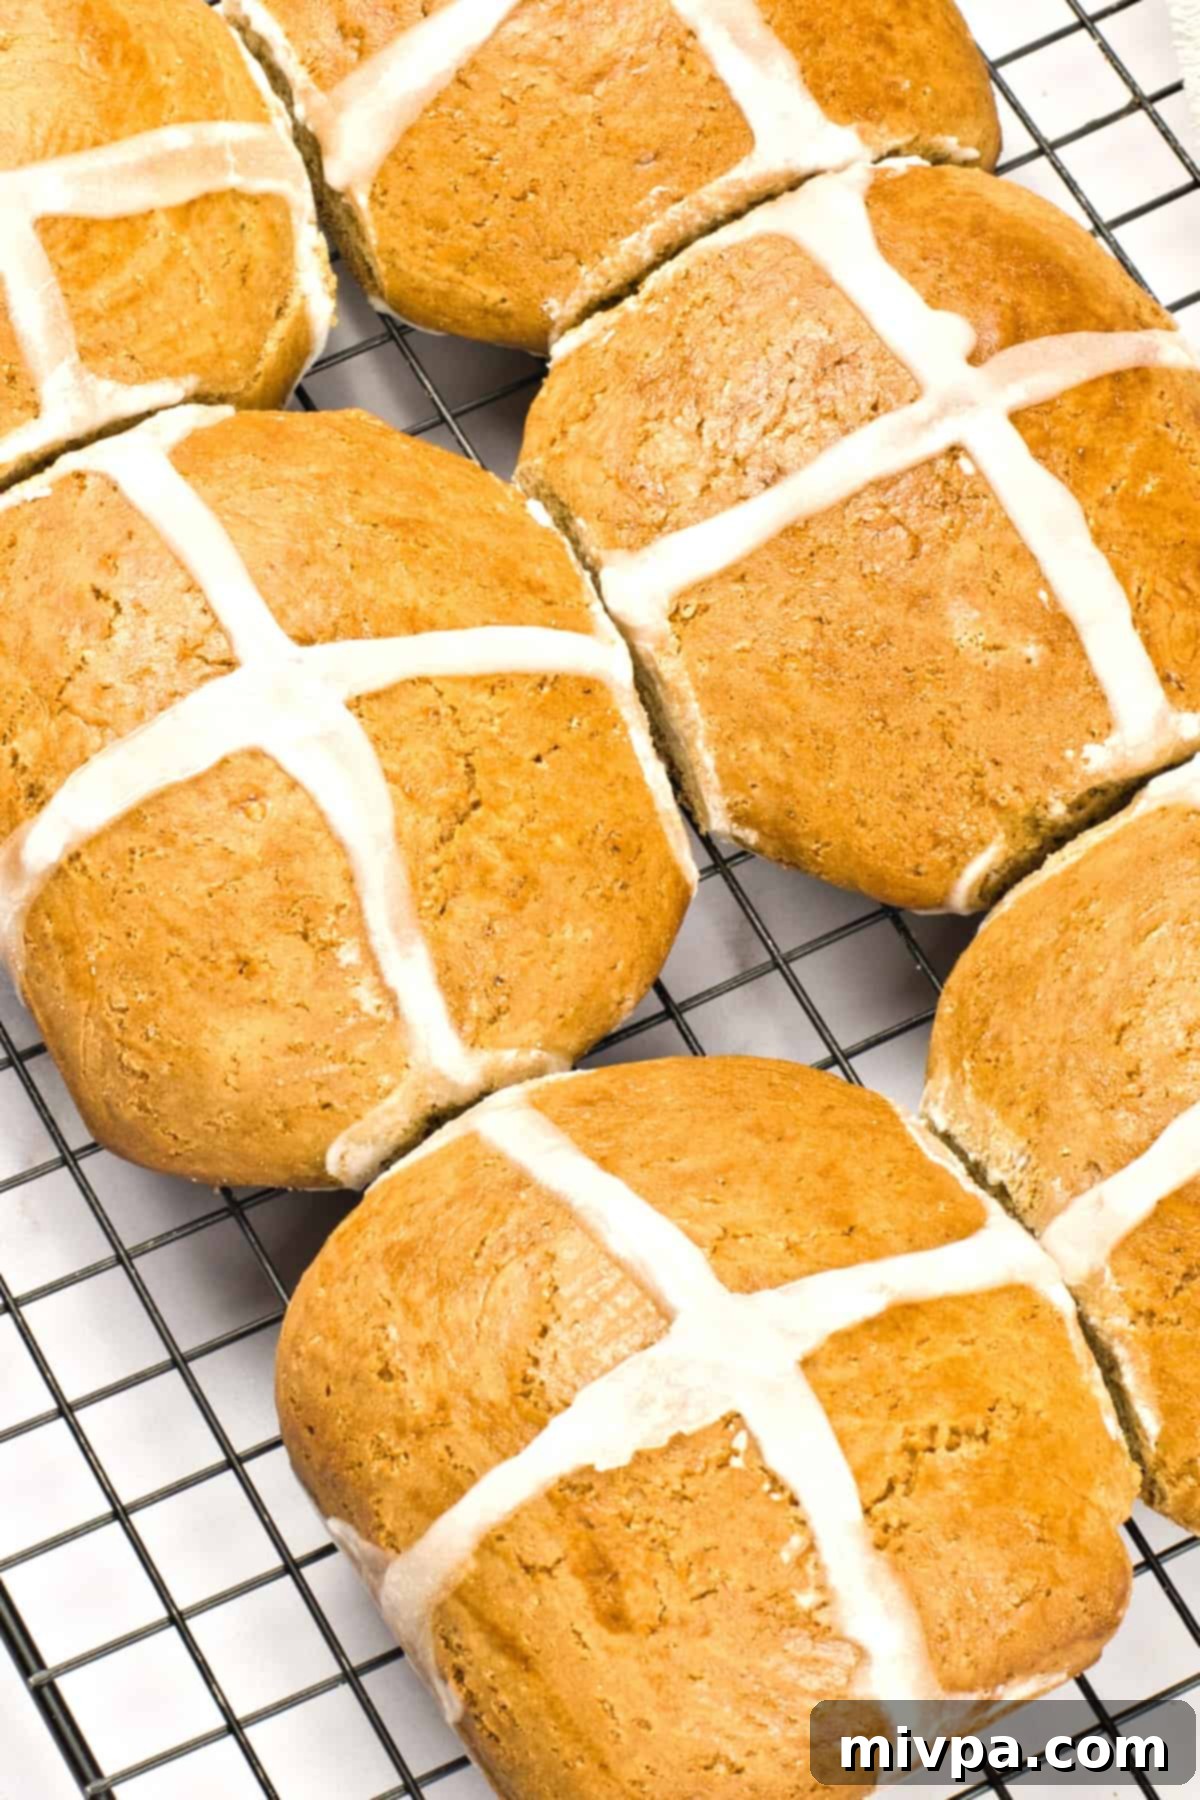
Your beautiful gluten and dairy free hot cross buns are now ready! Serve them warm, either on their own or with a dollop of melted vegan butter (or regular butter if not dairy-free), or your favorite sweet spread like jam or marmalade. These freshly baked buns are truly a highlight of Easter, offering comfort, flavor, and tradition in every bite. Enjoy the fruits of your labor!
Dish by Dish Pro Tips & Creative Variations:
Enhance your gluten-free hot cross bun baking experience with these helpful tips and suggestions for customization, ensuring they turn out perfectly every time and suit all tastes:
- Not a Fan of Raisins? No Problem! While raisins are a traditional component, if you or your family aren’t fond of them, feel free to simply omit them entirely from the recipe. The spiced dough will still be wonderfully flavorful on its own. Alternatively, you could substitute them with other dried fruits.
- Prefer a Lighter Color? Choose Your Sugar Wisely: The dark brown sugar in this recipe contributes to a slightly richer, darker color in the dough and the final baked buns. If you prefer your hot cross buns to have a lighter, more golden appearance, simply swap the brown sugar for an equal amount of granulated white sugar. This will yield buns with a paler interior and crust while maintaining their sweetness.
- Exciting Alternative Add-Ins for Flavor & Texture: Don’t hesitate to get creative with your additions! For a bright, citrusy note that beautifully complements the spices, add a sprinkle of finely grated orange zest or chopped candied orange peel to the dry ingredients. If you’re a chocolate lover (and who isn’t?), folding in a handful of dairy-free chocolate chips (or regular chocolate chips if not dairy-free) into the dough just before the first rise creates a decadent twist on the classic. Other options include dried cranberries, chopped dried apricots, or even a mix of candied peel.
- Prepare Buns Ahead of Time: To ease your Easter preparations, you can definitely make these buns in advance. Once baked and cooled (before icing), place them in an airtight container and freeze them for up to 2-3 months. When you’re ready to enjoy them for Good Friday or Easter weekend, simply let them thaw at room temperature, then gently reheat them in a warm oven (about 300°F/150°C for 10-15 minutes) until soft and warm. Once reheated, you can then proceed to pipe the icing crosses just before serving.
Frequently Asked Questions About Hot Cross Buns:
To ensure your delicious gluten-free dairy-free hot cross buns remain fresh and soft, place them in an airtight container at room temperature for up to 2 days, or in the refrigerator for up to 4 days. Storing them in the fridge can extend their freshness slightly. For the best enjoyment, gently reheat them in a warm oven (around 300°F/150°C for 5-10 minutes) or microwave briefly before eating to restore their soft texture and warm aroma.
No, traditionally, hot cross buns are made with conventional wheat flour, which contains gluten. Therefore, most store-bought hot cross buns are not suitable for individuals with Celiac disease or gluten intolerance. Always check the label carefully and look for products specifically certified or labeled as “gluten-free” to ensure they are safe for consumption. This recipe, however, is designed to be completely gluten-free.
In most traditional hot cross bun recipes, common dairy ingredients like regular butter and milk are used, which contain lactose and milk proteins. This means that standard hot cross buns are generally not safe for those with dairy allergies or lactose intolerances. Similar to gluten, if you need a dairy-free option, always look for specially formulated products or, even better, make them yourself using a trusted dairy-free recipe like this one!
Yes, you can use active dry yeast, but you’ll need to activate it first. Dissolve the active dry yeast with a pinch of sugar in the warm almond milk (from the recipe) and let it sit for about 5-10 minutes until it becomes foamy. This indicates the yeast is active. Then, proceed with the recipe as directed, adding this activated mixture when the recipe calls for the milk-butter mixture.
While it’s best to follow the rising times specified for optimal texture, you can prepare the dough up to the end of the first rise (Step 6), then cover it tightly and refrigerate it overnight (up to 12 hours). The cold temperature will slow down the yeast activity. On the day of baking, take the dough out of the fridge and let it come to room temperature for about 30-60 minutes before proceeding with shaping (Step 8) and the second rise.
Delicious Pairings: What to Eat with Your Gluten-Free Hot Cross Buns:
These warm, spiced gluten-free hot cross buns are delightful on their own, but they also pair wonderfully with a variety of spreads and accompaniments. Here are some of our favorite suggestions:
- Apricot Jam (Gluten-Free, Vegan) – The sweet tartness of apricot complements the spices beautifully.
- Plum Jam (Gluten-Free, Vegan) – A rich, fruity spread that adds depth.
- Mixed Berry Chia Seed Jam (Gluten-Free, Vegan) – A healthy and vibrant option.
- Dairy-free butter or cream cheese alternative – For a rich, creamy contrast.
- A cup of hot tea or coffee – The perfect comforting beverage.
More Gluten-Free Easter Recipes to Sweeten Your Holiday:
Complete your festive Easter feast with these other fantastic gluten-free and dairy-free recipes that are perfect for the occasion:
- Cadbury Egg Cookies (Gluten-Free, Dairy-Free) – A fun and festive cookie.
- Carrot Cake Cupcakes (Gluten-Free, Dairy-Free) – Individual portions of a classic Easter dessert.
- Moist Carrot Cake (Gluten-Free, Dairy-Free) – The ultimate showstopper for your Easter table.
- Avocado Deviled Eggs (Gluten-Free, Dairy-Free) – A healthy and colorful appetizer.
- Scalloped Potatoes (Gluten-Free, Vegan) – A comforting and savory side dish.
Explore Other Delightful Gluten-Free Bun Recipes:
If you’ve enjoyed making these hot cross buns, you’ll love these other versatile gluten-free bun recipes that cater to various meal needs:
- Slider Buns (Gluten-Free, Dairy-Free) – Perfect for mini sandwiches.
- Hamburger Buns (Gluten-Free, Dairy-Free) – Enjoy your favorite burgers without compromise.
- Low Carb Buns (Gluten-Free, Dairy-Free) – A fantastic option for those watching their carb intake.
- Soft Dinner Rolls (Gluten-Free, Dairy-Free) – An essential for any meal, these are incredibly tender.
Other Gluten-Free Bread Recipes You’ll Love to Bake:
Beyond buns, the world of gluten-free bread offers endless possibilities for delicious homemade delights. Here are some other incredible gluten-free bread recipes that are sure to become staples in your kitchen:
- Gluten-Free Chocolate Chip Pumpkin Bread (Dairy-Free)
- Easy Gluten-Free Drop Biscuits (Dairy-Free)
- Gluten-Free Vegan Bagels (Chewy and Tender!)
- Egg-Free Gluten-Free Bread (So Tender!)
Seasonal & Holiday Recipes to Delight In:
Beyond Easter, every holiday and season offers a wonderful opportunity for special baking and cooking. Explore these festive recipes perfect for various occasions:
- 126 Gluten-Free Desserts and Sweet Treats for Labor Day
- 94 Savory Gluten-Free Recipes for Labor Day Weekend
- Gluten-Free Pecan Pie Bars (Dairy-Free)
- Easy Gluten’Free S’mores Bars (Dairy-Free Option)
P.S. We genuinely hope you love these Gluten-Free Hot Cross Buns as much as we do! If you try this recipe, we’d be absolutely thrilled for you to leave a star rating below and/or share your thoughts in the comment section further down the page. Your feedback is incredibly valuable and helps our community of bakers. Be sure to check out our entire Recipe Index for all the delicious recipes on the blog. You can also follow us on Pinterest, Facebook or Instagram for daily inspiration and updates! Don’t forget to sign up for our Email List to get fresh, new recipes delivered straight to your inbox each week!
Print

Gluten-Free Hot Cross Buns (Dairy-Free)
5 Stars 4 Stars 3 Stars 2 Stars 1 Star
5 from 2 reviews
Author: Felicia Lim
Total Time: 2 hours 5 minutes
Yield: 6 buns
Diet: Gluten Free
Description
Celebrate Easter with these delightful gluten-free hot cross buns! Loaded with juicy raisins and finished with a sweet, iconic cross of icing, these buns are an essential Easter weekend treat. Plus, they’re completely dairy-free, making them perfect for everyone at your festive table.
Ingredients
Scale
FOR THE BUNS:
- 1 1/2 cups gluten-free all-purpose flour
- 1/4 teaspoon xanthan gum (omit if your gluten-free flour blend includes it)
- 1/2 tablespoon instant yeast
- 1/2 teaspoon salt
- 1/3 cup brown sugar
- 1 teaspoon ground cinnamon
- 1/2 teaspoon ground nutmeg
- 2 tablespoons vegan butter
- 3/4 cup almond milk
- 1/2 cup raisins
- 2 eggs, divided (1 for dough, 1 for egg wash)
FOR THE ICING:
- 3/4 cup icing sugar (powdered sugar)
- 2 teaspoons almond milk
Instructions
- Whisk Dry Ingredients: In a large mixing bowl, thoroughly whisk together the gluten-free all-purpose flour, instant yeast, salt, ground cinnamon, and ground nutmeg until they are well combined and evenly distributed.
- Heat Up Butter and Milk: In a microwave-safe bowl, combine the vegan butter and almond milk. Microwave for about 1 minute until the butter is completely melted and the mixture is warm. (Alternatively, heat in a small pot on the stovetop.)
- Dissolve Sugar: Stir the brown sugar into the warm butter and milk mixture until all the sugar is fully dissolved and the mixture is homogeneous.
- Mix Milk-Butter Mixture with Flour Mixture: Slowly pour the warm milk-butter-sugar mixture into the bowl of dry ingredients, mixing well with a spoon or whisk until a cohesive dough forms.
- Add Egg and Raisins: Add one egg (reserving the other for the egg wash) and the plump raisins to the dough. Mix with a wooden spoon until all ingredients are well incorporated and you have a homogeneous, sticky dough. (The dough will be quite wet and shaggy, which is normal for gluten-free bread.)
- Let Dough Rise (First Rise): Cover the dough with a kitchen towel or plastic wrap and place it in a warm, draft-free spot. Allow it to rise for 1 hour. This crucial step activates the yeast, making the dough light and airy.
- Preheat Oven & Prep Tray: Preheat your oven to 375°F (190°C). Grease a baking tray or 9×13 inch baking dish generously with nonstick cooking spray, vegetable oil, or melted vegan butter.
- Divide Dough into Equal Portions: Moisten your hands with water. Scoop out the dough into 6 to 8 equal pieces and gently shape each piece into a round bun. Place the shaped dough pieces on the prepared baking sheet, ensuring a few inches of space between each.
- Brush Dough with Egg Wash & Second Rise: In a small bowl, beat the remaining egg to create an egg wash. Brush this over the top of each bun for a golden finish. Cover the buns again and let them rise for an additional 20 minutes in a warm, draft-free place. (Rising time may vary with humidity and room temperature.)
- Bake Until Golden: Bake the buns for 25 to 30 minutes, or until they are beautifully golden brown and sound hollow when tapped.
- Prepare Icing: While the buns are baking, prepare the iconic icing cross. Mix the icing sugar (powdered sugar) and 2 teaspoons of almond milk in a small bowl until thick and pipeable. Transfer the icing to a piping bag or a ziplock bag with a snipped corner.
- Let Buns Cool: Once baked, remove the buns from the oven and transfer them to a wire rack. Allow them to cool for a few minutes before decorating.
- Pipe Icing in Cross Shape: Using your piping bag, carefully pipe a distinct cross shape over the top of each cooled bun. Let the icing set for a moment before serving.
- Serve and Enjoy: Serve your warm, homemade gluten and dairy-free hot cross buns with melted butter or your favorite spread, and savor this festive Easter treat!
Notes
Gluten-Free All-Purpose Flour: For the best texture, use a good-quality gluten-free all-purpose flour blend composed of lighter flours and starches (e.g., rice flour, tapioca, corn, potato starch). Avoid blends with heavy flours like garbanzo bean flour, which can result in a dense texture.
Xanthan Gum: This is a crucial gluten substitute. Include xanthan gum if your flour blend doesn’t contain it. If sensitive to xanthan gum, use 1/2 teaspoon of psyllium husk powder as an alternative binder.
Instant Yeast: My preference is instant yeast as it mixes directly with dry ingredients. If using active dry yeast, activate it first by mixing with warm milk and sugar until frothy before adding.
Brown Sugar: This recipe calls for dark brown sugar for rich flavor. You can substitute with light brown sugar or coconut sugar. For a zero-glycemic option, use granulated monkfruit sweetener.
Ground Spices: A mix of ground cinnamon and ground nutmeg provides classic flavor. Feel free to adjust or omit nutmeg if preferred.
Butter (Vegan): Vegan butter ensures this recipe is dairy-free. Regular butter or ghee can be used if you don’t have dairy restrictions.
Almond Milk: I use homemade almond milk, but any unsweetened non-dairy milk works well (e.g., cashew milk, tigernut milk, rice milk, oat milk or coconut milk). Whole milk can be used if not dairy-free.
Raisins: Black raisins are traditional, but golden raisins also work. Soaking them in warm water for 5 minutes before adding is recommended for plumpness.
Eggs: Eggs bind the dough and are used for the egg wash. For an egg-free version, consider aquafaba or an egg-replacer. (Please share your results if you try an egg-free adaptation!)
Icing Sugar: Also known as powdered sugar or confectioners sugar, icing sugar creates a smooth frosting. For diabetic-friendly icing, use powdered monkfruit sweetener.
Storing: Store gluten-free hot cross buns in an airtight container in the refrigerator for up to 4 days. Reheat gently in the oven before serving for best results.
- Prep Time: 15 mins
- Rising Time: 1 hour 20 mins
- Cook Time: 30 mins
- Category: Bread
- Method: Baking
- Cuisine: American
