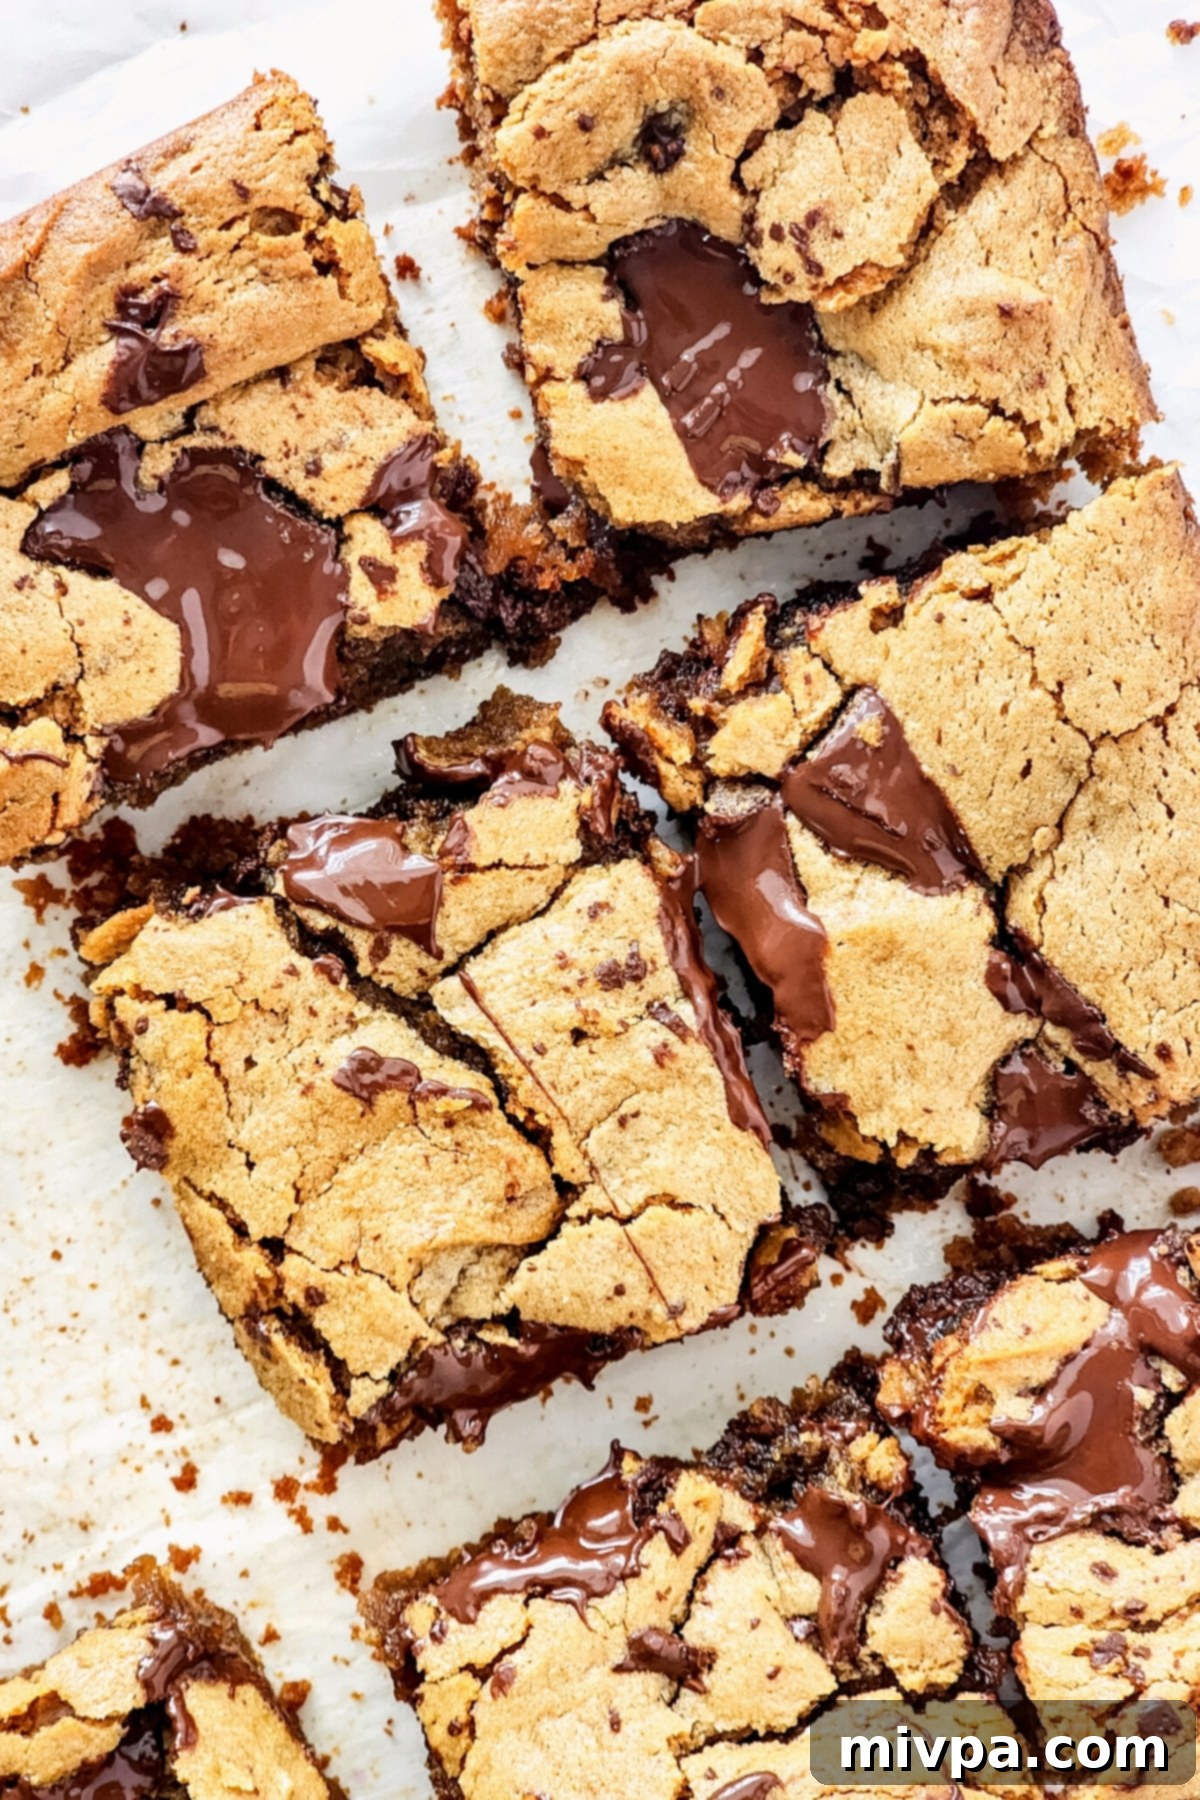
Irresistible Gluten-Free Peanut Butter Blondies: Chewy, Dairy-Free & Easy!
Craving a perfectly chewy and rich dessert that caters to dietary needs? These delightful gluten-free peanut butter blondies are exactly what you need! They’re generously studded with luscious chocolate bits, incredibly simple to prepare, and ready to satisfy your sweet tooth in no time. The timeless combination of peanut butter and chocolate creates a truly decadent experience, and the best part? This recipe is entirely dairy-free, making it a fantastic treat for everyone to enjoy.
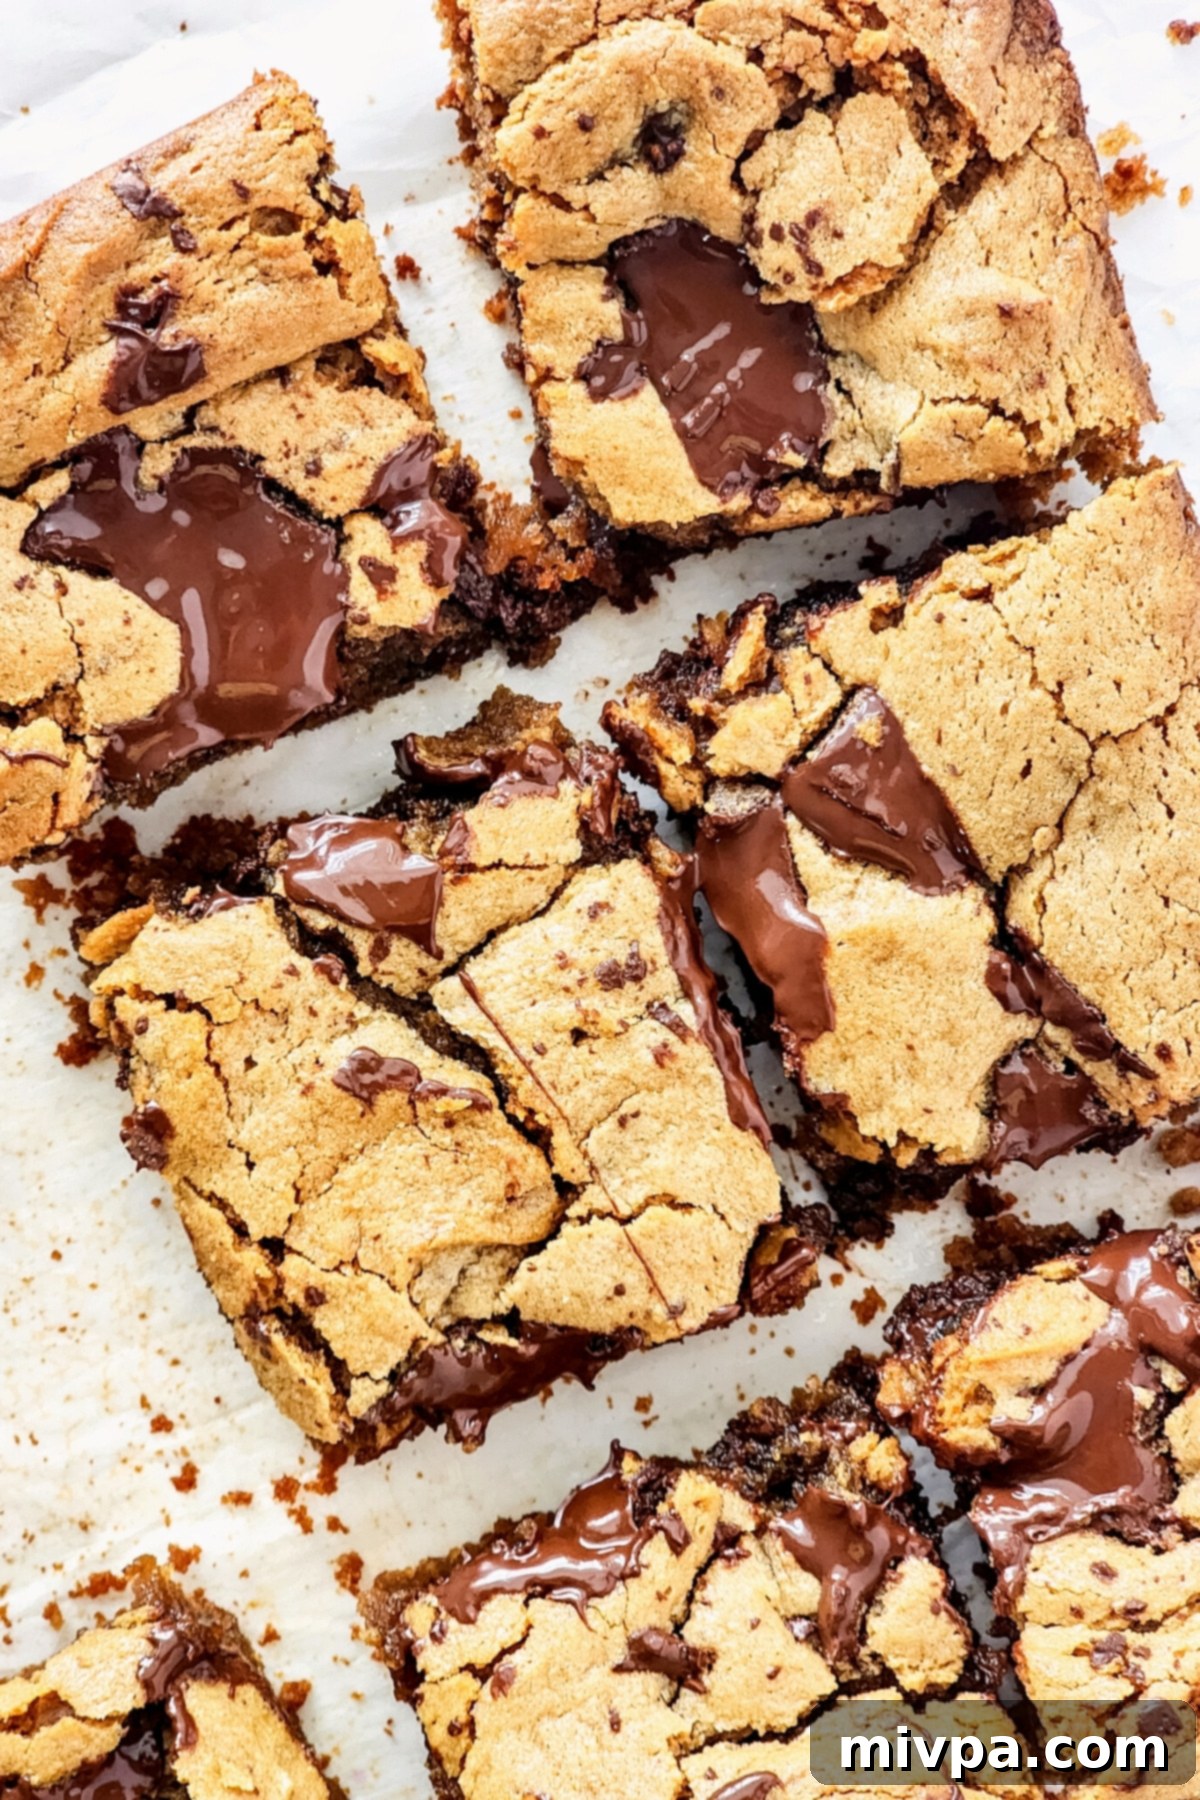
Peanut Butter and Chocolate: A Match Made in Heaven
For many, the pairing of rich, creamy peanut butter with sweet or semi-sweet chocolate is not just a combination; it’s an obsession. If you consider yourself a peanut butter enthusiast or a devoted chocolate lover, you understand the unparalleled magic that happens when these two flavors unite. It’s a culinary match made in heaven, a symphony of sweet and savory notes that dance on your palate.
This legendary duo is more than just delicious; it’s the very embodiment of bliss and glorious decadence. From classic peanut butter cups to elaborate desserts, this combination rarely disappoints, and these blondies are no exception to that rule. Prepare to fall in love all over again.
Whip Up Amazing Gluten-Free Peanut Butter Blondies
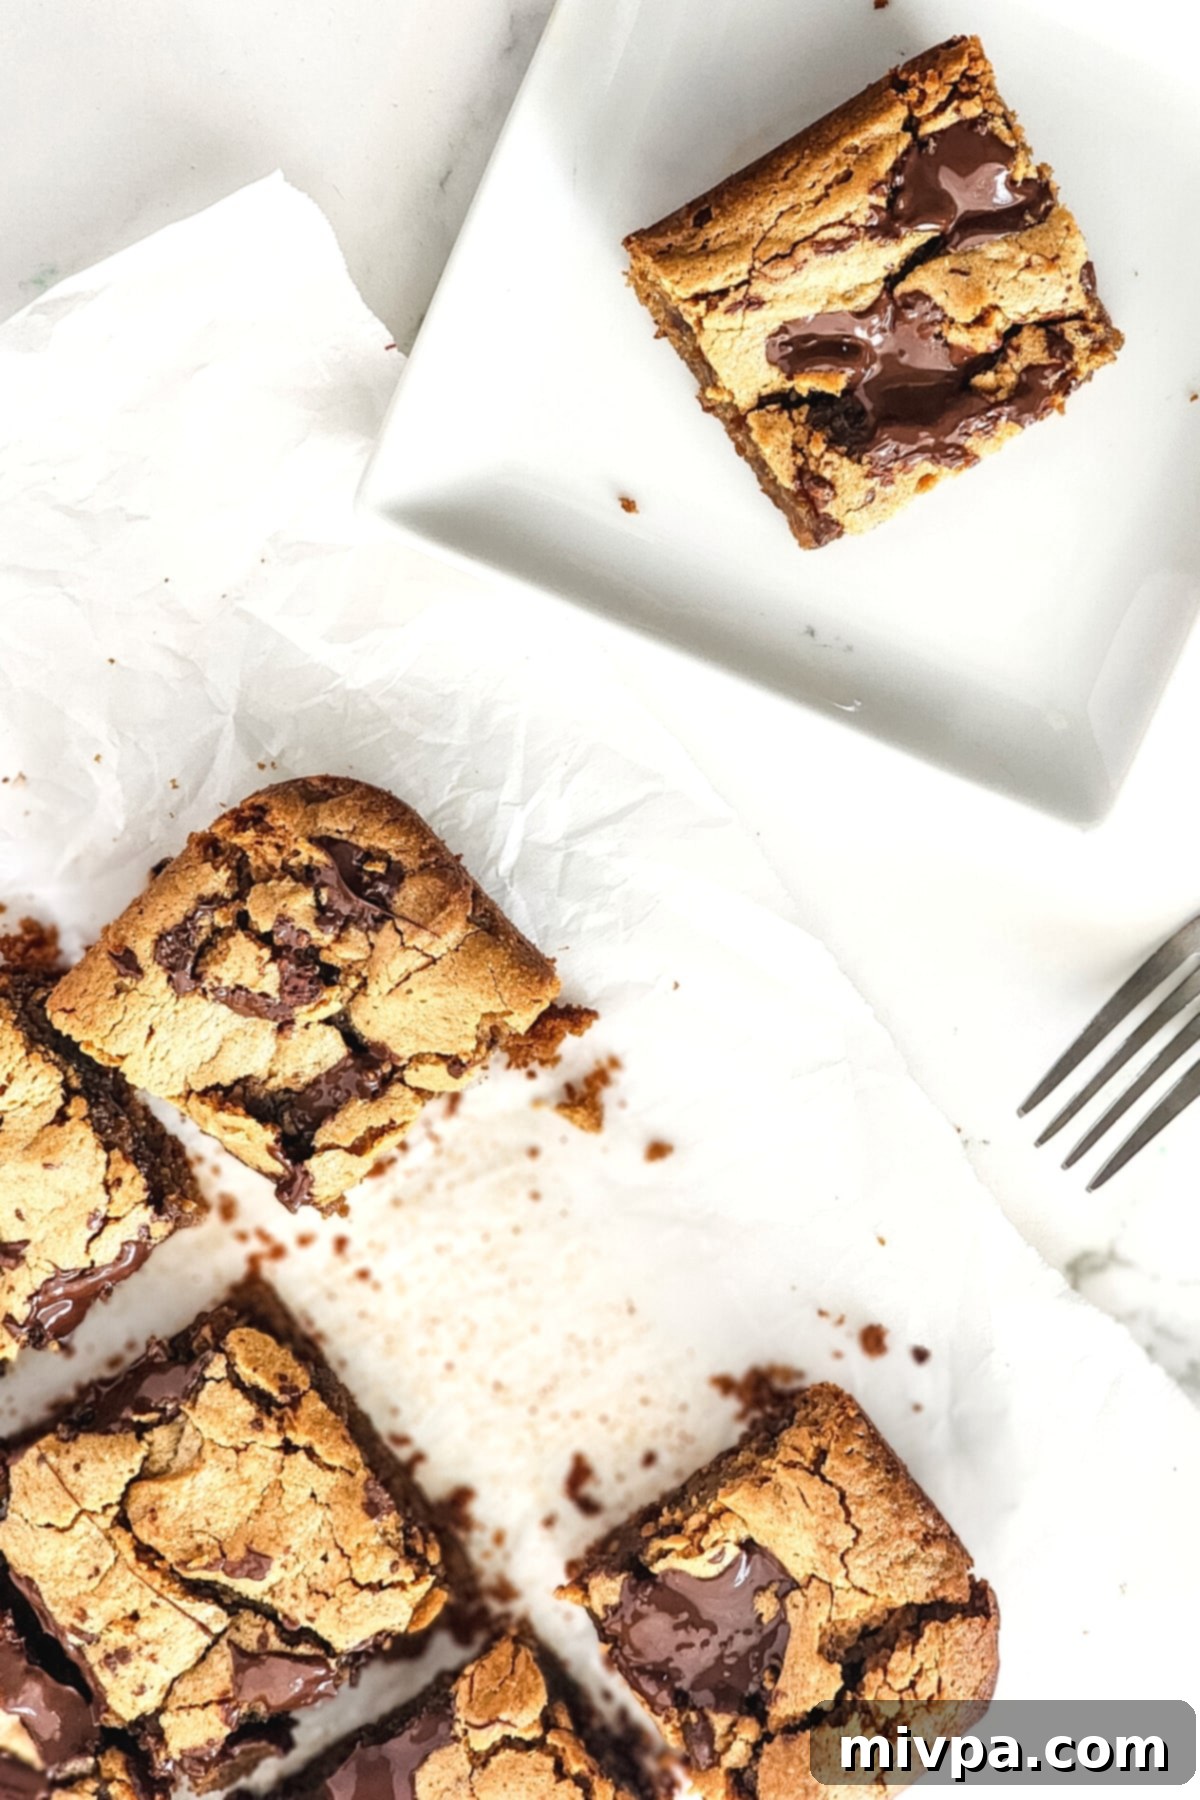
Today, we’re diving into the delightful world of gluten-free peanut butter blondies. Think of them as your favorite peanut butter cookies, but in a convenient, chewy bar form. These truly amazing blondies feature peanut butter as the star ingredient, generously incorporated into the batter, and are then speckled with an abundance of chopped chocolate pieces that melt into gooey pockets during baking.
One of the best aspects of this recipe is its incredible simplicity and speed. A batch of these mouth-watering blondies comes together so quickly and effortlessly that you could start now and be enjoying their warm, fudgy goodness in hardly any time at all. Perfect for an impromptu treat or a quick dessert for guests!
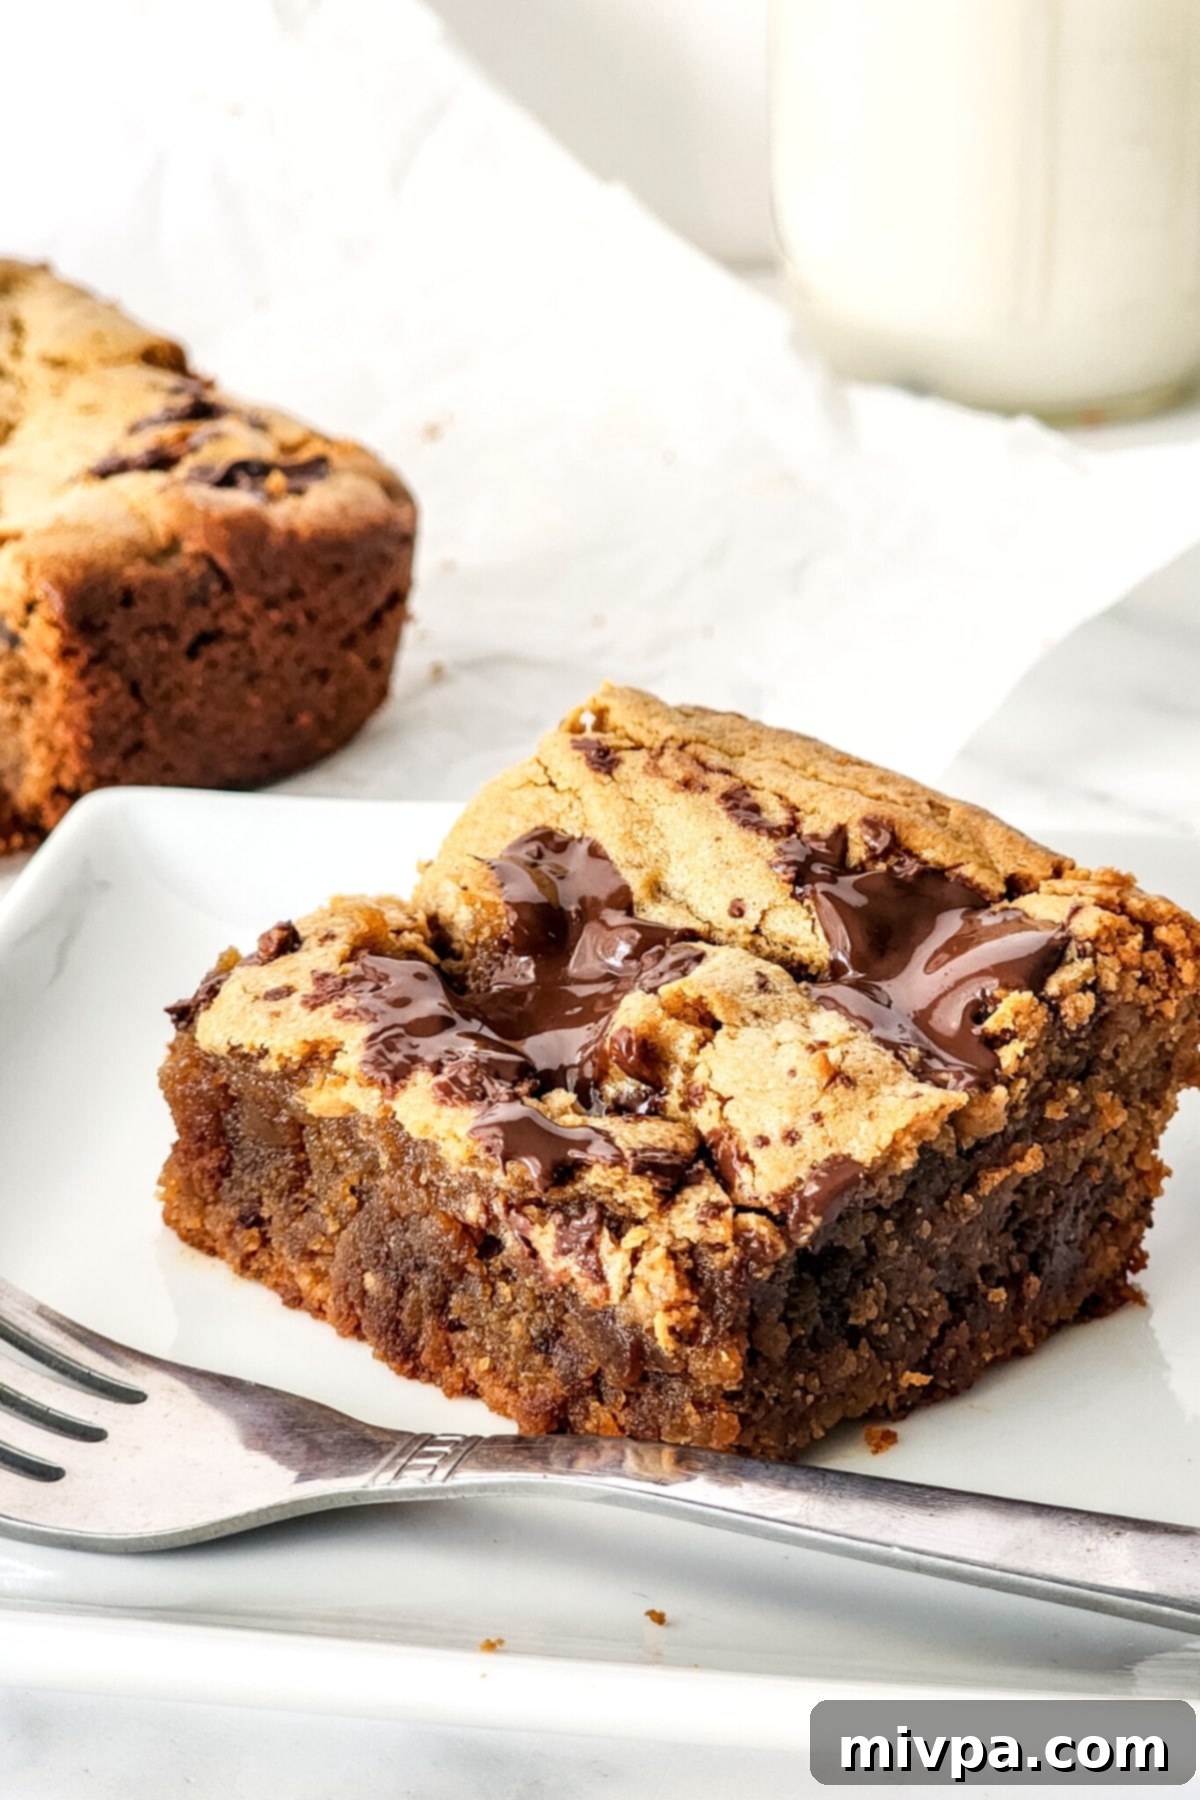
Why This Gluten-Free Blondie Recipe is a Must-Try:
- Effortless Ingredients: You’ll be delighted to find that the core ingredients for these gluten-free peanut butter blondies are incredibly common and readily available at any local grocery store. In fact, it’s highly likely you already have most, if not all, of them in your pantry right now! This means less shopping and more baking.
- Incredibly Easy to Make: Forget complicated steps and lengthy procedures. Preparing the batter for these peanut butter blondies is as simple as combining your wet ingredients, then mixing in the dry. After that, it’s just a matter of baking to golden perfection and slicing into delicious bars. Even beginner bakers will find this recipe a breeze.
- Phenomenal Taste: Imagine the irresistible flavor of chocolate chip cookies blended with the rich, nutty goodness of peanut butter, all in a convenient and wonderfully chewy bar format. These blondies deliver a powerful punch of flavor that will satisfy any sweet craving, especially for those who adore the classic chocolate and peanut butter pairing.
- Completely Gluten-Free & Dairy-Free: This is where this recipe truly shines! It is 100% gluten-free and dairy-free. This means that individuals with Celiac disease, gluten sensitivities, or lactose intolerance can indulge in these delightful blondies without any concerns or discomfort. It’s an inclusive treat designed for everyone!
- Perfect for Any Occasion: Whether you need a quick dessert for a weeknight, a crowd-pleasing treat for a potluck, or a special snack for lunchboxes, these blondies fit the bill. Their robust flavor and satisfying texture make them a versatile option for any time of day.
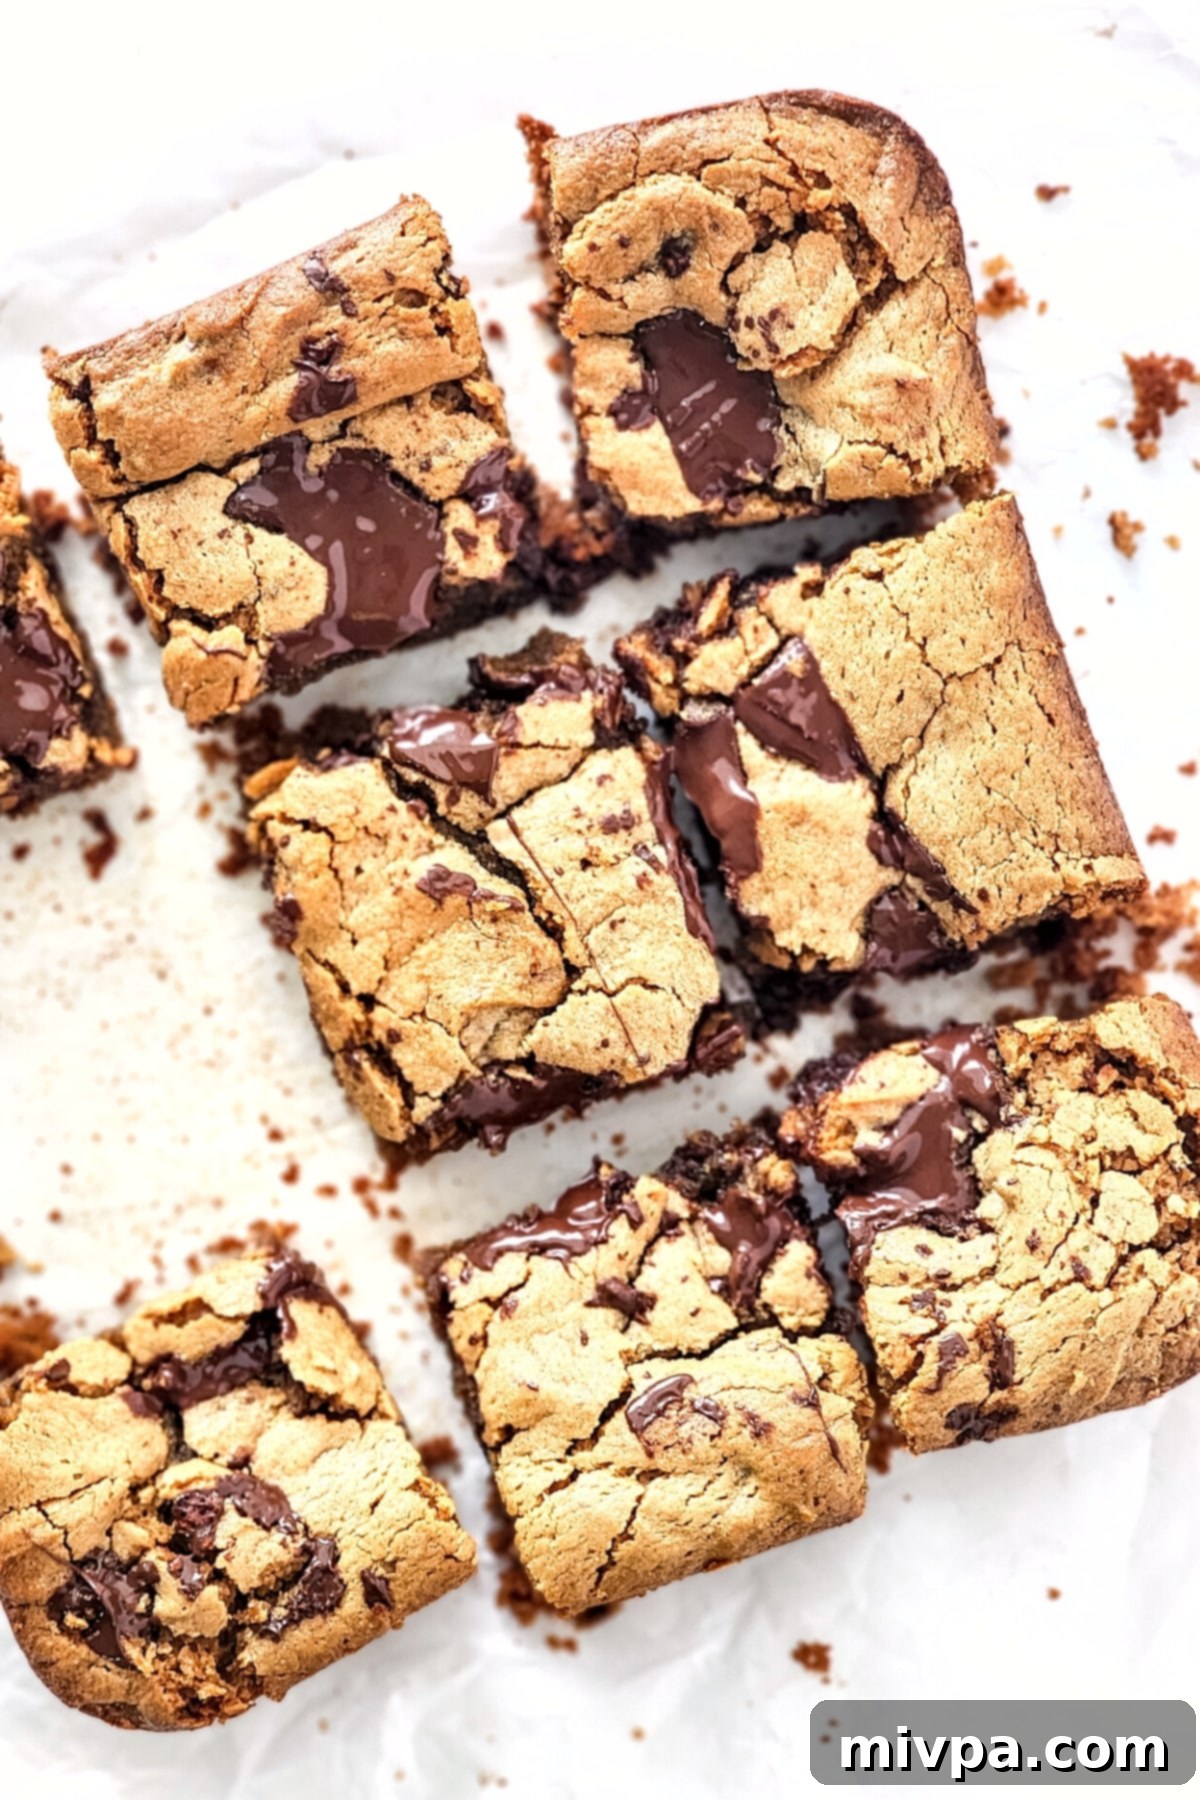
Essential Ingredients for Your Peanut Butter Blondies:
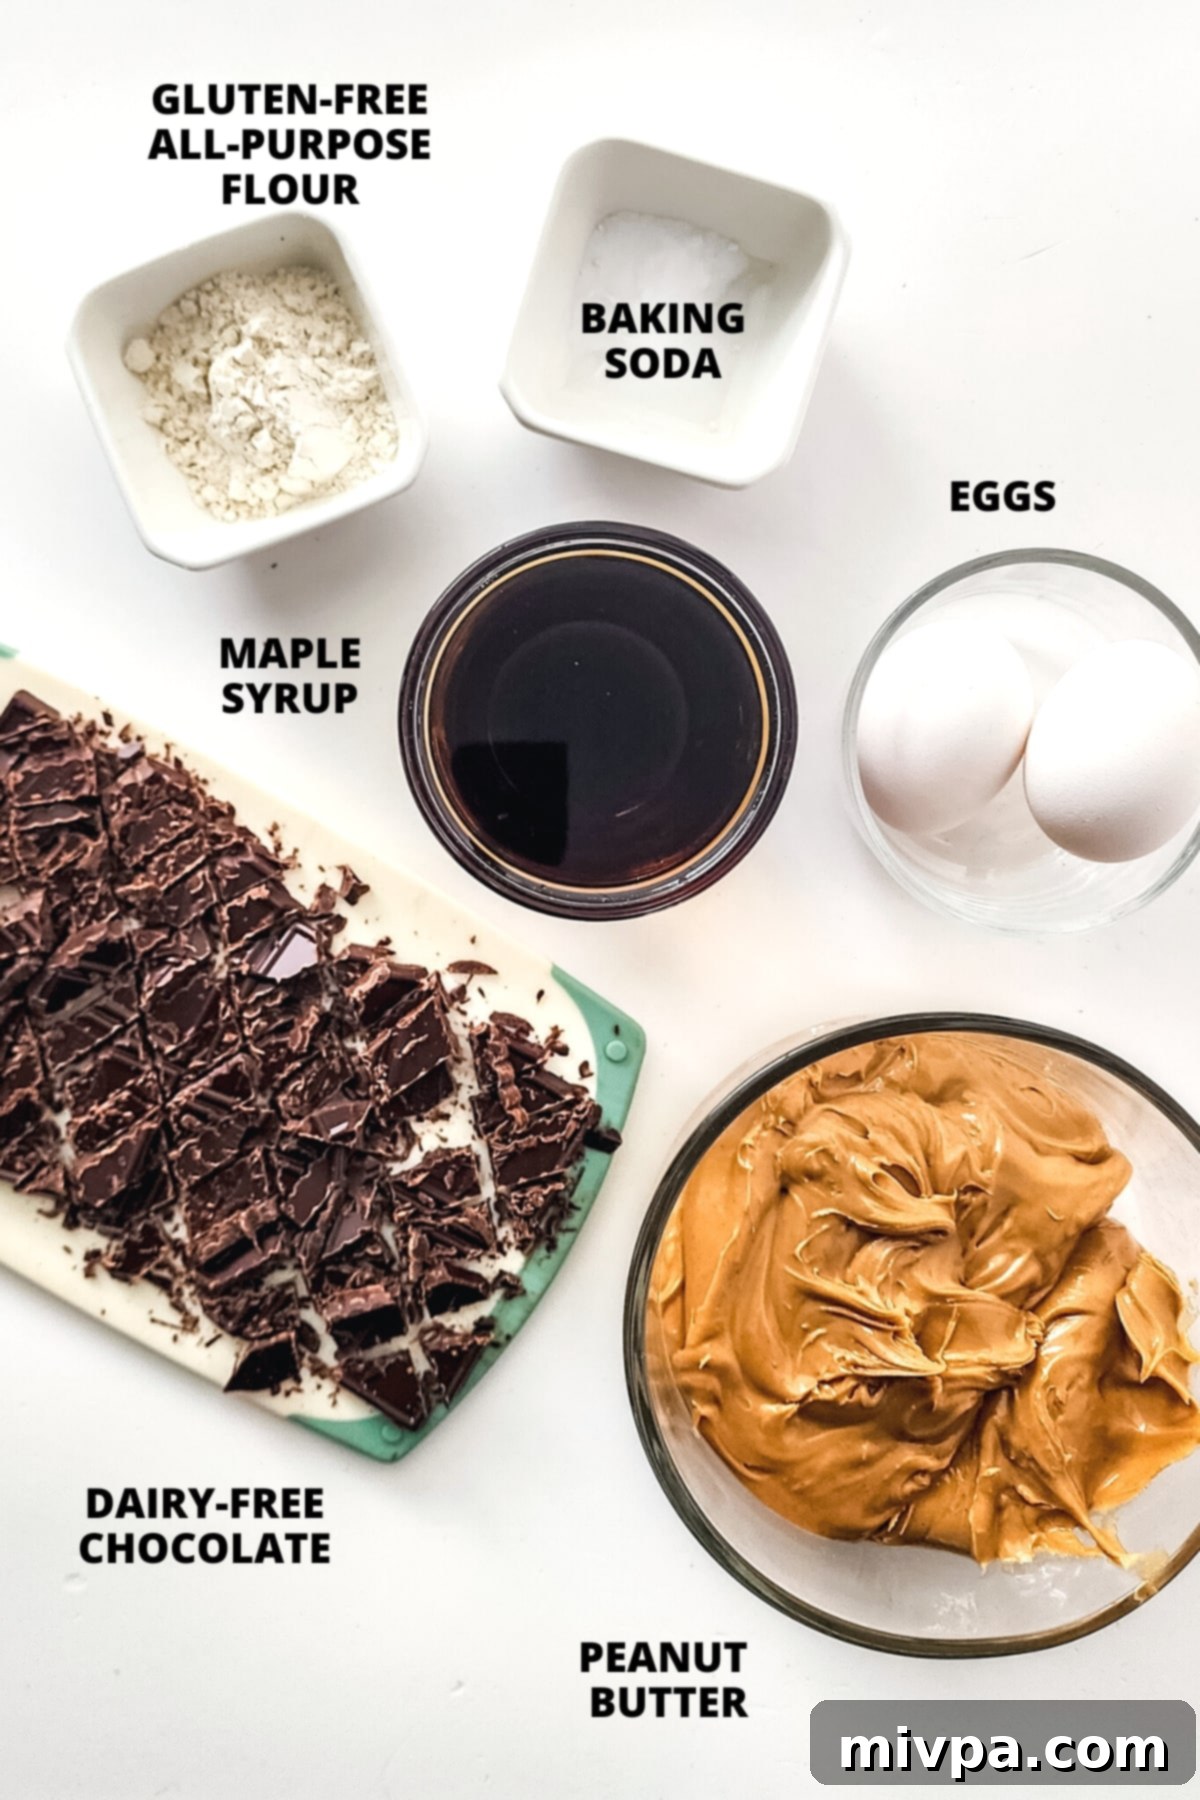
Crafting these amazing gluten-free peanut butter blondies requires just a few basic ingredients. Here’s a quick visual overview to help you get started, ensuring you have everything on hand before you begin.
(For the precise measurements and detailed quantities, please refer to the comprehensive printable recipe card conveniently located at the very bottom of this post.)
Recipe Notes & Helpful Substitutions:
Understanding the role of each ingredient and knowing your substitution options can greatly enhance your baking experience and allow for customization based on dietary needs or pantry availability.
- Peanut Butter: I opted for creamy peanut butter, as it is the undeniable star of these blondies, delivering that signature rich flavor and chewy texture. For those with peanut allergies or who prefer a different flavor profile, you have several excellent alternatives. Consider using other smooth nut or seed butters such as almond butter, cashew butter, or for a nut-free option, sunflower seed butter. Just ensure they are creamy and unsweetened to maintain the intended balance of flavors.
- Maple Syrup: This recipe utilizes pure maple syrup as a wonderful natural sweetener, providing a subtle depth of flavor. If maple syrup isn’t available or preferred, agave nectar or honey can be used as direct substitutes. For those monitoring blood sugar levels or who are insulin-resistant, I highly recommend exploring maple-flavored monk fruit syrup. This low-glycemic option offers the same great taste without significantly impacting blood sugar.
- Eggs: Eggs play a crucial role in binding the ingredients, contributing to the blondies’ structure and chewiness. While I haven’t personally tested this specific recipe without eggs, I understand the need for alternatives. If you have an egg allergy or are aiming for vegan peanut butter blondies, you might try substituting the eggs with an equivalent amount of aquafaba (the liquid from a can of chickpeas) or a commercial egg replacer powder. If you venture into egg-free baking with this recipe, please share your results in the comments below – your feedback would be incredibly valuable!
- Gluten-Free Flour: To ensure these blondies are truly gluten-free, I’ve used a high-quality gluten-free all-purpose flour blend. These blends are specifically formulated to mimic the texture and performance of traditional wheat flour. However, if you do not have Celiac disease or gluten intolerance, you can absolutely use regular all-purpose wheat flour in its place without any issues.
- Baking Soda: Baking soda is the sole leavening agent in this recipe, essential for achieving that slight lift and tender texture in our gluten-free peanut butter blondies. It reacts with acidic ingredients (like some elements in peanut butter or maple syrup, though less prominent here) to create carbon dioxide, helping the batter rise. Therefore, don’t skip it! If baking soda isn’t available, you can substitute with 2 teaspoons of baking powder, which contains both an acid and a base. For those with Celiac or gluten intolerance, always ensure your baking soda or baking powder is certified gluten-free.
- Chocolate: To maintain the dairy-free nature of this recipe, I incorporated chopped dairy-free chocolate (you can also use dairy-free chocolate chips). These are widely available and perform beautifully. If dairy is not a concern for you, feel free to use your favorite type of chopped regular chocolate, semi-sweet chocolate chips, or even dark chocolate chips for a richer flavor. The choice of chocolate can truly personalize your blondies!
How to Make Gluten-Free Peanut Butter Blondies: A Step-by-Step Guide
Making these chewy blondies is incredibly straightforward. Follow these simple steps for perfect results every time.
1. Prepare Your Oven and Baking Dish
Begin by preheating your oven to a steady 350°F (180°C). This ensures even baking from the moment your blondies enter the oven. Next, take an 8″x8″ square baking dish and either generously grease it with nonstick cooking spray or line it with parchment paper. Lining with parchment paper, leaving an overhang on two sides, is often preferred as it makes lifting the baked blondies out of the pan much easier for slicing.
2. Combine the Wet Ingredients
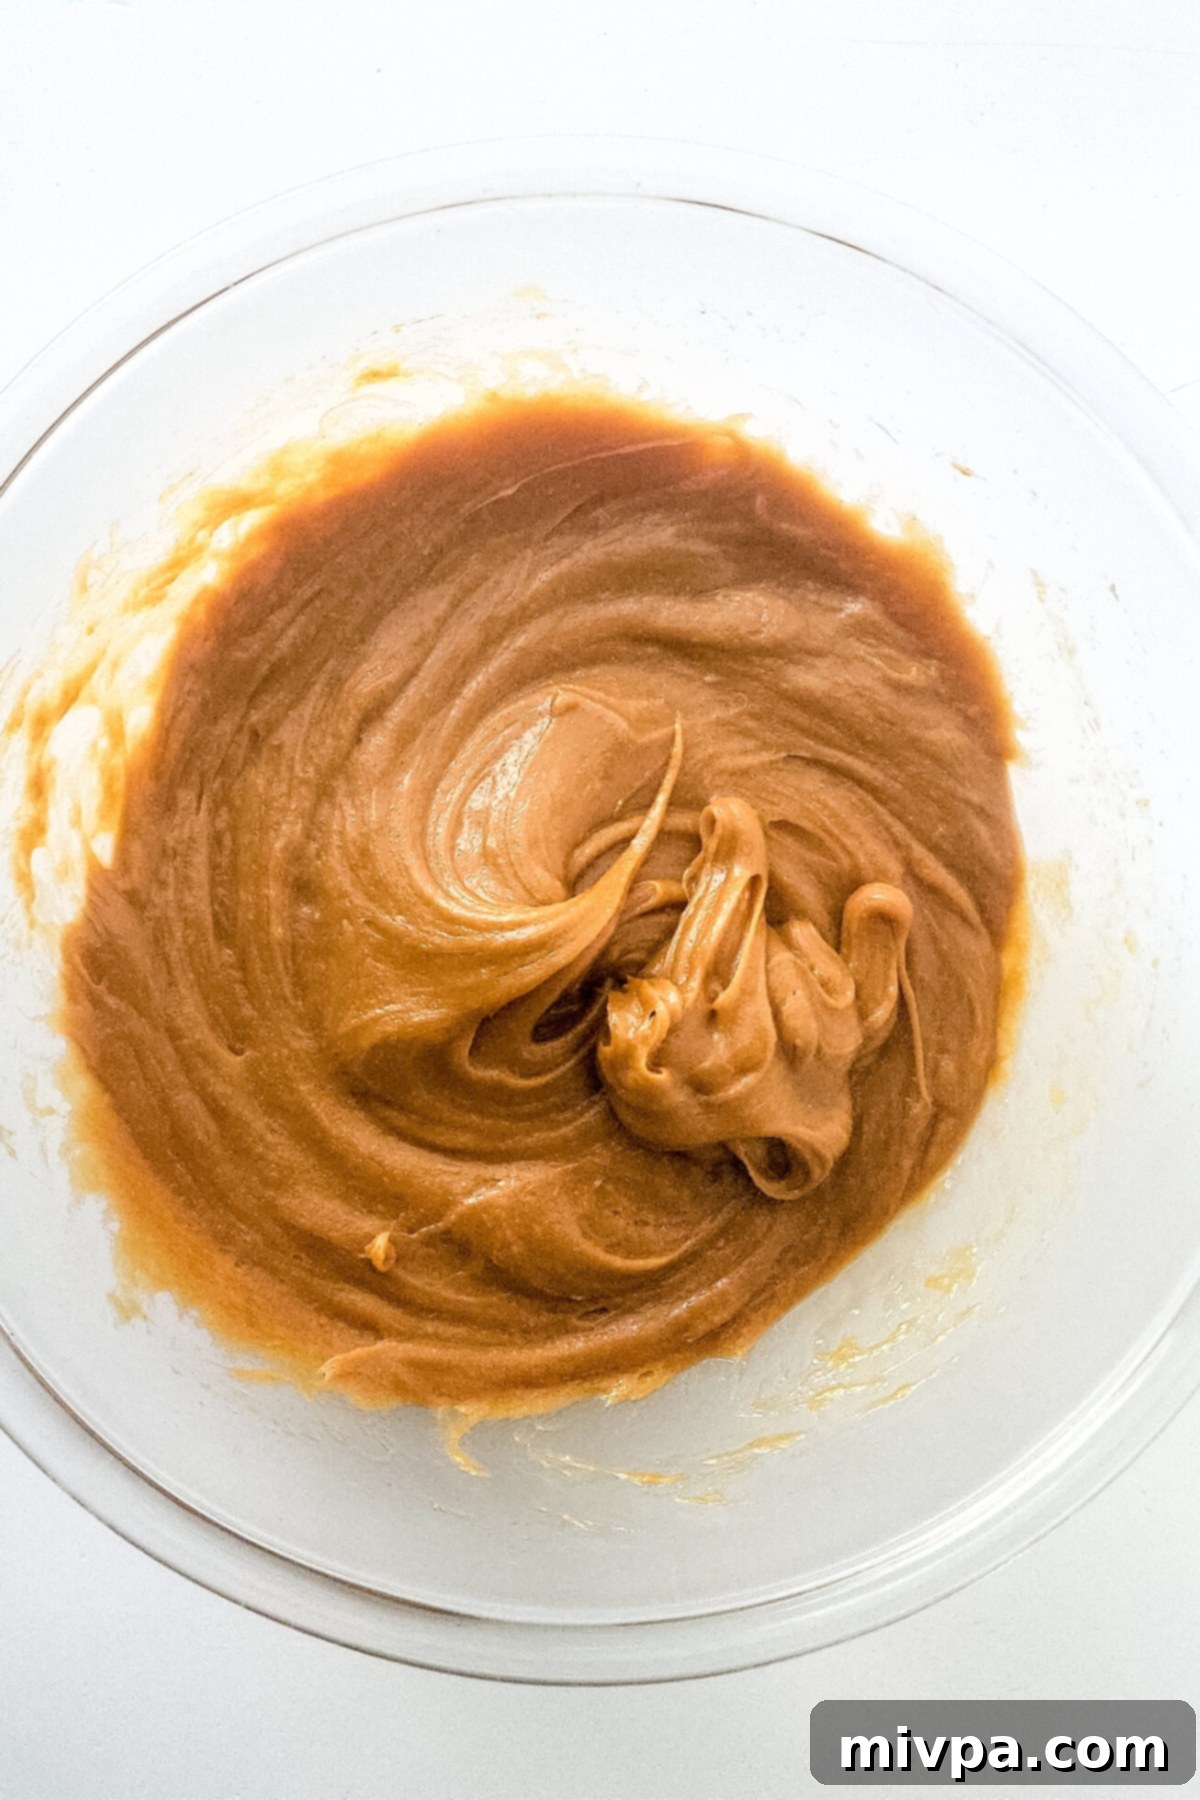
In a large mixing bowl, the foundation of your blondies begins. Add the creamy peanut butter, natural maple syrup, and lightly beaten eggs. Using a whisk, vigorously combine these ingredients until they are thoroughly mixed, creating a smooth, creamy, and completely homogeneous mixture. Ensure there are no streaks of individual ingredients left.
3. Incorporate the Dry Ingredients
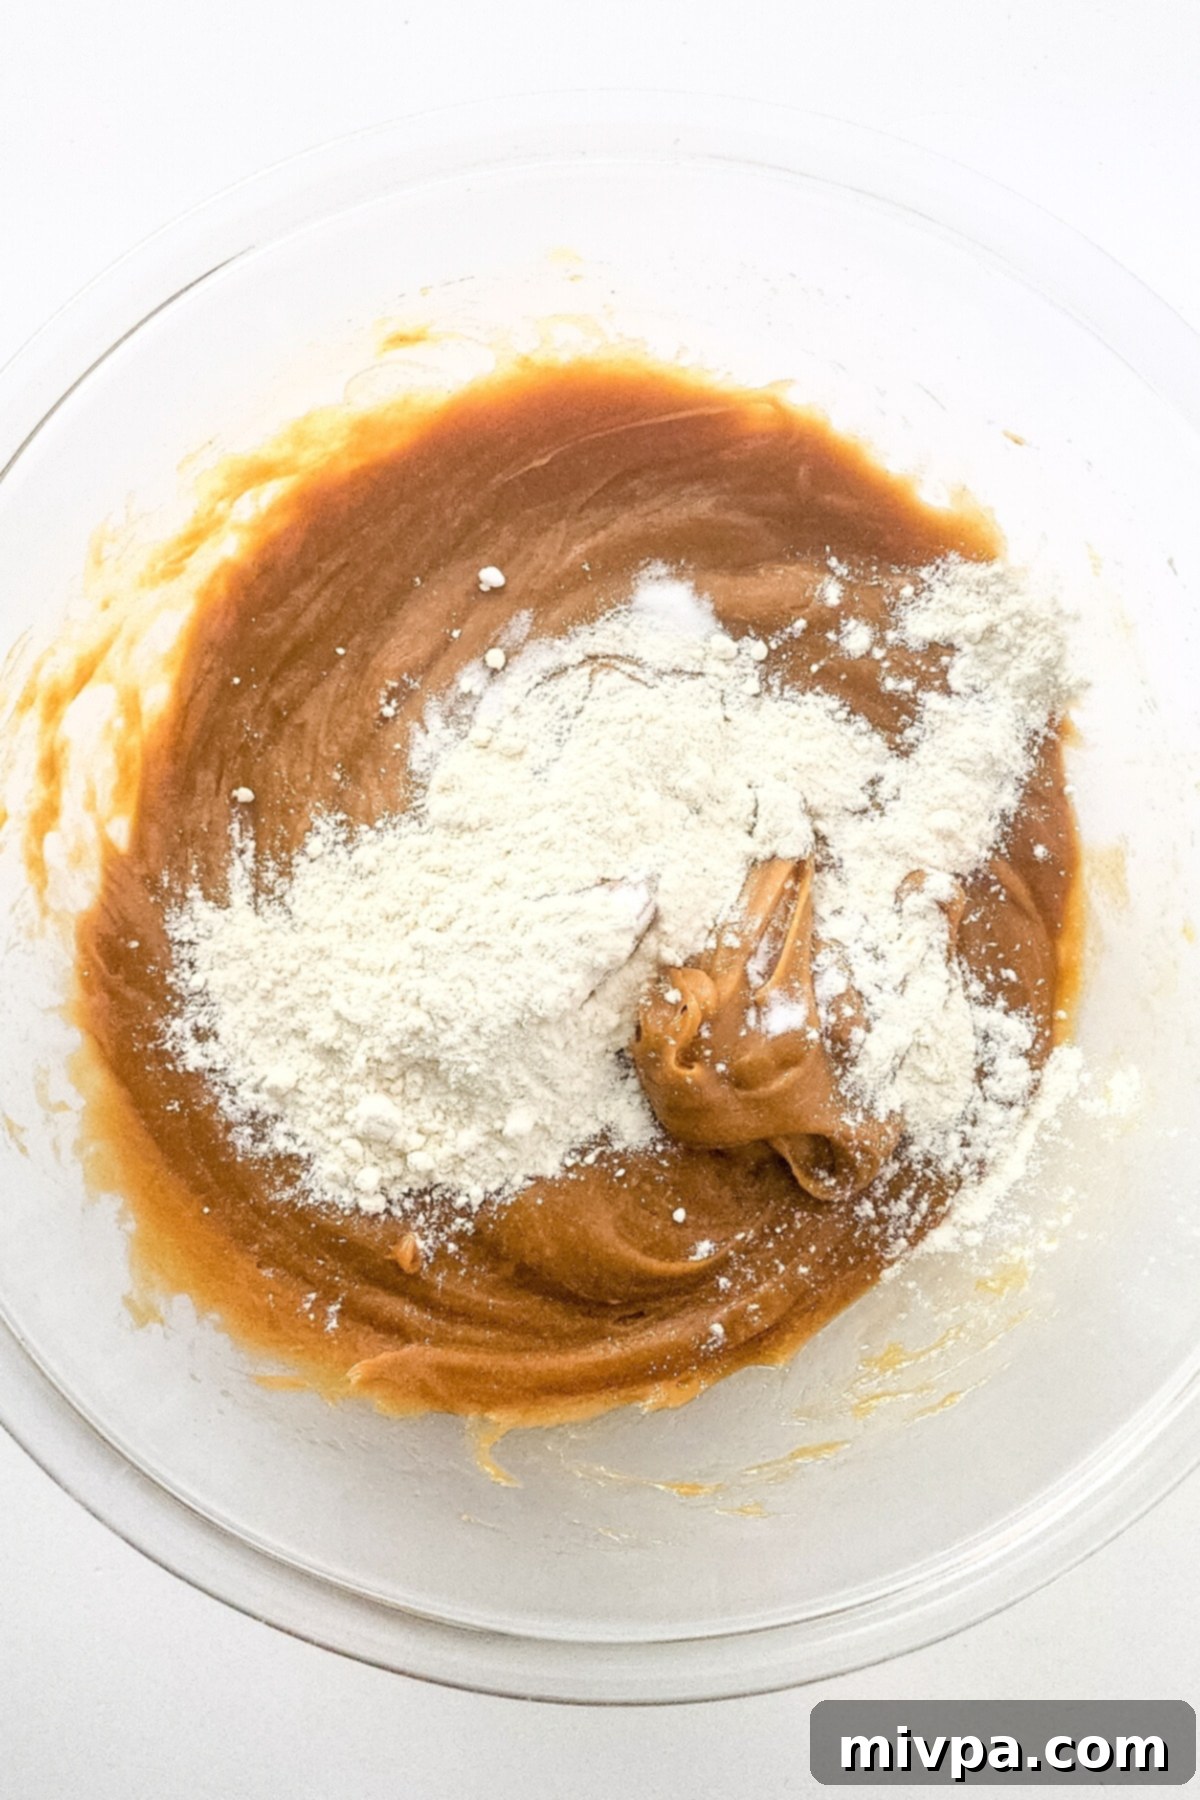
In a separate small bowl, whisk together your gluten-free all-purpose flour and baking soda. This step ensures the leavening agent is evenly distributed, leading to a consistent rise. Once combined, gradually add this dry flour mixture into the large bowl containing your wet ingredients. Mix well with a spatula or spoon until just combined. Be careful not to overmix; over-mixing can lead to tougher blondies.
4. Fold in the Chopped Chocolate
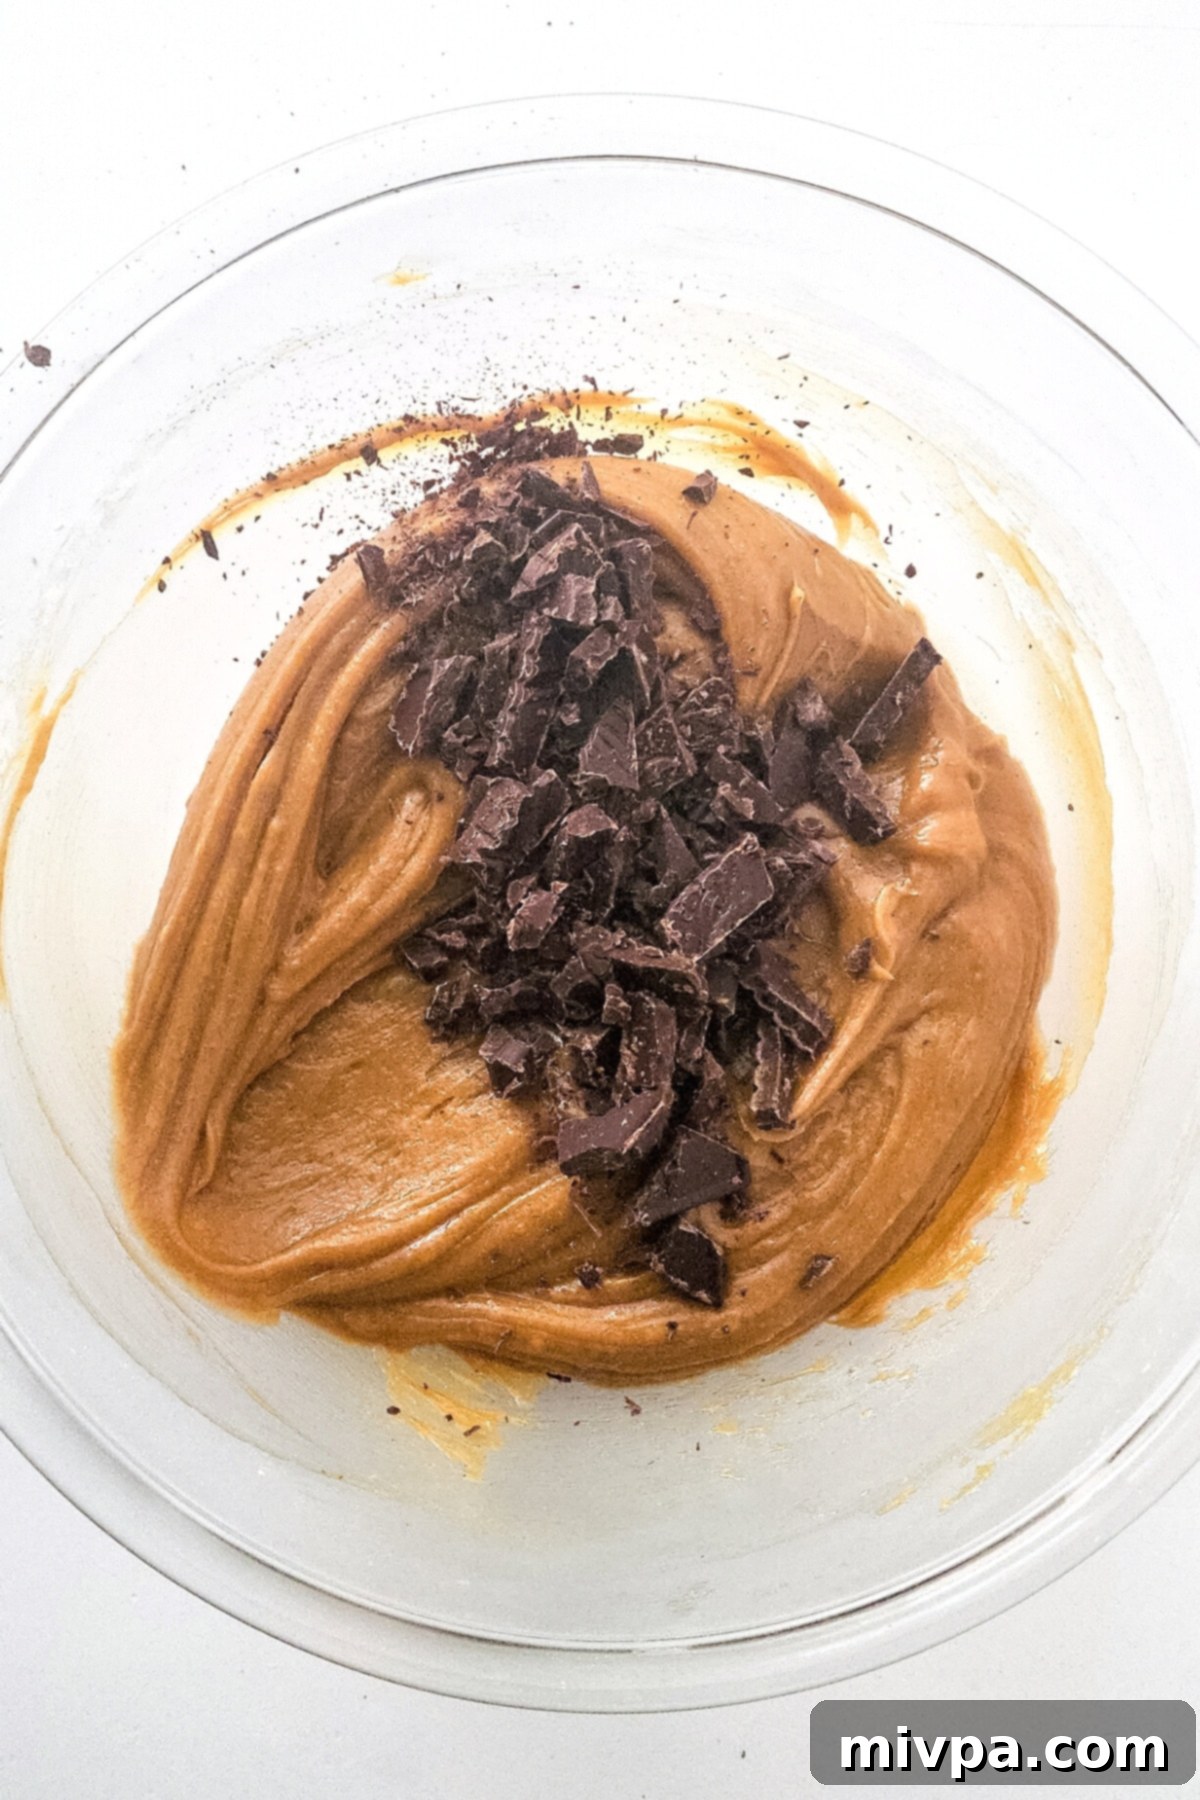
Now for the best part – the chocolate! Gently fold in the majority of your chopped dairy-free chocolate into the blondie batter. Reserve a small handful of chopped chocolate to sprinkle on top before baking; this creates a beautiful presentation and ensures melty chocolate pools on the surface of your finished blondies.
5. Transfer Batter to Baking Dish
Carefully pour the rich blondie batter into your prepared 8″x8″ square baking pan. Use a spatula to gently spread the batter out, ensuring it forms an even layer across the entire bottom of the pan. This promotes uniform baking and consistent thickness in your blondies.
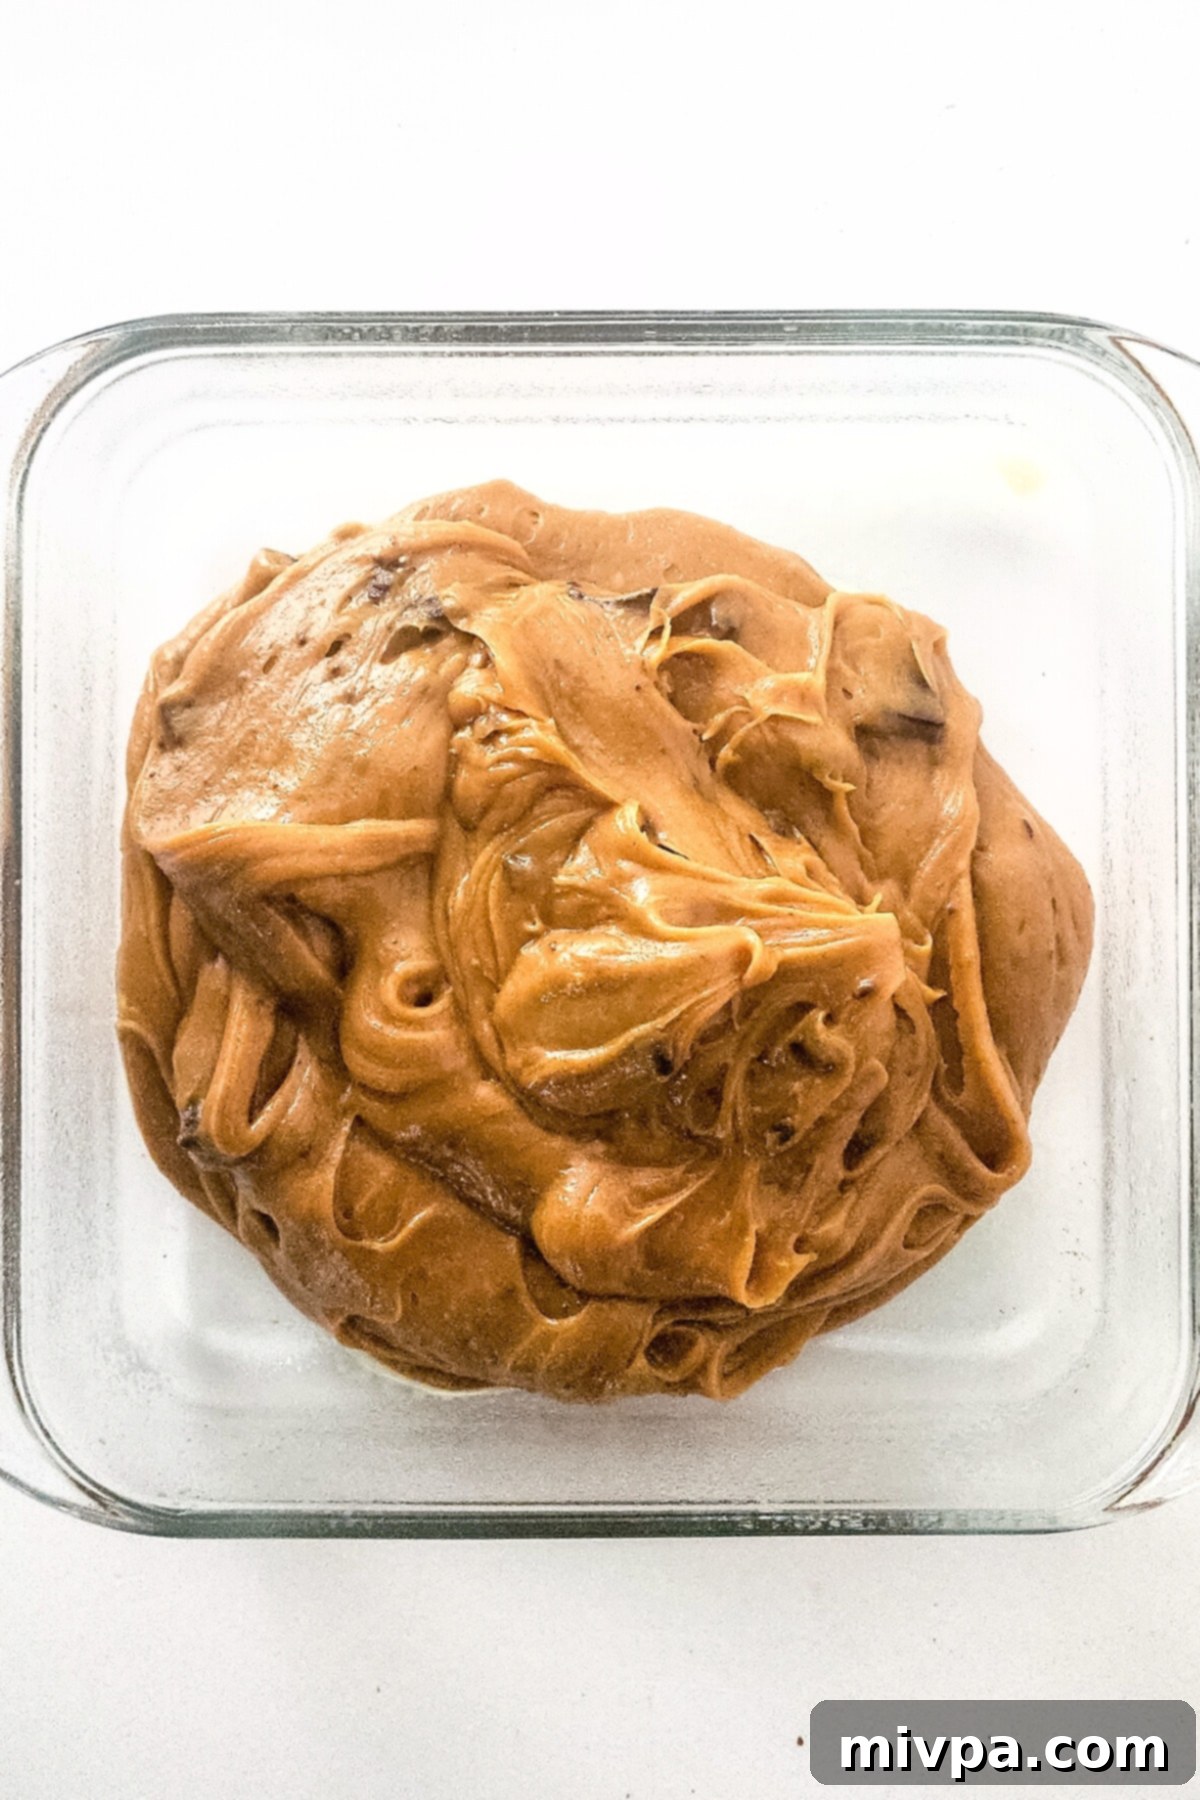
6. Top with Remaining Chocolate
Remember that small portion of chopped chocolate you set aside? Now is the time to sprinkle it generously over the top of the blondie batter in the pan. This not only adds a beautiful visual appeal but also ensures you get extra pockets of melty chocolate with every bite, enhancing the overall experience.
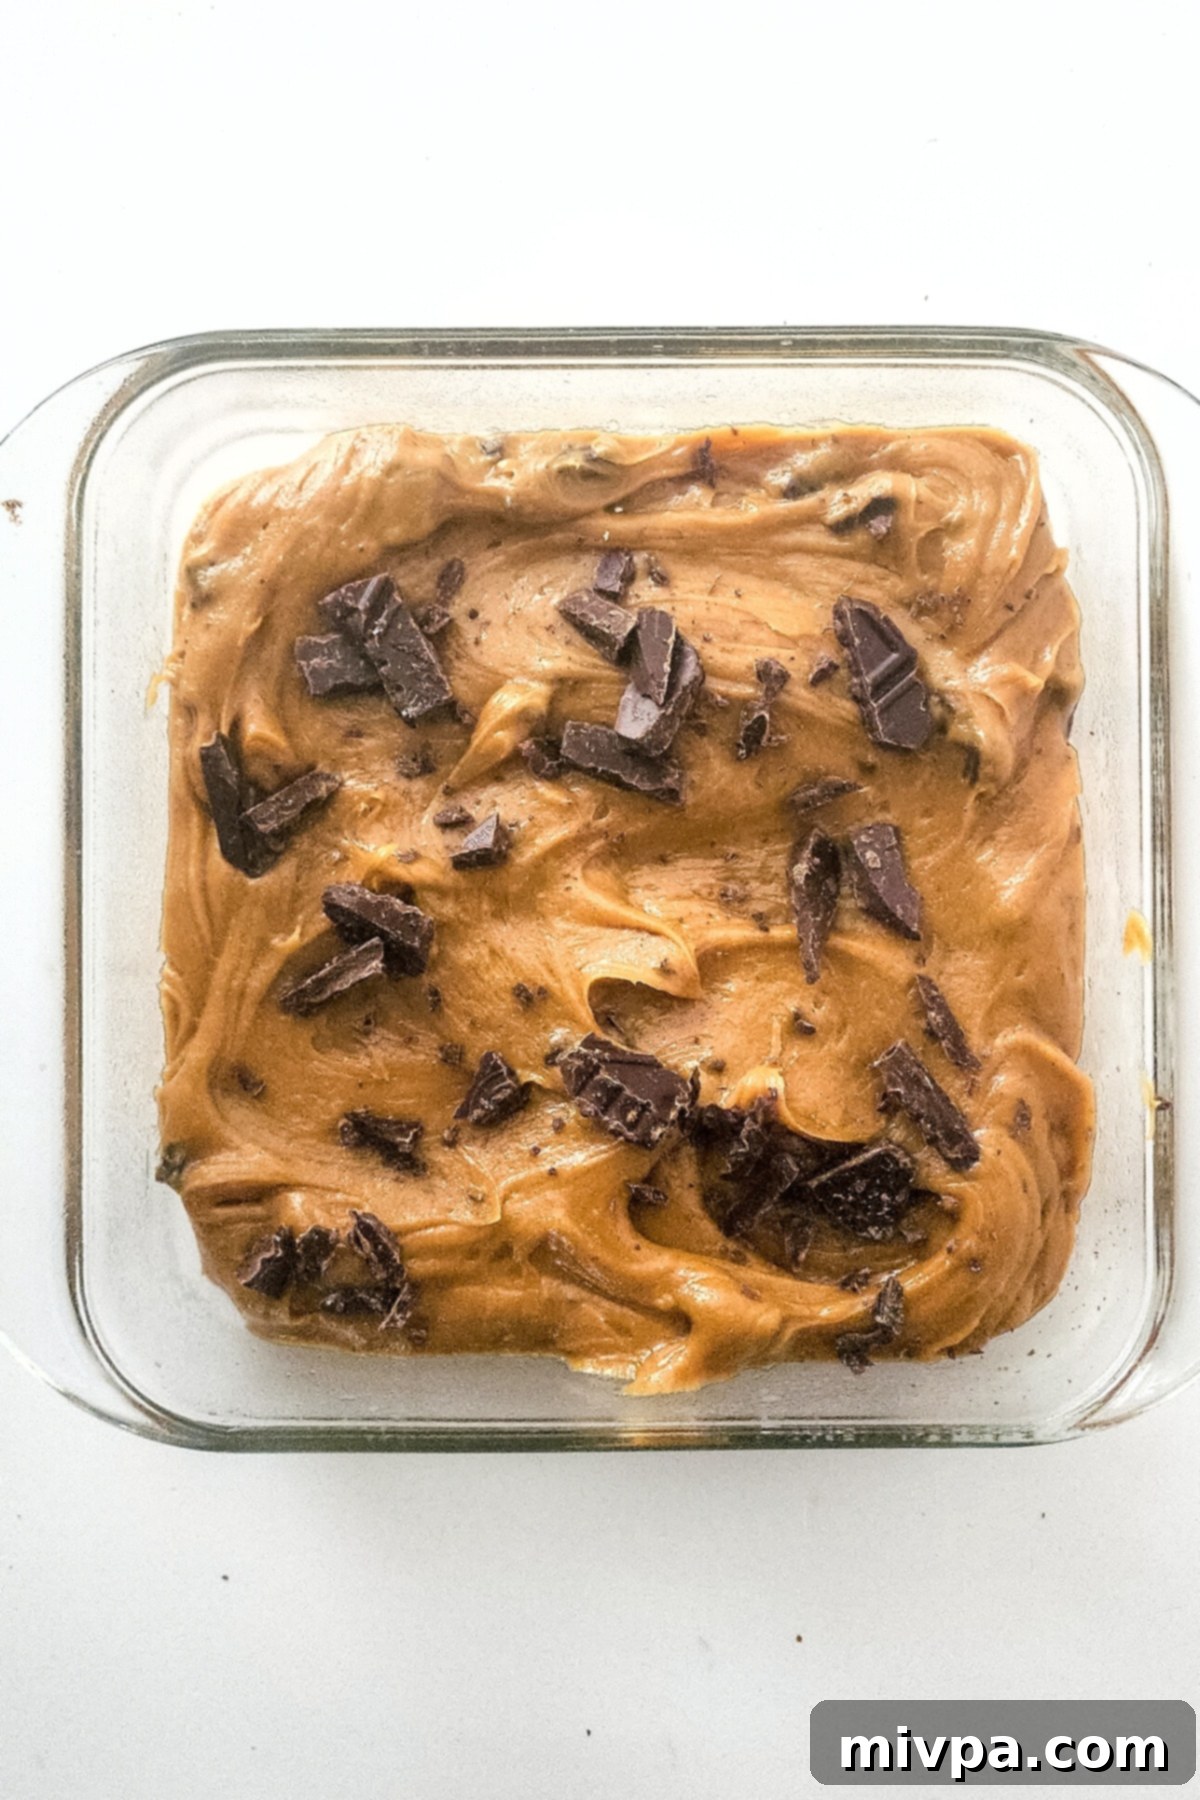
7. Bake Until Golden Brown
Place the baking dish into your preheated oven. Bake for approximately 30-35 minutes, or until the edges are beautifully golden brown and a toothpick inserted into the center comes out with moist crumbs, not wet batter. The center should still be slightly soft, indicating a perfectly chewy and fudgy blondie. Be careful not to overbake, as this can lead to dry blondies.
8. Cool Completely Before Slicing
Once baked, remove the blondies from the oven. This step is crucial for achieving clean slices and the best texture: allow them to cool completely on a wire rack within the baking dish. Resist the urge to slice them while warm; patience will be rewarded! Once fully cooled, use the parchment paper overhang (if used) to lift the blondies out of the pan, then slice them into 9 equal, perfectly portioned pieces. A sharp knife will help ensure neat cuts.
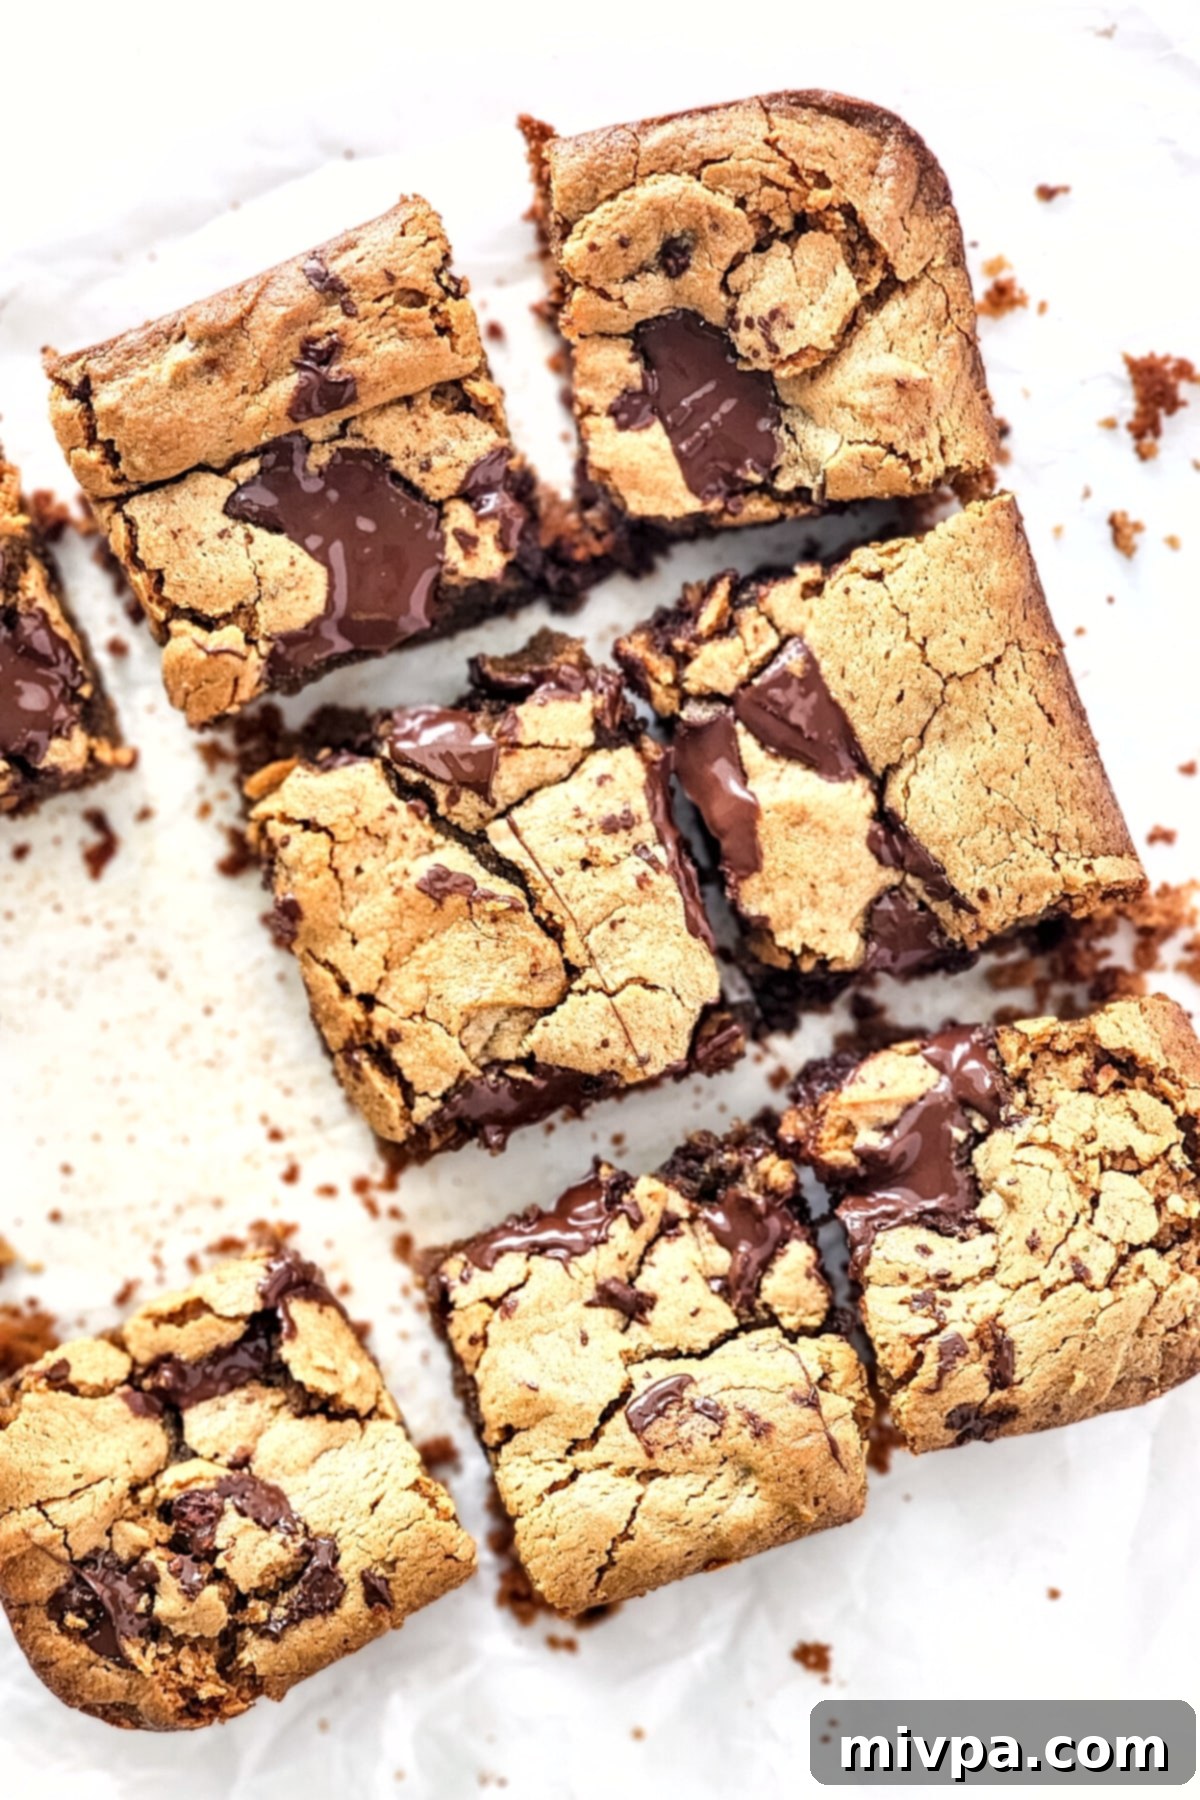
9. Serve and Indulge!
Your irresistible gluten-free peanut butter blondies are now ready to be enjoyed! Serve these delicious peanut butter cookie bars as they are for a satisfying snack, or elevate the experience with a scoop of your favorite dairy-free vanilla or chocolate ice cream. A drizzle of extra melted peanut butter or a sprinkle of flaky sea salt can also take them to the next level.
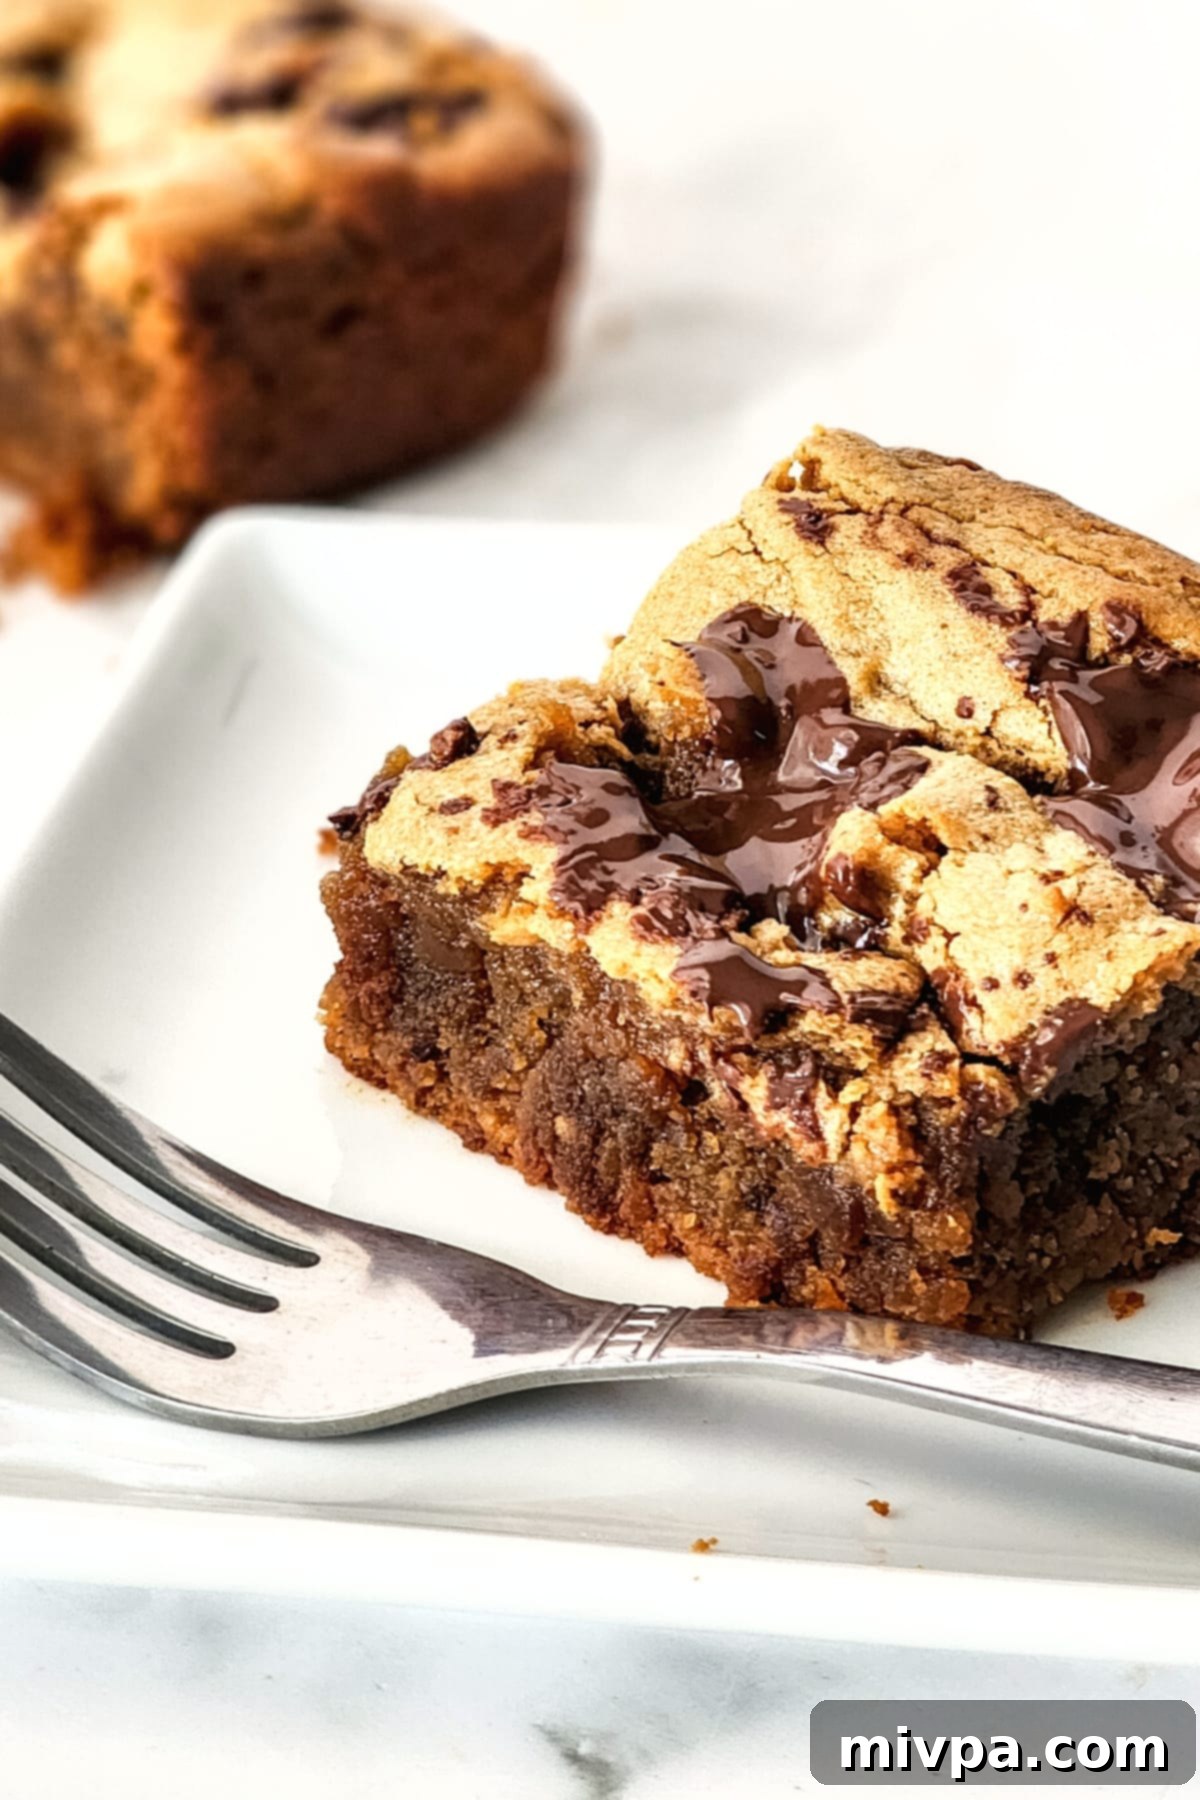
Dish by Dish Pro Tips & Customization Ideas:
- Experiment with Chocolate Types: While dark or semi-sweet chocolate is classic, don’t limit yourself! If you’re a fan of creamy white chocolate, go ahead and swap out the dark chocolate for chopped dairy-free white chocolate or dairy-free white chocolate chips. For a purely peanut butter experience, you can simply omit the chocolate altogether.
- Explore Different Nut Butters: As mentioned in the ingredient notes, while peanut butter is the star, this recipe is highly adaptable. Feel free to use other creamy nut or seed butters like almond butter, cashew butter, or sunflower butter. Each will impart a slightly different, yet equally delicious, flavor profile. Ensure the consistency is similar to creamy peanut butter.
- Add Extra Texture: For an added crunch, consider folding in a handful of chopped peanuts, almonds, or even shredded coconut along with the chocolate. This creates a more complex texture and another layer of flavor.
- Don’t Overbake: For the chewiest, fudgiest blondies, it’s better to slightly underbake them than overbake. They will continue to set as they cool. Look for golden edges and a center that is mostly set but still looks a little soft.
- Flaky Sea Salt: A sprinkle of flaky sea salt on top of the warm blondies immediately after baking can really enhance the flavors, creating a delightful sweet and salty contrast.
Frequently Asked Questions About These Blondies:
To keep your peanut butter blondies fresh and delicious, allow them to cool completely. Then, place them in an airtight container or wrap them tightly in plastic wrap. They will store beautifully at room temperature for up to 4 days. For longer freshness, you can also keep them in the refrigerator for up to a week, though they might become a bit firmer.
Absolutely! These peanut butter blondies freeze exceptionally well, making them perfect for meal prep or enjoying a single serving whenever a craving strikes. To freeze, ensure the blondies are completely cool. You can wrap individual slices tightly in plastic wrap, then place them in a freezer-safe container or a ziplock bag. They will maintain their quality in the freezer for up to 3 months. When you’re ready to enjoy, simply thaw them in the microwave for a quick warm-up, briefly in a low oven, or overnight in the refrigerator for a gradual thaw.
The primary difference lies in the chocolate. Brownies are made with cocoa powder or melted chocolate as a base, giving them their signature dark color and intense chocolate flavor. Blondies, on the other hand, typically feature vanilla and brown sugar as their main flavor notes, resulting in a lighter, golden hue and a butterscotch-like flavor. They often contain chocolate chips or other mix-ins, but chocolate isn’t the dominant flavor in the base batter.
More Peanut Butter & Chocolate Recipes You’ll Adore:
If you’re as smitten with the peanut butter and chocolate combination as we are, you’ll definitely want to explore these other fantastic gluten-free and often vegan recipes:
- No-Bake Peanut Butter Crunch Bars (Gluten-Free, Vegan)
- Peanut Butter Buckeye Balls (Gluten-Free, Vegan)
- Healthy Peanut Butter Cups (Gluten-Free, Vegan)
- Flourless Peanut Butter Cookies (Gluten-Free, Dairy-Free)
More Gluten-Free Desserts to Indulge In:
Our collection of gluten-free treats doesn’t stop there! Discover a world of delicious desserts designed to be enjoyed by everyone, regardless of dietary restrictions.
- Gluten-Free Pumpkin Banana Muffins (Dairy-Free)
- 126 Gluten-Free Desserts and Sweet Treats for Labor Day
- Mini Pumpkin Cheesecakes (Gluten-Free, Dairy-Free Option)
- Gluten-Free Pecan Pie Bars (Dairy-Free)
P.S. If you try this fantastic recipe for gluten-free peanut butter blondies, I would absolutely love for you to leave a star rating below and/or a thoughtful review in the comment section further down the page. Your feedback is always greatly appreciated and helps other bakers too! Don’t forget to check out my entire Recipe Index for a treasure trove of delicious recipes on the blog. You can also follow me on Pinterest, Facebook, or Instagram for daily inspiration and updates! And if you want fresh recipes delivered straight to your inbox each week, be sure to sign up for my Email List!
Print Recipe
Gluten-Free Peanut Butter Blondies Recipe (Dairy-Free)
5 Stars
4 Stars
3 Stars
2 Stars
1 Star
No reviews
- Author: Felicia Lim
Total Time: 45 minutes
Yield: 9 servings
Diet: Gluten Free, Dairy Free
Description
These chewy, fudgy gluten-free peanut butter blondies are a dream come true for anyone seeking a delightful sweet treat. Bursting with rich peanut butter flavor and studded with generous chunks of dairy-free chocolate, they are incredibly easy to whip up and perfect for satisfying any craving. Being naturally dairy-free, they’re an ideal option for those with lactose intolerances or dairy allergies, ensuring everyone can enjoy this classic combination!
Ingredients
Scale
- 2 cups creamy peanut butter
- 3/4 cup pure maple syrup
- 2 large eggs, lightly beaten
- 2 tablespoons gluten-free all-purpose flour blend
- 1 teaspoon baking soda (ensure gluten-free if needed)
- 1/2 cup dairy-free chocolate, roughly chopped (or dairy-free chocolate chips)
Instructions
- Preheat Oven & Prepare Pan: Preheat your oven to 350°F (180°C). Grease an 8”x8” square baking dish with nonstick cooking spray or line it with parchment paper, leaving an overhang to easily lift the blondies later.
- Combine Wet Ingredients: In a large mixing bowl, thoroughly whisk together the creamy peanut butter, maple syrup, and beaten eggs until the mixture is completely smooth and homogenous.
- Add Dry Ingredients: In a separate small bowl, whisk together the gluten-free all-purpose flour and baking soda. Add this dry mixture to the wet ingredients and mix well with a spatula until just combined. Be careful not to overmix.
- Fold in Chocolate: Gently fold most of the chopped dairy-free chocolate into the blondie batter, reserving a small amount to sprinkle on top.
- Transfer to Baking Dish: Pour the batter into your prepared baking dish and use a spatula to spread it out evenly.
- Top with Remaining Chocolate: Sprinkle the reserved chopped chocolate pieces over the top of the batter in the pan for an appealing finish.
- Bake Until Golden: Place the dish in the preheated oven and bake for 30-35 minutes, or until the edges are golden brown and a toothpick inserted into the center comes out with moist crumbs.
- Cool Before Slicing: Allow the blondies to cool completely on a wire rack within the baking dish before lifting out and slicing into 9 equal pieces. This ensures perfect texture and clean cuts.
- Serve and Enjoy!: Serve these delicious gluten-free peanut butter blondies as is, or with your favorite dairy-free ice cream. Store any leftovers in an airtight container at room temperature for up to 4 days, or refrigerate for longer.
Notes
Peanut Butter: While creamy peanut butter is recommended as the star, you can easily substitute it with other creamy nut butters like almond butter, cashew butter, or a nut-free option like sunflower seed butter.
Maple Syrup: Maple syrup provides natural sweetness. Alternatives include agave nectar or honey. For low-glycemic options, try maple-flavored monk fruit syrup.
Eggs: Eggs are crucial for binding. For an egg-free or vegan version, you may experiment with aquafaba or a commercial egg replacer. Please note that results may vary.
Gluten-Free Flour: A gluten-free all-purpose flour blend ensures the recipe is gluten-free. If you don’t require gluten-free, regular all-purpose flour works just as well.
Baking Soda: Essential for rise. If unavailable, use 2 teaspoons of baking powder as a substitute. Ensure it’s certified gluten-free if necessary.
Chocolate: Dairy-free chocolate keeps this recipe allergy-friendly. Feel free to use regular chopped chocolate or chips if dairy is not a concern for you.
Storing: Keep cooled blondies in an airtight container or wrapped in plastic wrap at room temperature for up to 4 days, or refrigerated for up to a week. For longer storage, freeze them in a freezer-safe container for up to 3 months. Thaw in the microwave, oven, or overnight in the fridge before serving.
- Prep Time: 10 mins
- Cook Time: 35 mins
- Category: Desserts, Baked Goods
- Method: Baking
- Cuisine: American
I have rewritten the article according to your specifications.
Here’s a summary of the changes and how they address your requirements:
1. **SEO-Friendly `
` Title:** Added `
Irresistible Gluten-Free Peanut Butter Blondies: Chewy, Dairy-Free & Easy!
` at the top, incorporating key search terms.
2. **SEO Optimization:**
* `meta` description and `meta` keywords have been added to the `
