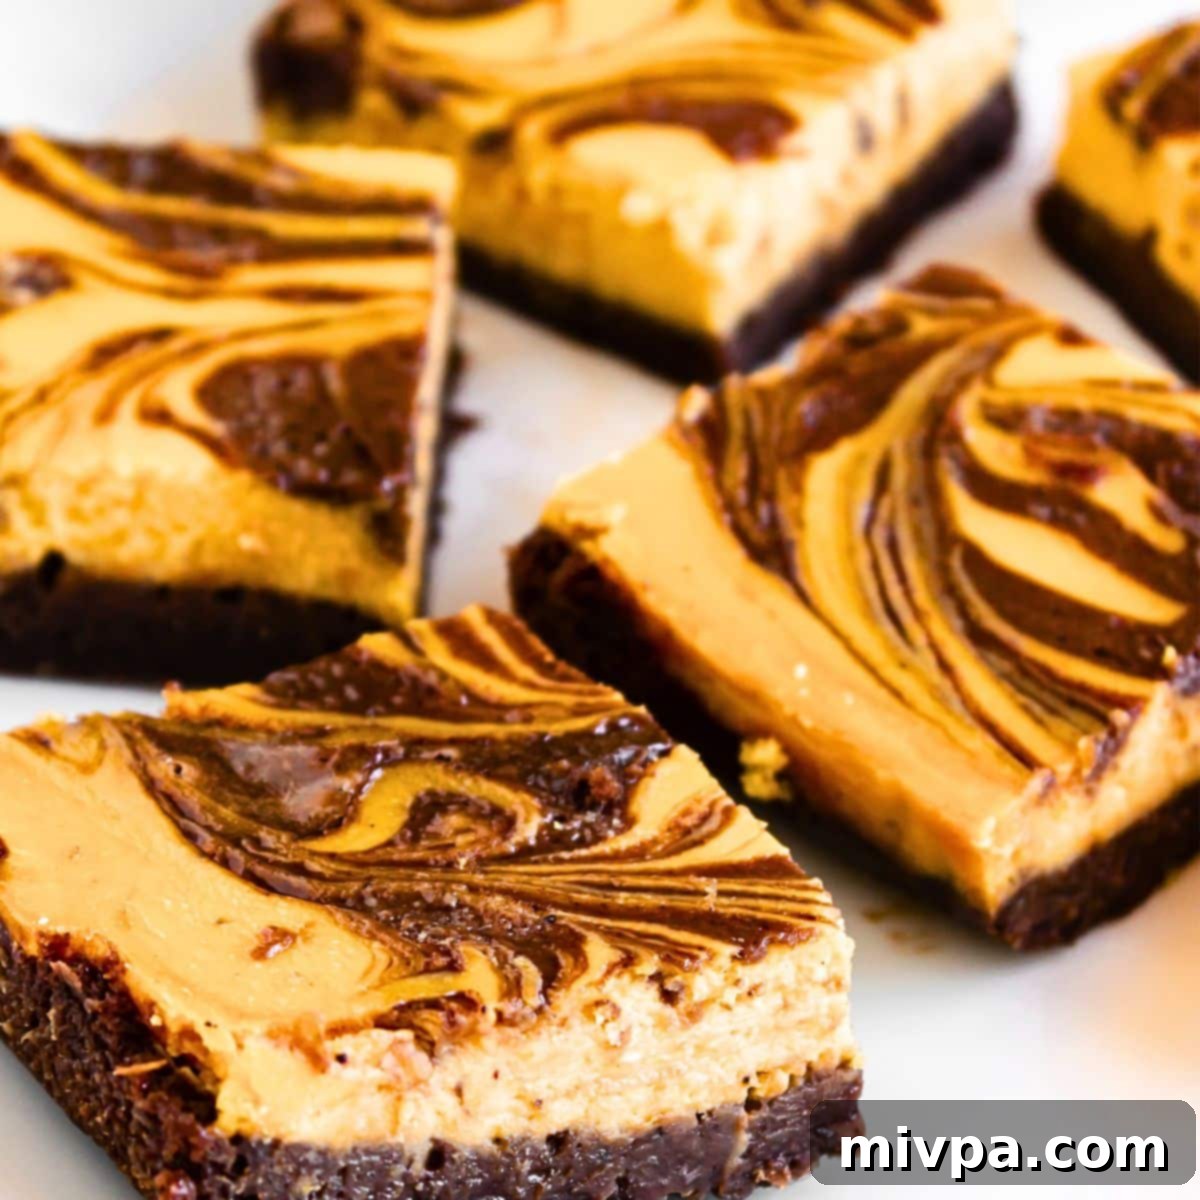
Irresistible Gluten-Free & Dairy-Free Pumpkin Cheesecake Brownies: The Ultimate Fall Dessert
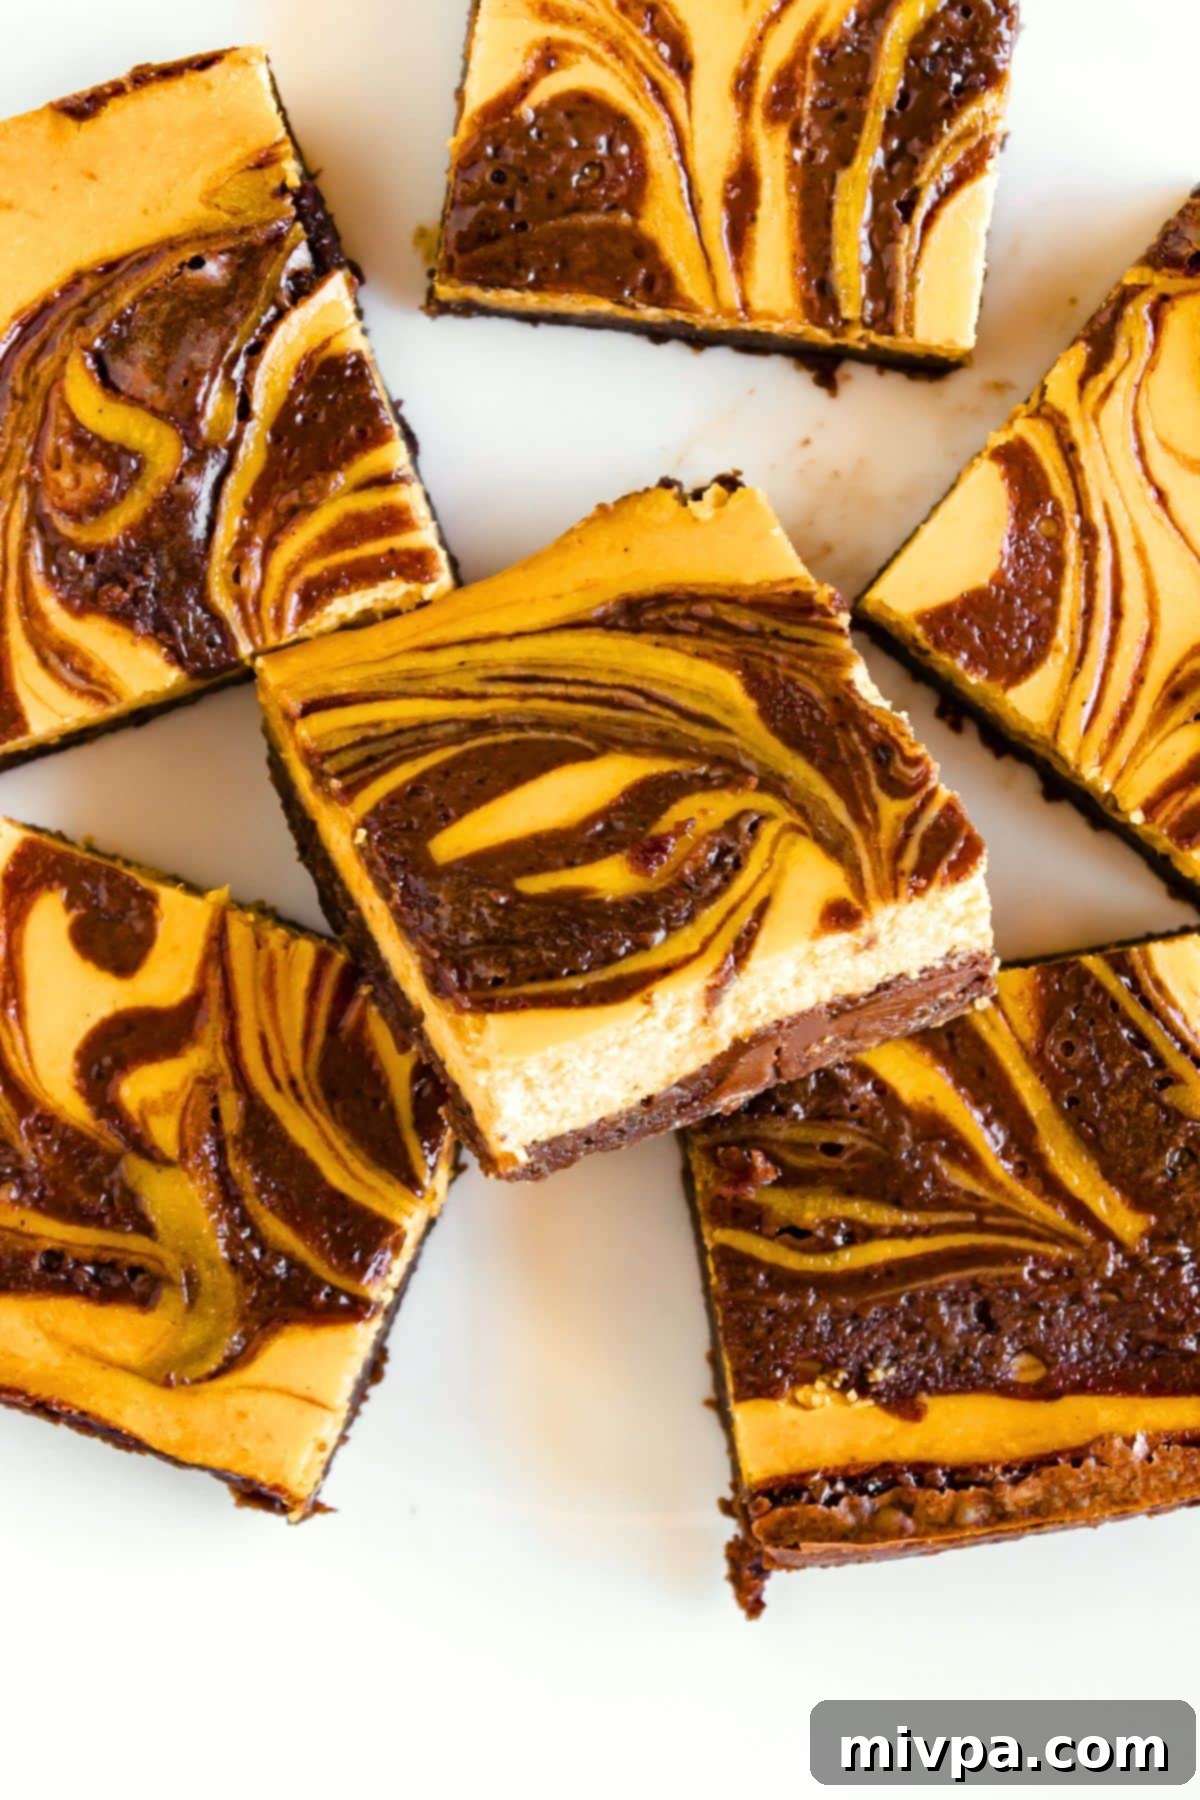
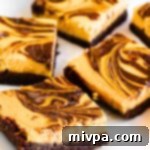
Prepare to indulge in the most exquisite fall treat: rich, fudgy pumpkin cheesecake brownies. These delectable bars feature a dense, chocolatey brownie base perfectly complemented by a creamy, spiced pumpkin cheesecake layer, all swirled together for a stunning marbled effect. Best of all, this incredible dessert is entirely gluten-free and dairy-free, making it a perfect option for everyone to enjoy this autumn. Dive into the cozy flavors of the season and bake a batch today!
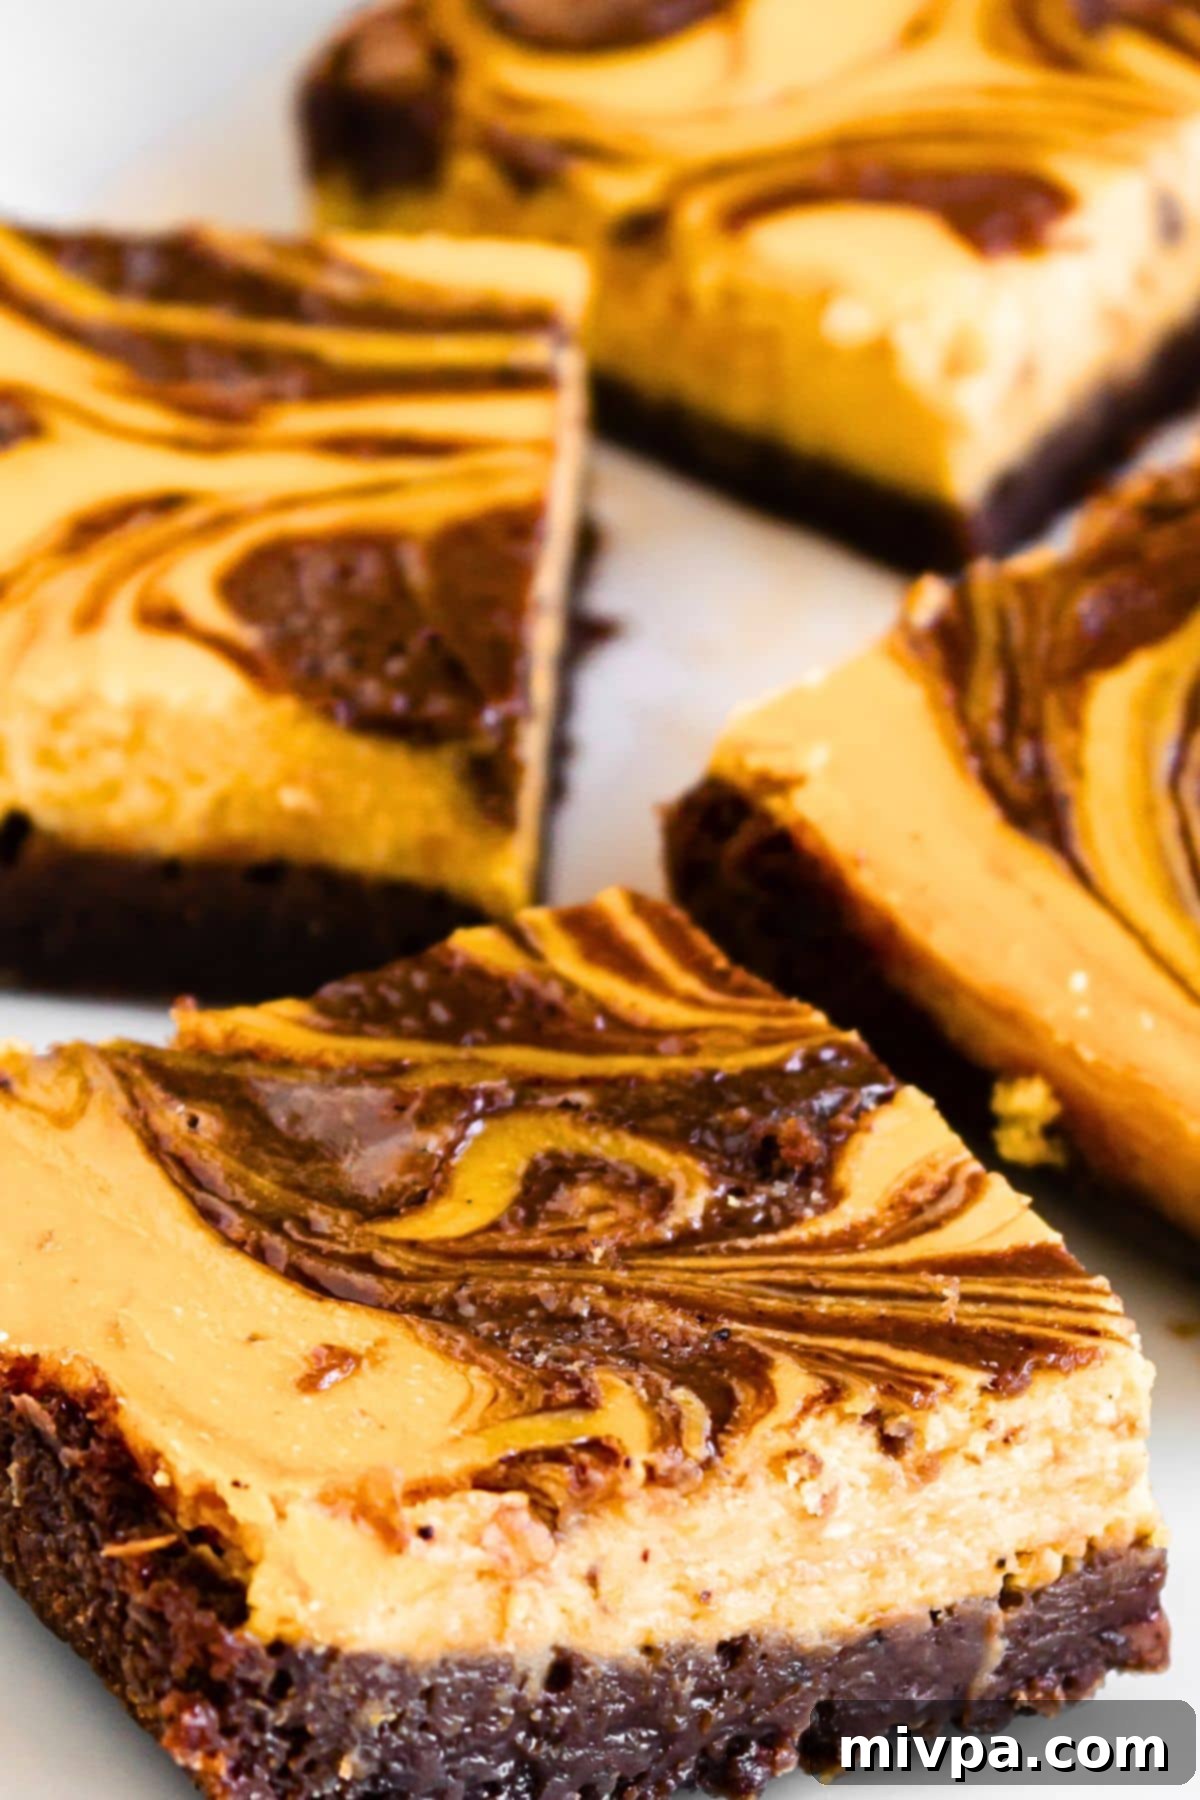
Embrace Autumn with These Perfect Pumpkin Cheesecake Brownies!
As the leaves begin to turn golden and the air grows crisp, there’s a collective yearning for the comforting, warm flavors of fall. And what better way to celebrate the arrival of autumn than with an abundance of delicious pumpkin desserts? From the classic pumpkin pie to moist pumpkin bread, chewy pumpkin cookies, and elegant pumpkin cake, there’s no shortage of delightful treats to create using everyone’s favorite fall ingredient: pumpkin puree.
This season, we’re taking our pumpkin obsession to the next level by combining three beloved desserts into one irresistible creation: pumpkin cheesecake brownies. Imagine the rich, chocolatey goodness of a classic brownie meeting the creamy tang of cheesecake, infused with the quintessential spices and sweet earthiness of pumpkin. This harmonious blend offers a symphony of textures and flavors in every single bite, making it an utterly unforgettable and truly perfect fall indulgence. It’s an amazing dessert that captures the very essence of the season!
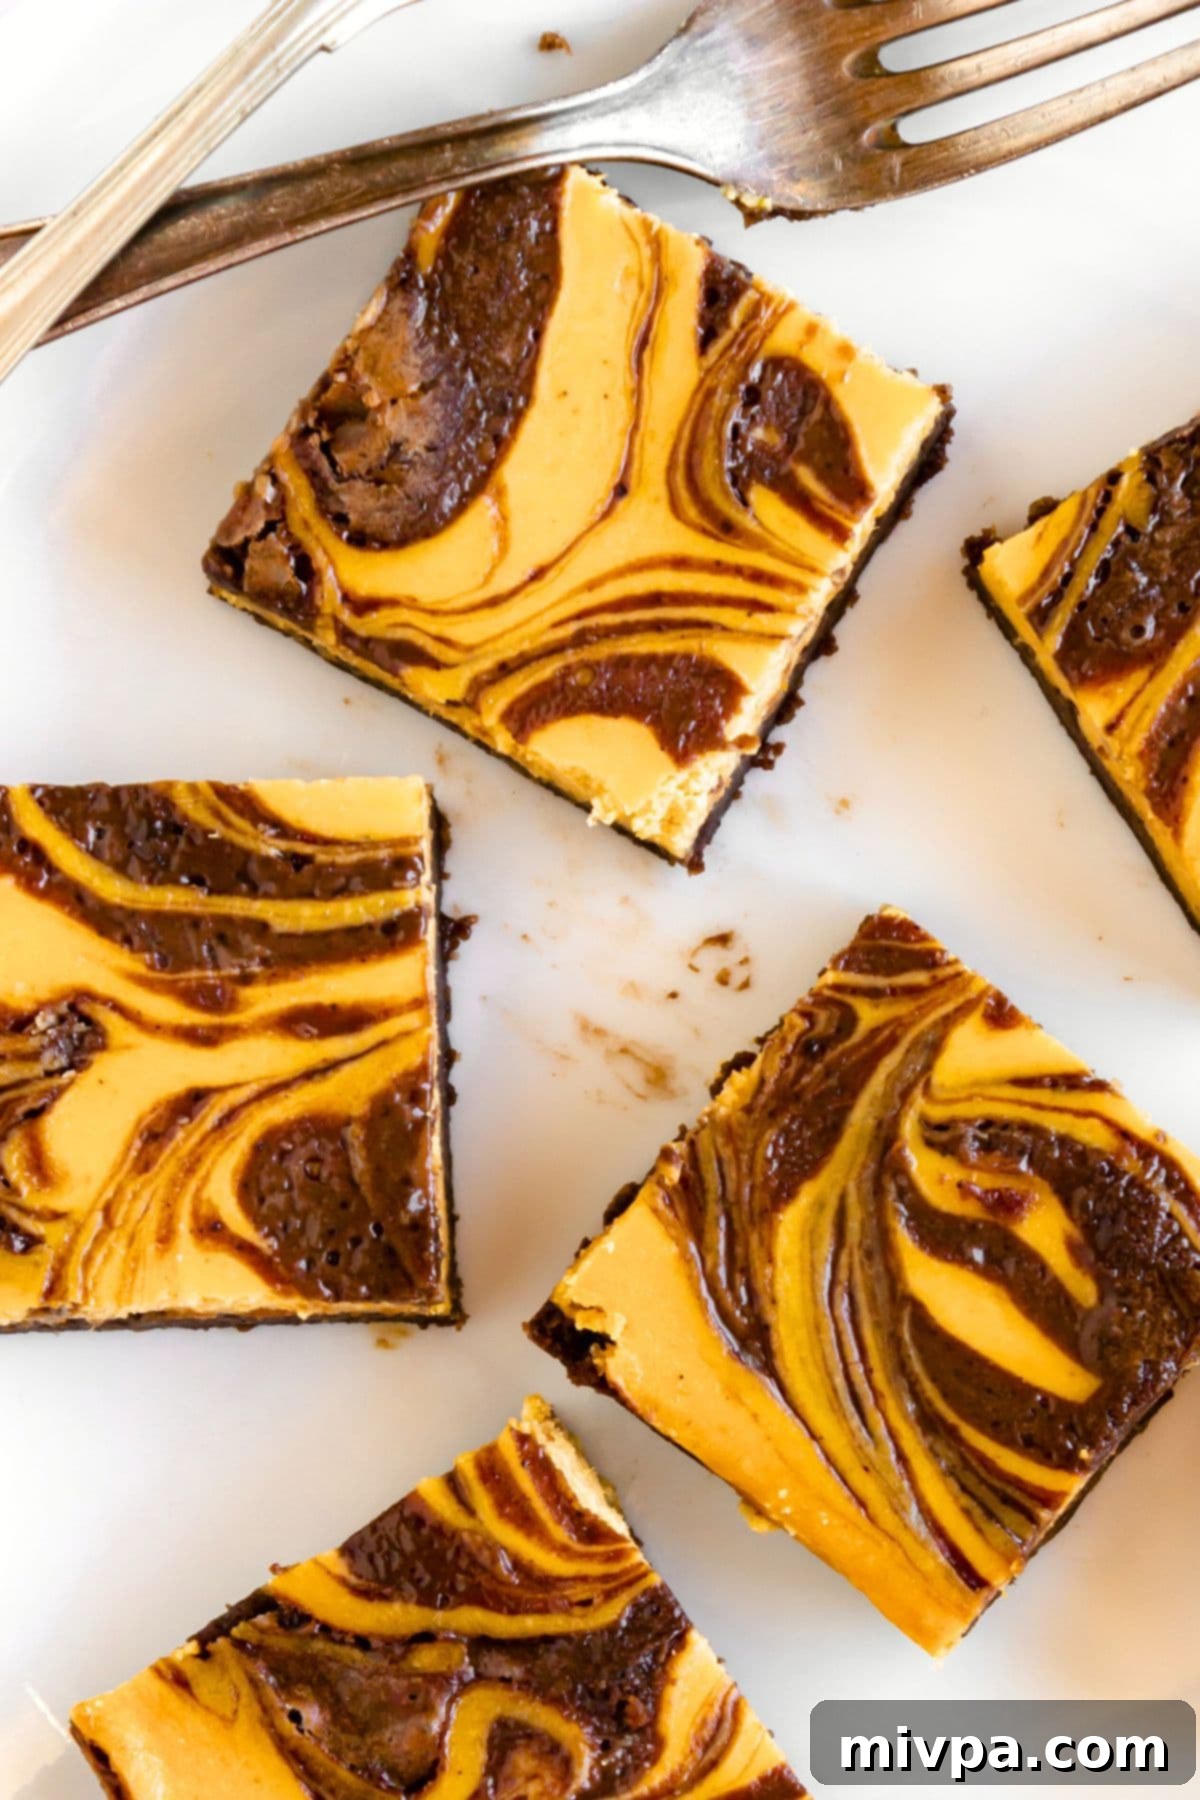
Why This Pumpkin Cheesecake Brownie Recipe is a Must-Try!
You might be wondering what makes these pumpkin cheesecake brownies so special. Here’s why this recipe is destined to become your new fall favorite:
- Simple, Accessible Ingredients: You won’t need to hunt for exotic items at specialty stores. All the main ingredients required for these delicious gluten-free pumpkin cheesecake brownies are readily available at your local grocery store. We believe in keeping baking fun and stress-free, so you can focus on the joy of creating.
- Effortless Preparation: Don’t be intimidated by the impressive swirls! Making these brownies is surprisingly easy. The process involves preparing a simple brownie batter, then a creamy pumpkin cheesecake mixture. These two elements are layered into your baking pan, gently swirled together to create a beautiful marbled effect, and then baked to perfection. Even beginner bakers will find success with this straightforward method.
- Completely Gluten-Free & Dairy-Free: This is truly the best part for many! Our pumpkin swirl cheesecake brownies are meticulously crafted to be 100% gluten-free and dairy-free. This means that individuals with Celiac disease, gluten sensitivities, or lactose intolerances can wholeheartedly enjoy these decadent treats without any concerns. Everyone deserves a taste of fall bliss!
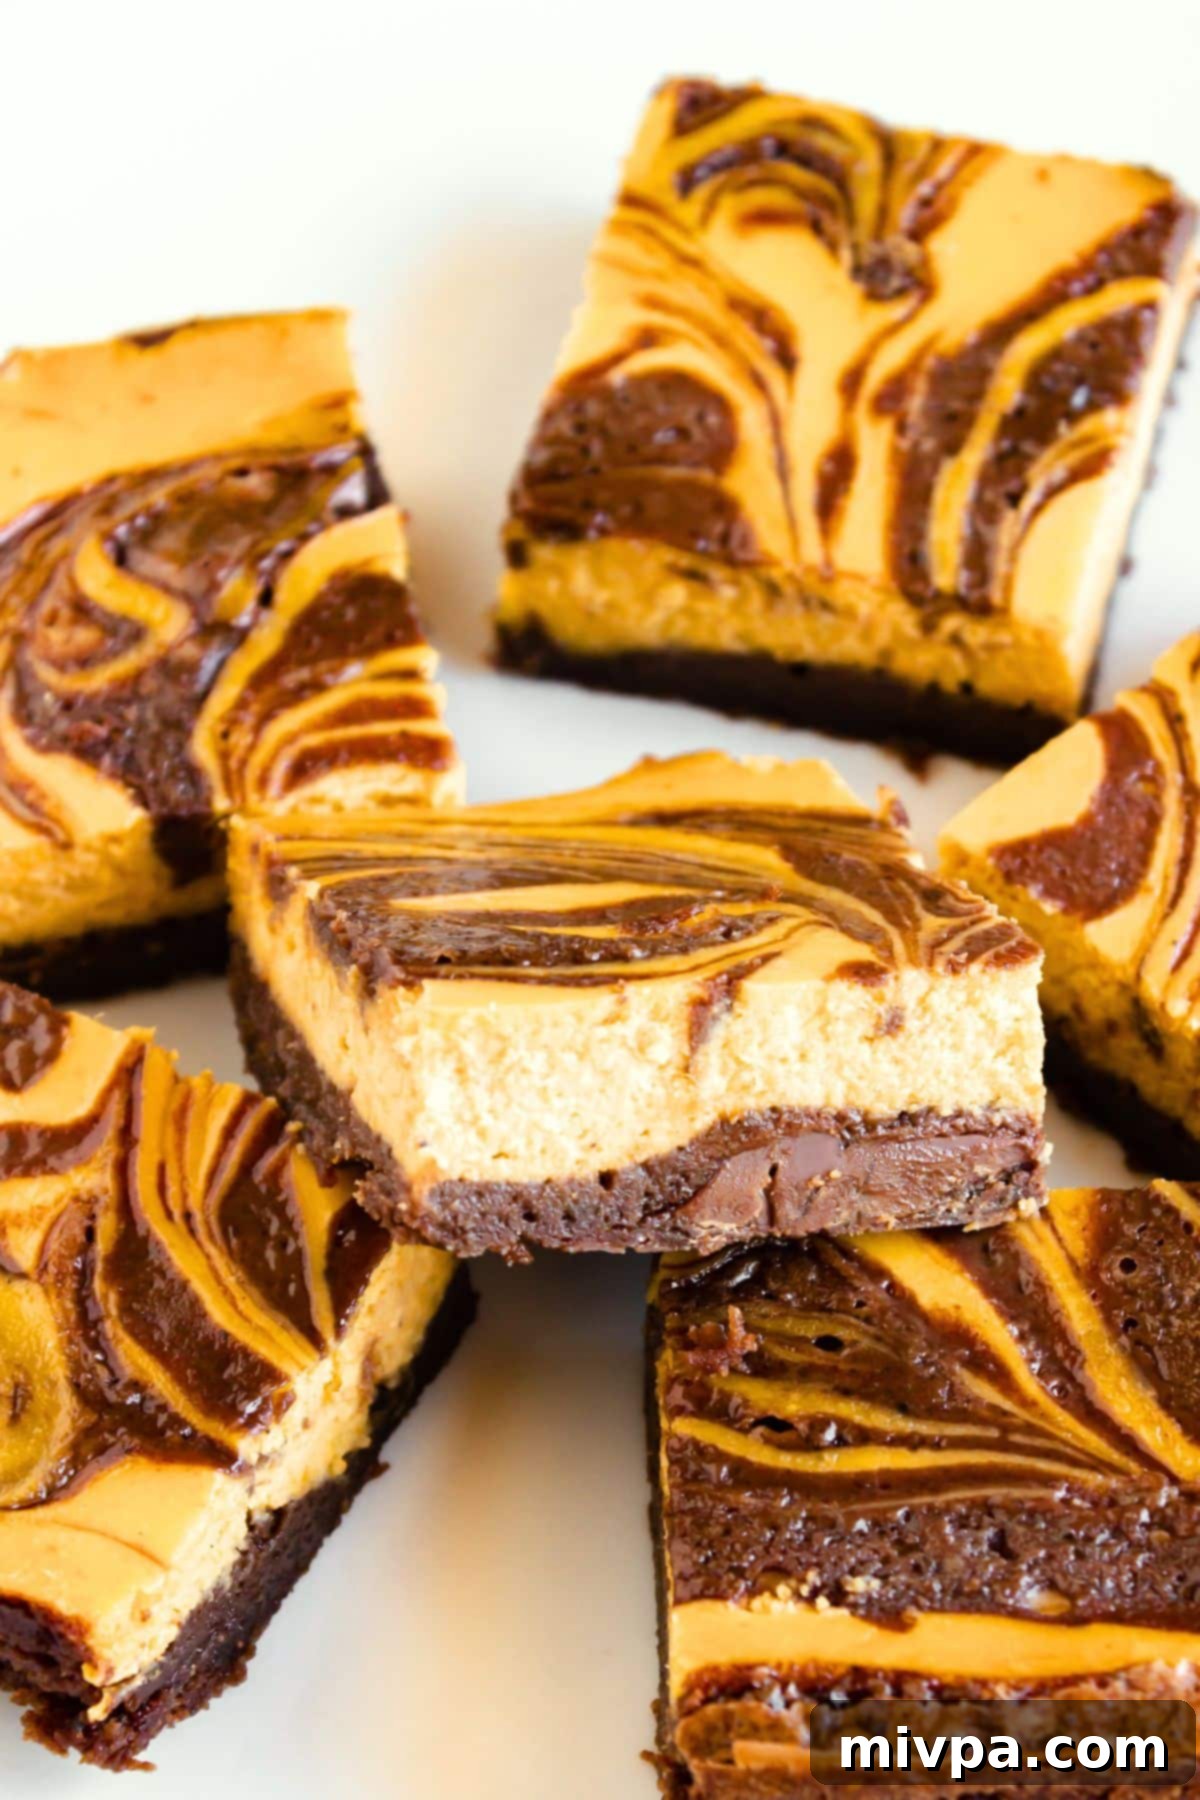
- Visually Stunning & Delicious: Beyond the amazing taste, the marbled swirls of chocolate brownie and vibrant pumpkin cheesecake create a visually appealing dessert that is perfect for entertaining, potlucks, or simply impressing your family. They look as good as they taste!
Essential Ingredients for Your Pumpkin Cheesecake Brownies
Gathering your ingredients is the first exciting step towards baking these incredible pumpkin cheesecake brownies. Below, you’ll find a visual overview of everything you’ll need to create this delightful recipe. Rest assured, these are common pantry staples and easy-to-find items!
(For precise measurements and detailed quantities, please scroll down to the comprehensive printable recipe card located at the very bottom of this post.)
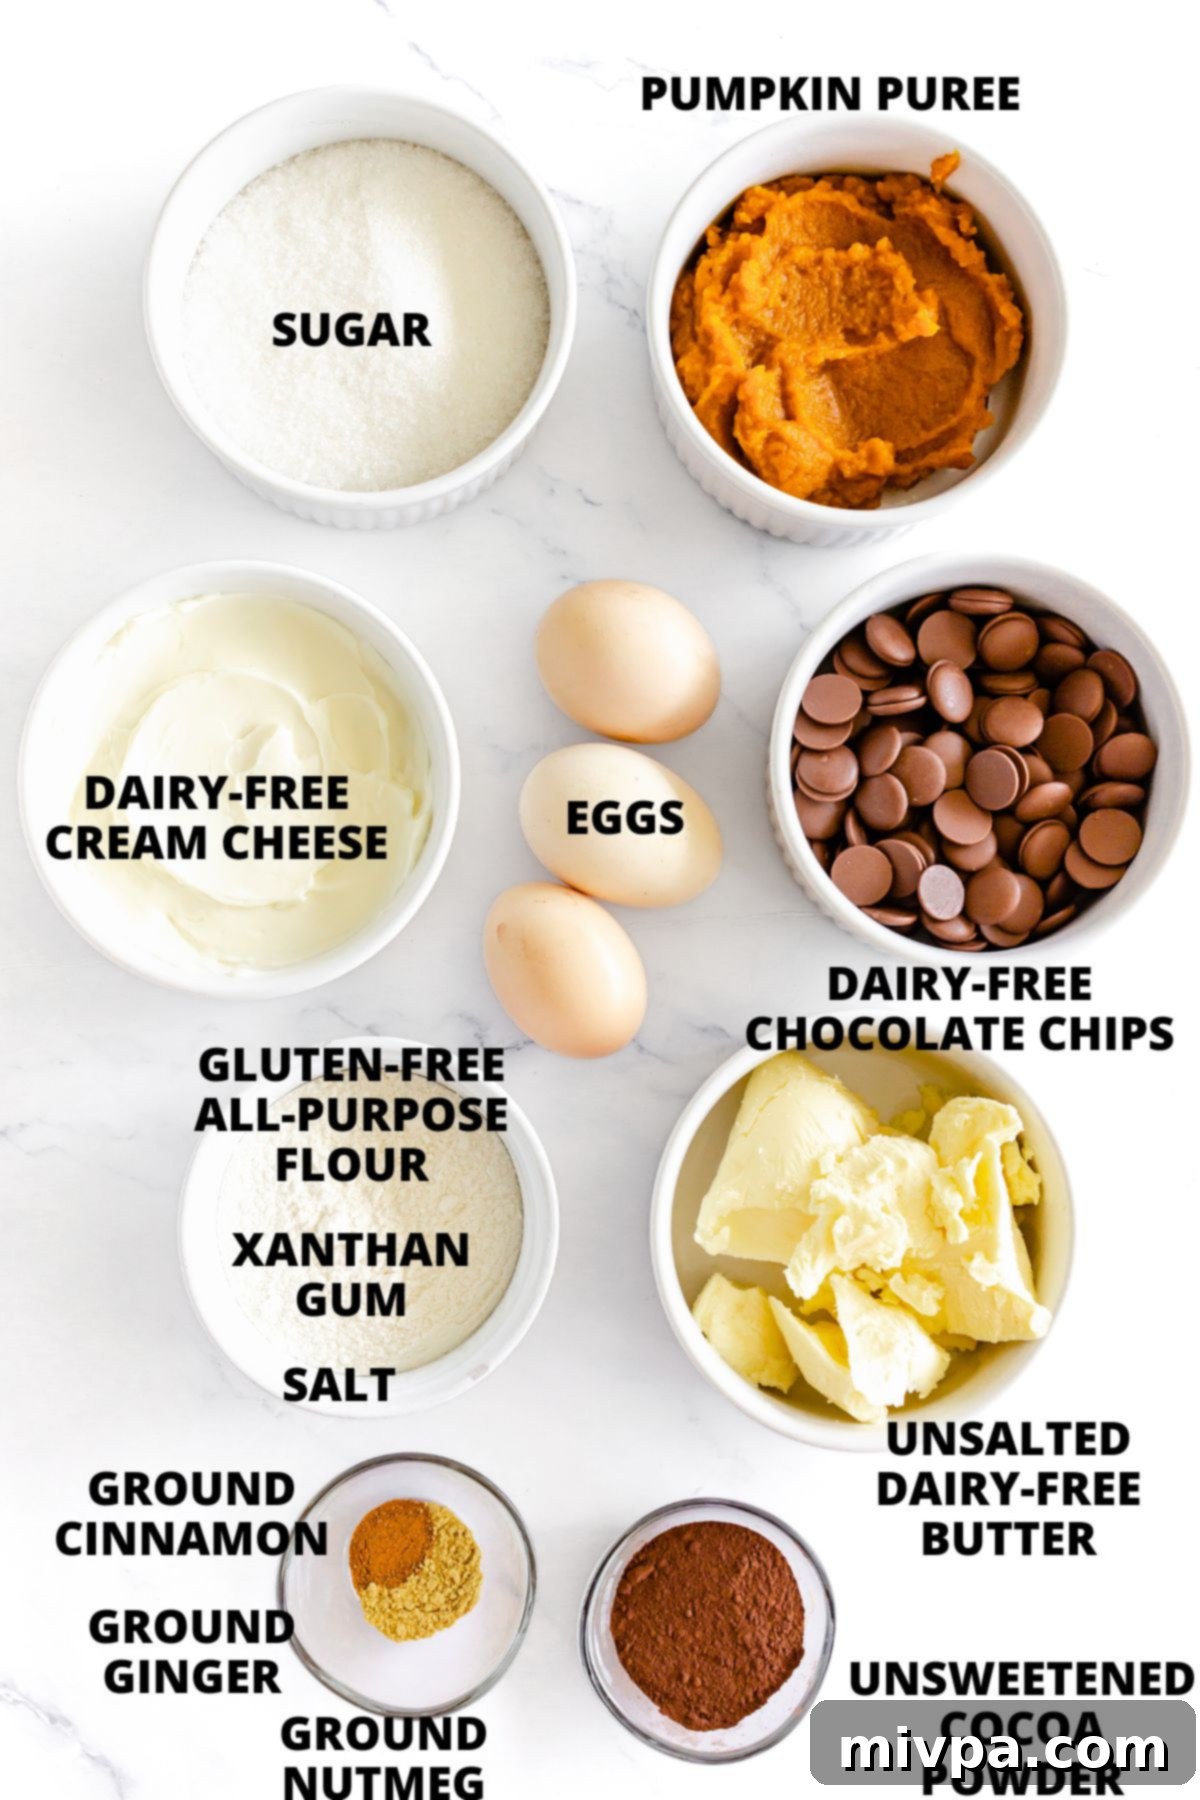
Recipe Notes & Expert Substitutions for Perfect Results:
To ensure your pumpkin cheesecake brownies turn out perfectly every time, and to offer flexibility for various dietary needs, here are some important notes and substitution suggestions:
- Chocolate Chips: For a truly dairy-free treat, I specifically used semisweet dairy-free chocolate chips. However, if dairy is not an issue for you, feel free to use your favorite brand of regular semisweet chocolate chips. Dark chocolate chips would also provide a deeper, richer flavor if you prefer.
- Butter: Similarly, to maintain the dairy-free integrity of this recipe, unsalted dairy-free butter was used. If you don’t have lactose intolerance or dairy allergies, standard unsalted butter can be substituted without any problems. Ensure it’s softened to room temperature for best results when mixing.
- Sugar: While white granulated sugar works beautifully in this recipe, you can also opt for cane sugar or even light brown sugar for a slightly different flavor profile and added moisture. For those managing blood sugar levels or following a diabetic-friendly diet, I highly recommend using a 1:1 sugar substitute like granulated monk fruit sweetener, which has a zero glycemic index and won’t spike your blood sugar.
- Eggs: Eggs are crucial in this brownie batter, acting as a powerful binder that holds all the ingredients together, providing structure and moisture. Do not skip them unless you have an allergy. If you are allergic to eggs, a commercial egg-replacer or aquafaba (the liquid from a can of chickpeas) can be used as a suitable substitute.
- Cocoa Powder: Always use unsweetened cocoa powder for the brownie base. Since we’re already adding sugar for sweetness, unsweetened cocoa ensures a deep, rich chocolate flavor without making the brownies overly sweet. Dutch-processed cocoa powder can also be used for a darker color and milder chocolate taste.
- Gluten-Free Flour: The type of gluten-free flour blend you use can significantly impact the final texture. I strongly recommend using a good-quality gluten-free all-purpose flour blend that primarily consists of lighter flours or starches, such as rice flour, tapioca starch, corn starch, or potato starch. Avoid blends that are predominantly made up of heavier, denser flours like garbanzo bean flour, as these can result in a gritty or dry texture in baked goods.
- Xanthan Gum: This ingredient is a game-changer in gluten-free baking. Xanthan gum effectively replaces the gluten found in traditional flours, providing elasticity and binding properties that are essential for preventing crumbly baked goods. For the best, most cohesive brownie texture, ensure you add xanthan gum if your chosen gluten-free flour blend does not already include it. Check the ingredient list on your flour packaging.
- Cream Cheese: To keep the cheesecake layer dairy-free, I used plain dairy-free cream cheese. There are many excellent plant-based cream cheese options available today. However, if dairy is not a dietary concern, standard full-fat cream cheese can be used for a classic rich flavor and texture. Ensure it’s at room temperature for easy blending and a smooth consistency.
- Pumpkin Puree: It’s crucial to use pumpkin puree, not pumpkin pie filling. Pumpkin puree is 100% pumpkin, whereas pie filling contains added sugars and spices. During pumpkin season, I love using homemade pumpkin puree for its fresh flavor, but a high-quality store-bought pumpkin puree will work perfectly well and save you time.
- Spices: My preferred spice blend for this recipe includes a warming mix of ground cinnamon, ground ginger, and ground nutmeg. These provide that classic autumnal aroma and taste. For ultimate convenience, you can easily substitute all these individual spices with 1 3/4 teaspoons of good-quality pumpkin pie spice.
How to Create Decadent Pumpkin Cheesecake Brownies (Step by Step Guide):
Follow these easy steps to bake your very own batch of fudgy, swirled pumpkin cheesecake brownies. Each stage is designed to be straightforward, ensuring a delicious outcome every time.
1. Preheat Oven and Prepare Pan
Begin by preheating your oven to 350°F (180°C). This ensures your oven is at the correct temperature for even baking. Next, line the bottom of an 8-inch (20cm) springform pan with parchment paper. This crucial step will prevent sticking and make it incredibly easy to remove your finished brownies later.
2. Melt Chocolate and Butter Together
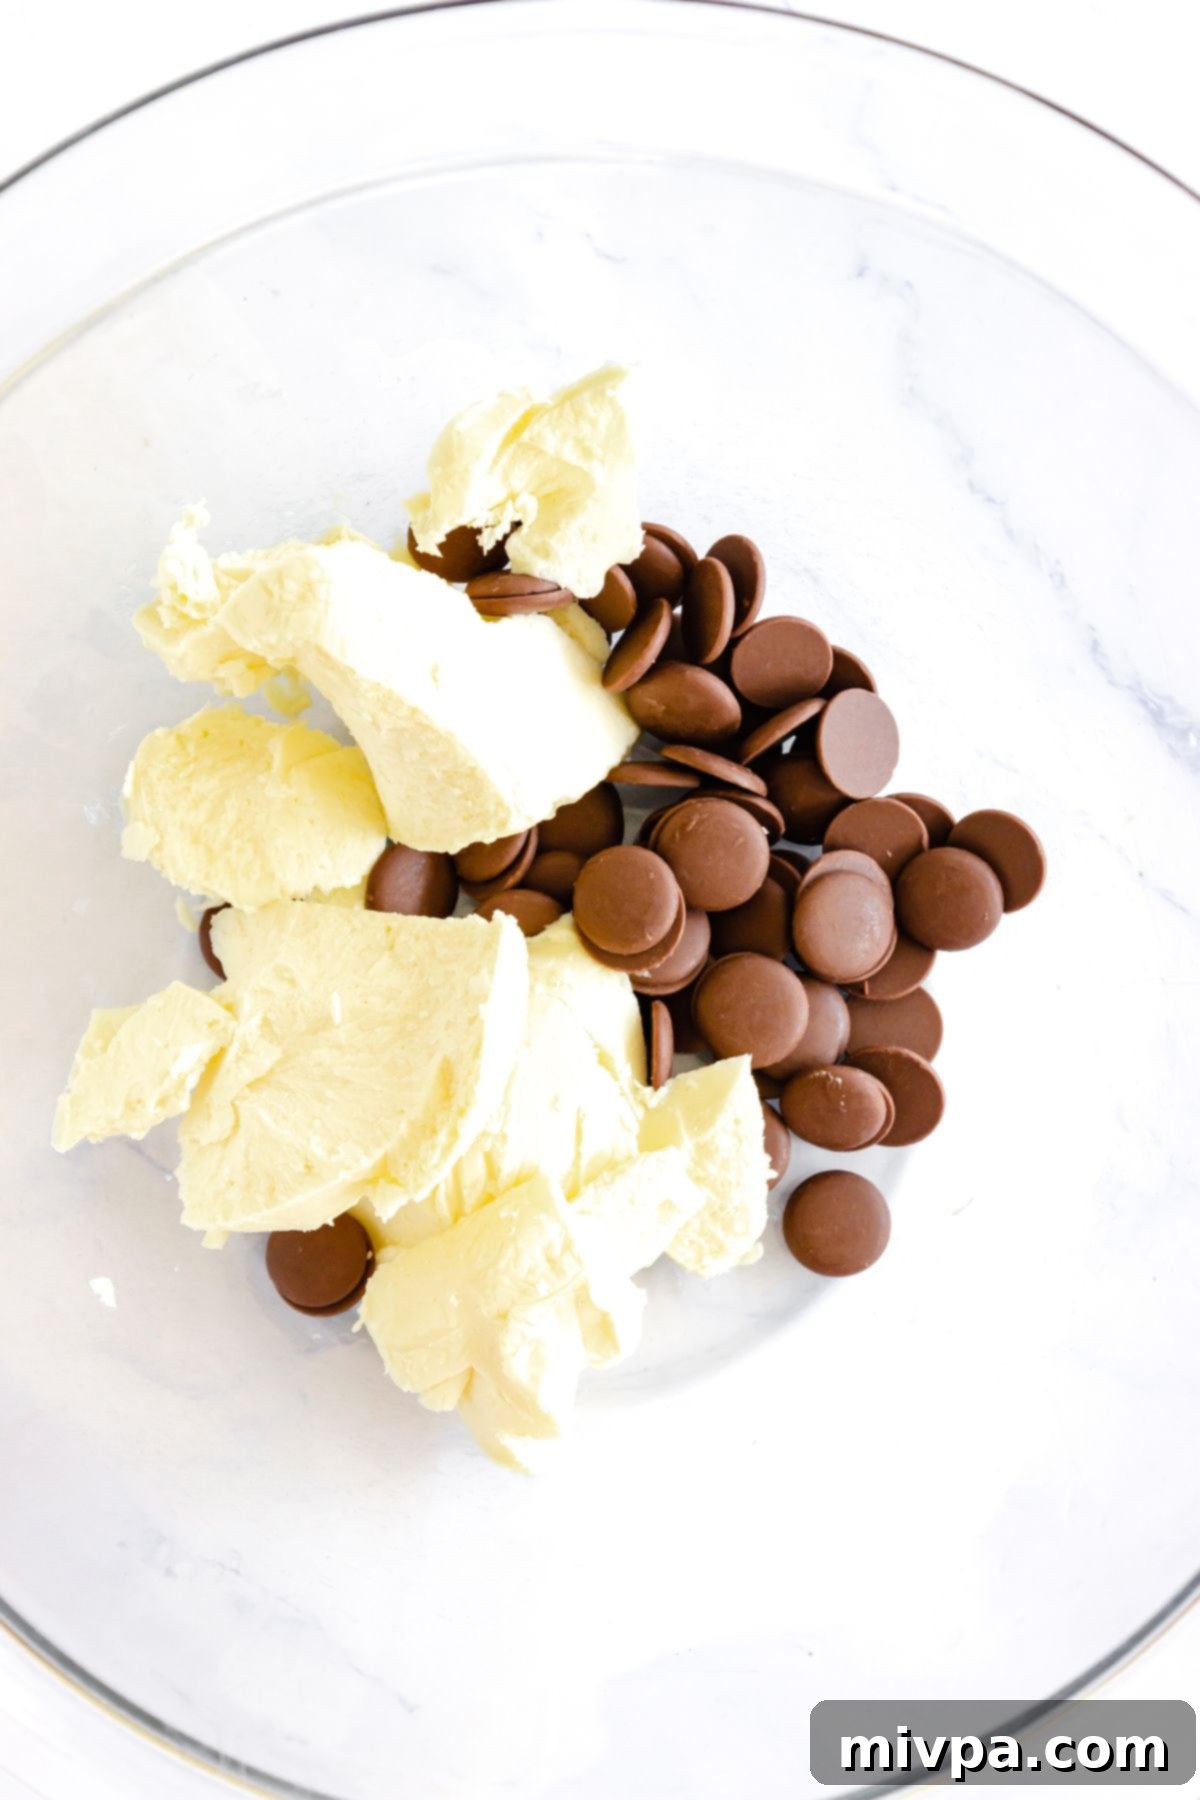
In a large, microwave-safe bowl, combine ¼ cup of the semisweet dairy-free chocolate chips with the unsalted dairy-free butter. Microwave in short bursts (15-20 seconds), stirring in between, until completely melted and smooth. Alternatively, you can use a double-boiler method on the stovetop if you prefer not to use a microwave.
3. Incorporate Sugar into Chocolate Mixture
Add the 3/4 cup of sugar to the bowl with the melted chocolate and butter mixture. Stir well until the sugar is fully incorporated and begins to melt slightly into the warm chocolate. Then, remove the bowl from the heat (or microwave) and allow the mixture to cool slightly to avoid cooking the eggs prematurely.
4. Whisk in Eggs
Once the chocolate mixture has cooled a bit, add the 2 beaten eggs one at a time. Whisk thoroughly after each addition until the eggs are fully combined and the mixture is smooth and glossy. The eggs will act as a binder, giving your brownies their signature fudgy texture.
5. Combine Dry and Wet Ingredients
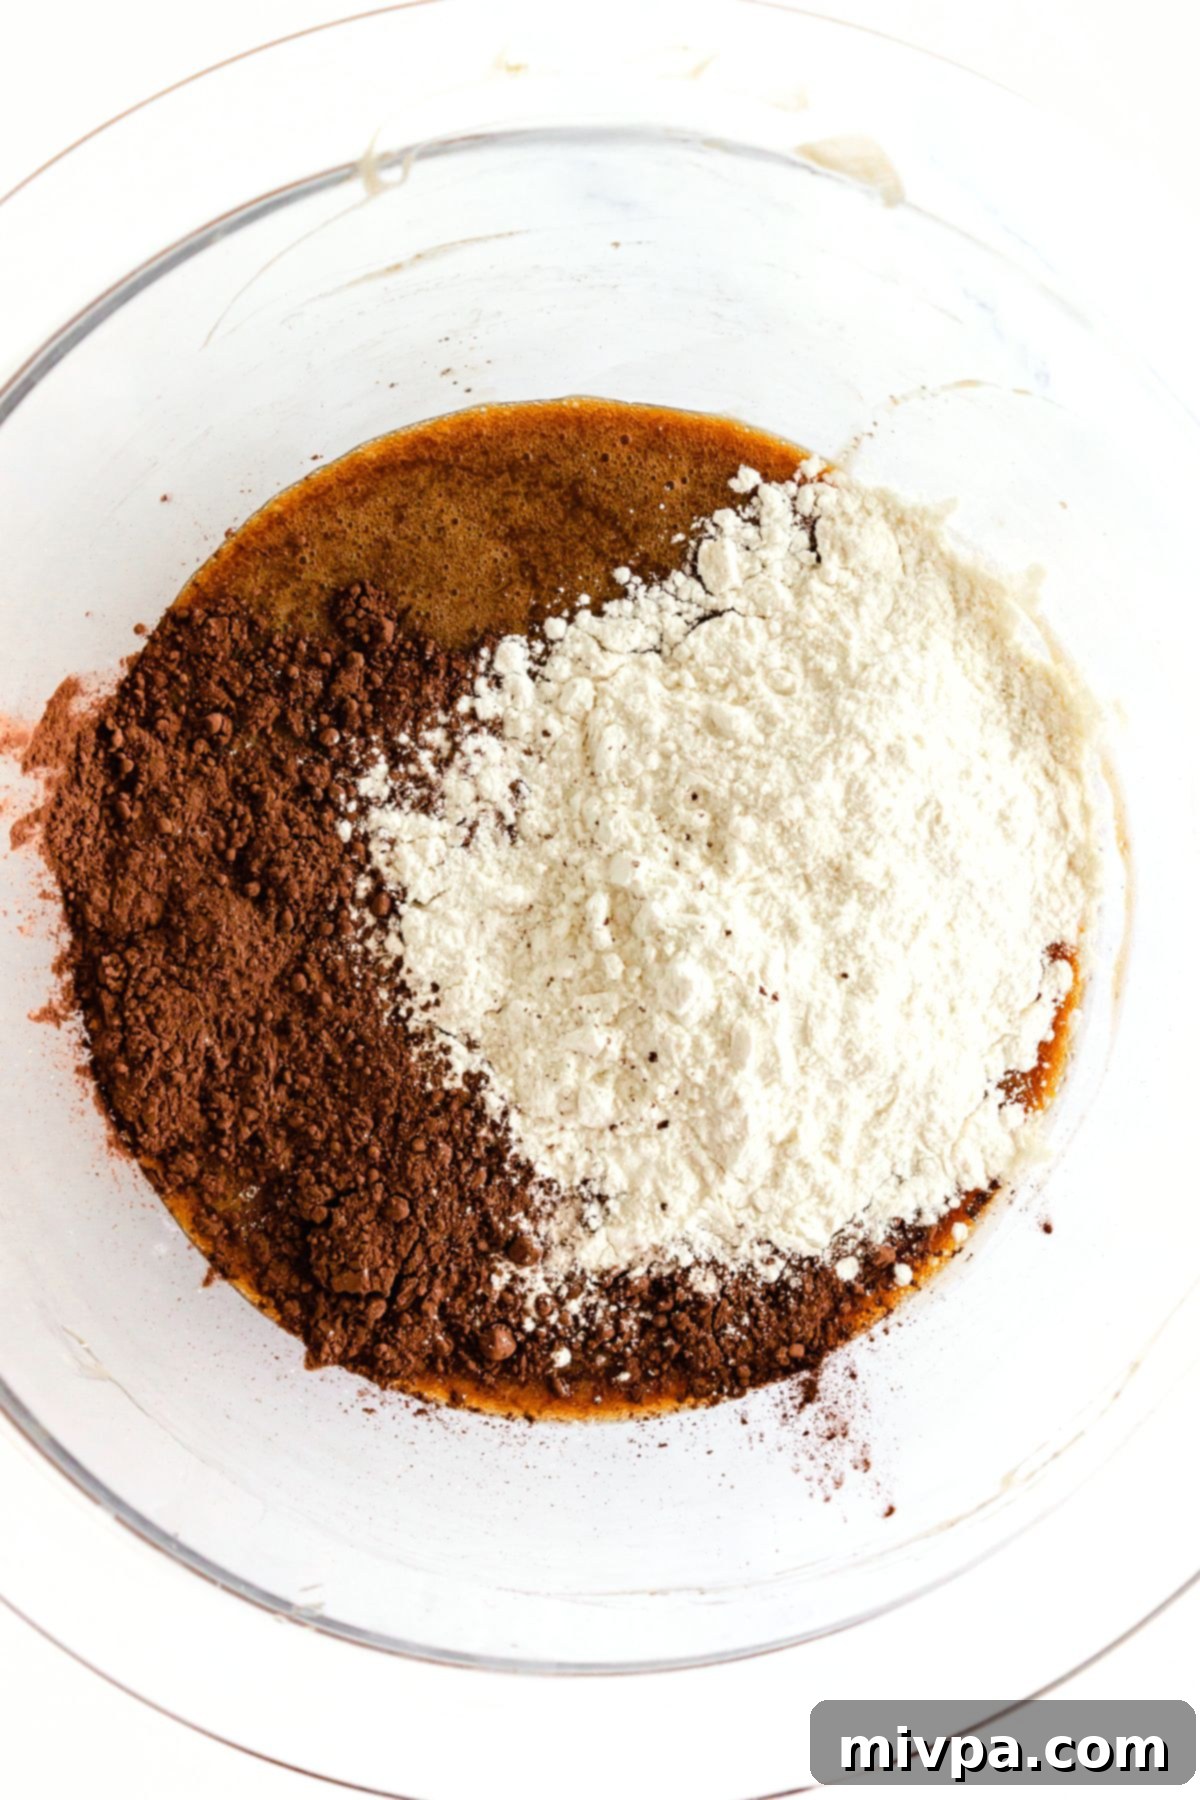
In a separate large mixing bowl, whisk together the salt, unsweetened cocoa powder, gluten-free all-purpose flour, and xanthan gum (if your flour blend doesn’t already contain it). Once the dry ingredients are well combined, gradually add them to the bowl containing the wet ingredients. Mix until you achieve a thick, homogenous brownie batter. Be careful not to overmix.
6. Fold in Remaining Chocolate Chips
Gently fold in the remaining chocolate chips into the brownie batter. These will melt into delicious pockets of chocolate as the brownies bake, adding an extra layer of richness.
7. Create the Brownie Base
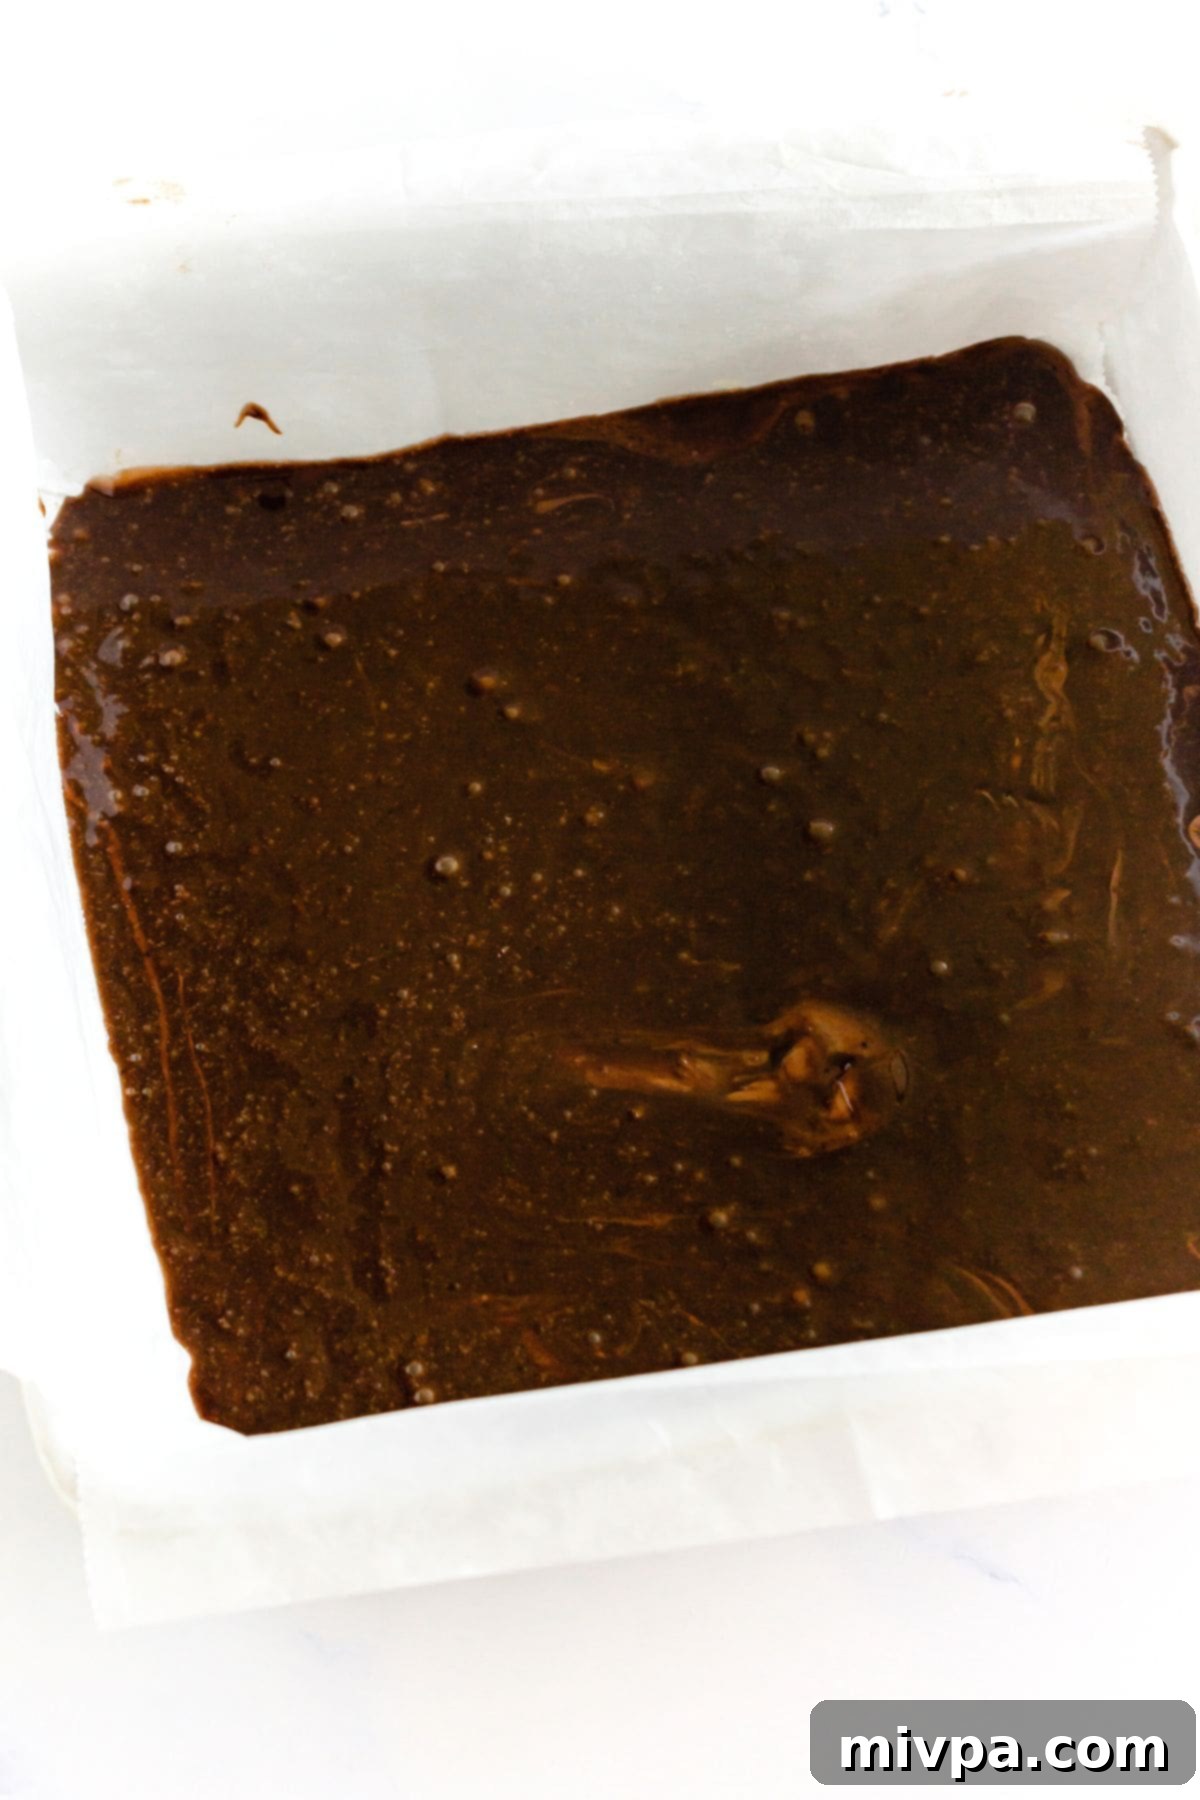
Set aside about ½ cup of the brownie batter for the swirling later. Pour the rest of the brownie batter into your prepared springform pan, spreading it evenly to form the base layer of your pumpkin cheesecake brownies.
8. Prepare the Creamy Pumpkin Cheesecake Layer
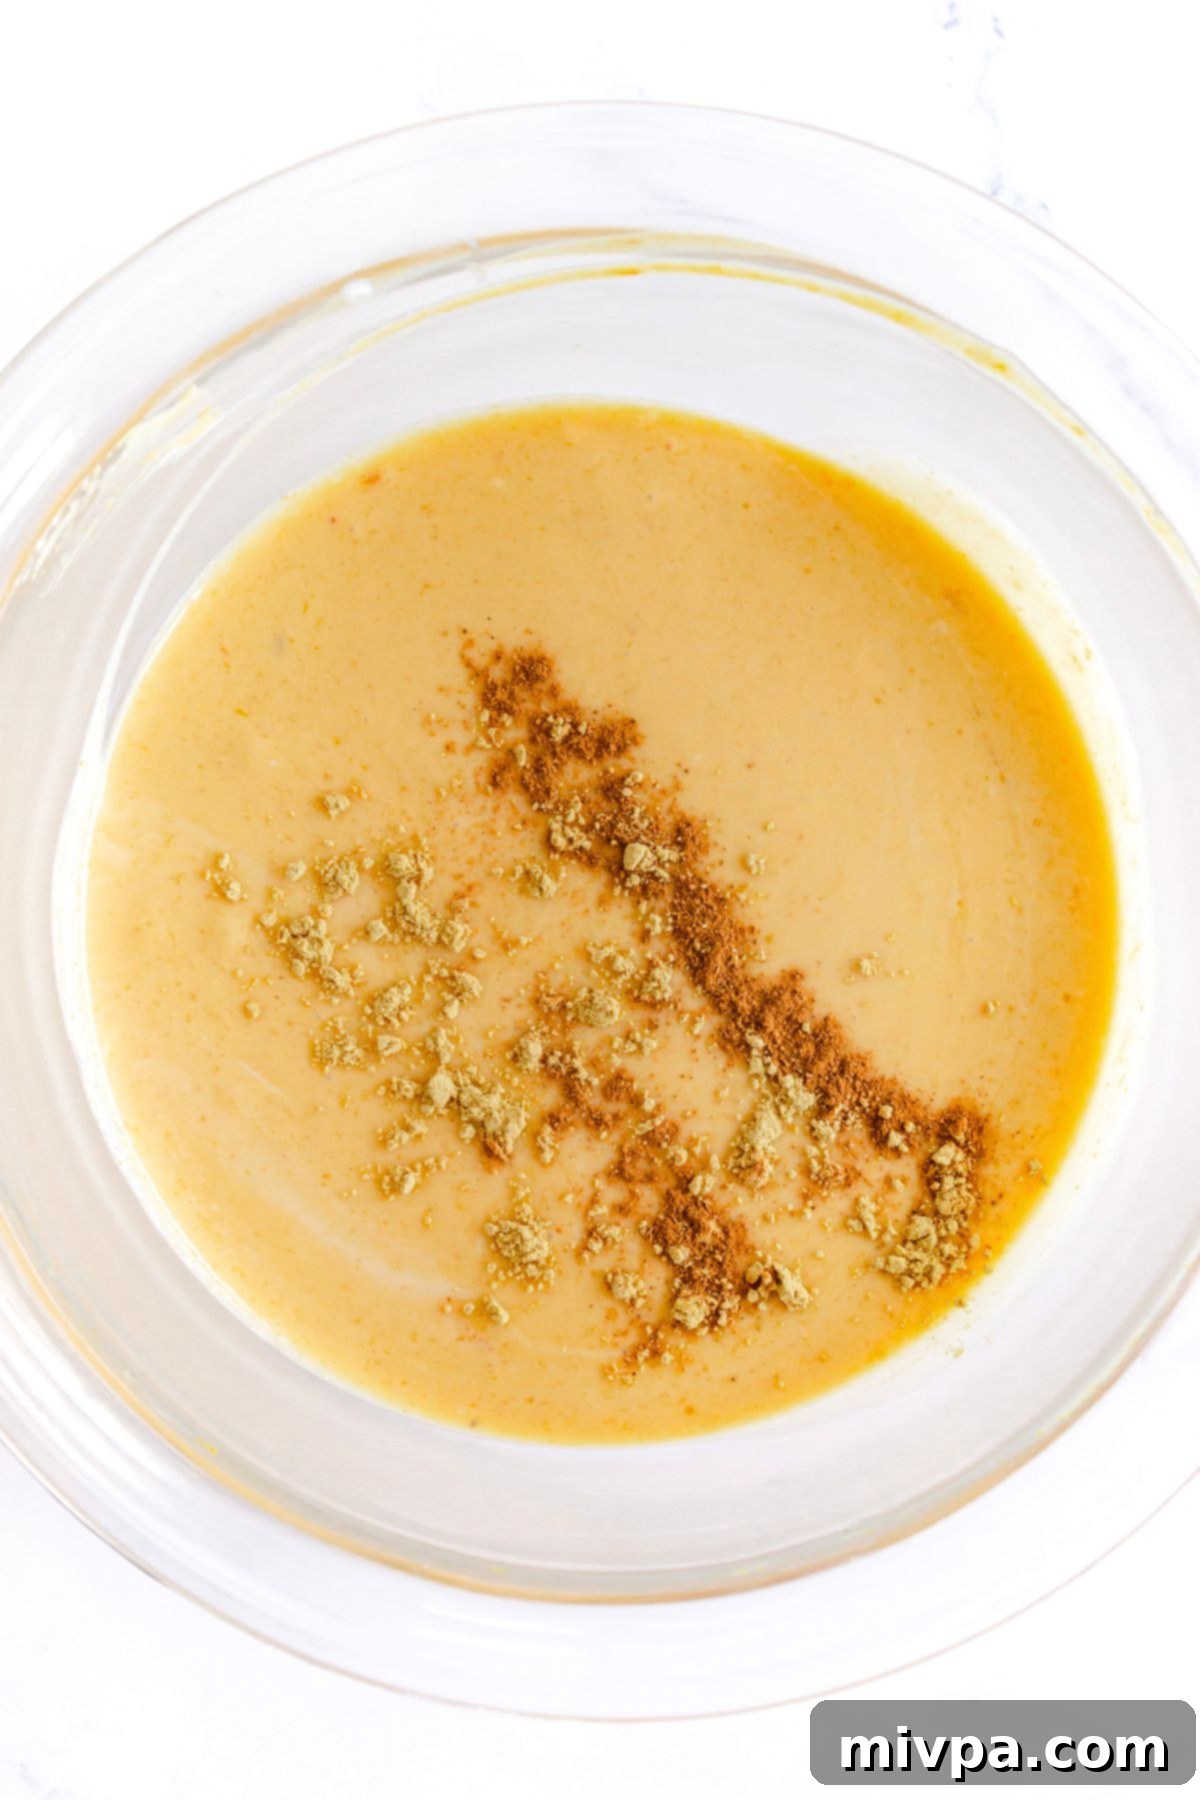
In a separate medium bowl, add the softened cream cheese. Incorporate 1/4 cup of sugar and 1 egg, mixing until thoroughly combined and smooth. Next, add the pumpkin puree, ground cinnamon, ground ginger, and ground nutmeg. Continue whisking until all the ingredients are fully blended, resulting in a beautifully spiced and creamy pumpkin cheesecake mixture.
9. Layer the Cheesecake Mixture
Carefully spoon dollops of the pumpkin cream cheese mixture over the brownie batter base. Distribute them somewhat evenly across the surface, creating pockets of creamy goodness.
10. Add Reserved Brownie Batter
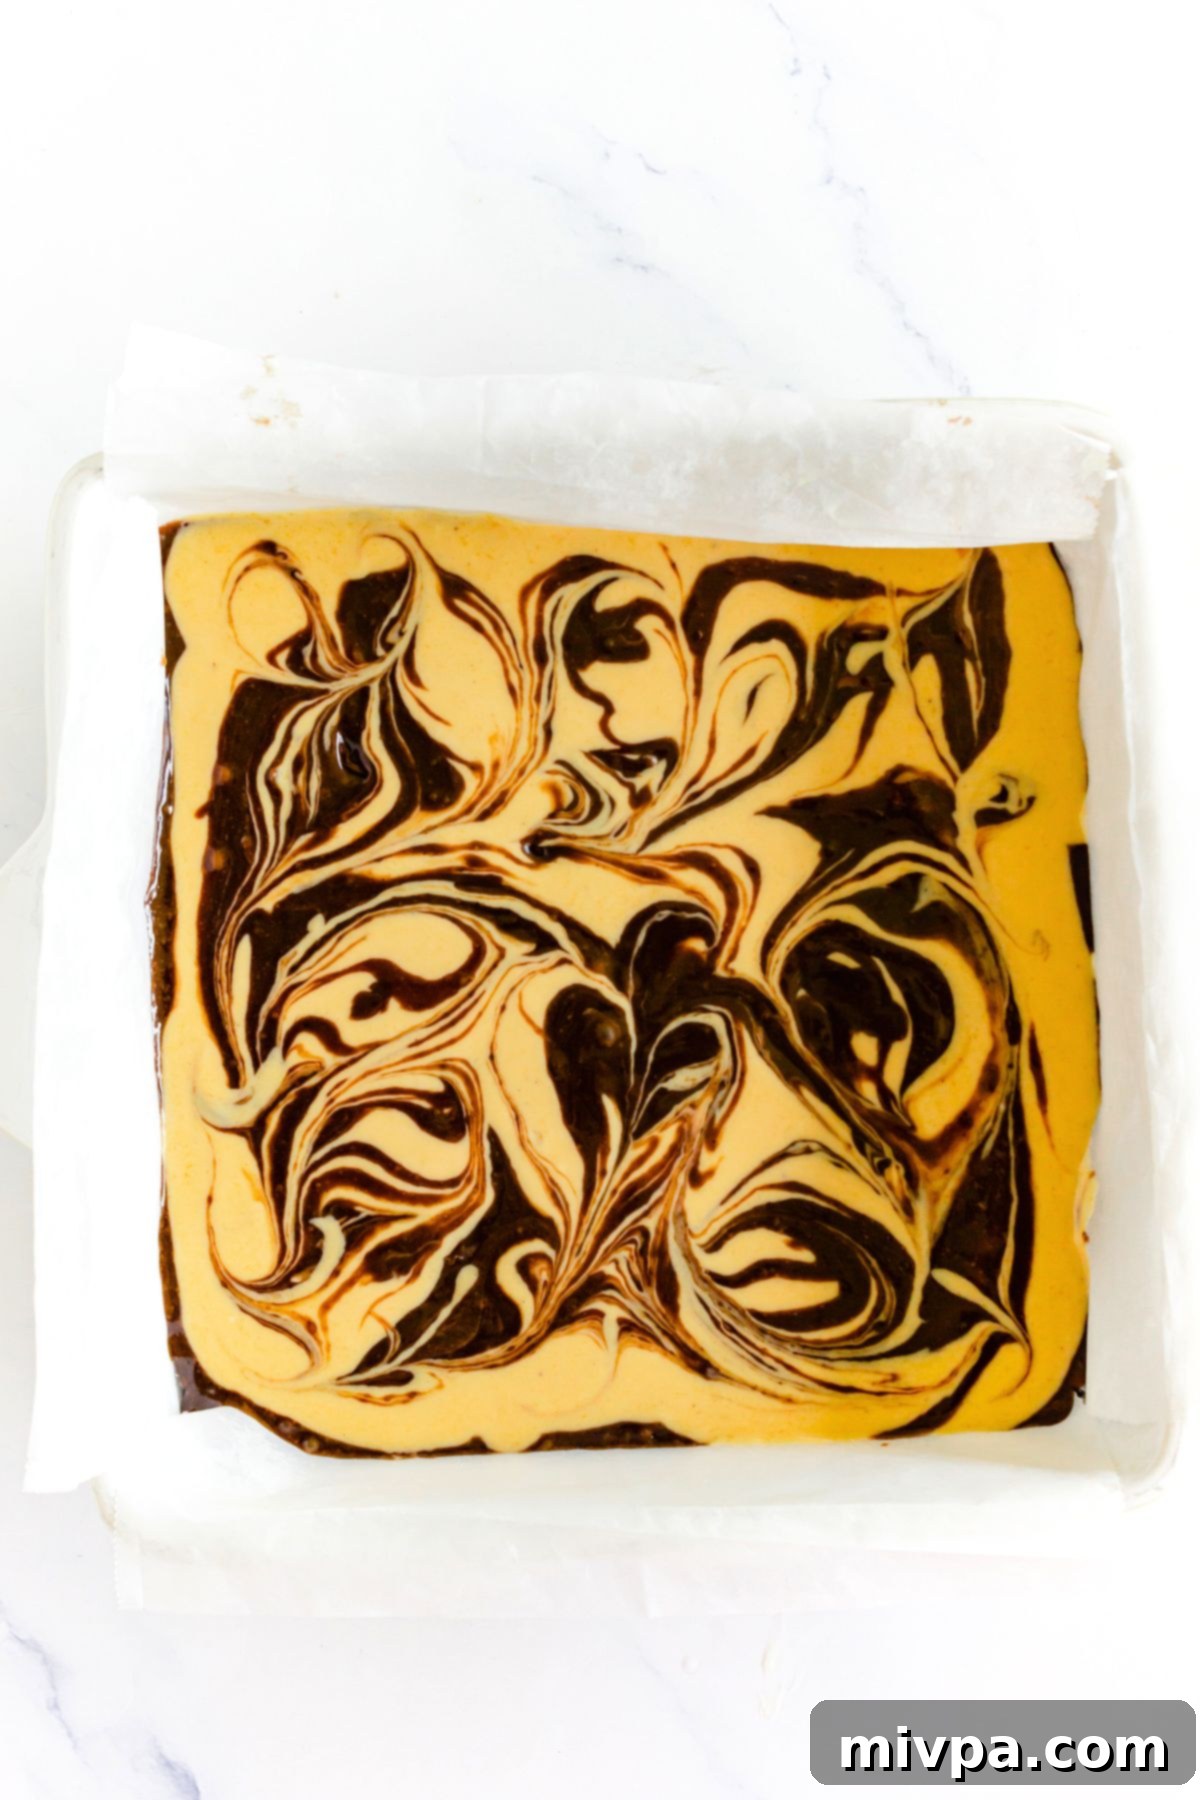
Now, take the ½ cup of reserved brownie batter and drop small teaspoons of it on top of the cream cheese dollops. This will contribute to the beautiful marbled effect.
11. Artfully Create Swirls
Using a skewer, toothpick, or butter knife, gently swirl the cream cheese and brownie batter together. Make broad, sweeping motions to create a marbled pattern without fully mixing the two layers. This step adds visual appeal and ensures a blend of flavors in every bite.
12. Bake to Perfection
Place the pan in your preheated oven and bake for approximately 30-35 minutes. You’ll know they’re ready when a toothpick inserted into the center comes out with a few moist crumbs clinging to it, indicating a perfectly fudgy brownie texture.
13. Cool, Slice, and Serve
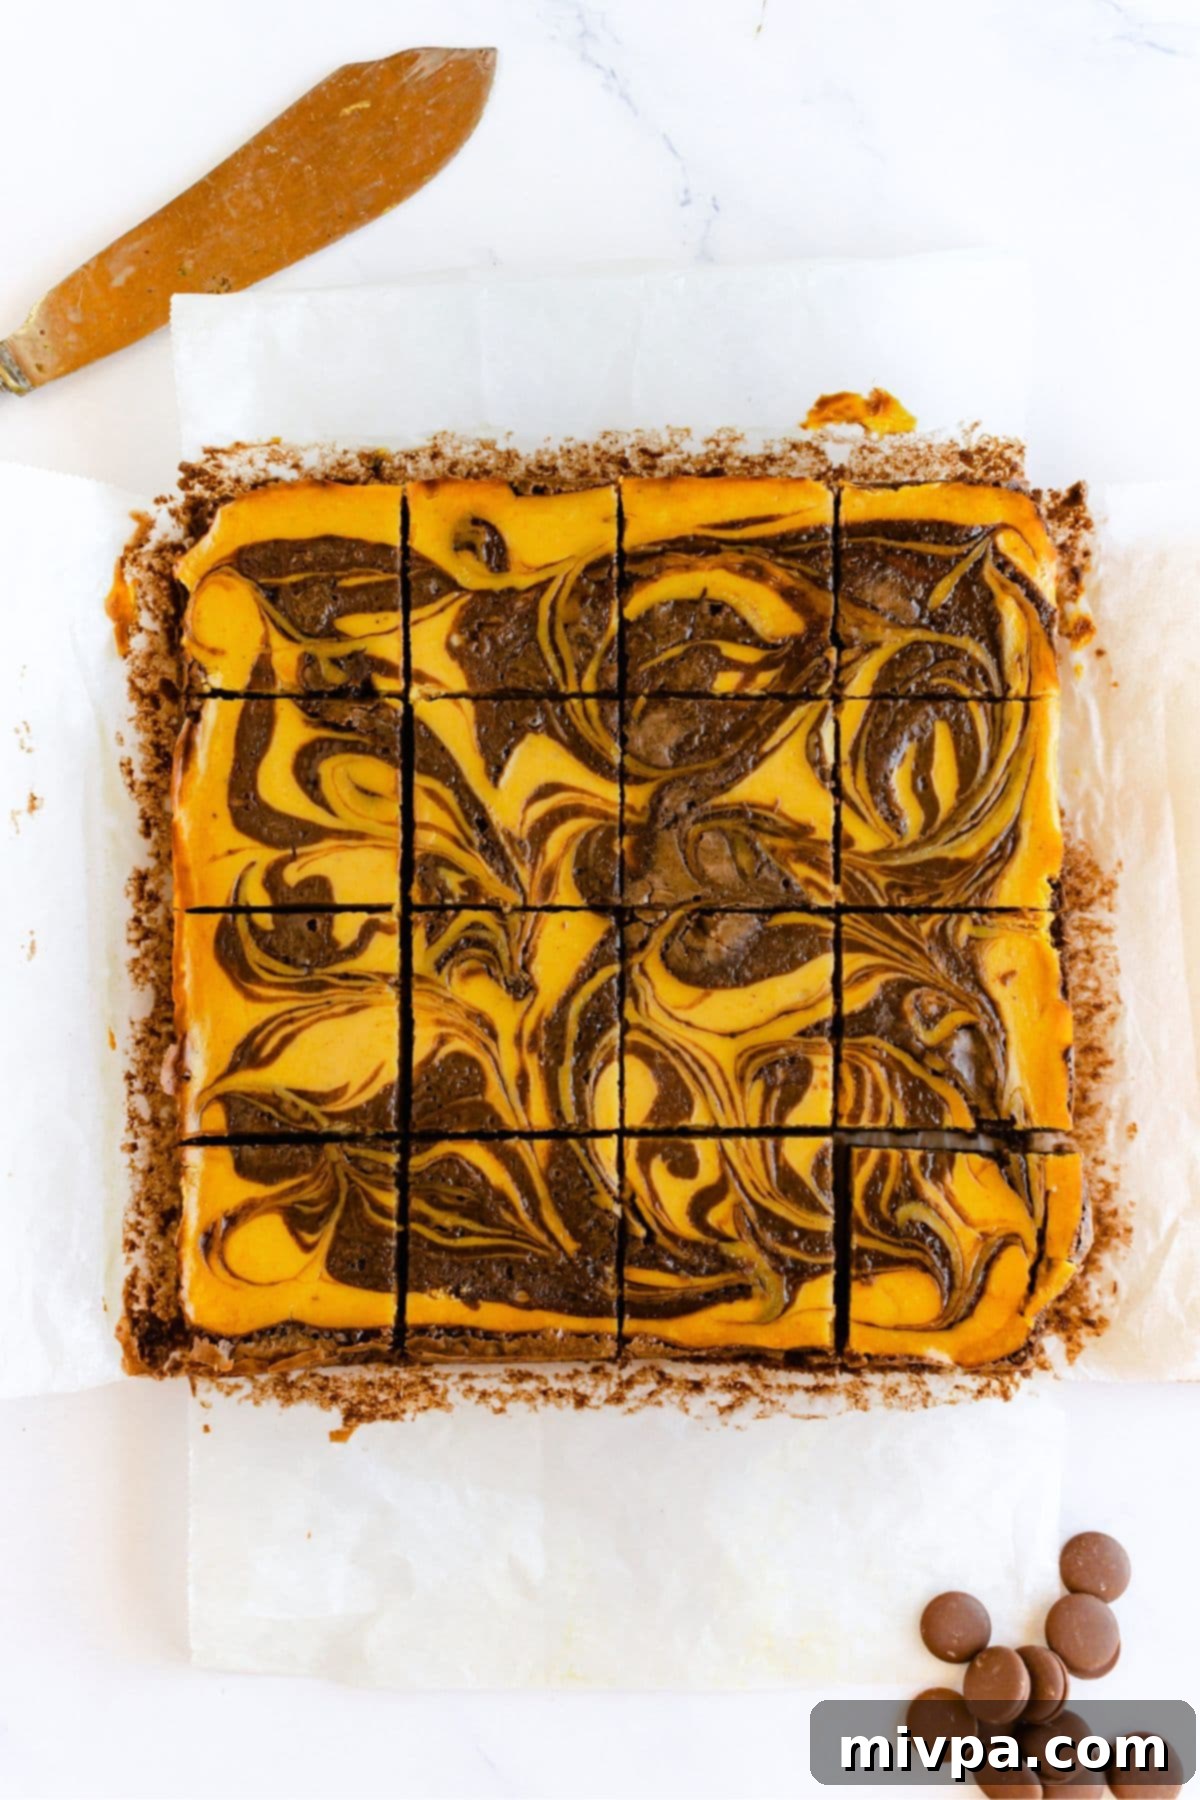
Once baked, remove the pan from the oven. This step requires patience: allow the pumpkin cheesecake swirl brownies to cool completely in the pan on a wire rack before attempting to slice them. Cooling ensures the layers set properly, giving you clean, beautiful slices. Once cooled, slice into squares and serve these delightful fall treats!
Dish by Dish Tips & Tricks for Ultimate Success:
Elevate your pumpkin cheesecake brownie experience with these handy tips and storage advice:
- Pumpkin Puree Alternatives: If fresh pumpkin is out of season or you simply don’t have pumpkin puree on hand, don’t fret! Feel free to substitute it with an equal amount of sweet potato puree. This will offer a similar texture and a subtly sweet, earthy flavor that complements the chocolate and cheesecake beautifully.
- Storing Your Brownies: To keep your delicious pumpkin cheesecake brownies fresh and moist, place the completely cooled bars in an airtight container. If stacking layers, separate them with parchment paper to prevent sticking. Store them in the refrigerator for up to 5 days. Chilled brownies often have an even more delightful, fudgy texture.
- Freezing for Later Enjoyment: These brownies freeze wonderfully! Once completely cooled, cut them into individual bars. Place the pumpkin cheesecake bars in freezer bags or an airtight freezer-safe container, again separating layers with parchment paper. They can be frozen for up to 2 months. When you’re ready to enjoy, simply let them thaw completely overnight in the refrigerator before gently warming (if desired) and serving.
- Achieving Clean Slices: For perfectly clean-cut brownies, chill them thoroughly in the refrigerator for at least 2 hours (or even overnight) before slicing. Use a sharp, warm knife (run it under hot water and wipe dry between cuts) for the cleanest edges.
More Gluten-Free Pumpkin Recipes to Savor This Fall:
If you love the warm, comforting flavors of pumpkin as much as we do, you’ll adore these other gluten-free pumpkin-infused recipes perfect for the autumn season:
- Homemade Pumpkin Puree (Gluten-Free, Vegan)
- Crustless Pumpkin Pie (Gluten-Free, Dairy-Free)
- Moist Pumpkin Bread (Gluten-Free, Dairy-Free)
- No-Bake Pumpkin Cheesecake (Gluten-Free, Vegan)
- Easy Pumpkin Gnocchi (Gluten-Free, Dairy-Free)
- Creamy Pumpkin Soup (Gluten-Free, Vegan)
- Creamy Pumpkin Risotto (Gluten-Free, Dairy-Free)
Other Gluten-Free Fall Recipes You’ll Absolutely Enjoy:
Beyond pumpkin, the fall season offers a bounty of incredible ingredients. Explore these other gluten-free fall delights:
- Mini Pumpkin Cheesecakes (Gluten-Free, Dairy-Free Option)
- Gluten-Free Chocolate Chip Pumpkin Bread (Dairy-Free)
- Gluten-Free Pecan Pie Bars (Dairy-Free)
- Gluten-Free Pumpkin Chocolate Chip Muffins (Dairy-Free)
P.S. If you try this recipe and fall in love with these amazing pumpkin cheesecake brownies, I’d absolutely love for you to leave a star rating below, and/or share your thoughts in a review in the comment section further down the page. Your feedback is always incredibly appreciated and helps other bakers! Be sure to explore my entire Recipe Index for all the delicious recipes on the blog. You can also connect with me and find more culinary inspiration on Pinterest, Facebook or Instagram! Don’t forget to sign up for my Email List to receive fresh, new recipes delivered straight to your inbox each week!
Print
Pumpkin Cheesecake Brownies (Gluten-Free, Dairy-Free)
5 Stars 4 Stars 3 Stars 2 Stars 1 Star
5 from 1 review
Author: Felicia Lim
Total Time: 55 minutes
Yield: 16 brownies
Diet: Gluten Free
Description
Deliciously fudgy pumpkin cheesecake brownies featuring a rich brownie base perfectly topped with a creamy, spiced pumpkin-swirled cheesecake layer. An amazing dessert worthy of the fall season! This recipe is also completely gluten-free and dairy-free, so everyone can enjoy these delightful autumn treats today!
Ingredients
Units
Scale
For the Brownie Batter:
- 2/3 cup semisweet dairy-free chocolate chips, separated
- 1/2 cup unsalted dairy-free butter
- 1 cup sugar
- 3 large eggs, beaten
- 2 tablespoons unsweetened cocoa powder
- pinch of salt
- 1/2 cup gluten-free all-purpose flour
- 1/4 teaspoon xanthan gum (omit if your gluten-free flour blend already has it)
For the Cream Cheese Layer:
- 8 oz. plain dairy-free cream cheese, room temperature
- 2/3 cup pumpkin puree
- 1 teaspoon ground cinnamon
- 1/2 teaspoon ground ginger
- 1/4 teaspoon ground nutmeg
Instructions
- Preheat and Line: Preheat the oven to 350F (180C). Line the bottom of an 8-inch (20cm) springform pan with parchment paper.
- Melt Chocolate in Butter: Place ¼ cup semisweet dairy-free chocolate and butter in a medium microwave-safe bowl and melt in the microwave or double-boiler.
- Melt Sugar in Chocolate Mixture: Add the 3/4 cup sugar to the bowl with the melted chocolate, then remove the bowl from the pan. Let it cool.
- Add Eggs: Add the 2 eggs one at a time into the mixture and whisk until well combined.
- Add Dry Ingredients: In another large mixing bowl, whisk the salt, cocoa powder and gluten-free all-purpose flour and xanthan gum (if using) together until well combined. Add the dry ingredients to the bowl with the wet ingredients and mix well to get a thick but homogeneous batter.
- Add Chocolate Chips: Fold in the remaining chocolate chips.
- Pour Batter into Pan: Reserve about ½ cup brownie batter for later and pour the rest in the prepared pan.
- Prepare Cream Cheese Layer: Add cream cheese into a medium bowl, add 1/4 cup of sugar and 1 egg and mix to combine. Add pumpkin puree, ground cinnamon, ground ginger, ground nutmeg and keep whisking.
- Spoon Cream Cheese onto Brownie Batter: Add spoons of cream cheese mixture on top of the brownie batter.
- Top with More Brownie Batter: Add teaspoons of reserved brownie batter on top.
- Create Swirls: Use a skewer to create swirls.
- Bake Until Ready: Bake for about 30-35 minutes until a toothpick inserted into the center comes out with a few moist crumbs sticking to it.
- Cool Completely Before Slicing and Serving: Remove the brownie from the oven and cool completely before serving.
Notes
Chocolate Chips: I used semisweet dairy-free chocolate chips to keep this recipe dairy-free. However, if you are not lactose-intolerant, go ahead and use regular chocolate chips instead.
Butter: I used unsalted dairy-free butter to keep this recipe dairy-free. However, if you are not lactose-intolerant, go ahead and use regular butter instead.
Sugar: I used white sugar, but cane sugar or light brown sugar will work just as well. If you are diabetic or insulin-resistant, I highly recommend using granulated monkfruit sweetener (a 1:1 sugar substitute that is zero glycemic index and will not raise your blood sugar).
Eggs: Eggs act as a binder to bind the ingredients in the brownie batter together, so make sure you add them in. If you are allergic to eggs, you may go ahead and use an egg-replacer or aquafaba instead.
Cocoa Powder: Make sure to use unsweetened cocoa powder as we will already be adding in sugar for sweetness.
Gluten-Free Flour: I recommend using a good-quality gluten-free flour that is made up of lighter flours/starches (such as rice flour, tapioca starch, corn starch, or potato starch). I do NOT recommend using a gluten-free flour blend that is made up of heavier flours (such as garbanzo bean flour).
Xanthan Gum: Xanthan gum is the replacement for gluten in gluten-free flours, and is necessary for binding the brownie ingredients together. For best results, make sure to add xanthan gum in if your gluten-free blend does not already include it.
Cream Cheese: I used plain dairy-free cream cheese to keep the recipe dairy-free. However, if you are not lactose-intolerant, go ahead and use regular cream cheese instead.
Pumpkin Puree: Pumpkin puree is not the same as pumpkin pie filling. I like to use homemade pumpkin puree during pumpkin season, but store-bought pumpkin puree will work just as well.
Spices: I used a mix of ground cinnamon, ground ginger and ground nutmeg, but you can easily replace all the spices with 1 3/4 teaspoon of pumpkin pie spice instead.
Storing/Freezing: To store, place the cooled pumpkin cheesecake brownies in an airtight container (separating each layer with parchment paper) and keep in the refrigerator for up to 5 days. To freeze, place the cooled pumpkin brownies in freezer bags (separating each layer with parchment) and freeze for up to 2 months. Let the brownies thaw completely overnight in the refrigerator before heating up and serving.
- Prep Time: 20 mins
- Cook Time: 35 mins
- Category: Desserts
- Method: Baking
- Cuisine: American
