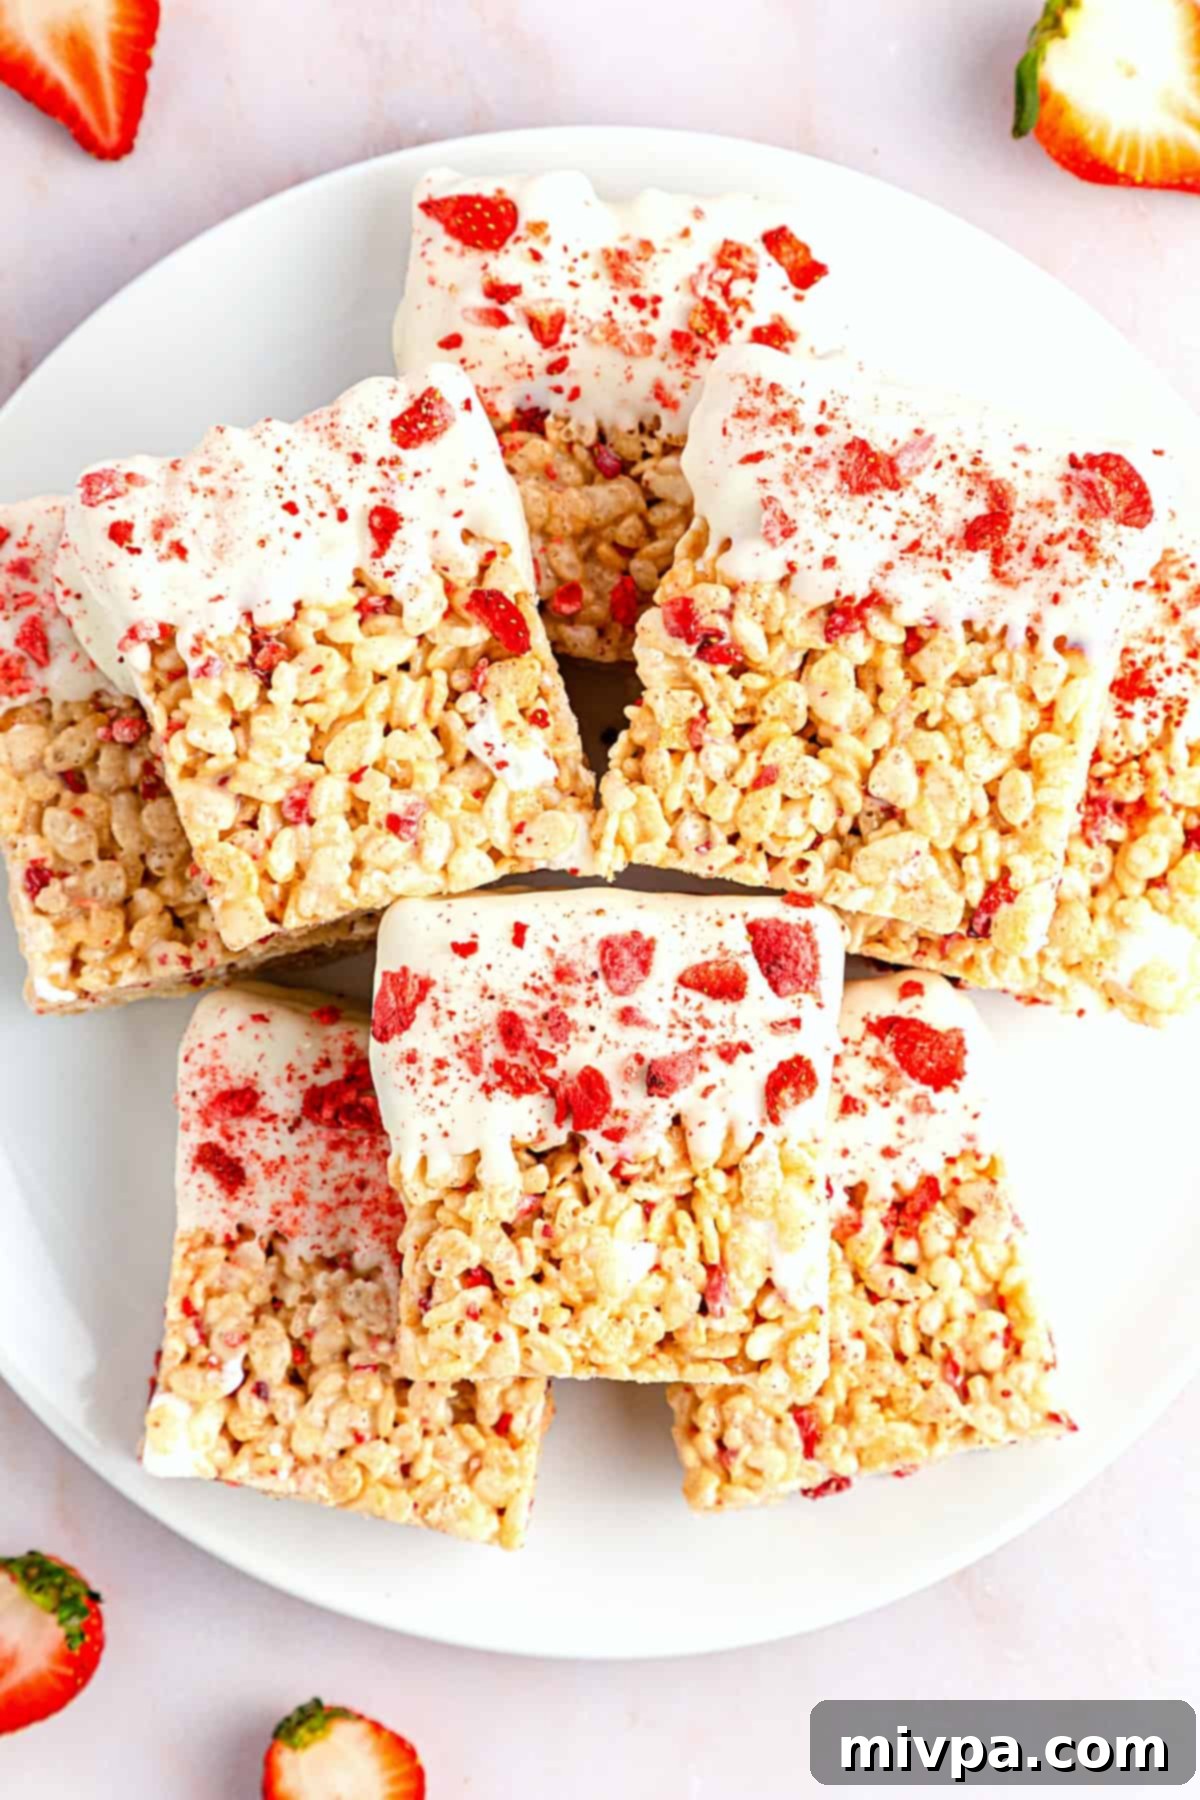
Irresistible Gluten-Free Strawberry Rice Krispies Treats: A Delicious Vegan & Dairy-Free Recipe for Everyone
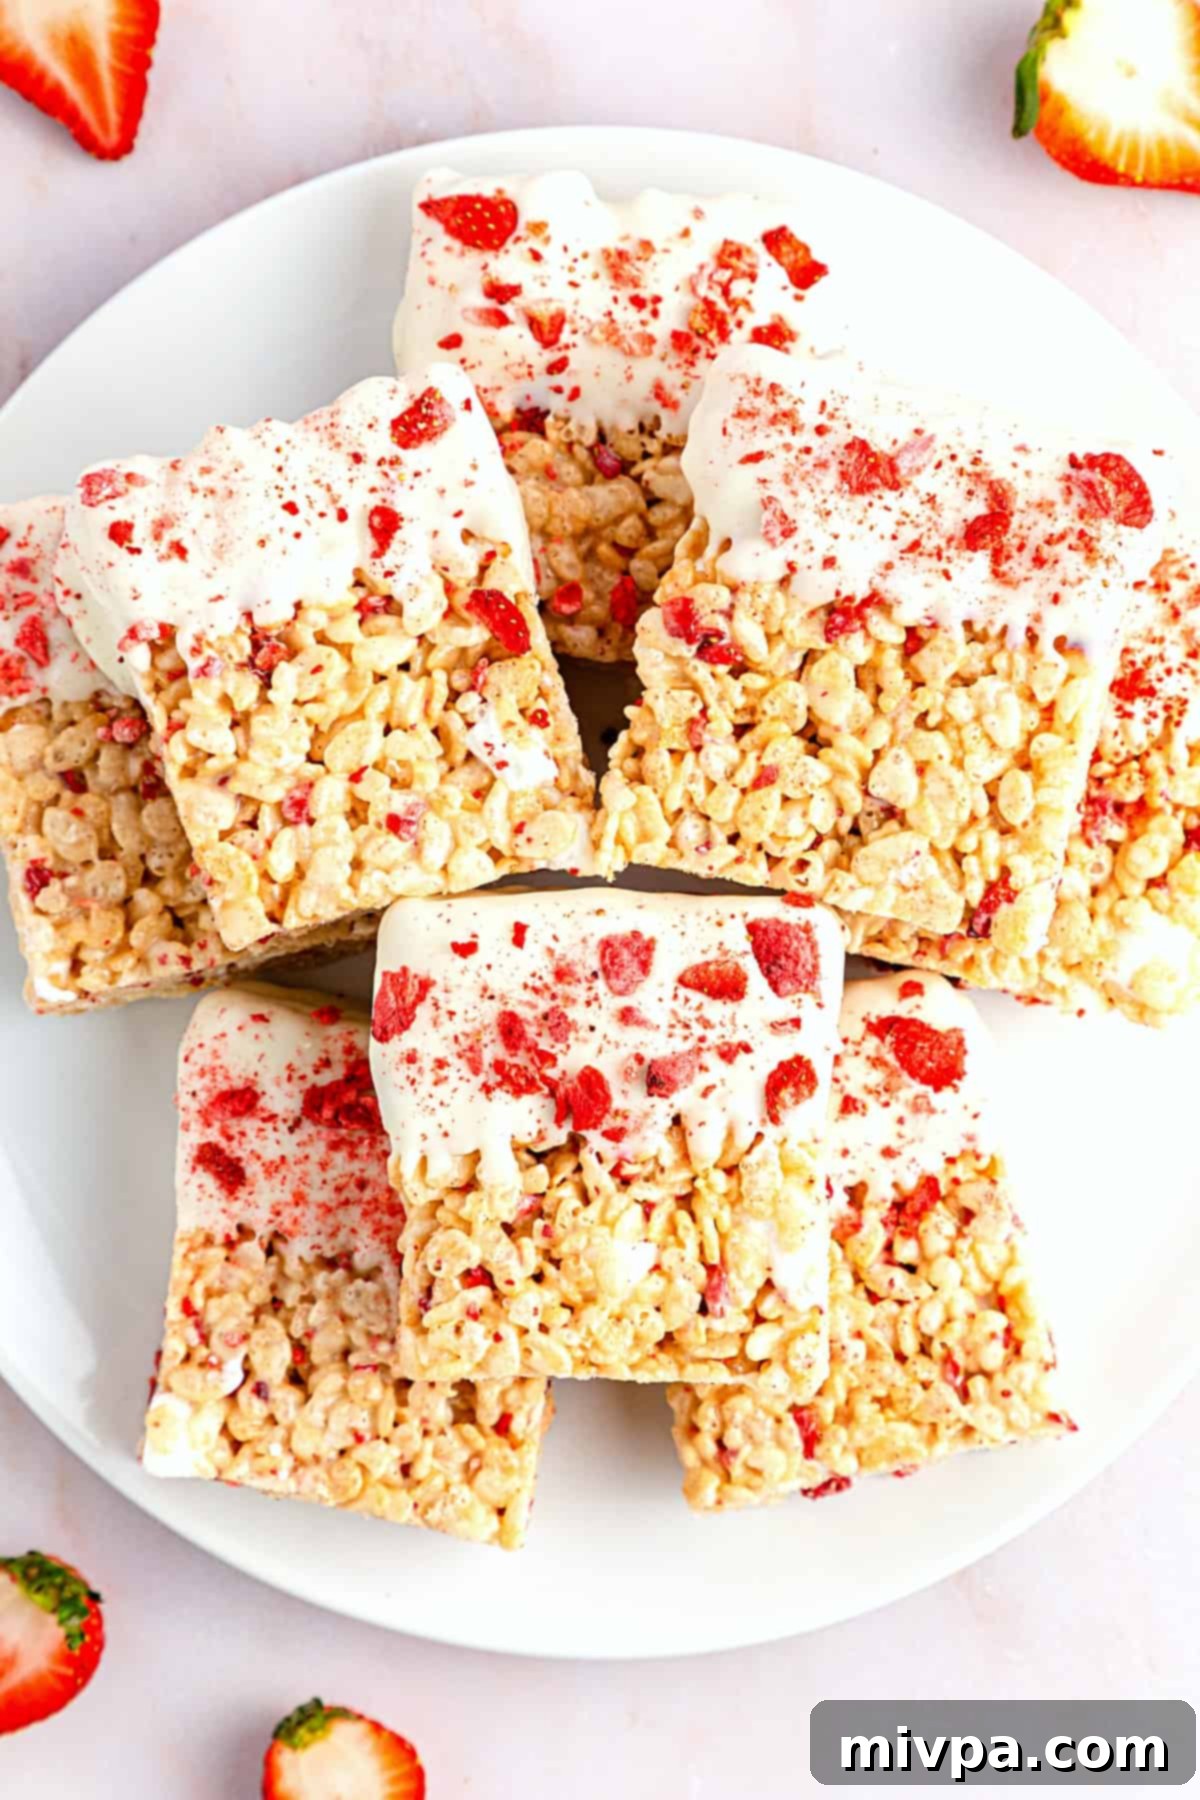
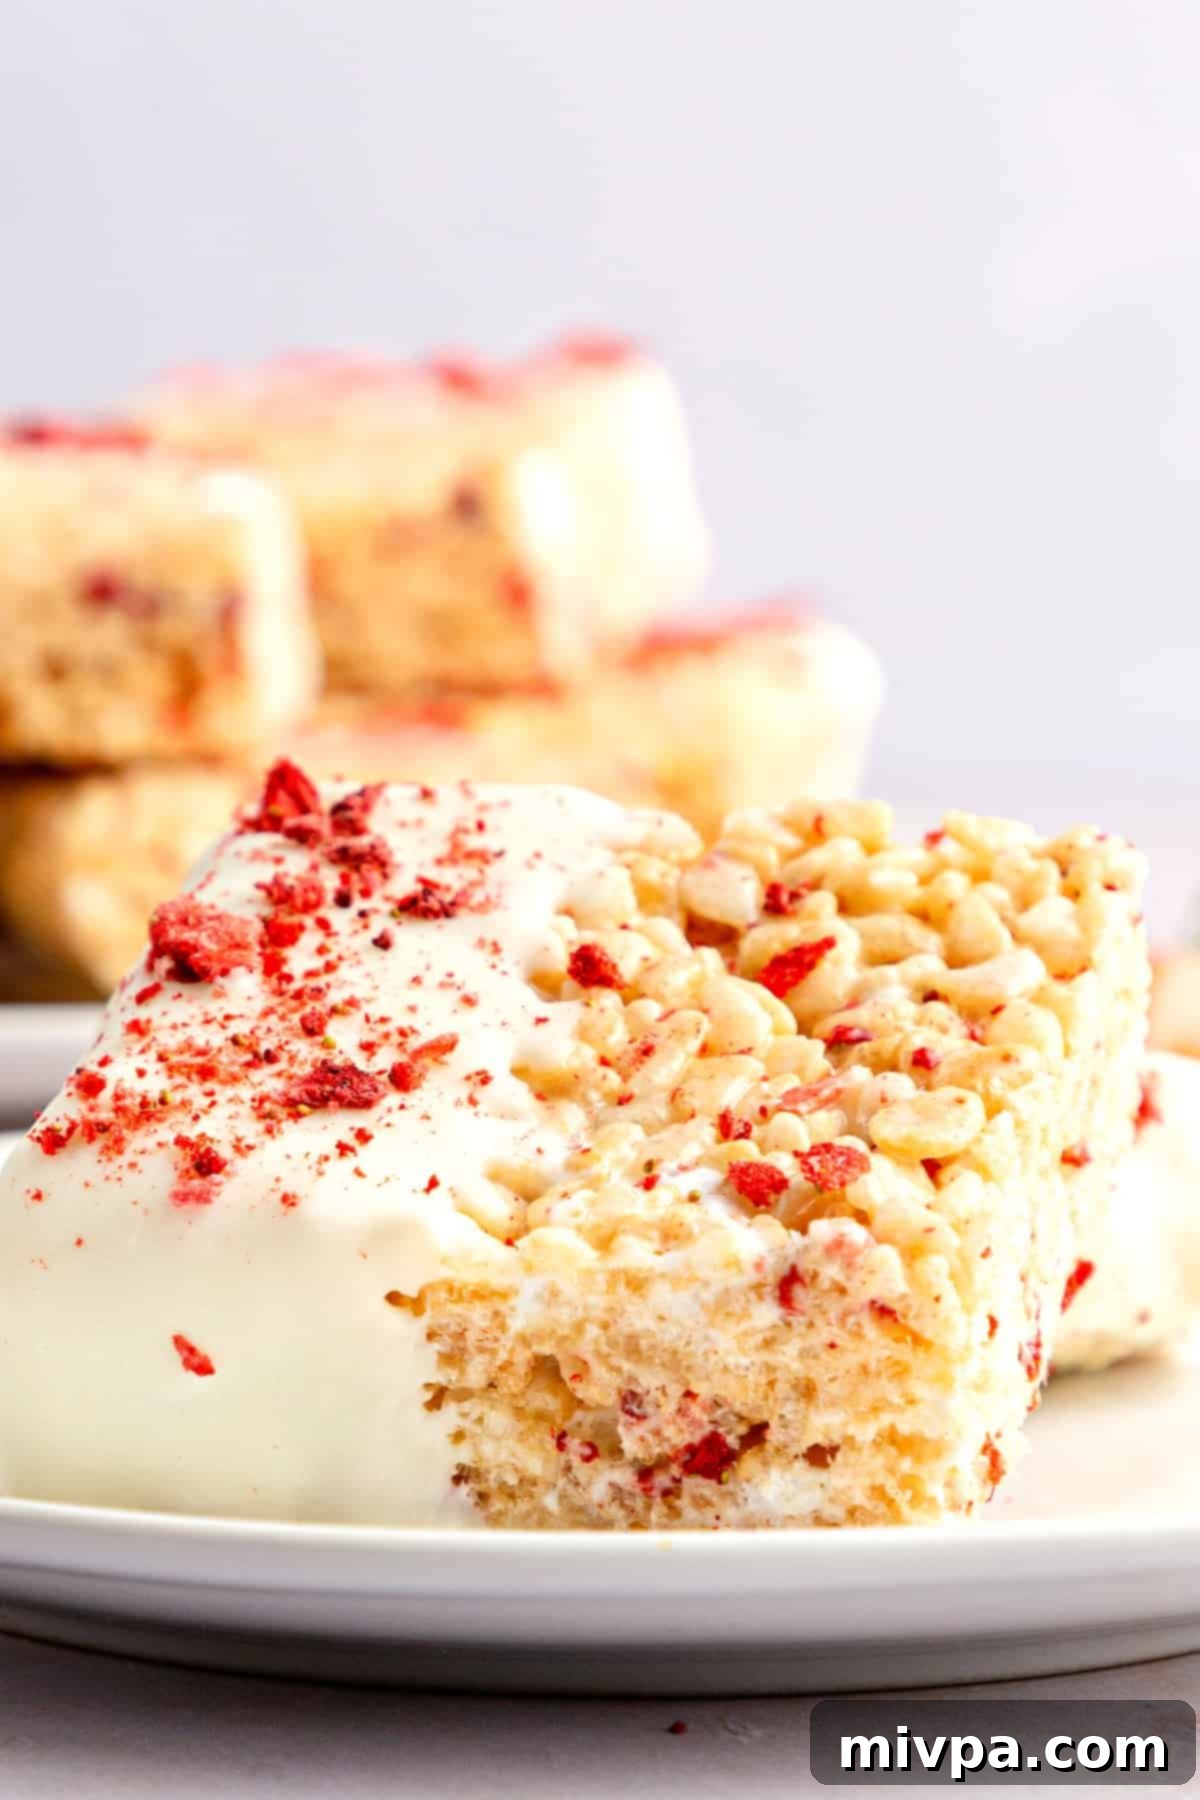
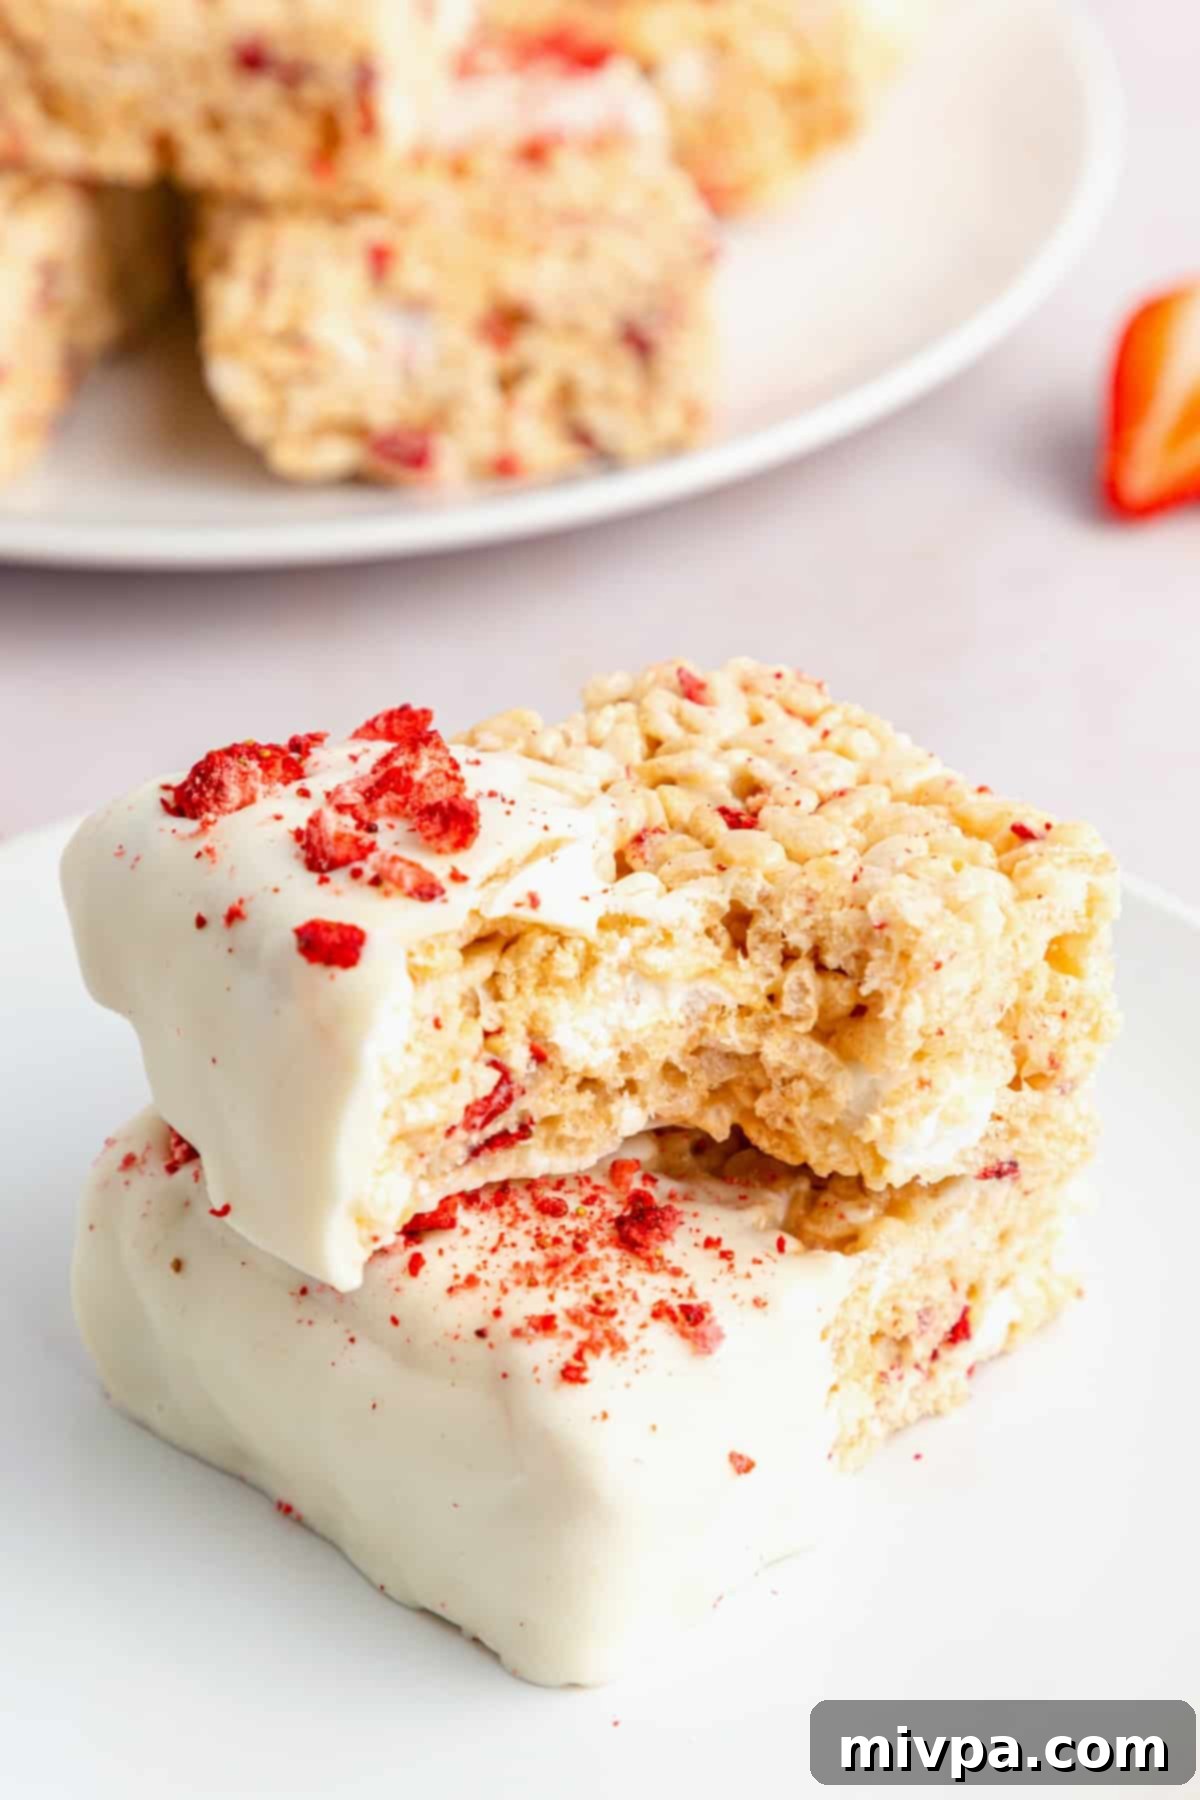
Indulge in these incredibly easy-to-make, gluten-free rice krispies treats, bursting with the delightful chewiness of gooey marshmallows and the vibrant sweetness of freeze-dried strawberries in every single bite. Each square is lovingly dipped in dairy-free white chocolate, adding an elegant touch and an extra layer of sweetness that makes them truly special. These delightful strawberry rice krispie treats are the perfect no-bake dessert for any occasion, whether you’re looking for a fun activity to make with kids, planning for special celebrations, or simply craving a nostalgic snack. Best of all, they are entirely dairy-free and vegan, ensuring everyone can enjoy this classic treat!
[feast_advanced_jump_to]
Deliciously Easy Treats: A Nostalgic Delight
For many of us, rice krispies treats evoke cherished childhood memories – that perfect blend of crispy cereal, sweet, fluffy marshmallows, and buttery goodness. These simple, no-bake squares were often a staple at bake sales, school parties, and family gatherings, becoming an instant favorite due to their satisfying texture and irresistible flavor. The joy of biting into a perfectly gooey, yet crunchy treat is simply unmatched. This recipe captures that timeless appeal while making it accessible to even more people with dietary restrictions.
What Exactly Are Rice Krispies Treats?
Traditional Rice Krispies treats are a beloved American dessert, typically made by binding Kellogg’s Rice Krispies cereal (or a similar puffed rice cereal) with a melted mixture of butter (or margarine) and marshmallows. The mixture is then pressed into a pan, allowed to set, and cut into squares. These delightful confections are also widely known as “marshmallow treats,” “marshmallow squares,” or simply “Rice Krispies squares.” Their appeal lies in their minimal ingredient list and the fact that they require no baking, making them a fantastic option for quick desserts or projects with young chefs.
Originally a homemade creation, their popularity led the Kellogg’s company to introduce their own commercial version in 1995, cementing their status as a classic treat found in lunchboxes and pantries across the country. Over the years, countless variations have emerged, incorporating everything from chocolate and peanut butter to various candies and flavorings, proving their versatility and enduring charm.
Are Traditional Rice Krispies Cereals Gluten-Free?
Here’s where a crucial distinction needs to be made for those with dietary sensitivities. While rice itself is naturally gluten-free, the traditional Kellogg’s Rice Krispies cereal contains barley malt syrup. Barley is a gluten-containing grain, which means that the original Rice Krispies cereal is **not** gluten-free and therefore not safe for individuals with Celiac disease or gluten sensitivities and intolerances.
To ensure these beloved treats can be enjoyed by everyone, including those on a gluten-free diet, it’s essential to use an alternative: a certified gluten-free crispy rice cereal. Fortunately, many brands now offer excellent gluten-free versions of puffed rice cereal, making it easy to recreate this childhood favorite without any concerns. Today’s recipe specifically addresses this by utilizing gluten-free cereal, ensuring a safe and delicious treat for all.
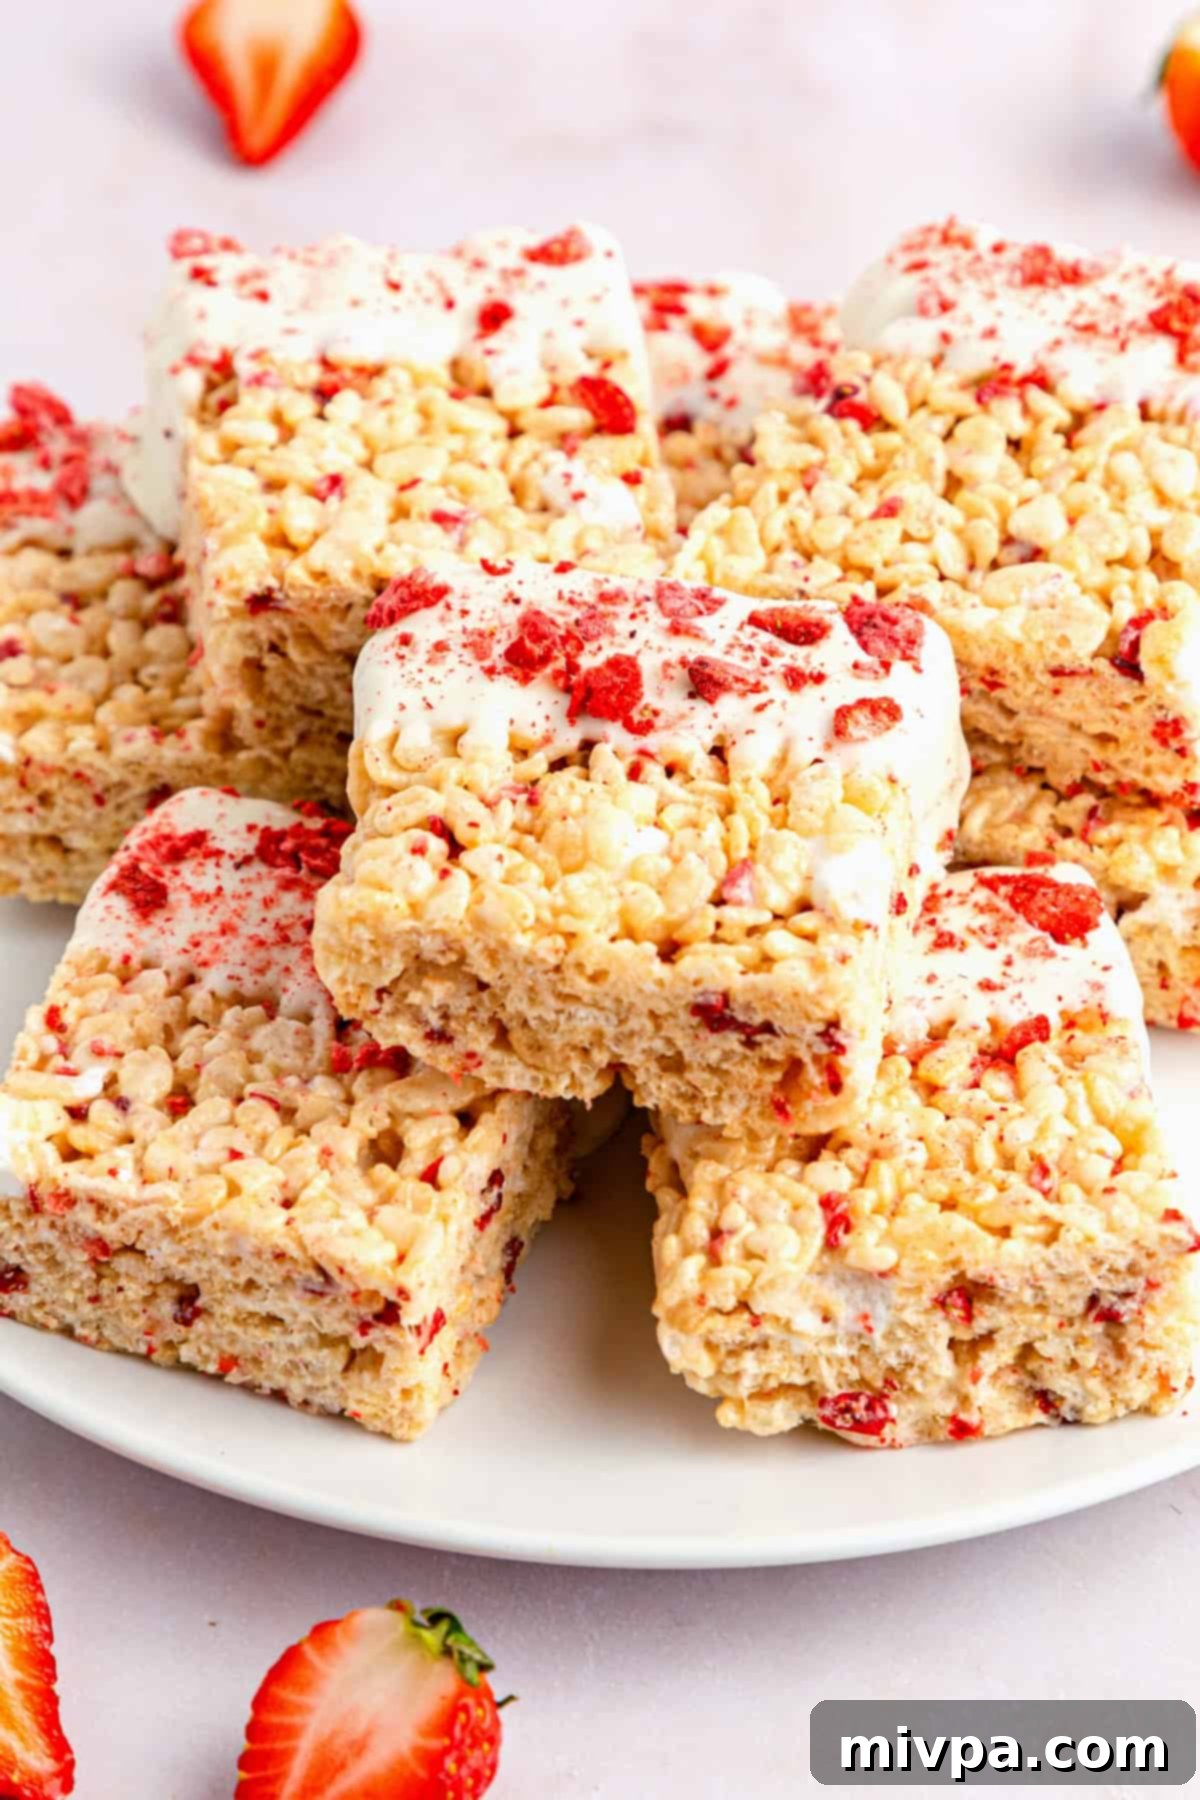
Why This Gluten-Free Strawberry Rice Krispies Treats Recipe Works:
This recipe isn’t just a delicious twist on a classic; it’s designed to be simple, accessible, and inclusive. Here’s why you’ll love making these strawberry-infused, white chocolate-dipped delights:
- Simple, Accessible Ingredients: You don’t need to hunt for exotic items. All the ingredients for these homemade gluten-free rice krispies treats are readily available at your local grocery store. From vegan butter and marshmallows to gluten-free rice cereal and freeze-dried strawberries, you’ll find everything you need with ease, making your baking experience stress-free.
- Incredibly Easy and Quick to Make: The actual hands-on time for preparing this crispy treat recipe is remarkably short and straightforward. As a no-bake dessert, it eliminates the complexities of ovens and baking times. Most of the process involves melting a few ingredients and then patiently waiting for the mixture to set. This makes it a fantastic recipe for beginners, busy parents, or anyone looking for a quick and satisfying sweet fix.
- Completely Gluten-Free, Dairy-Free, and Vegan: This is perhaps the biggest selling point of these strawberry rice krispies treats. They are 100% gluten-free, dairy-free, and vegan. This means that individuals with Celiac disease, gluten intolerances, lactose intolerances, or those following a plant-based diet can enjoy these delectable treats without any concerns or compromises on flavor or texture. It’s a truly inclusive dessert that everyone at your table can savor!
Key Ingredients for These Delicious Treats:
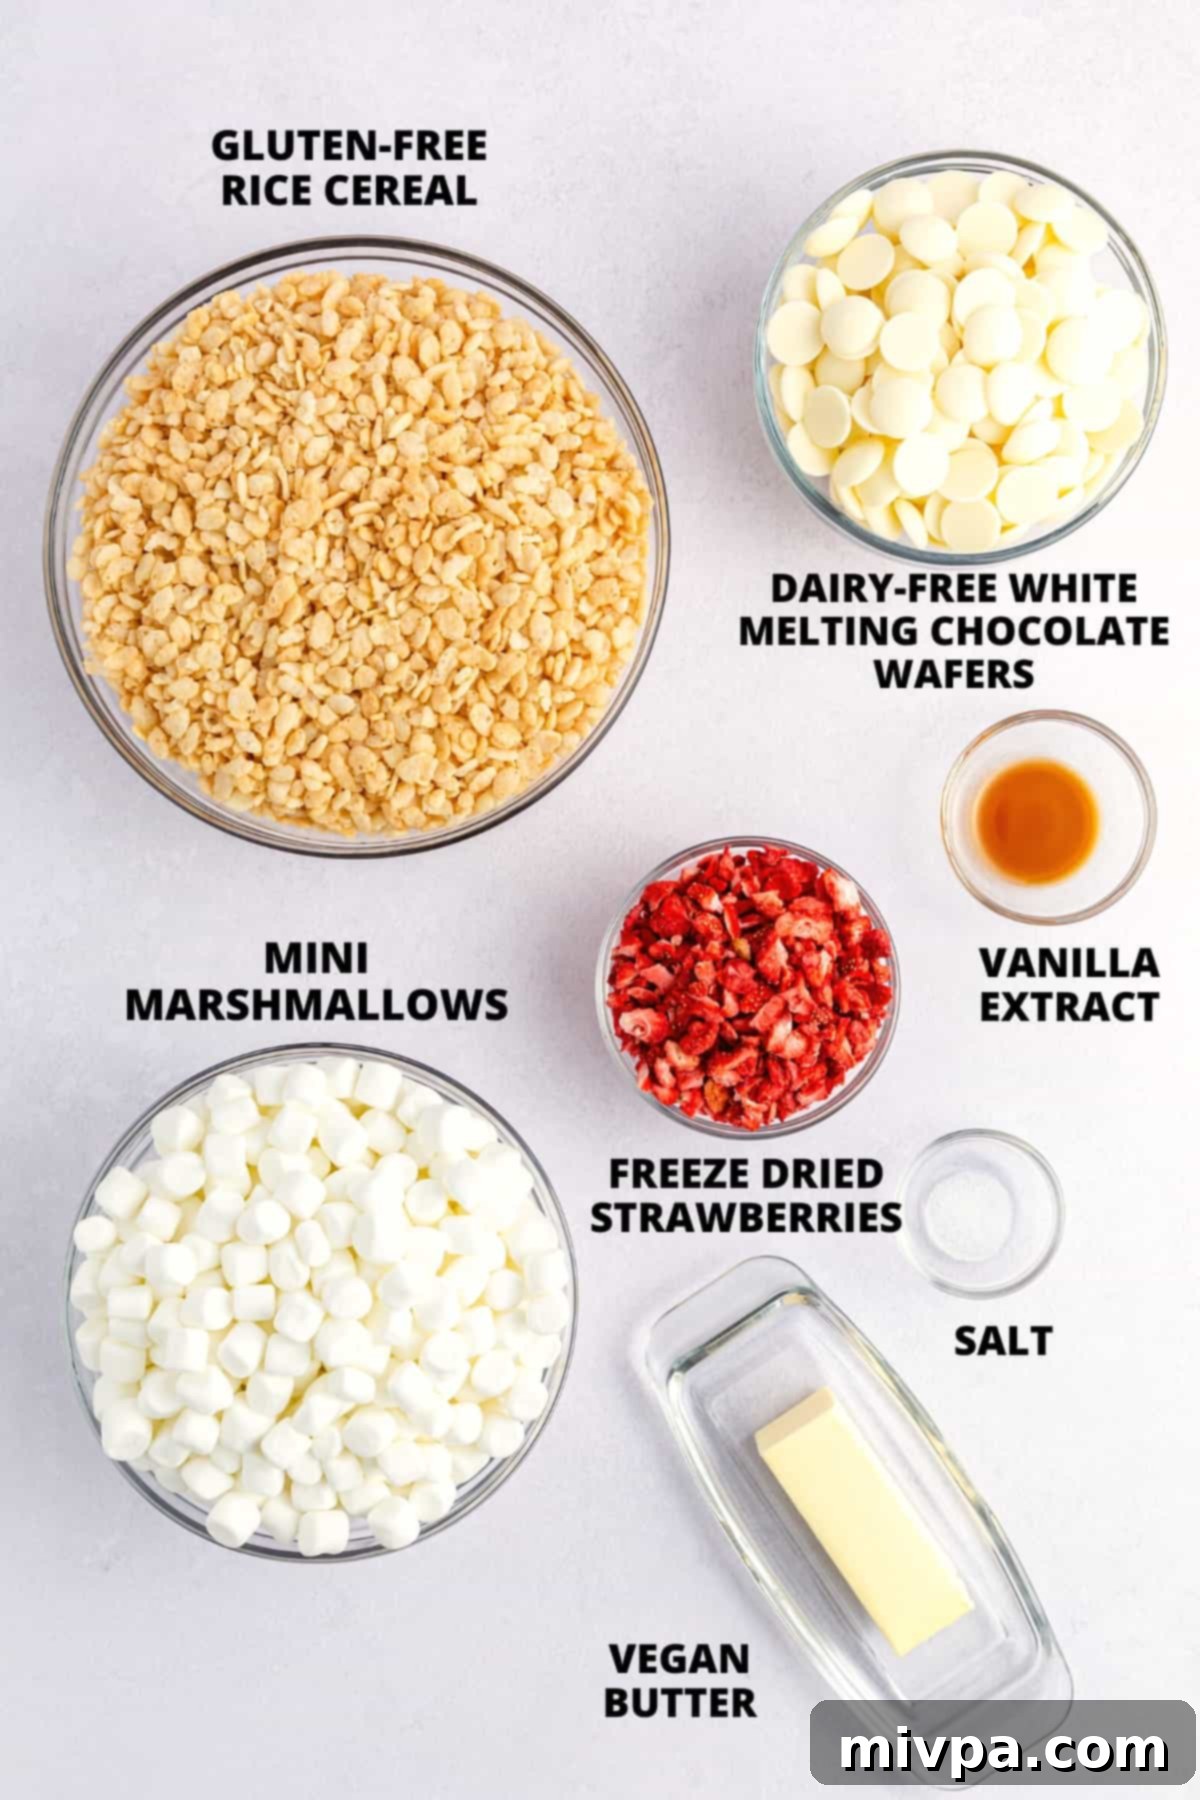
Here’s a visual overview of the simple, yet essential, ingredients required for crafting these delightful gluten-free strawberry rice krispies treats. Each component plays a crucial role in achieving the perfect balance of sweetness, crispiness, and fruity flavor.
(For exact measurements and detailed instructions, please scroll down to the comprehensive printable recipe card at the bottom of this post.)
Recipe Notes + Smart Substitutions
Understanding your ingredients and their potential swaps can enhance your cooking experience and ensure successful results every time. Here are some detailed notes and substitution ideas for this recipe:
- Vegan Butter: I specifically used a high-quality vegan butter to keep this recipe completely dairy-free and vegan. Many excellent plant-based butter alternatives are available on the market today that melt beautifully and provide a rich flavor. For another dairy-free option, you may also use coconut oil if you prefer, ensuring it’s melted before use. If you are not lactose-intolerant or vegan, feel free to use regular unsalted butter instead.
- Mini Marshmallows: To maintain the dairy-free and vegan integrity of this recipe, I opted for vegan marshmallows. Most conventional marshmallows contain gelatin, which is an animal product. There are several great vegan marshmallow brands available that deliver the same fluffy, gooey texture. If dietary restrictions are not a concern for you, traditional mini marshmallows will work perfectly.
- Vanilla Extract: Don’t skip the vanilla extract! A good quality vanilla extract adds a wonderful depth of flavor, enhancing the overall sweetness and aroma of these treats. It complements the strawberries and chocolate beautifully, bringing a warm, inviting note to the dessert.
- Gluten-Free Rice Cereal: As mentioned, this is a critical ingredient for keeping the recipe gluten-free. Since traditional Kellogg’s Rice Krispies contain barley malt syrup (which has gluten), we are using a certified gluten-free crispy rice cereal. Always check the label to ensure it is certified gluten-free, especially for those with Celiac disease. If you are not Celiac or gluten-intolerant, regular Rice Krispies can be used.
- Freeze-Dried Strawberries: The inclusion of freeze-dried strawberries is key to the “strawberry” in these treats! They provide a concentrated, natural strawberry flavor and a beautiful pink hue without adding excess moisture that fresh fruit would. Roughly chopped, they integrate perfectly into the mix. Alternatively, you may experiment with other freeze-dried berries such as blueberries, blackberries, or raspberries for different flavor profiles.
- Dairy-Free White Chocolate Chips: The final touch of dipping these treats in dairy-free white chocolate chips elevates them to a gourmet level while keeping them vegan and dairy-free. These melt smoothly and provide a lovely contrasting sweetness. If you are not lactose-intolerant or vegan, regular white chocolate chips can be used. For a different flavor, consider using dairy-free dark chocolate chips instead!
How to Make Gluten-Free Strawberry Rice Krispies Treats (Step by Step Guide)
Making these delicious treats is a breeze! Follow these simple steps for perfect, gooey, and crispy results every time.
1. Prepare Your Baking Pan
Start by lining a 9″ x 13″ baking pan with parchment paper. This is a crucial step that will make removing and slicing your treats incredibly easy. Once lined, lightly grease the parchment paper with a bit of cooking spray or a thin layer of vegan butter. Set this prepared pan aside.
2. Melt the Vegan Butter
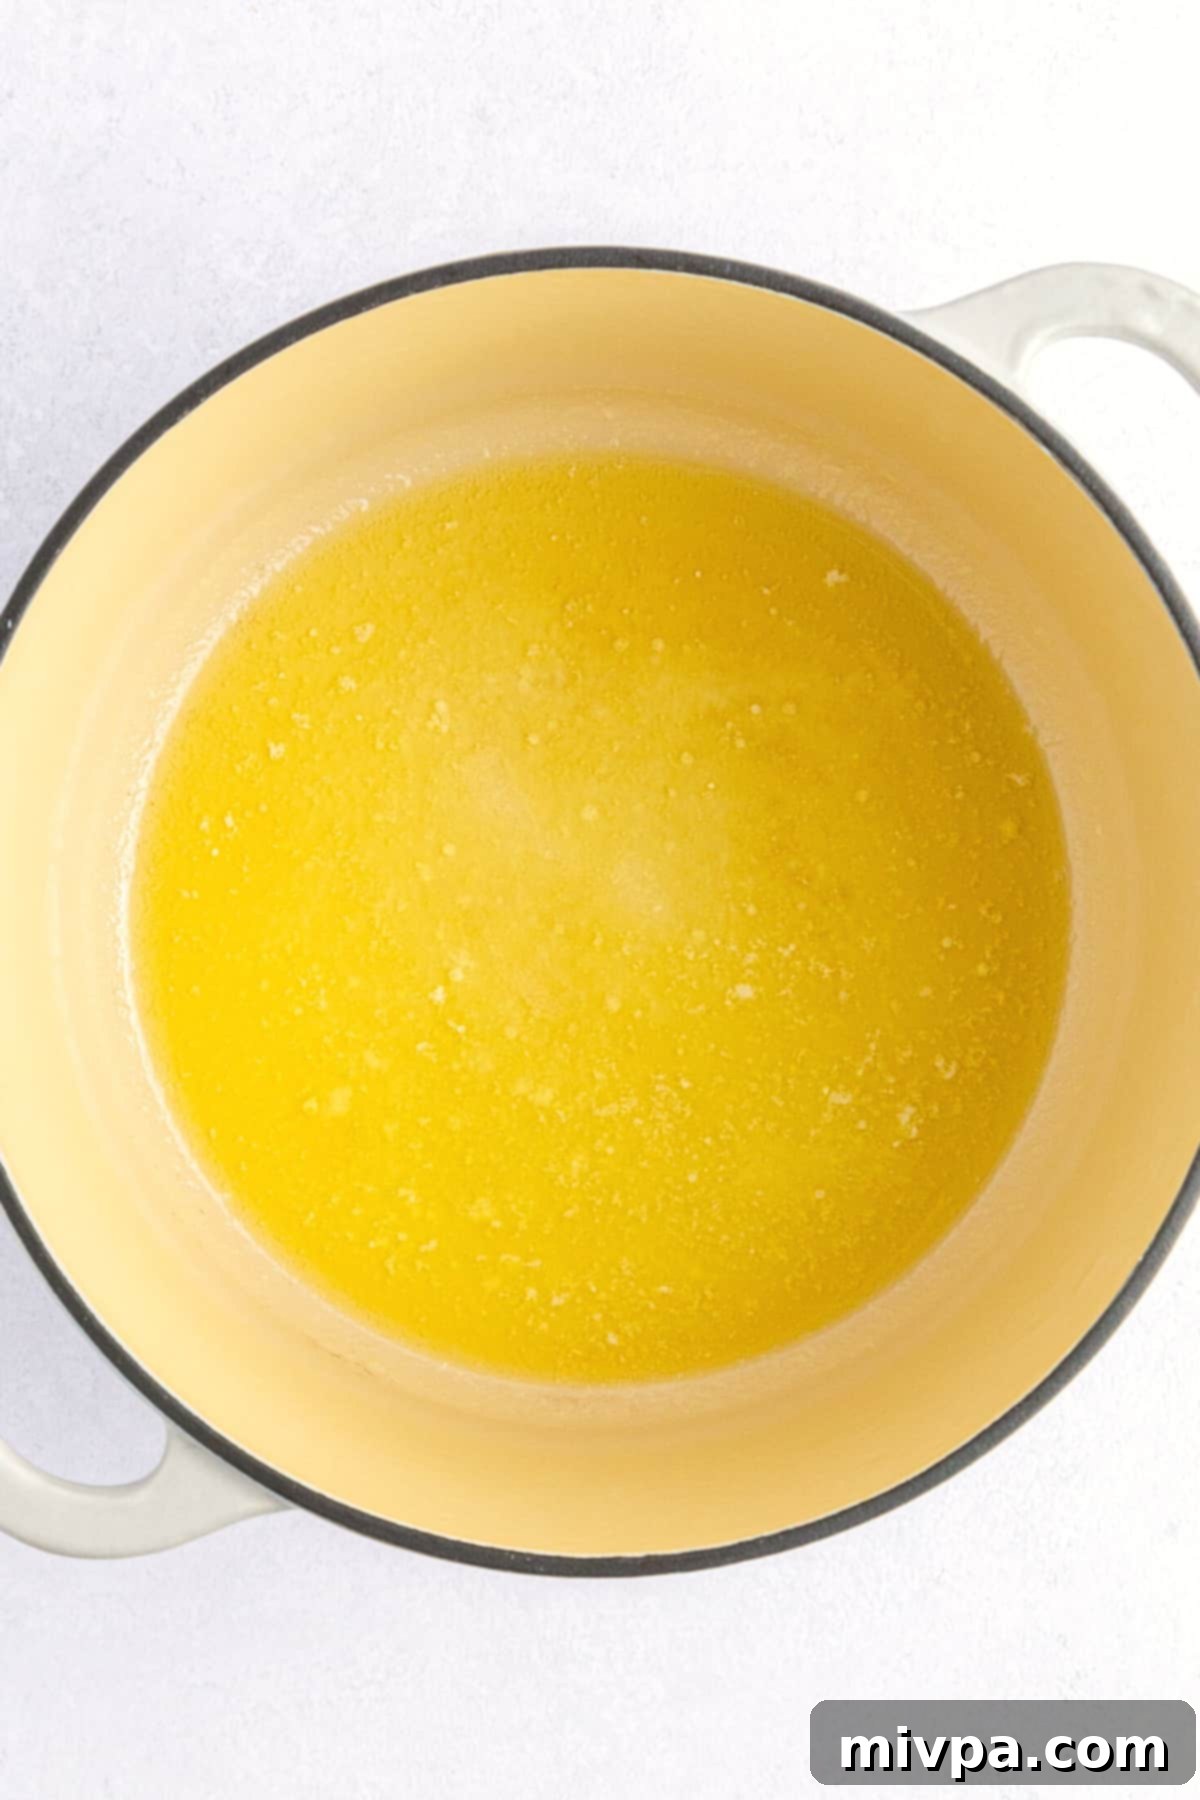
In a large, heavy-bottomed pot (a Dutch oven works well for this), melt the vegan butter over medium heat. Keep a close eye on it to prevent burning. Once the butter is fully melted and shimmering, add in the salt and stir well to combine. The salt helps to balance the sweetness of the marshmallows and enhance the overall flavor.
3. Separate Marshmallows for Texture
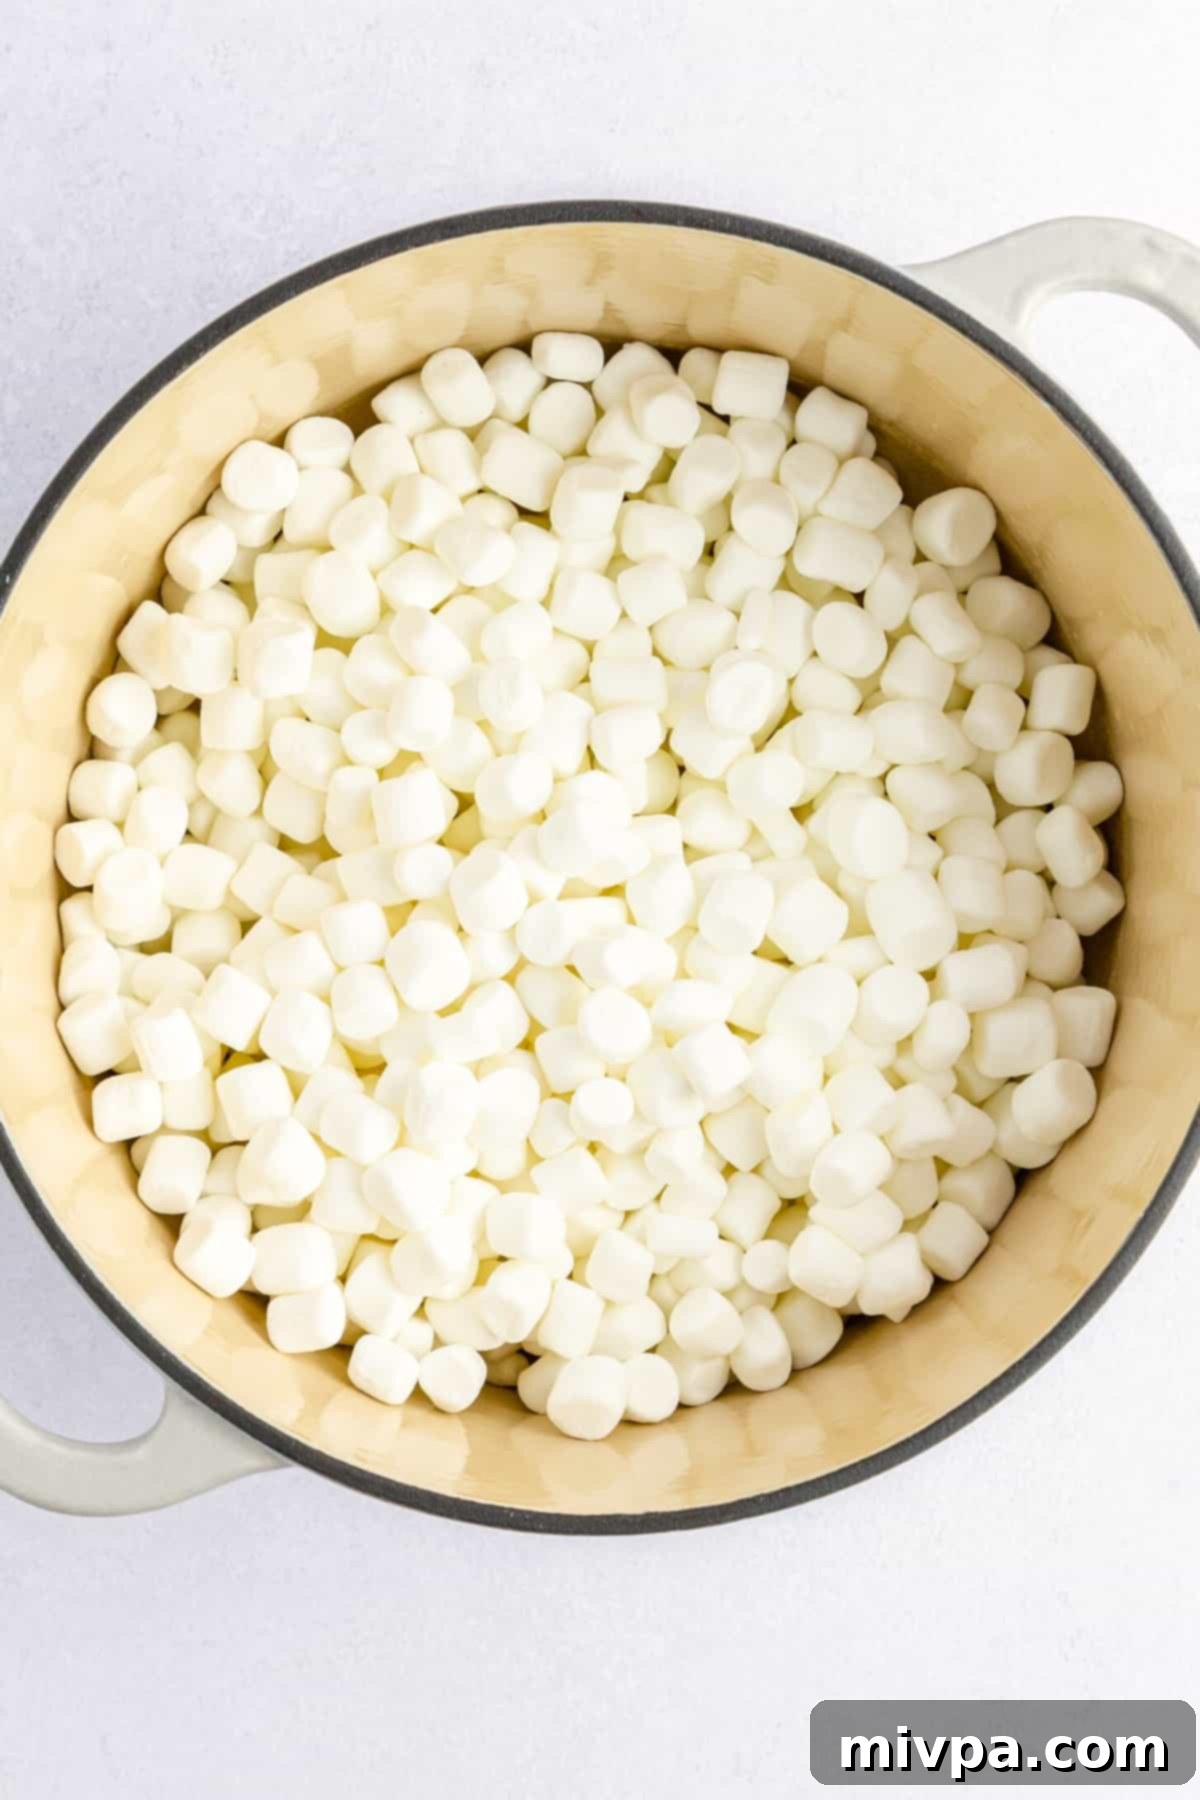
Before adding all the marshmallows to the pot, separate about 1 ½ cups of them and set them aside. These will be folded in at a later stage, adding pockets of whole, soft marshmallows throughout the treats for an extra gooey texture when you bite into them.
4. Melt the Main Batch of Marshmallows
Pour the remaining marshmallows into the pot with the melted butter and continue to stir constantly over medium-low heat. It’s important to stir continuously to prevent them from sticking and burning. Continue until the marshmallows are completely melted and form a smooth, gooey mixture. This should take a few minutes.
5. Infuse with Vanilla Flavor
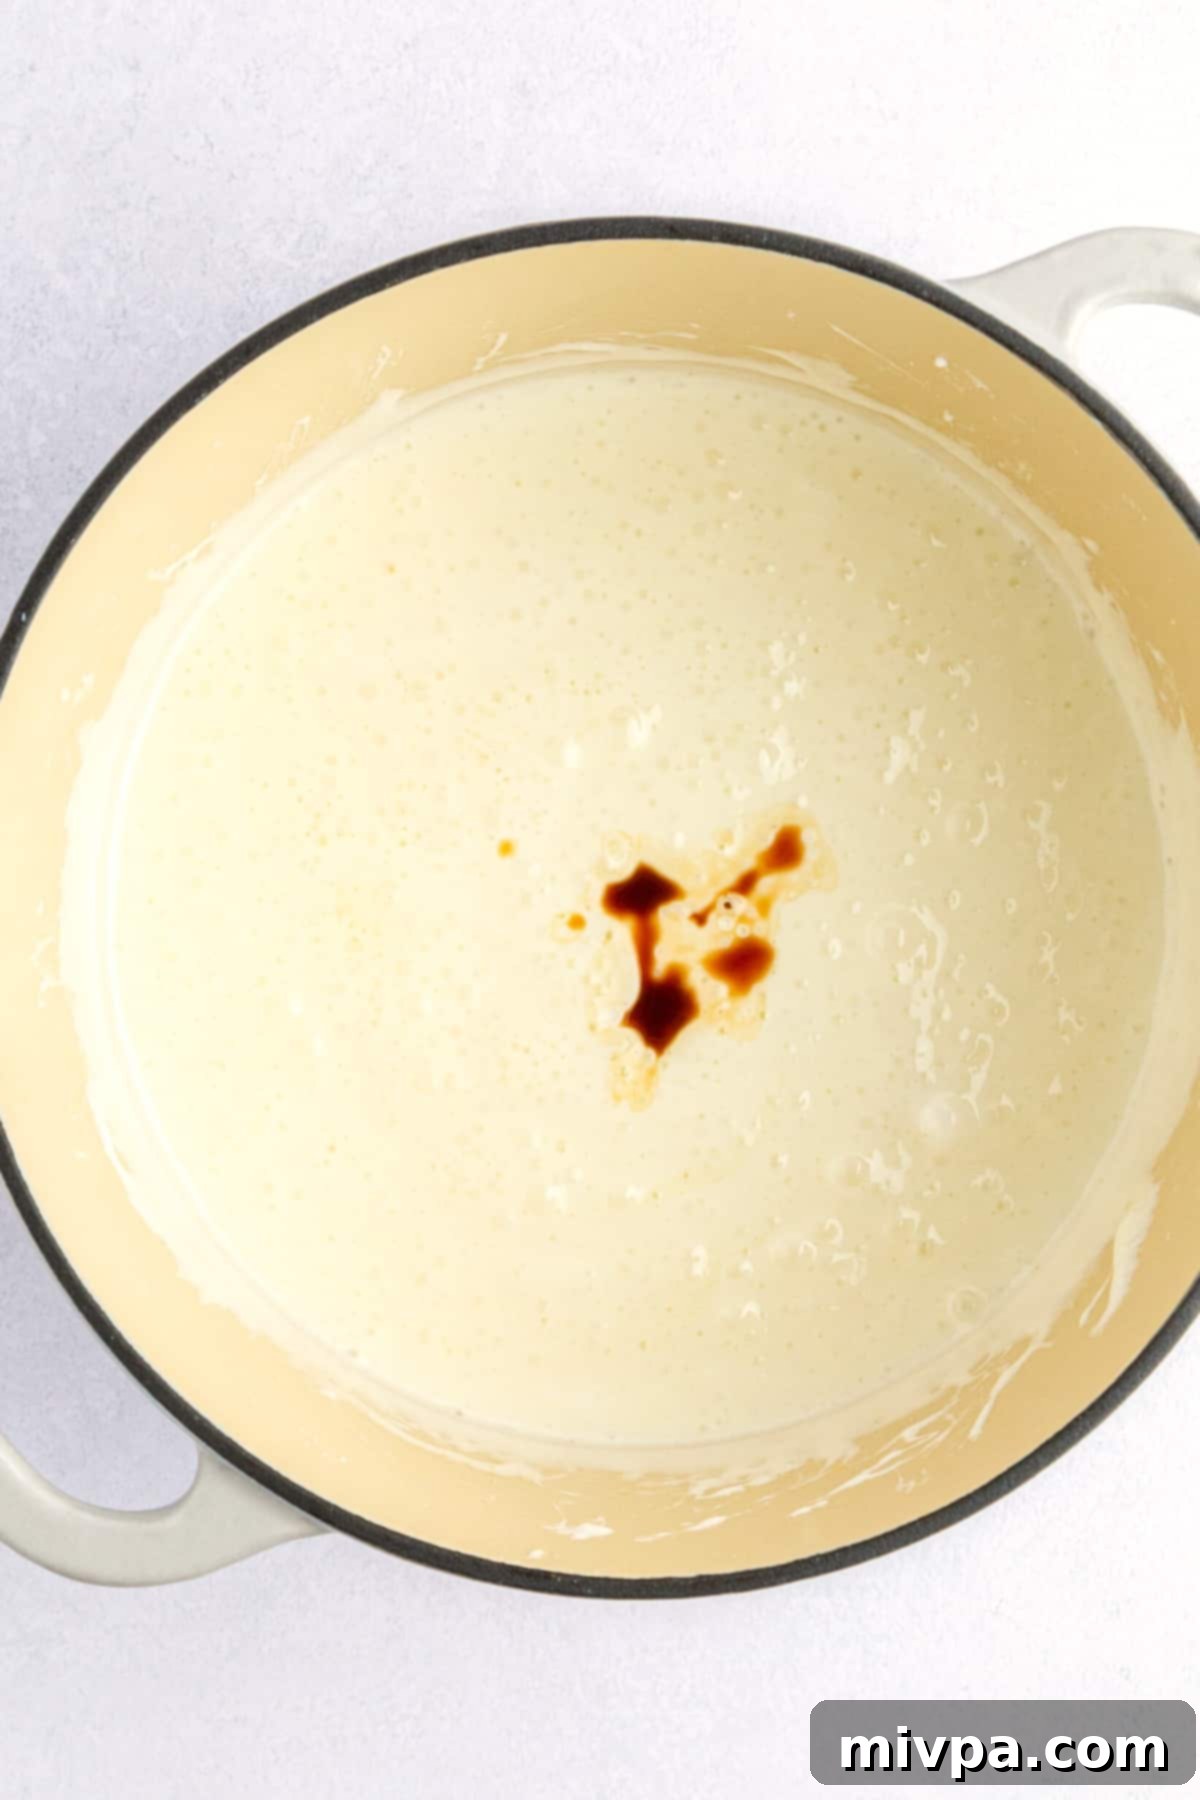
Once the marshmallows are fully melted and smooth, remove the pot from the heat. Immediately add the vanilla extract to the marshmallow mixture. Give it a quick, thorough stir to ensure the vanilla is evenly distributed and its fragrant notes infuse the entire batch. This step greatly enhances the overall flavor profile of your treats.
6. Add Cereal and Freeze-Dried Strawberries
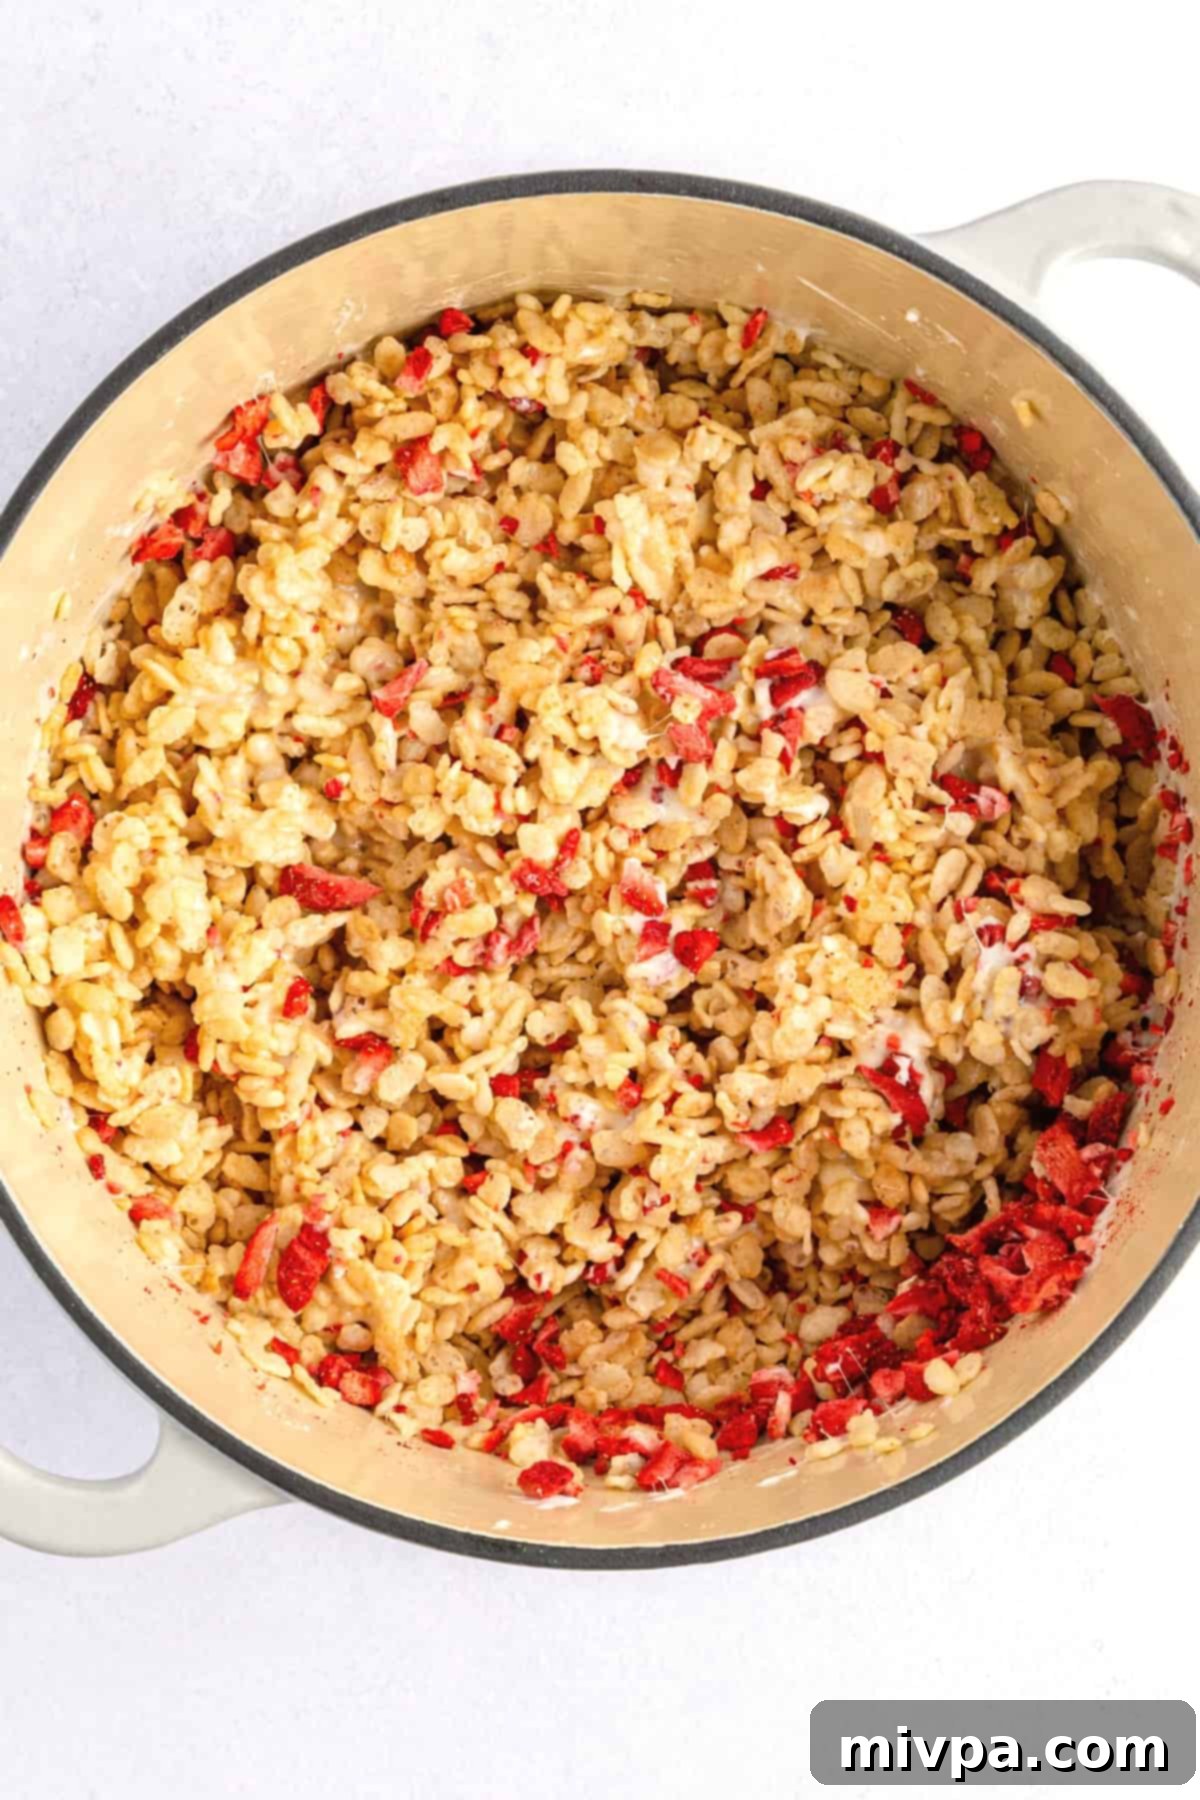
Pour the gluten-free rice cereal and the roughly chopped freeze-dried strawberries into the pot with the melted marshmallow mixture. Using a large wooden spoon or a heat-resistant spatula, gently fold the ingredients together until the cereal and strawberries are thoroughly coated with the marshmallow mixture. Work quickly but carefully to ensure everything is evenly combined without crushing the cereal too much.
7. Fold in Remaining Marshmallows for Extra Gooiness
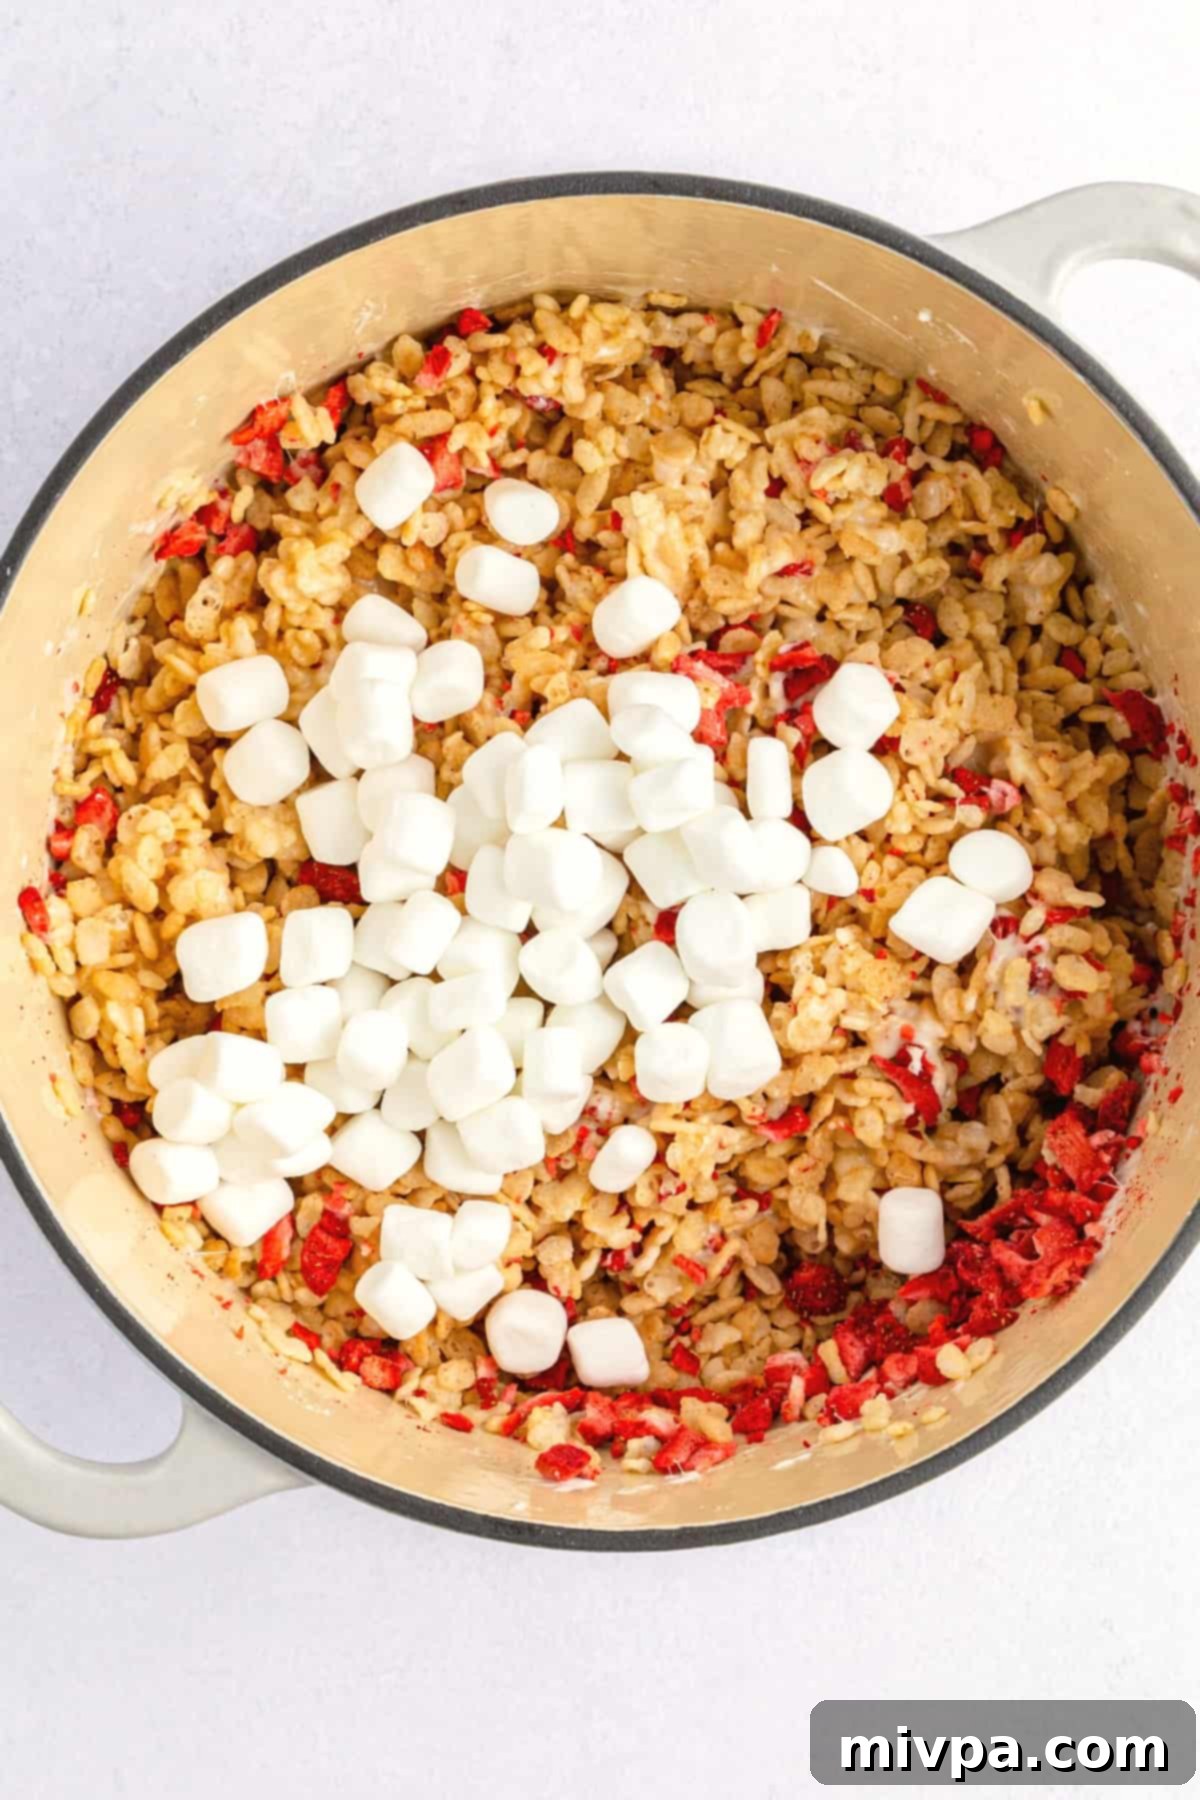
Now, add the 1 ½ cups of marshmallows that you set aside earlier. Gently fold them into the cereal mixture. The residual heat from the mixture will soften these marshmallows, creating wonderful pockets of gooeyness that differentiate these treats from the standard version. Stir just enough until they are evenly distributed but not completely melted.
8. Transfer to Baking Pan and Press
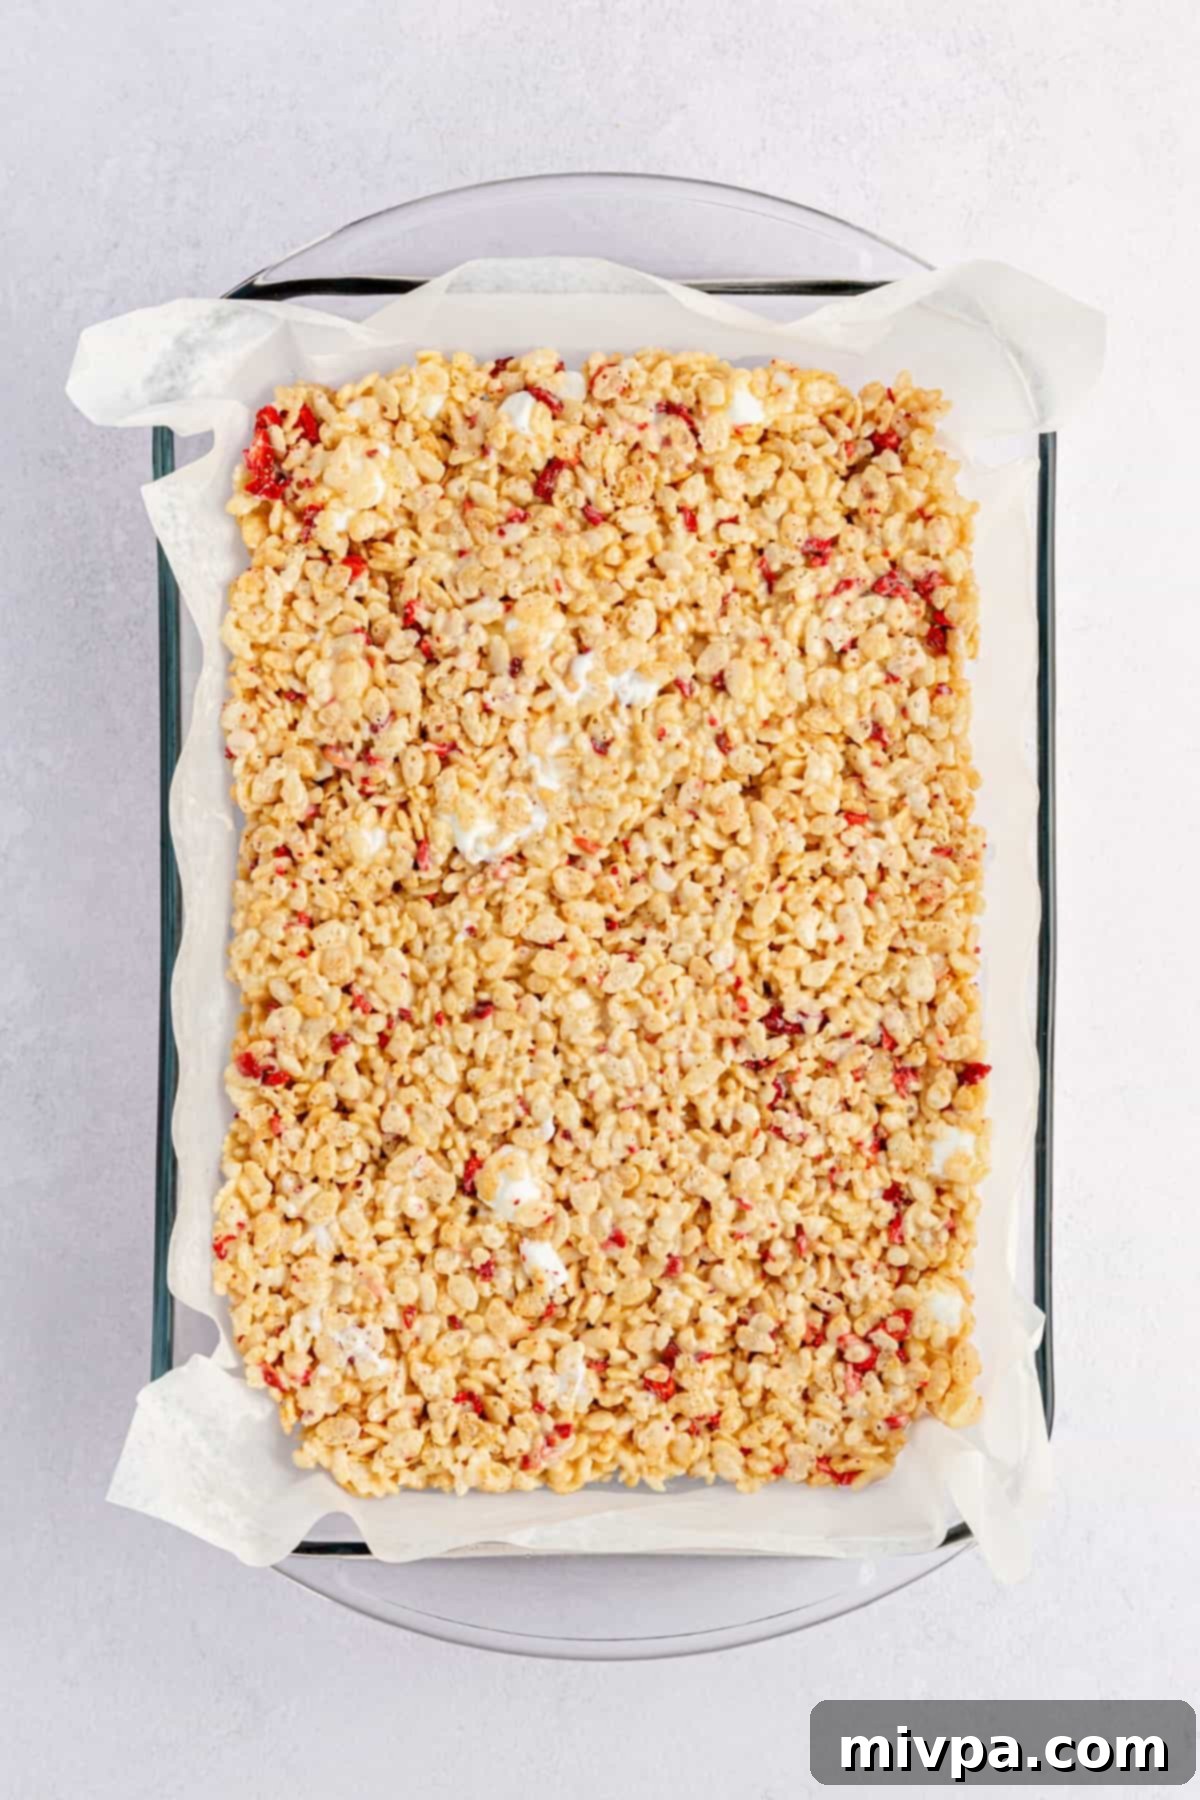
Carefully pour the entire cereal mixture into the prepared baking pan. Using a rubber spatula that has been lightly greased with cooking spray (this prevents sticking), gently press and flatten the mixture into an even layer. Avoid pressing too firmly, as this can make the treats too dense and hard. The goal is an even, lightly compressed layer.
9. Cool and Set
Allow the mixture to cool completely and set on the counter at room temperature. This will take at least 30 minutes to 1 hour, or even longer depending on your kitchen’s temperature. Patience here is key, as a properly set mixture will slice cleanly and hold its shape. Do not be tempted to refrigerate them at this stage, as it can make them too hard.
10. Slice into Perfect Squares
Once the treats have cooled and are fully set, lift the parchment paper from the baking pan and transfer the block of treats to a cutting board. Using a sharp, lightly greased knife, slice them into your desired size squares. Lay the cut squares out on a baking tray lined with fresh parchment paper, preparing them for the optional topping step.
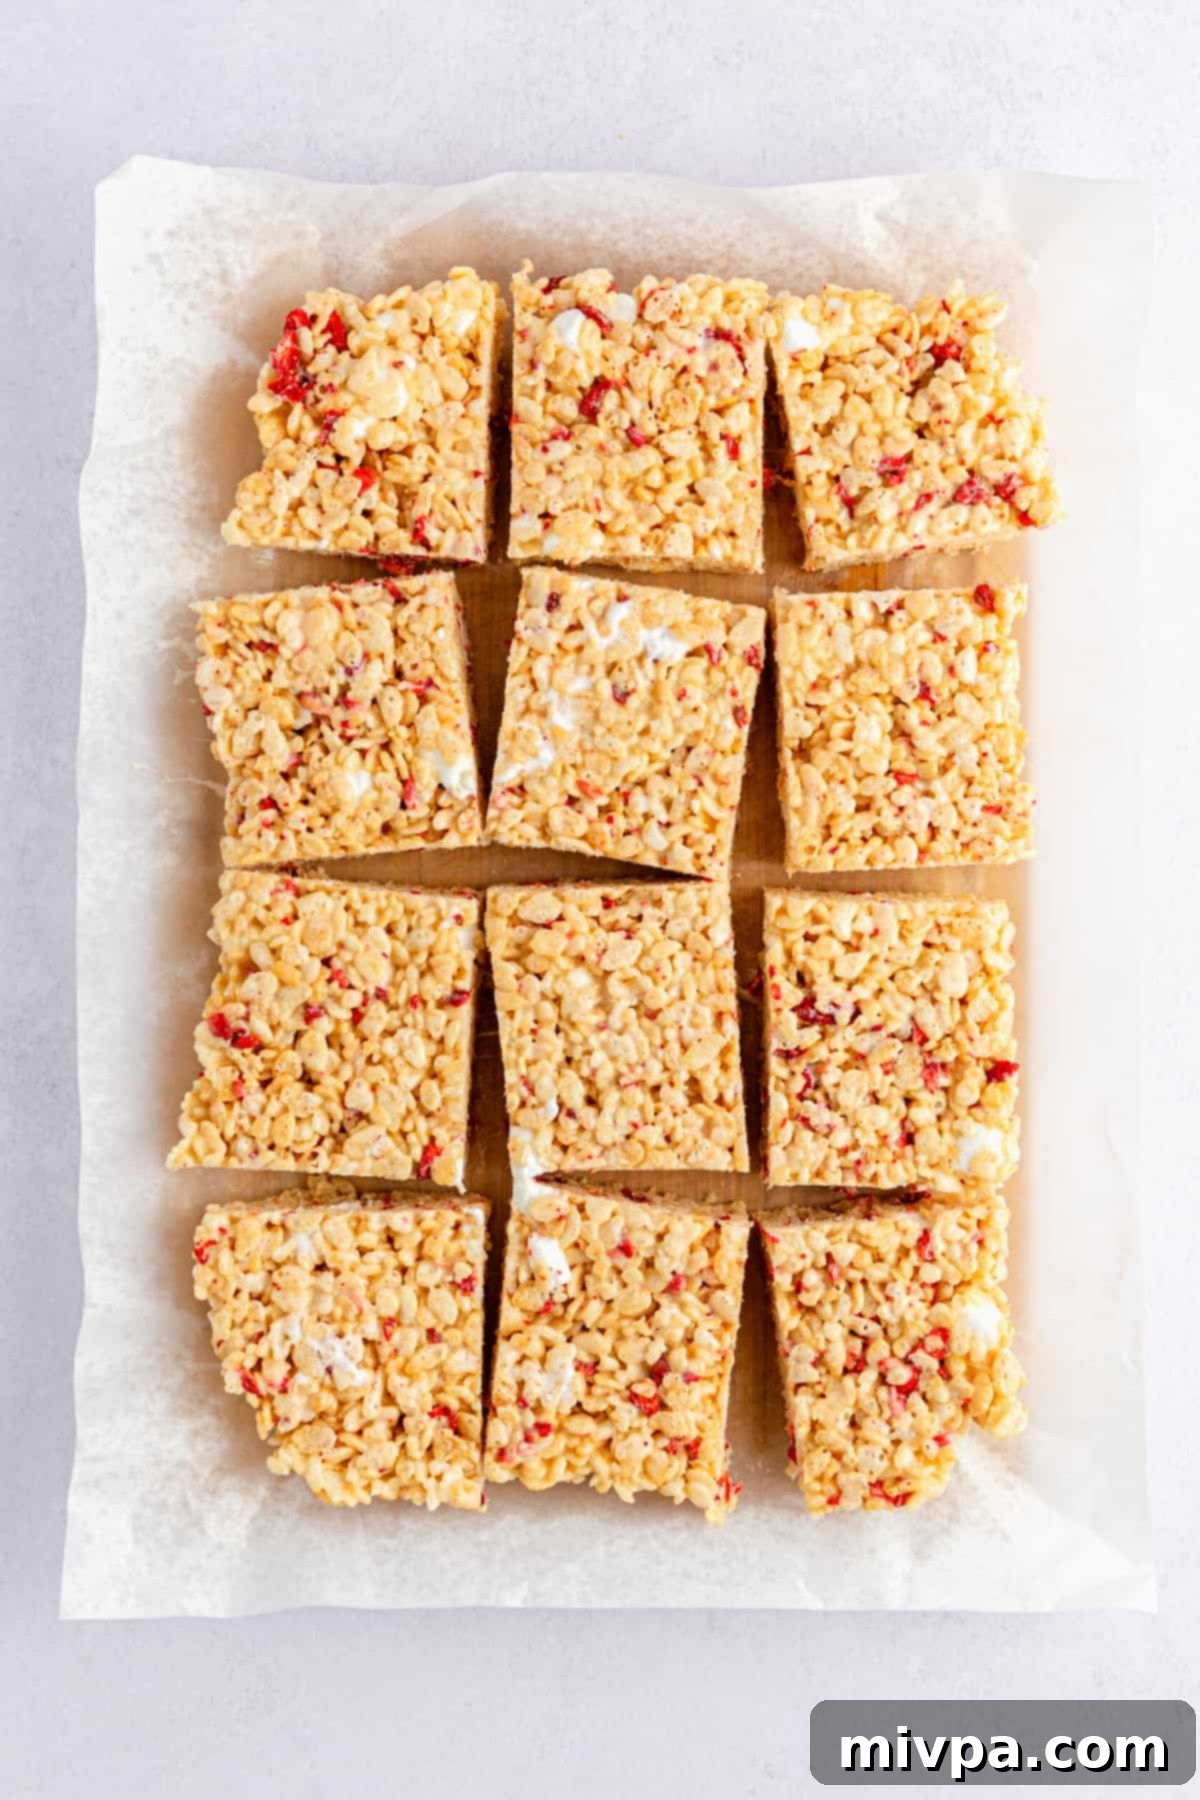
11. Dip in White Chocolate & Decorate
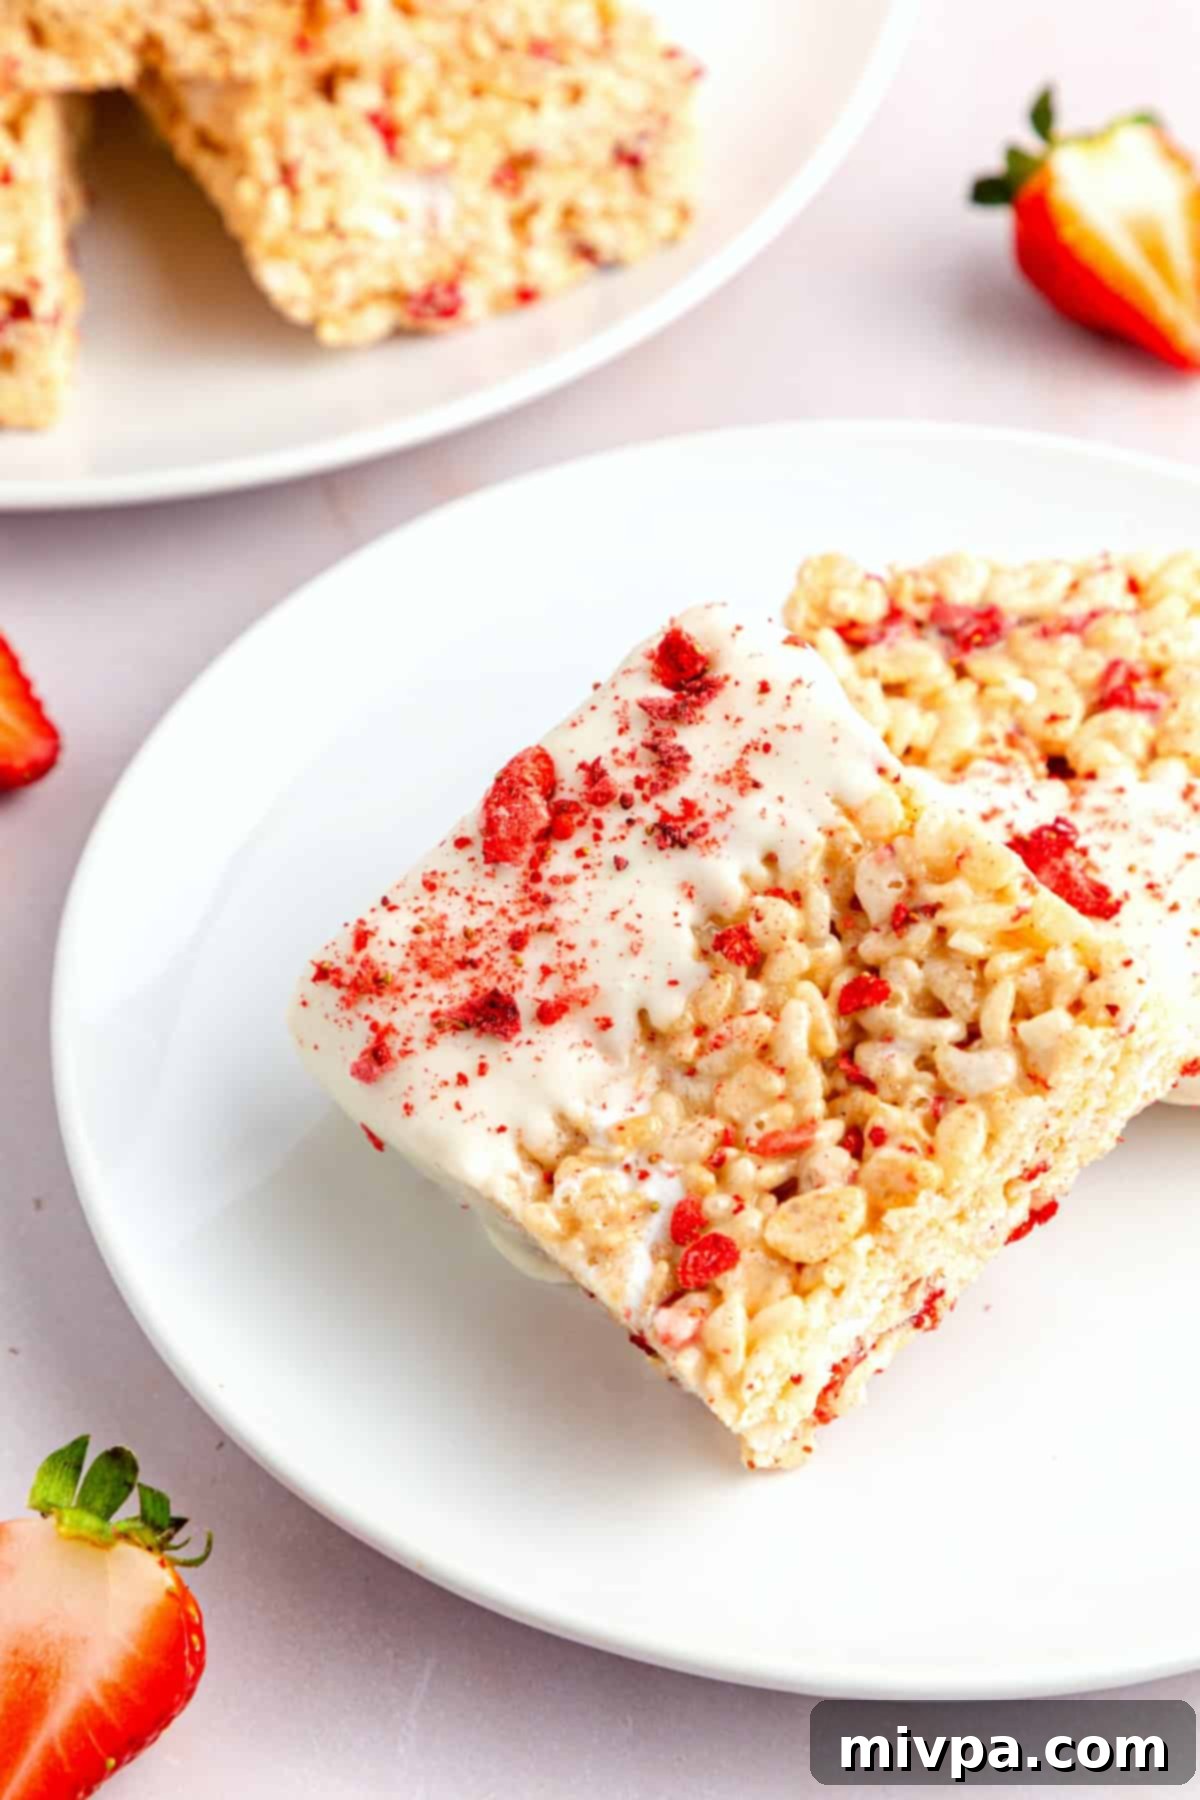
For an extra touch of sweetness and visual appeal, melt the dairy-free white chocolate chips in a microwave-safe bowl. Heat in 30-second intervals, stirring in between, until smooth and fully melted. Dip each rice krispies square approximately one-third of the way into the melted chocolate. Gently shake off any excess. Immediately lay the dipped square back onto the parchment paper-lined baking tray and sprinkle with additional freeze-dried strawberries before the chocolate hardens. This adds color, texture, and a burst of strawberry flavor.
12. Allow Chocolate to Set Before Serving
Once all your gluten-free rice krispie treats are dipped and decorated, allow them to cool and set on the counter for another 15 minutes, or until the white chocolate has completely hardened. This ensures a clean, non-messy treat. Once set, they are ready to be enjoyed!
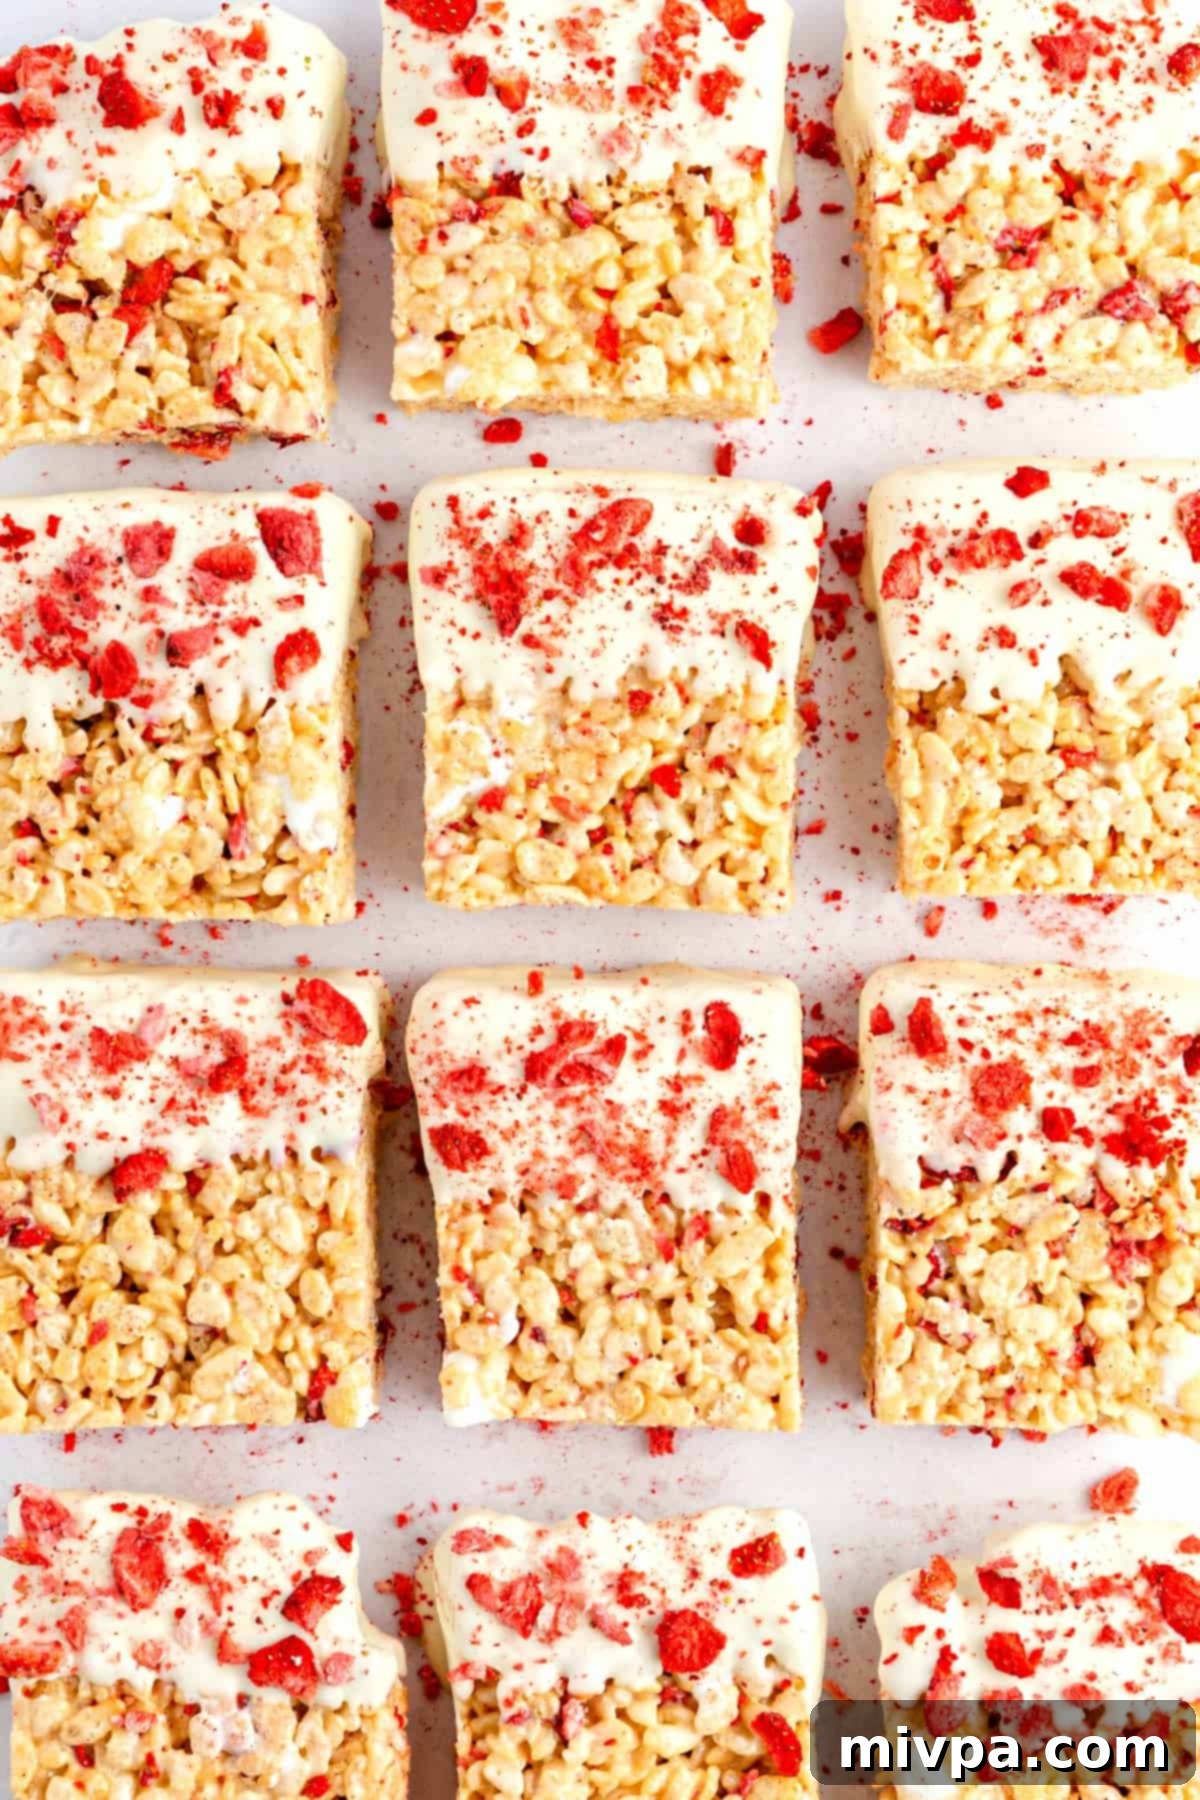
Dish by Dish Tips & Creative Tricks
These gluten-free strawberry rice krispies treats are fantastic as is, but here are some tips to customize them even further and ensure maximum deliciousness:
- Experiment with Fruit Flavors: While I adore the vibrant red color and tangy sweetness that freeze-dried strawberries bring to these treats, don’t hesitate to get creative! You can easily swap them out for other freeze-dried berries. Imagine a batch made with freeze-dried blueberries for a subtle tartness, freeze-dried blackberries for a deeper, earthier fruit note, or freeze-dried raspberries for an intense, bright flavor. Each will offer a unique twist!
- Alternate Chocolate Dipping Options: If white chocolate isn’t your preference, or you simply want to try something different, feel free to use dairy-free semi-sweet dark chocolate chips instead. The contrast of dark chocolate with the sweet strawberry and marshmallow is absolutely divine. You could even do a half-batch of each for a striking visual and flavor variety! For an extra festive touch, consider drizzling both white and dark chocolate over the squares.
- Add Sprinkles or Nuts: Before the chocolate sets, you can also add colorful vegan sprinkles for a fun, celebratory look, especially for parties or holidays. For those who enjoy a nutty crunch, finely chopped pistachios or almonds could also be sprinkled on the chocolate for added texture and flavor.
Recipe Frequently Asked Questions:
For the absolute best texture and flavor, these gluten-free rice krispie treats are best enjoyed the same day they are made. However, if you have leftovers, you can store them to maintain freshness. Wrap individual squares tightly in plastic wrap or place them in an airtight container. Store the container on your kitchen countertop at room temperature for up to 2-3 days. It’s crucial to avoid refrigerating these treats, as the cold temperature will cause them to harden significantly and lose their signature gooey, chewy texture. Keep them at room temperature for optimal enjoyment!
More Delicious Strawberry Recipes to Enjoy:
- Easy Strawberry Crumble Bars (Gluten-Free, Dairy-Free)
- Strawberry Chia Seed Jam (Gluten-Free, Vegan)
- Mixed Berry Crumble (Gluten-Free, Vegan)
- Strawberry Muffins (Gluten-Free, Dairy-Free)
- Chocolate Strawberry Dessert Pizza (Gluten-Free, Vegan)
Other Gluten-Free Sweet Treats You’ll Love:
- Gluten-Free Pumpkin Banana Muffins (Dairy-Free)
- 126 Gluten-Free Desserts and Sweet Treats for Labor Day
- Mini Pumpkin Cheesecakes (Gluten-Free, Dairy-Free Option)
- Gluten-Free Pecan Pie Bars (Dairy-Free)
P.S. If you try this recipe, I’d love for you to leave a star rating below, and/or a review in the comment section further down the page. I always appreciate your feedback. Be sure to check out my entire Recipe Index for all the recipes on the blog. You can also follow me on Pinterest, Facebook or Instagram! Sign up for my Email List to get fresh recipes in your inbox each week!
Print
Gluten-Free Strawberry Rice Krispies Treats (Vegan)
5 Stars 4 Stars 3 Stars 2 Stars 1 Star
5 from 1 review
Author: Felicia Lim
Total Time: 1 hour 20 minutes
Yield: 12 squares
Diet: Gluten Free, Vegan, Dairy-Free
Description
These easy gluten-free rice krispies treats are a delightful no-bake dessert, featuring fluffy, gooey vegan marshmallows and bursts of real freeze-dried strawberries in every bite. For an extra special touch and added sweetness, each treat is dipped in creamy dairy-free white chocolate. These strawberry rice krispie treats are perfect snacks to prepare with children or to serve at any celebration. They are also completely dairy-free and vegan, making them a treat everyone can enjoy!
Ingredients
Scale
- 6 tablespoons vegan butter, melted
- 1/8 teaspoon salt
- 16 ounces vegan mini marshmallows, divided (approx. 1 ½ cups set aside)
- 1 teaspoon vanilla extract
- 6 cups gluten-free crispy rice cereal
- 1 cup freeze-dried strawberries, roughly chopped
For the Toppings (Optional, but Recommended):
- 1/2 cup dairy-free white chocolate chips
- 1/4 cup additional freeze-dried strawberries, for sprinkling
Instructions
- Line and Grease: Line a 9″ x 13″ baking pan with parchment paper, leaving an overhang on the sides for easy lifting. Lightly grease the parchment paper with cooking spray or a thin layer of vegan butter. Set aside.
- Melt Butter: In a large, sturdy pot (like a Dutch oven), melt the vegan butter over medium heat. Once fully melted, add the 1/8 teaspoon of salt and stir to combine.
- Divide Marshmallows: Measure out 1 ½ cups of the vegan mini marshmallows and set them aside. These will be incorporated later for extra gooey texture.
- Melt Main Marshmallows: Add the remaining marshmallows to the pot with the melted butter. Continue to stir constantly over medium-low heat until the marshmallows are completely melted and smooth.
- Add Vanilla Extract: Remove the pot from the heat. Stir in the vanilla extract until thoroughly combined, infusing the marshmallow mixture with its lovely aroma.
- Combine Cereal and Strawberries: Add the 6 cups of gluten-free crispy rice cereal and the 1 cup of roughly chopped freeze-dried strawberries to the pot. Using a large wooden spoon or a heat-resistant spatula, gently fold the mixture until the cereal and strawberries are well coated.
- Fold in Remaining Marshmallows: Now, fold in the 1 ½ cups of reserved mini marshmallows until they are evenly distributed throughout the mixture. They will soften but not fully melt, creating delightful pockets of gooeyness.
- Transfer to Baking Pan: Pour the entire cereal mixture into the prepared baking pan. Lightly flatten it out into an even layer using a greased rubber spatula. Avoid pressing too hard to keep the treats soft.
- Cool Until Set: Allow the treats to cool completely on the countertop at room temperature for at least 30 minutes to 1 hour, or until firm. This allows them to set properly for easy slicing.
- Slice into Squares: Once cooled, use the parchment paper overhang to lift the entire block of treats out of the pan and onto a cutting board. Using a sharp, lightly greased knife, slice them into 12 even squares. Lay them out on a fresh sheet of parchment paper on a baking tray.
- Melt Chocolate & Dip (Optional): In a microwave-safe bowl, melt the 1/2 cup of dairy-free white chocolate chips in 30-second intervals, stirring between each, until smooth. Dip each rice krispie square about ⅓ deep into the melted chocolate. Place it back on the parchment paper and immediately sprinkle with the extra 1/4 cup of freeze-dried strawberries before the chocolate hardens.
- Let Set Before Serving: Allow the decorated gluten-free rice krispies treats to cool on the counter for another 15 minutes, or until the white chocolate has completely hardened. Then serve and enjoy your delicious homemade treats!
Notes
Vegan Butter: I used vegan butter to ensure these treats are dairy-free and vegan. If you are not lactose-intolerant or vegan, you can use regular unsalted butter instead. Coconut oil is also an option for a dairy-free alternative.
Mini Marshmallows: For a vegan and dairy-free recipe, I recommend using vegan mini marshmallows. Traditional marshmallows contain gelatin. If dietary restrictions are not a concern, regular mini marshmallows work just as well.
Vanilla Extract: Adding vanilla extract is highly recommended as it deepens the flavor profile and adds a lovely aroma to the treats.
Gluten-Free Rice Cereal: It is crucial to use certified gluten-free crispy rice cereal, as traditional brands often contain barley malt syrup, which has gluten. Always double-check labels, especially if preparing for individuals with Celiac disease or severe gluten intolerance. Regular Rice Krispies can be used if gluten is not an issue.
Freeze-Dried Strawberries: Freeze-dried strawberries provide natural color, concentrated flavor, and a pleasant tartness without adding moisture. You can substitute with other freeze-dried berries like raspberries or blueberries if preferred.
Dairy-Free White Chocolate Chips: For the optional topping, I used dairy-free white chocolate chips to keep the recipe vegan and dairy-free. Feel free to use conventional white chocolate chips if your diet allows, or switch to dairy-free dark chocolate for a different flavor.
Storing: These gluten-free rice krispie treats are best enjoyed fresh on the same day. Store any leftovers in an airtight container on the countertop for up to 2-3 days to maintain their texture. Do NOT refrigerate them, as this will cause them to harden and lose their signature gooeyness.
- Prep Time: 5 mins
- Setting Time: 1 hour
- Cook Time: 15 mins
- Category: Snacks, Dessert
- Method: Stovetop, No-Bake
- Cuisine: American
