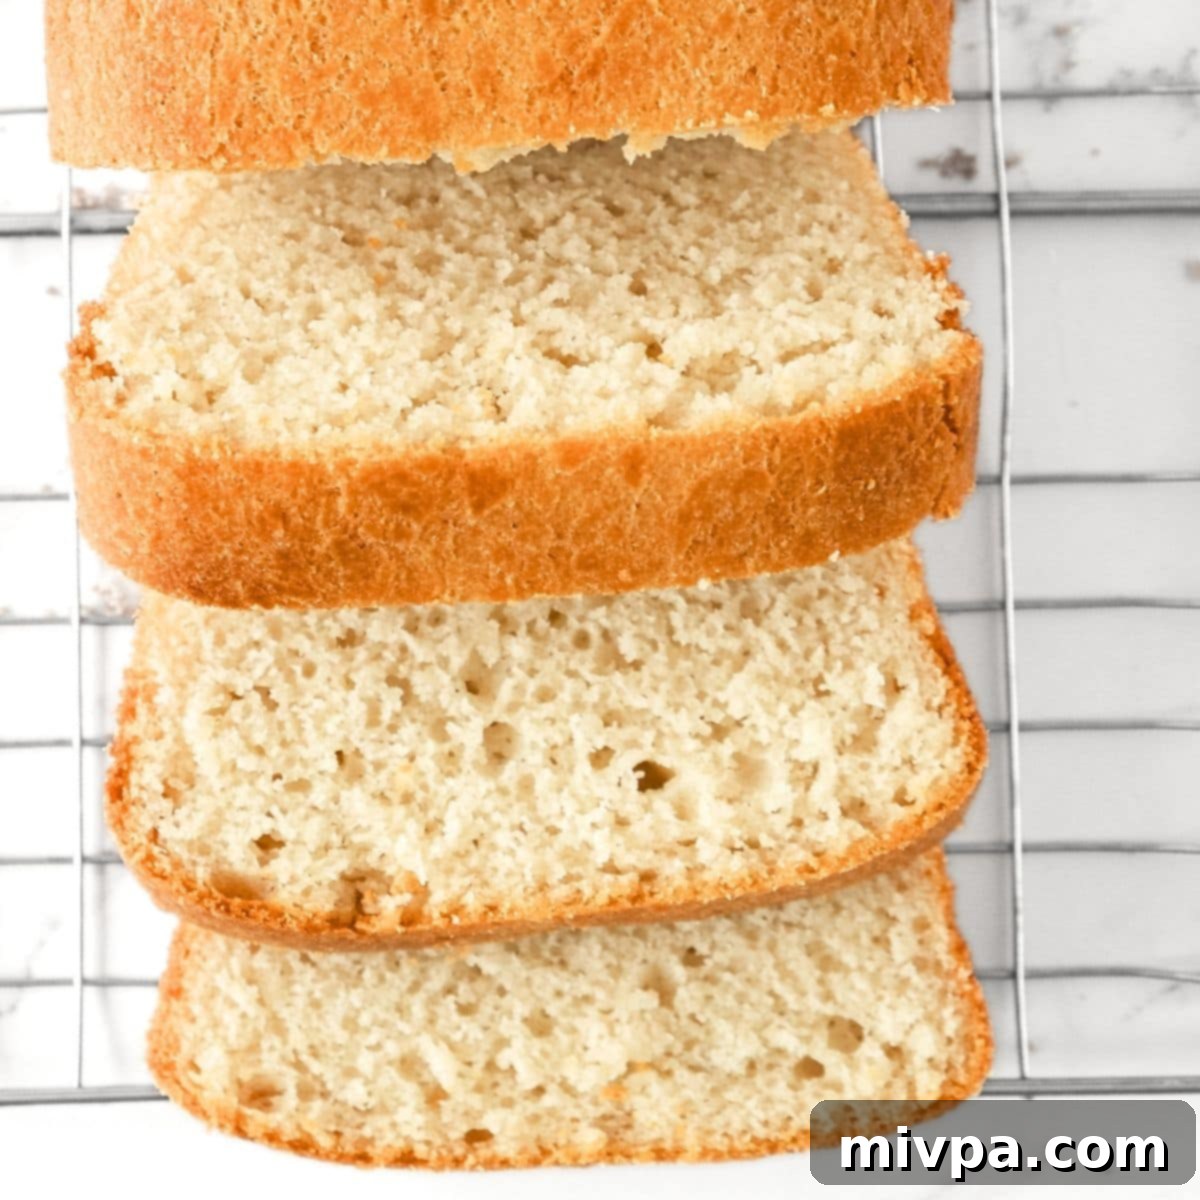
Irresistibly Tender & Fluffy: Your Ultimate Guide to Egg-Free Gluten-Free Bread (Vegan & Dairy-Free!)
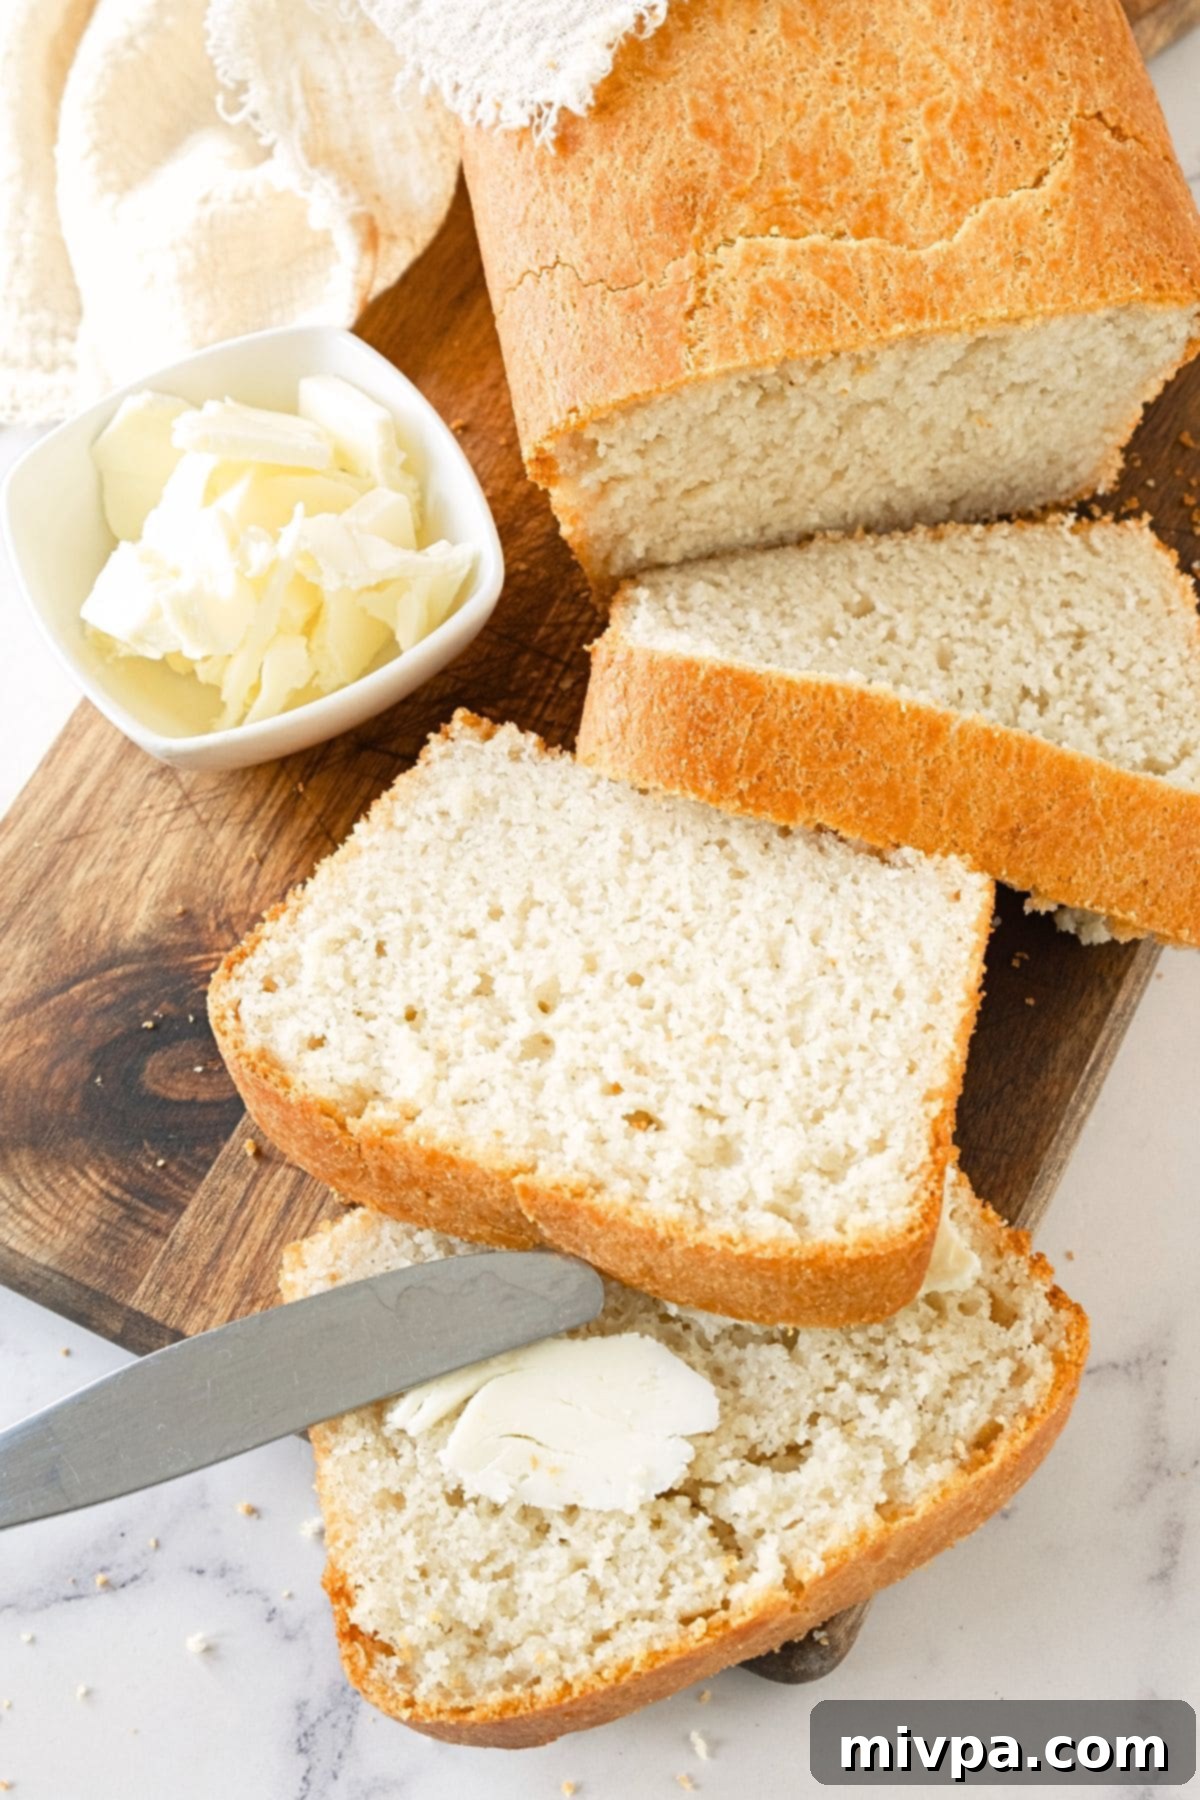
Imagine a slice of bread so soft, so tender, it melts in your mouth – perfect for a hearty sandwich or simply toasted with a dollop of butter and jam. Now imagine that bread is completely egg-free, gluten-free, dairy-free, and vegan. Sound too good to be true? Not anymore! This recipe delivers just that: an incredibly delicious, homemade bread that caters to various dietary needs without compromising on taste or texture. You’ll want to bake a couple of loaves at a time and freeze them, because trust me, they disappear quickly!
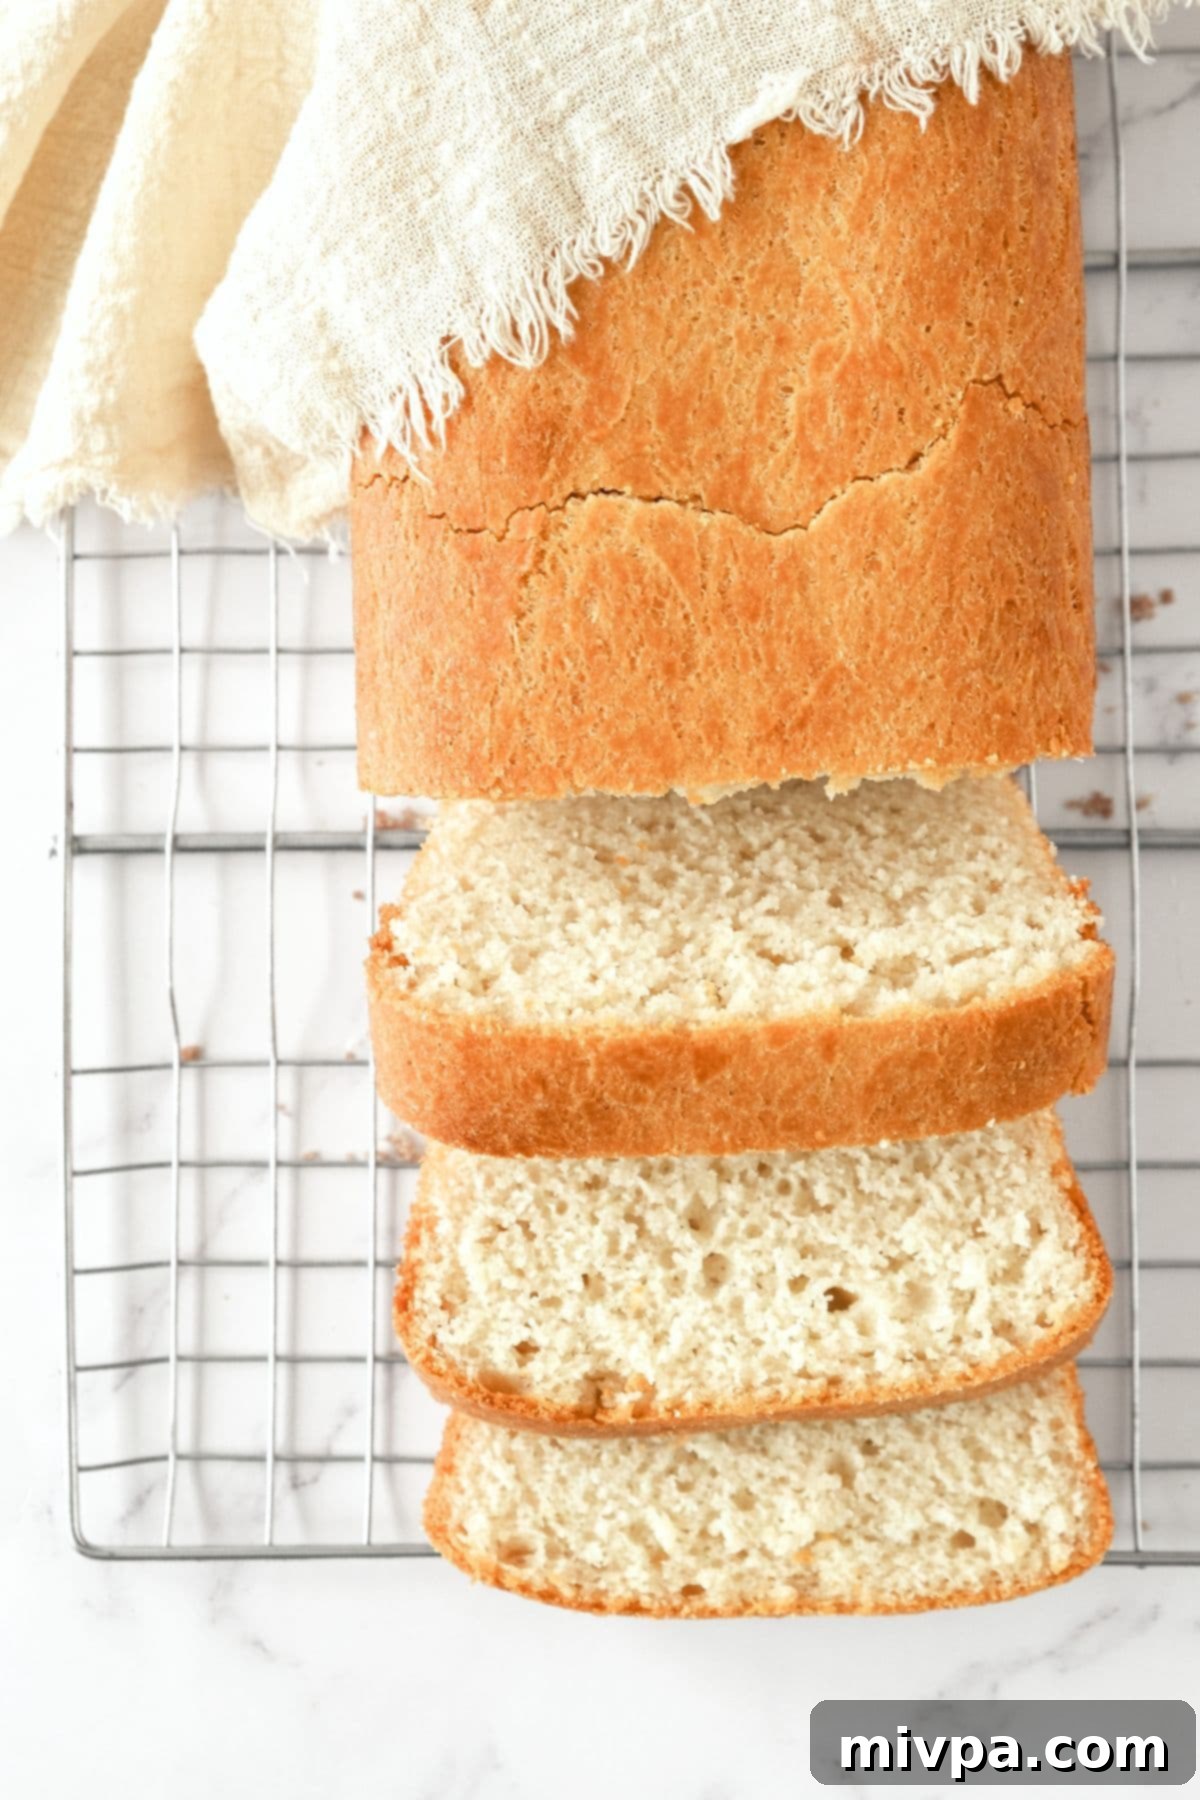
The Quest for Perfection: My Journey to the Ultimate Egg-Free Gluten-Free Loaf
Developing a truly remarkable gluten-free bread recipe is an art, and adding the constraint of being egg-free elevates the challenge significantly. In my many years of recipe testing and development, I’ve observed time and again that eggs are often a secret weapon in gluten-free baking. They provide crucial structure, moisture, and help the dough achieve that beautiful, characteristic dome we all love. Without gluten to provide elasticity and eggs to bind and lift, achieving a light, airy texture can feel like a culinary tightrope walk.
During my initial attempts at creating vegan gluten-free bread, the results were often disheartening. I’ve had to discard countless loaves due to textures that were either unpleasantly gummy or excessively dense. For a long time, I held the assumption that a truly excellent gluten-free loaf necessitated eggs – usually at least two – to achieve desirable results. This made the prospect of an egg-free version seem almost impossible.
However, circumstances often push us to innovate. This past year, with the soaring prices of eggs reaching unprecedented highs, and a growing number of readers eagerly requesting a gluten-free bread recipe without eggs, I knew it was time to revisit the drawing board. I dedicated myself to cracking this code, determined to create a loaf that defied all my previous assumptions about egg-free, gluten-free baking.
The Breakthrough: Finally, Fluffy Gluten-Free Bread Without Eggs!
After months of relentless tweaking, experimenting with different flour blends, leavening agents, and binders, I am absolutely thrilled to announce a significant breakthrough. I’ve successfully developed an egg-free and gluten-free bread recipe that is genuinely soft, wonderfully fluffy, and undeniably delicious.
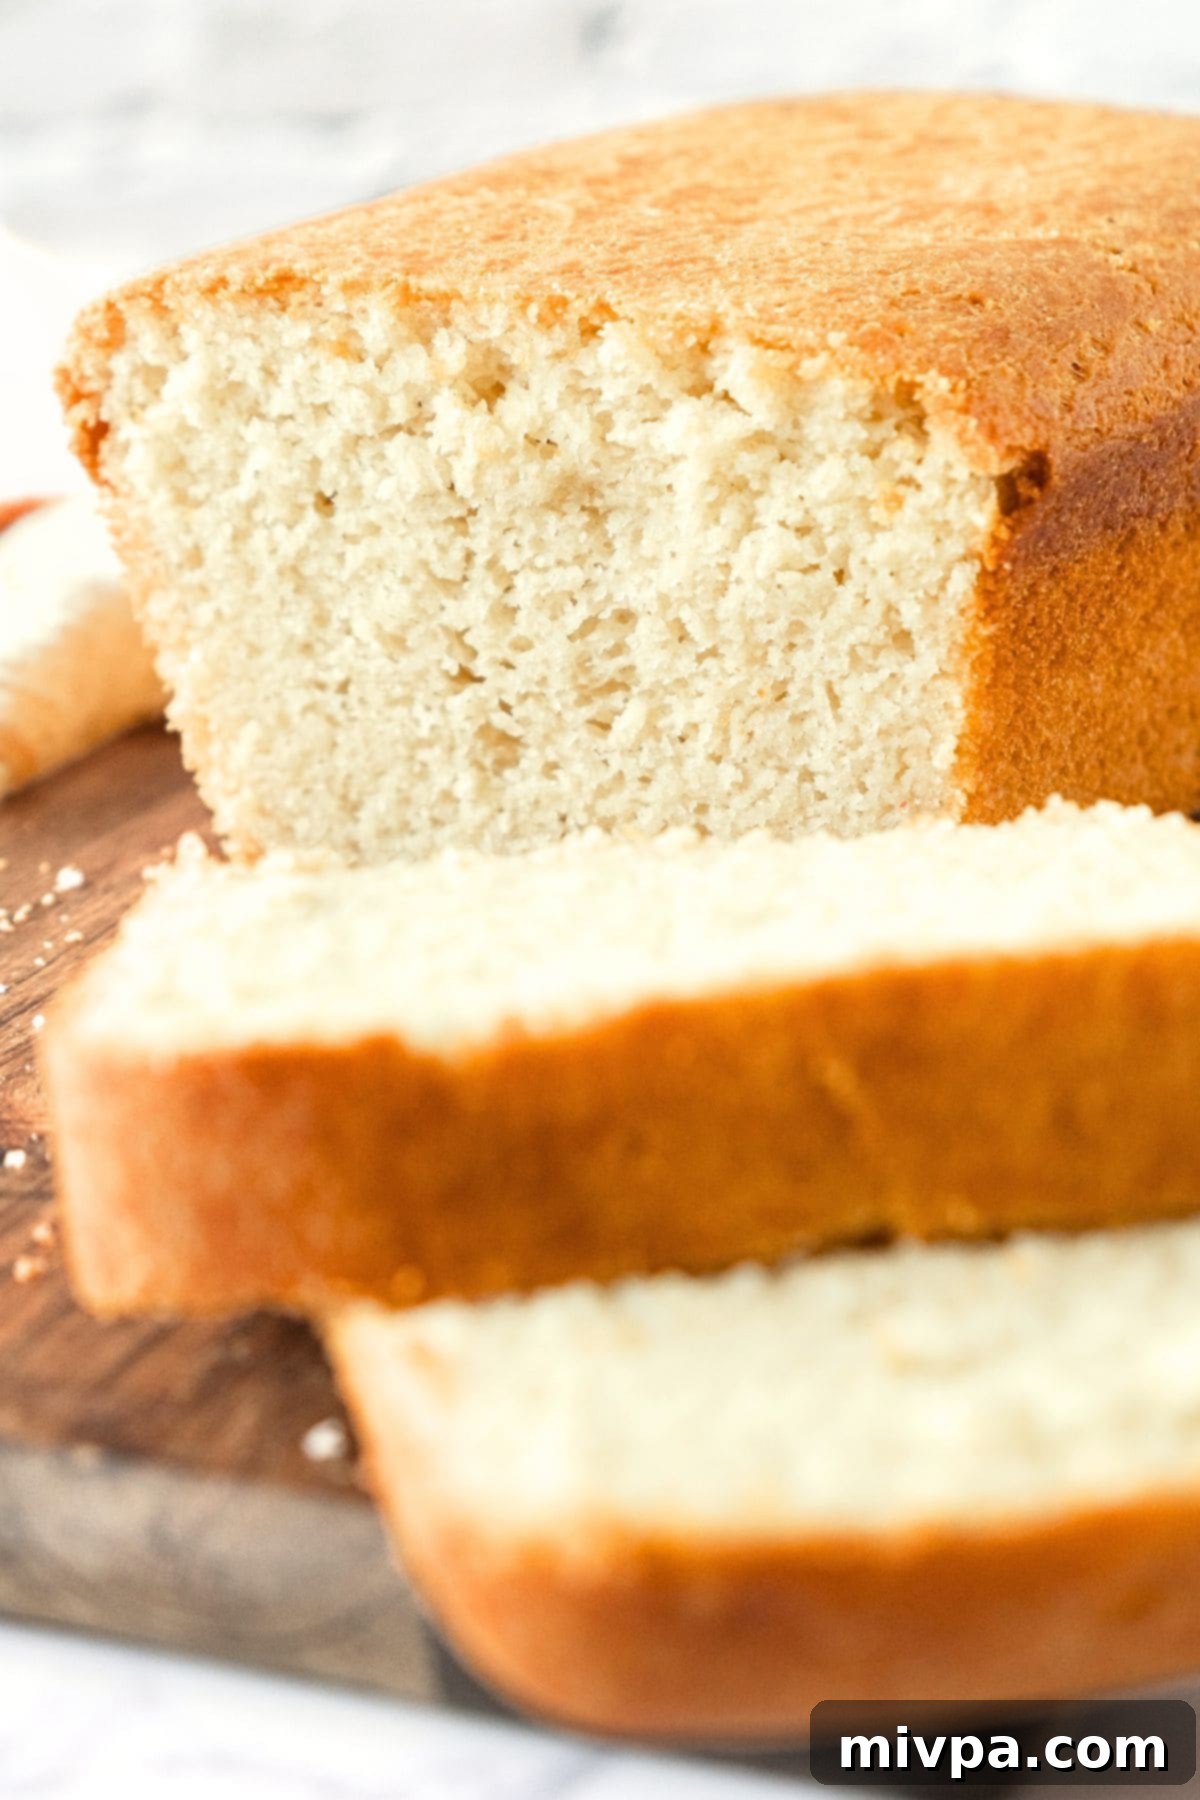
This isn’t just a passable substitute; it’s a bread that stands on its own merits. The best part? This incredible loaf contains no eggs, no dairy, and absolutely no gluten. Yet, it boasts an incredibly tender and moist crumb, holds its shape beautifully, and is perfect whether you enjoy it toasted or fresh from the oven!
Why This Egg-Free Gluten-Free Bread Will Become Your New Favorite:
- Simple, Accessible Ingredients: You won’t need to hunt for obscure specialty items to make this gluten-free and egg-free bread. All the ingredients are readily available at your local grocery store, making this recipe incredibly convenient and approachable for any home baker.
- Effortlessly Easy to Make: Forget complicated kneading or intricate shaping. This recipe is designed for simplicity. You’ll simply mix the dry and wet ingredients until you achieve a shaggy dough consistency, similar to a thick cake batter. This mixture then rises in a loaf pan, and once it has gloriously doubled in size, it’s baked until beautifully golden brown. Cool, slice, and enjoy – it’s that easy!
- Perfect for All Dietary Needs: The truly amazing aspect of this homemade bread is its versatility. It’s 100% gluten-free, dairy-free, and vegan. This means it’s a perfect option for individuals with Celiac disease, gluten or lactose intolerances, or anyone following an egg-free or vegan diet. Now, everyone can savor the joy of freshly baked bread without any concerns!
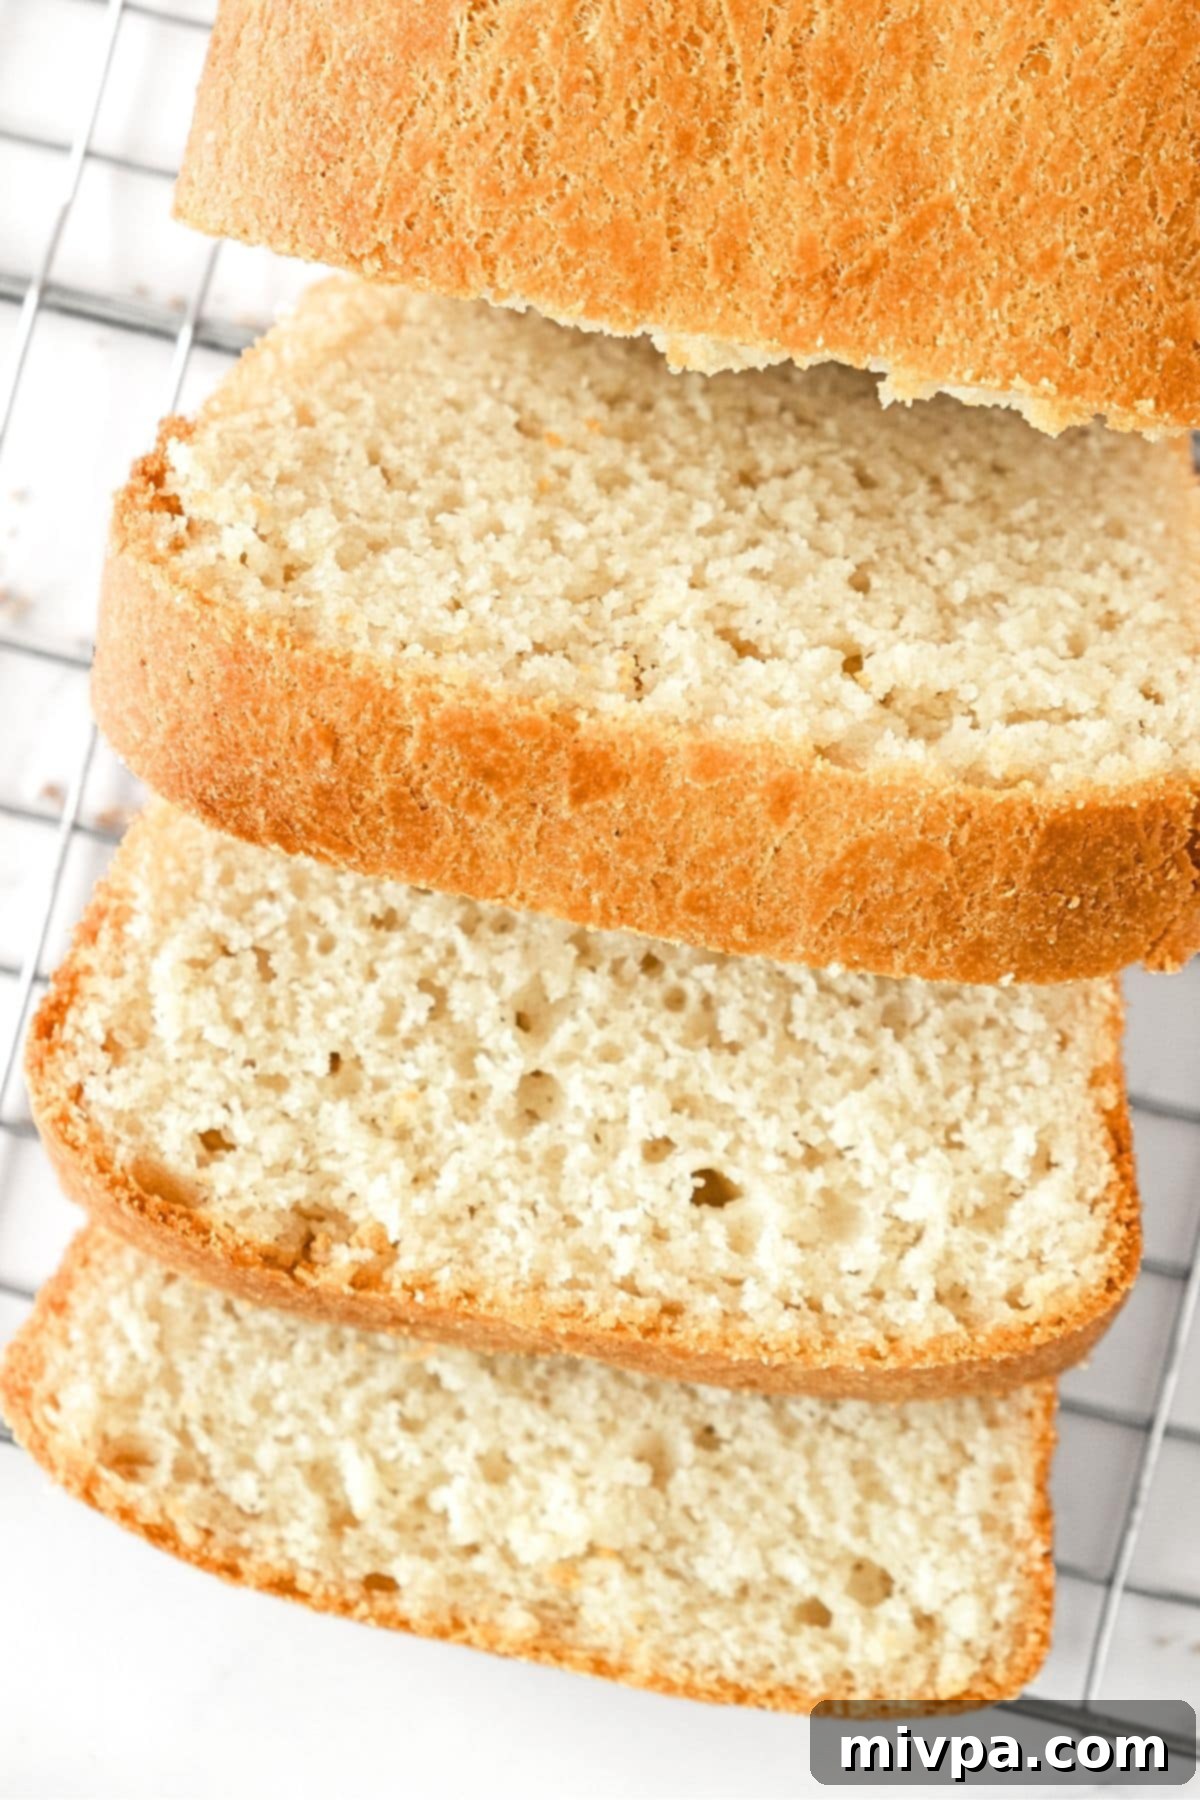
- Unbeatable Texture That Impresses Everyone: Prepare to be amazed by the texture. This bread bakes up with a delightful golden brown crust that gives way to an incredibly soft, tender, and beautifully airy crumb. Don’t just take my word for it – even friends and family who regularly consume gluten have enthusiastically devoured entire loaves, proving that this bread is a crowd-pleaser for all!
Key Ingredients for Your Egg-Free Gluten-Free Bread
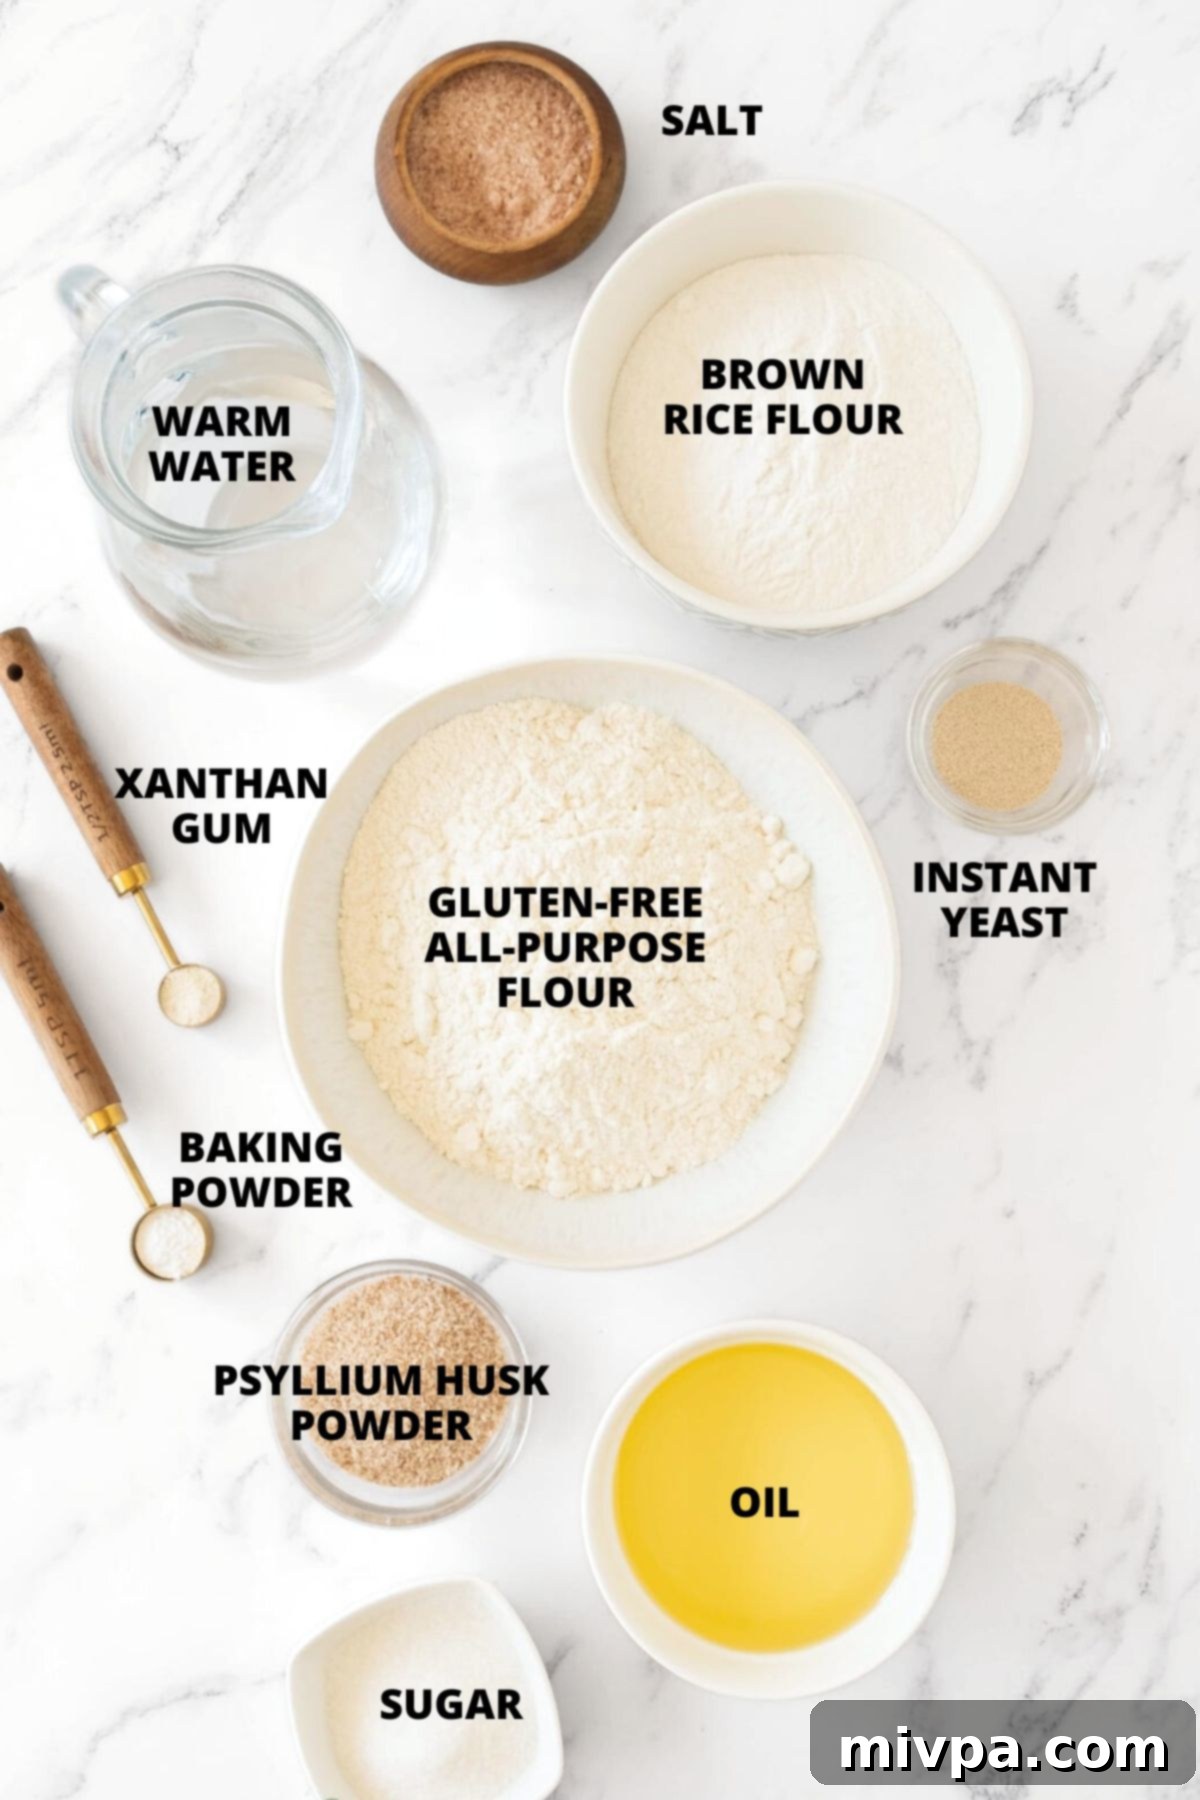
To help you get started, here’s a visual overview of the simple yet powerful ingredients you’ll need to create this amazing egg-free gluten-free bread recipe. Each ingredient plays a vital role in achieving that perfect tender texture and delightful flavor.
(For precise measurements and a detailed list, please scroll down to the printable recipe card at the very bottom of this post.)
Recipe Notes & Expert Tips for the Best Results
Understanding the role of each ingredient and knowing a few tricks will elevate your homemade gluten-free bread to perfection. Here are my top tips and substitution notes:
- Gluten-Free All-Purpose Flour: The type of gluten-free flour blend you use makes a significant difference. I highly recommend opting for a good-quality gluten-free all-purpose flour blend composed of lighter flours and starches, such as rice flour, tapioca starch, corn starch, or potato starch. These lighter components contribute to a softer and fluffier final texture. Conversely, avoid blends that feature heavier flours, like garbanzo bean flour, as they tend to result in a denser, less desirable crumb.
- Xanthan Gum: In gluten-free baking, xanthan gum acts as a vital binding agent, mimicking the elasticity and structure that gluten provides in traditional bread. If your chosen gluten-free flour blend doesn’t already list xanthan gum in its ingredients, it is crucial to add it separately to ensure your bread holds together well and has a pleasant texture.
- Brown Rice Flour: For optimal freshness and control, you can grind your own brown rice flour at home, or simply purchase store-bought brown rice flour. If brown rice flour isn’t available, equally excellent alternatives include millet flour or sorghum flour, both of which yield a lovely texture.
- Instant Yeast: I prefer using instant yeast for its convenience. Unlike active dry yeast, instant yeast requires no prior activation period. You can simply mix it directly with your other dry ingredients, saving time and simplifying the process.
- Sugar: Beyond adding a touch of sweetness, sugar plays a crucial role in activating the yeast. It serves as “food” for the yeast, enabling it to produce carbon dioxide gases. These gases create air pockets within the dough, which are essential for the bread to rise and develop its light, airy structure. While I used white sugar, feel free to substitute with cane sugar, light brown sugar, dark brown sugar, or coconut sugar.
- Psyllium Husk Powder: This ingredient is a game-changer for egg-free gluten-free bread, providing much-needed structure and binding properties that eggs would normally offer. For a lighter colored loaf, I highly recommend using a lighter-colored psyllium husk powder (some varieties can be darker, appearing brownish-purple). If you only have access to whole psyllium husks, you can easily grind them into a very fine powder using a spice grinder or blender.
- Baking Powder: In addition to yeast, baking powder provides an extra lift to the dough, contributing to a more open and fluffy crumb. Ensure it’s fresh for maximum efficacy.
- Warm Water: The temperature of your water is critical for yeast activation. It should be warm, ideally between 105°F and 115°F (40°C-46°C). Water that is too cold won’t activate the yeast, while water that is too hot will kill it, preventing the dough from rising. As an alternative, warm unsweetened almond milk can also be used for a slightly richer flavor.
- Oil: I typically use sunflower oil as it’s a neutral-flavored oil I always have on hand. However, you can substitute it with any other vegetable oil that remains liquid at room temperature, such as olive oil (light variety), canola oil, or avocado oil. The oil adds moisture and helps keep the bread tender.
- Optional Add-Ins: To create a delicious gluten-free seed bread, feel free to incorporate a handful of mixed seeds (such as chia seeds, flax seeds, sunflower seeds, or pumpkin seeds) with the dry ingredients. This adds extra texture, flavor, and nutritional benefits.
- Cooling Before Slicing is Essential: This is perhaps the most crucial tip for any gluten-free bread, especially an egg-free one. It is absolutely vital to let the loaf cool completely on a wire rack at room temperature for at least 2 hours, or even overnight, before attempting to slice it. Gluten-free bread continues to “cook” with residual heat even after being removed from the oven. If you slice it too early, the interior will likely be gummy and unpleasant. Patience is key here!
- Use a Metal Pan: For optimal baking results, I highly recommend using a metal loaf pan. Metal is an excellent conductor of heat, ensuring that the bottom and sides of your loaf brown evenly and develop a desirable crust. Glass or ceramic pans tend to cook differently and may not provide the same consistent results.
- Bread Maker Friendly: While I personally do not own a bread machine, many readers have successfully adapted this recipe. If you have a bread maker, you can likely place all the ingredients into your machine and use its “gluten-free” setting to bake this delicious loaf.
- Versatile Serving Suggestions: This vegan gluten-free bread is incredibly versatile. Enjoy it untoasted for classic sandwiches, toast it and spread with butter and jam for a delightful breakfast, or get creative and make fantastic grilled cheese sandwiches!
- Storing and Freezing for Convenience: To store your cooled bread, wrap it tightly in plastic wrap or place it in an airtight container at room temperature for up to one week. To freeze, slice the bread into individual portions first – this is a fantastic time-saving tip! Then, place the slices in a freezer-safe bag and freeze for up to 2 months. This way, you can easily grab one frozen slice at a time and toast it directly from frozen whenever a craving strikes.
How to Make This Gluten-Free Egg-Free Bread: A Step-by-Step Guide
Creating this delicious egg-free gluten-free bread is straightforward. Follow these simple steps for a perfect loaf every time.
Phase 1: Prepare the Dough and Transfer to Pan
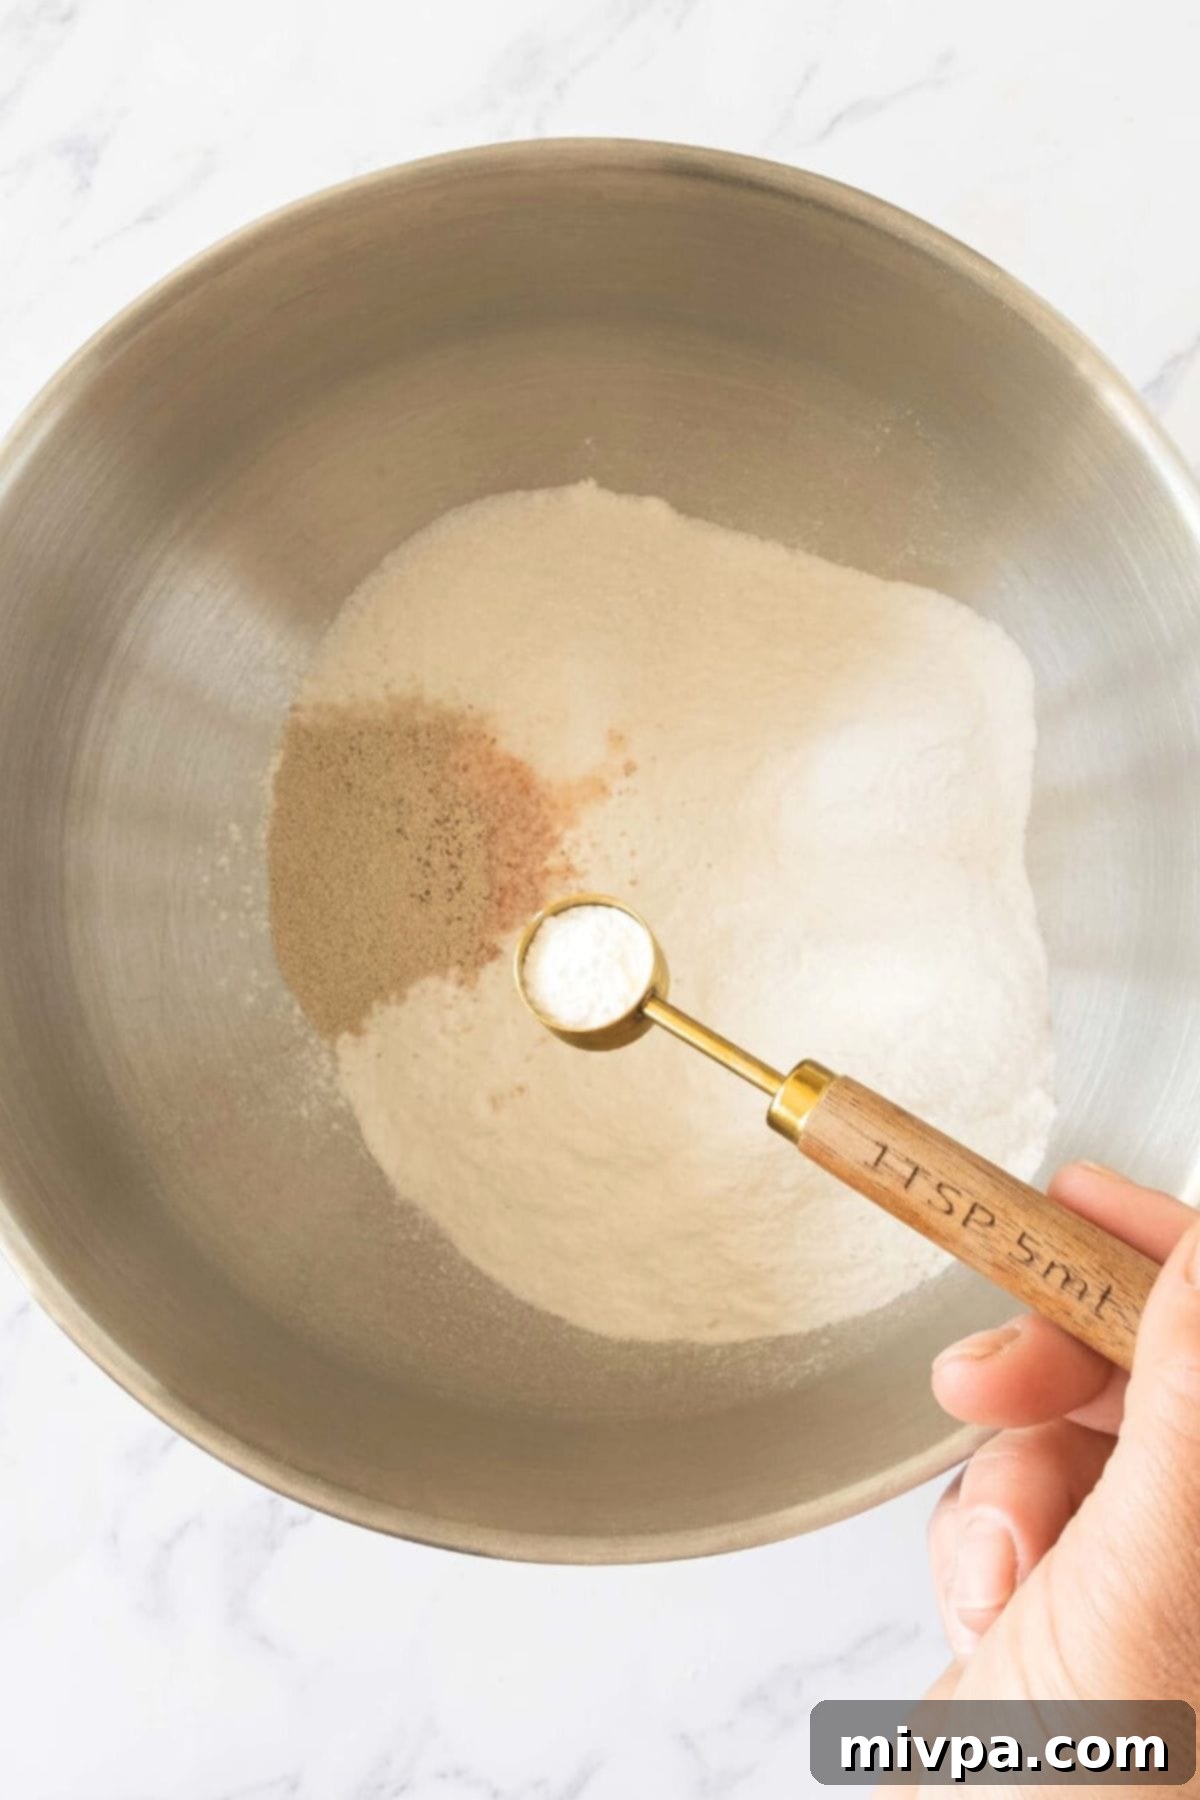
Step 1: Whisk Dry Ingredients. In a large mixing bowl, thoroughly whisk together the gluten-free all-purpose flour, xanthan gum (if your blend doesn’t include it), brown rice flour, instant yeast, baking powder, psyllium husk powder, sugar, and salt. Ensure they are well combined.
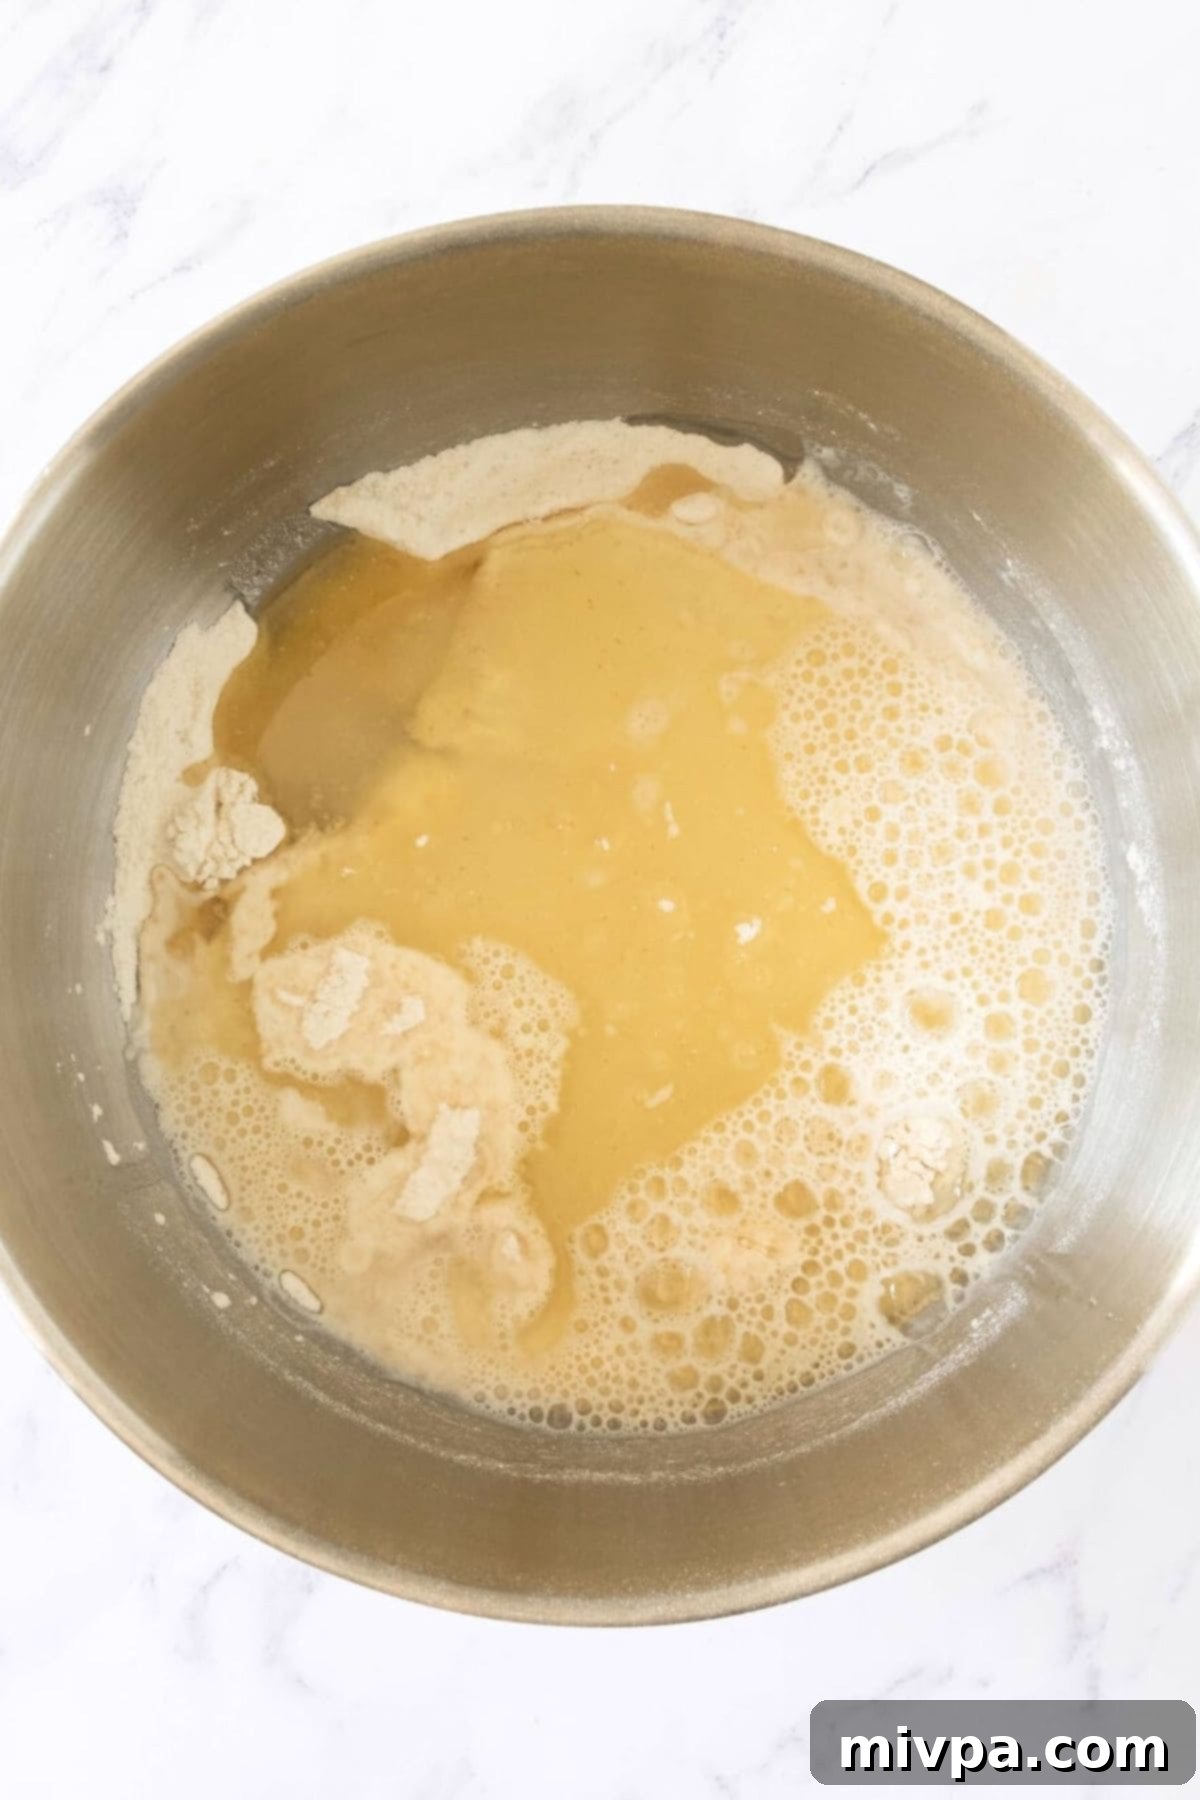
Step 2: Add Wet Ingredients. Pour the warm water and oil directly into the bowl with the dry ingredients.
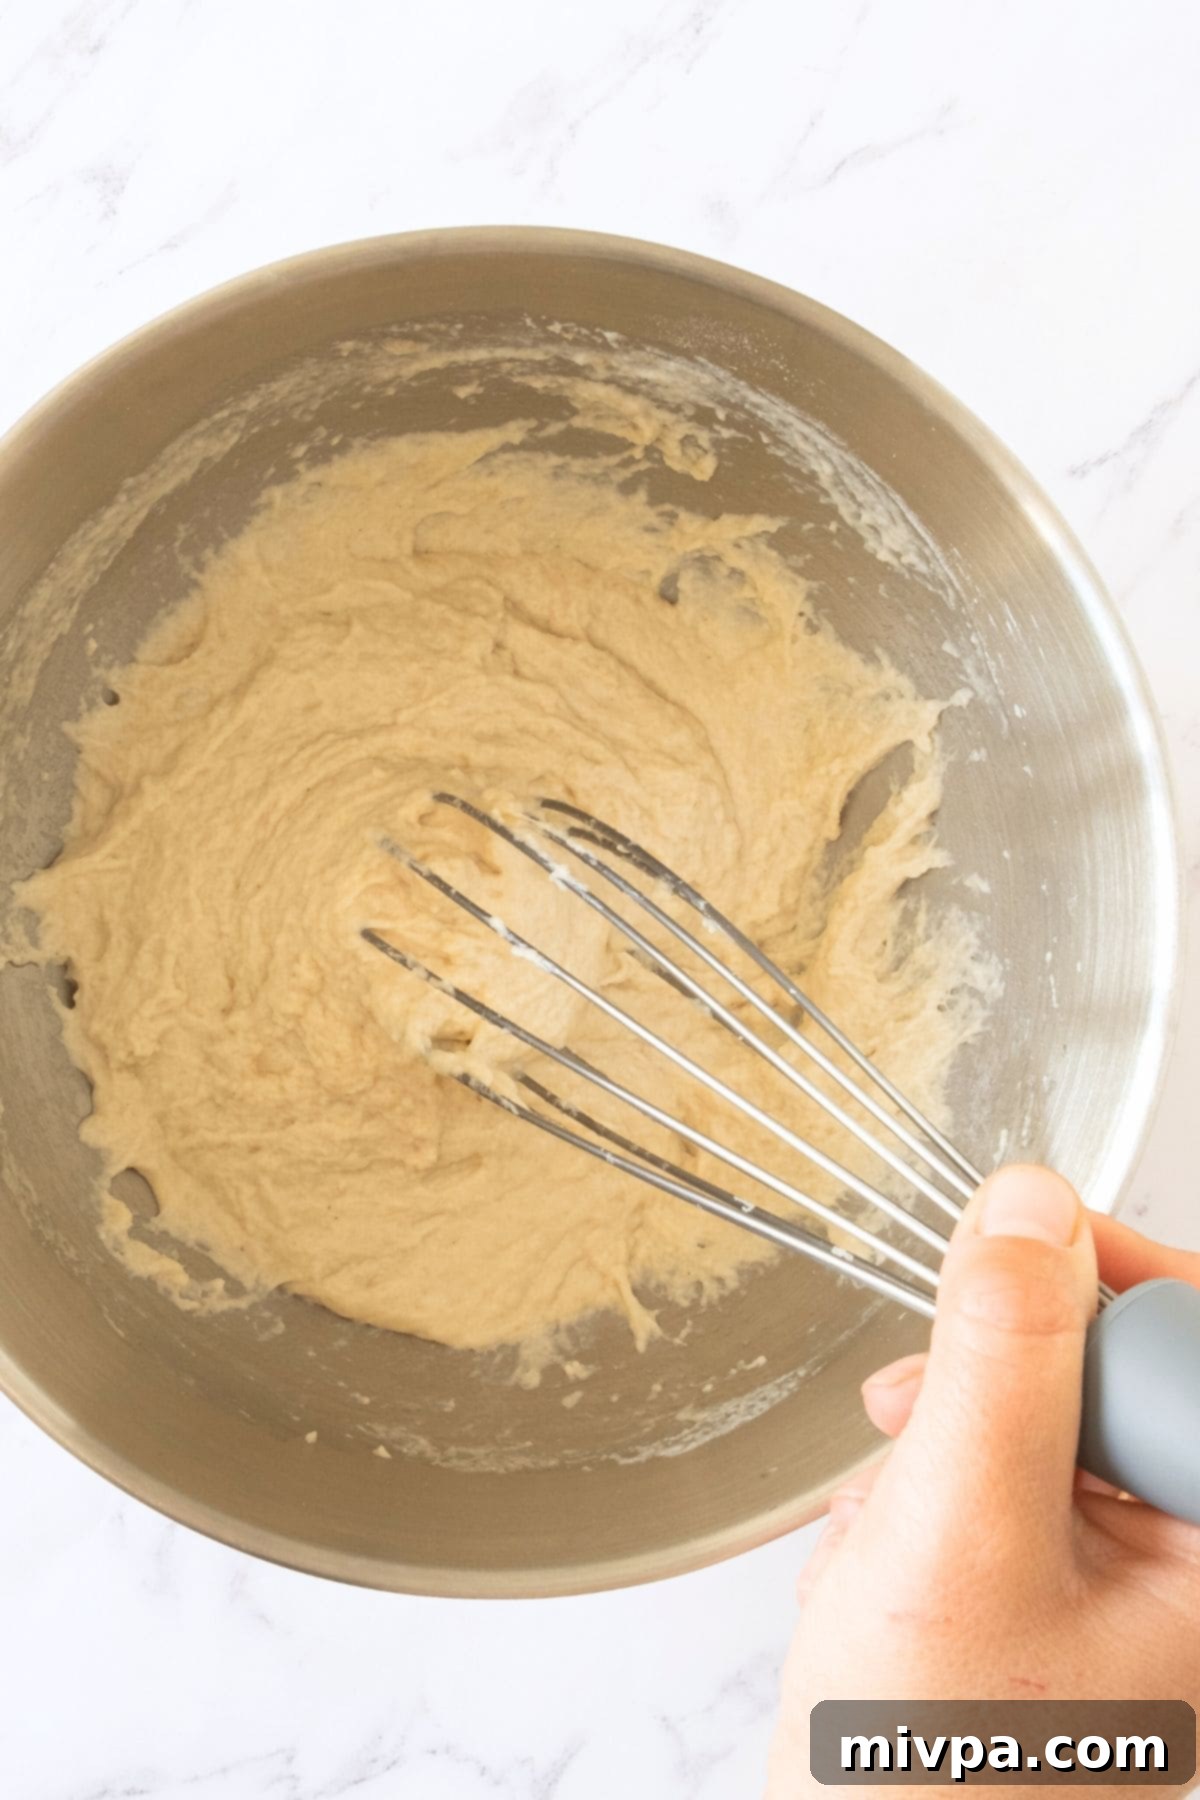
Step 3: Mix to Form Dough. Mix the wet and dry ingredients vigorously until you achieve a shaggy, homogeneous dough. It will resemble a thick cake batter and might seem a little wet, but this is perfectly normal for gluten-free bread – resist the urge to add more flour!
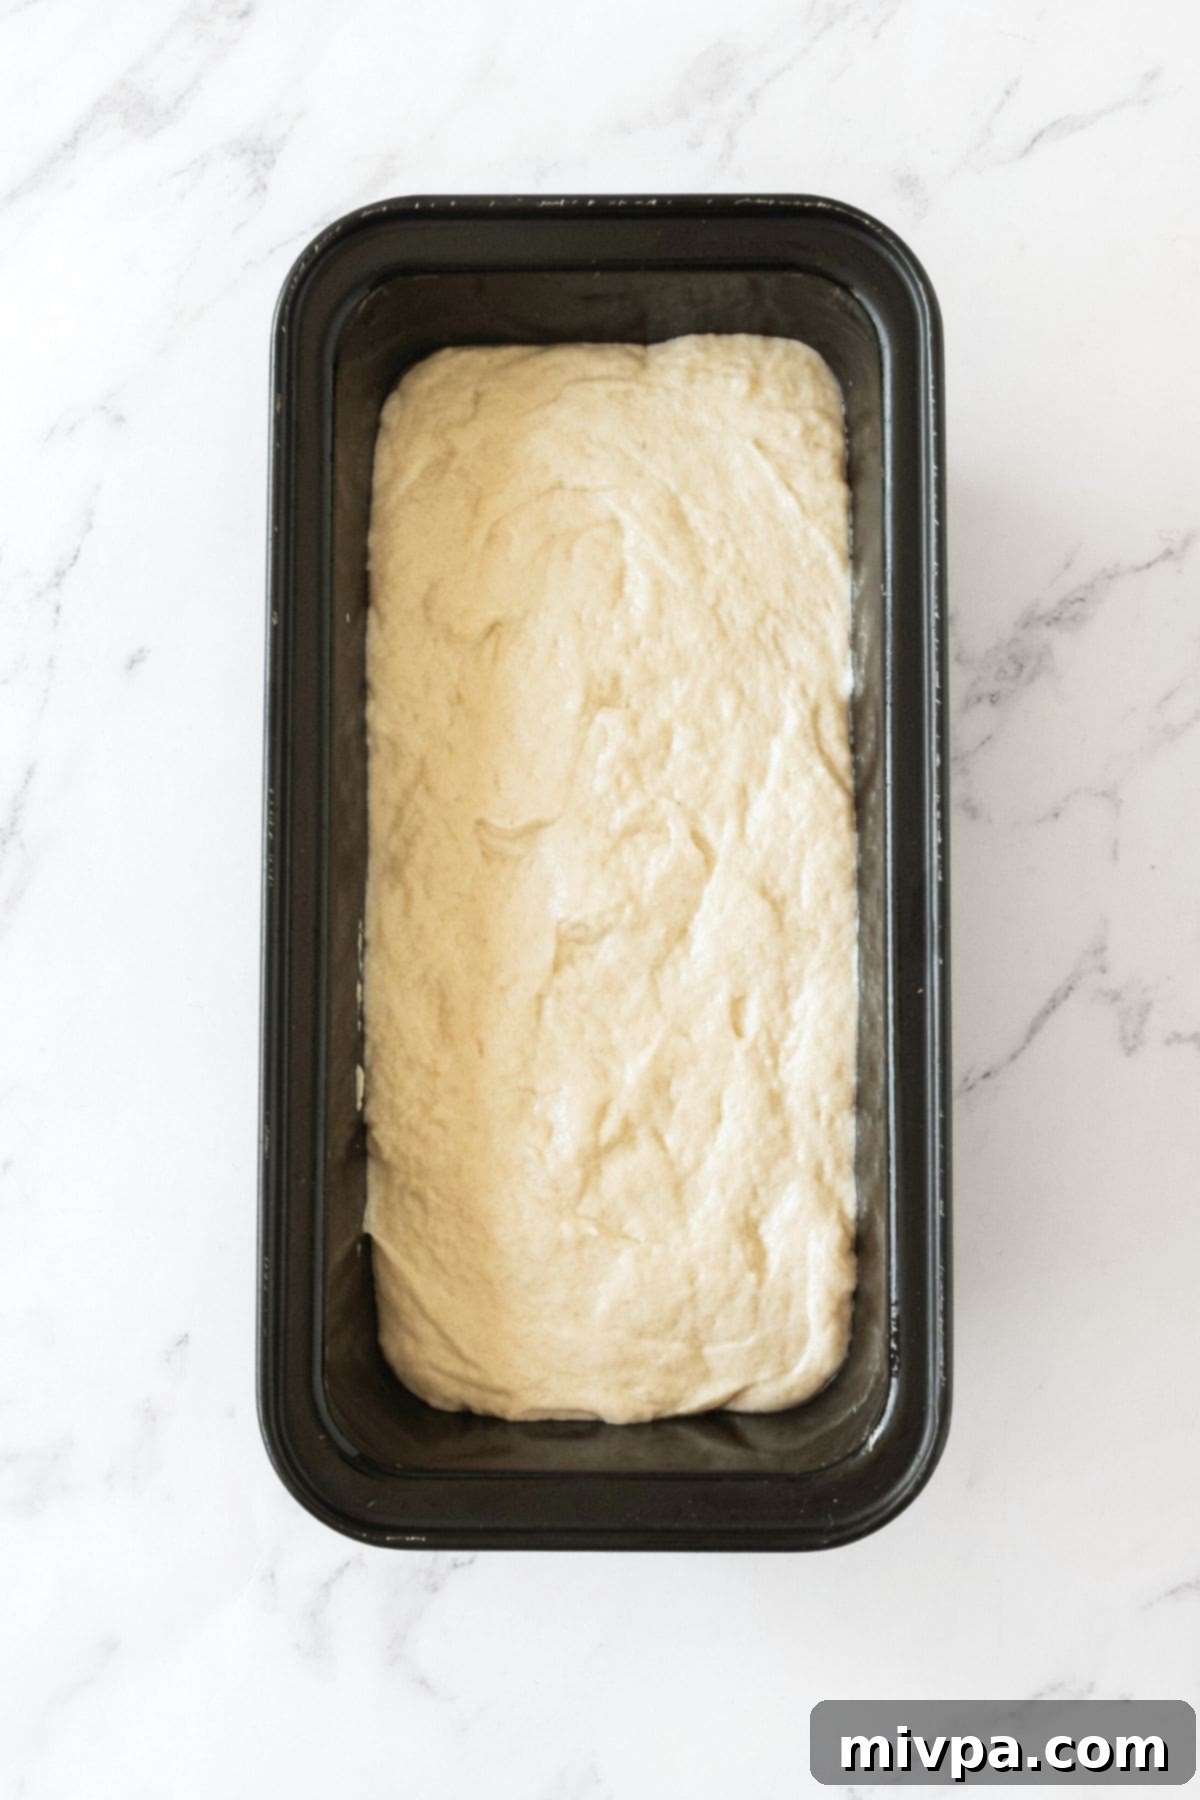
Step 4: Transfer to Pan. Grease an 8”x4” metal loaf pan with oil or nonstick baking spray. Alternatively, line it with parchment paper for easy removal. Transfer the dough into the prepared pan, using a wet spatula to gently smooth out the top surface.
Phase 2: Allow to Rise and Bake to Golden Perfection
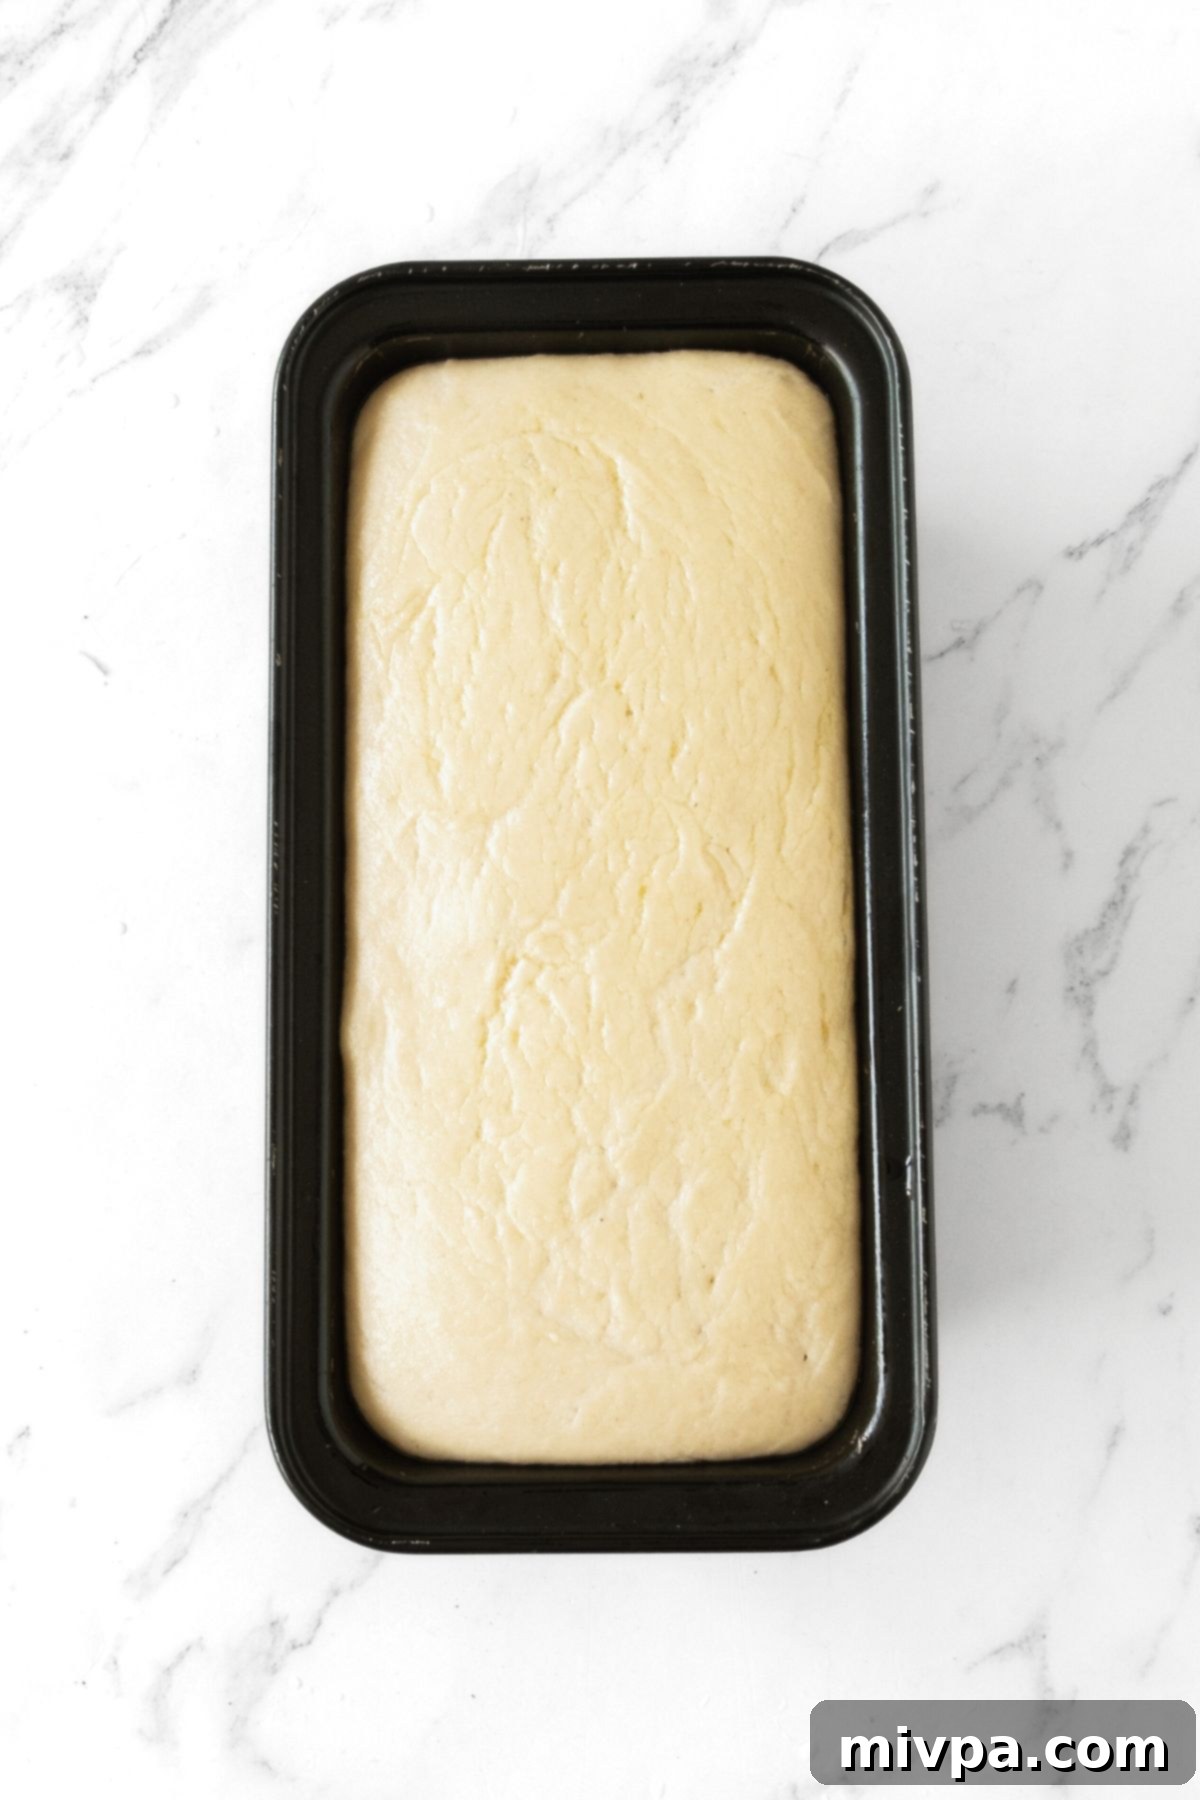
Step 5: Let Dough Rise. Place the pan in a warm, draft-free environment (your microwave, turned off, often works wonderfully). Allow the dough to rise for approximately 30 minutes, or until it has visibly doubled in size and the top has reached the rim of the pan.
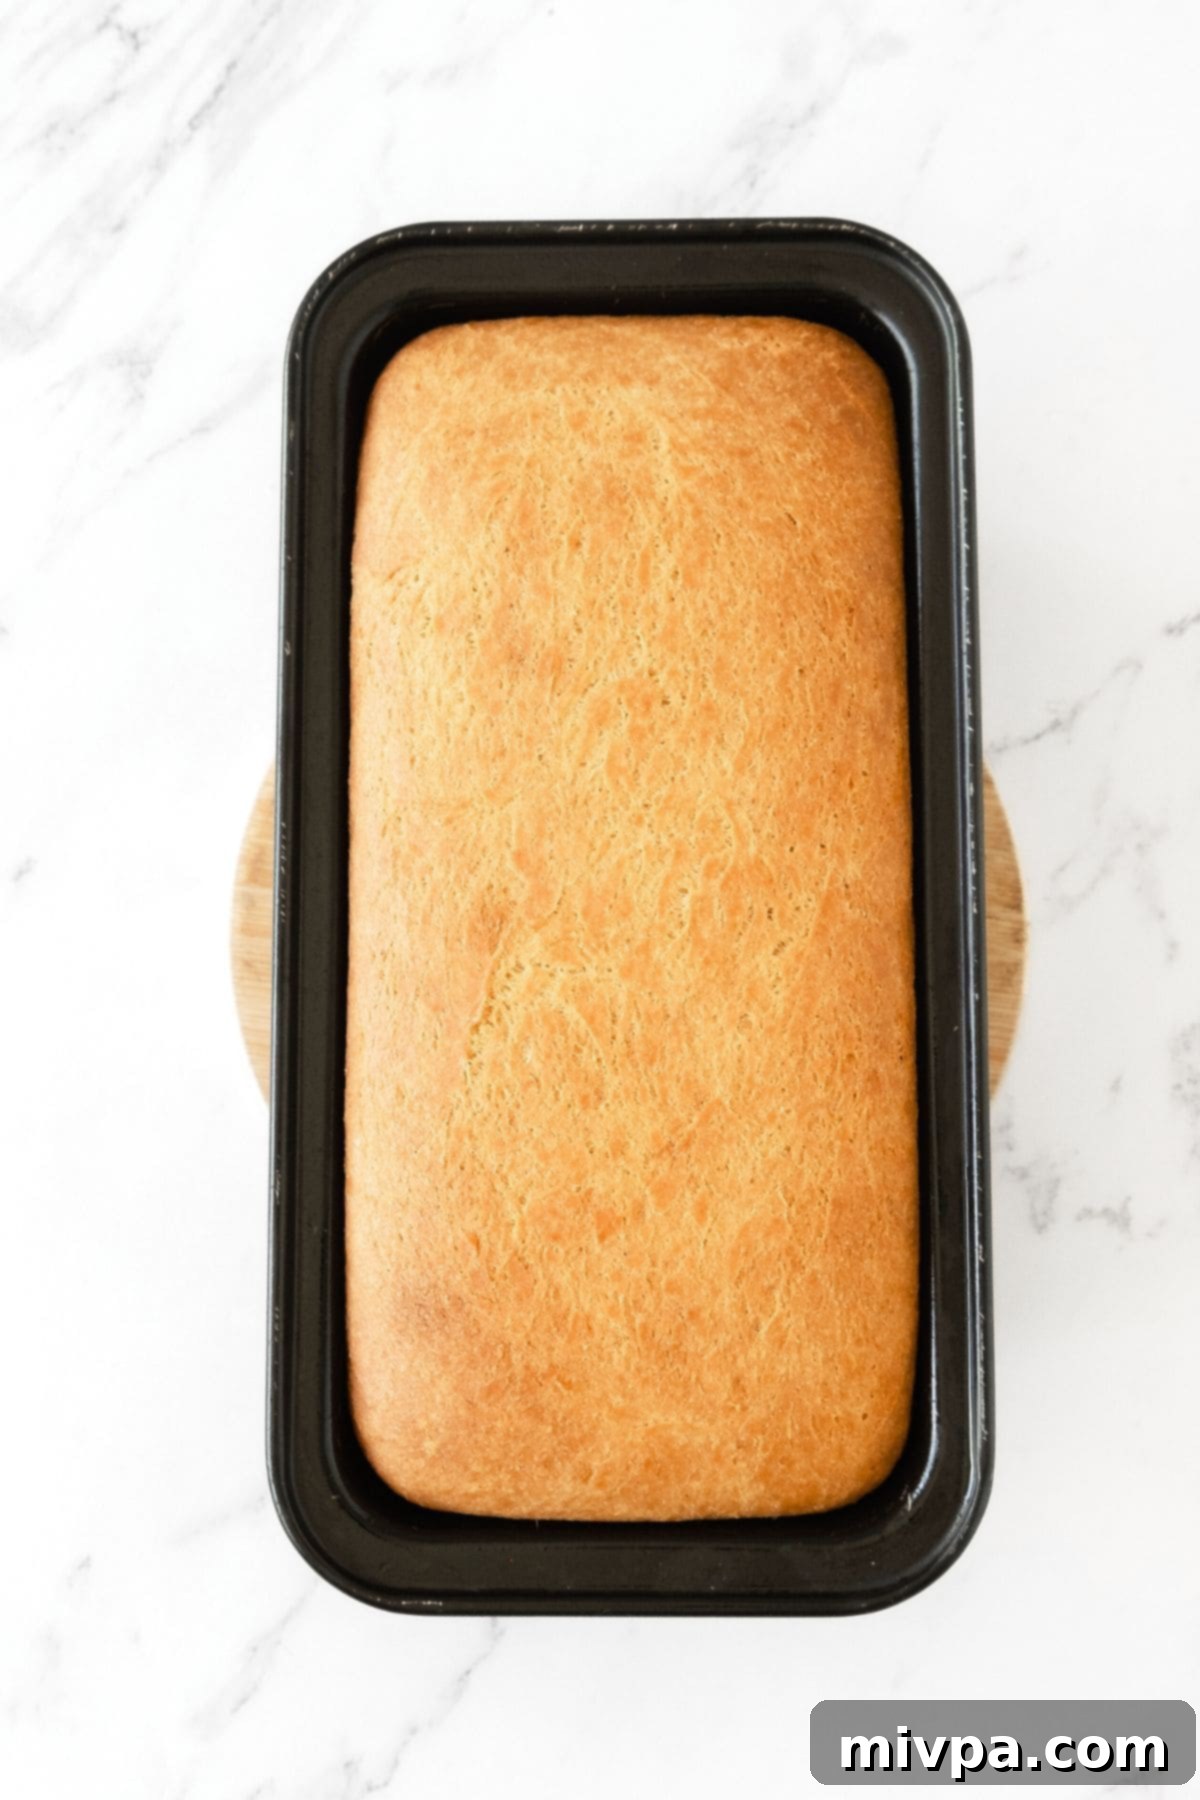
Step 6: Preheat Oven and Bake. While your dough is nearing the end of its rising time, preheat your oven to 350°F (180°C). Once the dough has fully doubled, transfer the pan to the middle rack of the preheated oven and bake for 50 to 60 minutes. The bread is done when it’s beautifully golden brown on top and sounds hollow when gently tapped.
Phase 3: Cool Completely Before Slicing
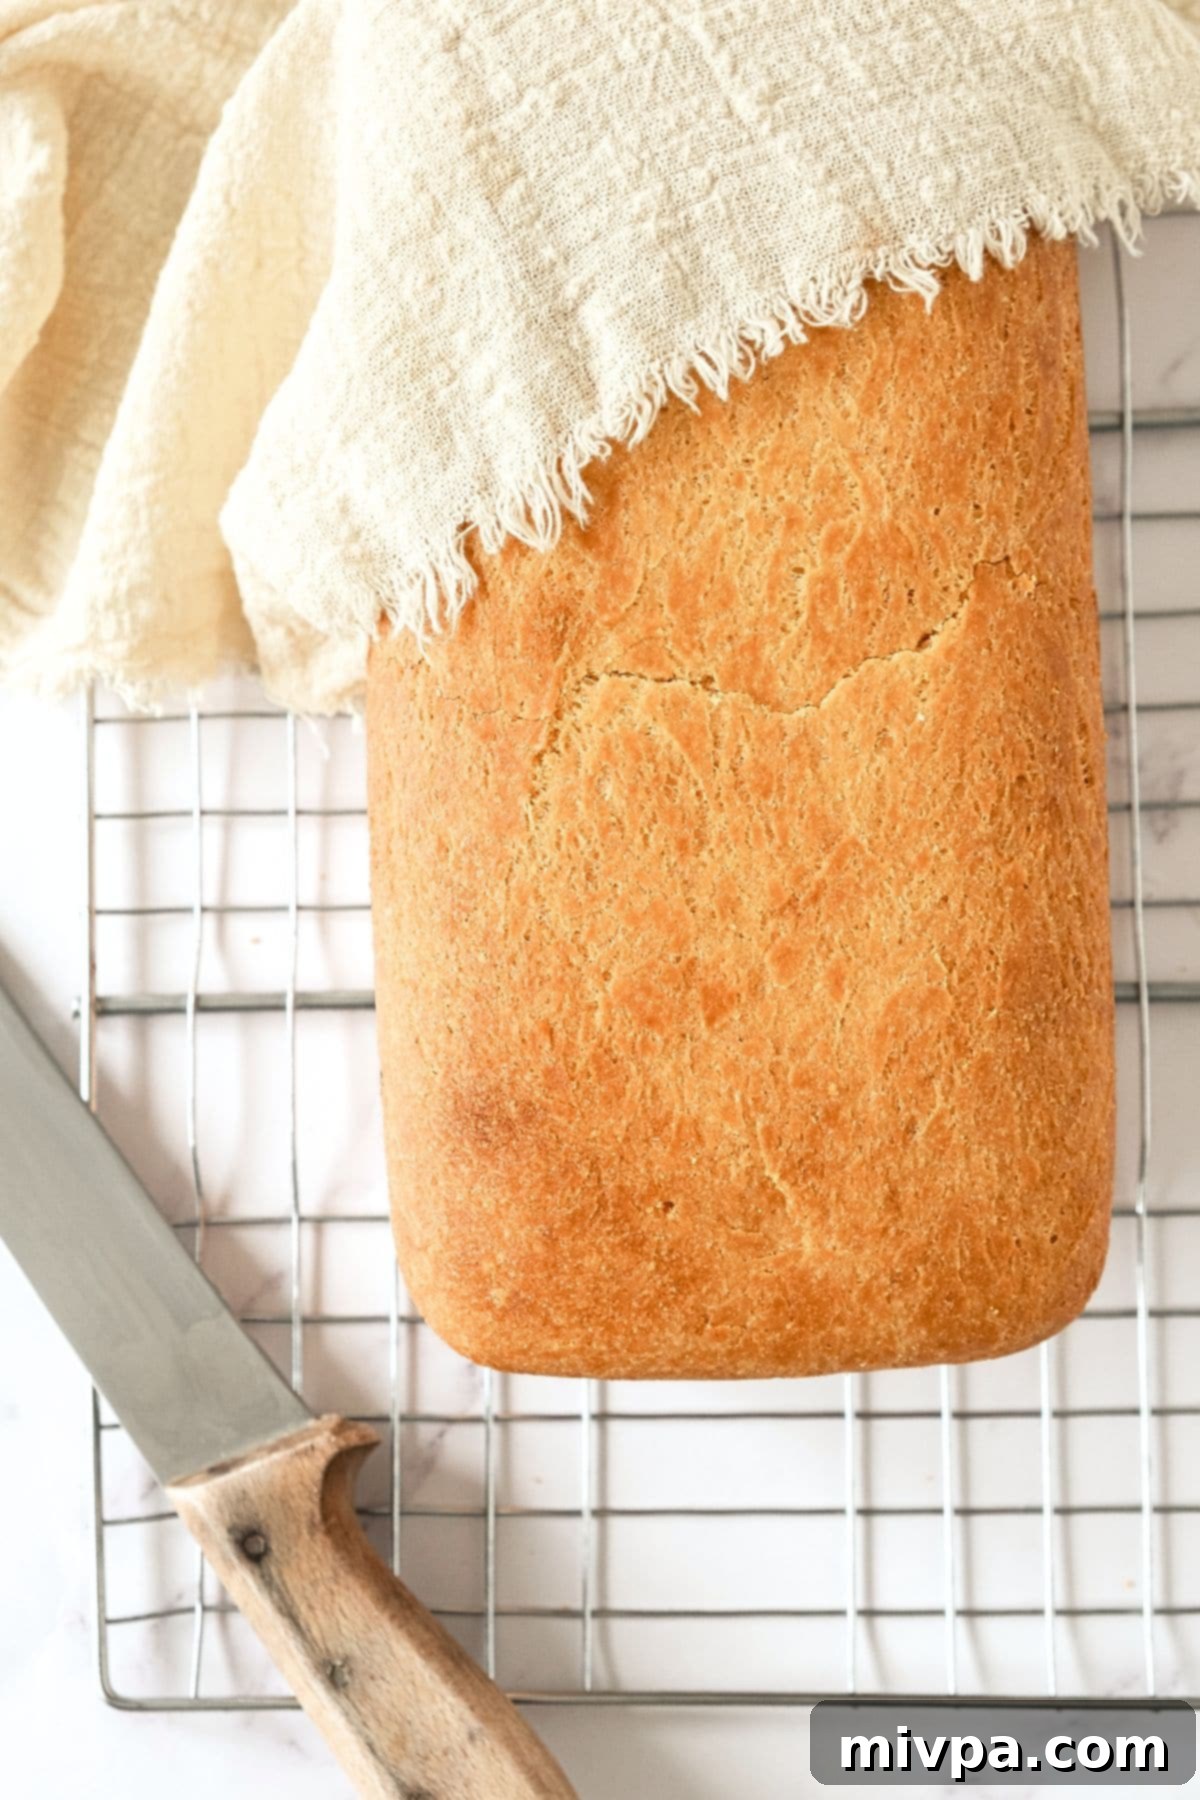
Step 7: Cool Fully. This step is non-negotiable for gluten-free bread! Allow the loaf to cool completely on a wire rack for a minimum of 2 hours, or ideally overnight, before attempting to slice it. This ensures the internal structure sets properly and prevents gumminess.
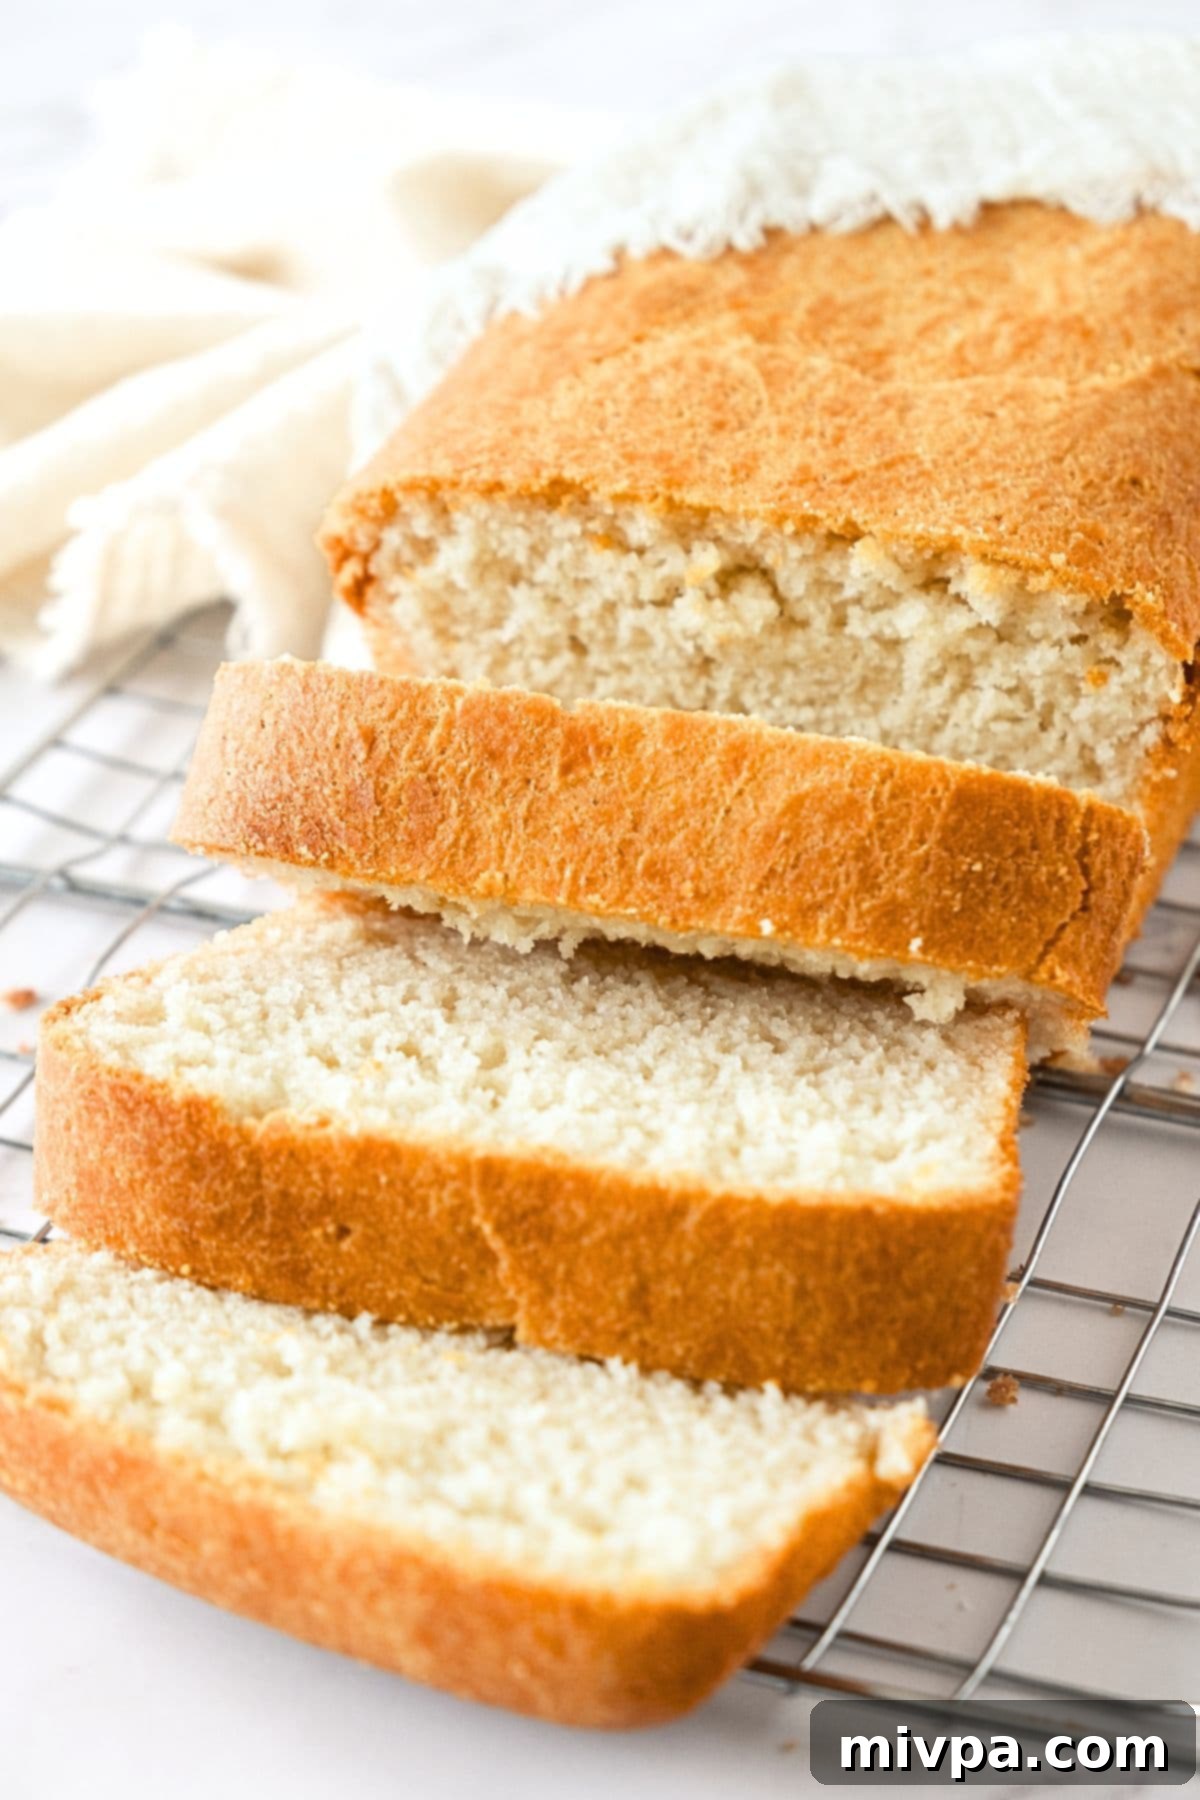
Step 8: Slice and Enjoy. Once fully cooled, slice into your magnificent homemade loaf and savor every tender, fluffy bite!
More Gluten-Free Bread Recipes You’ll Love:
- Fluffy Gluten-Free White Bread (Dairy-Free)
- Tender Potato Bread (Gluten-Free, Dairy-Free)
- Brown Rice Bread (Gluten-Free, Dairy-Free)
- Buckwheat Bread (Gluten-Free, Dairy-Free)
P.S. If you try this recipe for egg-free gluten-free bread, I’d love for you to leave a star rating below, and/or a review in the comment section further down the page. I always appreciate your feedback. Be sure to check out my entire Recipe Index for all the recipes on the blog. You can also follow me on Pinterest, Facebook or Instagram! Sign up for my Email List to get fresh recipes in your inbox each week!
Print
Egg-Free Gluten-Free Bread
5 Stars
4 Stars
3 Stars
2 Stars
1 Star
4.5 from 2 reviews
-
Author:
Felicia Lim -
Total Time:
1 hour 40 minutes -
Yield:
12 slices -
Diet:
Gluten Free, Dairy-Free, Vegan, Egg-Free
Description
This vegan, gluten-free, and egg-free bread is incredibly soft and tender, making it perfect for anything from classic toast with butter to savory sandwiches. I highly recommend baking a double batch and freezing the extra loaves, so you always have delicious, homemade gluten-free bread without eggs ready to enjoy!
Ingredients
Units
Scale
- 2 cups gluten-free all-purpose flour blend (see notes for recommendations)
- 1/2 teaspoon xanthan gum (only if your flour blend does NOT include it)
- 1 cup brown rice flour (or millet/sorghum flour)
- 2 1/4 teaspoons instant yeast
- 2 tablespoons granulated sugar (or other sugar, see notes)
- 3 tablespoons psyllium husk powder (lighter color for a lighter loaf)
- 1 teaspoon baking powder
- 1 teaspoon salt
- 1 1/2 cup + 1 tablespoon warm water (between 105°F and 115°F/40°C-46°C)
- 1/2 cup sunflower oil (or other neutral vegetable oil)
Instructions
- Whisk Dry Ingredients: In a large mixing bowl, thoroughly whisk the gluten-free all-purpose flour blend, xanthan gum (if needed), brown rice flour, instant yeast, baking powder, psyllium husk powder, sugar, and salt until well combined.
- Add Wet Ingredients: Add the warm water and oil to the dry ingredients in the bowl.
- Mix Wet and Dry Ingredients to Get Dough: Mix the wet and dry ingredients well until you get a shaggy, homogeneous dough that resembles thick cake batter. The dough will be a little wet, which is perfectly fine – do not add more flour.
- Transfer to Pan: Grease an 8”x4” metal loaf pan with oil or nonstick baking spray, or line it with parchment paper. Transfer the dough into the prepared loaf pan, using a wet spatula to smooth out the top of the dough.
- Let Dough Rise: Place the pan in a warm, draft-free space (like an unheated microwave). Let the dough rise for approximately 30 minutes, or until it has doubled in size and the top of the dough has risen to the top of the pan. Rising time can vary based on humidity and room temperature (e.g., 30 mins on a warm day, up to 1 hour on a cold day).
- Preheat Oven: While the dough is almost finished rising, preheat your oven to 350°F (180°C).
- Bake Until Golden: Once the dough has fully doubled in size, place the pan on the middle rack of the preheated oven. Bake for 50 to 60 minutes, or until the top is golden brown and the loaf sounds hollow when tapped.
- Let Cool Fully Before Slicing: This step is crucial for perfect gluten-free bread. Let the loaf cool completely on a wire rack for at least 2 hours, or ideally overnight, before attempting to slice it. Slicing too early will result in a gummy interior.
Notes
Gluten-Free All-Purpose Flour: For a lighter, fluffier texture in your egg-free gluten-free bread, select a good-quality gluten-free all-purpose flour blend comprised mainly of lighter flours/starches (like rice flour, tapioca, corn, or potato starch). Avoid blends with heavier flours such as garbanzo bean flour, which can lead to a dense outcome.
Xanthan Gum: This ingredient is essential for providing structure and binding in gluten-free, egg-free baking. If your chosen gluten-free flour blend does not already contain xanthan gum, ensure you add the specified amount.
Brown Rice Flour: You can either grind your own brown rice flour or use store-bought. Millet flour or sorghum flour are suitable alternatives if brown rice flour is unavailable.
Instant Yeast: The convenience of instant yeast means you can mix it directly with dry ingredients, as no pre-activation is required.
Sugar: Sugar serves as “food” for the yeast, crucial for its activation and the production of gases that cause the bread to rise. Any type of granulated sugar (white, cane, light/dark brown, coconut) will work.
Psyllium Husk Powder: This acts as a vital binder and structure provider in vegan gluten-free bread. Use a lighter-colored psyllium husk powder for a lighter loaf. You can grind whole psyllium husks to a fine powder if needed.
Baking Powder: This leavening agent provides an additional boost to help the dough rise, contributing to a lighter texture.
Warm Water: Maintaining the water temperature between 105°F and 115°F (40°C-46°C) is key to activating the yeast without killing it. Warm unsweetened almond milk can also be used.
Oil: I typically use sunflower oil for its neutral flavor, but other liquid vegetable oils like olive oil, canola oil, or avocado oil are good substitutes.
Let Cool Before Slicing: It is paramount to allow your homemade gluten-free bread to cool completely on a wire rack at room temperature. Gluten-free bread continues to set and “cook” as it cools, and slicing it prematurely will result in a gummy texture. Patience is essential for a perfect crumb!
-
Prep Time:
10 mins -
Rising Time:
30 mins -
Cook Time:
60 mins -
Category:
Bread, Gluten-Free, Vegan -
Method:
Baking
